Pages

Wednesday, January 30, 2013

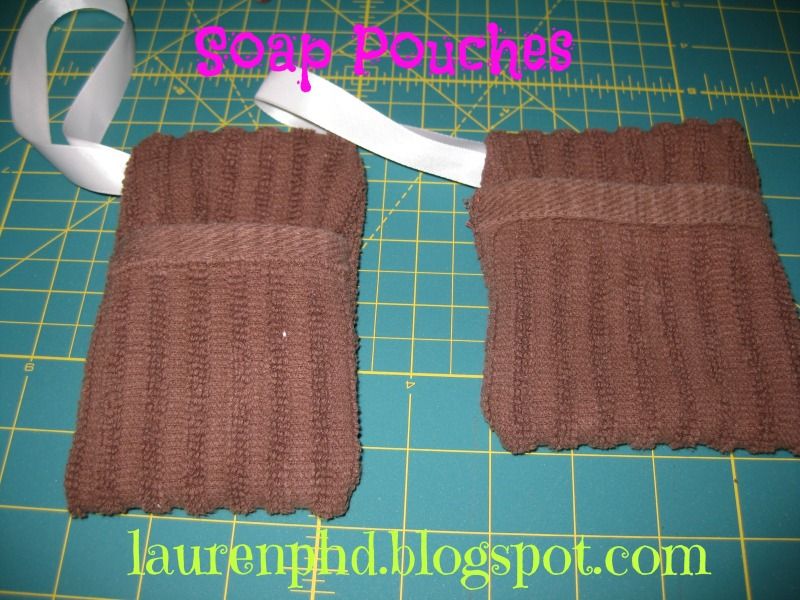
Soap Pouch

I actually did this project when we first moved to DC. Calvin needed something for his soap and I had this messed up wash cloth. I have no idea but I have a lot of wash cloths...

Enter Pinterest. I found this pin about how to make soap pouches. Click here for the Tutorial!

I tried to follow the tutorial but of course I messed up and changed things up.

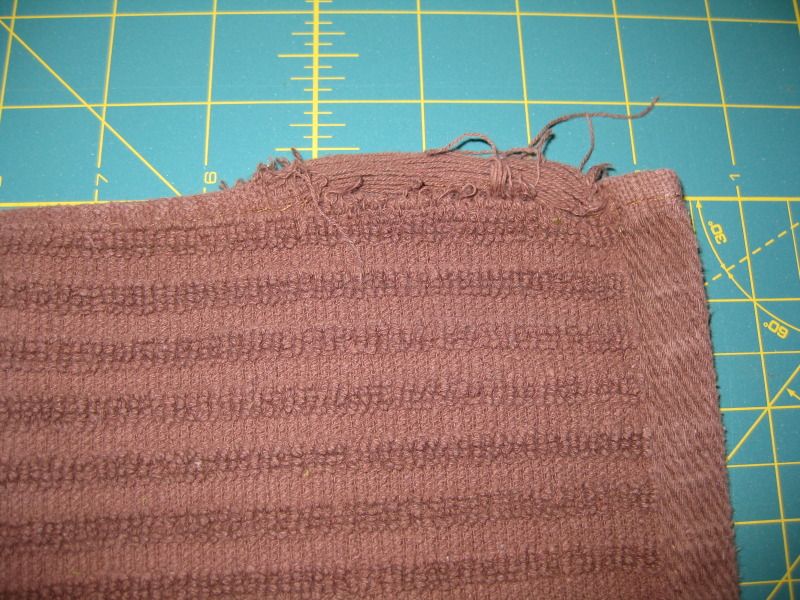
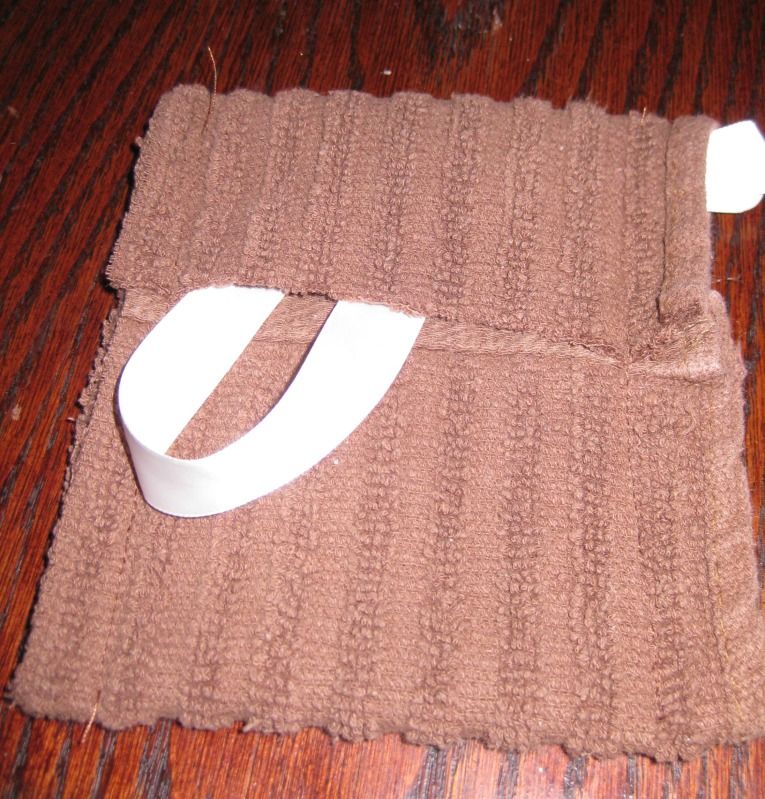
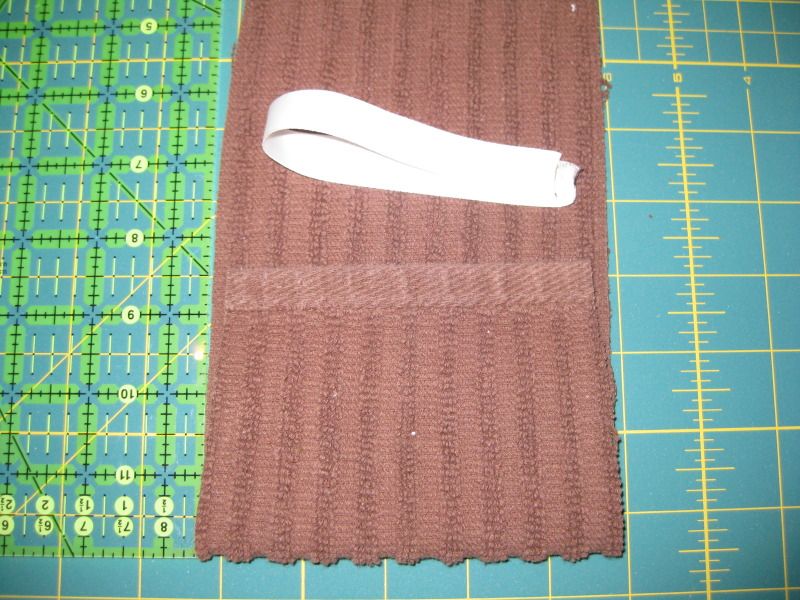
Fold over the top part. 

Meet with the other side. 


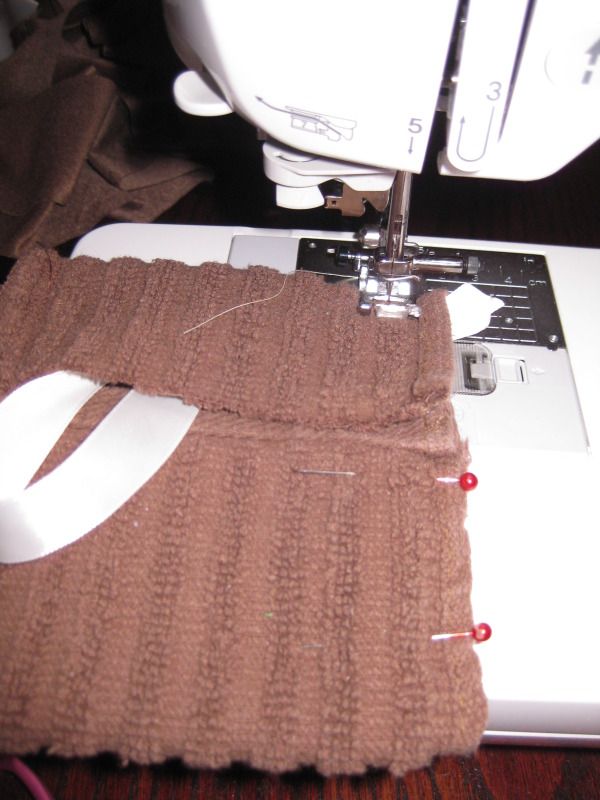
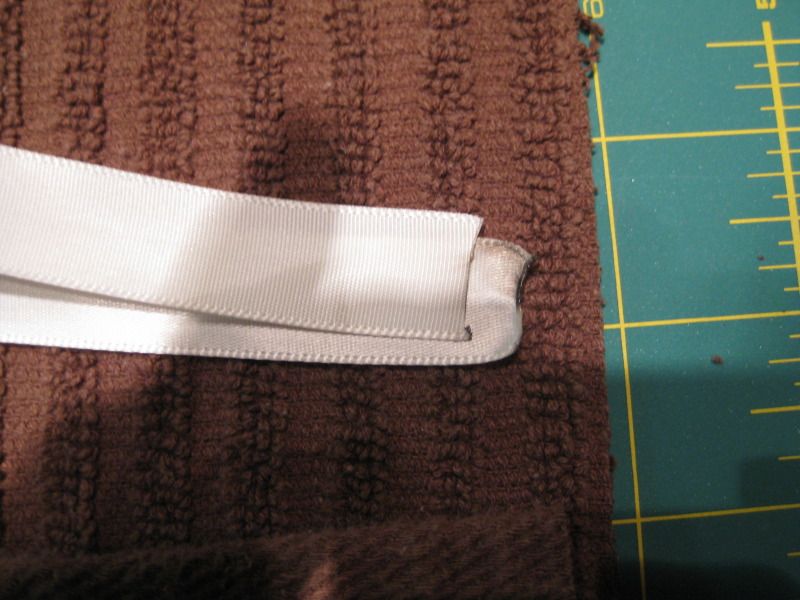
And I added a ribbon, do this before you sew along the outer edges!!! See below! 


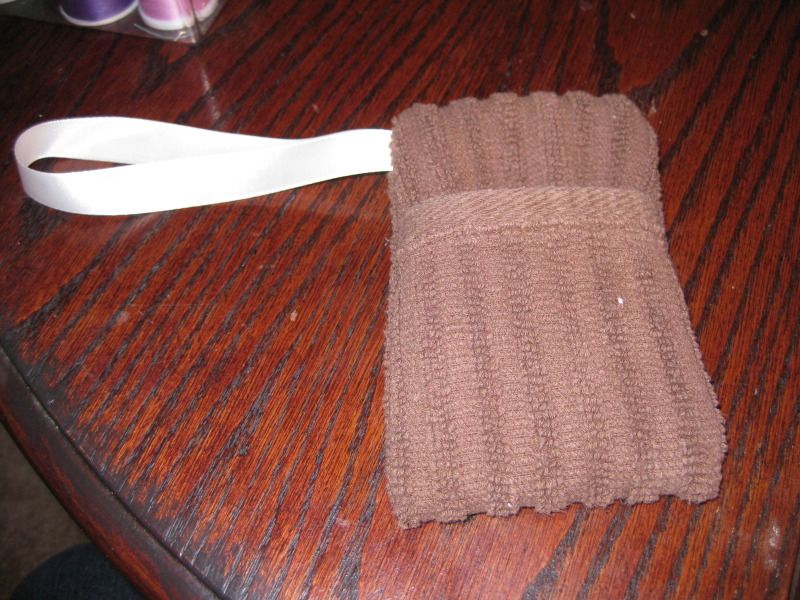
Here is what it looks like when you turn it right side out. 

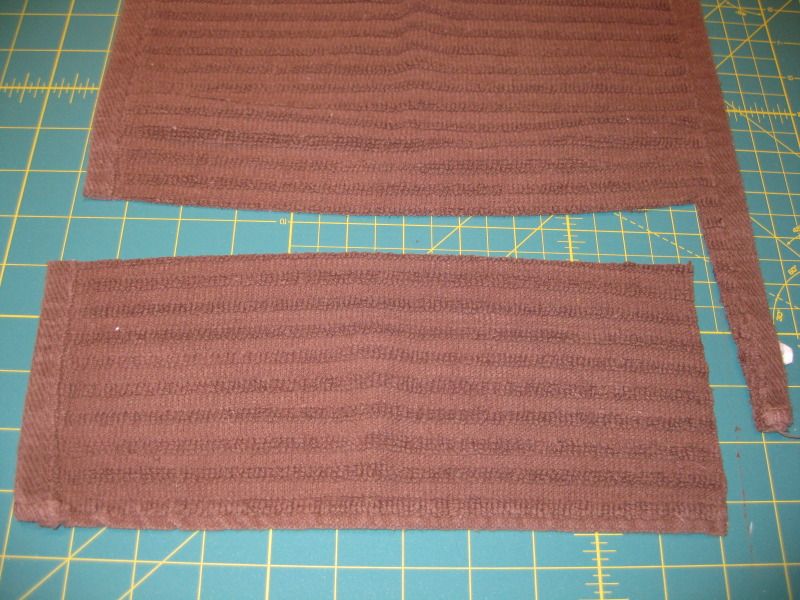
I repeated again. with the leftover part of the wash cloth. 


I like the one I overlapped more. But if you have different sized bar soaps. They were super easy to make!

xoxoxo,
Lauren

Monday, January 28, 2013

Iron Craft '13 #2- Orange...

This week's Iron Craft is Orange. Yes orange. Out of all the colors we could pick they picked a project with orange and not something I had any ideas for the works. Actually I just completely an orange sweater refashion prior to the release of the project details. I cursed. So I had to come up with something. I searched my craft stuff for orange, what did I have? I found orange polyester, a sherbet chiffon, and orange embroidery floss. Thinking about my options I went for the orange polyester. I had delusional dreams of making a fun bright dress that I could accessorize with fun colors. 

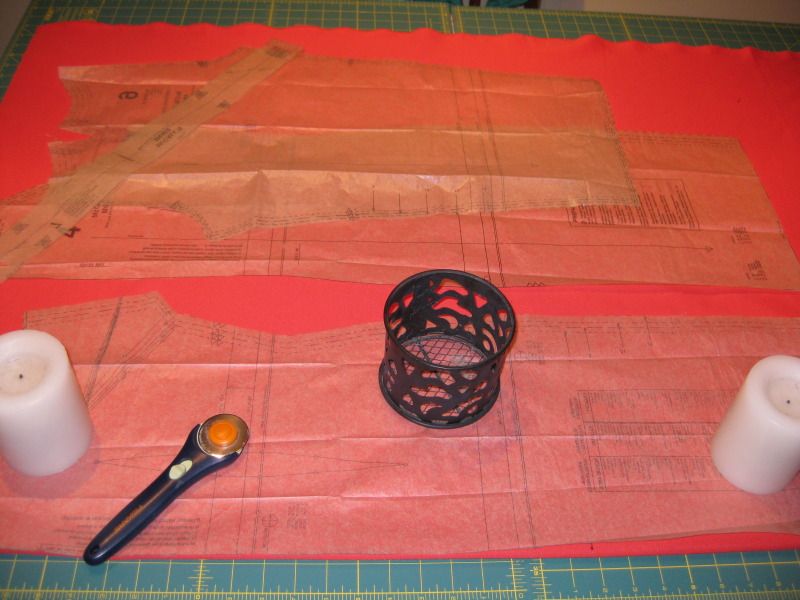
I chose McCalls Pattern M6460. I had enough fabric and thought I would try my hand at turning this into a semi-fitted dress. I cut a 12 and decided to do a smaller seam allowed which lead me to problems later on....


I made view B here with the long sleeves.


Here we go! Cut the fabric!

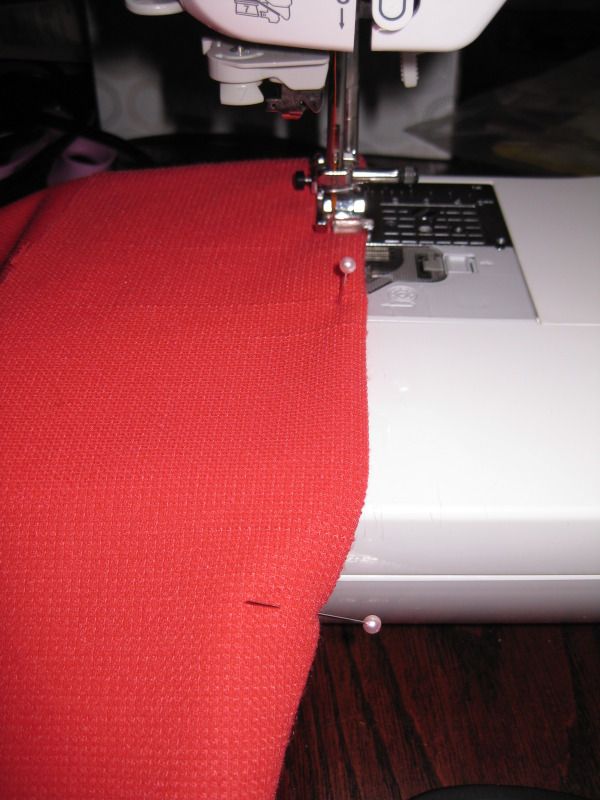
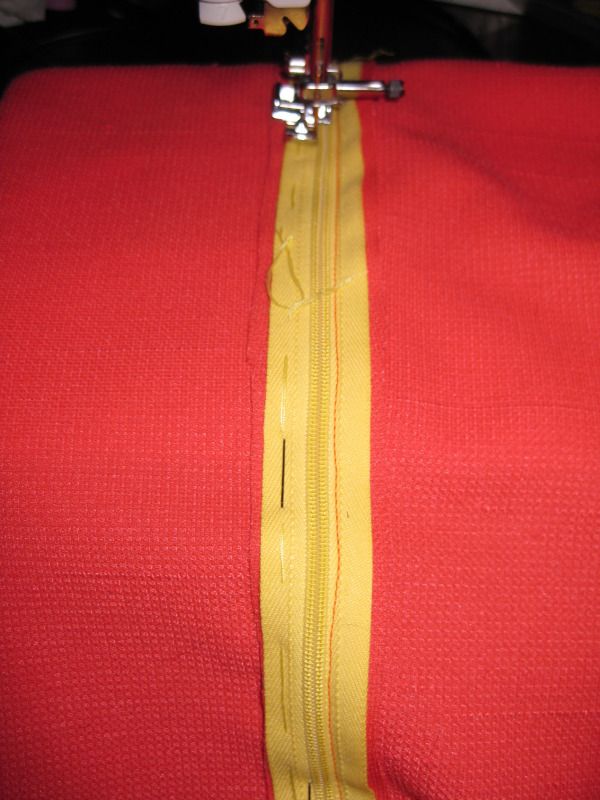
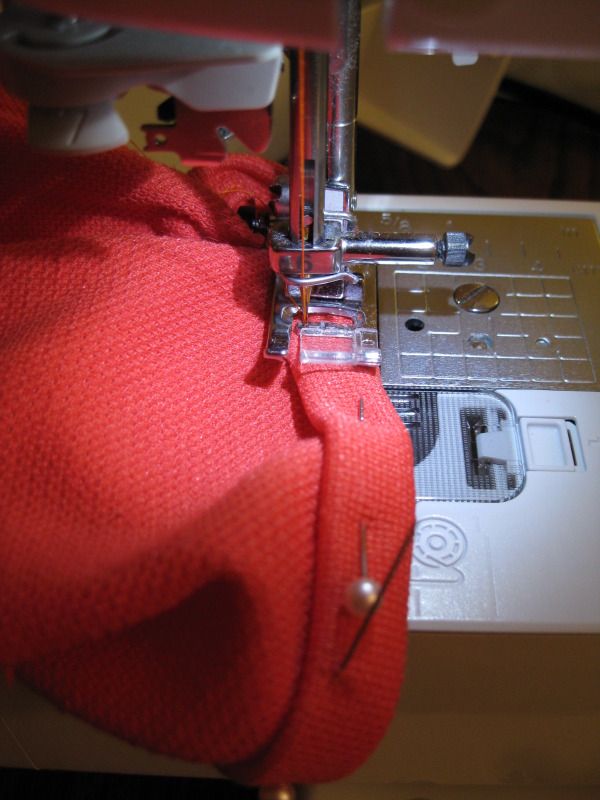
Here is some pictures in action while I was sewing. yes I added a bright yellow zipper. I thought it would be fun. Plus I had it on hand, it was a gift from another sewer. It was not hard to sew but some of the instructions seemed unclear to me. Like putting in the zipper on the dress. And the binding for the top of the dress.


This where I went wrong. Because I sewed a smaller seam allowance for the dress (1/4 inch in most parts instead of 5/8 inch which I occasionally do) The issue that then developed was since the neckline of the dress is part of sleeves, front and back the change in seam allowance meant I needed a longer piece of binding. Then I had issues with the instructions and how to sew it to the neckline. Since I began having issues with this dress, I kept it my wonky way...

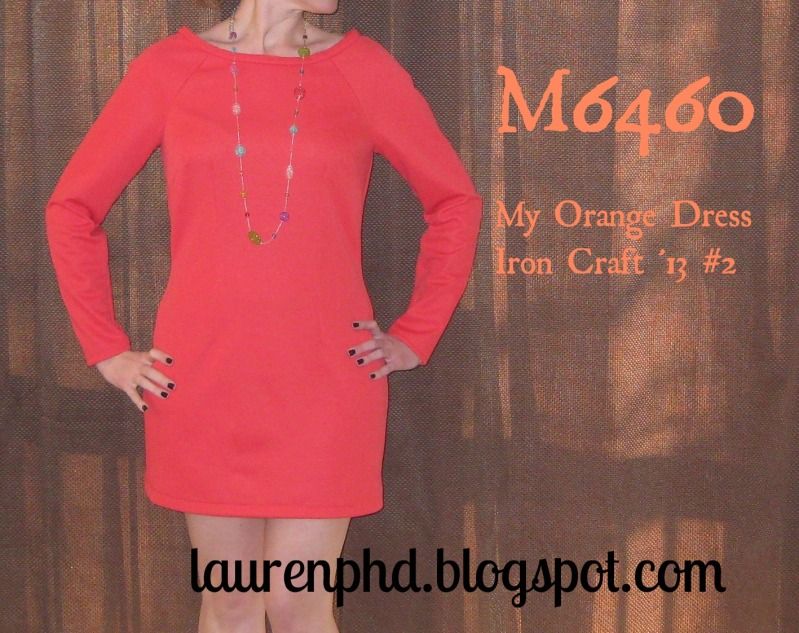
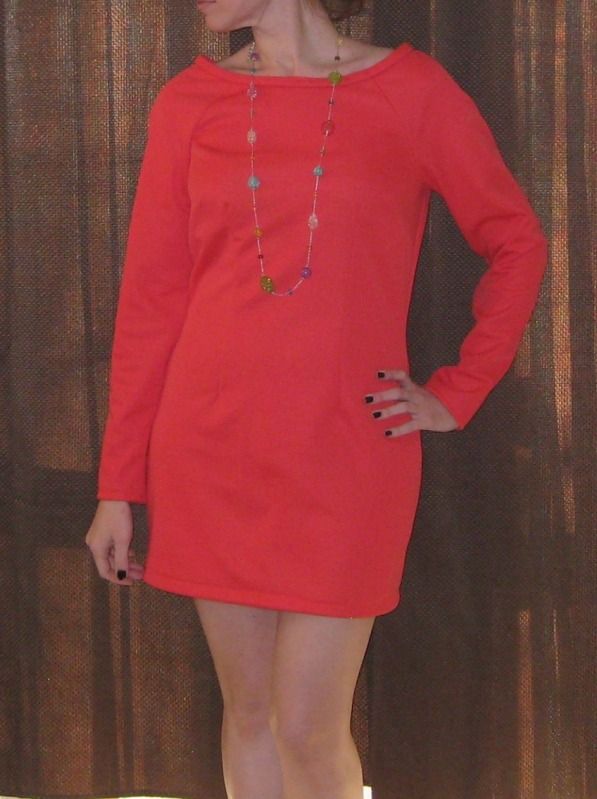
Then at the end the brightness of the dress I needed to shorten it to add some life to it. So I cut off a bunch of inches. Here is my end dress...


 I promise you the zipper is not crooked! 
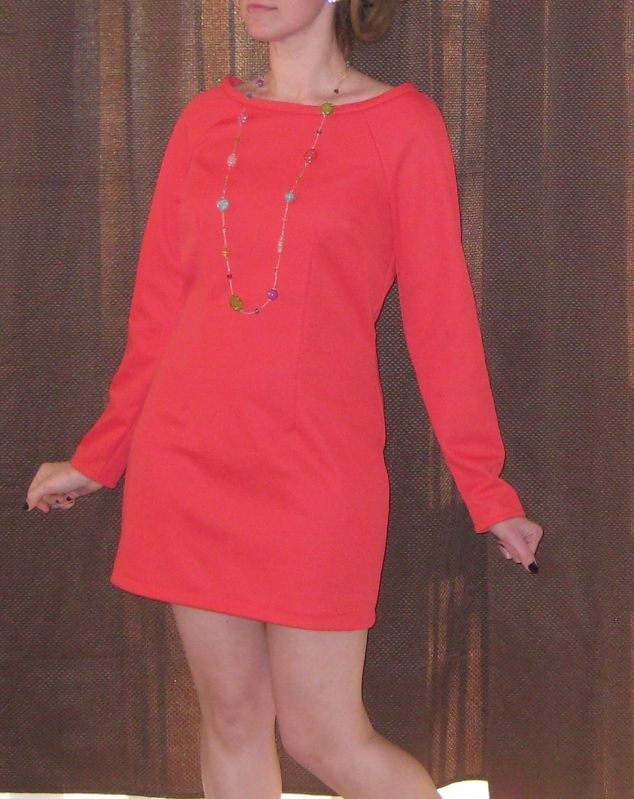


Clearly I have some fit issues. It definitely needs some tailoring for my particular body shape. And the neckline has some major issues. This is why I blog, I am not afraid to show semi success which is this dress. A big issue with this dress is it is made out of a thick polyester. Had I opted for another fabric I may like it better. Also wow it is orange. The pictures give it a tinge of red to it but don't be fooled it is orange. I know now for the future endeavors I must watch for the necklines and bindings b/c it really changes the way the dress looks in the end. The pattern is truly not hard to sew so that is a plus. Will I wear it out? Hmm good question.... polyester is not the best fabric for bare skin. Sort of itchy but not.... I also thought I could maybe turn it into a halloween costume but couldn't come up with anything immediately. I may give this dress away. I don't know if I could exactly sew this pattern again. I will have to see, I have so many patterns. Maybe if the right fabric comes my way. Let's see what the year brings. :)

On to the next iron craft challenge! Glad orange is out of the way :)

xoxoxo,
Lauren

Friday, January 25, 2013

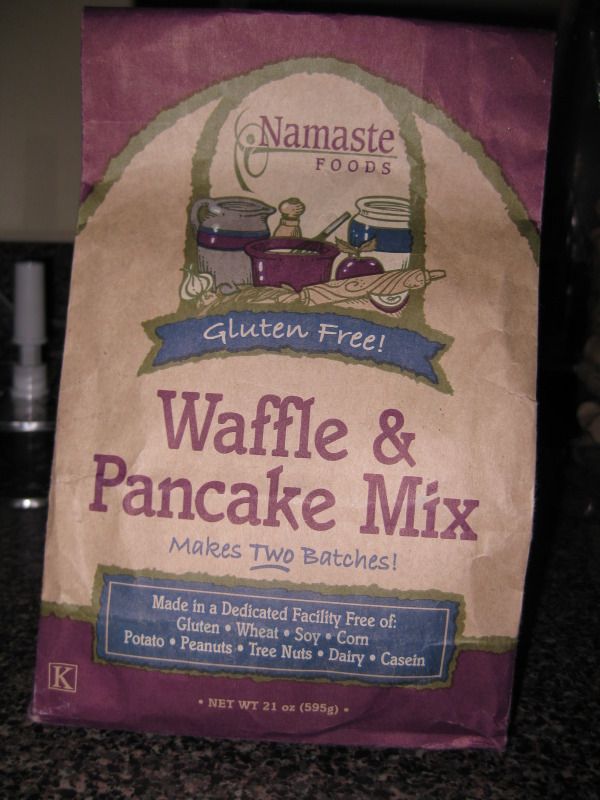
Gluten Free Review: Pancakes

I found this mix and was happy. I love pancakes and this is something I enjoy eating every sunday. It is sort of like a family tradition. I thought I would try them out.


The mix was easy to make and it did take some finessing to make sure they were cooked evenly on the pan. But they came out nice and fluffy! Totally yummy!

This is definitely a good mix. Easy too. Will definitely make again. :)

xoxoxo,
Lauren

Wednesday, January 23, 2013

Rhinestone Black Cardigan Refashion

No before picture but it was a big black sweater cardigan. Pretty boring. Needs fitting and bling! Enter scraped rectangle sew on rhinestones. I HAND sewed each one individually. First I came up with a design (these are completely not attached in this picture- I had to use this as a reference)

Hand stitch each one on.... it took some time. 

From the front

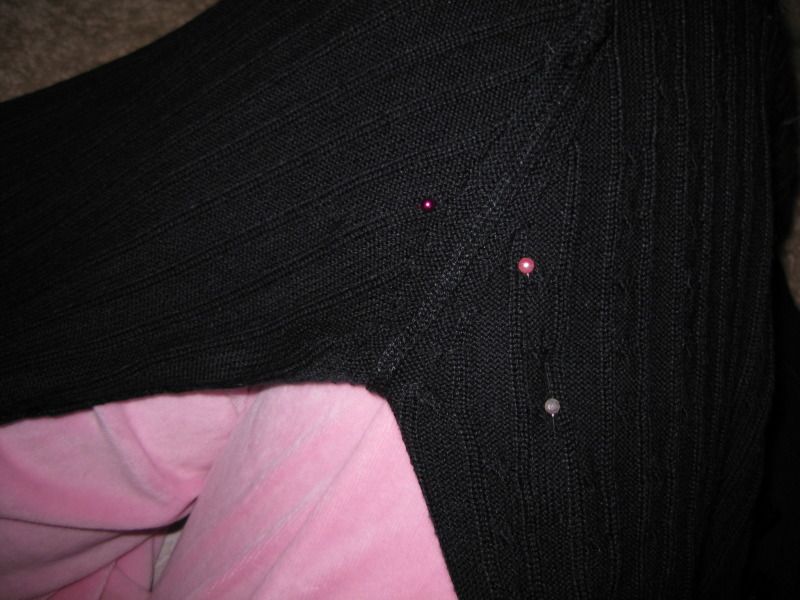
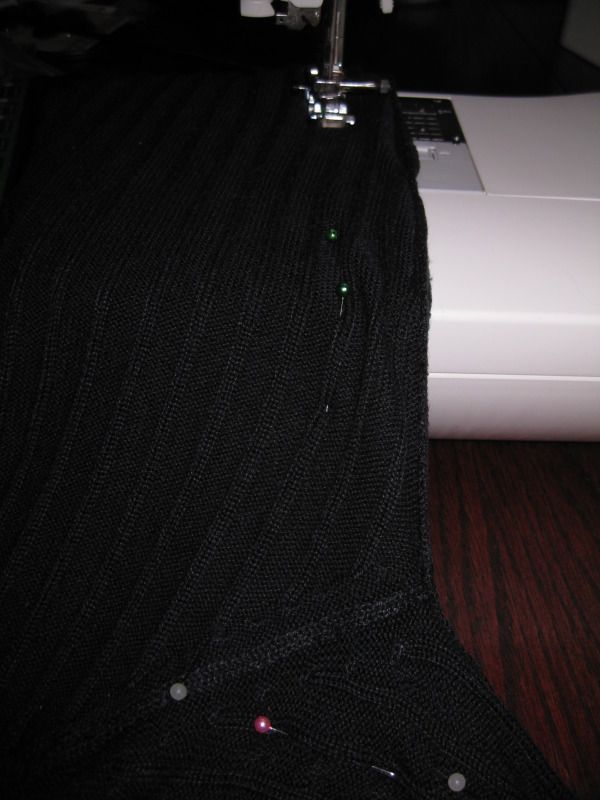
Now take in.... I am getting really good at putting a few pins (like 3!) and I know exactly how to take the sweater in. I have done it that much now! 

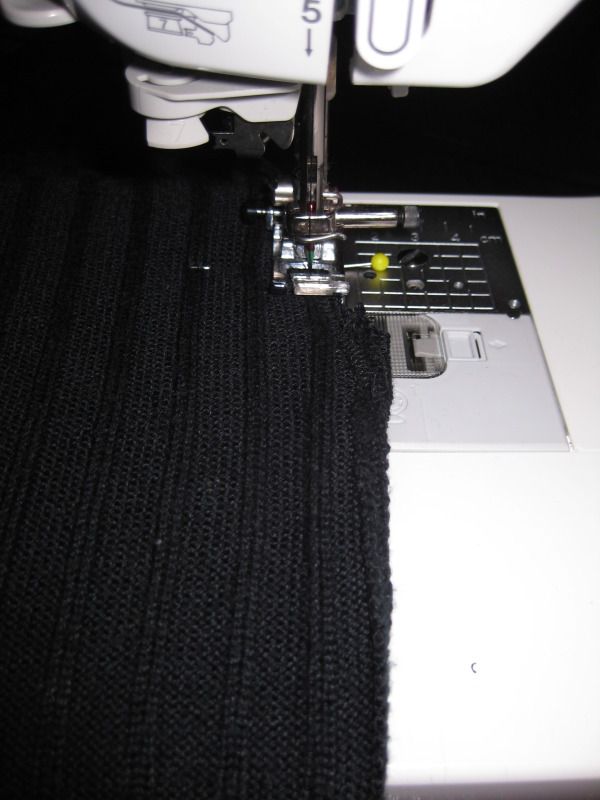
Sew! 

Cut off the excess and zig zag stitch to reinforce and stop fraying. 

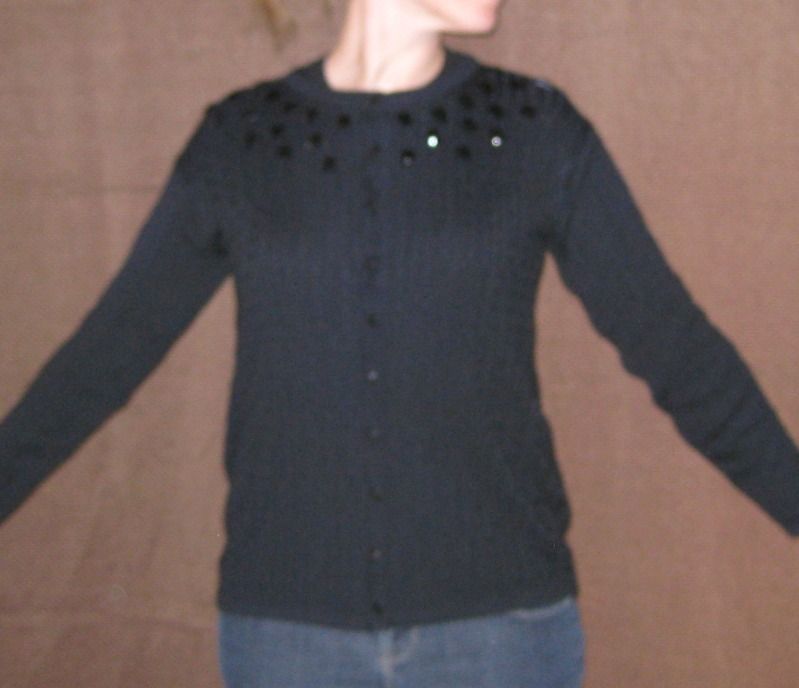
Done! I love my new cardigan! 


And it is no longer frumpy and saggy. Perfect for work! Got to stay warm!

xoxoxo,
Lauren
Monday, January 21, 2013

Purple ribbon headband DIY

Happy Martin Luther King Day! Here's to having a day off to celebrate a great leader!

Today's project is a quick one. Using things or more so scraps of items I had leftover. Enter small piece of elastic and 2 pieces of this beautiful ribbon. I decided to make a headband. I hate having hair in my face especially when I am working.

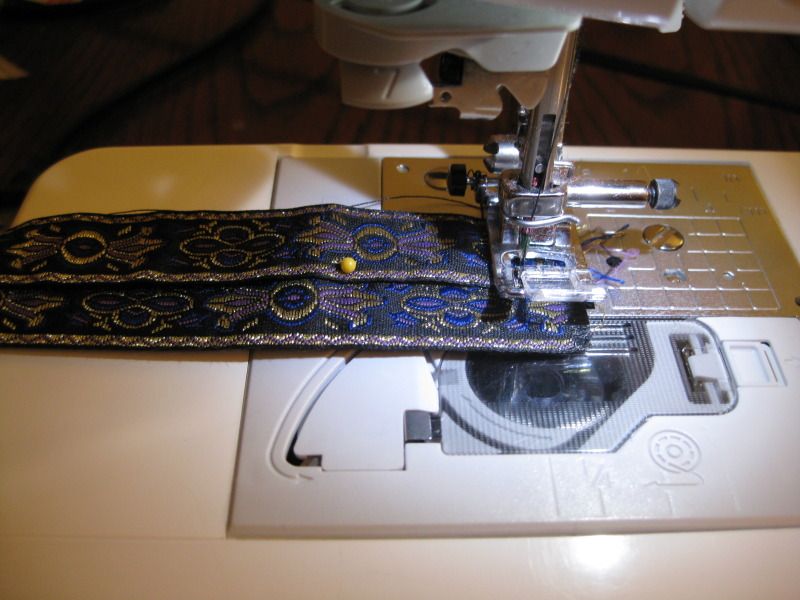
Fold under the ribbon and sew together. Repeat other side.

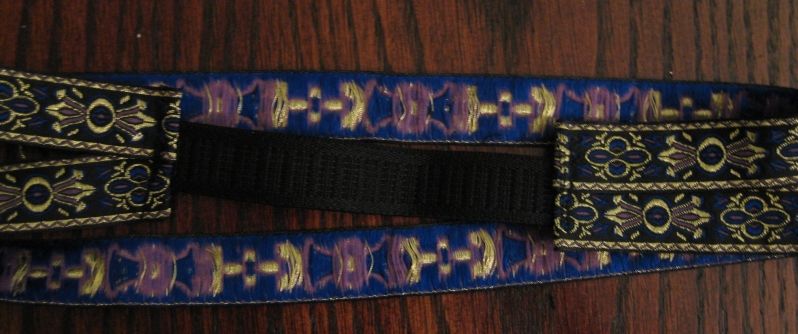
Attach elastic to one side. 

put the headband on and mark where you need the elastic to attach. Now sew it on PAST the mark or else the head band will come off. You want the elastic to stretch some. 


Done! Easy peasy!

Here it is on. :) Yay!! And yay for using scraps!

xoxoxo,
Lauren

Saturday, January 19, 2013

Orange Wool Turtleneck Refashion

I don't know what it is about turtleneck but I just don't care for them. Especially if they are itchy wool. Take this orange wool sweater....

It actually fits fine, I mean its a winter top you have to have room to layer. I am getting really good at getting rid of turtlenecks! First again cut down the side . Then cut some of the excess of but leave room to fold down 2X. Also what helps is cutting little nips around the circle in order to ease the folding.

See the nips? Everything is folded 2X and pinned. I then hand sewed everything down while stretching the sweater at the same time (and hence why there are no pictures of this!). 

Done! Turtleneck gone! Yay! 


Here's to warm winter clothes!!

xoxoxo,
Lauren

Friday, January 18, 2013

Gluten free review: Tasty Thai

Today I am reviewing Tasty Thai noodles. I was excited about them because I love Thai.

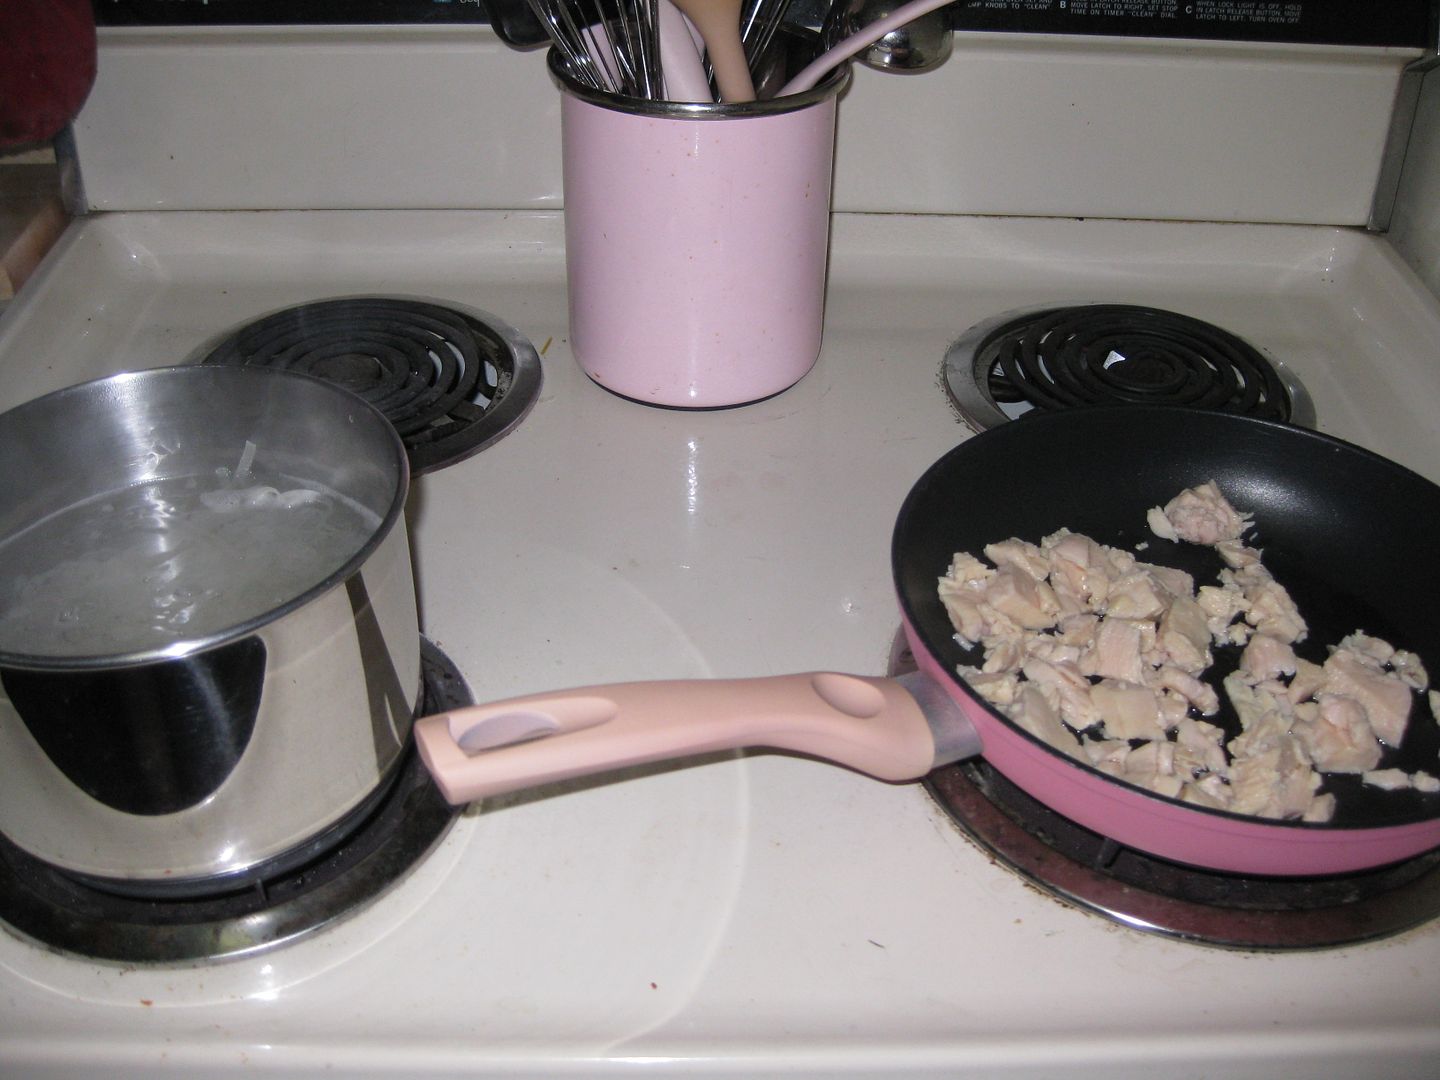
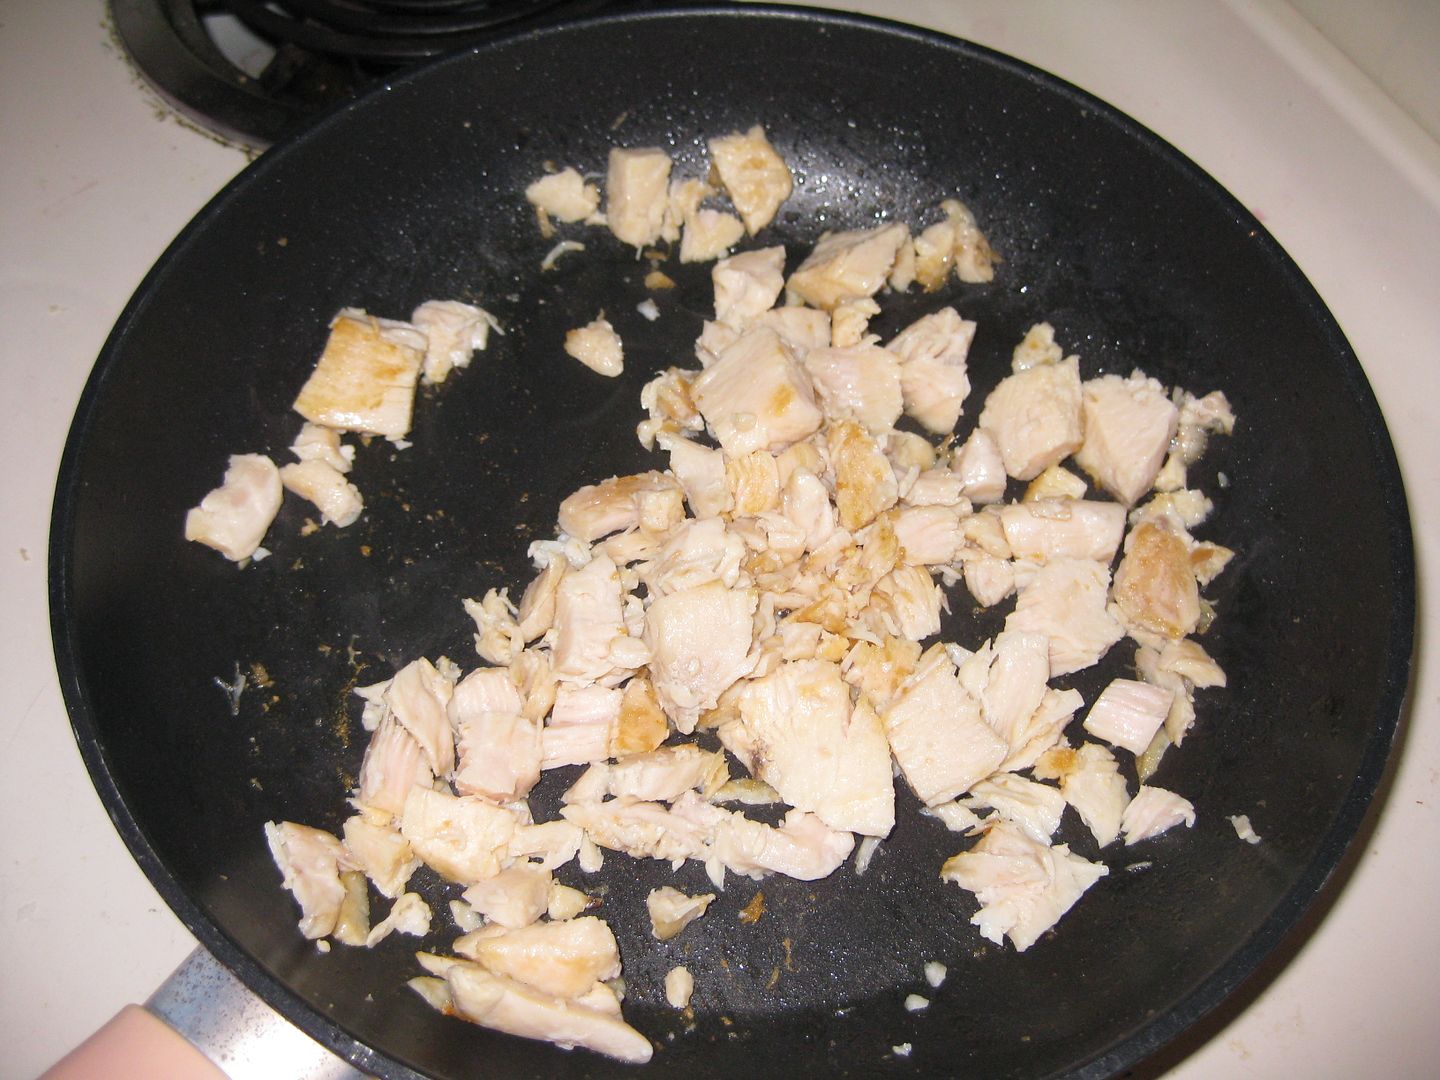
I am going to tell you from the beginning- this was not good. But I will continue with this blog post. I followed the instructions and also added some chicken.


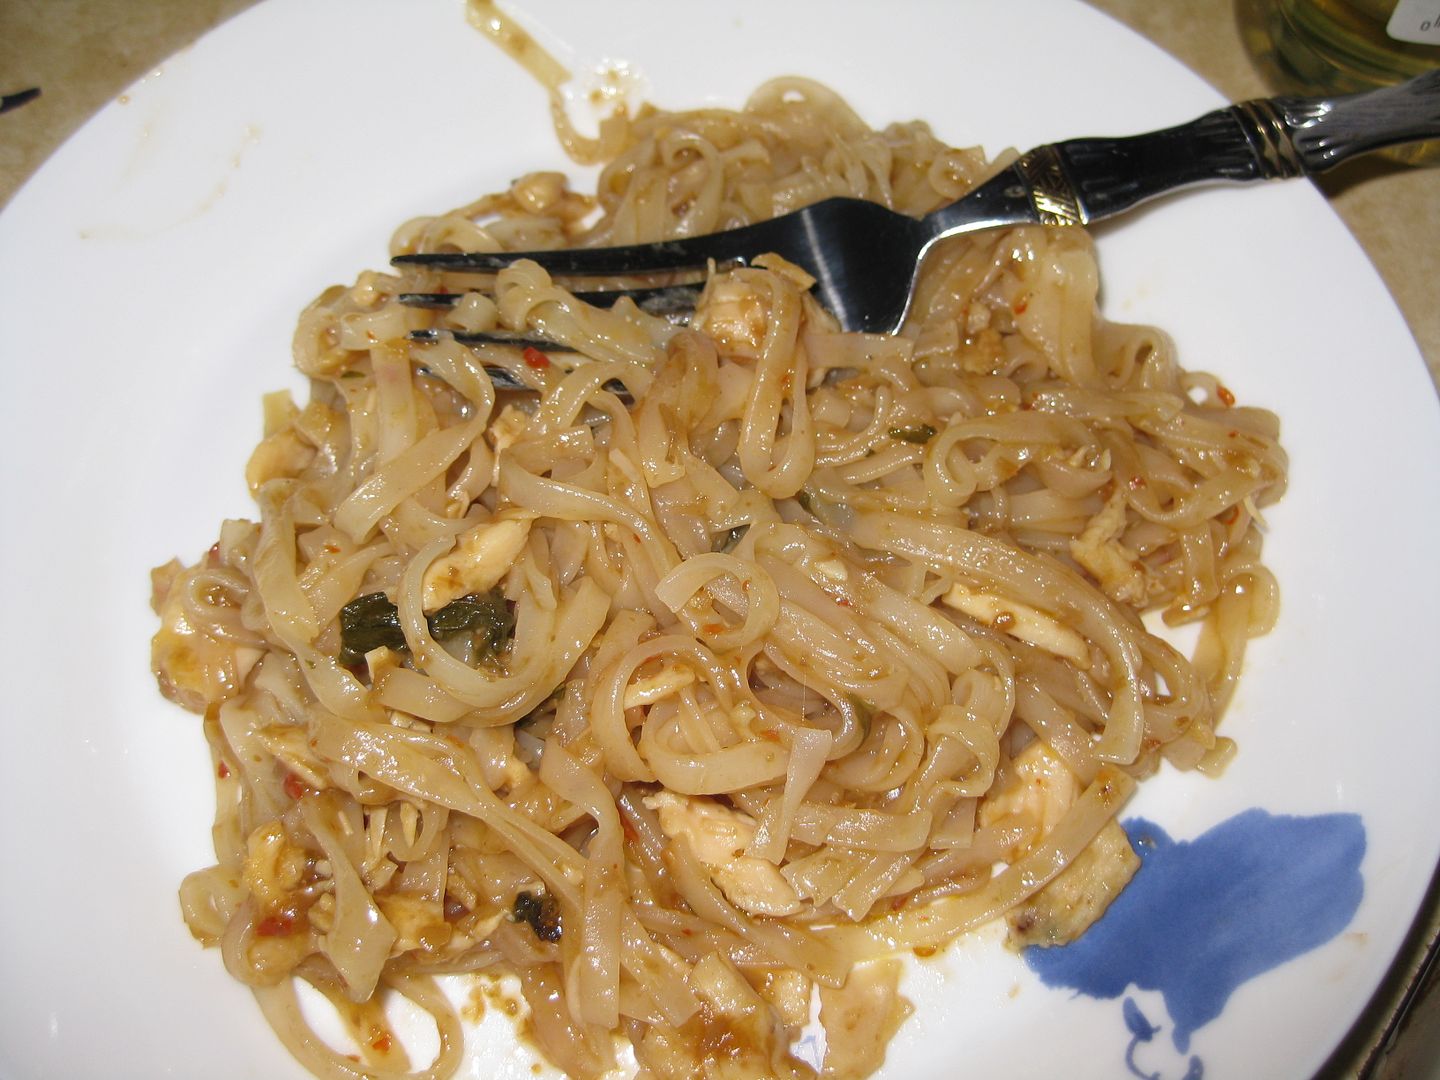
It looked sooo good. I was drooling.

However upon eating it I could not get past a few bites. It was spicy hot but I expected that and was looking forward to some heat. But then there was this odd taste to the mix. It tasted funny. I have no idea why. I even let my boyfriend taste it and he eats everything, he also agreed there was a funny taste to the mix he could not put his finger on it either. Neither of us could eat it and it got put in the trash.

I was not happy with this mix and I won't purchase this again. I can't believe how weird it tasted.

Well better luck next time!

xoxoxo,
Lauren