I literally was finishing this dress at the last minute. I finished the major sewing part of it before I got on the plane. Then the hooks on the dress the day before. I actually had issues with the dress b/c the back hook kept popping open if I moved, which I was going to move, while I was putting on my makeup. So I rescued it with a safety pin (which I brought b/c I know better!) and proceeded with the wedding festivities.
Here is proof I actually wore it. Unfortunately, no full length shots. I am horrible with taking pictures at events, I usually get so wrapped up with seeing people I have not seen in a while and forget to take pics. But here is proof.


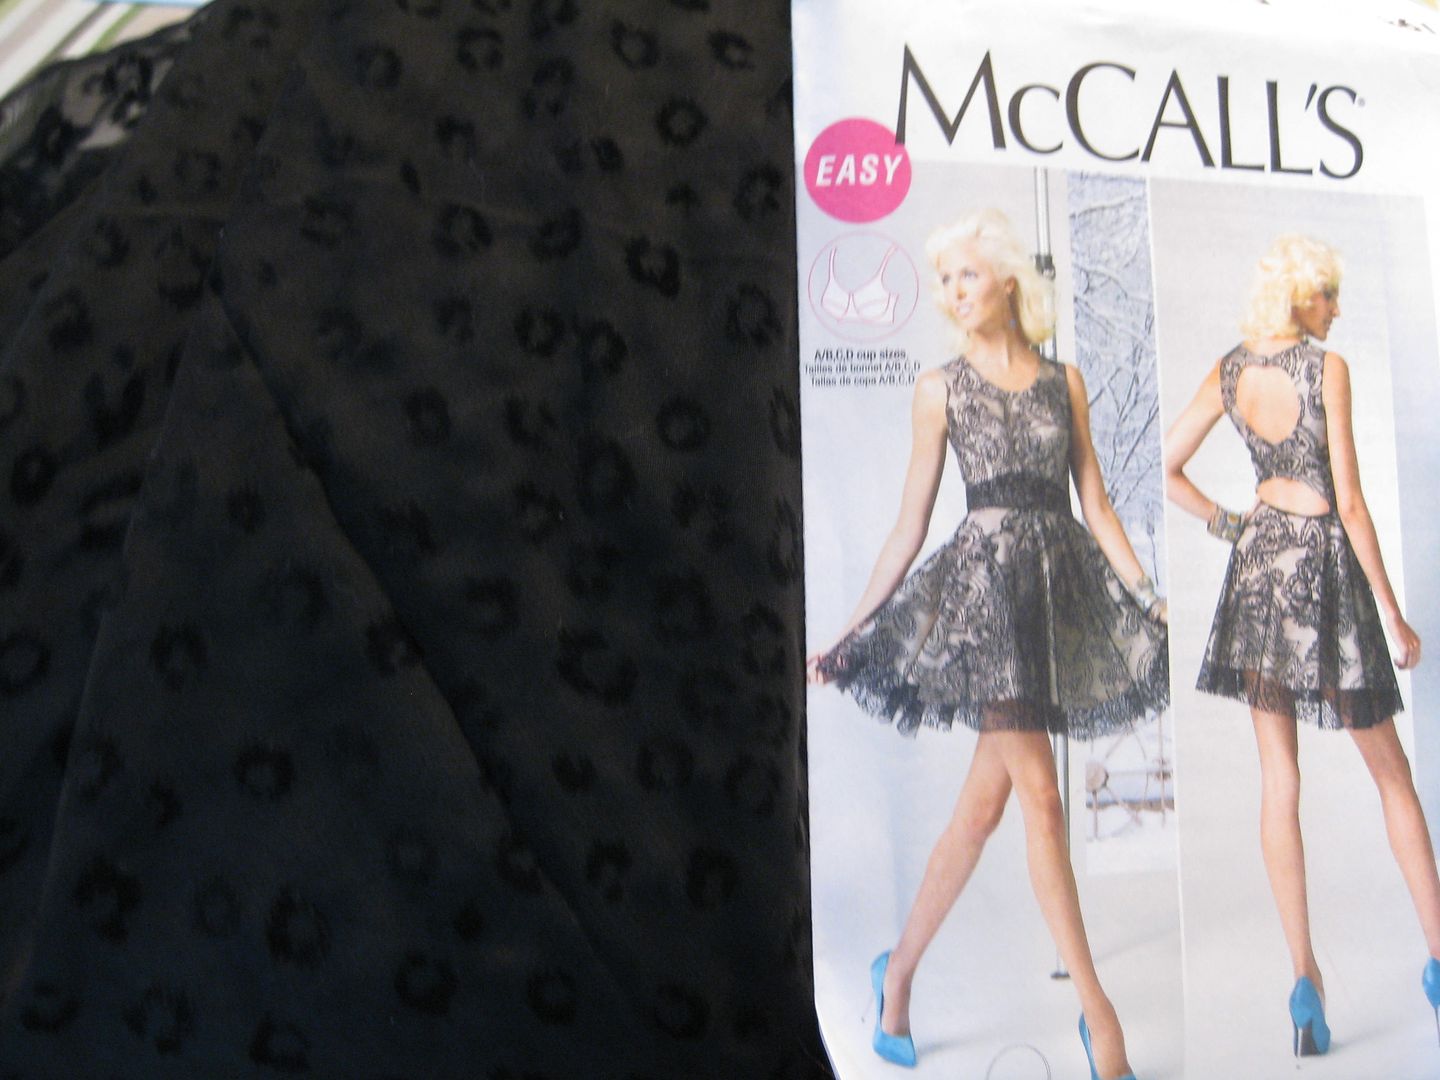
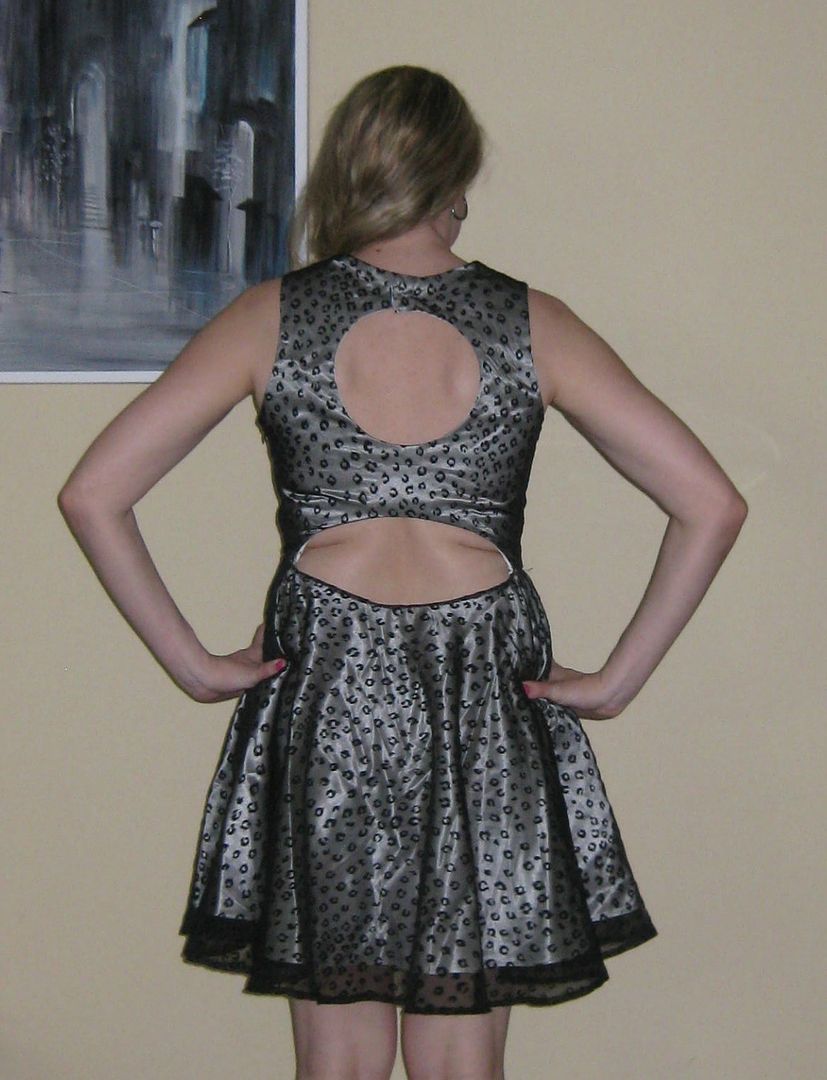
The pattern is from McCalls and is for an open back dress with a circle skirt. I used some cream satin I had in my stash, ran out (those skirts take a LOT of fabric than I thought would), went and bought more- turns out it was bridal satin, so a nice quality. The overlay was this semi-sheer black almost chiffon but not quite fabric with velvet feeling leopard spots. I also used a cream cotton for the lining. There are 3 parts for the bodice: the lace, the underlining, and a lining. You can also adjust for bust, so I cut a size 12 and for a C cup. I wish I had done a D, in all honesty. My other modification was I added 2 inches to the lace part b/c I thought the dress looked short. The pattern calls for 2 different lengths, so I used the original lace length for the satin underlining. I am happy I did add those 2 inches!!
First step was basting the bodice to the underlining. Front and back. And even the darts. I had white threads EVERYWHERE!!
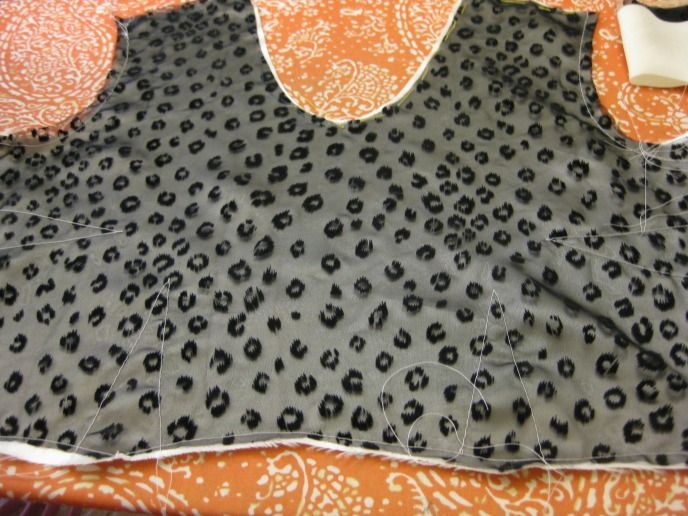
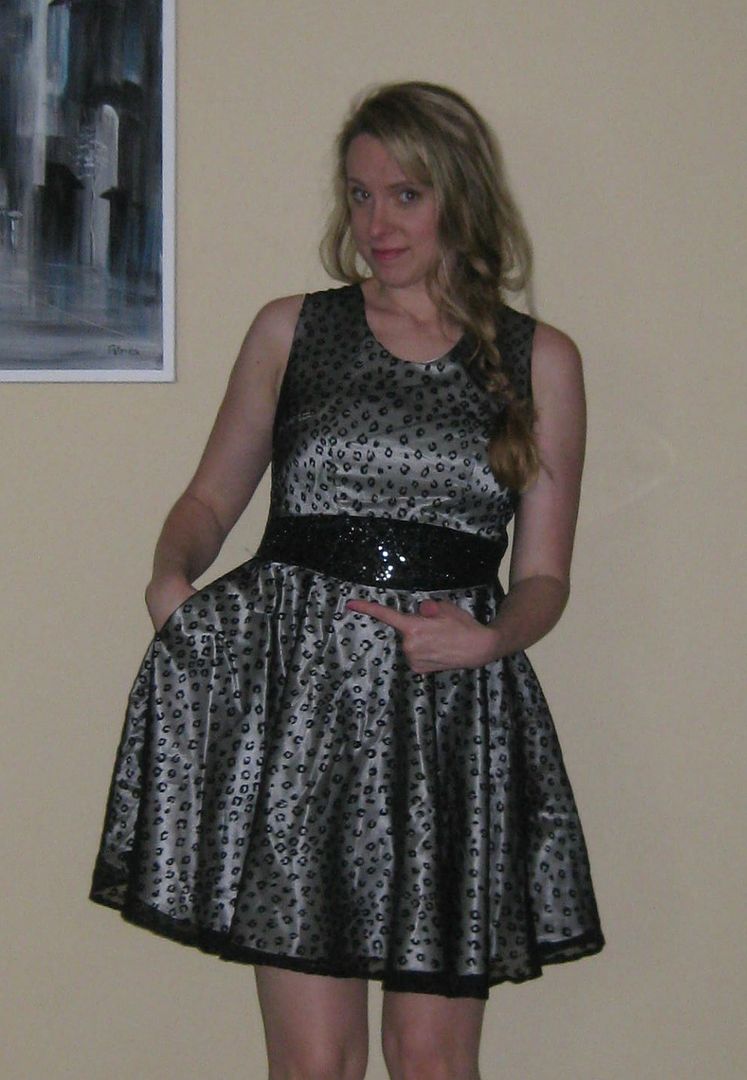
That was my only during photo, as I was frantically sewing to finish in time for the June 7th wedding. Sewing really was not too bad. The bodice just took time and patience to sew it right the first time. The skirt was easy except for the open back part. What was confusing was they don't call for a lining with the skirt, remember we have the satin underlining. Now you sort of need that for the hidden understitching for the skirt back. I swear this didn't call for it and with time ticking I improvised. Then I cut the lace so you wouldn't see the fabric. This lead me to ruining parts of the stay stitching, so I said forget it! Top stitch!!!! Then the other part which I initially missed, was there was 1 pocket. Yes, 1 pocket! I had cut 2 but then I realized it was a side zip- impossible. I put in both and had to rip and one late night, rip the one out. The dress JUST fit. I totally watched what I ate. LOL
Here it is done. Now I promise, it is not crooked. As you can see it just fits.
I was uncomfortable with my back fat showing, but my boyfriend promises me that it wasn't noticeable at the wedding- but it is when you are posing in front of the camera. LOL The back is cute. The only issue is that closure for the top portion of the dress. I put the hook and eye and moved it 2x, and it still popped open.when I would move. It was weird. I can't decide if I want to add a button or a snap. The hook and eye does not work. Thank goodness for safety pins.
The one dang pocket!
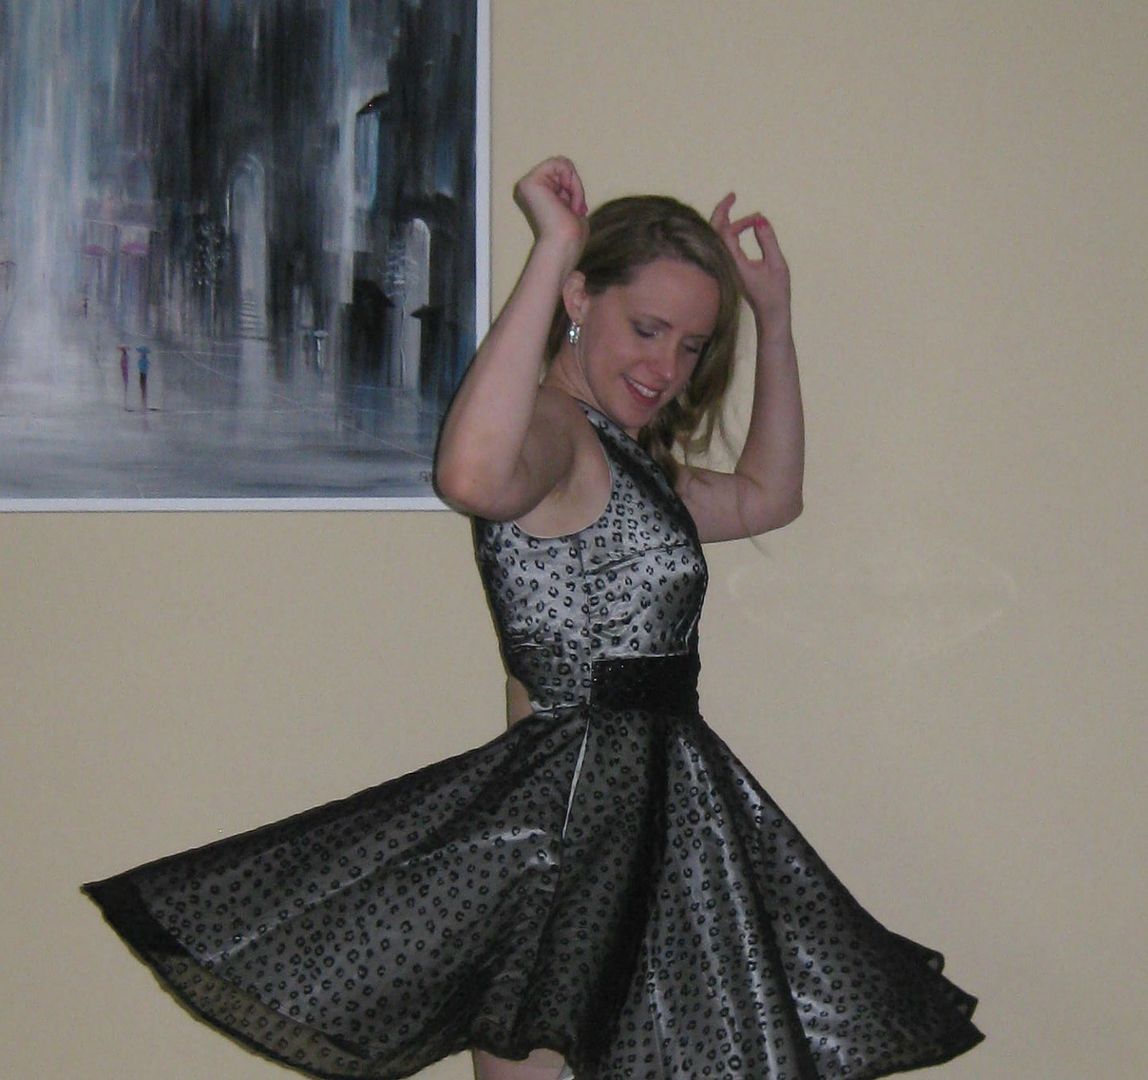
The dress had awesome twirling capability. Just have to watch the wind. I had a Marilyn Monroe incident 2X.
I love this dress, great for events. I got a ton of compliments on it, wherever I went. From the hotel, to the casino, the wedding, the reception, and random people. Would recommend with the suggested length addition.
Cheers,
Lauren



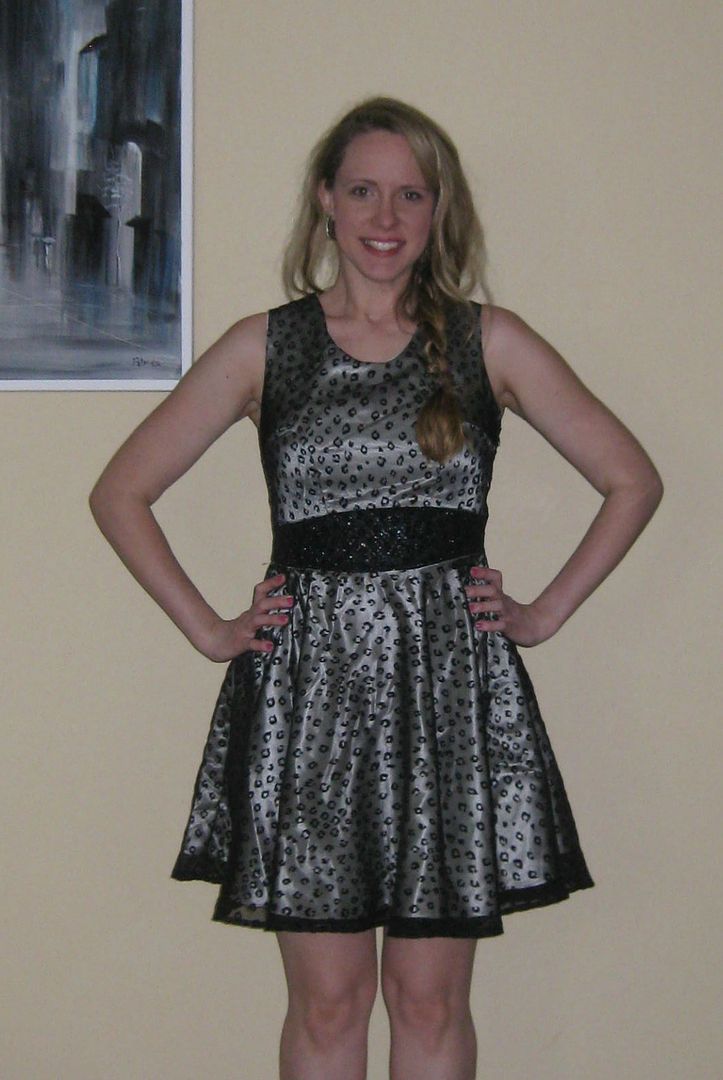
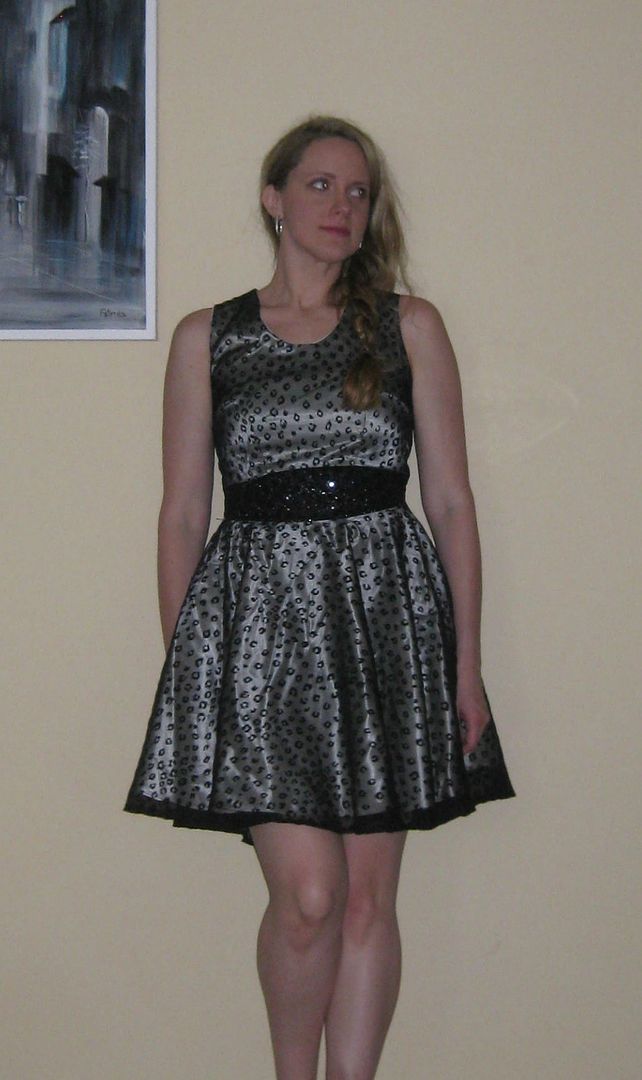
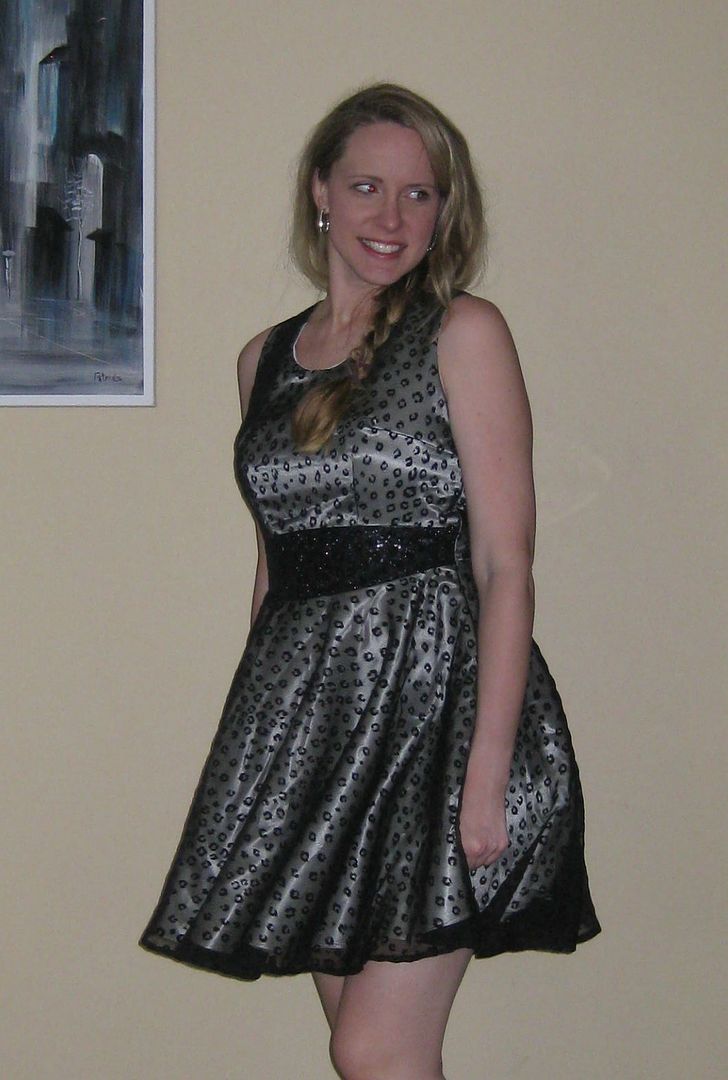
It turned out great!
ReplyDeletewhat a wonderful dress Lauren... love it!
ReplyDeleteIt's lovely - and nothing wrong with an emergency safety pin fix!
ReplyDeleteIt looks really good on you. I guess perhaps a snap would good. You look like you definitely want to dance in this dress! :-)
ReplyDeleteI've been looking EVERYWHERE for this pattern!! It's been discontinued but it is the exact style of dress my daughter Lauren wants to wear to her grade 8 grad!
ReplyDelete