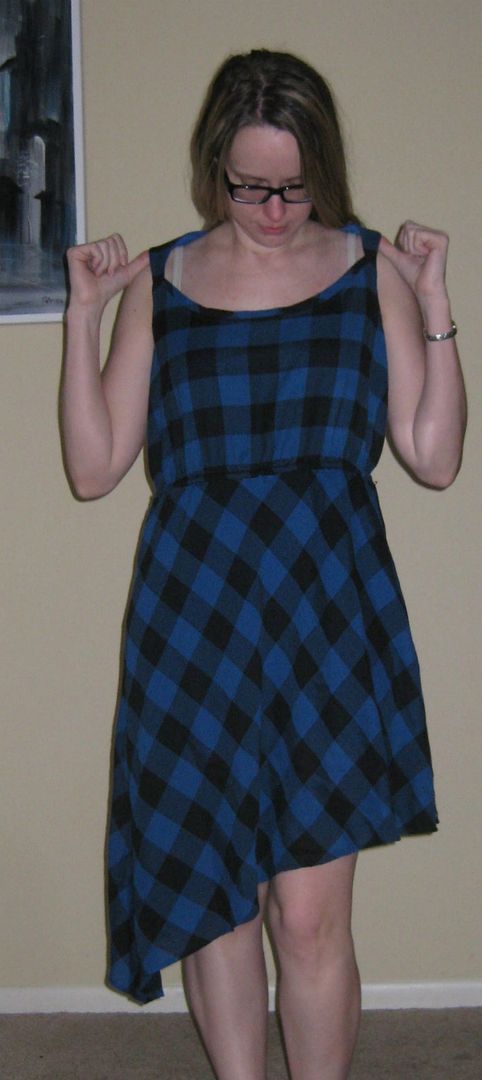
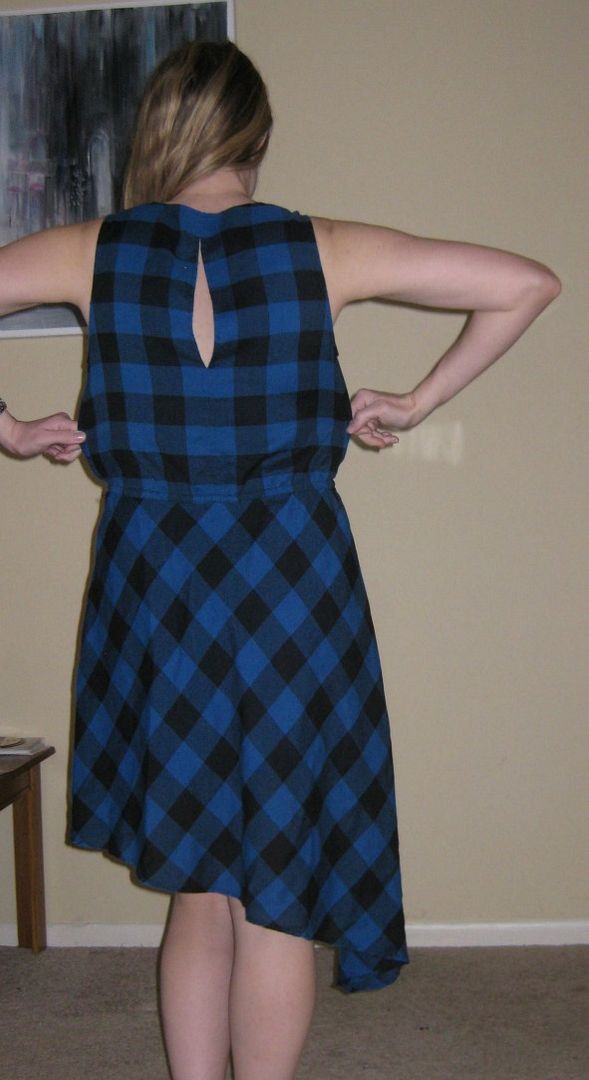
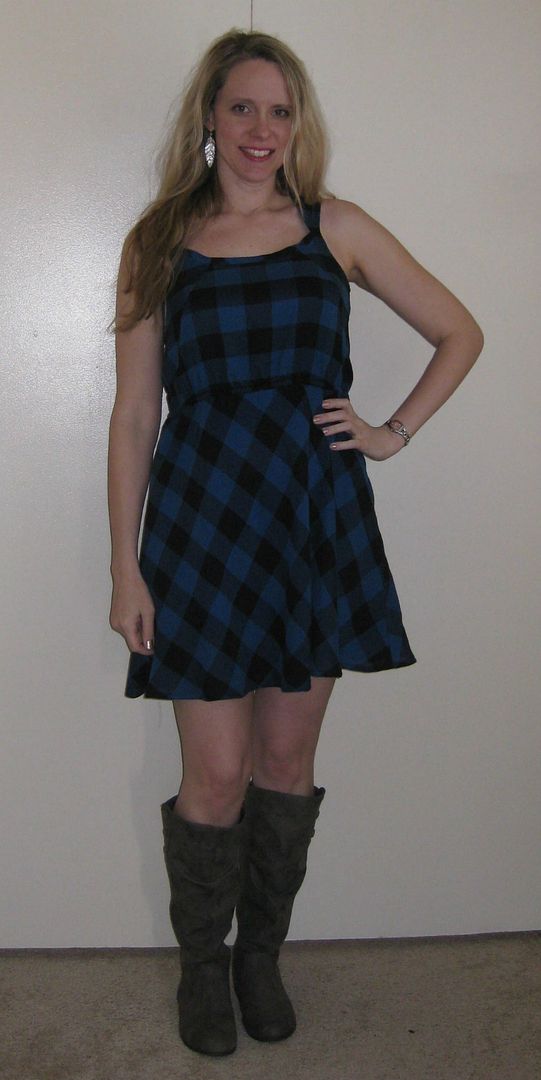
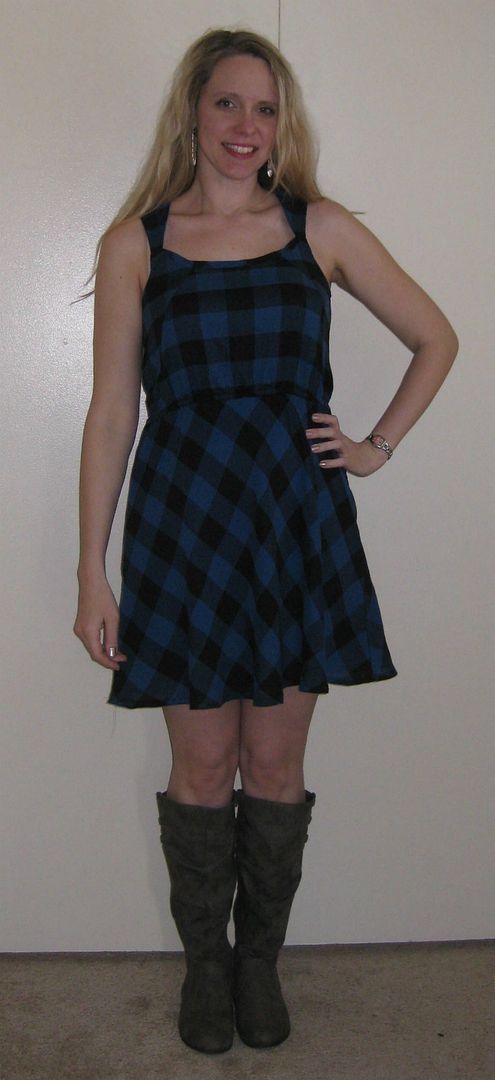
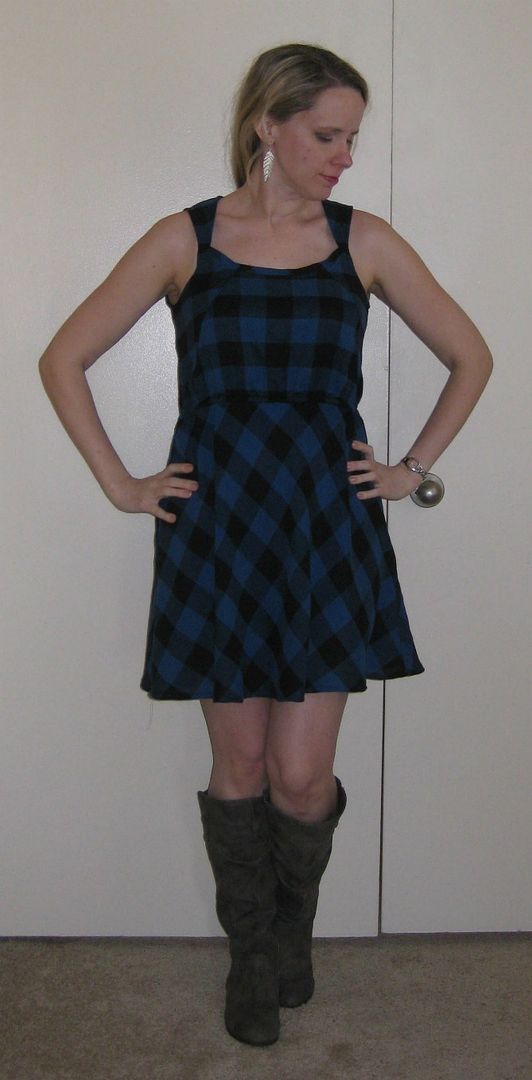
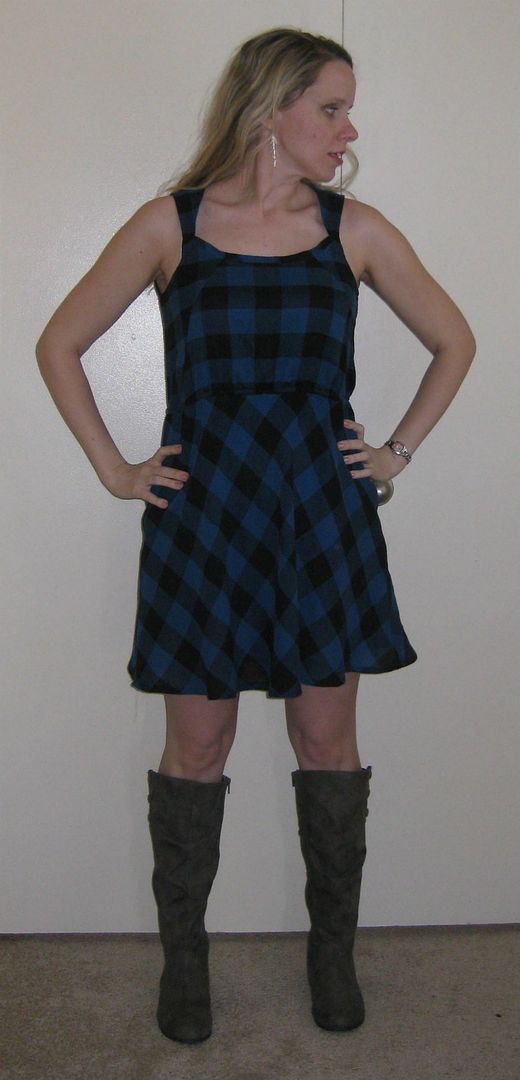
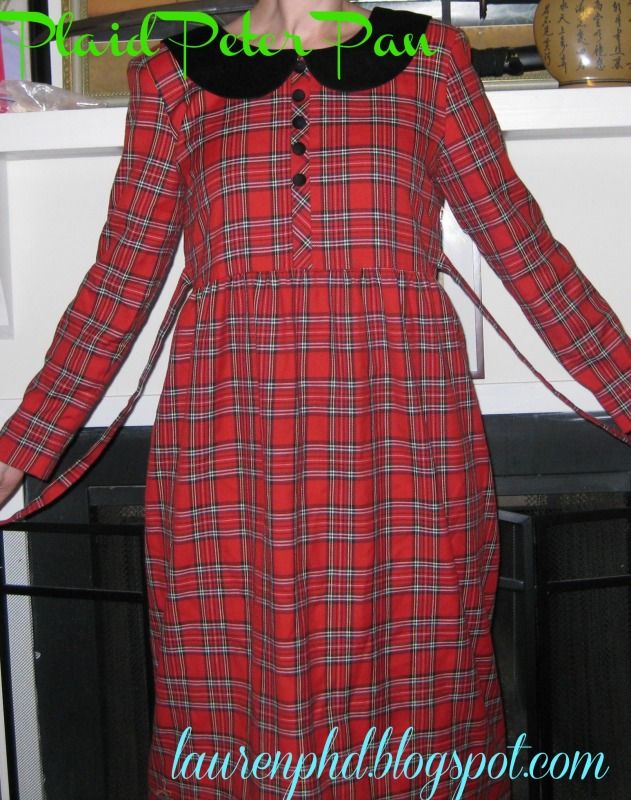
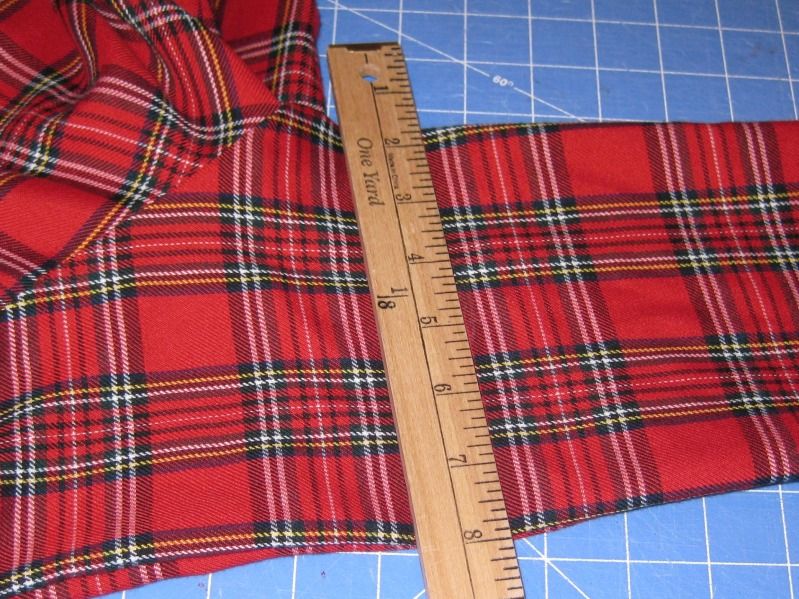
Greetings! I was one of the lucky people to get picked to be part of Season Two of Refashion Runway! Yay! I totally forgot to announce it! Last weekend was crazy!!! I am furiously refashioning for the weekly challenges. This week has been hard- I live in D.C. and in the wake of the shootings has everyone here on edge! But I managed to make a new fabulous new dress! Challenge 1- PLAID!!
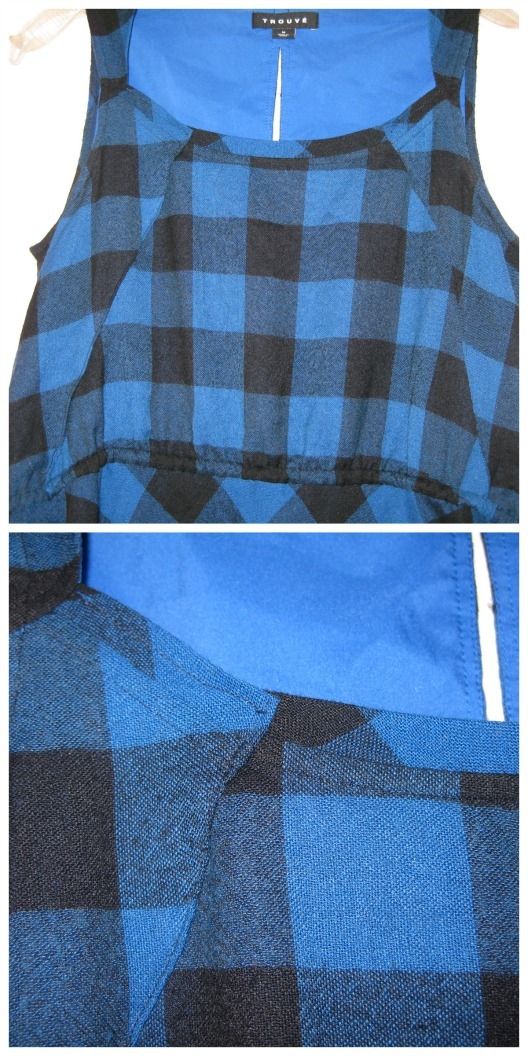
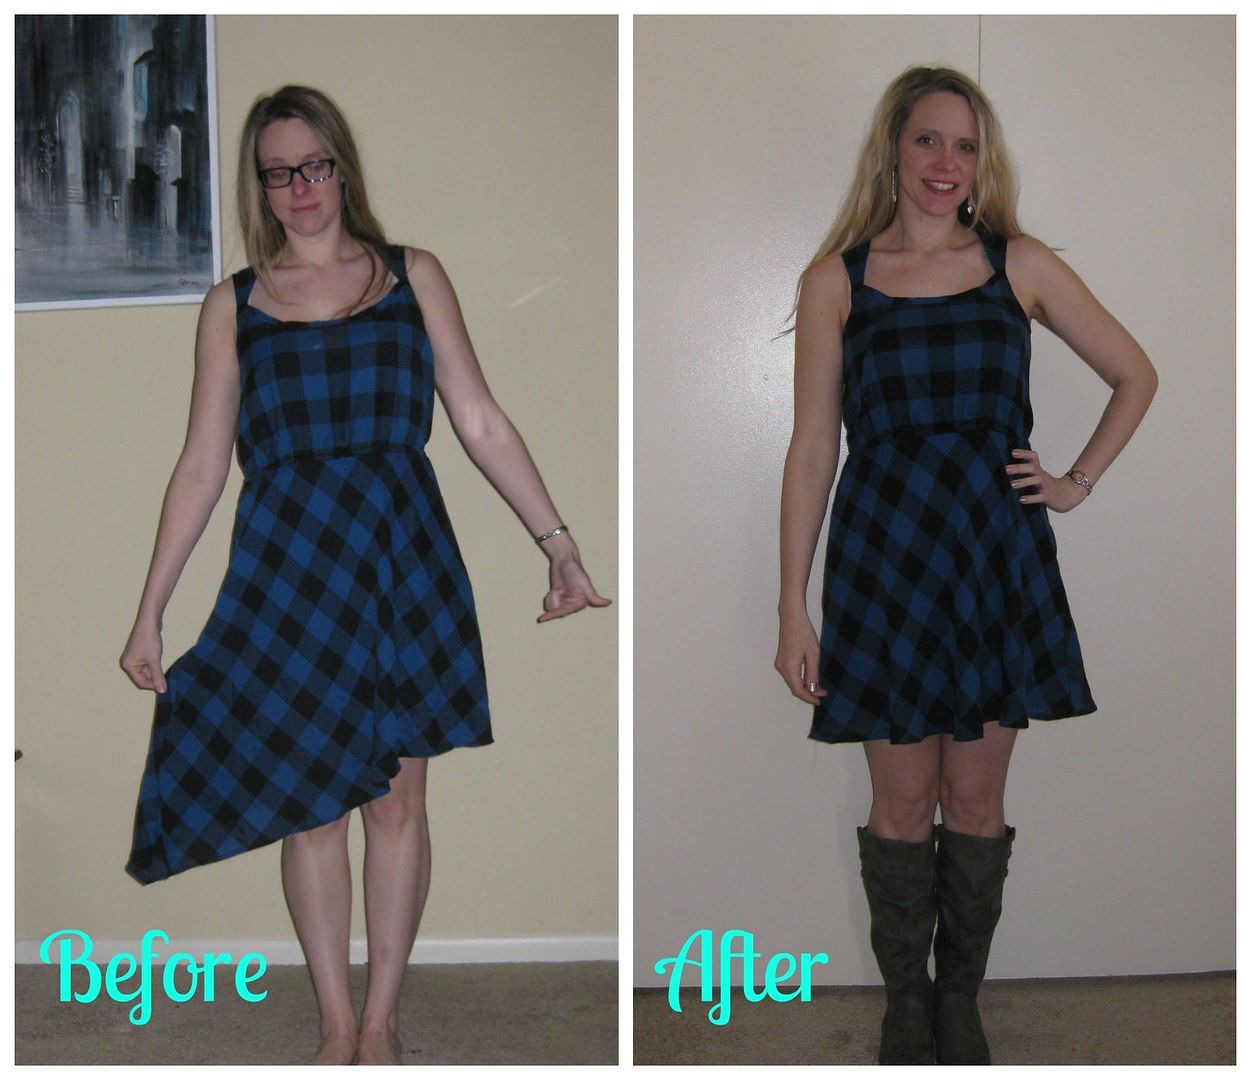
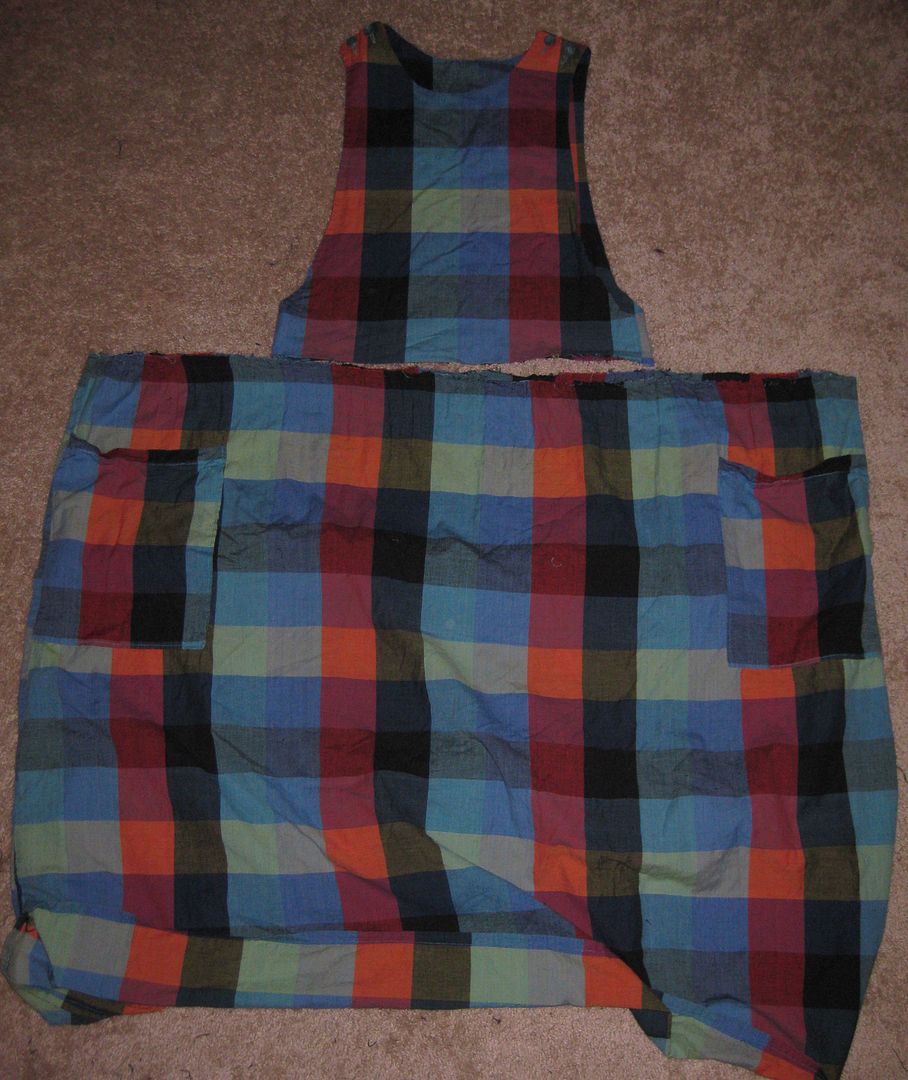
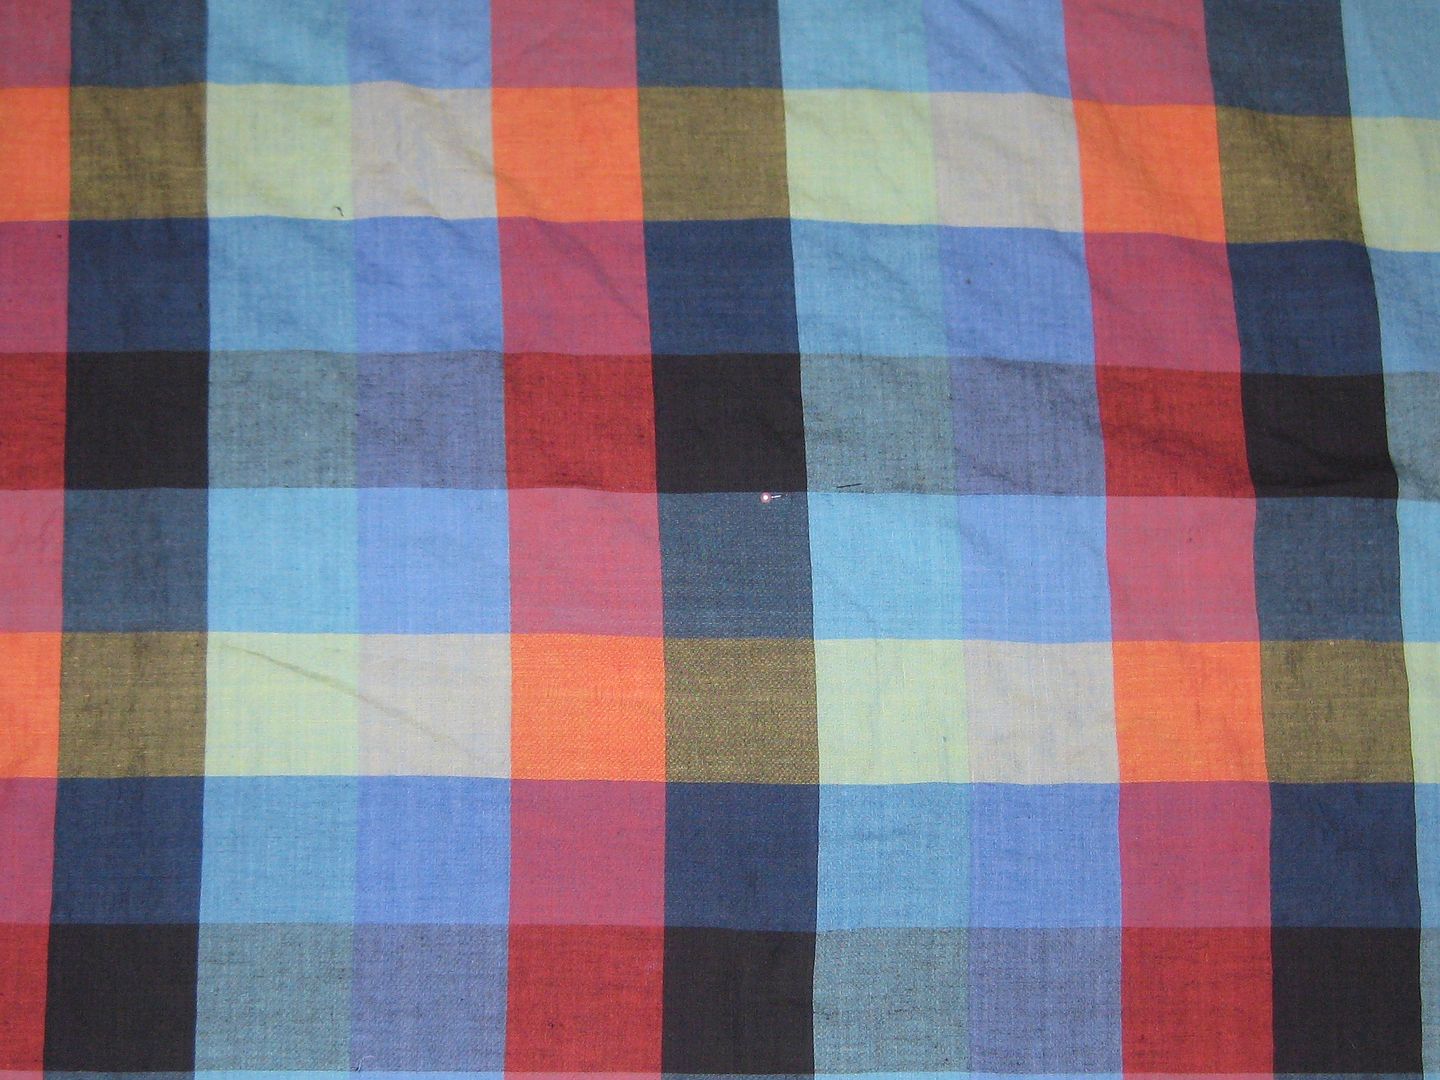
First, I found this homesewers dress at Goodwill. I knew someone made this due to the fact there were no tags, and the way it was finished on the inside (i.e. no serging). The only word I could come up with was.... BAD school teacher dress. B/c I promise you that one of my teachers in school had this exact same dress. But I love the colors! Big long maxi skirt? Overall bib-like top? Buttons? Huge pockets? I mean what is not to love? ;)
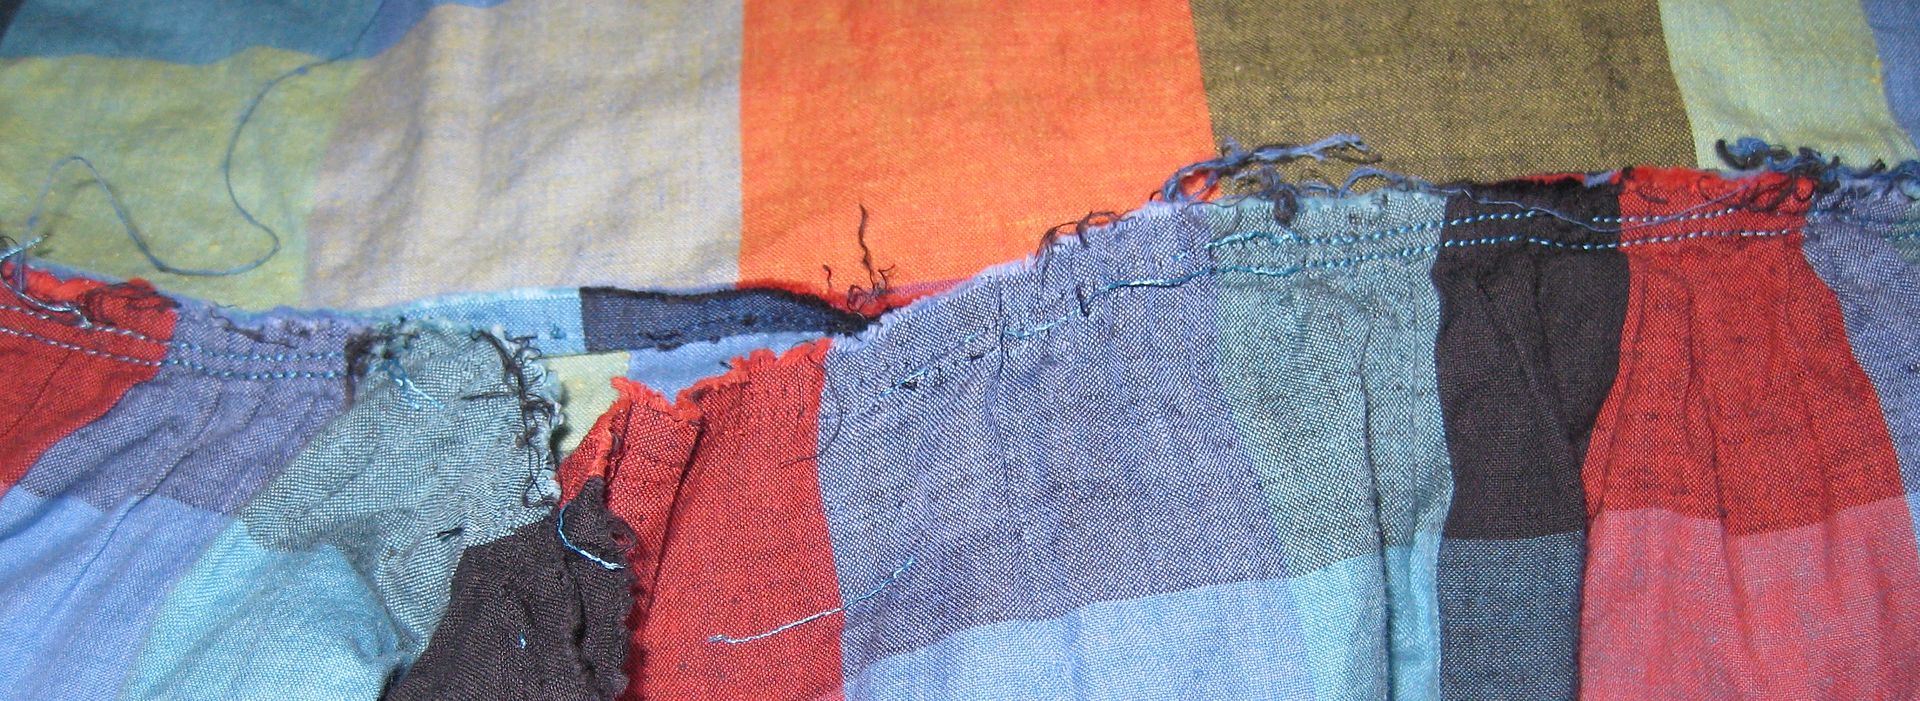
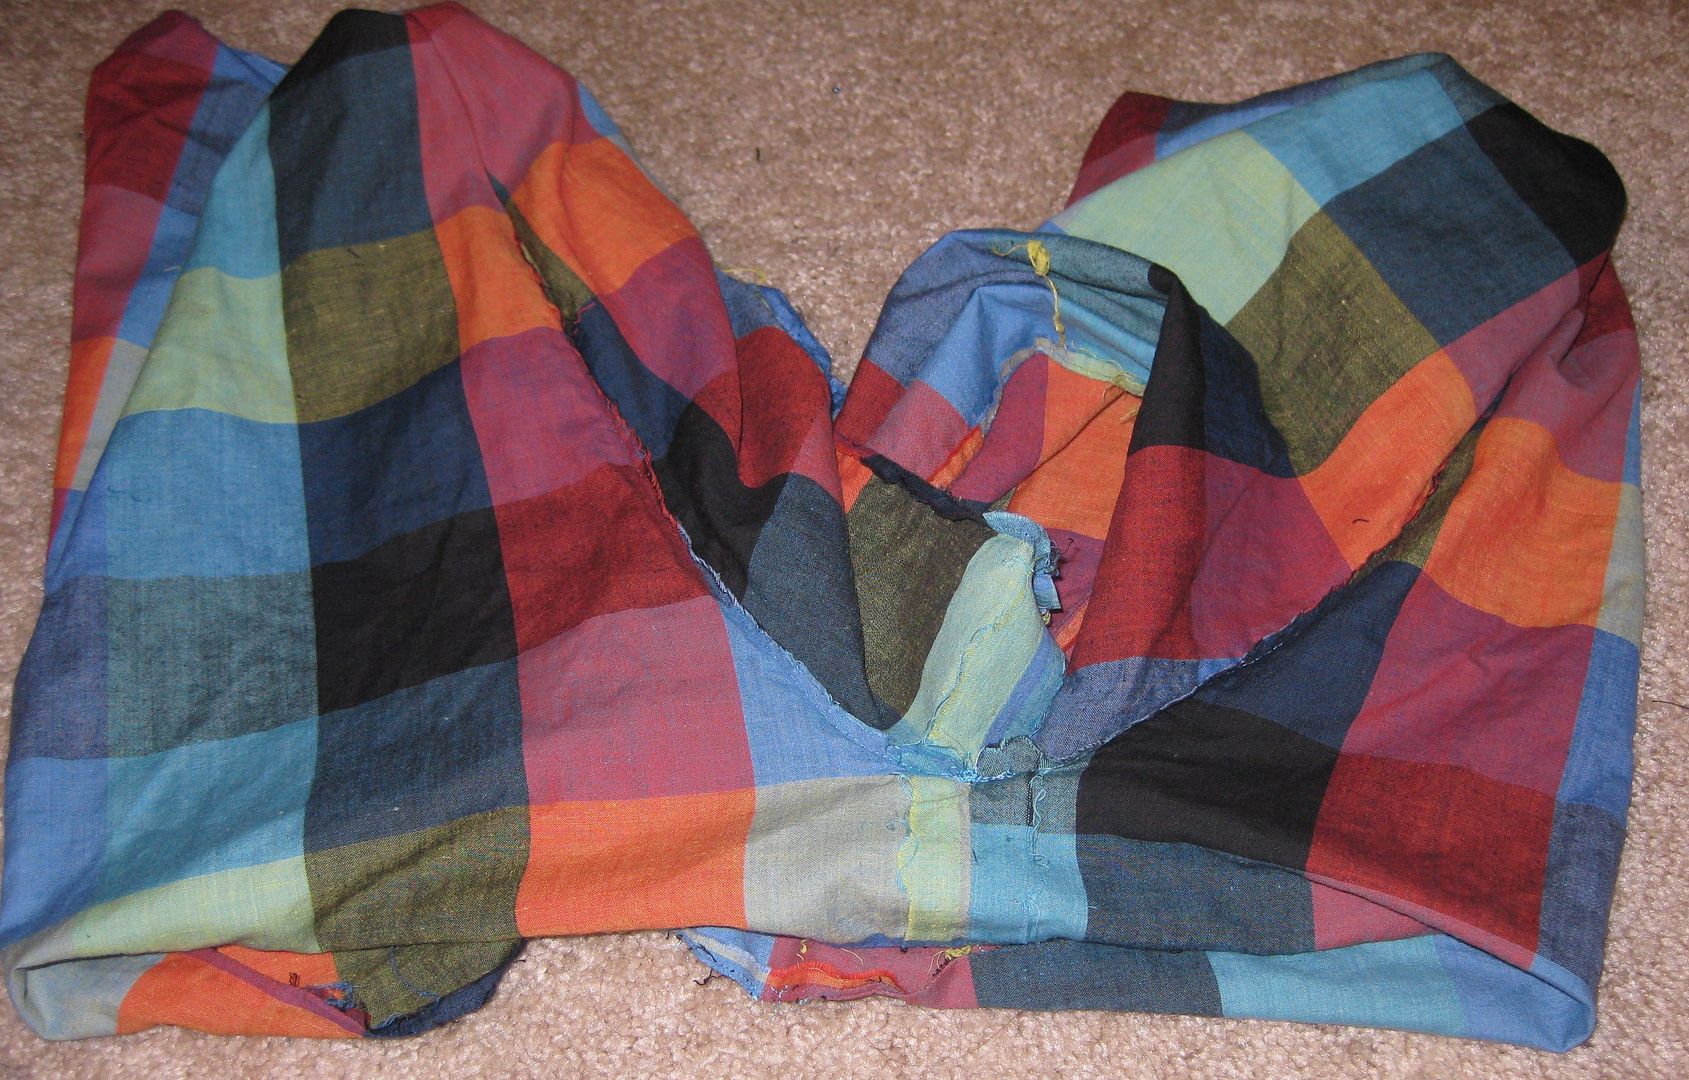
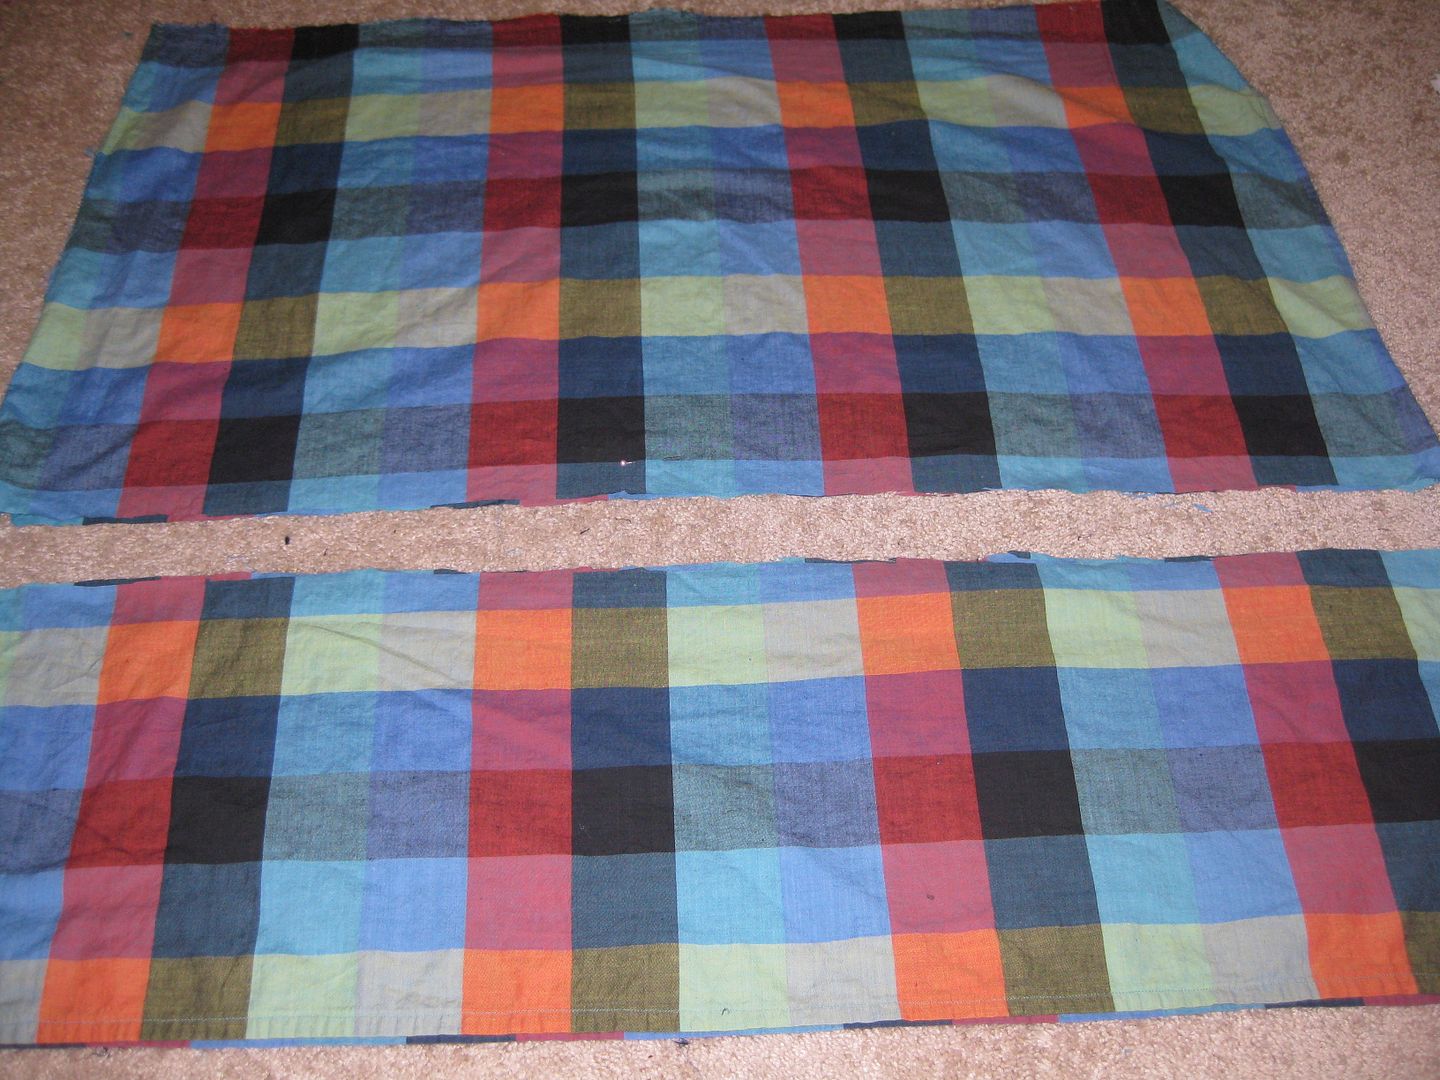
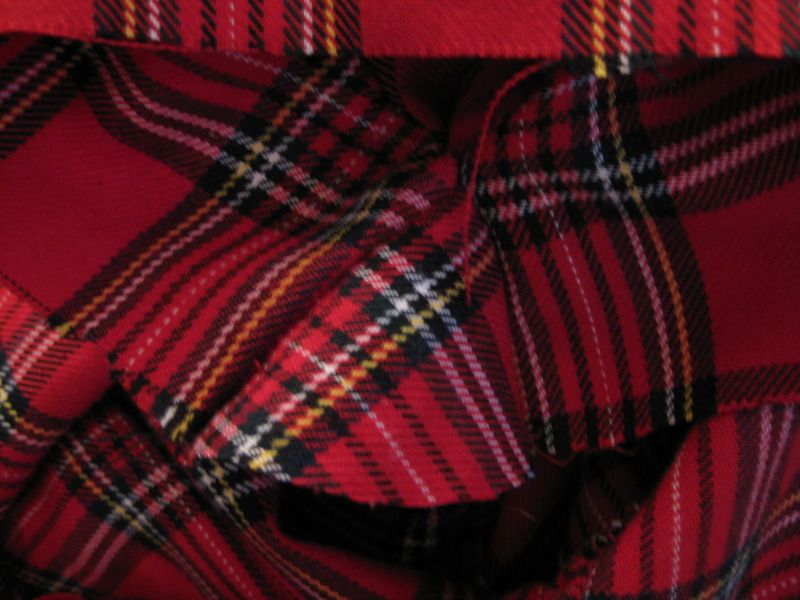
Trying to figure out what I wanted to do with it, I took my seam ripper and went to town. And wow I had to rip out a lot of seams. I spent all of Sunday night doing that. Just ripping seams. Wow that skirt was a lot of fabric!! You don't realize how much is there until you ungather it.
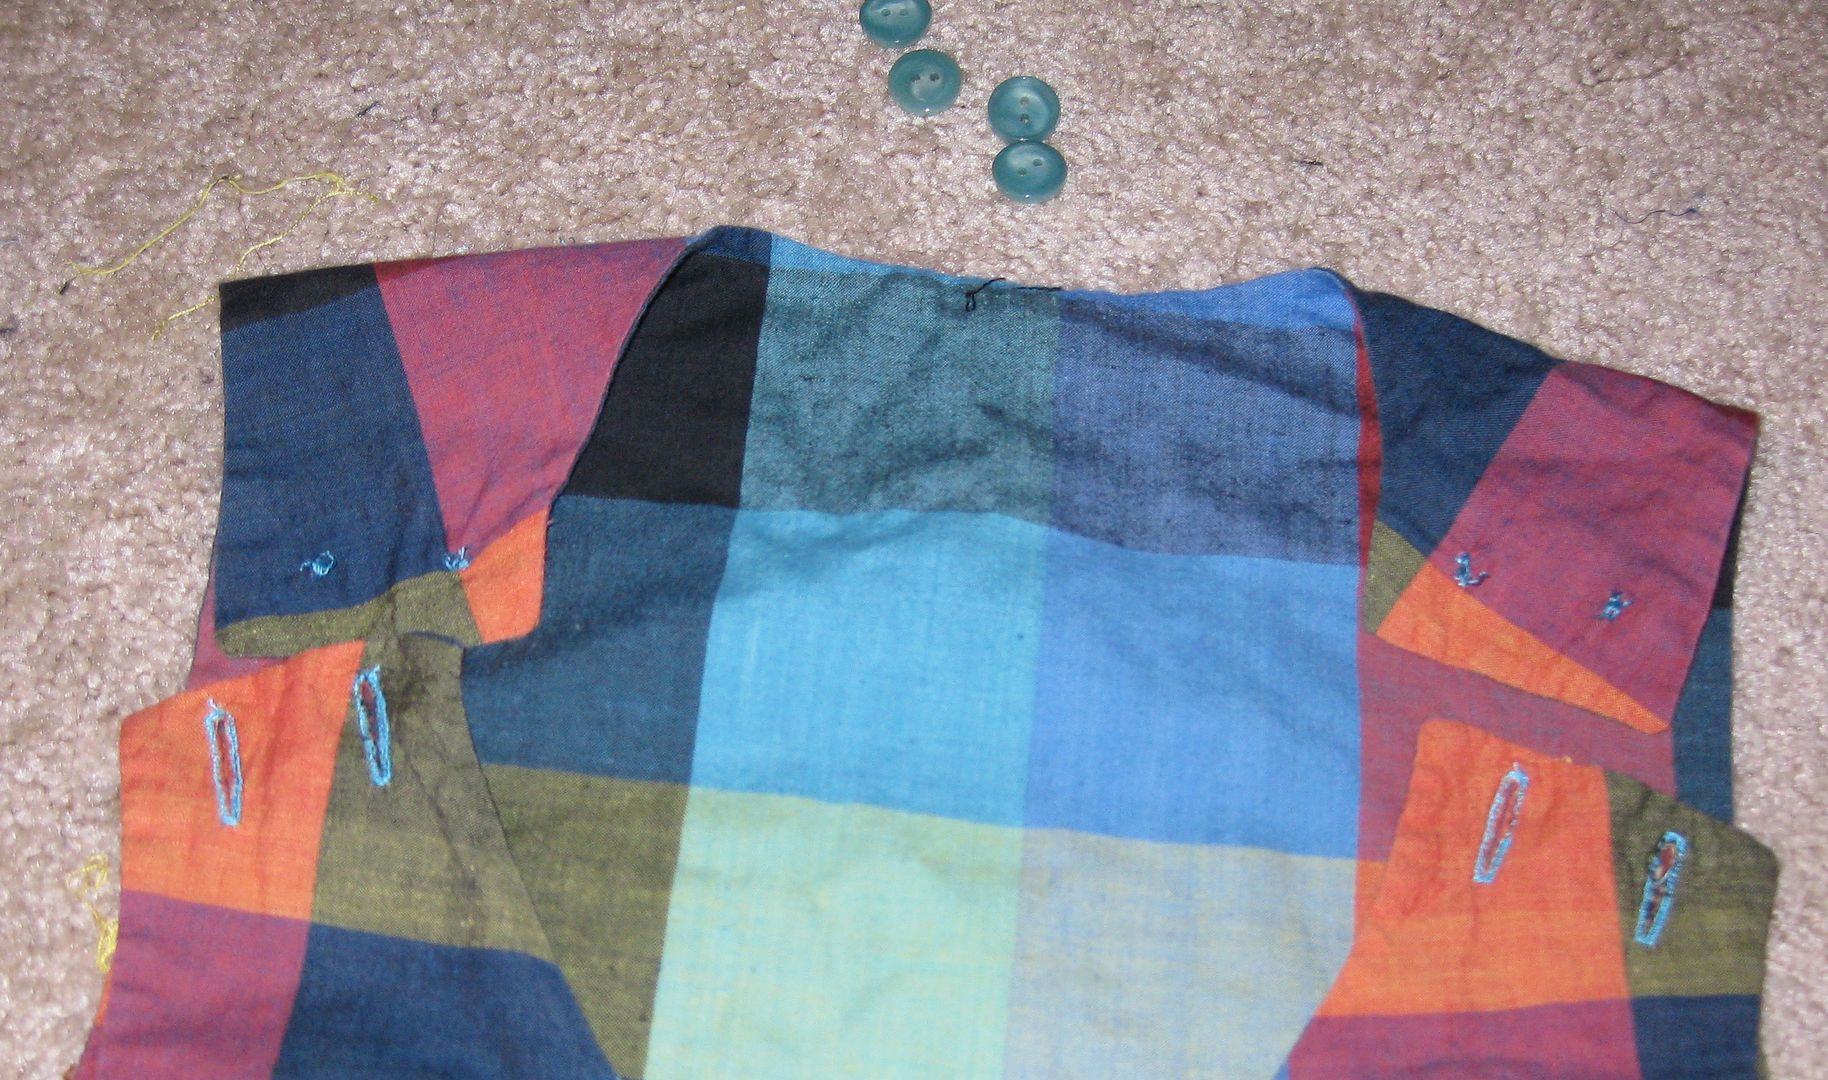
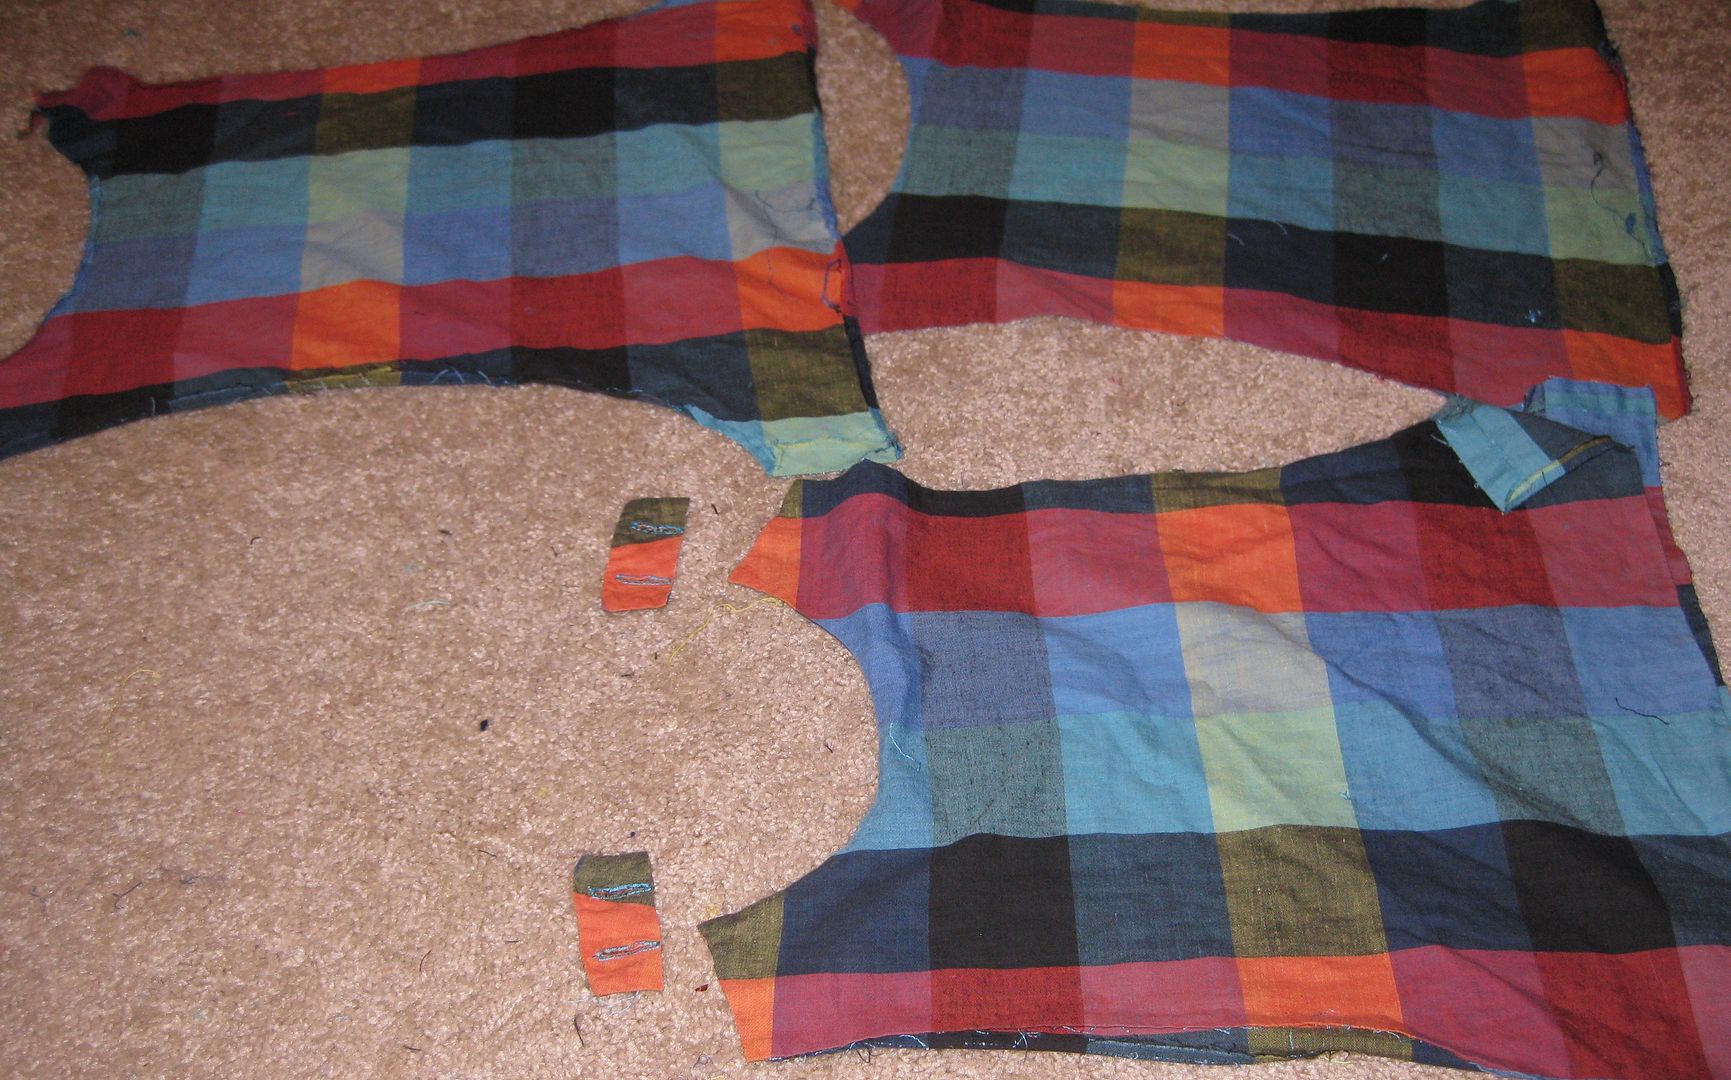
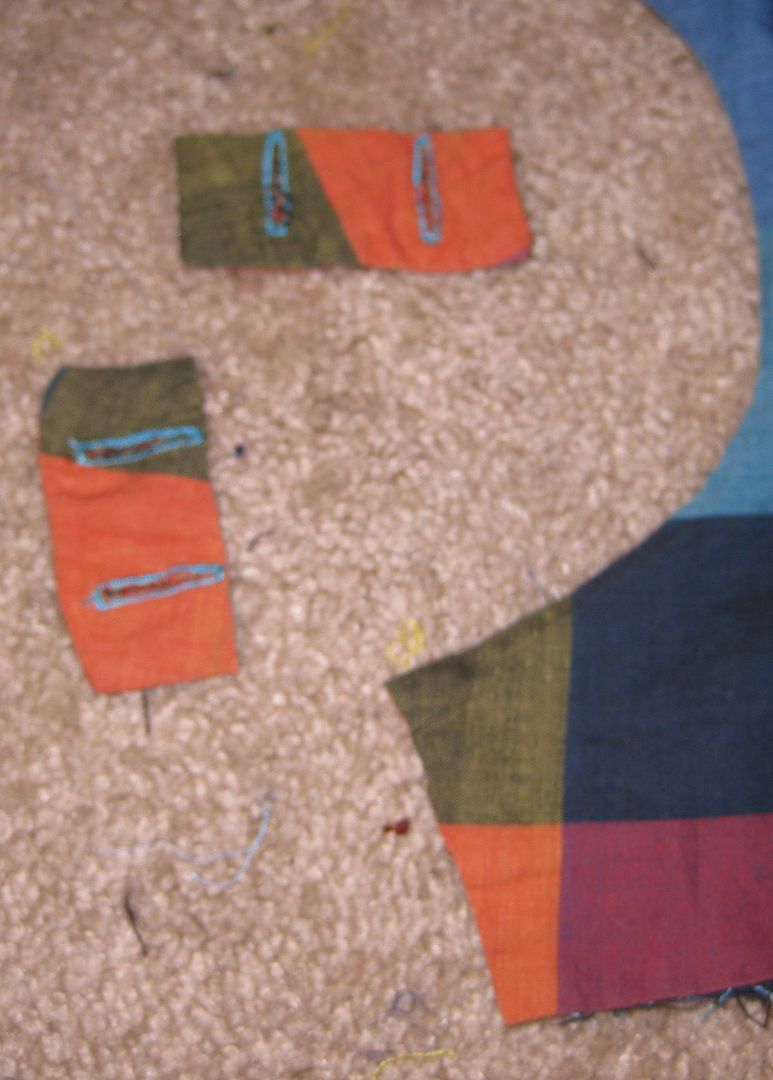
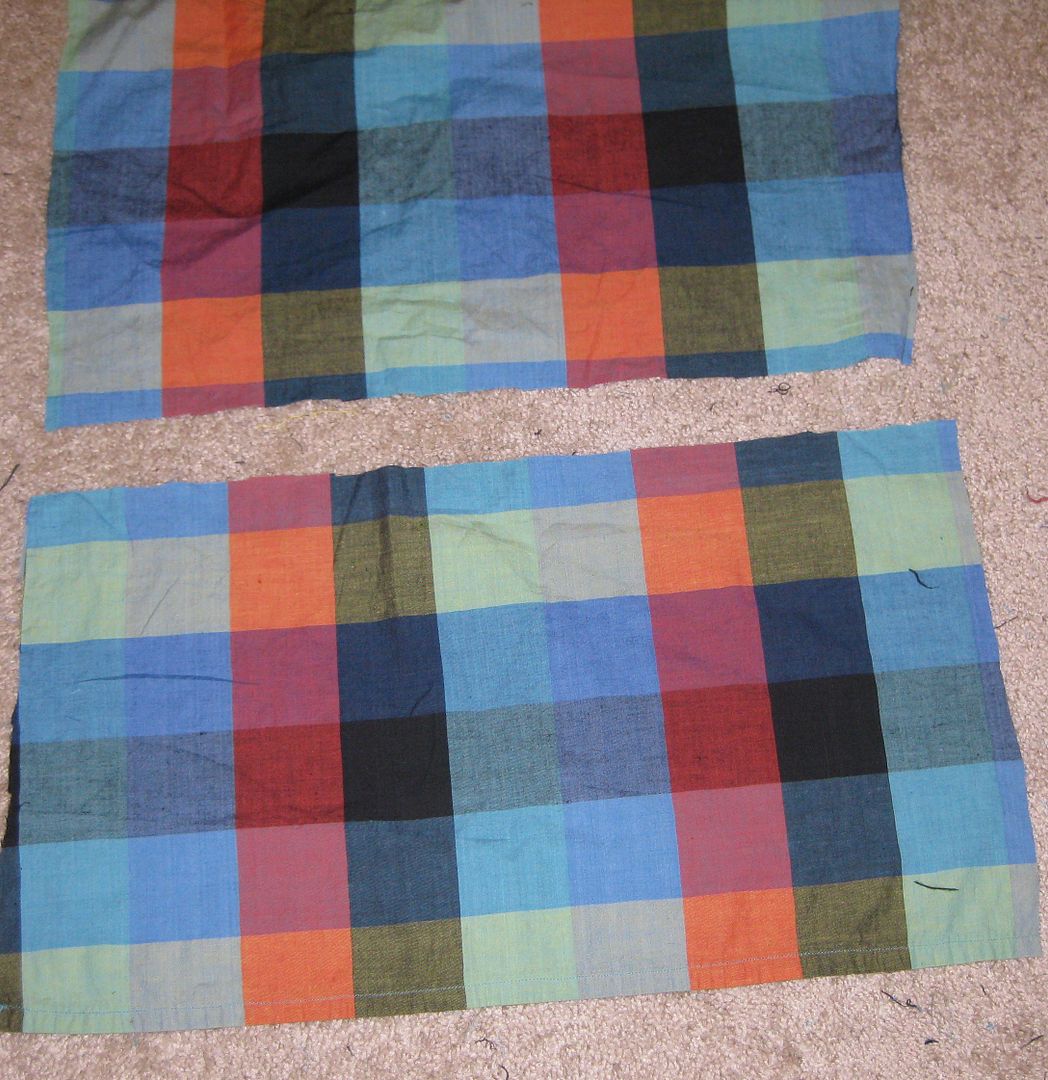
Luckily the front and back of the bib was double sided with the same fabric. I then ripped out the seams for this so I would have enough fabric. I also removed the buttons and cut off the button holes.
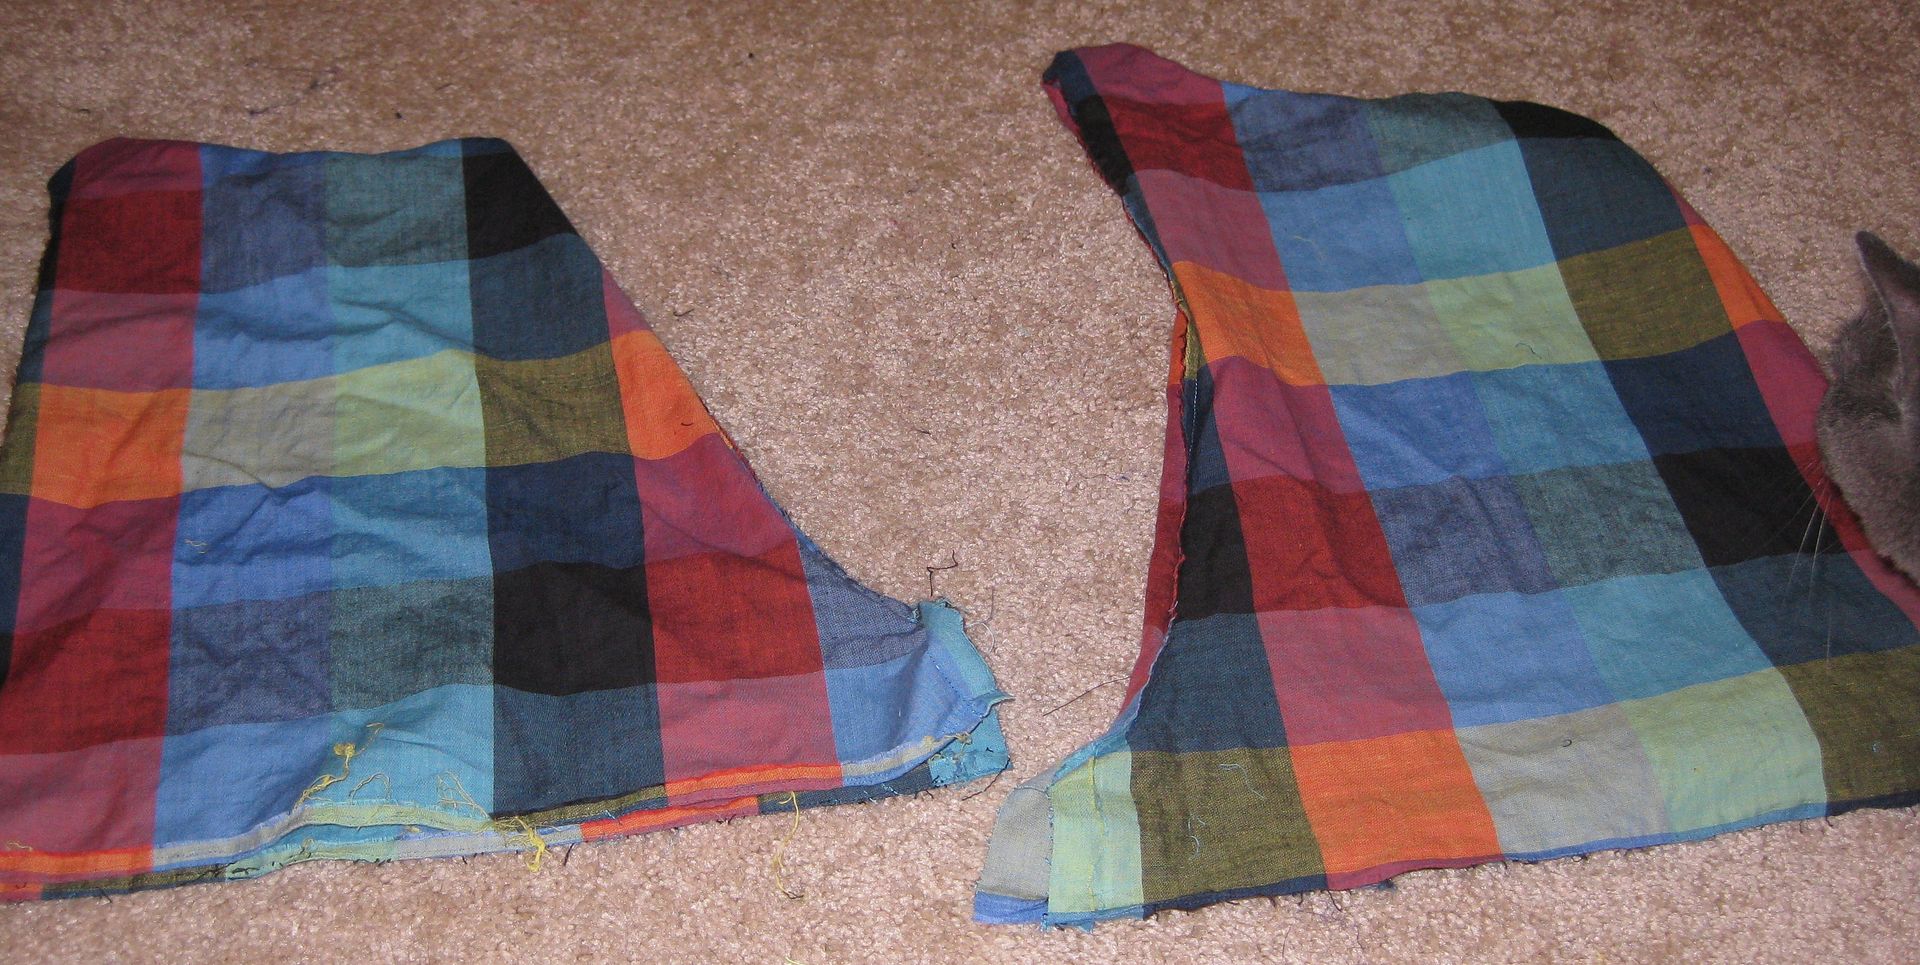
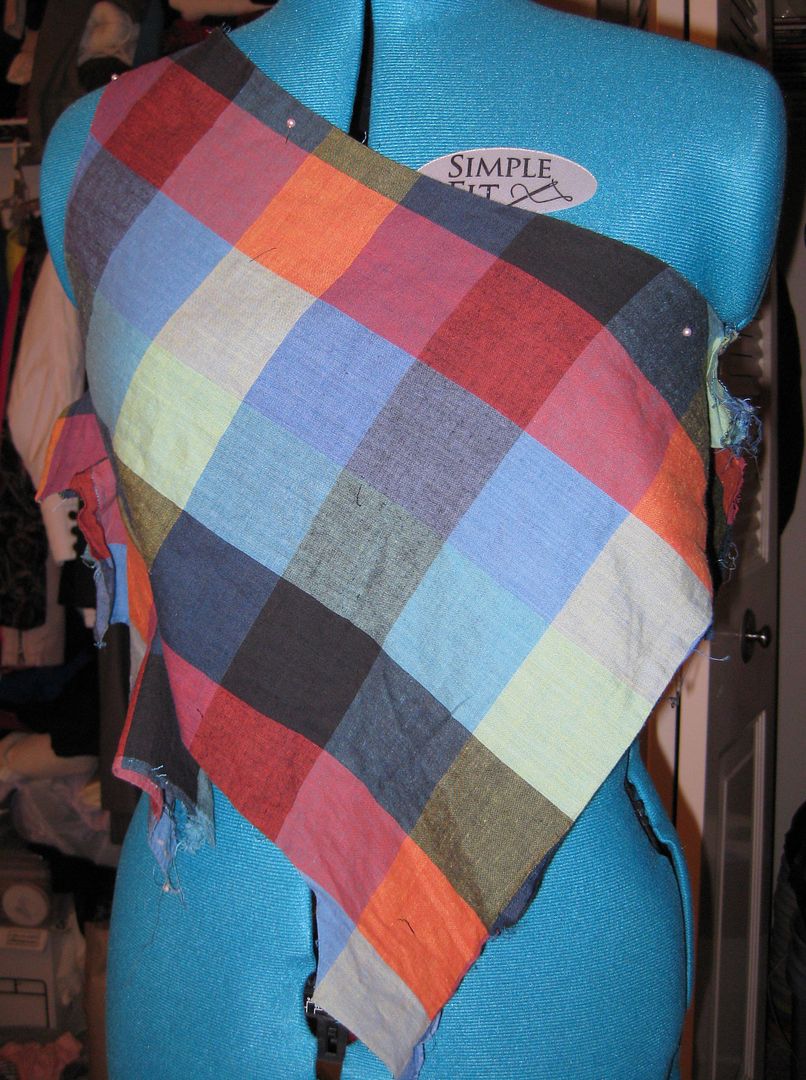
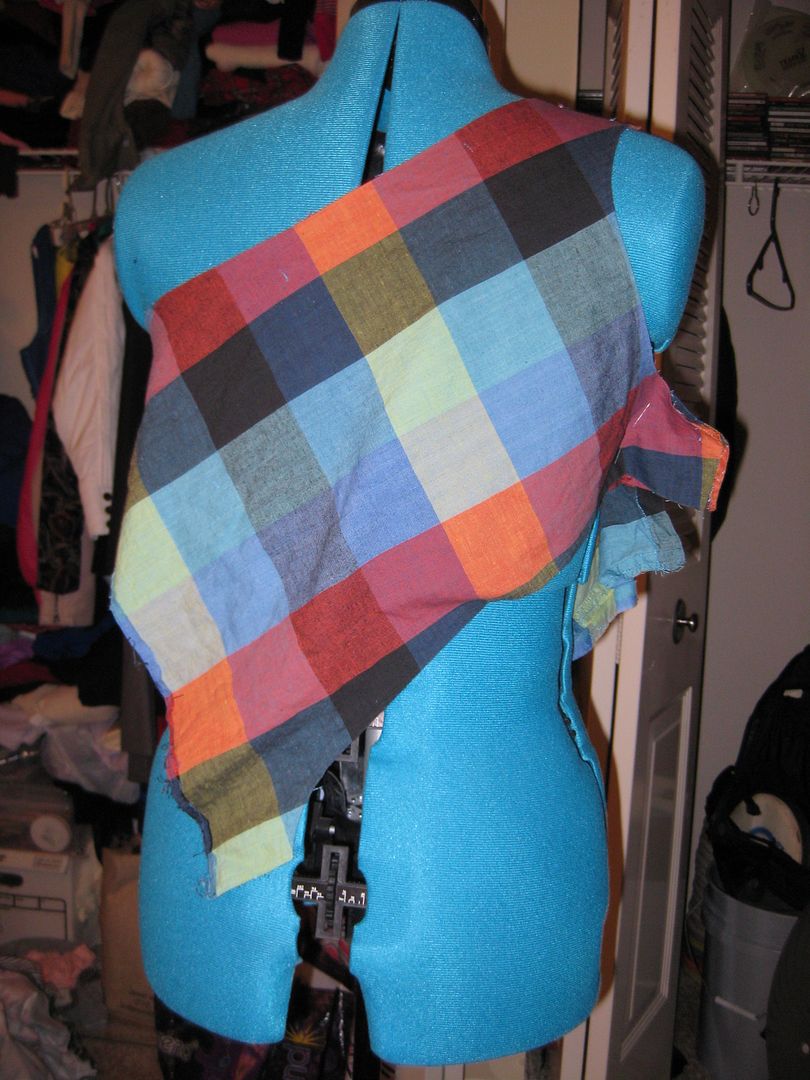
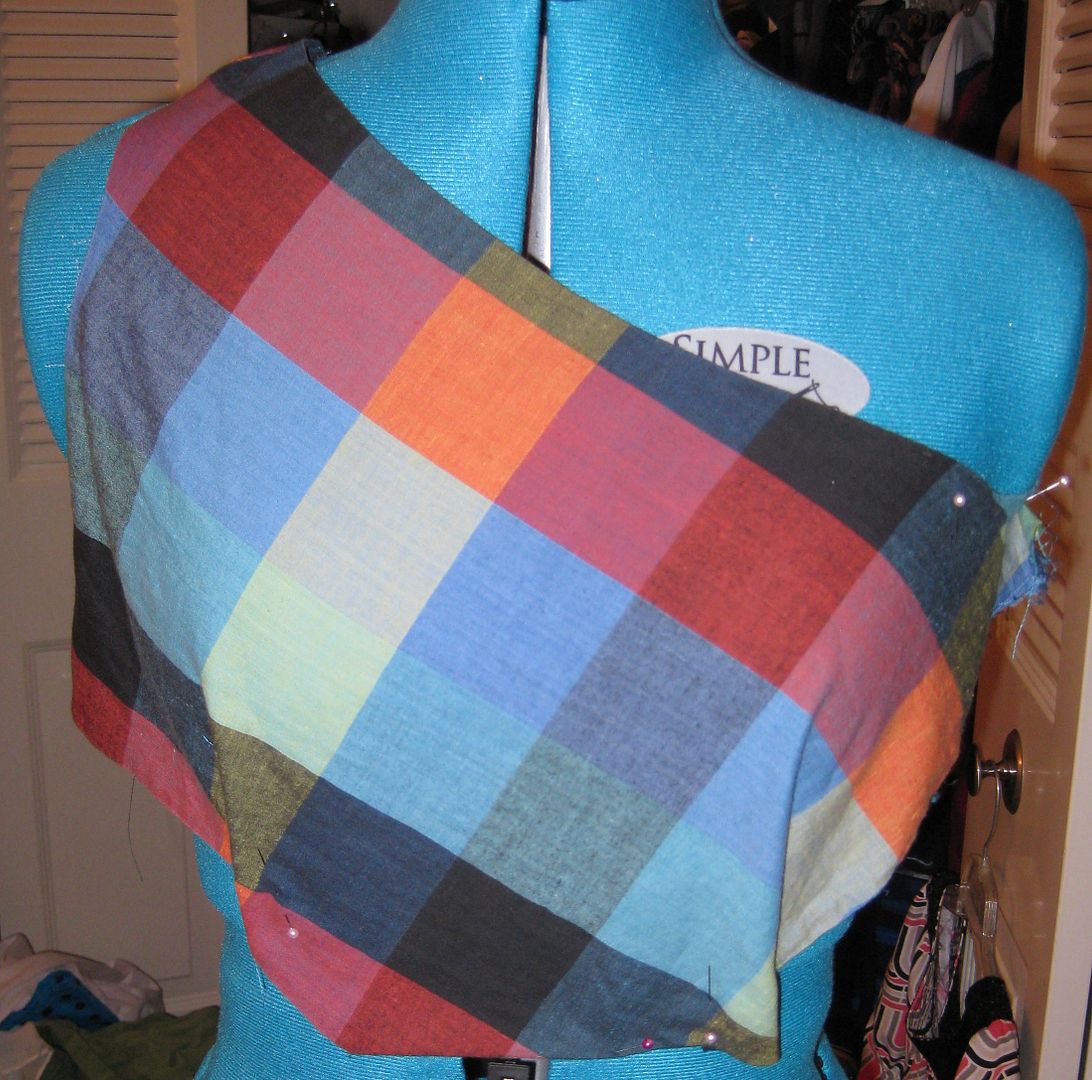
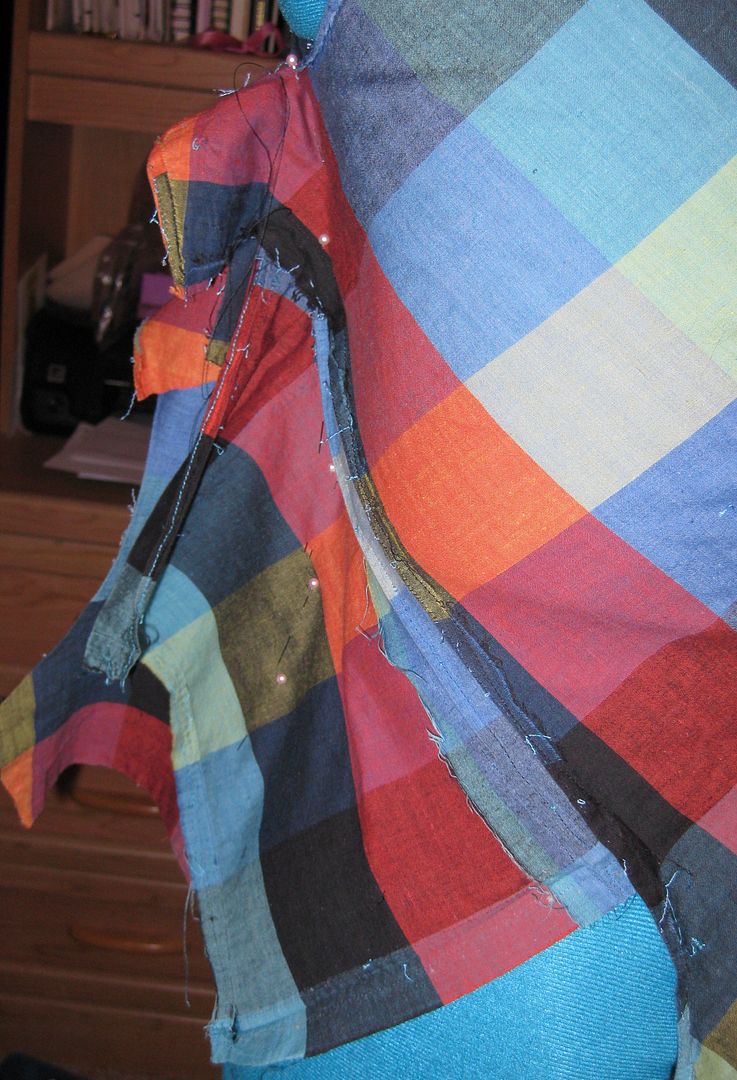
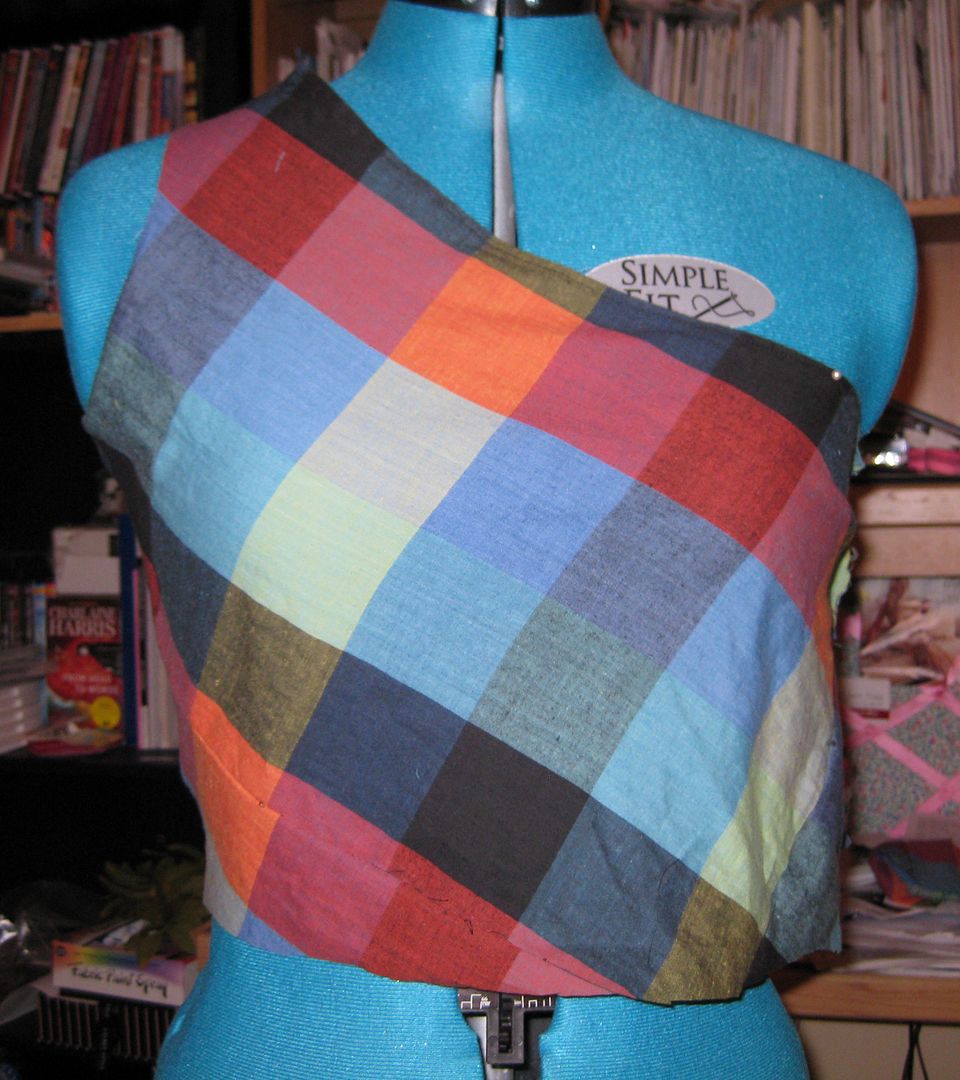
I used both backs to create the main bodice. I used the long arm holes to create the one shoulder line. The old neckline is actually the arm holes. I drapped this on my dressform to see if it will work. Yes it will.
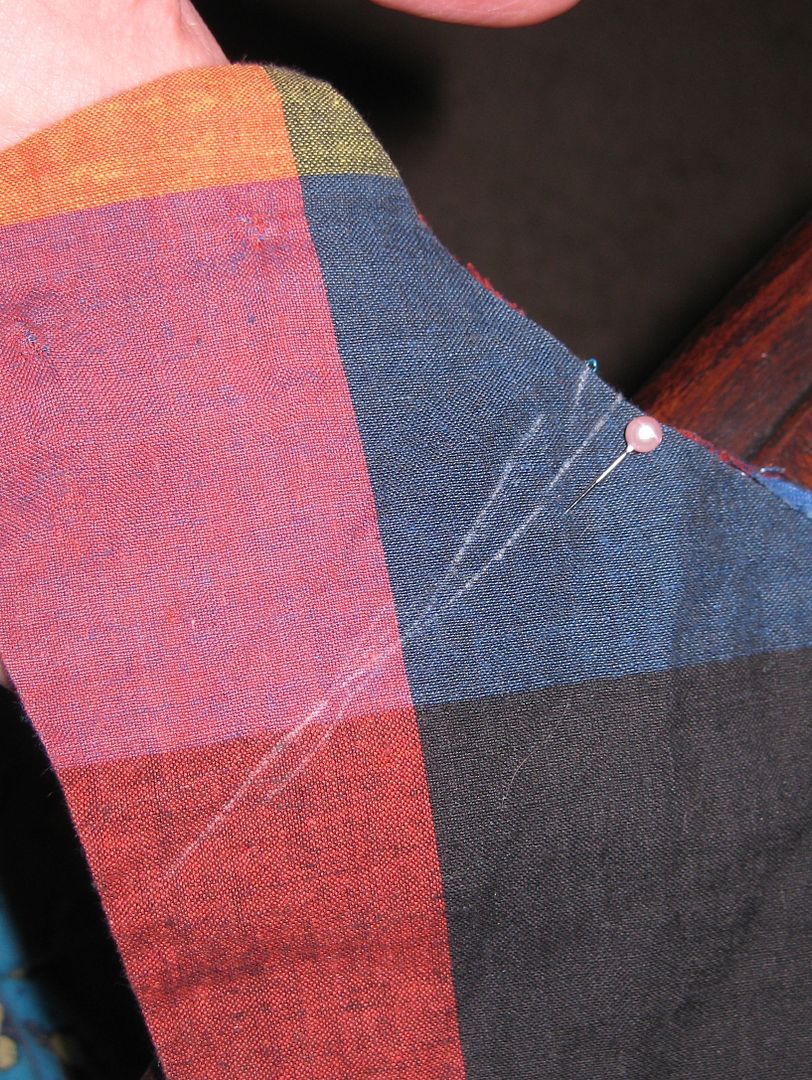
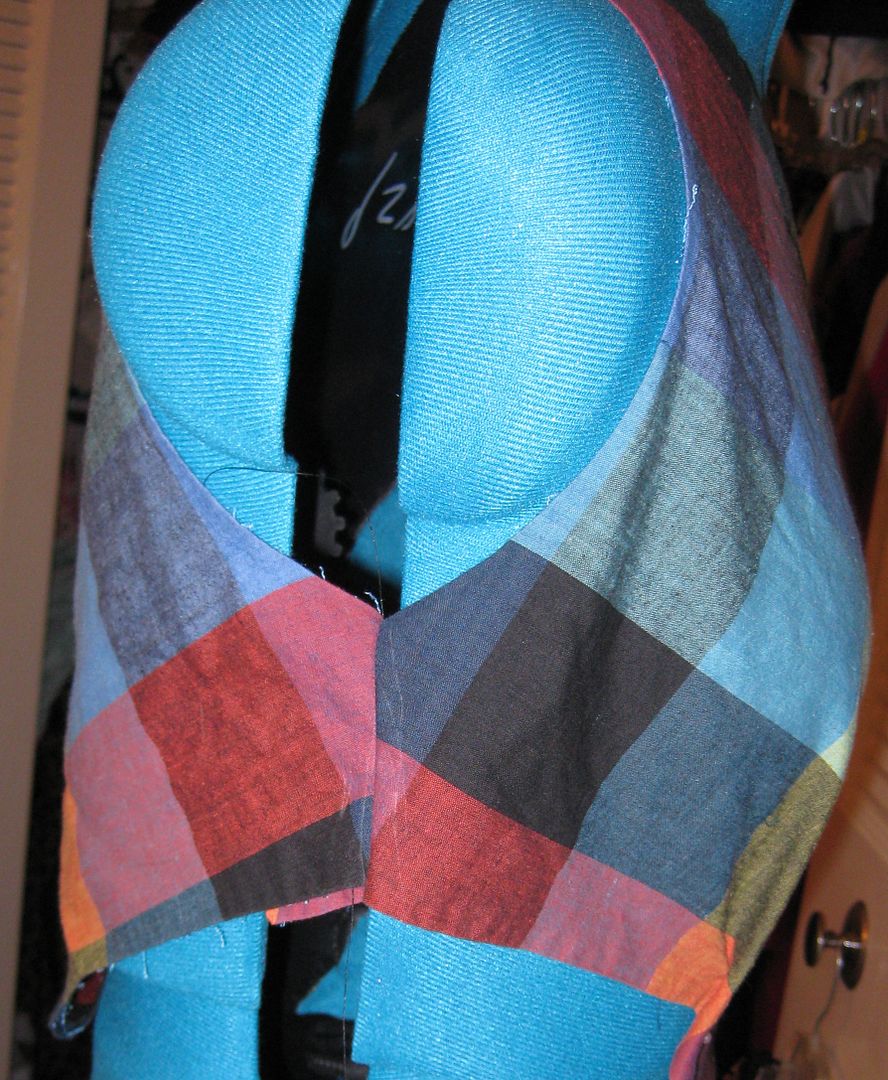
I connected the 2 shoulder seams to create a new shoulder seam. As you can see the armhole is emerging. Sew the bottom of the armhole.
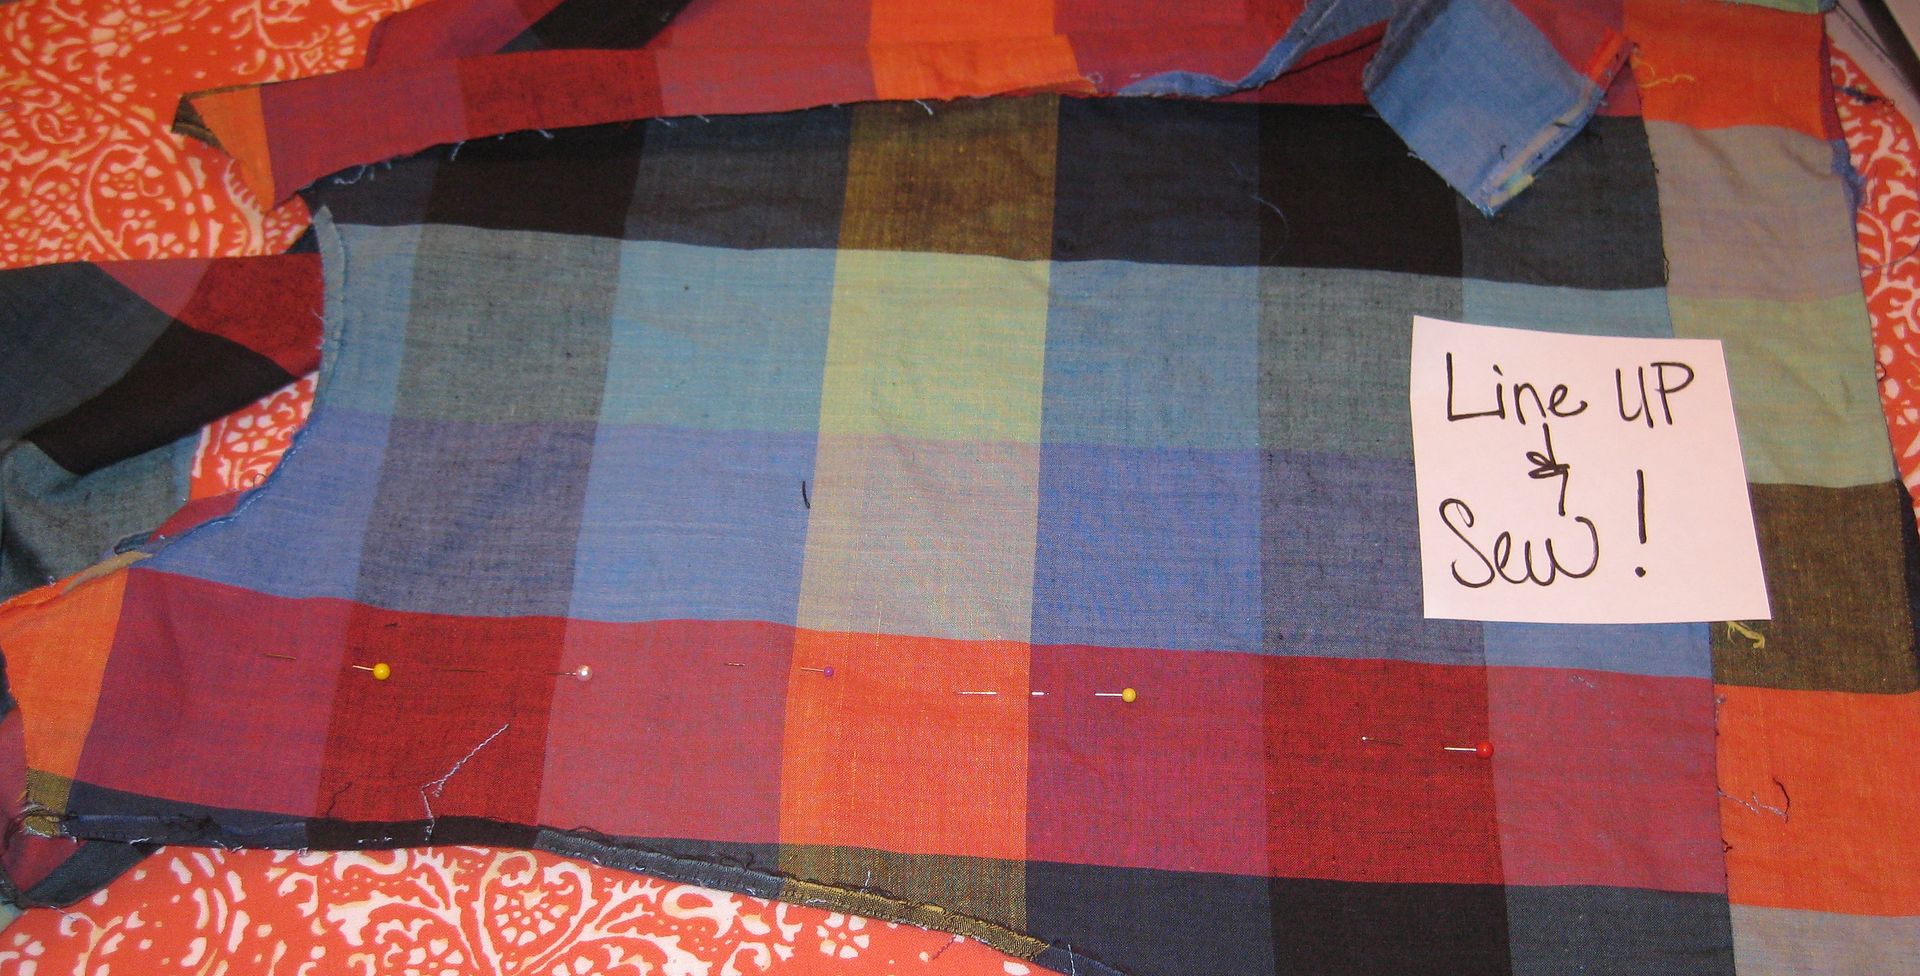
I used the front part of the old bib to fill in the gaps in the bodice and finish it. And yes I even attempted to match and line up the plaid (especially for the front of the dress). I also added 1 bust dart. It just seemed that it needed it.
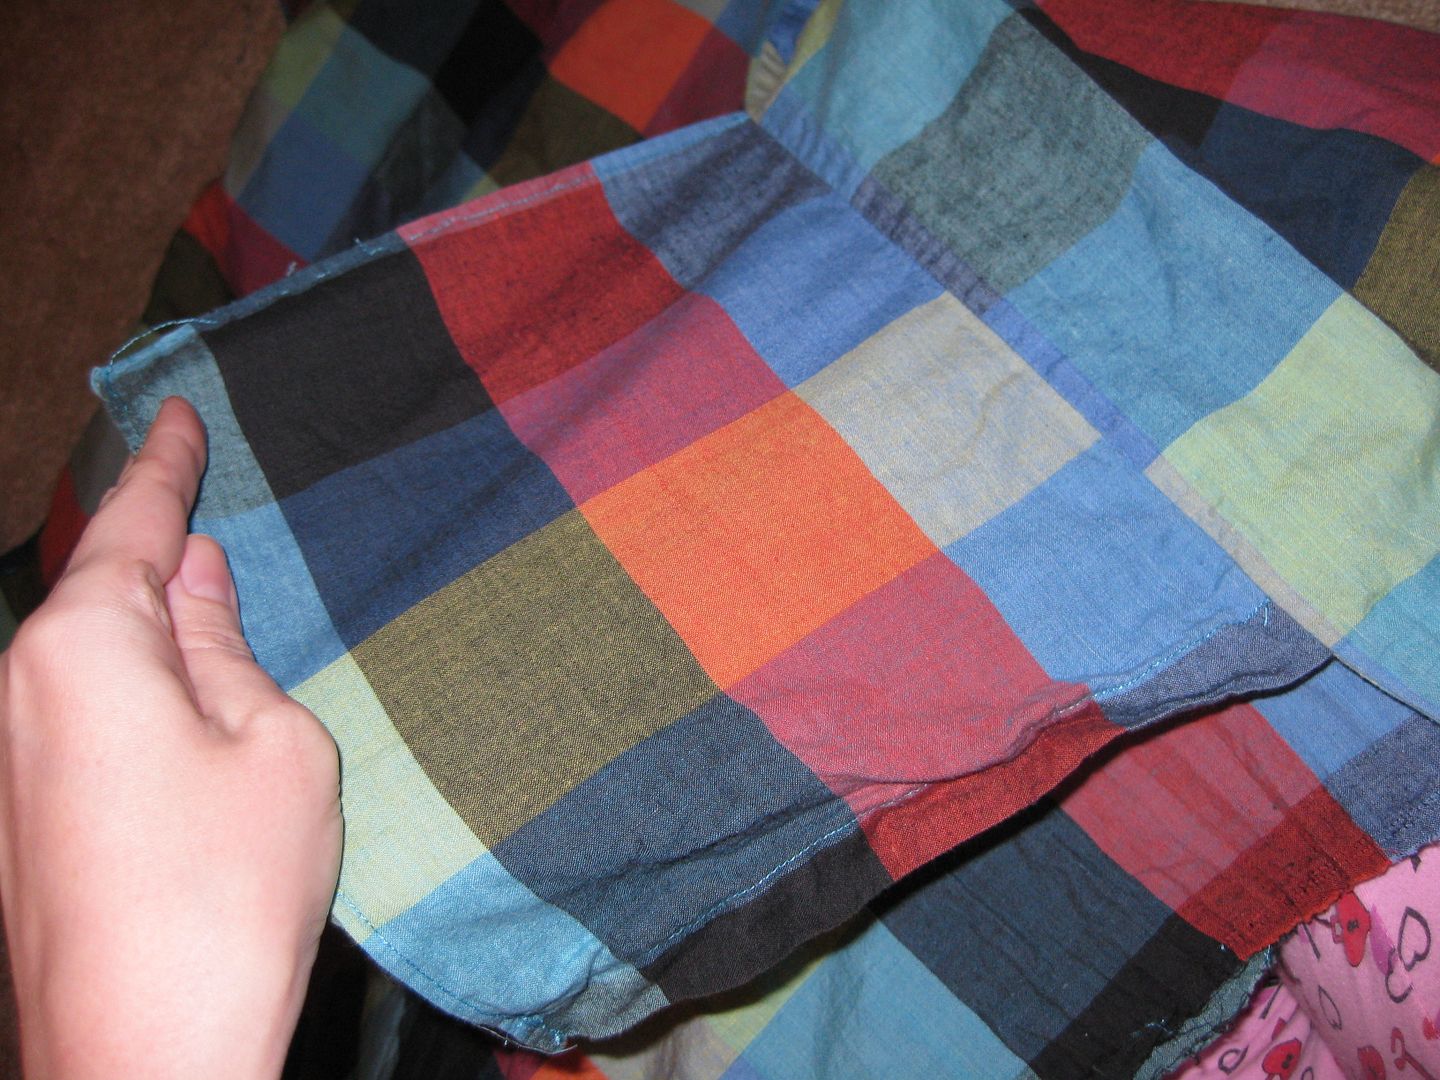
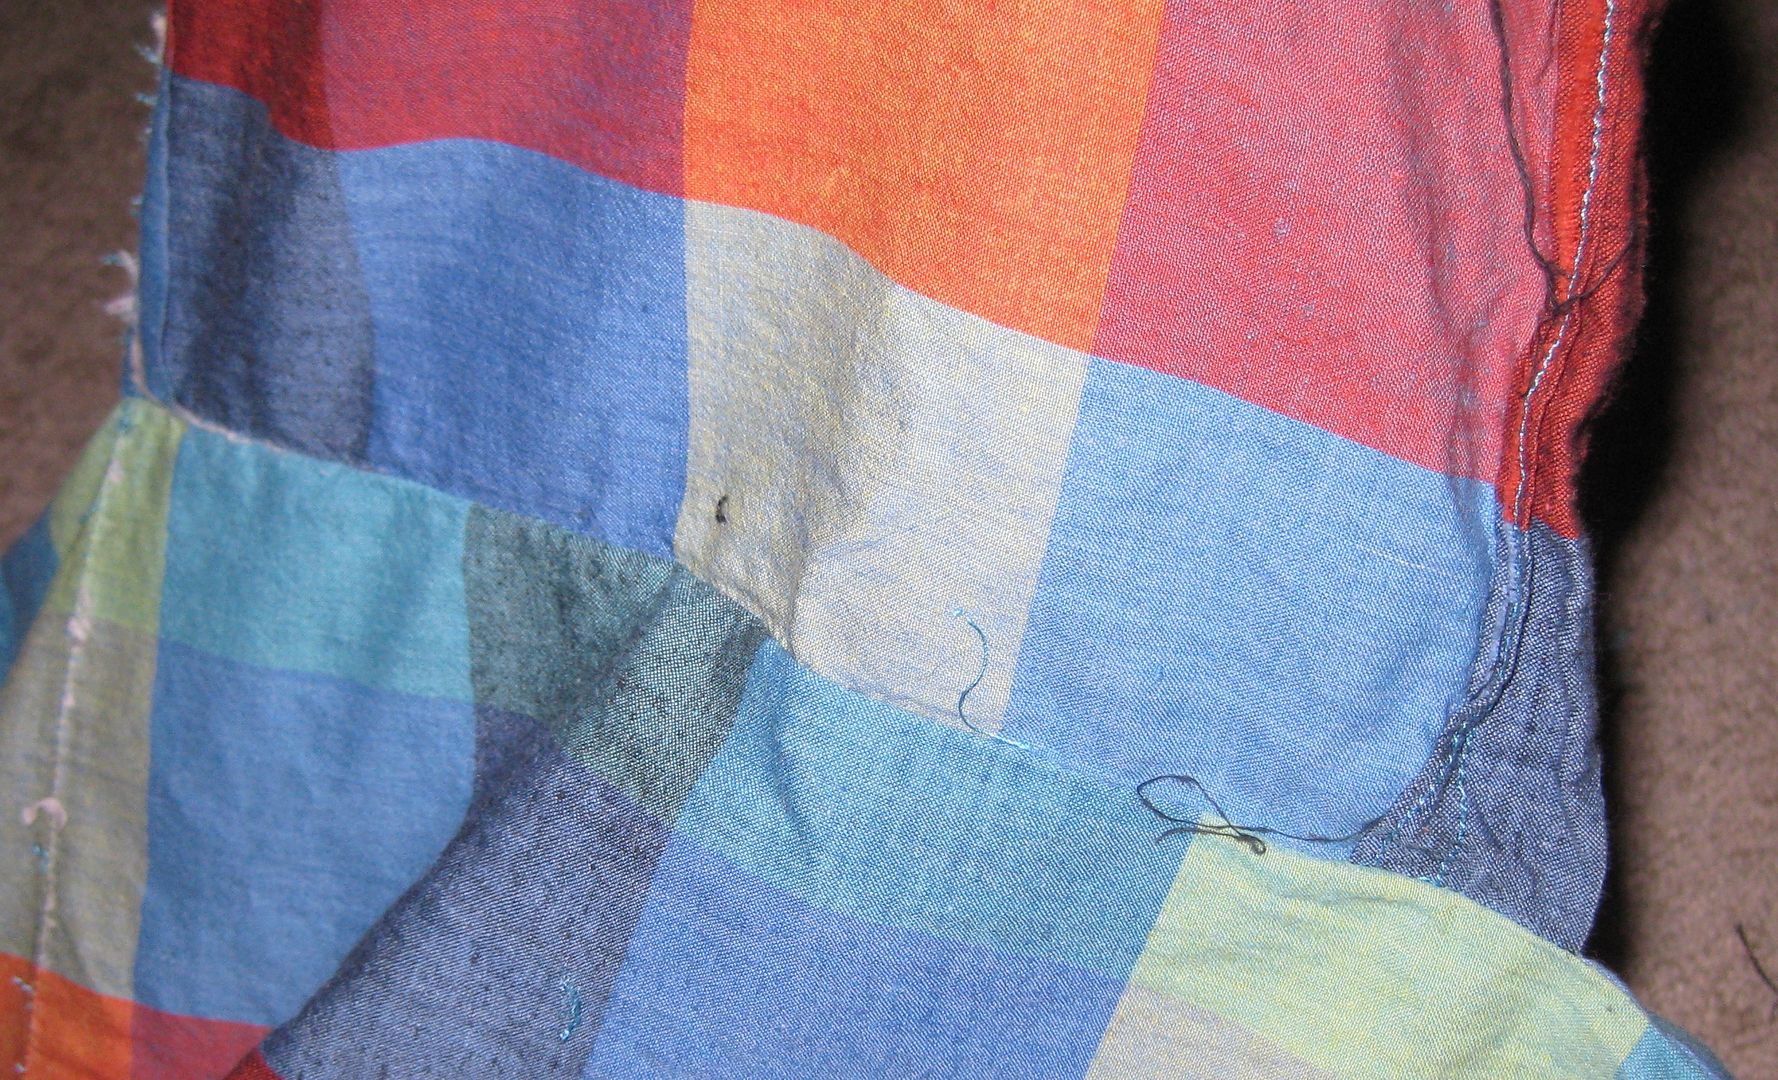
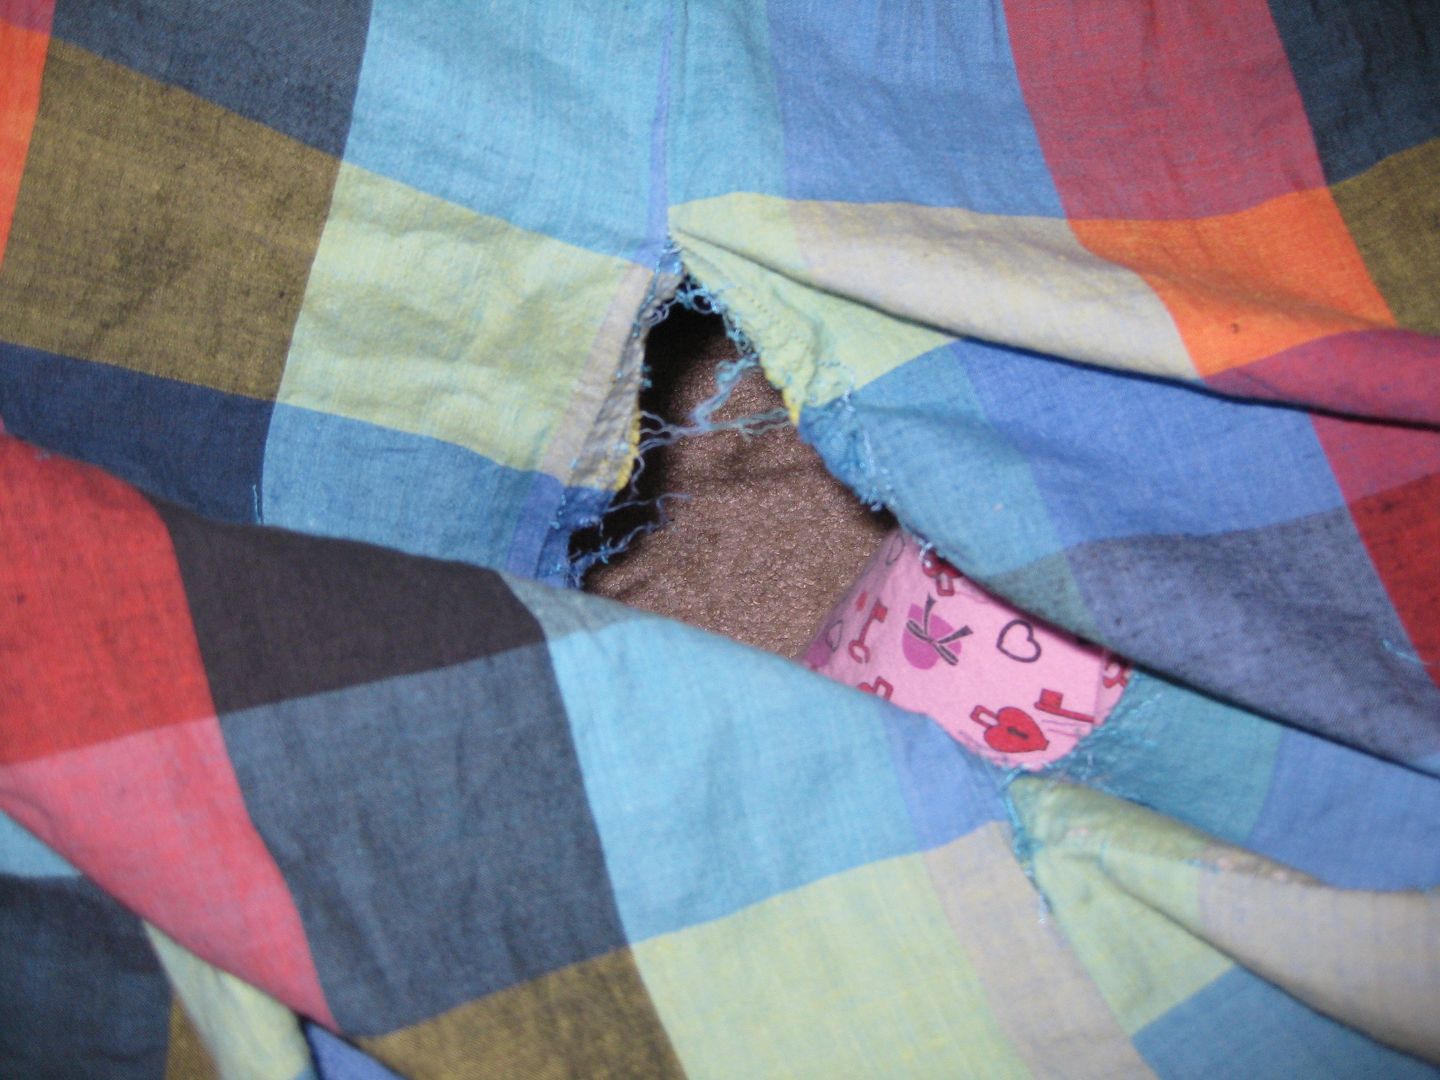
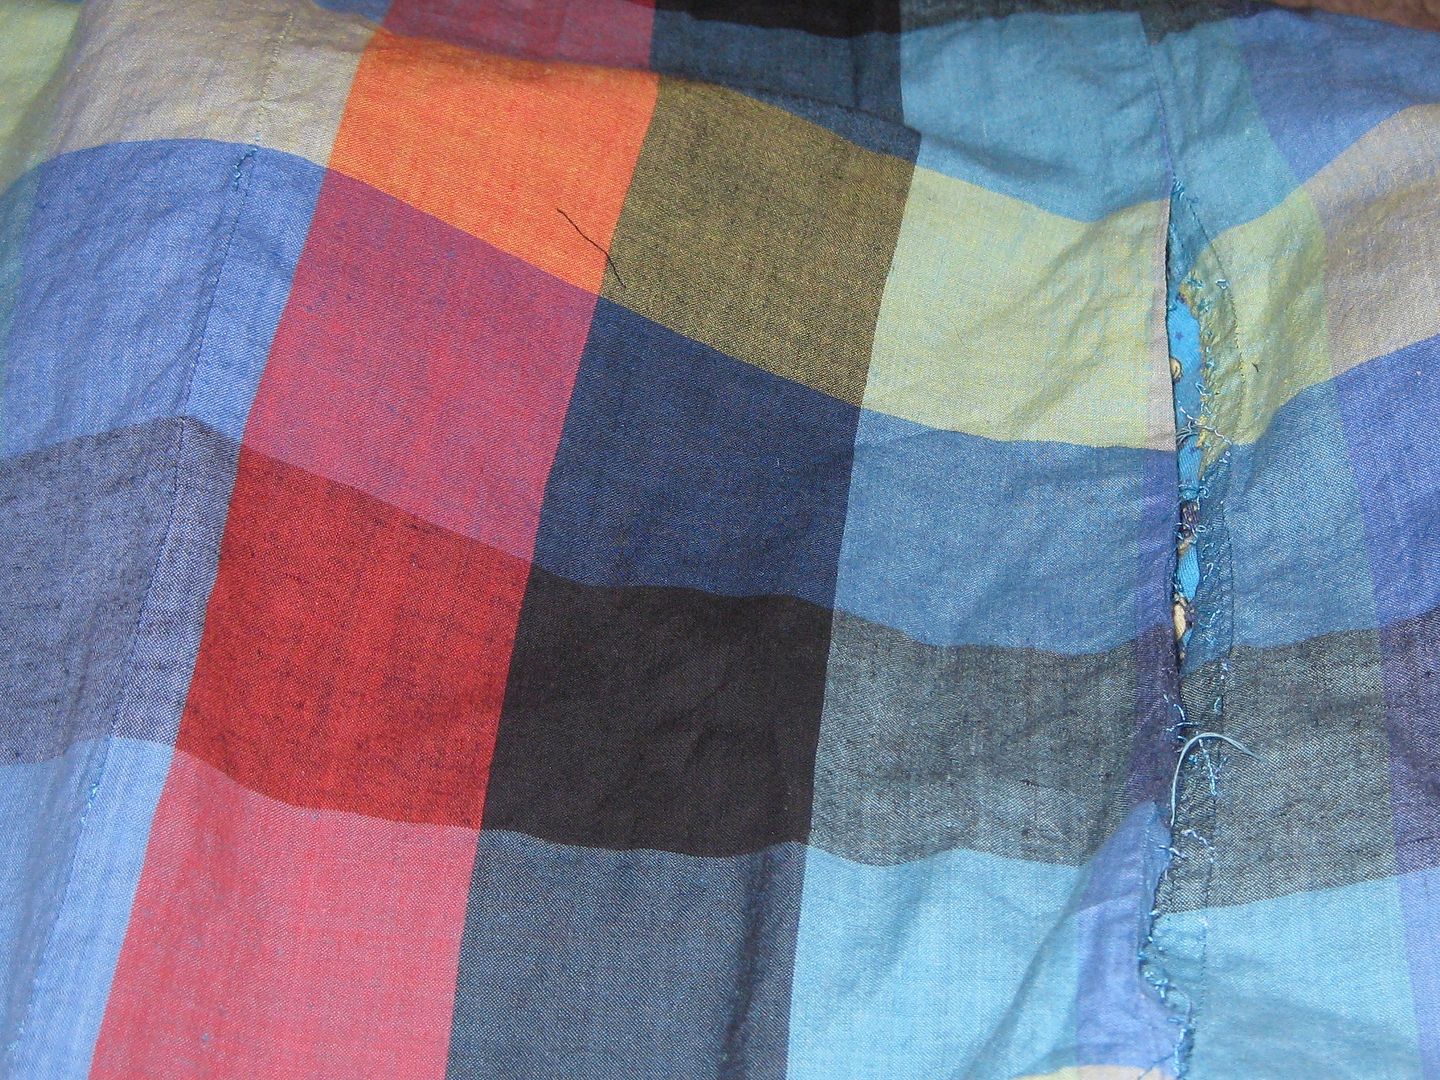
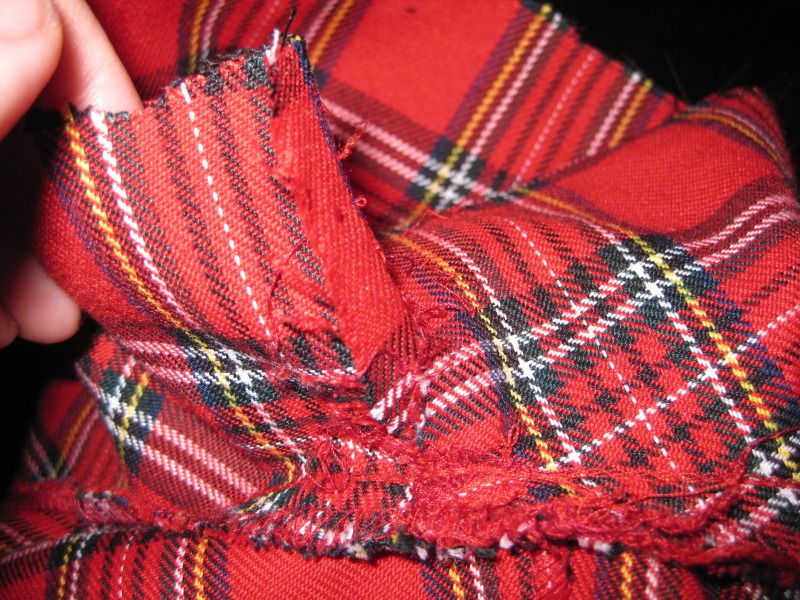
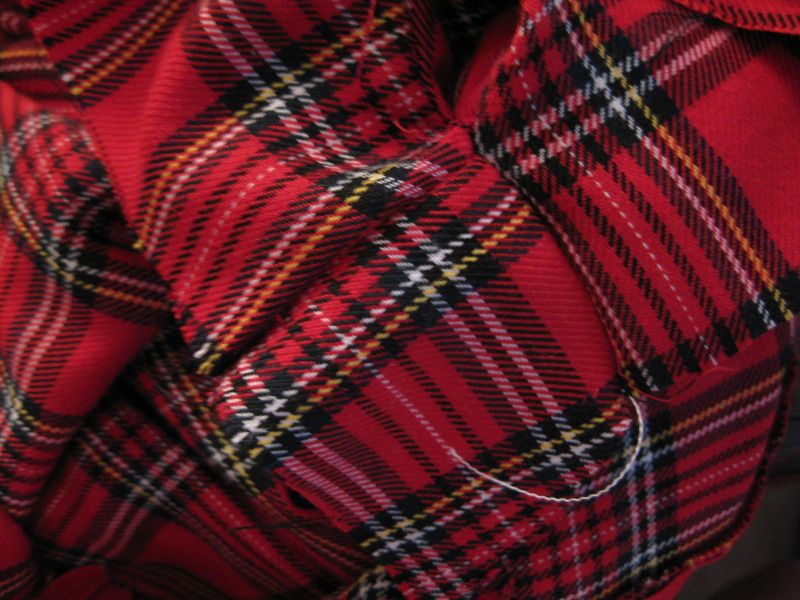
I removed the pockets which were seamed into the side seam. They actually were tacked down so tightly to the old dress they left holes in the skirt.
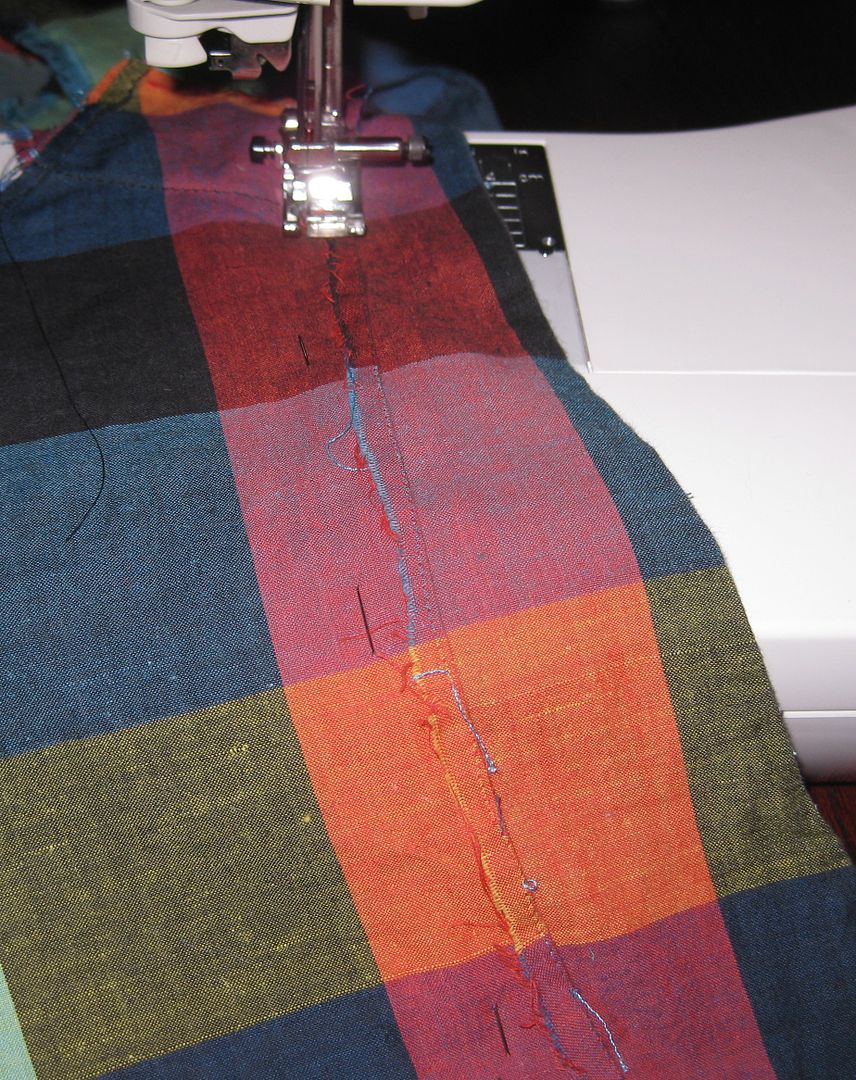
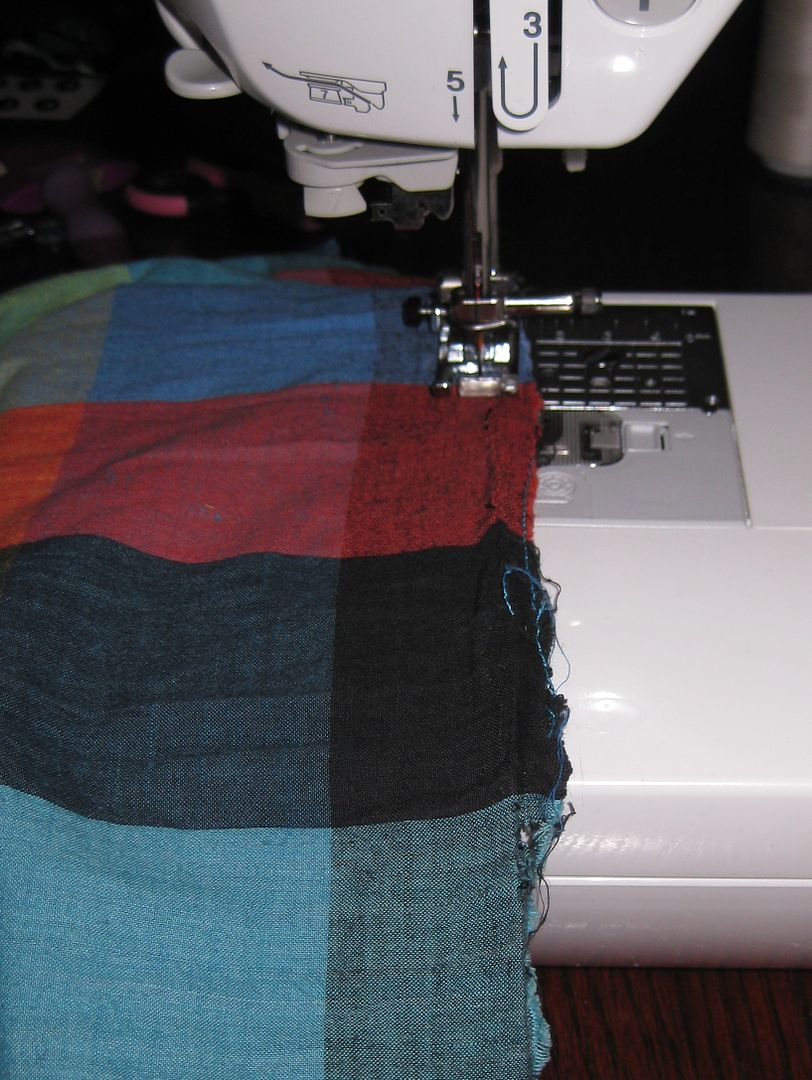
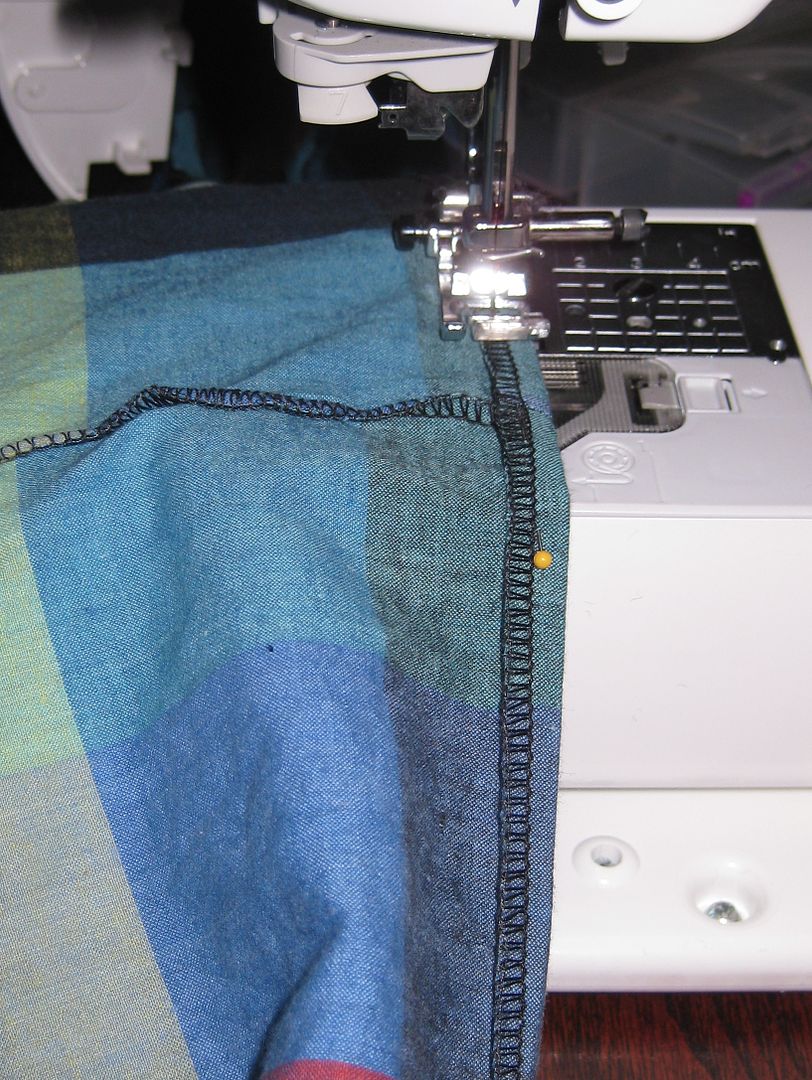
Got to open up the seam and pull out the pocket. I got a hole now! But I need to get rid of the holes from the pockets so I sewed everything out.
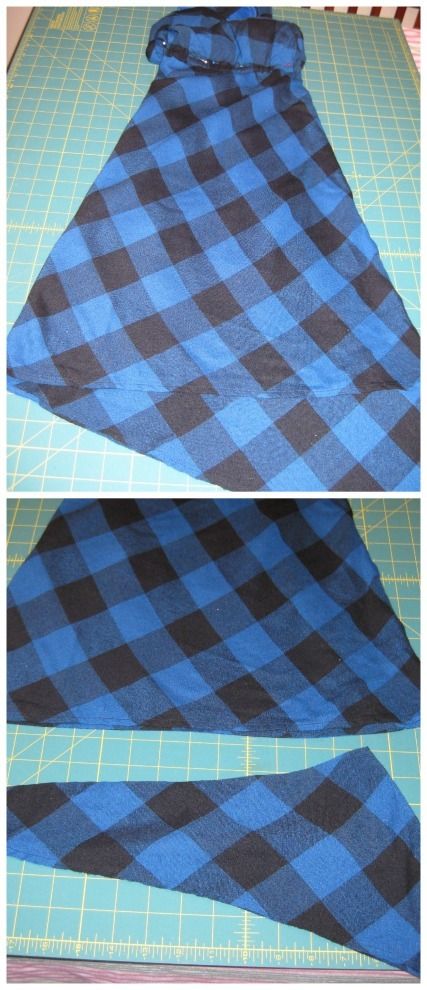
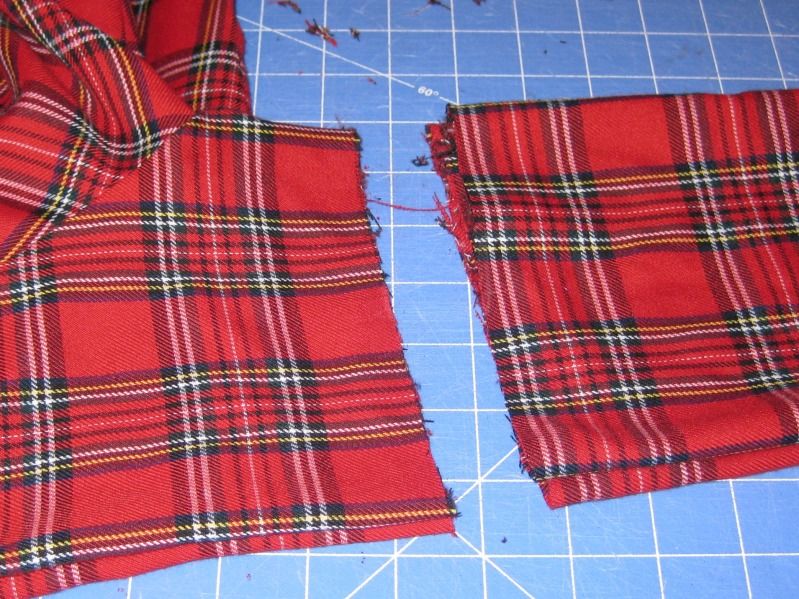
I wanted to make sure my idea was going to have enough fabric. I cut the excess of the maxi skirt off and will save them.
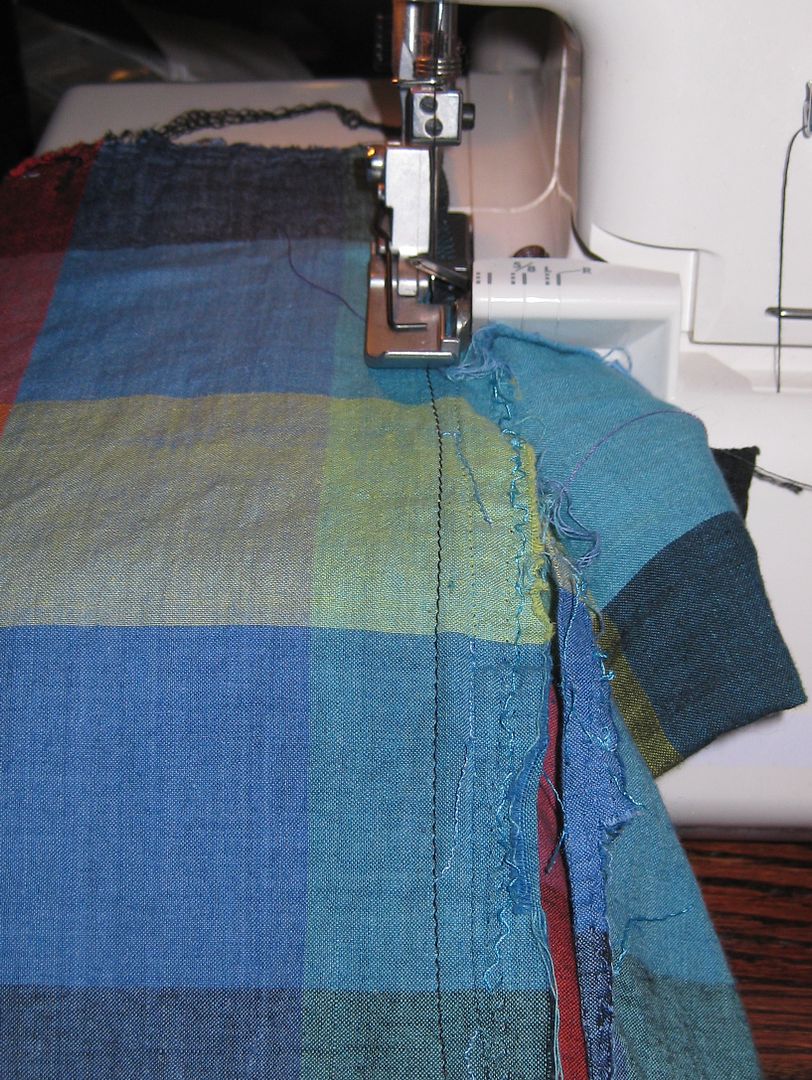
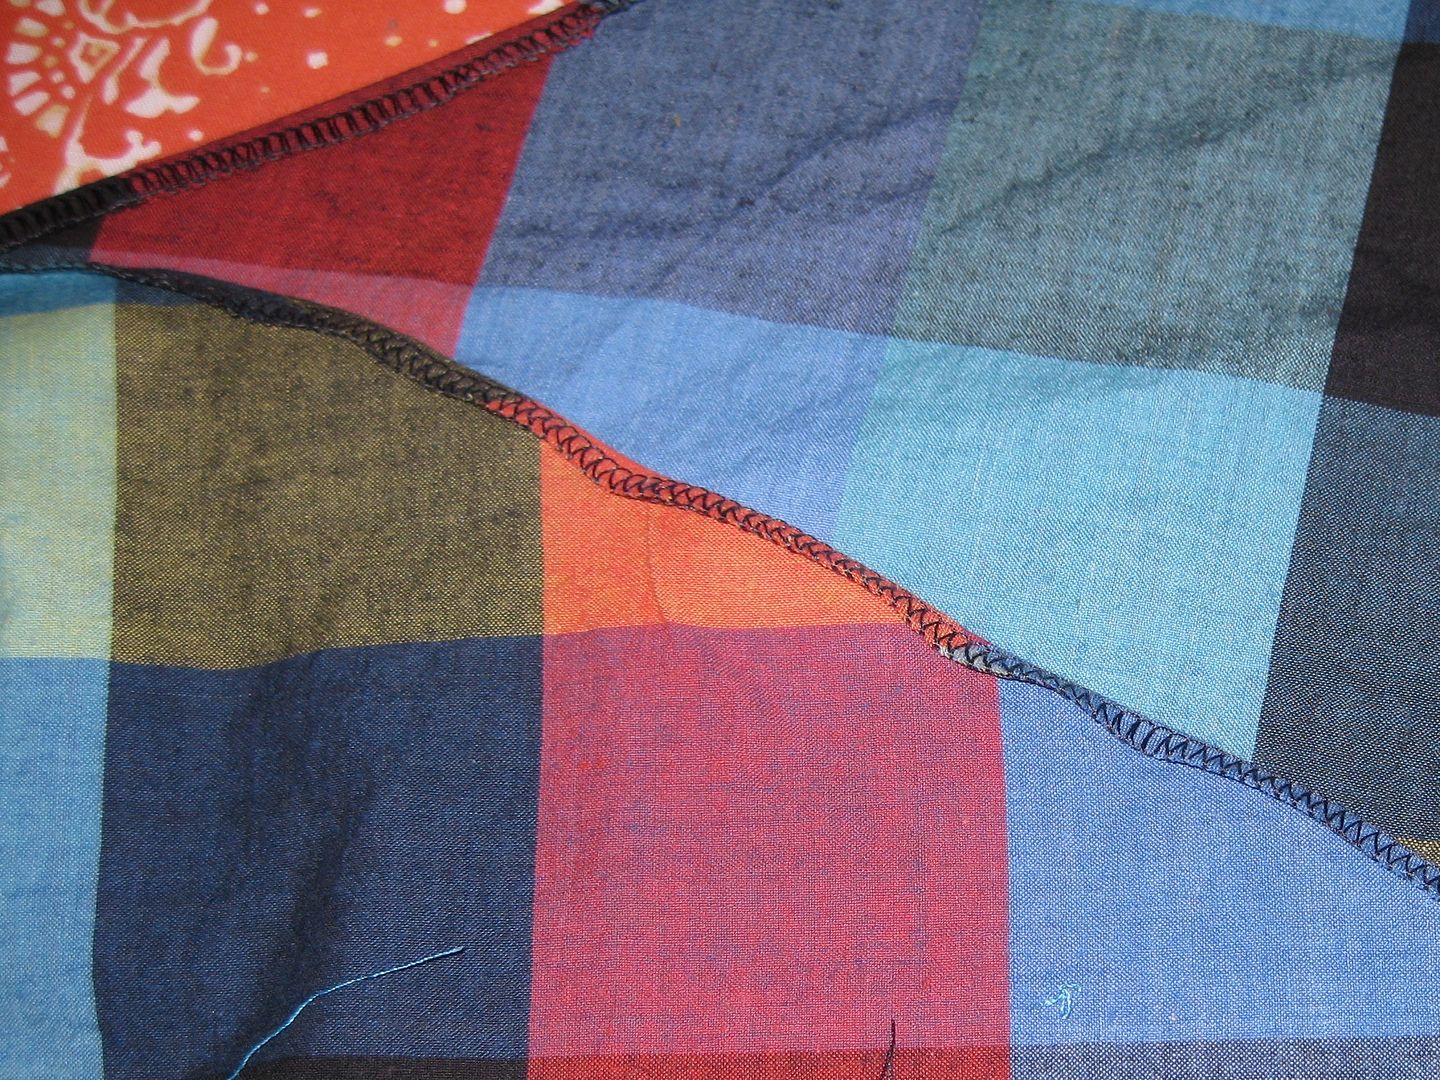
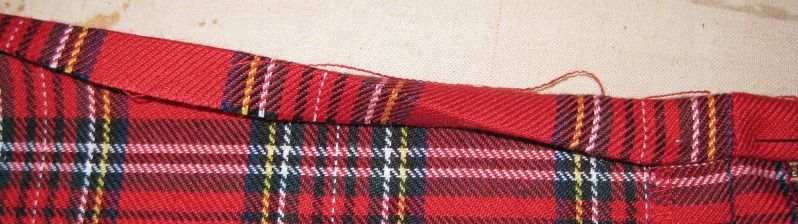
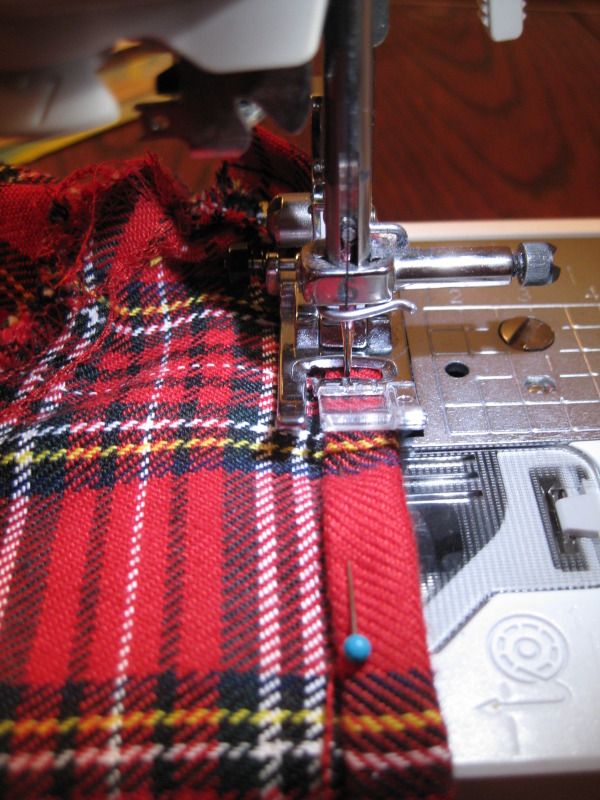
The leftover fabric to create what I can only call "tulip flower petals". Basically just an overlay to the skirt. I wanted a different dress! I took ~ half of the fabric and cut it on the diagonal. I did zero measuring I just went with it. But since I cut the 2 on top of each other they were identical. I serged the newly cut edge and then did a tiny hem. The bottom curve of the overlay I did not hem until the skirt was connected to the bodice.
Now time to connect all 3 pieces. First I cut the bodice so it was even. I just eyeballed it-no measuring here. I then realized I needed 1 bust dart so I added that. Lay out right side up.
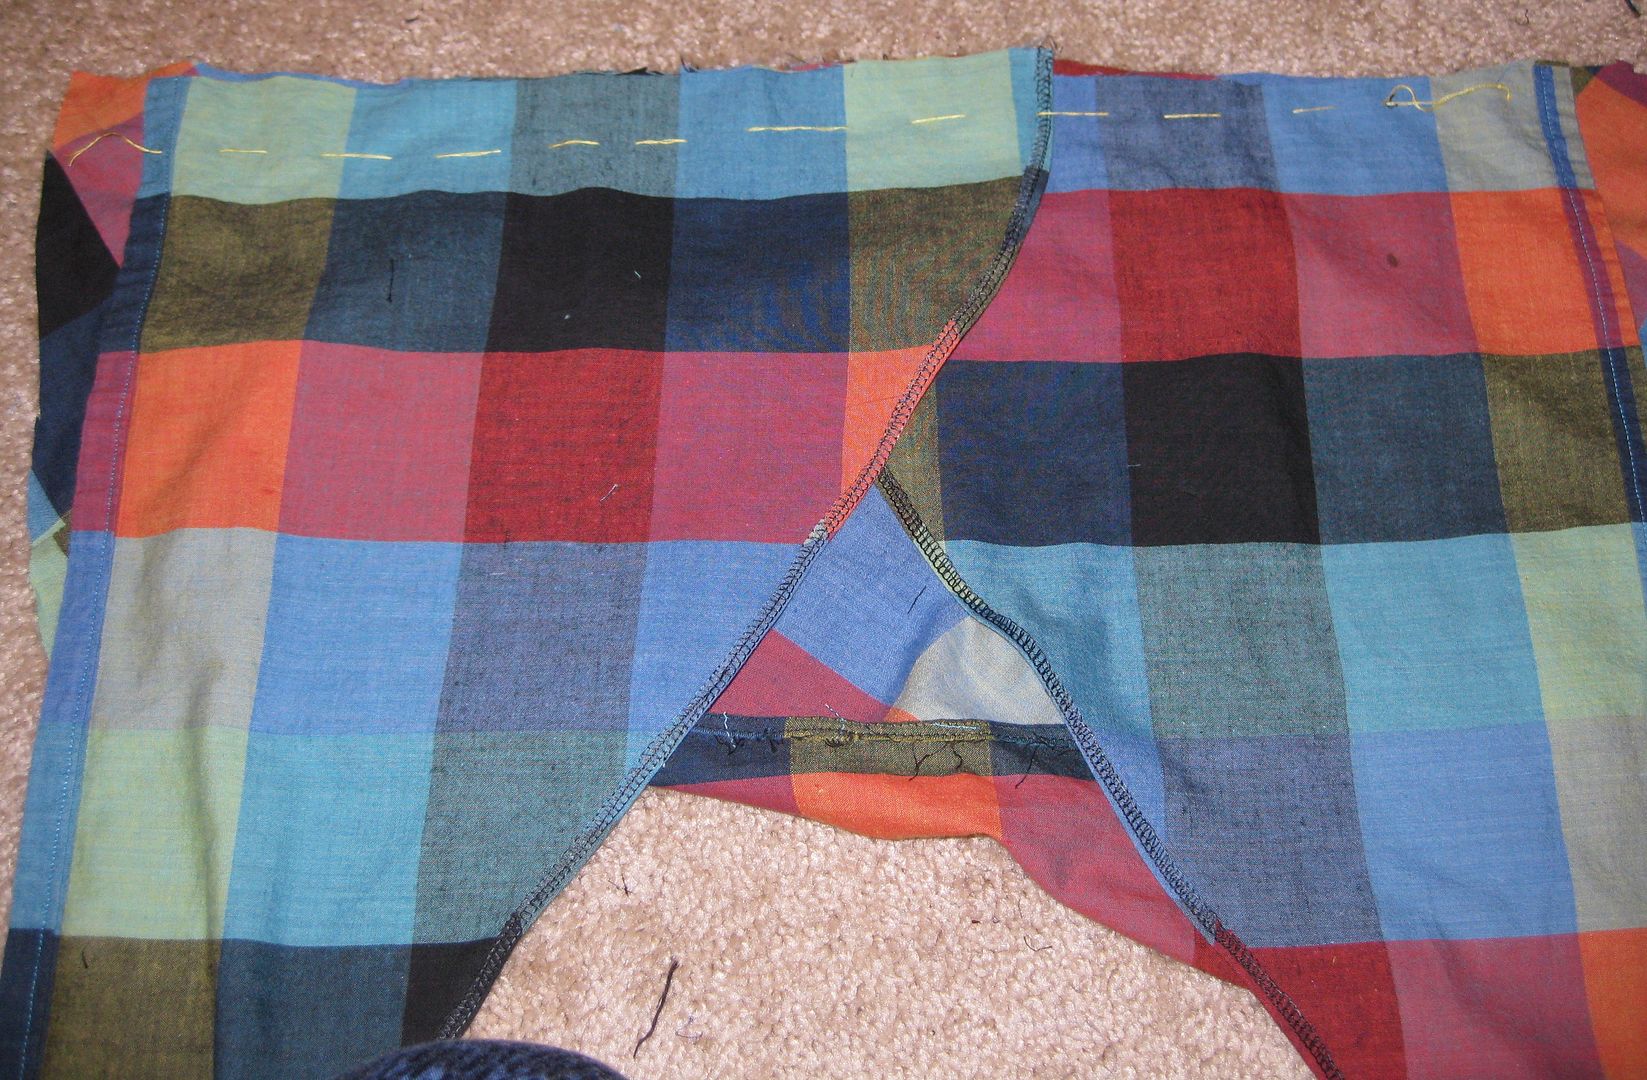
Add the petals, right side down- overlapping them. I basted them to the bodice I really didn't want to worry about them moving with sewing.
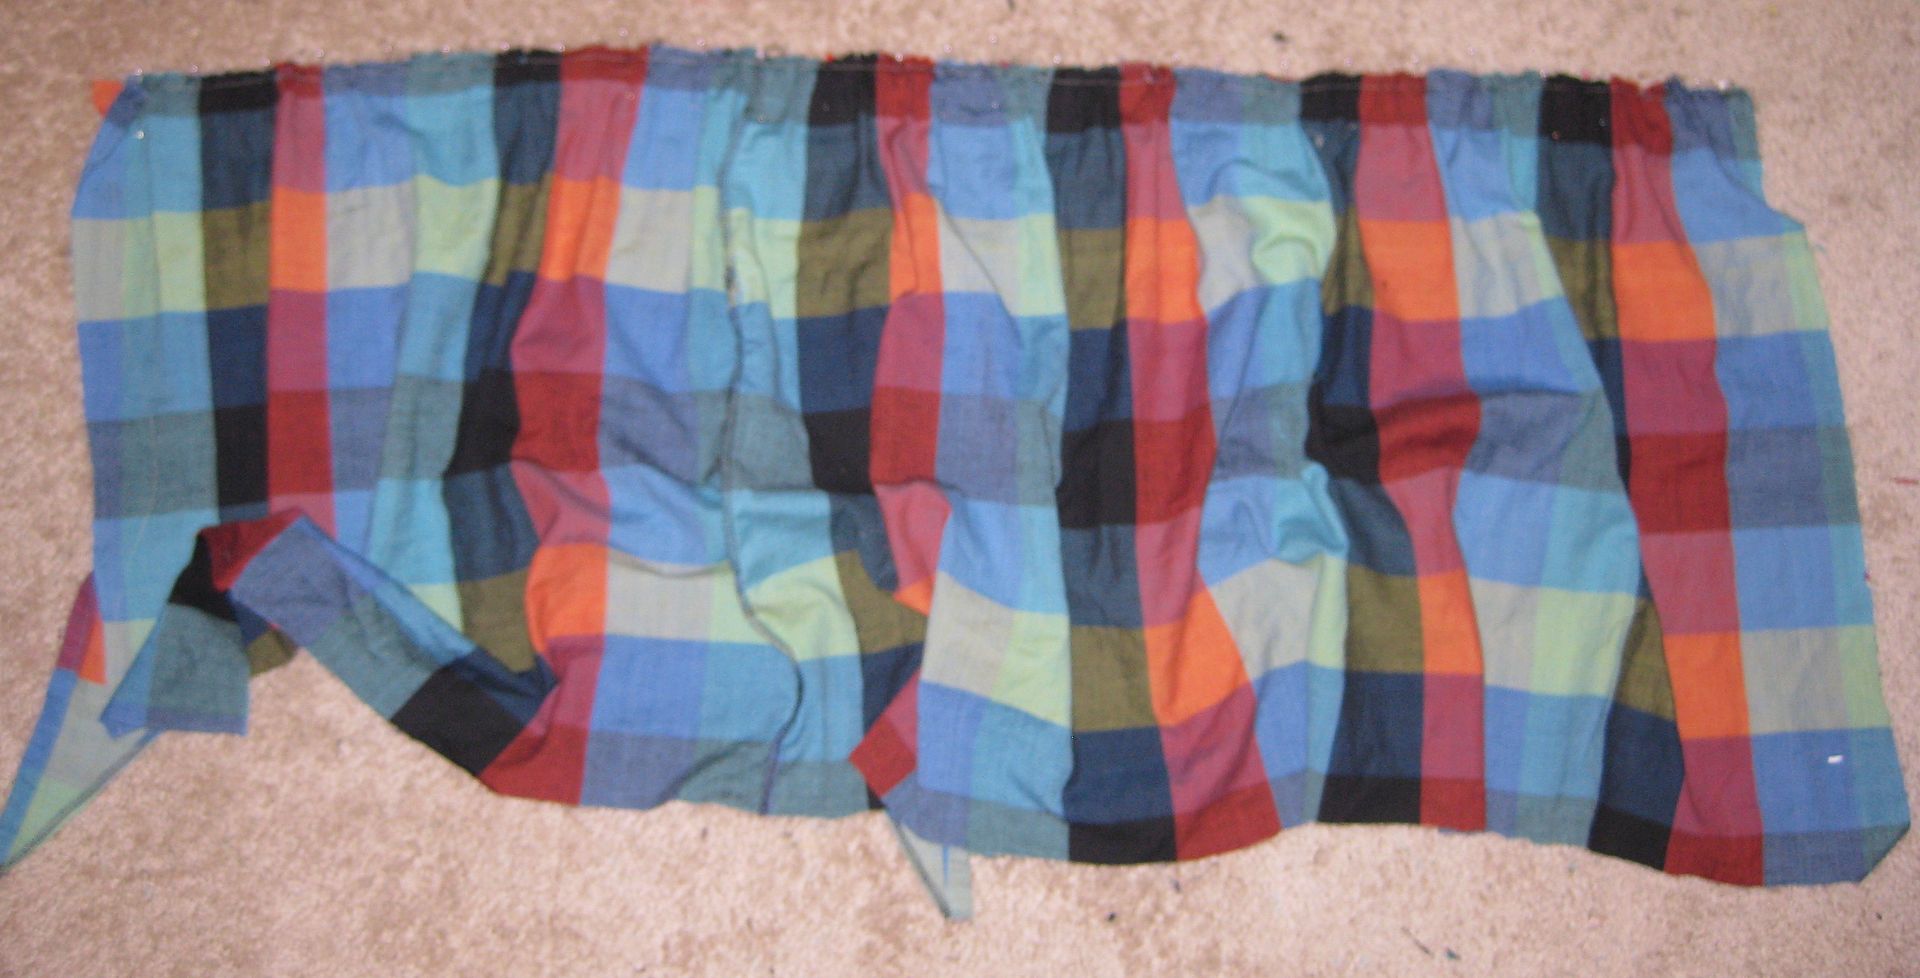
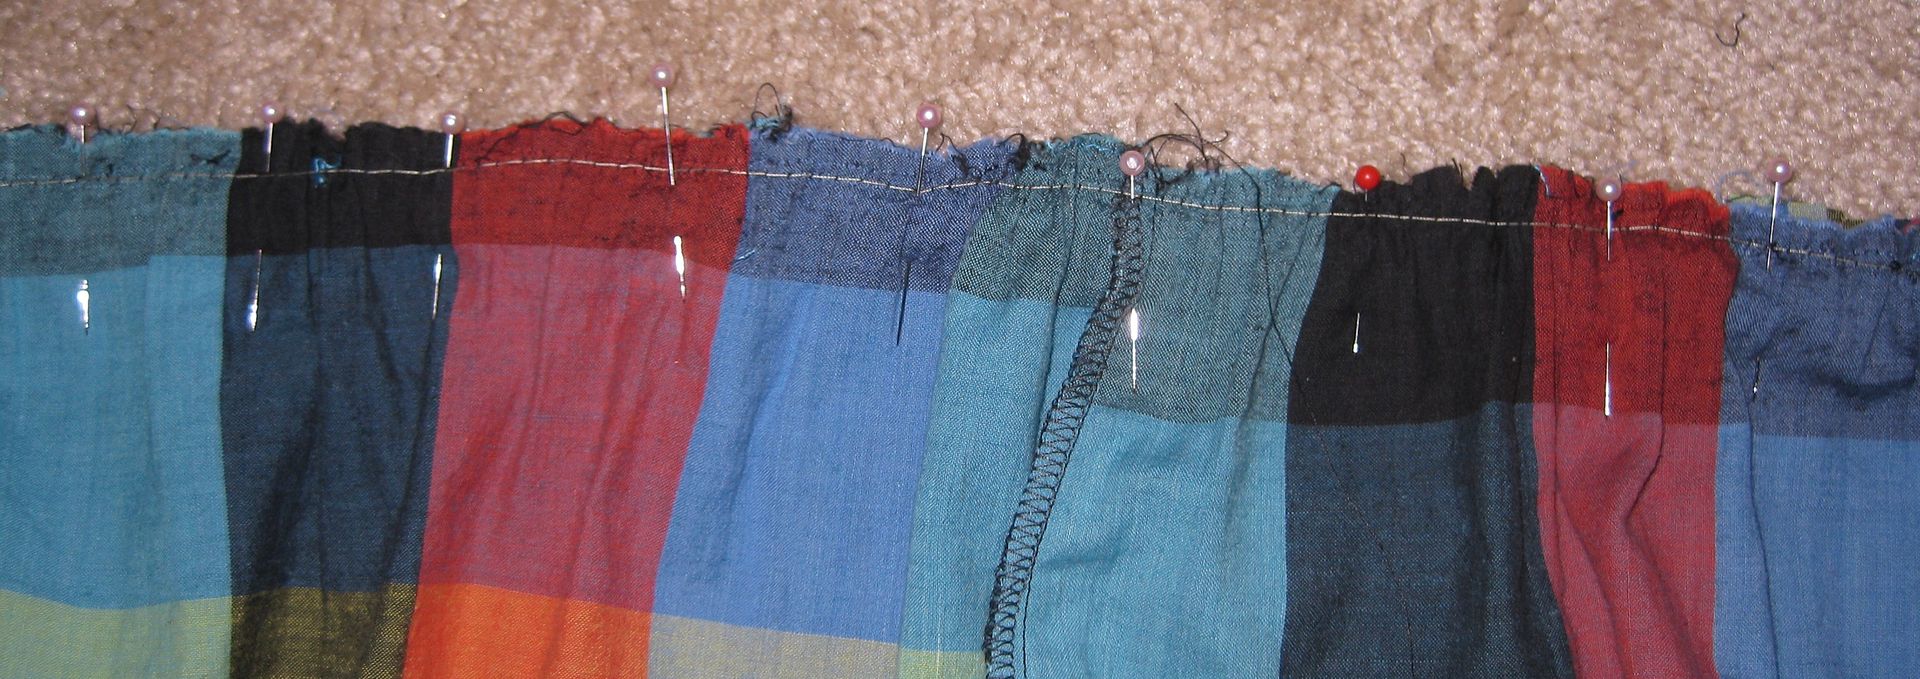
Next I gathered the top part of the skirt. I adjusted the gather to adjust to the length of the bodice. Place right side down.
Pin the heck out of it. Sew together.
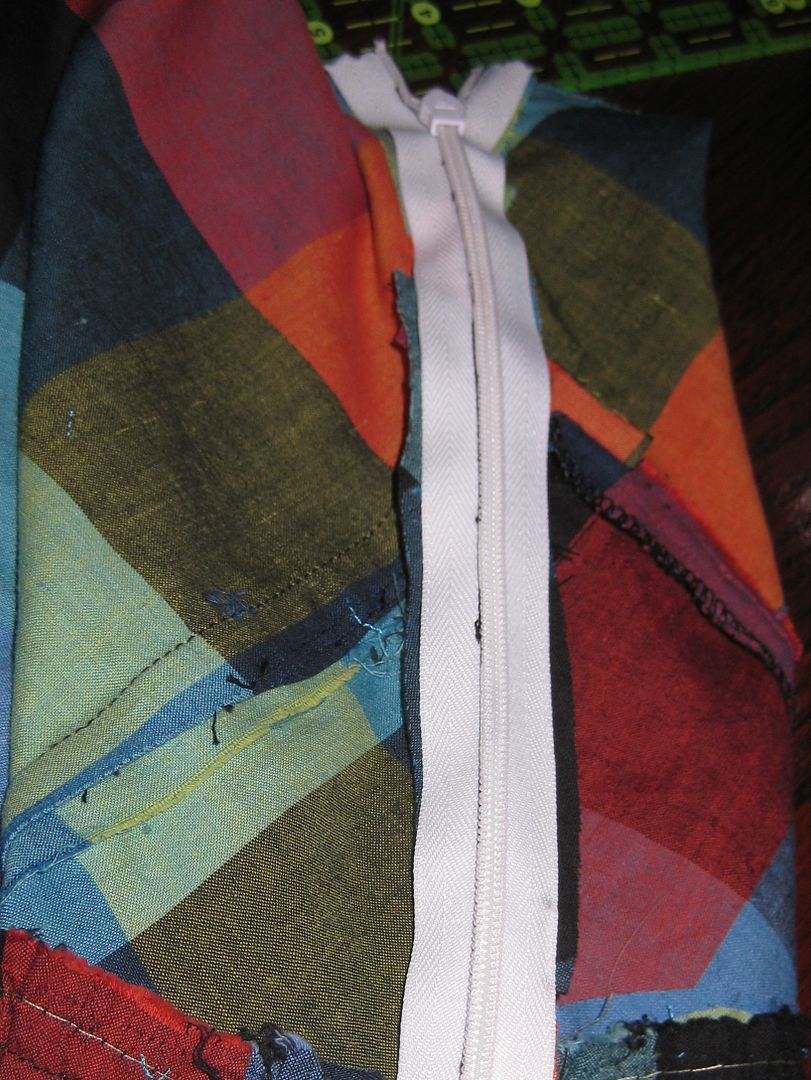
OMG it worked. I took out the basting. Now time to add a side zipper. Added a hook enclosure to the top of the zipper.
Hem the skirt and the overlays so they are even. Of course I serged it to keep it clean and not fray my fabric.
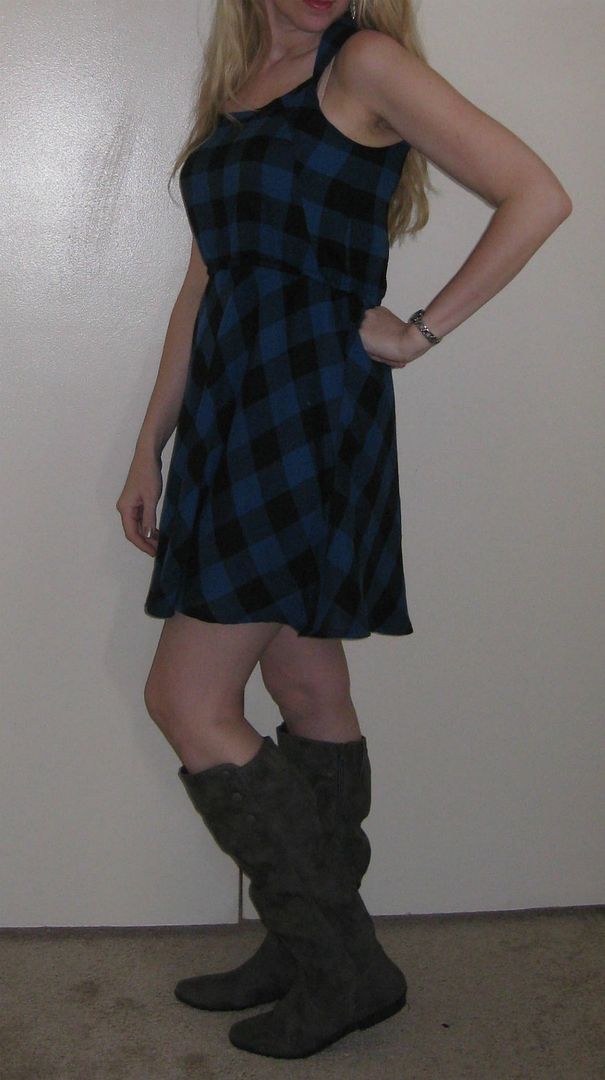
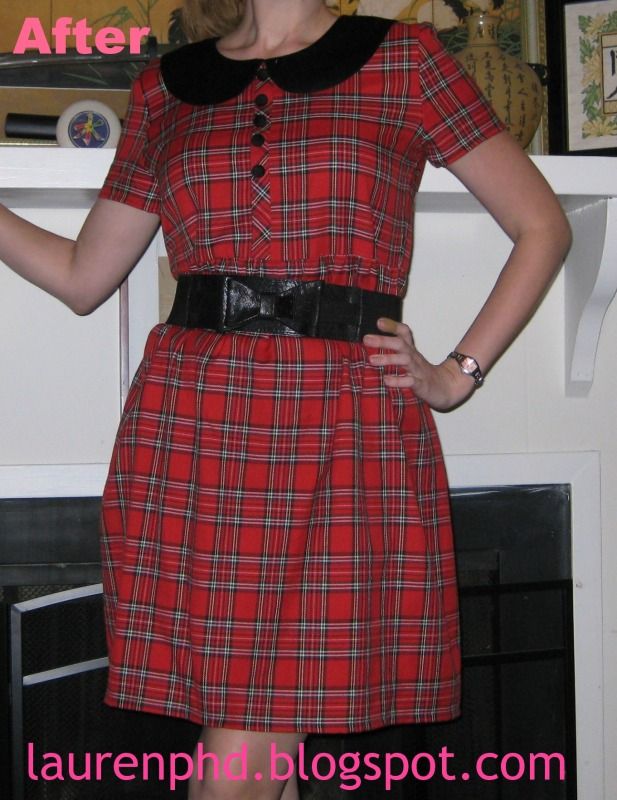
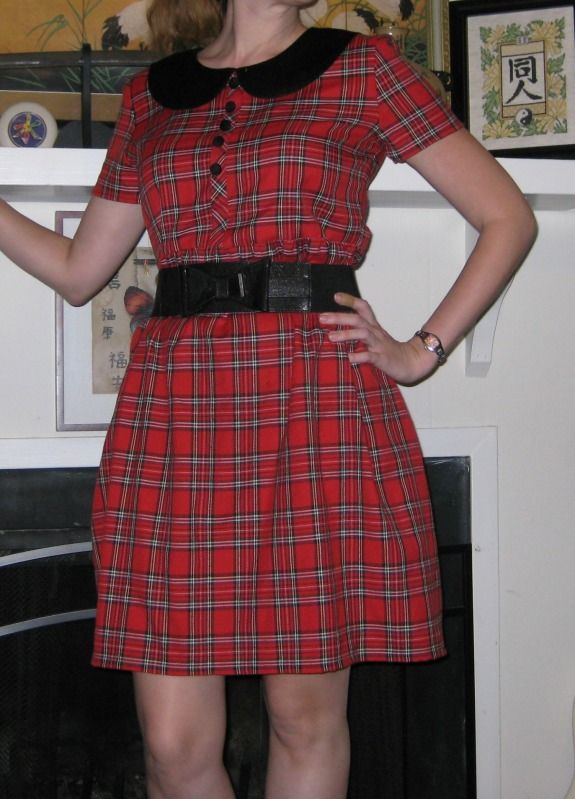
Now I went back and forth whether I wanted to make a plaid belt but it was just too much plaid. I used a sash I made in the past for another refashion b/c it was the perfect color. Here is my new dress!!
Now here comes the obligatory plea/begging.... I need votes!! Please if you like my project go and check out
Renegade Seamstress and vote for my bad plaid school teacher refashion.
Hope you enjoy my refashion! :)
Cheers,
Lauren