Well hi welcome to my little blog. Just my little corner of craftiness, sewing, and refashioning. I am also a newly gluten free eater so you have a little bit of recipes mixed in here.
Showing posts with label 99 refashion challenge. Show all posts

Tuesday, February 10, 2015

Last refashion of 2014!! #99- Lace tablecloth

I found this wonderful lace tablecloth. For some reason I didn't realize that it was circular. Don't ask b/c I seriously don't know. I thought I could make a cute pair of shorts from them but the size put me at a bit of a disadvantage with wanting to stay on the grain
Problem was if I was going to use it for anything then the color was not going to work for me. I did not care for the tan. So I dyed it using 2 different RIT dyes. Since the lace is a lot of thread, that I don't know how it is going to react, I went with 2 dark dyes- dark green and denim blue. Thanks Mom for the dye you got on clearance.


The end result was awesome! It was a grey mixed with some blue green. There was no tan left. I cut off the ruffle around the edge. My initial plan was to make a lace circle top. But then I cut the circle too deep.

It was no longer going to work as a top. I sighed and it fell down, landing on my hips. Then I realized this fit perfectly as a skirt! Win!!! I needed to line it, which I found this brown fabric in my stash. And as serendipity would have it... it was the perfect size needed with my existing skirt!  Double Win!!!


So I cut out the brown circle and cut a line down one side. This will allow me to put in a zipper. Now I need to make a waistband. I used this new sewing notion I found by chance when I was looking for something else online. It is fusible interfacing that has cut line that allow for easy folding. Time to try it out!!
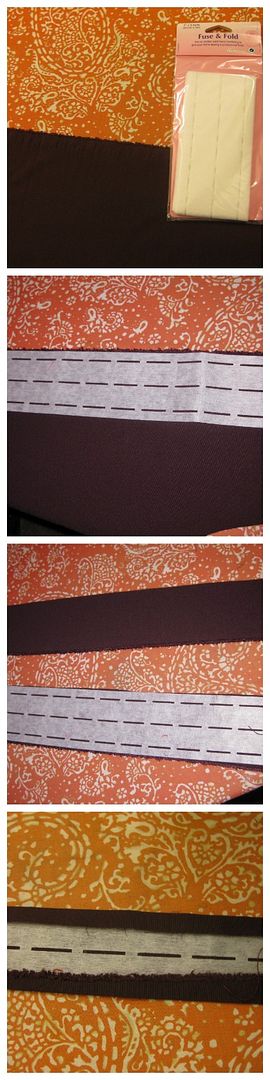
So Triple Win! This made making waistbands SOOOOOO easy. I attached it to my skirt, which I had to lightly gather to adjust it to fit. Boom done! Prior to this I added an invisible zipper.


Finally, hemming. I took apart the lining from the lace and resewed them individually. This was solely because I wanted to individually hem each layer. The lace layer, I folded twice and ironed. Then sew It was really smooth. I used my serger for the brown layer.  Done!

Here is my new skirt. OMG! It was completely destined to be a skirt. How fabulous is this!
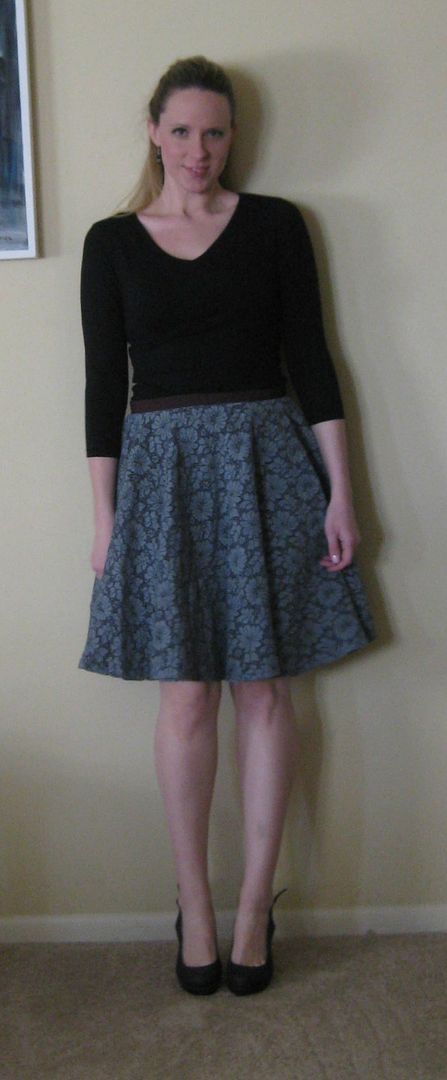
It also had a bit of a retro feel to it. It was a full circle skirt, no doubt!!
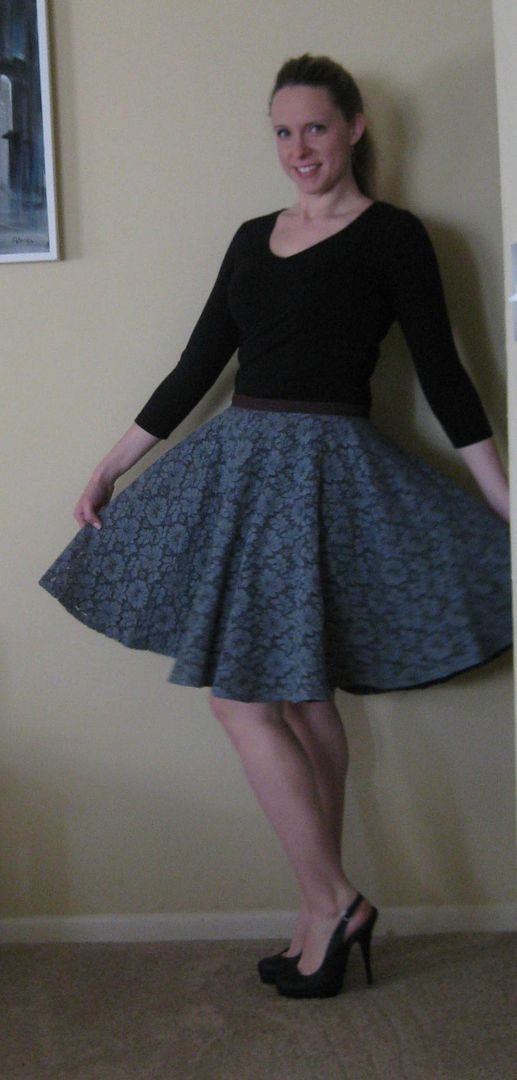
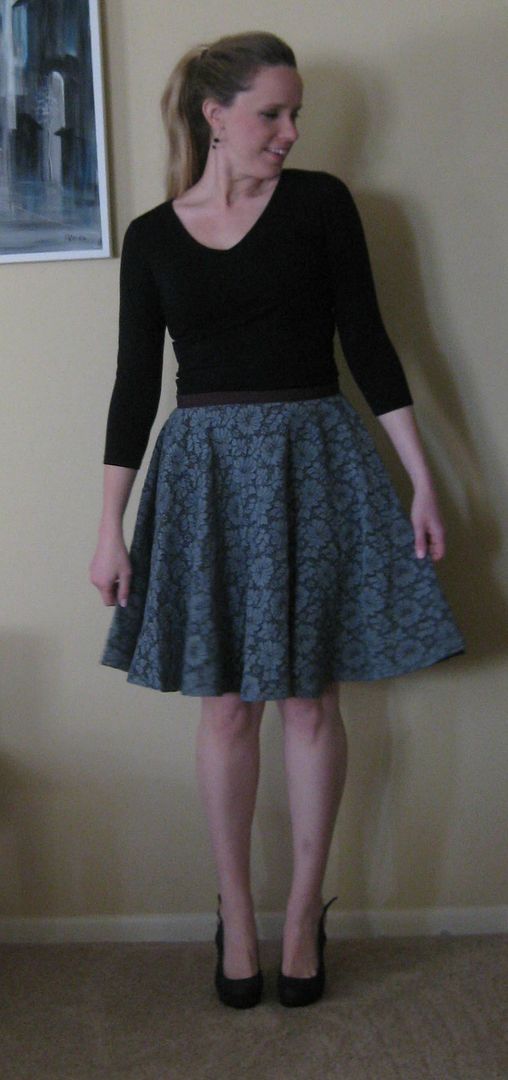
Even though the hem was a bit of a challenge it looks great!


And with all circle skirts, you have to twirl with it! It is just sort of mandatory!

Here's the recap. Before a tablecloth, after an awesome circle skirt! Yay!

So this my readers finishes my 99 refashion challenge for 2014. Wow. It was really hard as my life got in the way of my life. I also realized putting numbers on things can at times make things harder. And stop some of the creativity. All of the refashions will go stored here on this list. It was a fun challenge and I came out with some fabulous clothing.
Yes there are more refashions and sewing on the way! :) No worries, I don't know what I would do with myself if I didn't refashion something. :)

Cheers,
Lauren


Tuesday, February 3, 2015

Giving a strapless dress some modesty, refashion 98

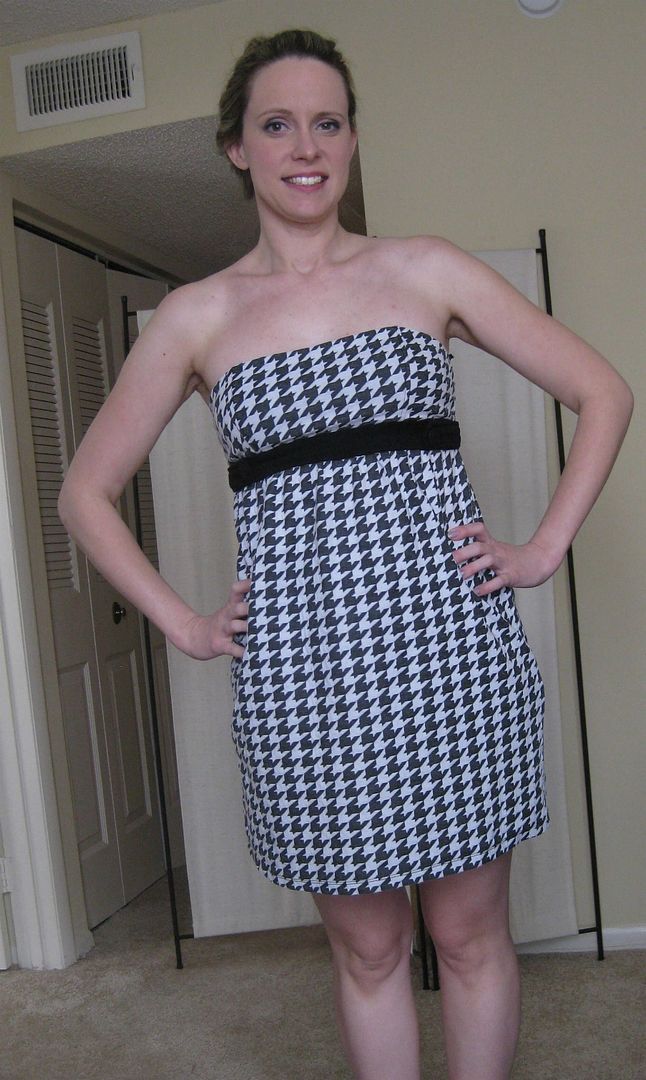
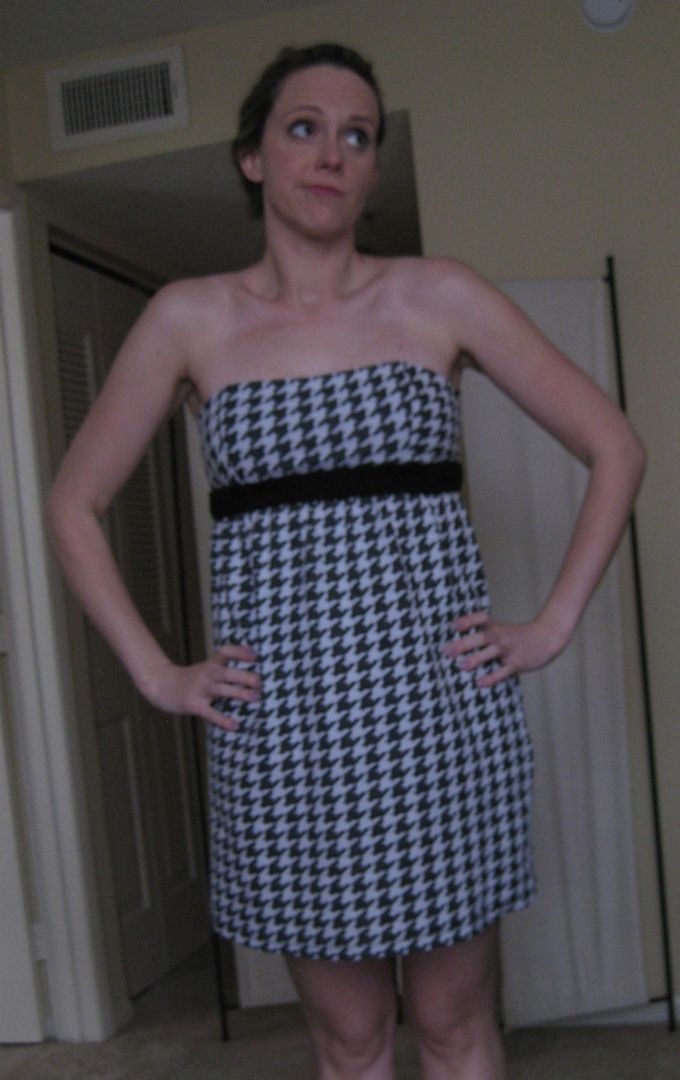
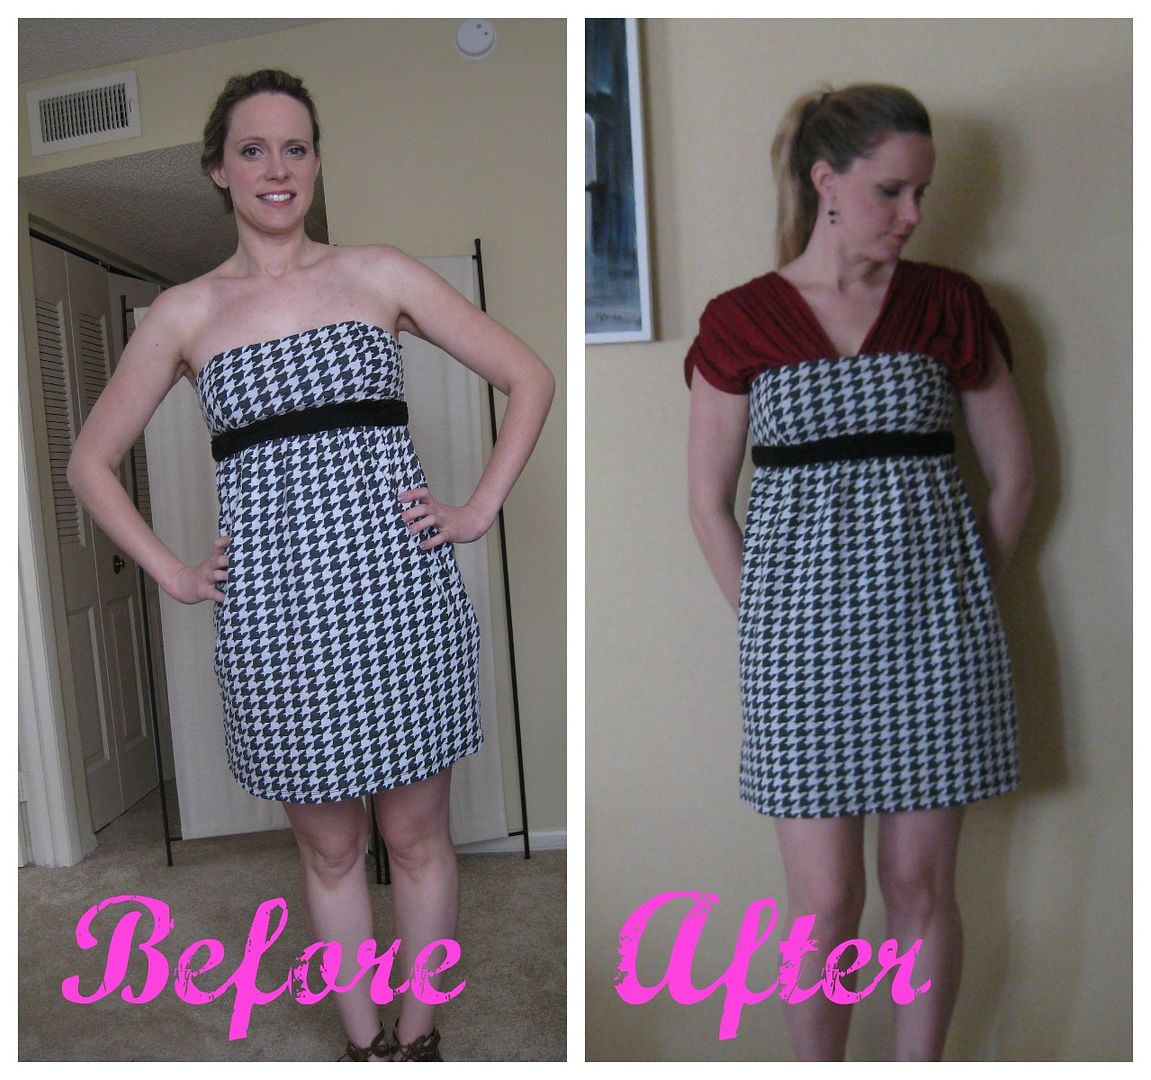
I thought this dress would work as is, yeah I know one of those. It fit but I felt as if the bodice was a smidge too small. I felt as if I was a bit exposed. Just not enough bodice. I wanted a way to fix this some way.


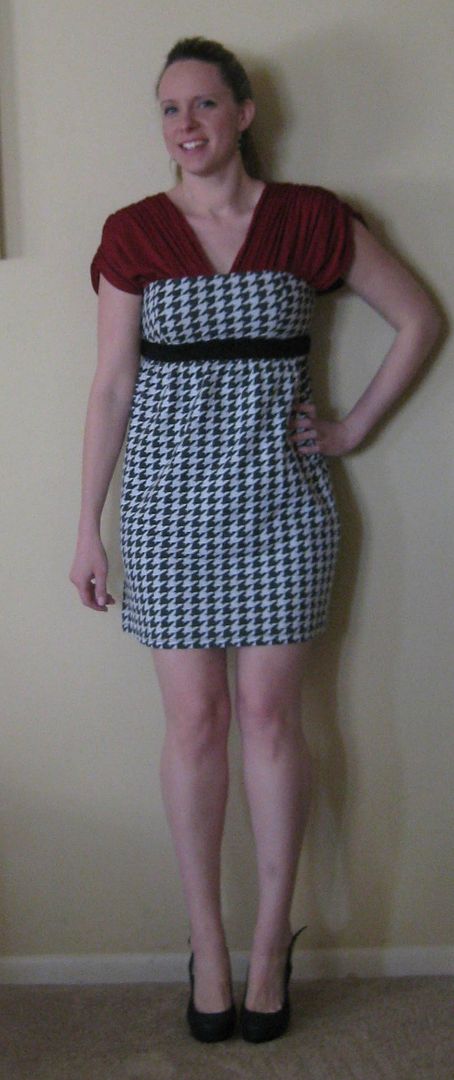
I decided I was going to try and not necessarily add straps but try and create some sort of addition to the top. I used some leftover red fabric. I cut 2 rectangles and across the top I sewed a gathering stitch. I then attached the fabric strips to the dress. I did this by trying on the dress, placing the line on my shoulders and pinning where I needed to attach. I started with the fronts first then did the backs. I hand stitched the fabric to the dress. It really did not take that long.
I also removed the buttons on the front of the dress.

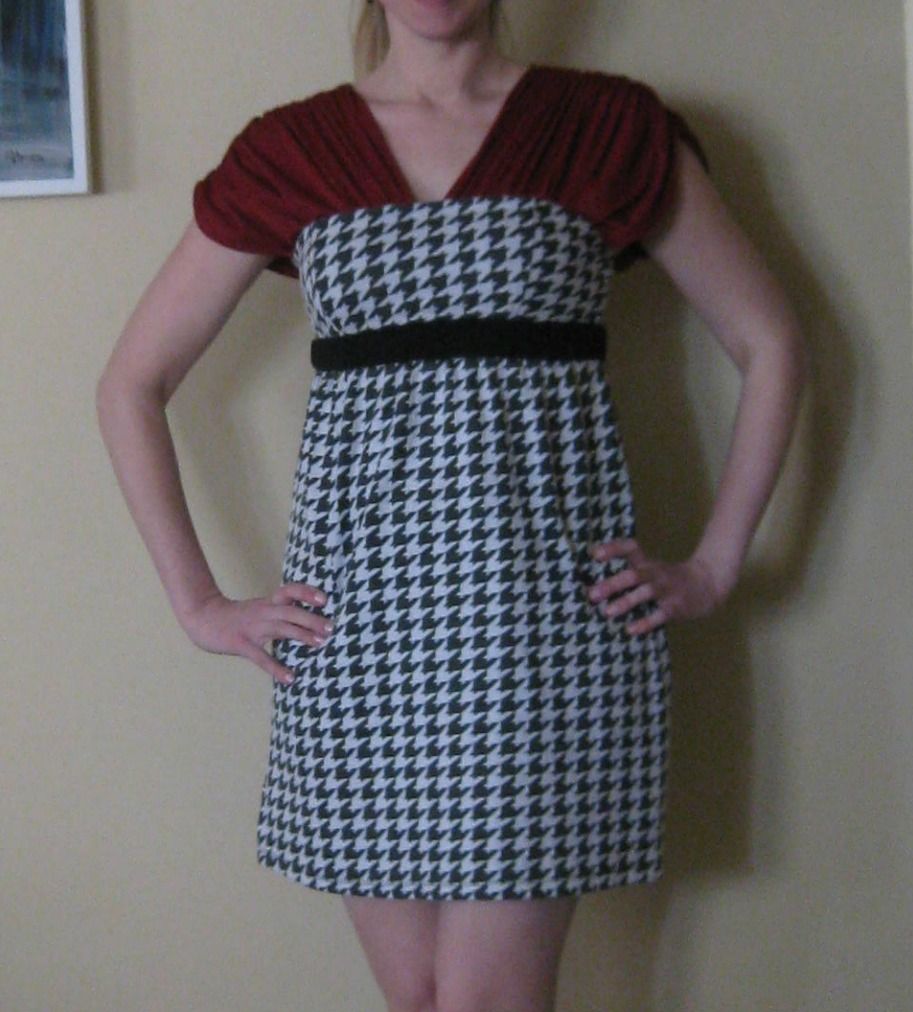
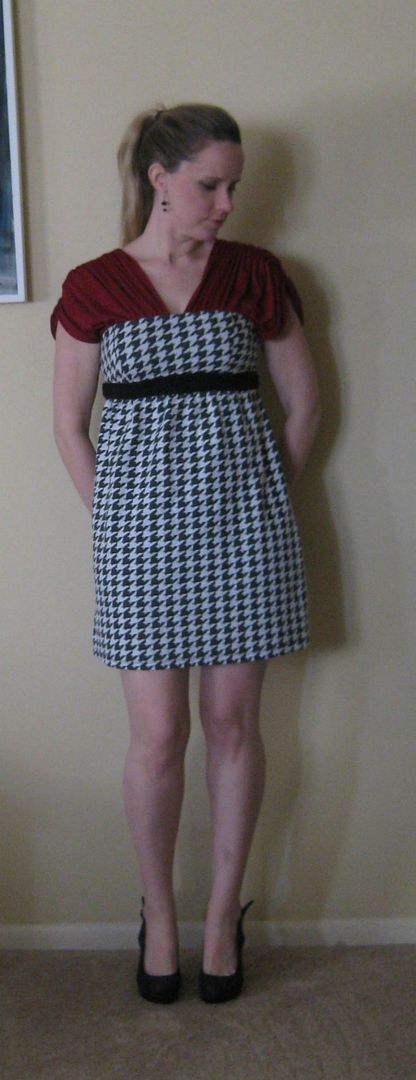
Here is the end product! Definitely modestified the dress. I sort of have gathered sleeves. Something completely different!


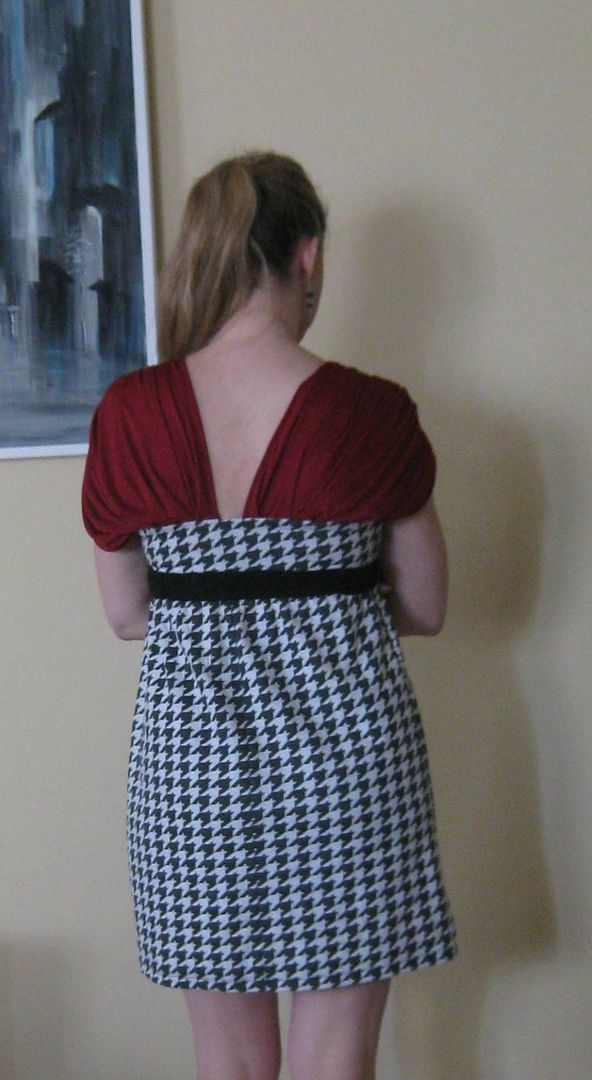
 The back..
Here's the recap. I feel much better wearing this dress!
1 more refashion left from last year! I know and it February- so sad!! Stay tuned for next week for another refashion! My last one and it is a good one!! :)

Cheers,
Lauren


Tuesday, January 27, 2015

the odd denim shirt, refashion #97

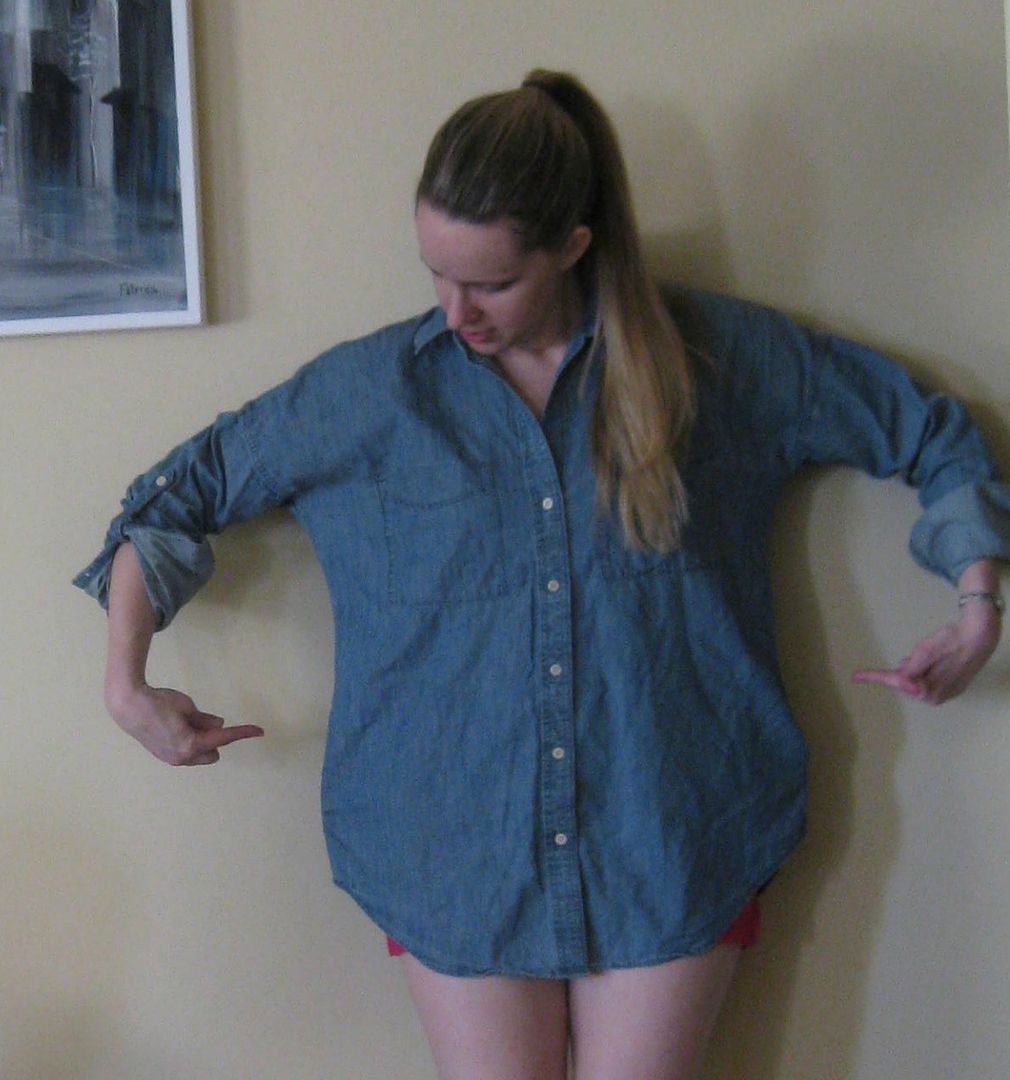
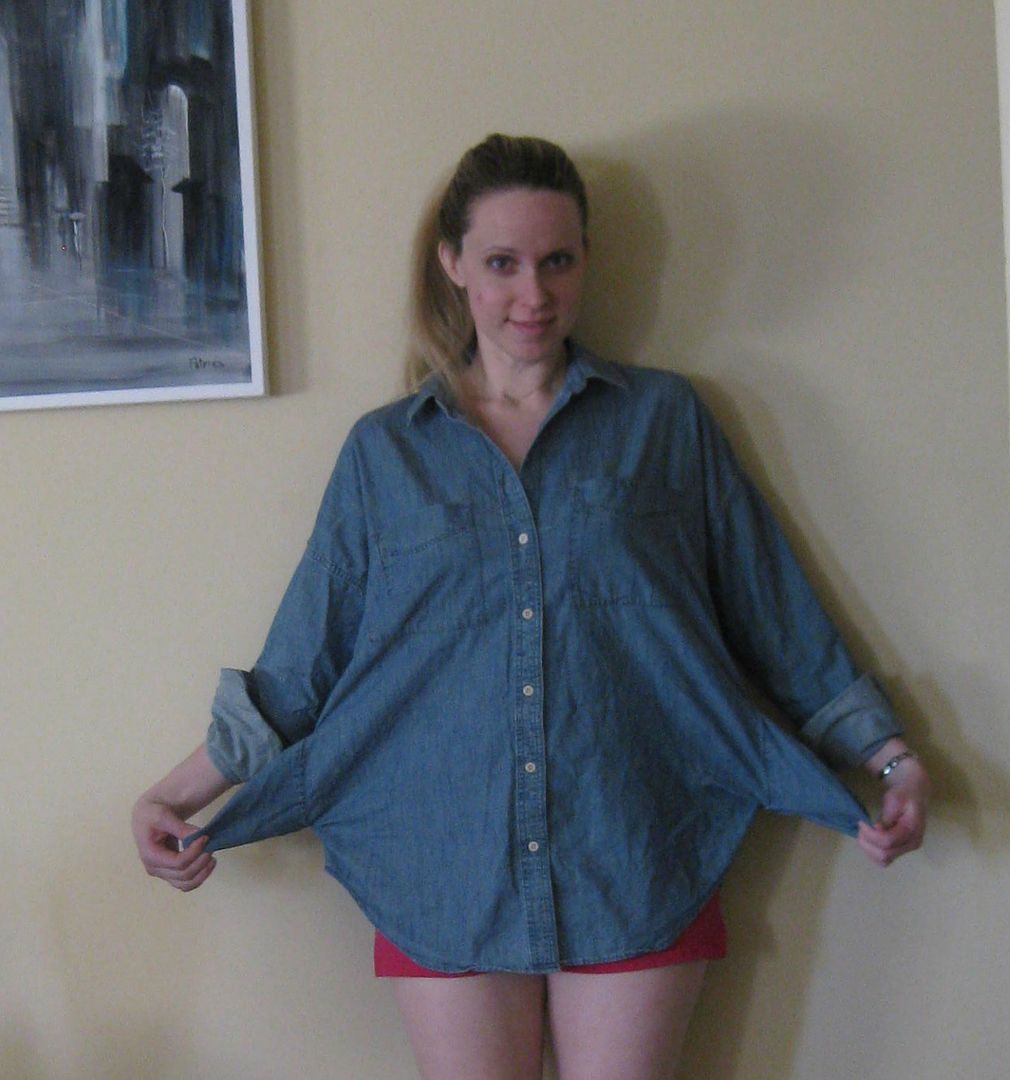
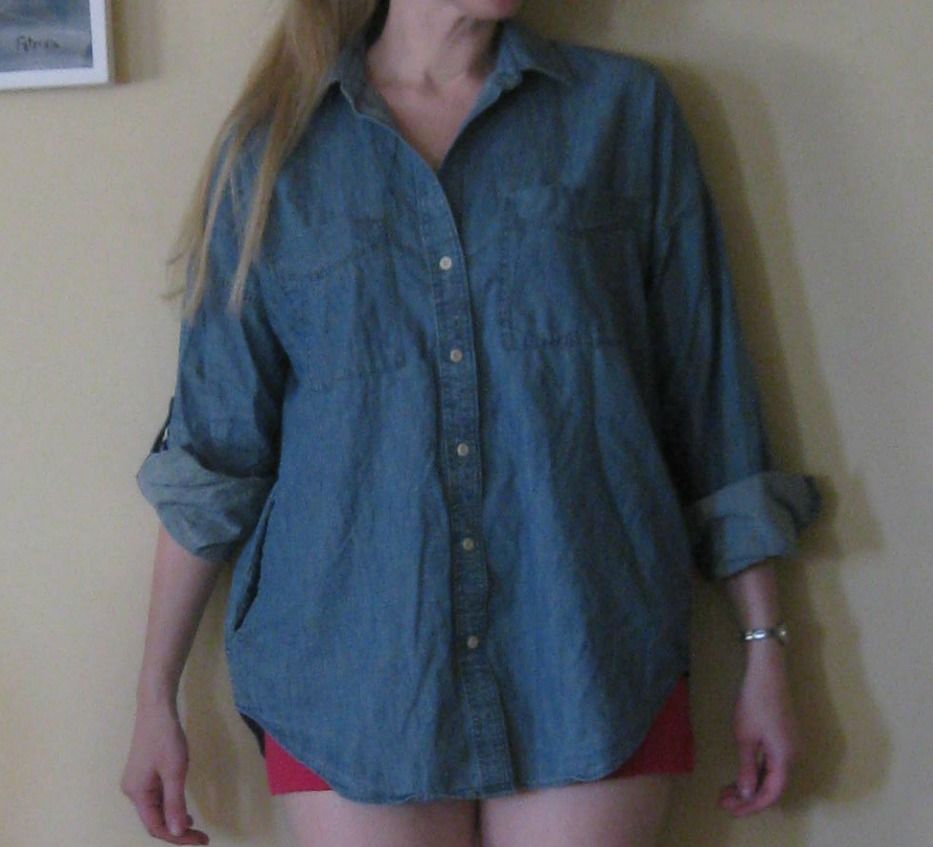
So counting down the last refashions that I completed last year and finally blogging. I found this denim shirt but while wearing it- it just sort of hung oddly


turns out this shirt has pockets! Pockets!!! What!? No matter how much I ironed these pockets they stuck out


Meh This can be an easy fix

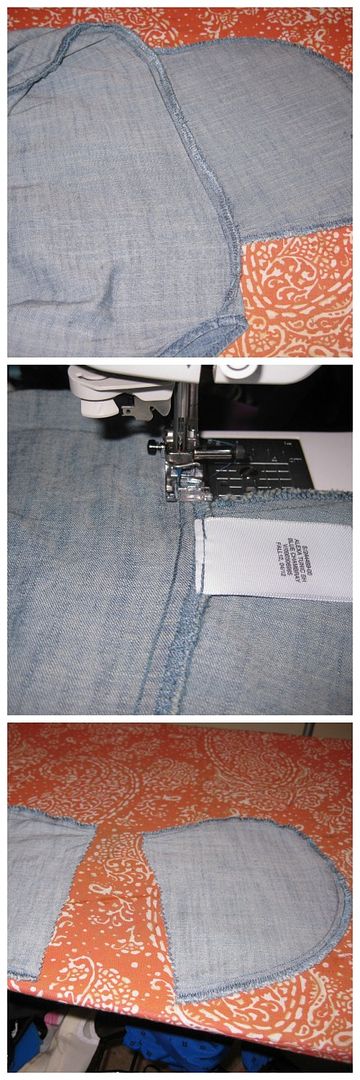
Turned the shirt out and I basically sewed out each pockets.


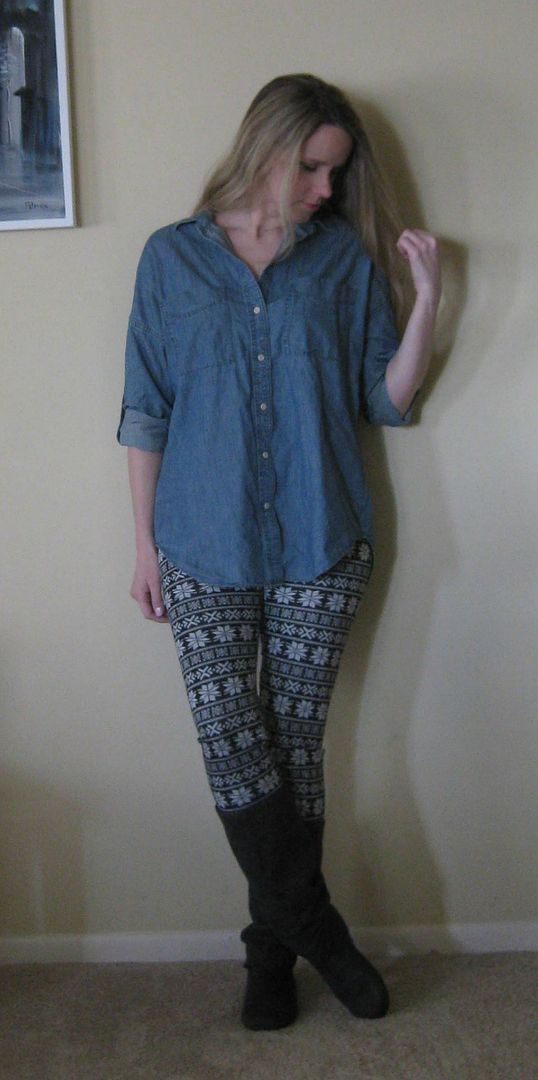
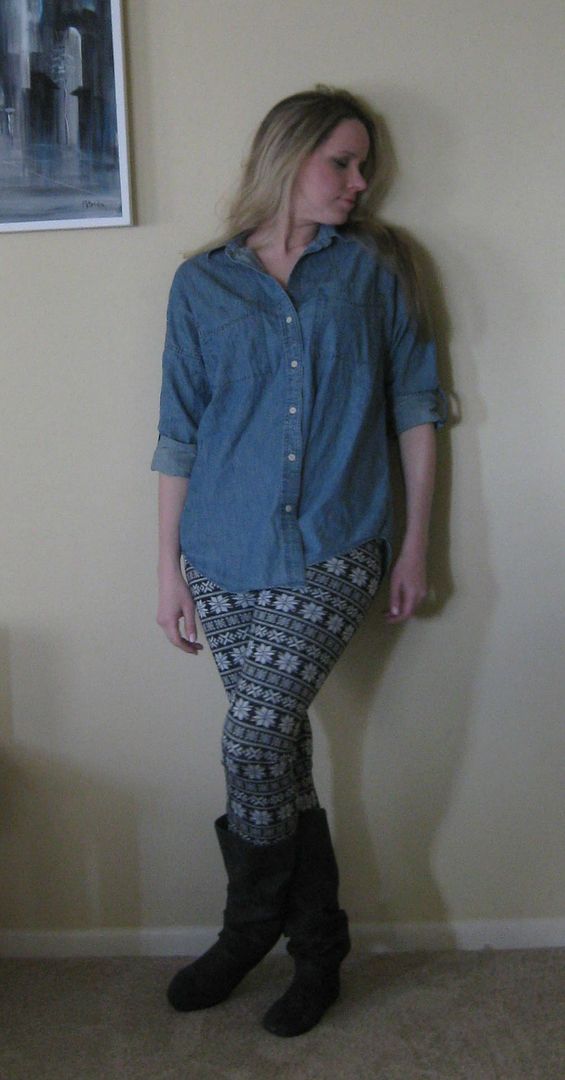
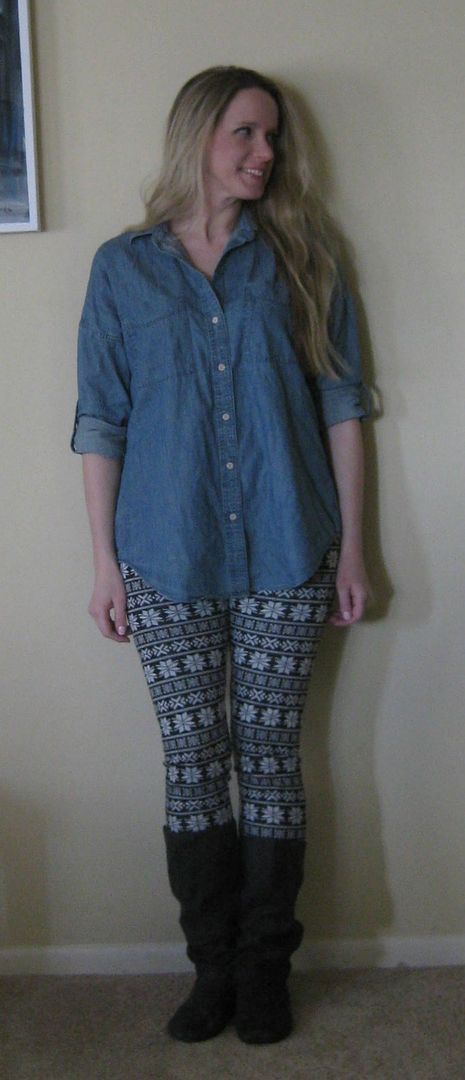
Those pockets sort of look like elephant ears to me. I did nothing else to the shirt and it completely changed how the top lays. Perfect for pairing with some of my crazy pants Like my snowflake leggins I made previously.  


Love my crazy pants, but this top is so functional. But seriously Gap why put pockets in a button down?
Here's the recap!


Cheers,
Lauren
Wednesday, December 31, 2014

peach striped chiffon top, refashion 96

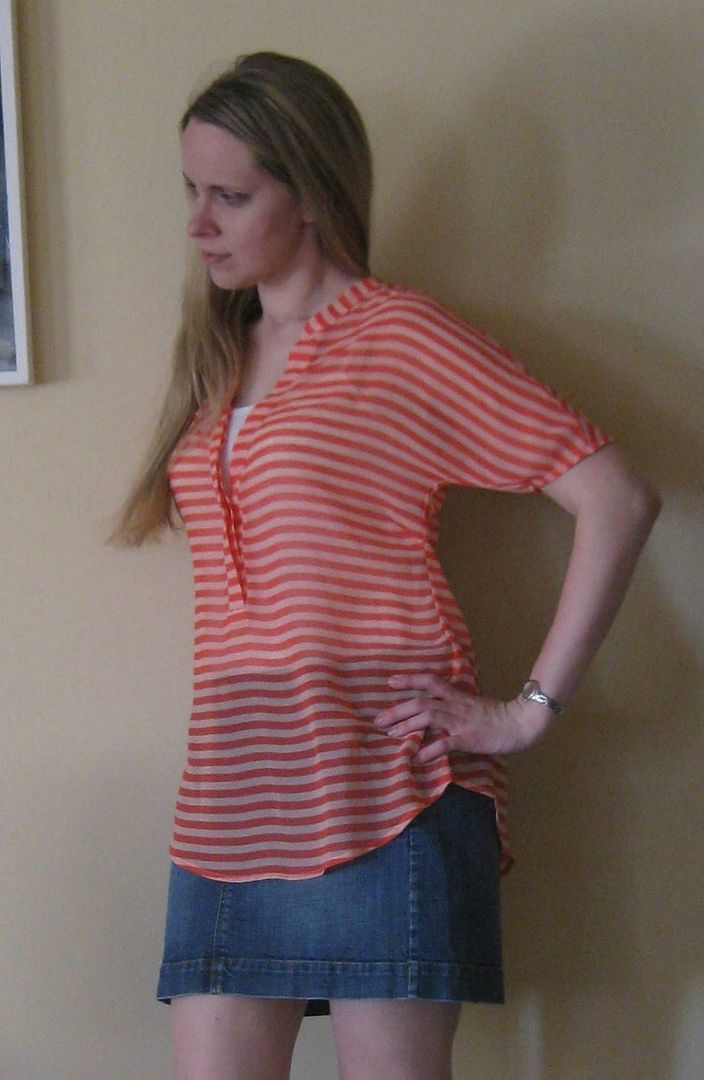
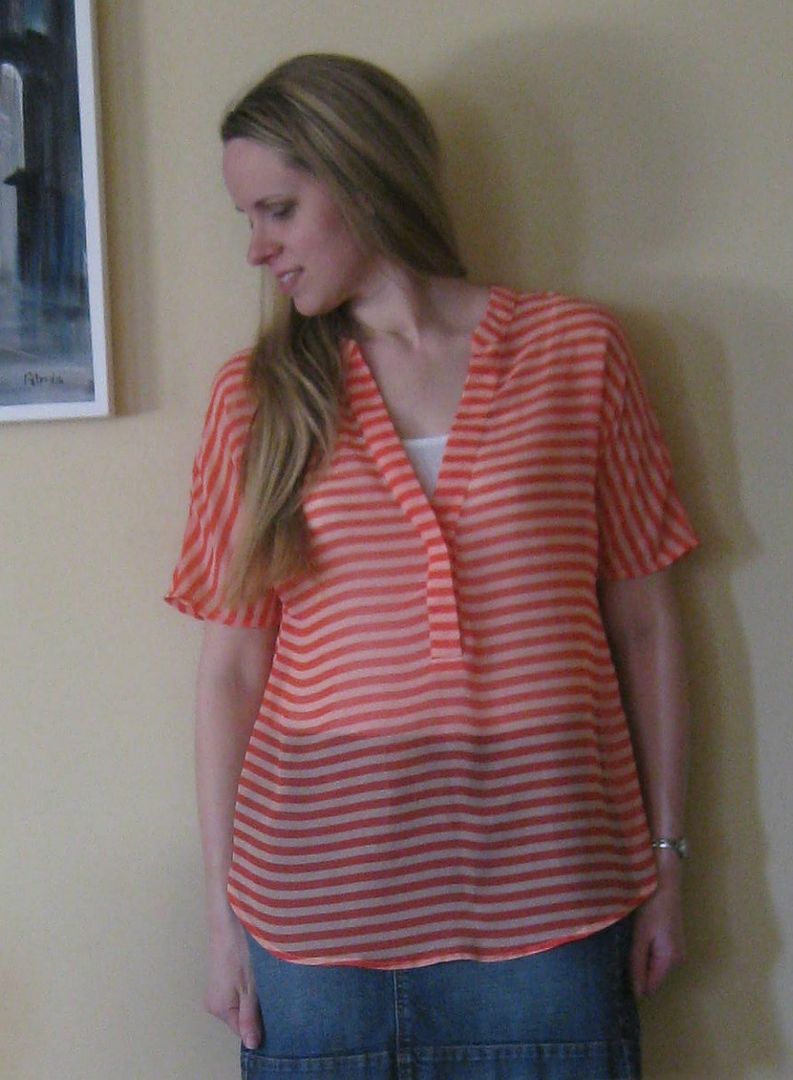
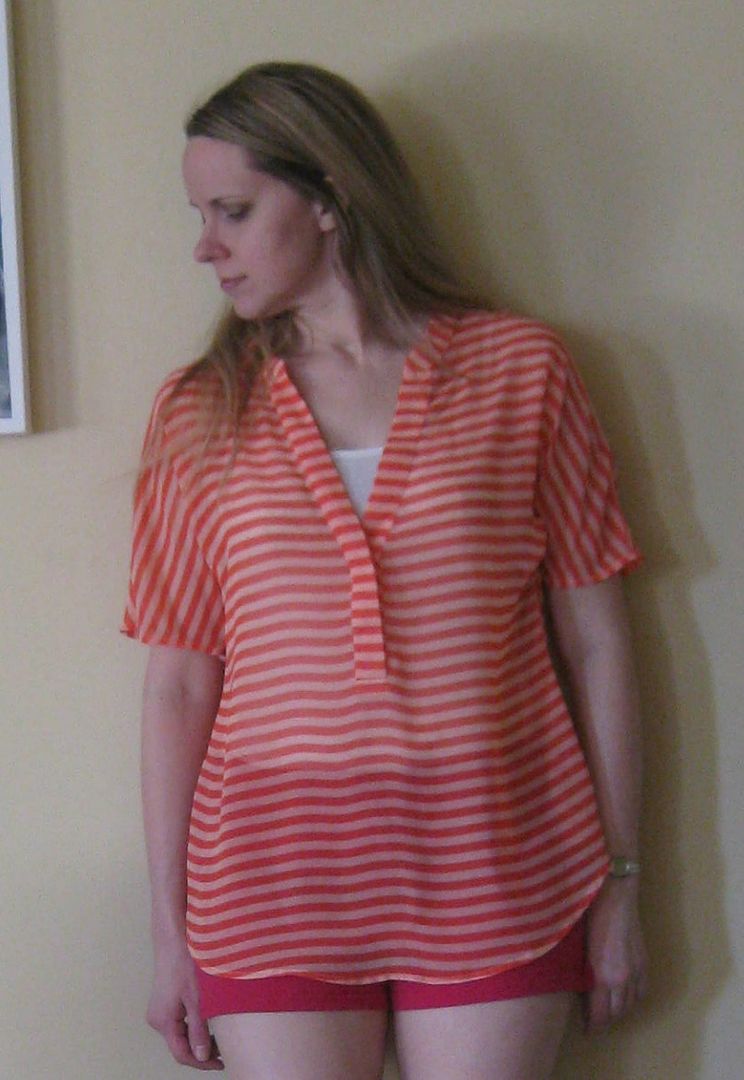
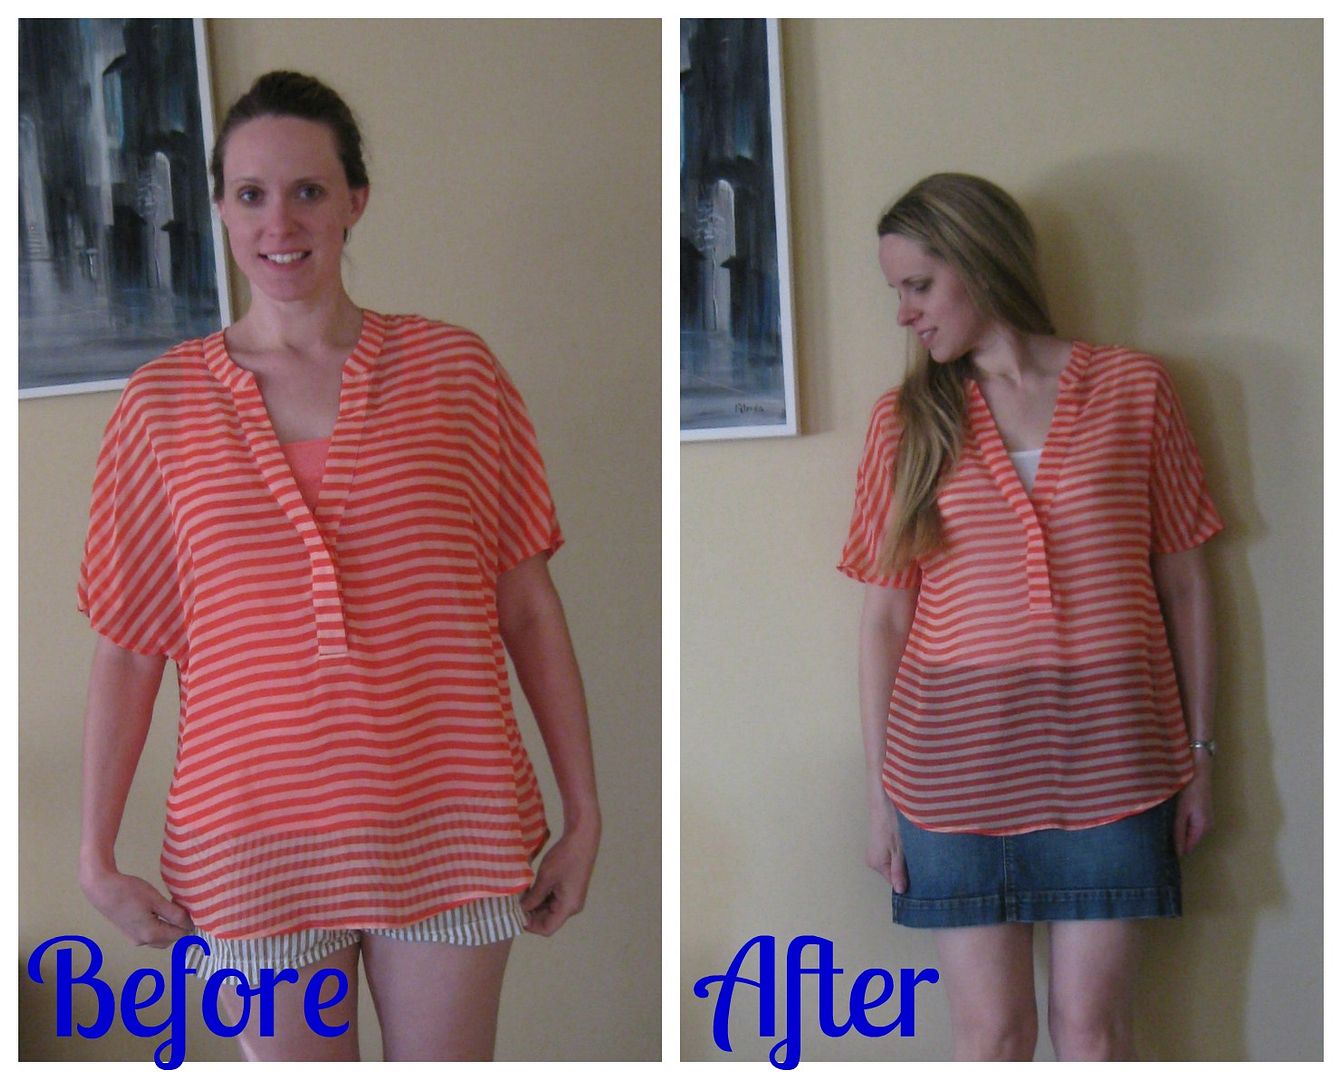
96!! Yeah! Well I won't schedule them all at once but some of my refashions will continue through the new year even though I finished them before the year ended (yes so spoiler- I finished my 99 refashion challenge). This is another "I thought this would wear as is" top. The biggest issue was the arm holes were odd. The top was wide and honestly I felt as if the arm holes were too small for me. Too small! And this was technically a plus sized top.

The top was too wide that the arm holes were small and didn't have enough ease. Here is my only during photo, I took it in and down. I serged off the excess.

Done! And now I can move my arms without getting caught in my top.

I didn't change the length.

Here's the recap. An easy top that I can move my arms! Yay!
Yay! Cheers,
Lauren
Tuesday, December 30, 2014

Oscar de la Renta clown shirt, refashion 95

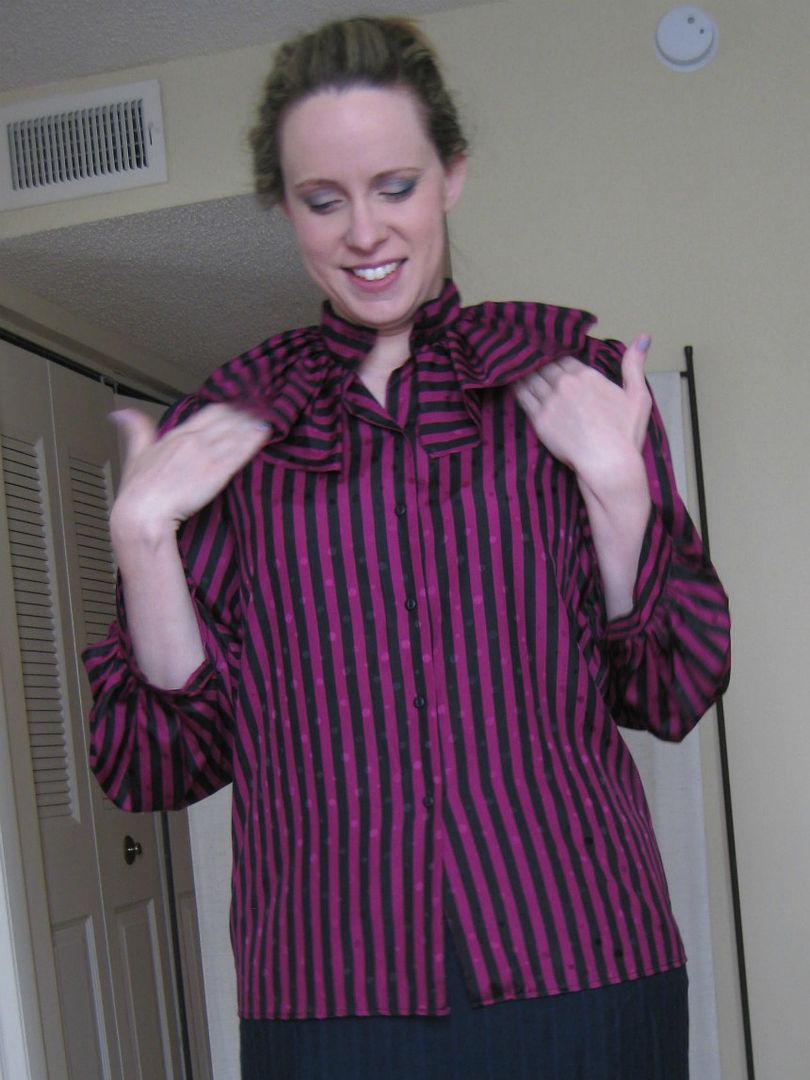
I found this gem and when I looked at the tag, it said Oscar de la Renta. May he rest in peace. But this shirt instantly said clown to me. That collar is over the top!

It is just too much, with such loud fabric, the details must really been minimal.

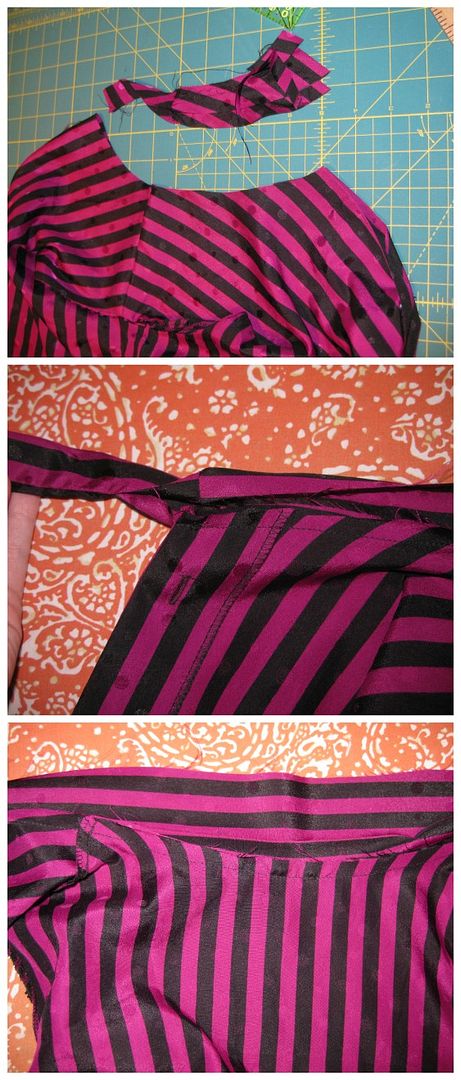
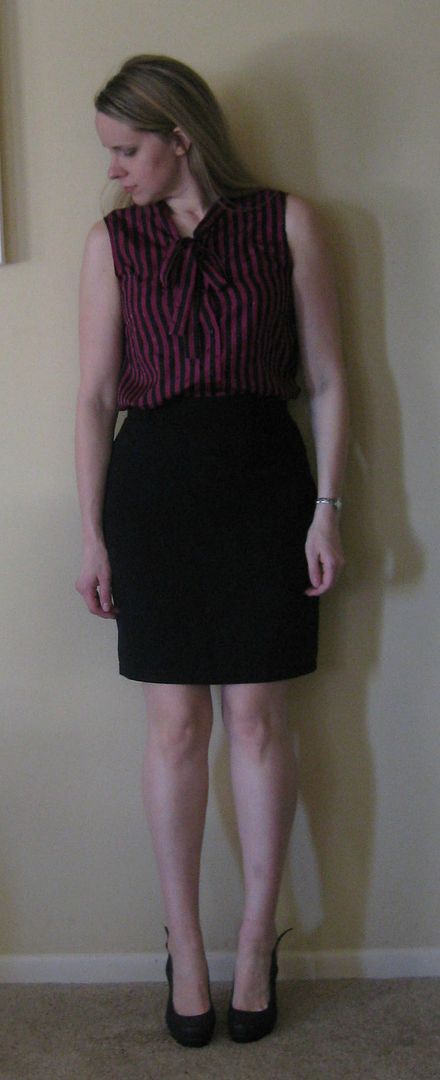
Off came the collar and sleeves. I fixed the neckline. I then used a sleeve to create a tie strip that I then attached to the neckline. Then I finished up the arm holes. Done! I didn't have to take in the sides as really it was fine.

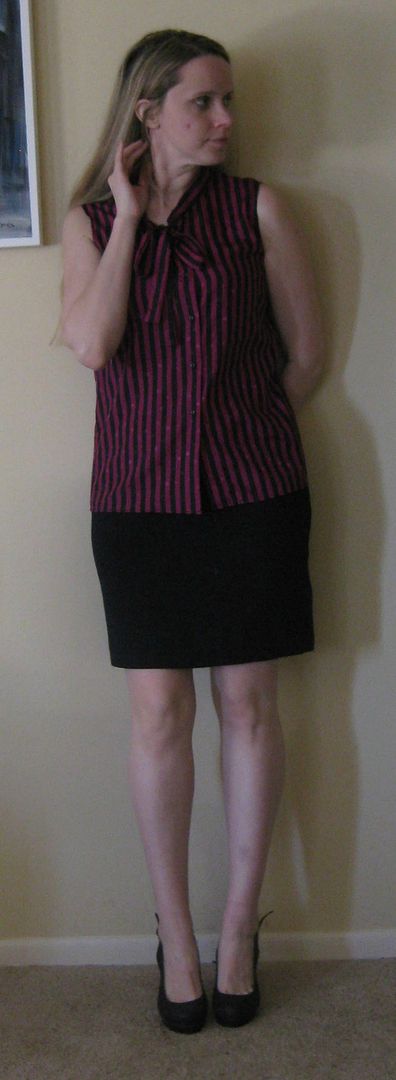
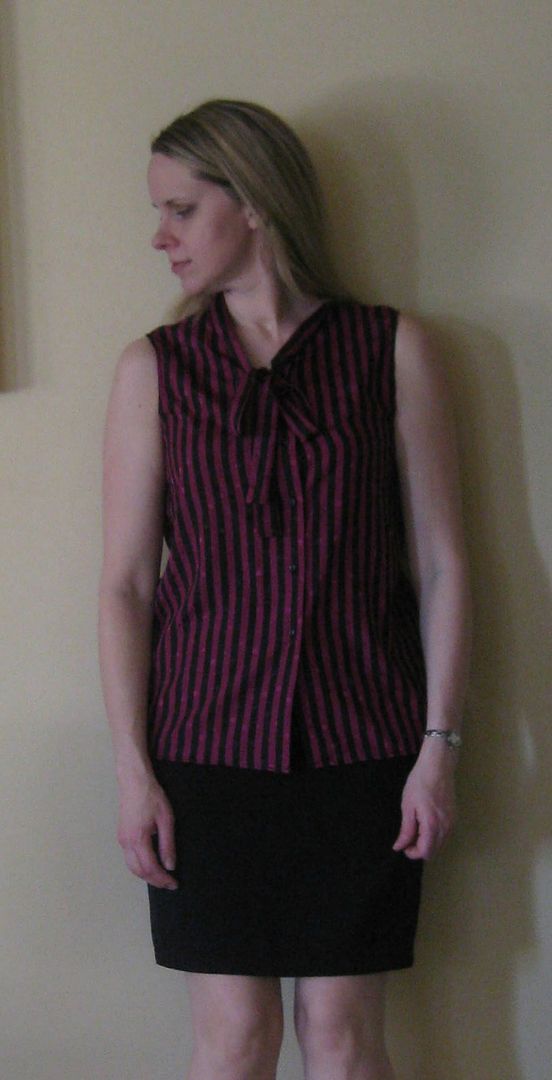
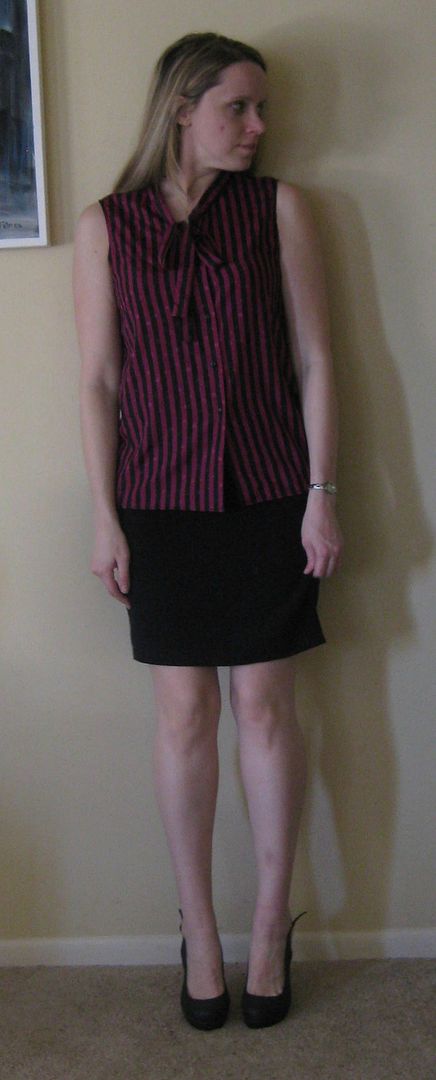
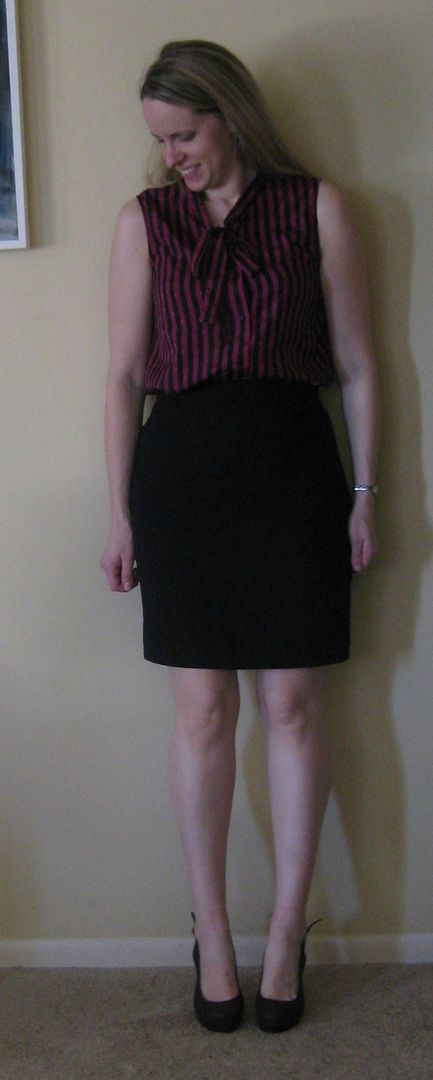
Here is my new top!

Simple and alright for the office.


It is super cute tucked into the skirt.

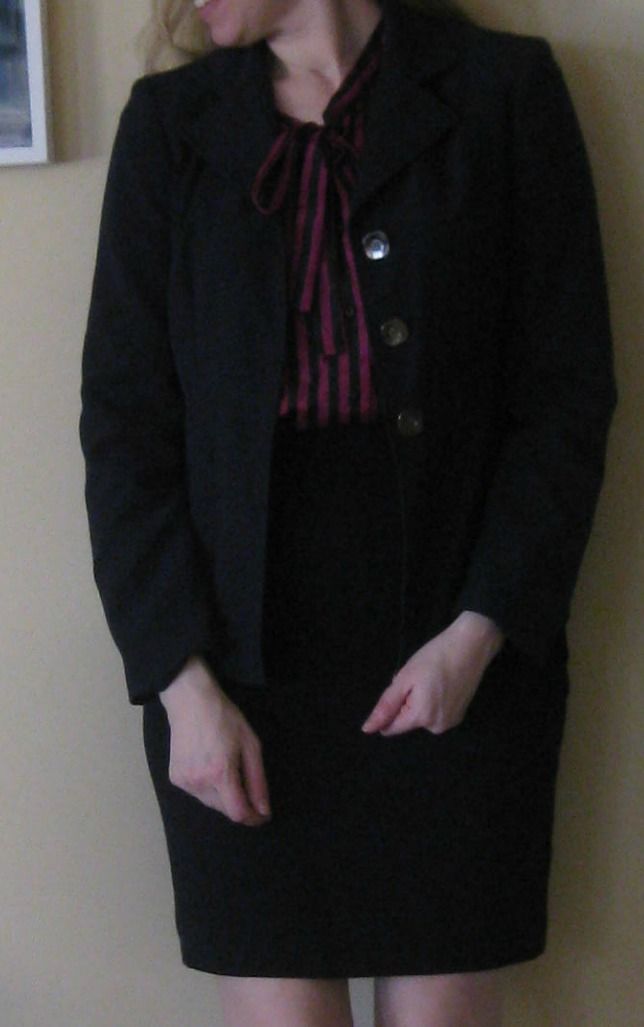
And if I added a blazer (obviously I would select one that would work better with the skirt) then it further tones down the loud magenta and black striped fabric.

I had no idea this top was really going to work but it does! Yay! Here is the recap!

Cheers,
Lauren
LinkWithin

Related Posts Plugin for WordPress, Blogger...