Well hi welcome to my little blog. Just my little corner of craftiness, sewing, and refashioning. I am also a newly gluten free eater so you have a little bit of recipes mixed in here.
Showing posts with label sequin dress. Show all posts

Wednesday, April 9, 2014

The sequin dress to bra top, refashion #27

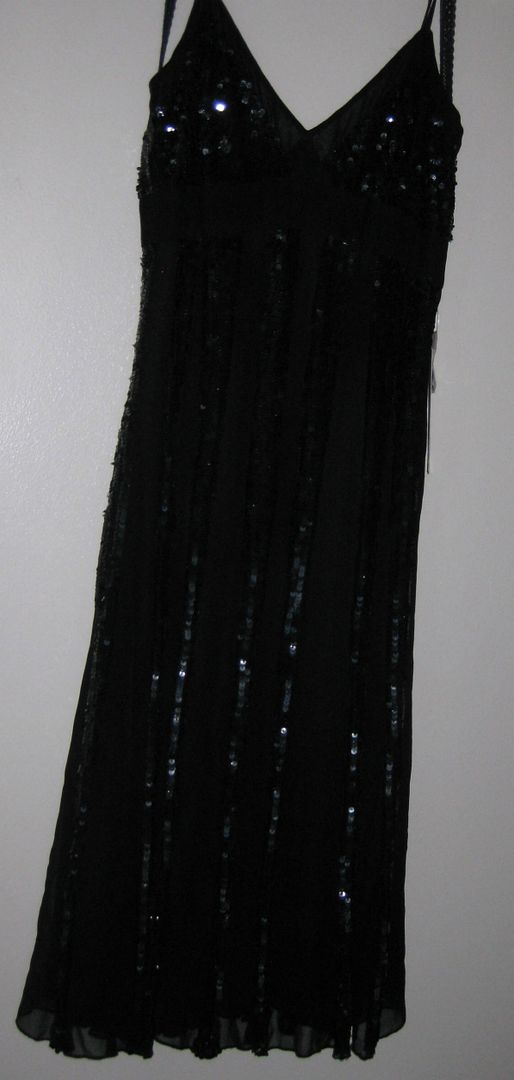
Next refashion I am slightly ashamed to admit I have. This dress I have had in my closet for an easy 7 years. Yes people you heard it. It got it on clearance back when it was the weddings adventure, meaning when all my family and friends were getting married. And I was constantly traveling and in need of dresses.

NEVER wore it! For some reason when I put it on it was sort of bleh. It just didn't work for my body. I think it was the high waist with the bodice. Yes the tag was still on ... BTW it was actually even less, the red writing  says $88 but it was $53 but then I got another 40% off. When I had gone to the cashier the dress at the store was slightly less than $20. Not bad for a dress originally $180! So yeah I was always a bargain shopper. 
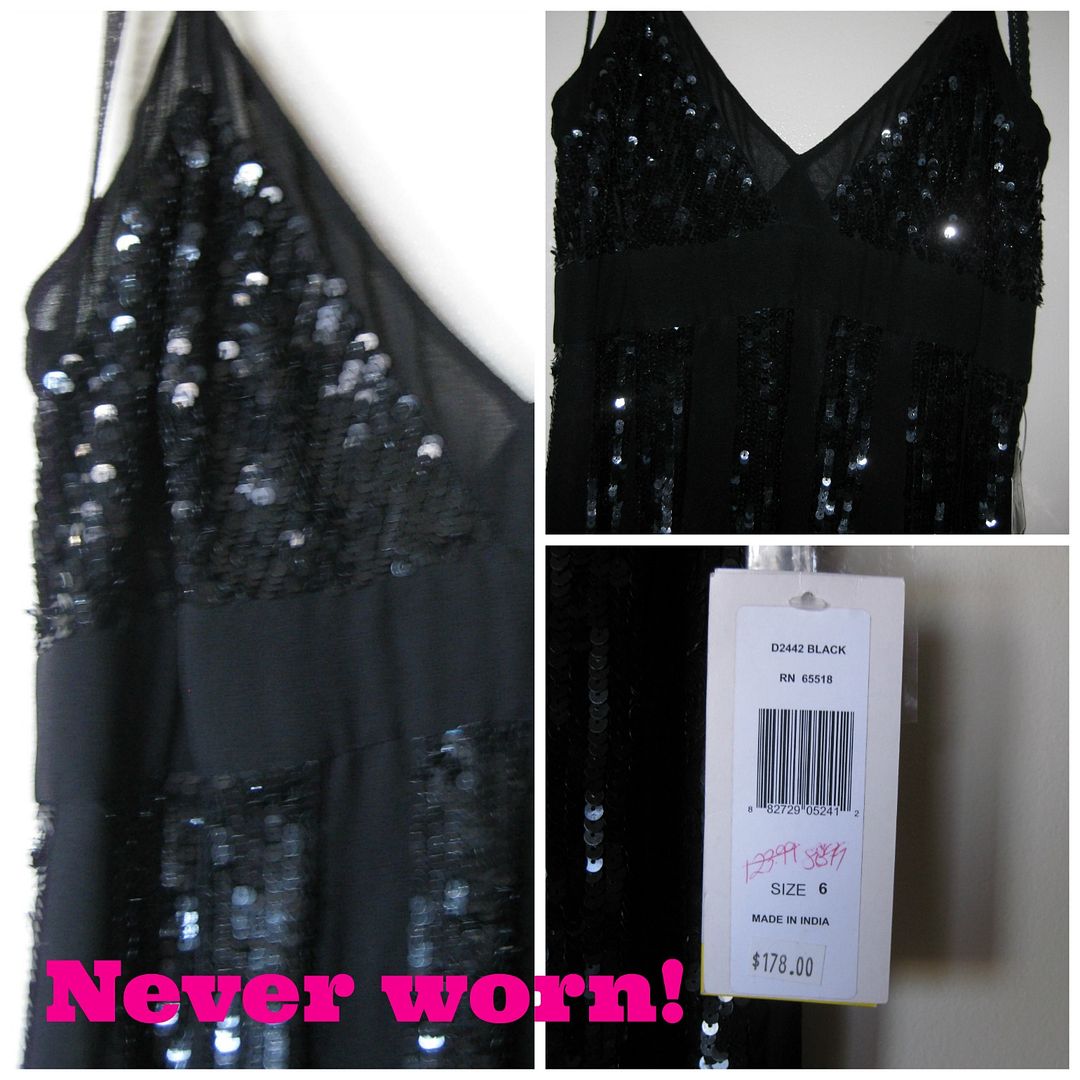
Seeing the fact I have never worn it in over 7 years and the fact that closet real estate is at its premium here in the city, I decided that either I refashion it or it has to go. That's when it hit me one night on pinterest looking at clothing, which I do almost every night to get refashion and sewing inspiration. I kept seeing all those low arm hole and backless tops and I think I am too old to not wear a bra but I really like some of these tops, I need some sort of under-top before I wear some of these tops. And my sequin dress aha moment arrived- turn the top into an under top for some of these cute shirts! DING!

First I VERY CAREFULLY unpicked the hem with my seam ripper the top from the bottom of the dress. Also pulled the zipper off too.
Took off the tag.
Then I used black lightweight fusible interfacing to stabilize my new band. I delicately ironed it on.
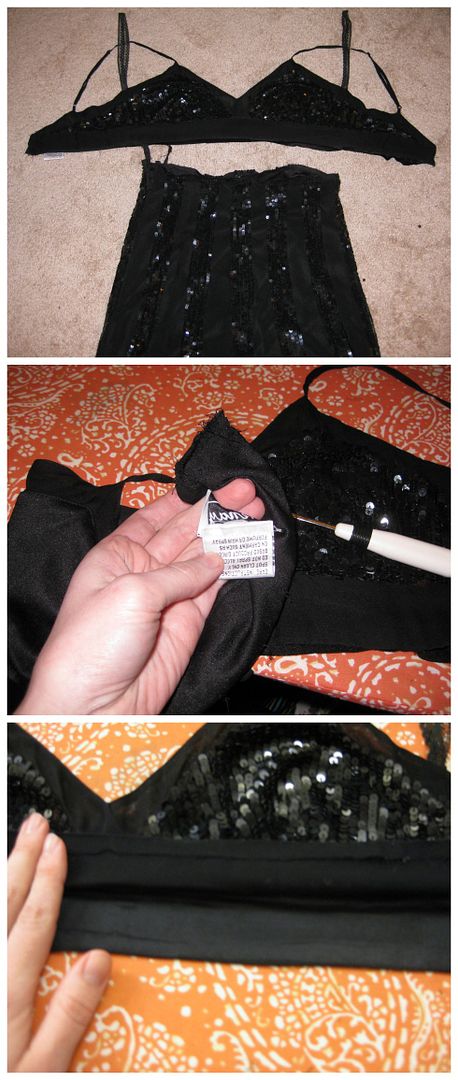

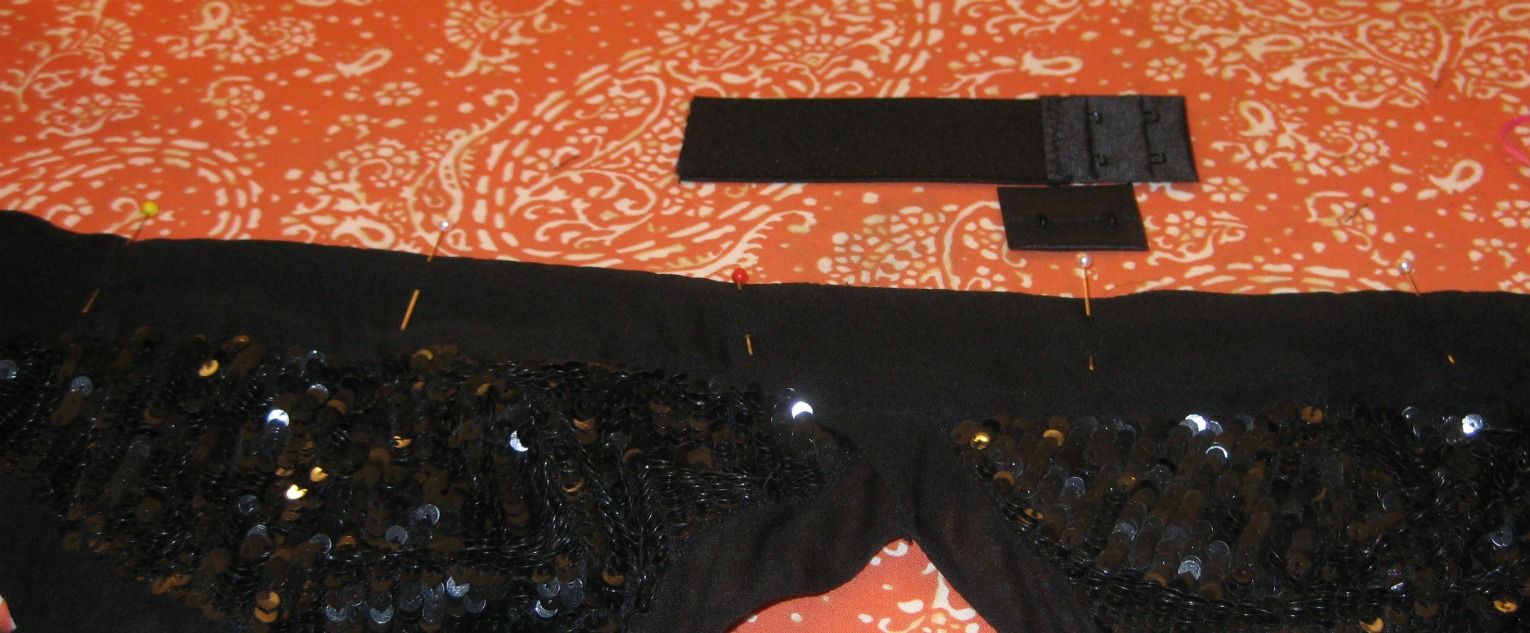
I pinned the bands together and sewed across. Now its time to convert it to a bra with some bra hooks. FYI finding bra hooks when I first started this project was impossible. I wanted to have a black hook/eye bra kit on the back but it was impossible to find in ANY store here. They had white. They had bra extenders but neither of these items was going to help me. I wanted black. Sigh. I searched and searched the internet and on the verge of giving up I stumbled upon Sewing and craft Club, a store that was based in the US (b/c the other items I found where UK or Australia). They had white, black, and nude in multiple sizes. I bought all 3 colors in all their sizes. Oh yeah. I am not dealing with this again. Plus I didn't know the size I needed for this project. The 1.5 inch bra repair kit (that is what they call it in order to get both sides for a bra). I then attached it to my new top. FYI check before you sew! I had my hooks completely backwards. It was my weekend brain puzzle-putting hooks and eyes on a bra top. LOL. Done!

Unfortunately since it has been really cold here, any sort of summer tops I would wear this with are still packed away. And I am an not taking a pic on as is... So right now you will get a hanger
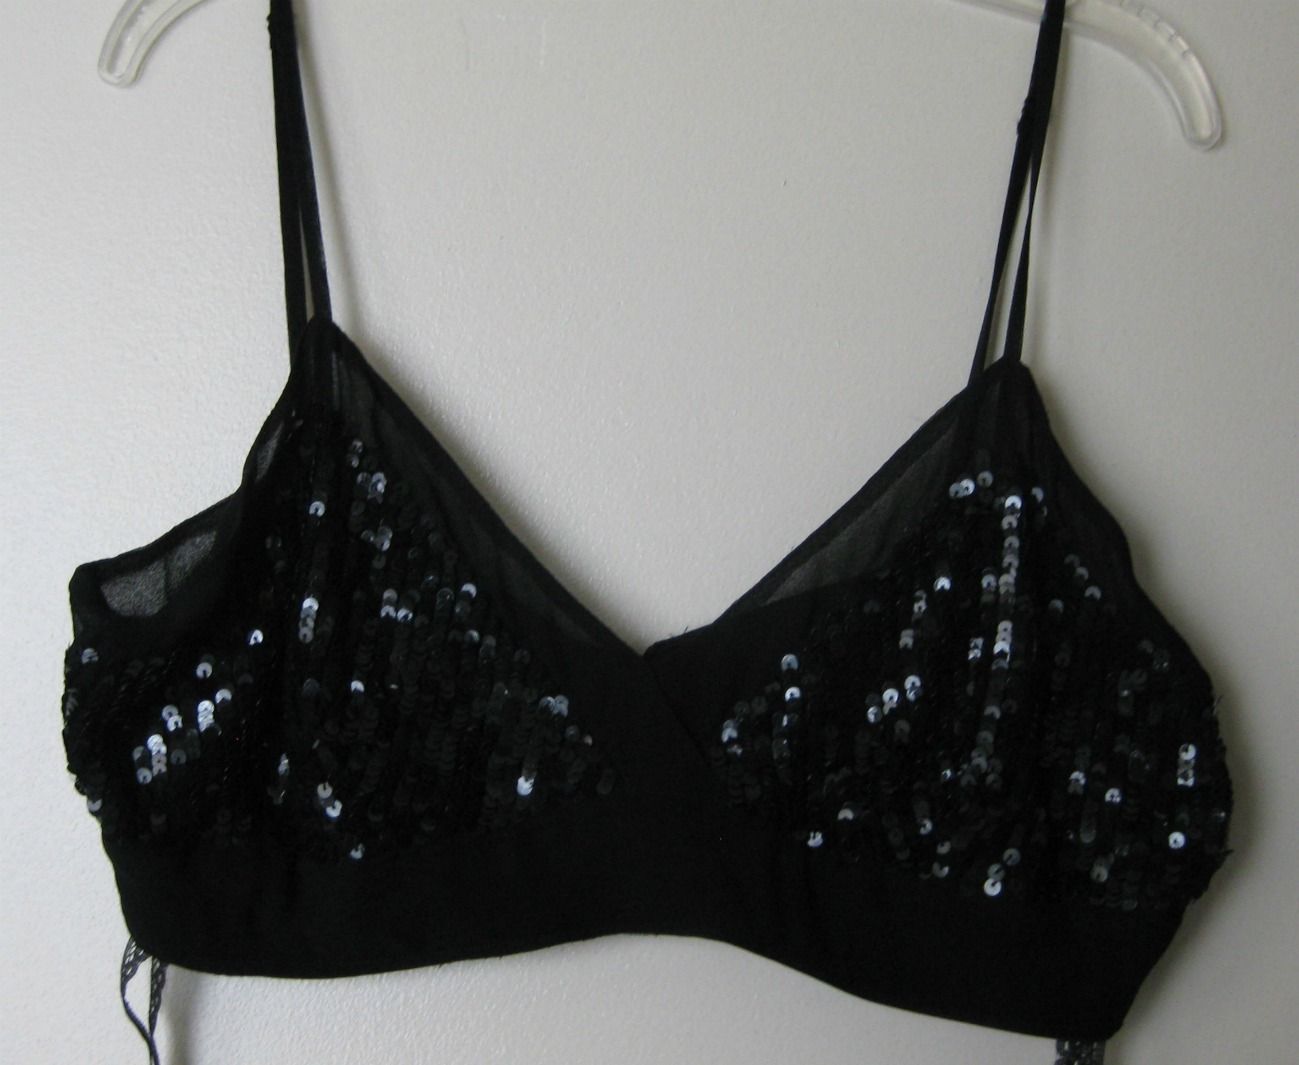
The back. It has a slight, smidge stretch. But I also have 3 eye sets to adjust. I will still wear something underneath. for a just in case 
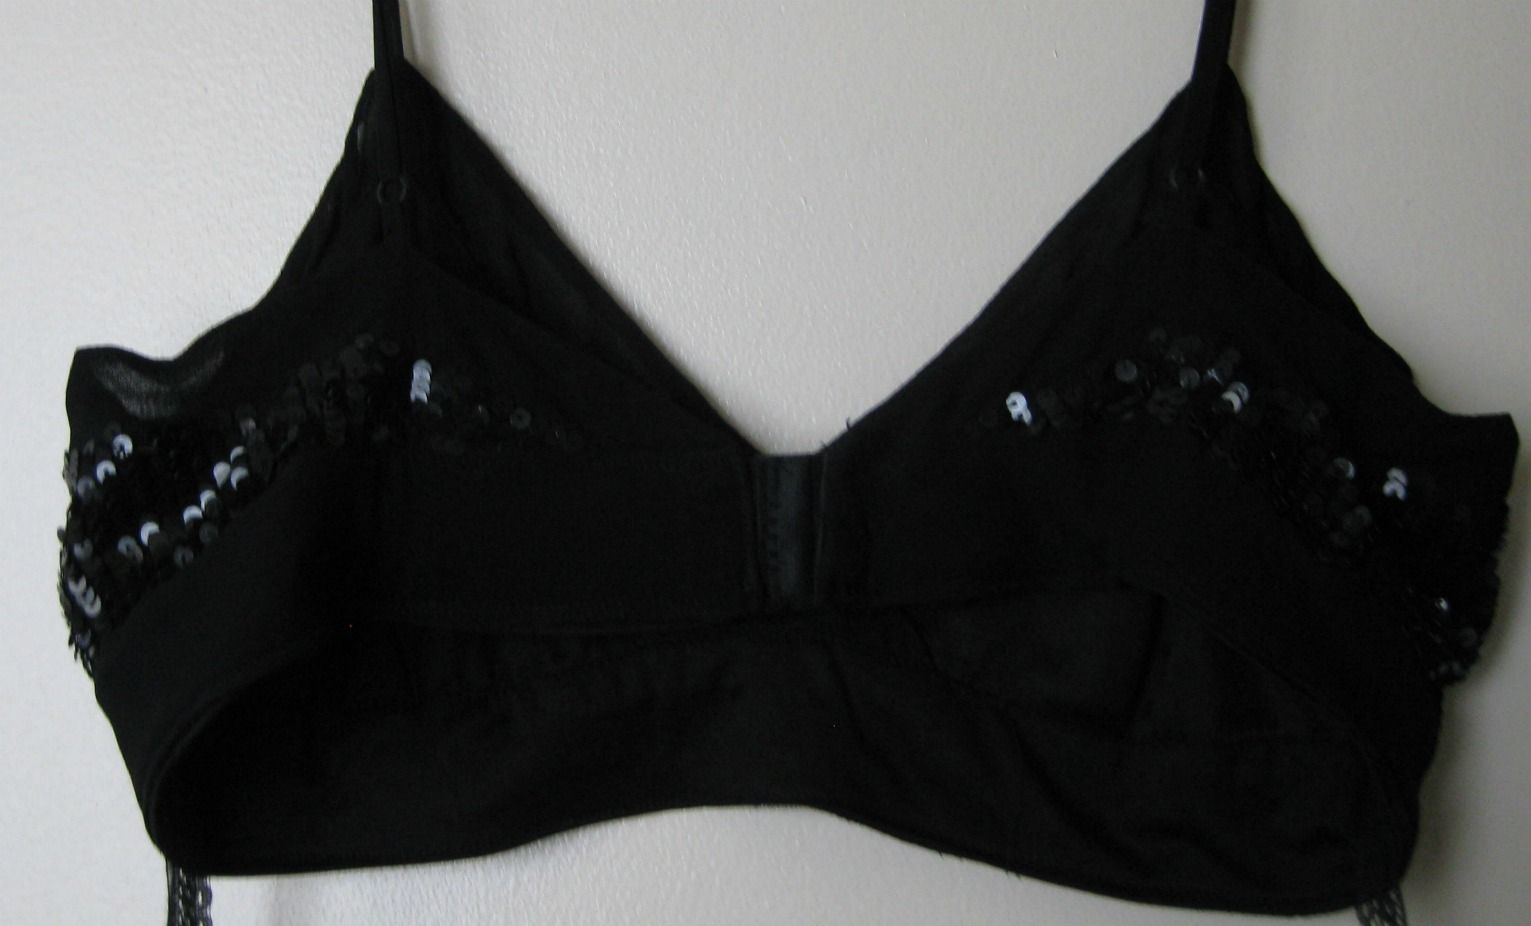
Overall I am super happy with this refashion and now finally this dress will get some use.
I have saved the skirt and I am hoping to turn it into something. I am thinking a drapey top. Which I then might be able to wear with this top, which would be super awesome! Let's see. :)

Cheers,
Lauren

Tuesday, October 2, 2012

Day 63 : Purple sequin bow dress inspired by pinterest

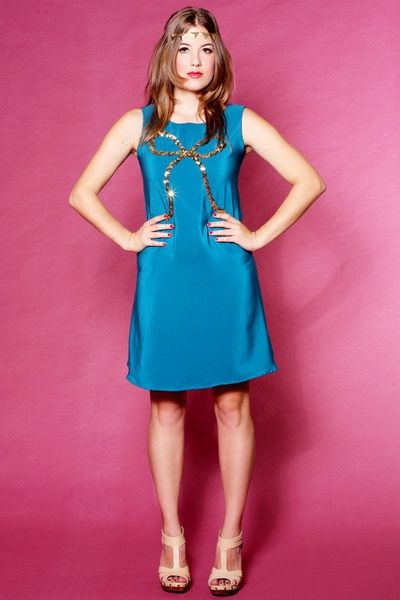
Today is a good one! OMG I love this dress! I know many people are addicted to Pinterest like me. I love it and I usually pin before I sleep. I found this really cute dress, that I realized I could copy it as any easy refashion. It is from a store called Red Velvet and no longer available.

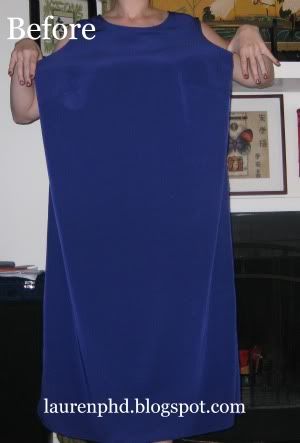
Take this sad mom dress, found for $0.99 at Goodwill.

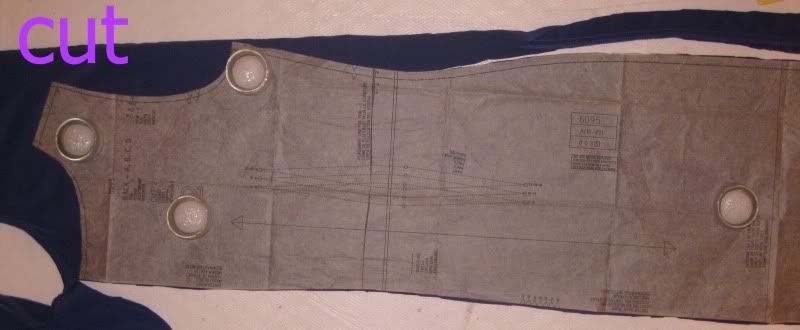
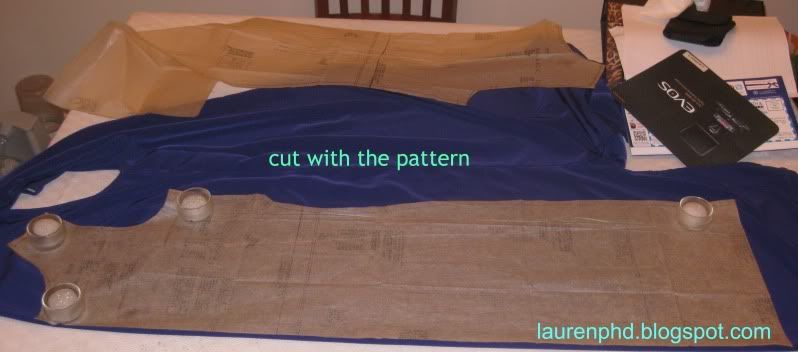
I used the following pattern to make it smaller b/c I knew the this was going to take a lot of work. I had just enough of the fabric to follow the pattern. But without the sleeves


I saved the bias trim on the dress to reuse it again for the dress.

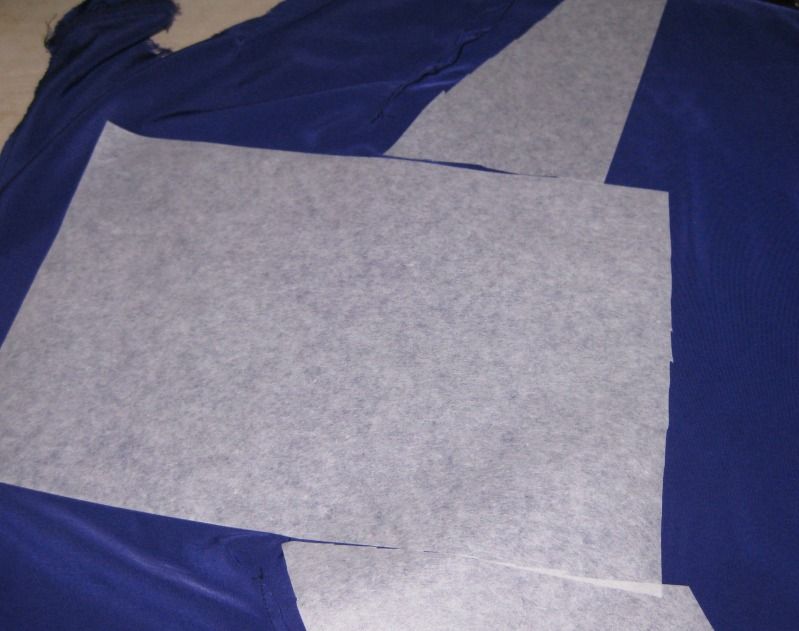
Next I have learned from previous refashions that I need to add some stabilizer interface for this dress or it will sag. I ironed on some.

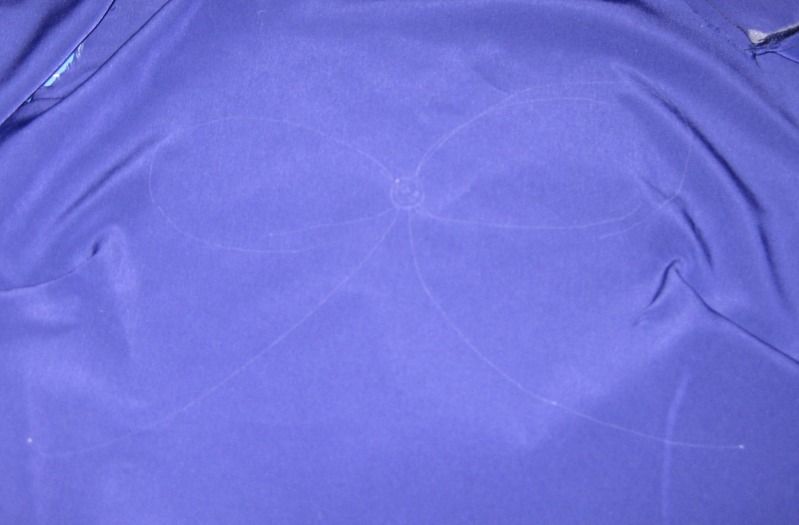
Next I sketched out with a pen how I wanted to make the bow. I used Clover's white gel based pen that simply irons away! I love this pen!

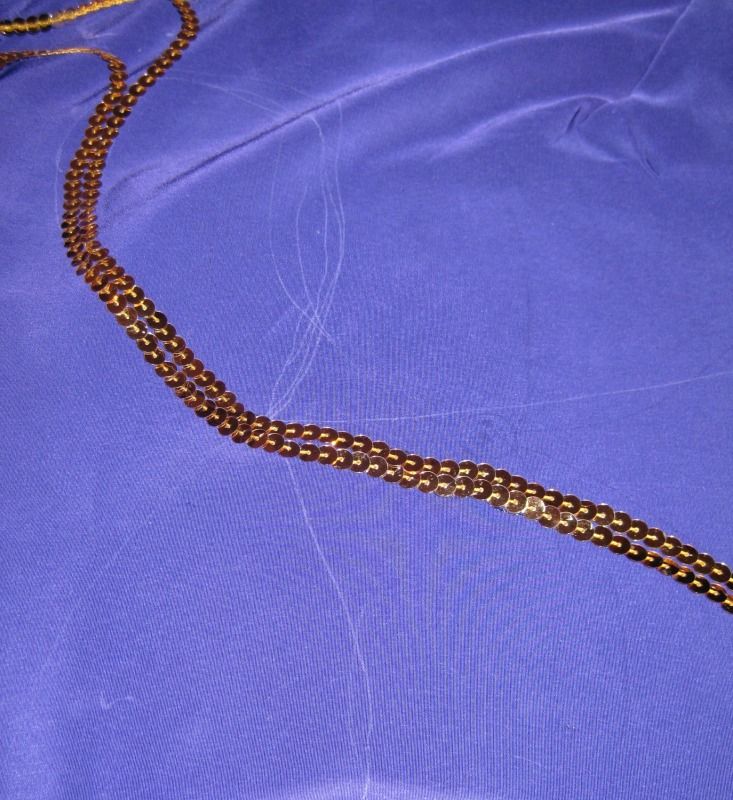
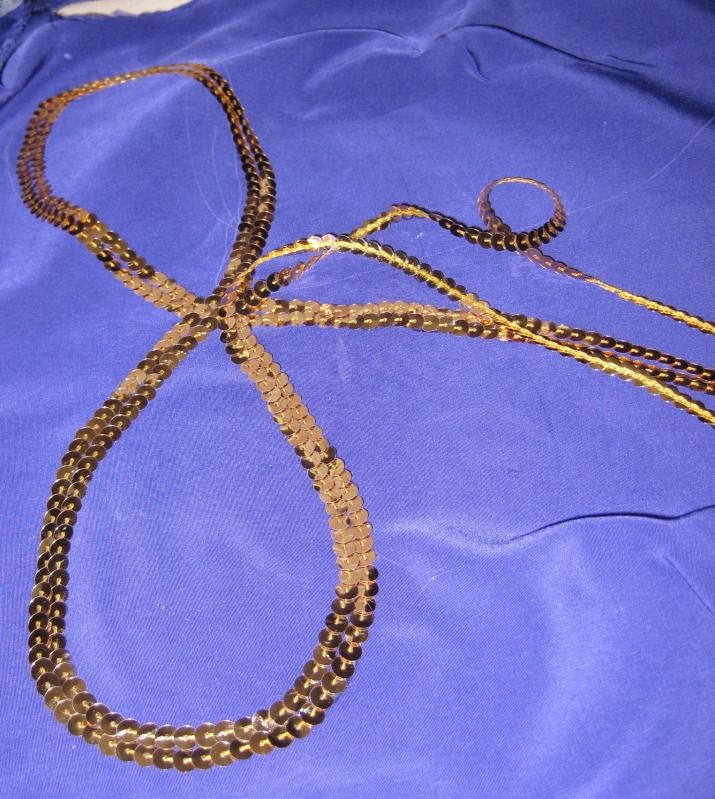
I had some gold sequin on a string in my stash and decided I was going to use 2 rows of it for thickness. So sew, sew, sew!! :) Actually I attempted to sew got angry and then decided to glue the trim on. No need to raise my blood pressure with the stress I am already dealing with.... I glued in small pieces and would let it dry and then go to the next part of the bow. Really, once I had the design it was pretty simple to glue.


After I was done gluing I pulled off the stabilizer. I cut off the last sequins on the ends of the strings and made sure it looked good. Now I need to finish the armholes and neckline. I had originally saved all of the bias trim from the dress but I did not have enough. Surprisingly the neckline was bigger than on the original dress. So I purchased the closest purple I could match to the dress and sewed it on the neckline and armholes. Oh yeah and don't forget to hem! Done!

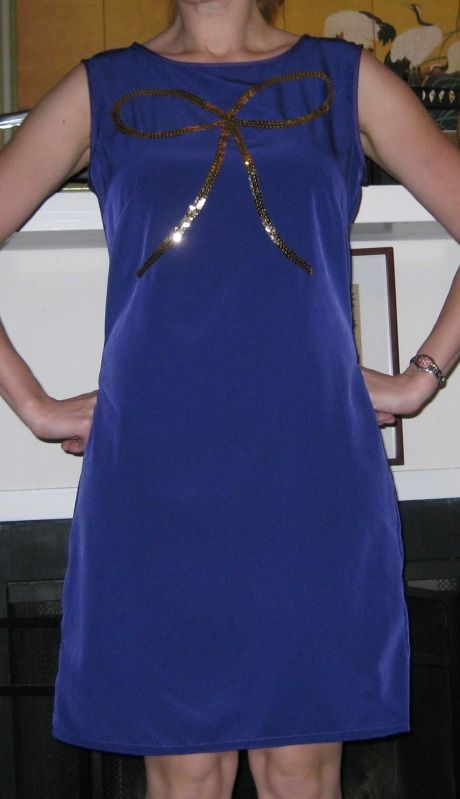
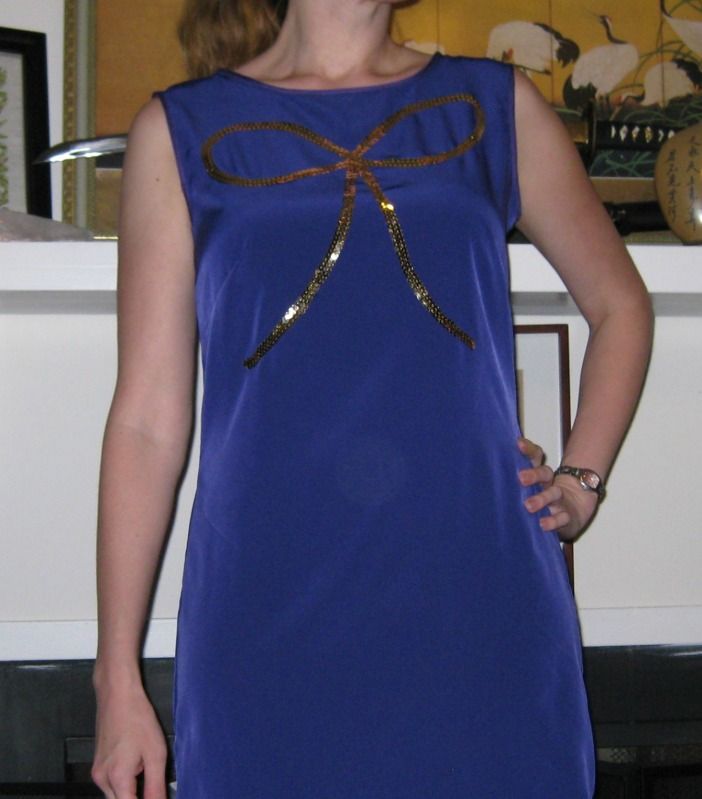
Here is the end dress! Love it!

Actually this pattern was awesome! I cut a 12 (remember sewing sizes are different than sizes in the stores) and did not need to alter anything. I will plan on using this pattern for other projects b/c it fit well (I see a glitter slinky dress in my future with this pattern!).  Besides the differences in color, I think it was a great copy cat dress! Yay! For more of my 90 days of blogging click here.

xoxoxo,
Lauren

LinkWithin

Related Posts Plugin for WordPress, Blogger...