Well hi welcome to my little blog. Just my little corner of craftiness, sewing, and refashioning. I am also a newly gluten free eater so you have a little bit of recipes mixed in here.

Monday, November 16, 2015

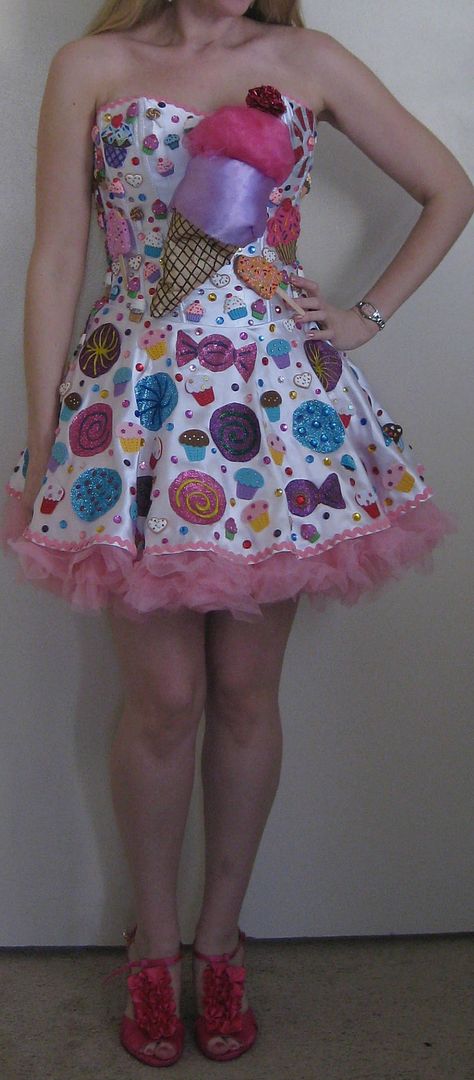
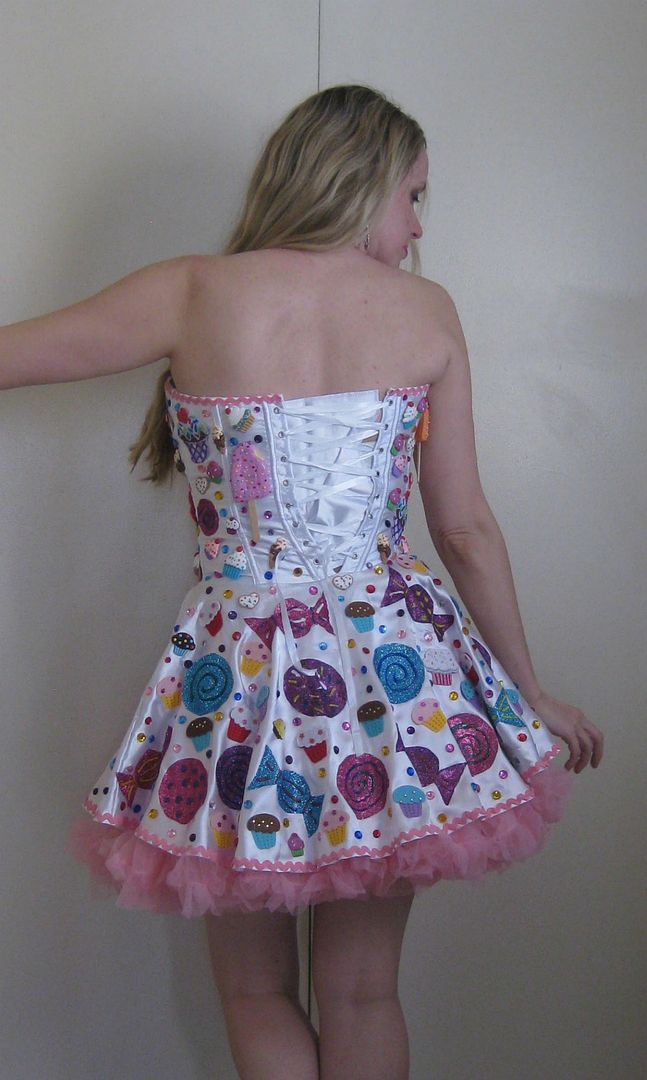
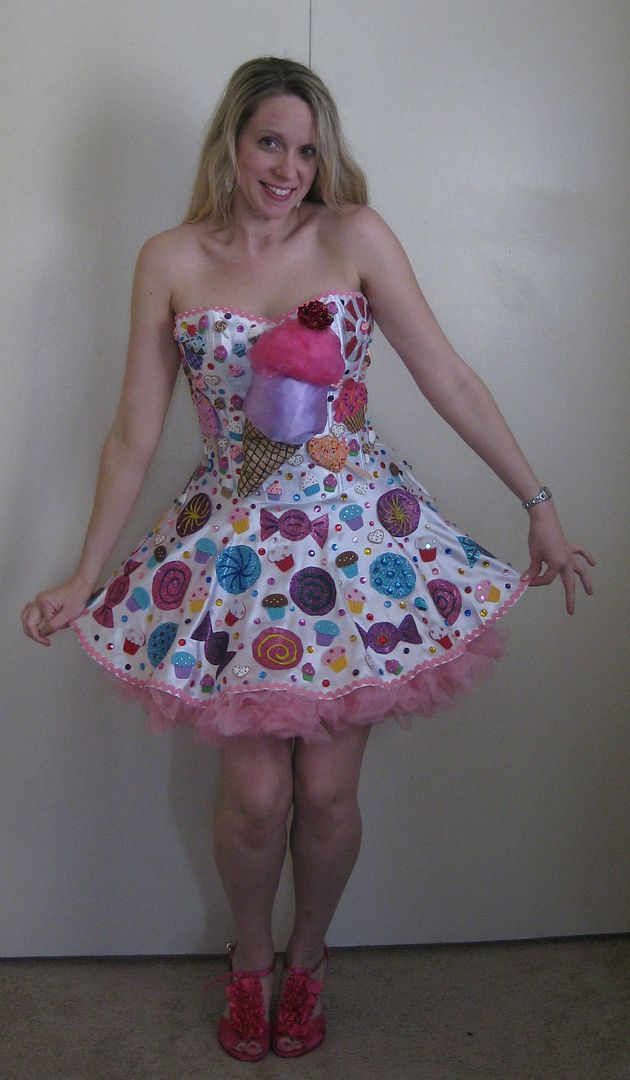
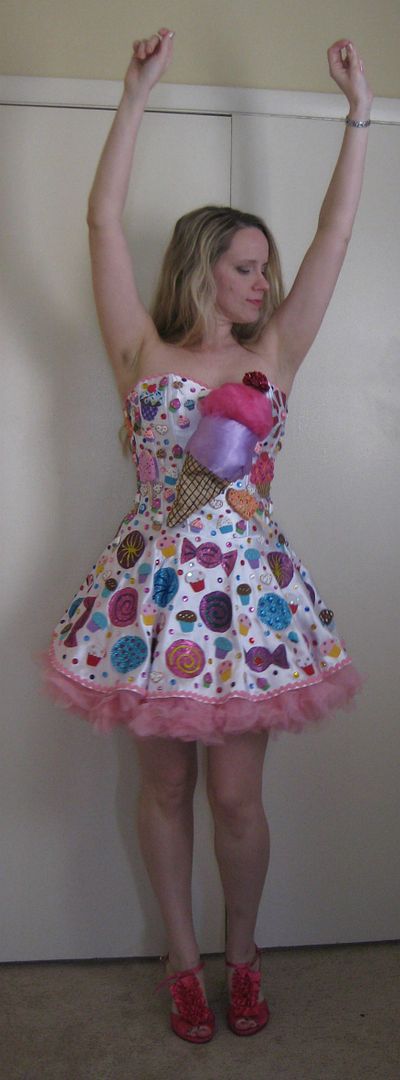
My Halloween Costume- Katy Perry

We decided for this Halloween we were going to go out and go to a party. I was going to wear my refashioned dress and go as Marie Antoinette. So I was good to go, and THEN>>>> yeah my boyfriend decided he wanted to the the left shark for Halloween and asked if I could go as Katy Perry. It took some convincing but I said ok. Then I looked for a costume, in the beginning/middle of October.... nothing was in stock and of course b/c I sew- I think it all looks horrible. So I then set out one weekend to put together a costume

After various google searched I found a few images of a costume I wanted to loosely base my costume on- i have seen various costume derivatives to buy that were also based on this costume too. So I was going to be all cupcakes and candy. Super girly and really exciting.


Either my options were to find a dress I could bling out or I would have to sew something. After spending a Sunday afternoon everywhere I found no starter dress. I did find a corset dress on Amazon that evening and had it shipped to home on a fast track. So I got my dress. Then I needed to find things to bling it. That required hitting the craft stores. I also searched at the stores that began to put out Christmas ornaments. If I could find sugar plums ornaments. OMG that was an exhausting weekend shopping. I don't want to go shopping anymore.
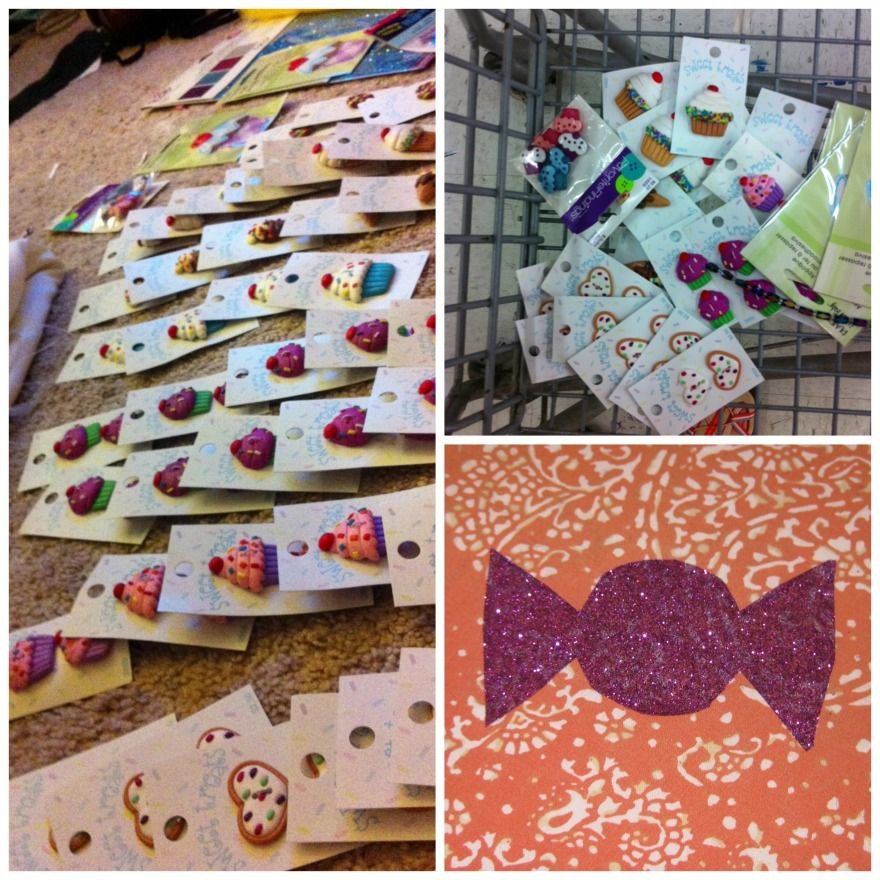

I scored big at Hancock Fabrics with buttons- cupcakes, cookies, and candy. I bought everything I could find. I then went to Joann and did the same. I also found this iron on glitter paper that I used to make glitter candy wrappers as well as circles which I would decorate as like candy/lollipops. I scored with iron patches of cupcakes which I blinged further with crystal fabric paint. I wanted to amp up this costume. At Michael's, I found felt cupcake stickers in various colors that came in a 20 pack. I bought then all. I found fun popsicle ornaments with glitter and sprinkles on it- yup bought them too!

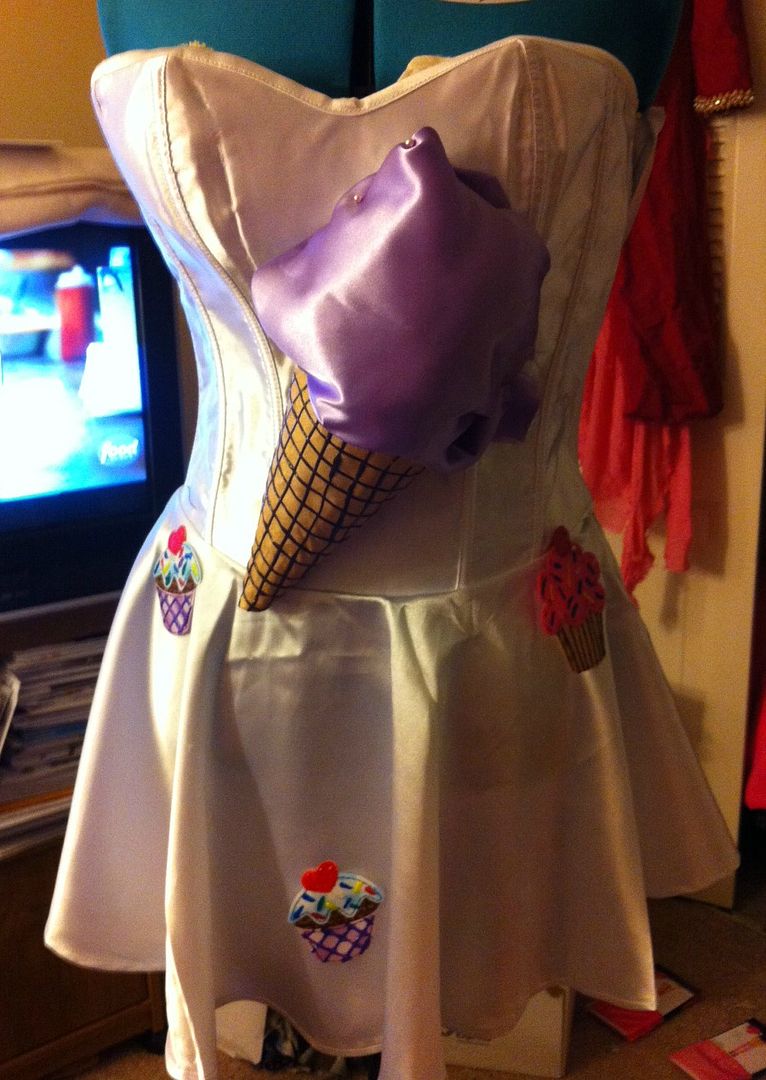
I thought I had a good start with the amount of things to bling my dress. My biggest obstacle was that ice cream cone on the front. I had brown fabric and I cut a triangle. I did a criss-cross pattern with brown fabric paint to give it the waffle effect. It dried on a sheet a paper-which it fused to but I actually liked it b/c it reinforced it. I glued the seams together and now I need to make a scoop of ice cream.
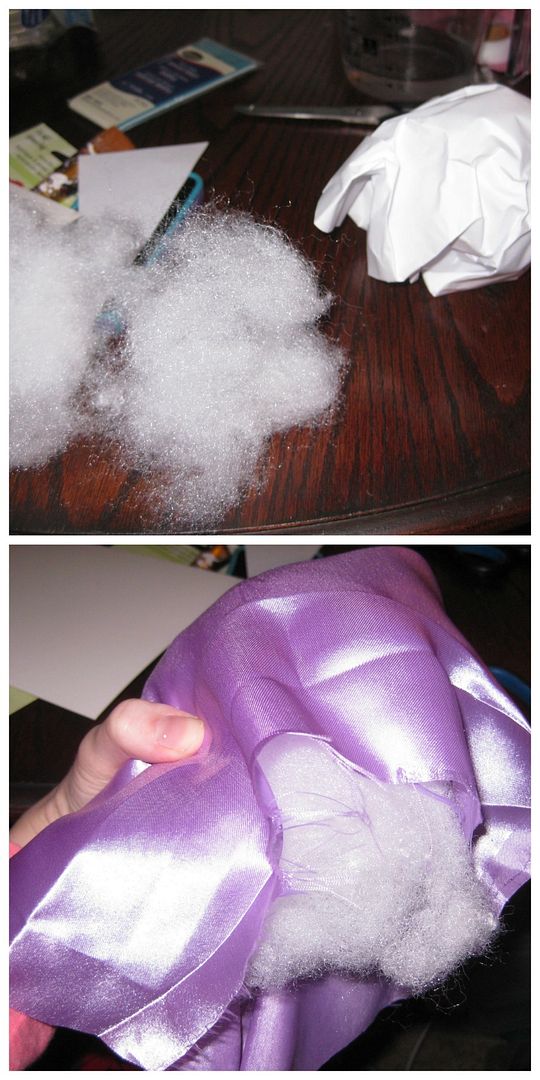
Oh what to do... I had purple fabric to use. While staring at my table, I decided to clean some of my paper up and I crumbled it up. Before I tossed it into the trash I had a flash of brillance- LOL. I could use the crumbled paper for the ice cream scoop. I used batting to even it out and then I covered it with a piece of fabric. Hot glue and more hot glue shut. Poof! It worked. So I glued that to the dress, here is the first look on my white dress.

 I was playing around with what it would look like with some of my add-ons and I was getting a mental game plan in my head. The ice cream cone doesn't look half bad. But now it is time to add more bling! To do this and ensure that the dress doesn't shrink while glue was drying I had to wear the dress while gluing it on. I lined the bodice with towels (you can see one peaking out in this picture. And I started with some of the big things and move to smaller, making sure I space everything out. This actually went fast.


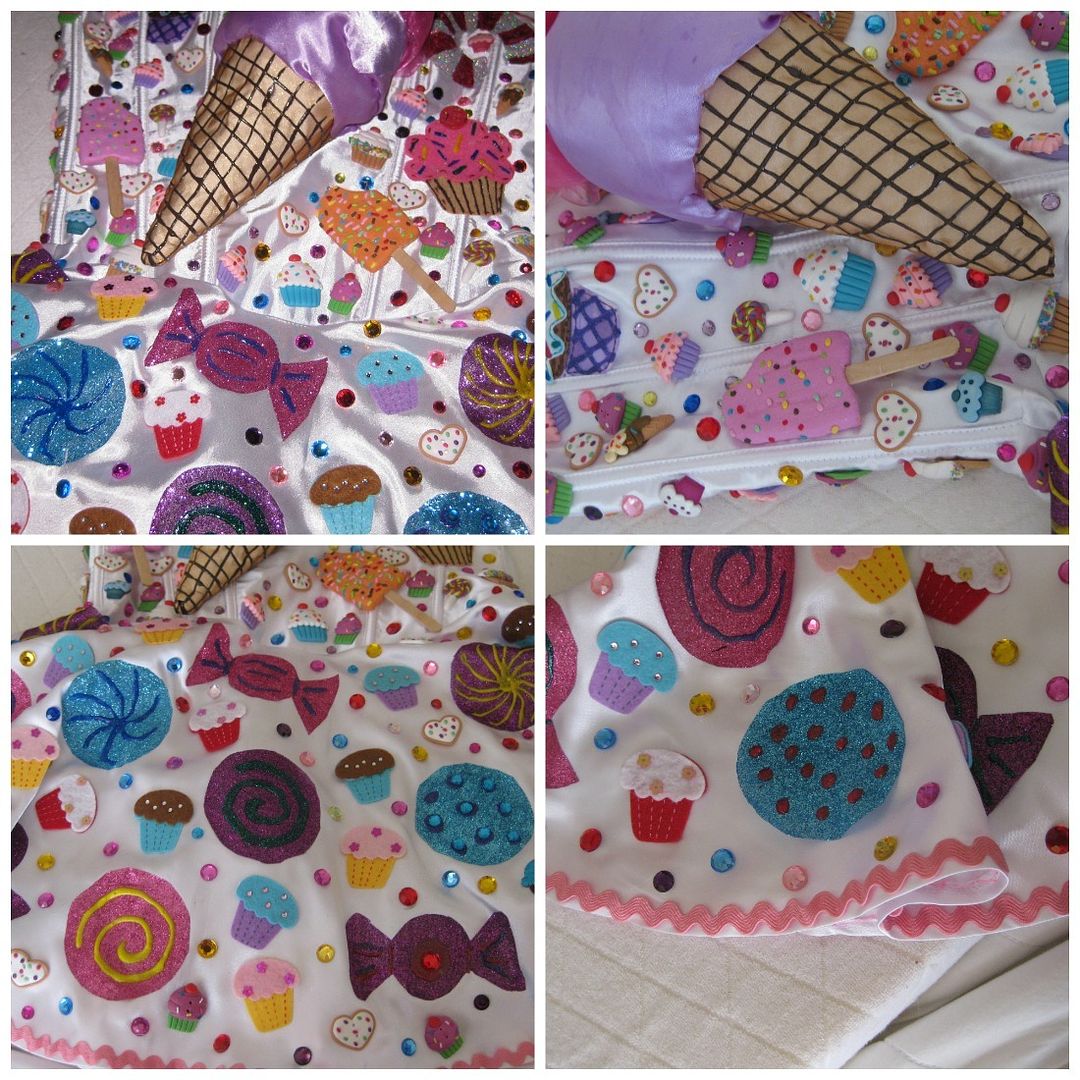
I decided the dress needed to be edged with something. But the pictures of Katy didn't show much. I had some pink ric-rak which reminded me of cake icing/frosting. I sewed that on next. Then for the skirt I ironed on the glitter paper sheets to the circle skirts. It really came along fast!! 


I then decorated the glitter pieces with my crystal fabric paint to look like candy. I had to do this in phases since the skirt folds and it would smear. Can't have that! Next, I added those felt cupcake stickers, which I hot glued on. Yeah filling up that skirt! 
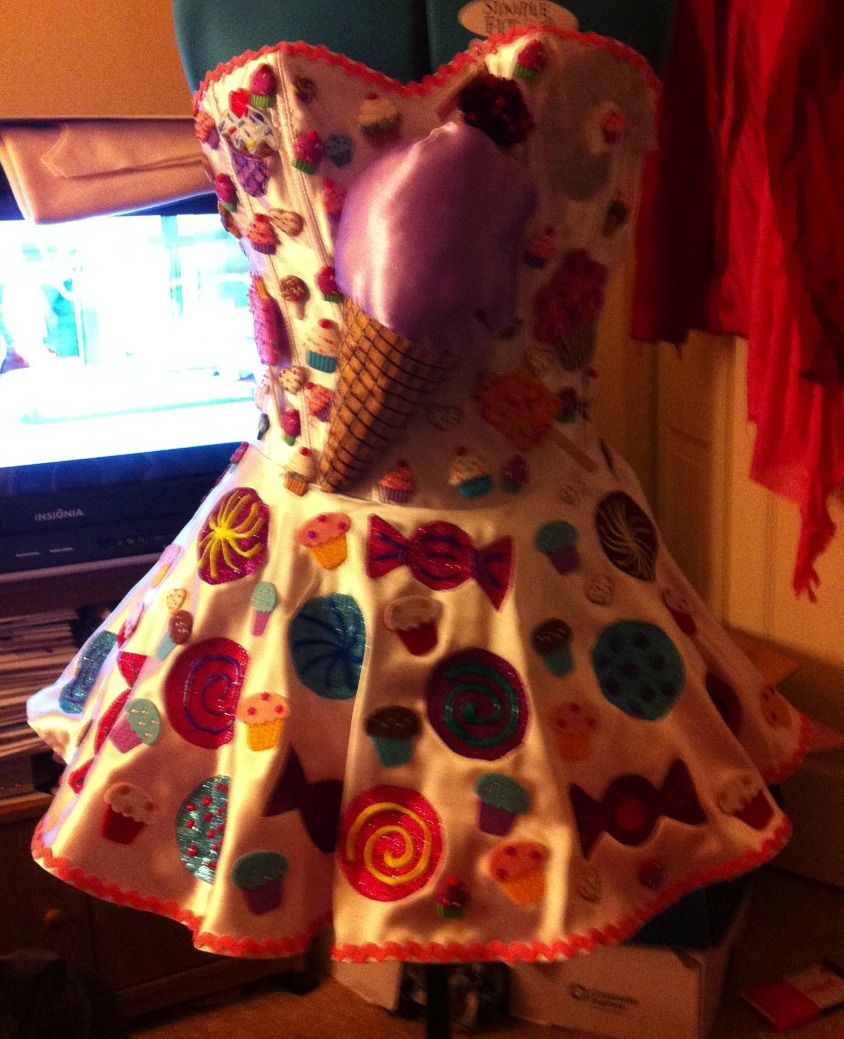
But I thought I needed some more dimension and texture to the costume and a way to tie things together. So I added multi color rhinestones to the entire dress and I filled everything up. On yeah. But the one thing that just stuck out to me was the ice cream cone, I thought it was missing something. I decided I wanted to add another layer to the ice cream cone. I used pink sort of tulle, again just wadding up batting and glue, glue glue!
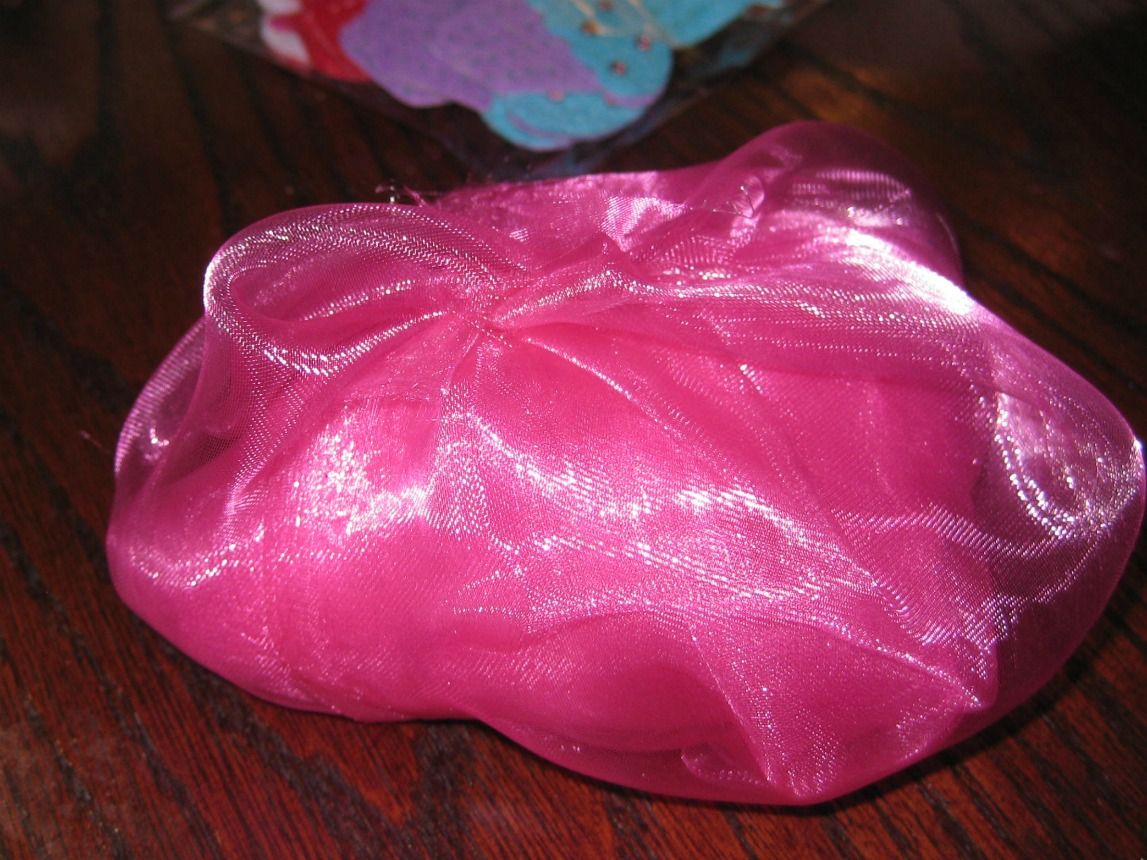


I then glued that on top. To put a cherry on top of the cone, I used a cat toy. Yes that red foil ball is a cat toy. But it is perfect b/c it is shiny and light. Poof we are done!!!! 
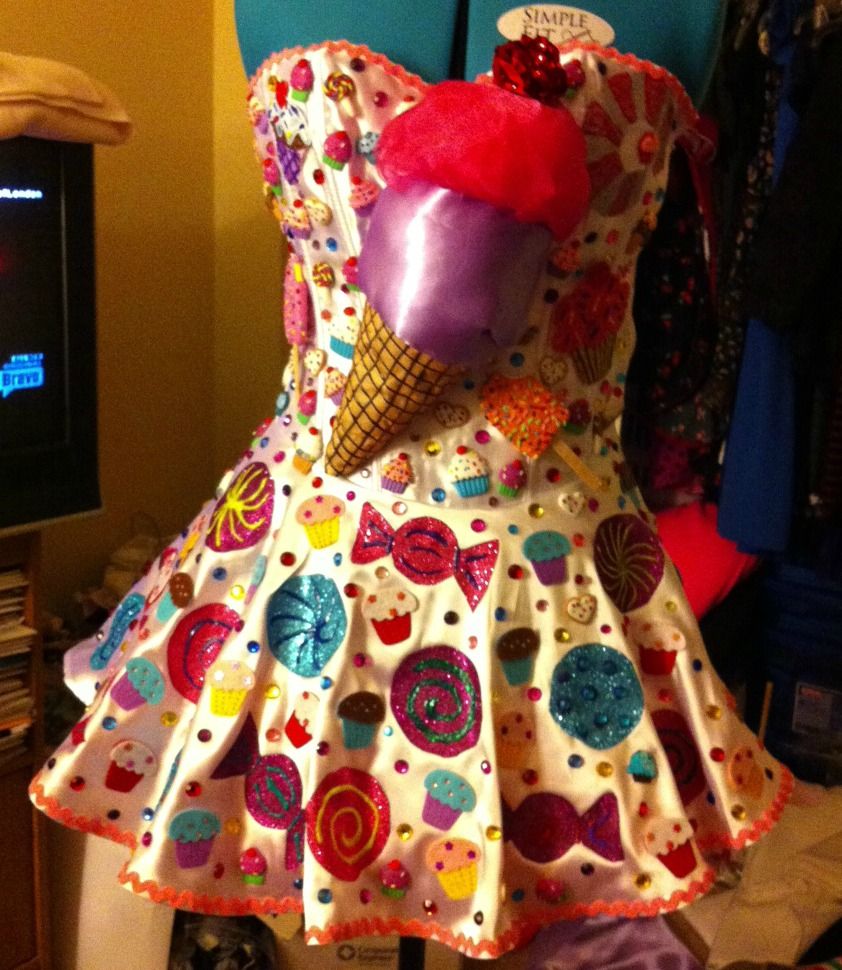


Close ups of the dress


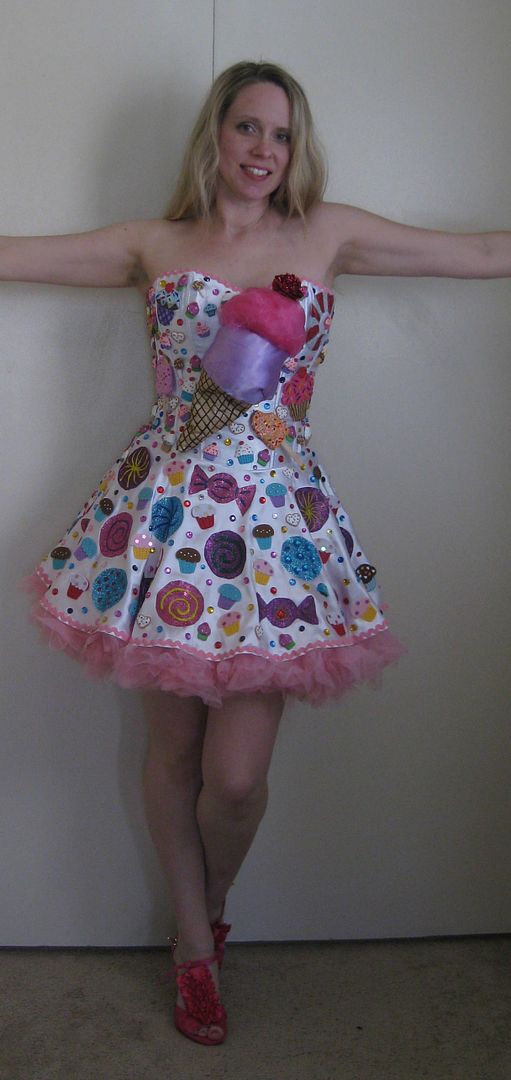
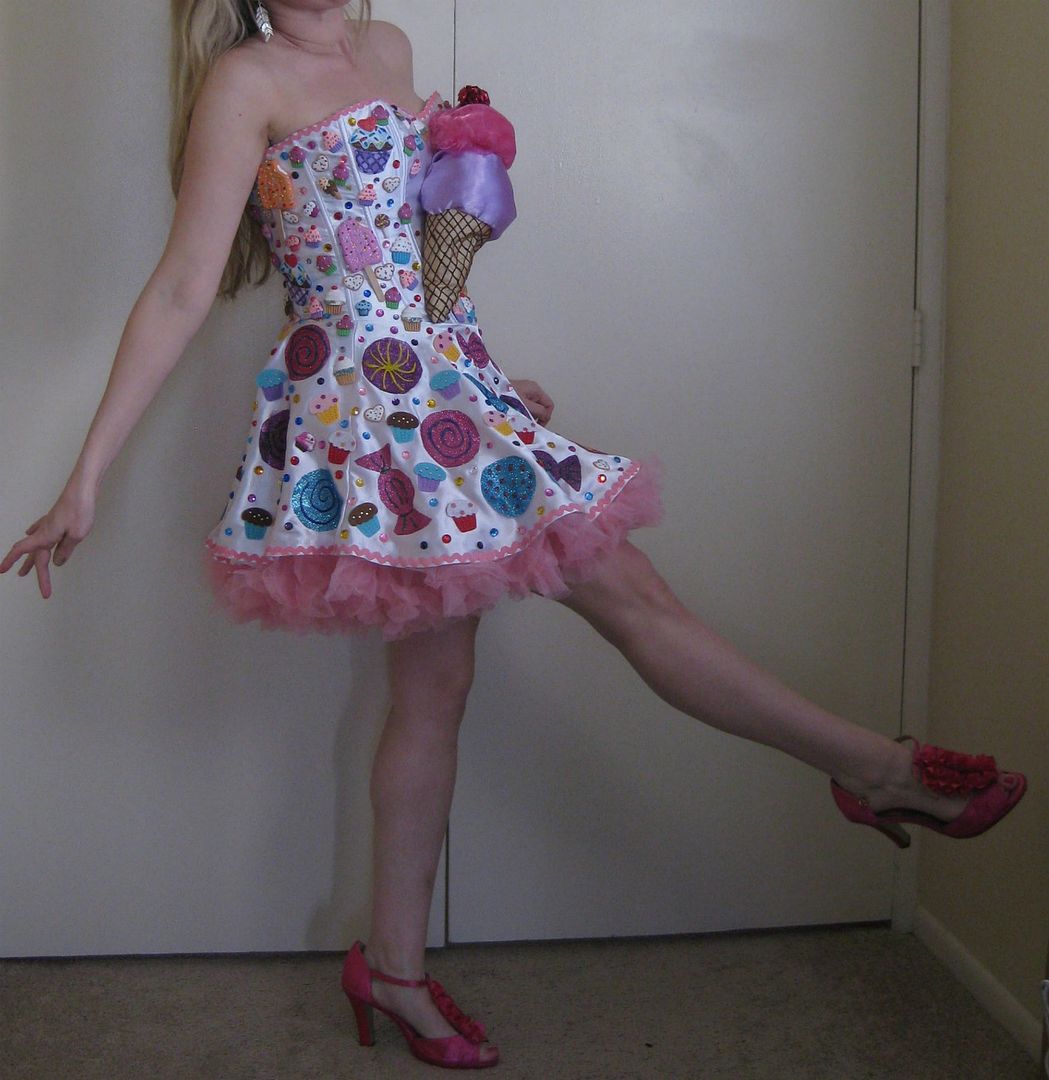
Crazy huh?? But crazy good!! Here it is on!
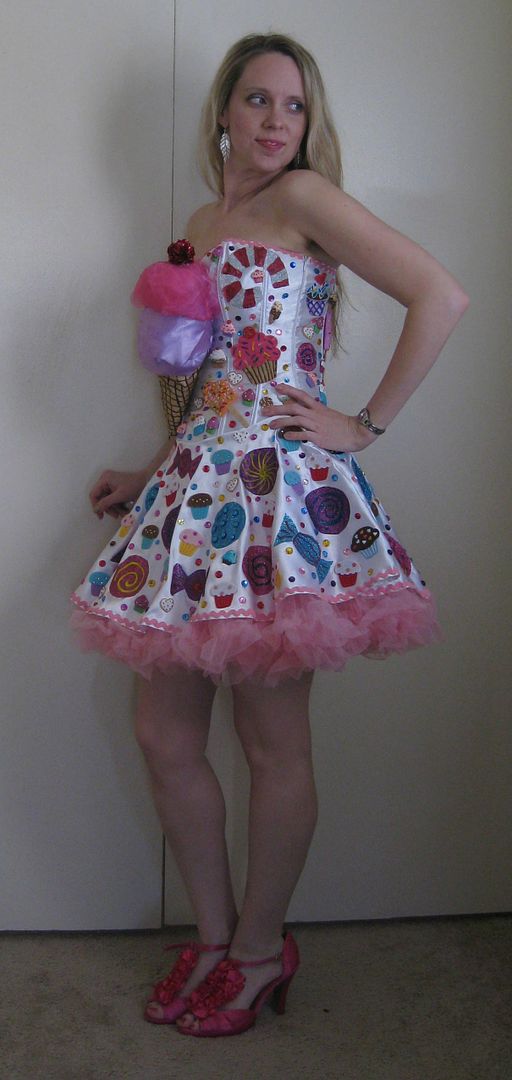


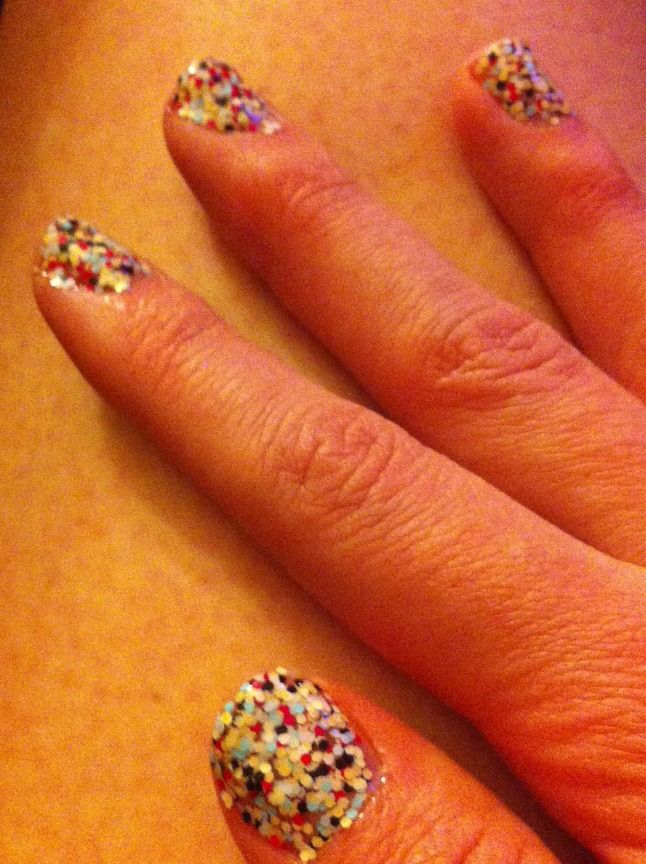
This dress was so much fun to wear. I wore my pink ruffle shoes you see in the pictures here but I also wore pink knee high socks. I used candy necklaces for jewelry. 2 pink petticoats. And then a blue wig to top it off! I felt super girly and happy at the party. I even painted my nails with this sprinkle looking nailpolish.


Here's at the party. I fought the wig a lot and with my long hair it also pulled it back as well. And I was even wearing a wig cap. The blue hair is a little much LOL.
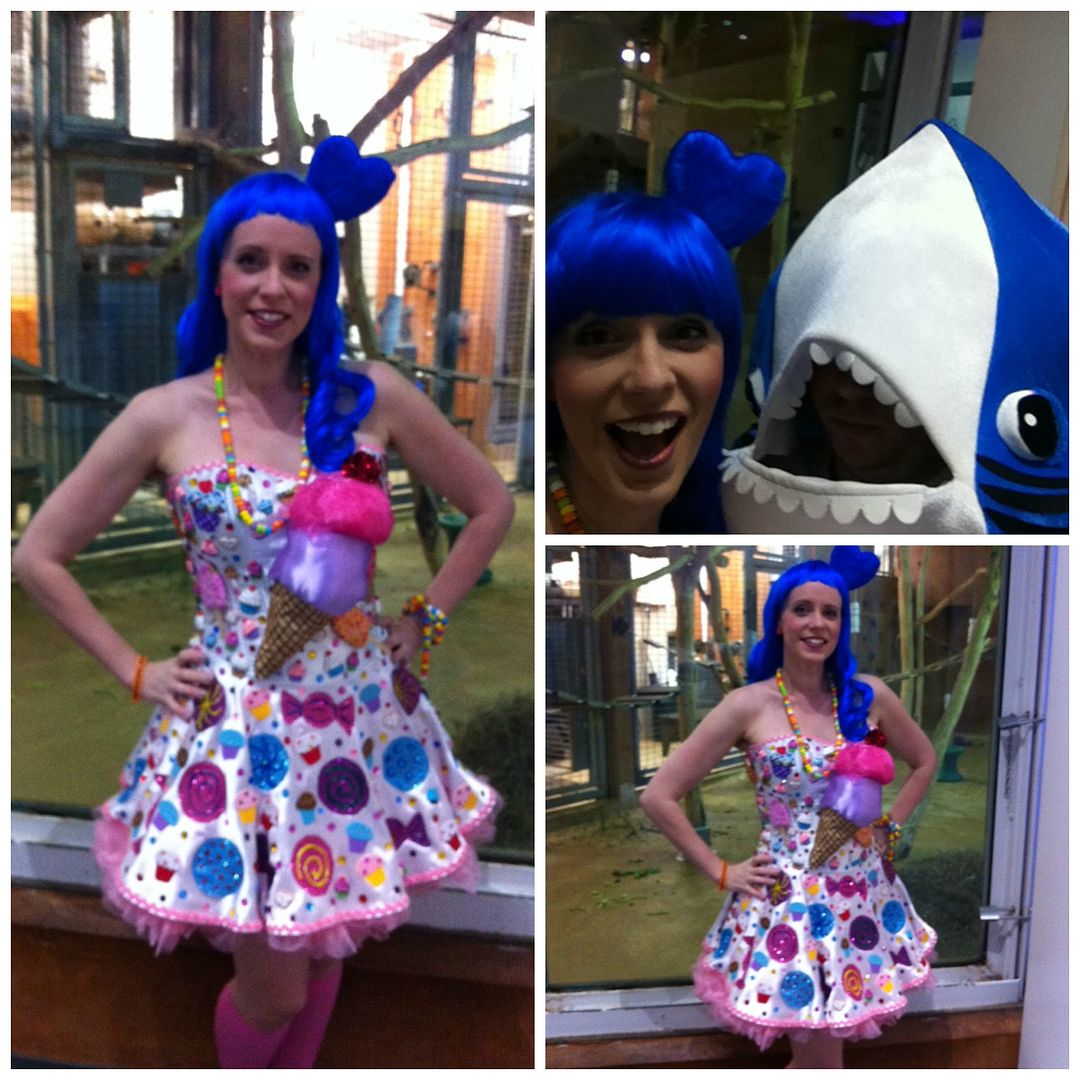
We were a hit at the party. Epic no? And how quickly I pulled this dress together was amazing as well. It is heavy. It is a corset, which helps support the weight but I couldn't eat much. And it just fit. I whipped this costume in less than a week- which was impressive. My boyfriend was impressed too. We felt like celebrities at the party- we took a lot of pictures and everyone screamed Katy and Left Shark! :)


So looking at the inspiration and what I created- I thought I did well!
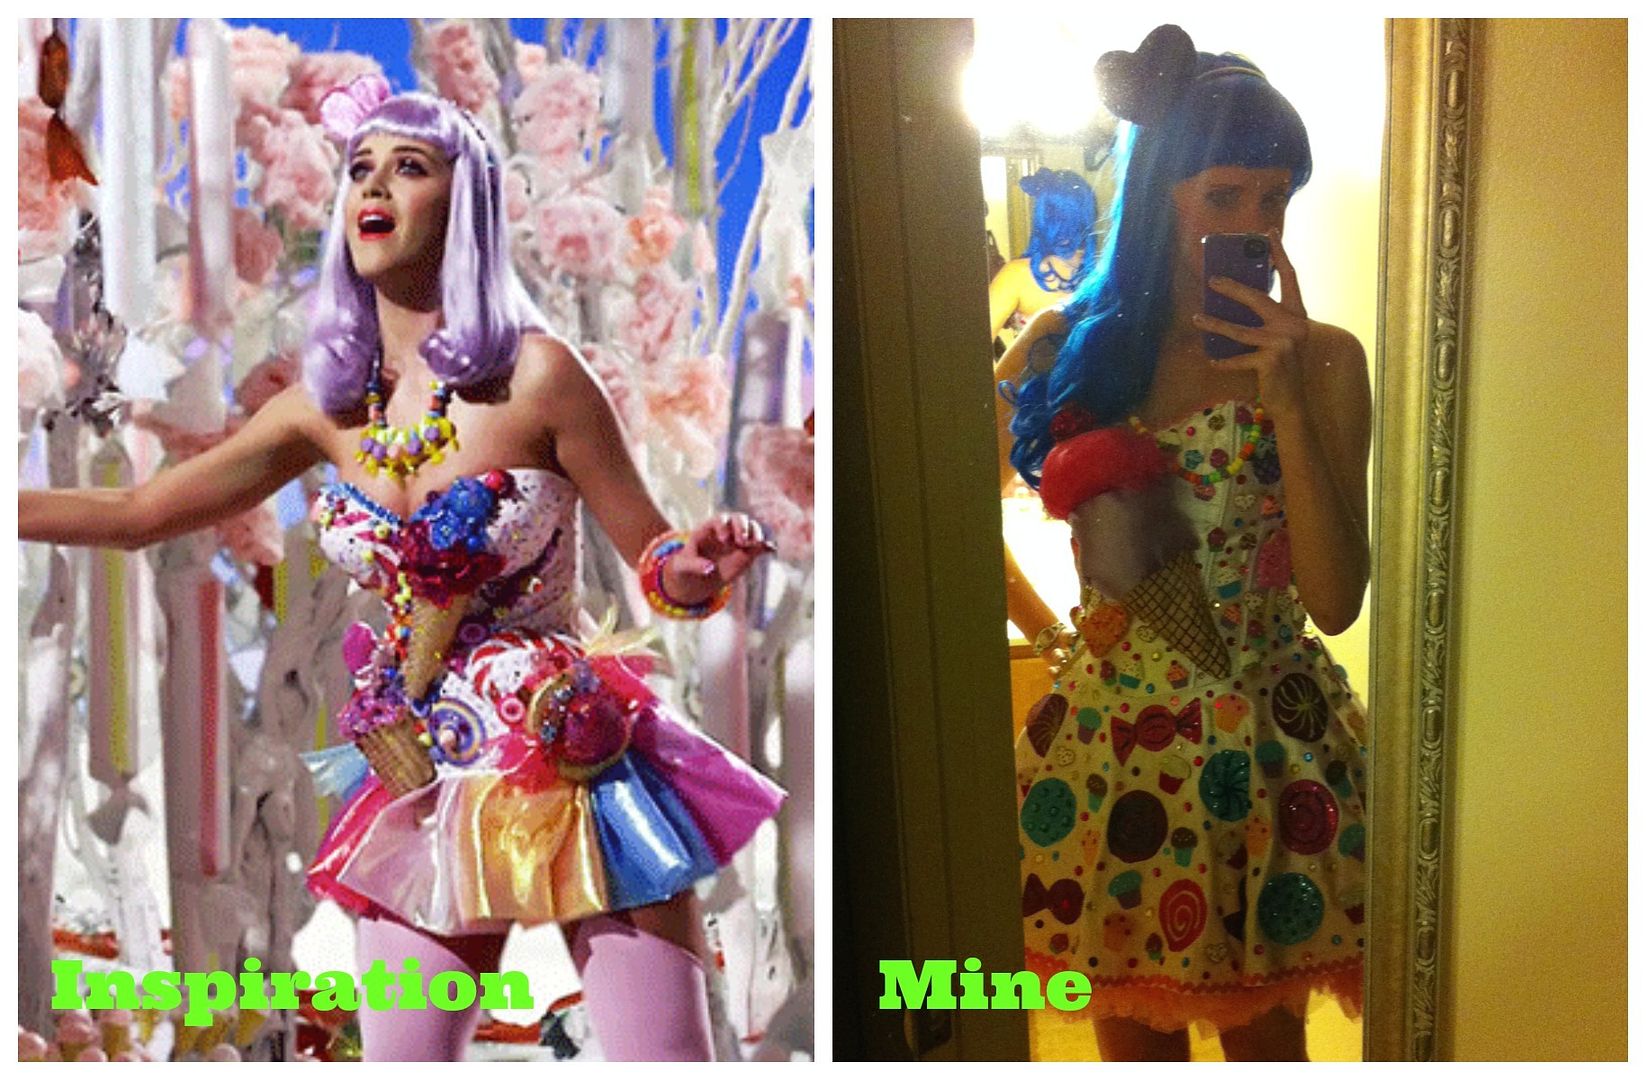


I thought it was a Katy worthy dress! :) I had all intentions to sell this dress but I have some of a change of heart. We missed the costume contest but I think we would have won. The ice cream cone was not bad being attached to my dress. It was not bad at all. And it stayed on!

Told you my costume was epic!!

Cheers,
Lauren


Monday, November 9, 2015

Blue plaid sheath dress refashion

When I found this dress, really there was nothing wrong with it. The fit was really good. The only issue was really, I have enough dresses and I won't really get any use out of this dress.


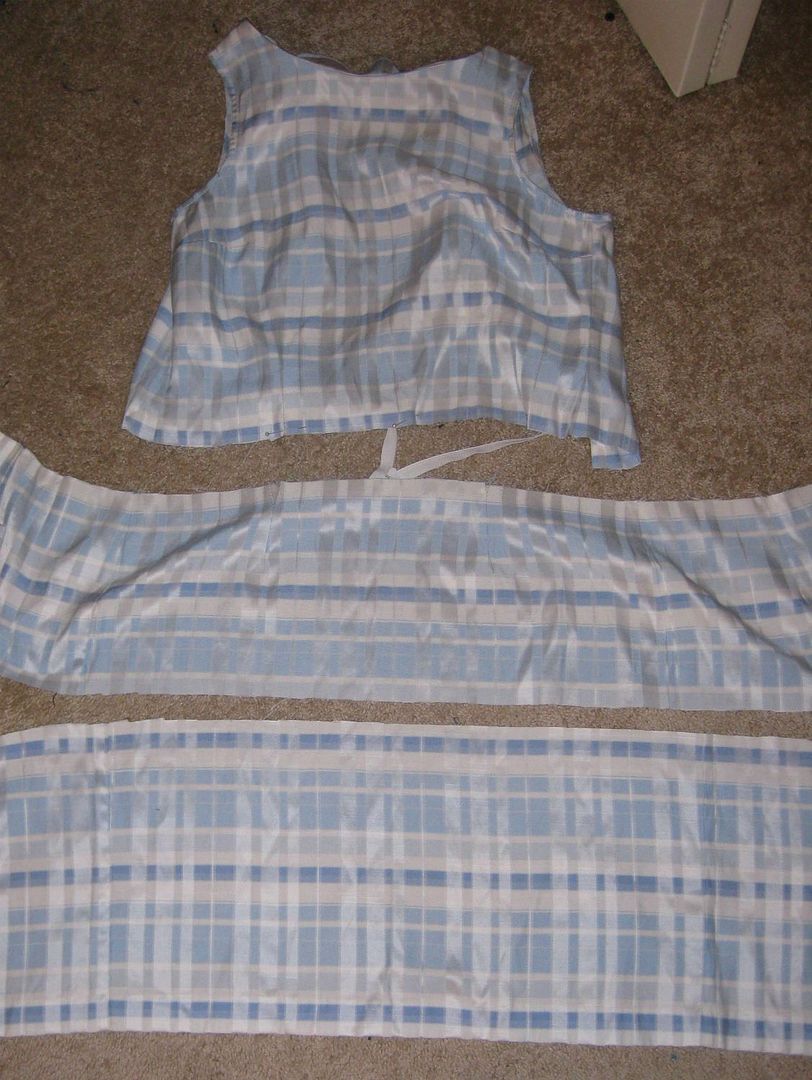
I will get more use out of it, if it was something else. Like a top. So I decided to turn it into a top with a slight peplum. I started off first with removing the back seam and separating the zipper as well. I want to keep the zipper intact. Then I found where I wanted the waist to be. Since the dress lined up really well, I followed it across the dress.

I cut off some of the fabric from the bottom. So the dress is is 3 pieces. I am going to use the very bottom. The middle I won't use at all.

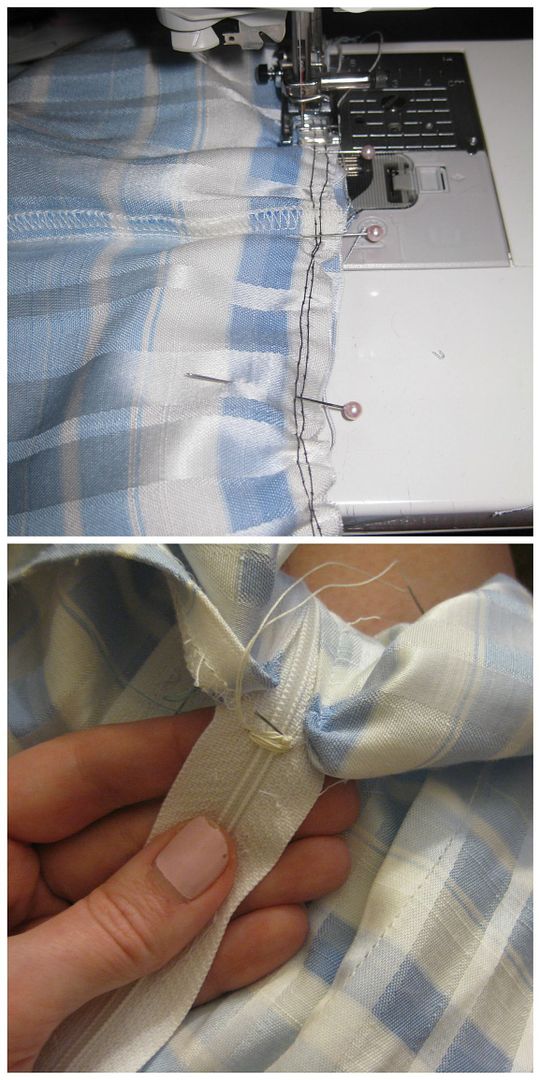
I gathered the top of the fabric and then attached it to the bodice. Pretty easy. I serged to clean up the threads. After trying it on I realized that the dress tapered and I had to keep some of the back open. So I cut the zipper so you could not see.

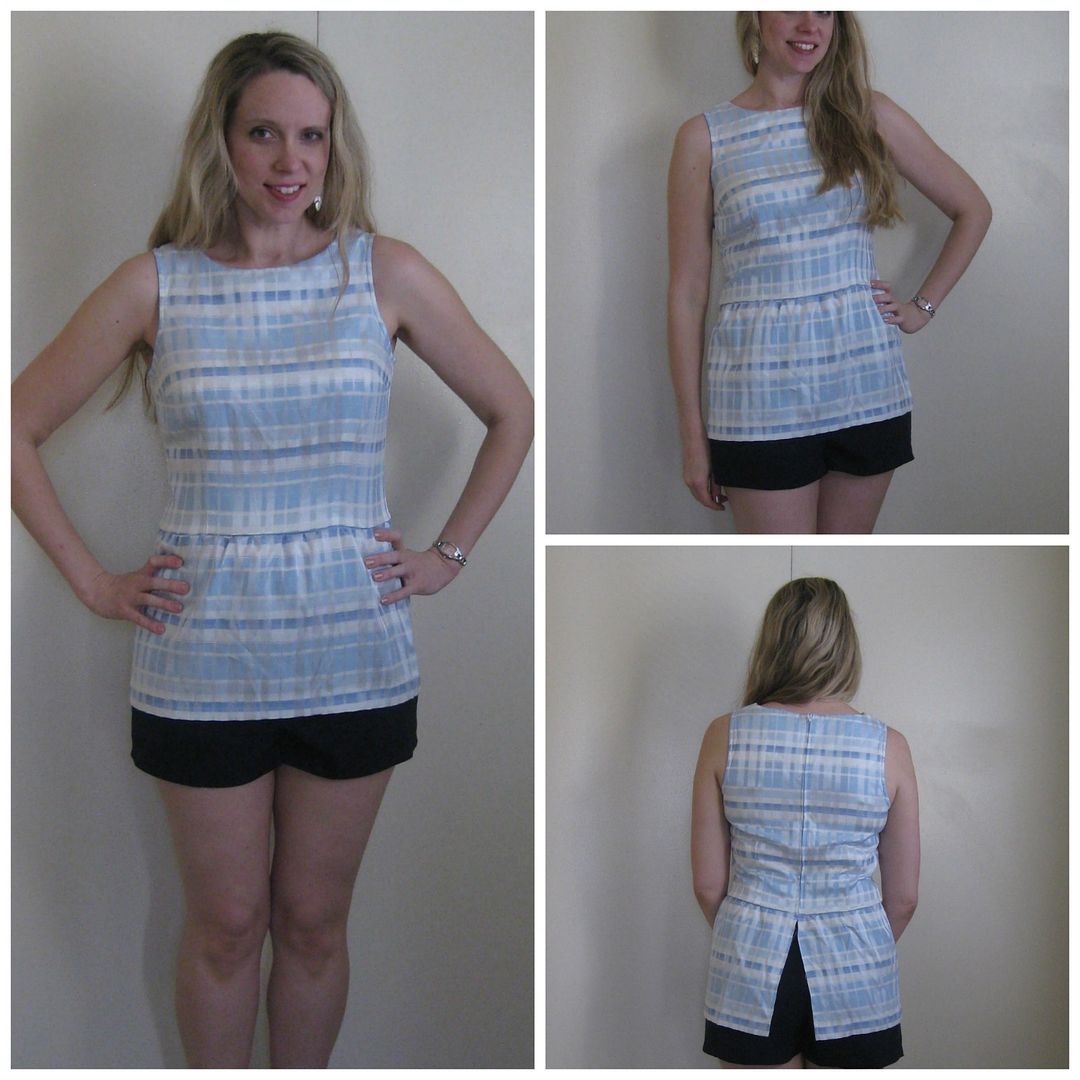
Done! I threw on a pair of shorts, it is not really season to wear a tank top but this would be great for next spring. I like how I kept it long as I want longer tops for work.

Here's the recap! Even though  the starting dress was great, I would never wear it since I mostly wear pants for work.


BTW next week will be my Halloween costume. It is pretty epic and something I threw together very quickly. I have a lot of photos so this post will take me longer to write about it. :) So next Monday! Stay tuned.

Cheers,
Lauren


Monday, November 2, 2015

DIY Halloween Bibs

So things have been busy here. At the last minute, we decided to go as a couple costume for Halloween. And I pulled things together and ran around to get this costume together. I am just catching up with cleaning up after making this costume mess. A need to take after photos, and I am just a little a behind here.

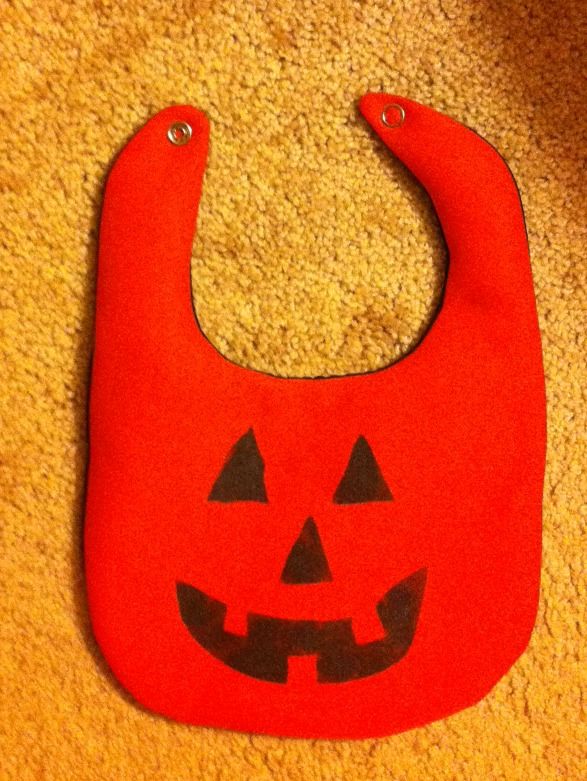
Today is just a quick post. A continuation of all my baby gifts that I have made for friends. These were some quick bibs I whipped up in time for babies born prior to Halloween. :)


All I did was create freezer paper stencils real quick. I ironed it on and simply sponge painted with black paint. Poof done! Here's to me getting caught up. EEk!

Cheers,
Lauren
Just a quick jack o' lantern.

Tuesday, October 27, 2015

Bear and crown baby bibs, Butterick B4533

Yup so I am so entailed with my last minute halloween costume that I didn't finish up my posts and get it together. So here is my late posts...Another baby gift, been sewing a lot!
BABY BIB PATTERN SEWING PATTERN BEAR, WATERMELON, BOW TIE, BUTTERICK ...


I opted to try this pattern and make 2 of the patterns- the bib and the crown. Now I will preface this will I lost the instructions after I cut the pattern. Yeah true story. So I had to wing it!

For the teddy bears, I never want to see them again. So, at first I embroidered a lot- the pink cheek circles, the eyes, nose, smile. It was absolutely too much and took a lot of time. I figured out how to sew the cheeks via my sewing machine. Then I used paint for the eyes. This then left embroidery of the nose and mouth. Much faster. It was a lot of sewing. Just a lot. After the face was done, then ears were added, then the back, then I attached everything to the front of the bib, then attach the back to the front of the bib. Close and add a snap. Yeah it was that involved. Just wow. I never want to see a bear anytime soon!

Now the crown bibs were way easier. I sewed the front and back of the crown to each other, turned right side out and then attached to the bib. These were super cute.

Overall, I am very happy with this pattern. I love the end products. I just never want to make another Teddy Bear bib again (I made 5 so yes I am over it!). LOL. But something cute and different.

Cheers,
Lauren

Monday, October 19, 2015

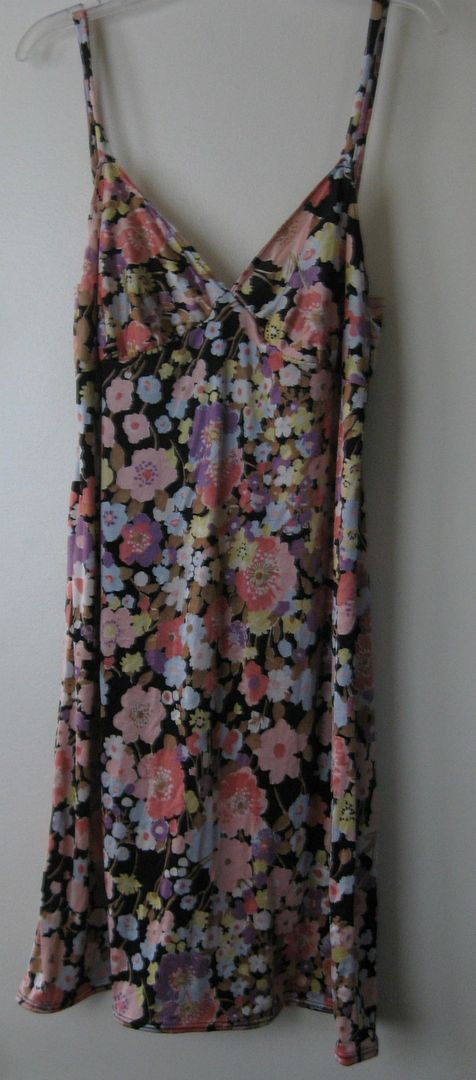
Flowered slip sewing- Kwik Sew 3554

Oops looks like I had scheduling issues. Here is today's post. Trying something new here- make a nightie/slip using this Kwik Sew pattern 3554.

I had this fabric in my stash, it was flowered. Lots of orange and black. I actually didn't care for it but thought it would be a good practice. I didn't have a lot of it, as you can see in the following pictures. I ran out of length and for 1 cup Sigh...


Make it work! Sewing was pretty easy. I did have some issues on the cups which caused me to rip it out a few times and try again Then It did take some time to work out the straps. And then when it was done- I no longer hate the fabric.

Actually I love it. I finished with a simple double stitch.

Surprised that after sewing this, I wound up loving the fabric. Whew knew! What a lovely end product! :)

Cheers,
Lauren

Monday, October 12, 2015

Baby dress with matching bloomers B3405

Been on a small hiatus from myself and was sewing some baby gifts for some friends. There must be something in the water b/c all of a sudden a lot of pregnancies. I set off to make some gifts and I decided I would try out this pattern I had from Butterick. B3405. I opted to make the dress with matching bloomers.

B3405, Infants' Dress, Top, Romper, Panties, Hat & Headband

I first made this pattern with the leftover cherry blossom fabric (that I made this dress with).

Next, I made it with this pink gingham fabric I had (and never used)

OMG I loved both of them so much, I almost didn't want to give it away. I know I am horrible person. The dresses were pretty easy sews- the back is all snaps. The pink one I magically got a hole (??? out of no where) so I had to adjust where the snaps fell. At least it was in the right spot. My only other criticism of this pattern was the fact that the bloomers didn't have the size of elastic I needed for the legs and waist. It said to measure the baby (a fact near impossible since some were not born yet). If you are sewing for a gift- using this pattern has a few minor snags. So I found another pattern that was older and used those numbers based on weight for size.

I am happy with the outcome! Just way to cute!

Cheers,
Lauren
Monday, October 5, 2015

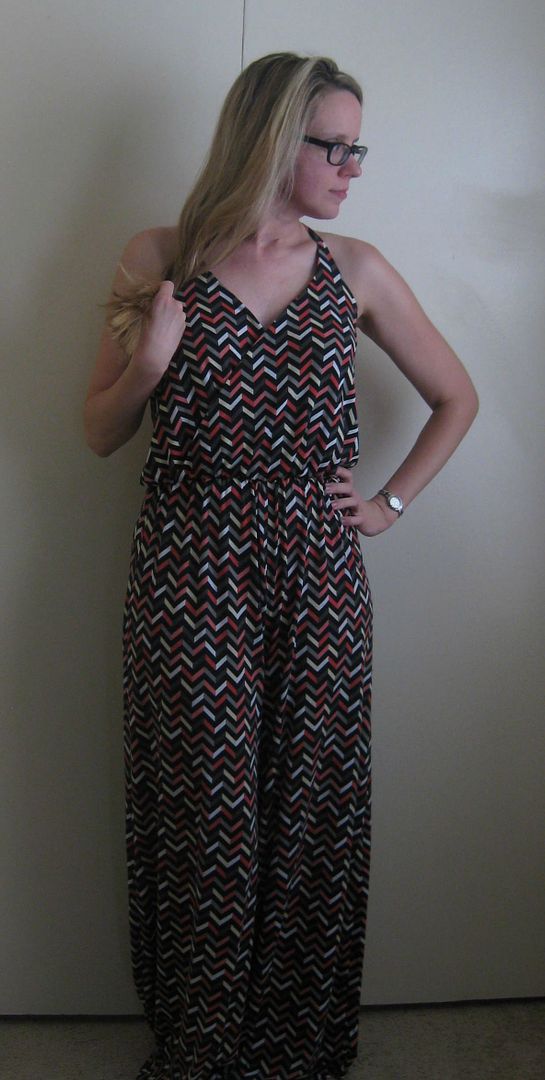
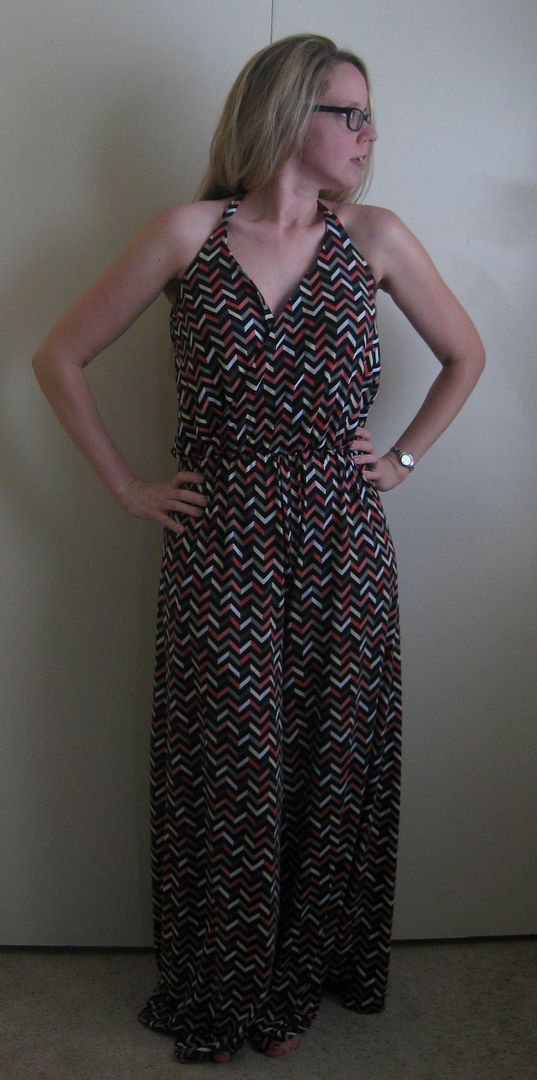
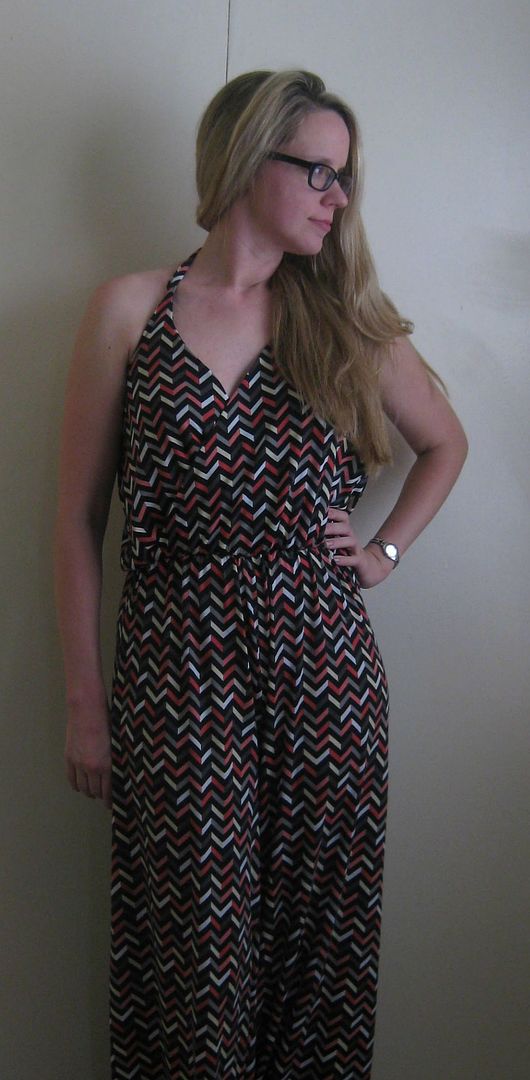
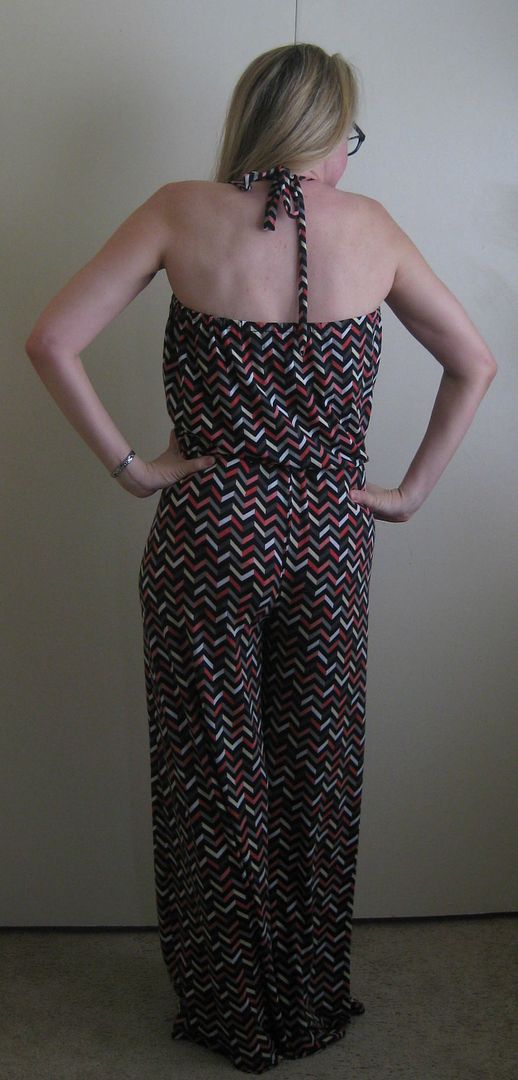
Knit pantsuit- Vogue pattern 9116

When I first saw this pattern in the Vogue release, 9116, I just had to have it! It just seemed like the perfect romper pattern!


There are 2 options for the romper: with and without straps.


Then in one of my Hancock fabric trips (which I have held back for many weeks- my wallet thanks me), I found this awesome black, pink, and white mosaic chevron pattern- I knew this pattern just had to be made with this fabric.


It is a super easy cut, but I can just see I might have issues with the width of the pants. But first I needed to sew it and see how it hangs on me. I opted for a size 10 (a size under where I normally cut) since there seems like a lot of ease in this pattern. And wow these were big pant legs. I mean like woah... well run with it.


Pretty easy sew b/c it is a knit and I love sewing with knits.


Truly, this looks more like a dress than a pantsuit. Which is probably why I like it. So it isn't as drapey like the first picture but I also don't like low cut things. I already have issues with the coverage on this thing- I have to tack it closed or else the top pops open. The length is great for me or anyone tall. If you are shorter then you will definitely need to take off the length. I am glad it is a small pattern when it came to selection of a fabric. It blends everything in and no matching. I don't think I would have liked this pantsuit had I done it in a solid color.

Cheers,
Lauren

LinkWithin

Related Posts Plugin for WordPress, Blogger...