So things have been busy here. At the last minute, we decided to go as a couple costume for Halloween. And I pulled things together and ran around to get this costume together. I am just catching up with cleaning up after making this costume mess. A need to take after photos, and I am just a little a behind here.
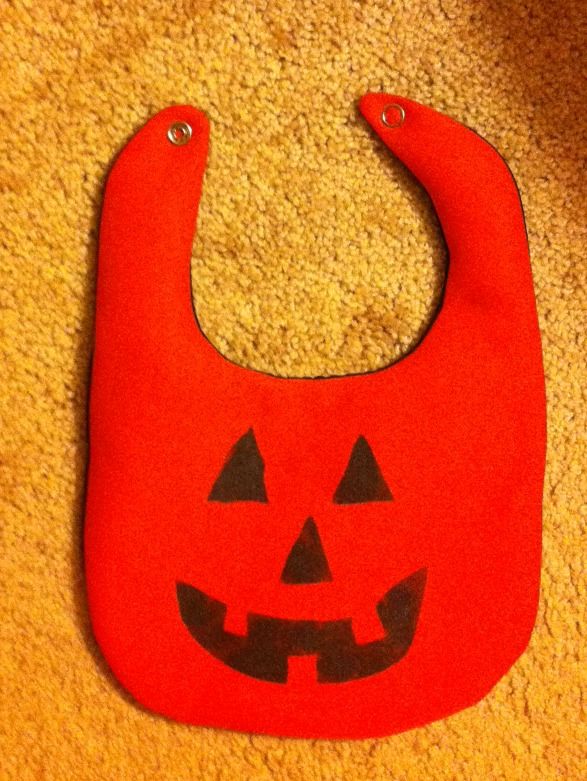
Today is just a quick post. A continuation of all my baby gifts that I have made for friends. These were some quick bibs I whipped up in time for babies born prior to Halloween. :)
All I did was create freezer paper stencils real quick. I ironed it on and simply sponge painted with black paint. Poof done! Here's to me getting caught up. EEk!
Cheers,
Lauren
Just a quick jack o' lantern.
Well hi welcome to my little blog. Just my little corner of craftiness, sewing, and refashioning. I am also a newly gluten free eater so you have a little bit of recipes mixed in here.
Showing posts with label baby bib. Show all posts
Monday, November 2, 2015
Tuesday, October 27, 2015
Bear and crown baby bibs, Butterick B4533
Yup so I am so entailed with my last minute halloween costume that I didn't finish up my posts and get it together. So here is my late posts...Another baby gift, been sewing a lot!

I opted to try this pattern and make 2 of the patterns- the bib and the crown. Now I will preface this will I lost the instructions after I cut the pattern. Yeah true story. So I had to wing it!
For the teddy bears, I never want to see them again. So, at first I embroidered a lot- the pink cheek circles, the eyes, nose, smile. It was absolutely too much and took a lot of time. I figured out how to sew the cheeks via my sewing machine. Then I used paint for the eyes. This then left embroidery of the nose and mouth. Much faster. It was a lot of sewing. Just a lot. After the face was done, then ears were added, then the back, then I attached everything to the front of the bib, then attach the back to the front of the bib. Close and add a snap. Yeah it was that involved. Just wow. I never want to see a bear anytime soon!
Now the crown bibs were way easier. I sewed the front and back of the crown to each other, turned right side out and then attached to the bib. These were super cute.
Overall, I am very happy with this pattern. I love the end products. I just never want to make another Teddy Bear bib again (I made 5 so yes I am over it!). LOL. But something cute and different.
Cheers,
Lauren

I opted to try this pattern and make 2 of the patterns- the bib and the crown. Now I will preface this will I lost the instructions after I cut the pattern. Yeah true story. So I had to wing it!
For the teddy bears, I never want to see them again. So, at first I embroidered a lot- the pink cheek circles, the eyes, nose, smile. It was absolutely too much and took a lot of time. I figured out how to sew the cheeks via my sewing machine. Then I used paint for the eyes. This then left embroidery of the nose and mouth. Much faster. It was a lot of sewing. Just a lot. After the face was done, then ears were added, then the back, then I attached everything to the front of the bib, then attach the back to the front of the bib. Close and add a snap. Yeah it was that involved. Just wow. I never want to see a bear anytime soon!
Now the crown bibs were way easier. I sewed the front and back of the crown to each other, turned right side out and then attached to the bib. These were super cute.
Overall, I am very happy with this pattern. I love the end products. I just never want to make another Teddy Bear bib again (I made 5 so yes I am over it!). LOL. But something cute and different.
Cheers,
Lauren
Labels:
B4533,
baby bib,
baby gifts,
butterick 4533,
butterick pattern
Monday, August 5, 2013
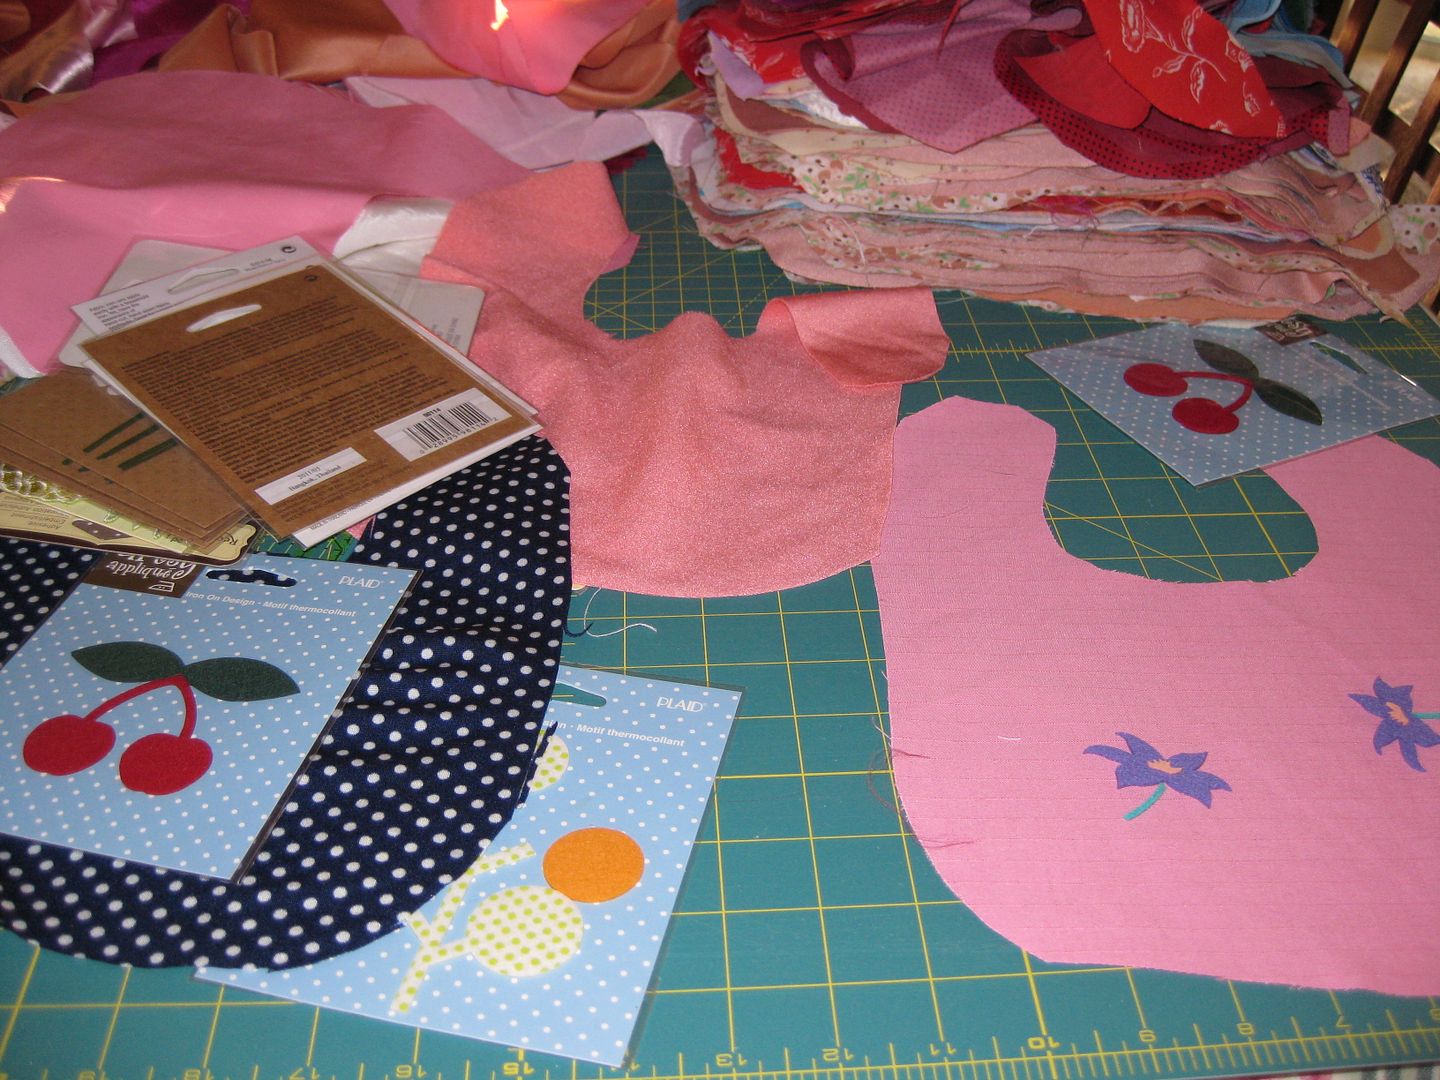
Iron on bib fun
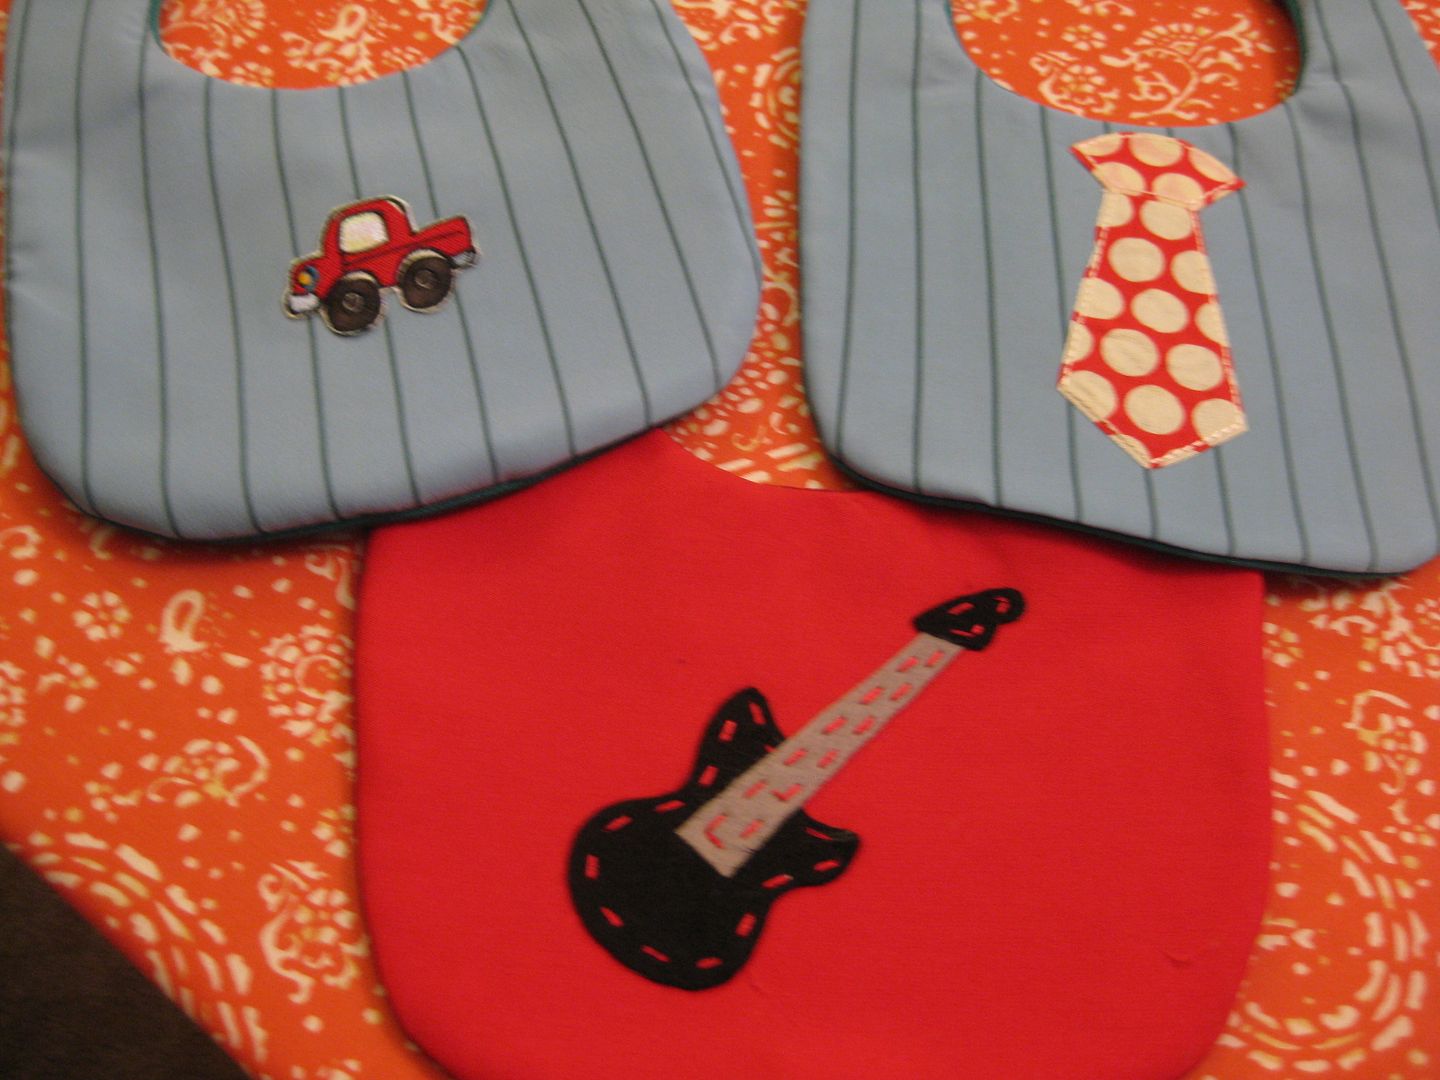
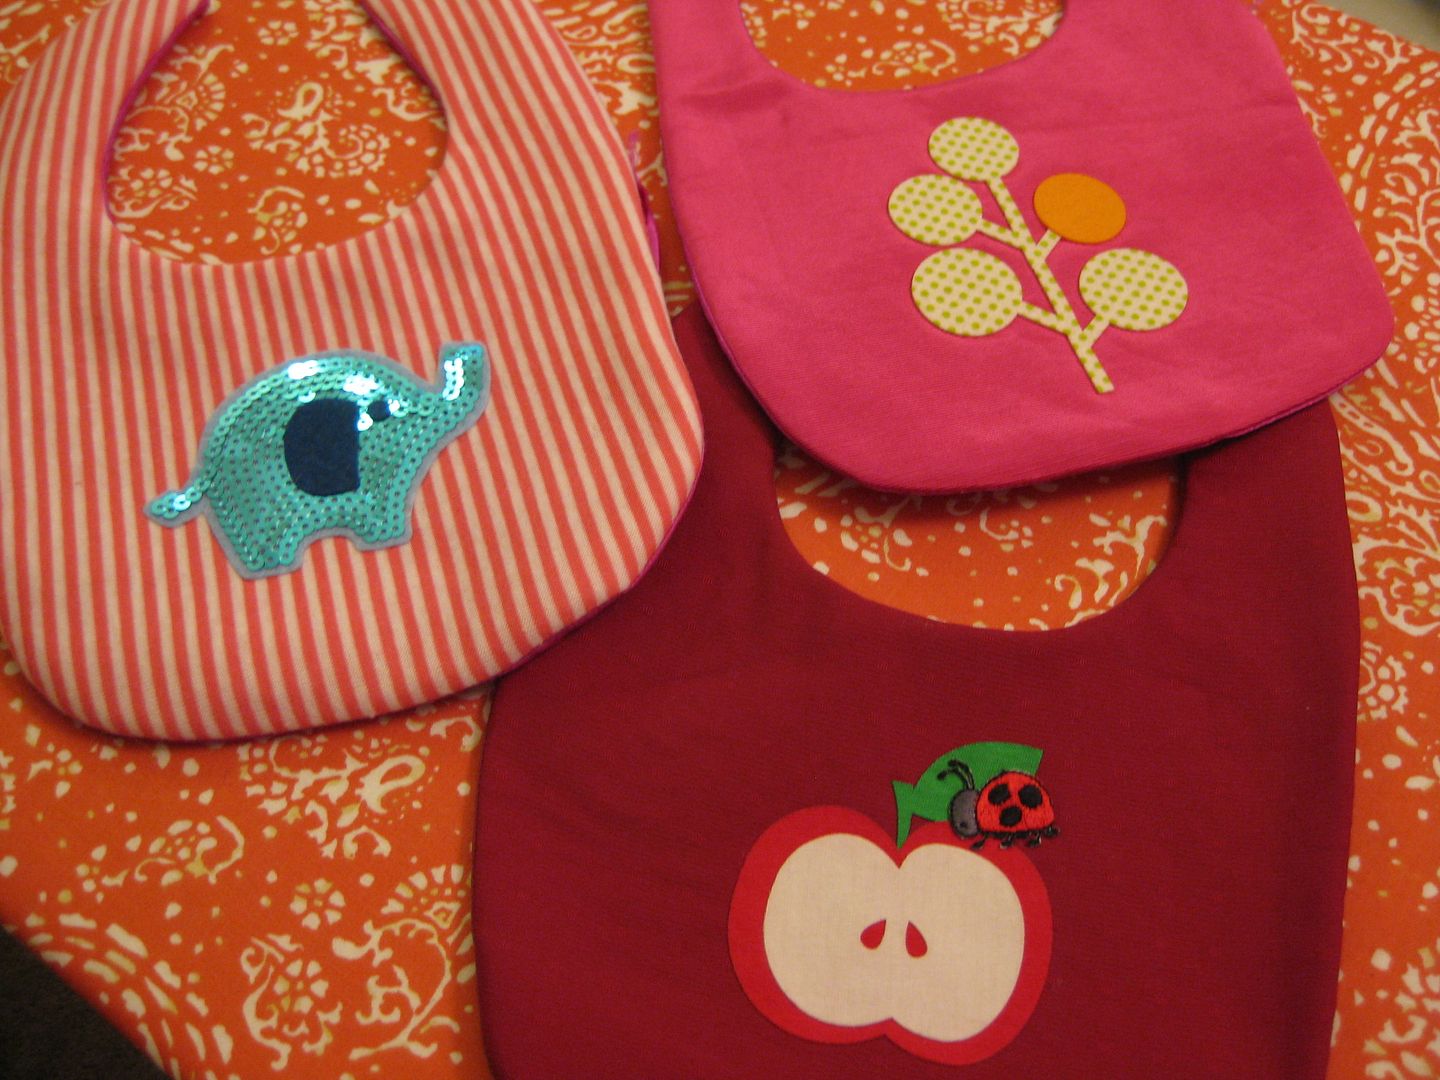
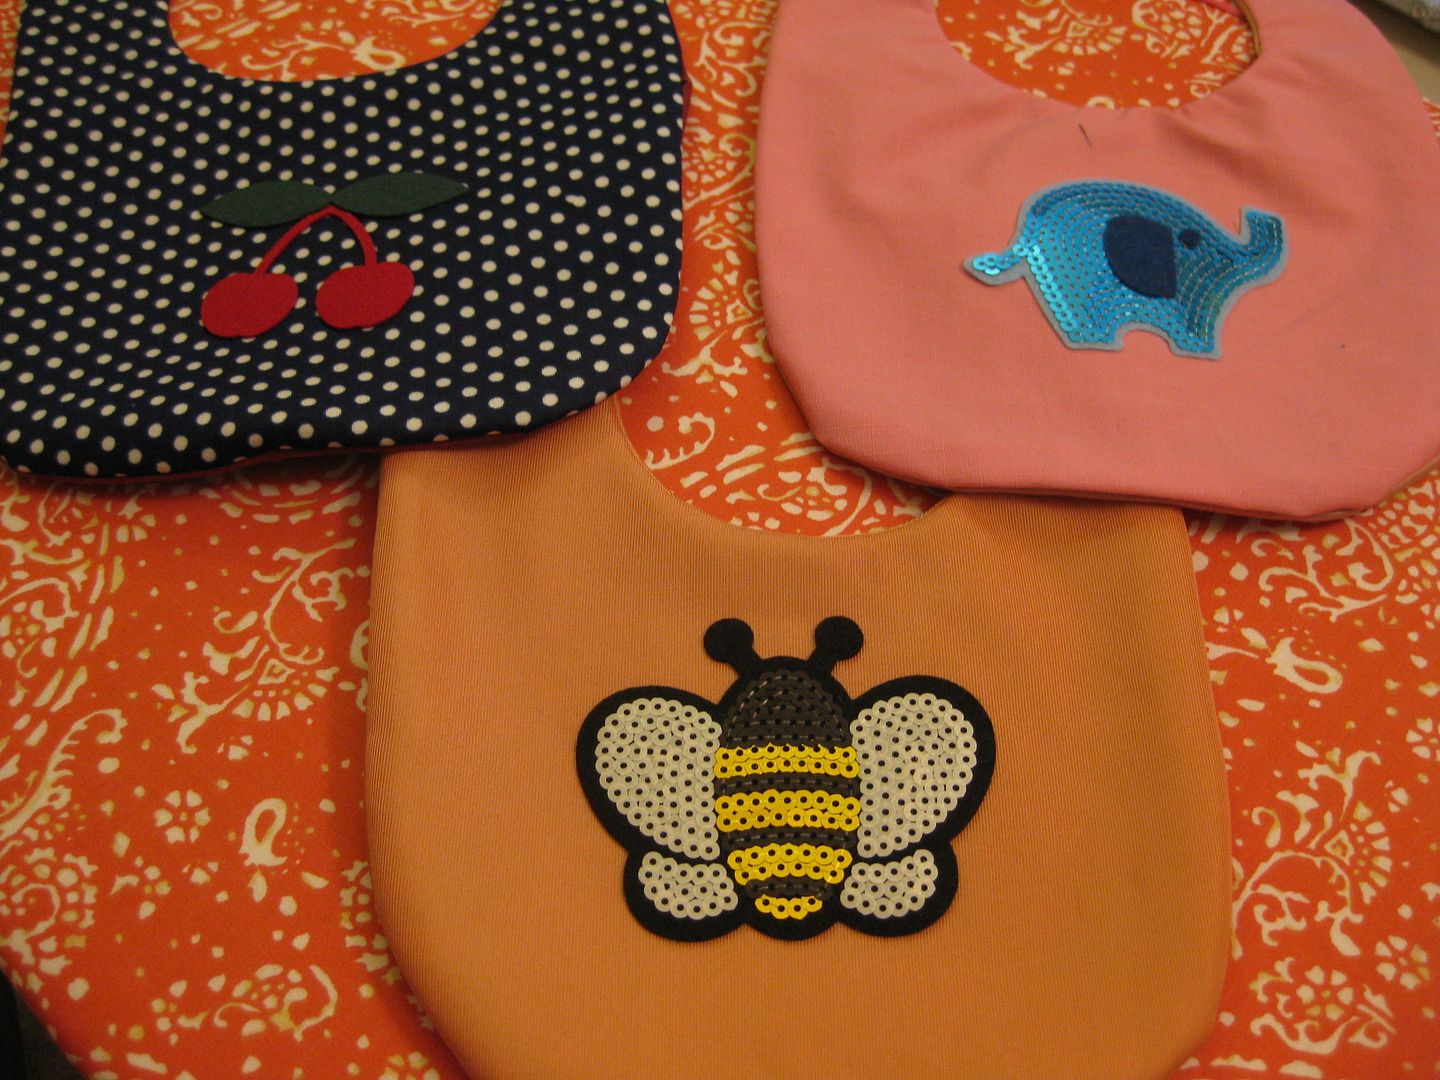
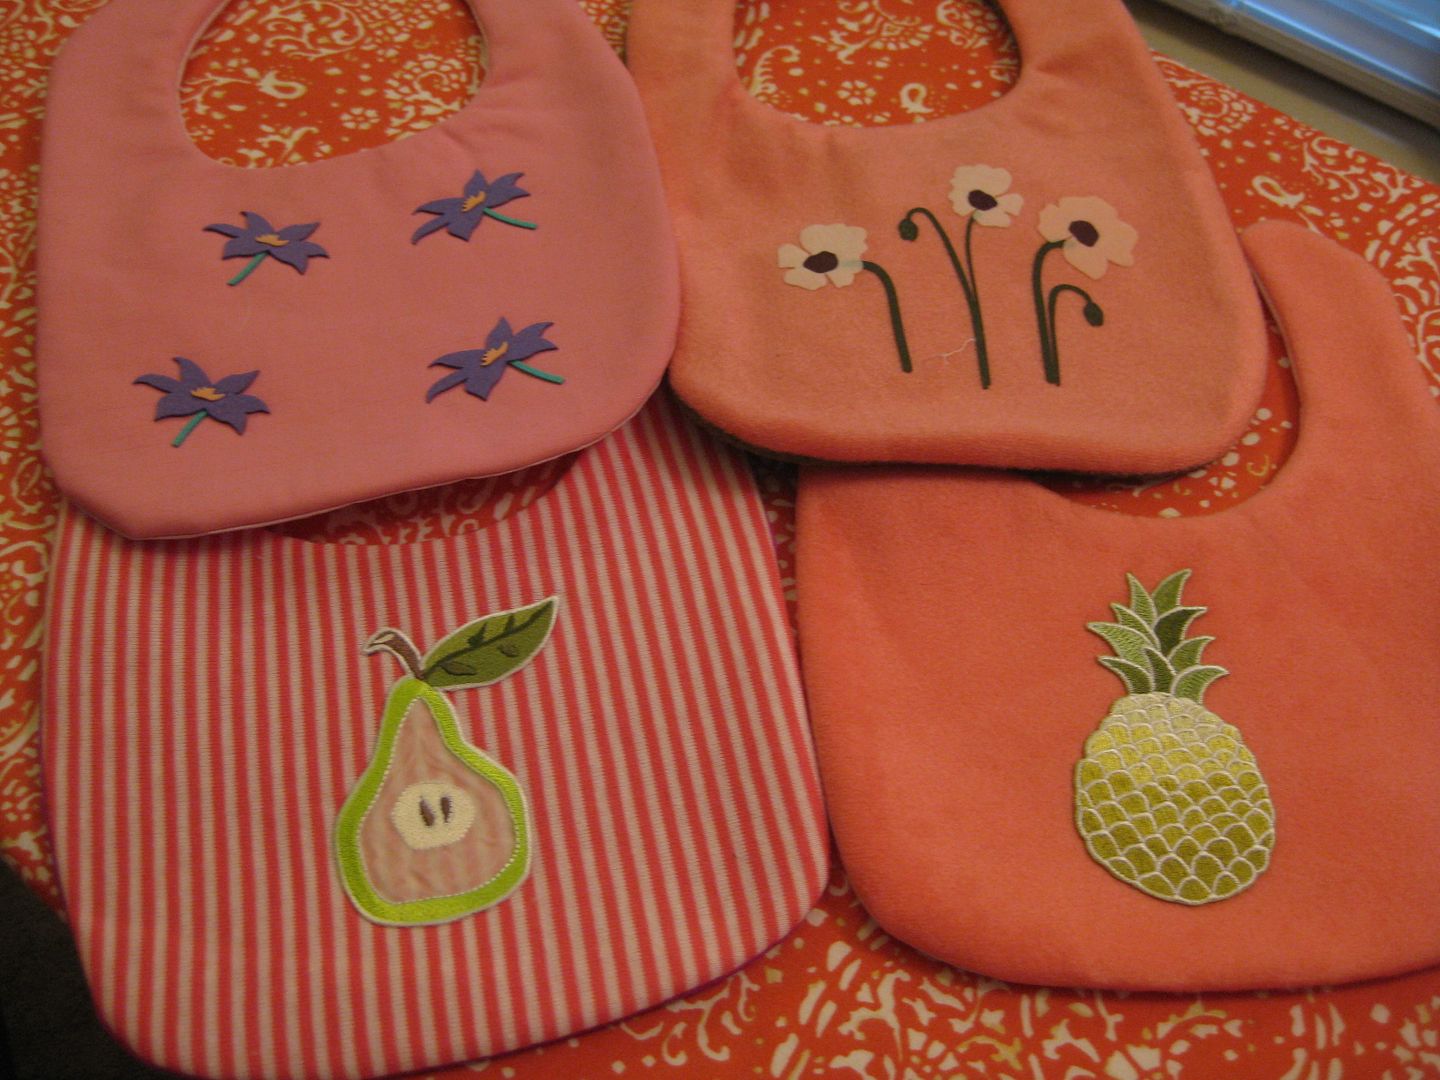
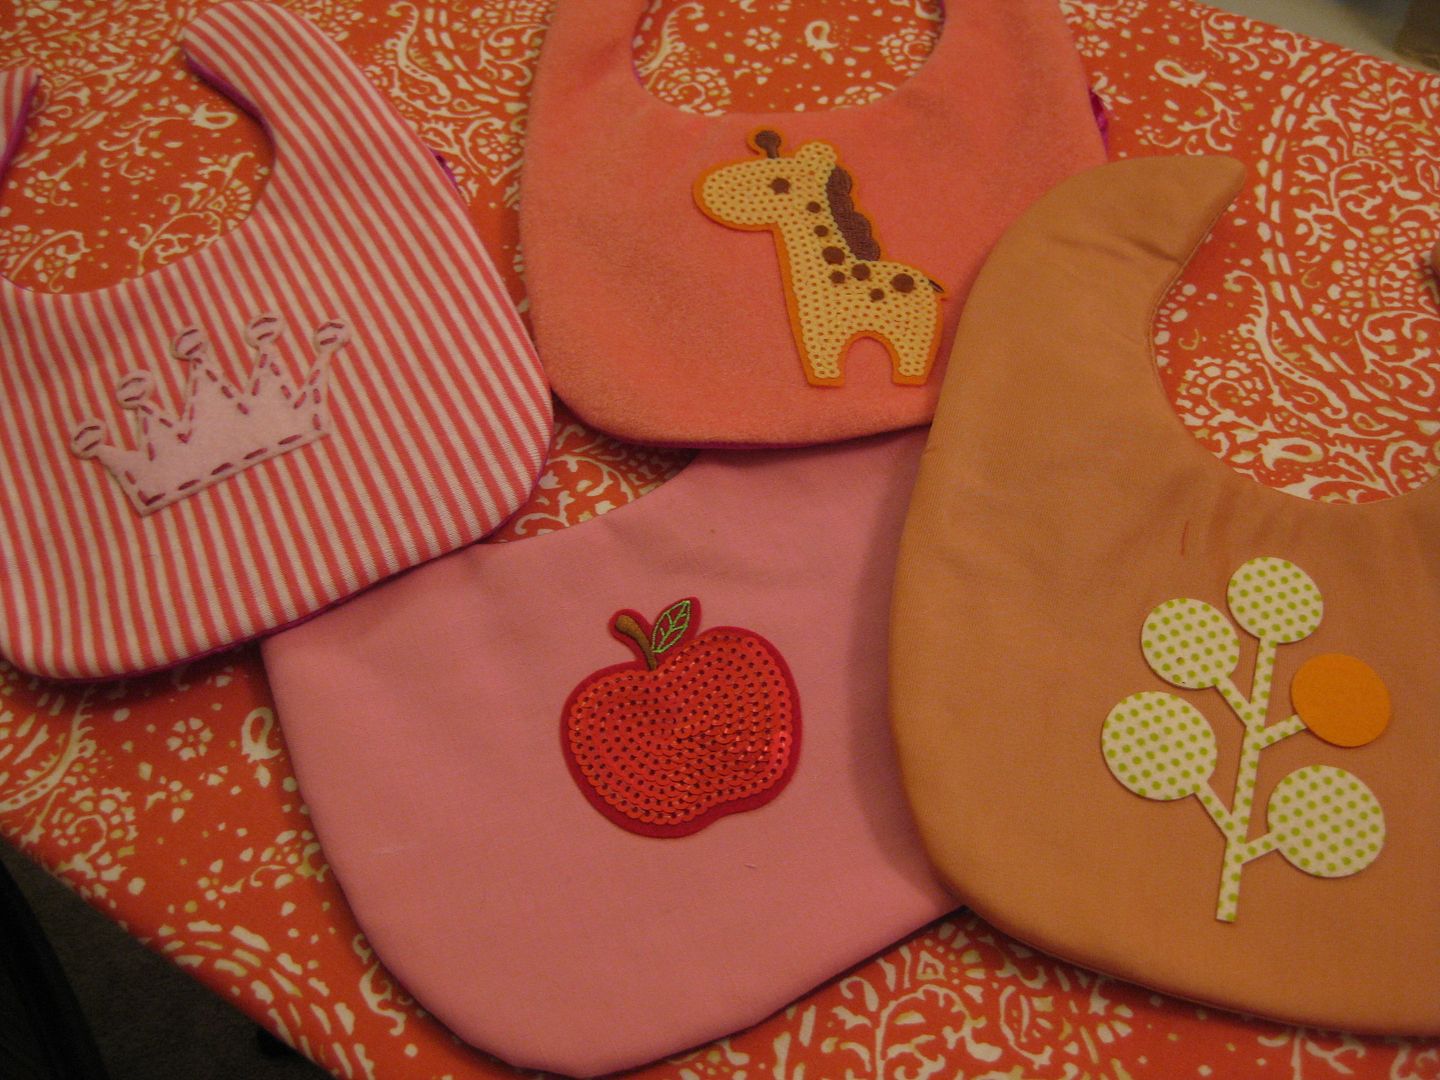
Lol just had some fun with some of the iron-on's I have obtained through out my travels.
Here are the end products. Way too fun!
Yeah seriously. A lot of fun. :) Most are going to charity!
Cheers,
Lauren
Here are the end products. Way too fun!
Yeah seriously. A lot of fun. :) Most are going to charity!
Cheers,
Lauren
Labels:
baby bib,
baby bibs,
baby gifts,
charity,
charity sewing,
felt iron-ons,
iron-on,
iron-on fun
Wednesday, July 31, 2013
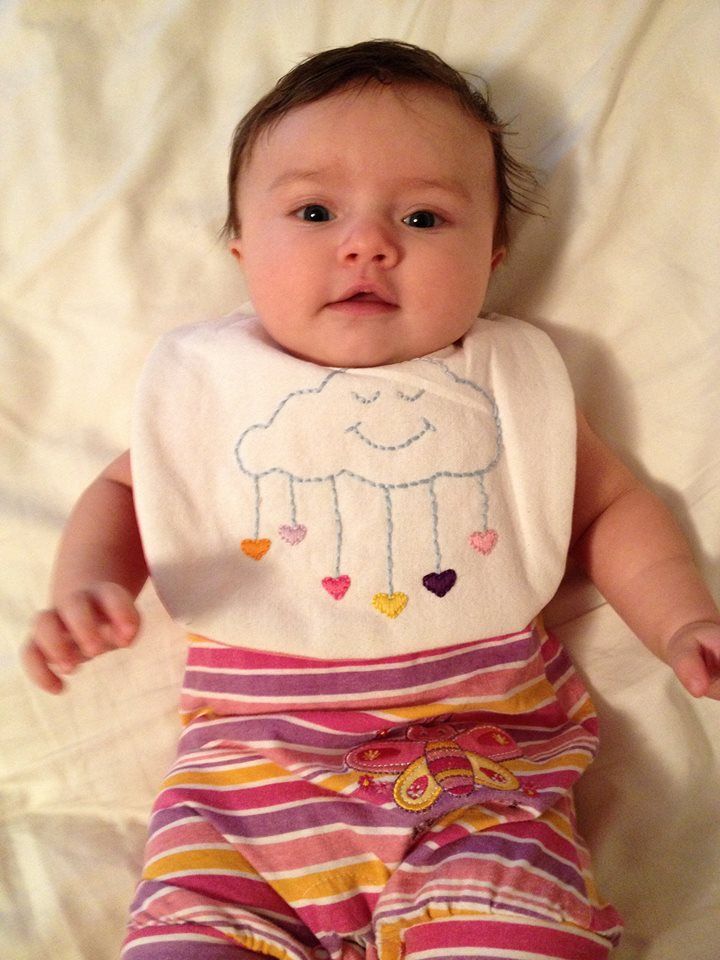
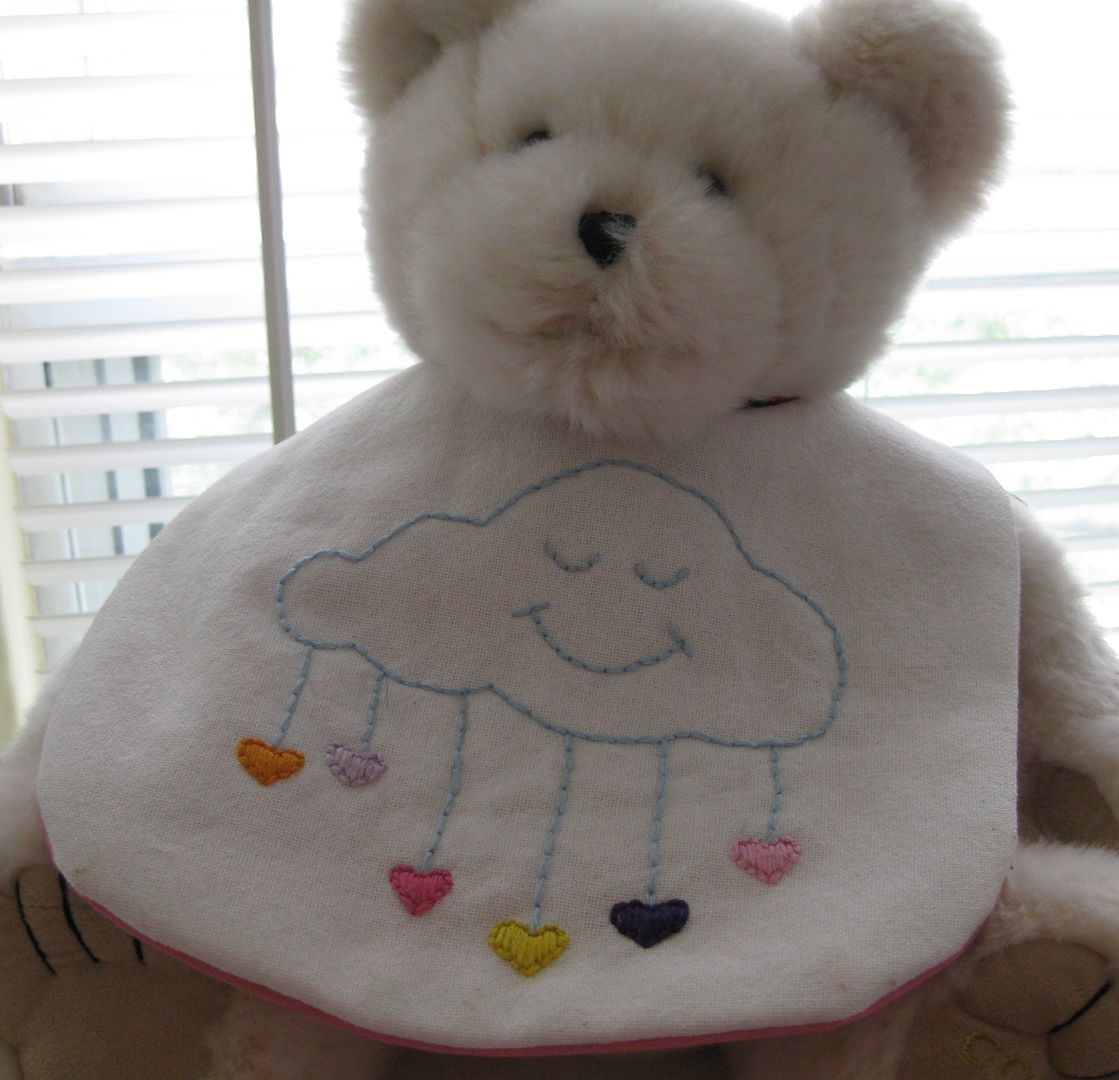
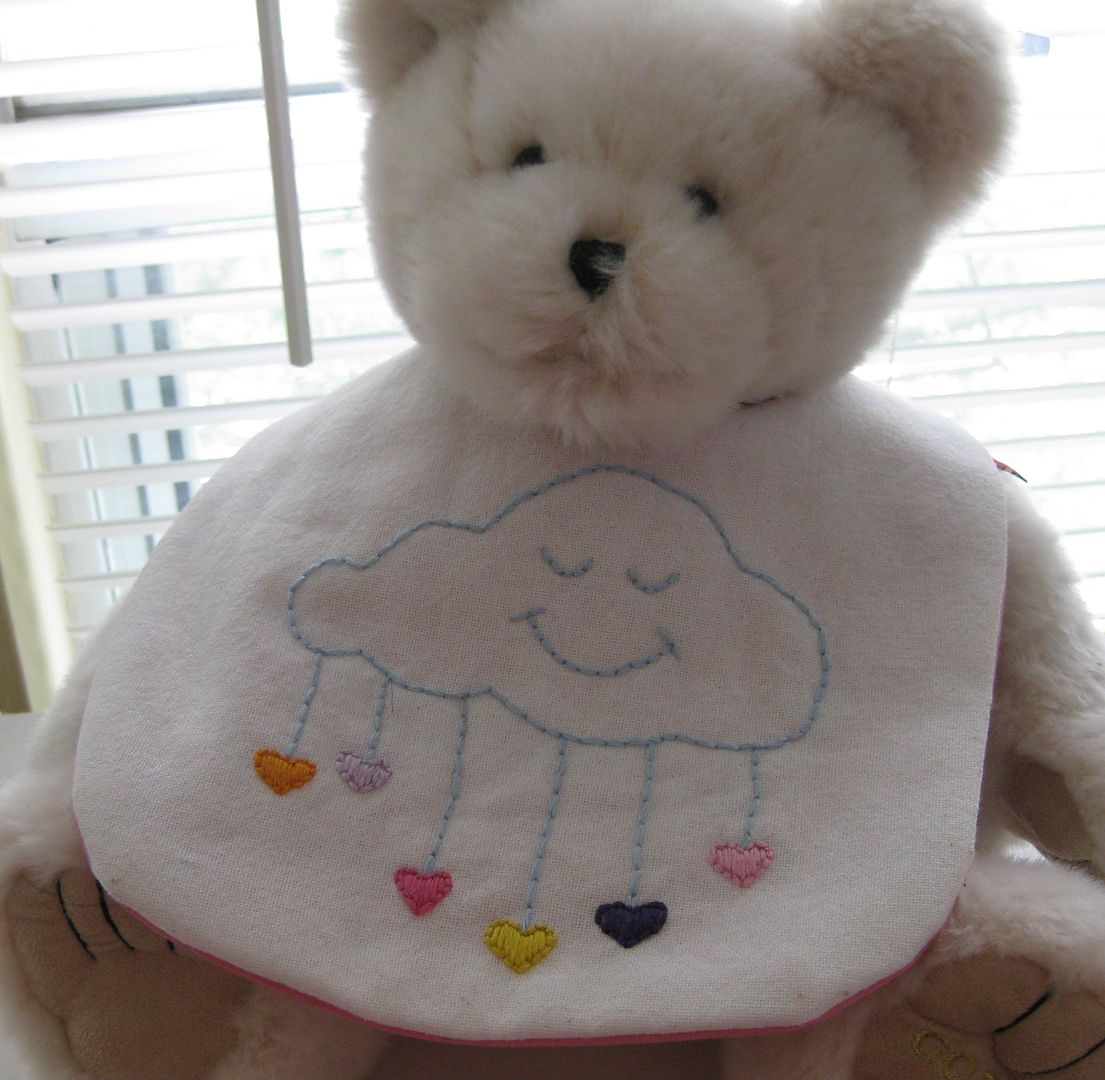
Too cute! My cloud being modeled
I'm sure everyone remembers my Cloud bib I embroidered and gave away. I would like to interrupt everyone's day with a moment of cuteness....
Thank you to Lovely Light and the adorable model! It is so cute to actually see it on!
Cheers,
Lauren
Cheers,
Lauren
Friday, July 12, 2013
How to embroider the baseball bib
Previously I posted my baseball bib I embroidered myself
I thought I would do another post here that would break down the sewing and a little tutorial. :)
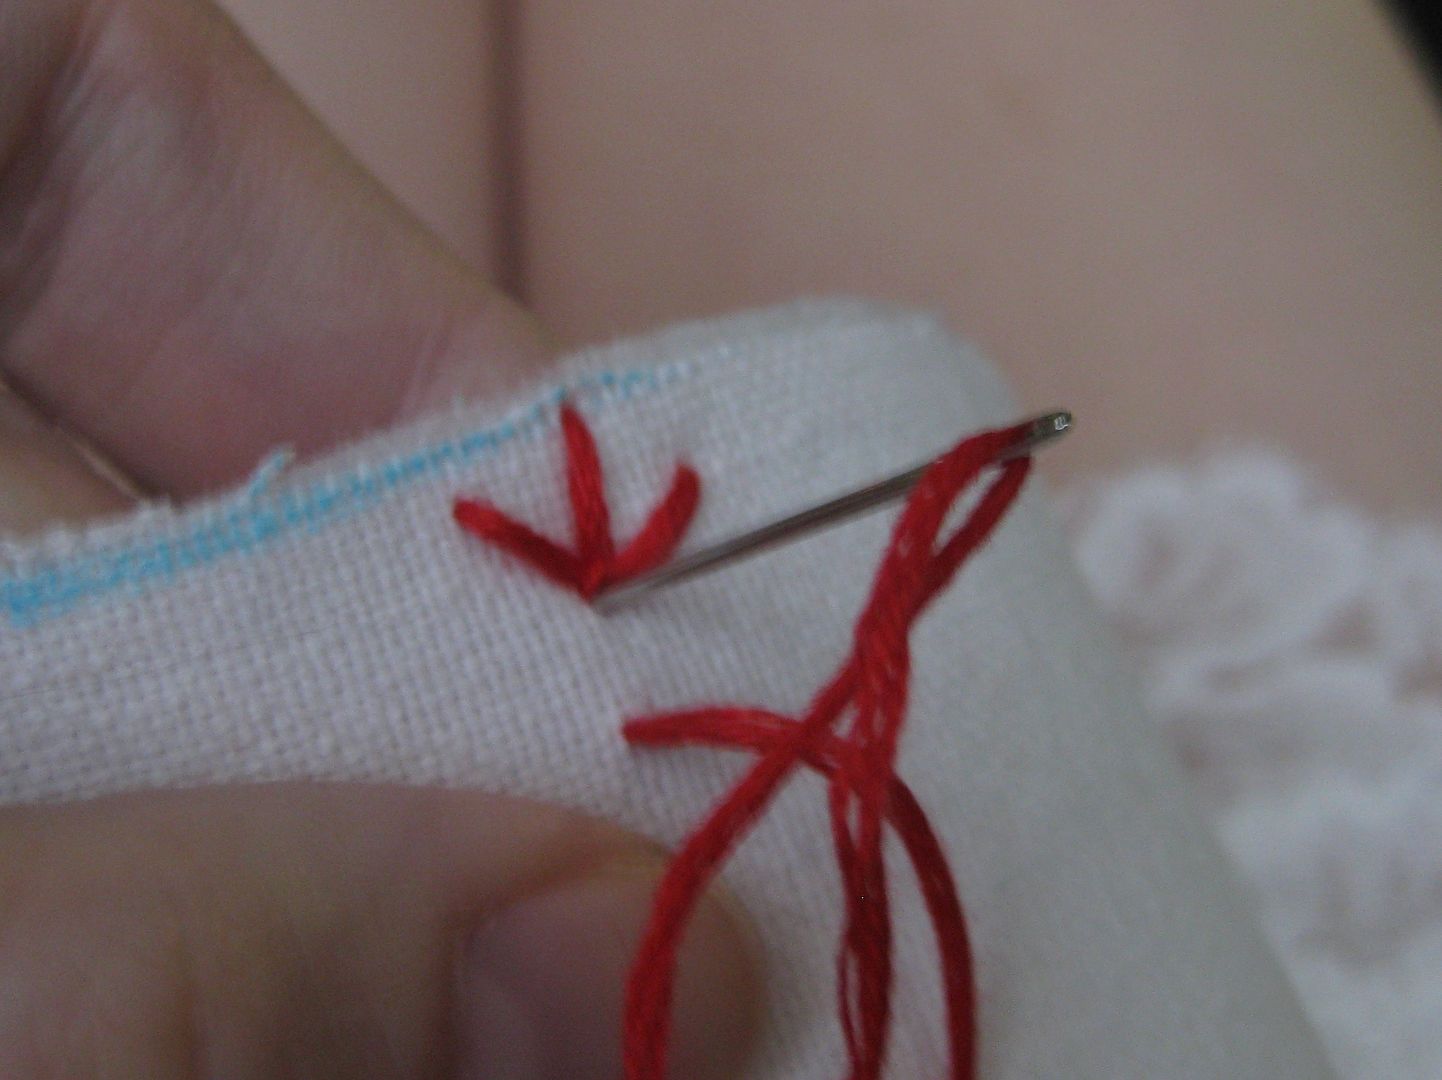
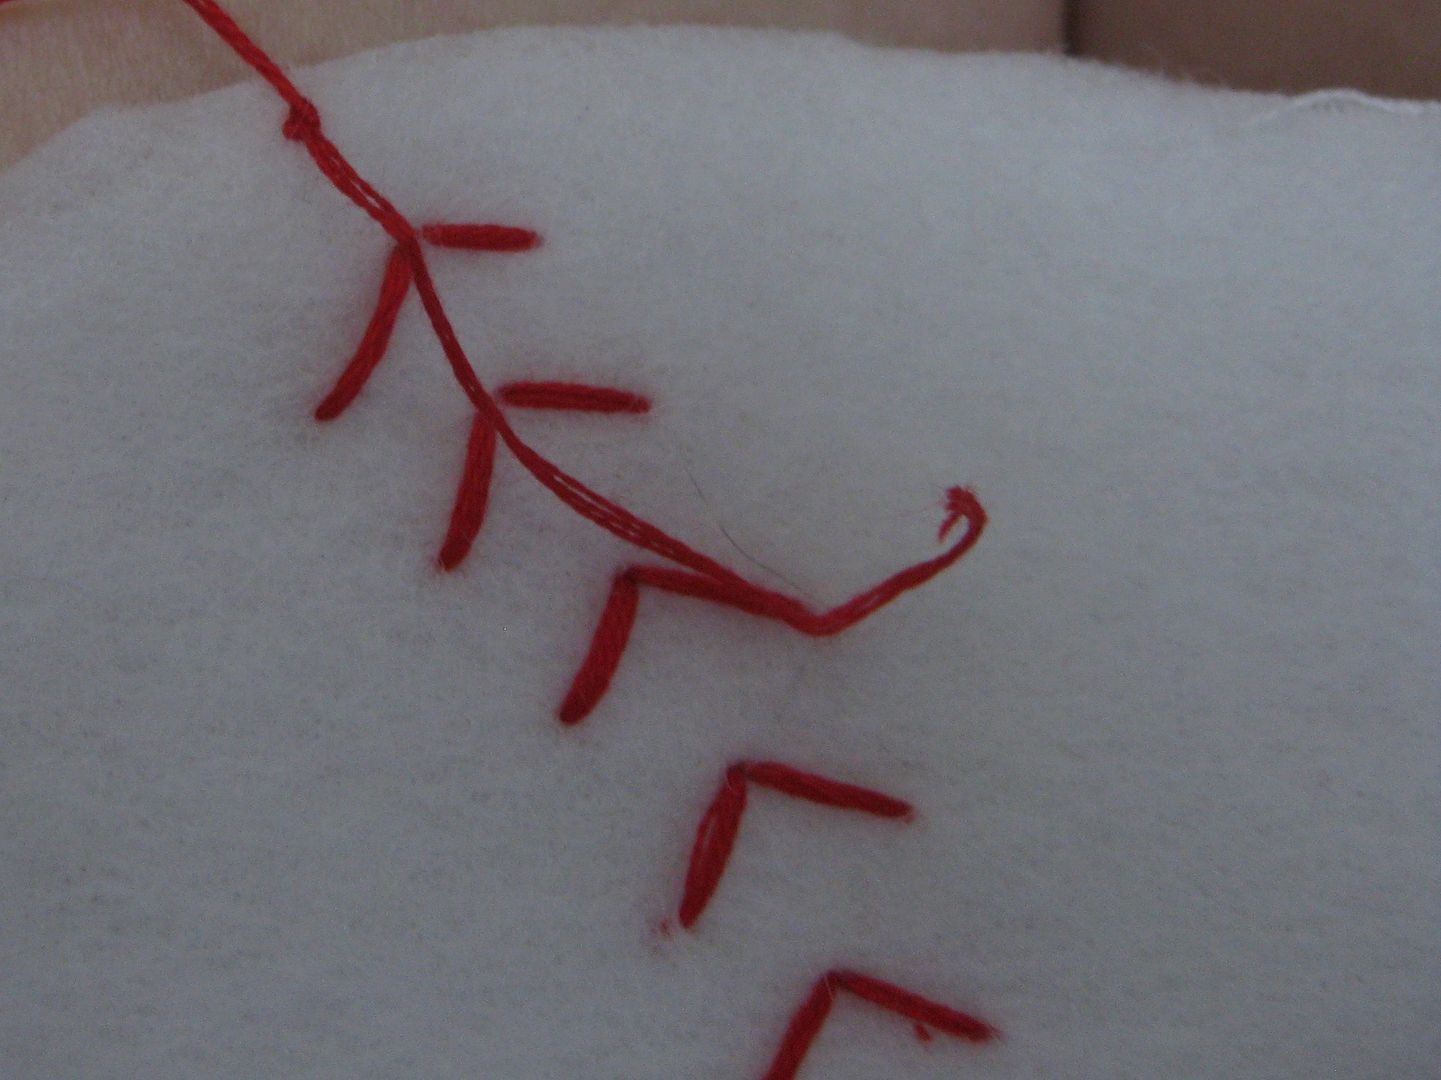
So I started with one end, knot the string at the end, start just away from the edge. You do not want to start right AT the edge-you run the risk of the stitch is coming out.
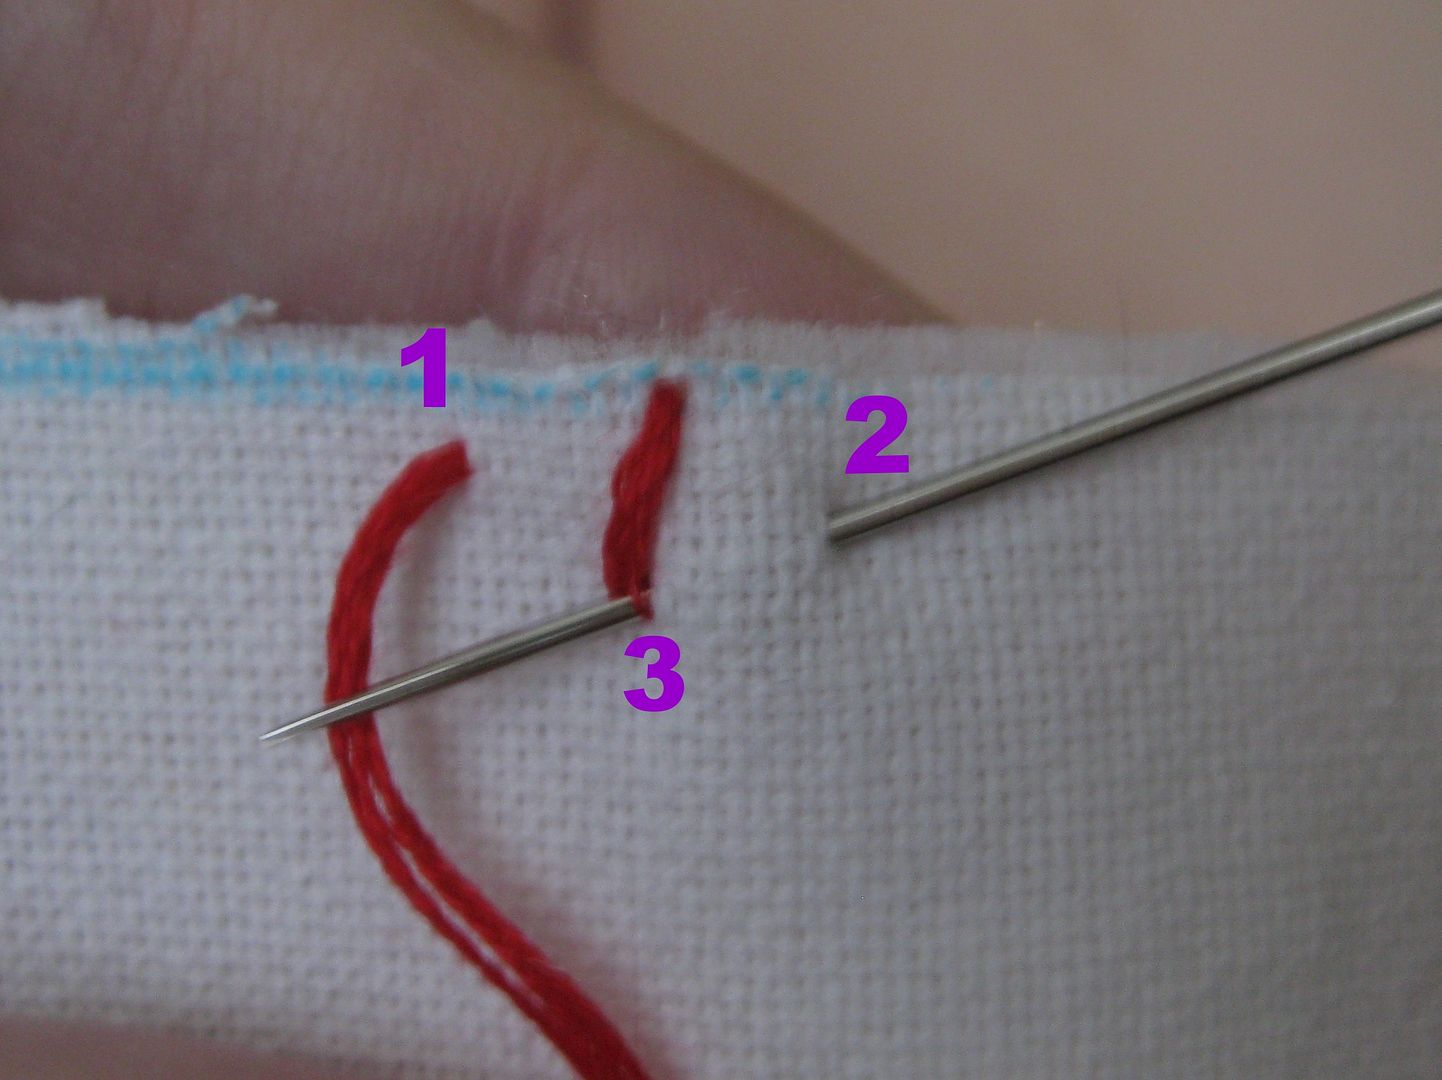
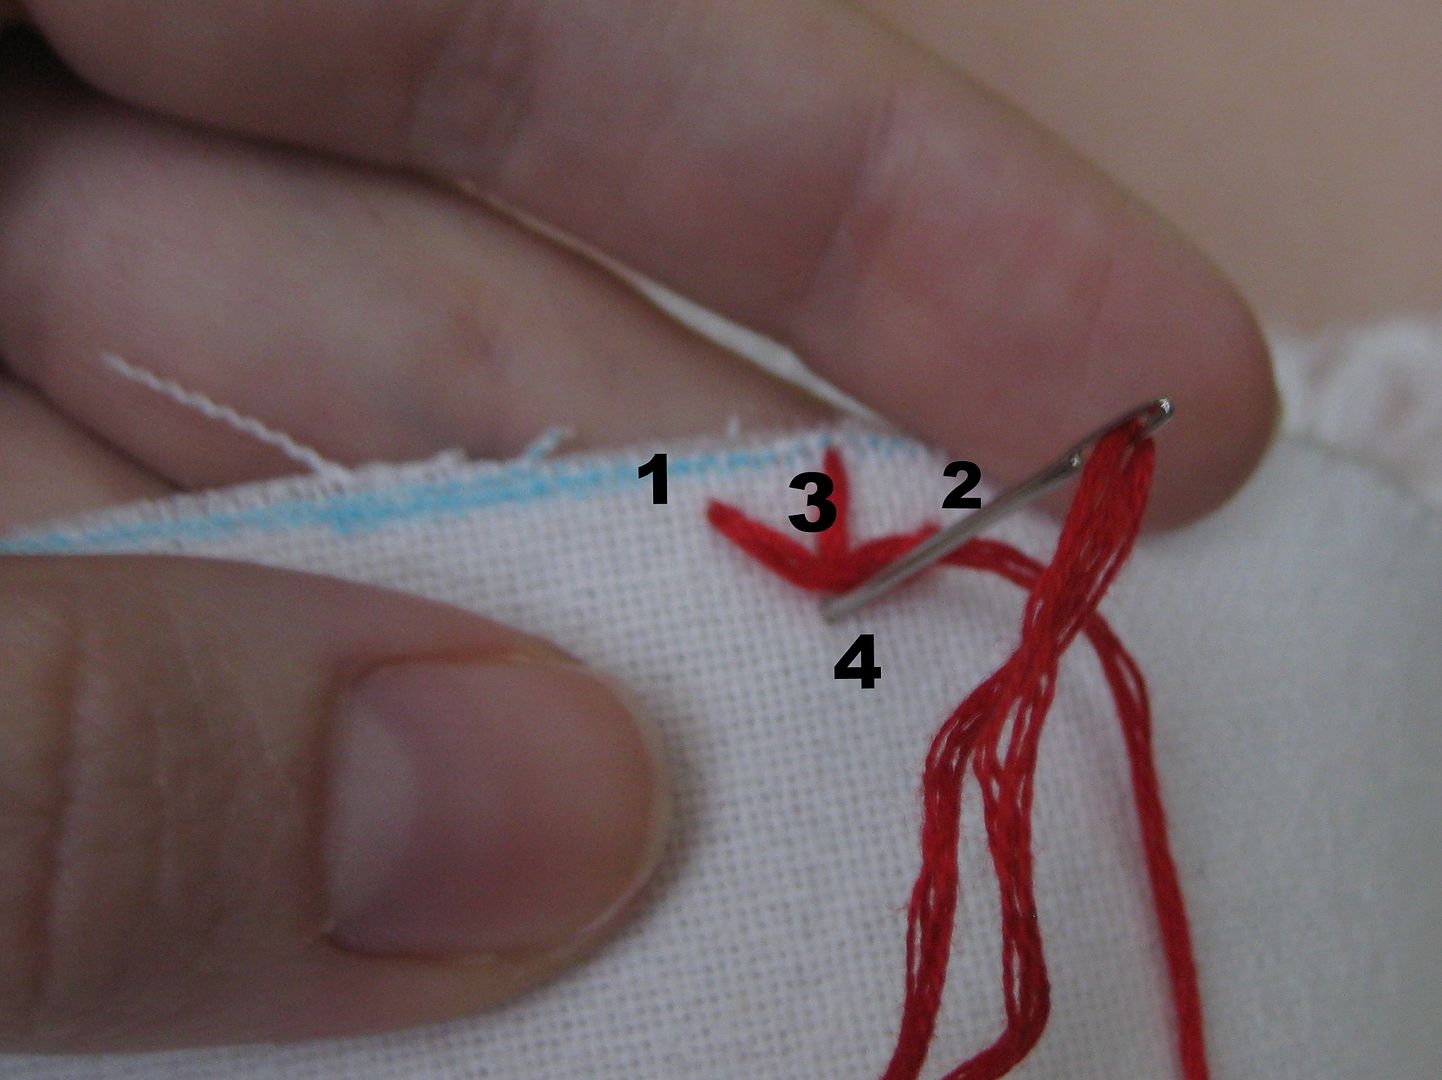
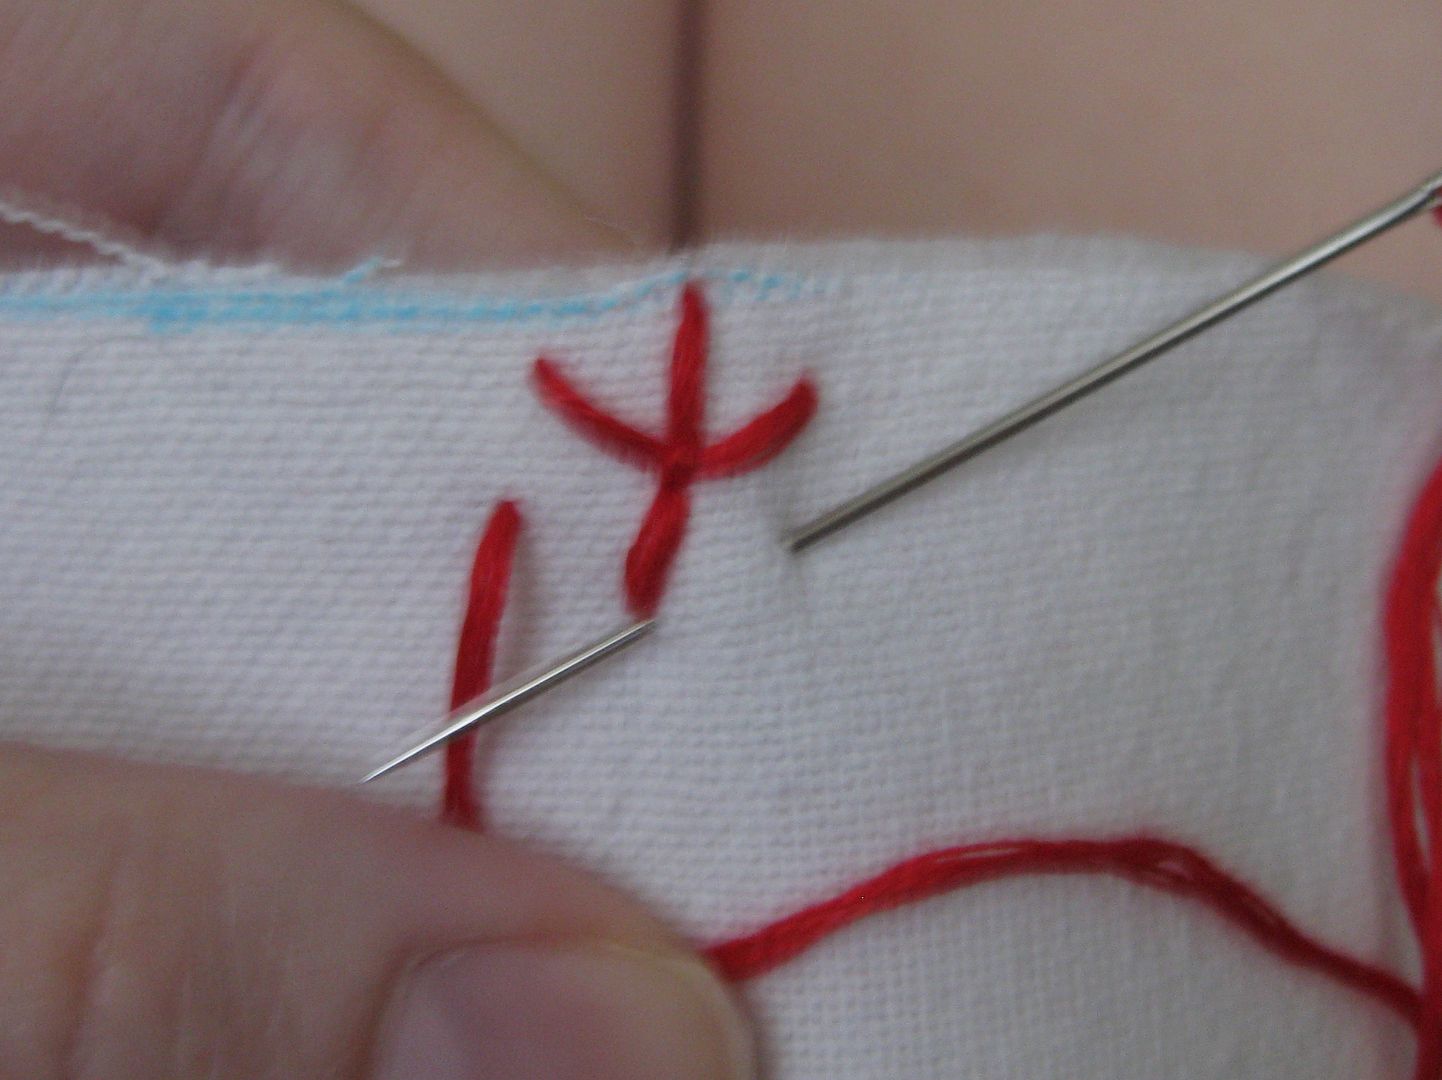
Now to start the "baseball stitch" I am going to show you 2 versions. They all start the same...
It is not hard. The first stitches are hard but once you get your flow it will fly by! :)
Of course here is the finished product
Hope you enjoyed the tutorial! :)
Cheers,
Lauren
I thought I would do another post here that would break down the sewing and a little tutorial. :)
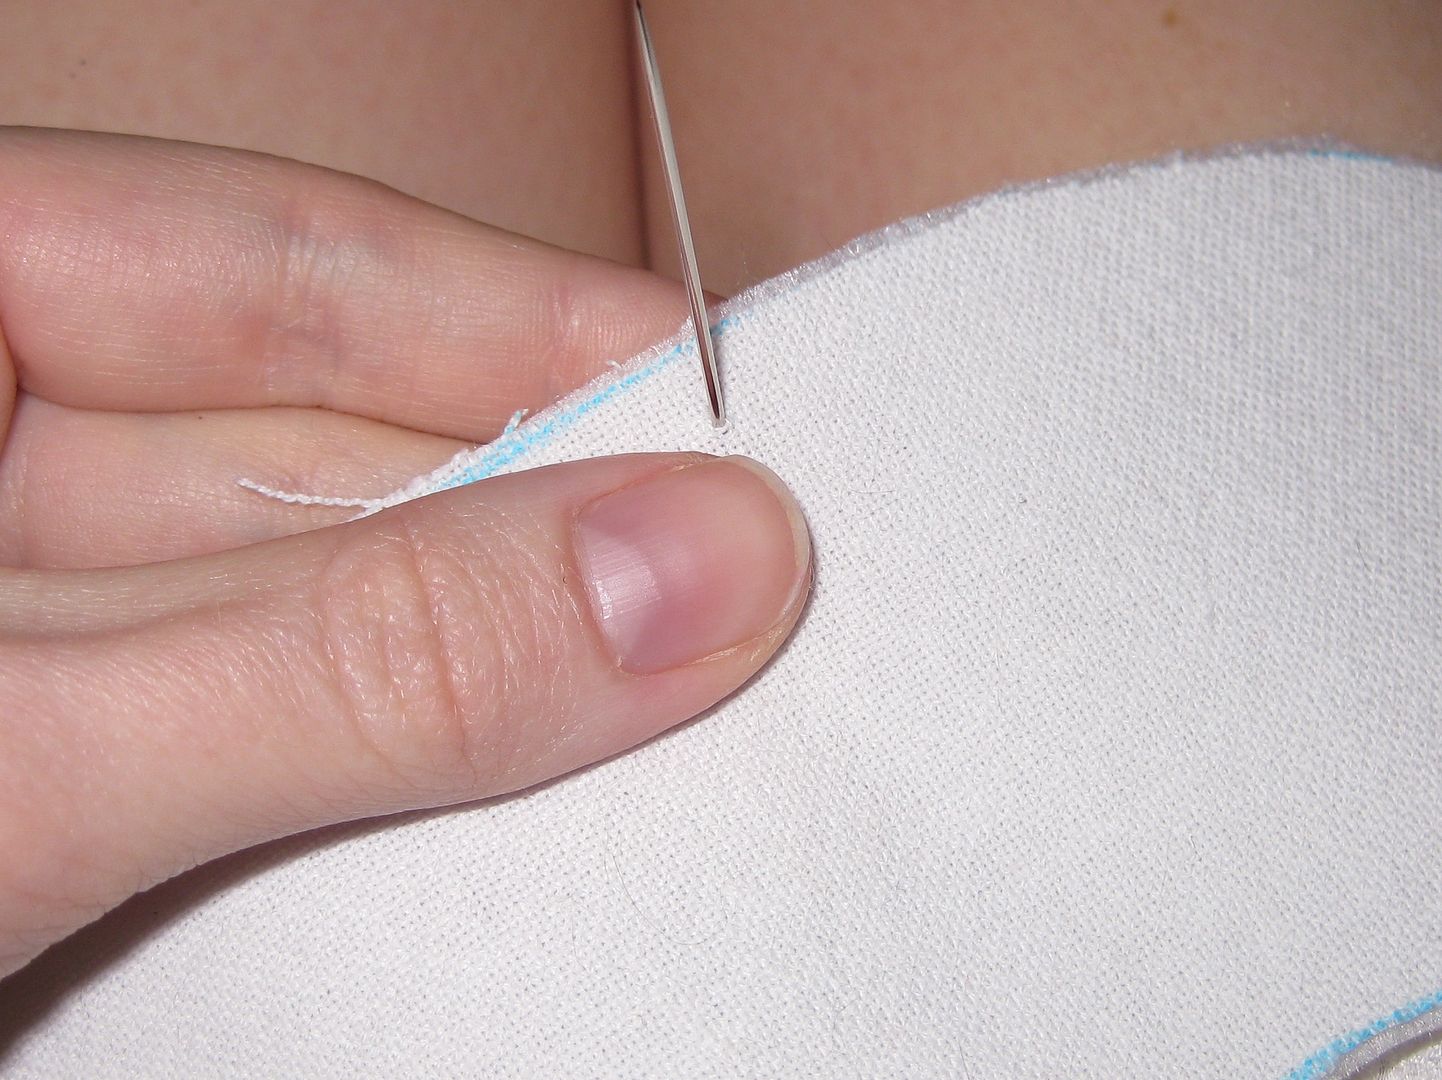
So I started with one end, knot the string at the end, start just away from the edge. You do not want to start right AT the edge-you run the risk of the stitch is coming out.
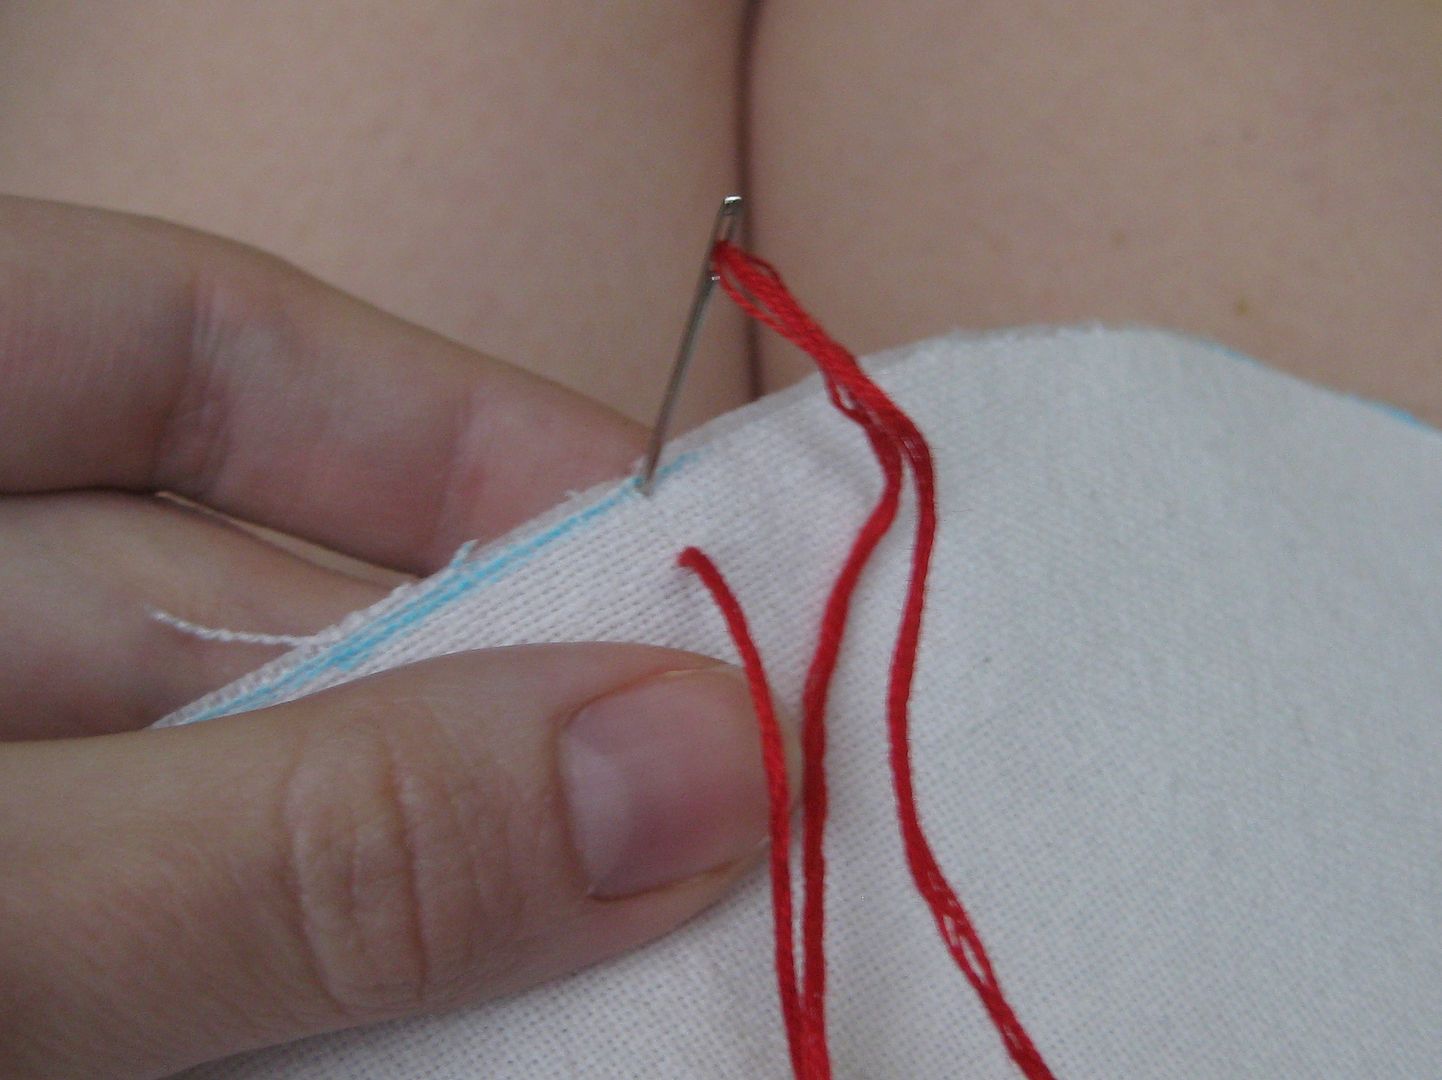
Then bring the needle down at the edge
Now to start the "baseball stitch" I am going to show you 2 versions. They all start the same...
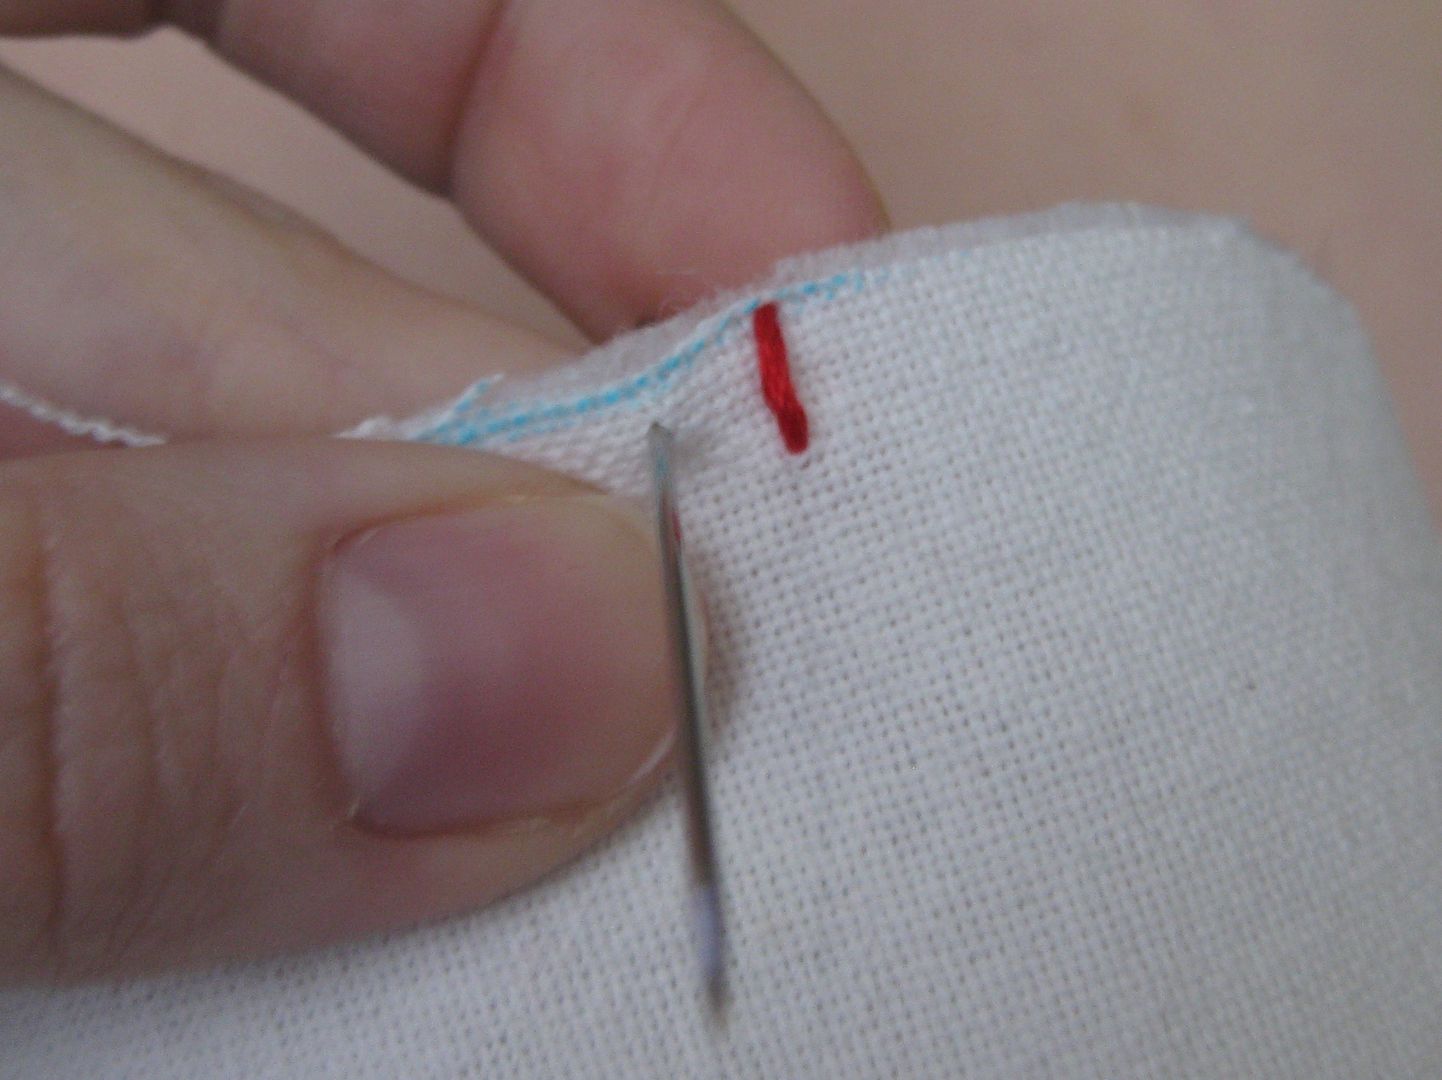
Anchor with the needle coming down right at the Y
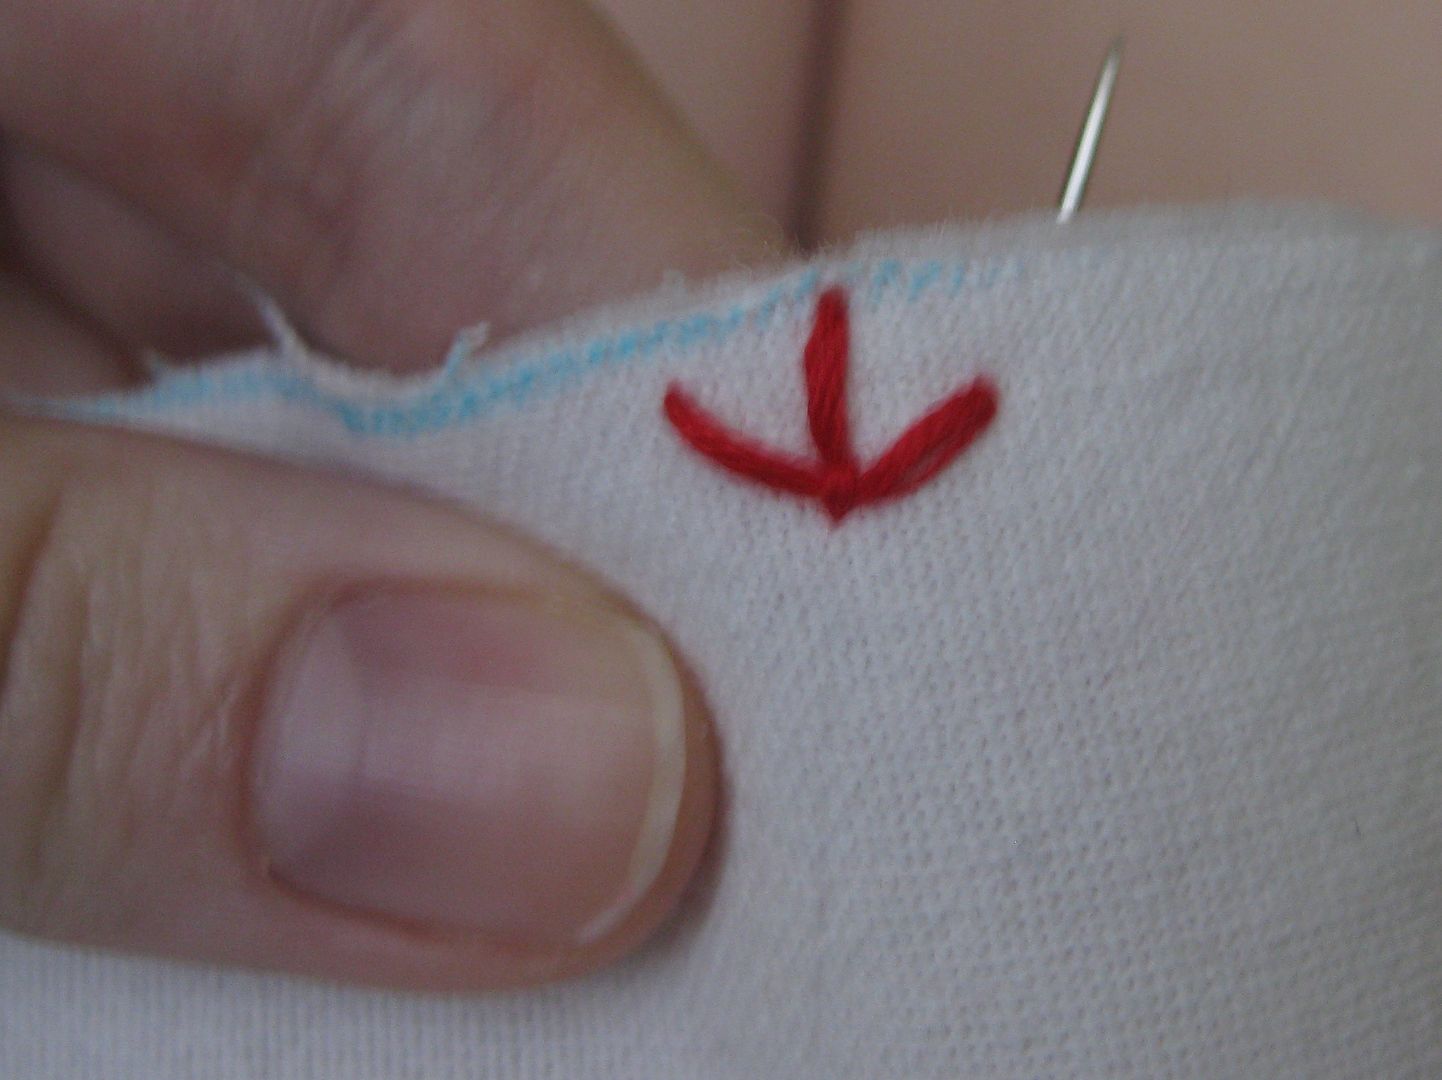
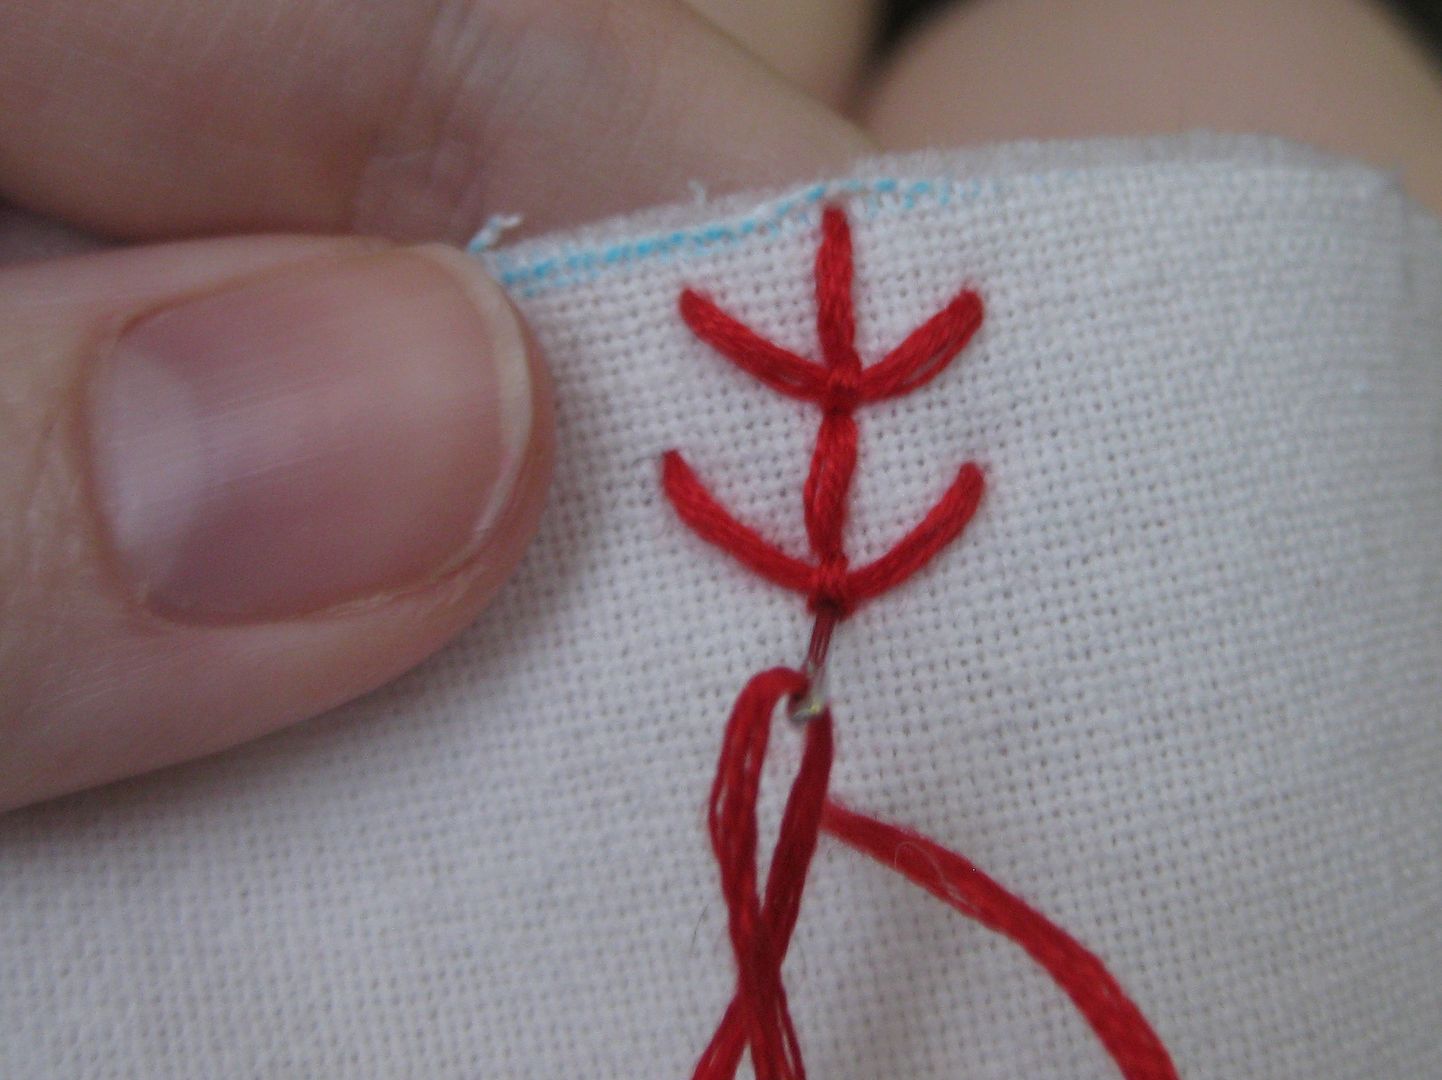
Done with our first baseball stitch!
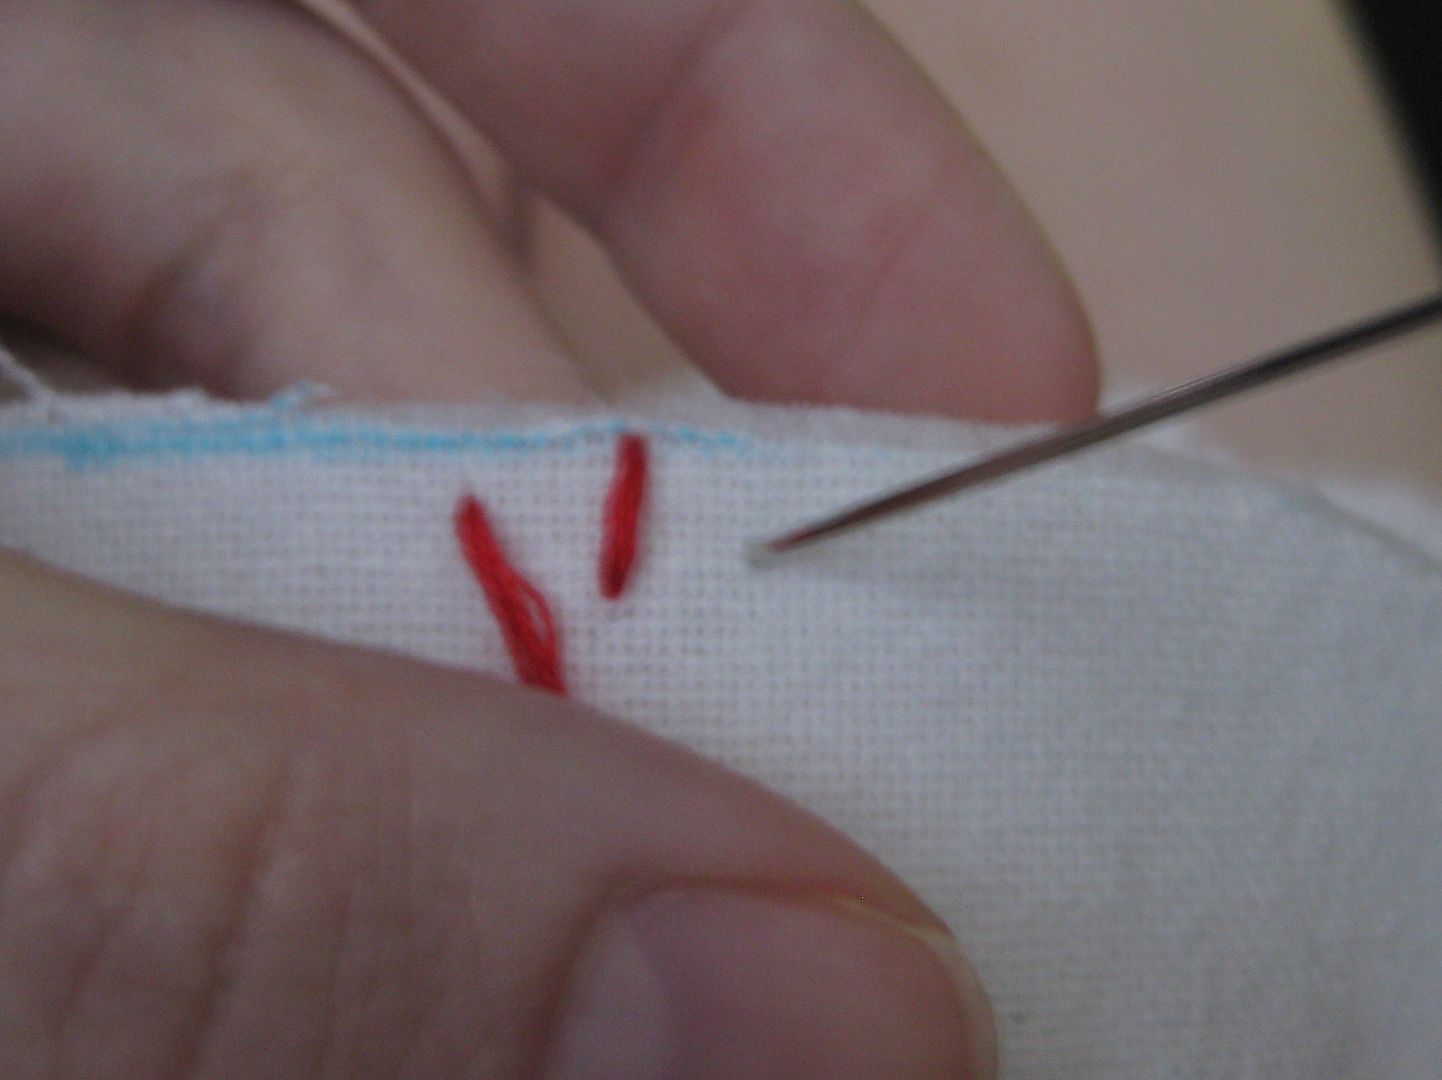
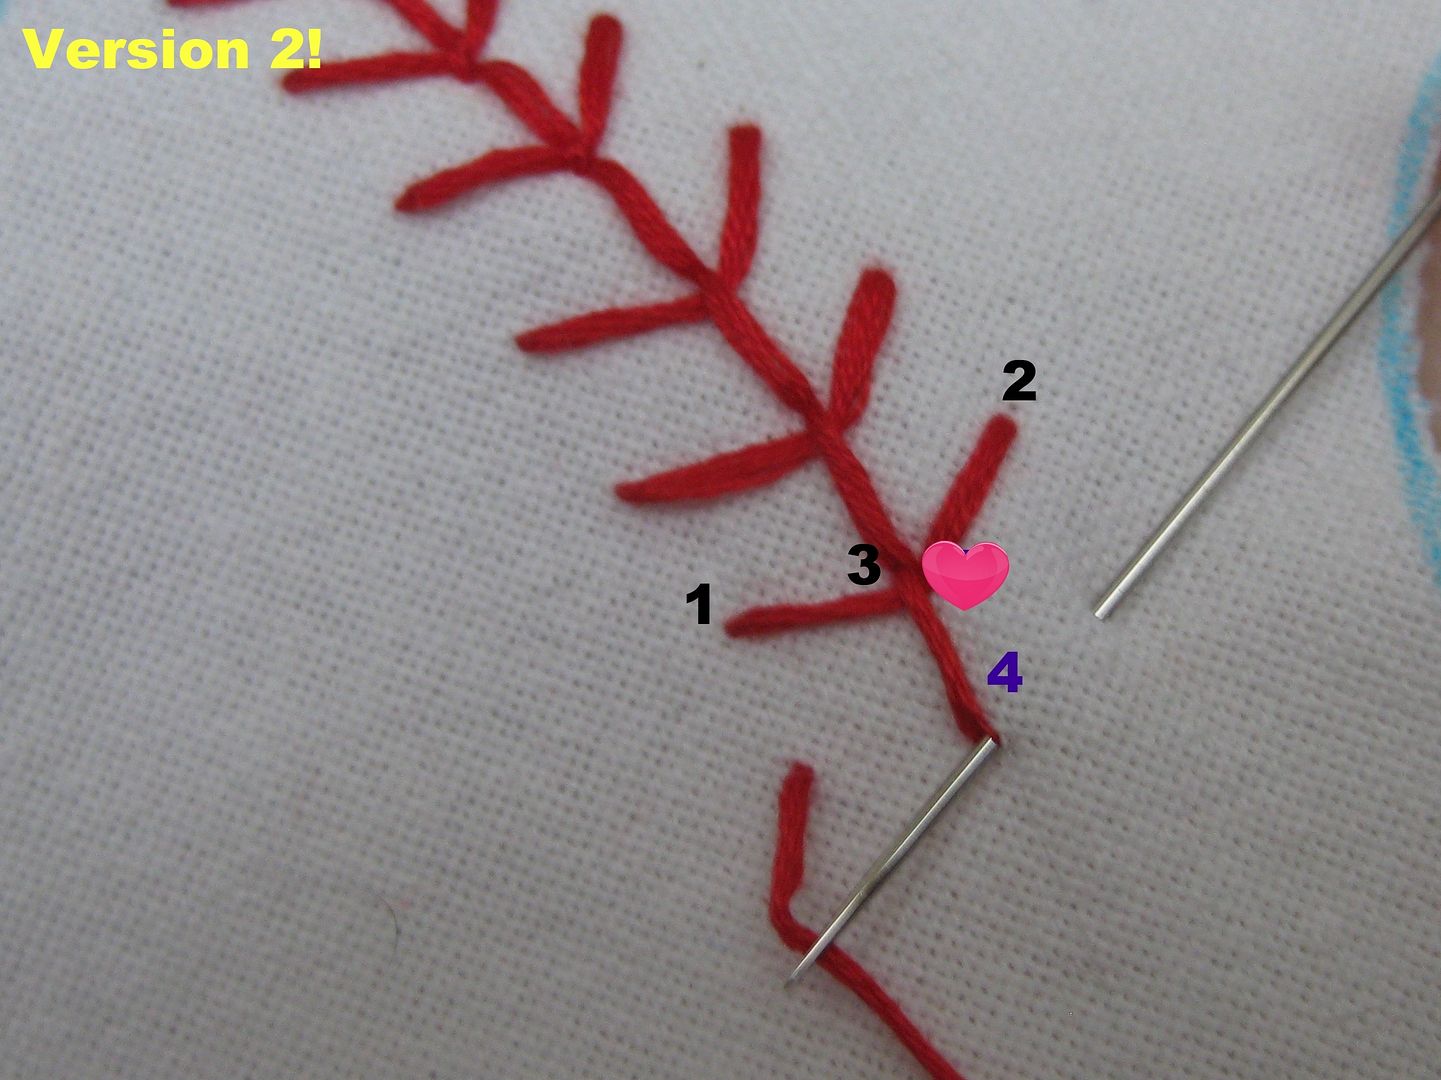
Ok on to the next stitch. Try to make the straight stitch-about the same length of the previous one. Start away from the group and go to your previous stitches
Repeat the 1-2-3
Anchor
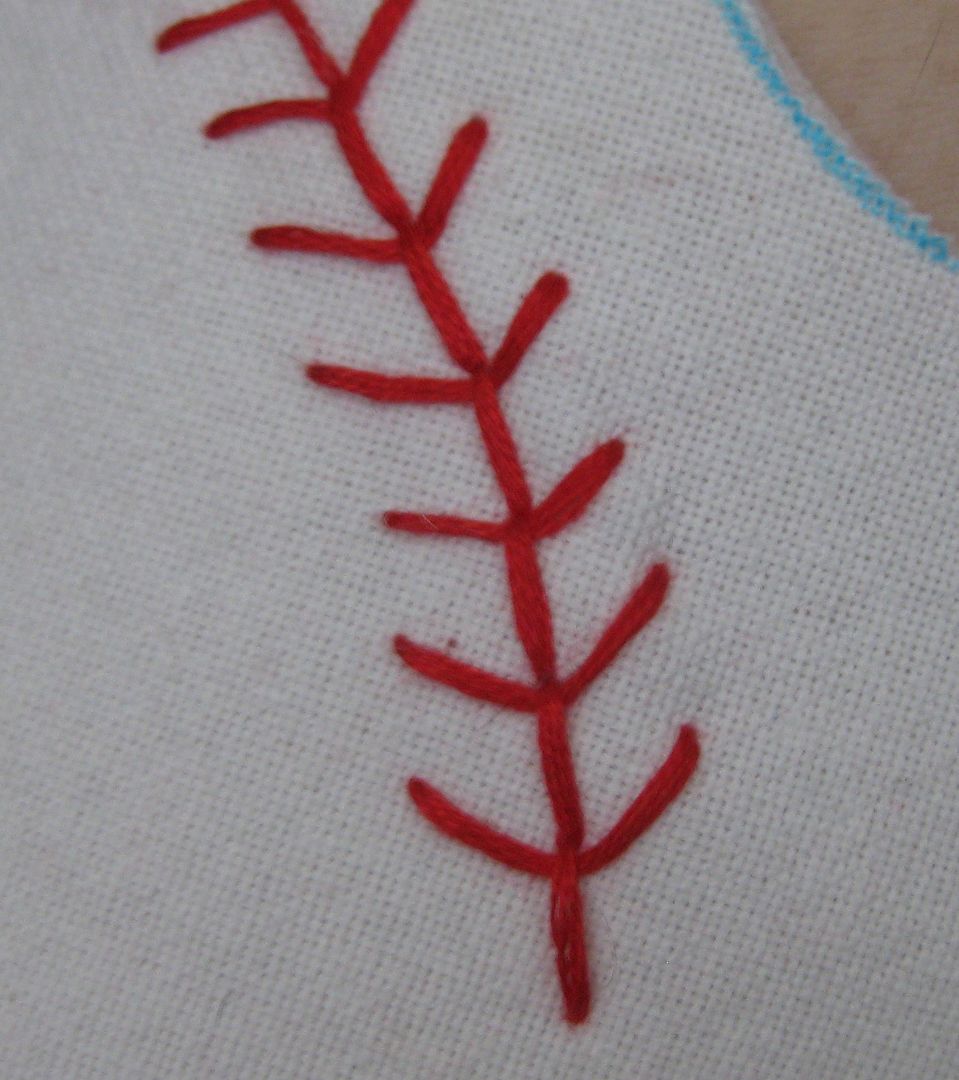
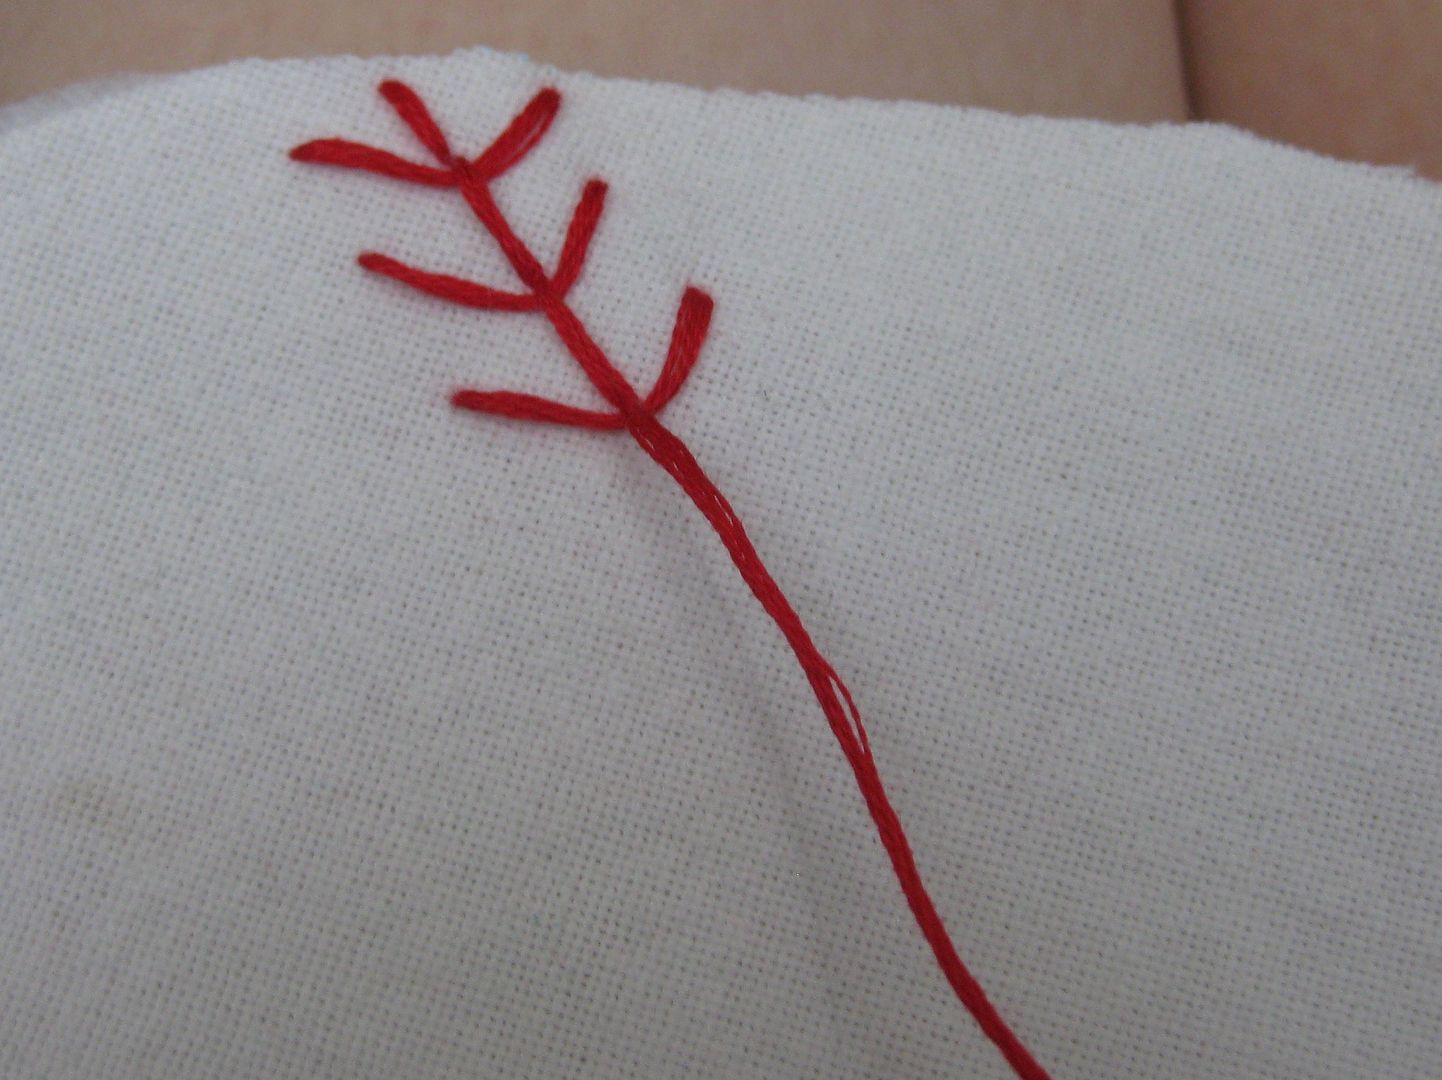
Keep going. Now to keep them even. I try to keep the inner stitch the same length. For the outer stitches, you want to keep a V sort of appearance. You want to keep the curve going too. You want to try and keep the distance similar.
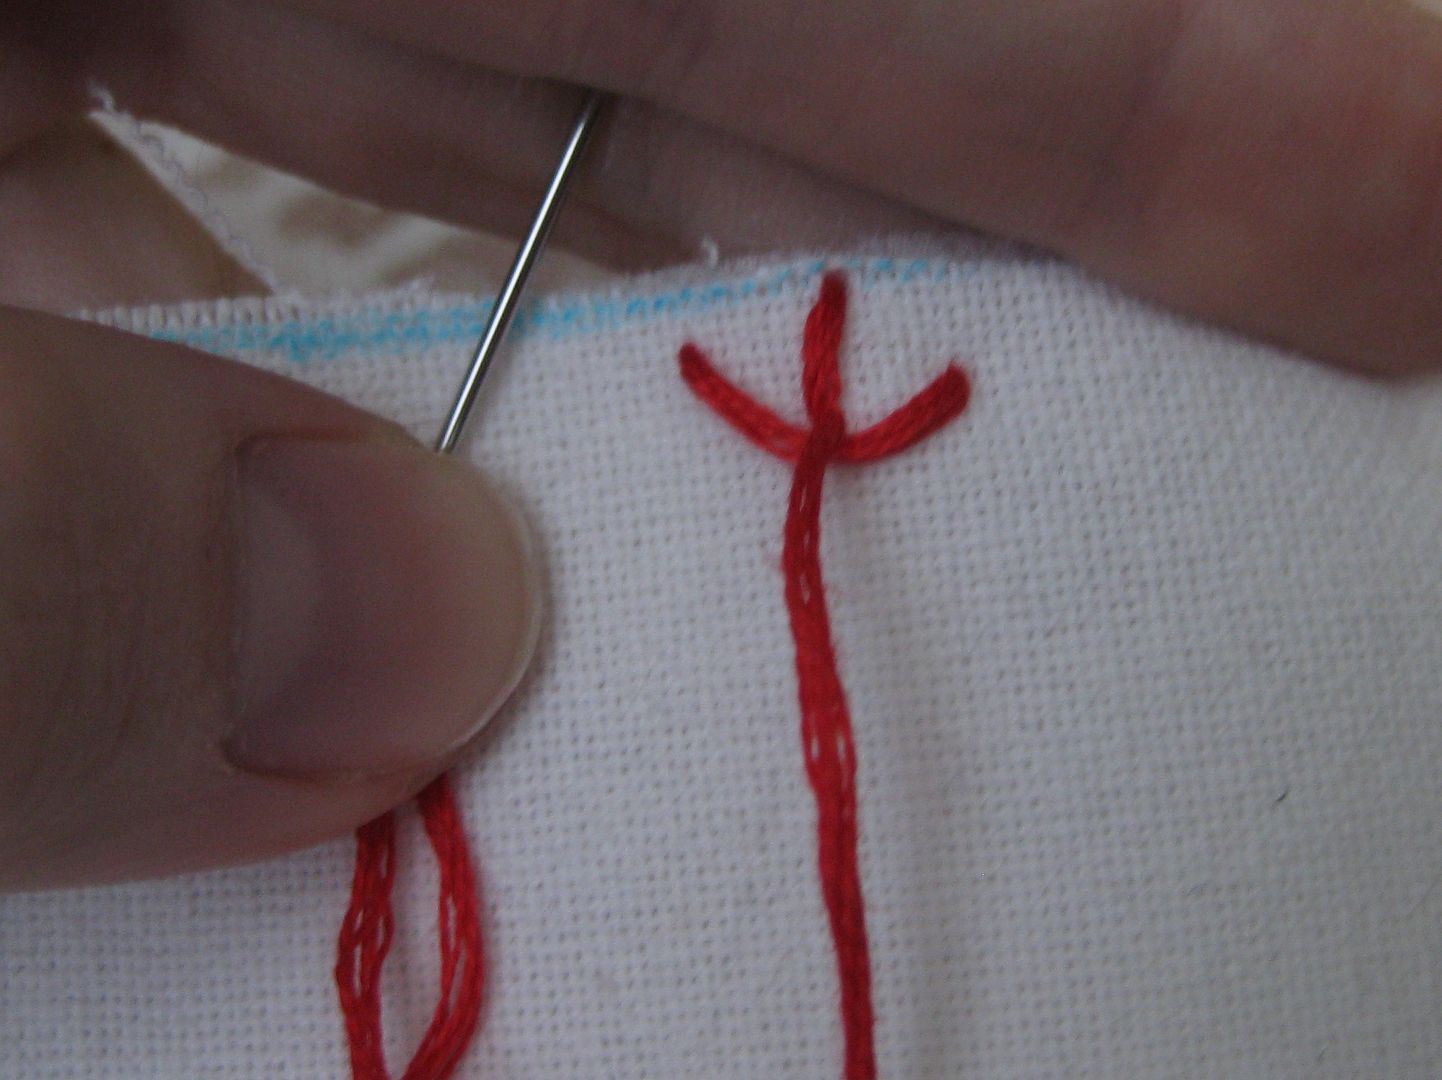
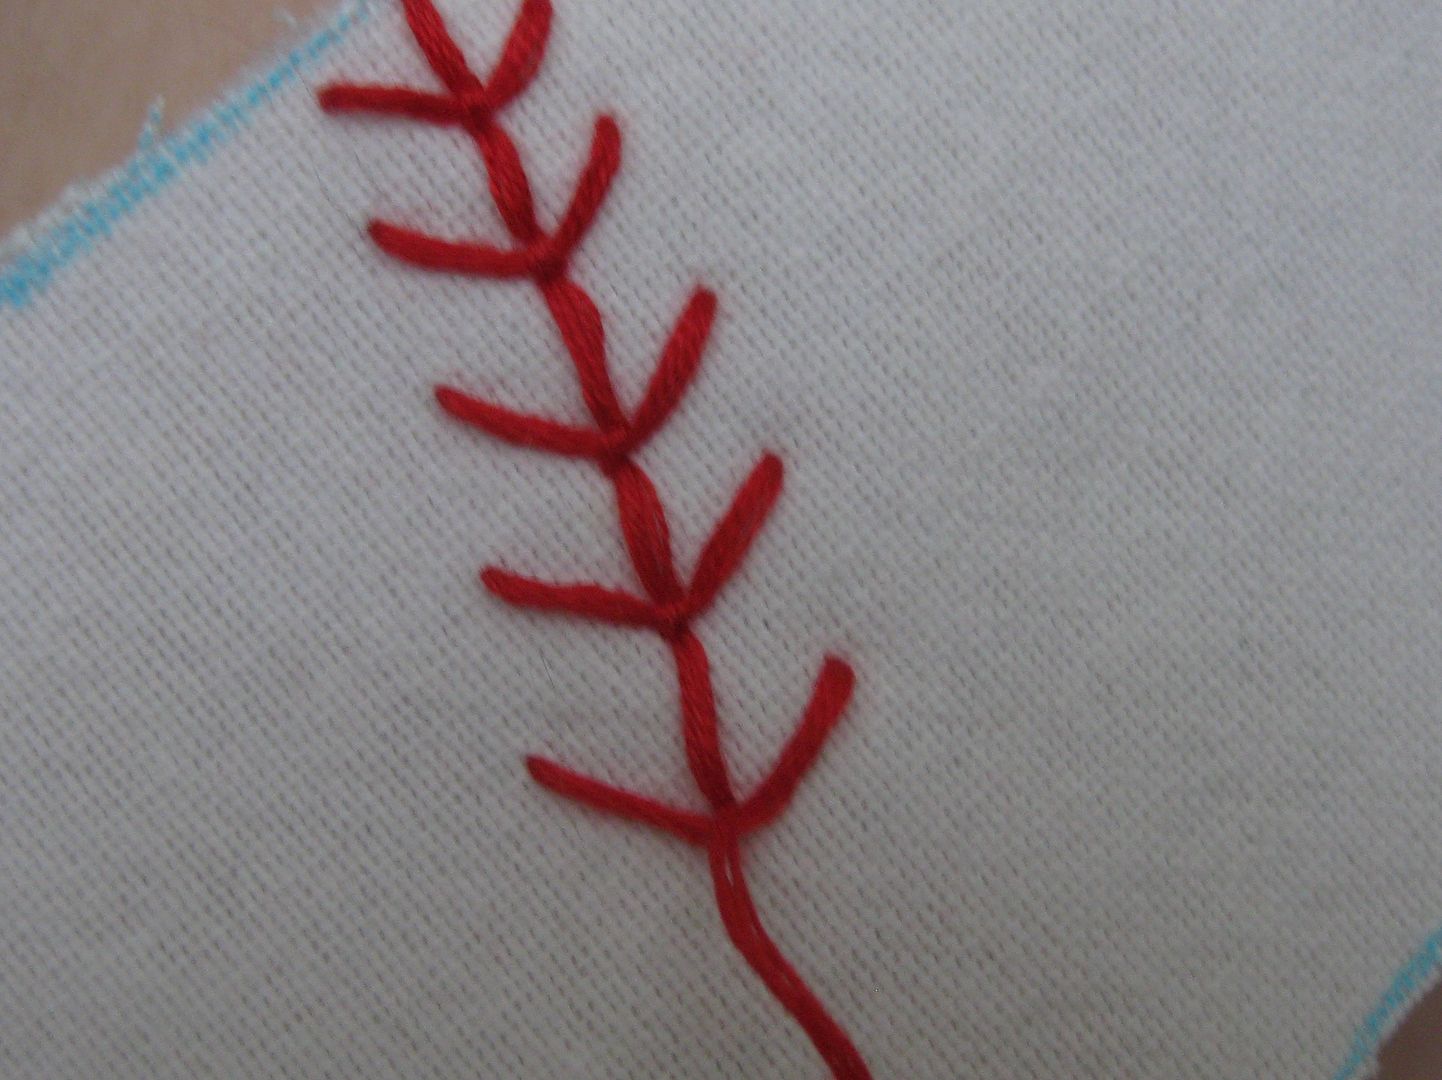
Now all what I have done so far has a bit of a flower stem appearance. Which is fine but there is a way to alter this to get rid of the "stem" appearance.
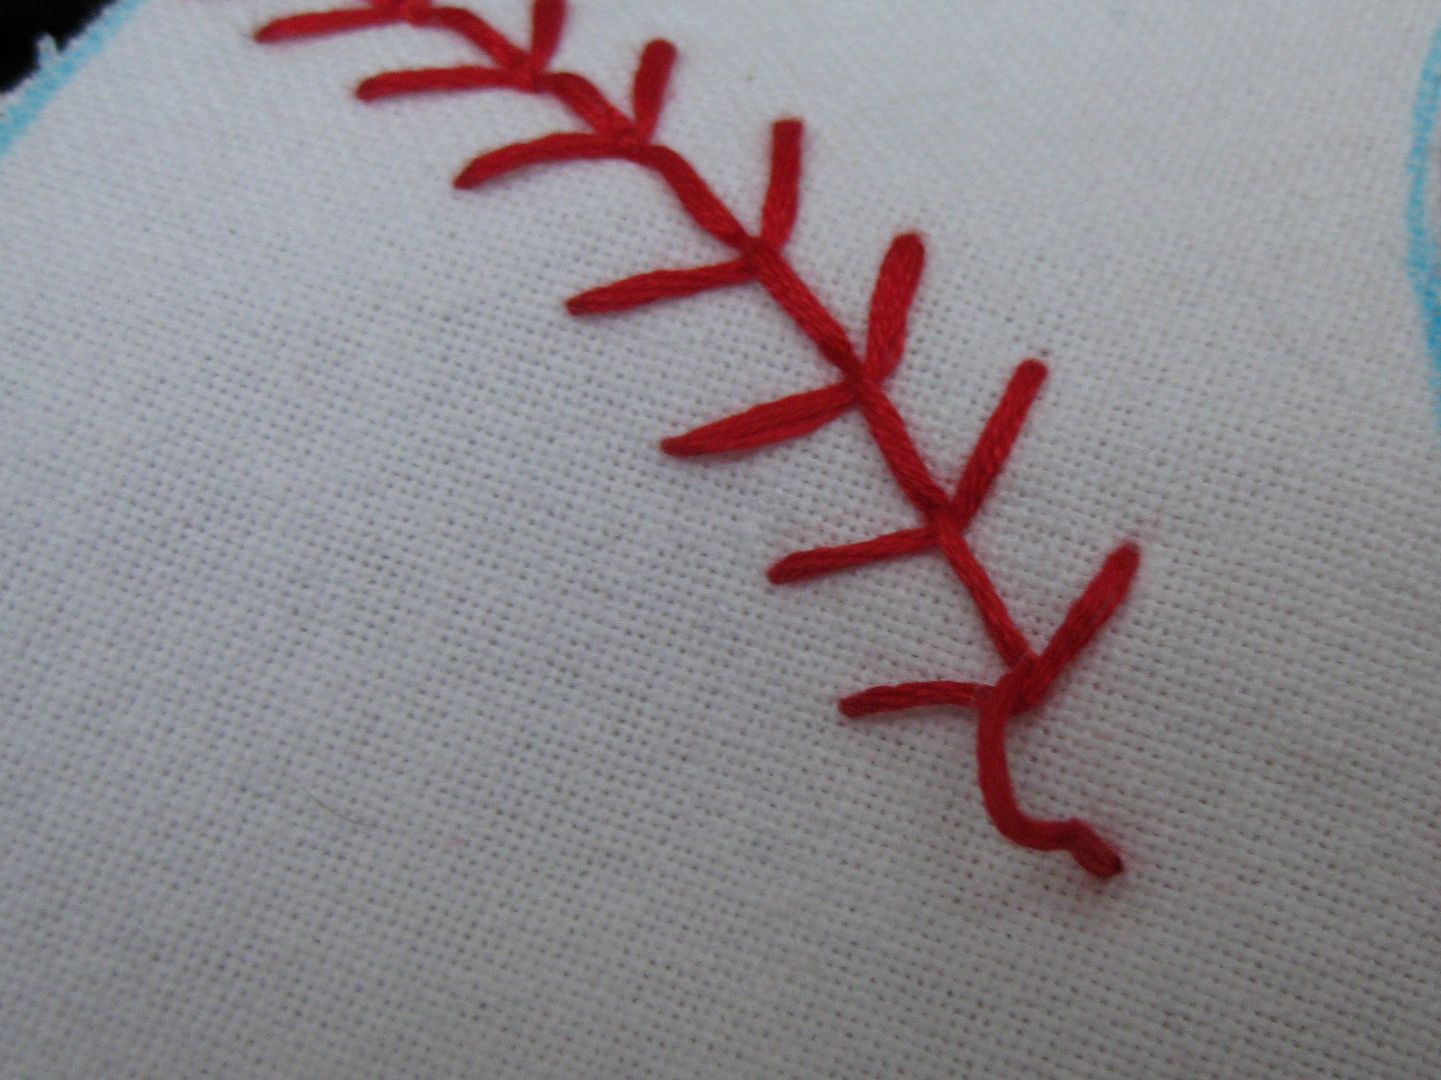
Here is the next version you can sort of see the difference.
So it has a different appearance. Just a bit less stitches.
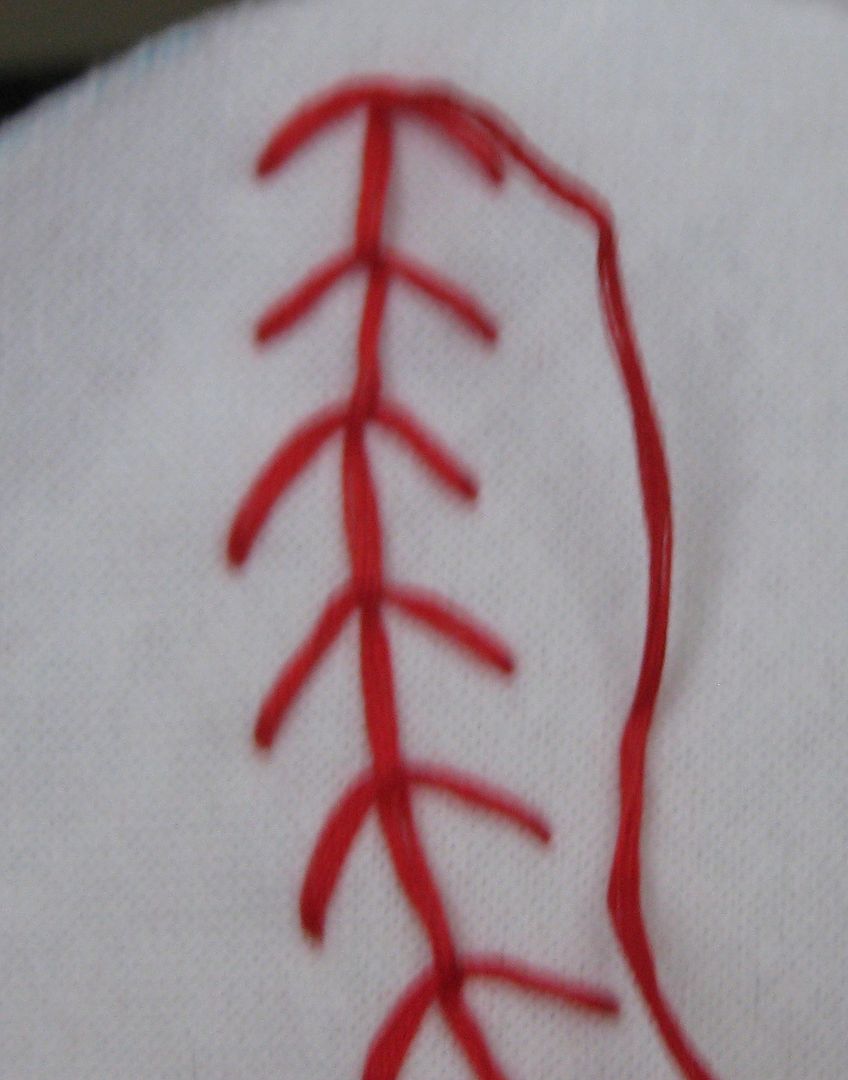
Here is what the back on my bib looks like.
Keep going to the end! Knot and secure the thread.
Time for other side. I started at the opposite end so the stitches will go the opposite way. Which will help you with not having to match the stitches. Which would drive you (me) nuts. Repeat just like you did on the other end.
Of course here is the finished product
Hope you enjoyed the tutorial! :)
Cheers,
Lauren
Monday, June 3, 2013
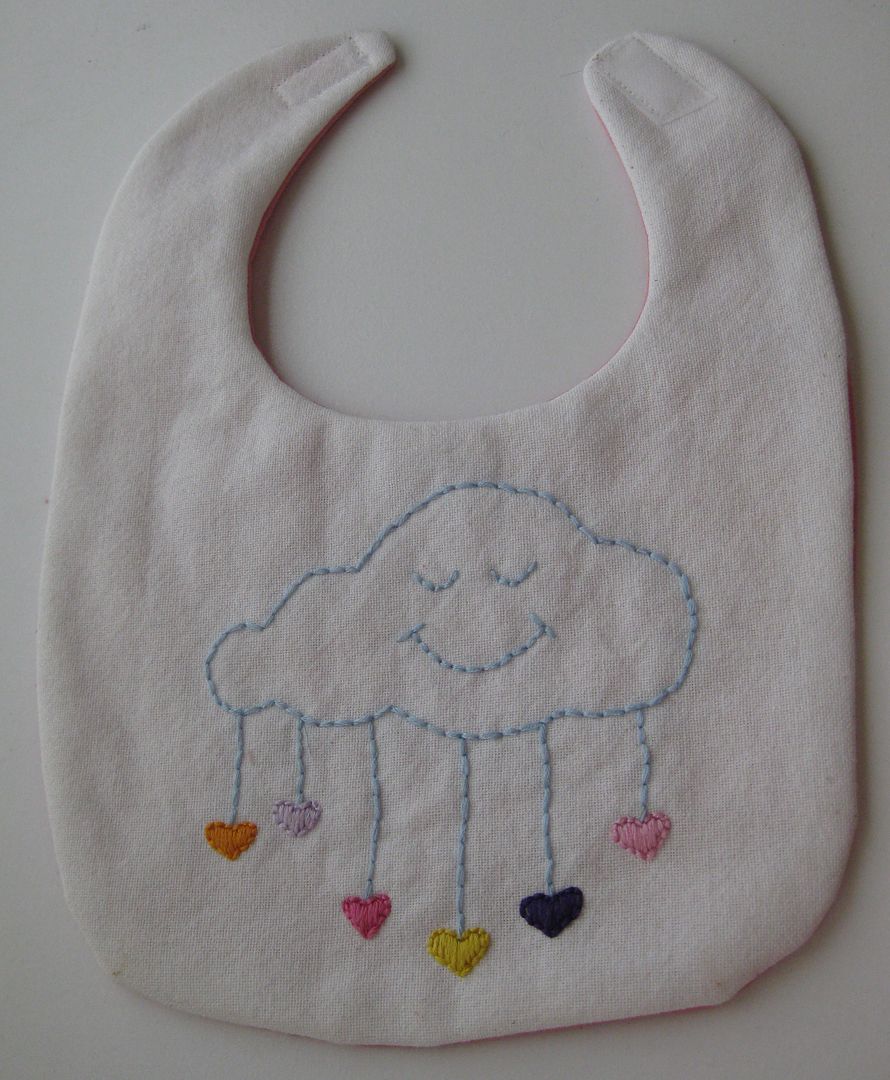
Iron Craft '13 #11: Rain Cloud Bib + Giveaway!!!
Yes a giveaway!! This Iron Craft Challenge is Rain. It can be something with rain or something associated with rain like a cloud. I felt like doing some hand embroidery this week and I didn't have many idea except a baby bib. And yes what I have created-I am giving it away. Read below on how you can enter and the win this bib!!! First let's explain what I did!
I still have a few of these left from when I did the baseball bib. I wanted to try something else so I thought it was a great opportunity for me. I am really trying hard to finish the projects I start I just need less mess!!!
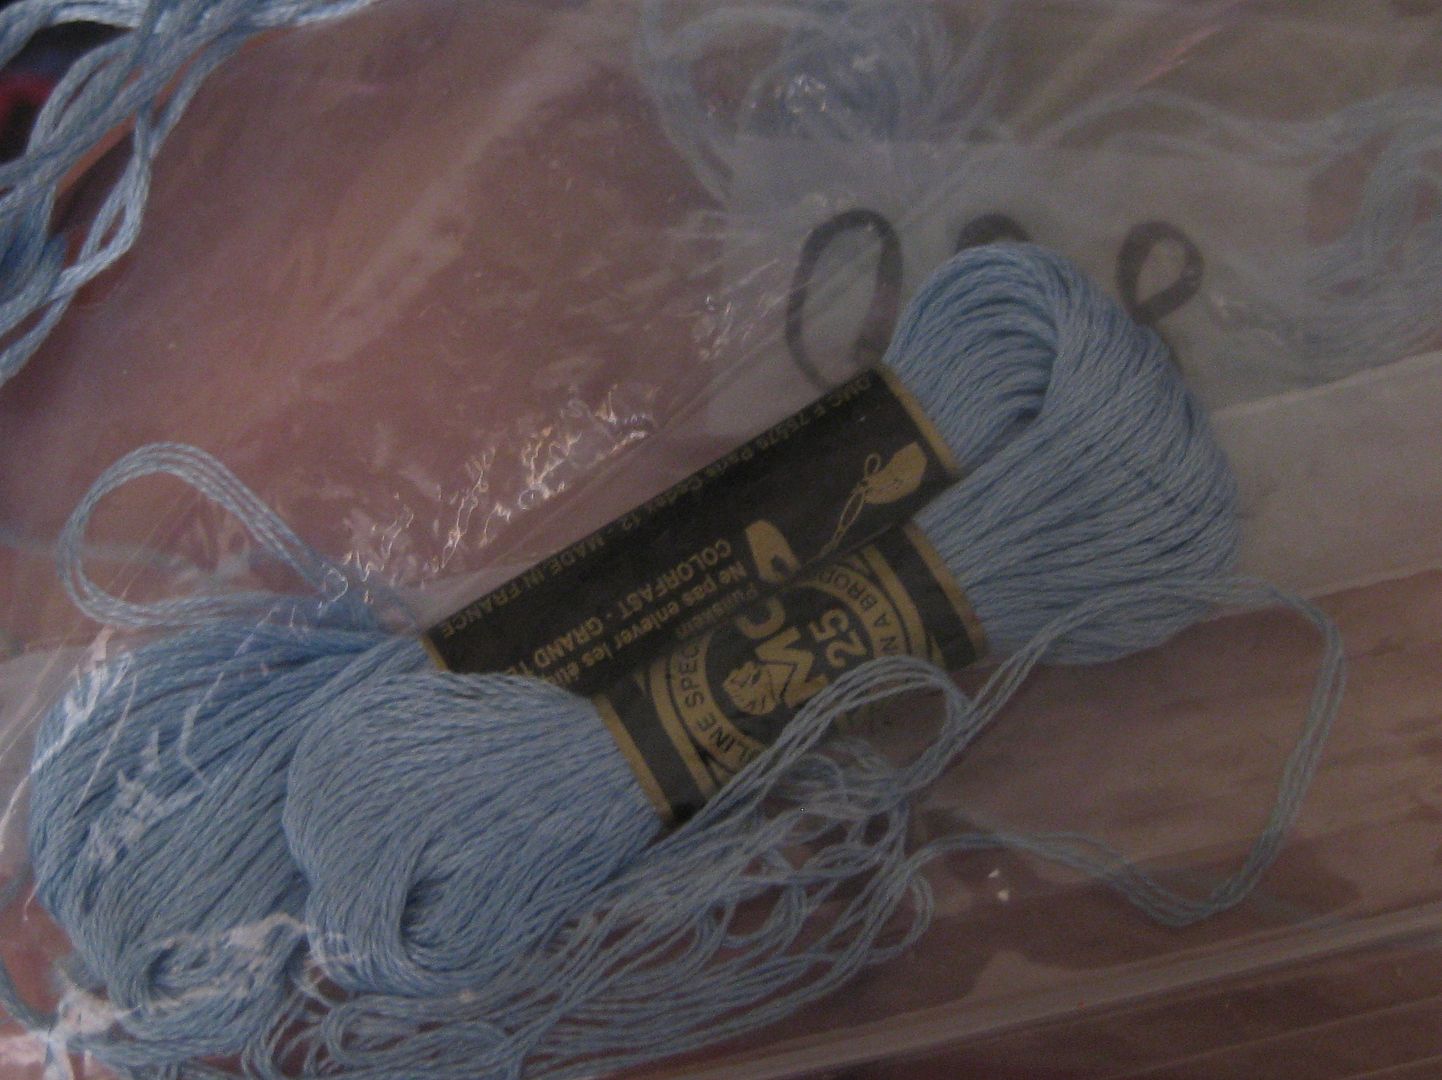
Basically all what this is this loosely woven heavy cotton fabric. It came in the stash from the lady I purchased things from. It may be like a duck cloth sort of deal but makes for great hand embroidery. I ironed fusible fleece to the back of it to give some stability for sewing also. Now to pick my threads....
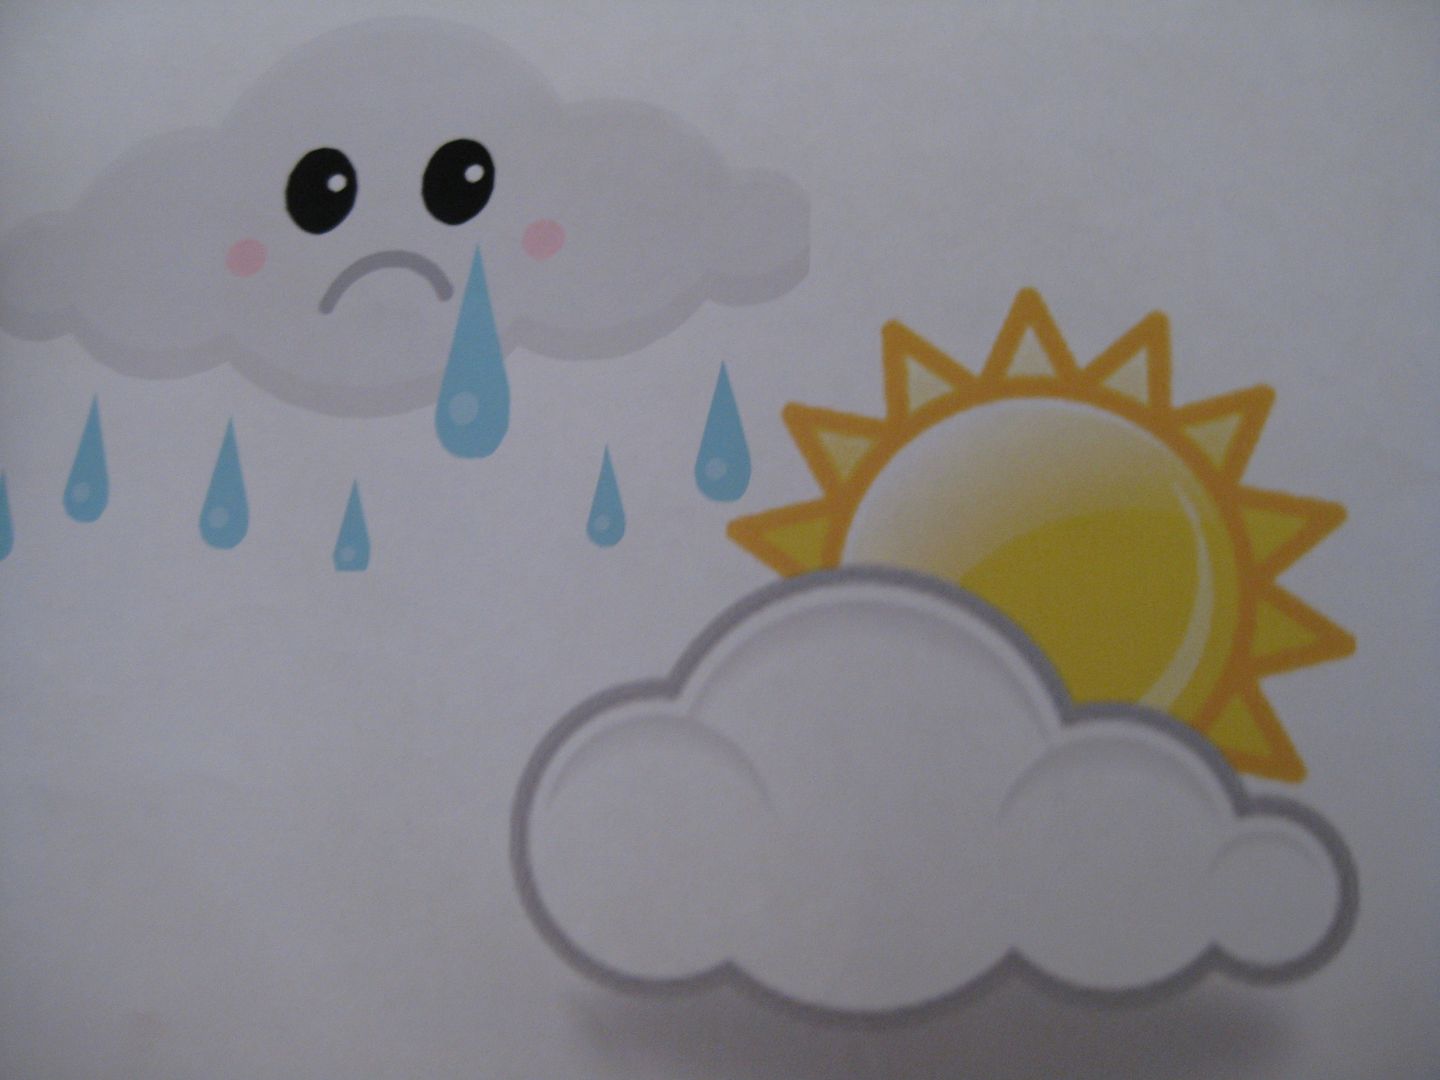
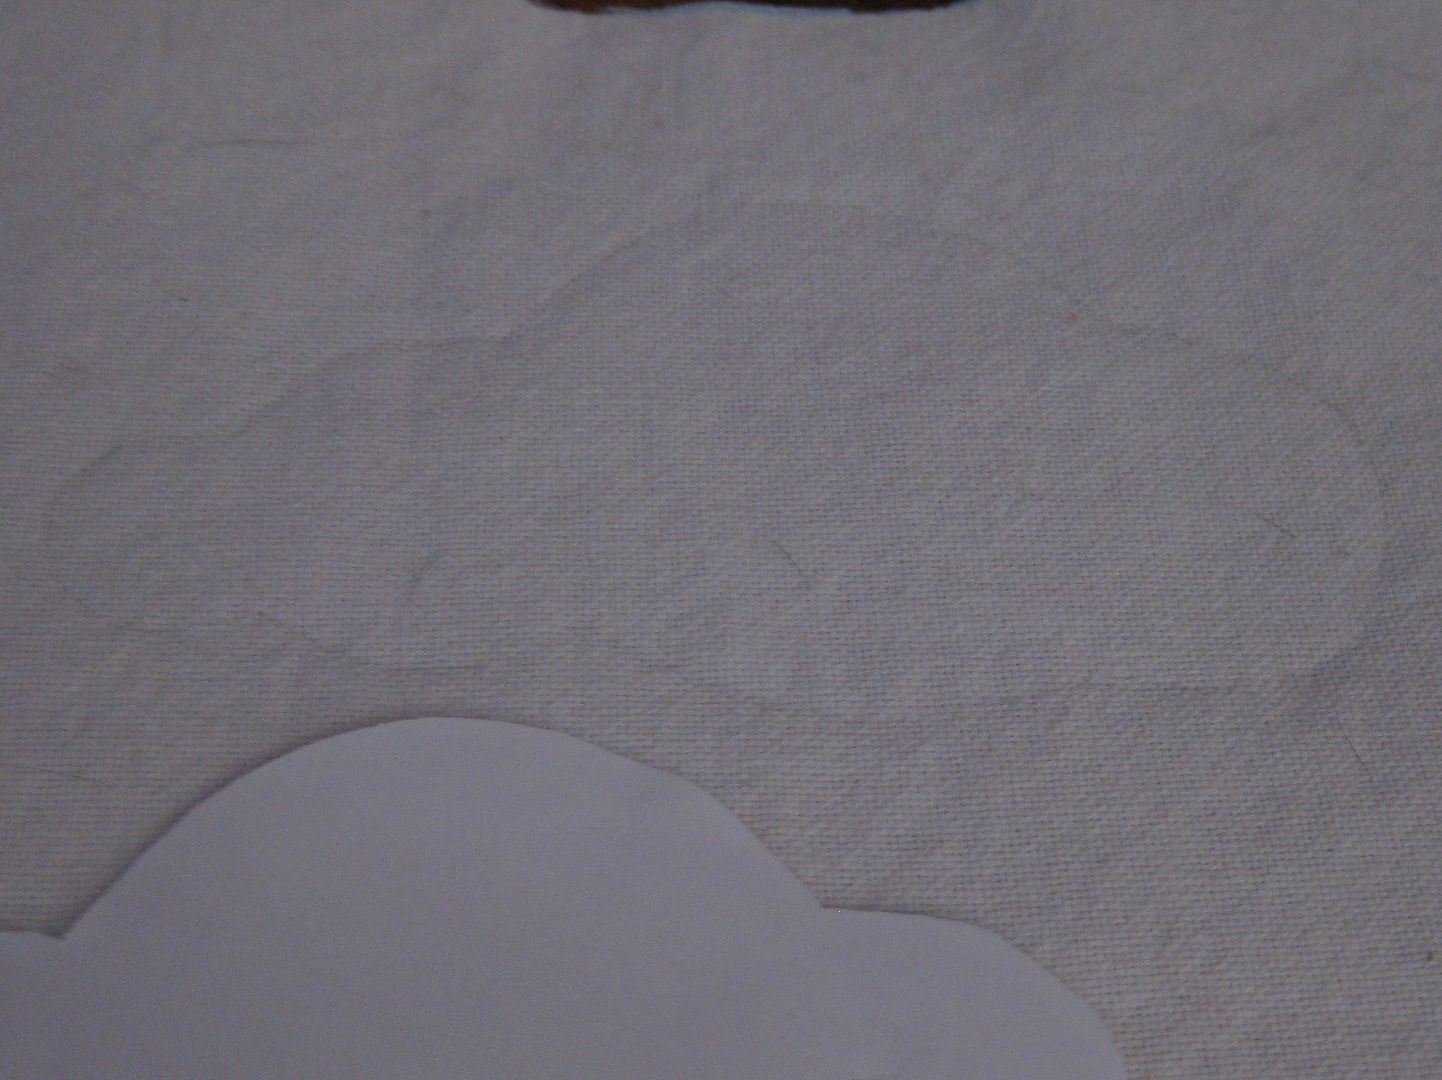
Also I needed to pick my cloud. I litterally went into Powerpoint and found a cloud clip art and printed it out. It was the perfect size.
Cut out. Trace onto the bib with a pencil.
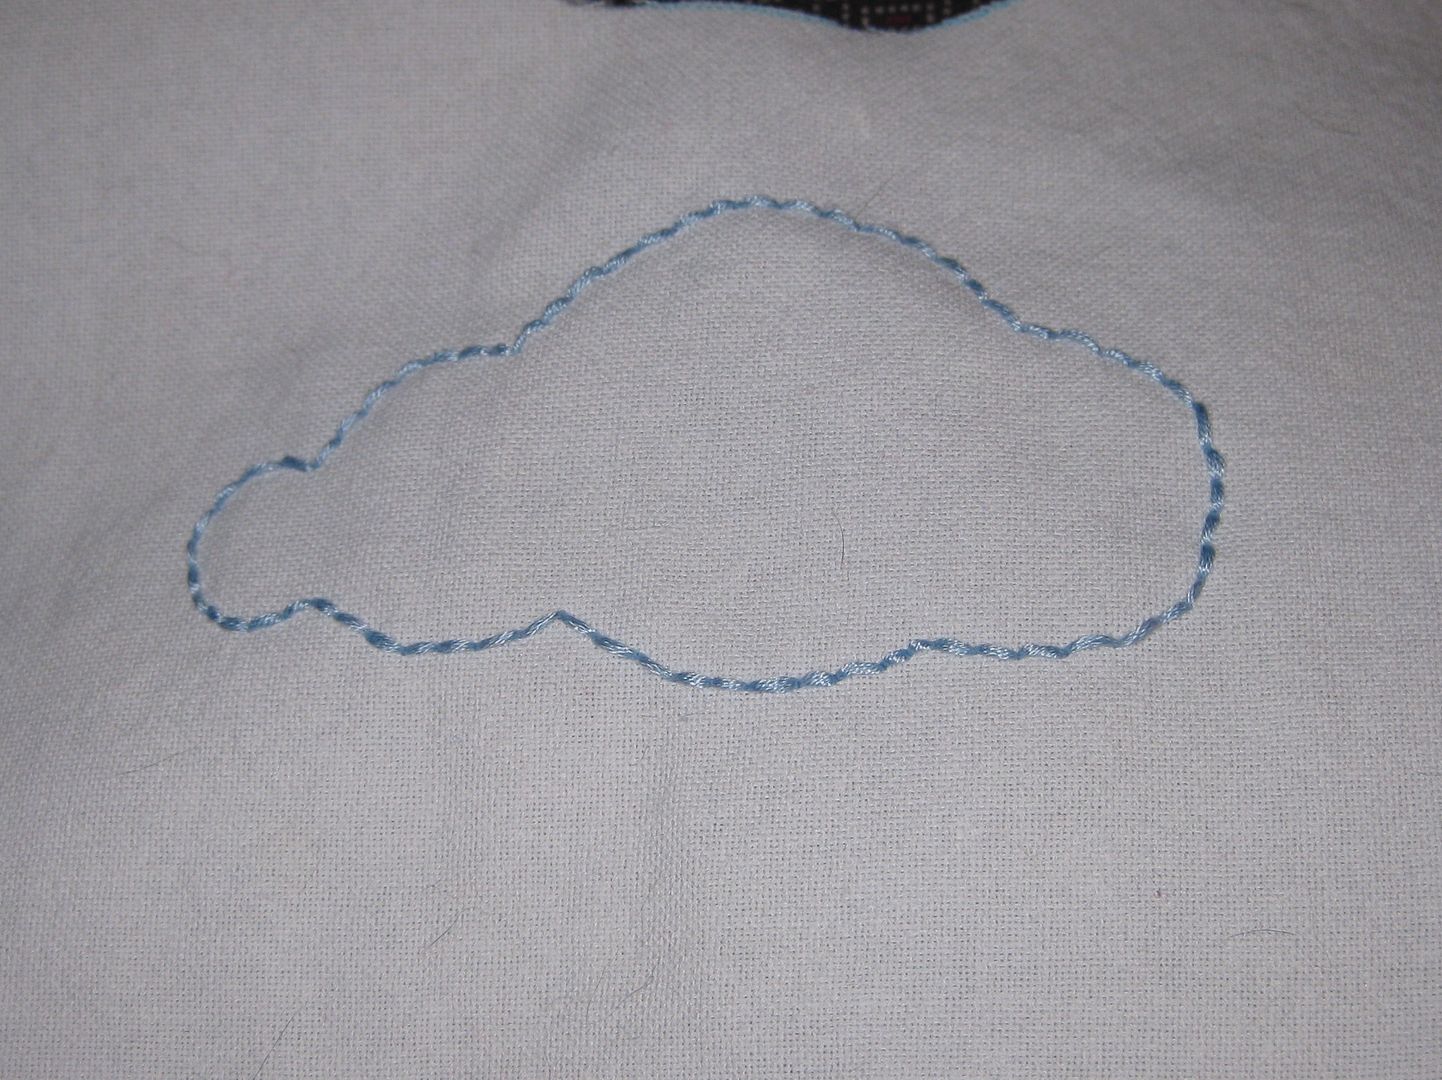
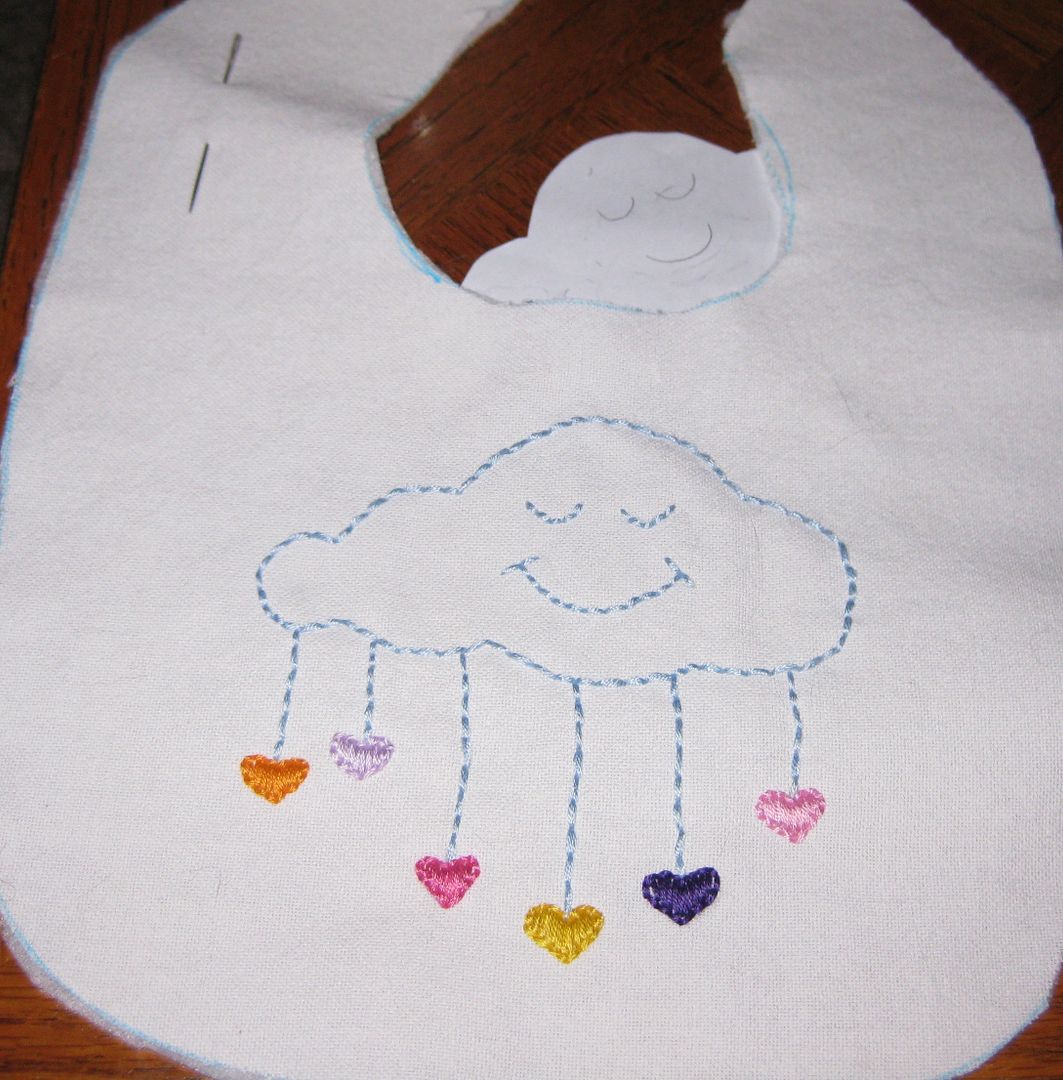
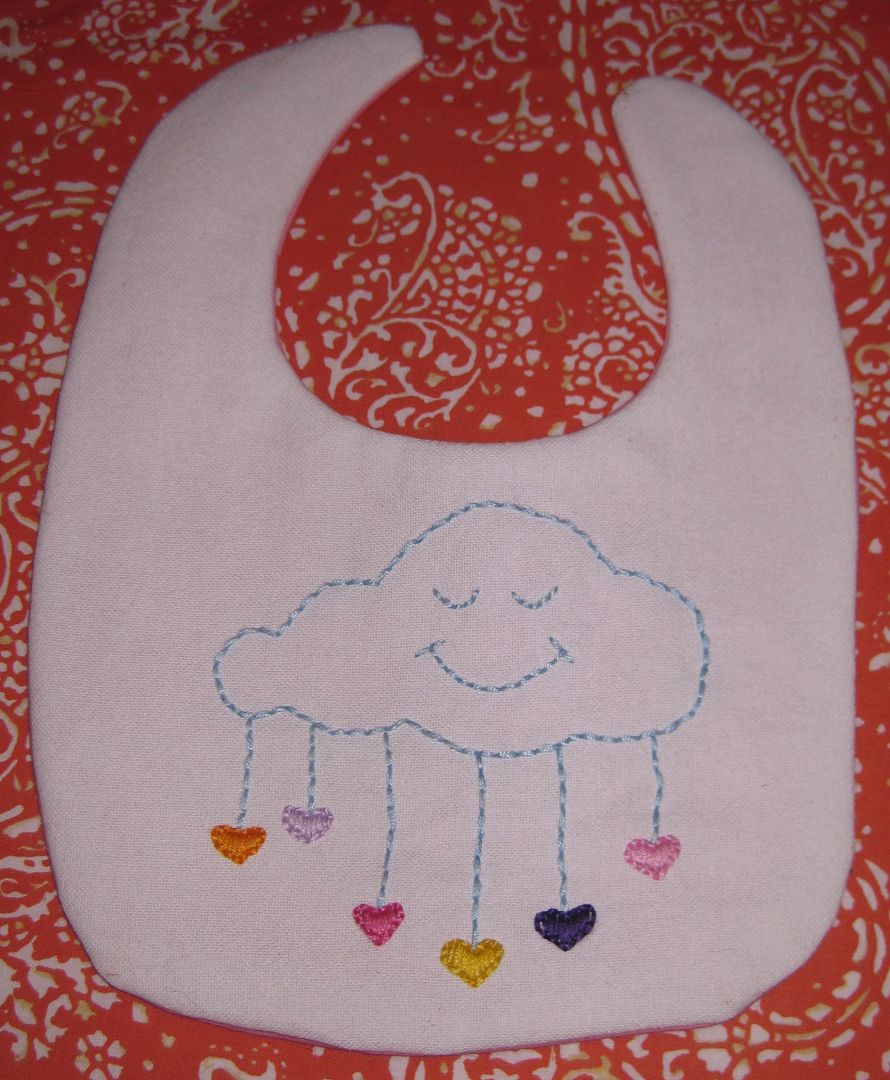
I know I wanted a cloud with a smiley face and rain with hearts at the ends. It just seemed happy. Off I went embroidering. Nothing fancy just a simple back stitch.
Now to add to the rain. The hearts were outlined in the floss first and then filled with a satin stitch. Pretty easy.
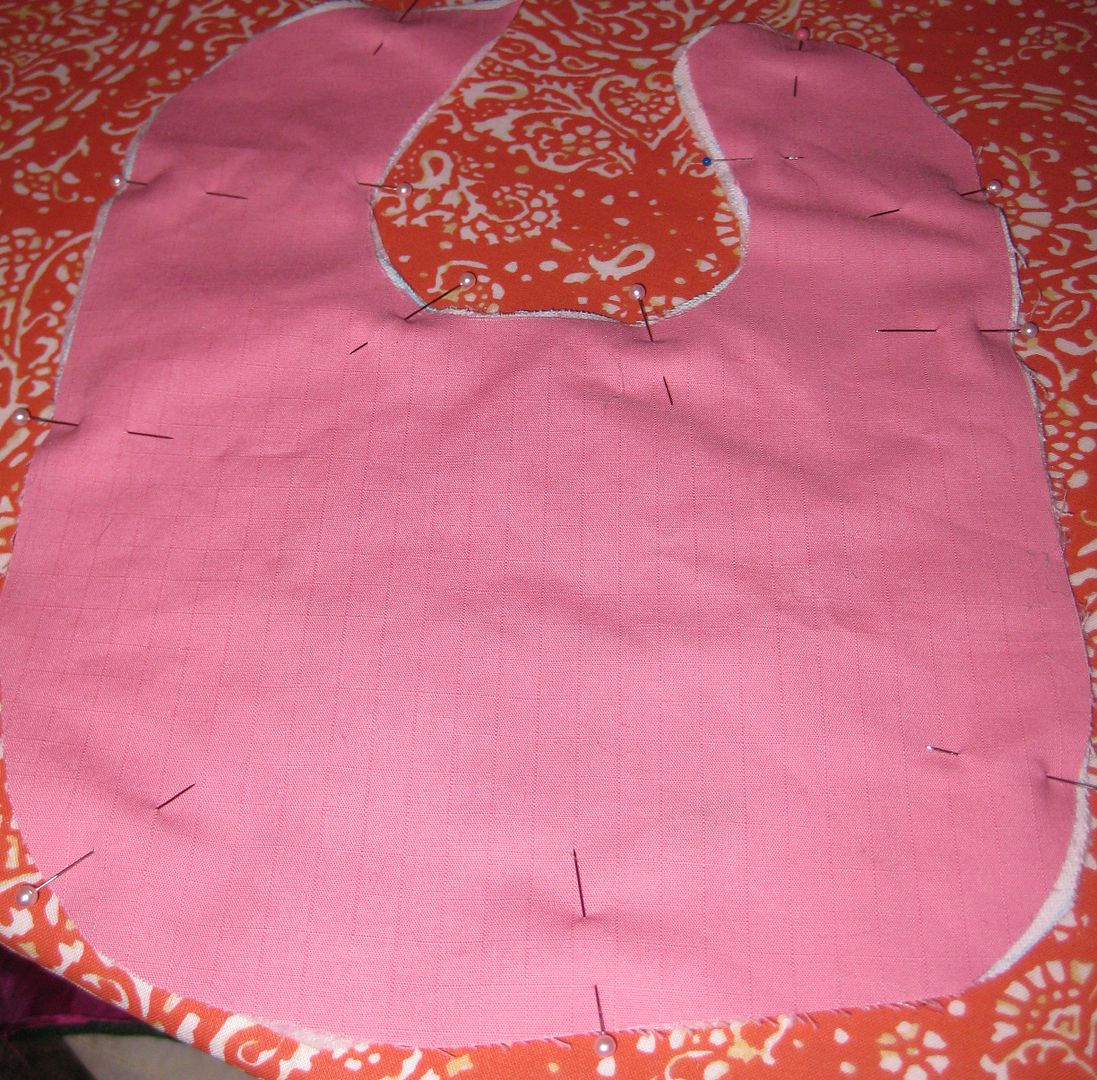
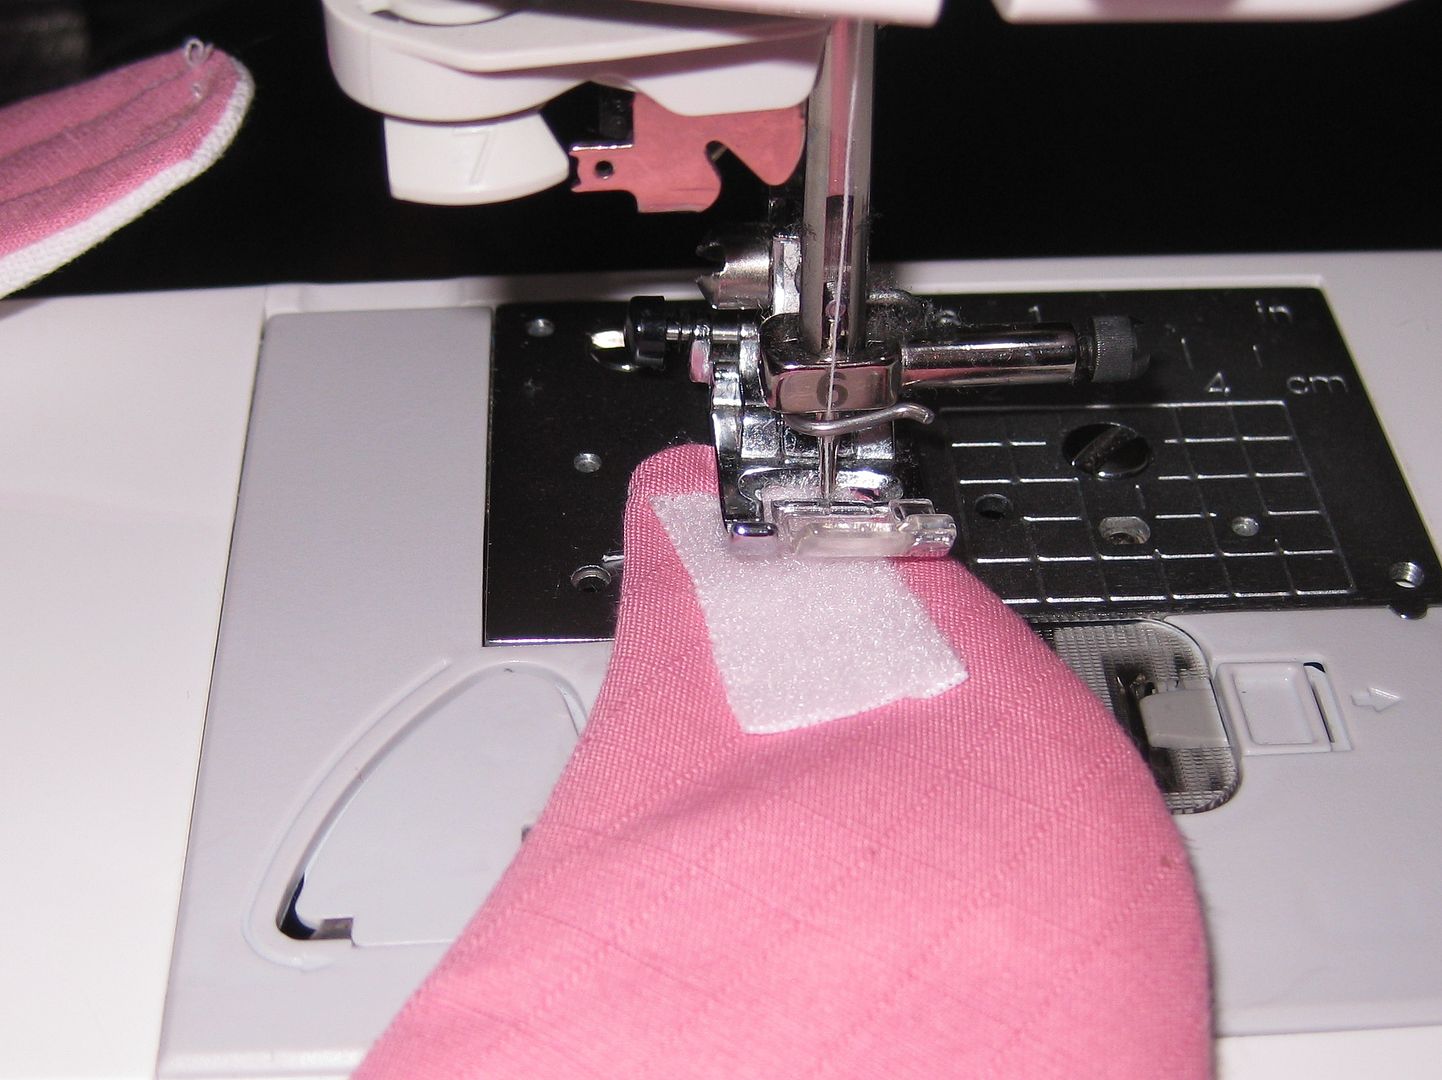
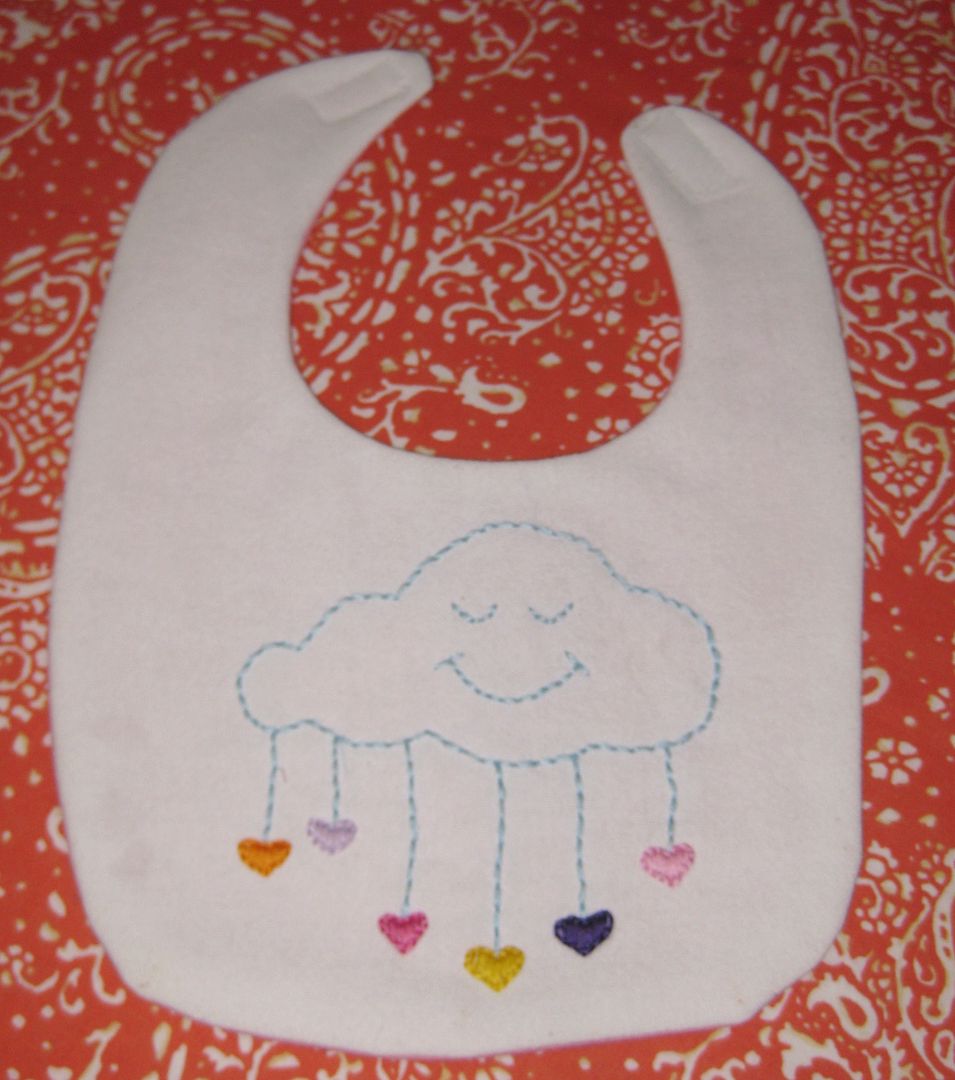
Now I need to finish the bib- give it a back and add some Veclro.
Pretty easy considering I finished a bunch of bibs for charity (post to come!). I just love this bib!!!! Hopefully you do too!
Now for the good part... the giveaway part!
This giveaway is open to US residents only, sorry to any one outside of the US!
Please make sure I have a way to get a hold of you, like an email.
Here is how to enter:
1. Be a follower on my blog... please comment below and say you follow me
2. Tweet, post on Facebook, and/or on your blog this giveaway. Please comment below with the link for each of the above (so you can do this potentially 3 times!)
3. Post it on Pinterest. Again comment and leave a link to the pin below!
So 5 ways to enter. The contest ends Midnight June 10th EST. I will randomly pick a comment and award the bib to some lucky person. Good Luck!
xoxox,
Lauren
Labels:
baby bib,
cloud,
giveaway,
hand embroidery,
iron craft,
rain
Subscribe to:
Posts (Atom)