Well hi welcome to my little blog. Just my little corner of craftiness, sewing, and refashioning. I am also a newly gluten free eater so you have a little bit of recipes mixed in here.

Wednesday, April 27, 2011

Iron Craft #17 Royal Wedding

This week's Iron Craft Challenge was the royal wedding. I know there is so much hype with the big wedding coming up and hence our challenge.

Now we can make a wedding gift, favors, something for your wedding, etc. So I thought about it, and thought about it, well I'm not getting married any time soon so nothing for me. Then it hit me, our friend's Amanda and Lucas are getting married next month. Maybe I could make something creative as a gift.

That lead to more thinking. While eating lunch it came to me, something cute and sentimental. We are going to give them a tree as their wedding gift. They are getting married at the Botanical Gardens so it kind of fits their location. Then they could plant it and watch their tree grow the longer they are married. :) I thought it was cute.

But they need a plant pot first and wouldn't it be great to give them a pretty pot for their special day? And that's what I did for the challenge!

First I started with a pot (tho this one isn't real terra cotta- its an eco pot- made from recycled plastic made to look like terra cotta! perfect for me since I'm a klutz!).


I spray painted it metallic gold. To give a good base. I was going for a two-tone effect.


Next, I realized I did not want to hand write the words on the pot so I went for pre-made letters. Thank you scrapbooking section at Michael's.


Yes stop laughing at my one black letter. They didn't give enough small letter a's in the packet. So i needed another packet and they were out of silver. Yes really...

Moving on.. Then I sponged my antique white ( I made it myself with a light cream color mixed with white, then I had the color I wanted but couldn't find).

Sponged the white onto the entire pot. I did about 2 layers. It dried quickly since it was thin. I pulled the letters off and we are ready to go!

Here is the finished product!


Now the next thing is I need to pick a tree to give them! I have a few weeks to pick it out. :)

Free Pattern Month at GrosGrain Fabulous!


Spread the word, it is free pattern month at Grosgrain Fabulous! It just started (today is day 3!) and she has some fabulous tutorials and bloggers lined up! How exciting! I love, love, love Day 1's tutorial (see the button below!) Want and will make! :)


Ok I did do something for iron craft but left my cord at home :( fail! So I will post something later tonight for the Royal Wedding Challenge. Also I have 3 blogs ready to post I just need the finish pictures! I have also been furiously working on a new hula costume and baby bibs, those will be posted soon (probably next week. Be prepared, I am about to drop a blog bomb! :)

LaLaLauren

Tuesday, April 19, 2011

Turtle time!

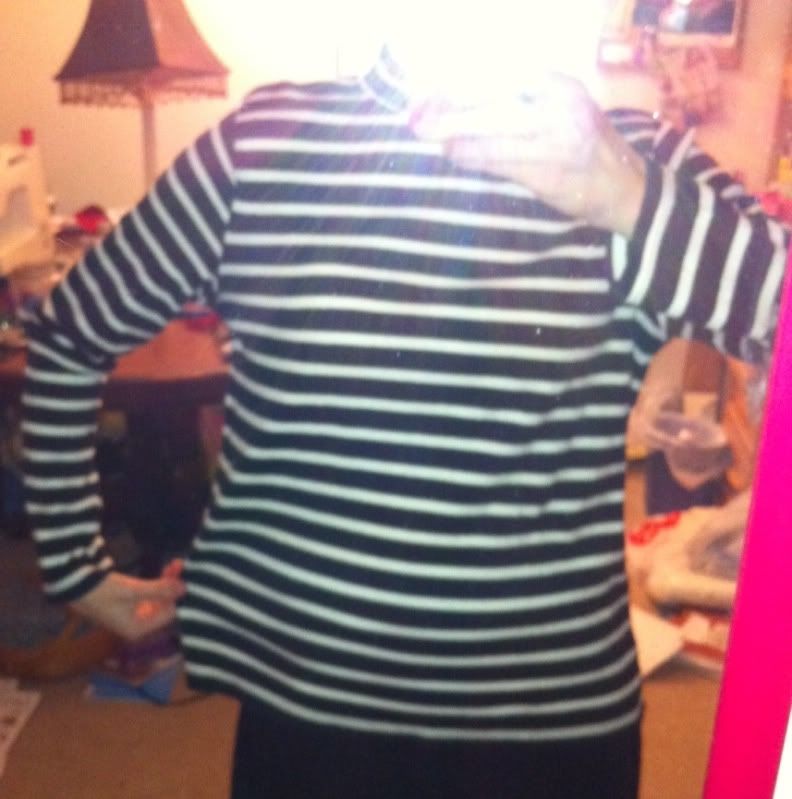
Turtleneck time that is!! I fell for this material when I purchased it at goodwill for $0.99. But its a long sleeved tutleneck and its way to big!


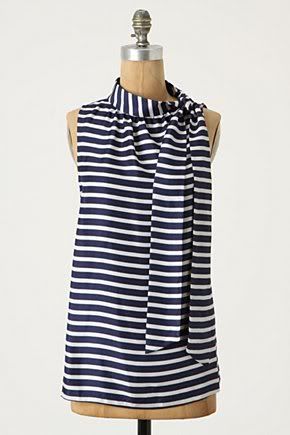
It is actually pretty ugly as a whole. But I had a vision. What was funny was I saw this on anthropologie's website! It is like its twin! And they wanted $98 for it! Nope, not in my price range. Time to make it myself!


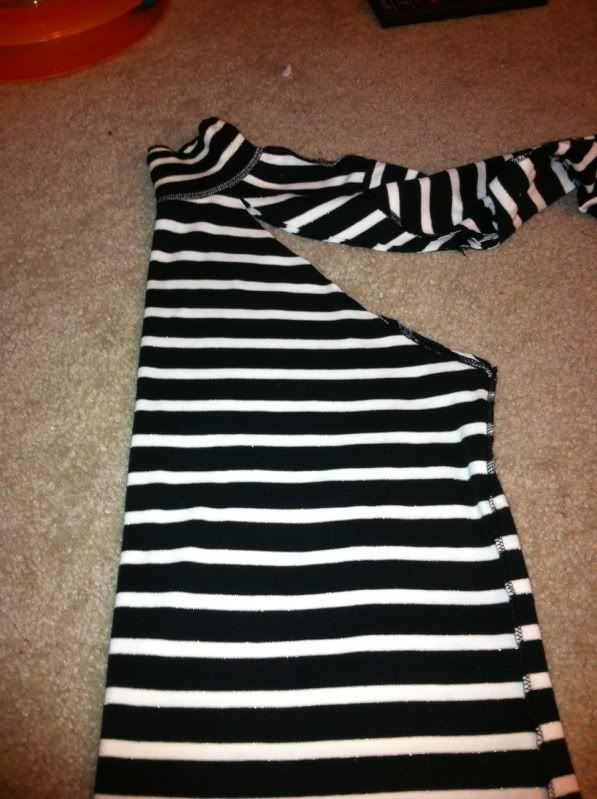
I first started by creating the halter top buy cutting off the sleeves but on an angle for a halter top. I tried to use a halter top I had but I only had an idea (luckily it worked).


I then cut off the rest of the sleeves by cutting close to the turtle neck part.
Here's the leftover sleeve!


I took it a little bit in and recreated some armholes. (no picture sorry)

Next was just to make a tube of my leftover fabric. I simply cut 3.5 inches wide with my rotary cutter and connected the 3 tubes together at the short side. I couldn't make more b/c I got carried away with the scissors!


I then found the center and marked it with a pin.


I did not sew it on in the middle I sewed it on askew since I was tying it on the side. Then I sewed it down to the center back on the neckline.


Here is the end product! I LOVE IT!


Ok I am so tired! It is only Monday and I am struggling to stay awake. It is going to be a long week. Sleep tight!

XOXOXO,
Lauren

Gold Brocade skirt

In addition to refashioning, I am also trying to sew from patterns and attack this fabric pile I have built up!!! I initially wanted to use this gold brocade fabric for an iron craft project "midas touch" but I didn't have enough time. Now I finally had a chance!

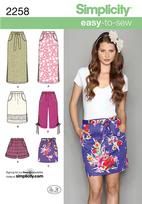
I used Simplicity's pattern 2258 b/c the skirt had pockets!


Here is my product


Problems I had:
- I did not understand the pocket park in the instructions. My pockets are actually the wrong way but I fixed it!
- I also messed up my length b/c i did want to have a work skirt but things got hairy. I wound up making my own length
- Brocade can be tricky to sew! It wants to slip and move and I got agitated at times. Additionally, I could have used a better needle.
-Also I probably needed to sew the next size under. It is a little too big on me.

All in all, I liked the end product. Even though I didn't use it for work, I still will be able to use it for non-work activities. I really was worried at the end, then I ironed it and it got better. I calmed down. but right before the picture I must have done something because it has a line! LOL!!

Will probably use this pattern again one day, not anytime soon. Maybe I would like it with a different fabric, and tighter.

And today for some reason it looks like my skirt is wearing a tie. Again it will probably be a while before I do this pattern again. And it will be a while before I sew brocade!

xoxoxo,
Lauren

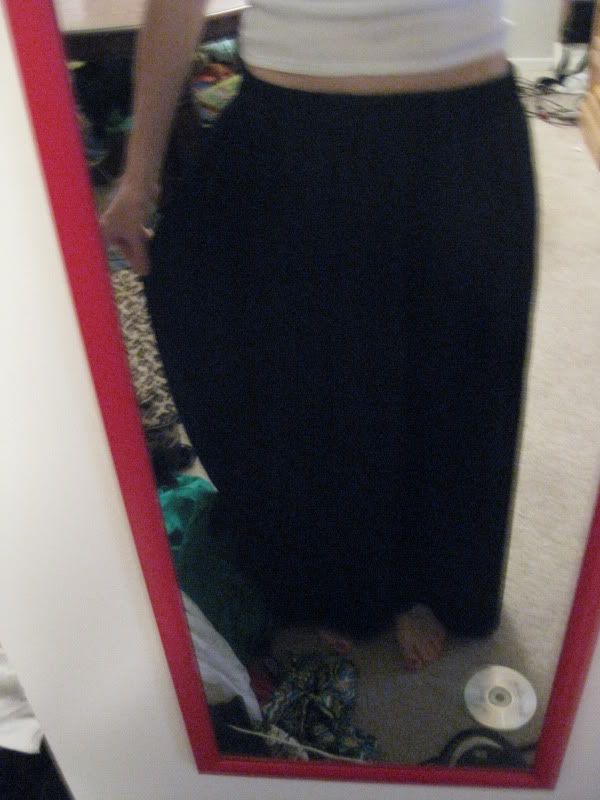
Navy Blue Skirt Refashion

Finally finishing this project! It is a busy time of year. There is a big buzz amongst my life and finally I got to do this project. I first saw this redo on another blog (Welcome to the Good Life) and I just had to make it! Click here for her link. She inspired me soo much!

However, there wasn't a lot to go by with measurements, so with mine I took some notes and pointers for this project. The last thing I needed was to cut a dress that didn't fit my bum! And I am pretty sure I am bigger than Sarah so I needed to make sure this baby fit or I'd be devastated.

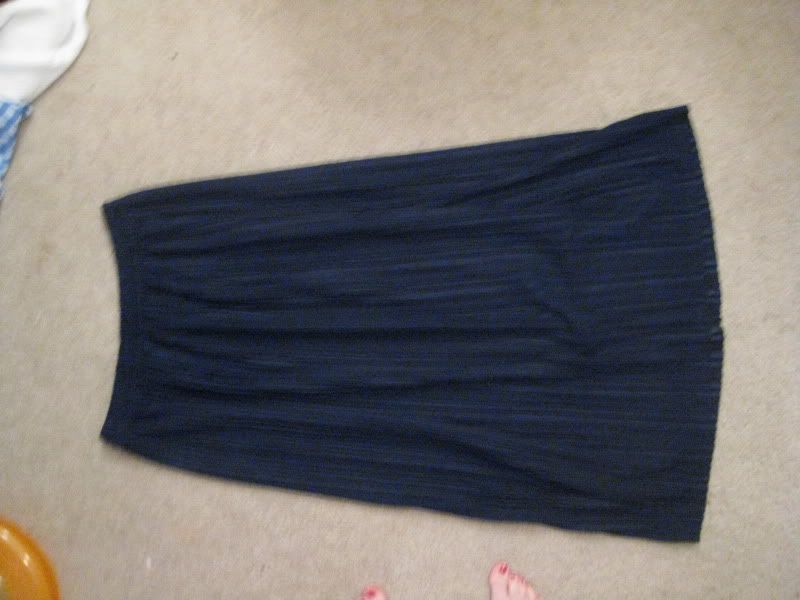
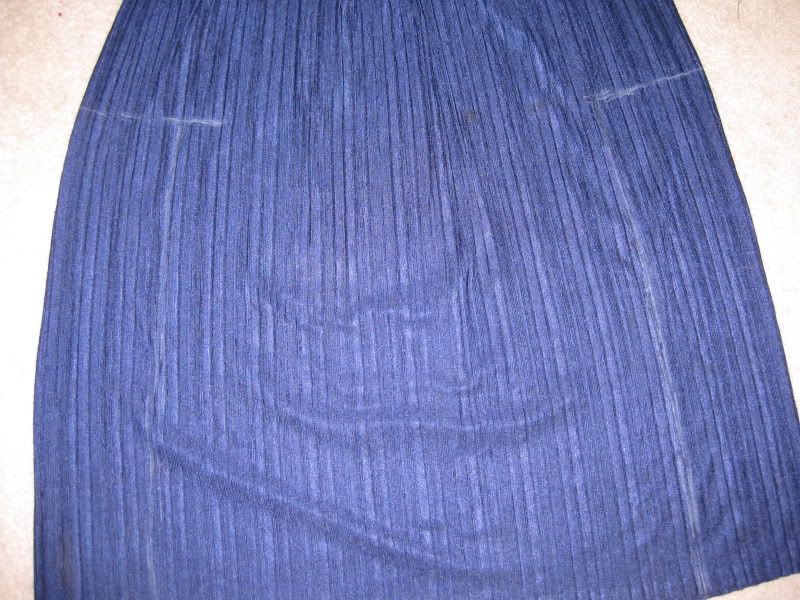
First, let's start with with what you need... I found this 1X blue skirt at a thrift store and fell for it!


It is not very flattering on me, I really don't think it would flatter many women, regardless of what size you are!!!

Here's the view on the ground.


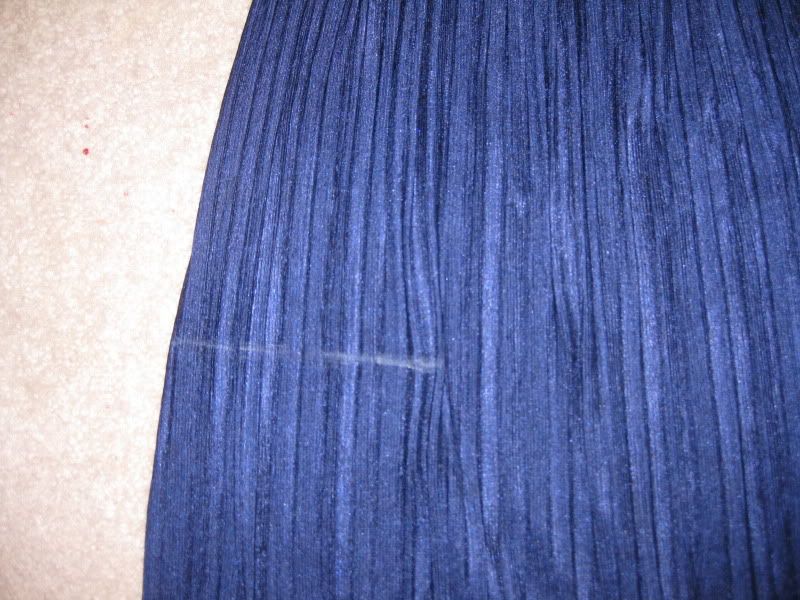
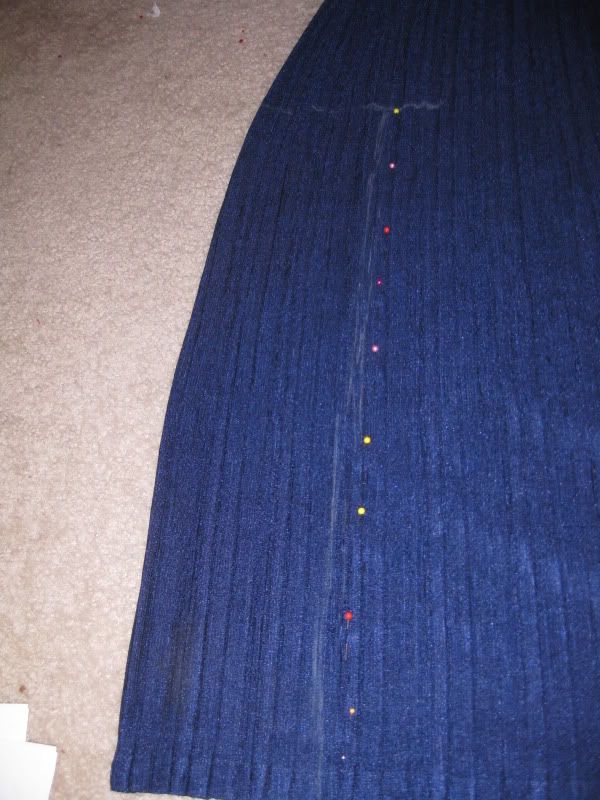
Next you'll need some chalk and some measurements.

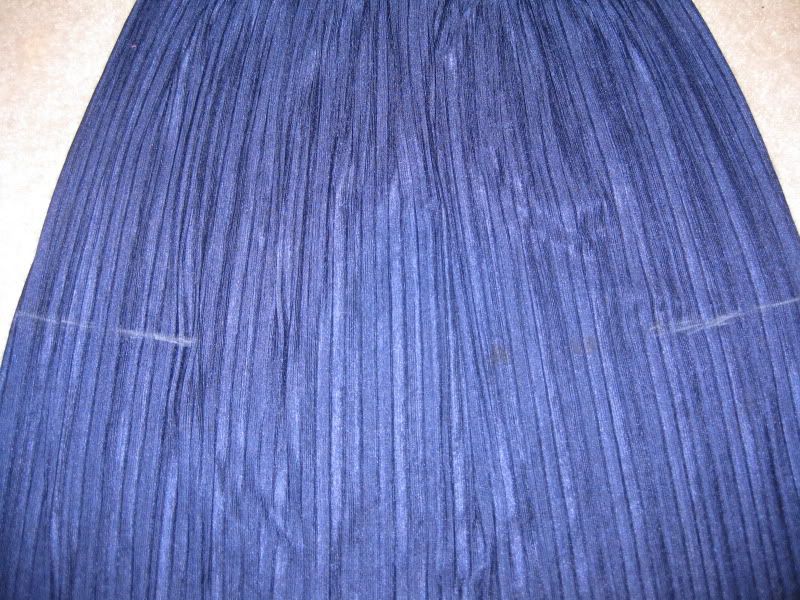
Measured the distance from my shoulder to my elbow and it was 14 inches. This is how long your sleeve is going to be... from the waistband on the skirt, measure 14 inches and mark.


Repeat on the next side.


*** Here's where I could have measured the distance around my arm so i knew how much to cut in but I'll get around that b/c I started to get scared that I would not cover my body around**** Continue reading!!

Now more measuring!!!
Measure the width of the skirt. I sort of eyeballed where the waist/hips would be (b/c we just made the end of the sleeves) My width= 31 inches X 2 b/c we have a back part too = 62 inches.

Measure my biggest asset ;) = 37 1/2 inches. Since I did not want it tight, plus I needed to calculate for sewing, etc I used the number 42. That is how wide I wanted it across.

62- 42 = 20 but I have 2 sides to a dress so divide by 2 = 10 inches. But I have a front and a back on this skirt so I only need to cut 5 inches in. (Lost yet???) So I measured in 5 inches from the bottom on each side and marked with the chalk. Draw a line up the skirt to wear it met the first mark. Do on both sides


Next pin together before you cut and make sure to pin the INSIDE of the dress and not to outside (note to self!!)


Cut, cut, cut!

*****Note: I learned this the hard way but you need to continue cutting past the sleeve mark about halfway or else the skirt fits weird in the arms for a dress. I just simply cut half of the measurement we took earlier of the elbow ( so 14/2= 7) I cut 7 inches closer to the waistband. Then the dress worked fabulously (well almost- keep reading!)

Sew the middle part of the dress together. And we are almost done! Now the next problem was if I sewed the sleeves together it would be tight! And I need movement. With the leftover fabric I cut, I added inserts to the fabric (I used about 2 inches wide). Here's a pic


Almost done!!! Now a belt to give me a waist. With more of the leftover fabric, I used my handy quilting ruler square thingy and measured about 3 inches sections.


Sew the short ends together


Sew the long ends together (right side of the fabric facing each other)


Turn the tube inside out (so right side fabric) and we are done!

Here is the finished product! I love this dress!!


I'm actually wearing it right now as I blog (and I wore it to work!).

Here's to another article of clothing for work!

Have a great day!

XOXO,
Lauren

Tuesday, April 12, 2011

Iron Craft Challenge #15 - Bunny or Chick?

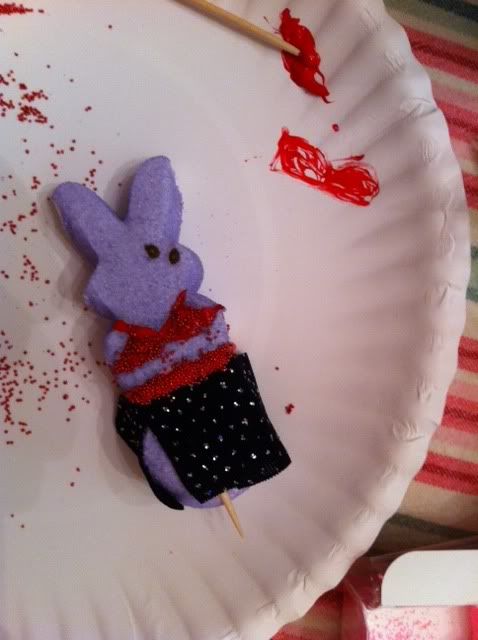
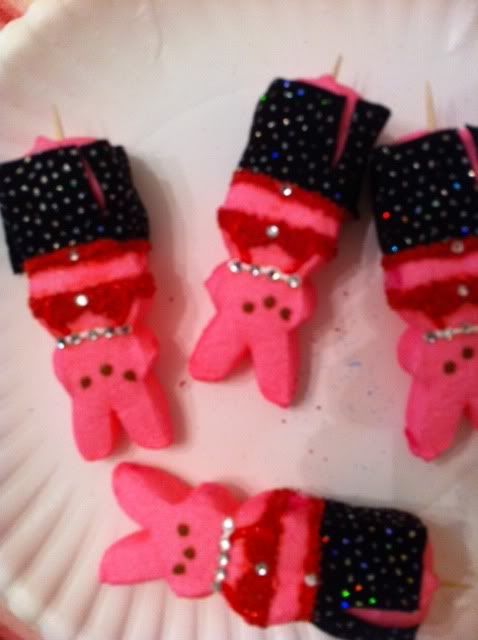
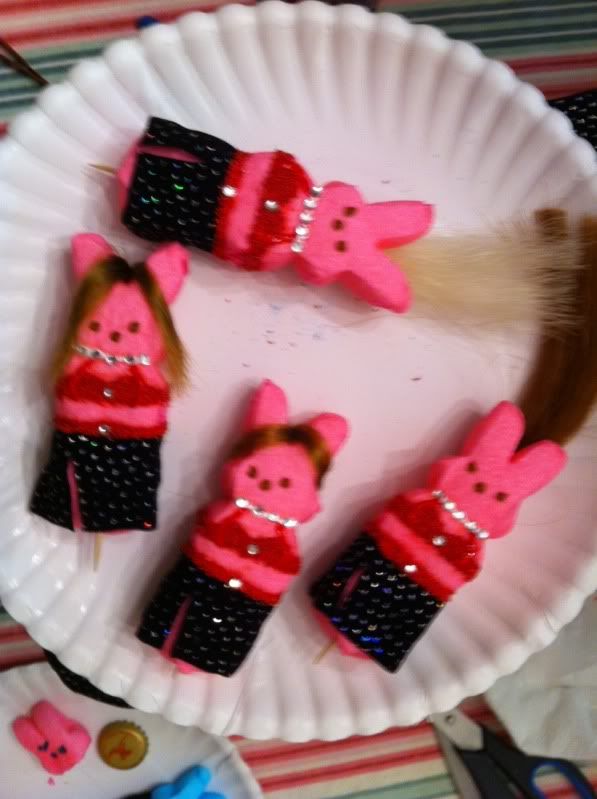
This week's Iron Craft challenge is to make something out of marshmallow peeps! How much fun is that! I was so in when this challenge started. And so was Thelma, aka Sonja. And so it started. After much deciding we decided to go with making peeps of our own, i.e. as Baklava Bellydance. Make all 4 dancers (Me, Sonja, Lisa and Laura) in addition we would make Scott, our live drummer. Brainstorming: we needed peeps, something to create a diorama, clay for his drum, and bling to bling out our peeps. I had the bling in my craft stash (I know suprise!) but peeps needed to be bought as well as the clay. Actually, when I was in my craft aisle at walmart i found a styrofoam diorama making kit. Ding! So worth the money! Peeps were not that far away in the store so we were ready to create! After some dinner and wine (yes I cooked!) we practiced with a peep with some eyes about to fall off its head on how we wanted to create us. We had leftover scrap material from our sparkly skirts. So here is our prototype

Next add skirts and bras/belts. Sonja cut the skirts. I painted the bras and she added the tiny beads.

Then they were missing necks so we added a necklace.

Next hair! I had some old braids of fake hair I have never used before so I opted for that. Here they are in various stages of hair. :)

Now we also did the Scotts. Scott S, our drummer (with a V-neck shirt) and Scott D, our photographer with a round neck shirt.

Now adding the peeps to our diorama. First I will say this, we added fabric and some glitter foam to make a stage and I printed out our name on some paper and glued it down. Now to just add the peeps, since we had toothpicks in them to secure the 2nd part of the bottom to them. This was how we are going to add them into the stage which is just a piece of styrofoam. First I pre-poked holes into the fabric-covered stage with a toothpick and added us!

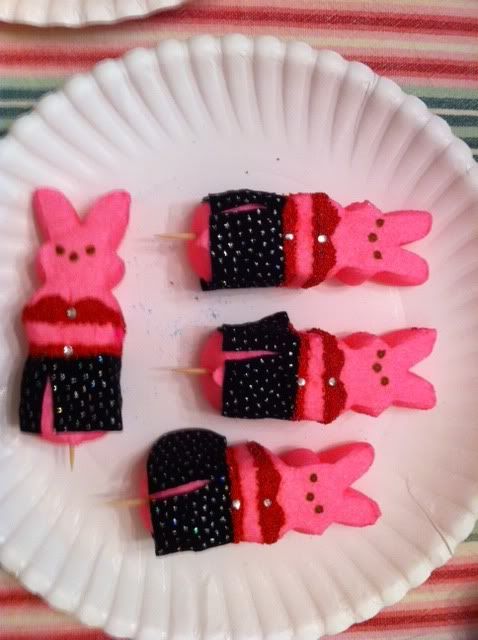
Here we go the final product!

Its us in the sugar form! :) Here's the reference link to our actual homepage to see how we really came close to the actual costumes we made. Click here for our website Hope you enjoyed this! XOXO, Lauren

Heart Pin

I finally have time now to catch up on my blogging with my heart pin I made from scrap material. To start out with the start, I just went to my clipart files and looked for a nice part and made it to a certain size and printed it out. I traced it onto a piece of leftover felt, making my base for my pin.

To make the rest of the pin, you need some leftover fabric, scissors, and hot glue. Plus some tolerance for heat as you will get hot glue on your fingers. But hey all in the name of crafts, right? :) As always I had my trusty sidekick by my side, Natasha. Making sure to "approve" of my circles. Which is what we need to make.

I cut several strips of fabric, about 1-1 1/2" wide and then cut that into squares. At first I started to measure and try to be perfect but eyeballing is just fine! Then cut them into circles. Easiest way to do this is to fold them in half then in half again and then round it out.

Ok I thought I had pictures of this but they have gone lost. So I will try to explain this as best as I can. It is actually relatively easy. Go back to the circles, fold in half and half again... Add a drop of hot glue to the bottom of the circle (you may also want to add a drop of glue to where the circles are folded so it does not open up to a circle. Then simply glue it to your base (mine was a heart printed out again from clipart) Start in the center of your heart and add around it. I folded my circles different ways so there was a mixture of fabric either the printed side or the backside of it. I added an additional layer of felt to strengthen it and glued my pin and we are done! Tada here is the finished product! Pretty nice??

Here is it on a dress. :)

Me likely and I just earned a fabric point. ! Cha-Ching!

Spring Grass Wreath

I had one more heart styrofoam wreath left in my arsenal and I wanted to use it. I got my inspriation here Here's I made mine.. First I started with the green fun fur yarn and my wreath.

I filed down the pointed edge of the wreaths where the hearts connect to make it easier for the fur using a nail file. First glue down the yarn with a small dab of hot glue. Then just start wrapping the yarn around and around the wreath. I would wrap a section then push it back and tighten it up so the white styrofoam would not be seen underneath. I used 2 skeins of yarn. The finished product

Doesn't it look like "grass"? :) Here's a hint for the parts where its pointy. Wrap it loosely several time and then pinch it and hot glue down. I tried numerous ways but it did not want to work and would start to look weird. I also did it near the end b/c i had to think about how to get across this hurdle. Now let's embellish this! I got this flower trim at Walmart that has been around for ages!

Simply cut between each flower and we are now ready to add our flowers to our grass. Then using pink colored stray pins, I tacked it into the wreath.

Don't push the entire pin into the wreath. Just leave it a little out so it sits better on the grass and doesn't smush it. So here's several of them all together. I just went by eye to space them.

The wreath all together and done!

Now we just need to hang it. I used a backing to a picture frame and used stray pins to hold in place.

Happy Spring! I love this wreath!

Thanks for reading! :) XOXO, Lauren

LinkWithin

Related Posts Plugin for WordPress, Blogger...