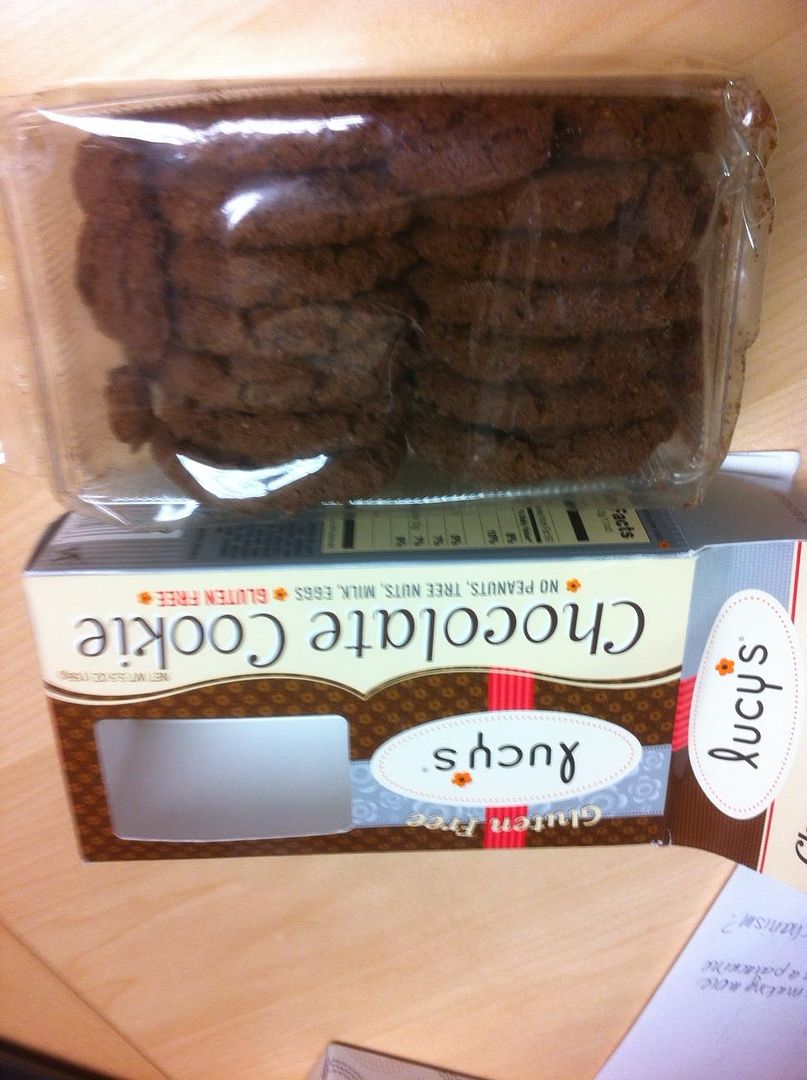
Another cookie review!
These were great cookies, they just crumbled and tasted like cocoa powder. OMG they were delish! I didn't want to share them. They are just sometimes hard to find but I would definitely buy them again!
xoxoxo,
Lauren
Well hi welcome to my little blog. Just my little corner of craftiness, sewing, and refashioning. I am also a newly gluten free eater so you have a little bit of recipes mixed in here.
Friday, May 31, 2013
Wednesday, May 29, 2013
Silver medallion belt to necklace
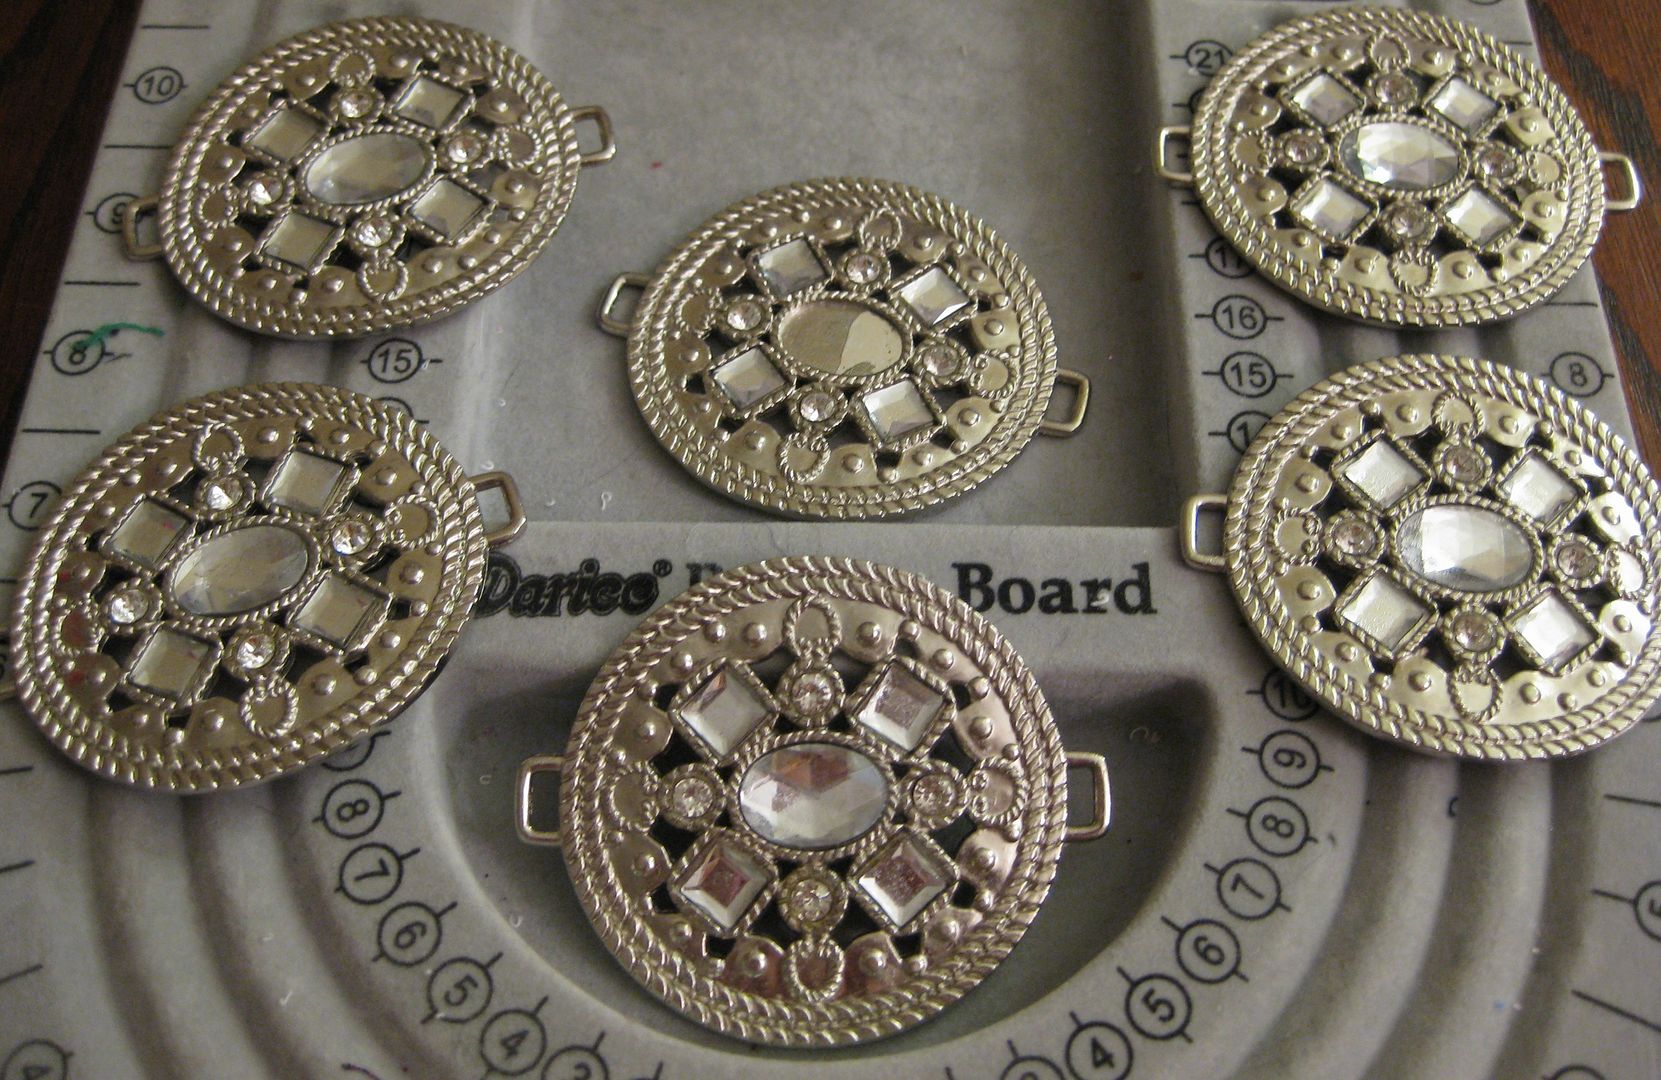
These medallions came from an old belt I had which broke but I saved them.... They were just too pretty.
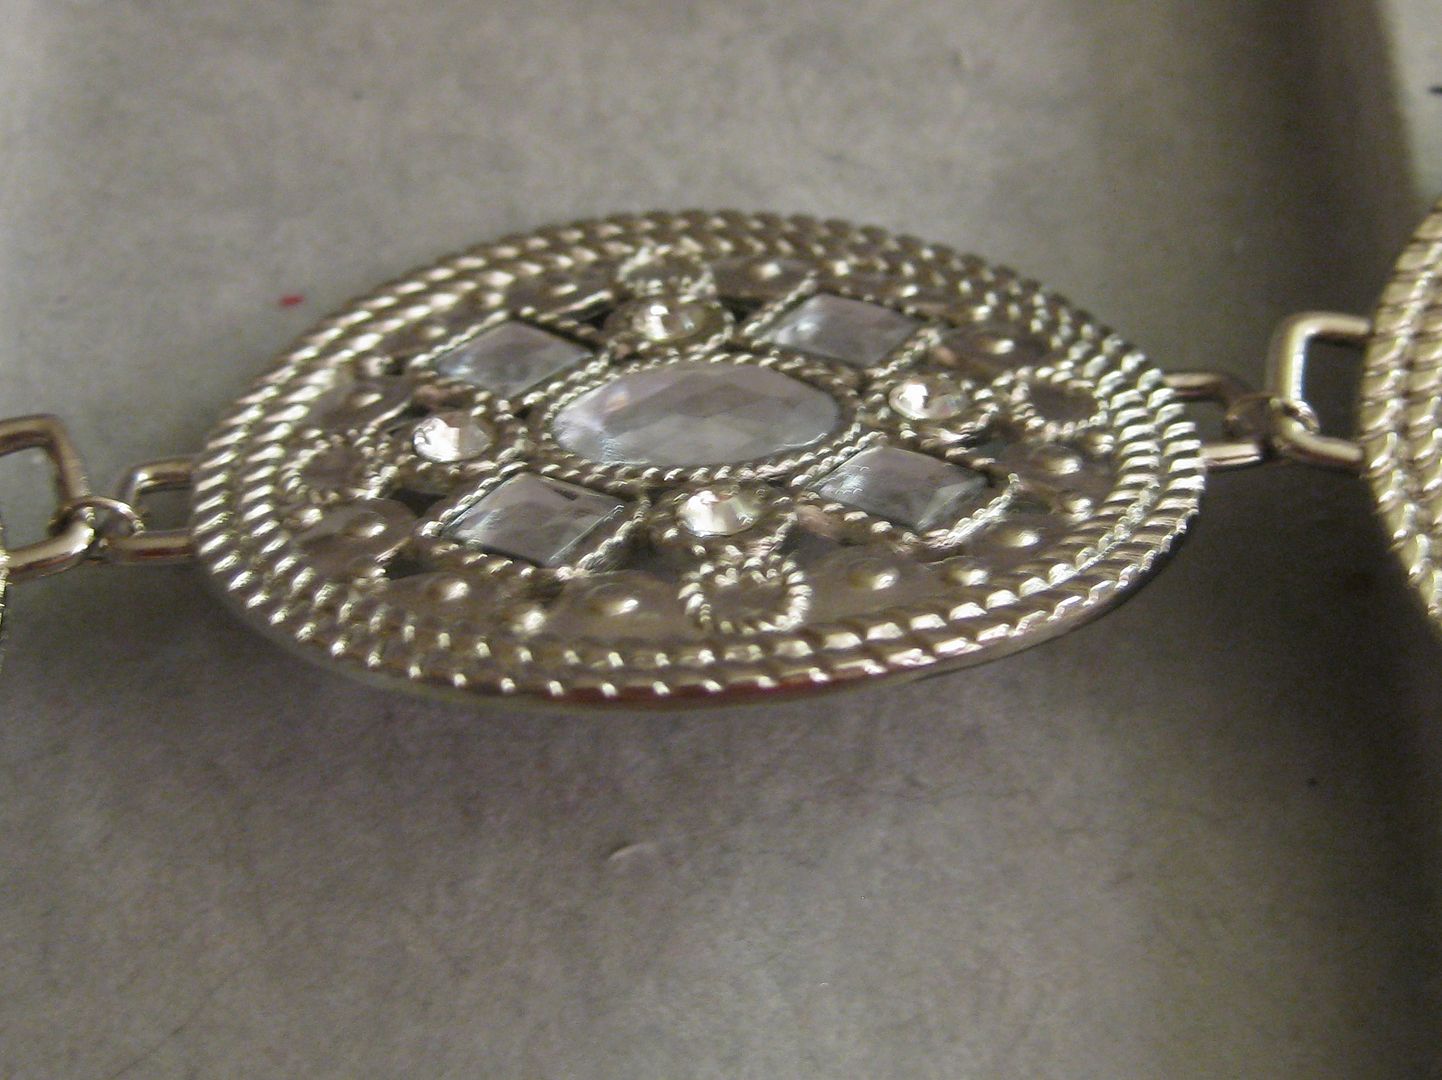
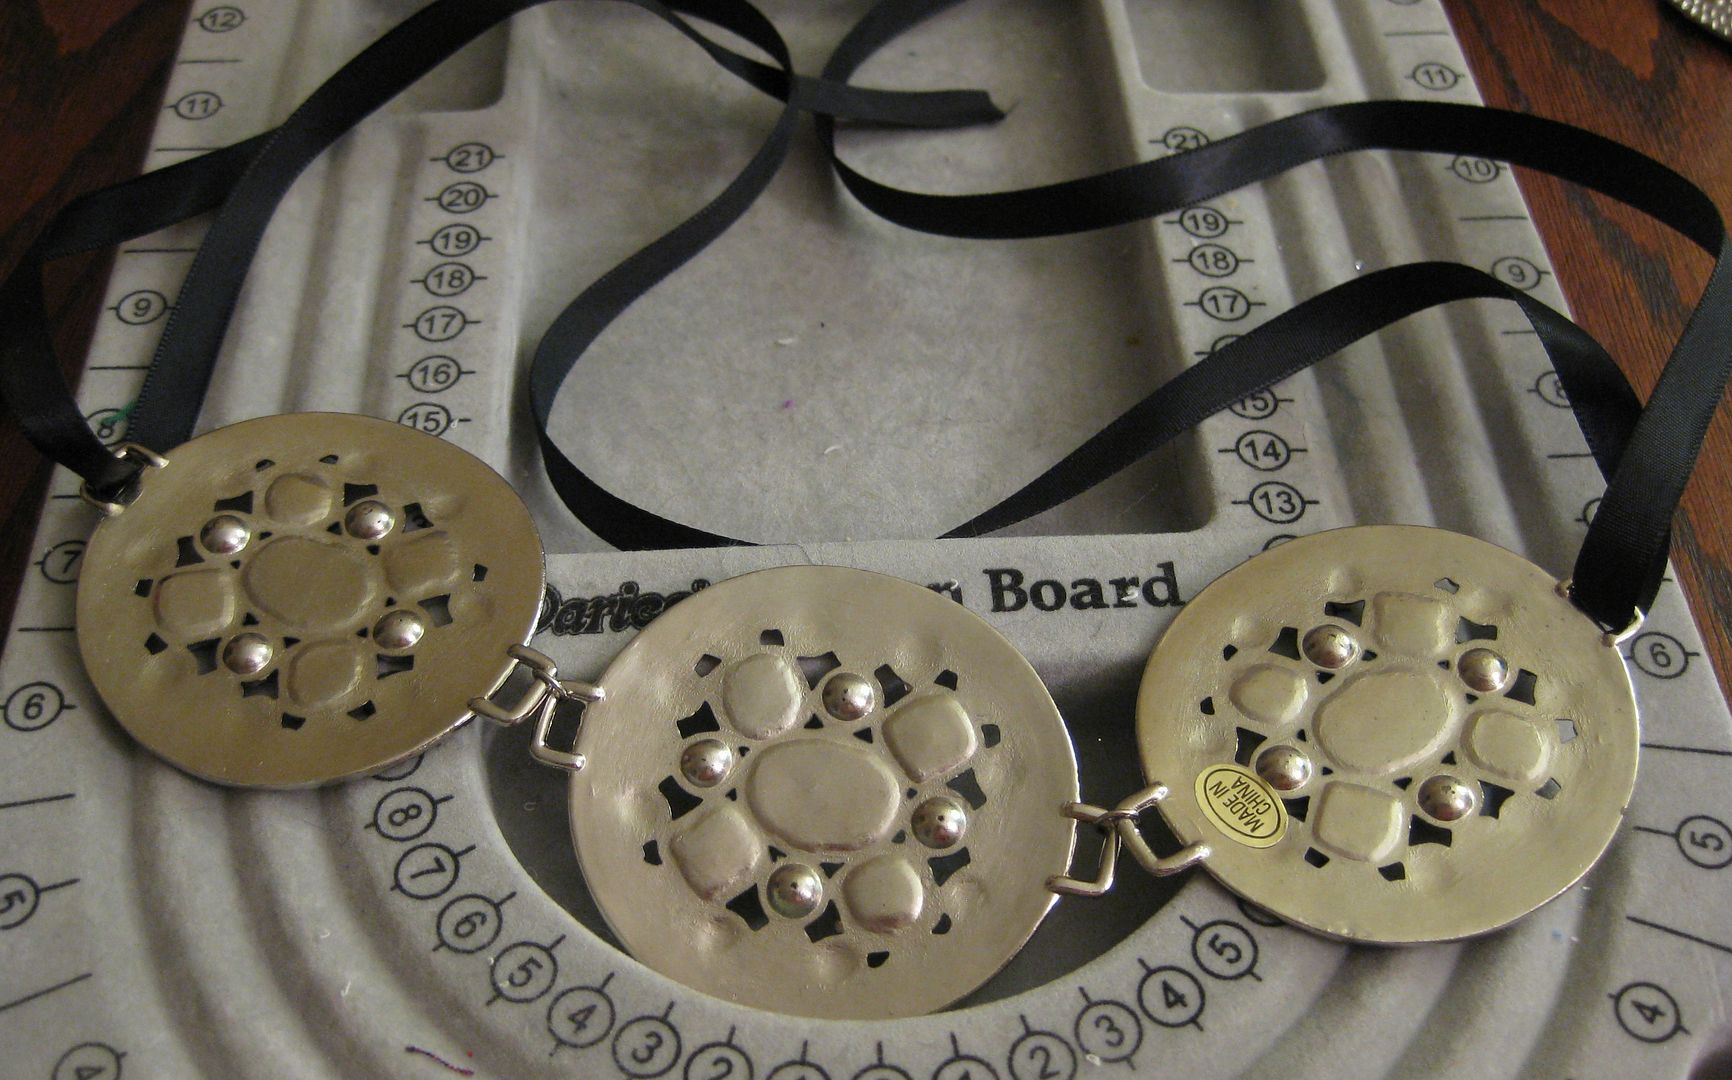
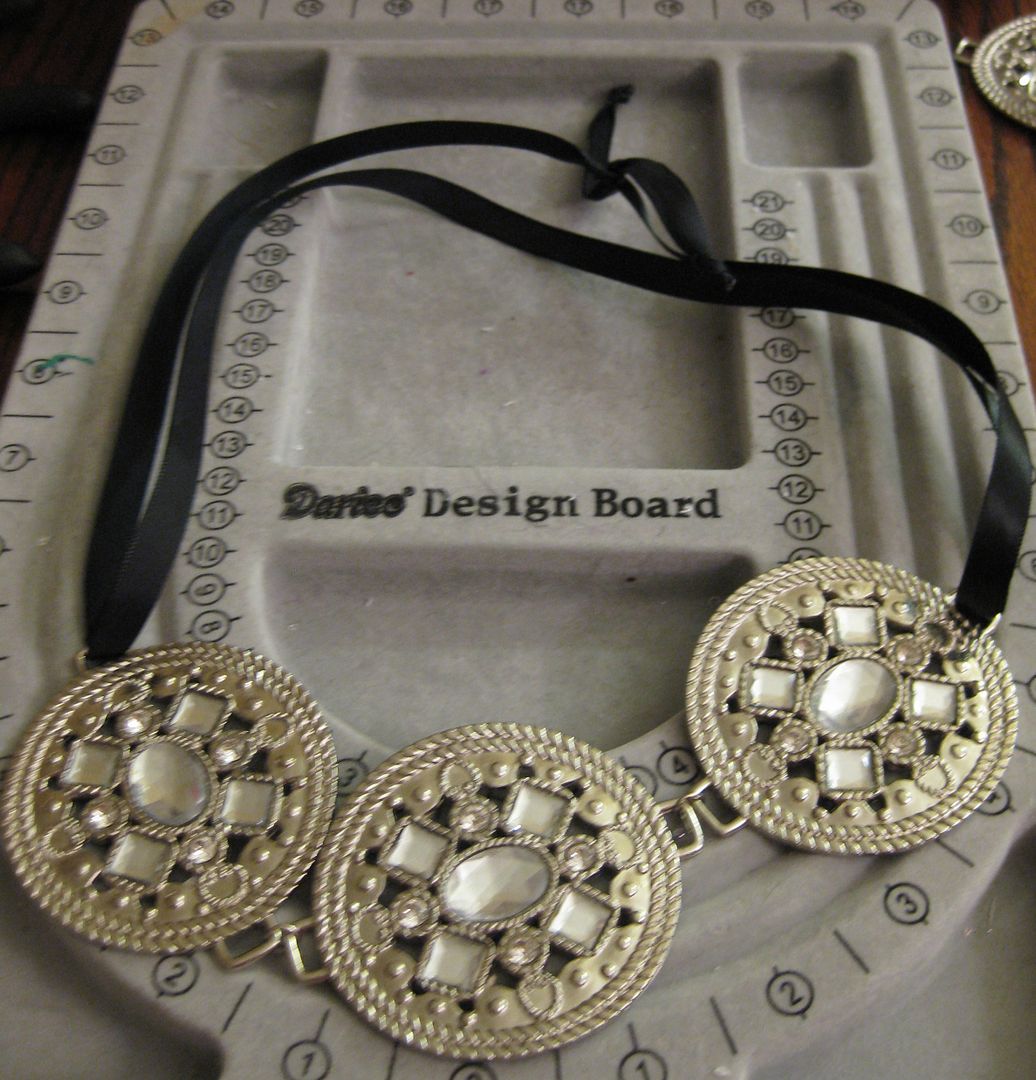
I took 3 of them and decided to make a necklace. I connected them via 2 jump rings.
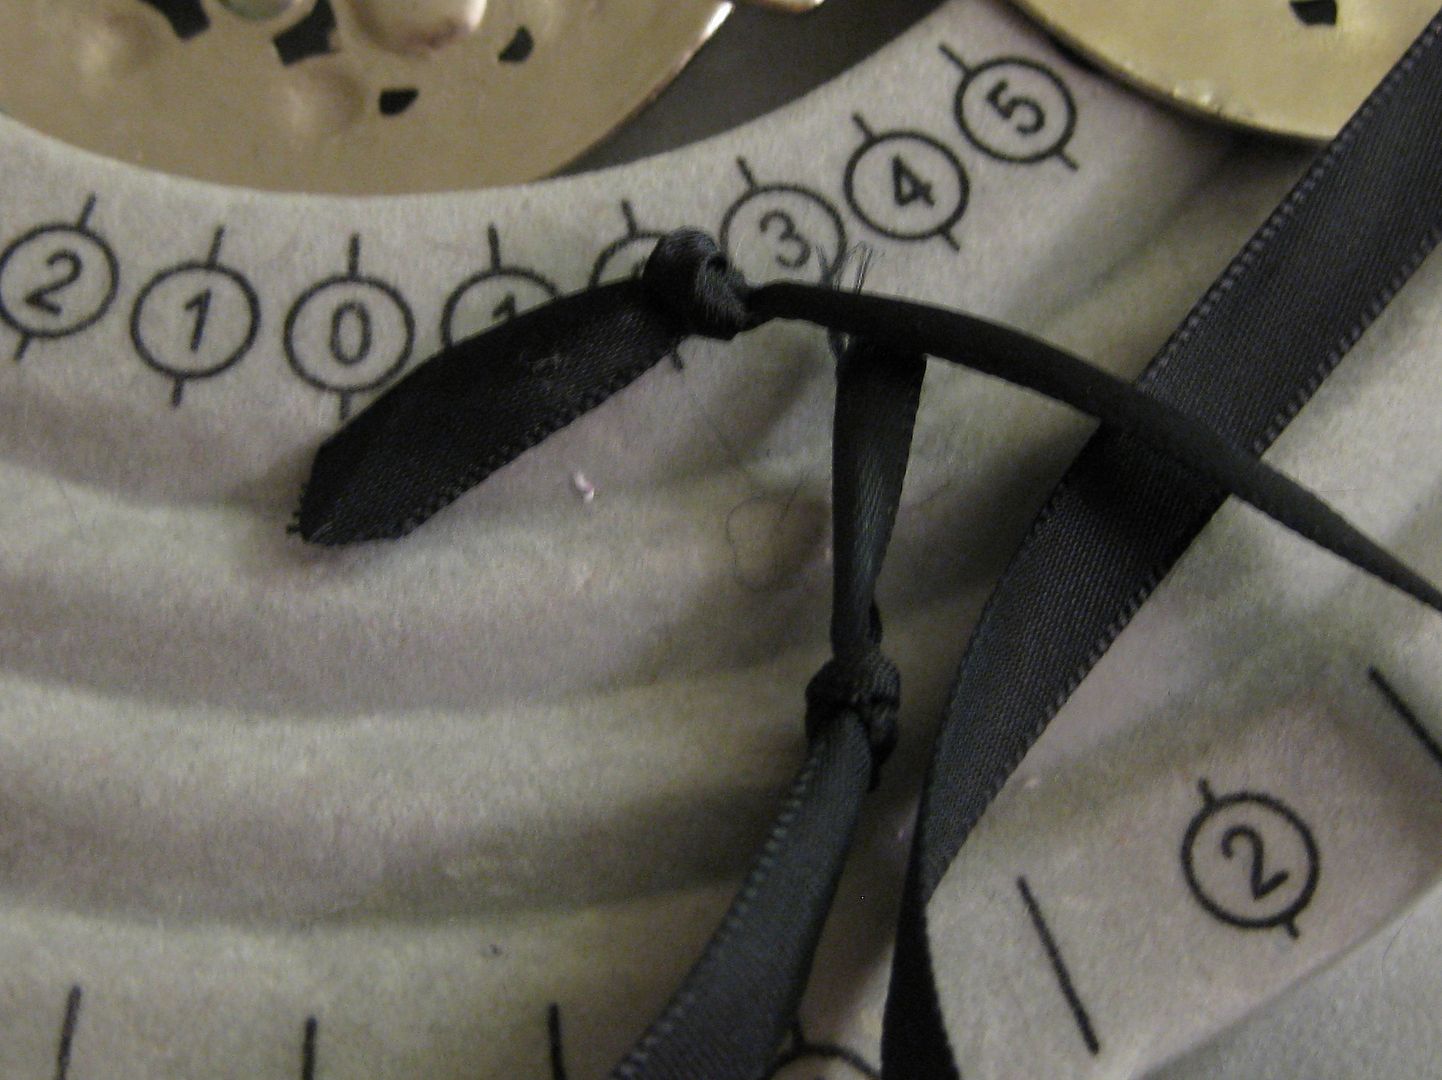
Next I added a ribbon to the medallions. This will now allow me to adjust where it sits and of course tie it to wear it!
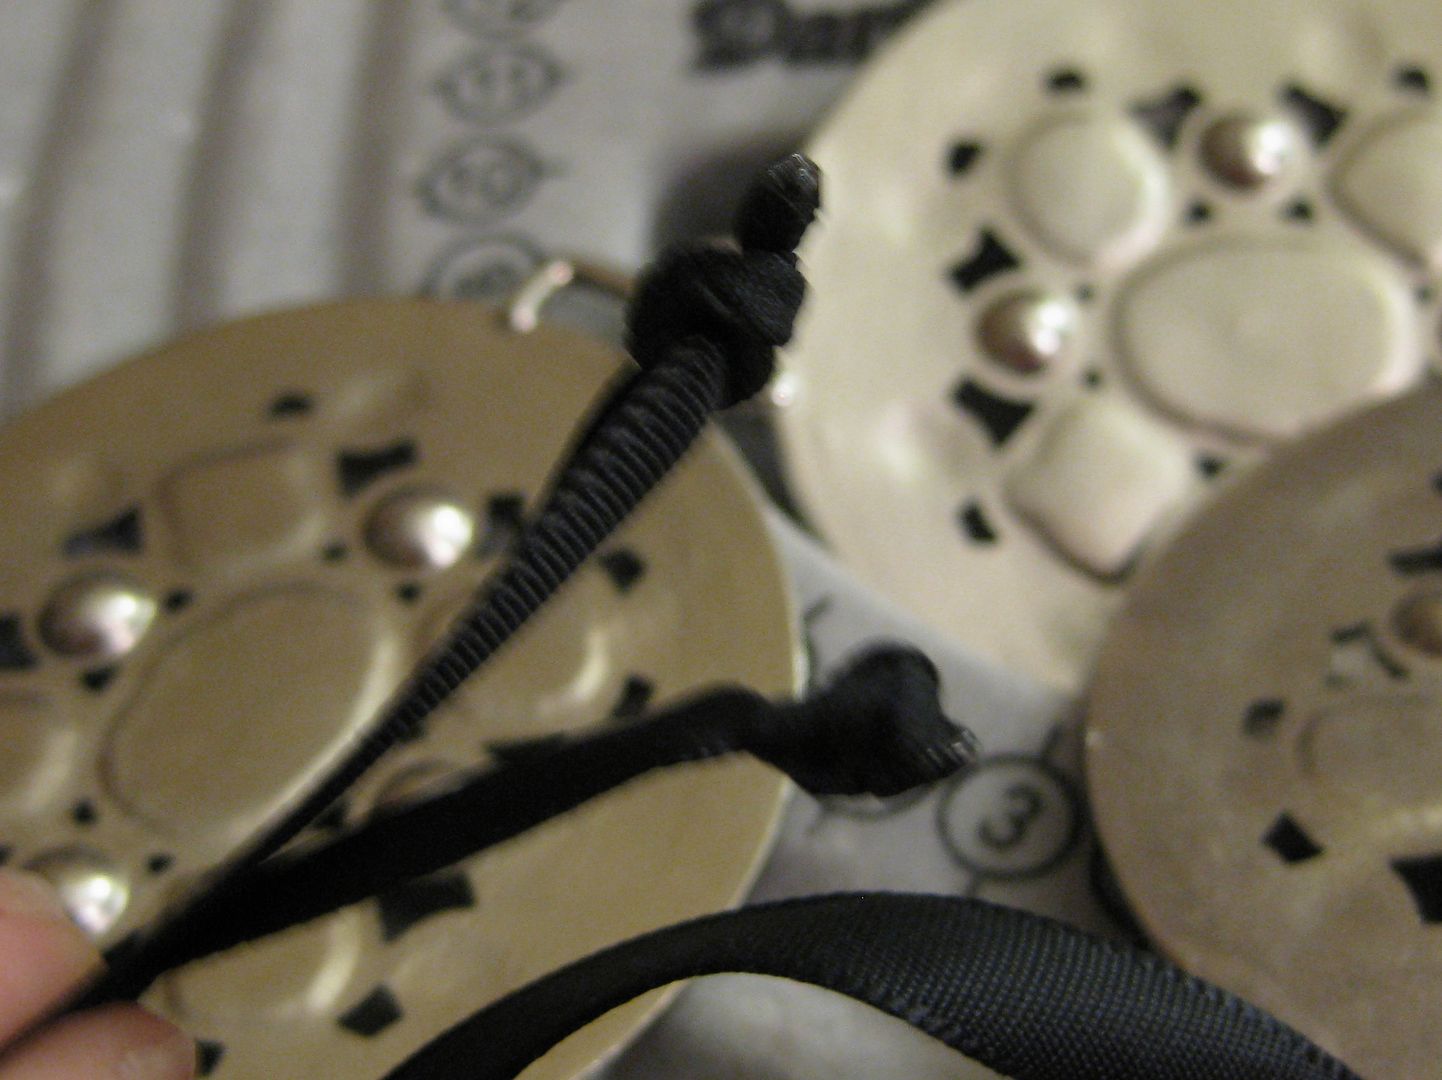
The ends are just simple knots, I cut the ends off and burned to seal the ribbon from fraying.
Done!
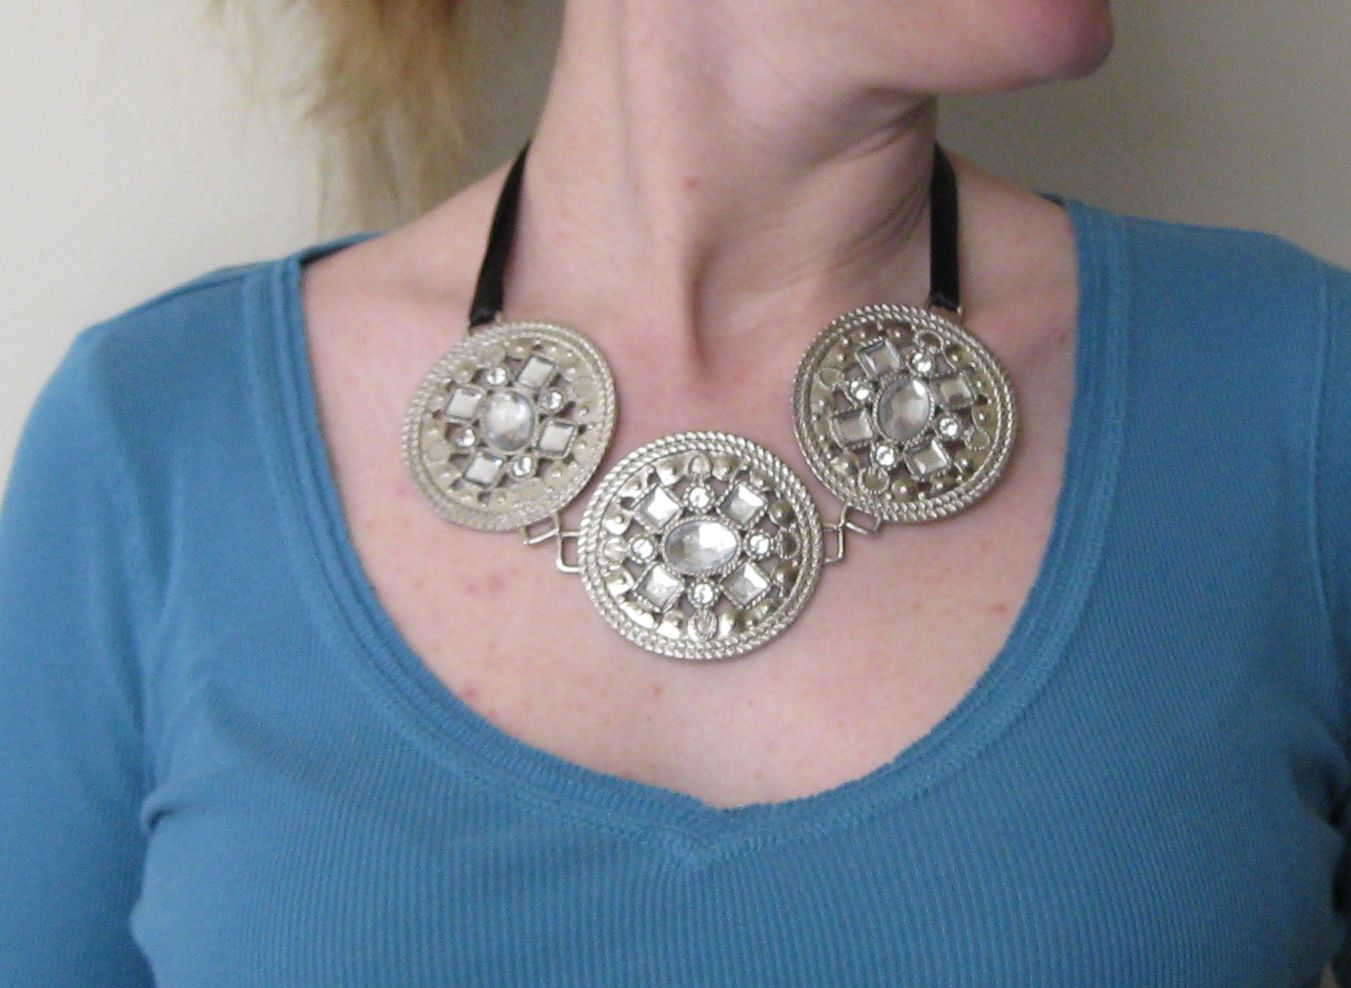
Here it is on... it will definitely look cute on a higher neckline top and maybe even a little bit lower. But man what a statement necklace!!
xoxoxo,
Lauren
Monday, May 27, 2013
Chevron Maxi Skirt
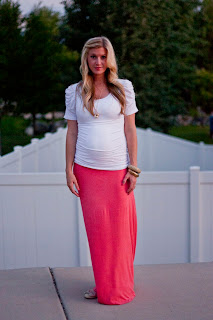
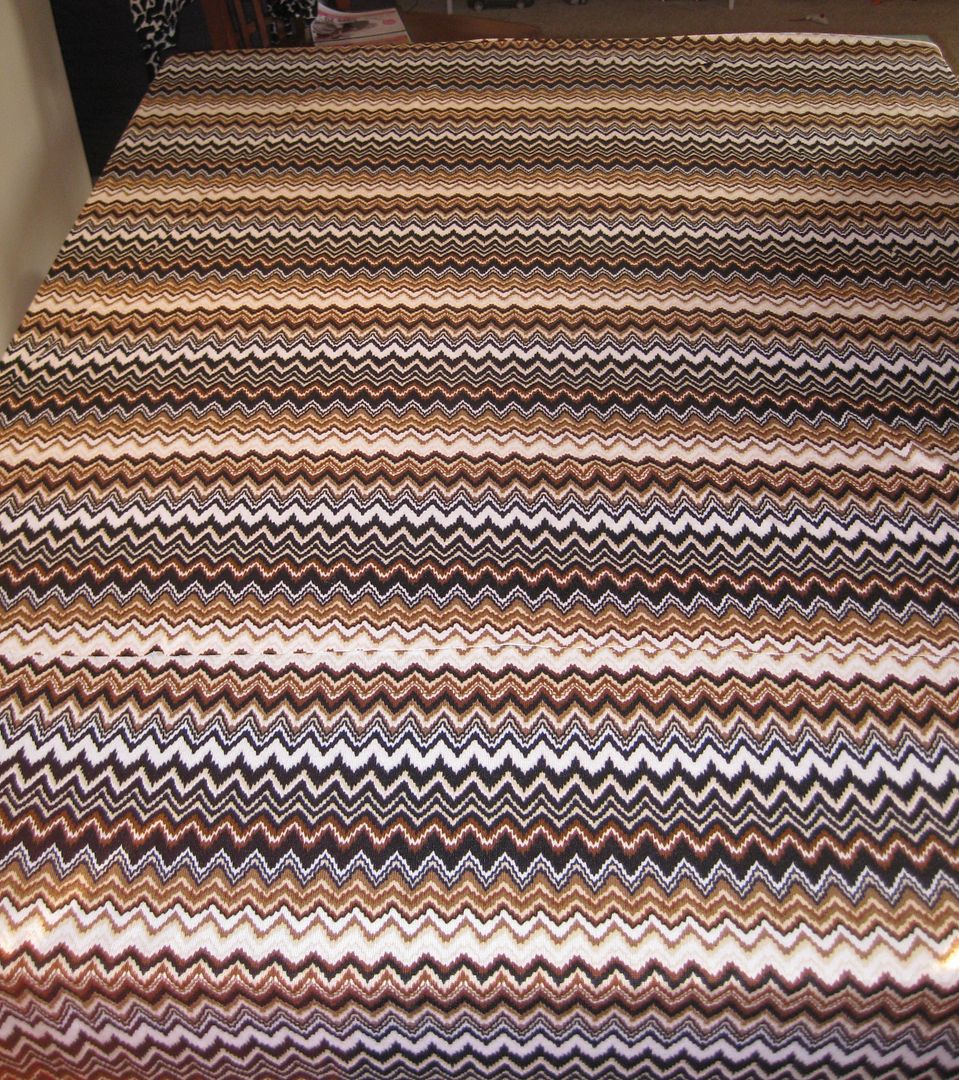
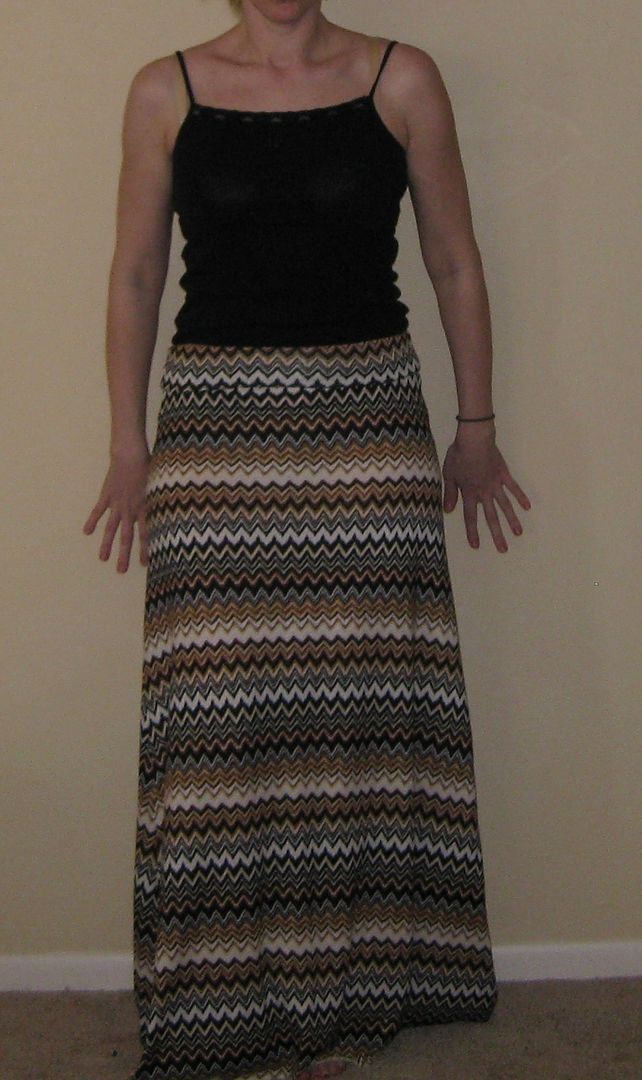
As promised, another maxi skirt! Love this brown chevron material-such a fabulous knit!
Again I used this pattern again ...
From Elle Apparel
First I had to get the pattern to be even.
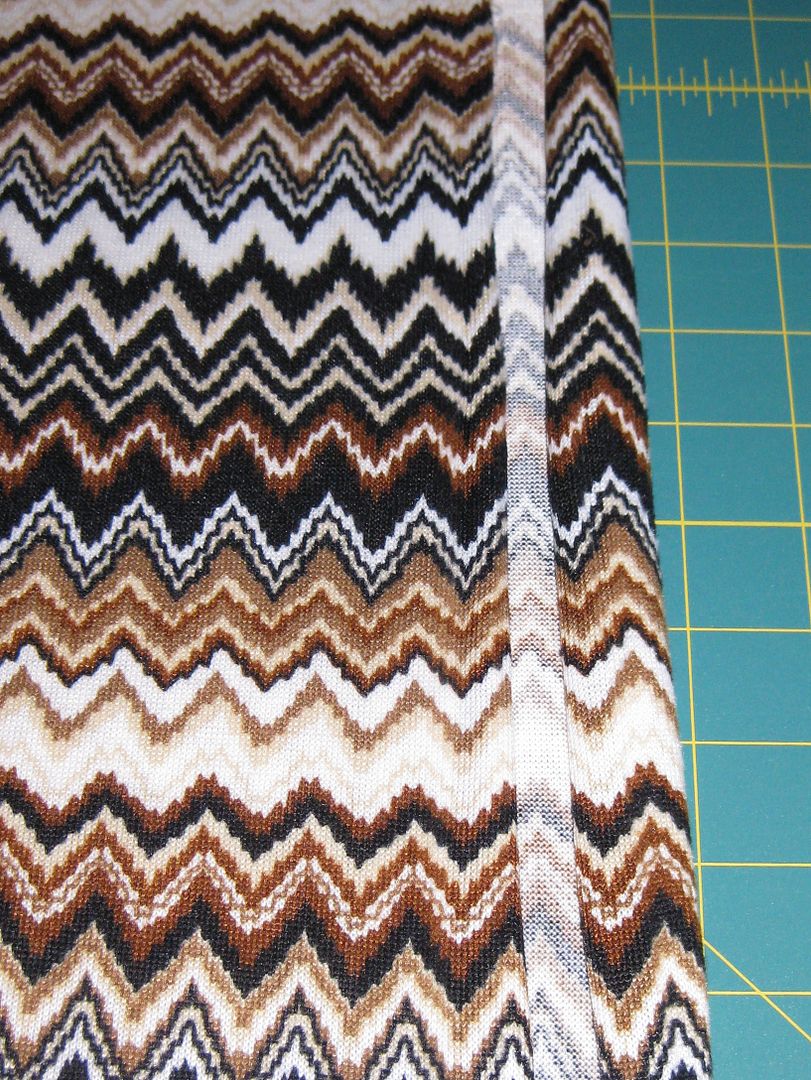
I let the edge of the bottom layer to curl up and allow me to make sure the fabric was even. This was harder than I thought- this little trick helped me.
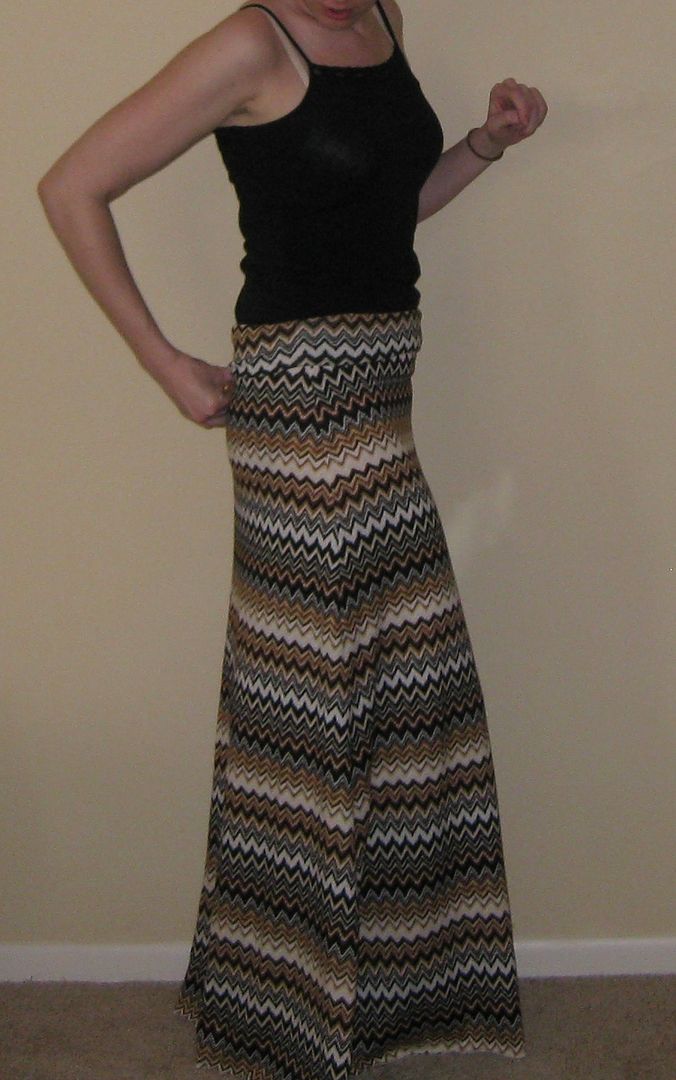
I sewed everything together but I should have went with my gut and how I cut it. It is just a fraction off on the sides but overall the skirt looks great and fits a little bit better!!!
It is a super fun skirt. I can't wait to wear it and play with different tops! :) Yay!! There may be another skirt in the works. It all depends, let's see!
xoxoxo,
Lauren
Again I used this pattern again ...
From Elle Apparel
First I had to get the pattern to be even.
I let the edge of the bottom layer to curl up and allow me to make sure the fabric was even. This was harder than I thought- this little trick helped me.
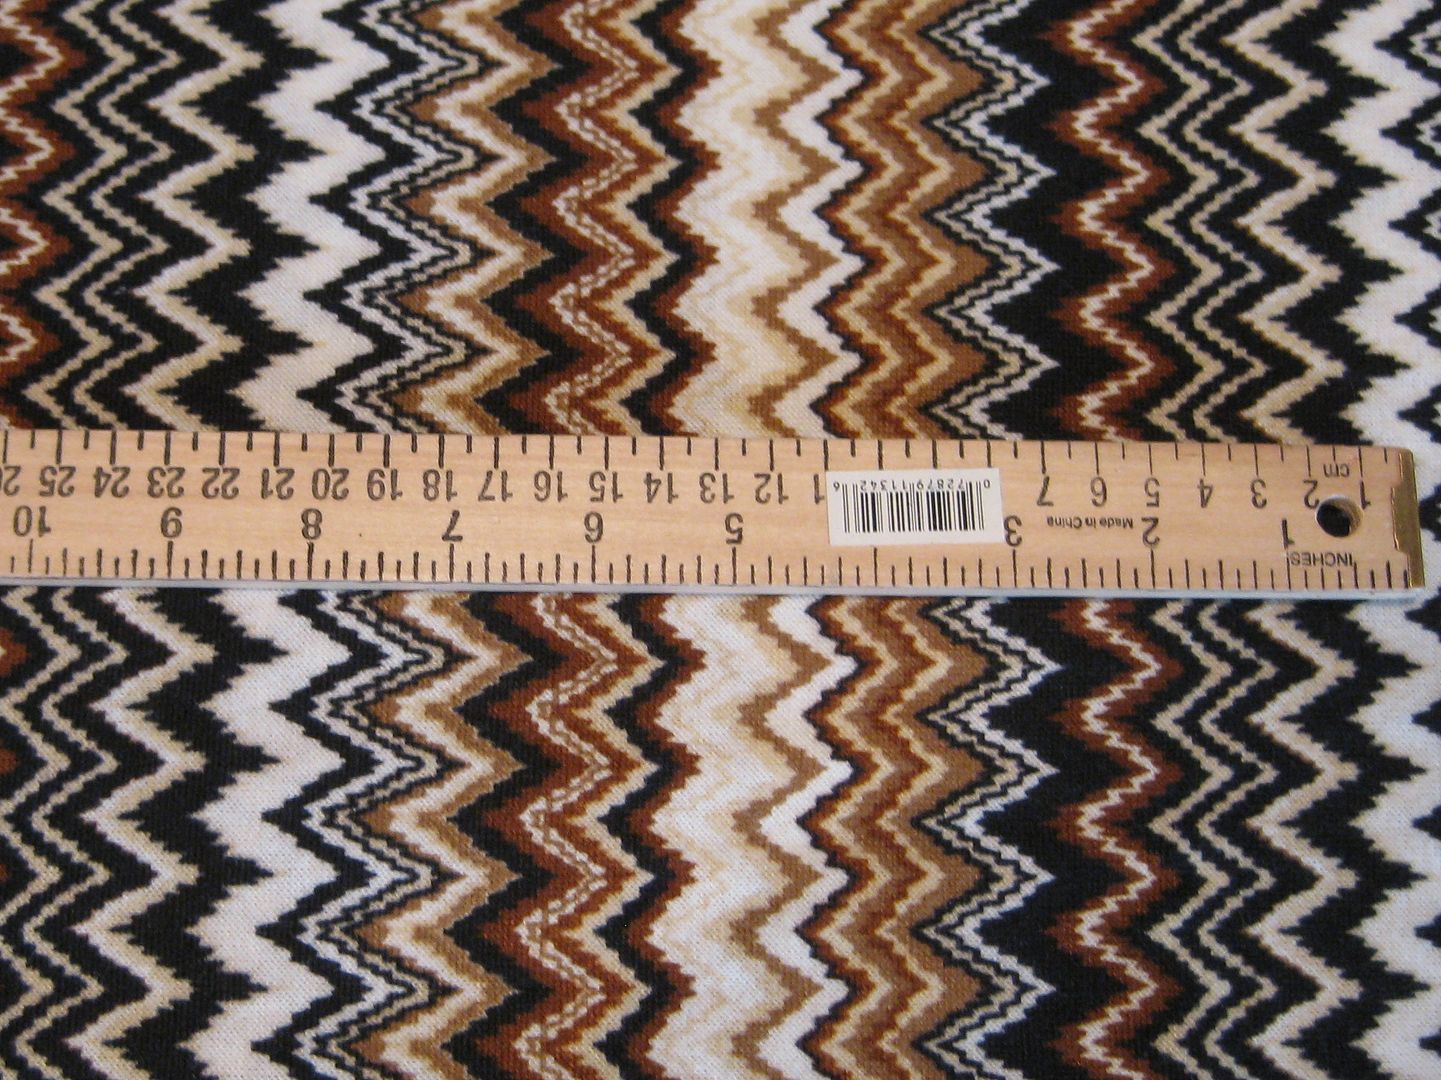
Also if you notice the pattern repeated every 8 ish inches. This is really important b/c you have to make sure you have enough. Luckily I had more than I needed!
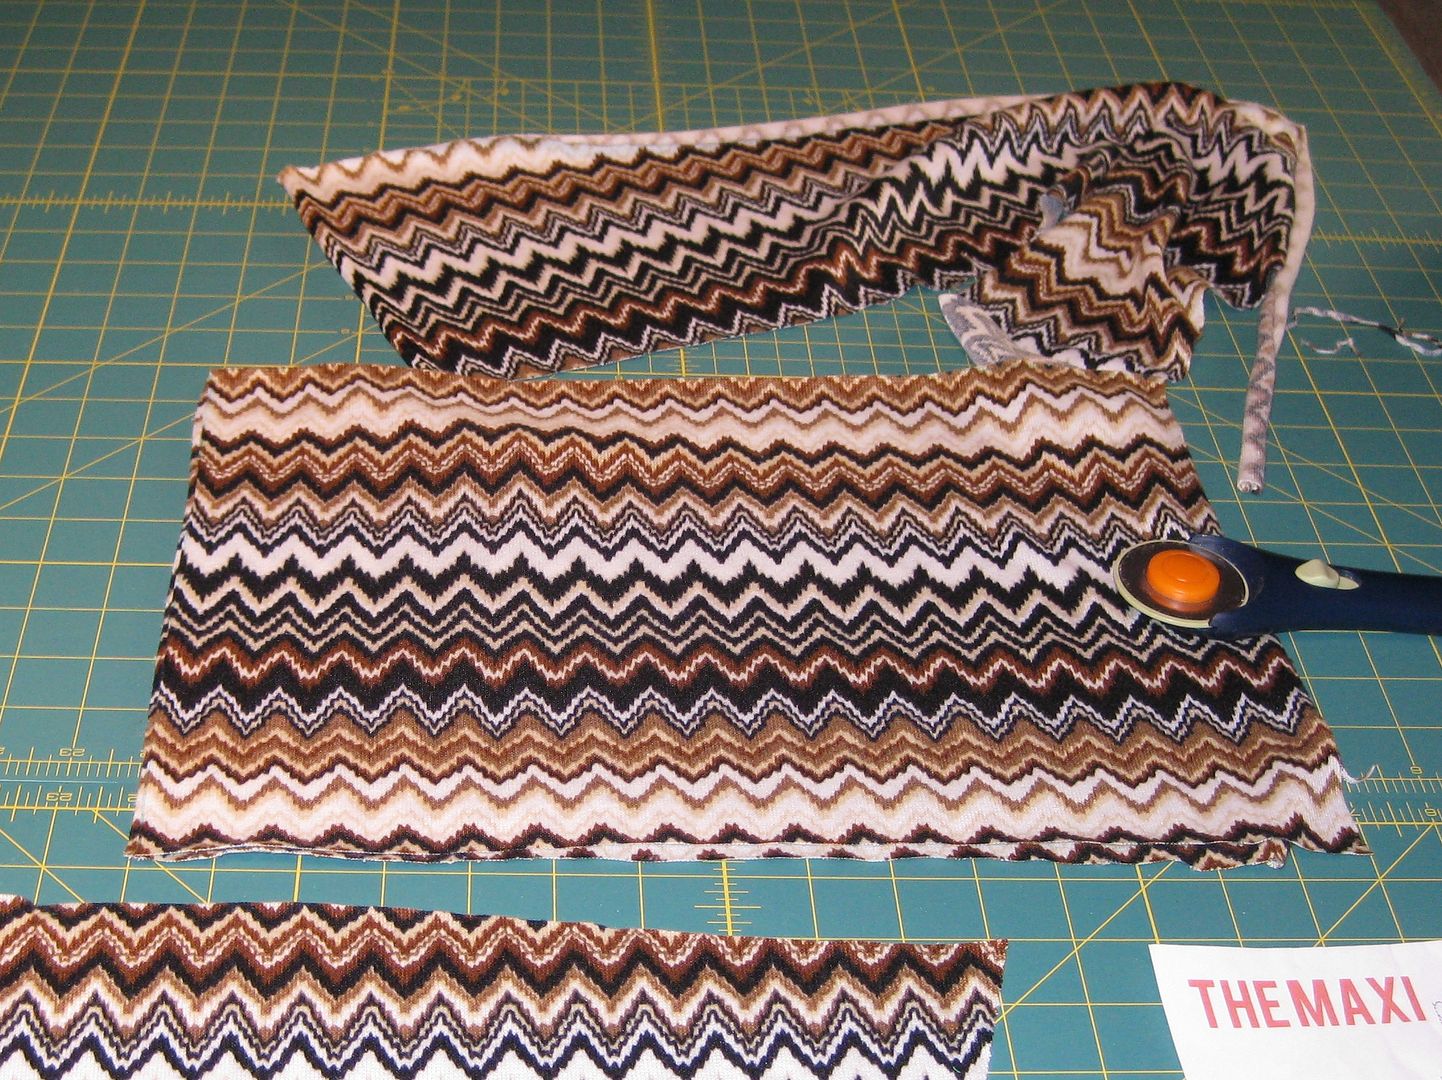
Here is after the first found of cutting. I added an inch in the length and made the waistband smaller since the blue lace maxi was just a hair too big.
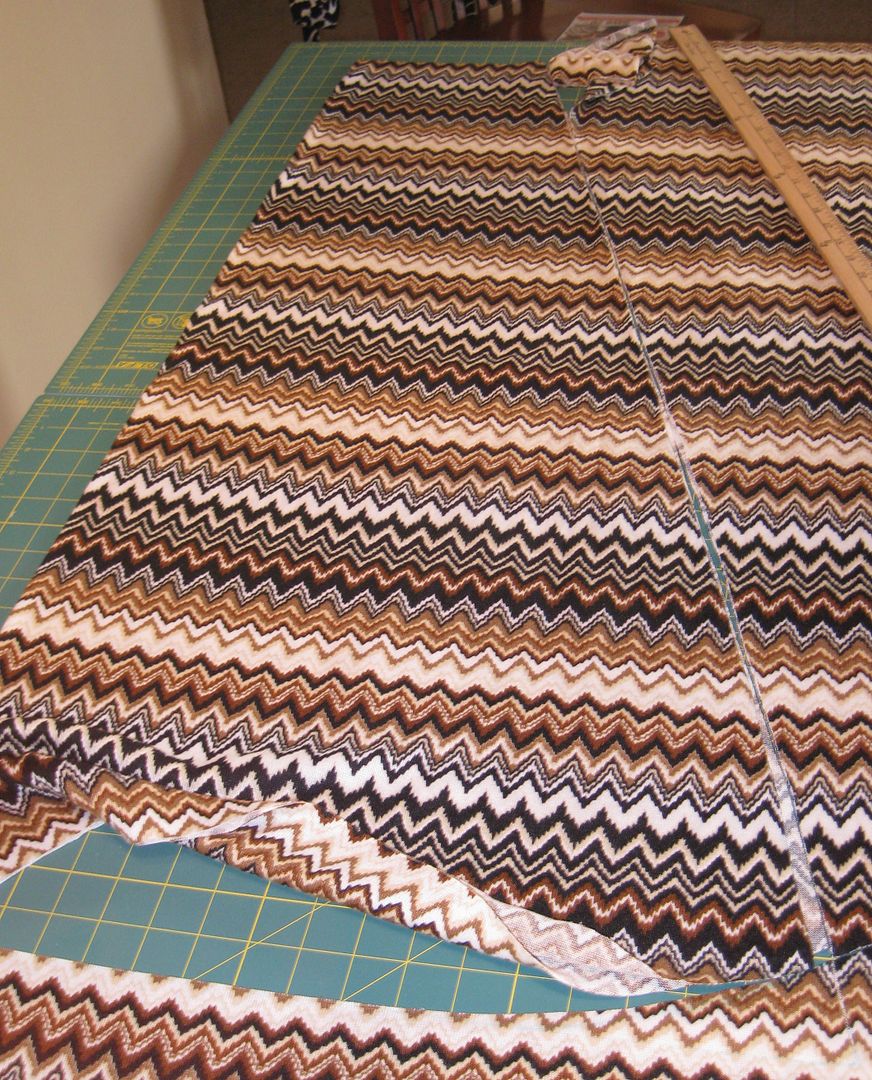
Now to make the other piece and have the side match. Oh! This was a challenge. So I laid the top over the full layer of fabric (i.e. no folding in half here!). And I got everything to match up. If you look close enough you can see the first piece- yes it is hard.
Here is the waistband. Again did the same thing with trying to match up.
It is a super fun skirt. I can't wait to wear it and play with different tops! :) Yay!! There may be another skirt in the works. It all depends, let's see!
xoxoxo,
Lauren
Friday, May 24, 2013
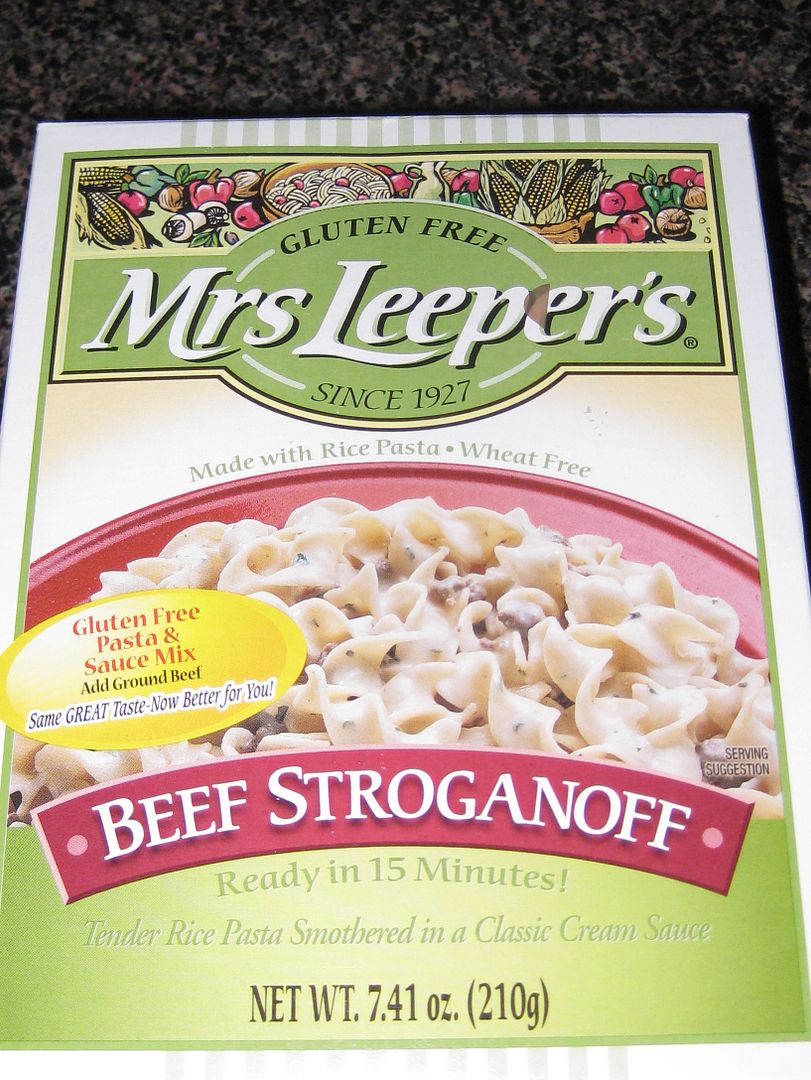
Gluten Free Review: Beef Stroganoff
My mom gave me this mix, she had seen it and it was gluten free. Everything was provided but the meat. You could use whatever you wanted.
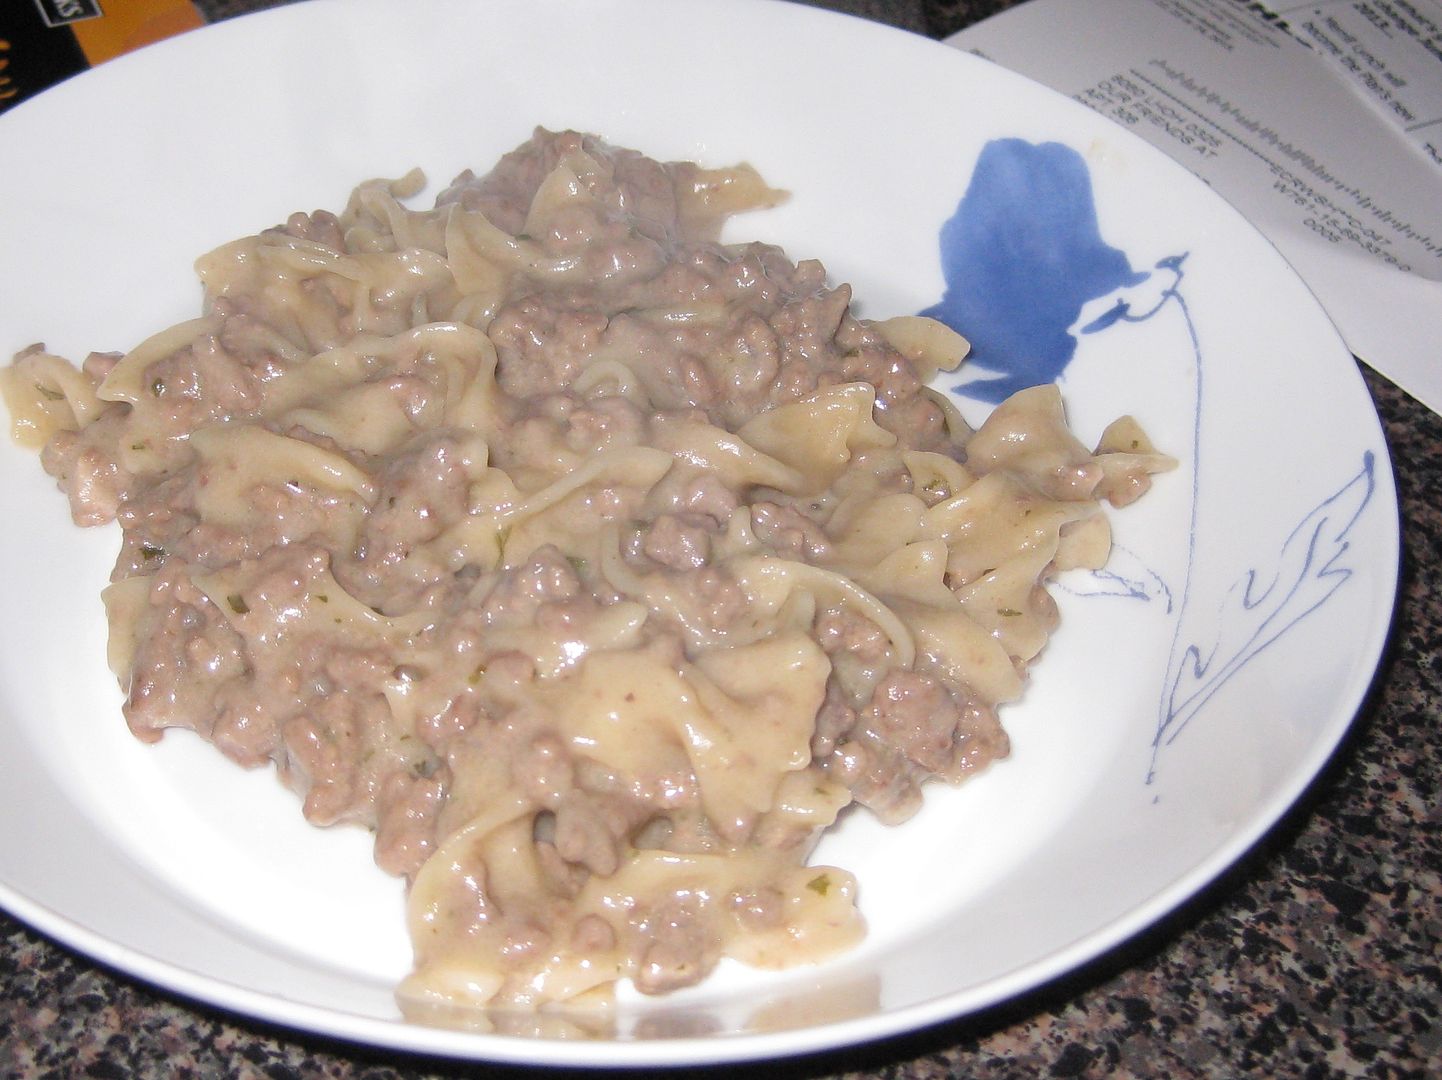
Now the review. The dish was really easy to cook but there was not that much flavor to the dish. I just didn't care for it, very bland. Would I purchase this again? Probably not, so boring and not worth the extra money. I may have to work on my own one day....
xoxoxo,
Lauren
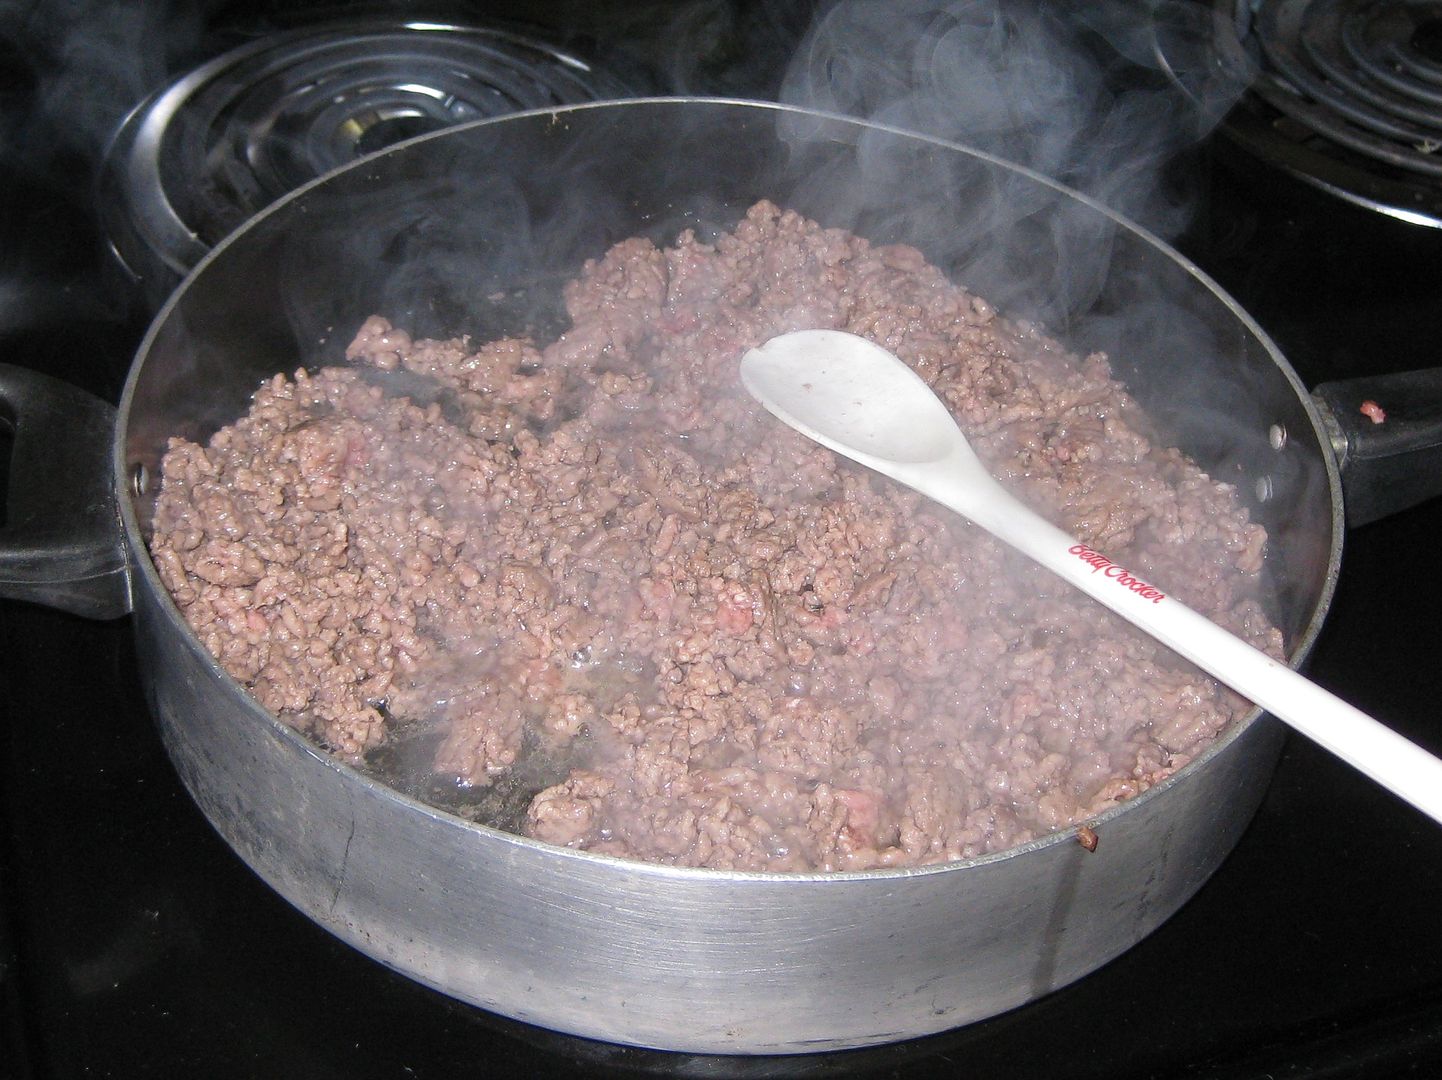
So I heated up my beef, which I used more than what it said but hey we like meat here! Brown and drain the fat.
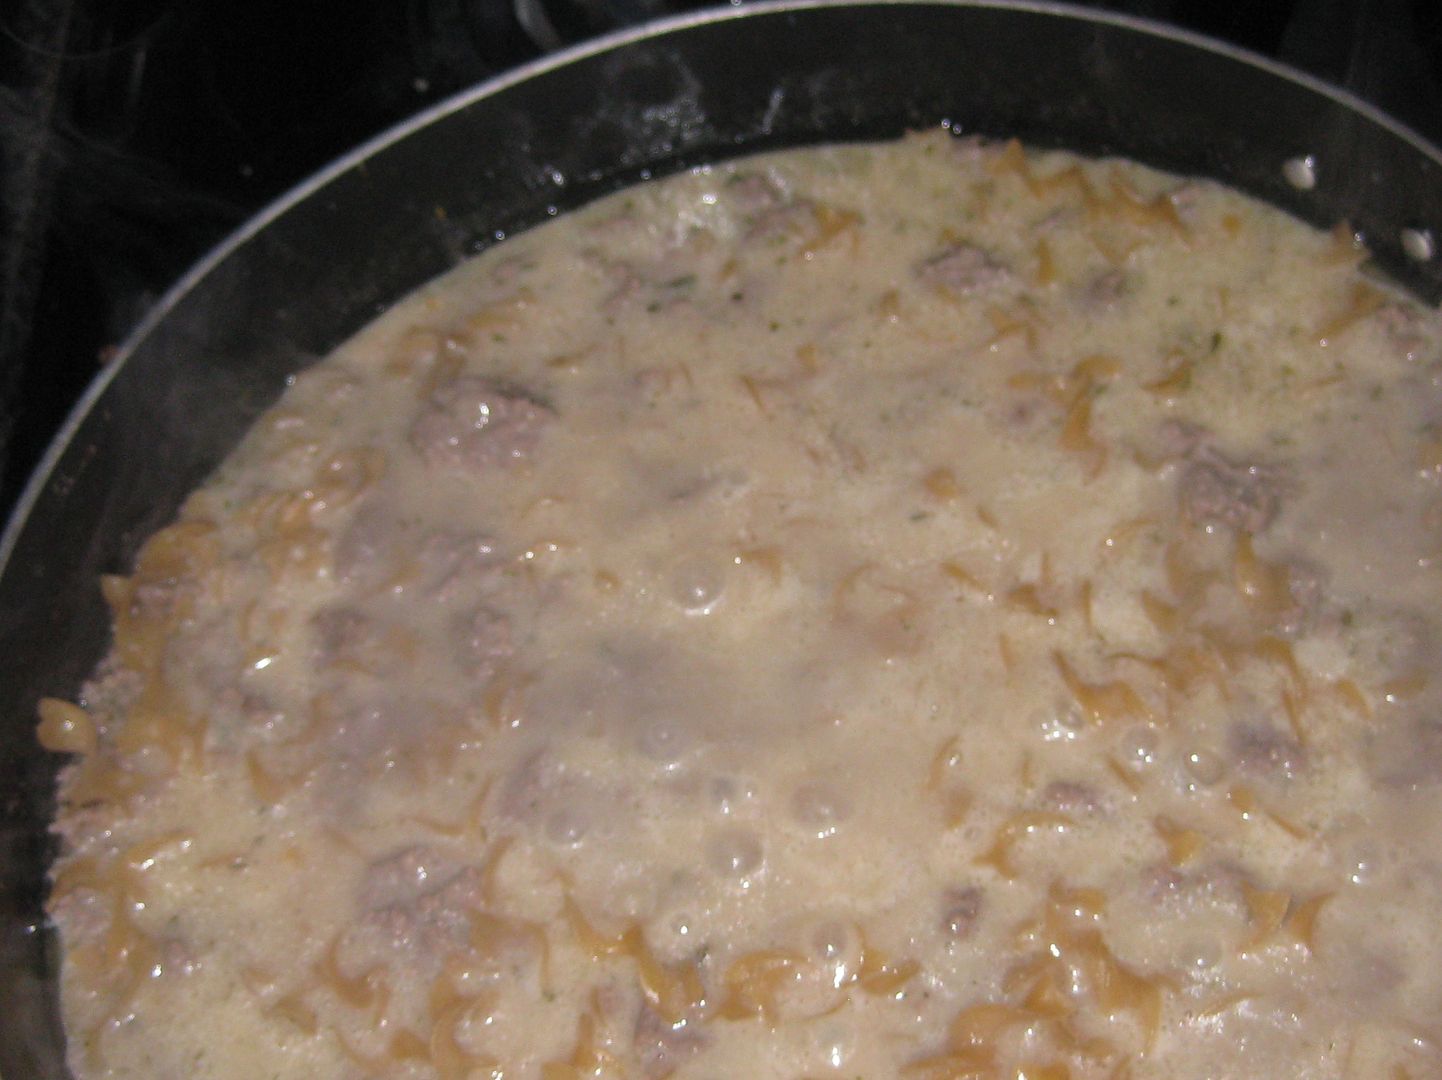
Add the mix and water and noodles. Cook.
Done! Easy peasy!
xoxoxo,
Lauren
Wednesday, May 22, 2013
Peacock necklace
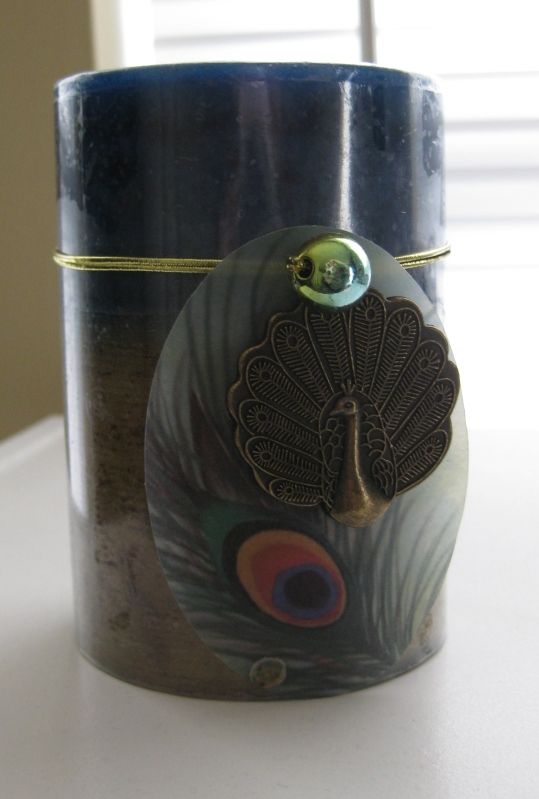
This necklace all started with this candle. I noticed it had a cool peacock charm. And with my obsession with peacocks this candle came home and I decided a necklace was in line. :)
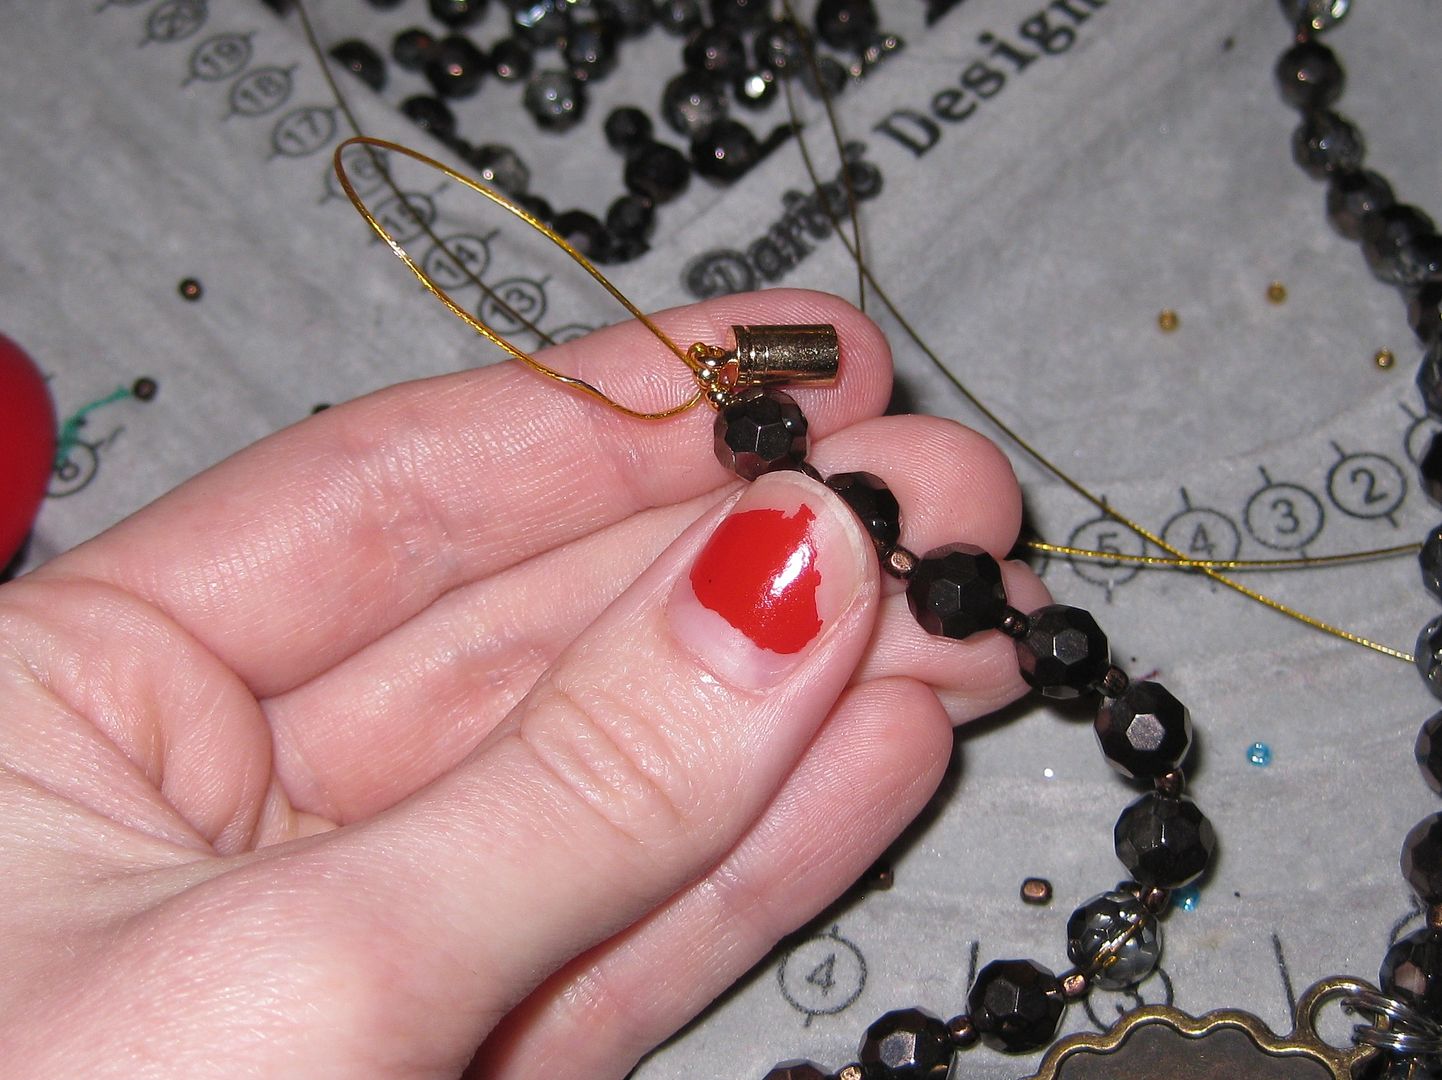
Now to add fasteners-I am going to use a magnetic clasp. Here is a hint on how to get your crimp beads crimped with a magnetic clasp... let it attach to something magnetic, THEN crimp. Or you will have lots of problems!
I used 2 crimp beads on both sides. And weaved it through the nearby beads to hide the string.
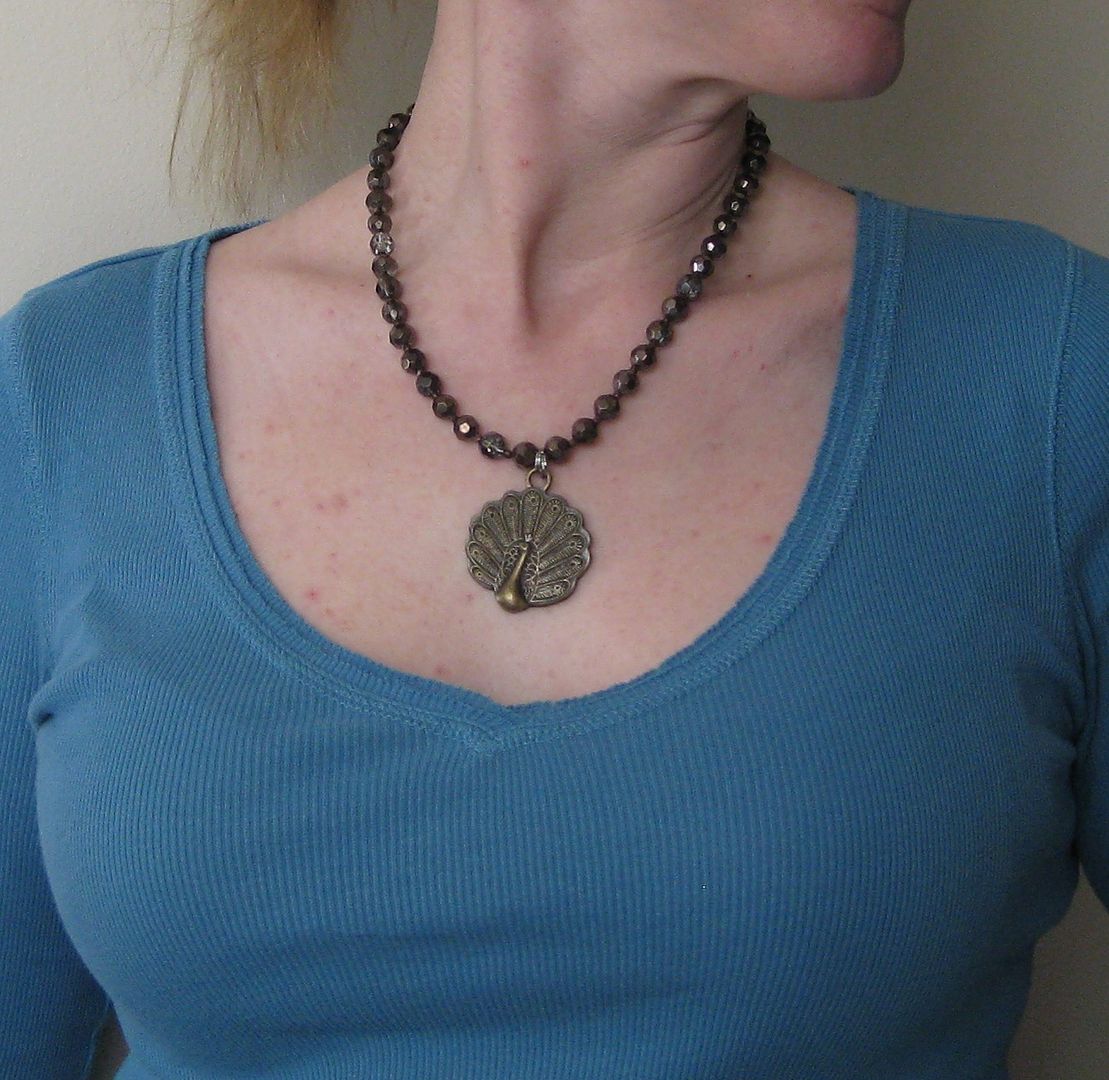
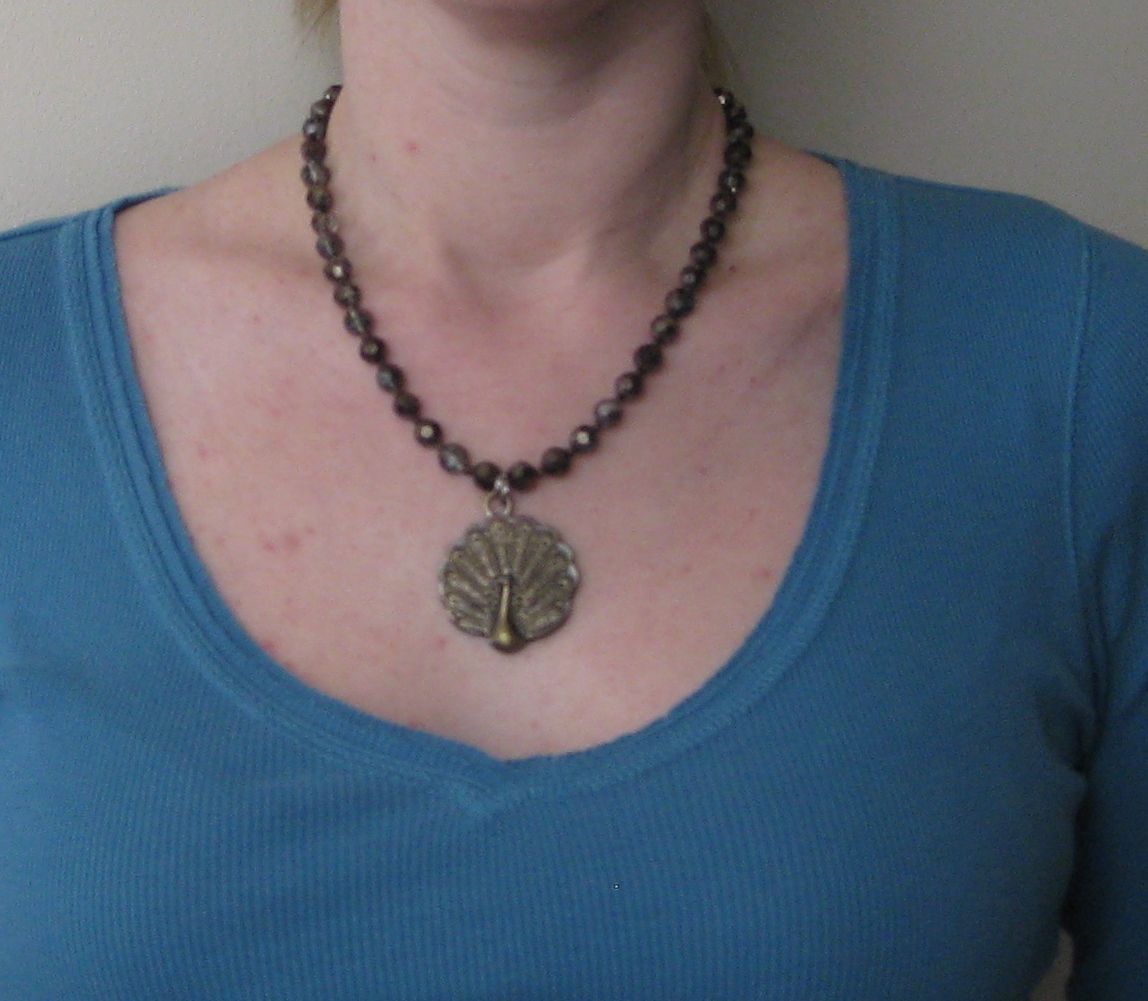
This peacock charm looks so much nicer on my then it does on the candle. But I am little biased. :) Yay for recycling something that could have been just tossed. But it was too pretty to pass up.
xoxoxo,
Lauren
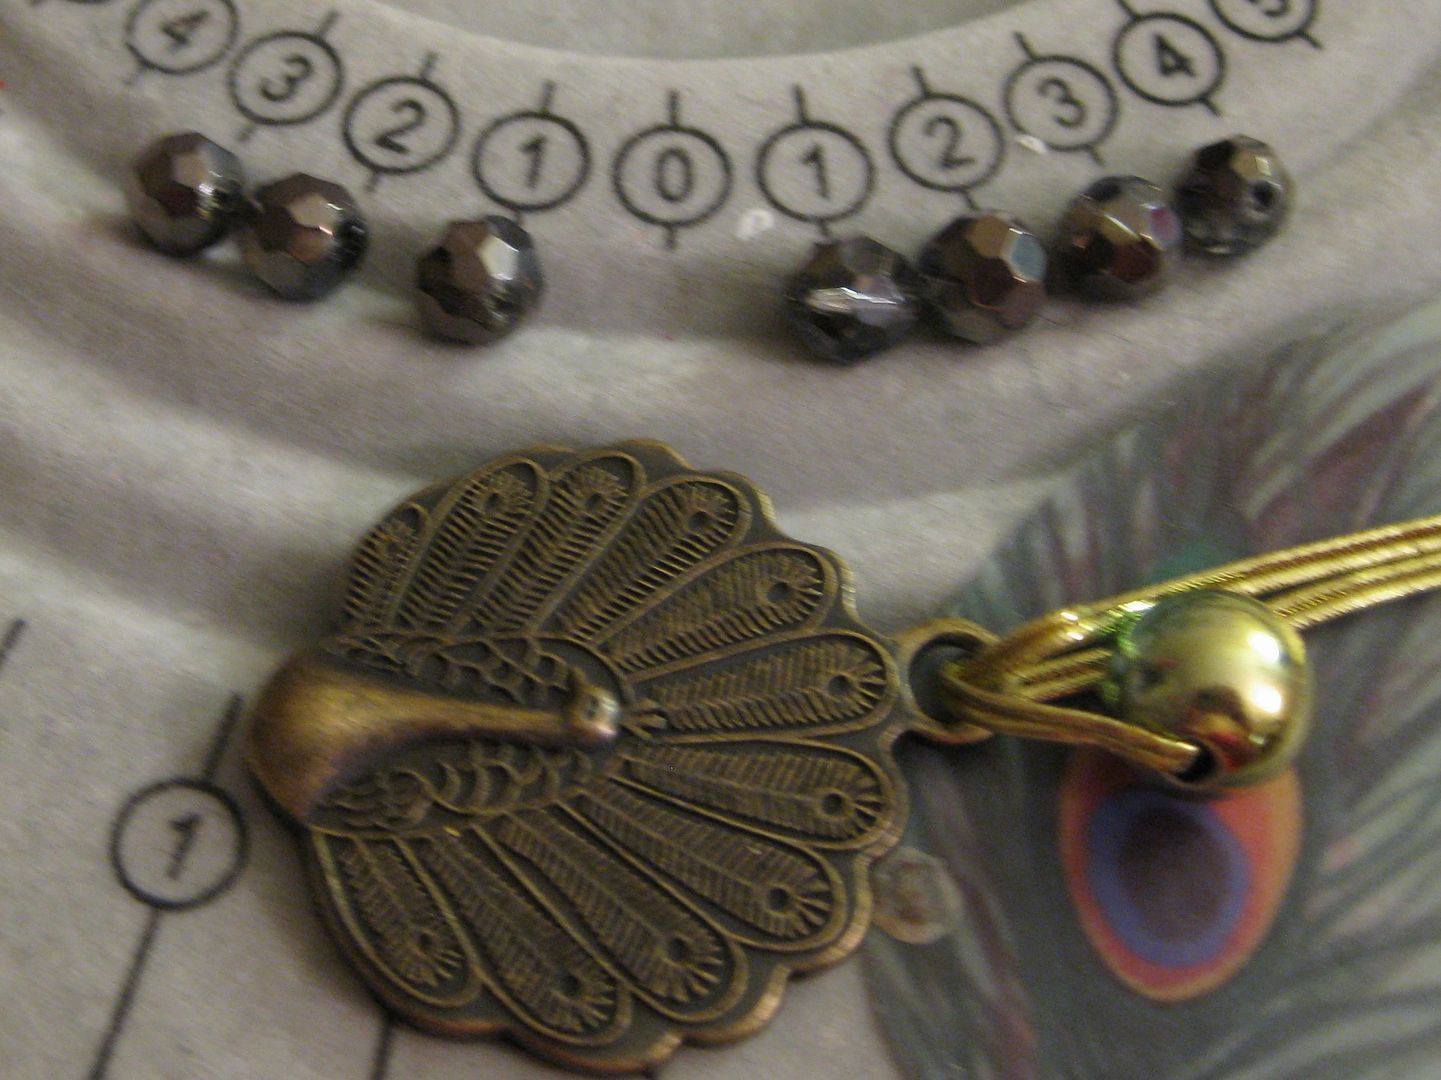
Off came the gold stuff. And you can see the cystals I am going to pair with the charm.
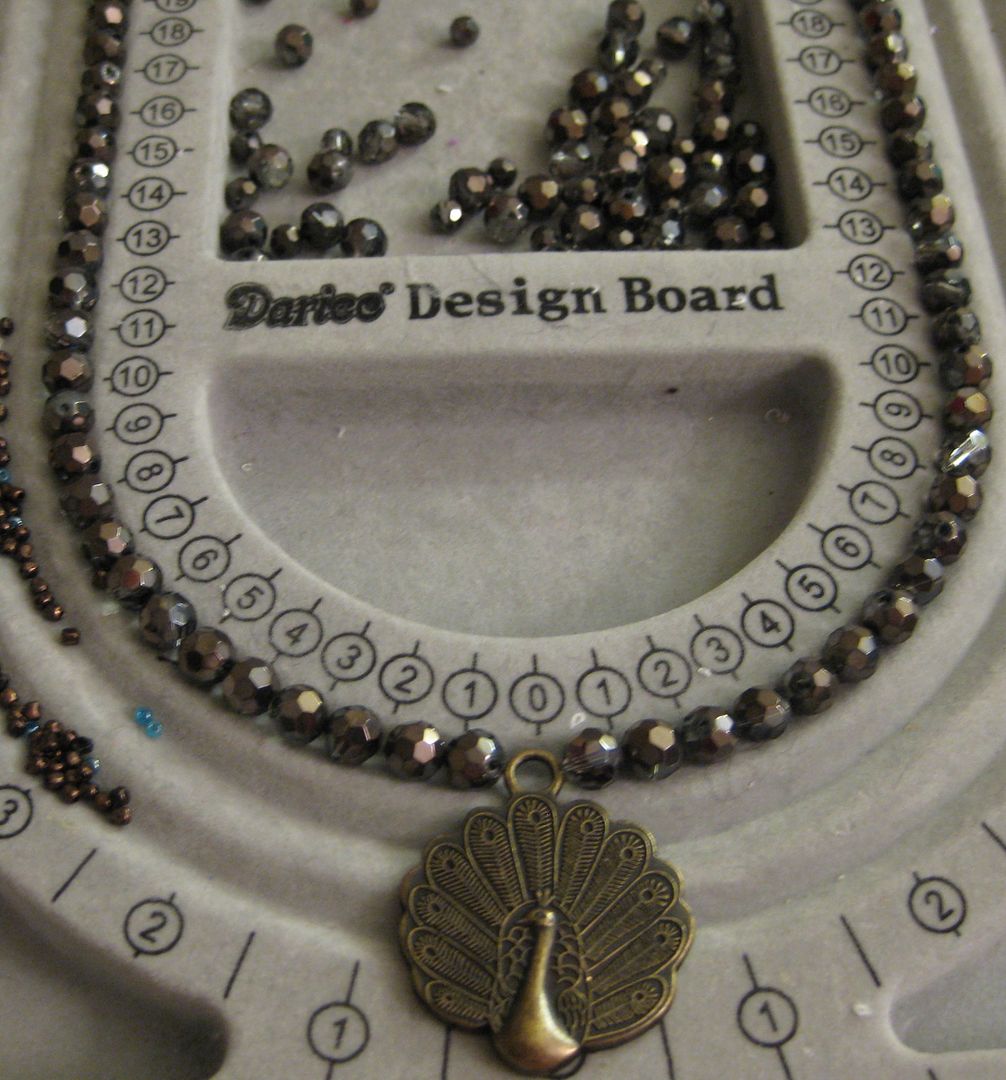
Here is my design. I was also going to use some bronze spacer seed beads. I used 2 jump rings to keep the peacock facing forward. It was pretty easy to string.
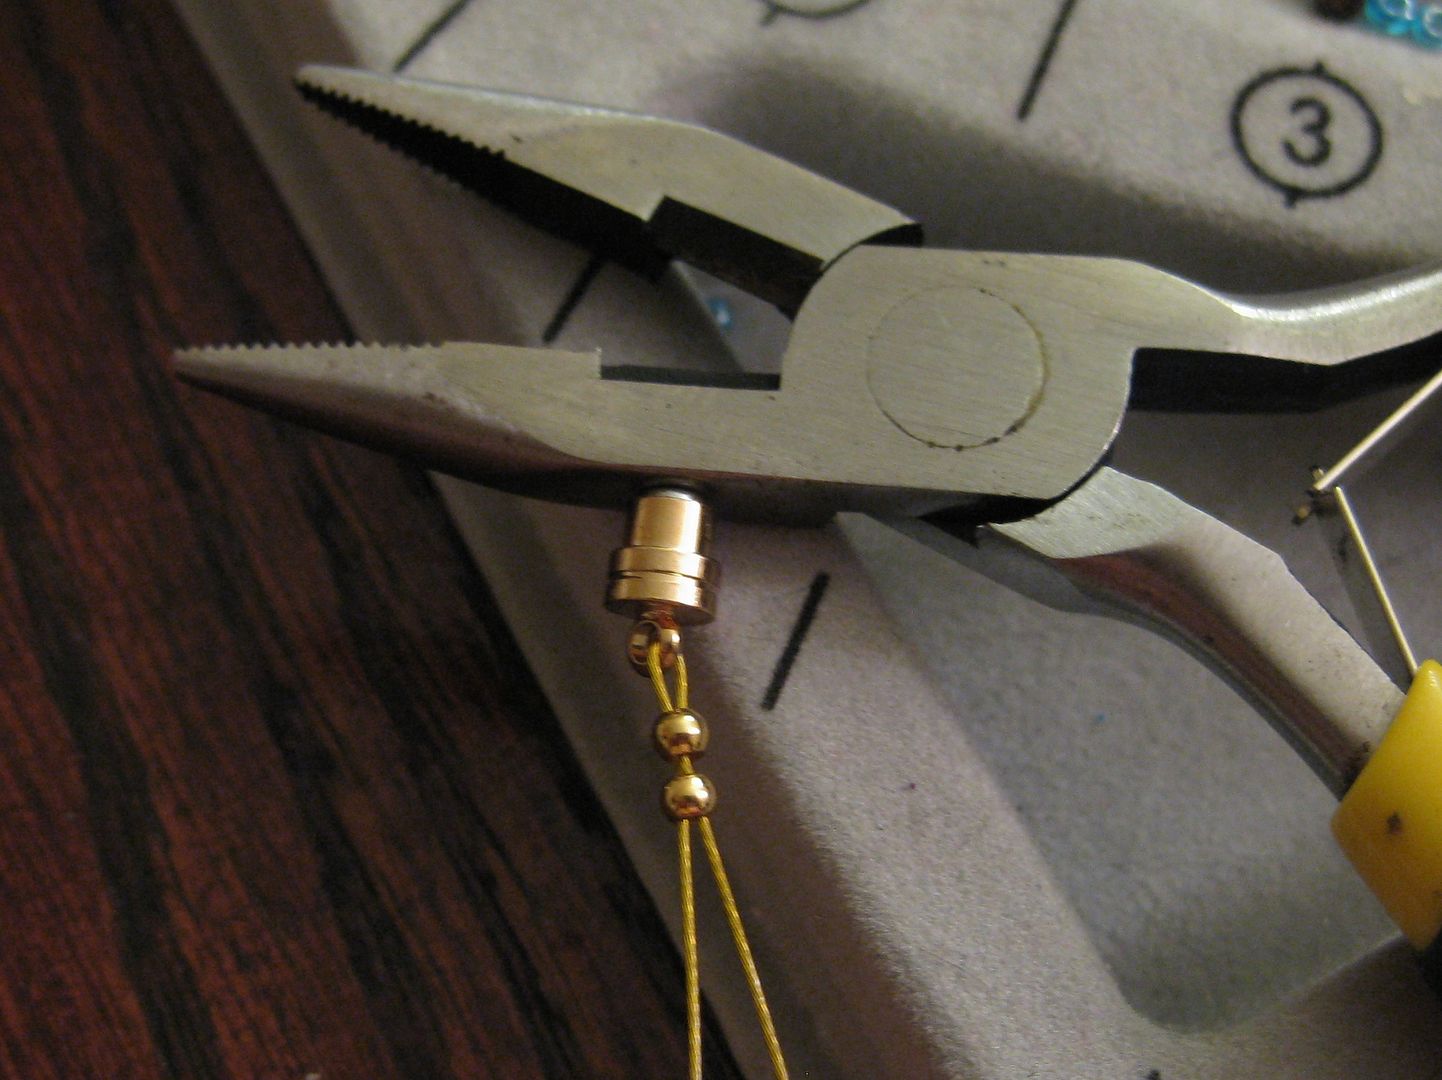
Now to add fasteners-I am going to use a magnetic clasp. Here is a hint on how to get your crimp beads crimped with a magnetic clasp... let it attach to something magnetic, THEN crimp. Or you will have lots of problems!
I used 2 crimp beads on both sides. And weaved it through the nearby beads to hide the string.
Done! Yay!
xoxoxo,
Lauren
Labels:
crystal embellishments,
handmade jewelry,
necklace,
peacock
Tuesday, May 21, 2013
Iron Craft 13- Home; DIY Glitter plant stakes
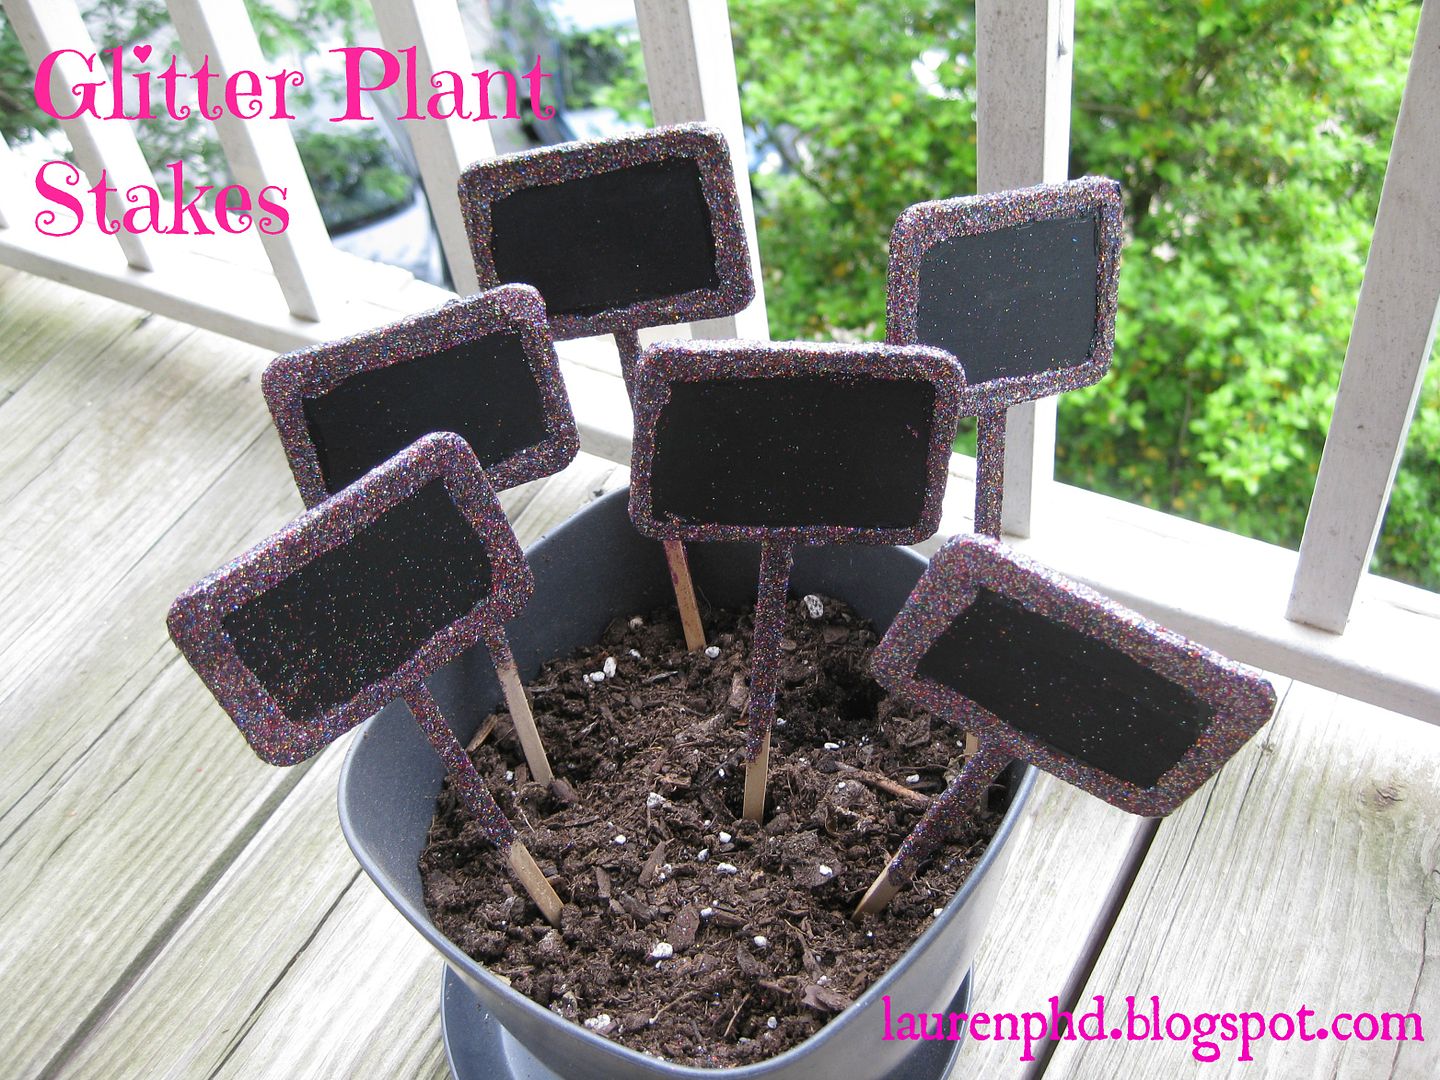
This iron craft challenge is home. Either something house shaped or for the home. I chose for the home. Lately I have gotten into gardening. I am trying to improve my home and prove that I my home is not a place where plants go to die. I have upcoming posts in June about my new little deck garden, because unlike anyone else I want my plants to sparkle! So what a great addition is some matching plant pot markers covered with glitter! Yeah! Because if worse came to worse, at least my dirt will look pretty. :)
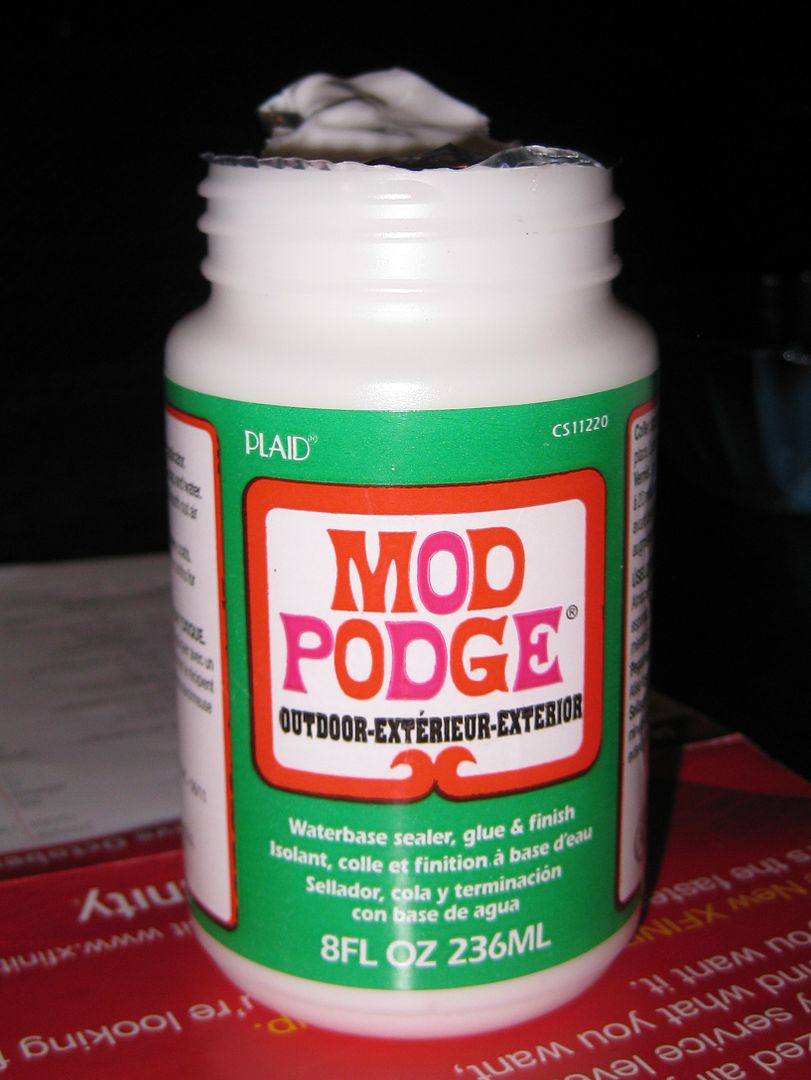
They were super easy to make! First I used outdoor modpodge and covered the back and the chalk board around the edge.
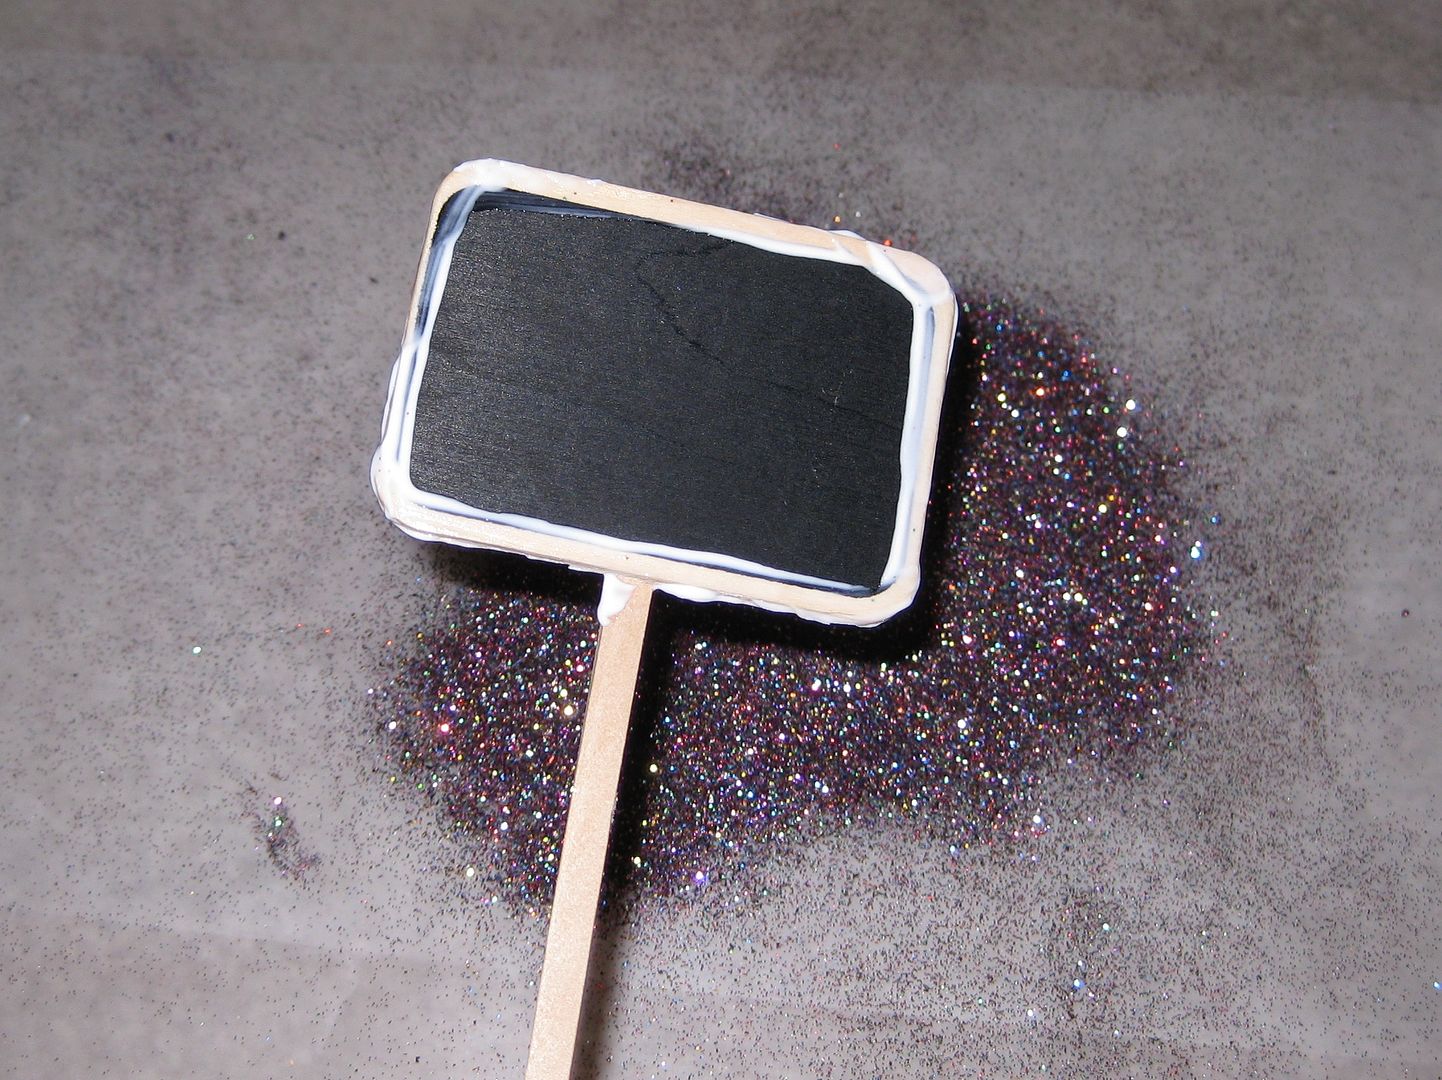
Next add glitter and let dry. Pretty easy. I repeated this for a total of 2 times. Then to seal I covered the glitter with the outdoor modpodge.
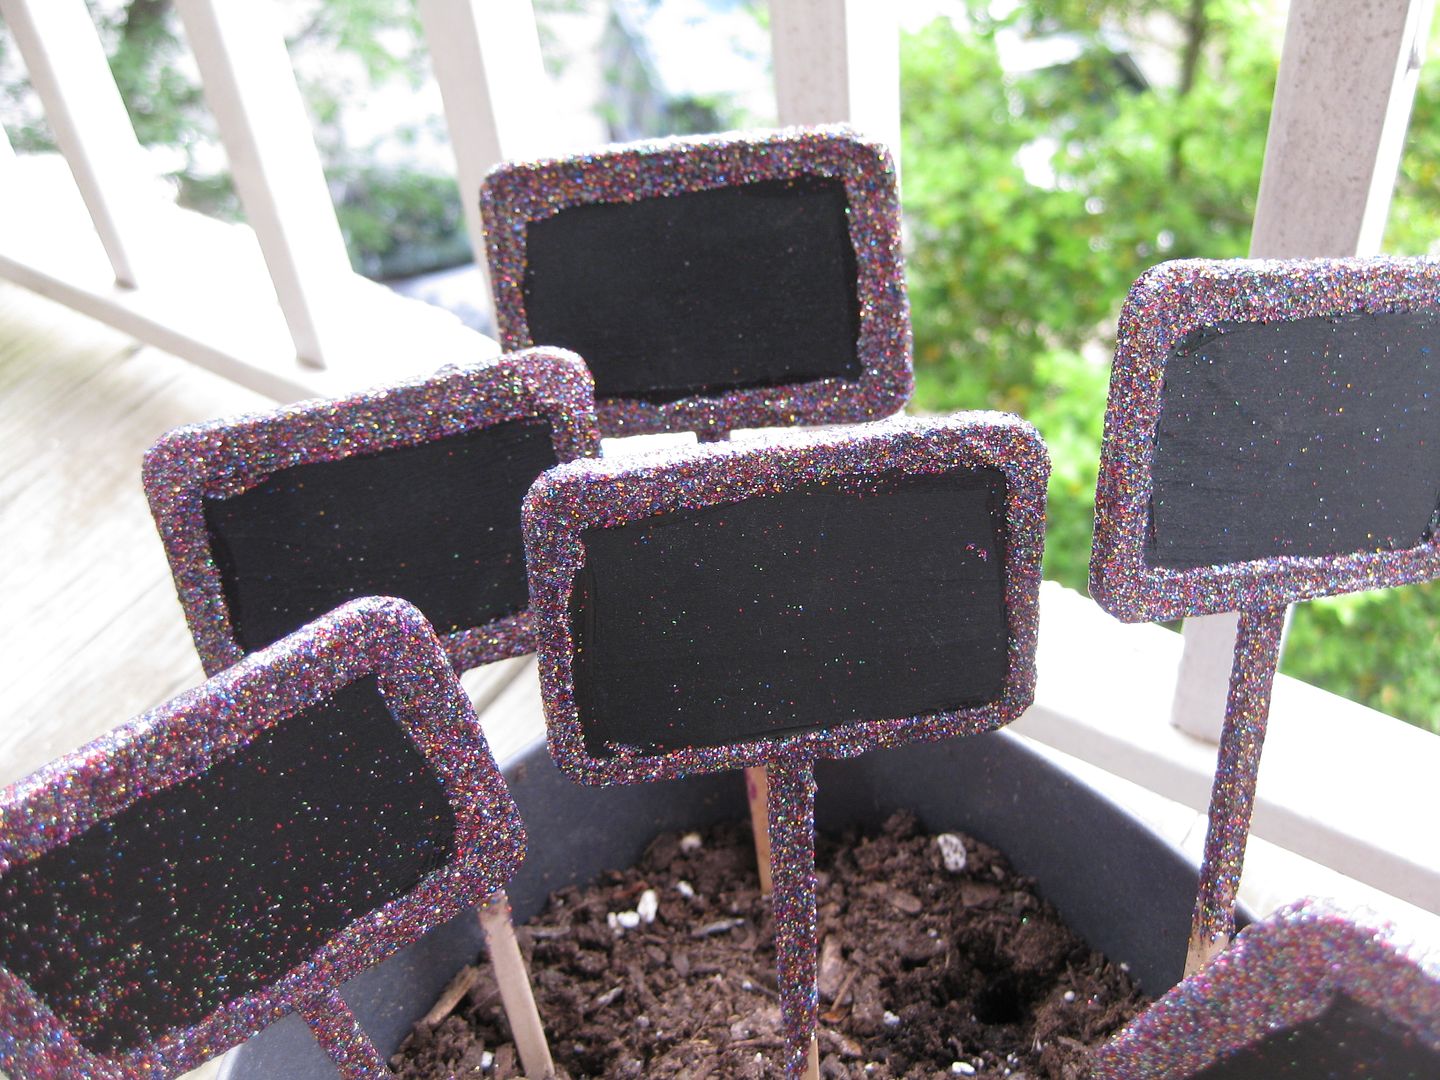
Done! Here they are close up
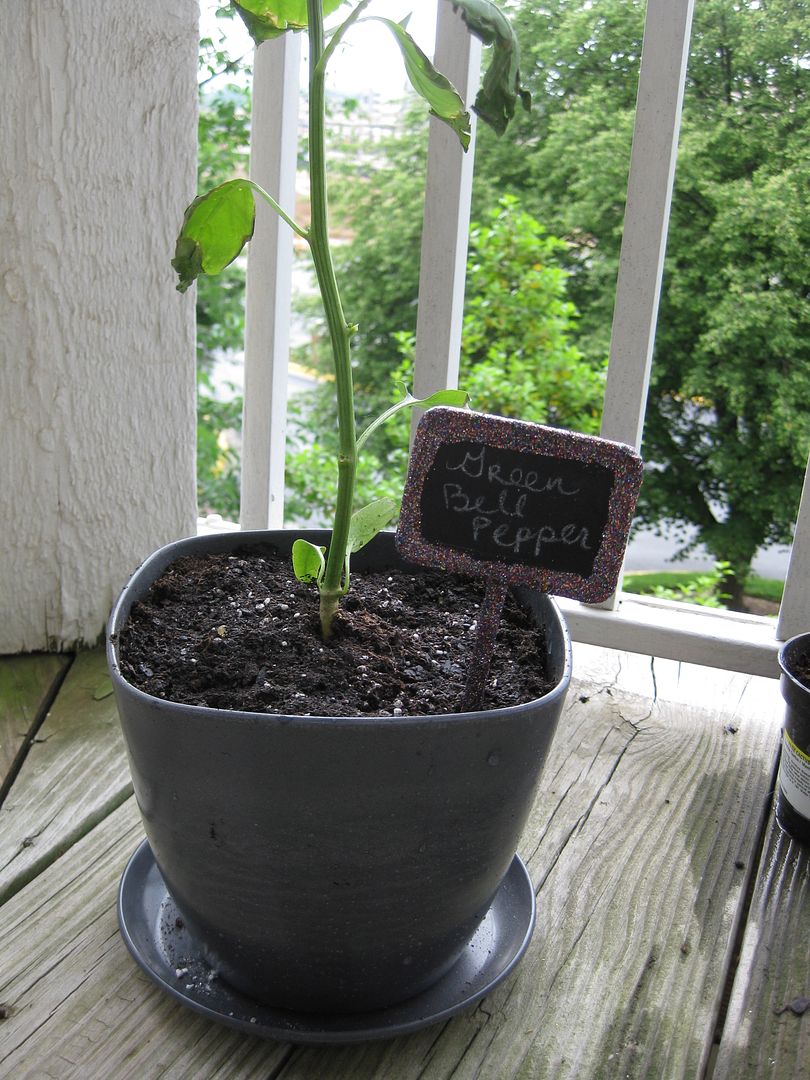
Here it is in my green pepper pot. Which got upset from the bizarre freeze we had a little over a week ago! But I put it in a bigger pot and we are doing good!
Stay tuned for June for my Garden fit for a Diva where I will reveal my crafts with my sparkly plants! :)
Cheers,
Lauren
Labels:
garden,
glitter,
glitter plant pot. plants,
iron craft,
plant stakes
Saturday, May 18, 2013
Instruction Bellydance DVD #1 with Jillina Review (Layla)
yeah yeah, blah blah, I have NOT been keeping up my review of bellydance DVDs. There is just not enough time in the day for me. I think we all can all agree that there are not enough minutes in the day!
But I did get one DVD done. But I did this DVD a long time ago. This DVD came out in 2003. Wow I feel old. I learned it years ago and I have taught it to many, many people over the years. And now I decided to add some life to the dance with some staging and teach it to my student troupe. So I revisited this DVD: Instructional Bellydance with Jillina Level 1
There are 5 sections to the list: stretching, technique, combos, choreo, and performance.
Hmm Maybe by the end of the year I might finish them all.... LOL yeah let's see about that.. 70 left...
xoxo,
Lauren
But I did get one DVD done. But I did this DVD a long time ago. This DVD came out in 2003. Wow I feel old. I learned it years ago and I have taught it to many, many people over the years. And now I decided to add some life to the dance with some staging and teach it to my student troupe. So I revisited this DVD: Instructional Bellydance with Jillina Level 1
There are 5 sections to the list: stretching, technique, combos, choreo, and performance.
The stretching portion is short, few stretching. I prefer a little bit more of a warmup.
Now if you are a strict counter-this DVD might not be for you. There are few combos with counts.
One of the things that I also did not like about the DVD is the individual combos are not chaptered. So when you do a combo you can't repeat or skip to the next one. I really like that option in choreography dvds.
She does break down combos good and the choreography is clear. Tho there are just a few things that I caught that were just slightly off during the runs: how many undulations for the slow part and in one part is it up, down, up, down or 2 hip drops. But that was just a small detail.
The production quality is really well you see the front and the back of her so it is easy to learn and pick up the moves. And she talks while she dances. For some reason I really like that, I do not like voice overs.
The end performance is different than what she taught but I really like seeing variations of the choreography. Tho some of her changes are just not conducive to a big group, b/c it would be impossible to get in sync. But it is nice to watch.
I of course made it my own and for a group of 6 people. I played with angles and directions. This is technically a beginner choreo but I would consider this an advanced beginner. There are a lot of undulations and a few things that may be difficult for beginners.
Overall this is a great DVD, I think things are taught well and it is a cute choreo. Good DVD.
And you just have to LOVE Jillina! I have actually had a class with her and she is great. Plus I have seen her perform live-also amazing! :)
Hmm Maybe by the end of the year I might finish them all.... LOL yeah let's see about that.. 70 left...
xoxo,
Lauren
Labels:
bellydance DVD review,
cabaret bellydance,
jillina,
layla
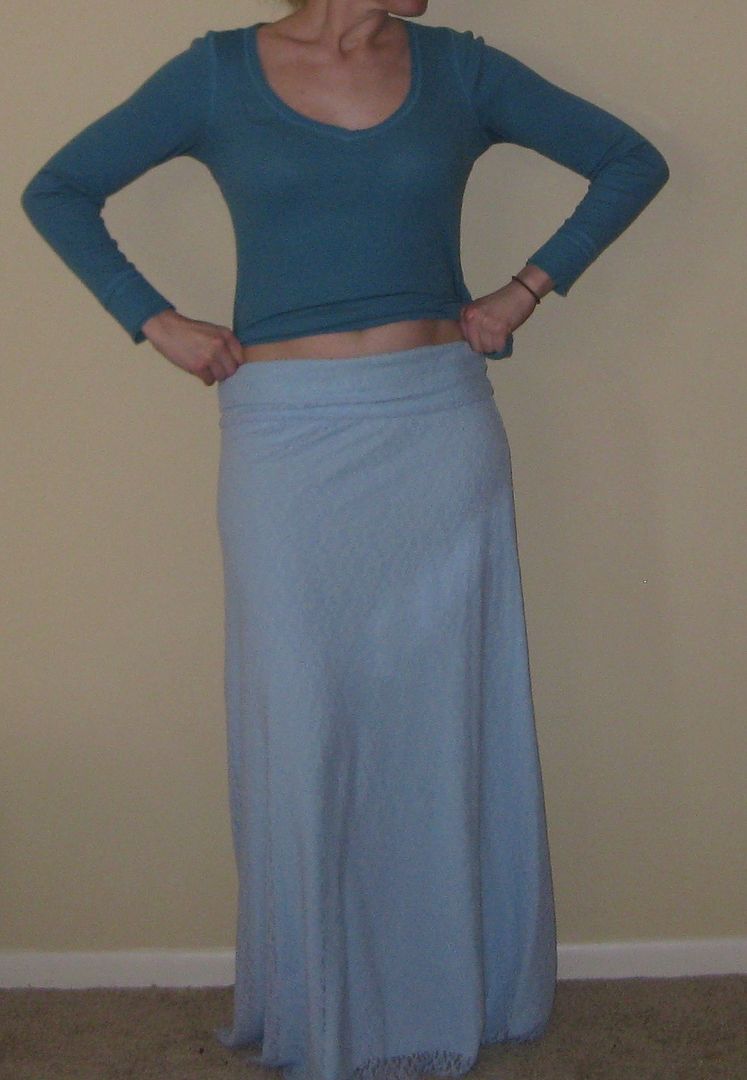
Blue lace maxi skirt
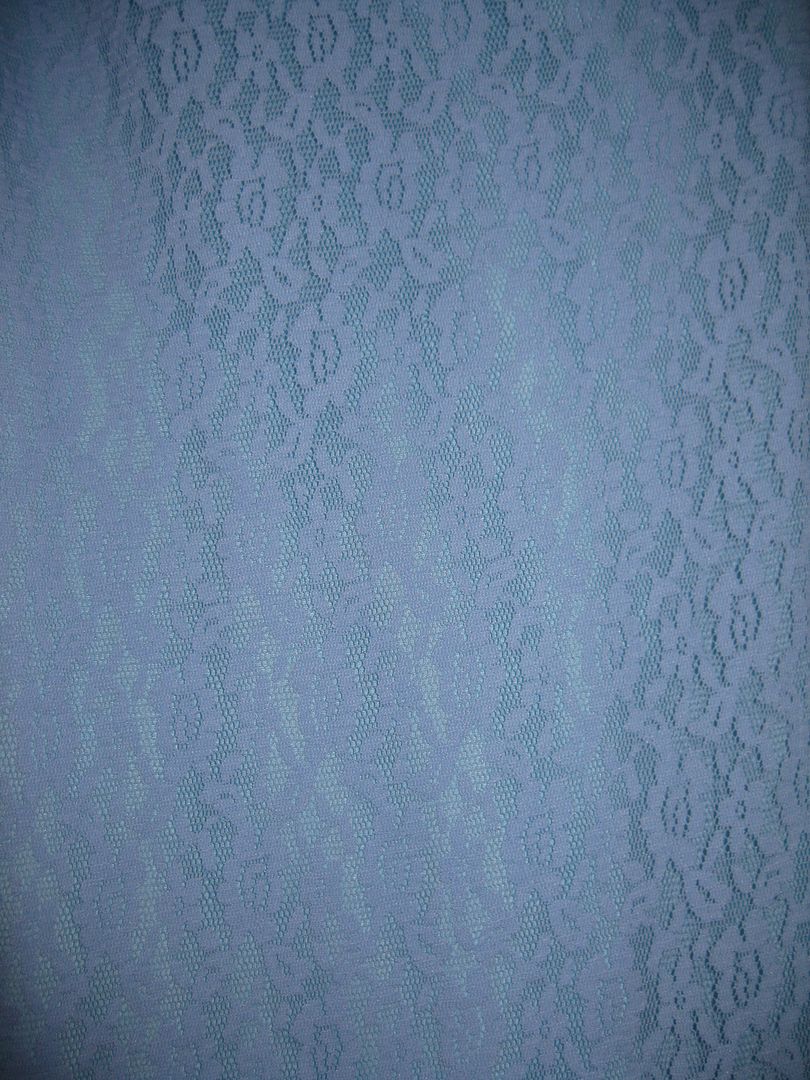
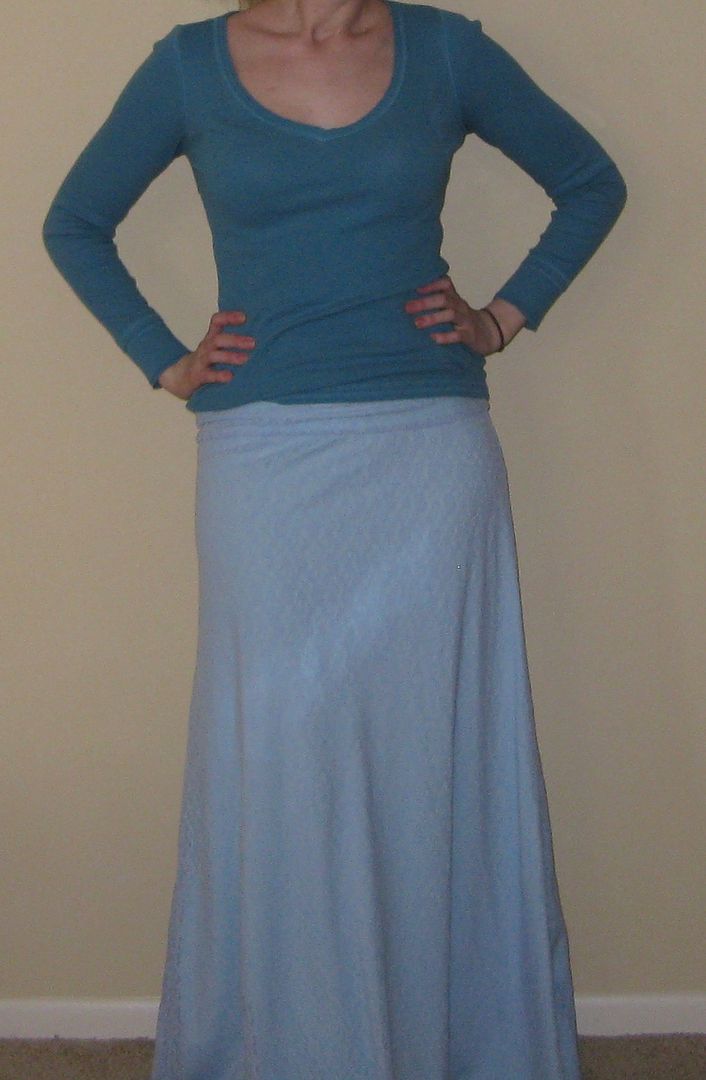
Yes I am having maxi skirt madness but they are so nice for the lab and the long commute every day. Here is my first one where I drafted the pattern myself. This is periwinkle blue stretch lace with a blue stretch cotton flannel like (for lack of a better description) liner underneath.
I made the pattern using the instructions of the maxi skirt pattern from Elle Apparel
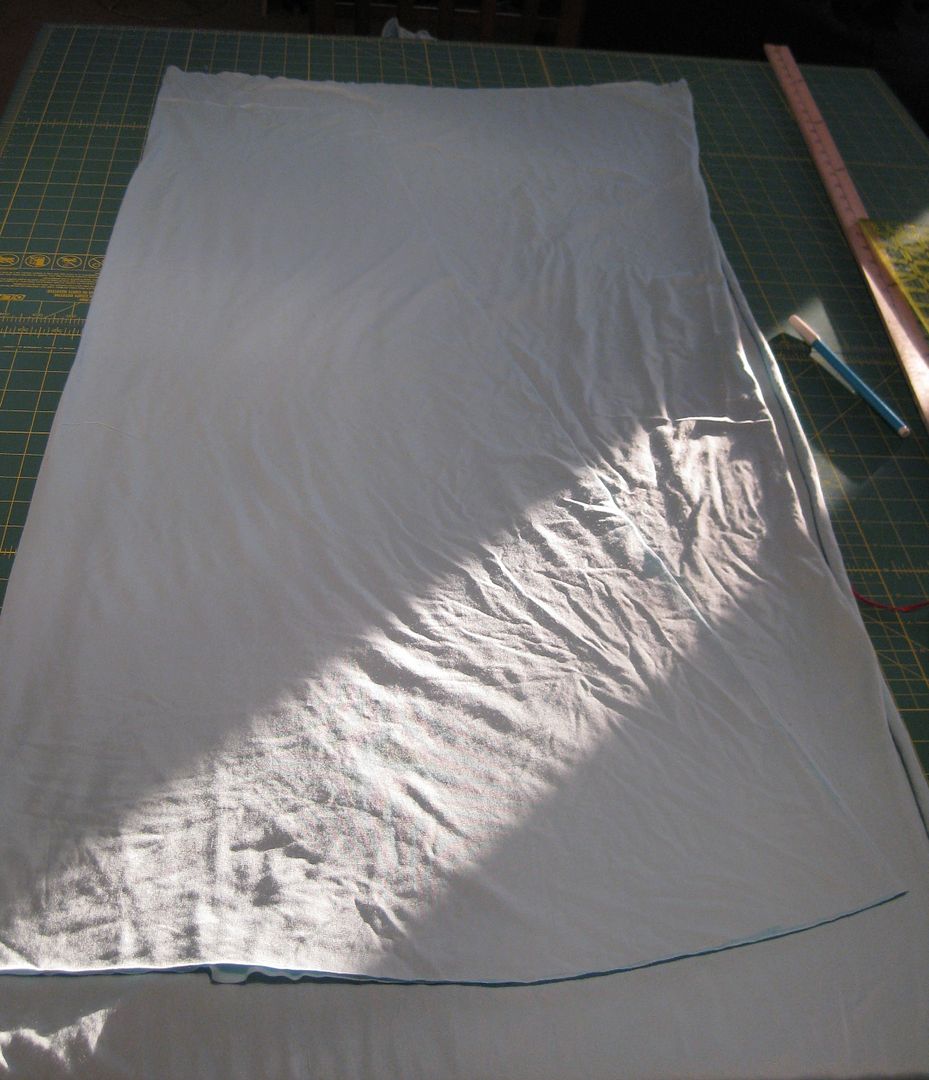
Here is me trying to cut it one night after work... Got to curve up the bottom part to make the skirt even, which blew my mind! But it worked!
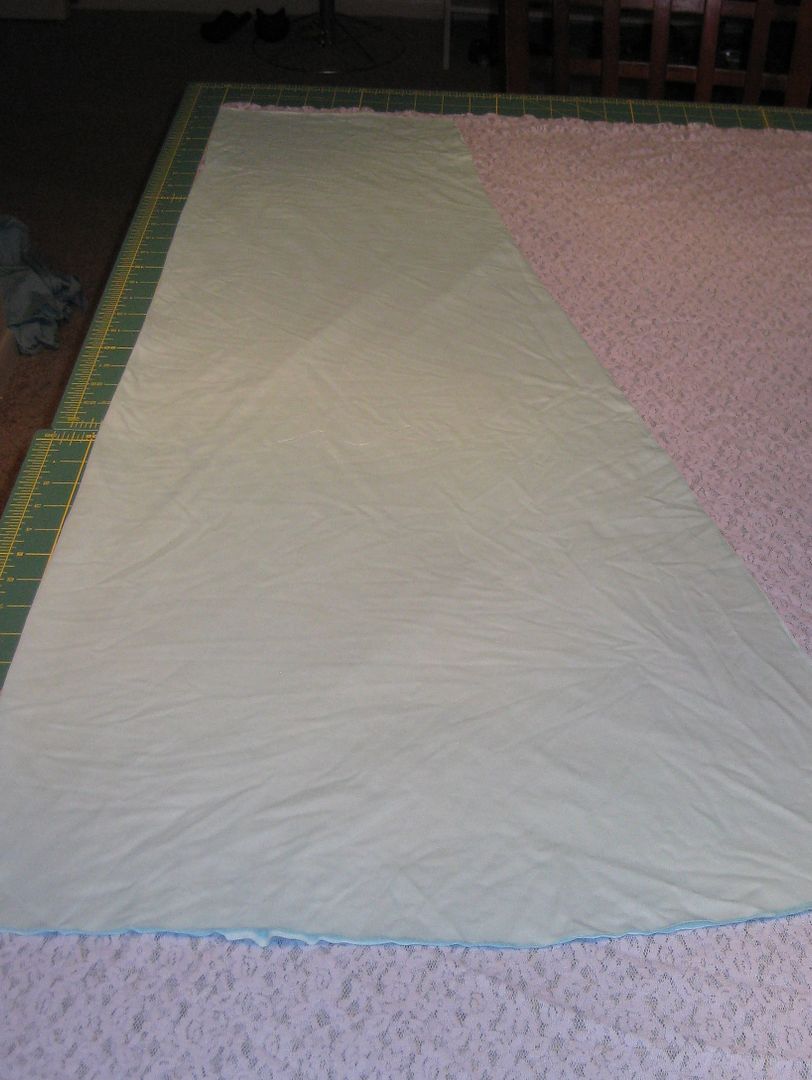
Repeat with the lace. Use the liner as a pattern.
Very happy with this pattern and the outcome! Will definitely use it again! Stay tuned for another try with this skirt!
xoxoxo,
Lauren
I made the pattern using the instructions of the maxi skirt pattern from Elle Apparel
Here is me trying to cut it one night after work... Got to curve up the bottom part to make the skirt even, which blew my mind! But it worked!
Repeat with the lace. Use the liner as a pattern.
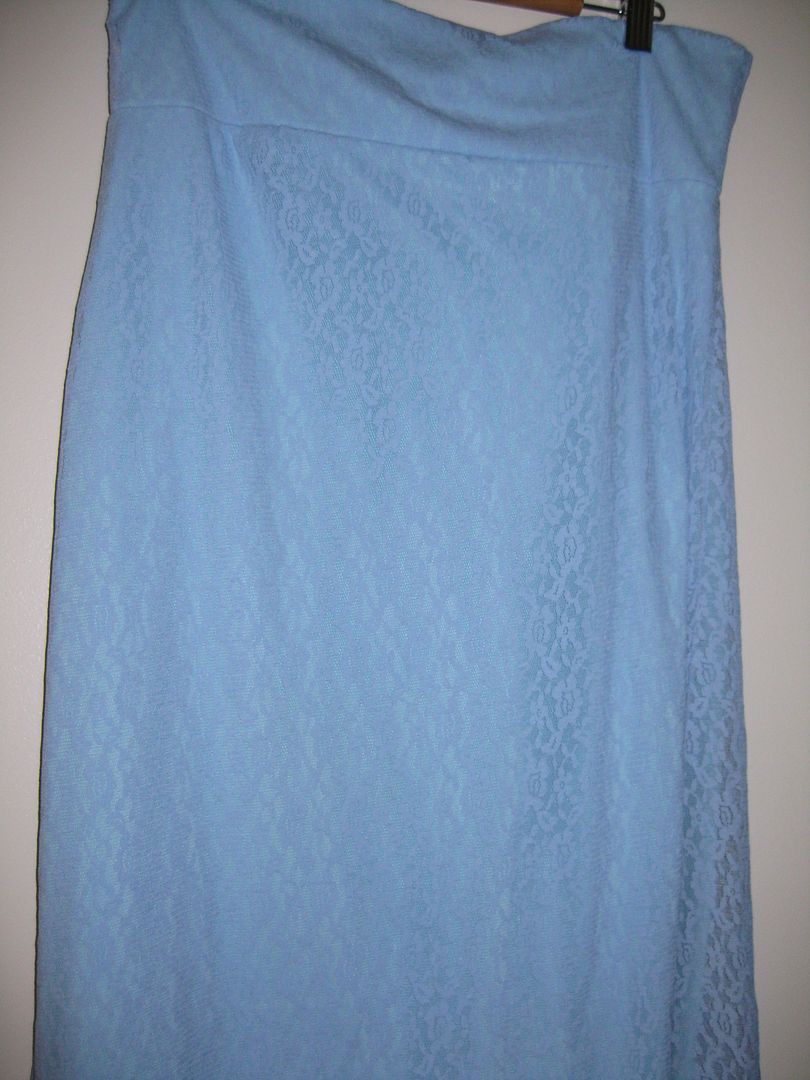
Here is an up close before I put it on. It was really easy to make. Directions were easy to follow. The lining sort of messed with my head but I got it to work.
On! Love it! Can't wait to wear it to work!
xoxoxo,
Lauren
Labels:
elle apparel pattern,
lace,
maxi skirt,
sewing
Subscribe to:
Comments (Atom)

