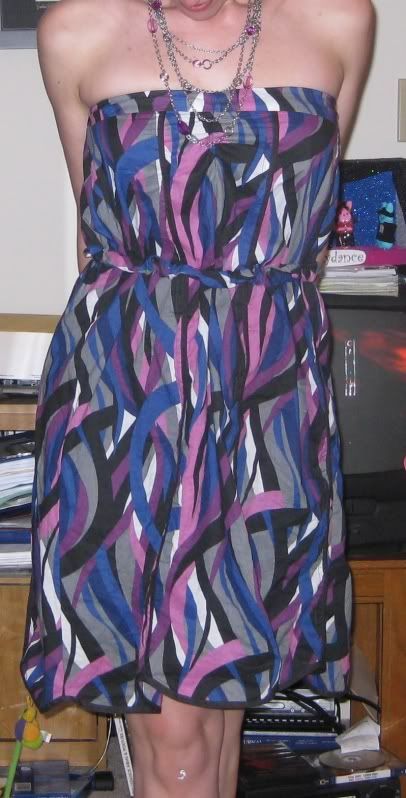
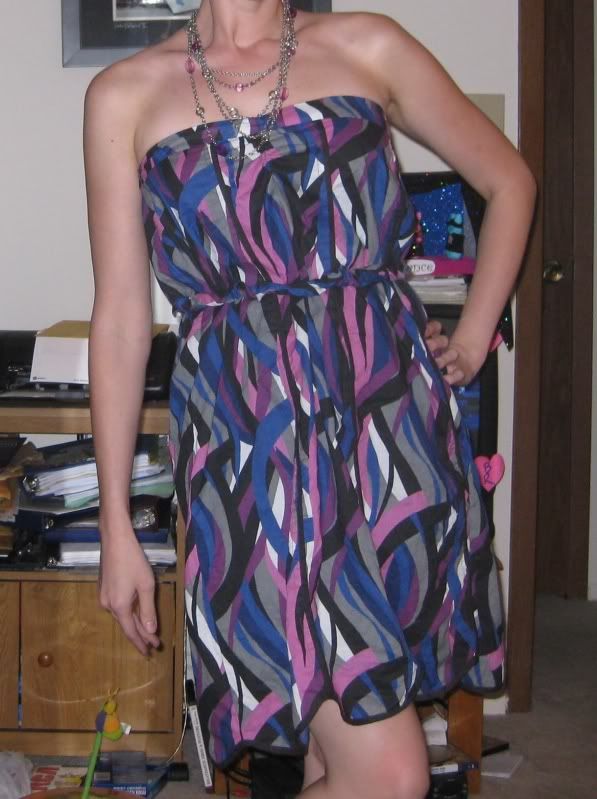
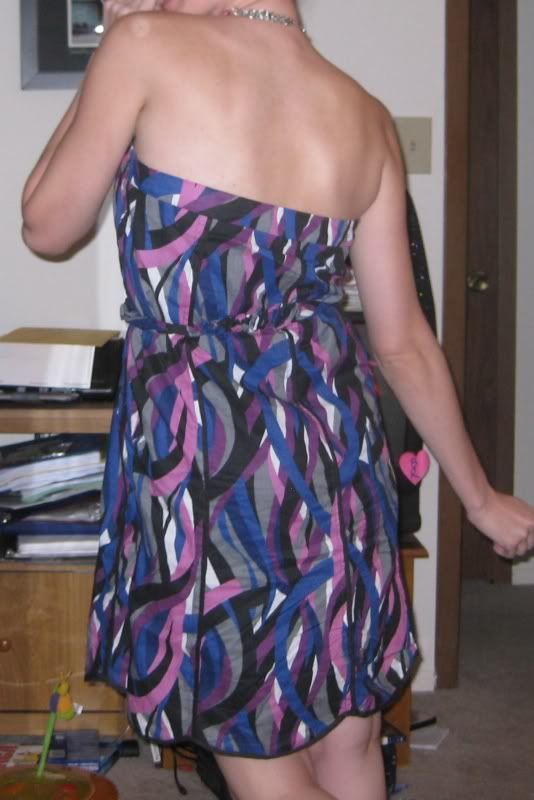
Finally finishing this project! It is a busy time of year. There is a big buzz amongst my life and finally I got to do this project. I first saw this redo on another blog (Welcome to the Good Life) and I just had to make it! Click
here for her link. She inspired me soo much!
However, there wasn't a lot to go by with measurements, so with mine I took some notes and pointers for this project. The last thing I needed was to cut a dress that didn't fit my bum! And I am pretty sure I am bigger than Sarah so I needed to make sure this baby fit or I'd be devastated.
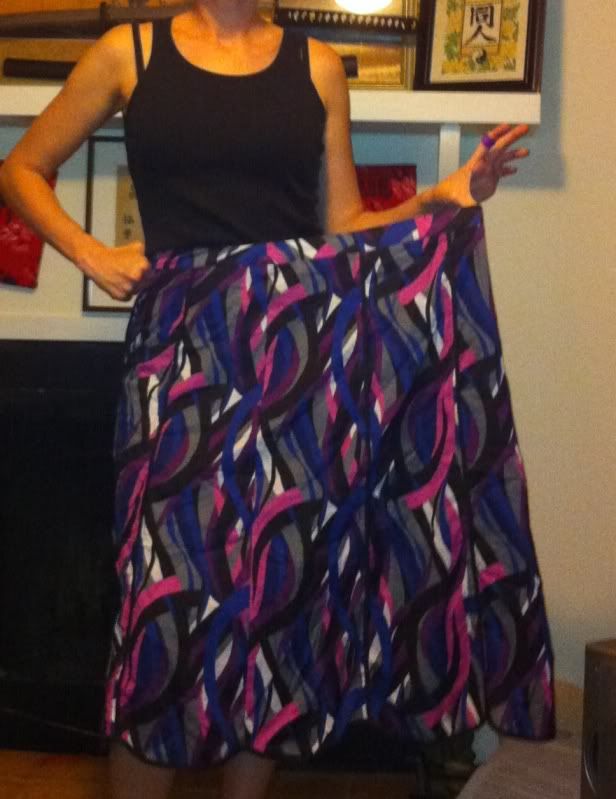
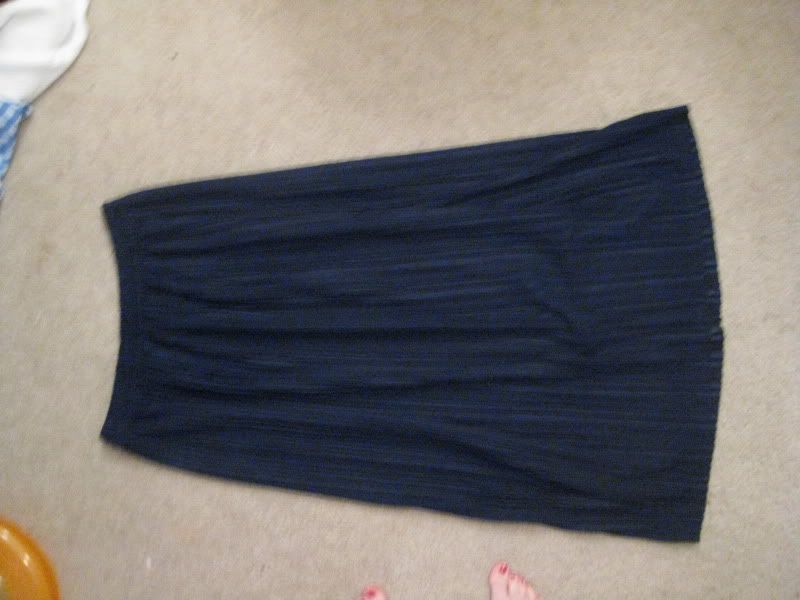
First, let's start with with what you need... I found this 1X blue skirt at a thrift store and fell for it!
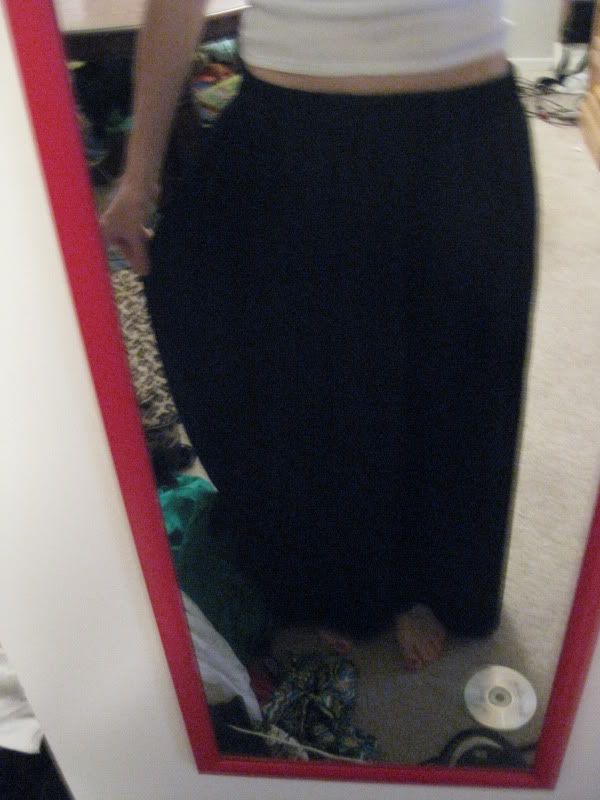
It is not very flattering on me, I really don't think it would flatter many women, regardless of what size you are!!!
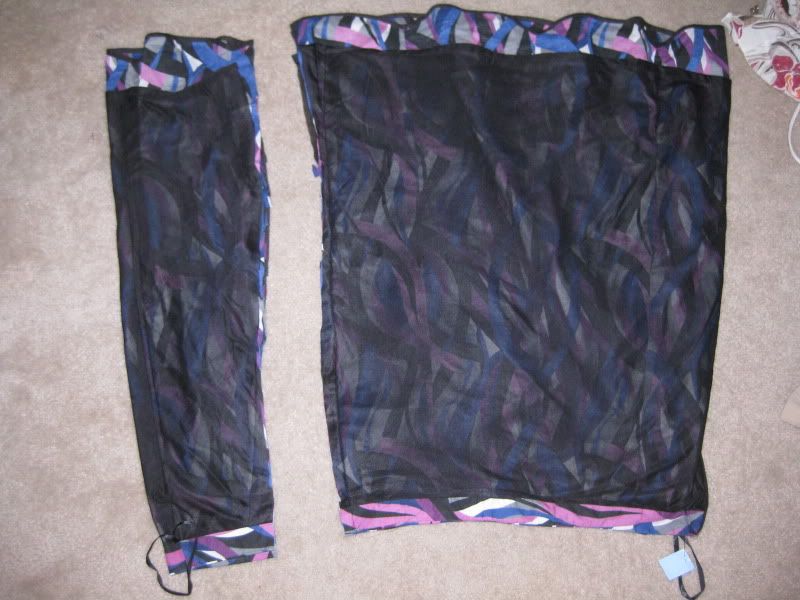
Here's the view on the ground.
Next you'll need some chalk and some measurements.
Measured the distance from my shoulder to my elbow and it was 14 inches. This is how long your sleeve is going to be... from the waistband on the skirt, measure 14 inches and mark.
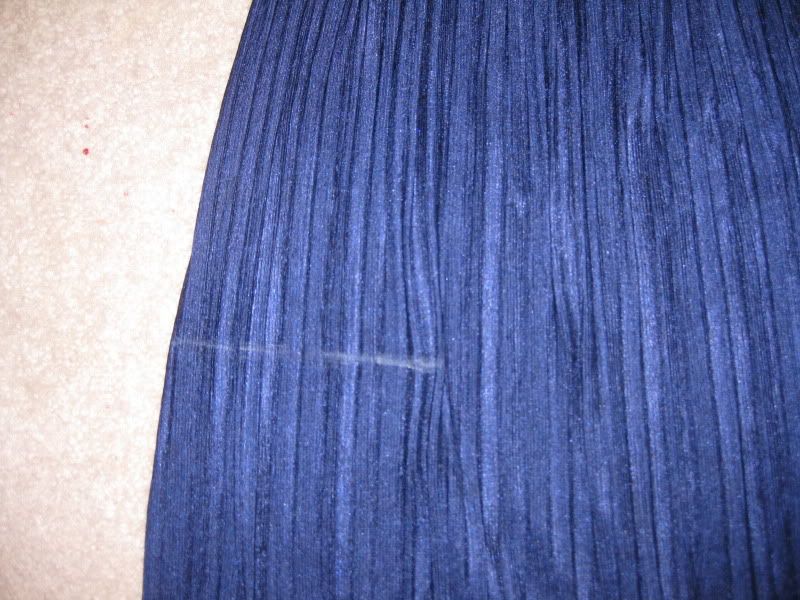
Repeat on the next side.
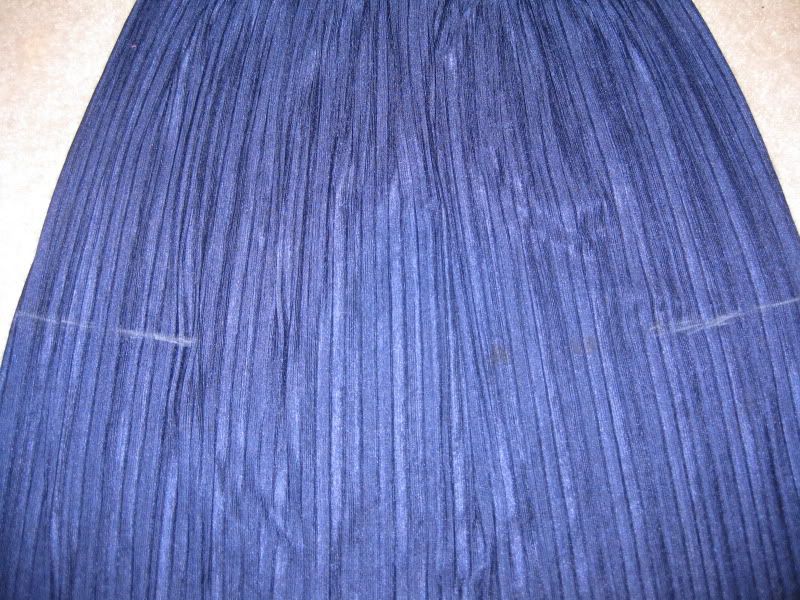
*** Here's where I could have measured the distance around my arm so i knew how much to cut in but I'll get around that b/c I started to get scared that I would not cover my body around**** Continue reading!!
Now more measuring!!!
Measure the width of the skirt. I sort of eyeballed where the waist/hips would be (b/c we just made the end of the sleeves) My width= 31 inches X 2 b/c we have a back part too = 62 inches.
Measure my biggest asset ;) = 37 1/2 inches. Since I did not want it tight, plus I needed to calculate for sewing, etc I used the number 42. That is how wide I wanted it across.
62- 42 = 20 but I have 2 sides to a dress so divide by 2 = 10 inches. But I have a front and a back on this skirt so I only need to cut 5 inches in. (Lost yet???) So I measured in 5 inches from the bottom on each side and marked with the chalk. Draw a line up the skirt to wear it met the first mark. Do on both sides
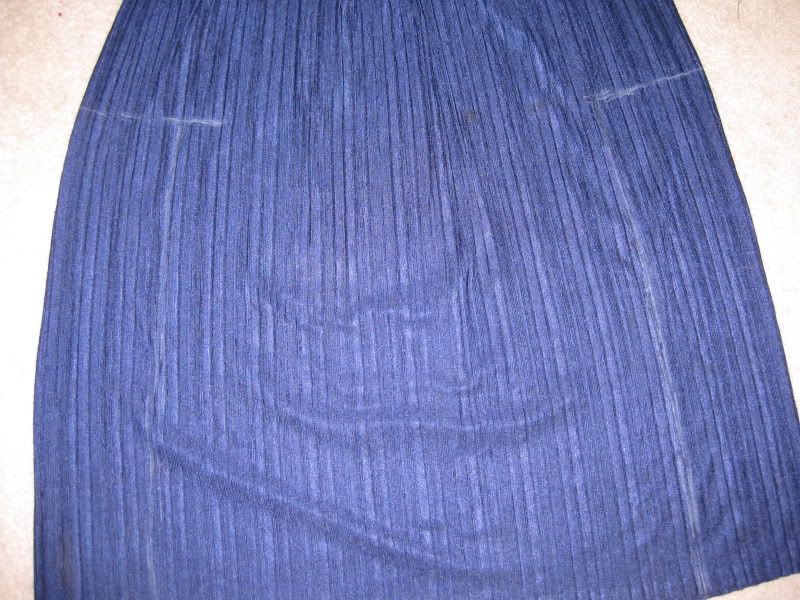
Next pin together before you cut and make sure to pin the INSIDE of the dress and not to outside (note to self!!)
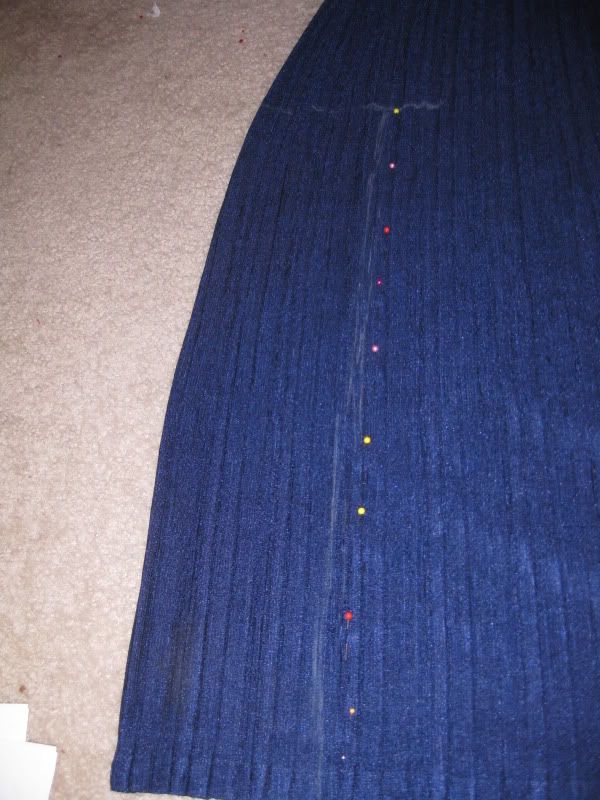
Cut, cut, cut!
*****Note: I learned this the hard way but you need to continue cutting past the sleeve mark about halfway or else the skirt fits weird in the arms for a dress. I just simply cut half of the measurement we took earlier of the elbow ( so 14/2= 7) I cut 7 inches closer to the waistband. Then the dress worked fabulously (well almost- keep reading!)
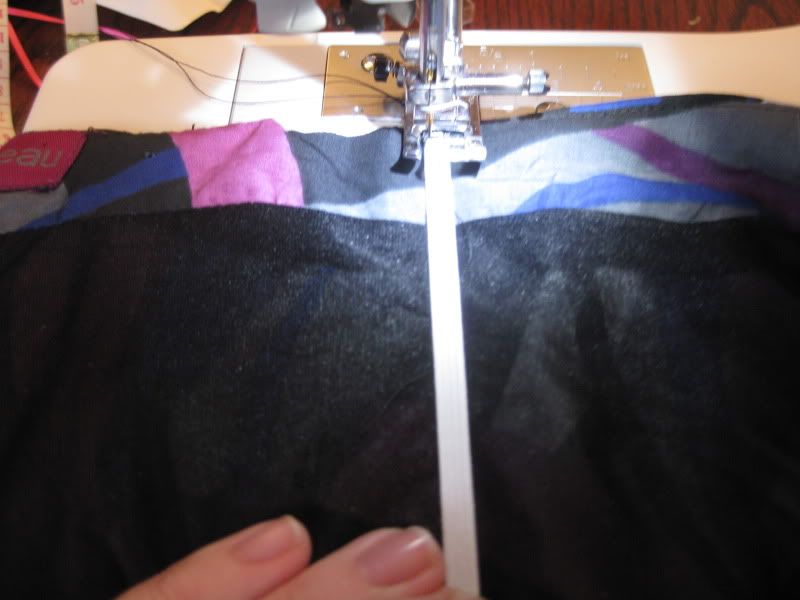
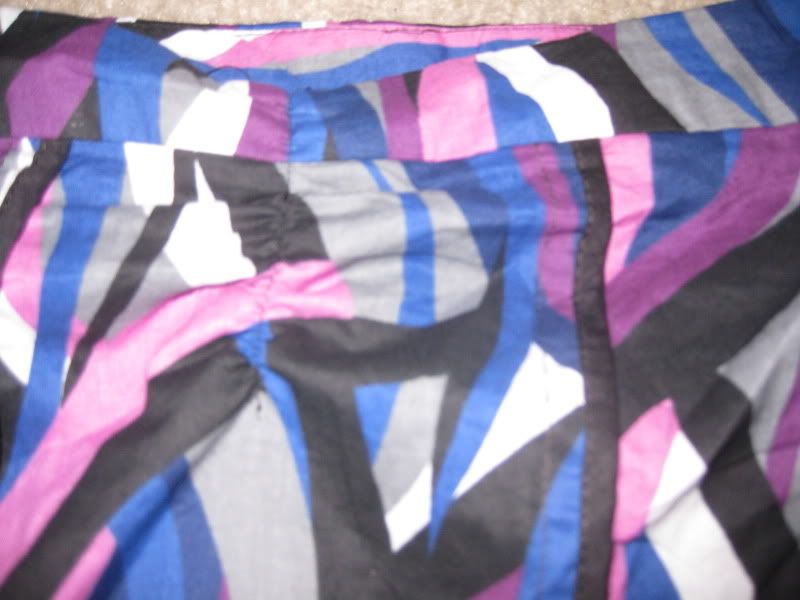
Sew the middle part of the dress together. And we are almost done! Now the next problem was if I sewed the sleeves together it would be tight! And I need movement. With the leftover fabric I cut, I added inserts to the fabric (I used about 2 inches wide). Here's a pic
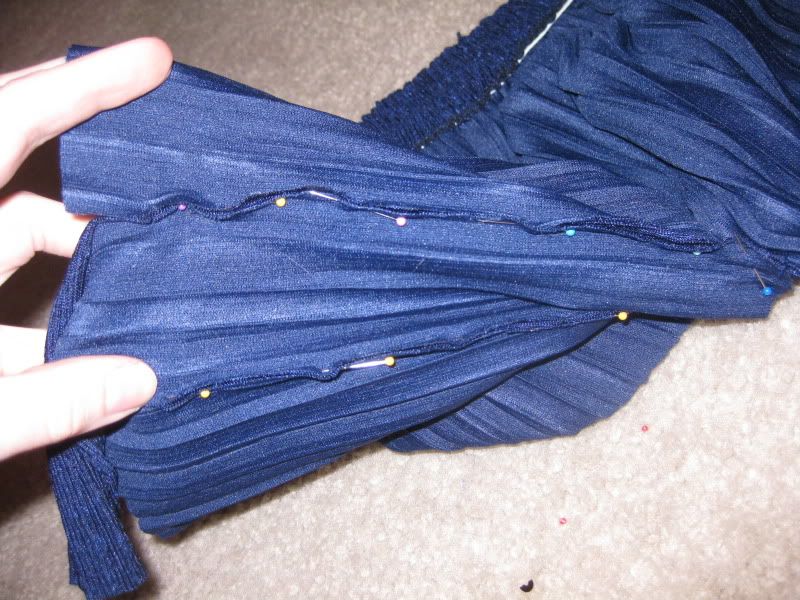
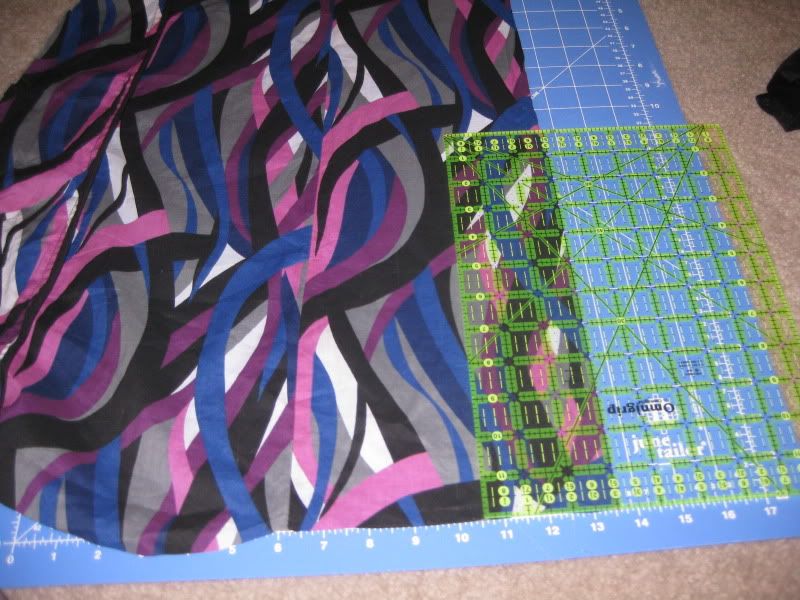
Almost done!!! Now a belt to give me a waist. With more of the leftover fabric, I used my handy quilting ruler square thingy and measured about 3 inches sections.
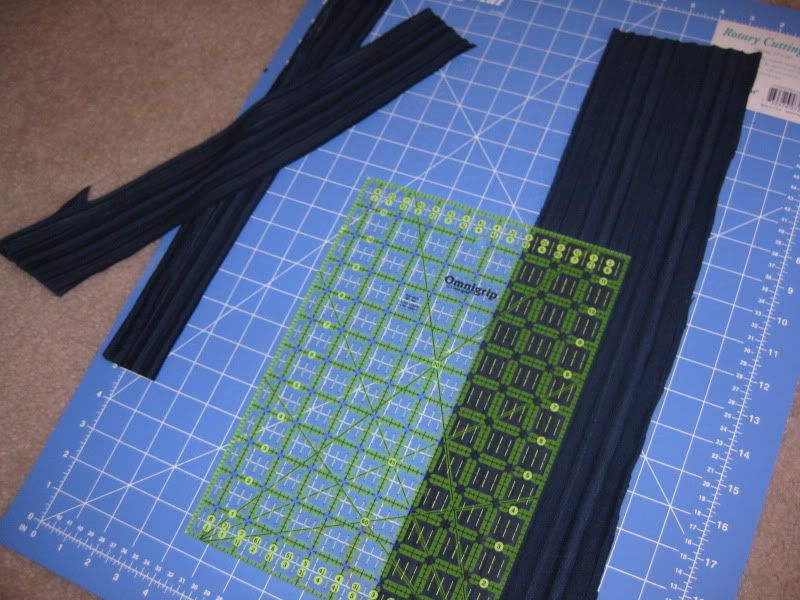
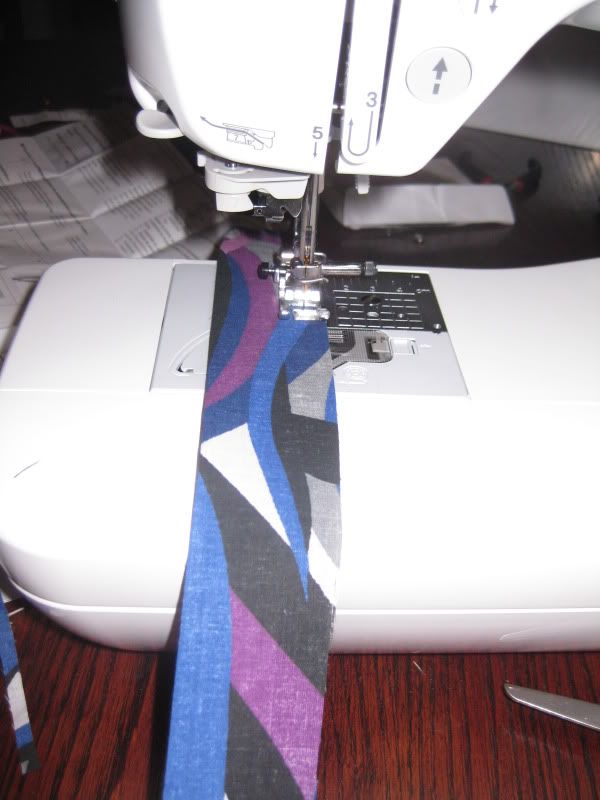
Sew the short ends together
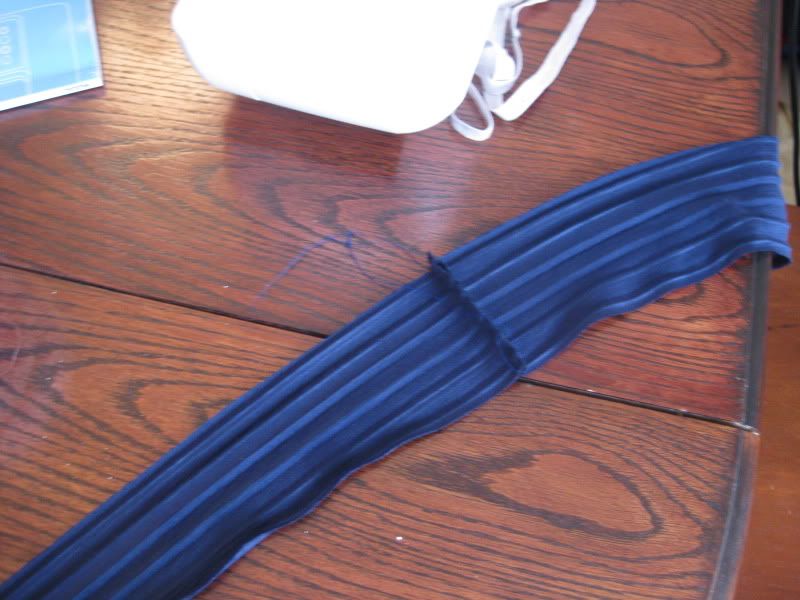
Sew the long ends together (right side of the fabric facing each other)
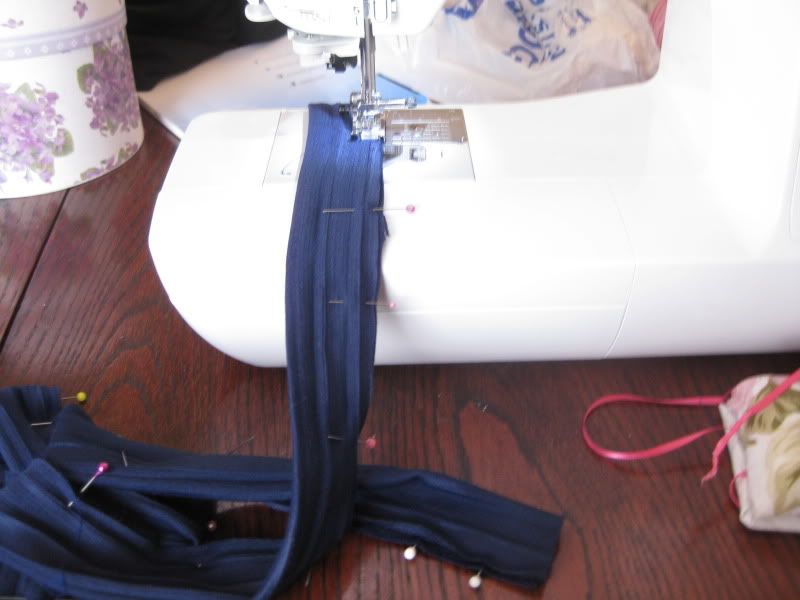
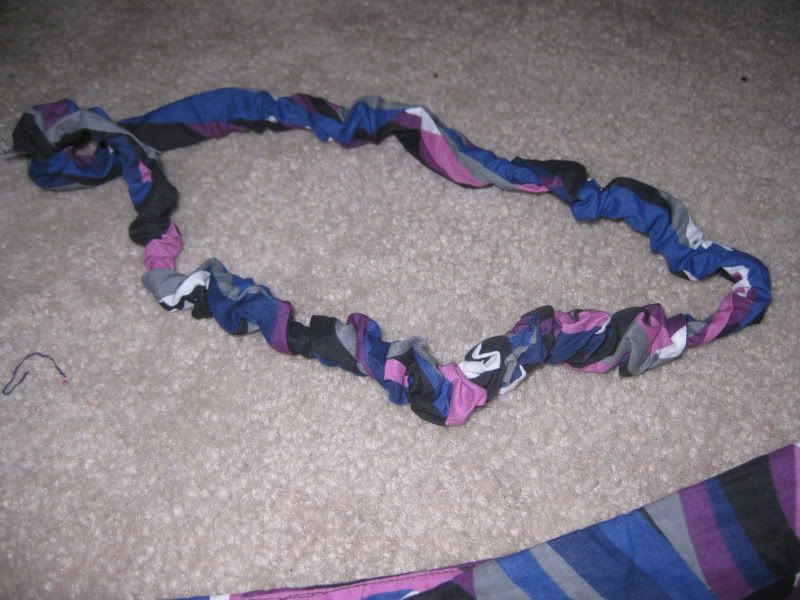
Turn the tube inside out (so right side fabric) and we are done!
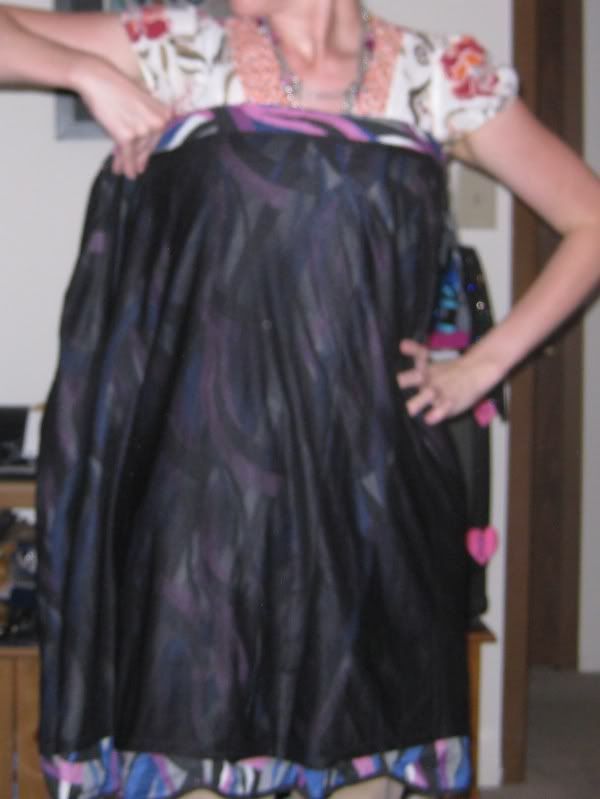
Here is the finished product! I love this dress!!
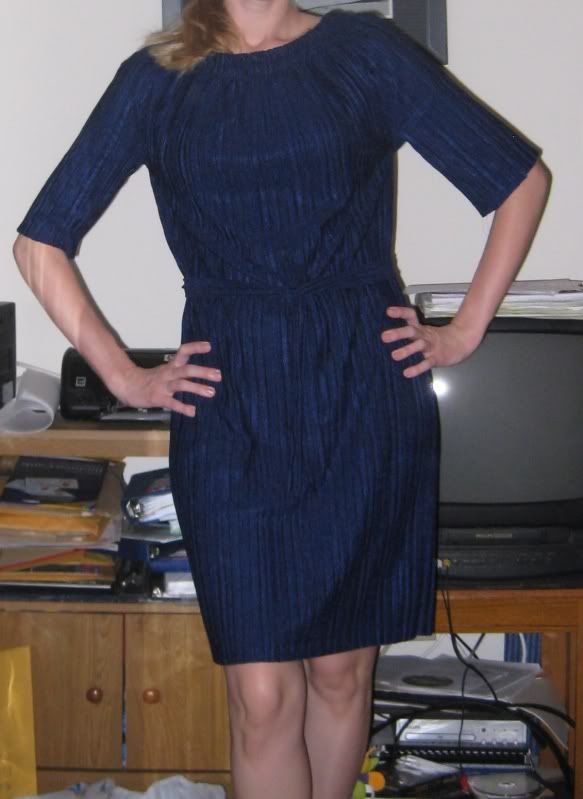
I'm actually wearing it right now as I blog (and I wore it to work!).
Here's to another article of clothing for work!
Have a great day!
XOXO,
Lauren