Well hi welcome to my little blog. Just my little corner of craftiness, sewing, and refashioning. I am also a newly gluten free eater so you have a little bit of recipes mixed in here.

Tuesday, April 12, 2011

Idea board- Made from all I had!

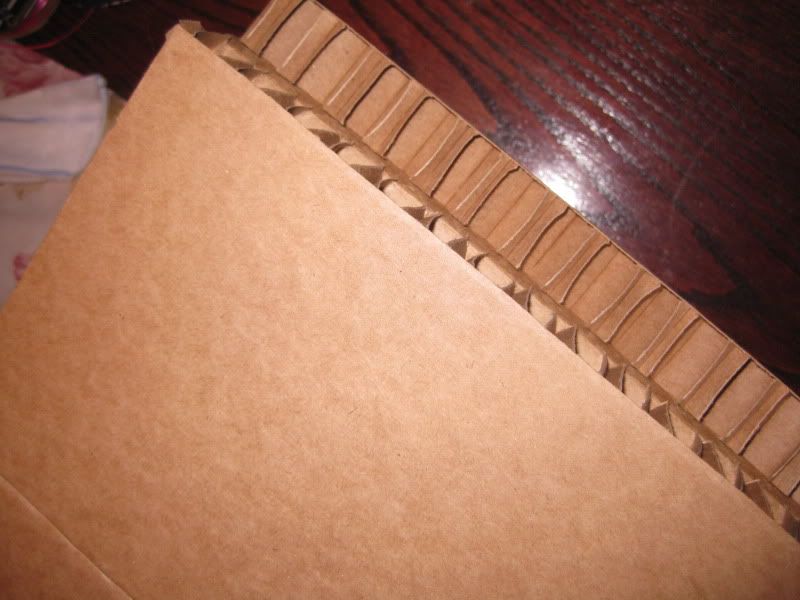
Ahhhh, what to do, what to do with all those ideas of clothing I want or ideas for costumes. I cut out things from magazines but they seem to go nowhere. I have no place for them to actually be presented so I remember them. I have a corkboard but its already full. I wanted another one but I did not want to pay the price of one. Then I came across this at work... Thick cardboard used to ship the 2.5L glass bottles of chemicals. My coworker said she had used them in the past to make memory boards for her family members. DING!! I am now inspired!

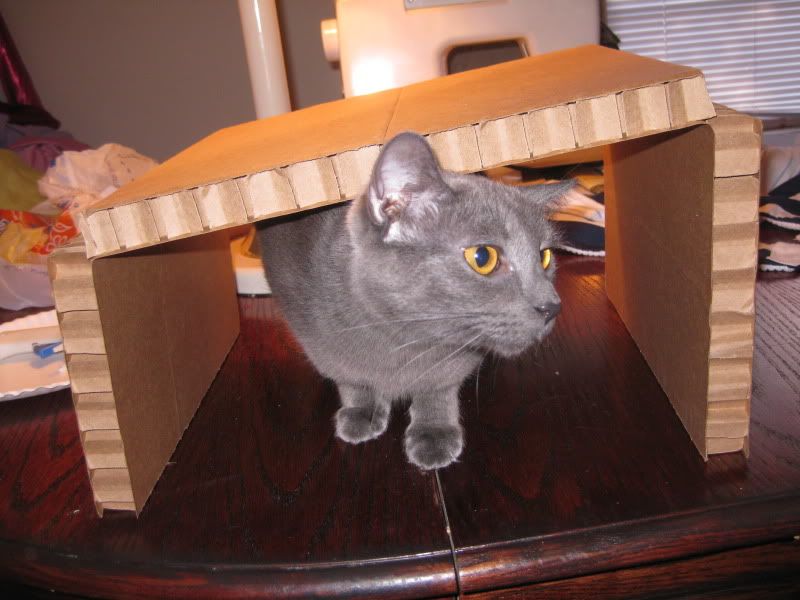
Look at this thickness! This would be fabulous for pins!

Ok brief departure, how cute is Natasha?? She was showing how these big pieces semi-connect. she's my little helper!

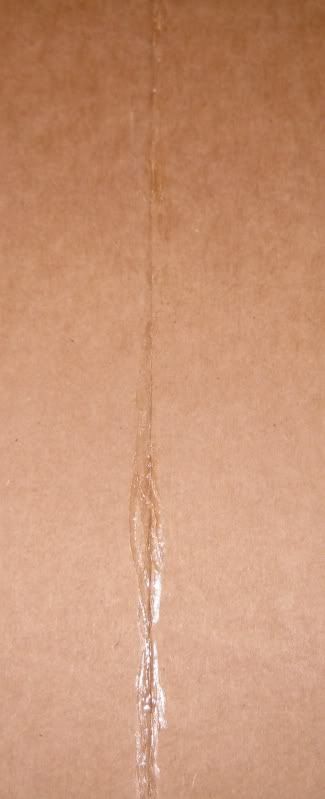
Ok back to business... Yes they were divided into 4 parts so I had to glue them together to make an actual board. So sealed them up with good old hot glue!

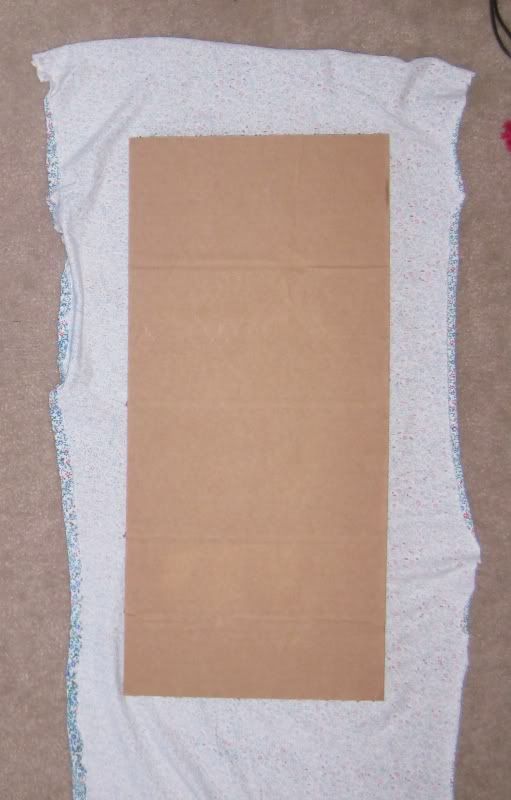
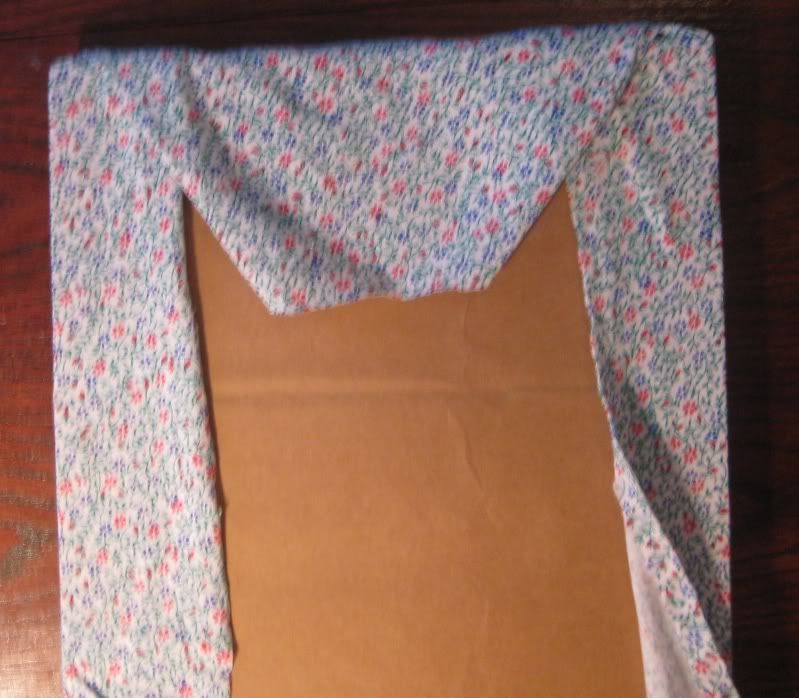
I got some fabric from my fabric stash (wahoo!) and simply put it under the board and cut around making sure I had enough to touch the back.

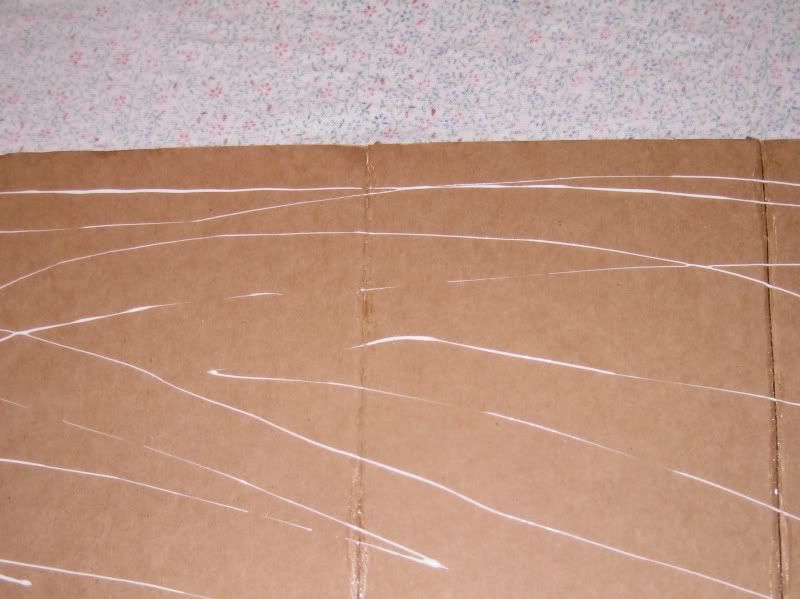
Add some glue (not hot glue, I just used a general craft glue)

place the glue side to the wrong side of the fabric and start wrapping like a present. I used hot glue for this part.

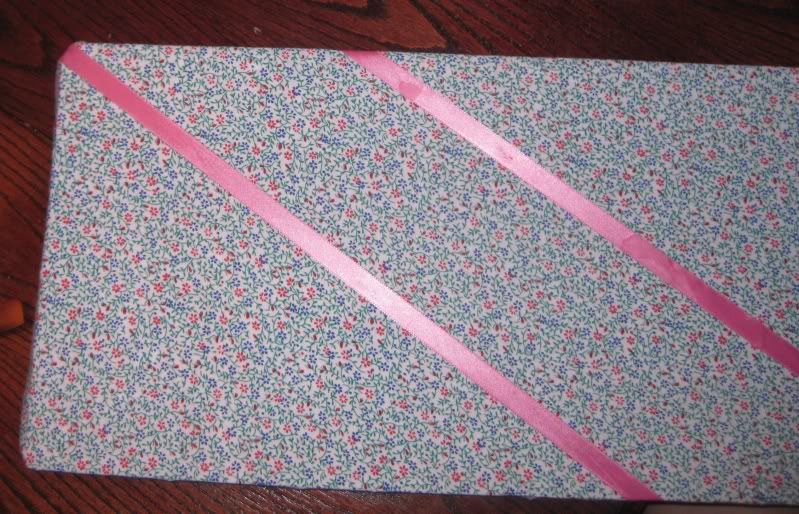
Not start addint ribbon. I had this pink ribbon in my stash and a lot of it so I just started to add diagonal lines.

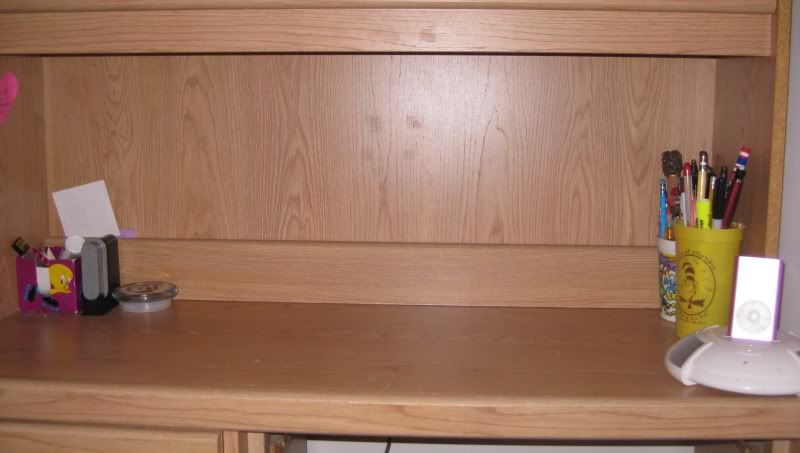
First before I show the finished product, here's the before picture of my desk.

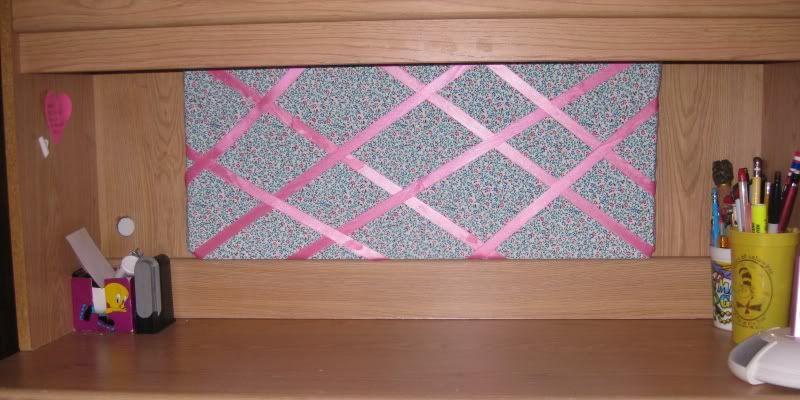
And now the after with my board. And yes the ribbon is a tad off but they will be once I start adding stuff to the board so they will strech.

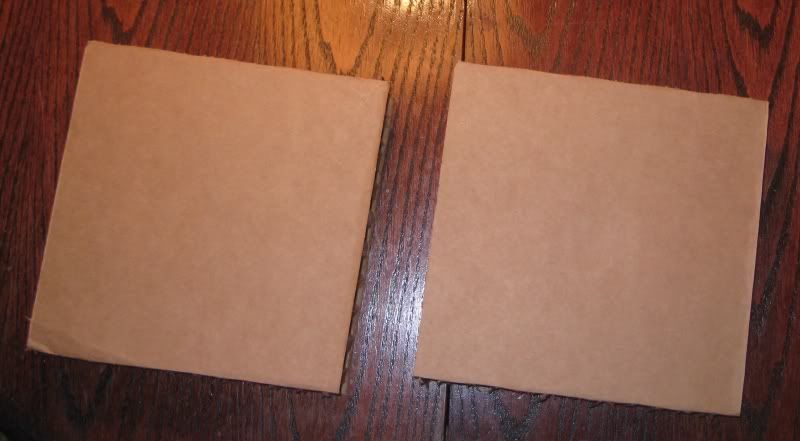
I hung up my board on the back of my desk using those 3M stickies that don't damage walls. They are super strong and are still holding up the board now! I had 2 more square pieces of the same type of cardboard that I also covered with the same material that I use for craft spaces. They come in handy for when I was embellishing bras for dance and needed a higher surface to rest them on. Sorry do not have an after picture! :( but you get the drift. This project cost $0!!! And I have used some of my stash! Yay! As always thanks for reading! :) Have a great day!

Tuesday, April 5, 2011

Blog Makeover?

Slowly but surely I have been revamping my blog for easier access to all my different types of projects. I just learned how to do it and man, I have learned a lot! Finally, now you can acess all of my refashions, tutorials, and bellydance costume but using the menu bar on top of my blog. Yay. Both the tutorials and refashions are fully functional tho I may change the picture size. The bellydance costume is not since I need to add pictures to my photobucket account. Correction: need to find pictures of my costumes, then add to my photobucket account. Not all of them are blogged. So that section needs work! No ad sense b/c i don't want my blog to be all full of ads... I have a small blog that is growing, I don't need google to add "stuff" to it! So no ad sense. Now that everyone is organized (I love organization) I got my list of projects I want to do and what I need (or can) to blog about. So more blogs coming up! :) Yay!! Thanks for reading! XOXO, LaLaLauren!

Tuesday, March 29, 2011

Re-dye Refashion dress!

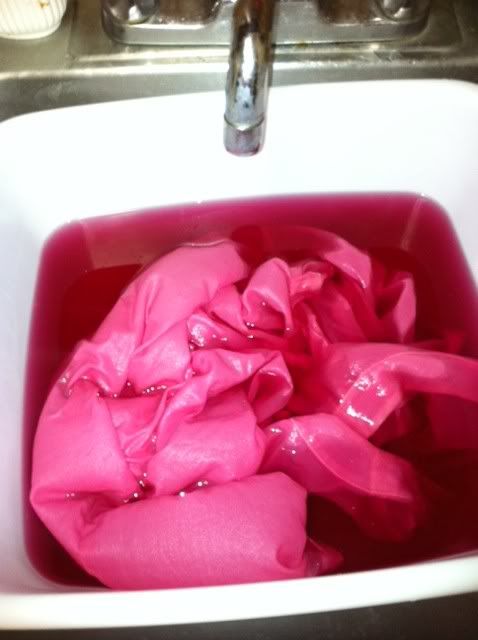
Alright while I was in the mood to experiment with dying fabric, my frugalness just couldn't let a dye bath go to waste. This was when I was dying my silk blouse, I wanted to dye some cotton.

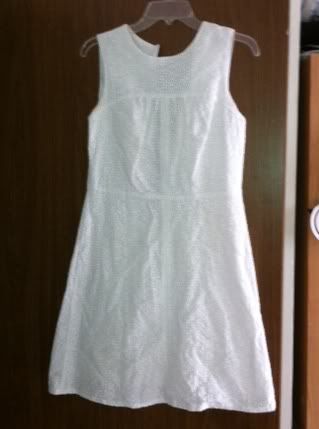
Again I was using RIT dye petal pink. Which I thought would come out a light pink on white cotton. And that was what I had! Here is the dress I got from Penelope's House, a second hand store where the proceeds go to women of the Penelope House. Let me tell you they have some great finds!

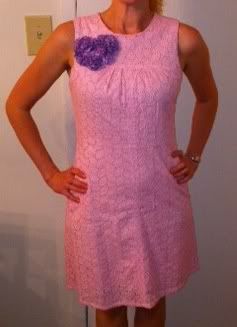
I found this beautiful white left eyelet dress there one day after lunch (it is right by my work) but it had a few light brown stains on the dress. This dress needed to be dyed to cover them. After I had gotten the color I wanted with the silk shirt, I added more hot warm to the bath and added my white dress for another ~30 mins. Here is the result.

It did not need any hemming or taking in, just a new color. I wearing it with my heart pin I made (blog soon to follow). Just in time for the spring season and Easter! :) Thanks for reading! ~Lauren~

Monday, March 28, 2011

Fabric Points Tally 3/28/11

Here is a Tally for Fabric Points. What is a Fabric Point you ask? Well for every project/item i sew with my Hancock Fabric Store-sized fabric stock I have I get a point. Goal would be 100 points by the end of the year!
1- lined my silver belt with white fabric
2- Teal ruffle cardigan
3- Window draft snake
4- Door draft snake
5- Window draft snake #2

That is where I have left off now I have more to add!

The baby bibs garnered me an extra 14 points (7 bibs X 2 sides=14!)

Burp Cloths (7 total!)

And the sewing machine pin caddy (2)

Total now=


Here's to reaching 100!! Wahoo!

Ok now going to sleep! I am exhausted.

Lauren

Blouse Refashion

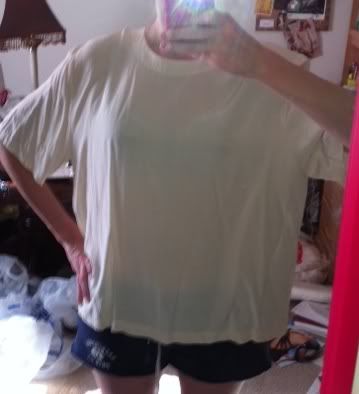
Yay!! So finally I got some time here to refashion an item! I started out with this gem I got at goodwill for $0.99.

It was a 2X!!! But I kind of liked this 100% silk material. I had a feeling this could have potential. I started out with I wanted to dye it and I used RIT petal pink powdered dye. I was really curious to what color this would turn out. OOh eager! Here I am dying in the sink of my kitchen. I again managed to not dye myself or my cats. Boyfriend wasn't home so he didn't get dyed either... It is a win-win situation!

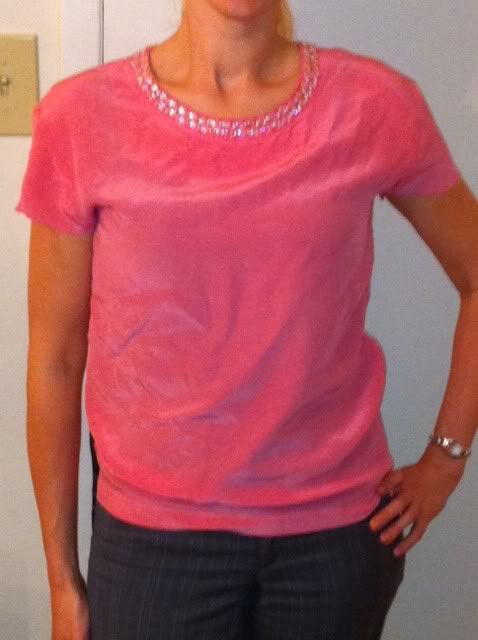
Oooh it came out a darker pink, kind of like a coral/azalea color. Then I decided to add these light pink beads to the neckline that I had in my stash (yay for using my stash). I sewed that on pretty quickly (hey I sew bellydance costumes!) this was cake. I took in the shirt b/c even if i added elastic to the bottom, it so didn't work so here I am sewing away!

I sewed it together and cut off the sleves. I didn't sew down the sleeves b/c the silk doesn't fray. so I just smoothed it over. Here is the final product. I promise you its not lopsized. It was just the way I was standing. Plus I got some clothes on underneath.

Yay! Hope you enjoyed it! ~Lauren~

Wednesday, March 23, 2011

Baby Bibs and Burp Cloths

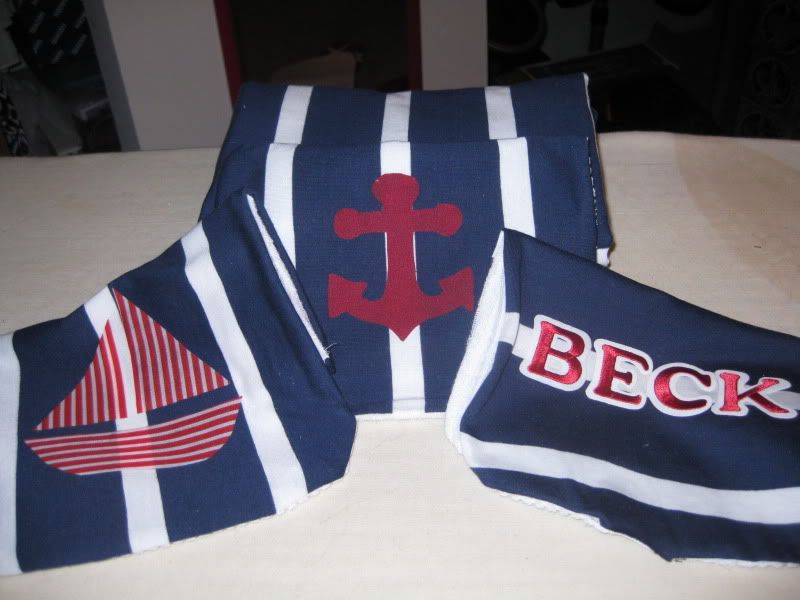
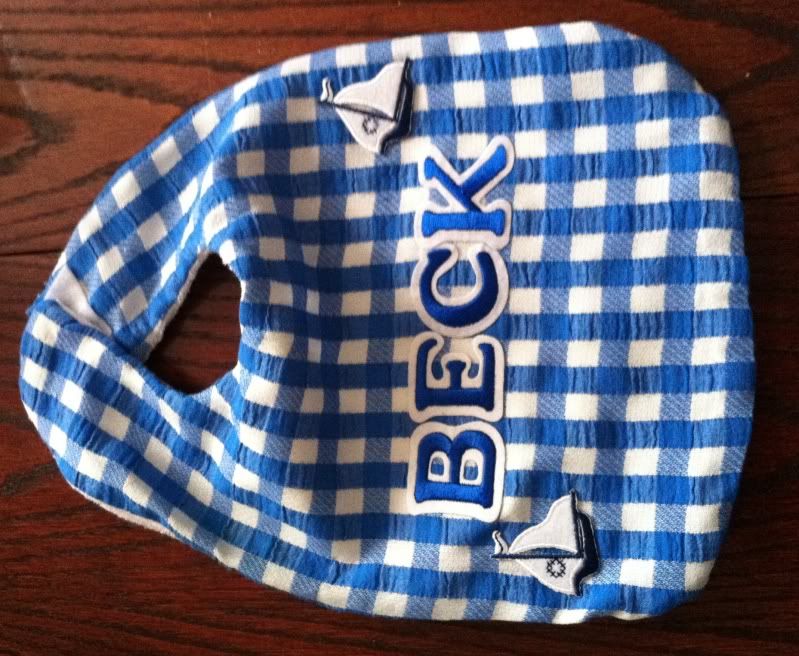
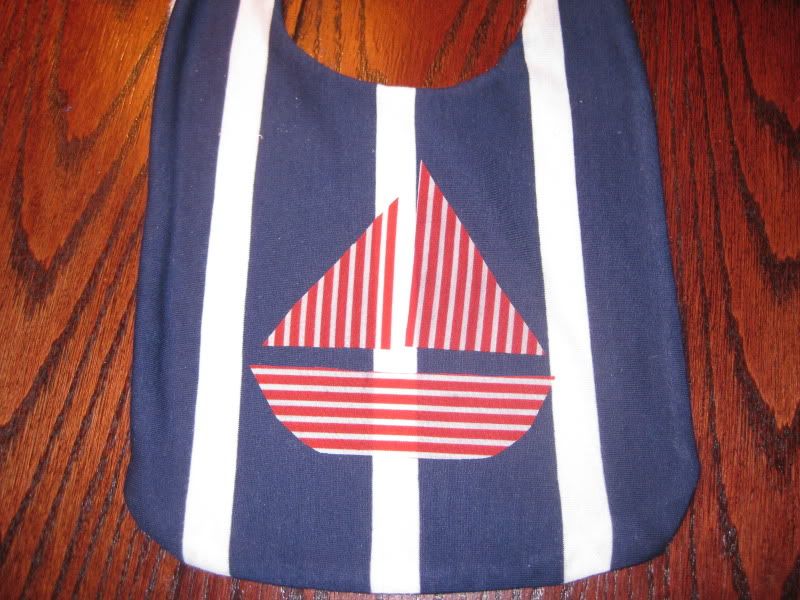
In addition to the Covered Diaper Cake I made for Randy and Lori's Baby Shower (which I missed b/c of scheduling conflicts) I also made my own baby bibs with matching burp cloths! Here is the end product, I made several themes of bibs with 3 different fabrics (all of which I had!). Nautical theme... Randy and Lori are big boat people so I started off with making some nautical bibs

how cute are these? I was so happy with the outcome. I also made another sort of nautical theme bib too (but hated working with this fabric!)

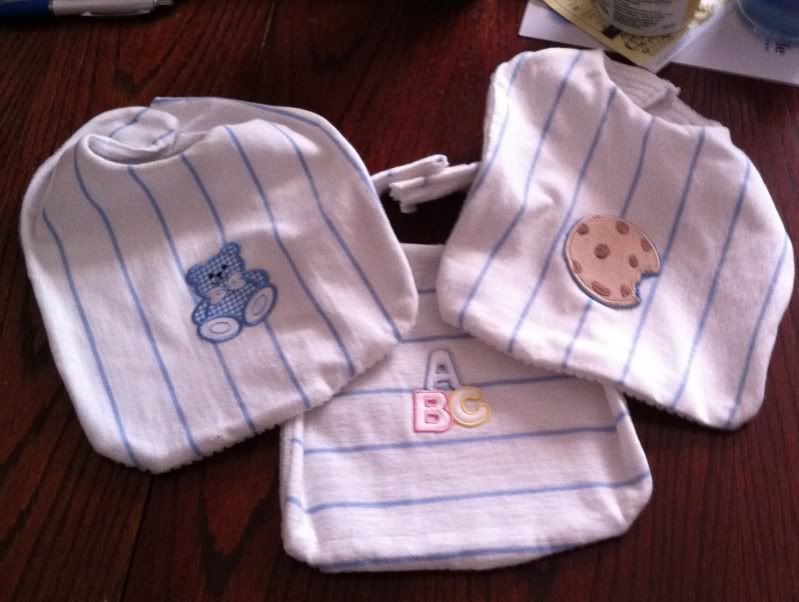
In addition I made what I called my baby boy line. So a little more cutesy and baby blue.

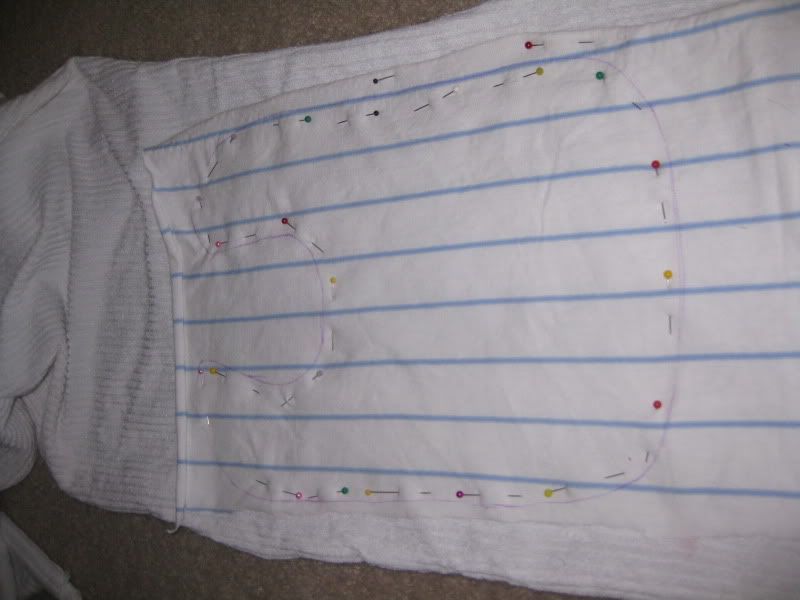
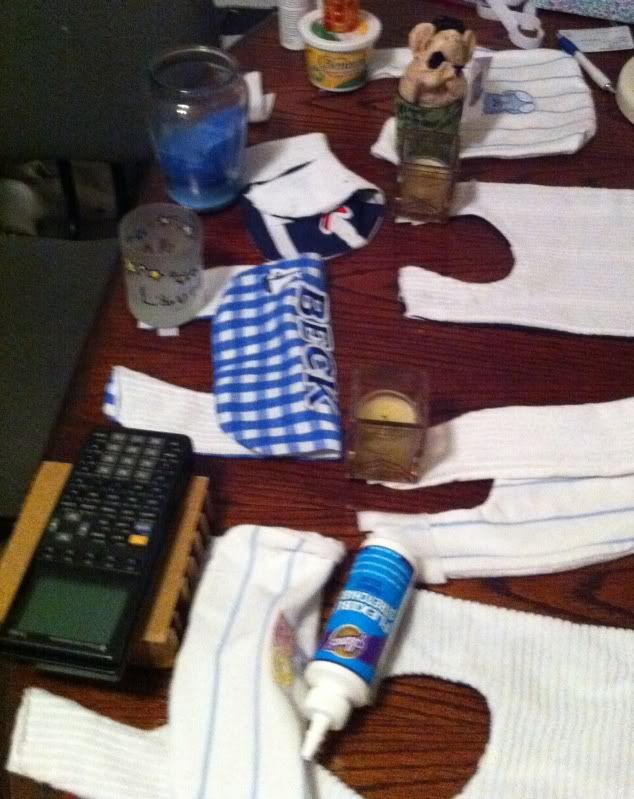
Now here is how I made the baby bibs (it is SOOO SIMPLE!) I got the pattern for the bibs here I printed the pattern out and I was ready to roll! First put the fabric wrong sides together, for backing I used terry cloth for good absorption. So put then wrong sides together and pin them together and cut out the bib.

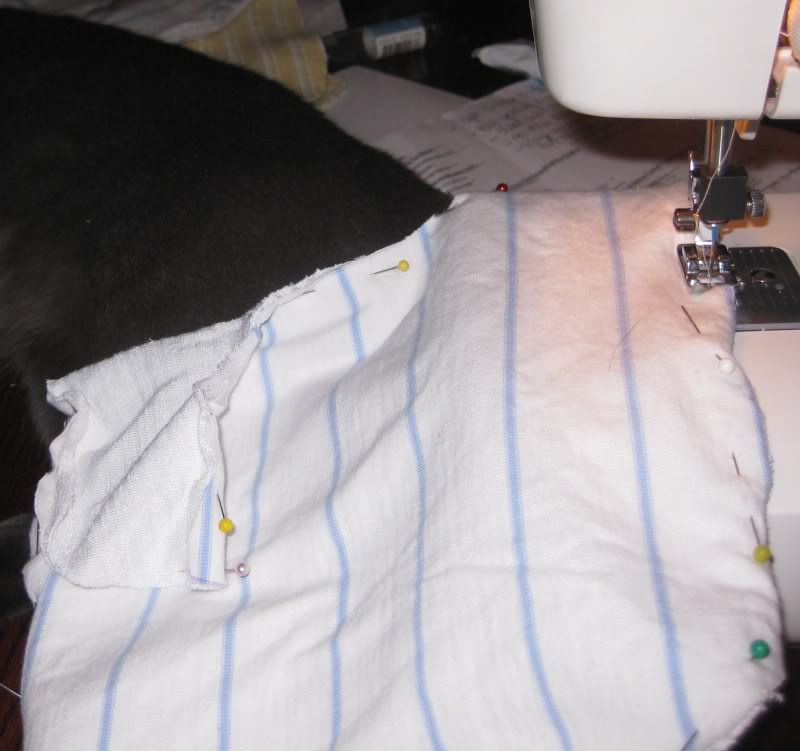
Then sew it up!

I left the top part open to turn it right side out. To finish the bibs. I didn't know how to do this velcro or snaps? I talked to a few people and they said velcro was easier to get the bib on a moving child. So I went with velcro. Here is the way i got the velcro on... (its so scientific)

Bam! Done! I had so much fun with it. For the decor I used iron ons from the craft store or I made my own iron on using the fusible web (whatever that is called!) I got the anchor (and my favorite!) from a clip art and traced it. For the boat, I just free handed it!

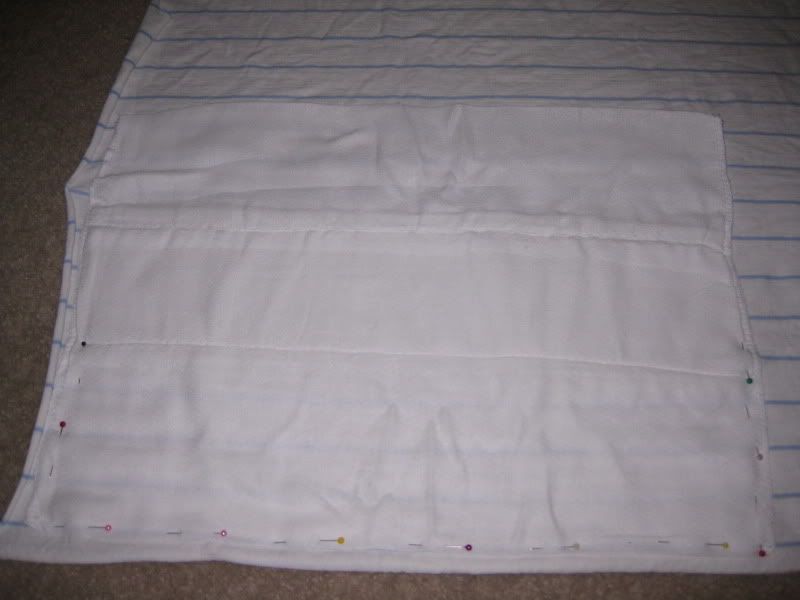
Now I made the matching burp cloths using cloth diapers and the same material used for the bibs. This was easy too! First lay out the cloth diaper on the fabric (wrong sides together again). Pin them together.

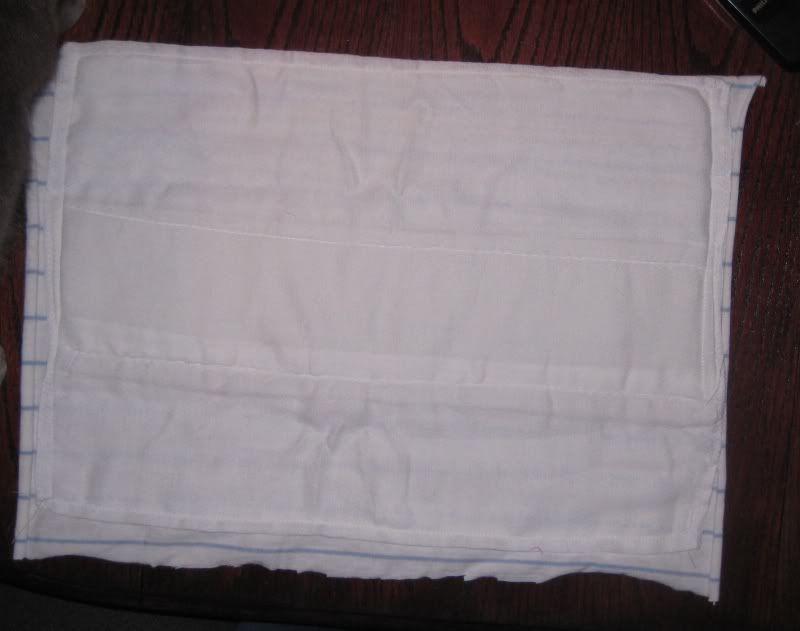
Then cut around the fabric and we are ready to sew! Leave a spot to turn it right side out.

Done just close the edge and you are done! I was so suprised how much fun I had designing baby bibs and burp cloths. I have so many more ideas. Would love to do girl ones! :) Hope you enjoyed this! :) ~Lauren~

Monday, March 21, 2011

Covered Diaper Cake

Recently, some good friend's of ours were going to have a baby shower for the upcoming baby Beck. Being the craftster I am I decided I wanted to make something for their wedding shower. I decided to go with a diaper cake. Now I know there are a gizillion diaper cake tutorials out there but I have kind of pulled from a variety of them, AND in my tutorial I actually cover it with tissue paper (you'll see why later!).

Items Needed
1- pack of diapers (I used sized 3 and there were 96 in the package)
2- Rubber bands (both small and gigantic)
3- White tissue paper (or another color if you like!) I used about 8-10 pieces. Can't remember the number exactly. For the larger tier, I had to use about 4 to cover it all the way around.
4- Tray to set it on (I tried the pizza pan trick and it was too small, plus it curved up and I hated that!!)

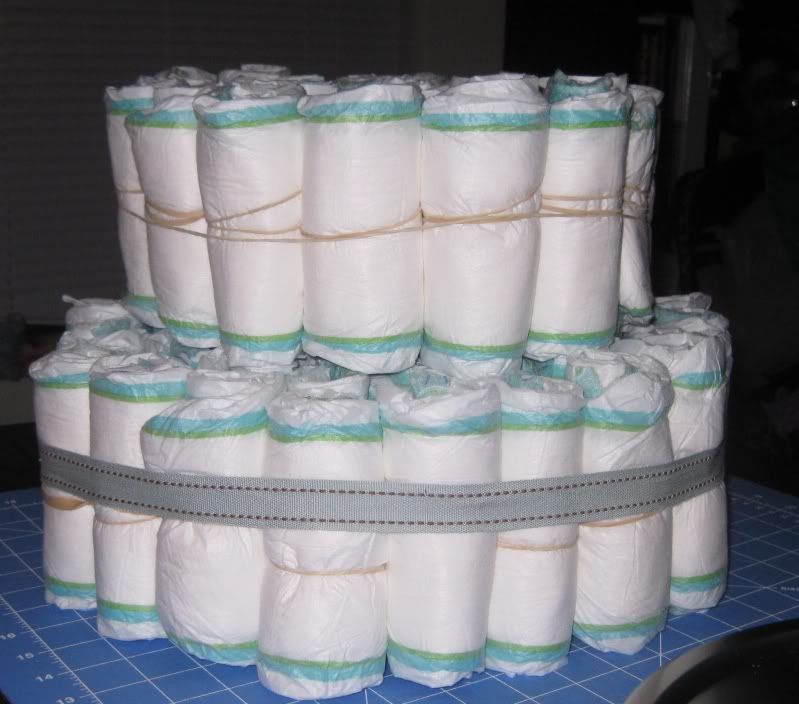
First roll all your diapers. I started with the top part of the diaper and rolled down towards the bottom. Secure with the rubber band in the middle of the diaper. Do not OPEN THE DIAPER UP! Try to keep them fresh so at least they will be usable.
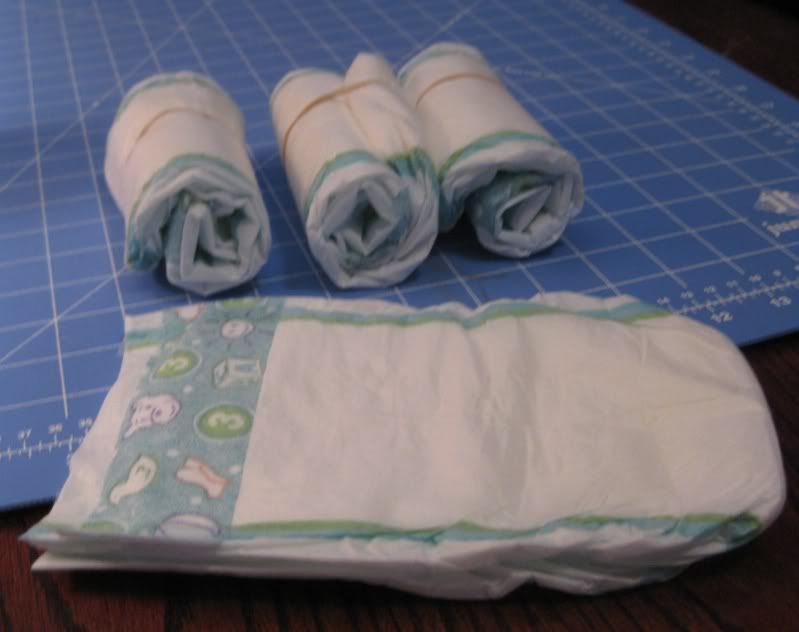

Roll until your heart is content (and at least the majority of the diapers are rolled!).

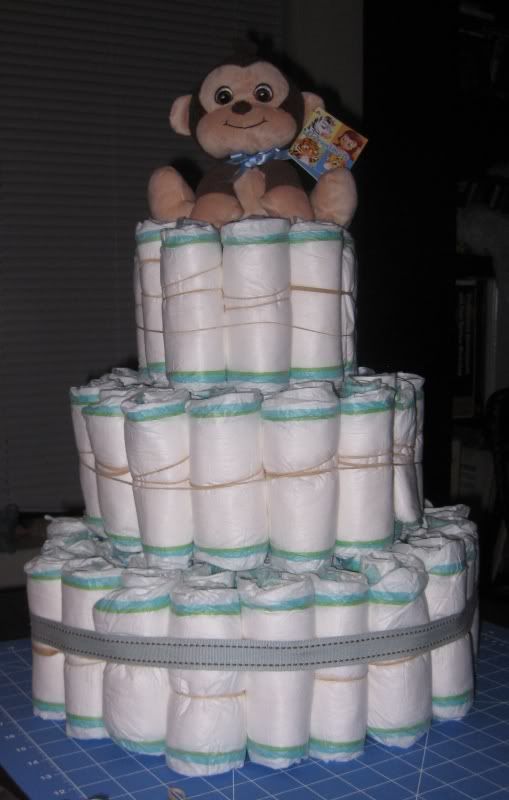
Start assembling bottom tier- the biggest tier of them all. I knew with 96 diapers I was only going to get away with 3 tiers. Plus 4 is really high!

I first started with using a baby bottle for my center and put a row of diapers around it. I secured it with a gigantic rubber band.
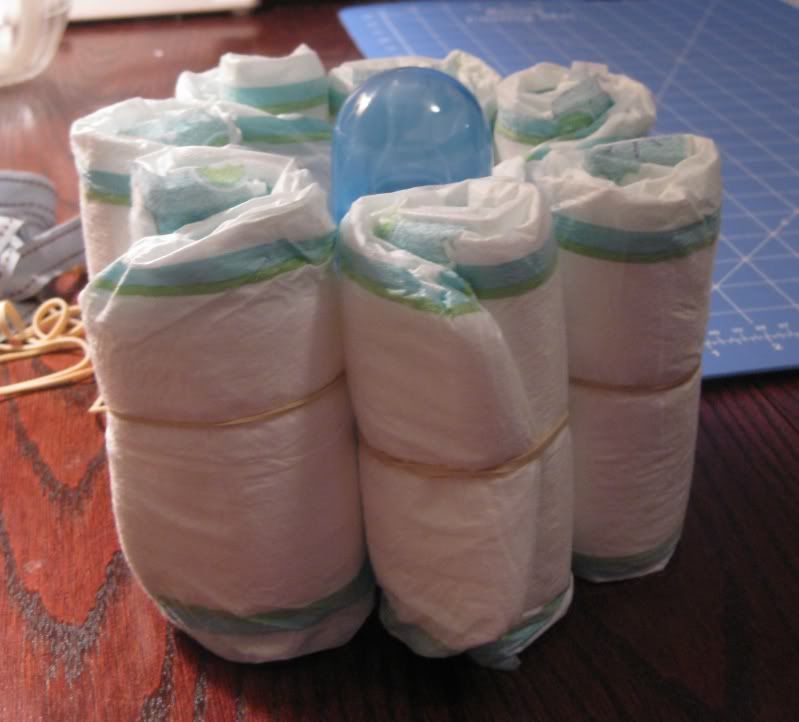

Top View...


Add another row of diapers. To make it easier on yourself I just used the rubber band and pulled it out and popped a diaper in, then rearrange to fit.
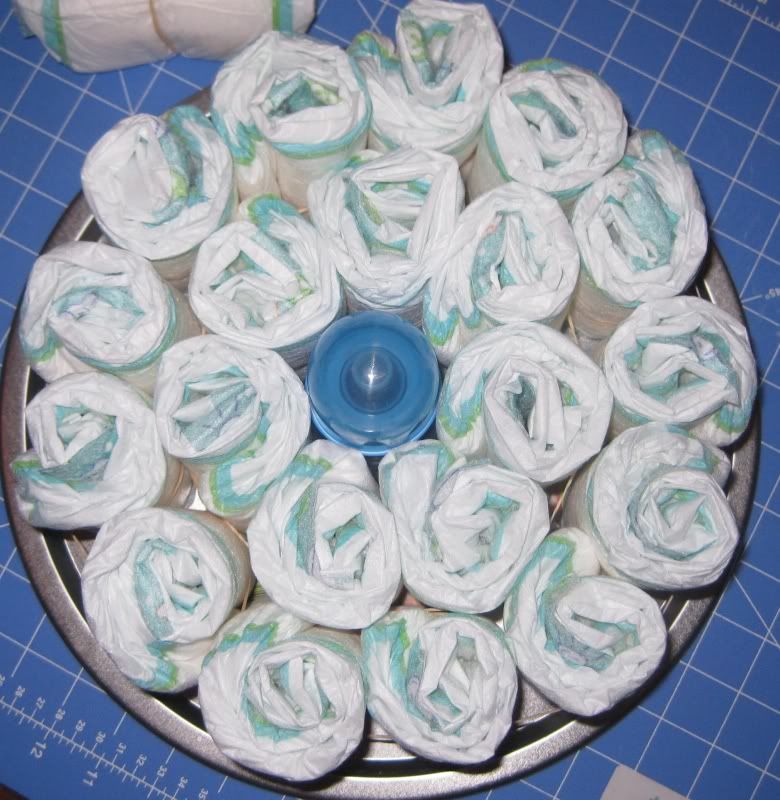


Still needed Another row of diapers but my rubber band was not big enough. I used a piece of ribbon I had laying around and tied around the last layer. Here it is!
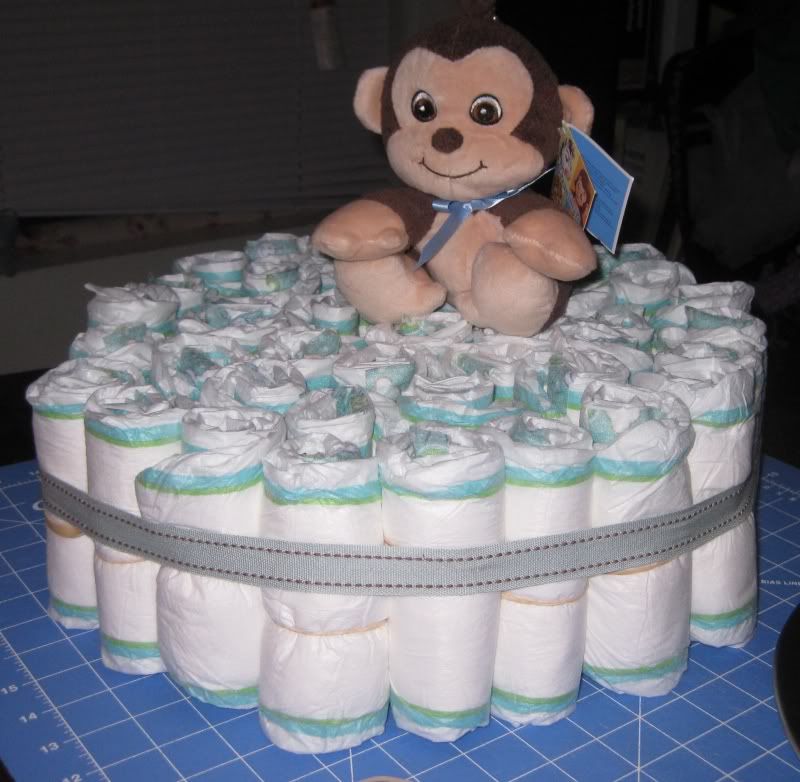

The monkey is happy!

On to the 2nd tier!


3rd Tier!


Now I sat there and looked at my color palette. I did not like it at all. It seems like all the diapers out there now-a-days has some sort of color on it, I don't like that! It ruined my vision! So I decided to cover it. I used white, simple tissue paper but doubled up on 2 for thickness. For the largest layer I used 4 sheets, covered half with 2 and the other half with 2. Here's the first look...
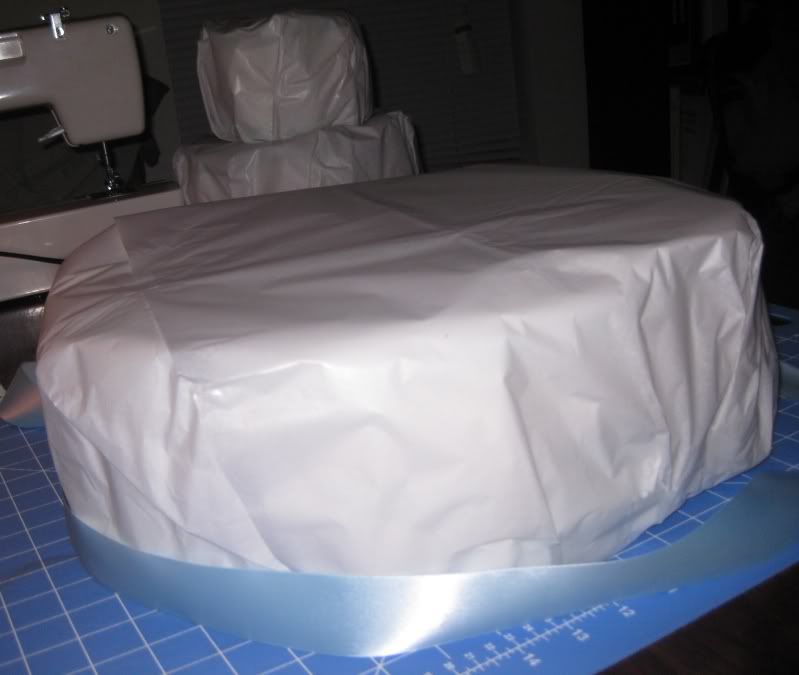


I repeated for the 2nd and 3rd tier.

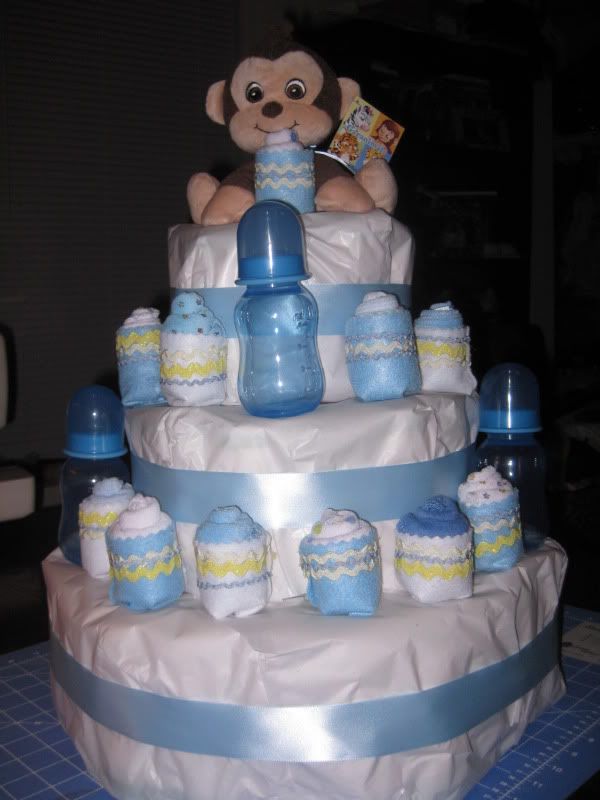
Ta-da! Here's the finished product!


Another view..
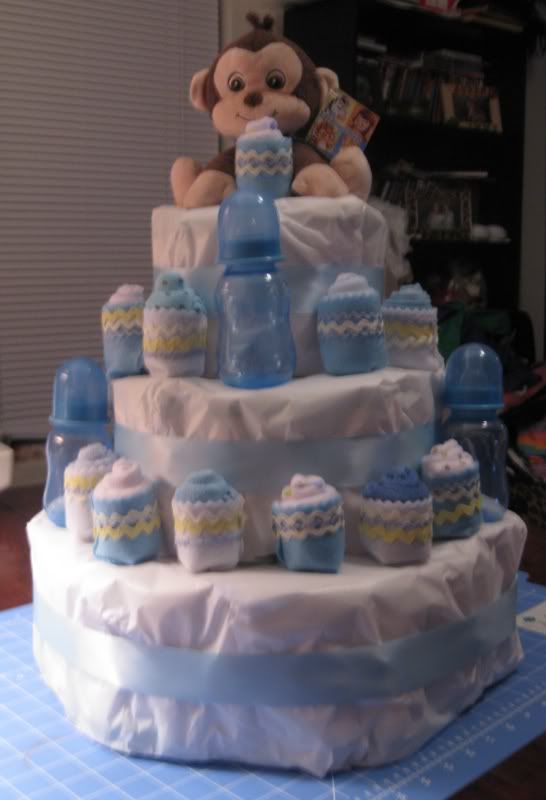


Monkey was happy. As you can see I finished it with the bottles I used to first initially to start the tier (I later removed them and replaced them with diapers so the cake would sit right) Also I made washcloth cupcakes and layered them on top! I was pleasantly surprised at how it turned out!

Enjoy!
~Lauren~
LinkWithin

Related Posts Plugin for WordPress, Blogger...