Well hi welcome to my little blog. Just my little corner of craftiness, sewing, and refashioning. I am also a newly gluten free eater so you have a little bit of recipes mixed in here.
Showing posts with label blouse refashion. Show all posts

Wednesday, October 29, 2014

Indian Tunic Top, Refashion #82

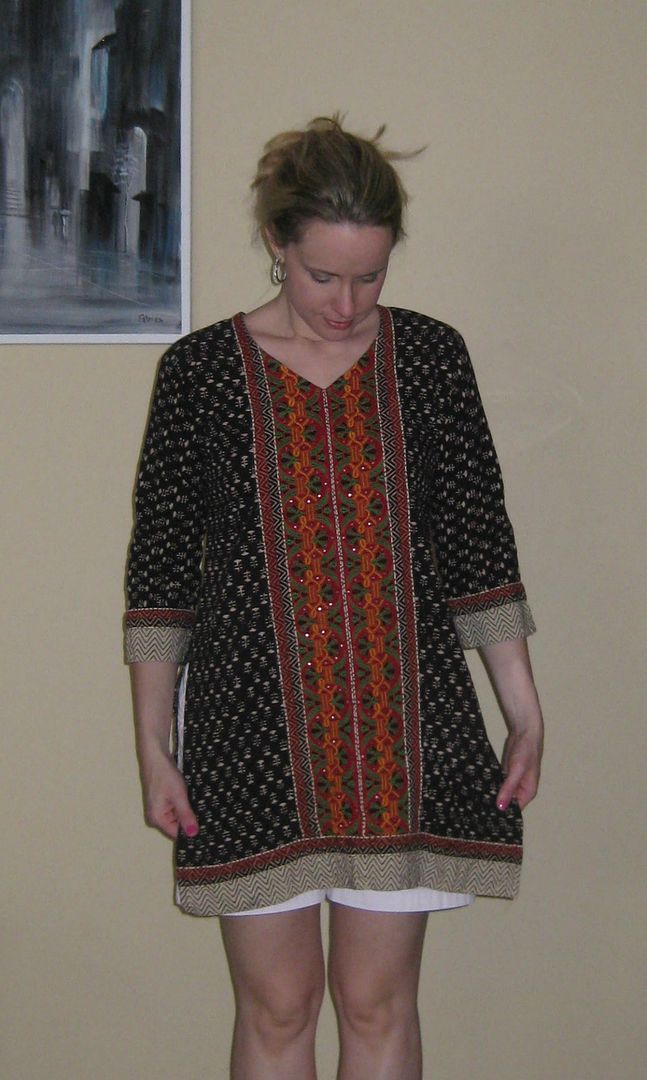
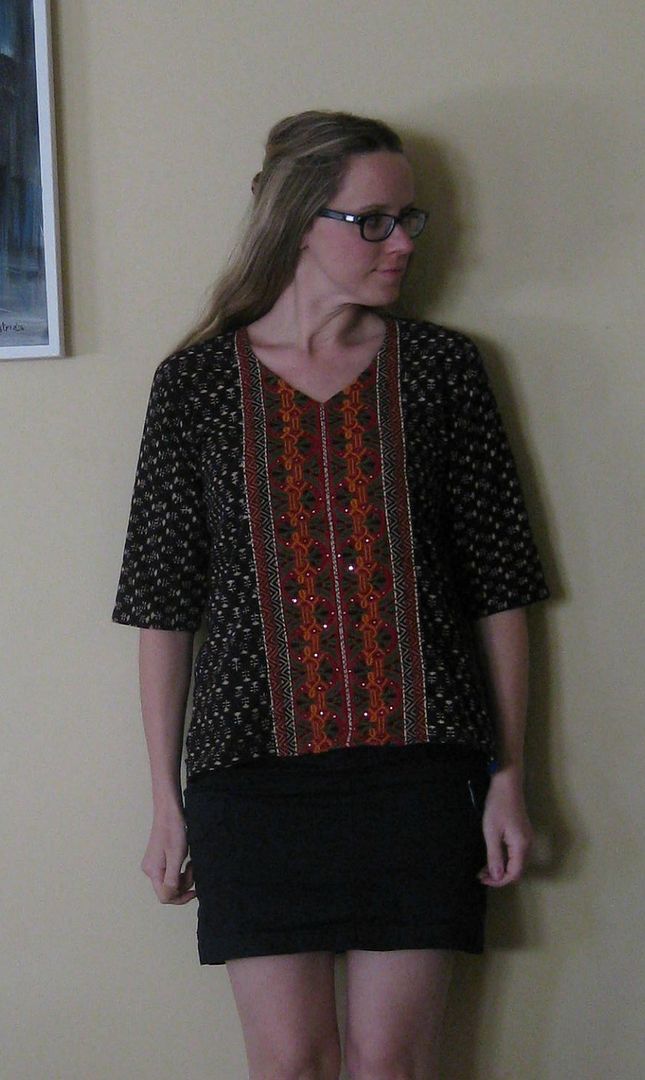
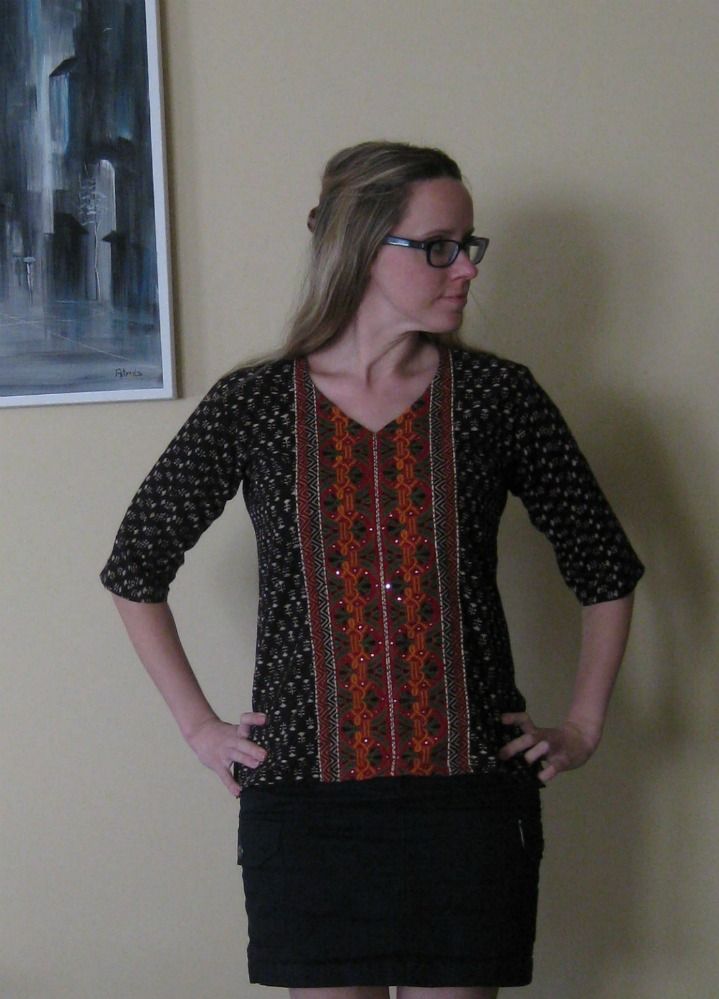
I found another lovely embroidered Indian tunic that just needed a few tweaks. I loved that red and orange embroidery on the black pattern.
What I didn't care for was the length and the brown fabric accents found on the bottom of the shirt and sleeves.

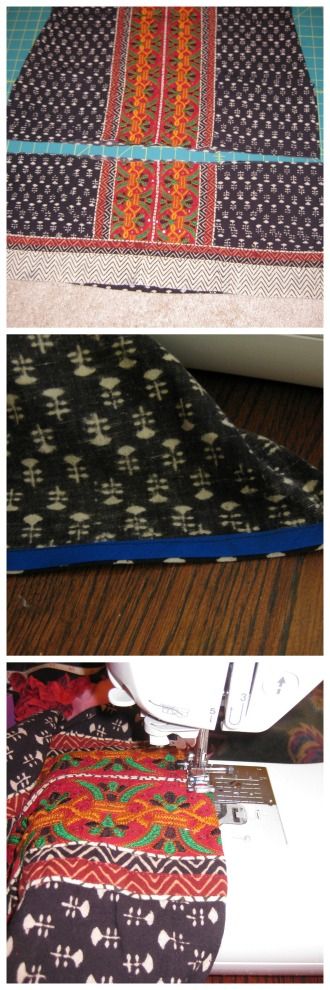
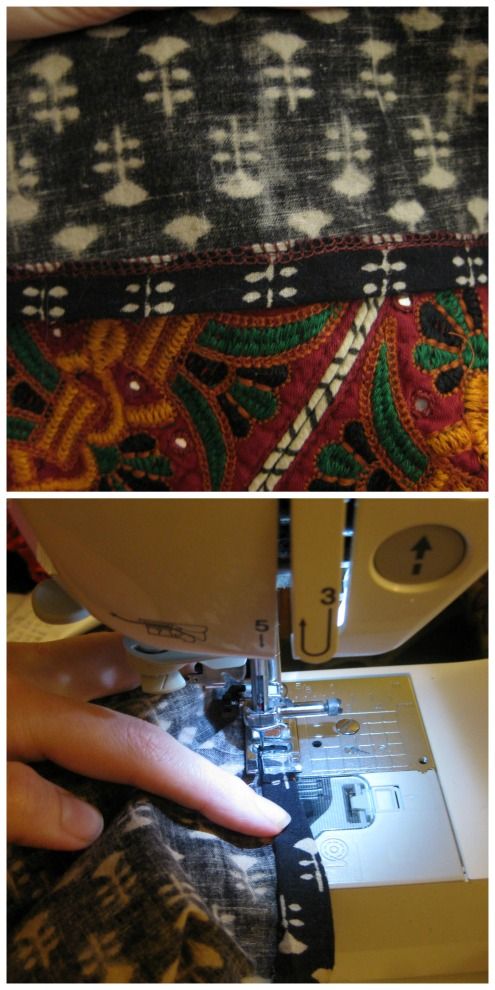
First the length! Off with the length. Then I needed to hem the bottom. This was tricky with the front of the top as it had the mirrors and thick embroidery. Running this through my serger was a no-no. So I used biased tape and VERY carefully  sewed adjusting the stitch length for the middle section.

For the back it was easy- serge and sew down a hem. 

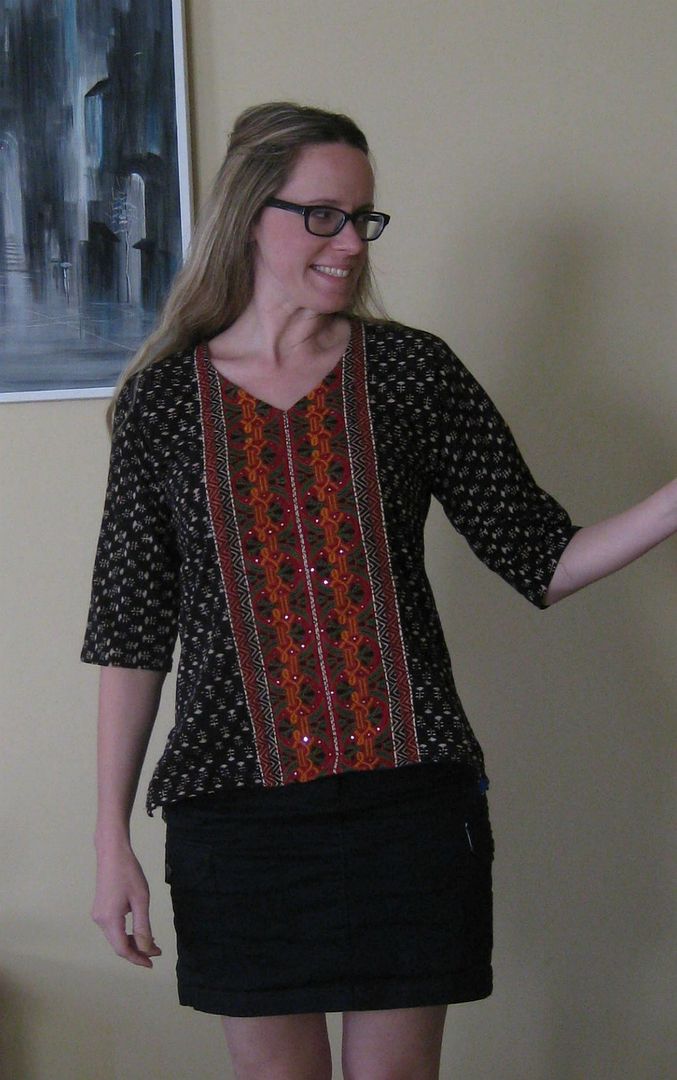
Not pictured is me removing the bottom sleeve portion and then doing a quick hem. But here is my new top. I like having another long sleeve top option that is not boring. This will look great with some skinny jeans and some boots. 


As you can see I didn't fit the sleeves due to the fact it is just a cotton broadcloth. I need to be able to move and stretch with my arms. Taking the sleeves in would not work on this top. 

Here is the recap. An easy top. Perfect for fall!

Cheers,
Lauren

BTW now I am officially caught up with my October quota for posts! Err, just in time!!

Tuesday, October 28, 2014

Refashion Leftovers to a new top, #81

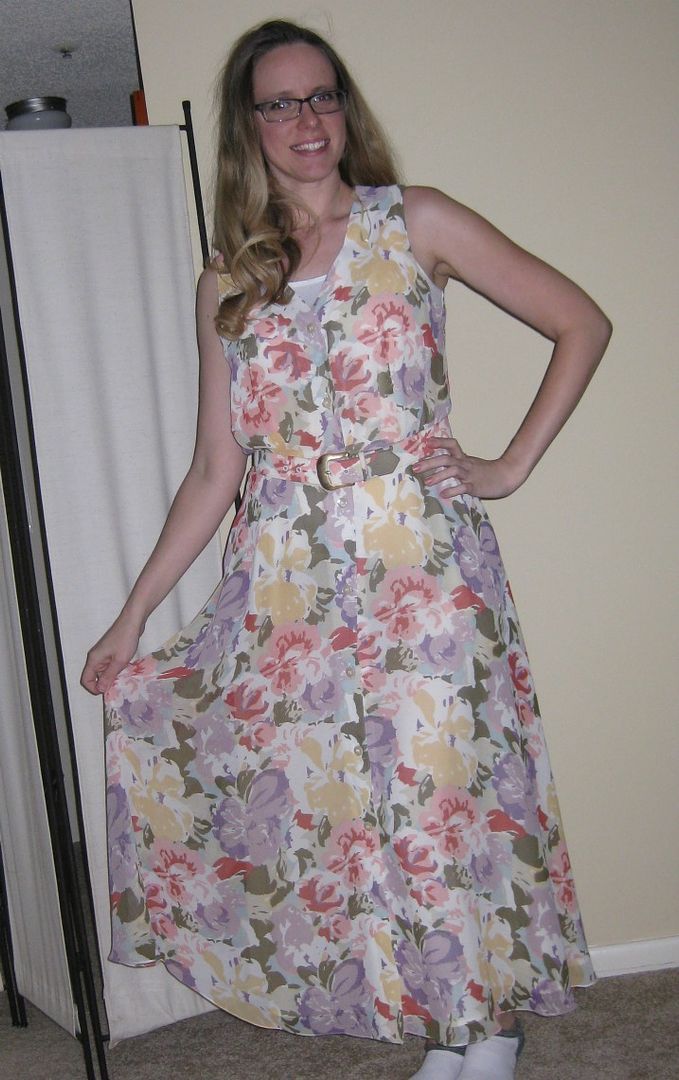
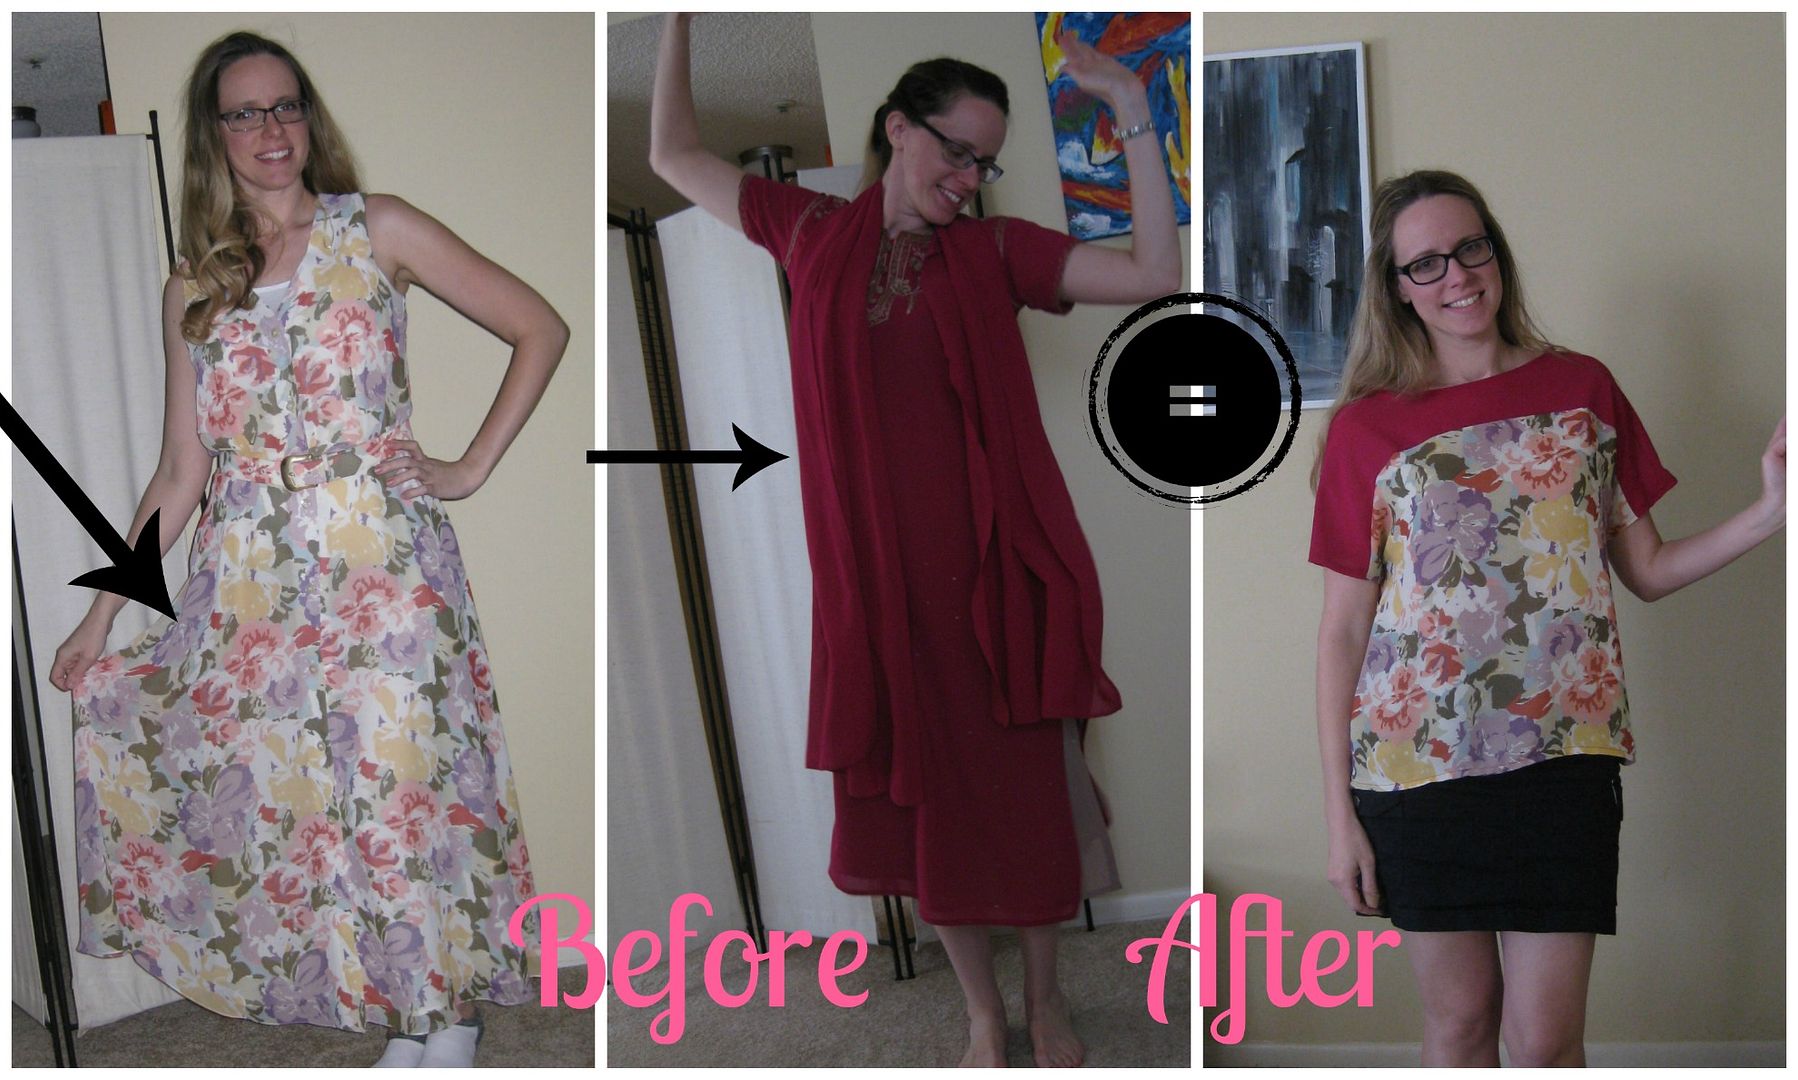
So what happens when I combine the flowered dress

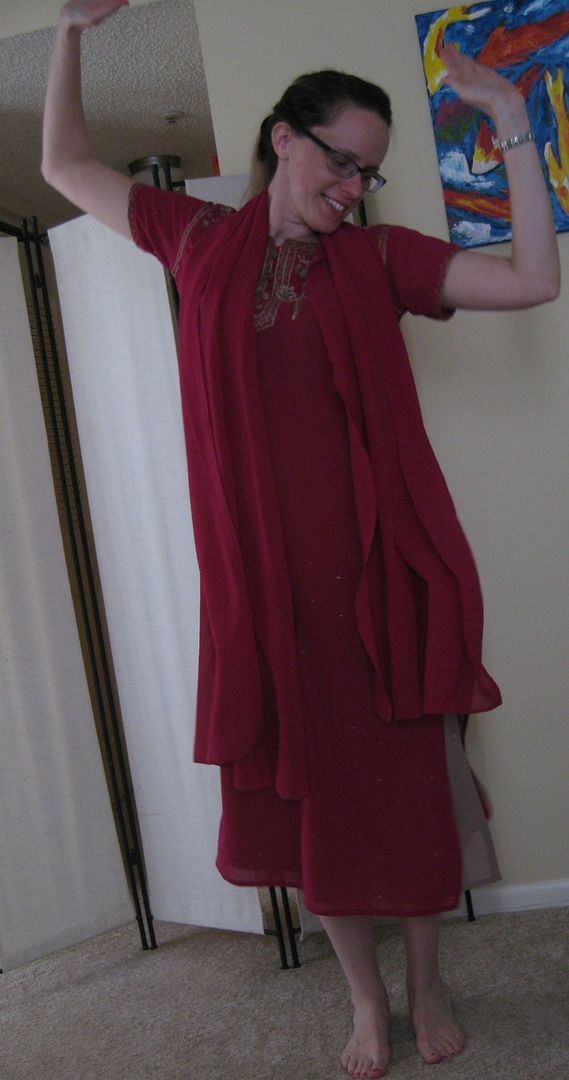
with the Fuchsia scarf from the Tunic Dress Refashion

We have enough to make a 2 tone top! I used one of my favorite Vogue patterns.

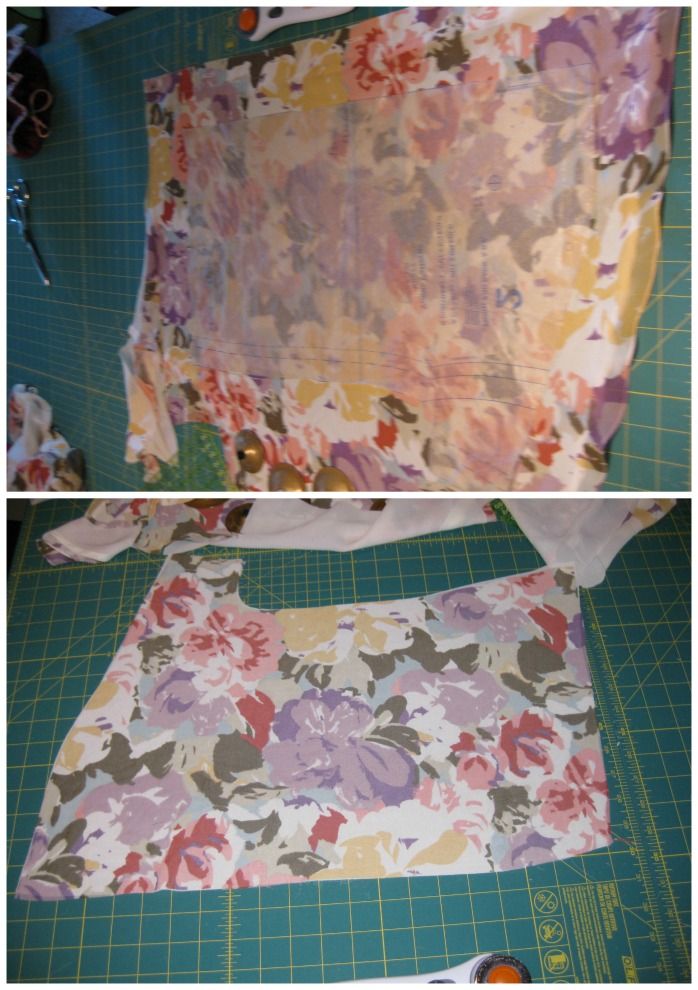
So cut....


Got creative for the back since I didn't have enough fabric, So I cut and added 0.5 inch seam allowance.

Sew together! Yeah I was moving along pretty fast. But when I put it on, it hung oddly on me. I didn't like the sleeves and I felt the top part could be pulled up. The scarf fabric didn't drape well like the chiffon I used previously. With some tweaking, I got a better fit.


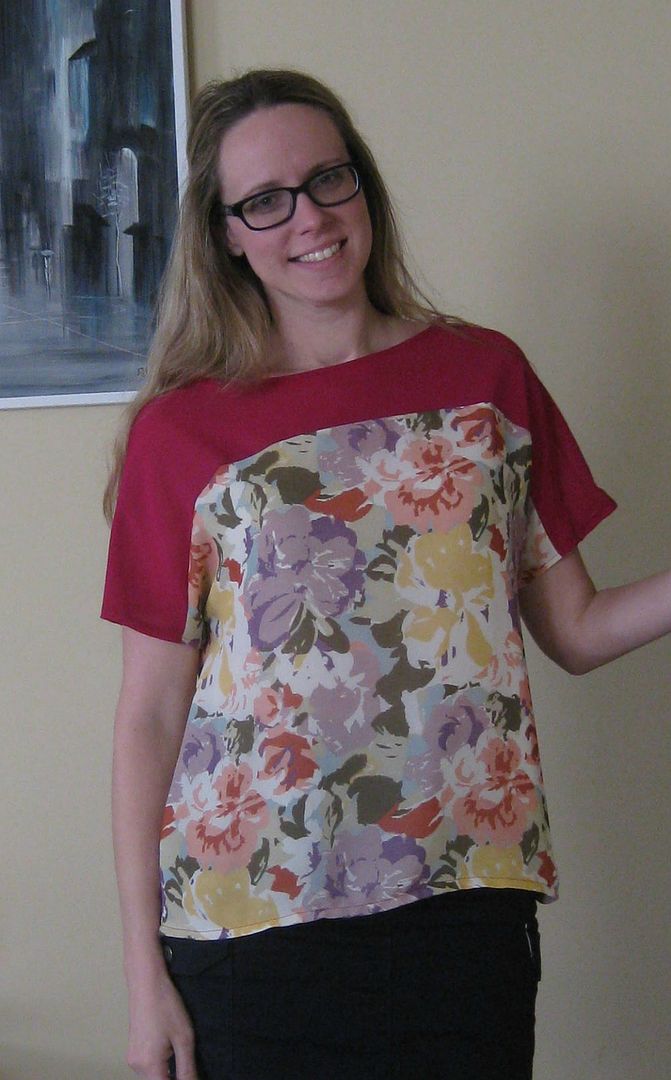
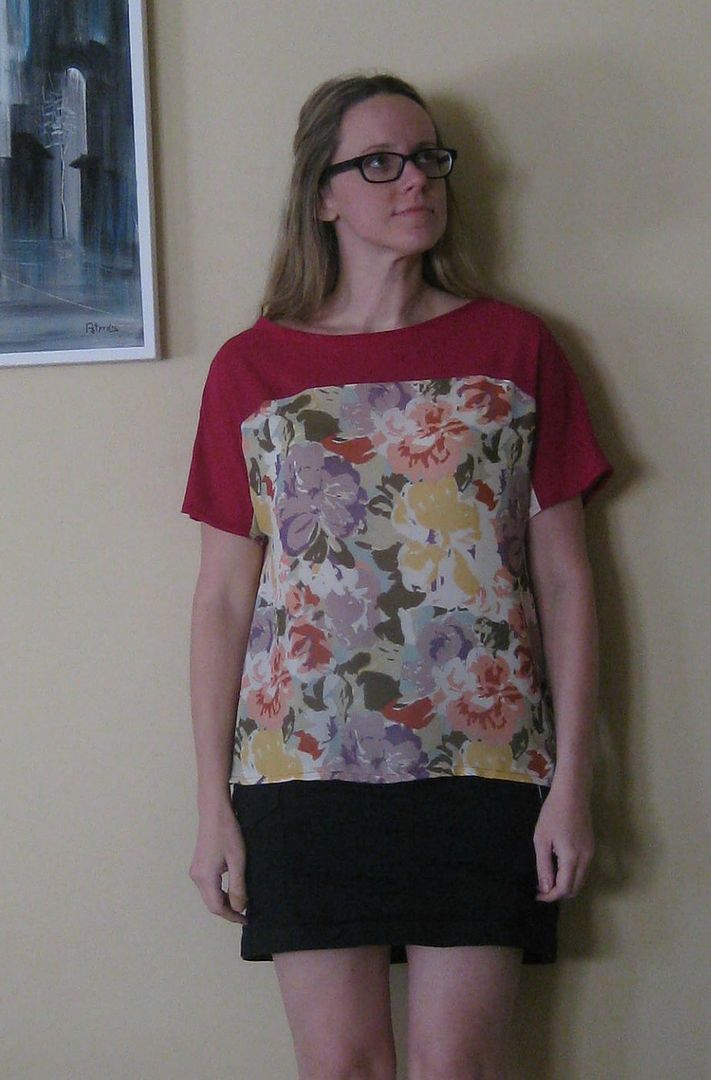
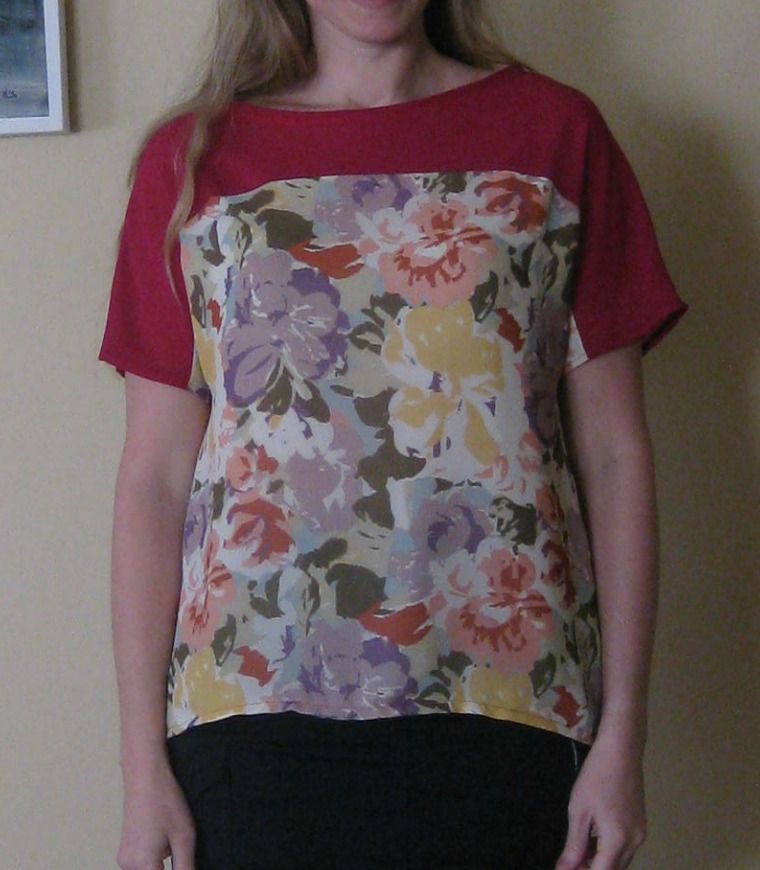
Here's my new top!


I am really happy that I was able to use the skirt of that dress into something useful. There is still more of the scarf left but I have no idea what I am going to use it for. Here is the recap!

Cheers,
Lauren

The end is sooooo close!

Monday, October 27, 2014

Ruffle Red Blouse, #80

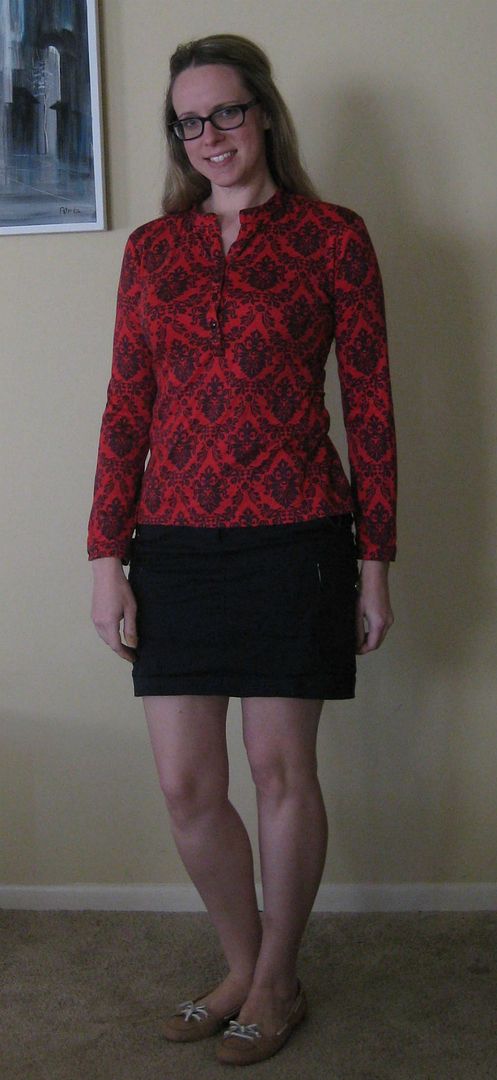
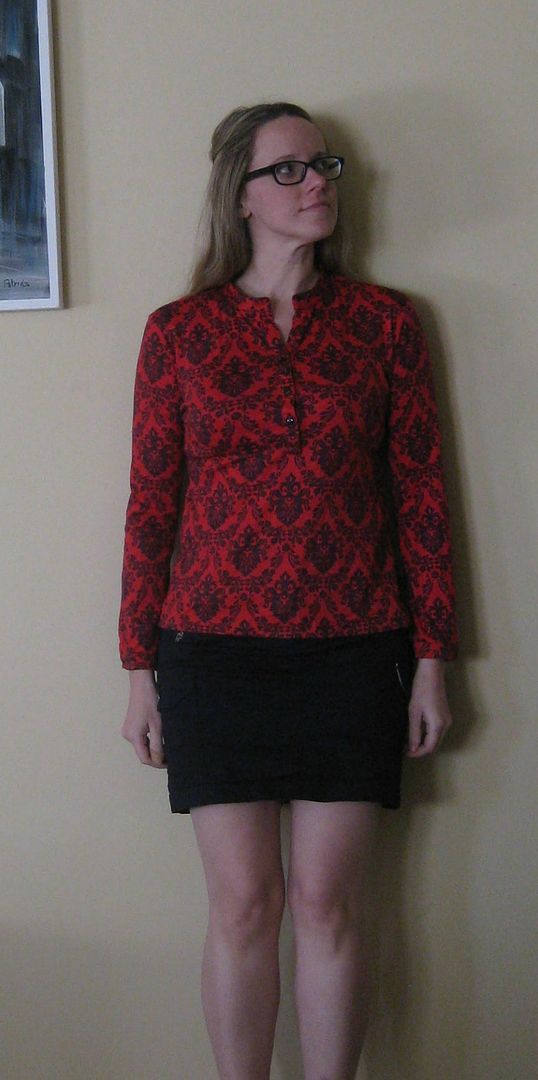
I always need long sleeves, it just seems like the winters here last forever. Being that I am a Southern girl, my wardrobe is still shifting out of Southern mode. This top was a wonderful soft fabric and a fun pattern.But too big. I didn't care for the gold buttons.

AND!!!!! the neckline down the center had a small ruffle on it. It just didn't work with the busyness of the pattern. Couldn't close it without choking either. It had to go!! 

I carefully unpicked the seams with the ruffles and removed it. Then I sewed it back together.
I then pulled off the gold buttons and I had some purple buttons from another refashion (which has not posted b/c the dye project went bad) which I used to replace.

Then I took in the arms and sides. Which I discovered one of the gold buttons multiplied. Ack! Go away!!!
Done!!! This is much and improved!!!


Recap... the neckline has a bit of a henley sort of feel for the closure. The added bonus of a slimmer fit and I will get a lot of use out of this top!

Cheers,
Lauren

Saturday, October 25, 2014

The big white crochet top, refashion #79

Today will not be a 2 for 1, I am almost all caught up so you will just have to settled with 1 refashion per post. Guess that isn't a bad thing!

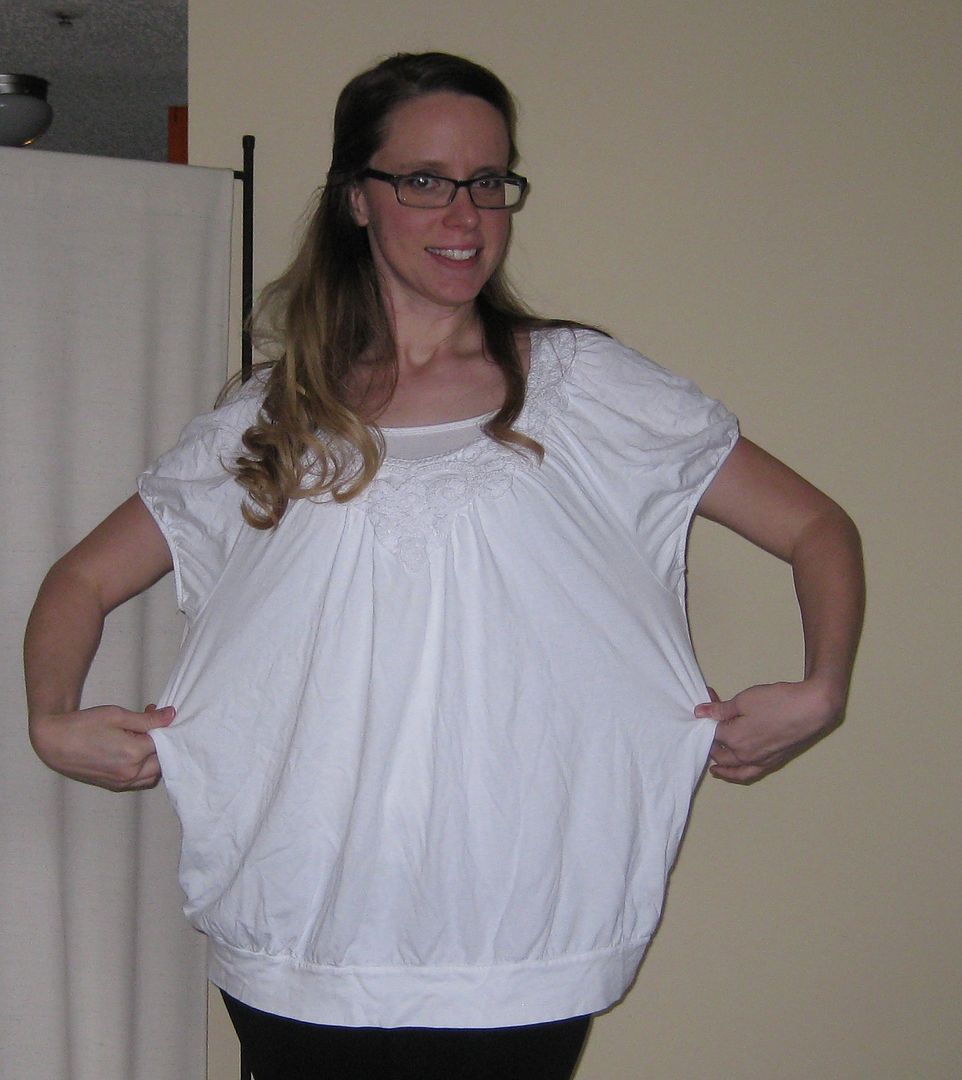
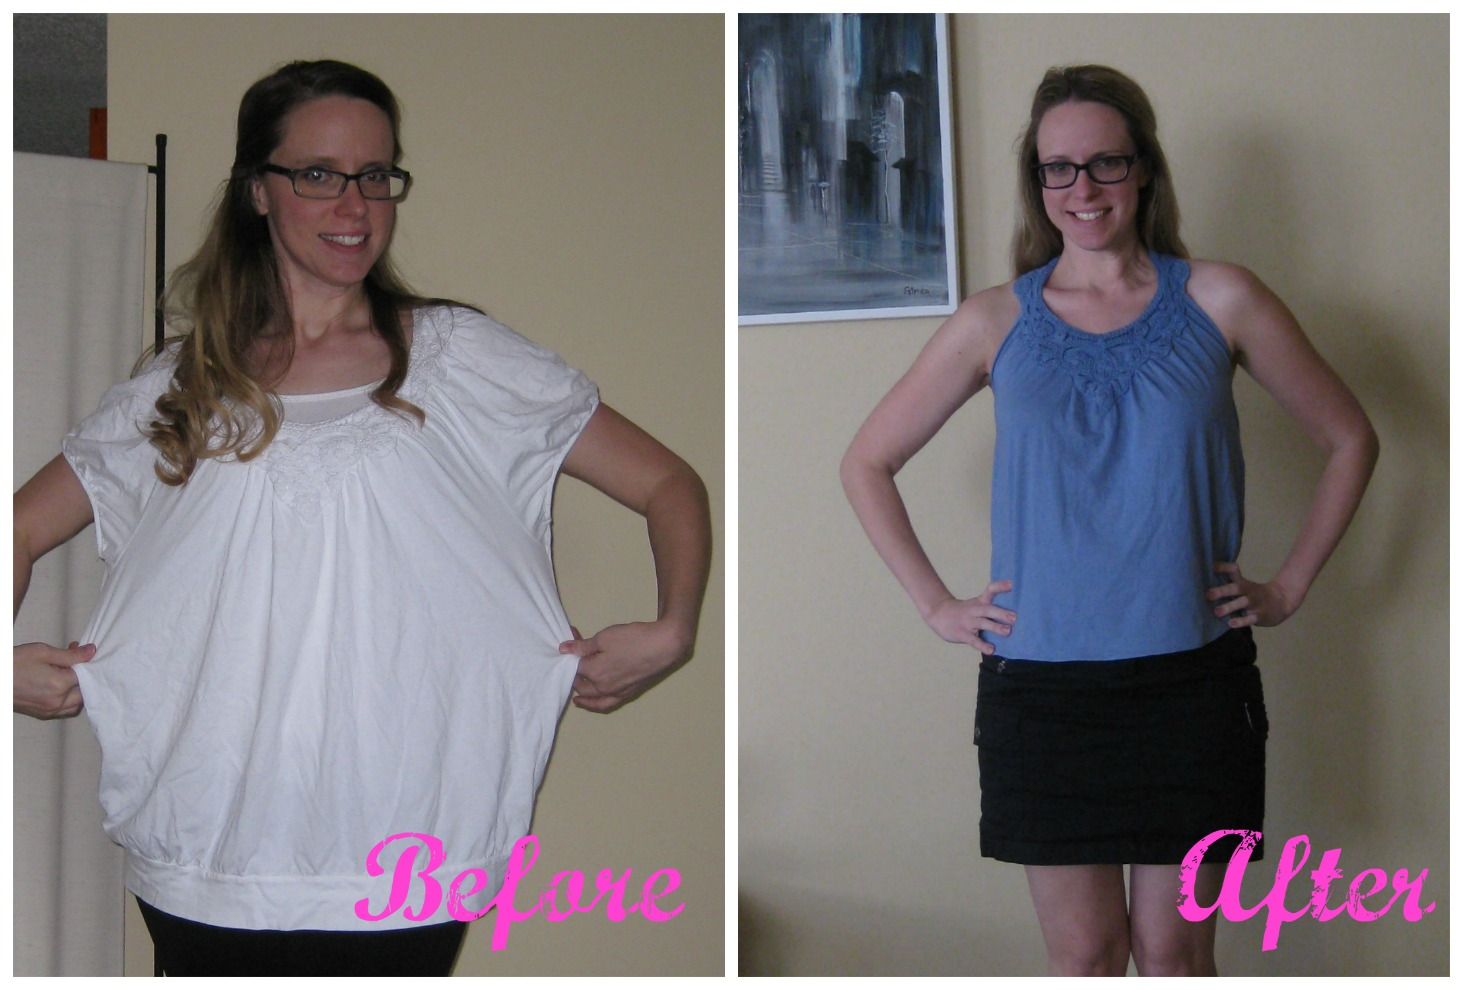
First,behold... a white t-shirt. A white shirt that is a 2XL. But it has a cool crochet neckline.

Yeah.... hello! it is Big!!!! 

So I didn't take a picture, nor do I know what color I actually dyed it.... but I got like a periwinkle blue. Not too bad but I still need to do something with it!

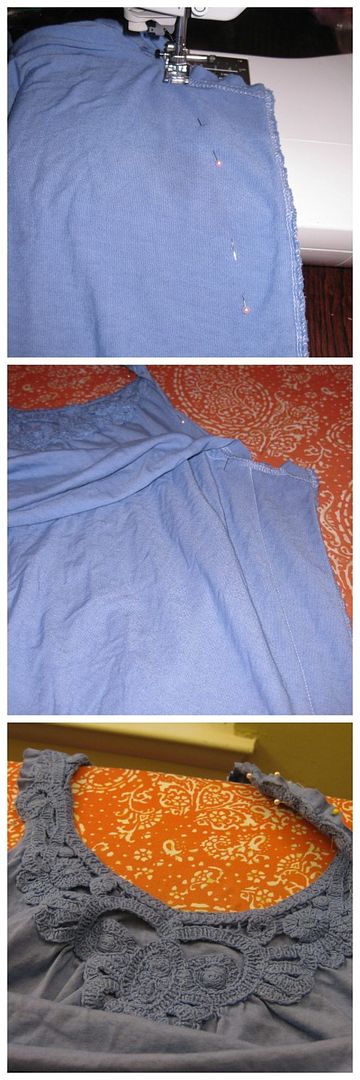
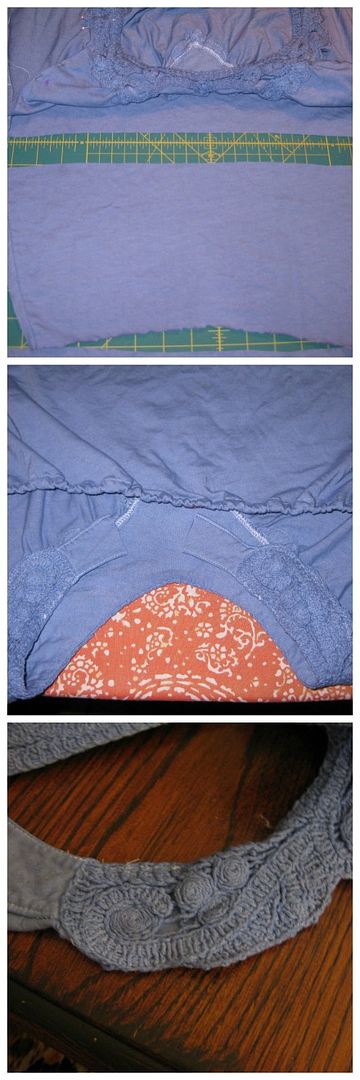
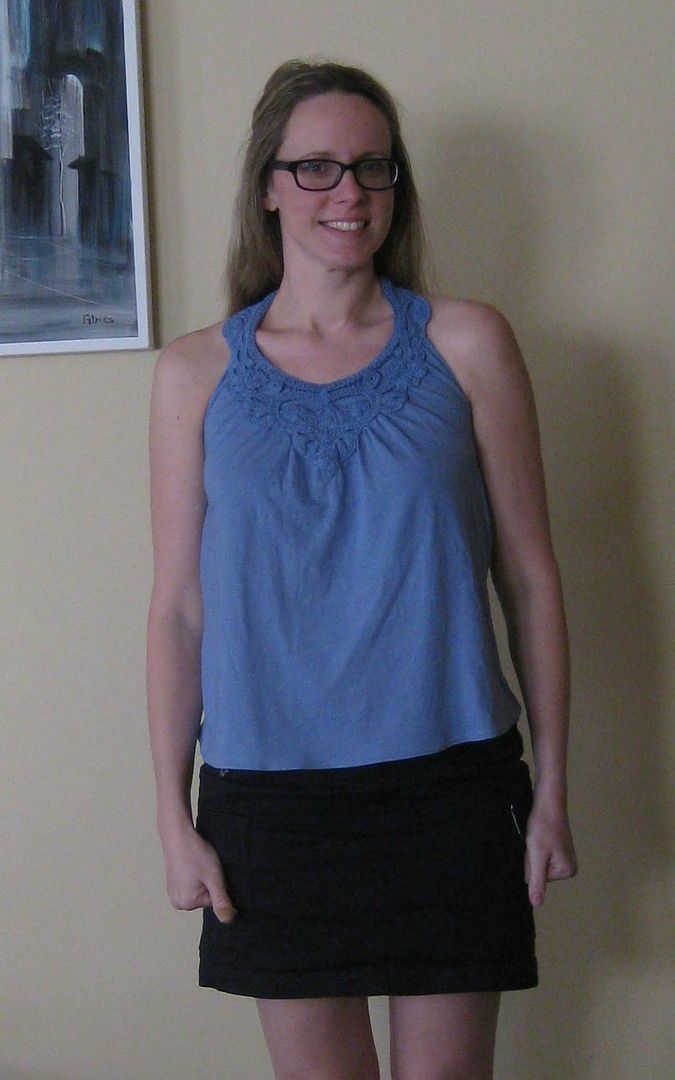
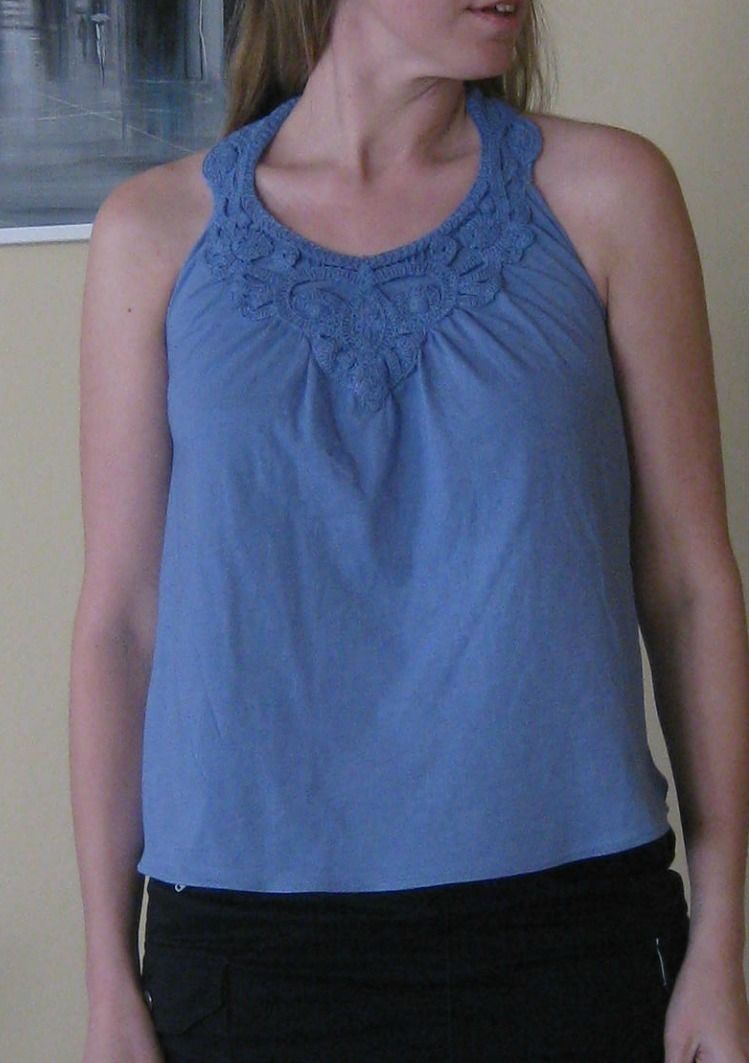
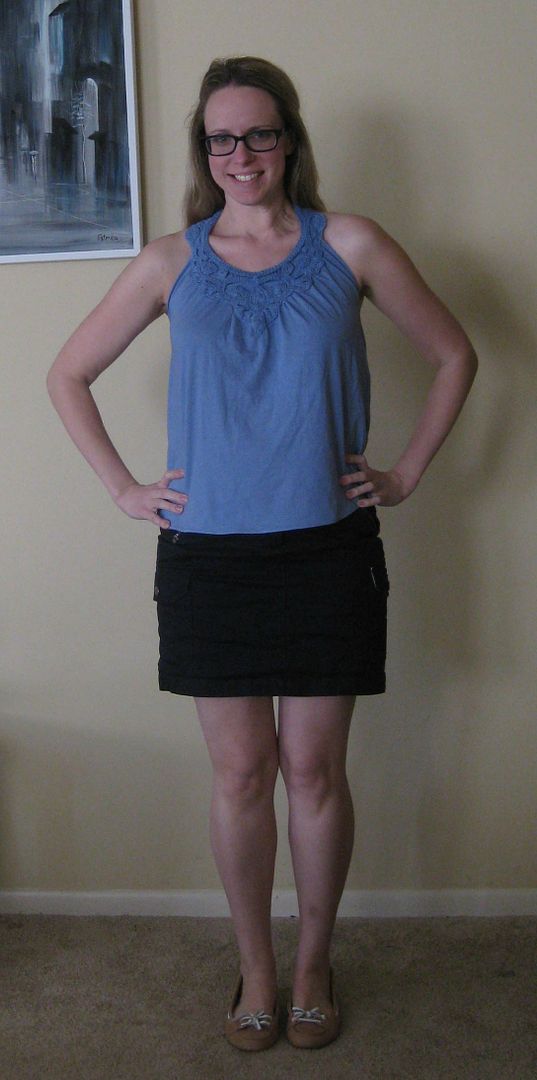
I cut off the sleeves and decided to try and convert it to a halter top. The sleeves were on an angle so by following those lines I could create a halter top pretty fast. I made sure I didn't cut off the crochet from that part. The neckline was removed from the back of the top. After that, I needed to take it in on the sides.

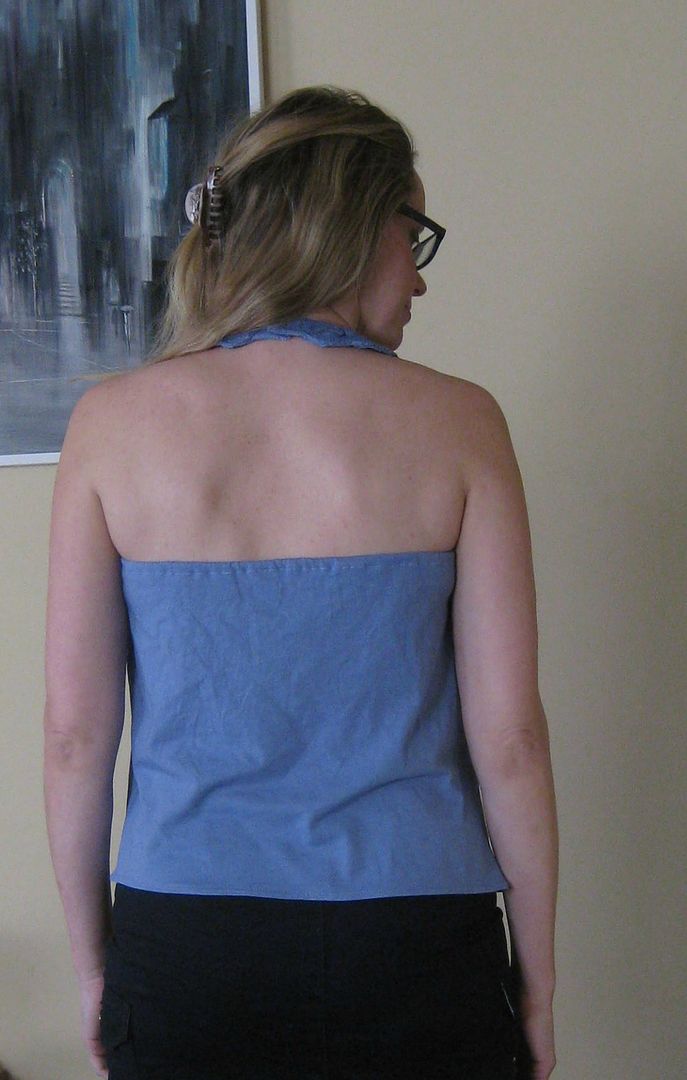
What that essentially created was a back flap. I cut it off and left extra to create a casing. No matter what I did, to get a good fit without odd fit issues- I needed some elastic across the back. So cut, create casing, add elastic across back- secure in the side seams. Close casing. Done! 
To get the last part of the halter complete, I folded over the excess fabric and sewed down- I did it very slowly on my sewing machine. I cut the center of the old neckband- which was way too big and trimmed it down to a smaller size to fit my neck. To secure I opted for a snap.

Towards the end of finishing this garment, I realized that I didn't like the bottom band so I cut it off. I hemmed the top with a double needle- which I have no idea why I have not sewn knits with it more!!! It is fabulous! Love it!! My hems look great! Happy!

Here is my new top, which I won't be wearing anytime soon since it is fall and winter is coming!!


The back....


The recap!! You almost don't recognize the top!
cheers,
Lauren

omg- 20 more left! wow!

Wednesday, June 25, 2014

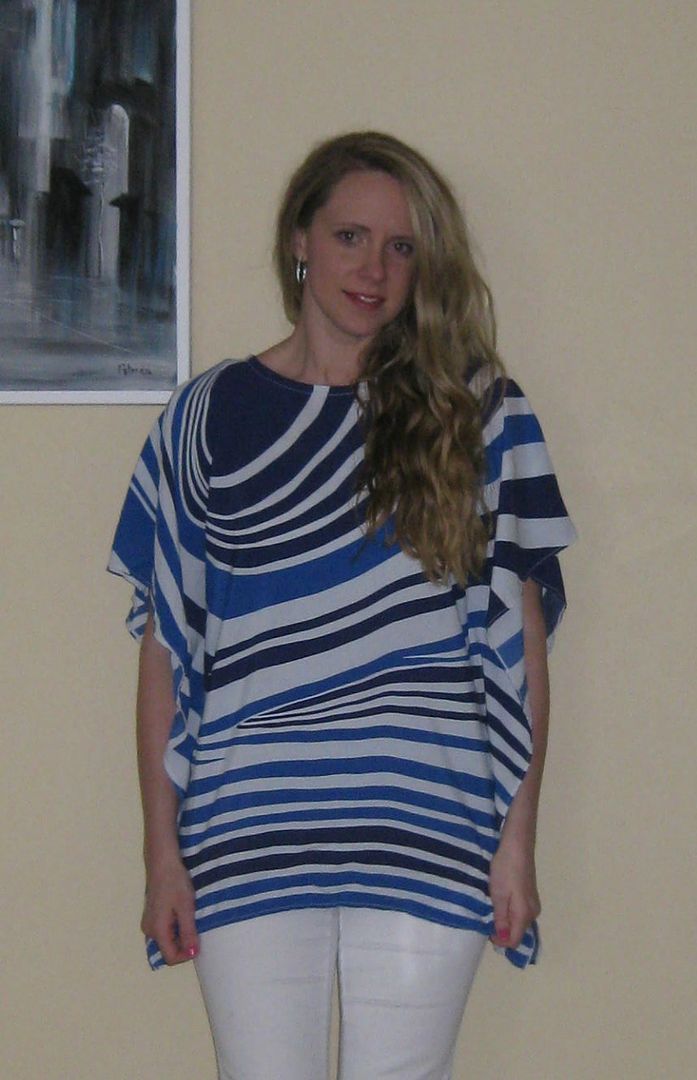
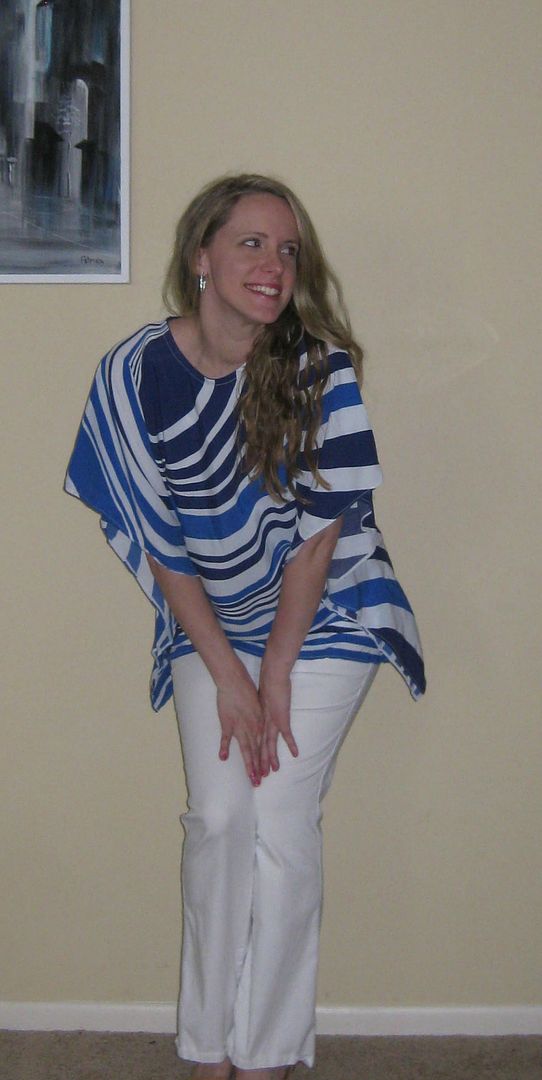
Swirly top, refashion #46

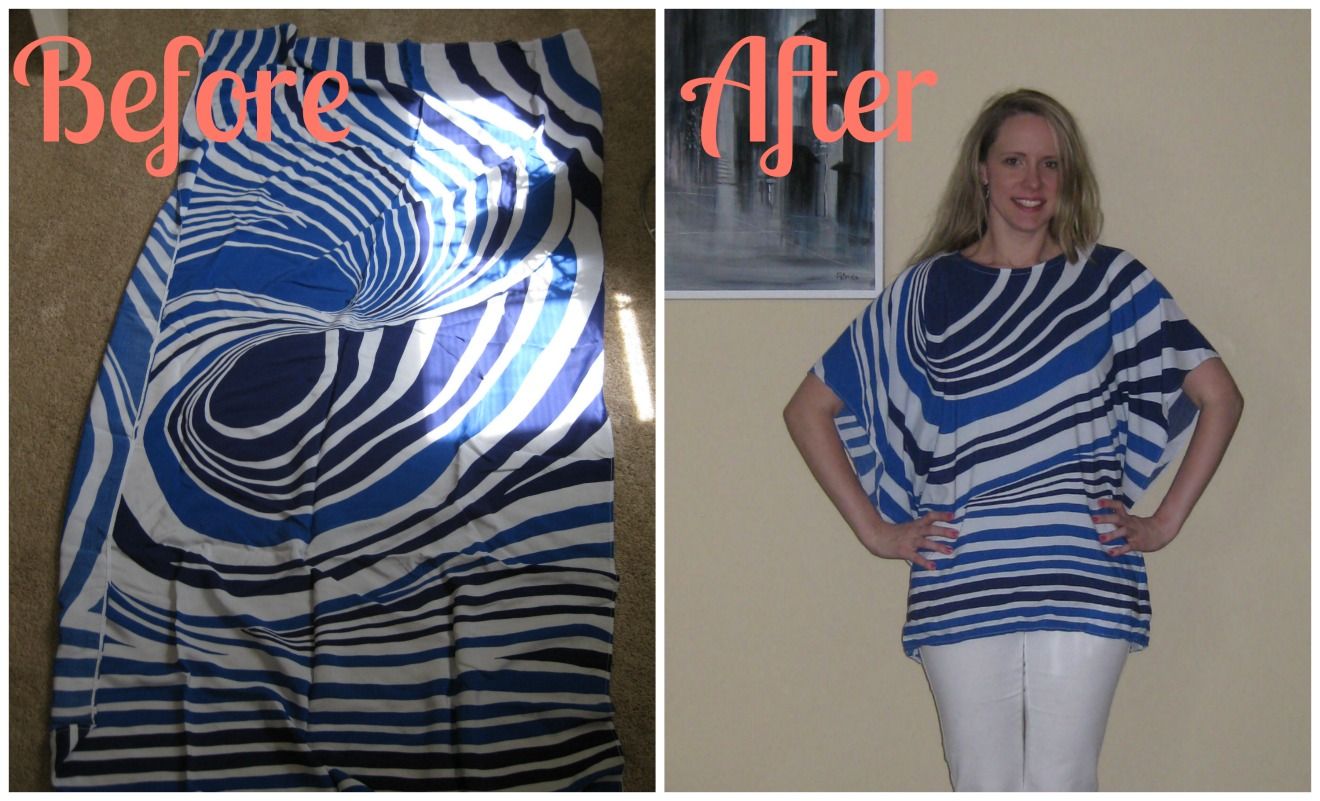
Ok, here is my other refashion with a fun drapey top. This top started as....
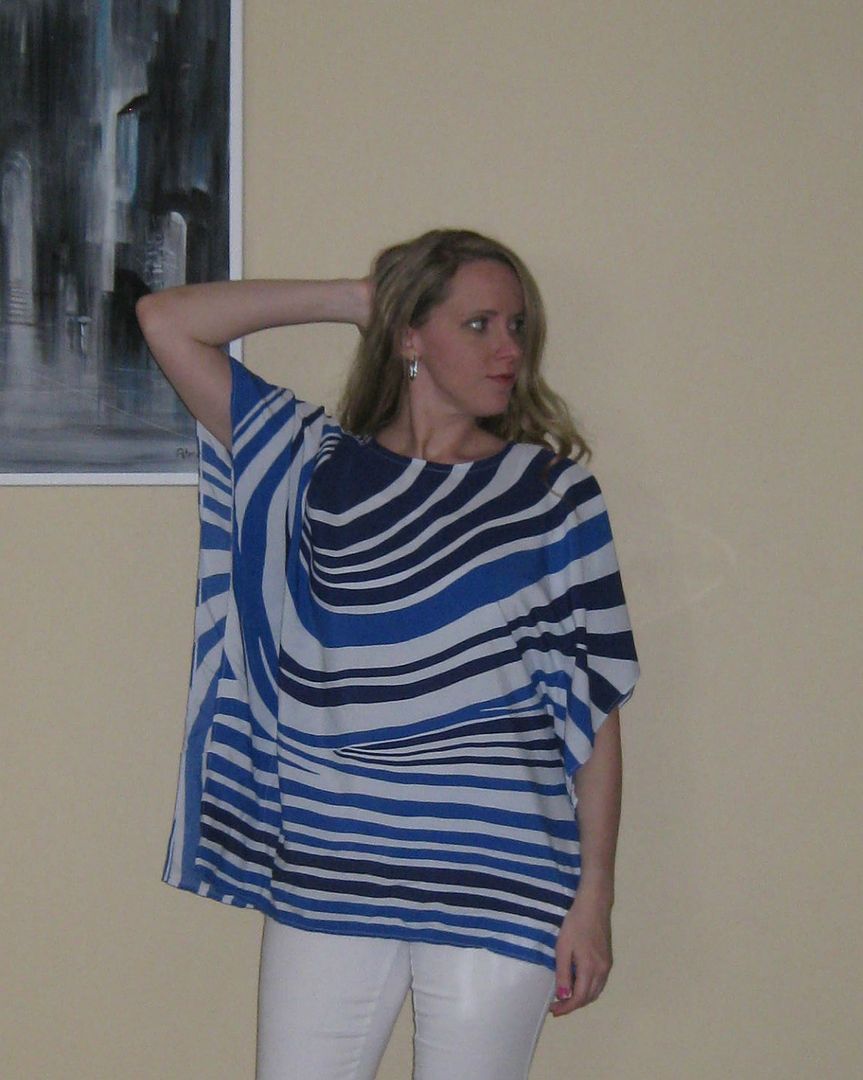
Um..... Err... Towel? No..... Um... Hmmm. Technically it is not a table runner. It is some sort of decorative fabric panel. To me it says it used to decorate some surfer guys house on this wall. That is what my gut tells me. The fabric was nice, thin, drapey and I love the color blue. Time for me to turn it into a blouse.

I gave it a good iron and folded in half. I pinned the sides together and then marked my hip measurement plus 4 inches. Divided that number by 2. That was house much I needed to fit my body in. I marked with a disappearing pen. You can see the marks in the first picture with the black arrows. I sewed down the line, leaving plenty of room for the arms (I seriously don't remember- I just winged it). When I got to the bottom of the blouse, I left the last 1-2 inches un-sewn. Luckily I did not have to sew a hem or clean up the edges as it was already done. Yeah that made me really happy!
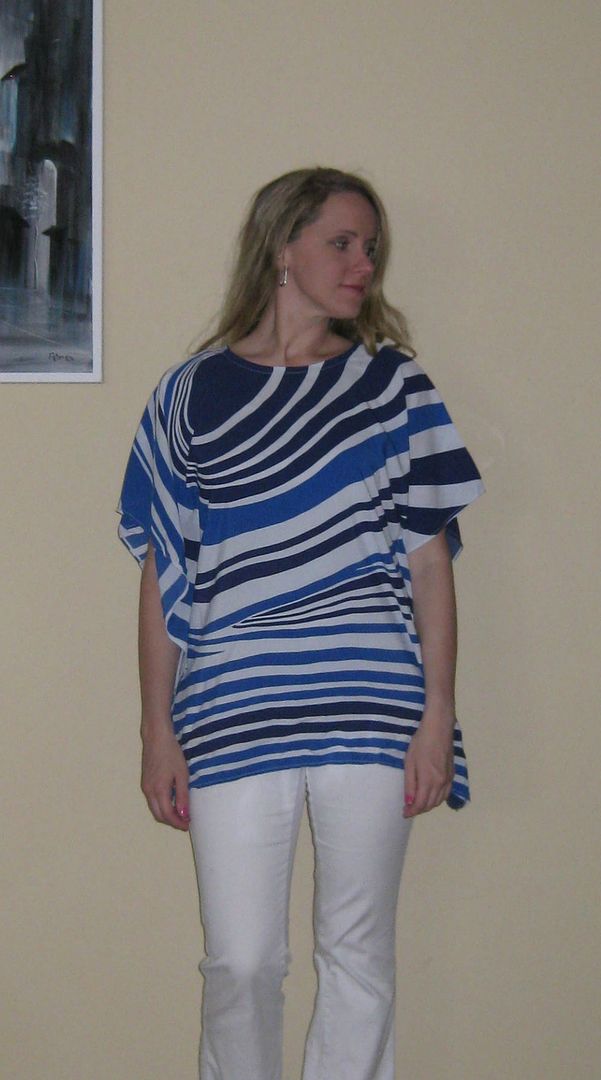
Unfortunately, for the neck hole I apparently only took a mental picture and not a physical one. So my apologies. But I did cut a hole, 4 inches deep and 5 inches wide- curving the line. I then finished that edge with blue bias tape. Again, a good iron and this top was ready to go! I love easy refashions!


The one side was more visually interesting to me so I chose that as the front. 


Here is the recap, I feel as if I saved this fabric from a surfer. I have no idea why. But easy top!
Cheers,
Lauren

Monday, June 23, 2014

Butterfly chiffon top, refashion 45

This week is all about flowy blouses! All they are all very easy projects!!

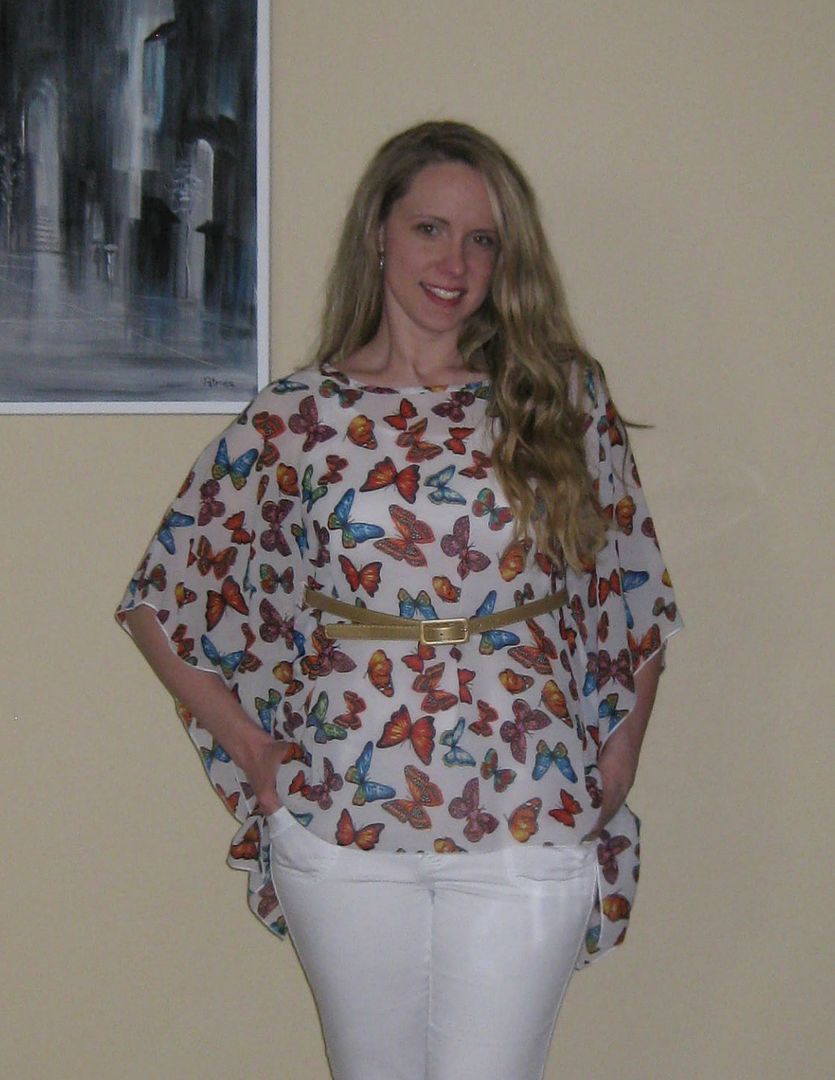
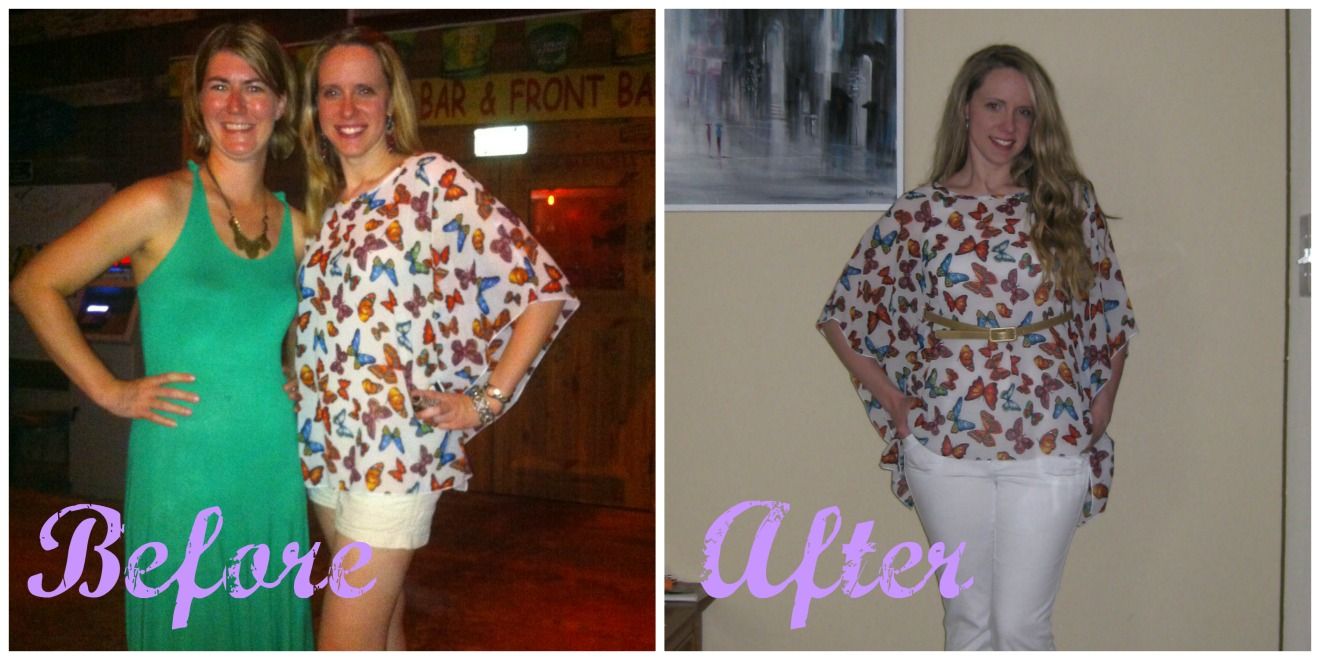
First one is this cute butterfly top. Now I loved it but I had fit issues as it was too big and always fell off my shoulders.

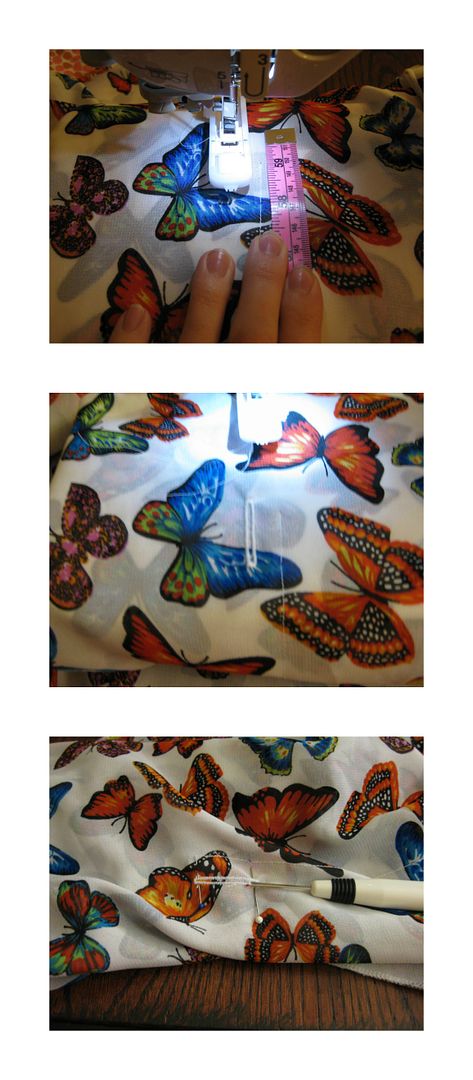
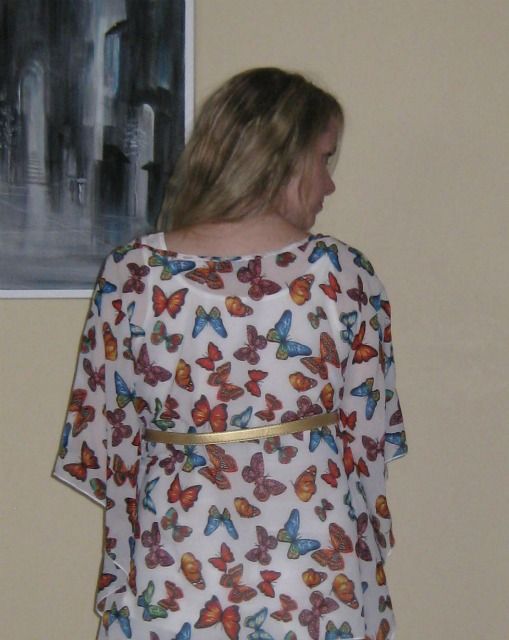
I decided the best option would be to add a button hole. I used my button hole foot for my sewing machine. Set it on the widest possible setting, measured where I wanted the hole to be. I did this on both sides. Simply pushed my start button and away I went! I love my sewing machine! Then opened up the button hole with my seam ripper. Finally, I added a dash of seam sealer since the fabric was delicate. Done!
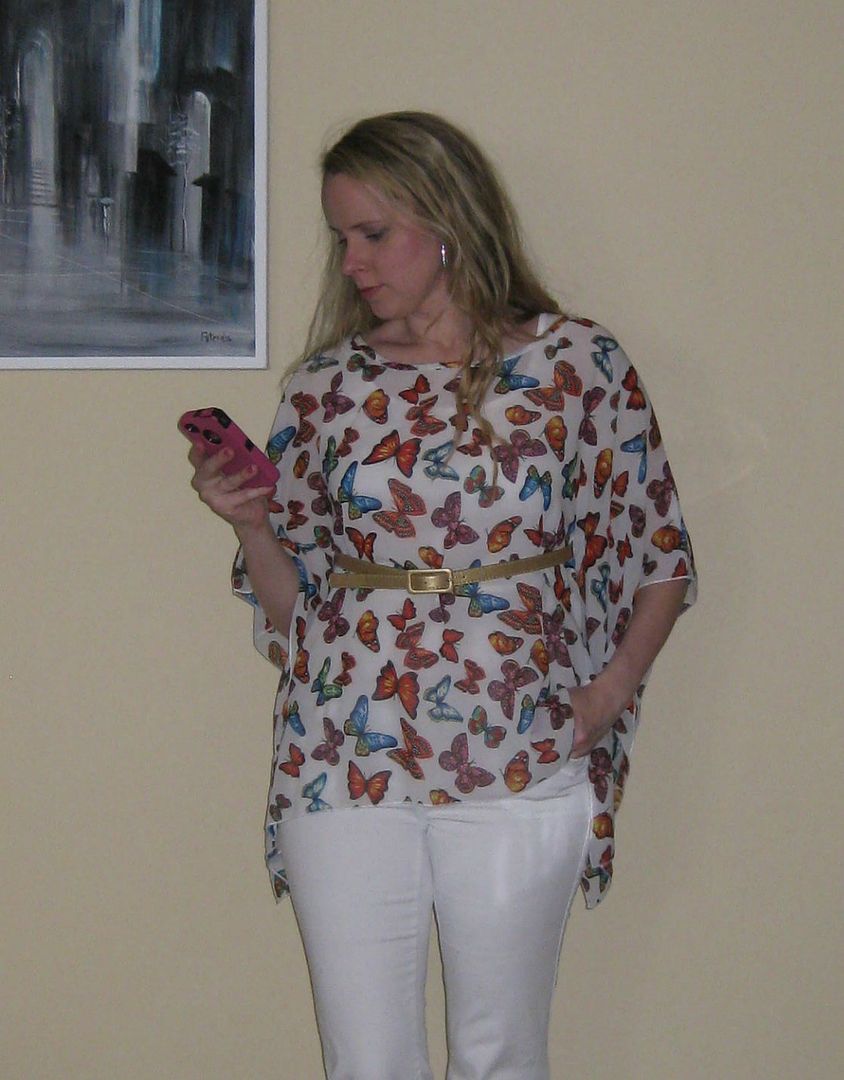
Now I can add a belt and keep my shirt on me. Though I wish I did a hair lower but it still works.

Yeah I was texting, I am a busy girl. LOL


The recap- an easy way to get a fitting on a big shirt!
Cheers,
Lauren

Monday, April 28, 2014

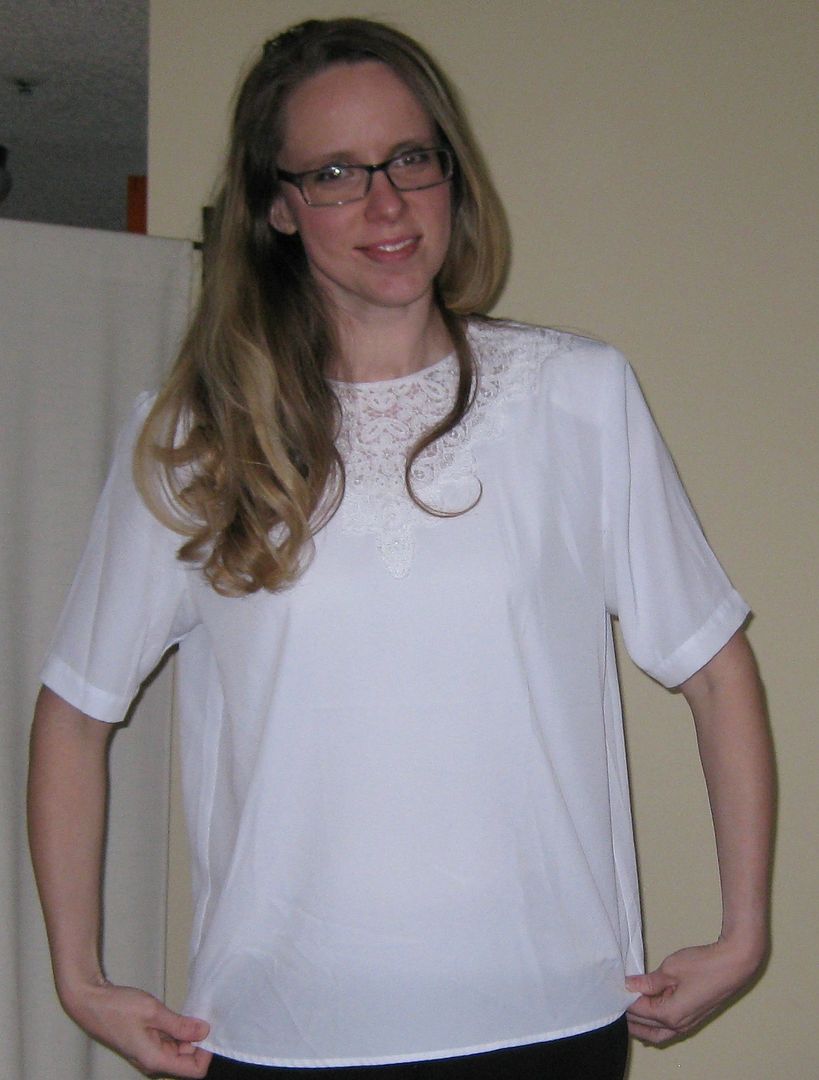
Lace shirt refashion, refashion #32

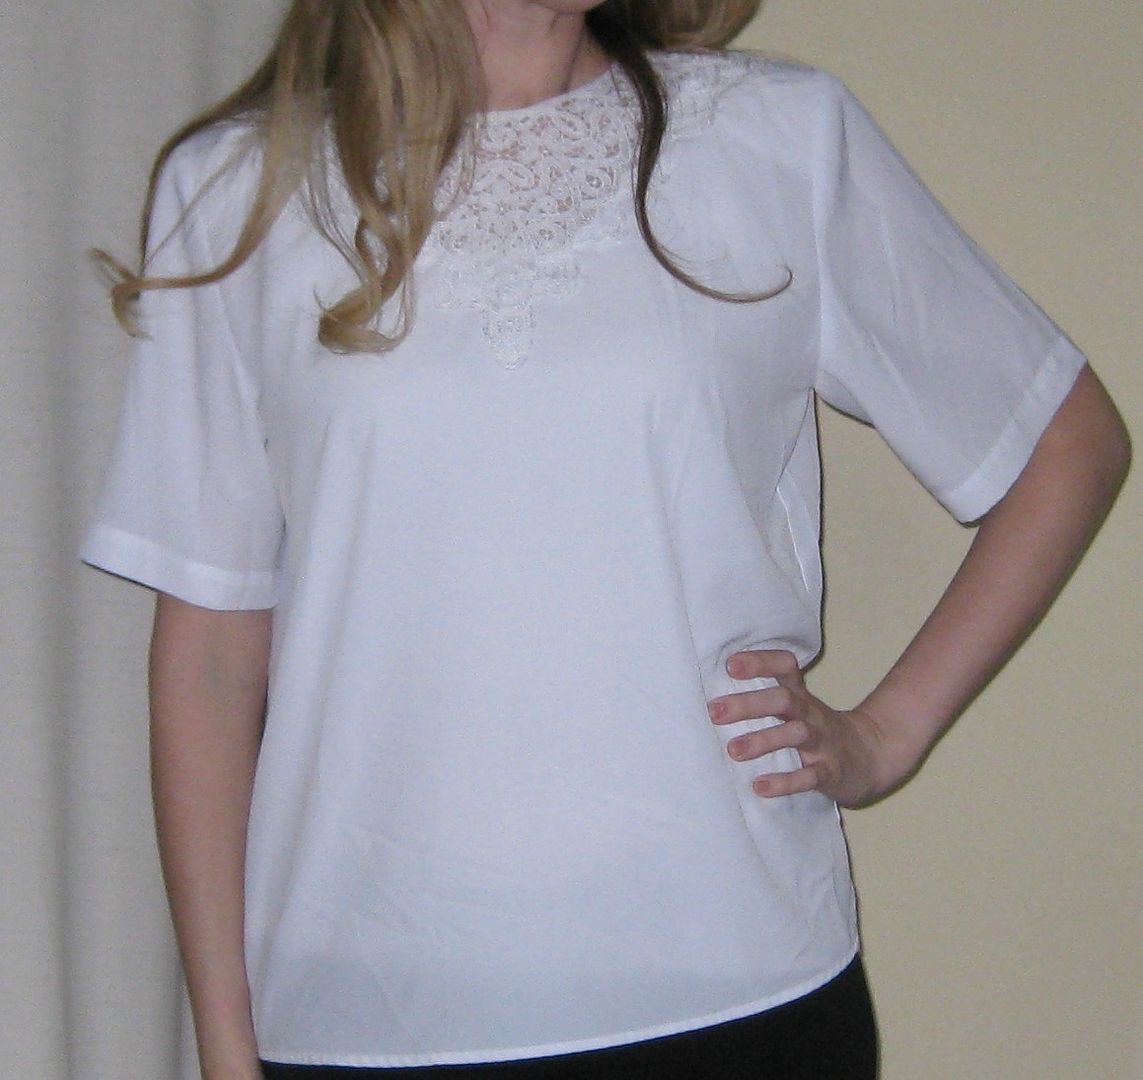
Alright next refashion was this what I called the old lady lace blouse. It just reminds me of something my grandmother might like. But for some reason I was drawn to it. And then I realized it was polyester.


I really like the lace insert though. I pulled out the shoulder pads (really!!) and took off the sleeves.
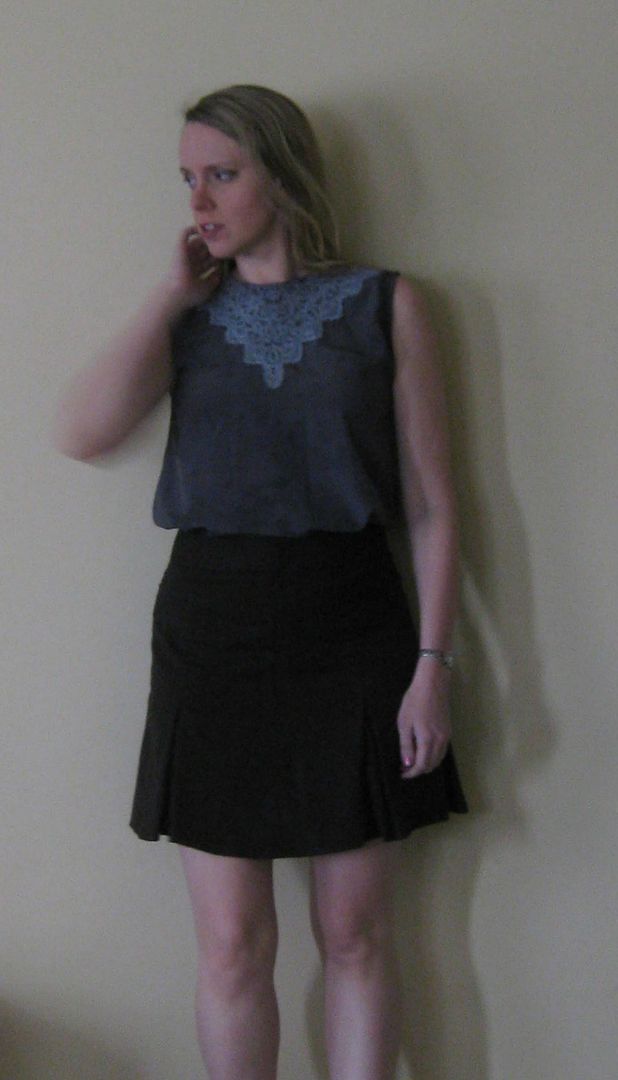
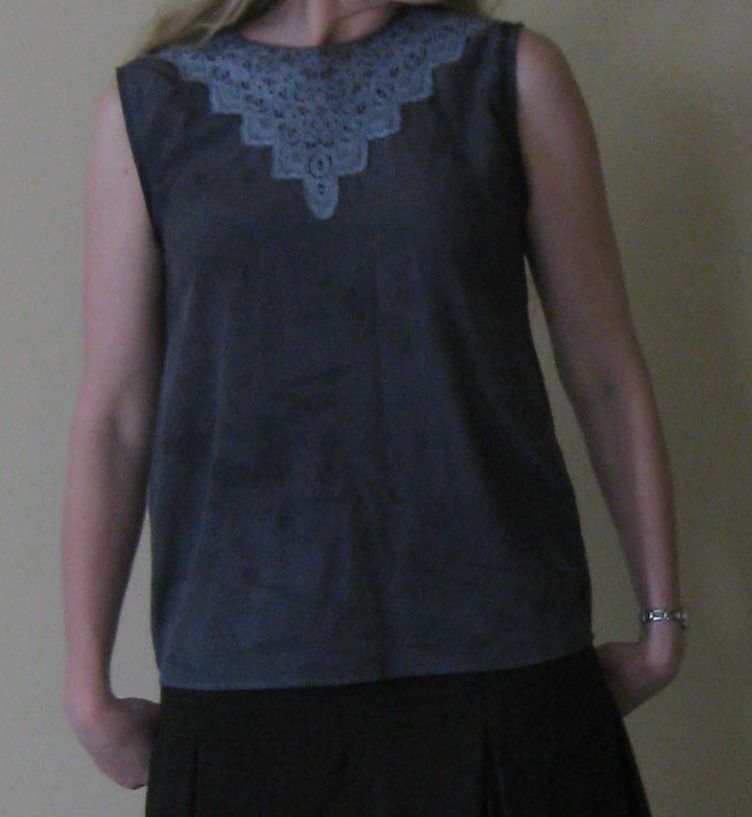
Now what I don't have any pictures of the next part. I dyed it using iDYE- black. It did not come out as I had planned. I haven't been having the best of luck with iDYE like I have in the past. I got a grey with a mixed color background. Which I actually didn't mind. And the lace was lighter than the rest of the blouse so it was a nice contrast. I took it in just a hair near the arm holes and finished with bias tape. New version of the blouse


Just so you can see the entire piece. 

This top will be good for work under a blazer so I am happy for something different. Here's the recap.
Cheers,
Lauren

LinkWithin

Related Posts Plugin for WordPress, Blogger...