Well hi welcome to my little blog. Just my little corner of craftiness, sewing, and refashioning. I am also a newly gluten free eater so you have a little bit of recipes mixed in here.

Friday, April 19, 2013

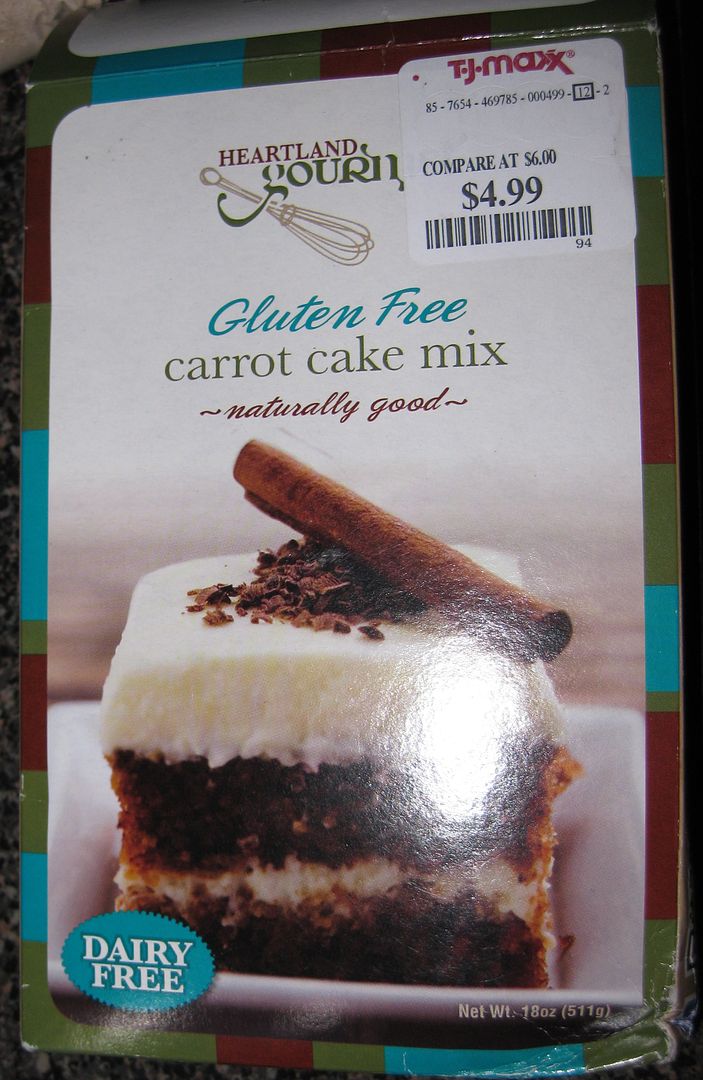
Carrot Cake Cupckaes: Gluten free review

Yay ready for some carrot cake. Actually I am not a carrot cake person but this mix changed my mind. It was a gift and now actually I wound up with 3 boxes of this mix. LOL Well let's try it out!

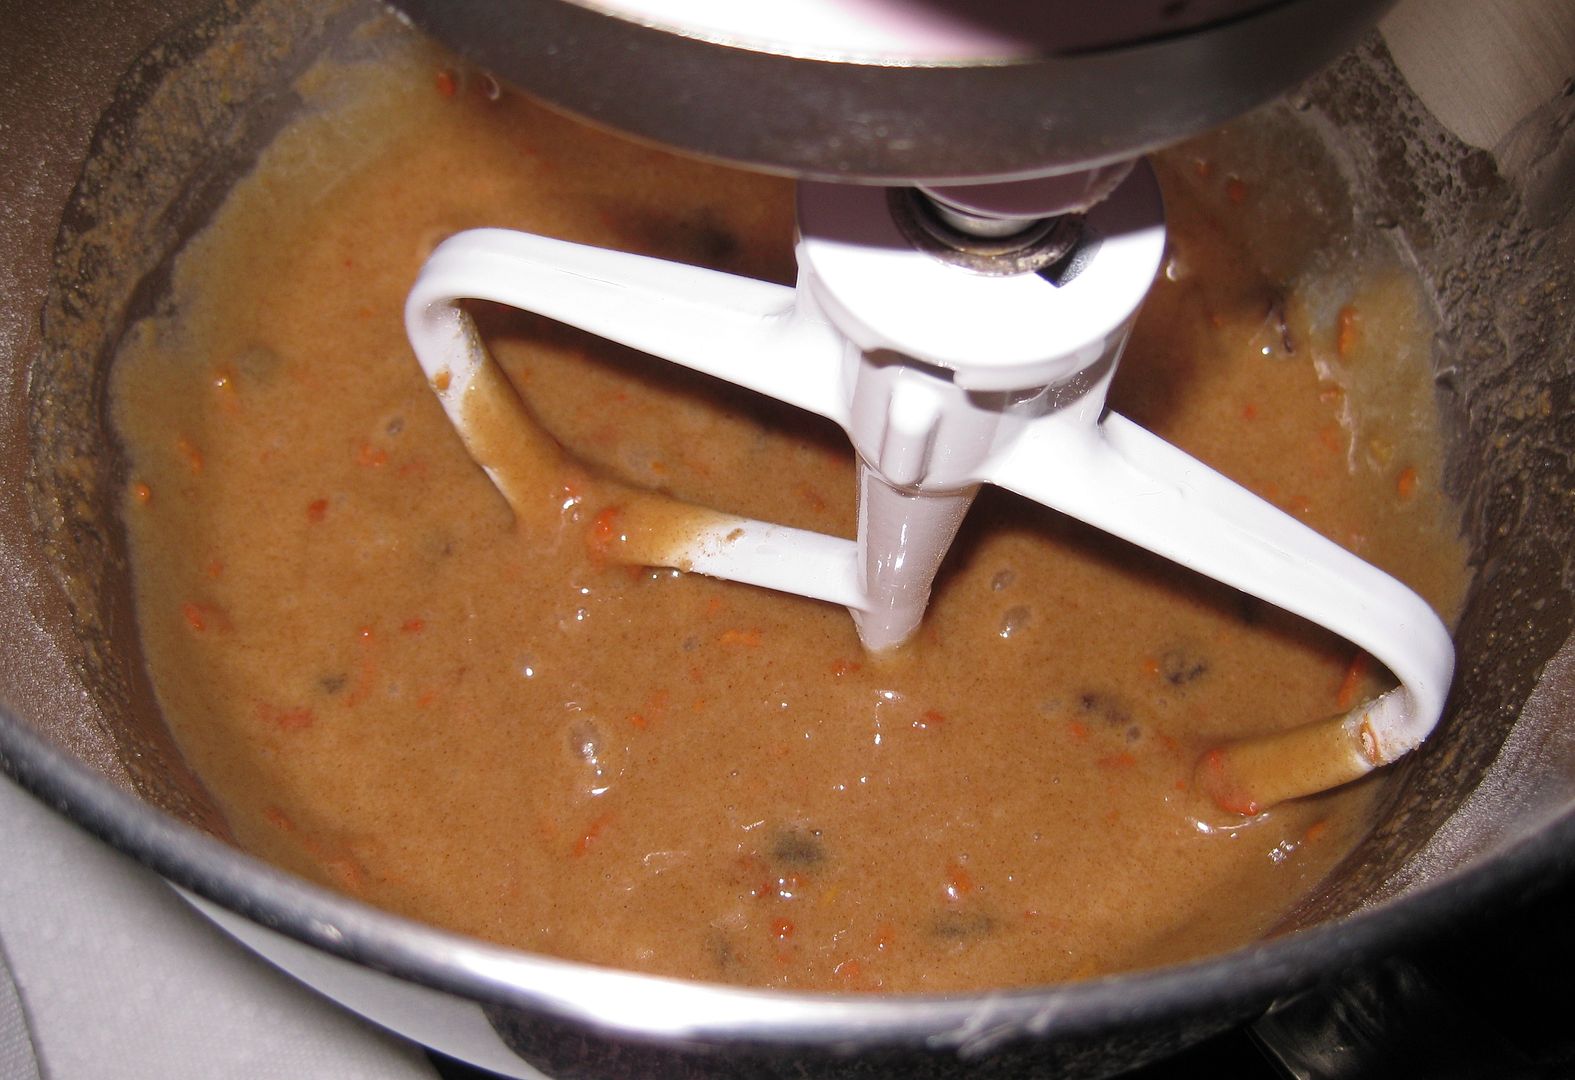
Combine the ingredients and mix. Then you have to let the mix sit for 10 minutes to rehydrate. 

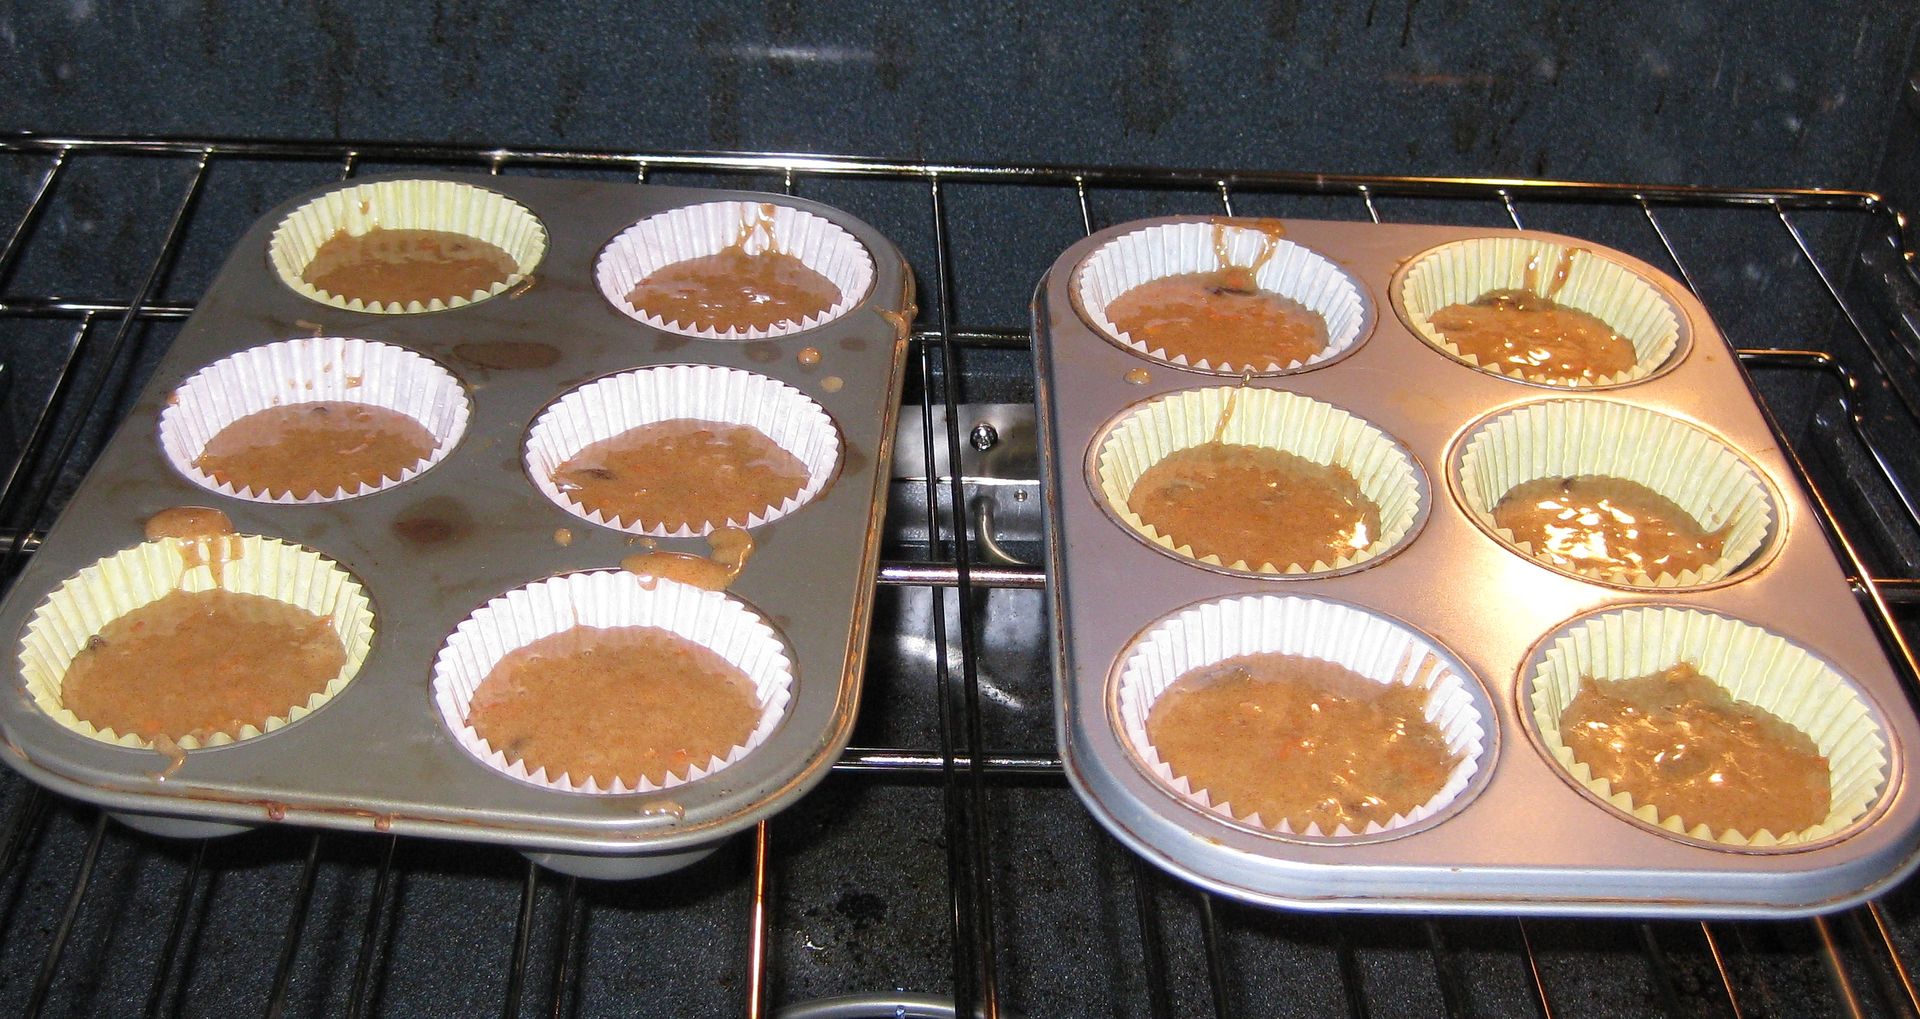
The batter is super sticky. Instead of making a cake I went for cupcakes. I modified the cooking time to 20-25 minutes. 

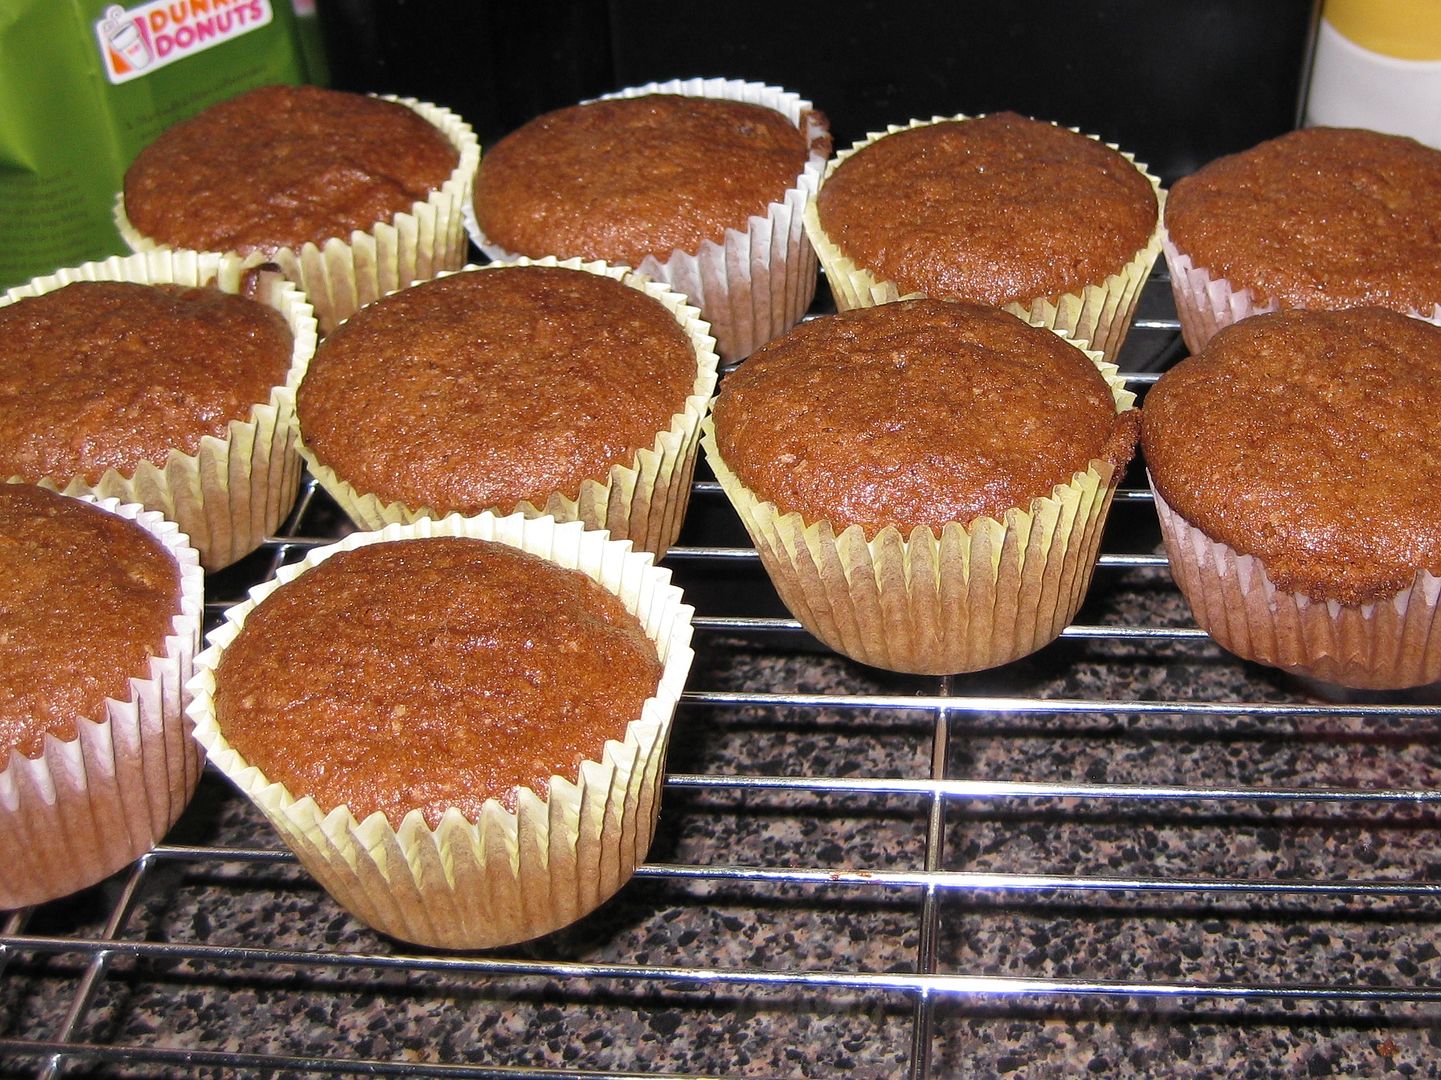
Yummy-cooking straight out of the oven!

Add some cream cheese icing. 

Done!

These were delicious. And I am not a fan of carrot cake. Even my boyfriend liked them also. I am kind of happy that I got 3 boxes of this mix. This was a great way to eat a quick breakfast.

xoxoxo,
Lauren

Wednesday, April 17, 2013

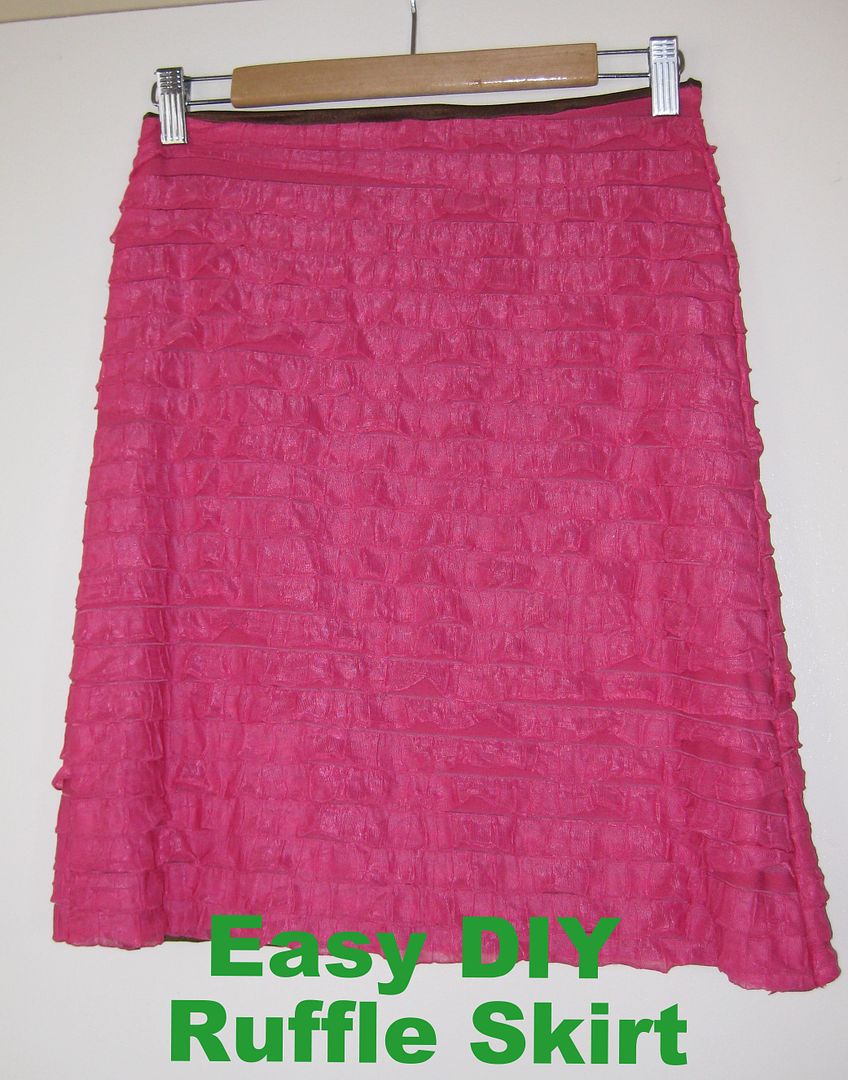
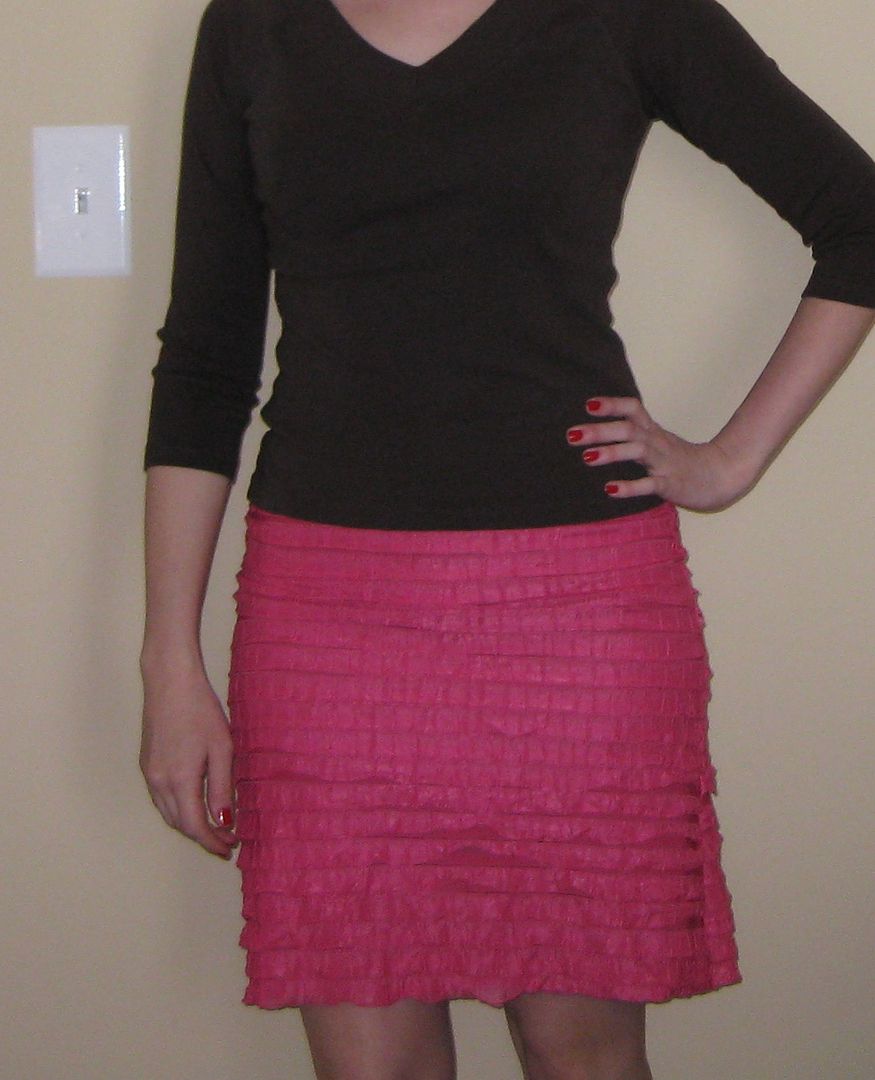
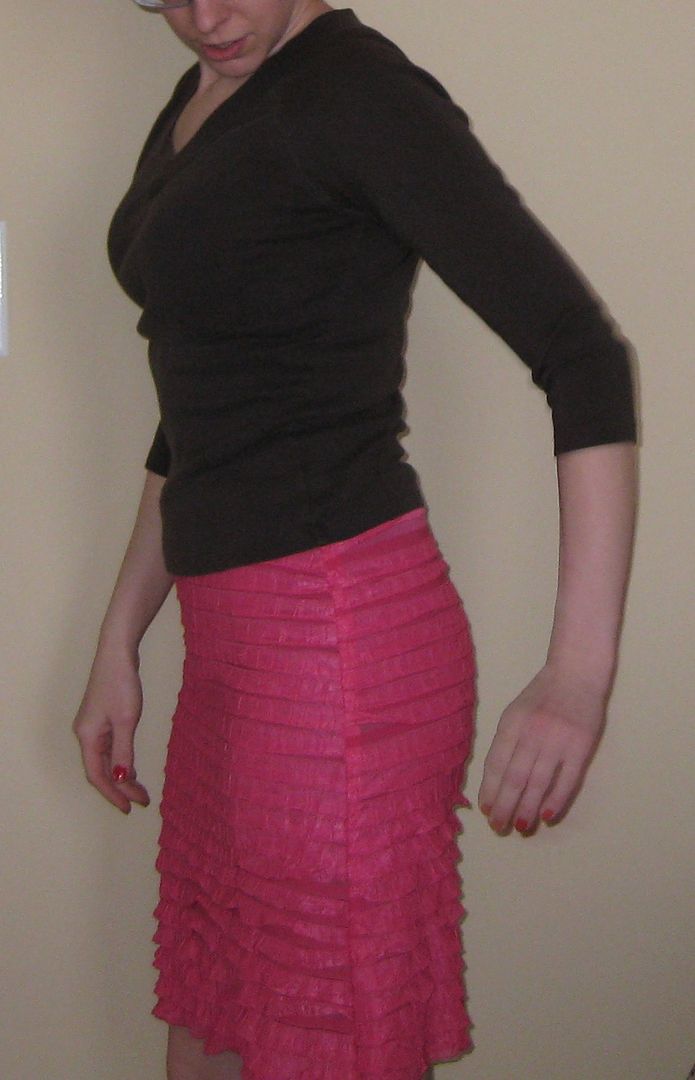
Pink ruffle skirt DIY with liner

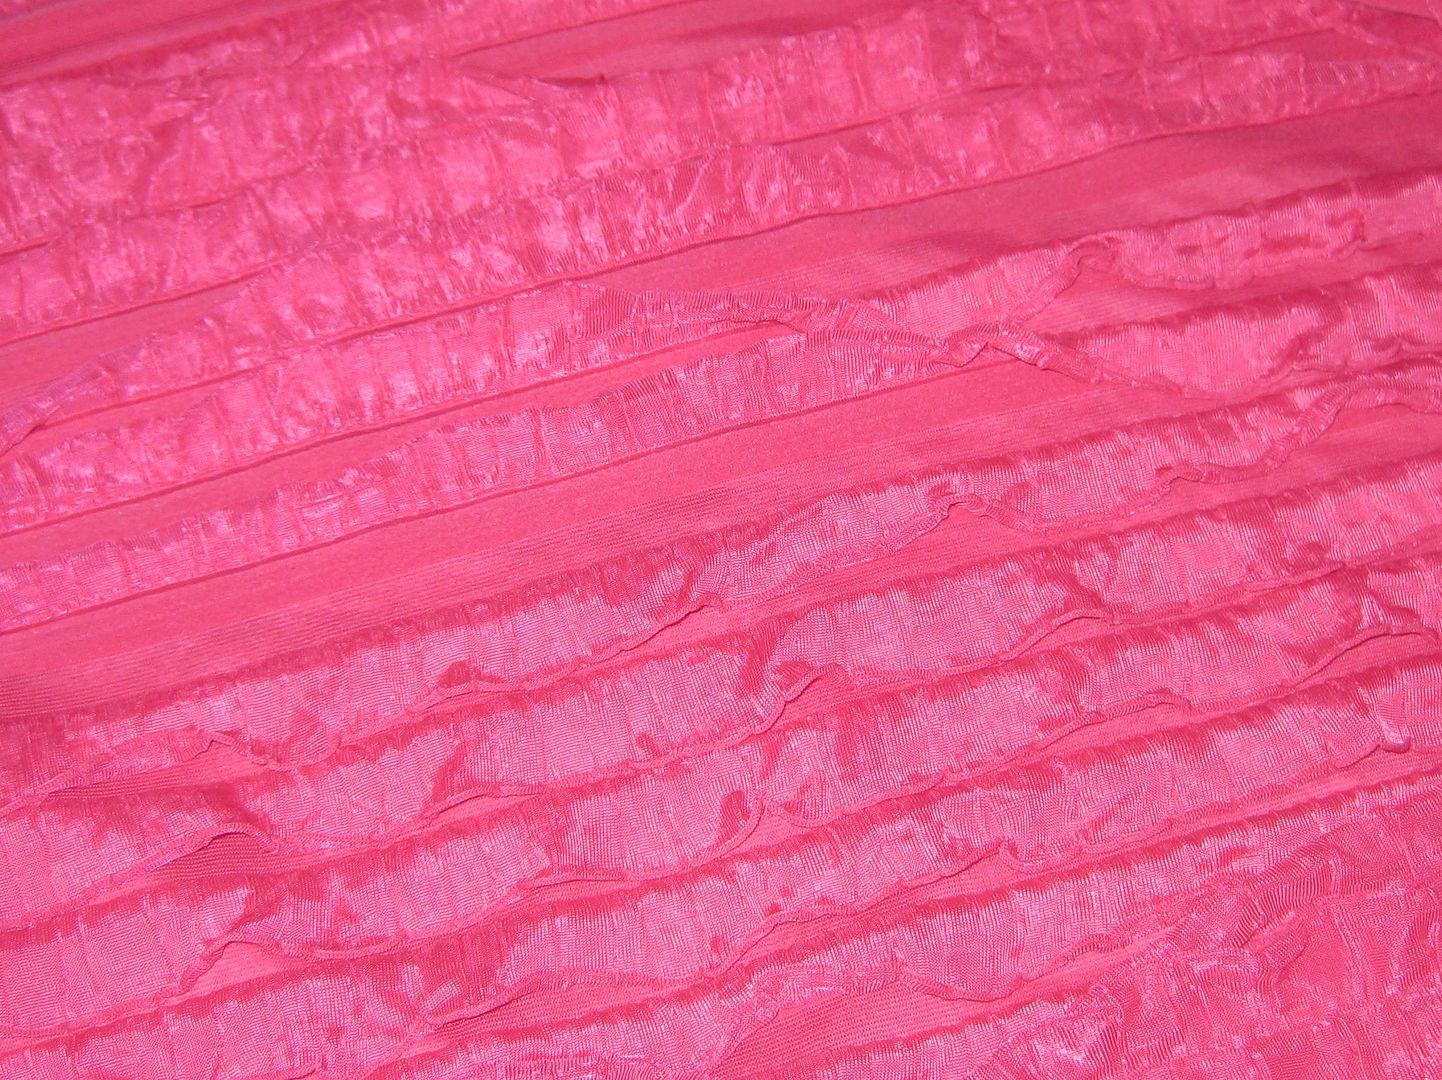
Today I made my own skirt. No patterns! Yay! Found this pink ruffle fabric remmant on sale at Joann Fabrics. Super excited about it. And it was just enough to make a skirt.

I used a skirt I already had as a template. Folded the ruffle fabric in half and prepared to cut. 

I added about a 1/2 inch seam allowance to the cut fabric. Used my handy ruler-I love that thing! I saved the rest of the fabric probably for some bibs-Don't know yet. 

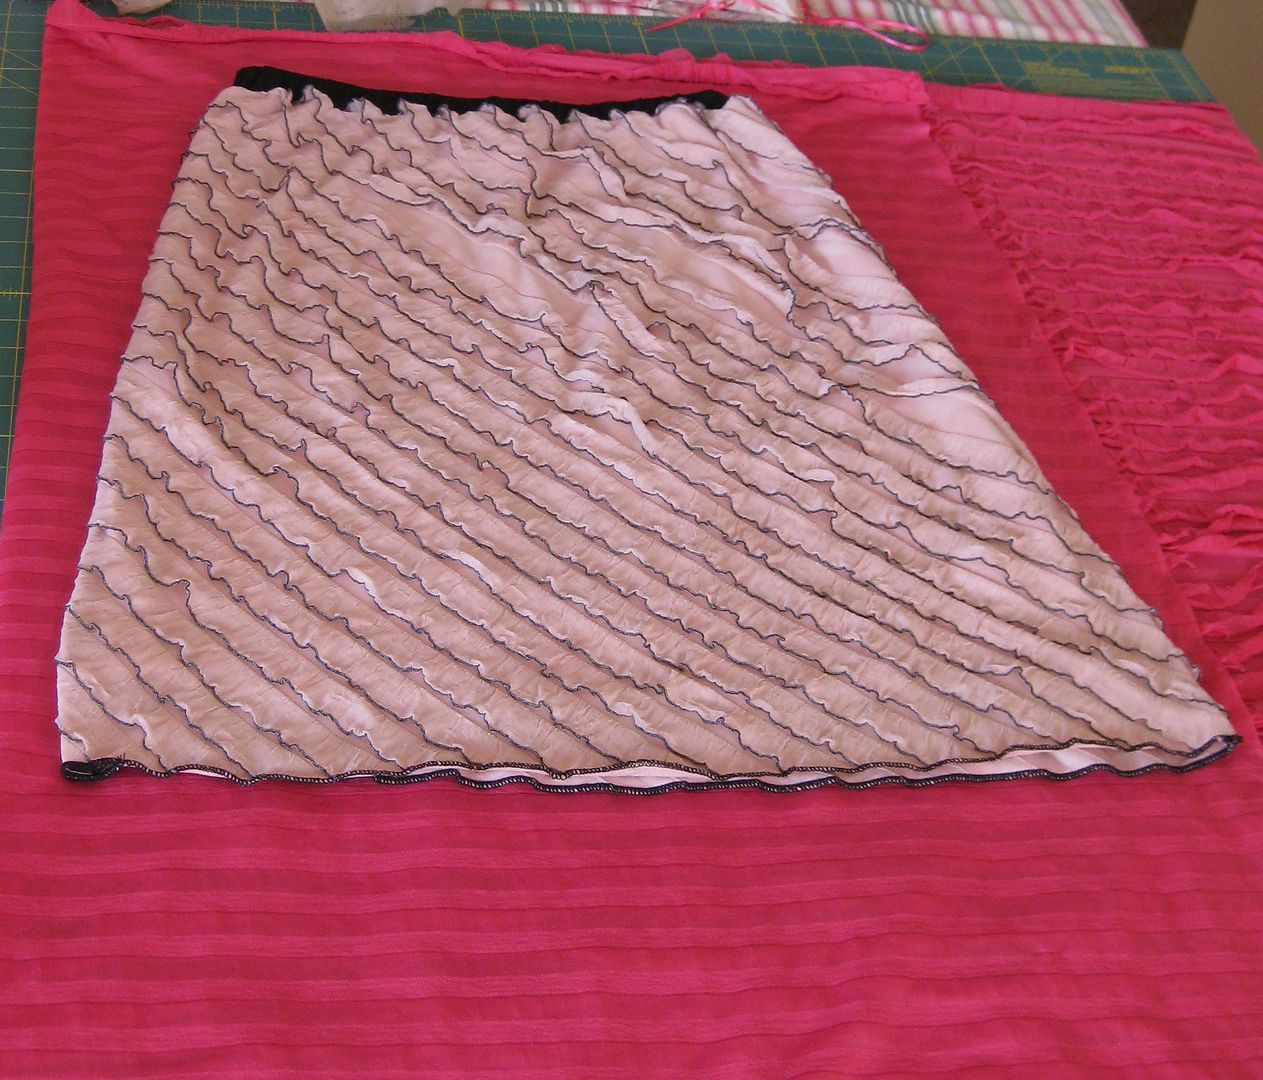
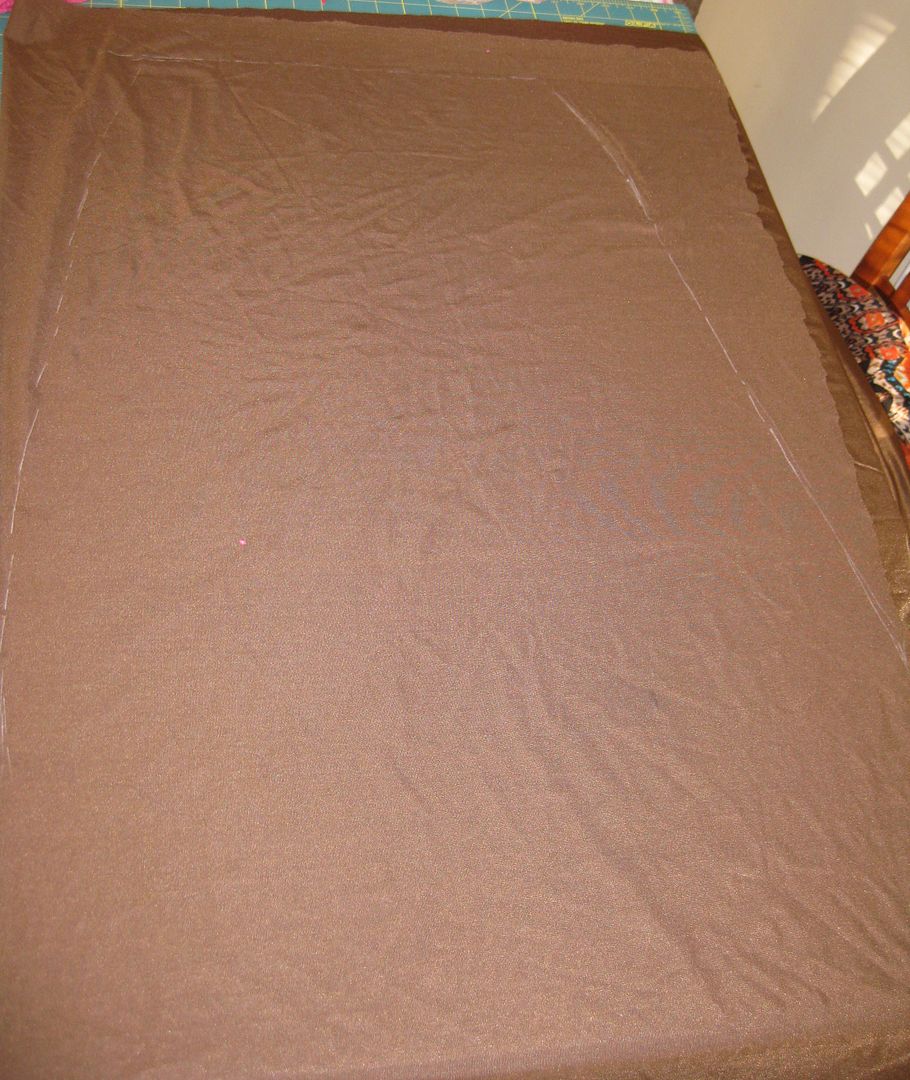
Now this fabric was a tad on the see through side-something I don't want for a skirt. I had some bronze-brown spandex in my fabric stash. I traced the pattern with some chalk and then cut. 

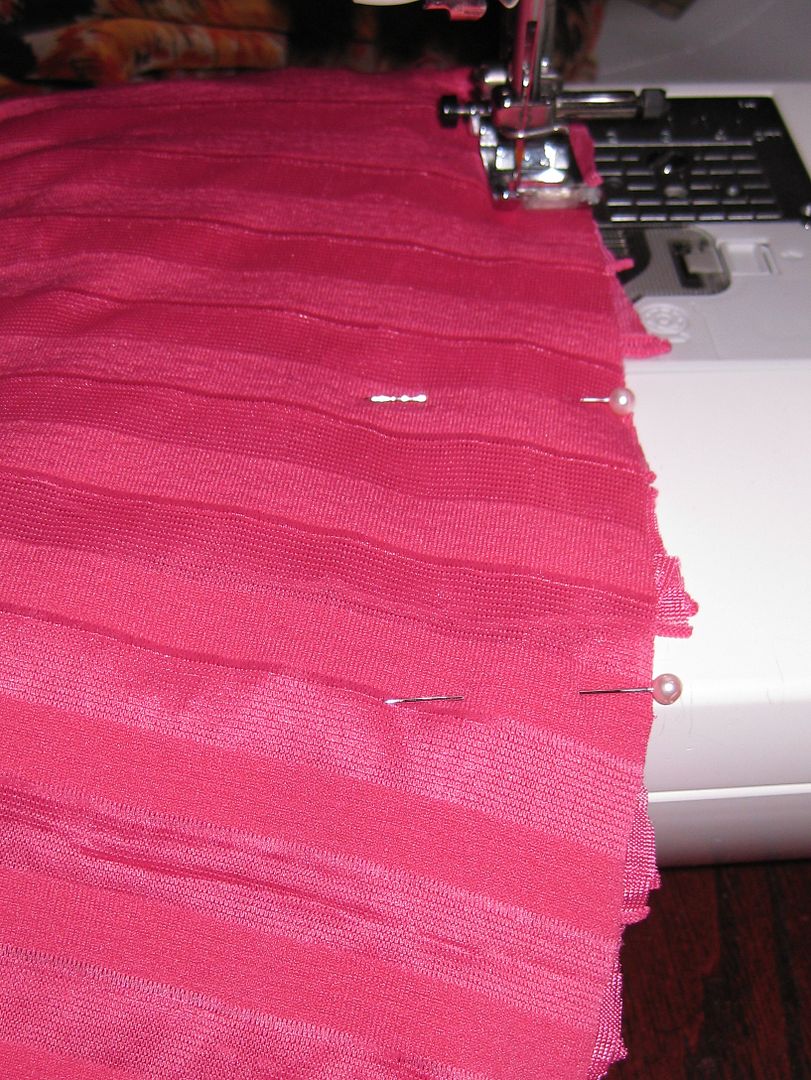
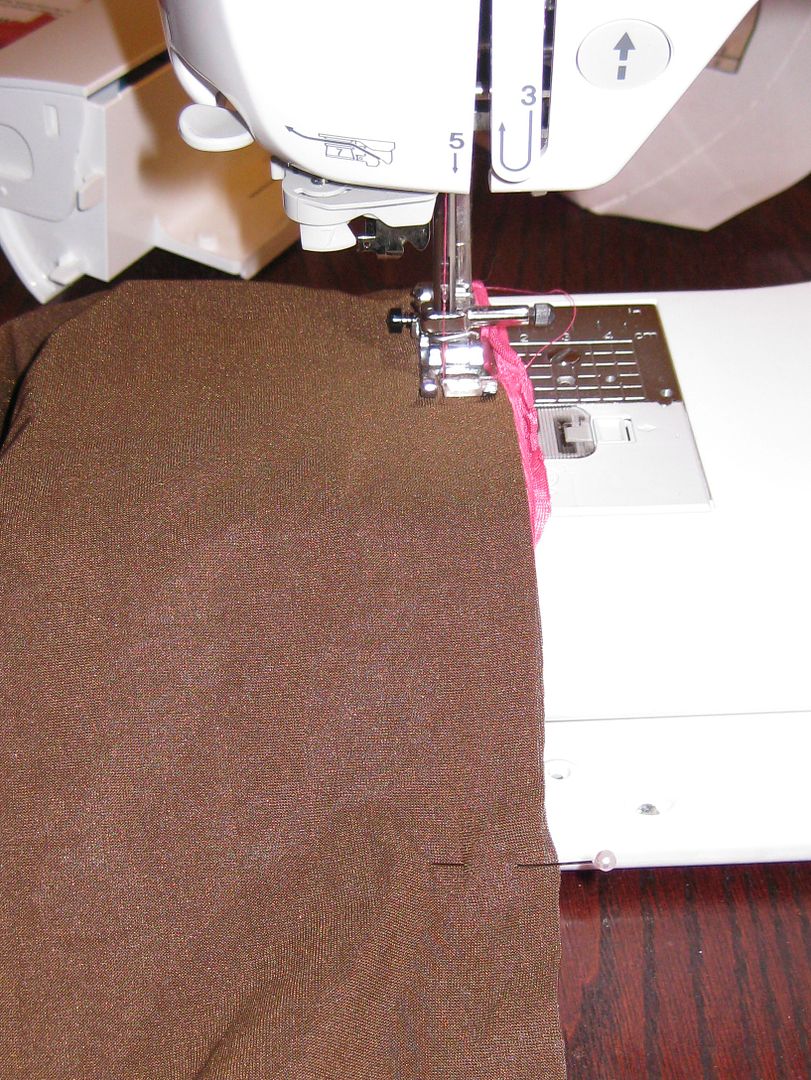
I sewed the pink portion of the skirt at the side seams which was hard with those ruffles actually-I was surprised. And then repeat for the brown spandex. 

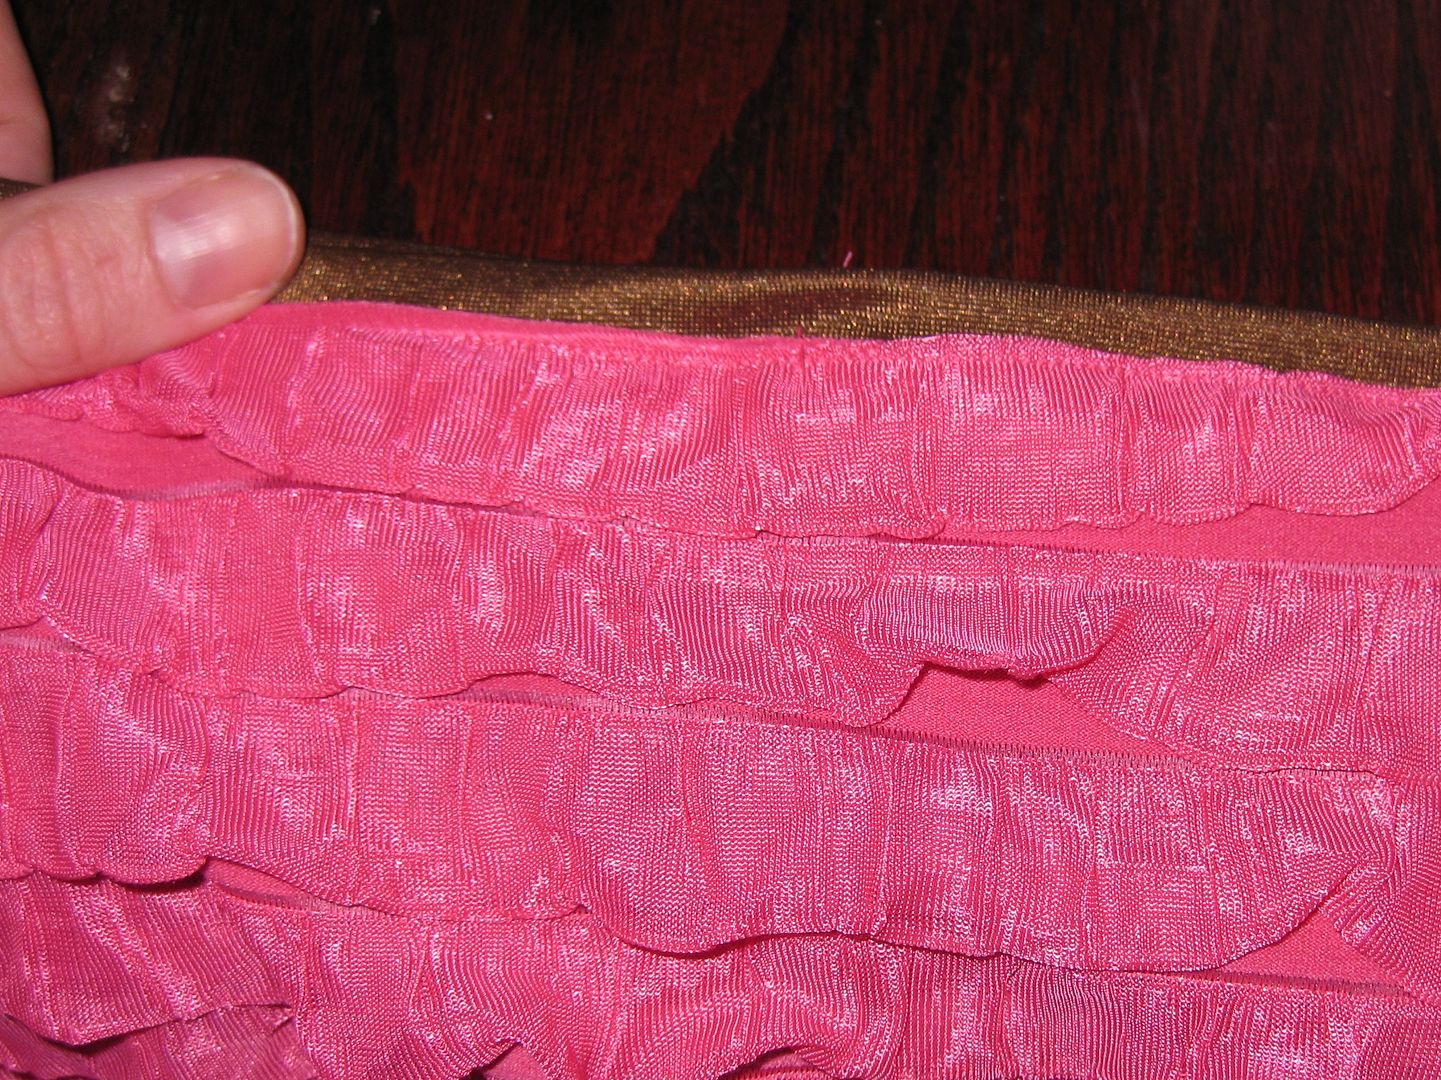
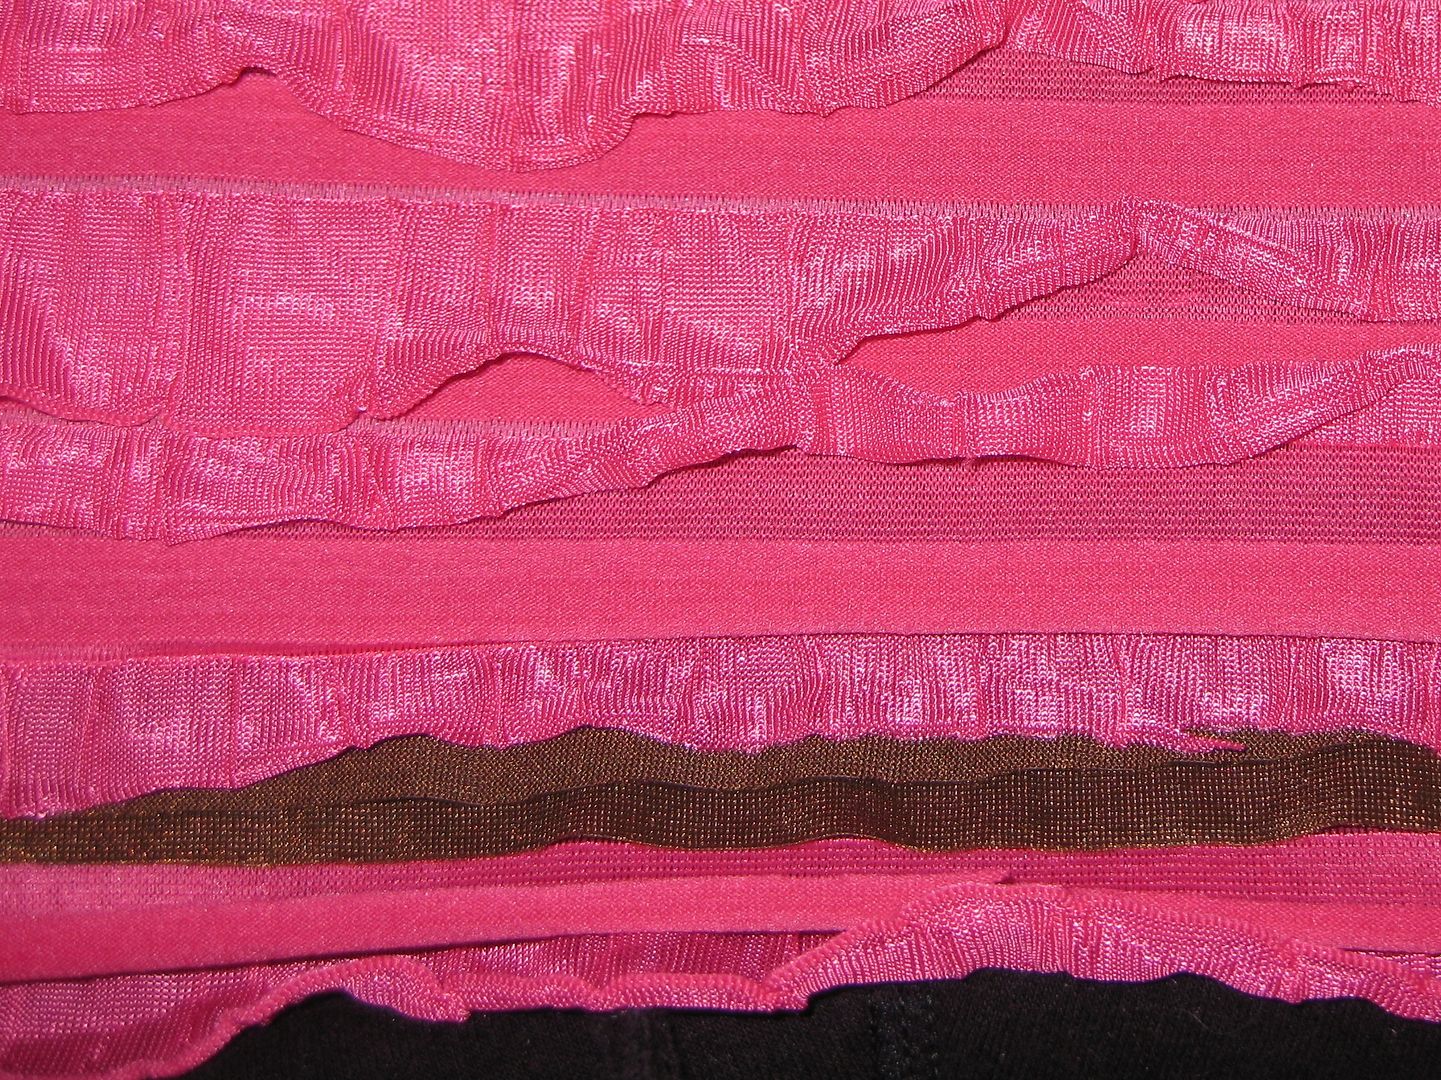
I put the skirts together and sewed the top of the waist band. I think turned it right side out and left a little bit of brown band to give the edge a finished look. I stretched the fabric while I sewed it BTW...


Even out the bottom hem... (just cut it! Fabric won't fray)

Done! 

Here it is on... 

Not too shabby eh?? Comfy and I can wear it to work. I am excited! And it worked! Yay!

xoxoxo,
Lauren

Monday, April 15, 2013

Iron Craft '13 #7 Ethnic: Indian Dress Refashion

Better late then never!!! I finally had some time, I lost track of my blog with demoing instruments for the lab and then it was the annual American Association for Cancer Research meeting. And then I wound up sick! OMG!! But here we are!

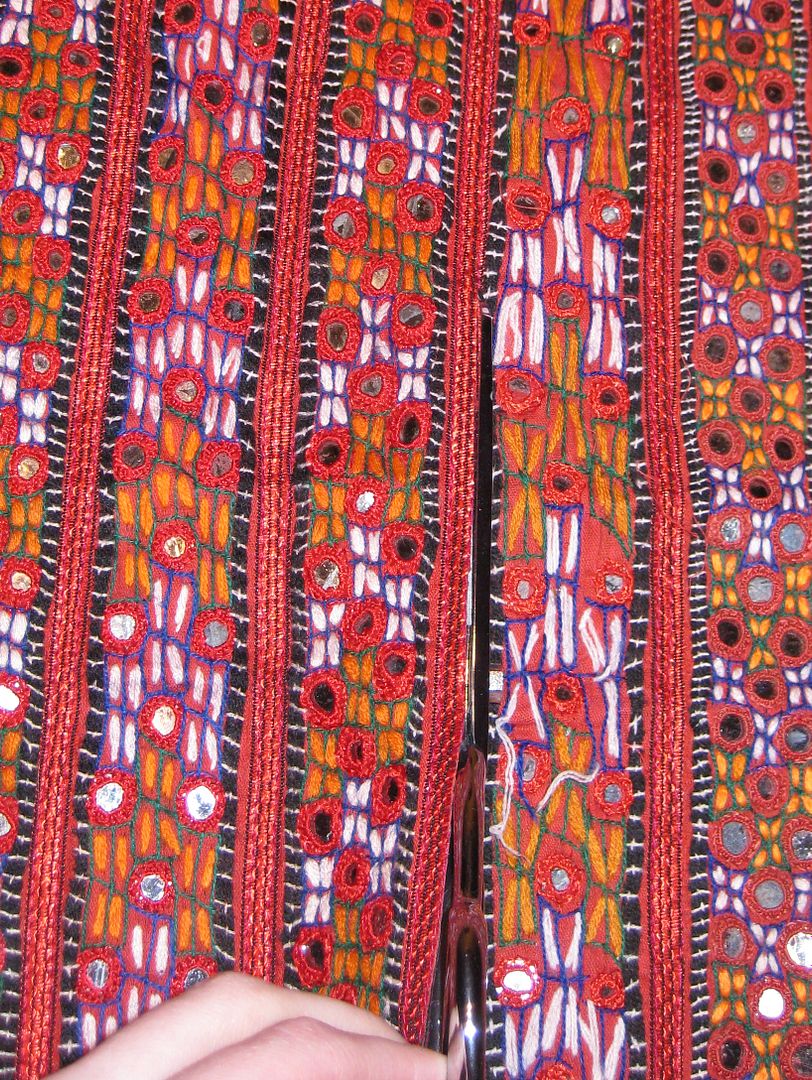
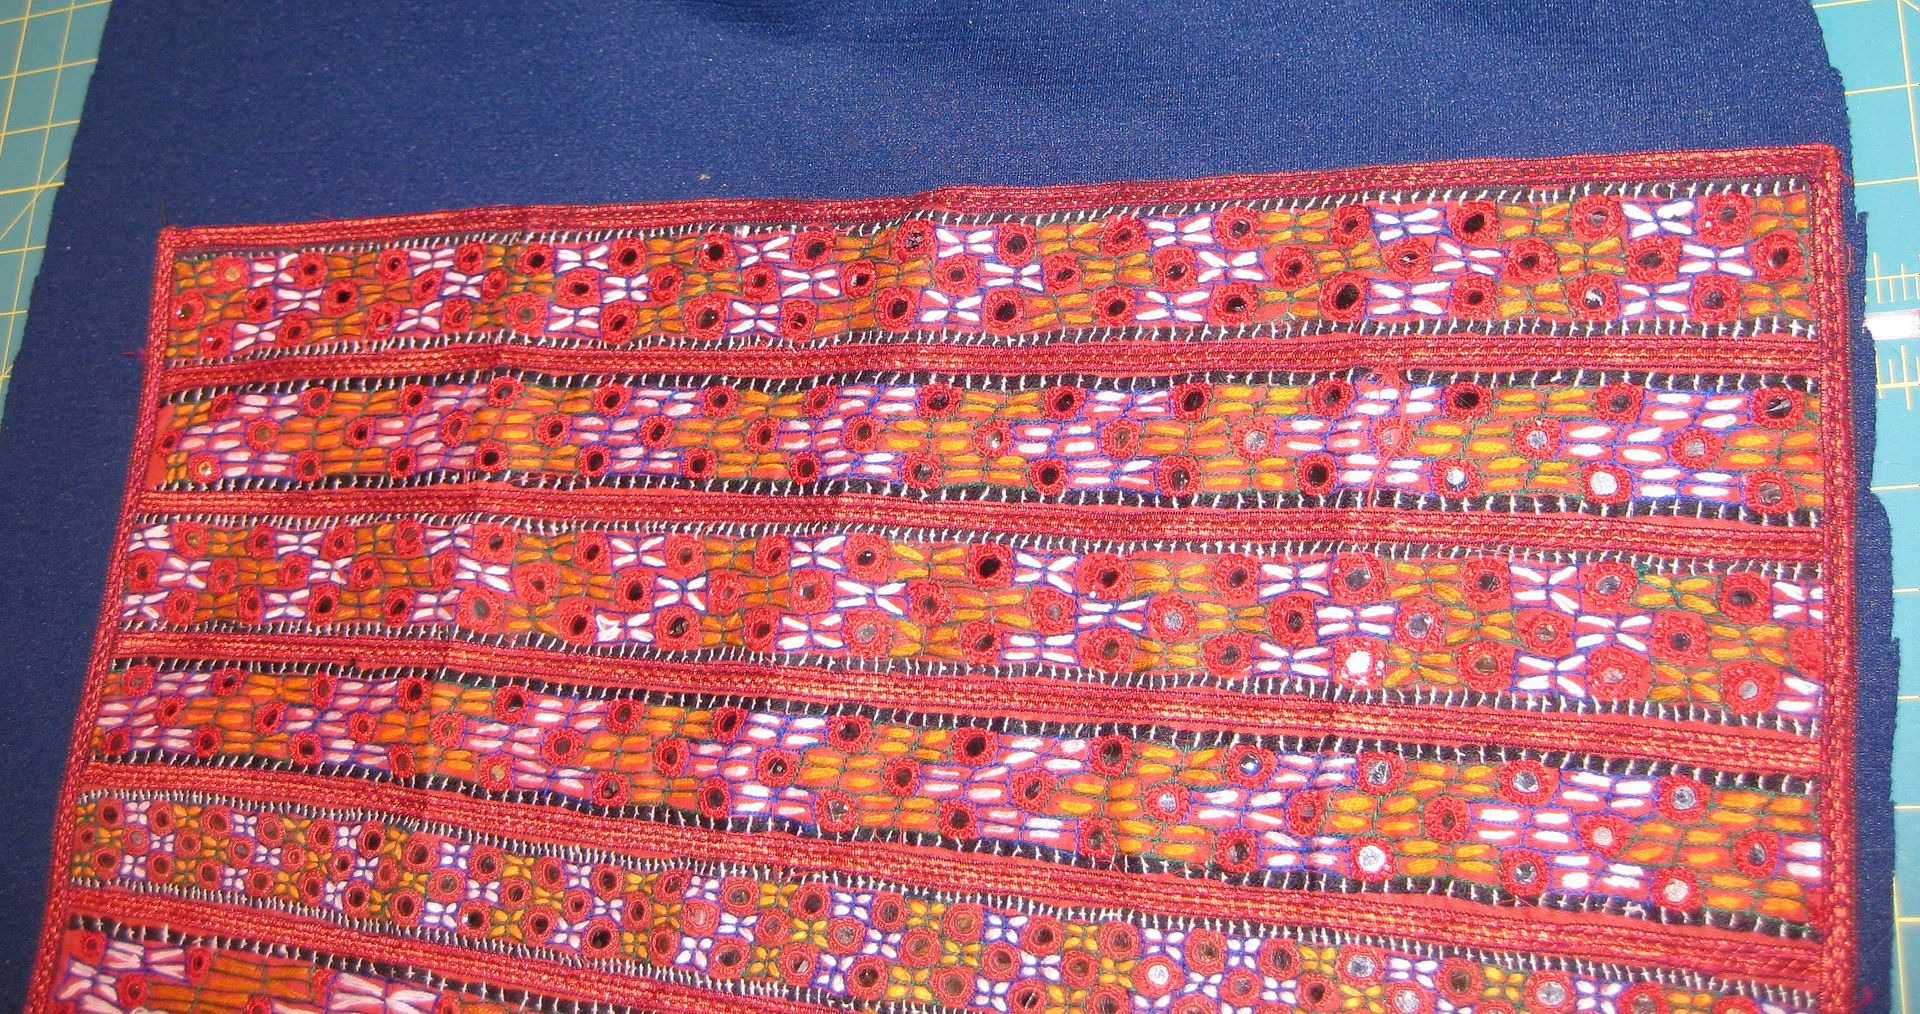
The challenge is to create something from an ethnicity  doesn't have to be yours. I had this Indian Dress I got at Goodwill one day and been waiting to refashion it. This dress is lovely and I just loved Indian embroidery.

Now the lining is horrible. There is no back to the dress and it was rigid. The first thing I wanted to do with this dress was make a skirt but look at the lining... it was gross. I had to hand wash it first! It stunk!

Then I made the cut.... I was so nervous, I cut along a one of the ribbons and used the bottom of the dress to be the bottom of the skirt. 

Here's my panel. Now technically it is too wide but I didn't want to risk cutting up up and having everything  fray and dealing with that or the mirrors. 

I decided to use a piece of scrap blue polyester which stretches to make the back of the skirt. I measured about the length and width of the fabric panel. 

Cut the fabric in half and sew each side to the panel (right sides together). I sewed slowly and used a heavy duty needle. 

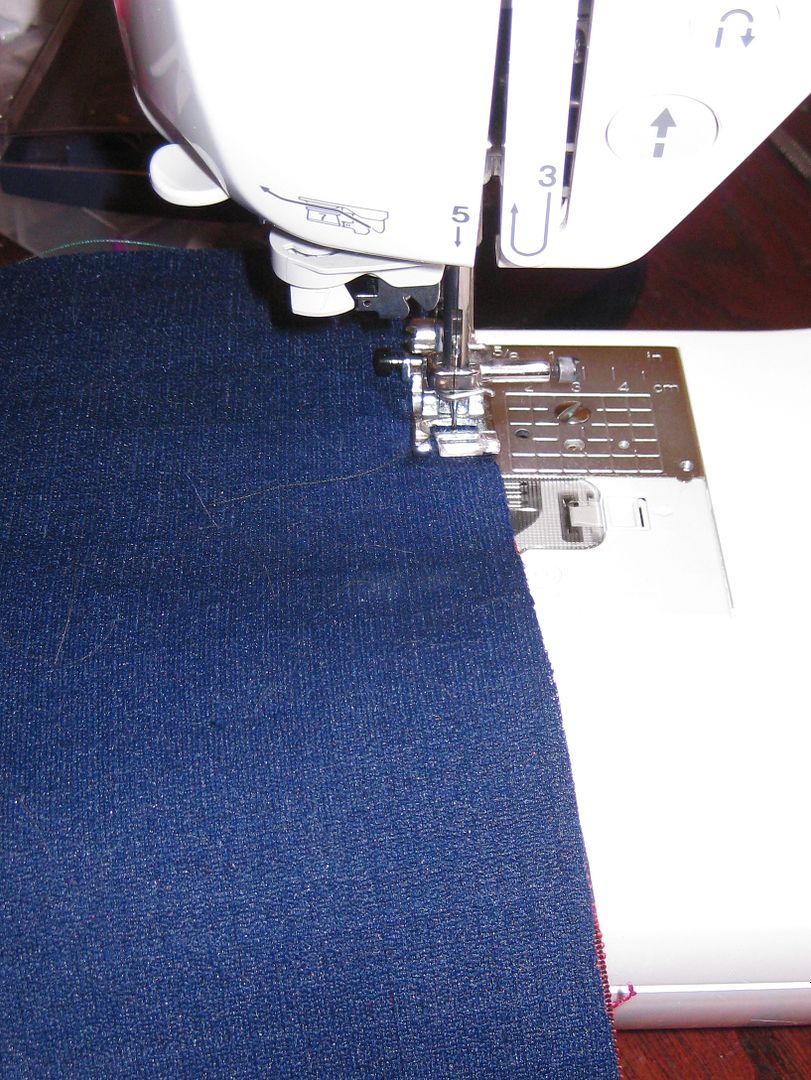
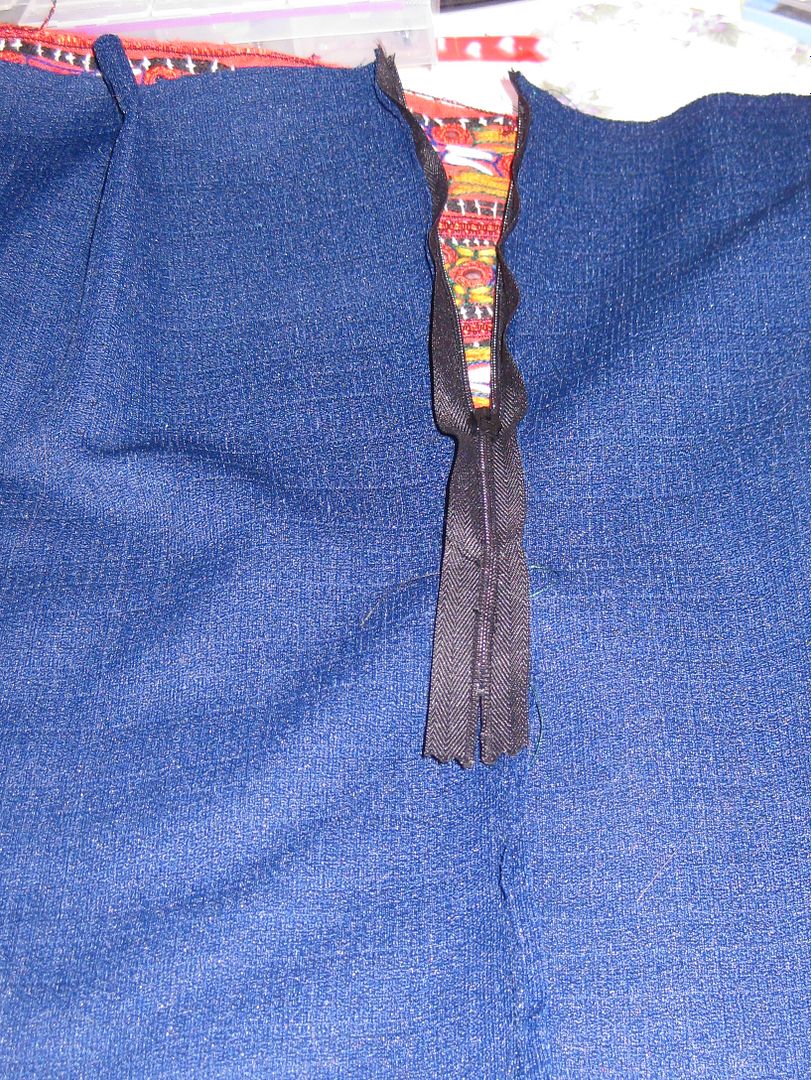
Next I adjusted so the skirt would fit snug. Added an invisible zipper and then darts to adjust the waist from being too big. 

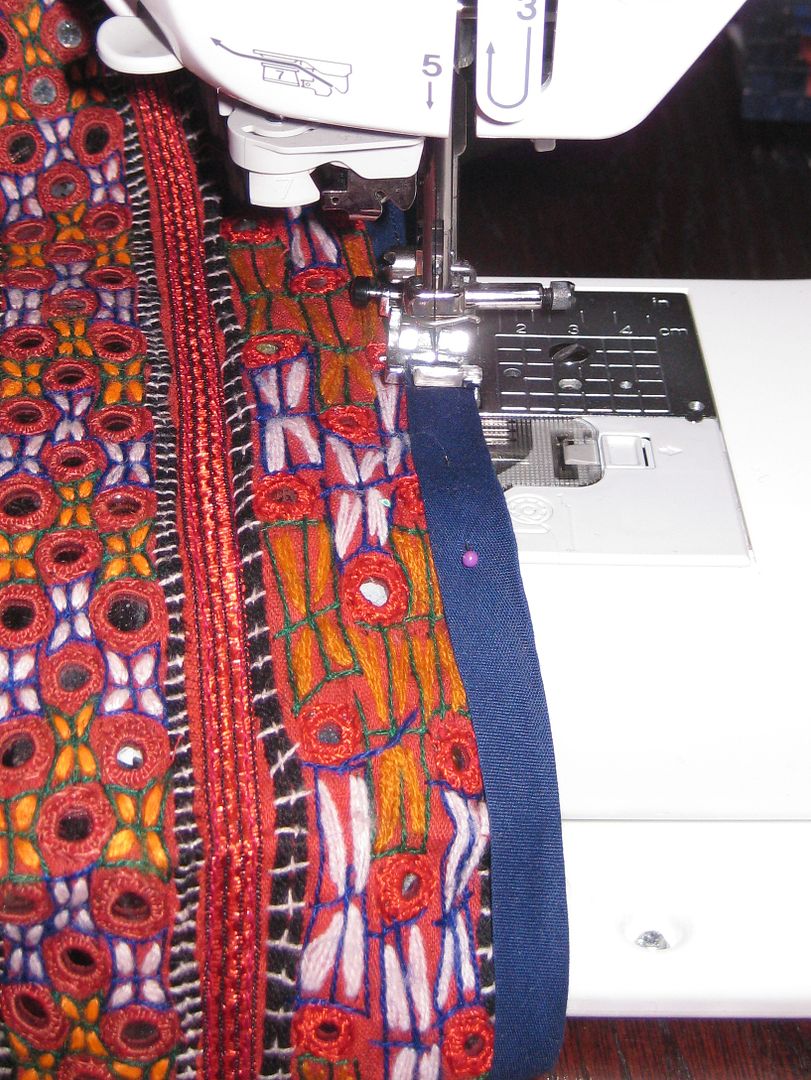
Surprisingly this was easy peasy. Now to finish off the top part of the skirt. I opted for bias tape. 


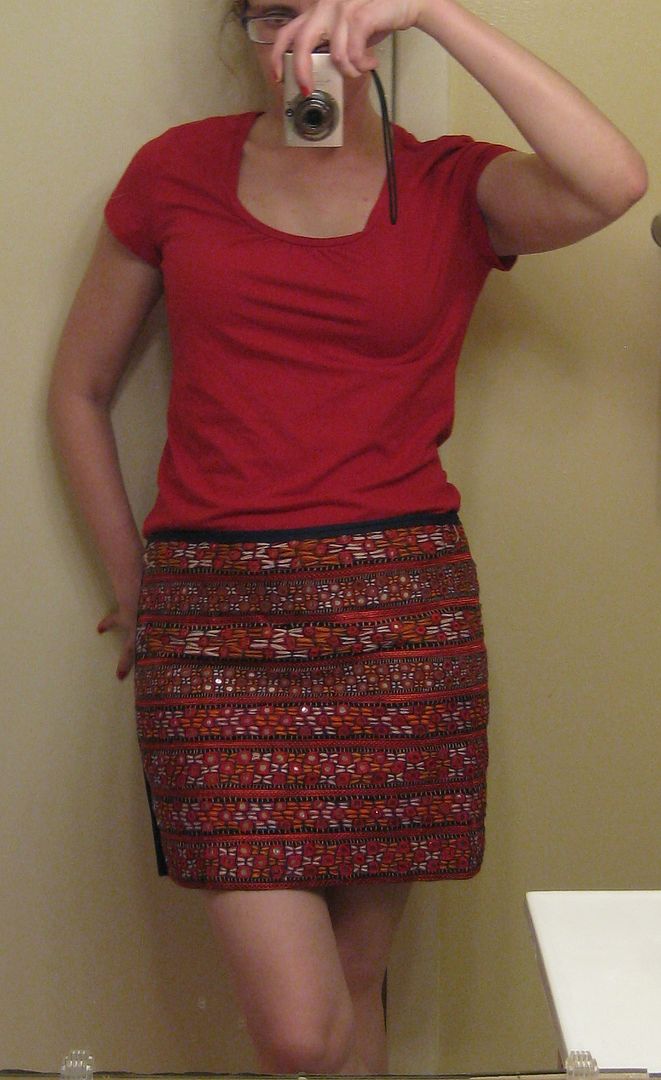
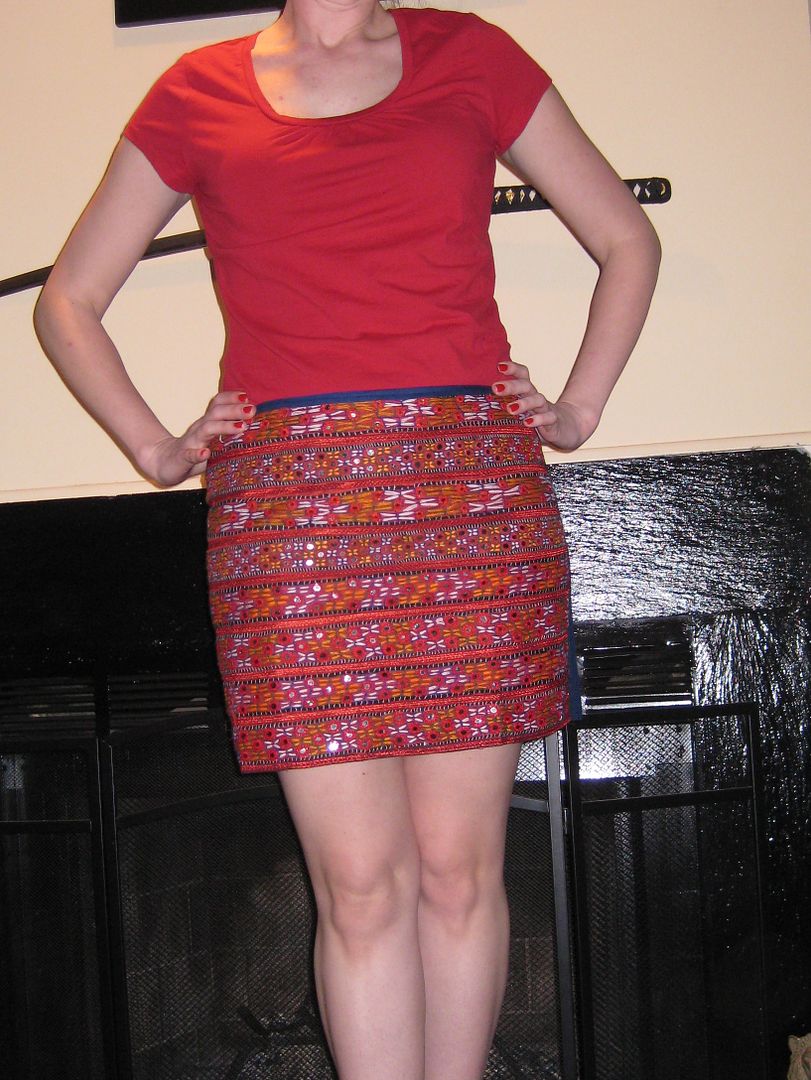
Skirt is now done! Yes it was that easy. Here are some quick shots I took of it. I can't wait to wear it!!! 


The meeting and being sick really threw a wrench in my plans or else it would have been done one time. No worries I will not be late with the next iron craft challenge-playtime. :)

xoxoxo,
Lauren


Sewing for Charity- Wash cloth mitts

Actually this post came up way too early. I have no idea why it posted early. Go figure. Avon walk has not happened!
So today is all about charity. As we speak I am at the Avon Walk here in D.C. I am spending the entire weekend volunteering. Which means I am camping out! yeah! Pink tents! :)

So I thought it would be appropriate to post a charity sewing project I finished with terry cloth. I realized there is not much I can do with green terrry cloth so I made wash mitts for babies for Bundles of Love.

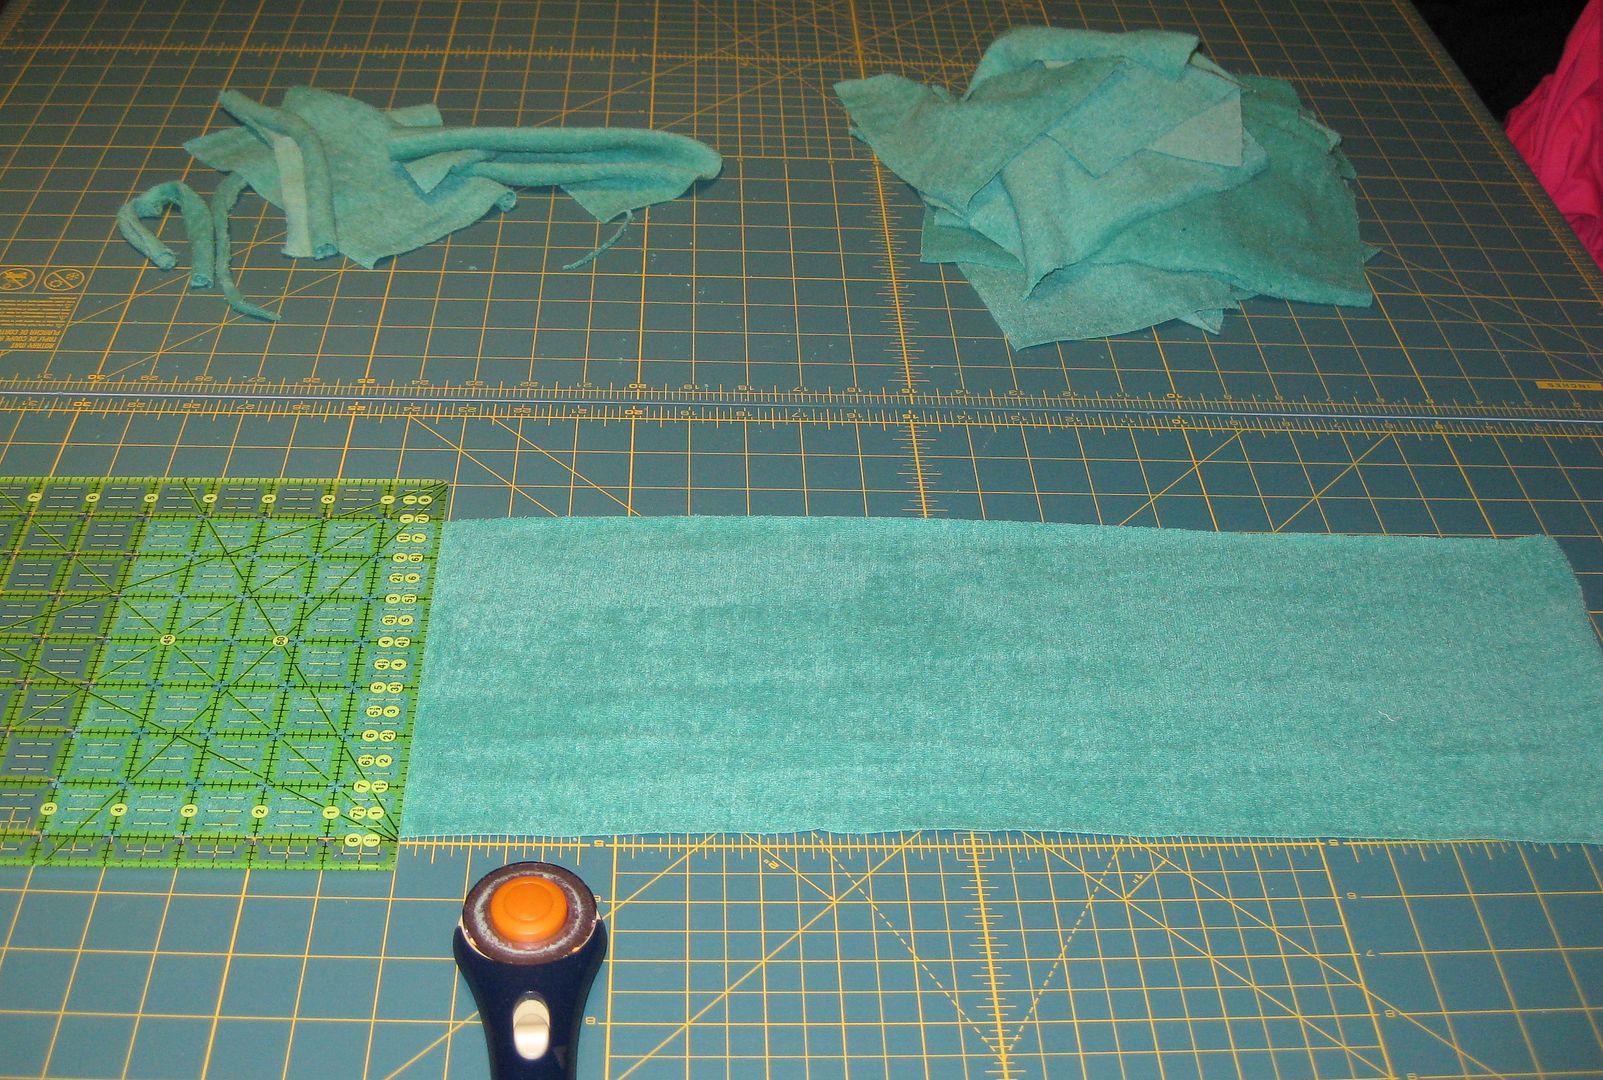
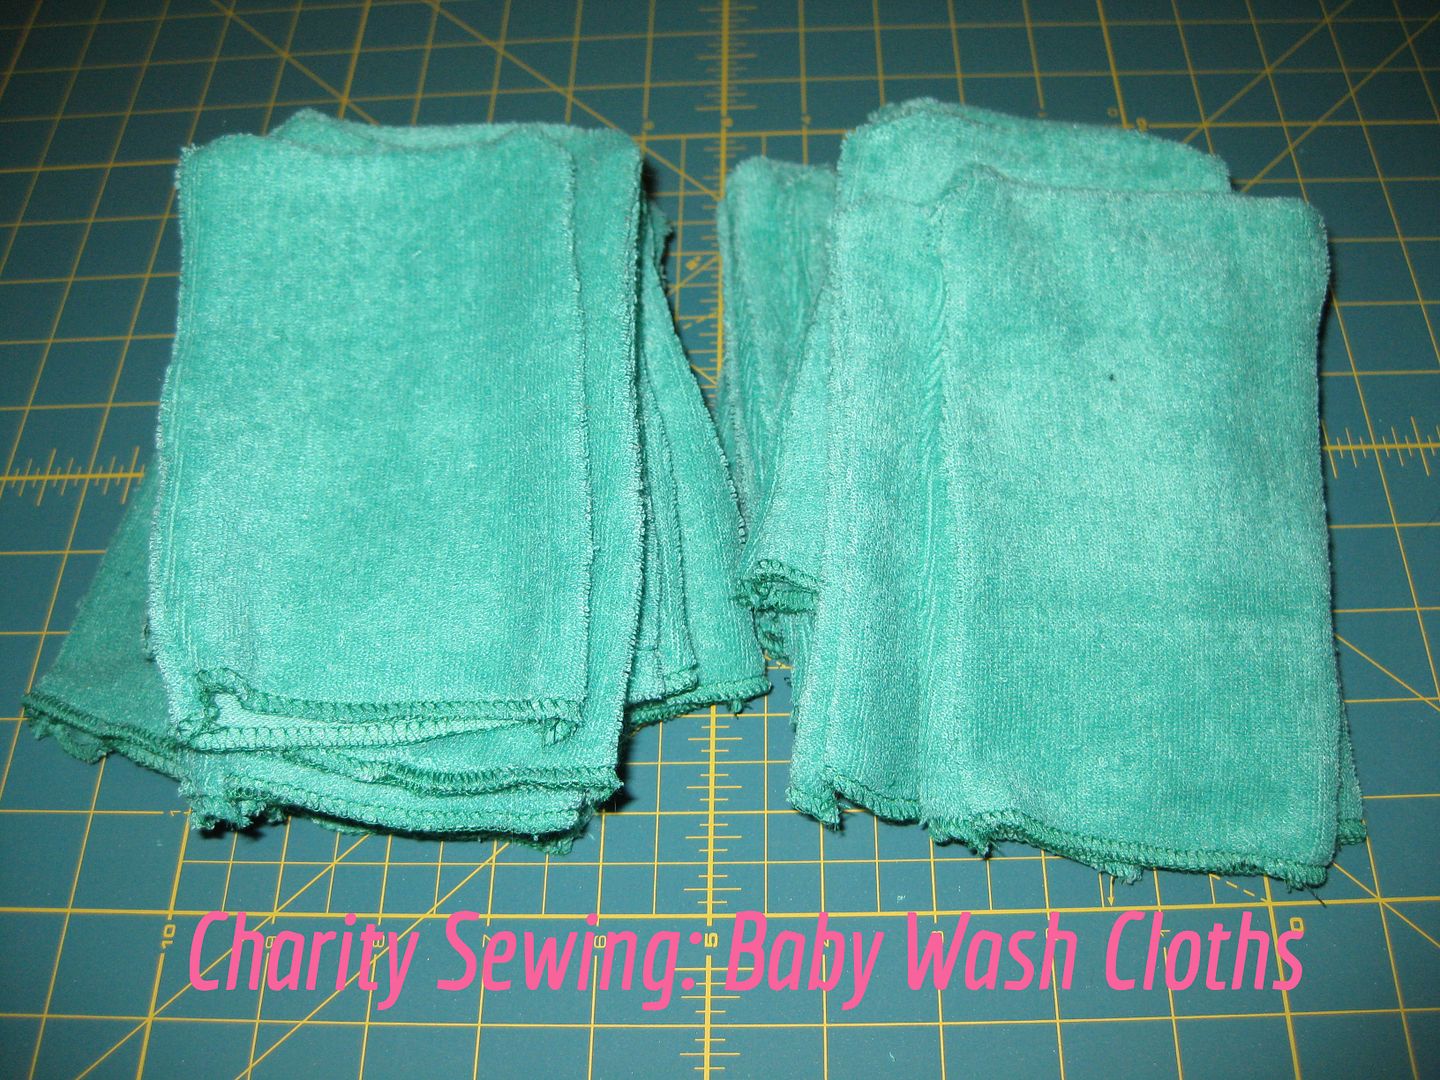
Basically I cut 7 X 5 inches of the fabric. I serged one short end- BTW easier said than done. The cloth stretched and sometimes ate the fabric. I almost needed like a stay stitching before I serged the ends. I tried a lot of options. It was a challenge. Then I took 2 rectangles, put wrong sides together and sewed the remaining edges. I finished with serging. Here are my done mits! I have 33 in total! yay!

I have pink fabric left in my stash but after this challenging project I am just going to send them the fabric and let their sewing volunteers work their magic. Getting closer to my goal of 200.... I have a lot of bibs I can sew with the fabric scraps so this may put me to my goal. Can't wait! I want to sew now!

Hopefully all is well at the Avon Walk! :) I am going to be one tired person. But it is worth it!

xoxoxo,
Lauren
Friday, April 12, 2013

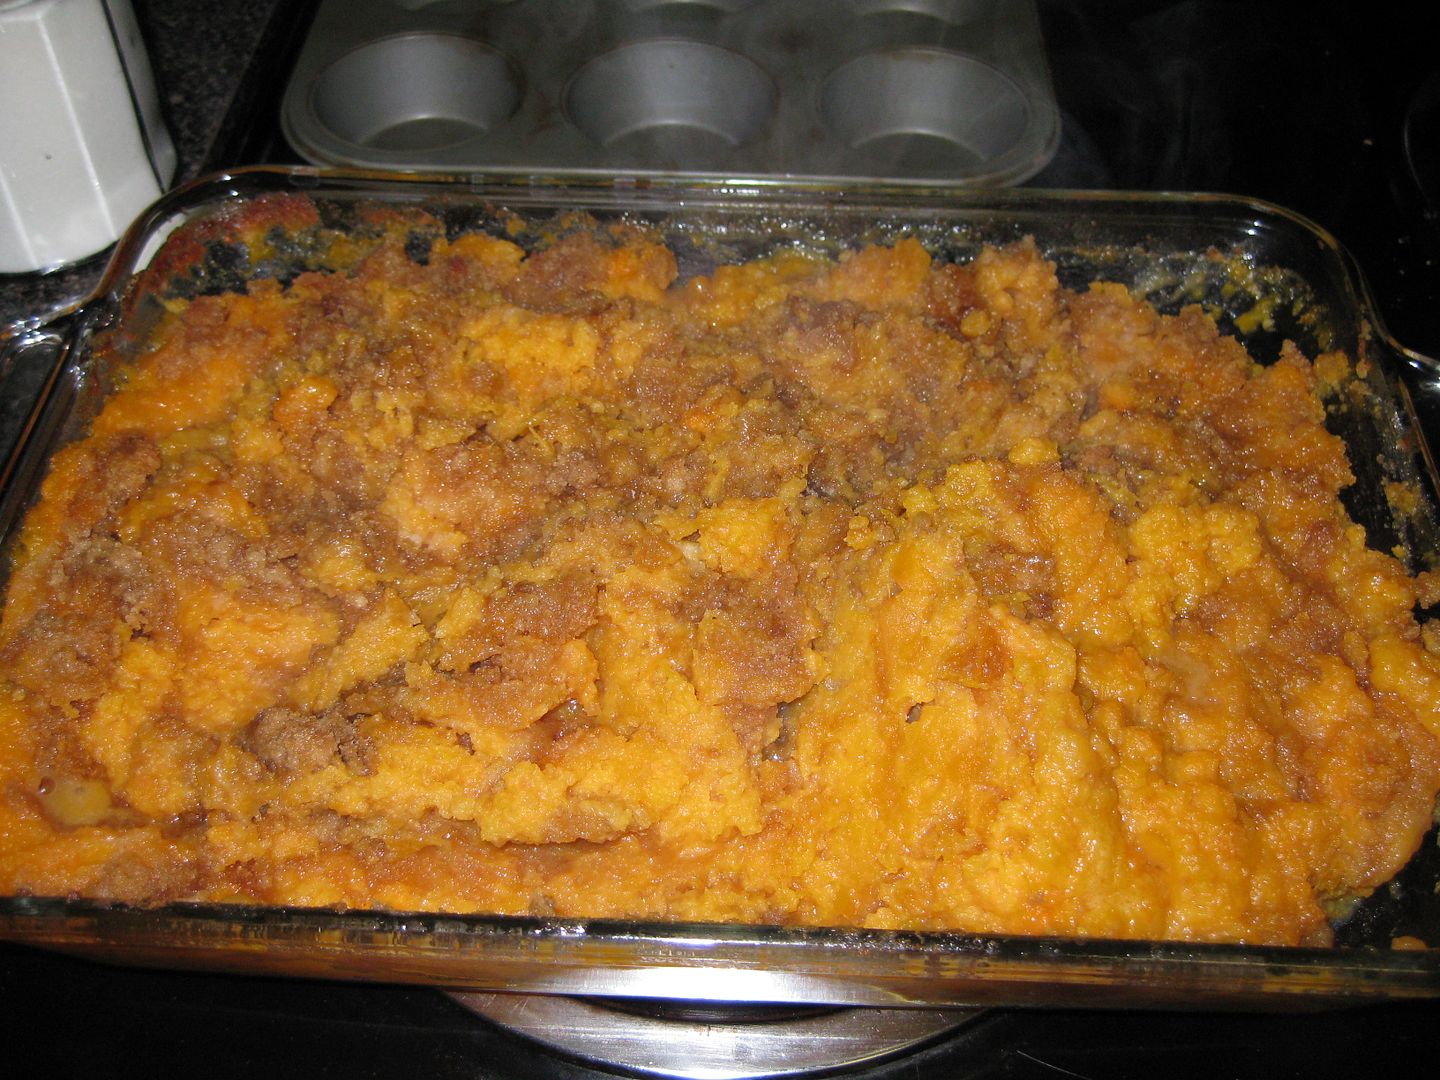
Sweet Potato Casserole

This is one of my favorite recipes. I have made it several times and everyone that has tried it always loves it
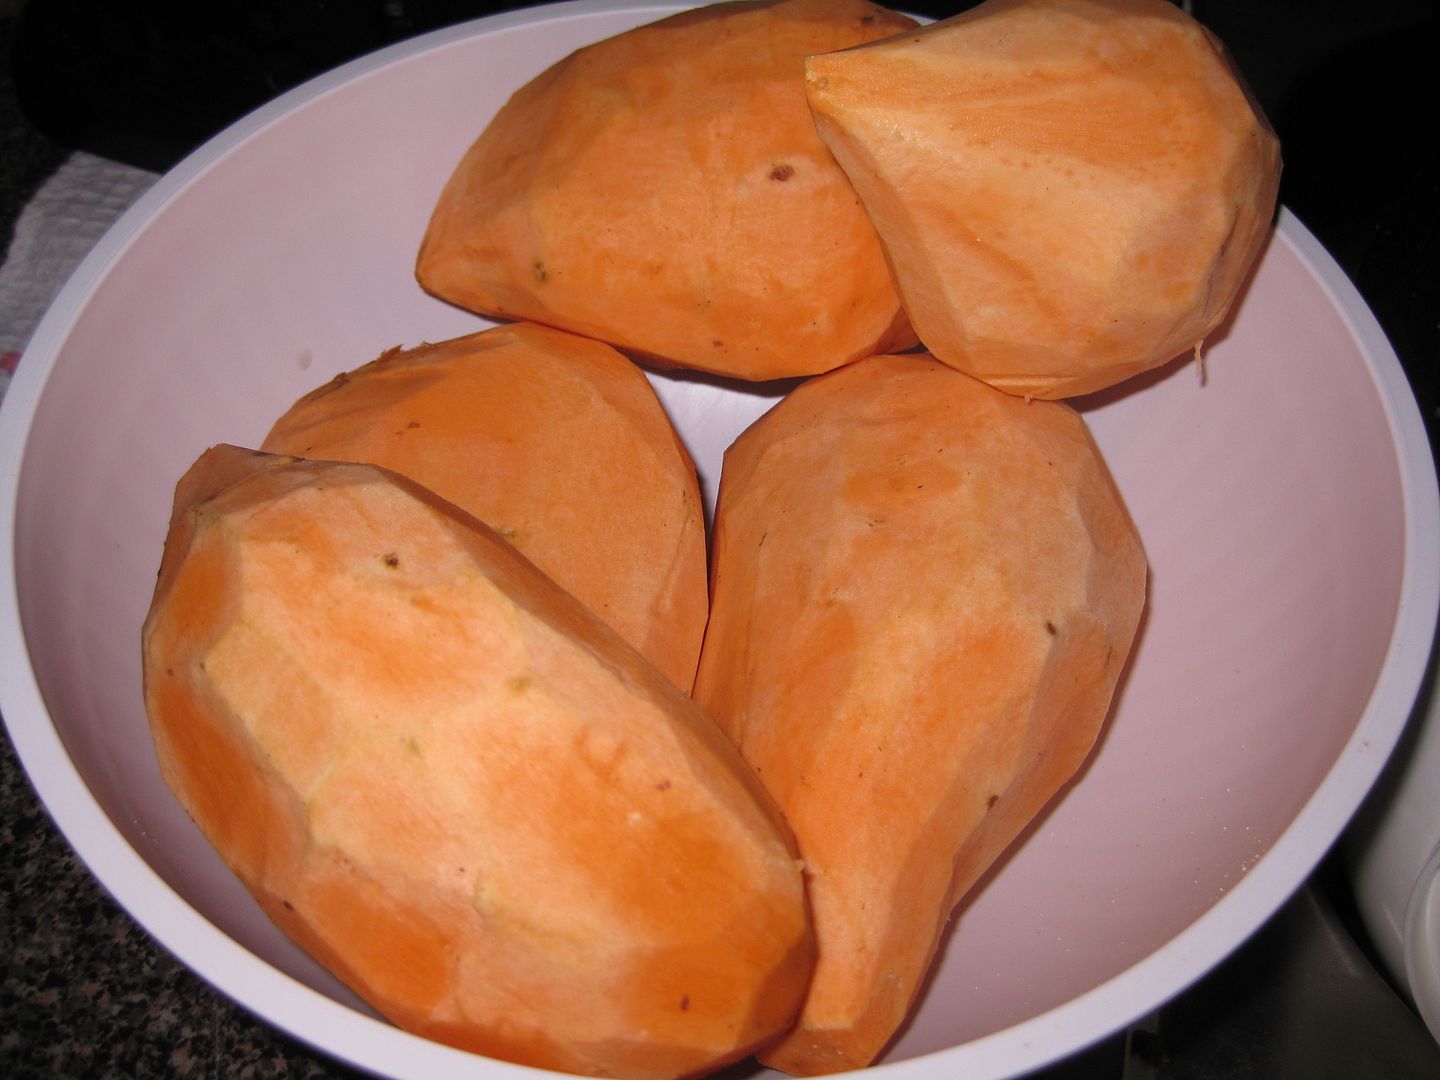
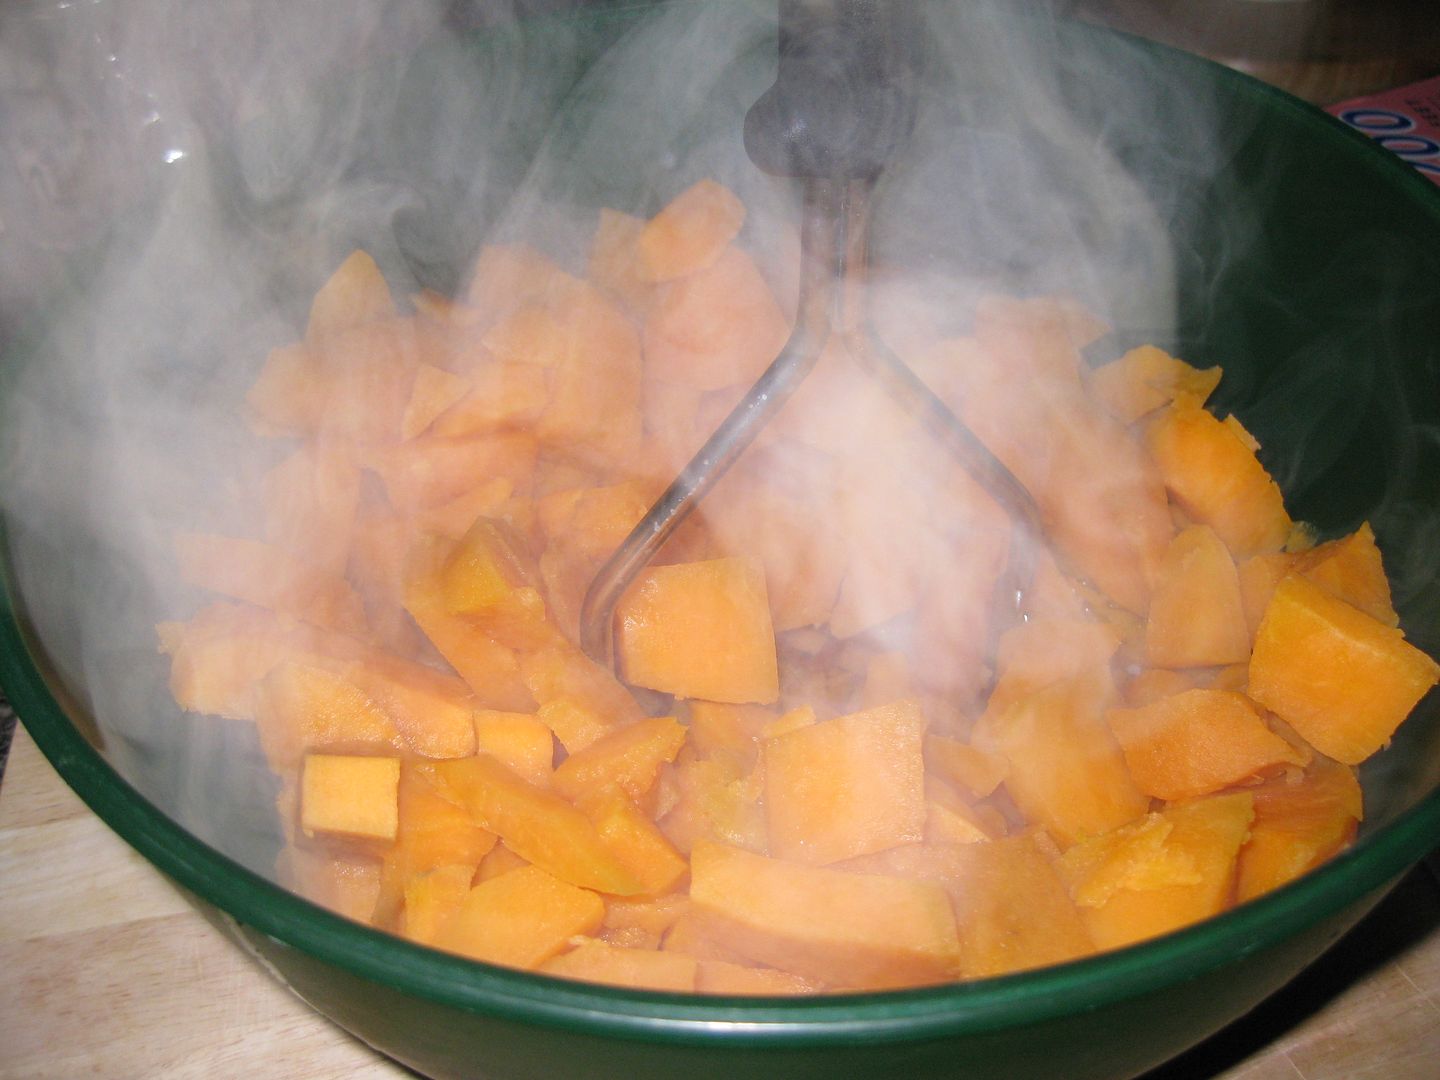
First start with some sweet potatoes-peel off the skin.

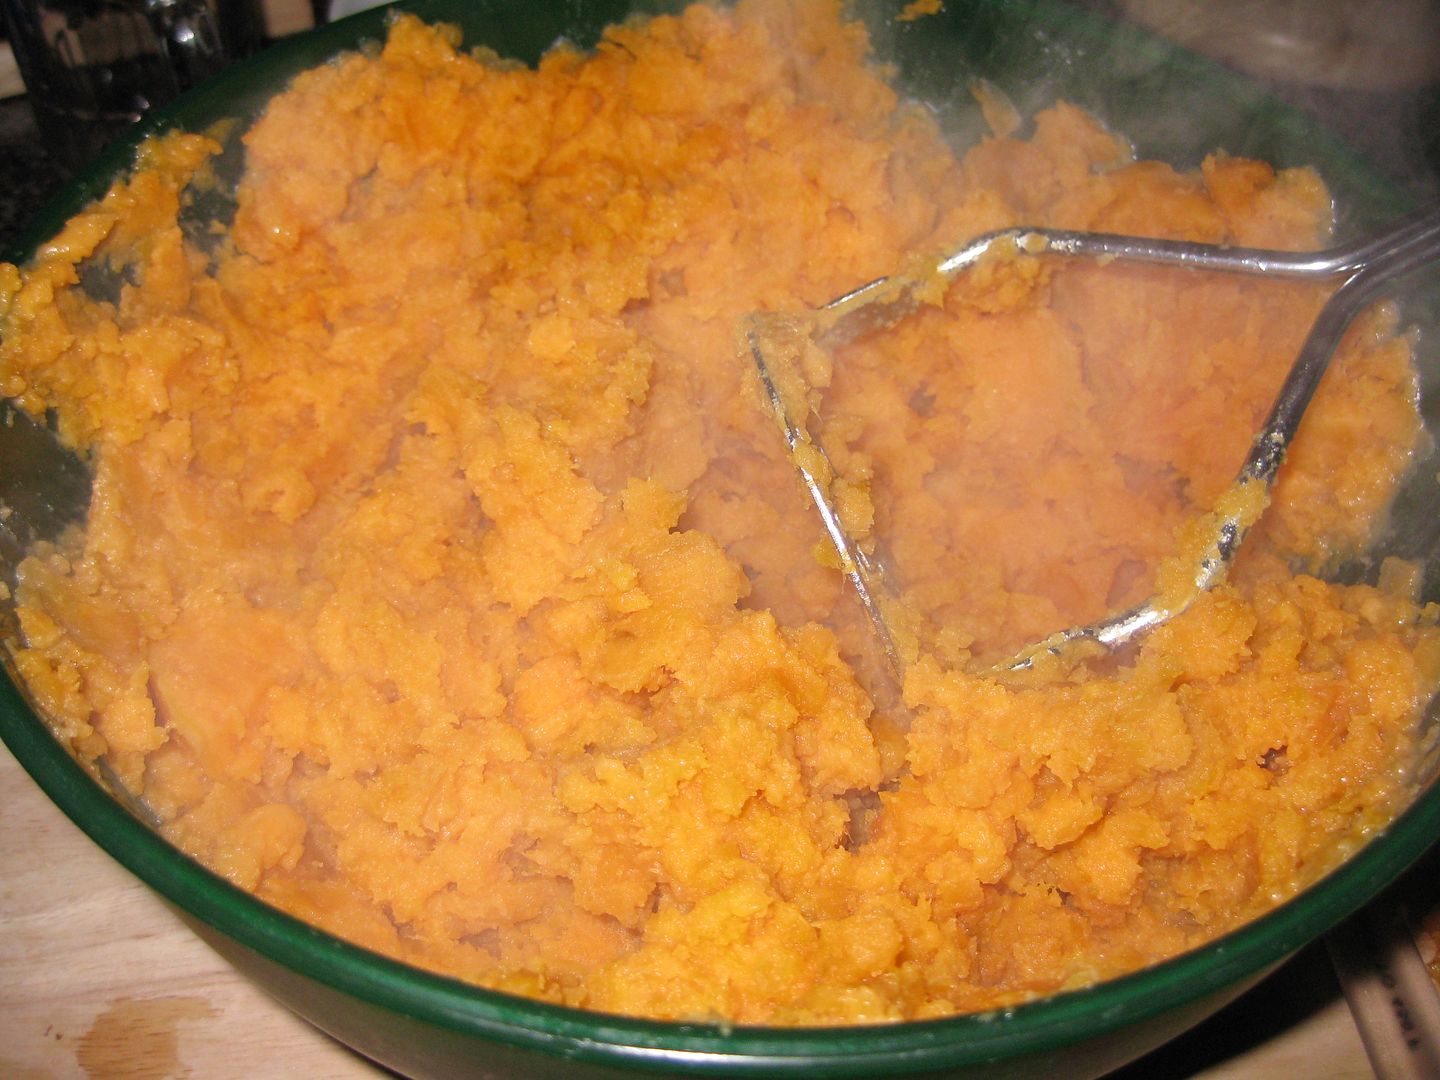
Cut them into pieces and cook them. Mash.


To the mashed potatoes here is the recipe:
3 cups mashed sweet potatoes (these pictures are double)
1/2 cup sugar
1 cup milk
pinch of salt
1/2 stick of butter
1 tsp of vanilla

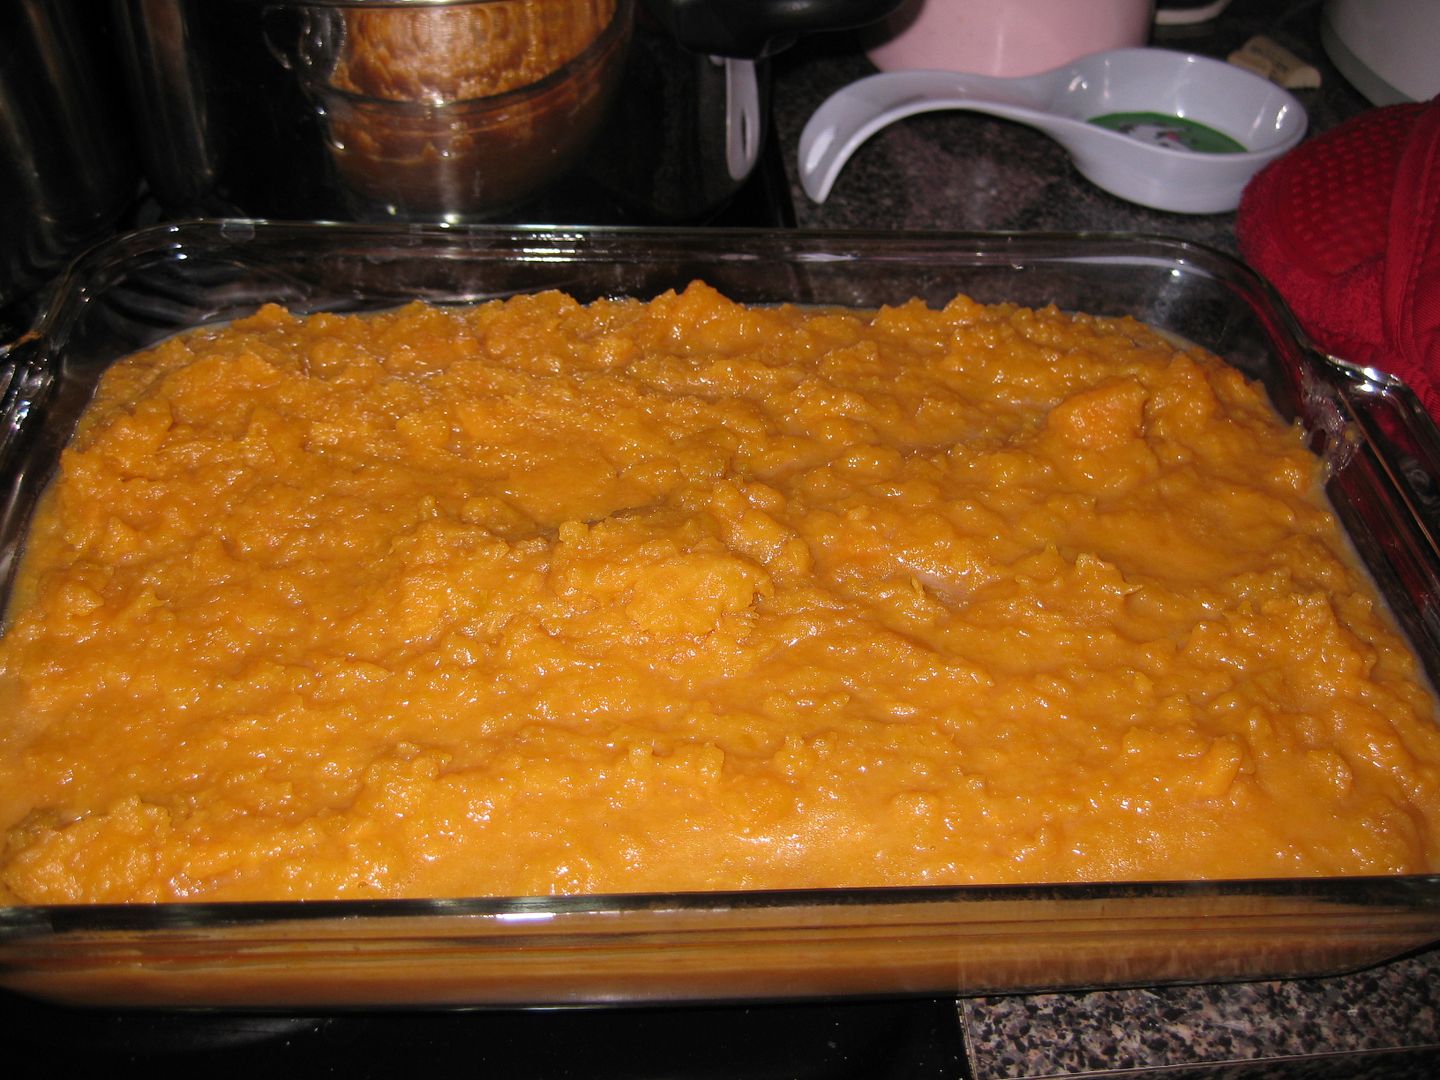
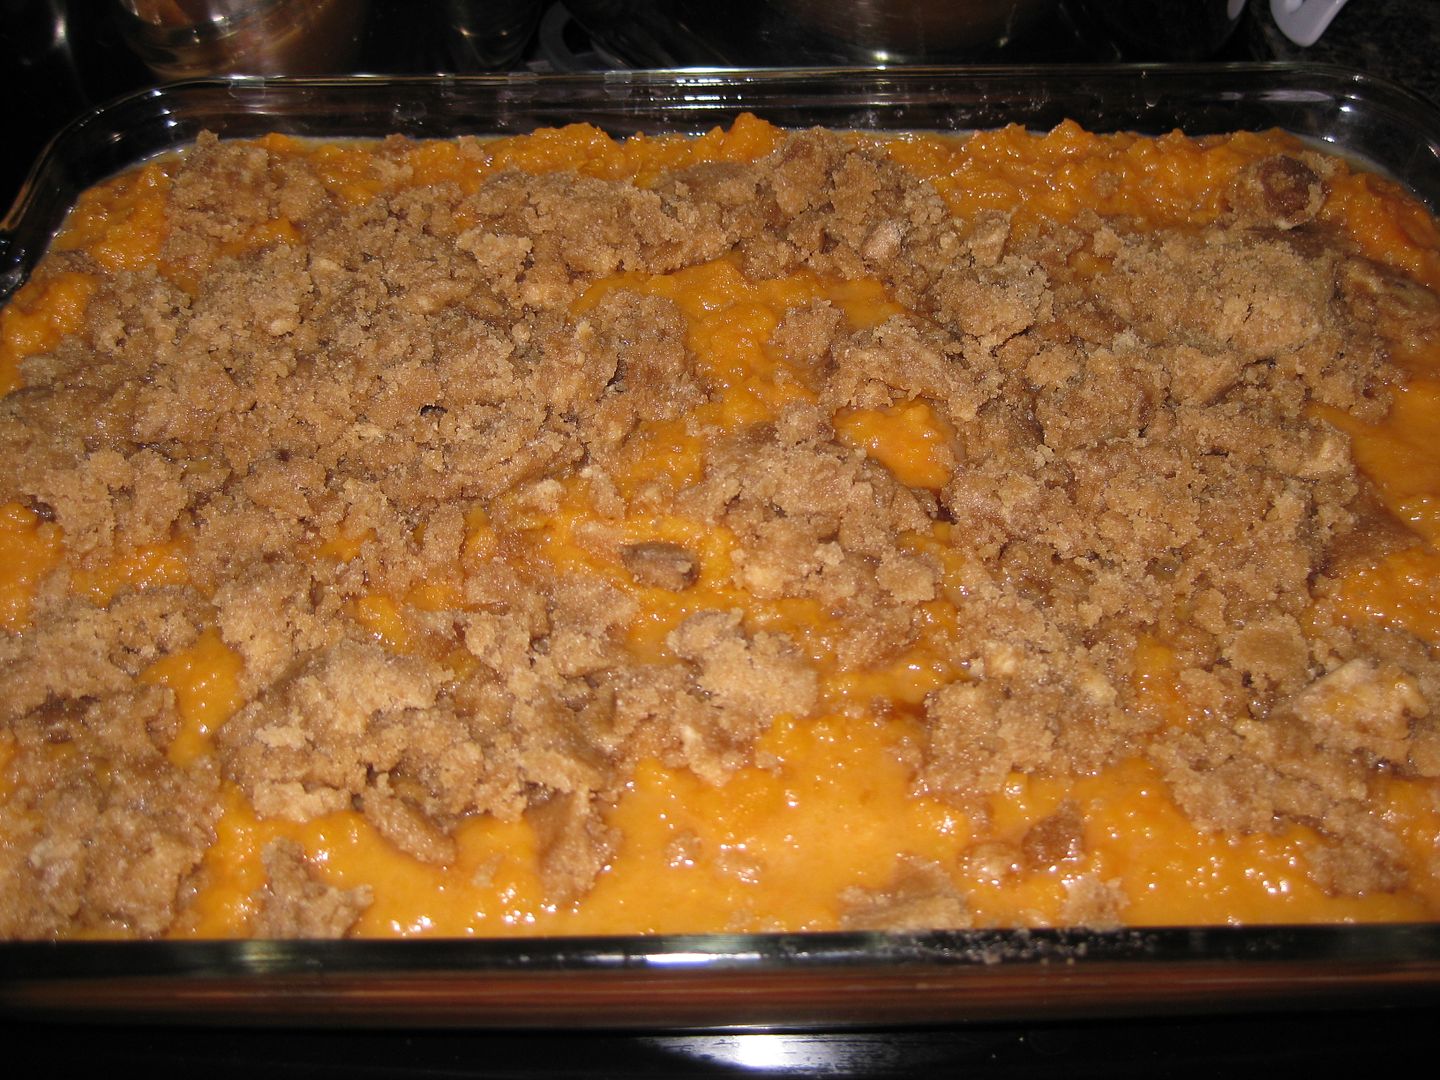
Mix all together and add to a baking dish.

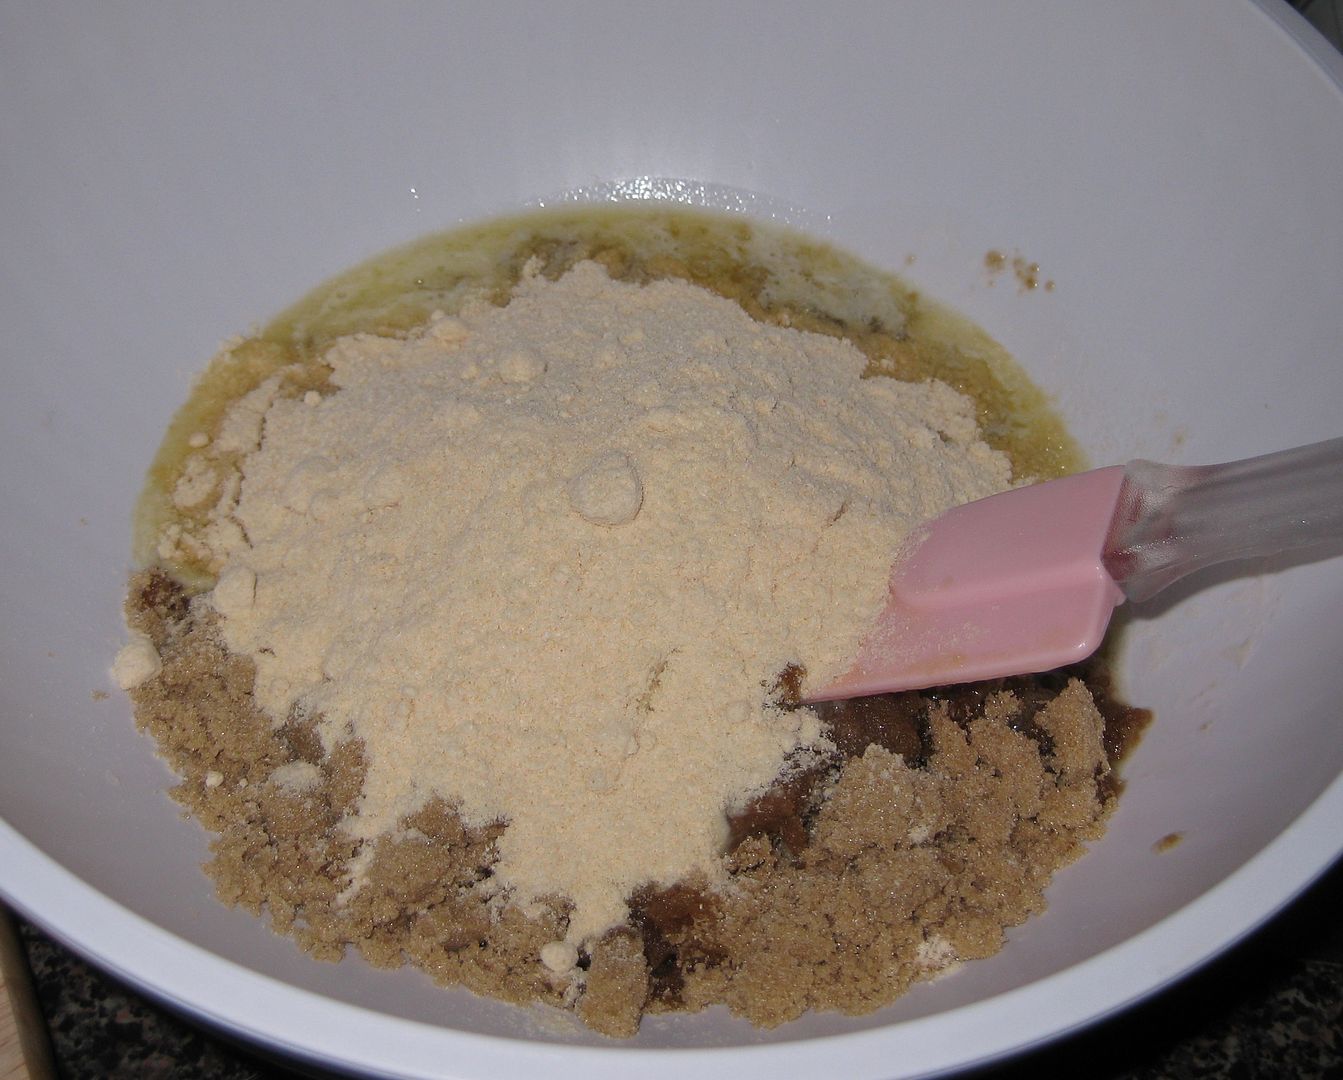
Now for the topping! 
3/4 cup of brown sugar
1/3 coconut flour (regular flour if you are not gluten free)
1/3 cup melted butter.

Mix all togeth

Spread on top and place the casserole in the oven

Bake at 350 degrees for 35-40 minutes. Done


Let the casserole stand for 10-15 minutes before eating. Enjoy! Easy!

xoxoxo,
Lauren
Saturday, April 6, 2013

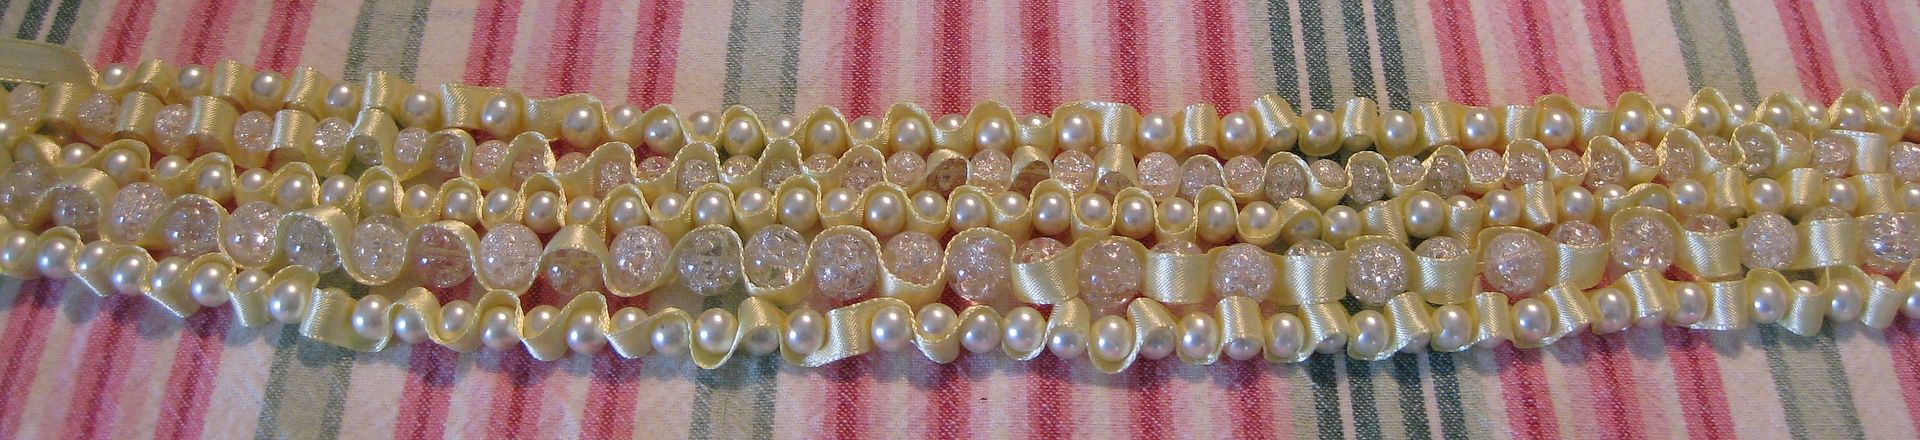
Yellow & Crushed Glass Bead Ribbon Necklace

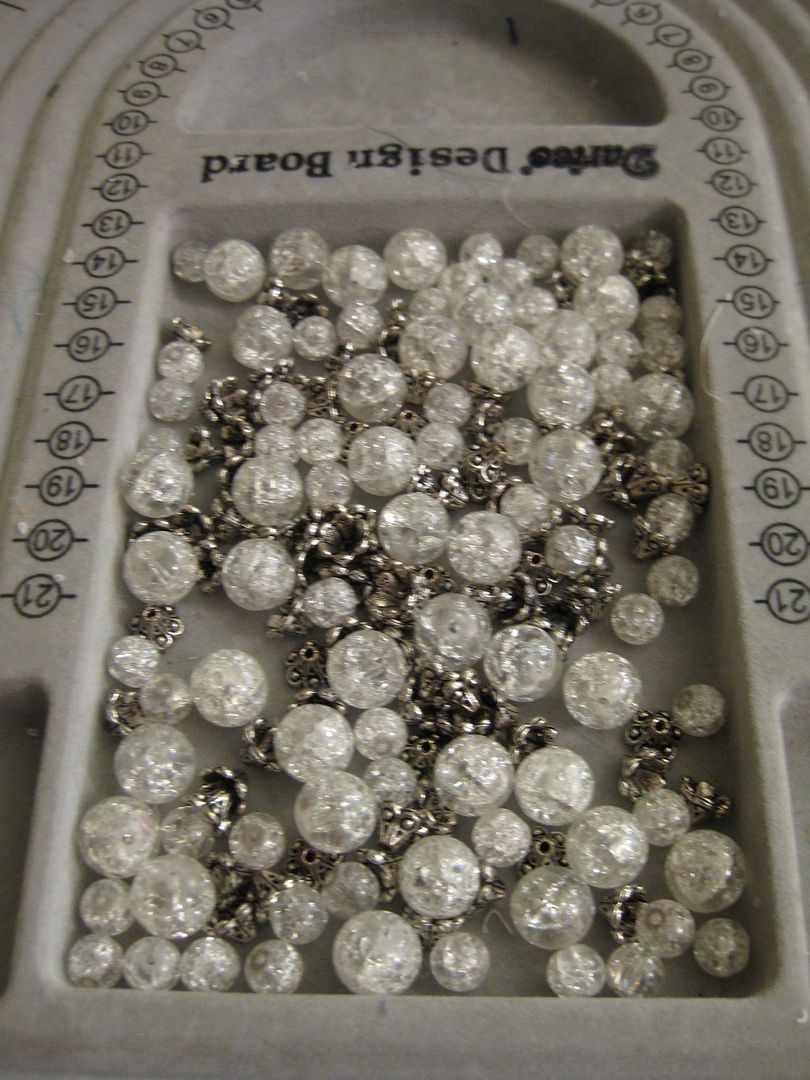
So you have seen the pink ribbon and pearl necklace. I thought I would try something else the same way. I have these cracked glass beads that I have wanted to use and I had yellow ribbon that I thought would work well with the glass.

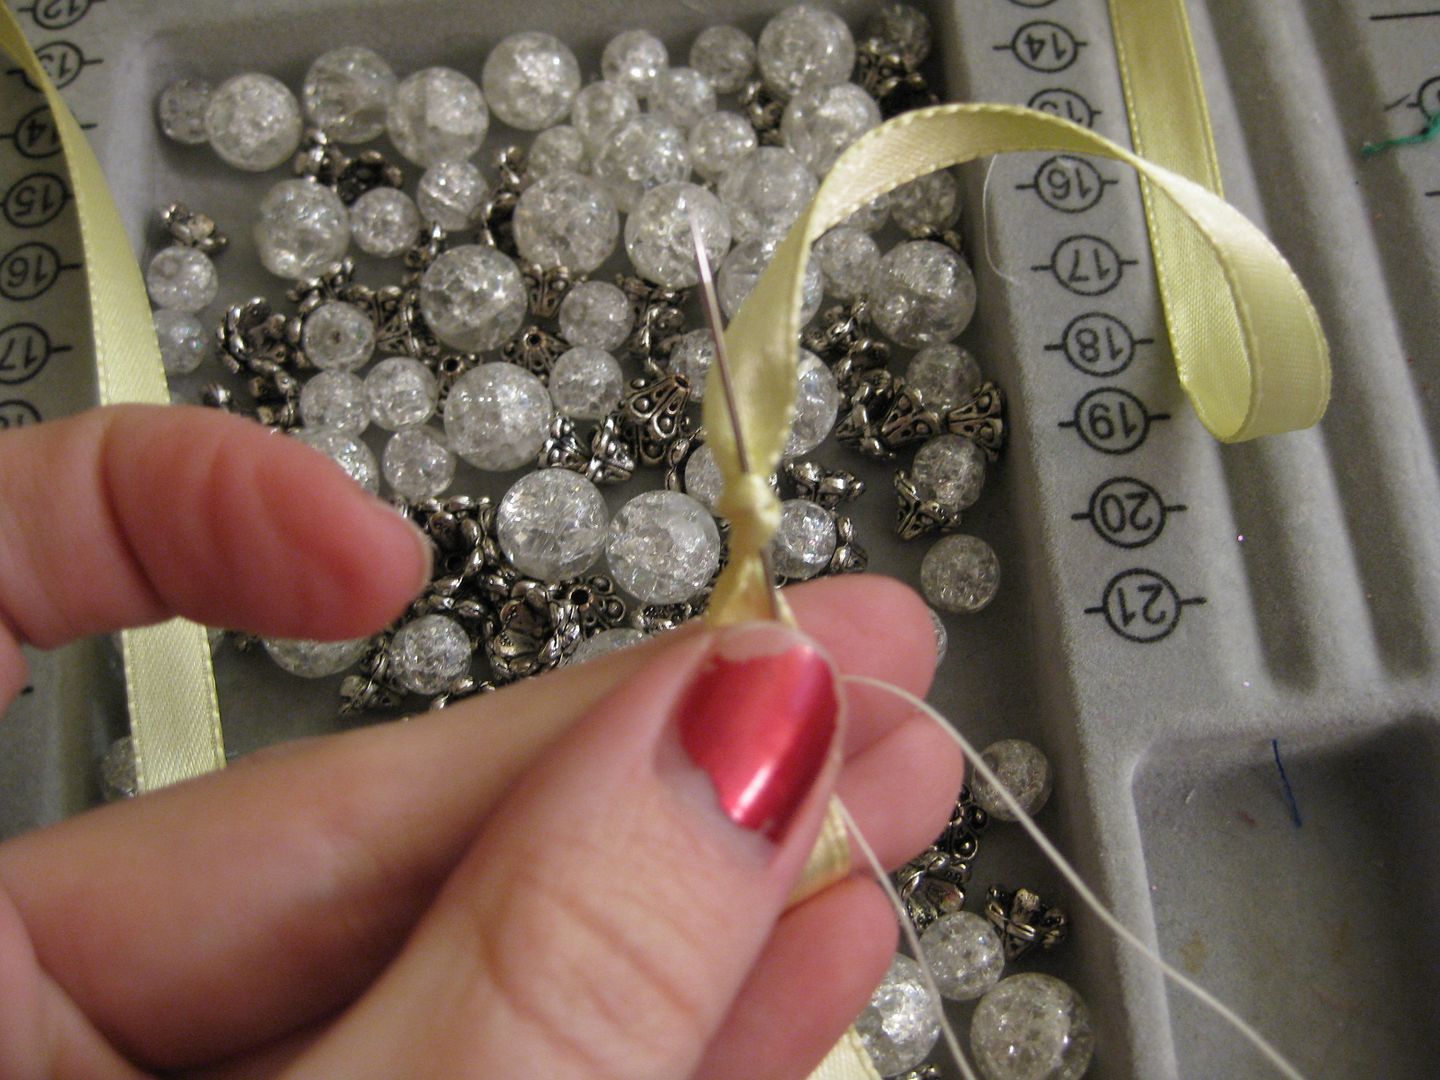
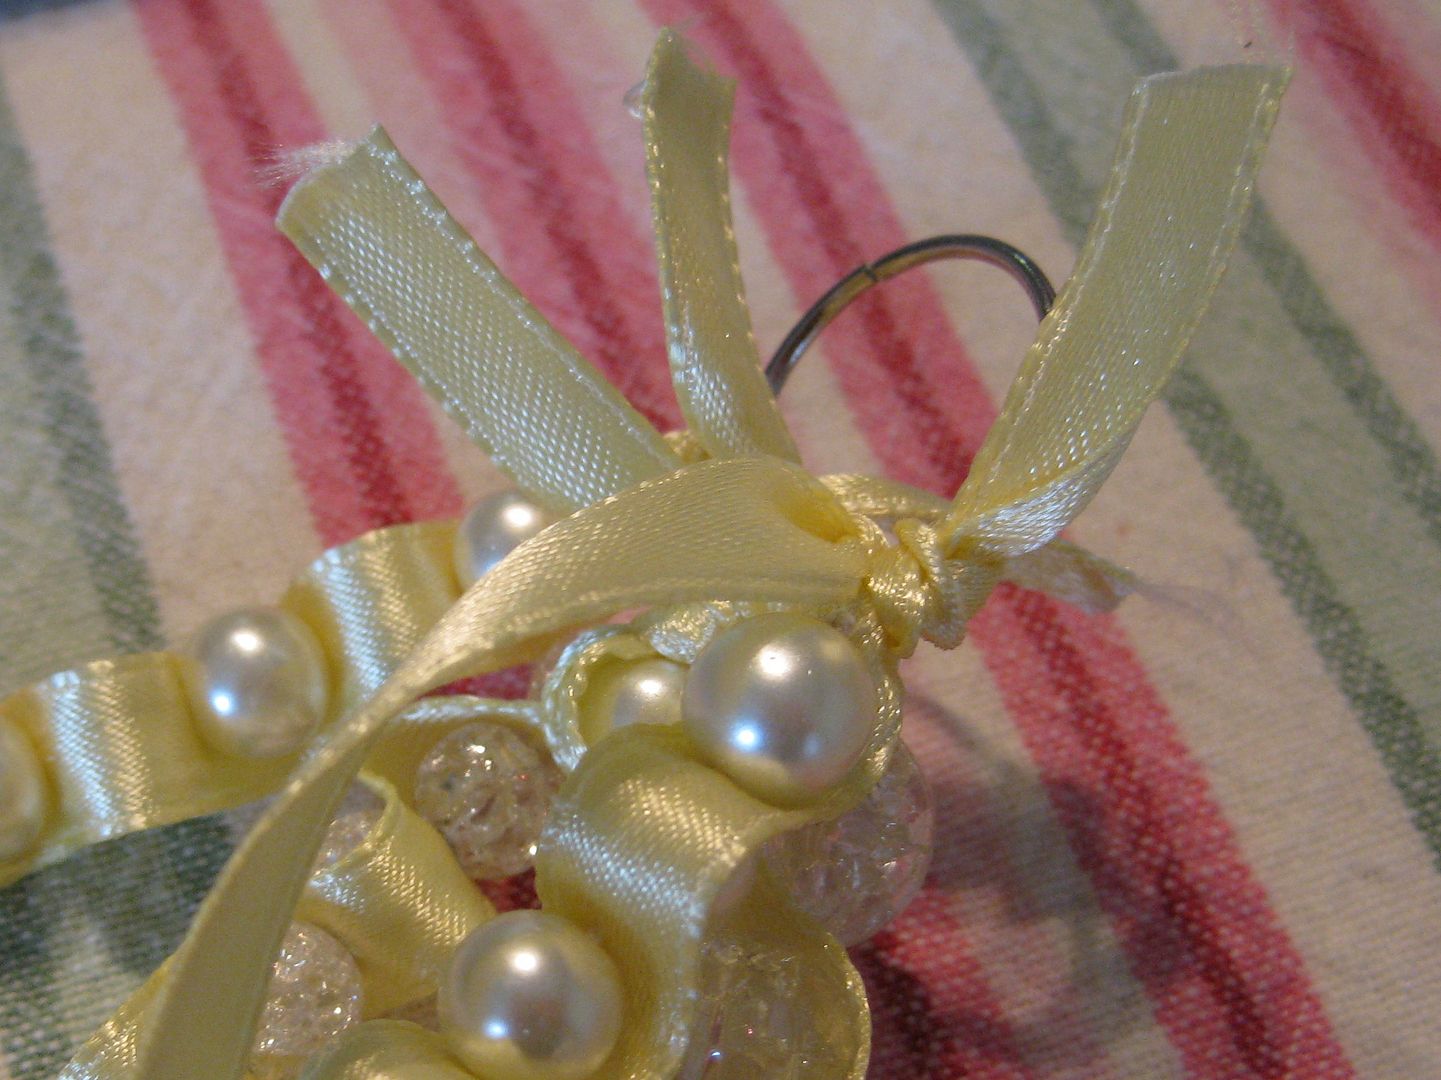
Start the same way, knot and bring your knotted thread through the knot. Also this time I used button thread b/c these beads were way heavier!

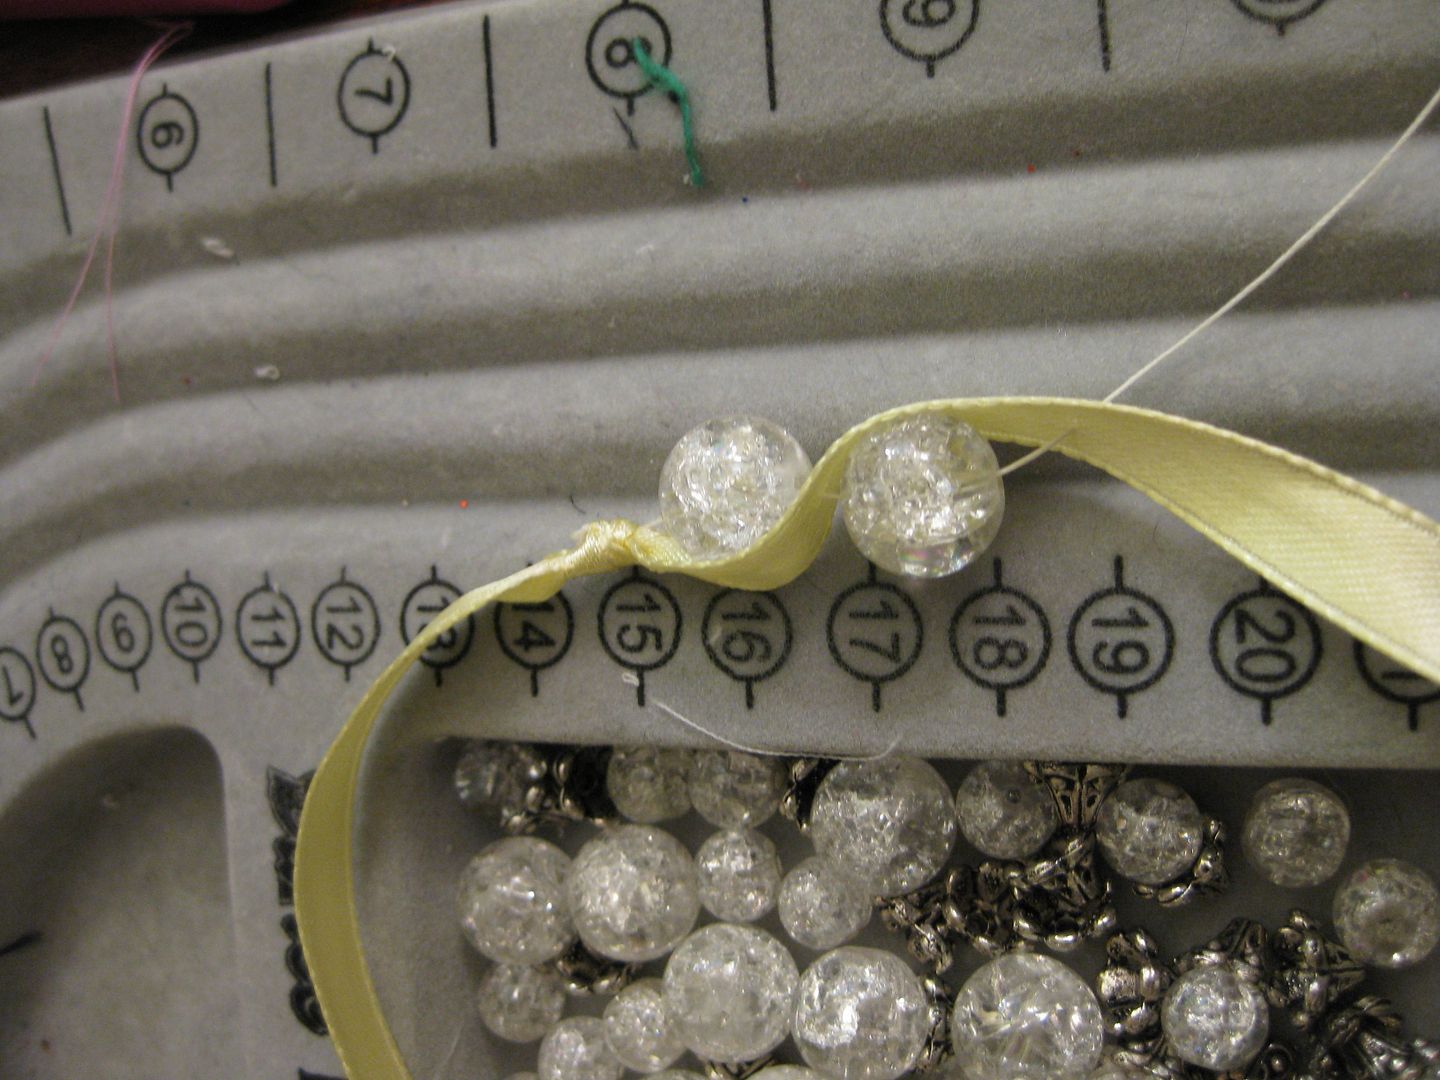
Here is how I weave them. Very easy. There is room for error so you don't have to be perfect to make these types of necklaces

Basically I repeated the same procedure. But I made more strands and also decided to use white pearls I wanted a thick necklace of beads. :)
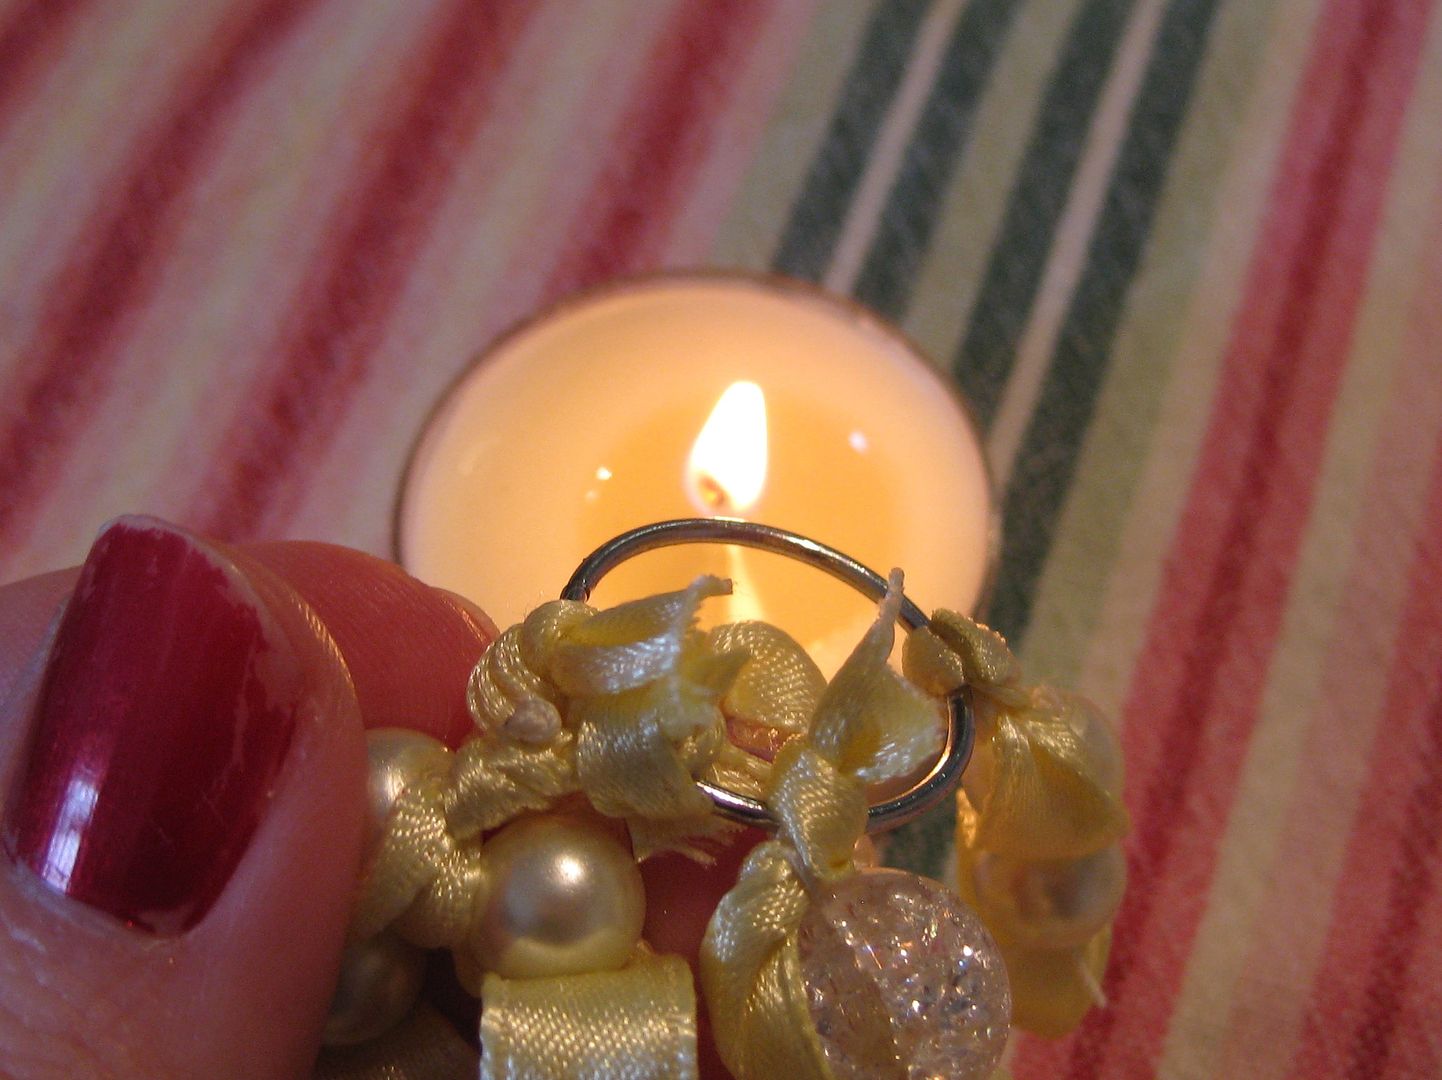
Repeat again tying off the notes for the strands starting with the shortest one first. Again burn. Blah Blah.


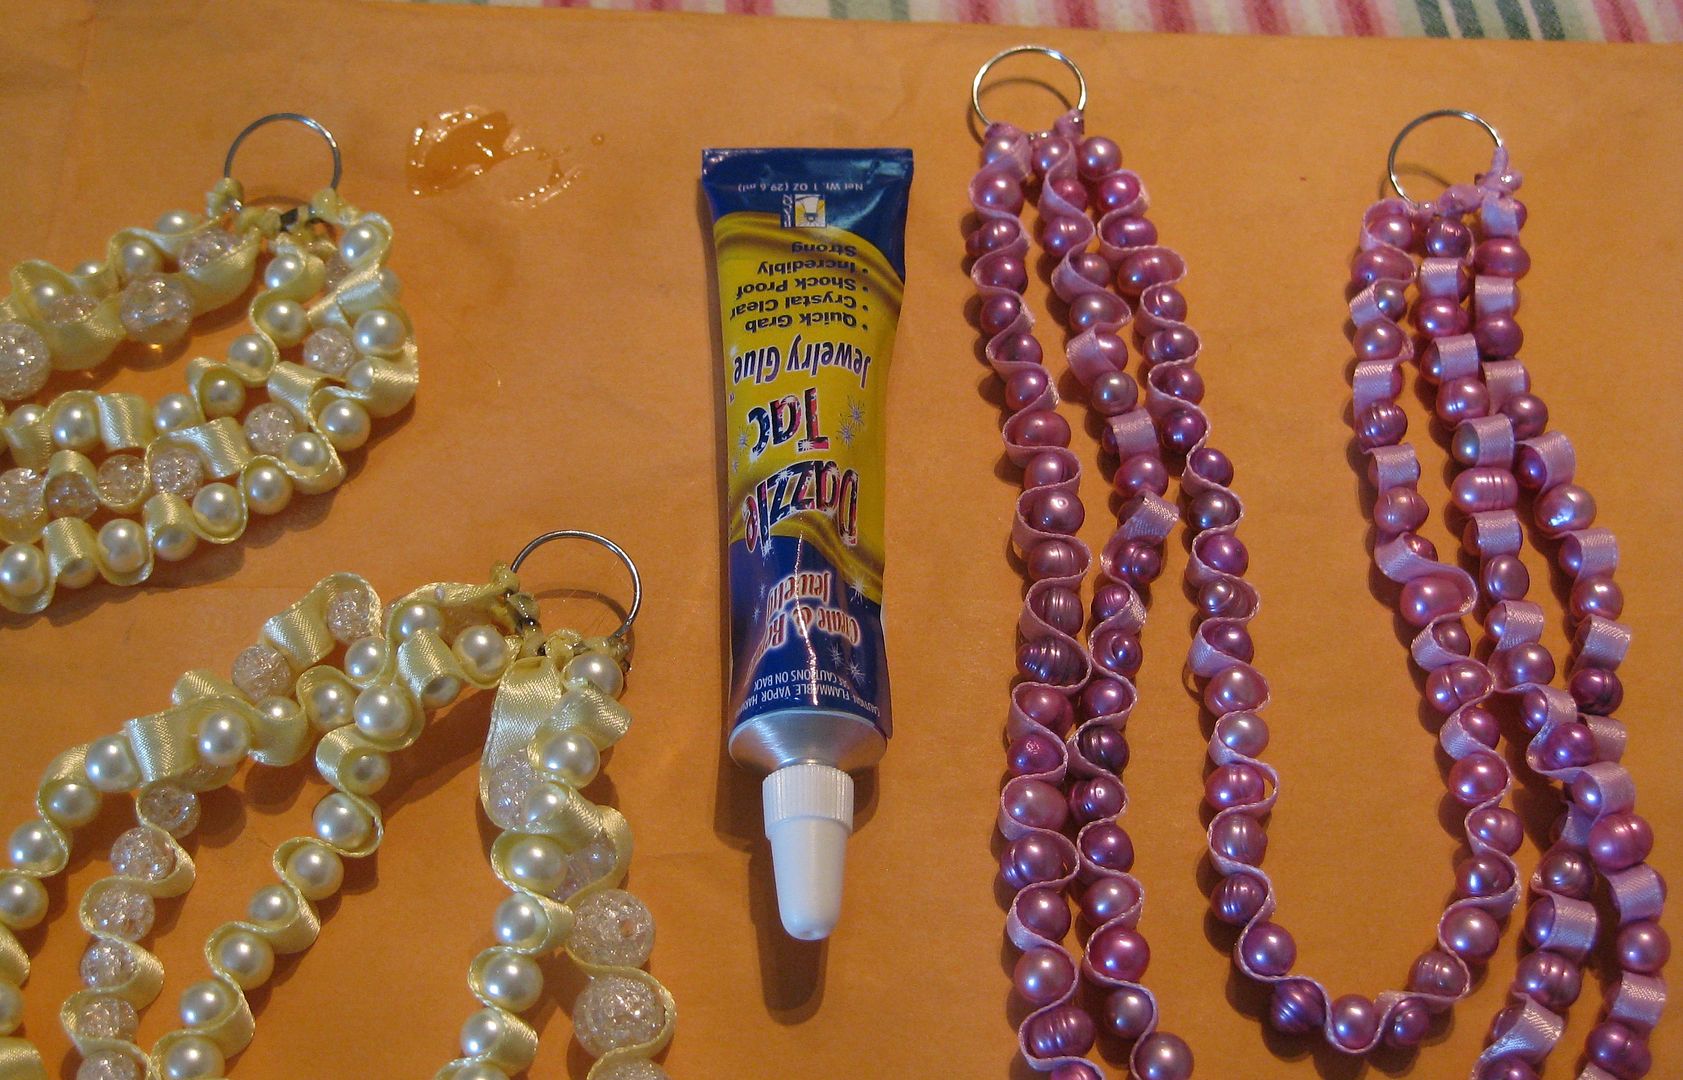
I glued also just because I am afraid.

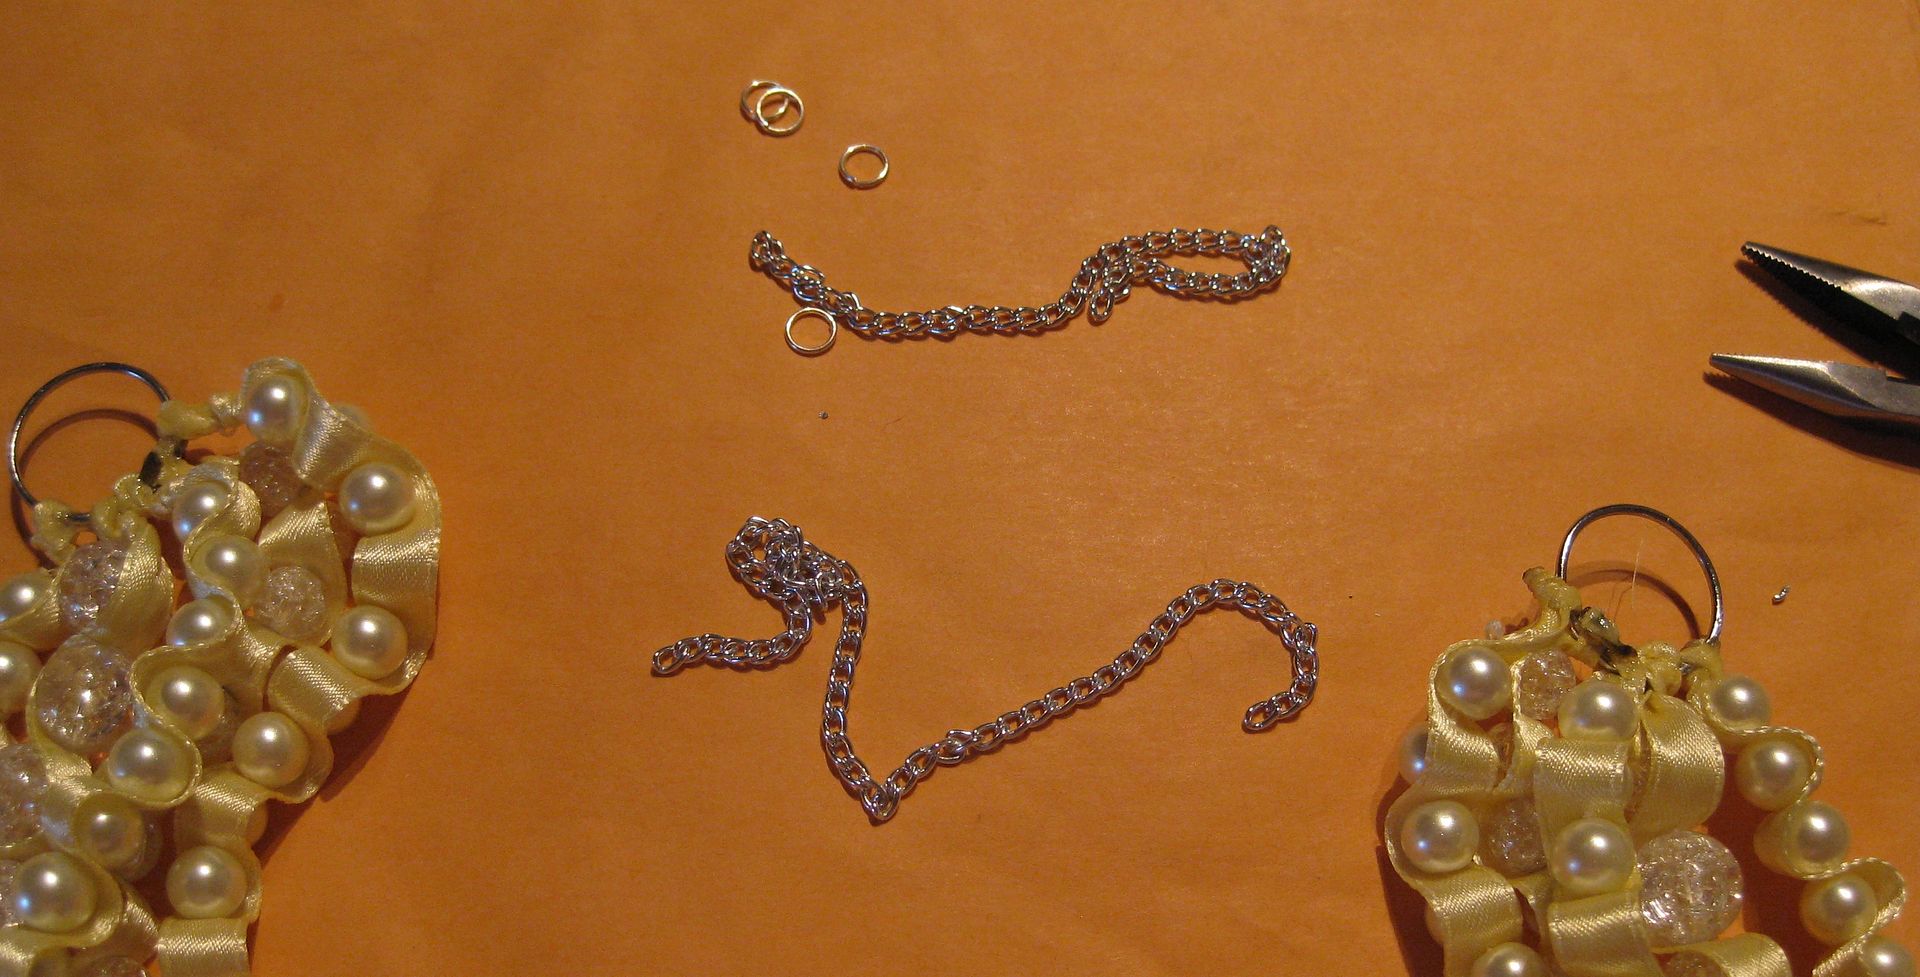
I busted out the lobster claw, the jump rings, and chain.
I only used 1 of the chains, I am having the lobster claw link the big loop

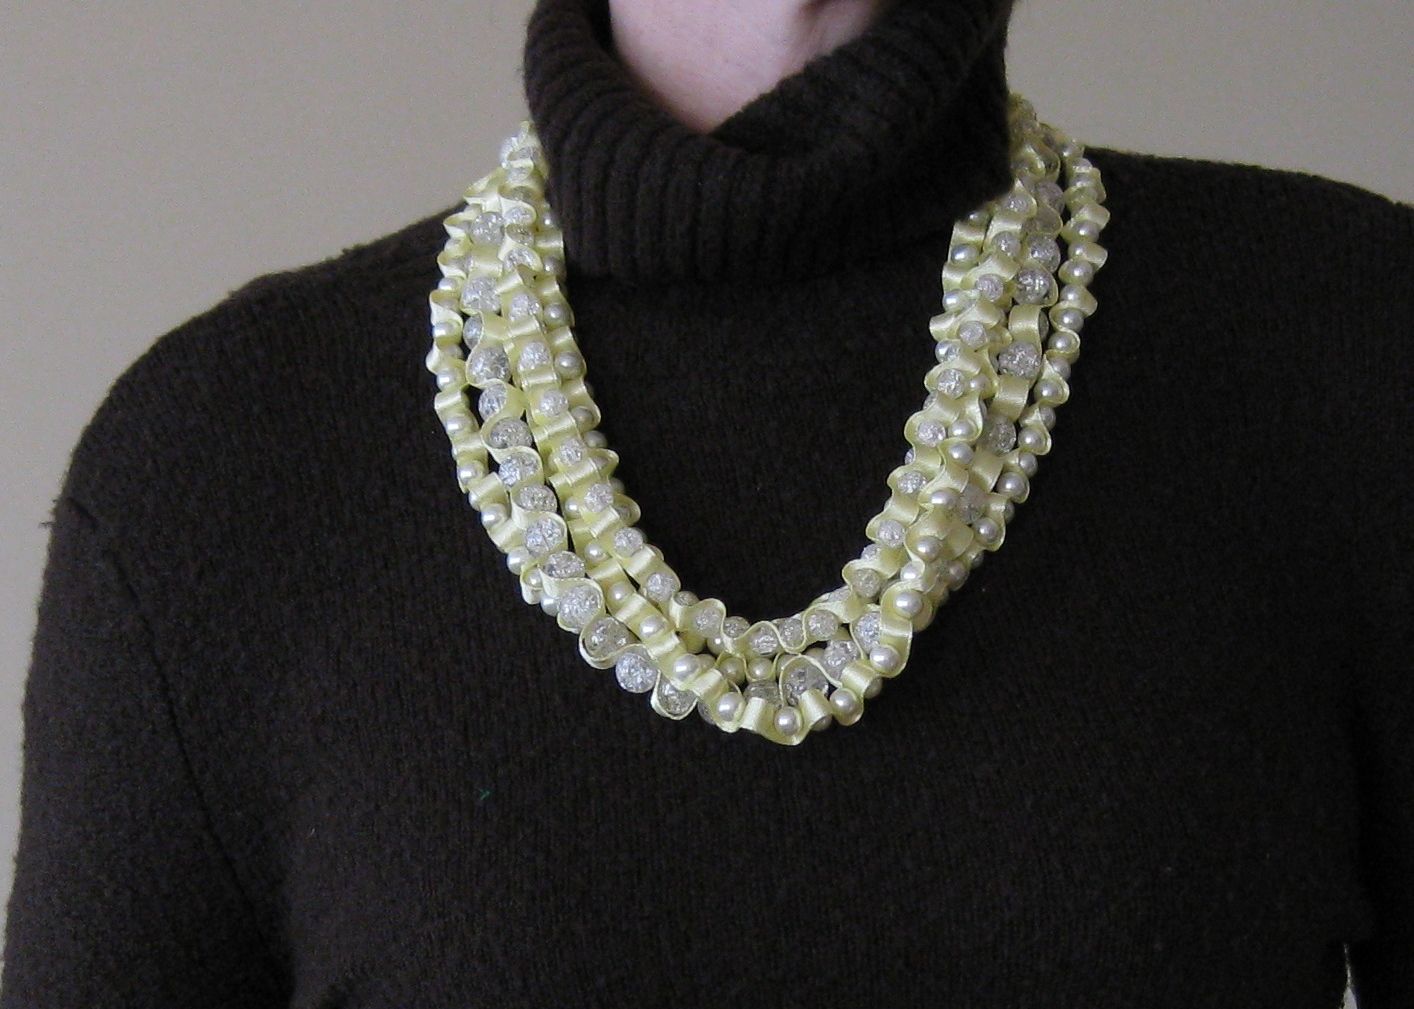
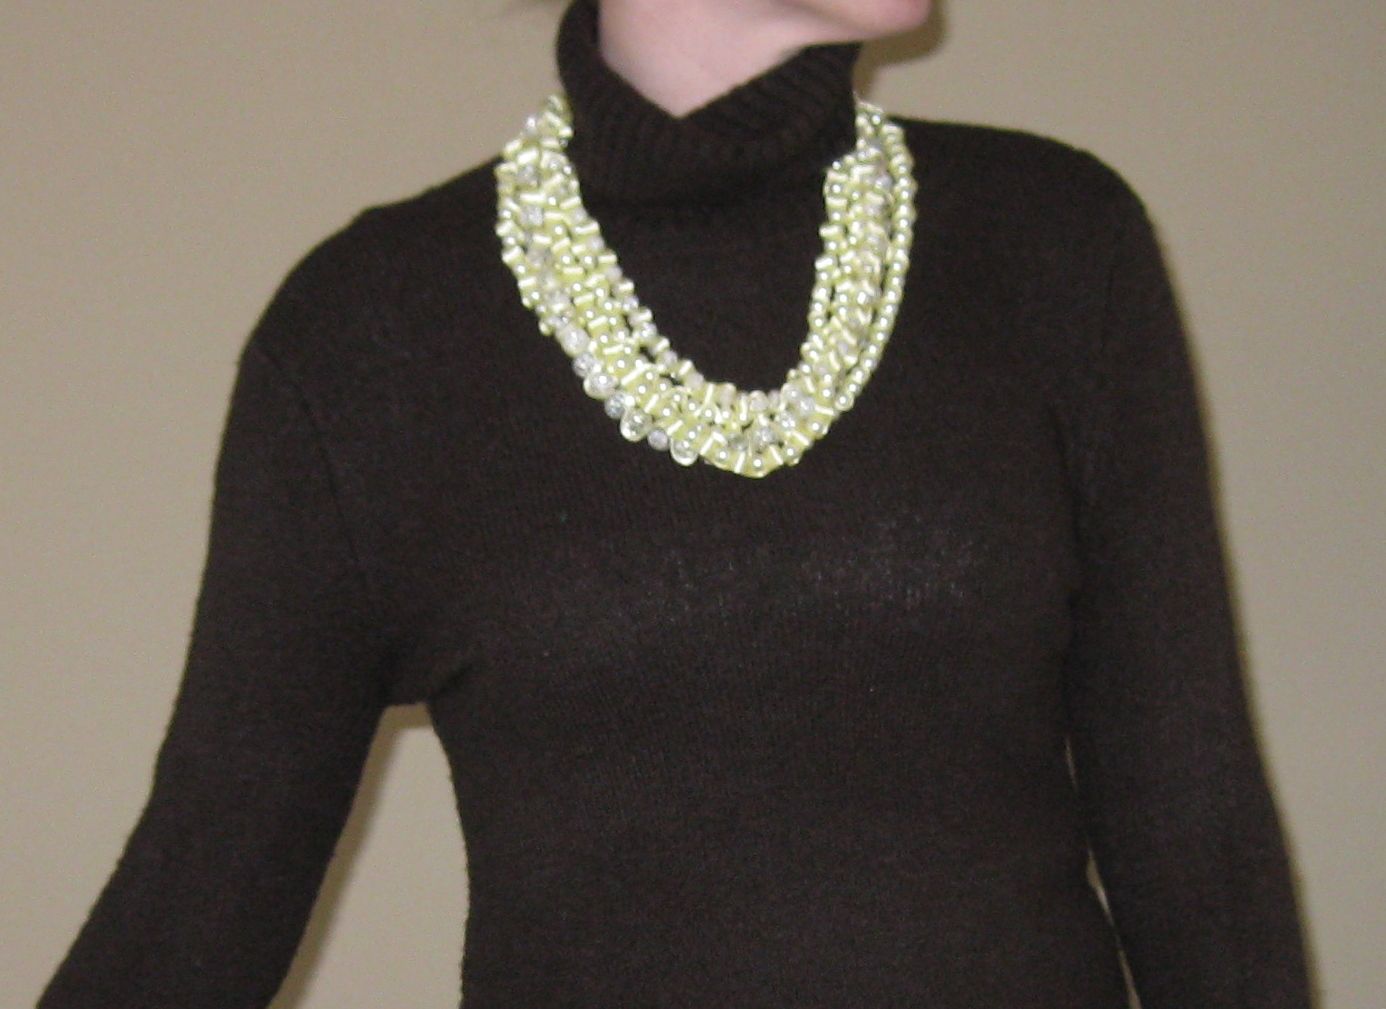
Done! Here is the end necklace. I love how it is big and chunky and filled with beads.

xoxoxo,
Lauren
Friday, April 5, 2013

Goat cheese & spinach stuffed chicken

I have not made these in a while and I thought this could be a nice change to dinner. First I grabbed chicken breast-cut off the fat and thinned them out. I placed them onto a baking sheet that I sprayed with cooking spray
Sprinkle with salt and pepper. Now finely cut up the spinach- I also removed the stems. Place them onto the middle of the chicken. Next add goat cheese.
Time to roll them up! Secure with toothpicks. You will need a few depending on the thickness of the chicken.
Bake at 425 degrees for 25-30 minutes. This is vary depending on the thickness of the chicken. Done! OMG these are super yummy

Super easy to make and really great to eat. The goat cheese will keep the inside of the meat moist.

xoxoxo,
Lauren
LinkWithin
Related Posts Plugin for WordPress, Blogger...