Well hi welcome to my little blog. Just my little corner of craftiness, sewing, and refashioning. I am also a newly gluten free eater so you have a little bit of recipes mixed in here.
Showing posts with label beading. Show all posts

Wednesday, December 25, 2013

Beaded Ornaments- great bead destash!

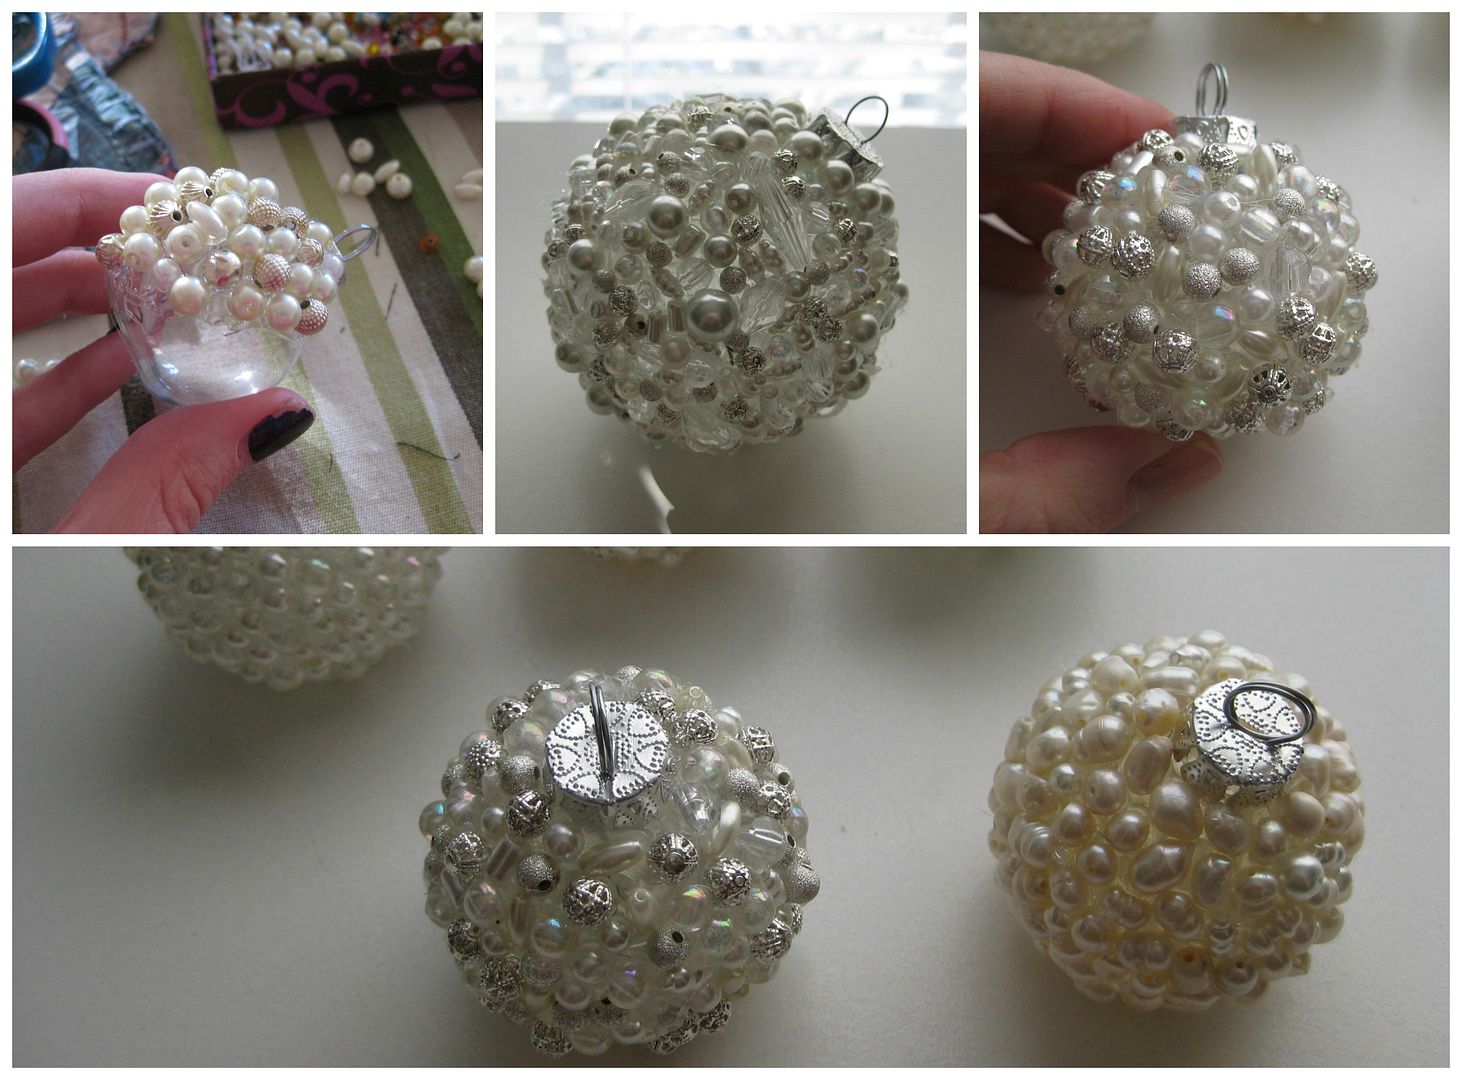
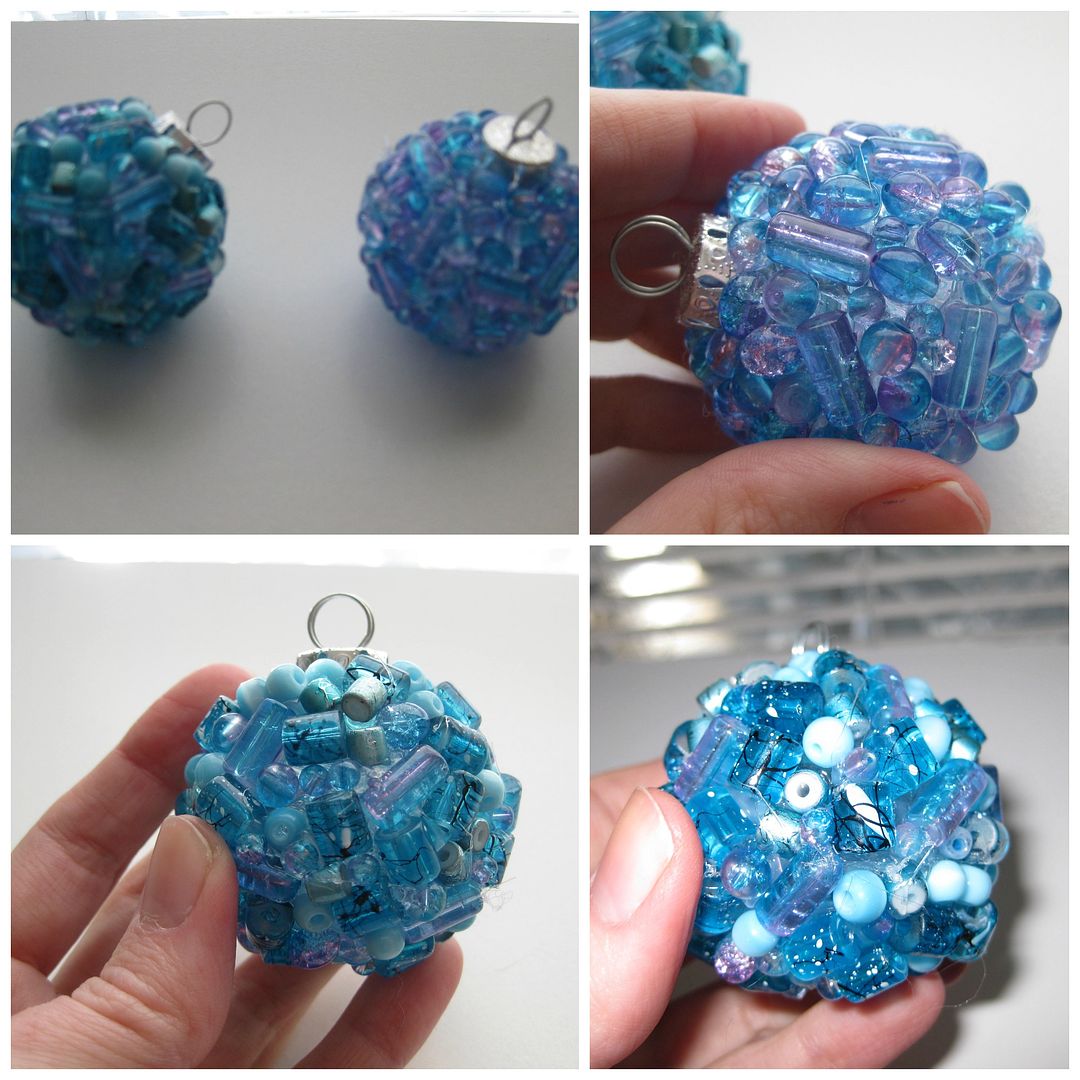
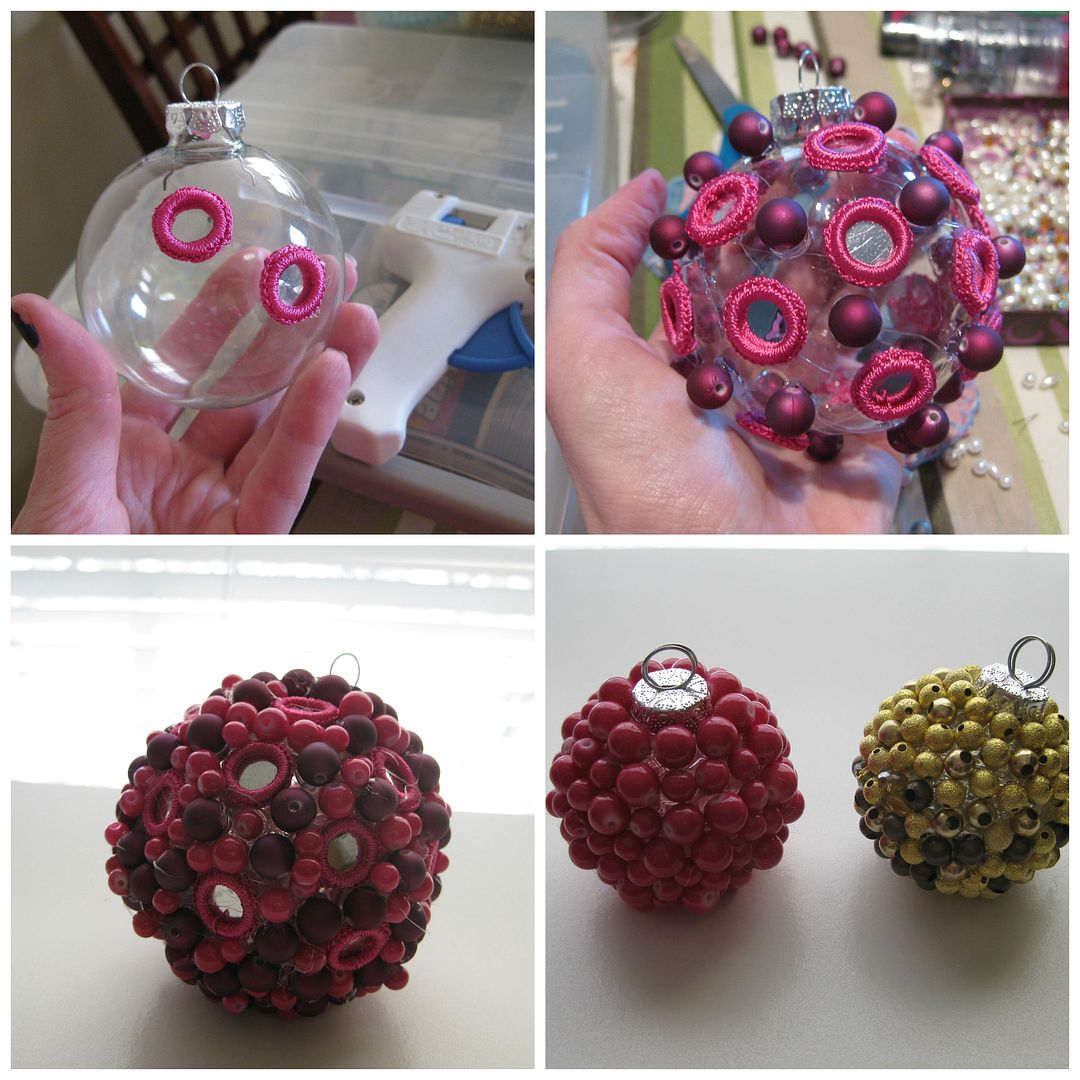
Well Merry Christmas everyone! Here is one of my big de-stashing of my beads project that I made for my Christmas tree. It was super easy and I used a TON of beads! That made both me and my boyfriend happy. LOL. Really this project is simply clear glass ornaments in 2 sizes, a hot glue gun, and beads, beads, beads!!

here are my pearls and silver variations

The blue ones are gorgeous!

These were a bit hit and miss. The pink/purple with the sisha mirrors reminds me of a microbe, but that is the scientist  in me. The all pink came out nice. The gold got messed up so it's a bit "ombre".
Can't win them all! But I now have some lovely new gems for my tree. they look wonderful!!

From our blog to yours! Merry Christmas!

Cheers,
Lauren

Monday, December 16, 2013

Circle Bead Christmas Tree- Iron Craft Open

Here is what I wanted to do for the last iron craft challenge but I didn't know how to finish it. So I had made the peacock feather ornament. It dawned on me on how to finish it and since this iron craft challenge is open (or past) I decided this could qualify for the holidays and also UFO b/c it was totally unfinished until this past week.

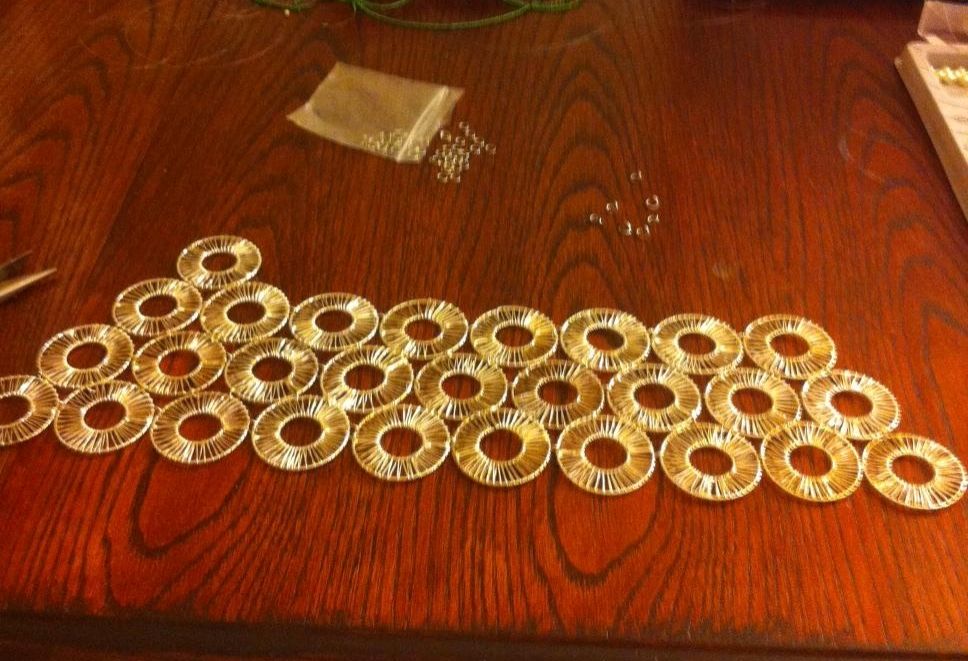
First I had all of these circle metal beads that a long, long time ago I had purchased for a bellydance costume. I had a huge stash of them. I never used them b/c in order for these medallions to look nice on a bra of a costume they would need to bend- easier said than done. Instead they languished in my bead stash until I could figure out what to do with them. One night they were all on the floor and it hit me, I could turn it into a tree and use it for Christmas decor. So I pulled out my jump rings and started to connect them. One by one.

I used up my jump ring stash significantly. Which was great! Once I got the hang of this, connecting them together was easy. Now I was done with my tree but upon hanging the sides curled. Which I dont have a picture of, I had lost my camera and was only using my cell phone. This is where I got stumped. But then it hit me, I would put it on canvas and hang it up that way.

I found a canvas that was 60% off at Michaels that day plus an additional 25% off. Wahoo.

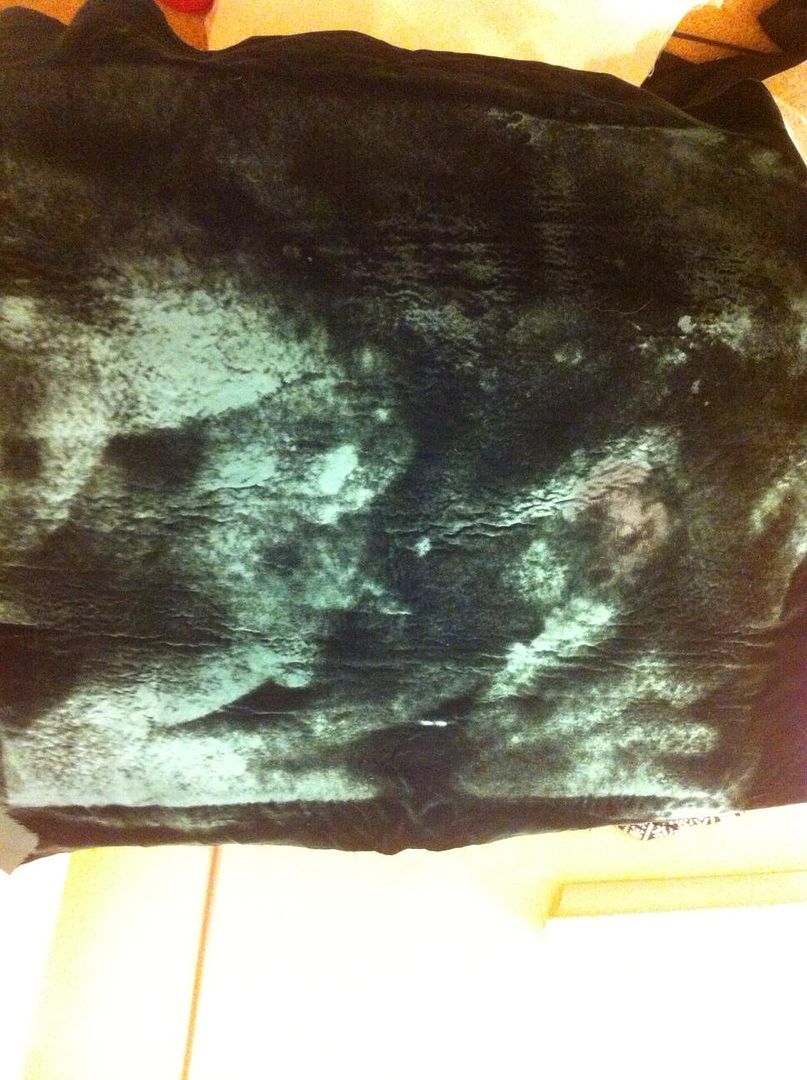
But I would like to cover it first, so I used a scrap piece of green velvet that was in my stash. It made the silver circles pop. First I cut a piece that was large enough to cover the canvas and then some. I added 2 pieces of fusible fleece and then a piece of interface to stiffen it up.


Ironing left marks so I went with it and gave the velvet an all around texture with iron marks

Now I am ready to attach my circles to the velvet. It was nice and thick so it could hold the weight of the metal. I laid out my tree, and tacked it down with silver thread. It was thicker thread, which I ran out of but then I used some white iridescent embroidery floss to finish up.

This actually didn't take long. I started at the bottom, went around the perimeter, then tacked inside the tree. I had put it on my ironing board and balanced with my leg that was crossed over each other while I sat. So I access on the top and bottom and could quickly sew up and down. After beading many dance costumes this was easy. Call it my stupid super human power.

Done! Now to attach to the canvas. I centered it and applied a layer of tacky glue and let the fabric/canvas dry over night. To help with the gluing, I actually turned everthing over so the tree was on the table and the canvas was on top, I placed books to help it get a solid hold. Sorry for no pics, I thought I took a picture of this!! But allowing it to dry upside down (face first) ensured that I didn't get a sagging or droopy canvas. Next I used my staple gun and finished the sides up.

Done! Tada!


Here is a close up to see the tacks I did.


I am super happy with the outcome and now those metal medallions have been used. Love my new Christmas decor! :)

Only 1 more Iron Craft left for the rest of the year! I am excited!

Cheers,
Lauren

Saturday, April 6, 2013

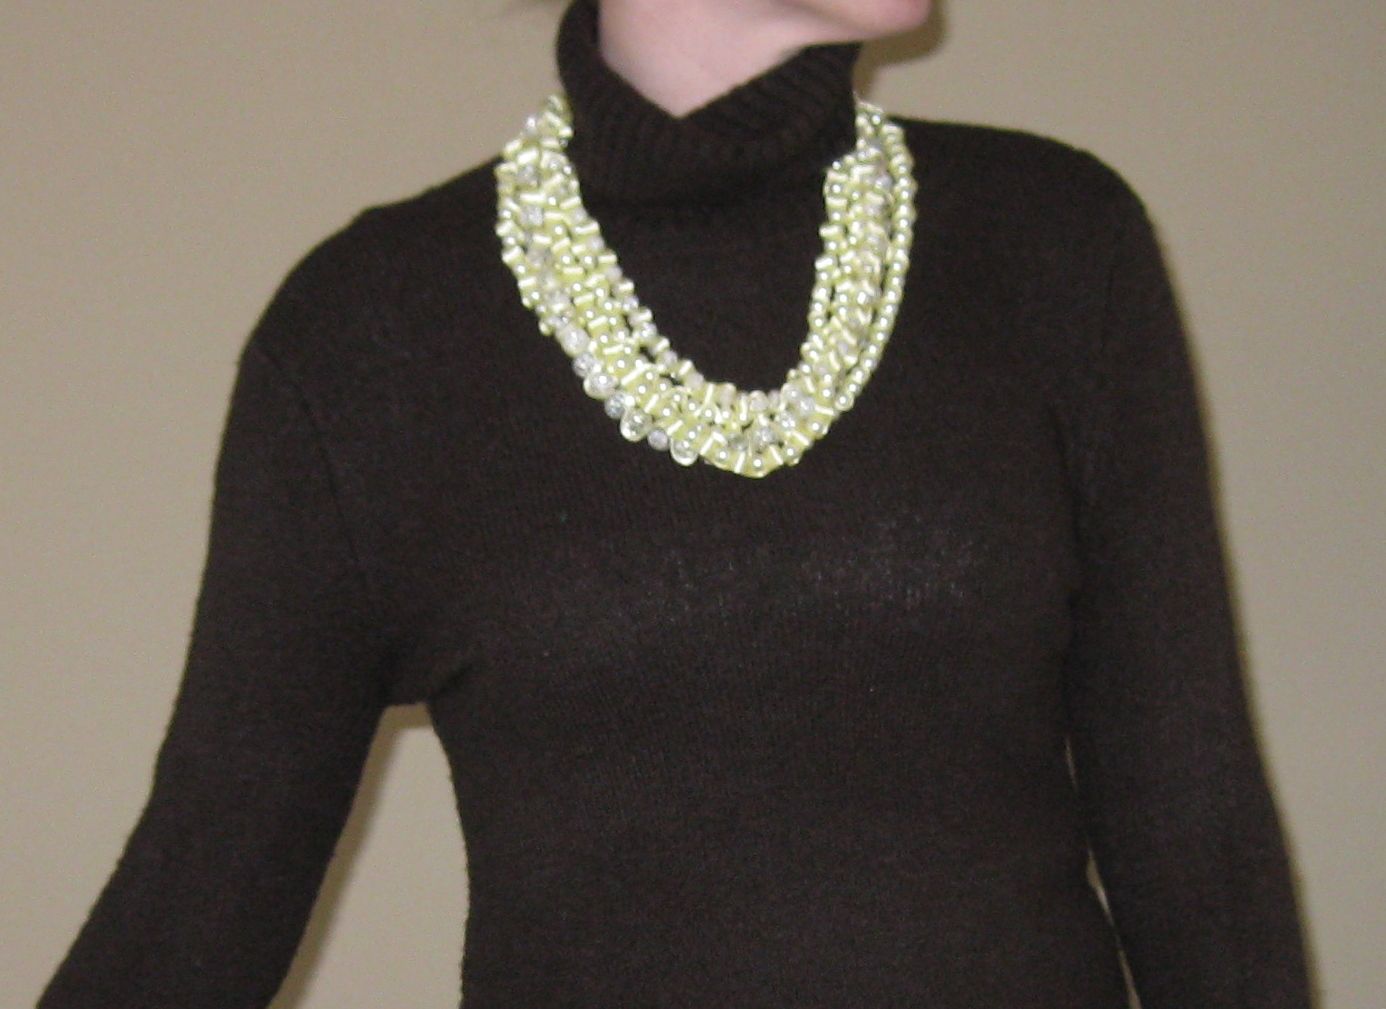
Yellow & Crushed Glass Bead Ribbon Necklace

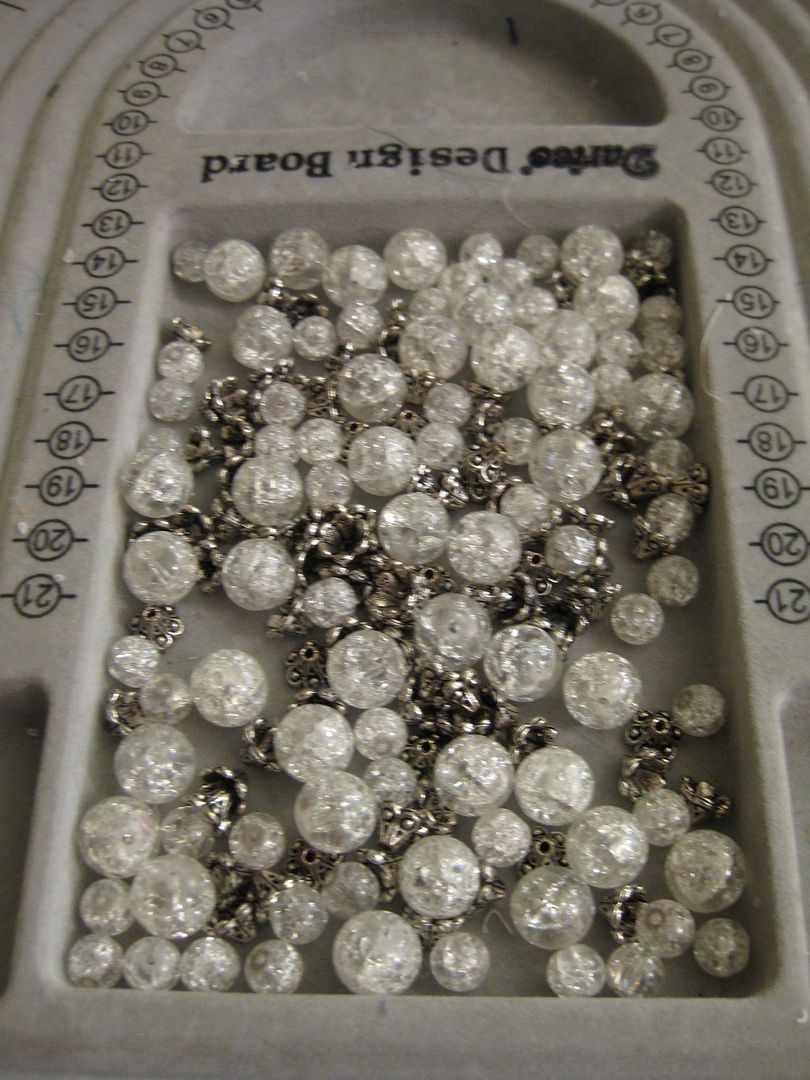
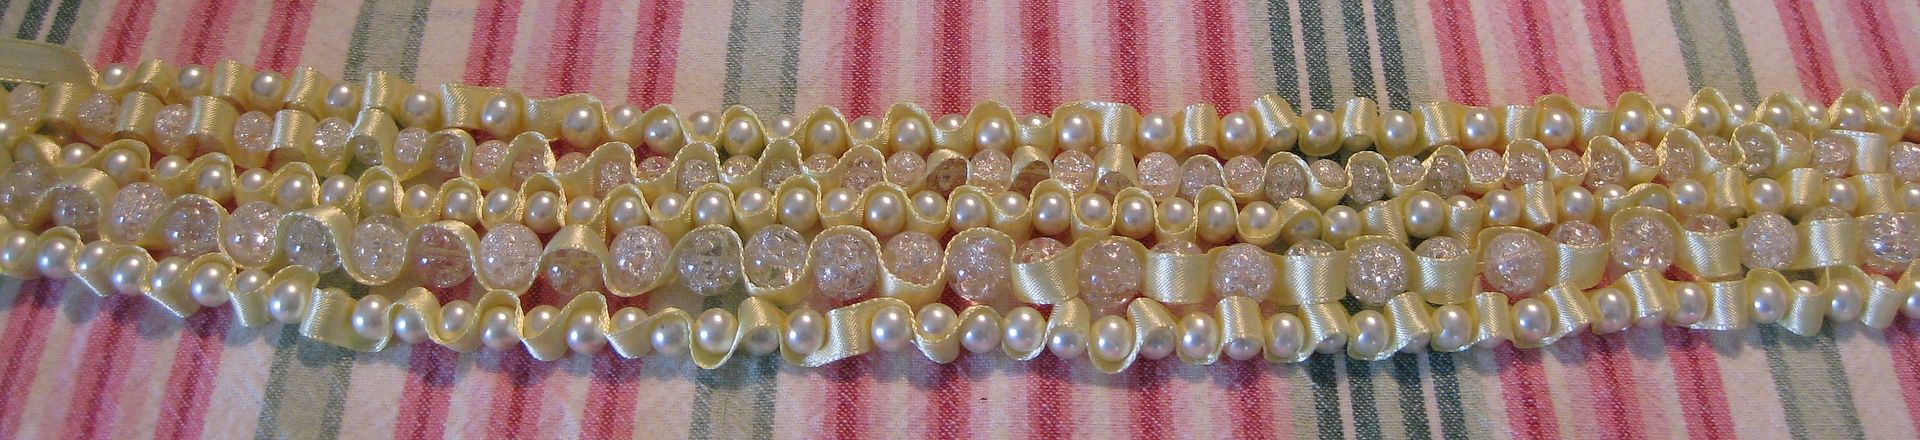
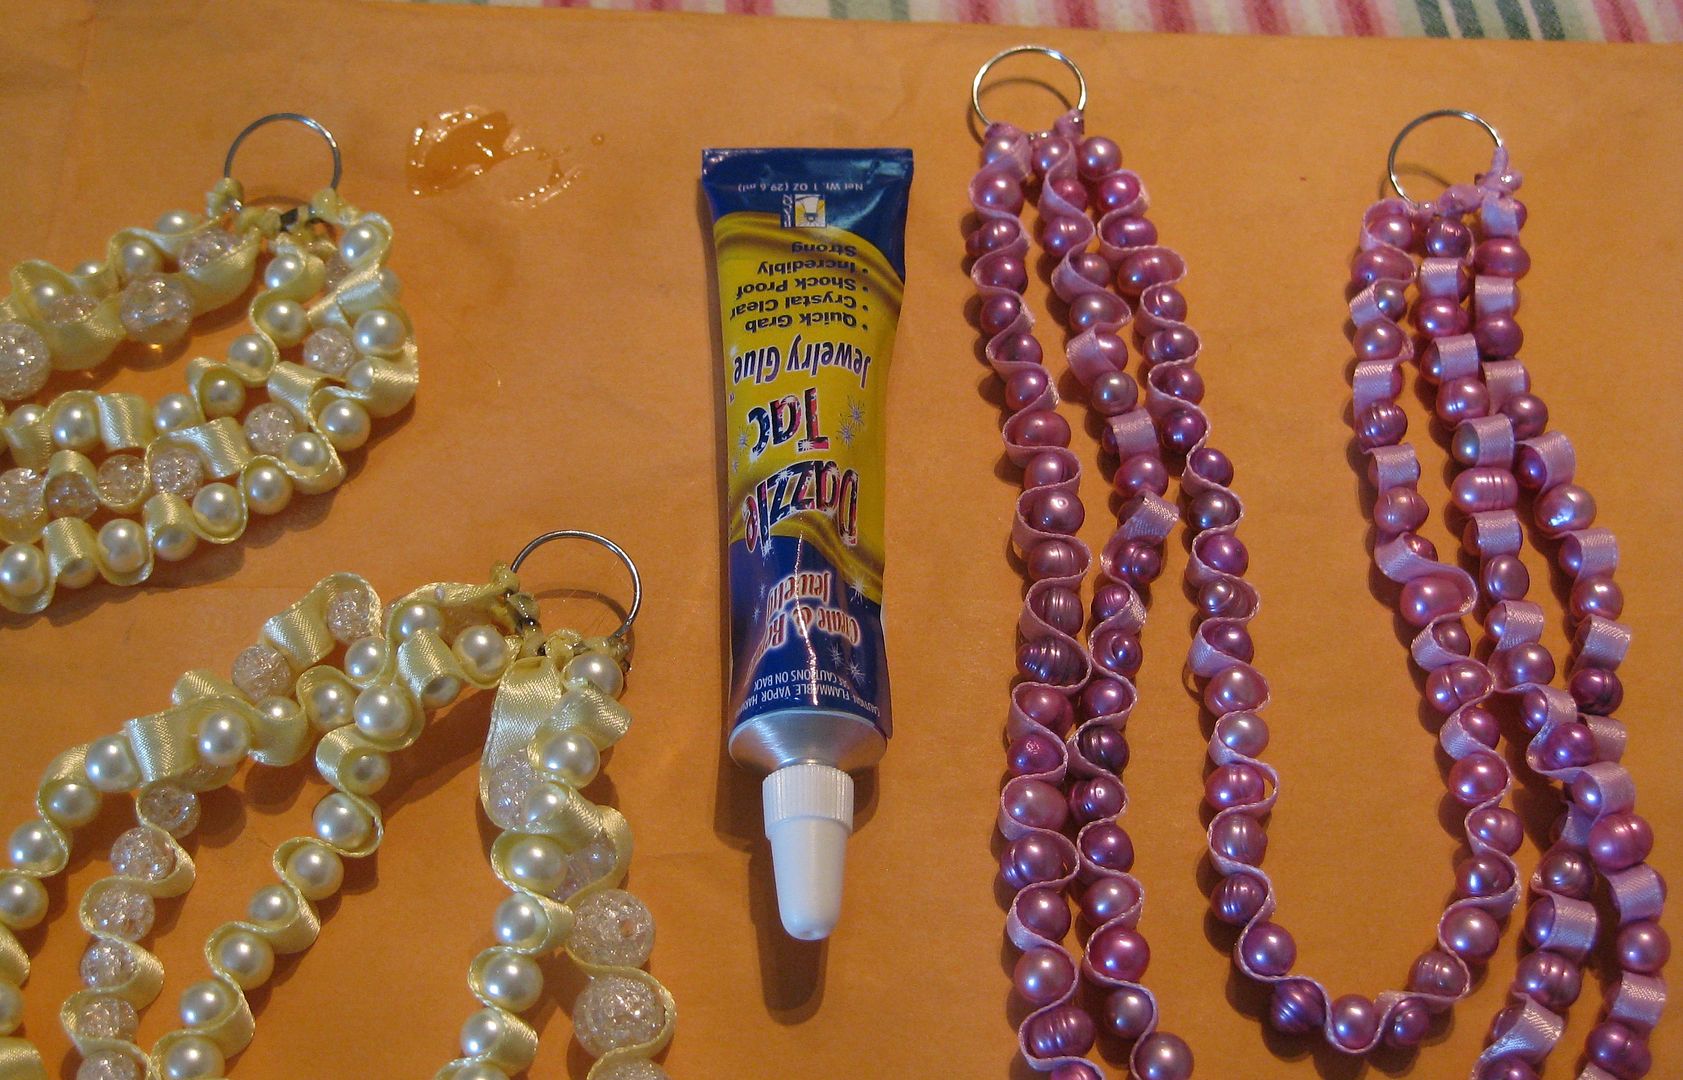
So you have seen the pink ribbon and pearl necklace. I thought I would try something else the same way. I have these cracked glass beads that I have wanted to use and I had yellow ribbon that I thought would work well with the glass.

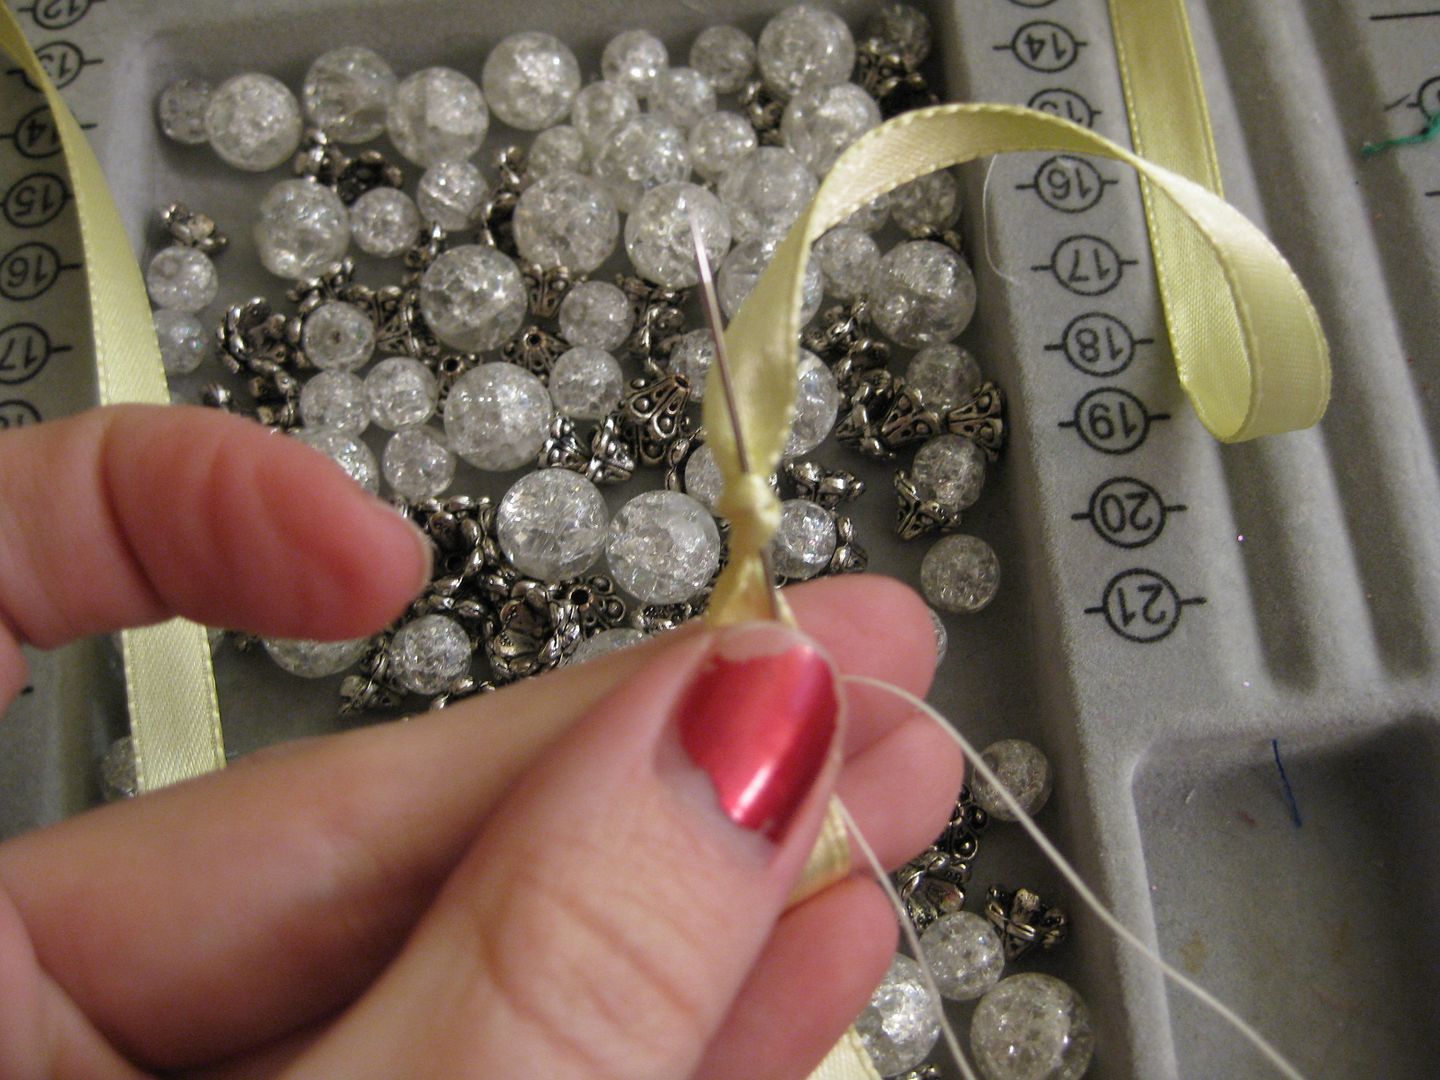
Start the same way, knot and bring your knotted thread through the knot. Also this time I used button thread b/c these beads were way heavier!

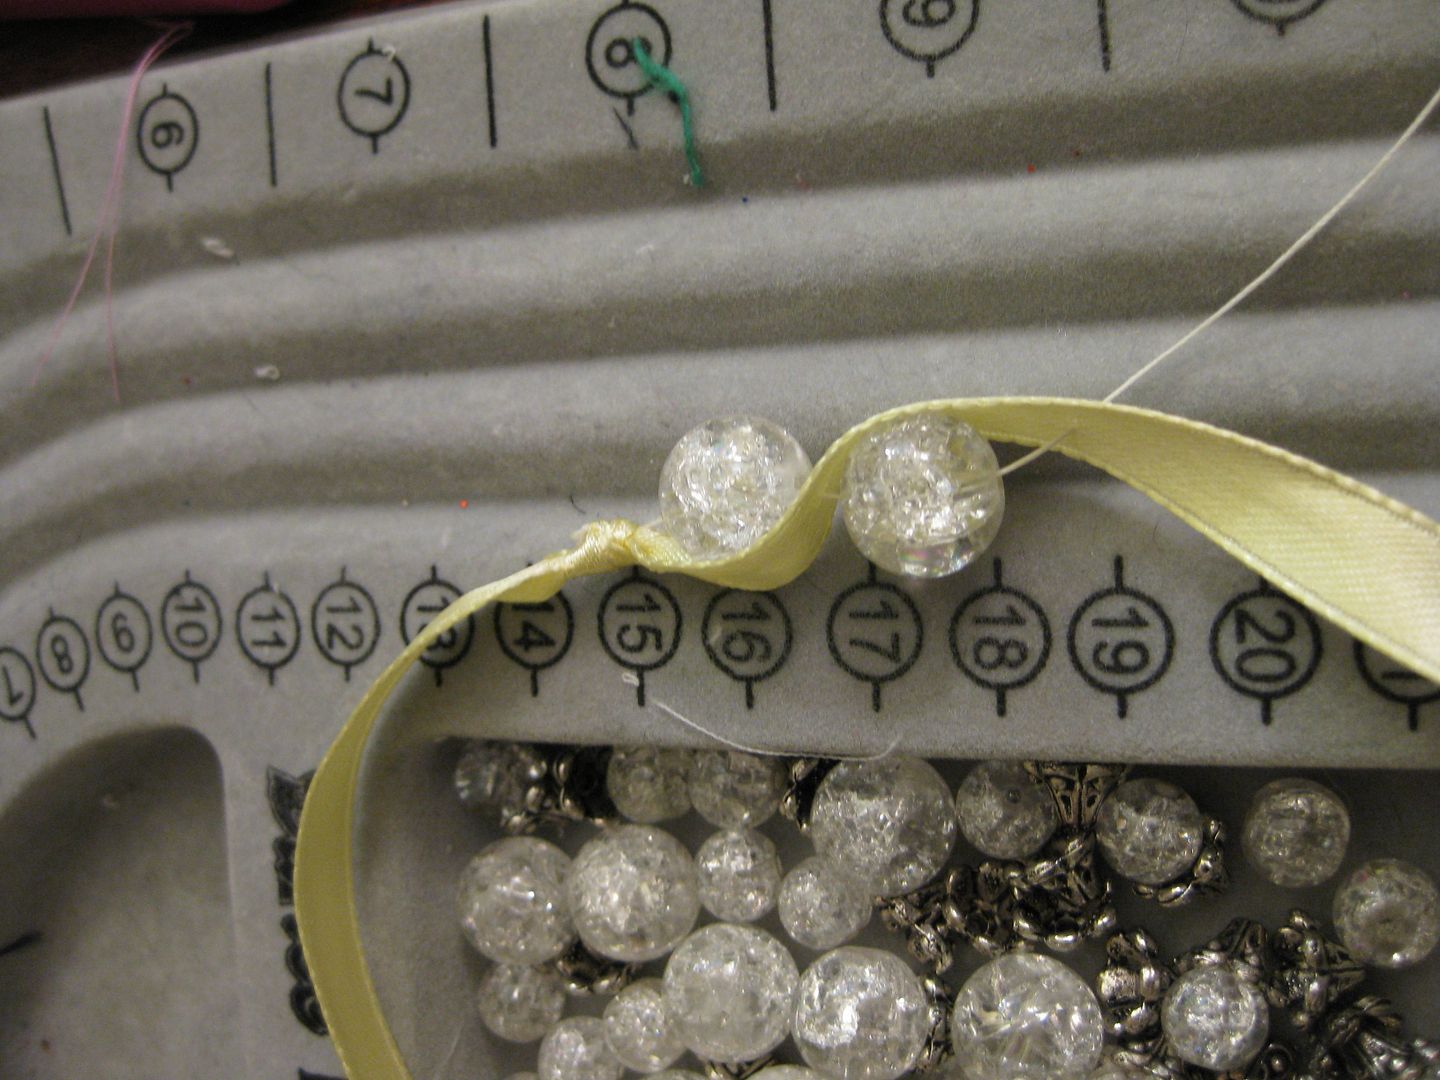
Here is how I weave them. Very easy. There is room for error so you don't have to be perfect to make these types of necklaces

Basically I repeated the same procedure. But I made more strands and also decided to use white pearls I wanted a thick necklace of beads. :)
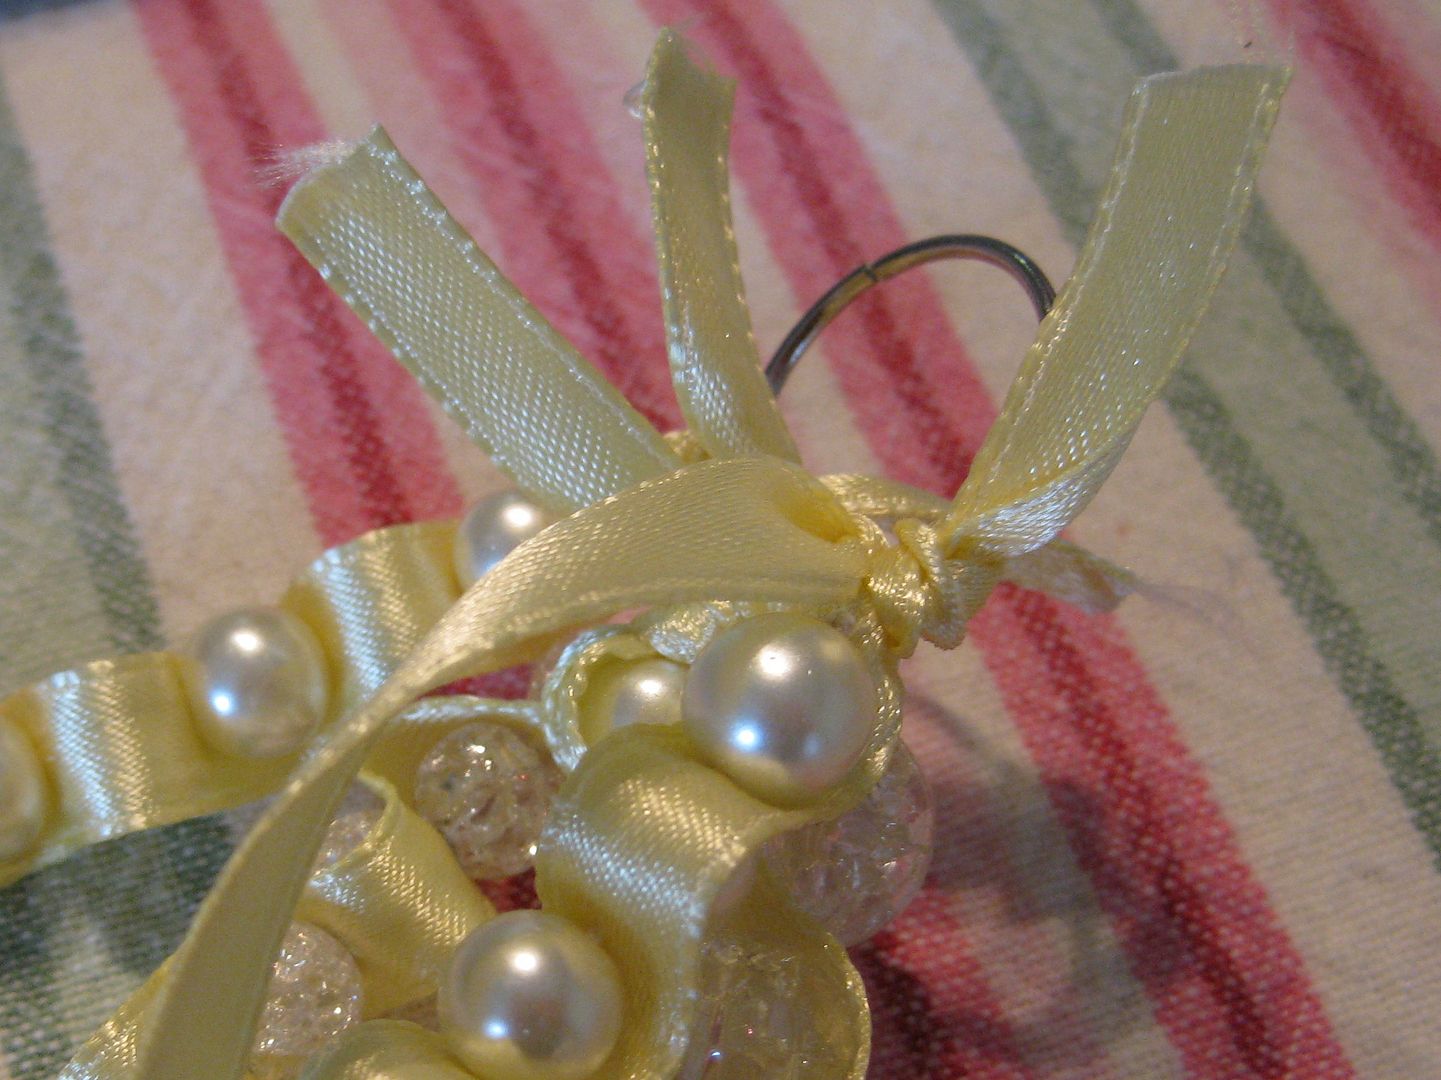
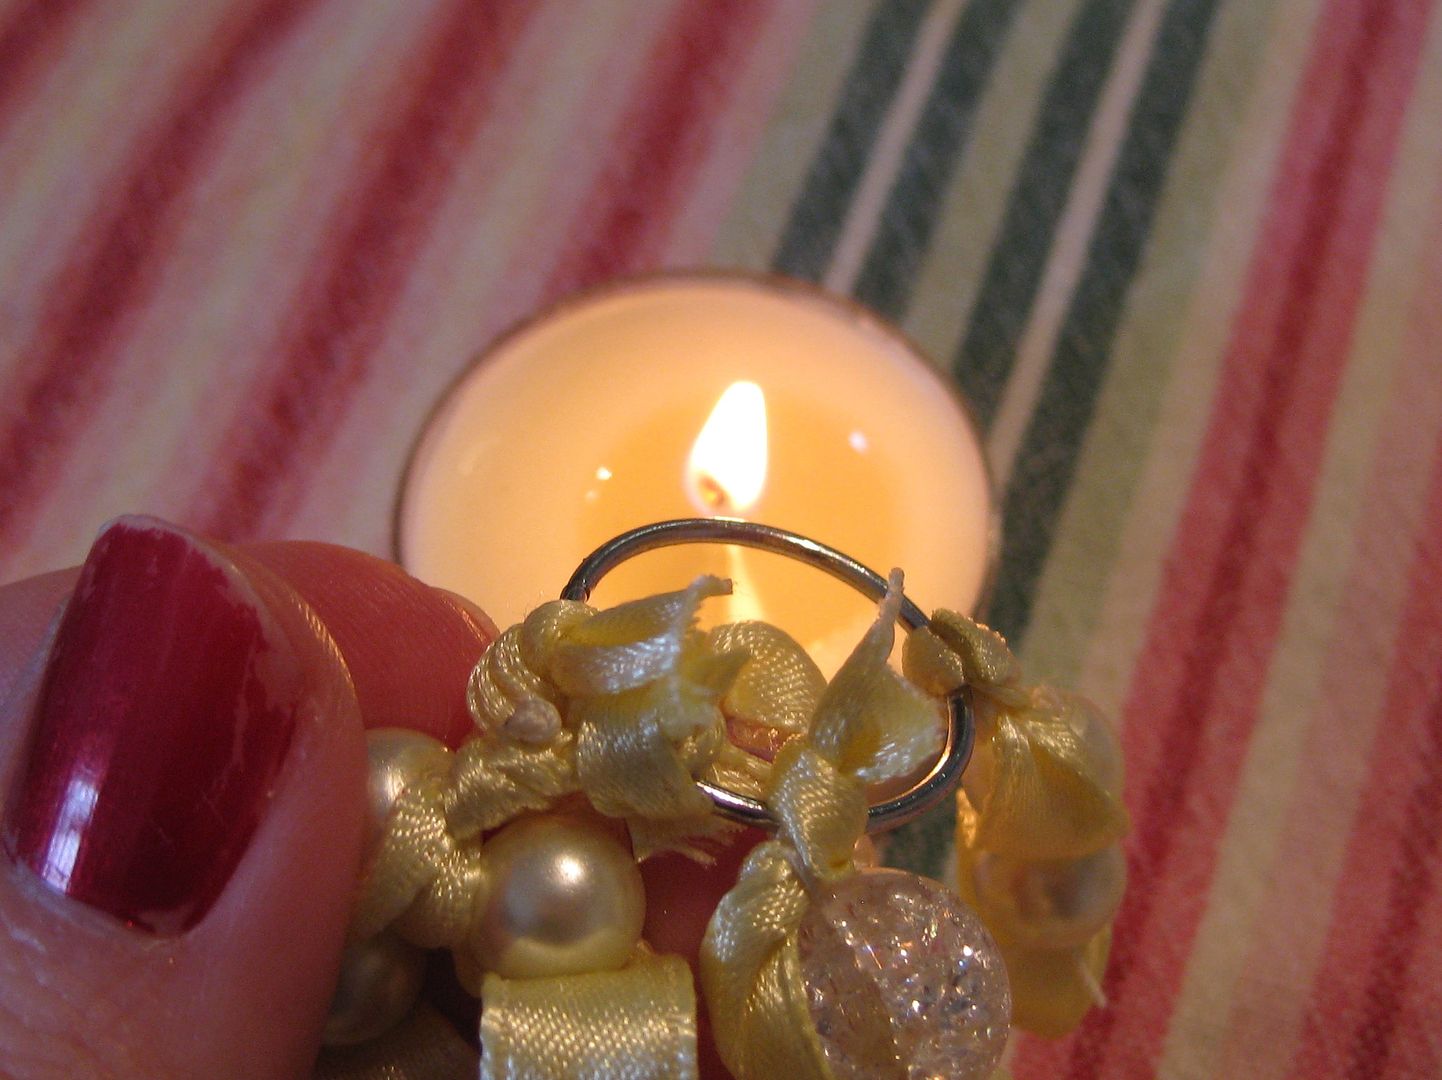
Repeat again tying off the notes for the strands starting with the shortest one first. Again burn. Blah Blah.


I glued also just because I am afraid.

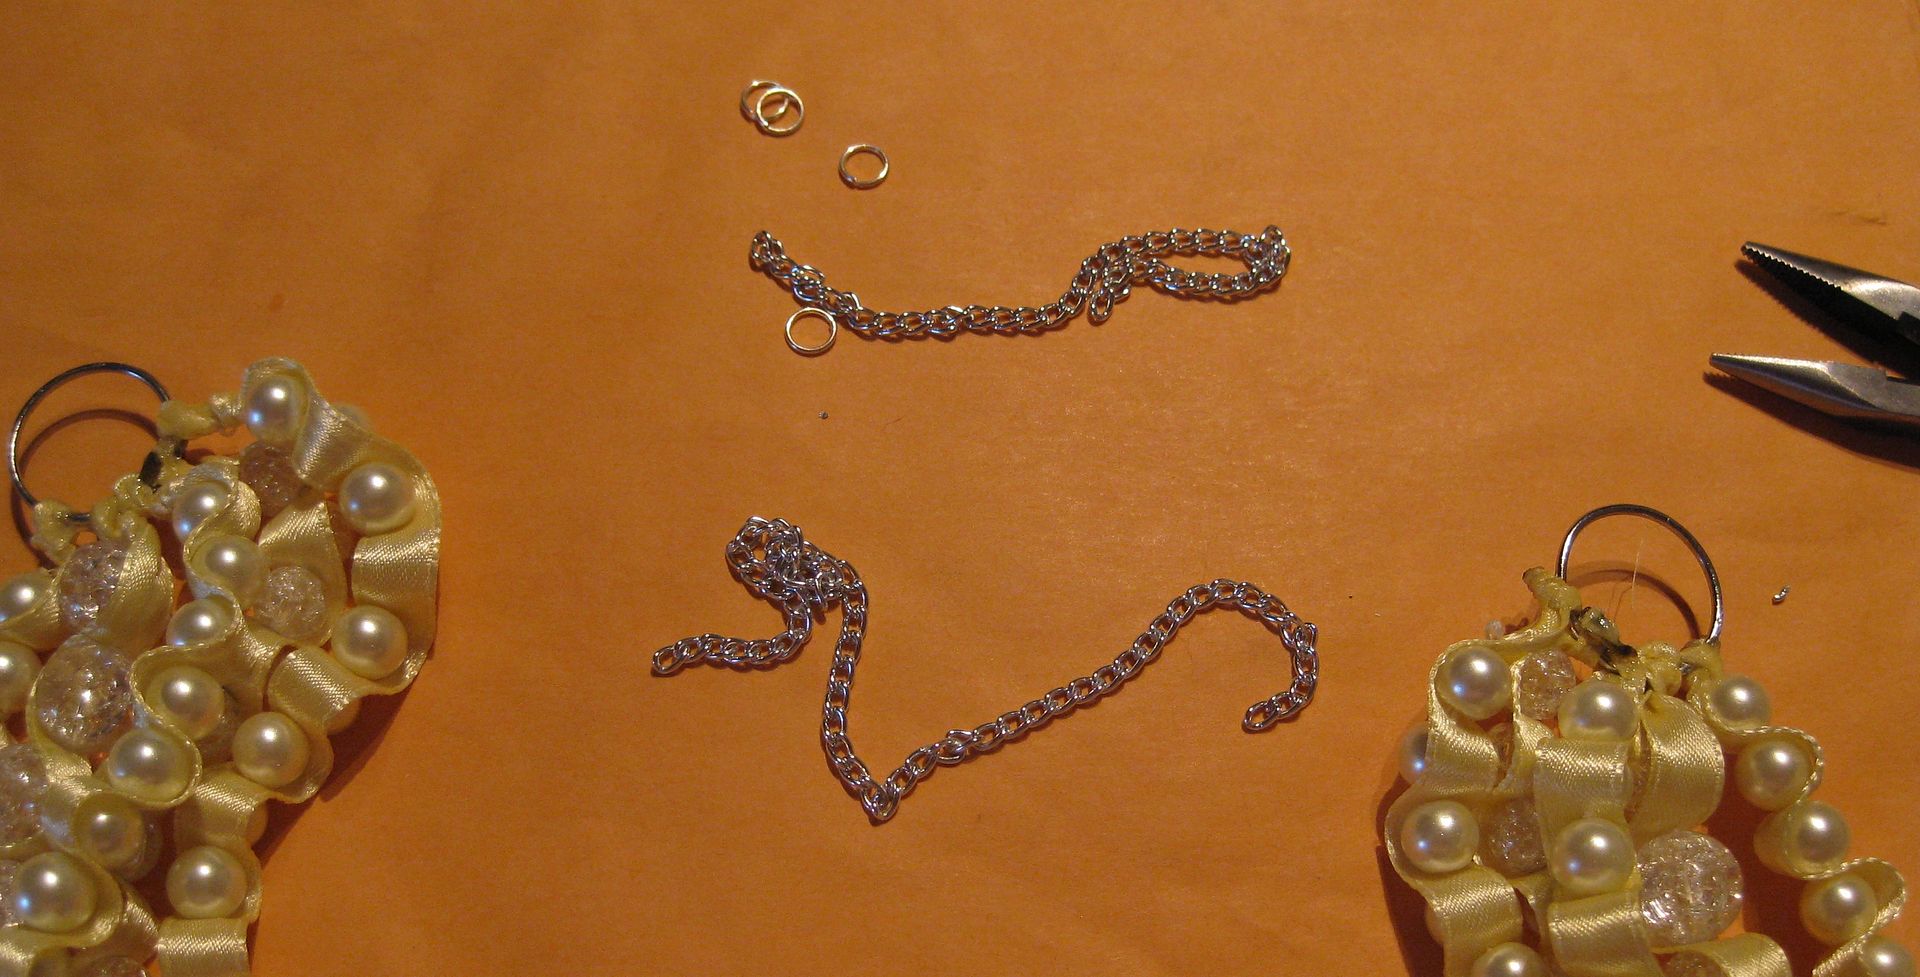
I busted out the lobster claw, the jump rings, and chain.
I only used 1 of the chains, I am having the lobster claw link the big loop

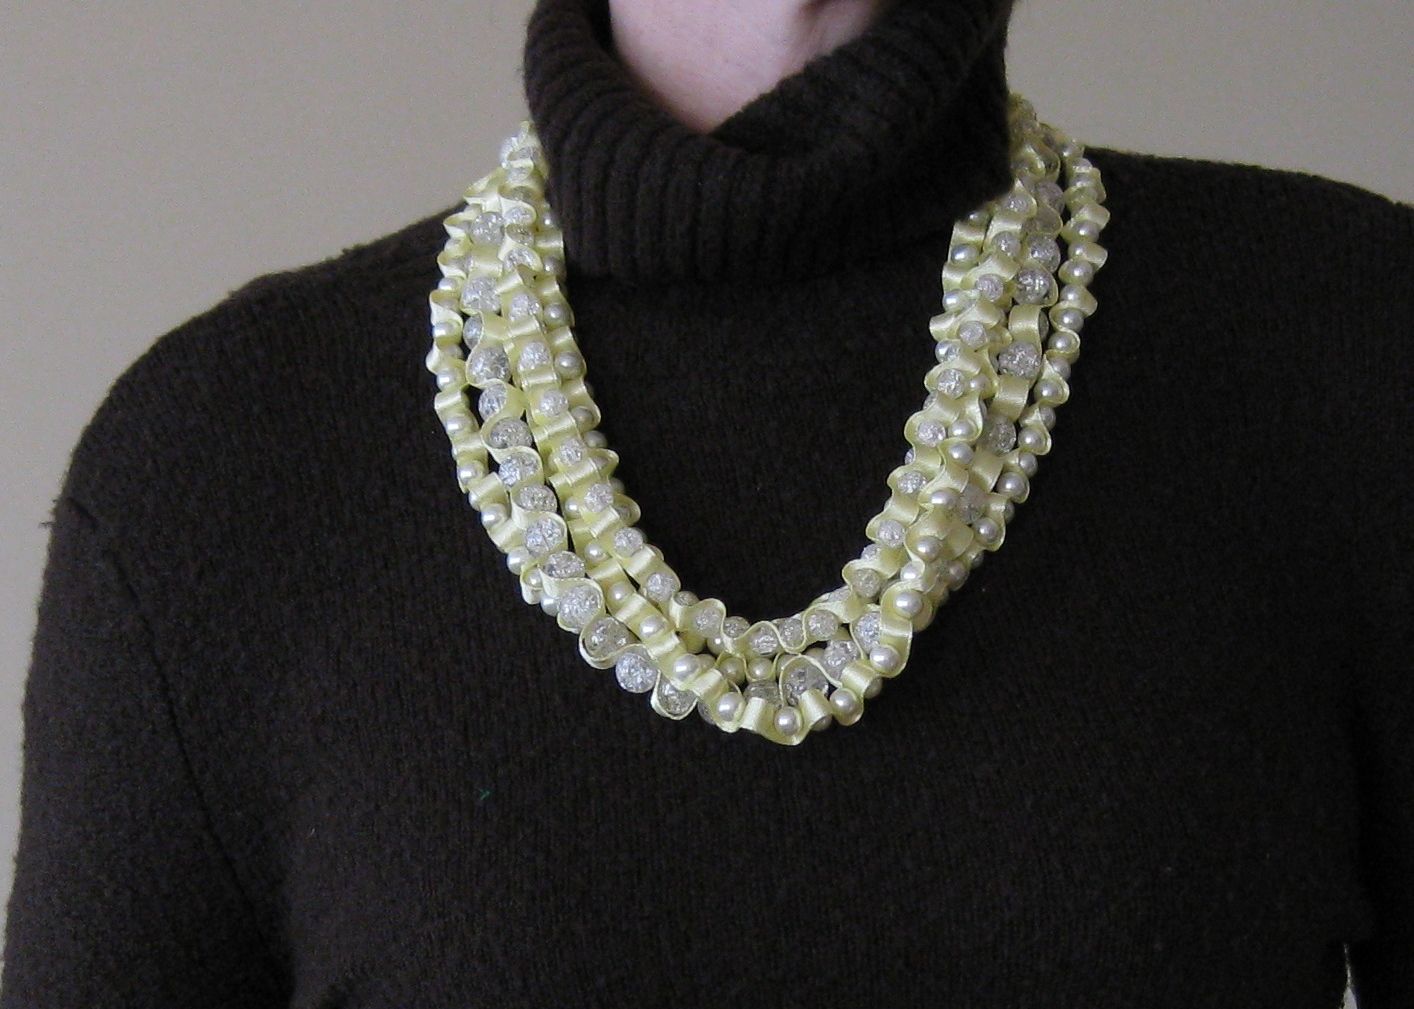
Done! Here is the end necklace. I love how it is big and chunky and filled with beads.

xoxoxo,
Lauren
Wednesday, March 20, 2013

White pearl sweater refashion

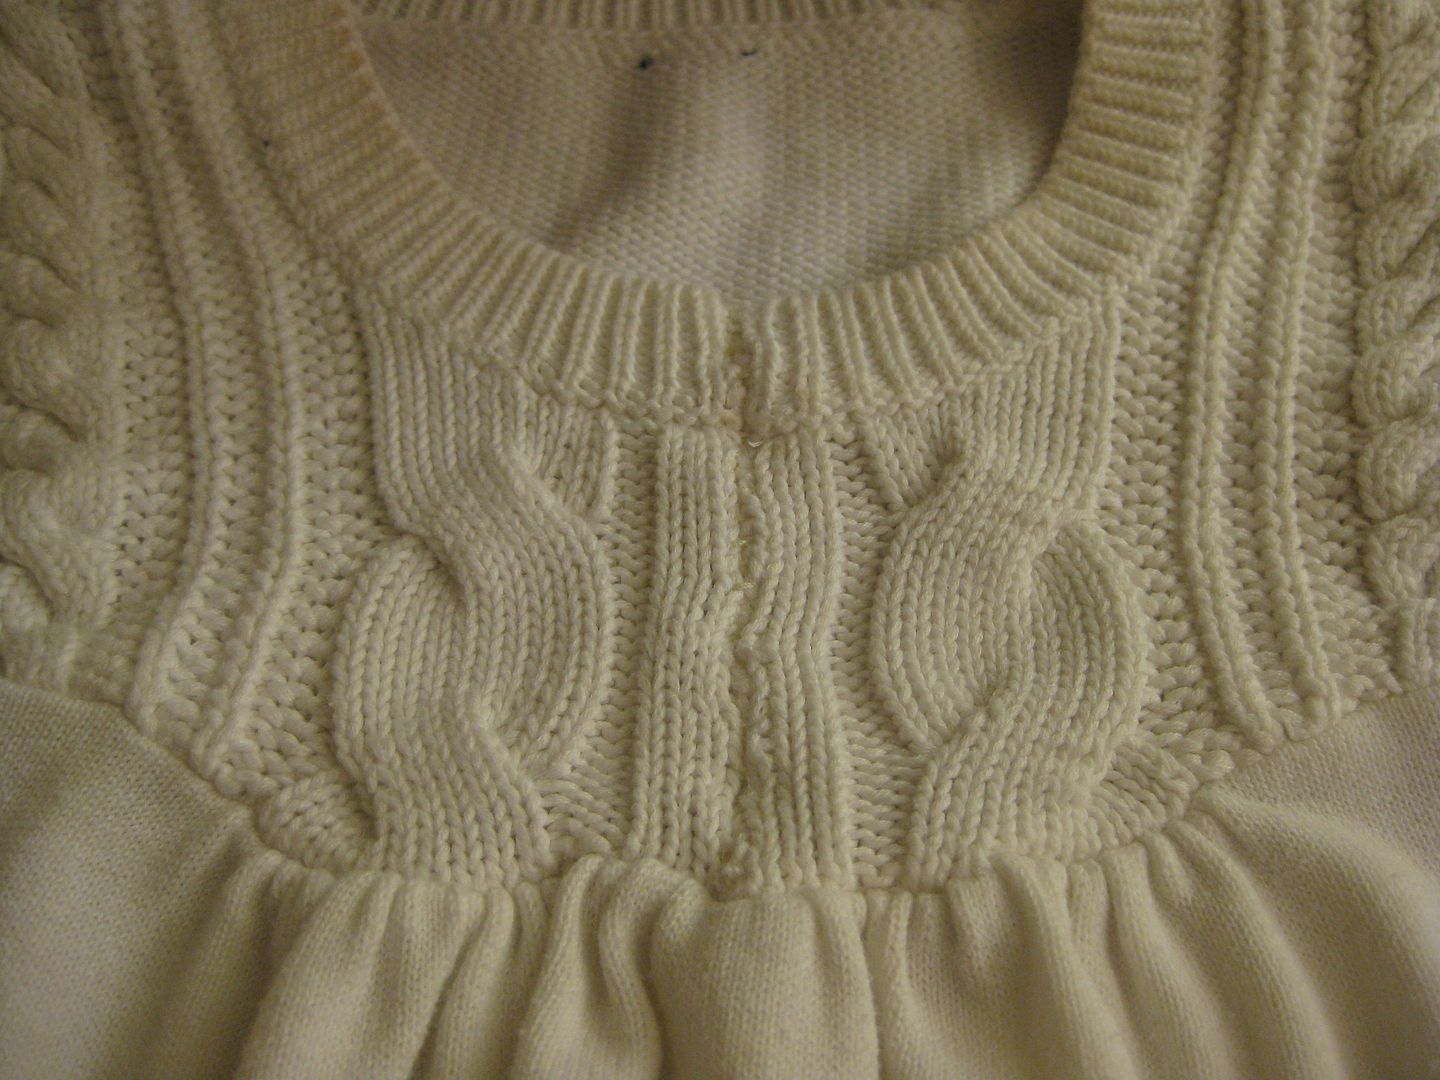
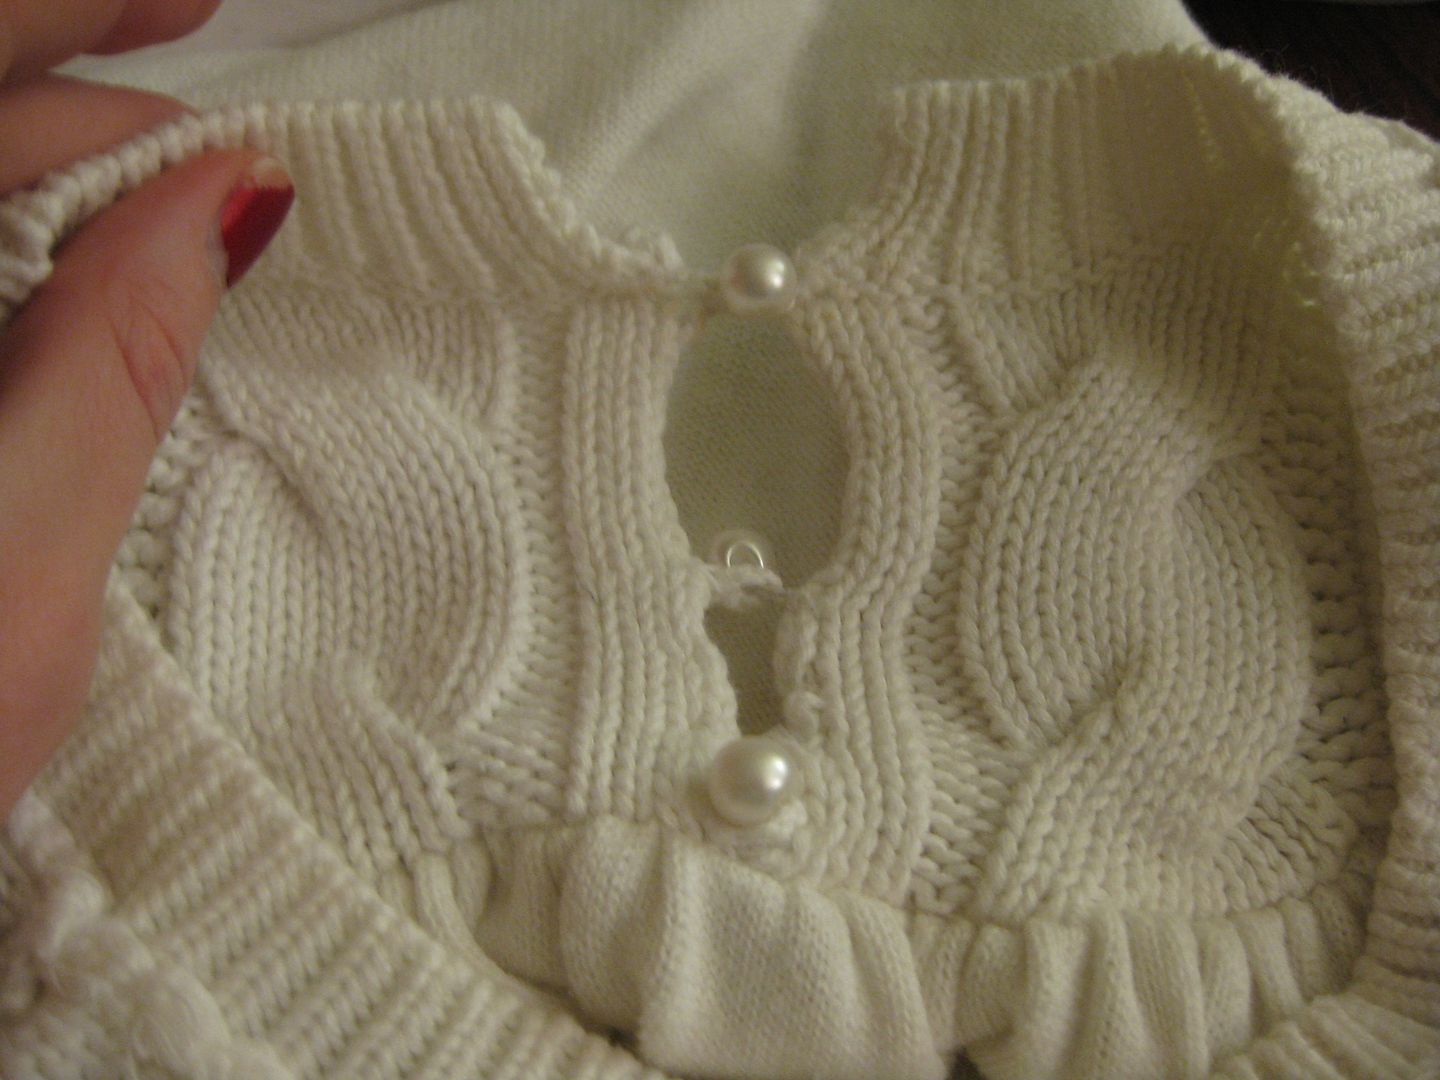
Lo... before I cute sweater but it had some weird holes on the top of it.

Actually the previous owner didn't like it either and when I turned it inside out there was a safety pin closing the bottom portion up.

If I took it out it was a bad attempt at key holes. I decided to close it up and get rid of the big beads. 


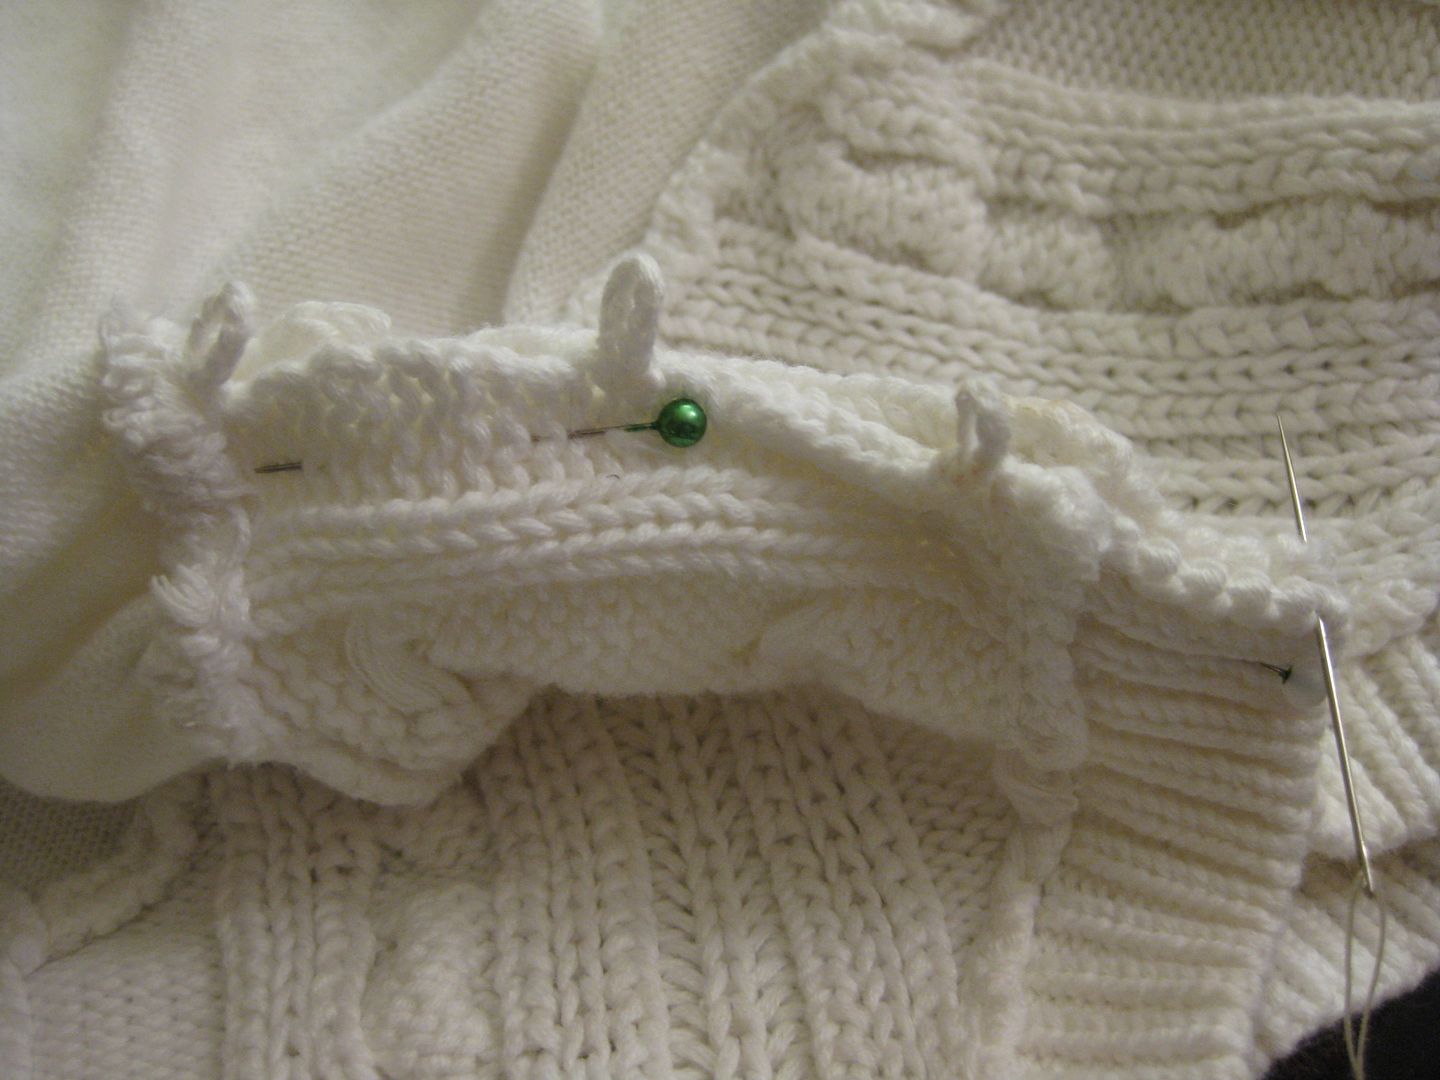
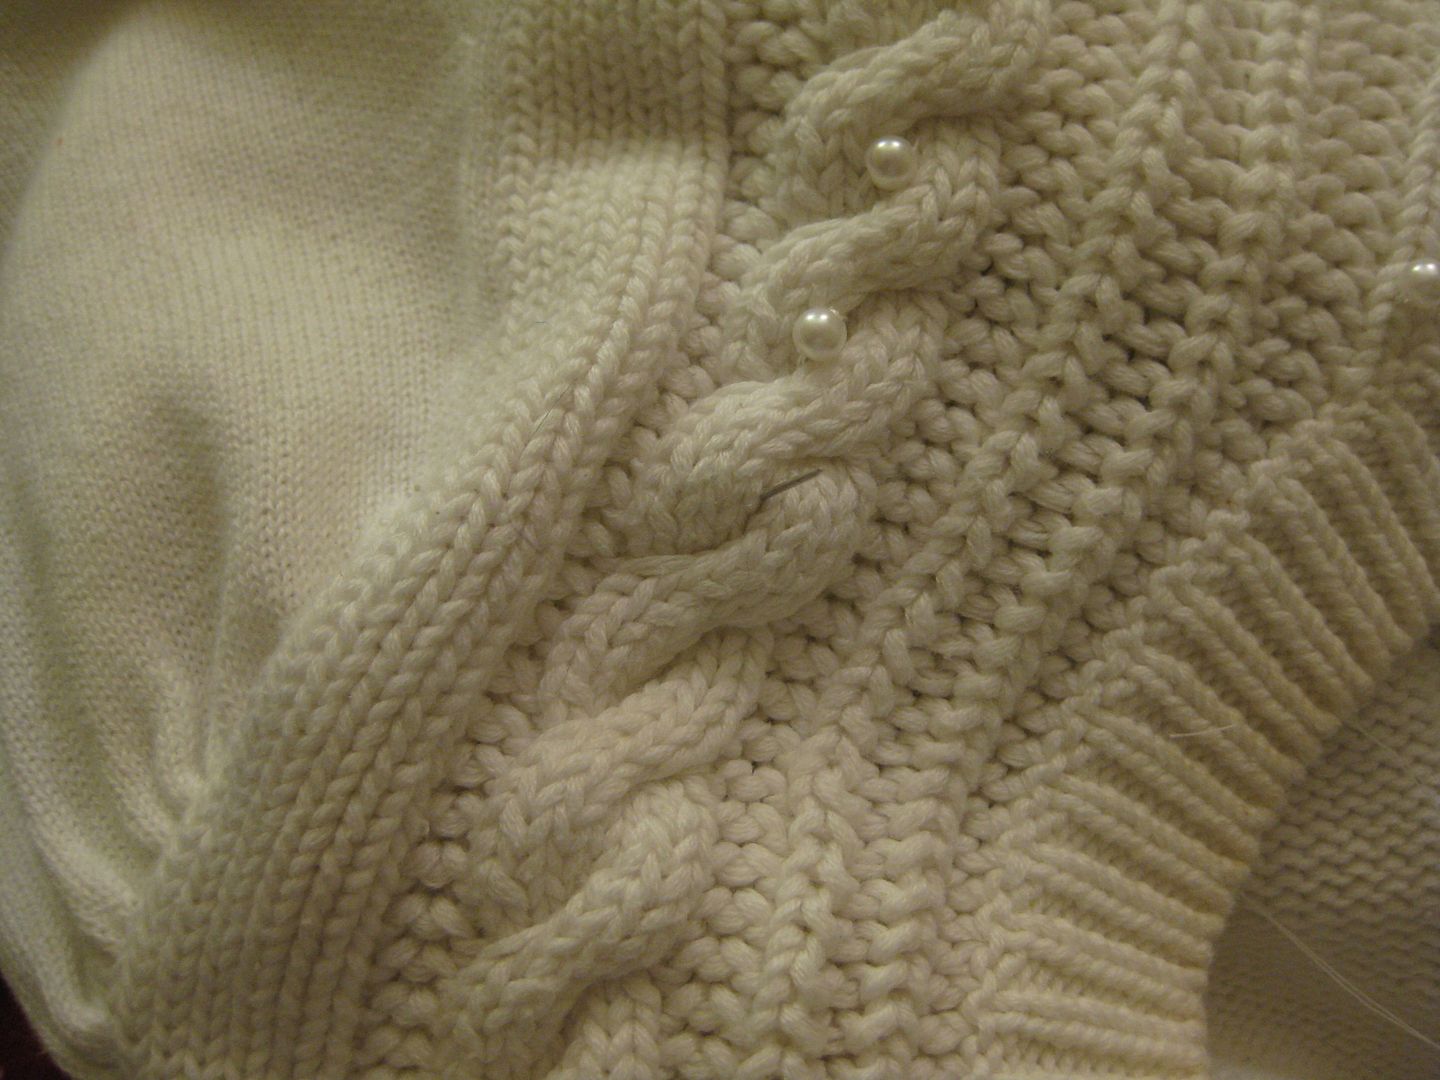
I pinned the parts together after I removed the pearl buttons. 

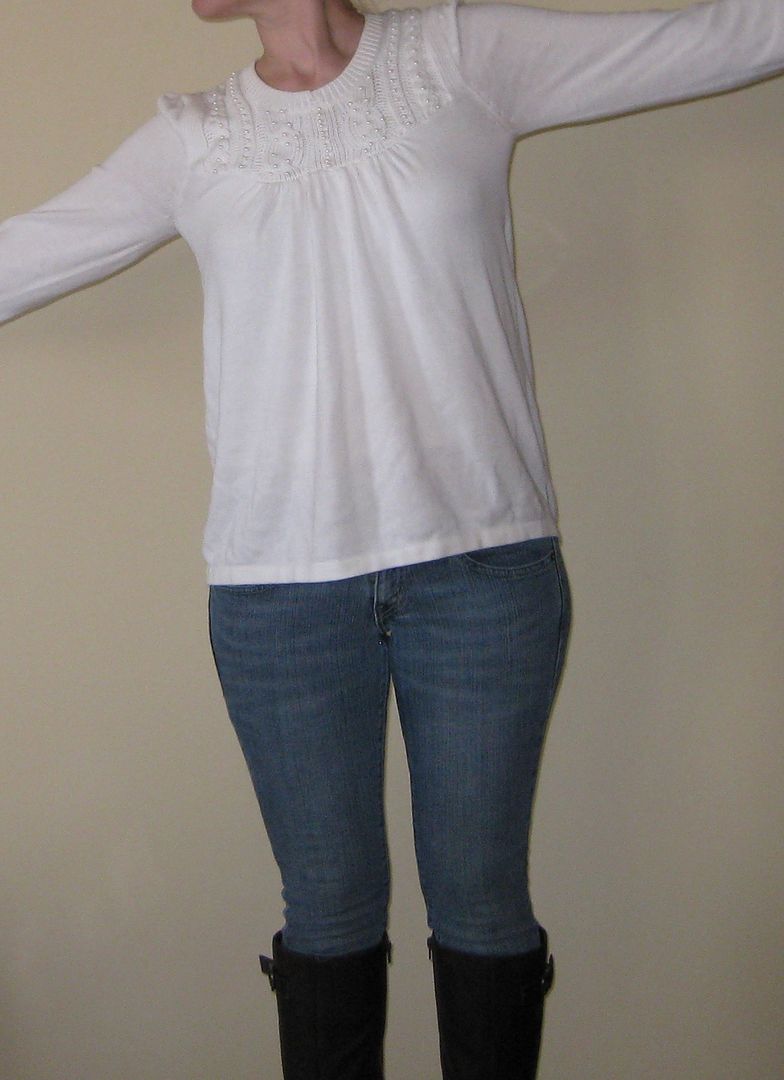
Here it is done. But.... it looks a little off and I decided I missed some pearls. 

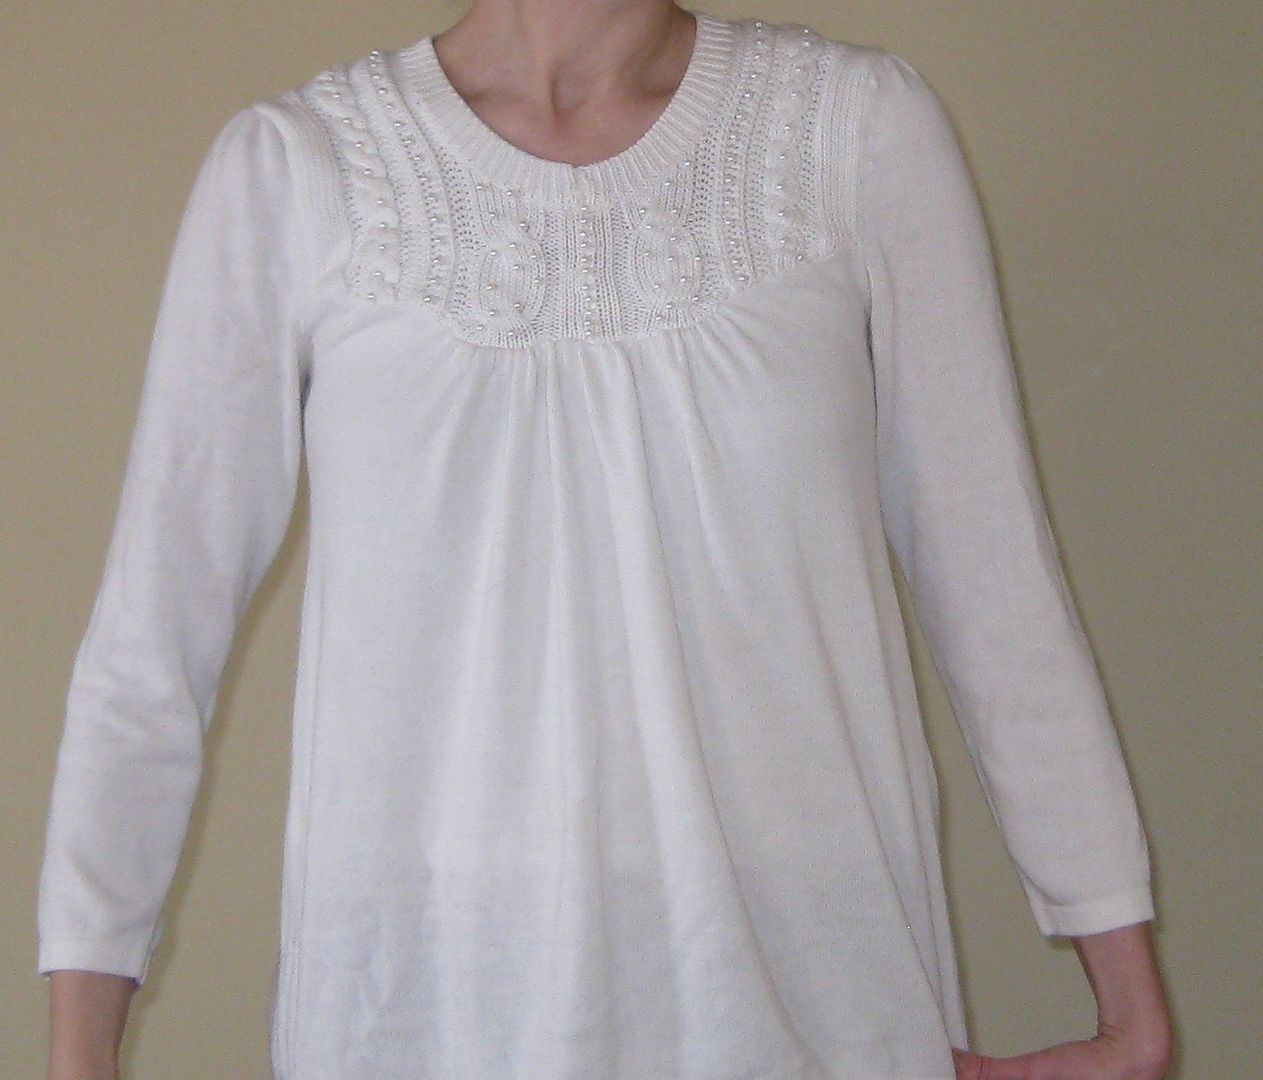
So I started to add them back using the existing pattern in the knit. 

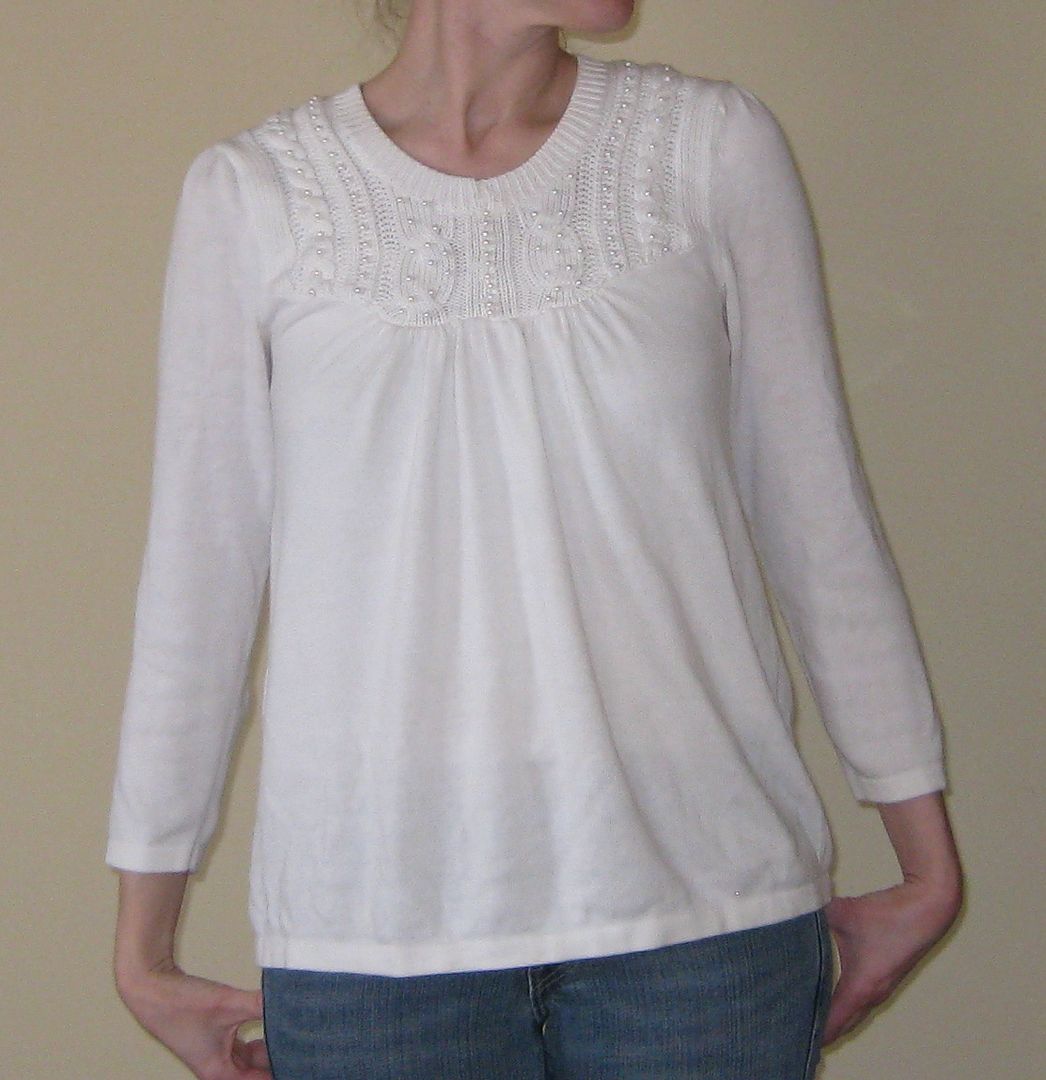
Done!!


I love my new sweater now! It looks much more cohesive. 


I didn't really loose much sewing the parts together. Yay now I have a new sweater. I am counting down the day to spring warmness.....

xoxoxo,
Lauren

Wednesday, February 20, 2013

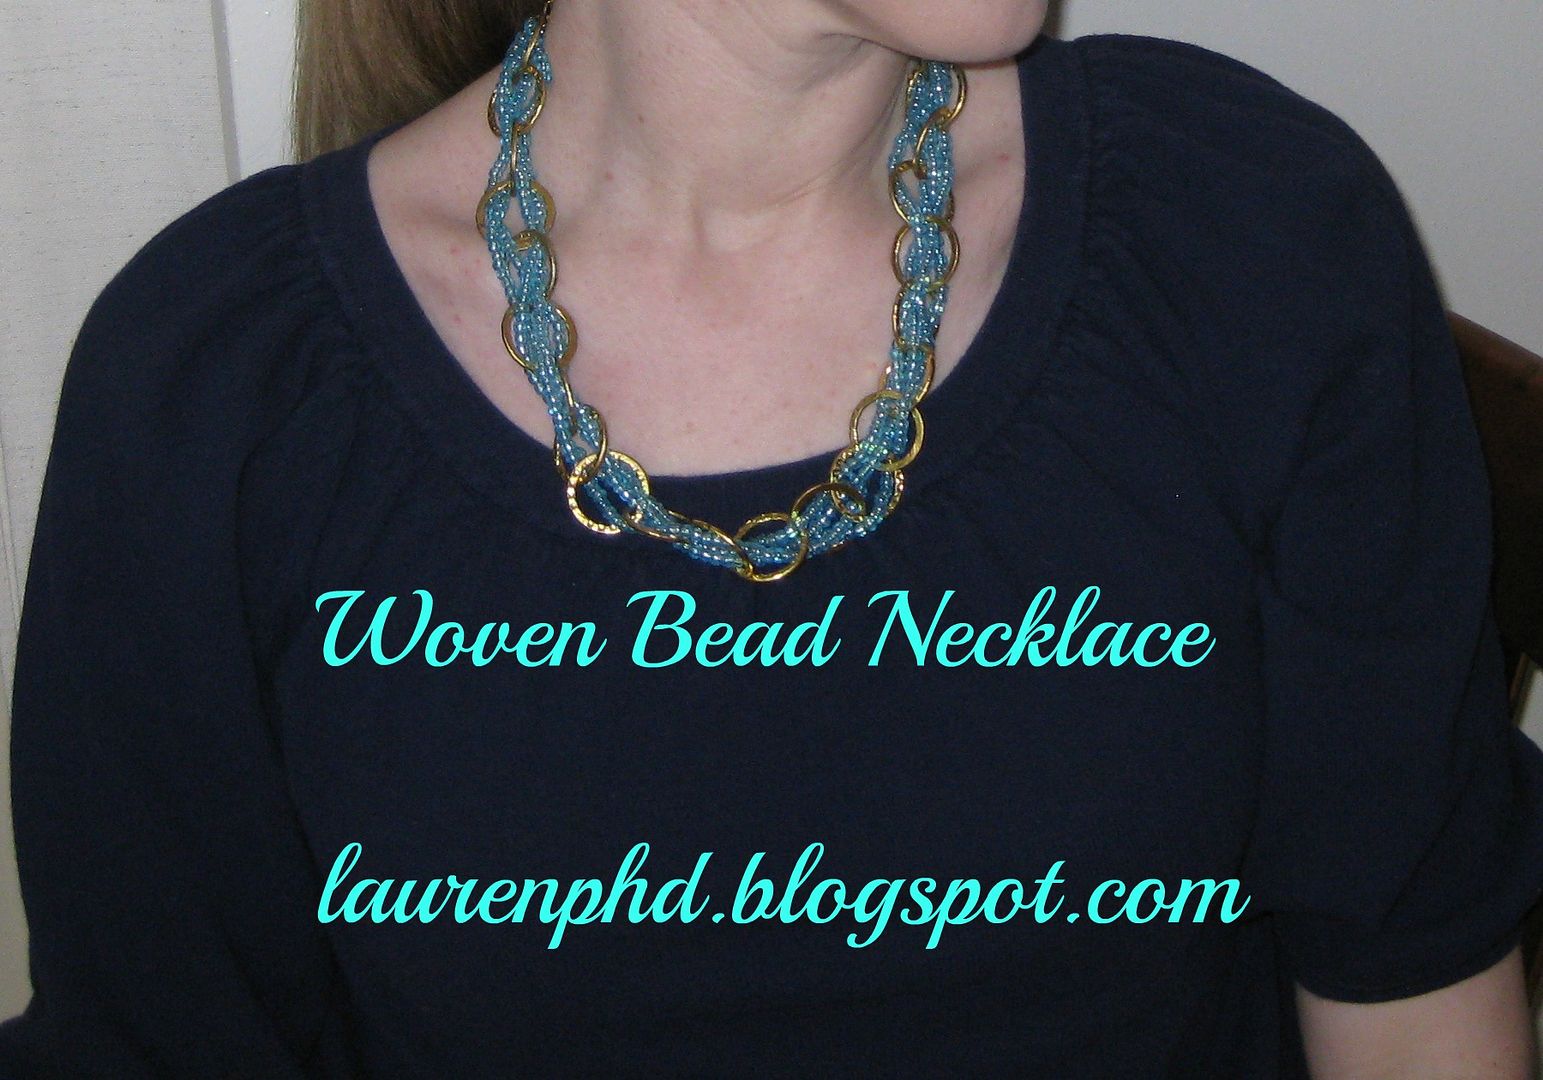
Turquoise beaded gold necklace

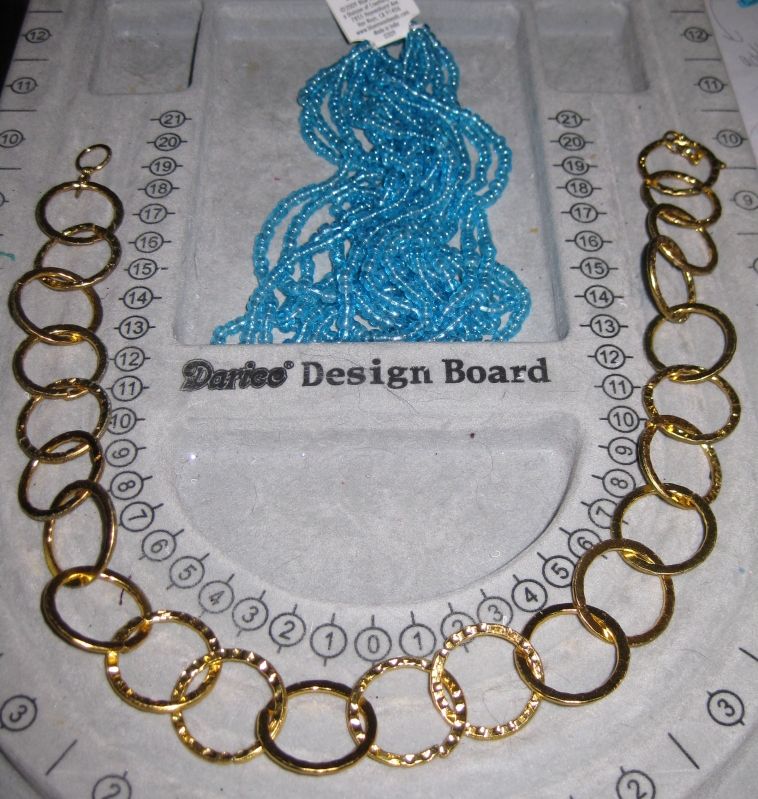
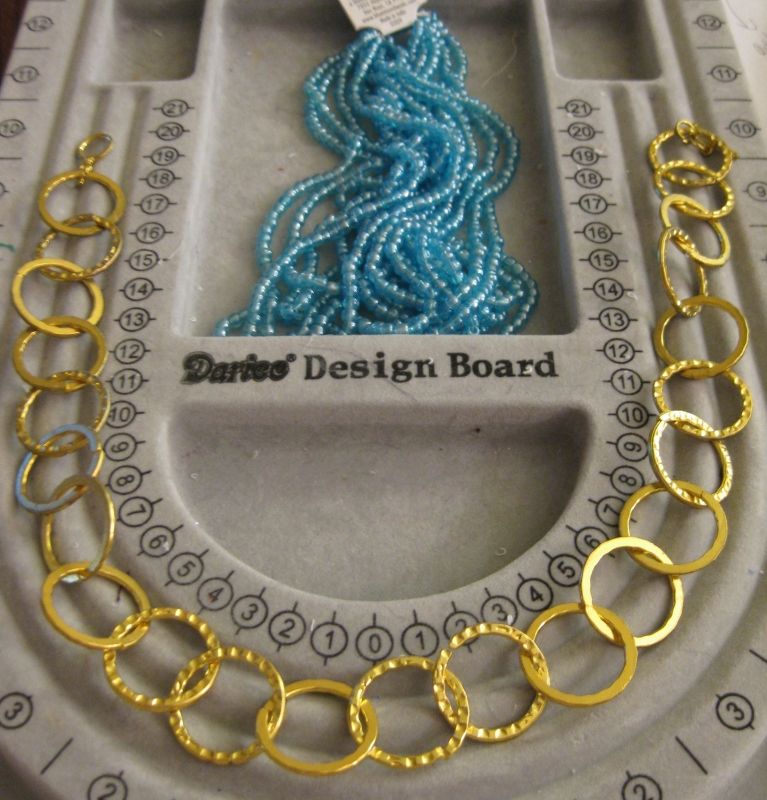
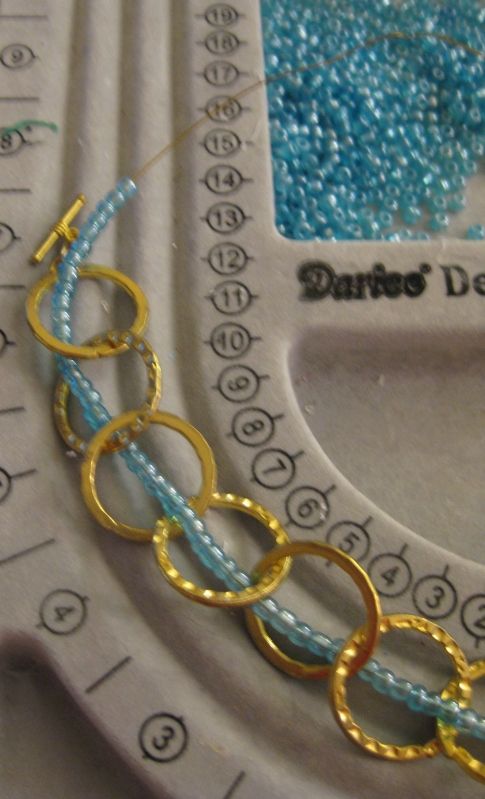
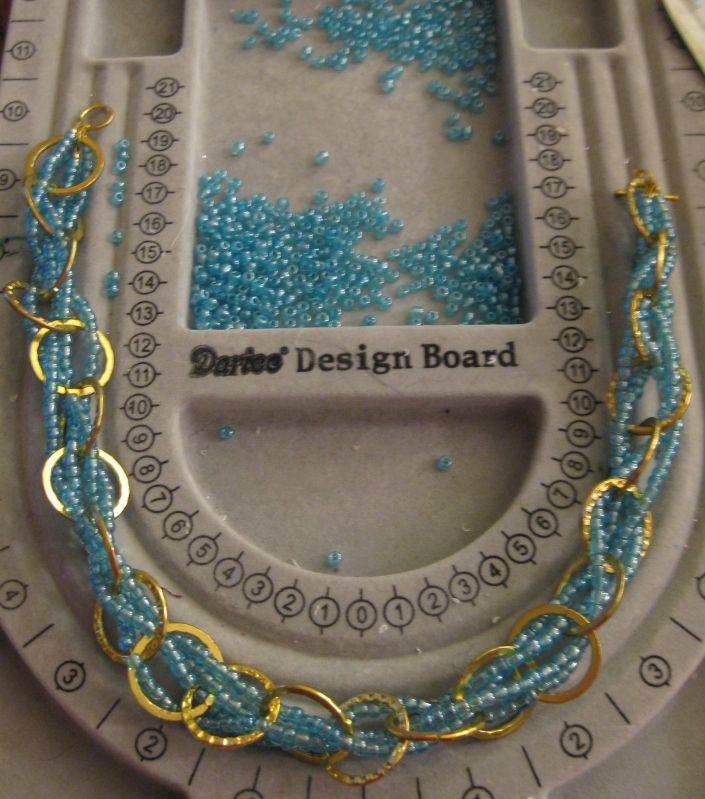
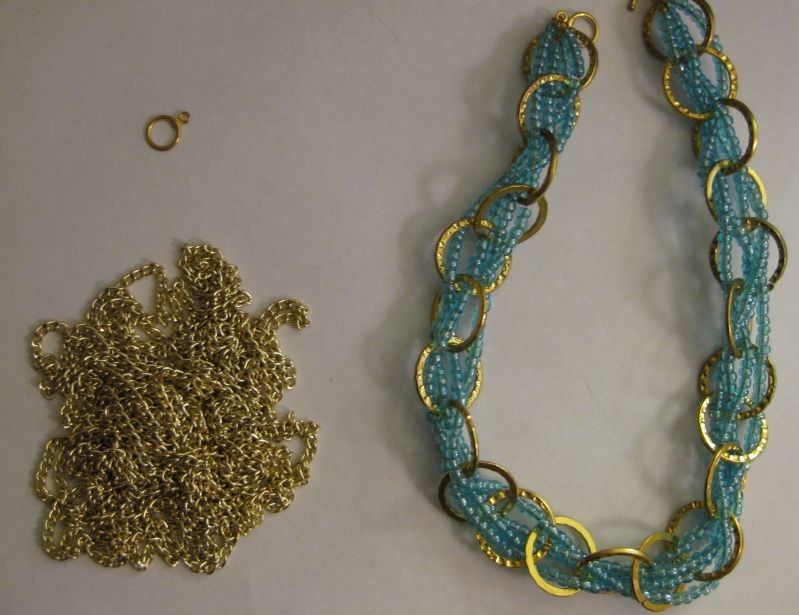
Alright another attempt at destashing my bling stash. Wow that's a lot of stash in one sentence. ;) I had this gold necklace that I never wore but was in part of the pack I received from the jewelry maker. Enter beautiful blue turquoise beads which were the wrong color for a bellydance costume but perfect for going with the gold of this necklace. I decided I wanted to weave the beads through the circles.


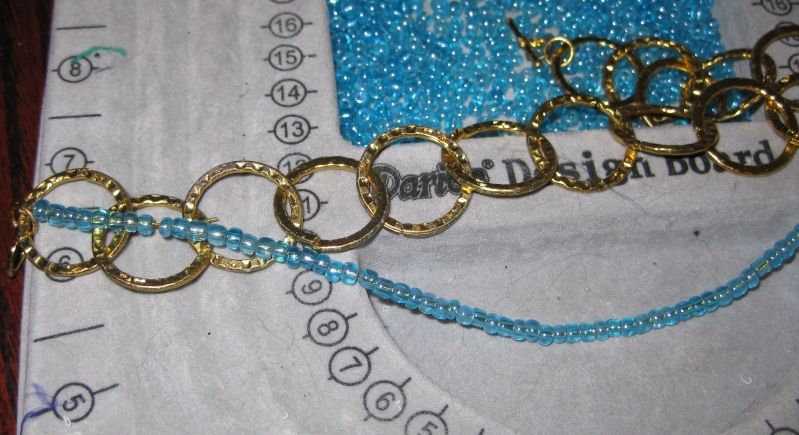
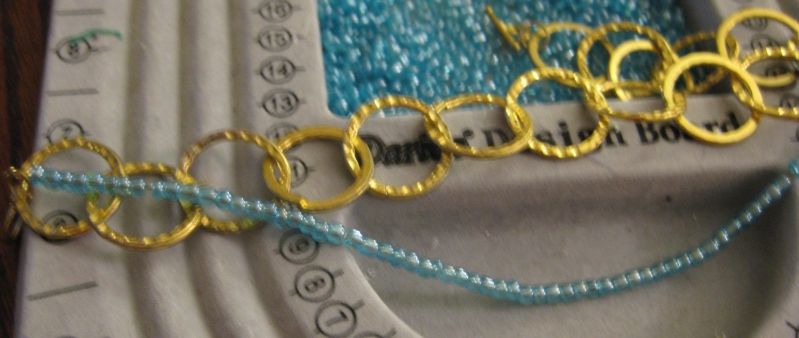
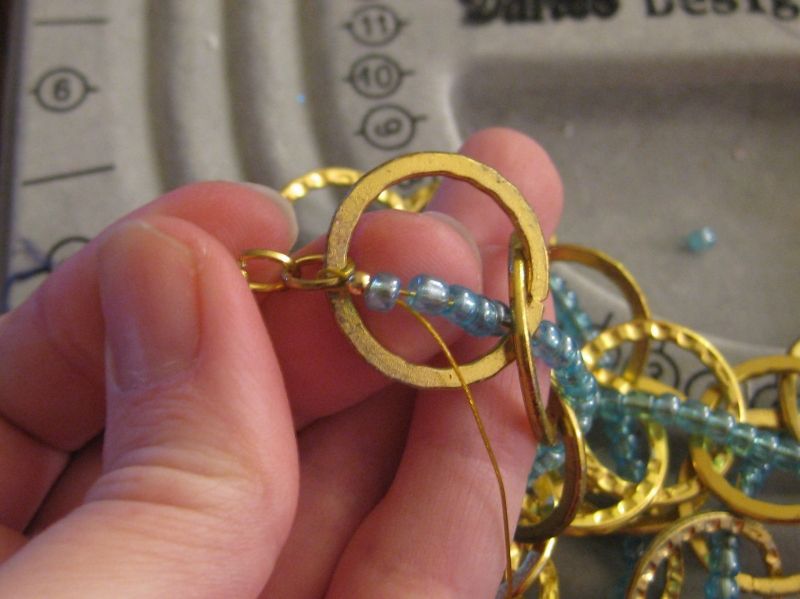
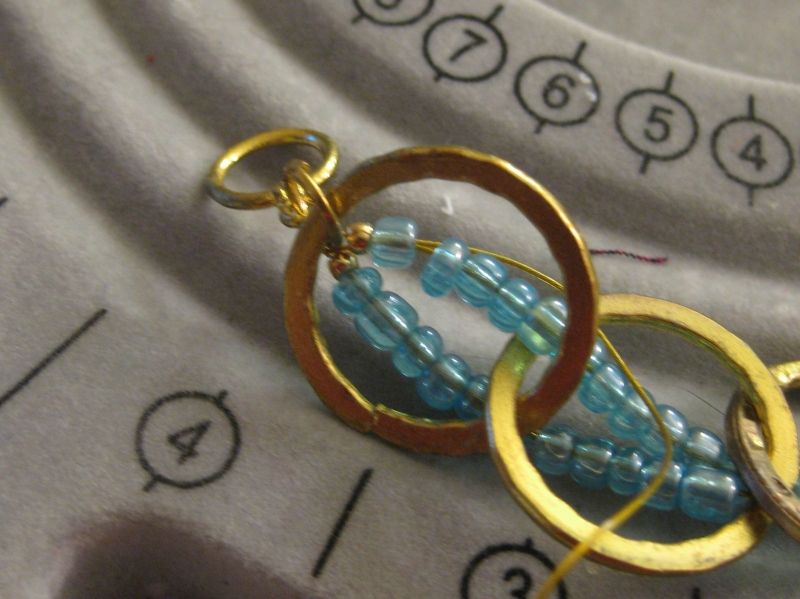
I simply started with some flexible wire. Using a crimp bead, I locked the beaded wire to the end of the necklace. One of the small loops. Then I wove the beads in and out of the rings. 


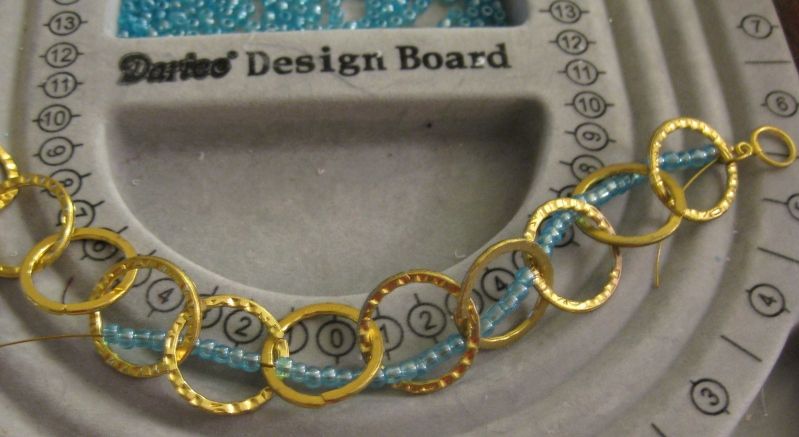
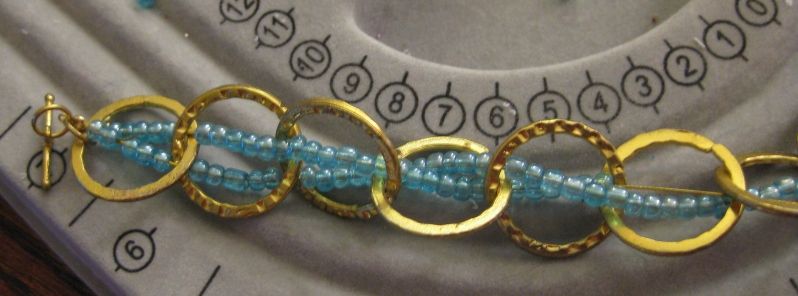
Repeat with the next few wires of beads. 


This was the end result. I love the 2 colors. 

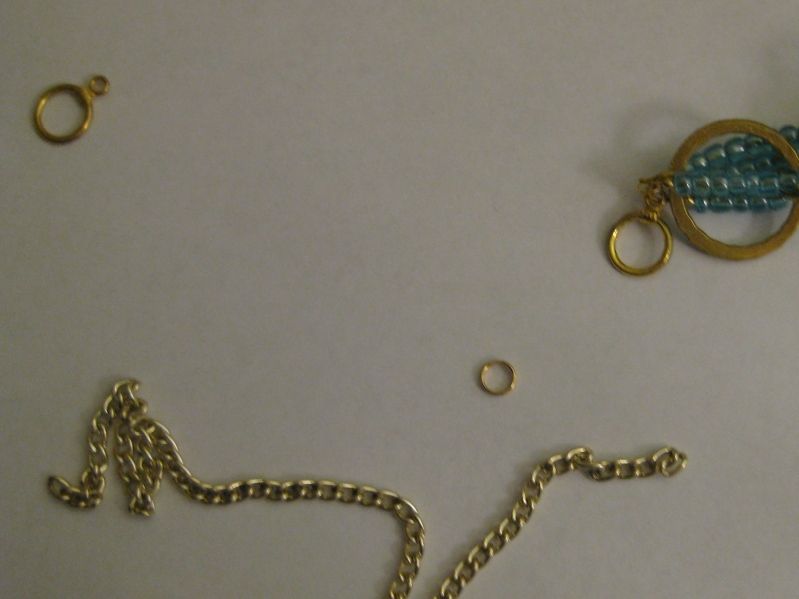
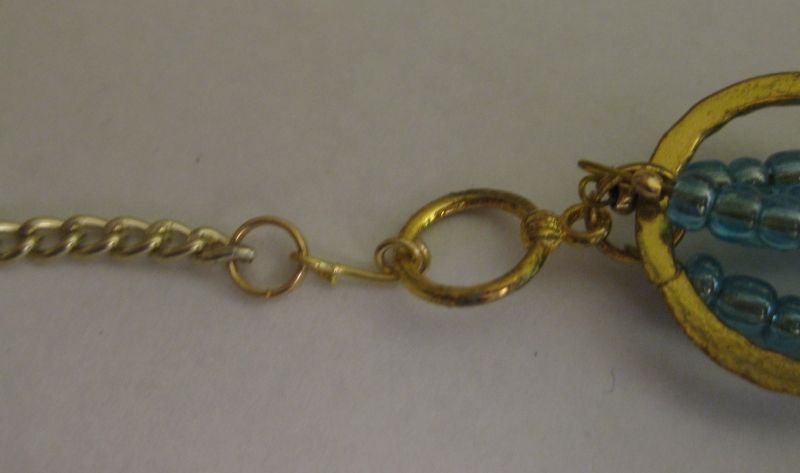
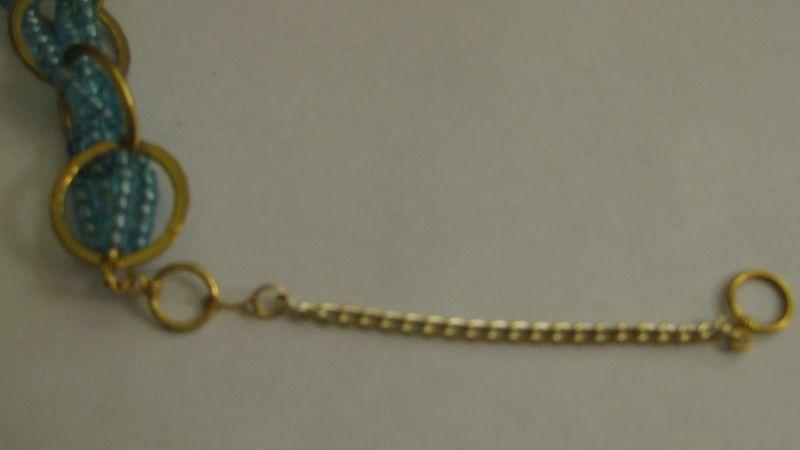
Now the necklace was too short for my taste. Enter Lauren trying to make an extender for her necklace. So yeah I am winging it but it worked!

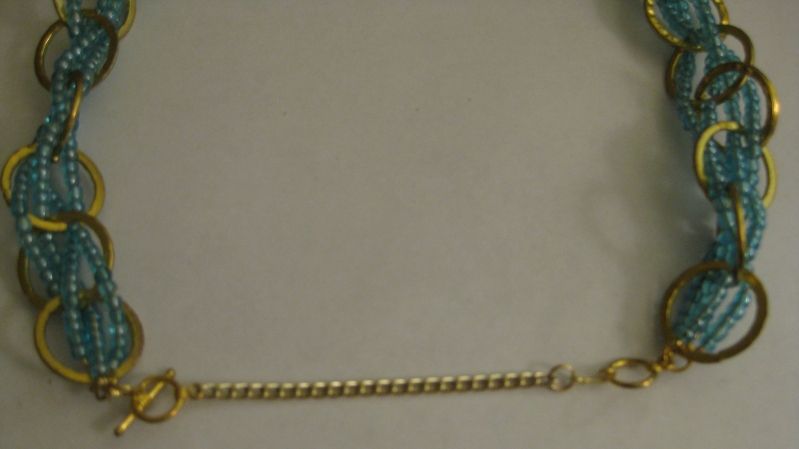
Jump ring, loop (that fits the bar on the opposite side of the necklace), and chain. 

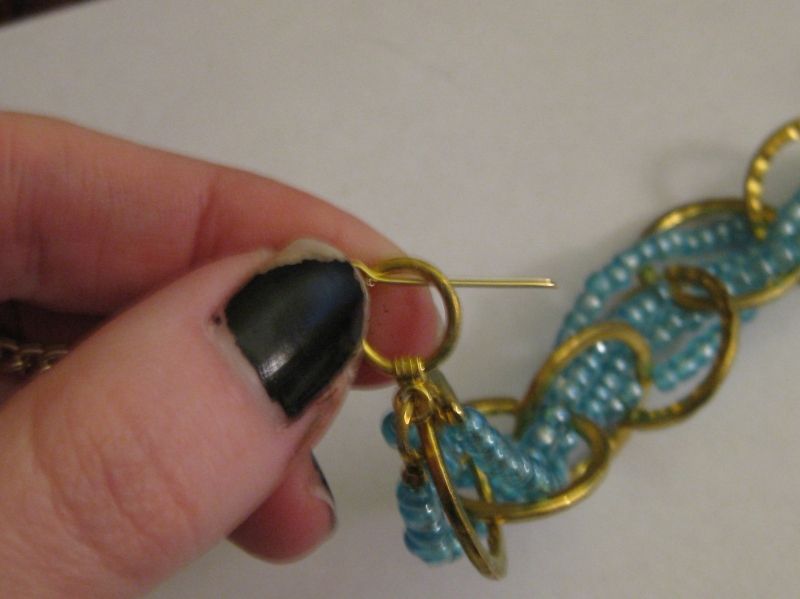
I actually needed something else so I used one of those long pieces of wire with the loop at the end (forget name) and then looped it myself at the finished end. Note: I am not good with making loops with wire. 

Done!


Hey look it connects! Yes!!

I sort of liked this over exposed shot of me. 

Almost looks like a yearbook photo. LOL So I also kept it. 


Another +1 for my bling points. Yes! I have been on a sewing kick so expect now more sewing posts after this one. I go through phases of what I want to do in my spare time. :)

xoxoxo,
Lauren
LinkWithin
Related Posts Plugin for WordPress, Blogger...