Well hi welcome to my little blog. Just my little corner of craftiness, sewing, and refashioning. I am also a newly gluten free eater so you have a little bit of recipes mixed in here.

Thursday, June 13, 2013

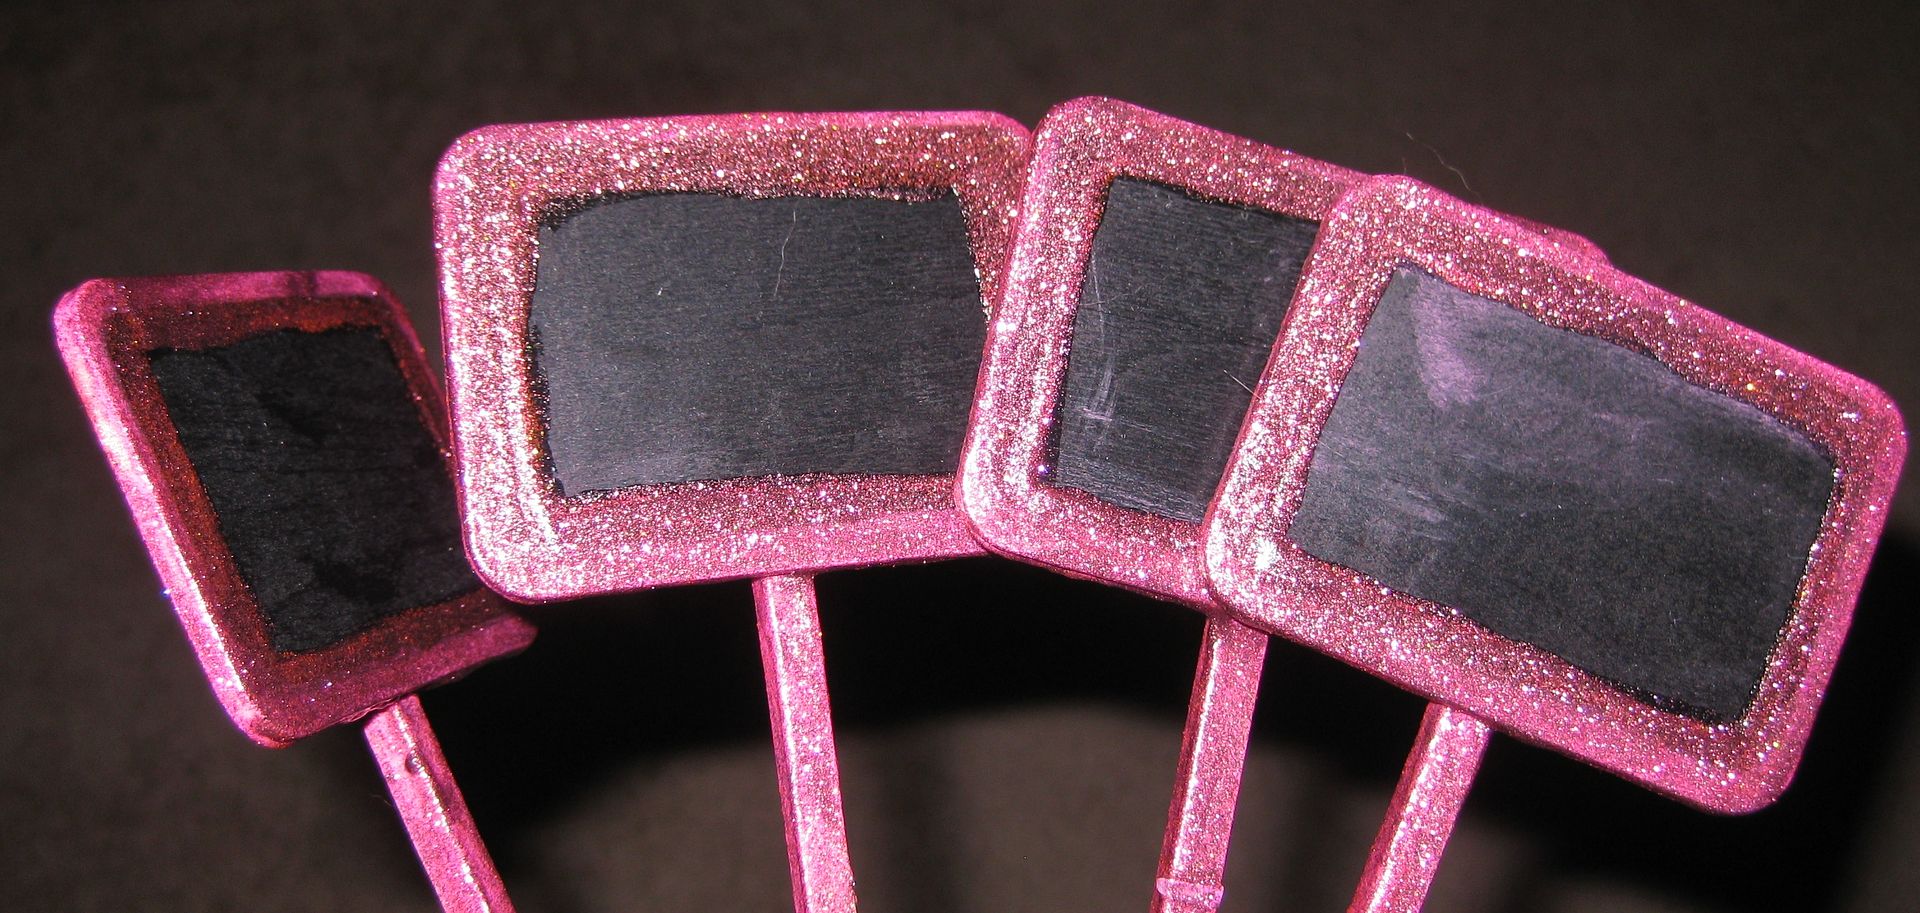
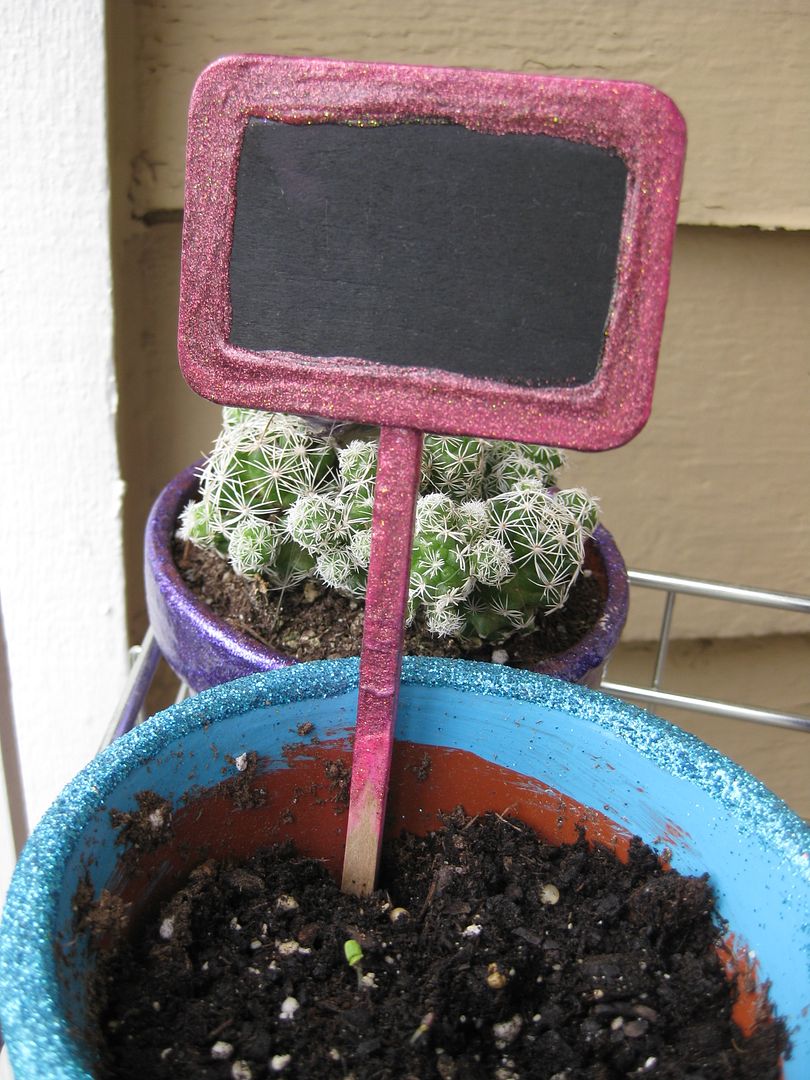
Garden fit for a Diva Day 4:Pink Glitter Plant Markers

Can you tell I am excited about my garden? You know I just love my garden fit for a diva. Today I am trying out how things respond to glitter paint on my wooden plant markers.
Unfortunately I took no before pictures just while they were in progress. Basically here is what I did...

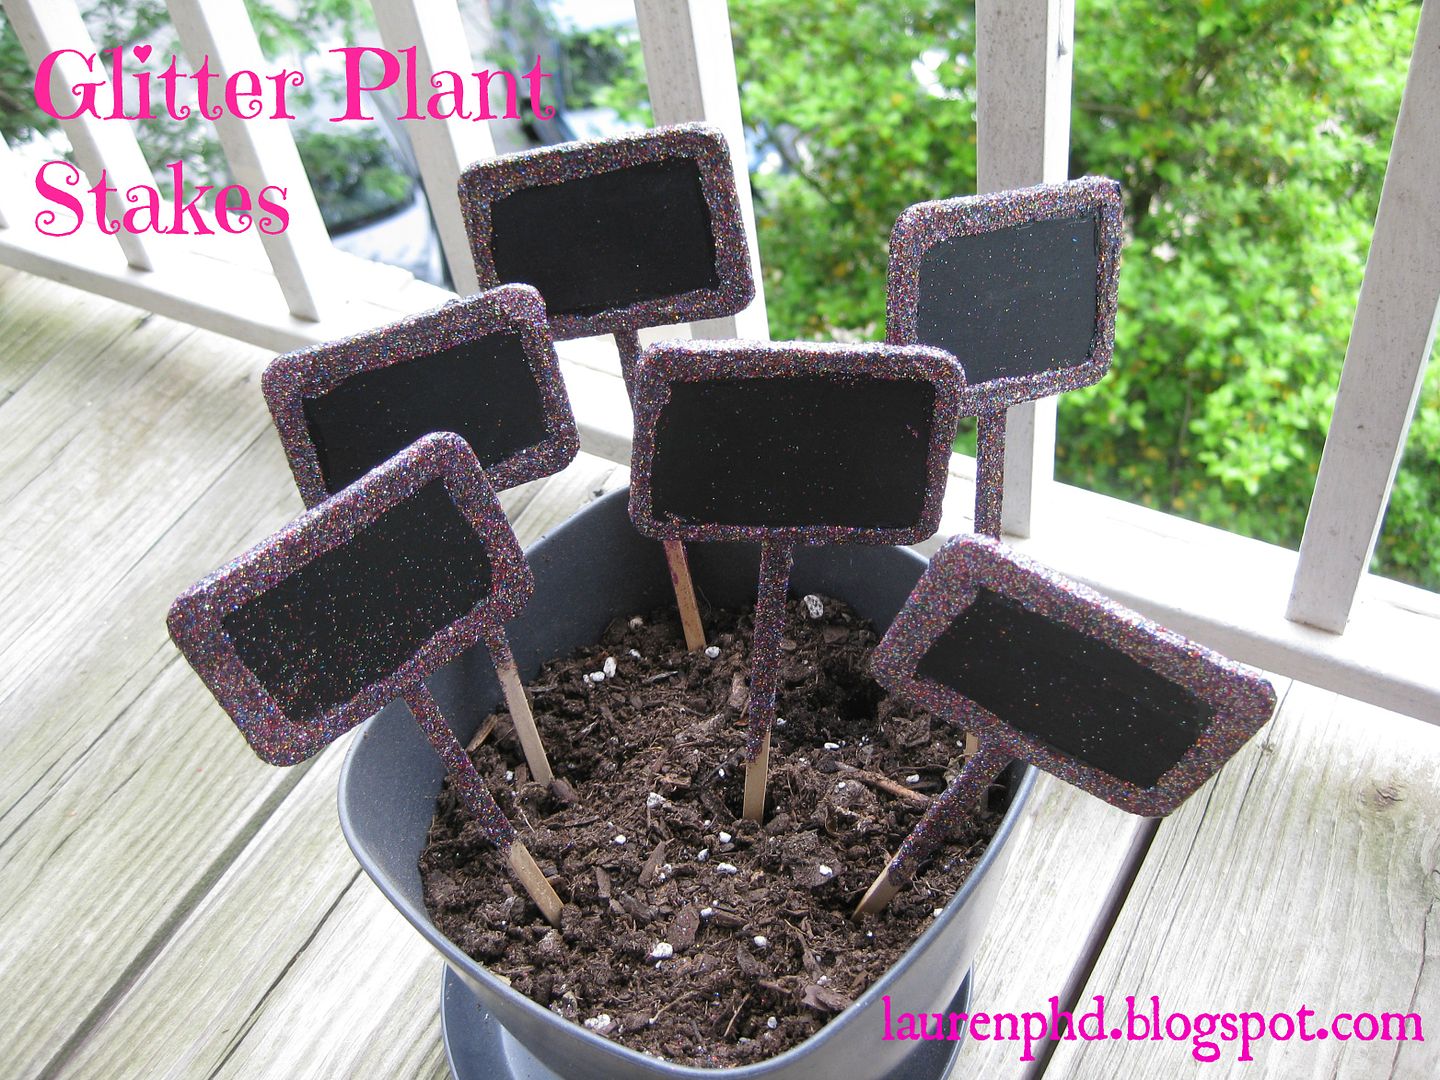
I painted the stakes with paint. Then I used my 2 pink glitter acrylic paints, 2 version of it. And I just kept adding layer after layer. Here are them drying layer after layer. Yes this took awhile.


Now here in my plants. I like my glitter ones slightly better but I still like the pink. 

Here is my latest plating... Calla lilies. I can't wait for them to start growing!!


Not going to lie my patio is pretty sparkly and i LOVE it!

xoxoxo,
Lauren

Wednesday, June 12, 2013

Garden Fit for a Diva Part 3: blue glitter with paint plant pots

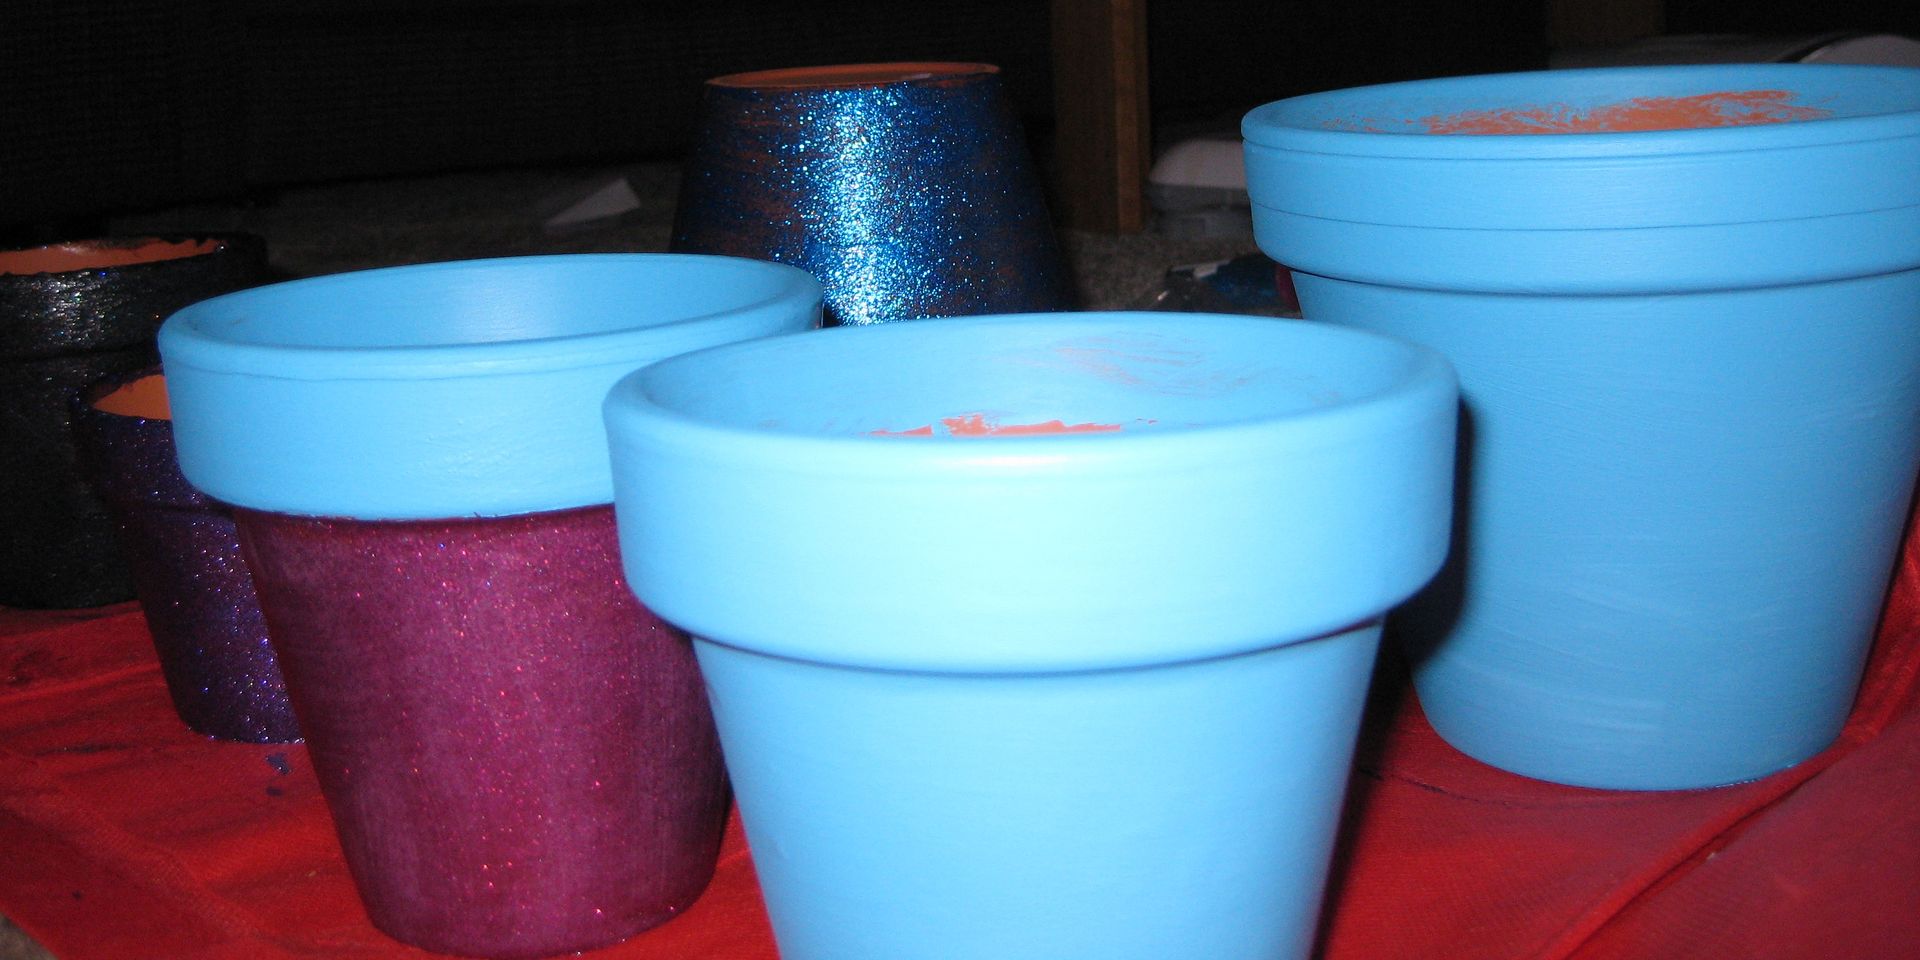
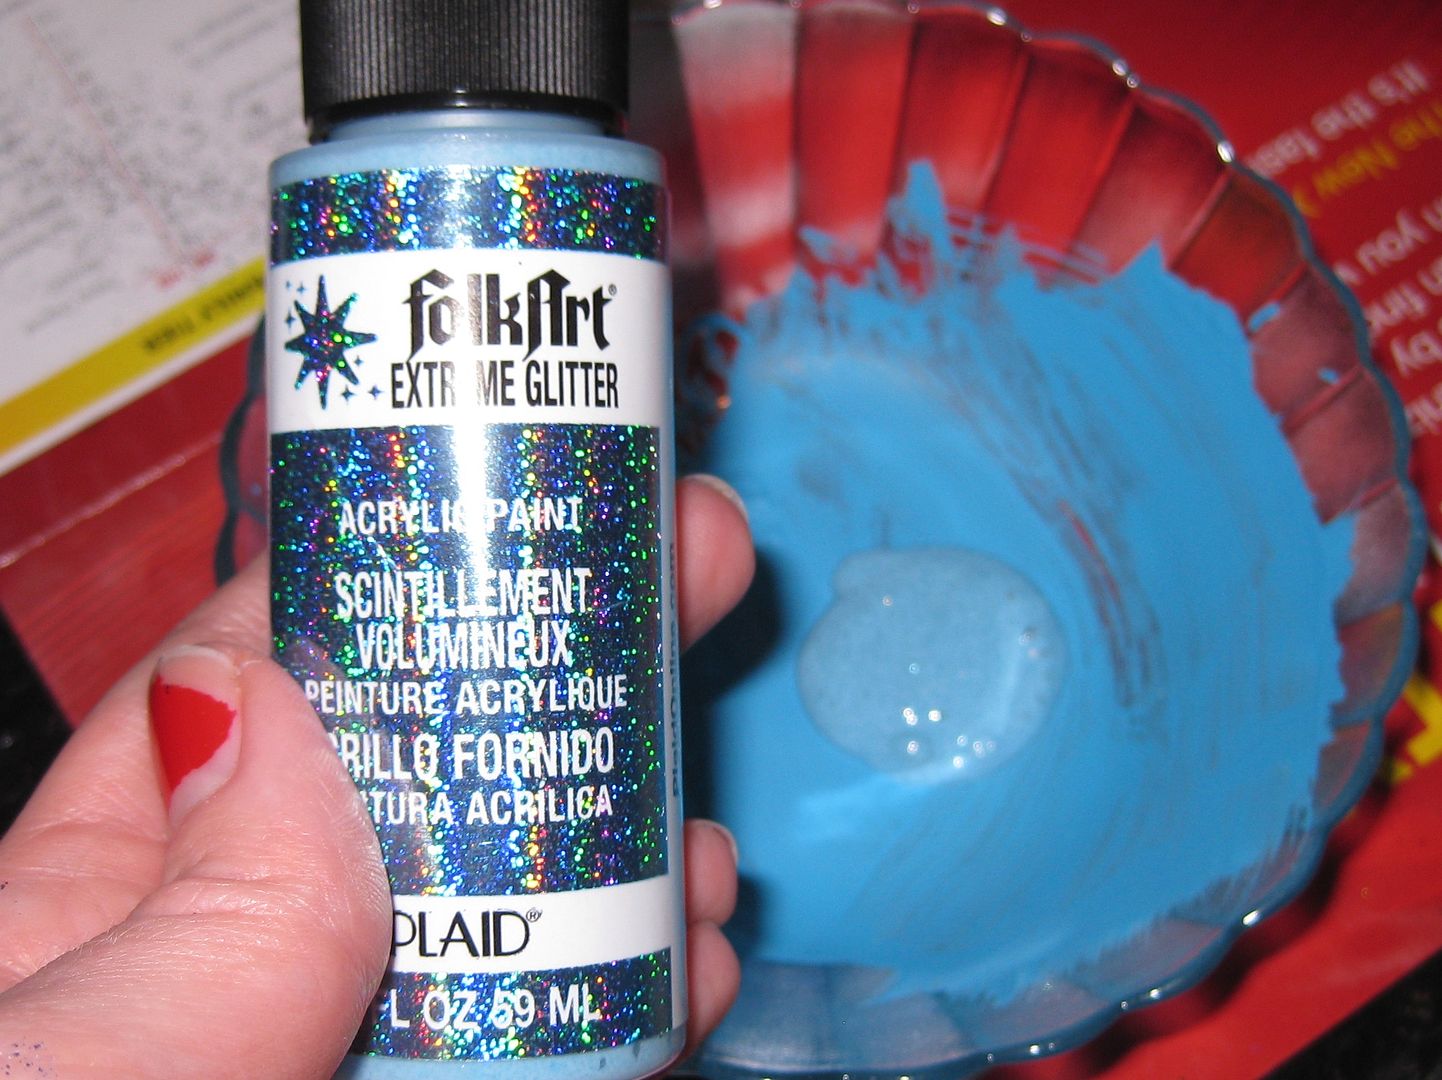
More planters! This time I painted the pots with blue paint before I added glitter. Because I thought sometimes you could see the orange of the terra cotta through it.


I also tried a little of the glitter paint too. 

But I could not resist the sparkly blue glitter. OMG it is to DIE for!


Drool!


Again spray. 

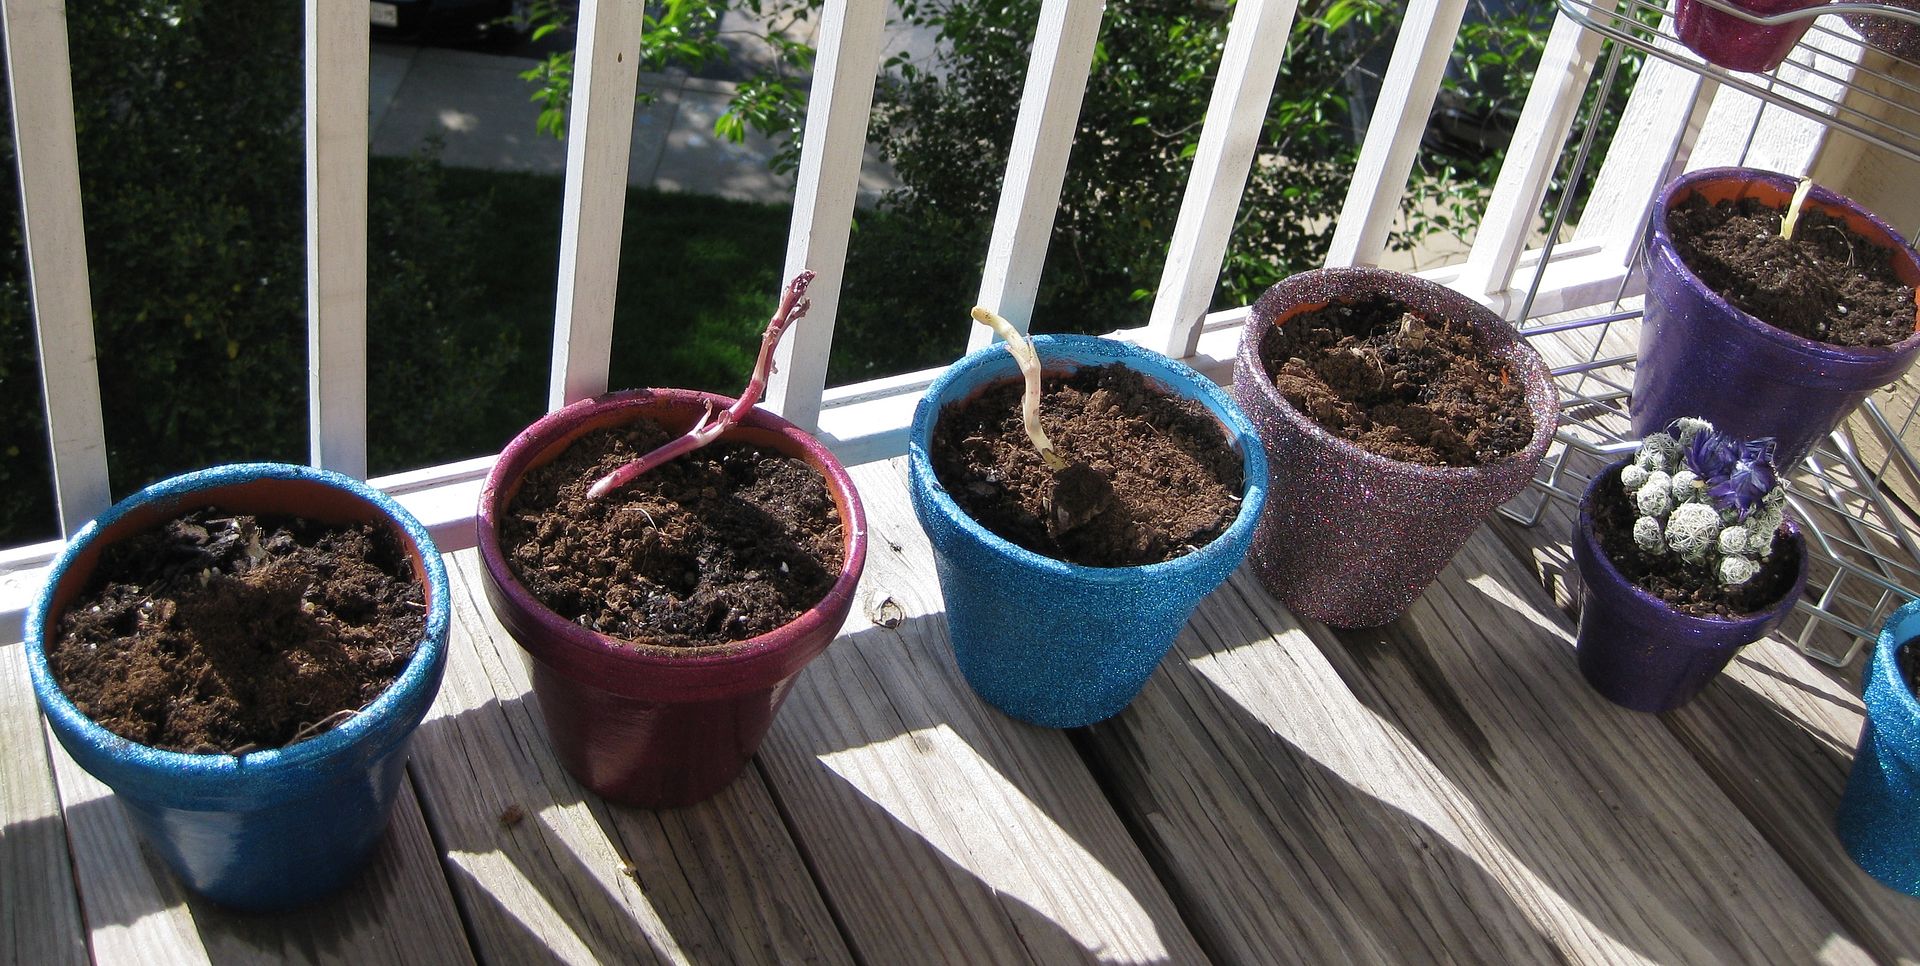
You can see some of the blue glitter pots. These are probably my favorite! They sparkle so nicely on my patio in the sun.


Ahhh. I love my plants!

xoxo,
Lauren

Tuesday, June 11, 2013

Garden fit for a Diva part 2: Multi color glitter/mod podge plant pots

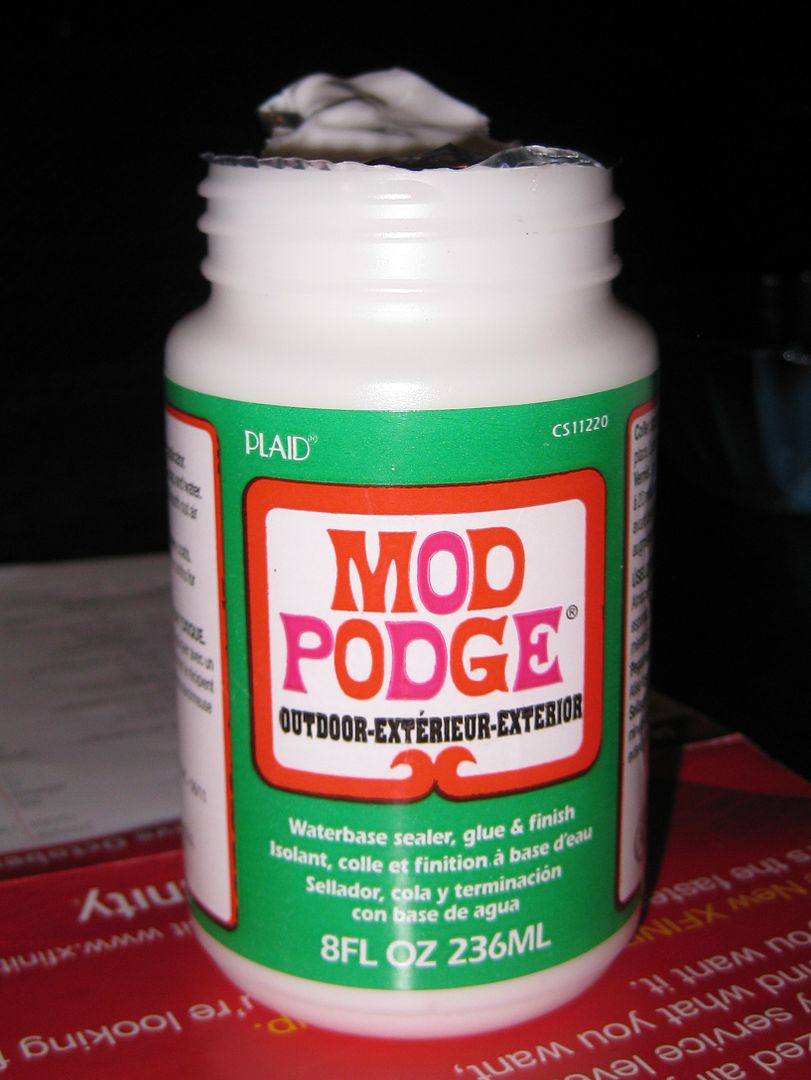
Day 2 of my garden crafts! This one I am usually free glitter-nothing from paint glitter. So yes this makes my house messy. To do this I need mod podge! Now there are various types of mod podge- since the plant pots are going outside-I opted for the OUTDOOR version.


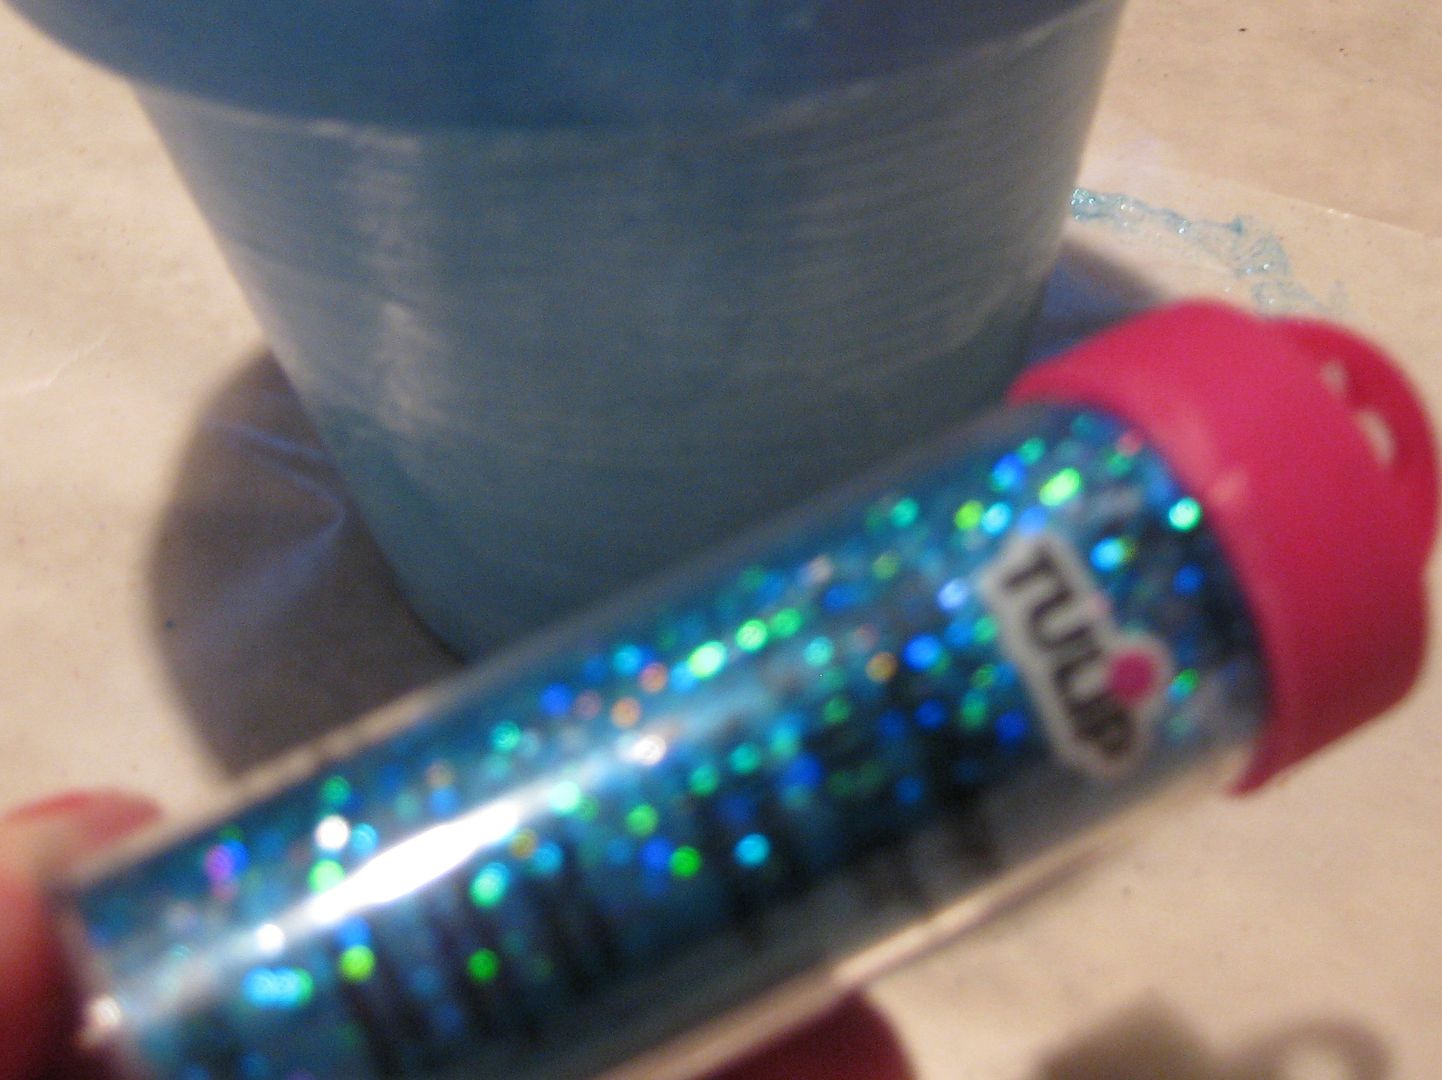
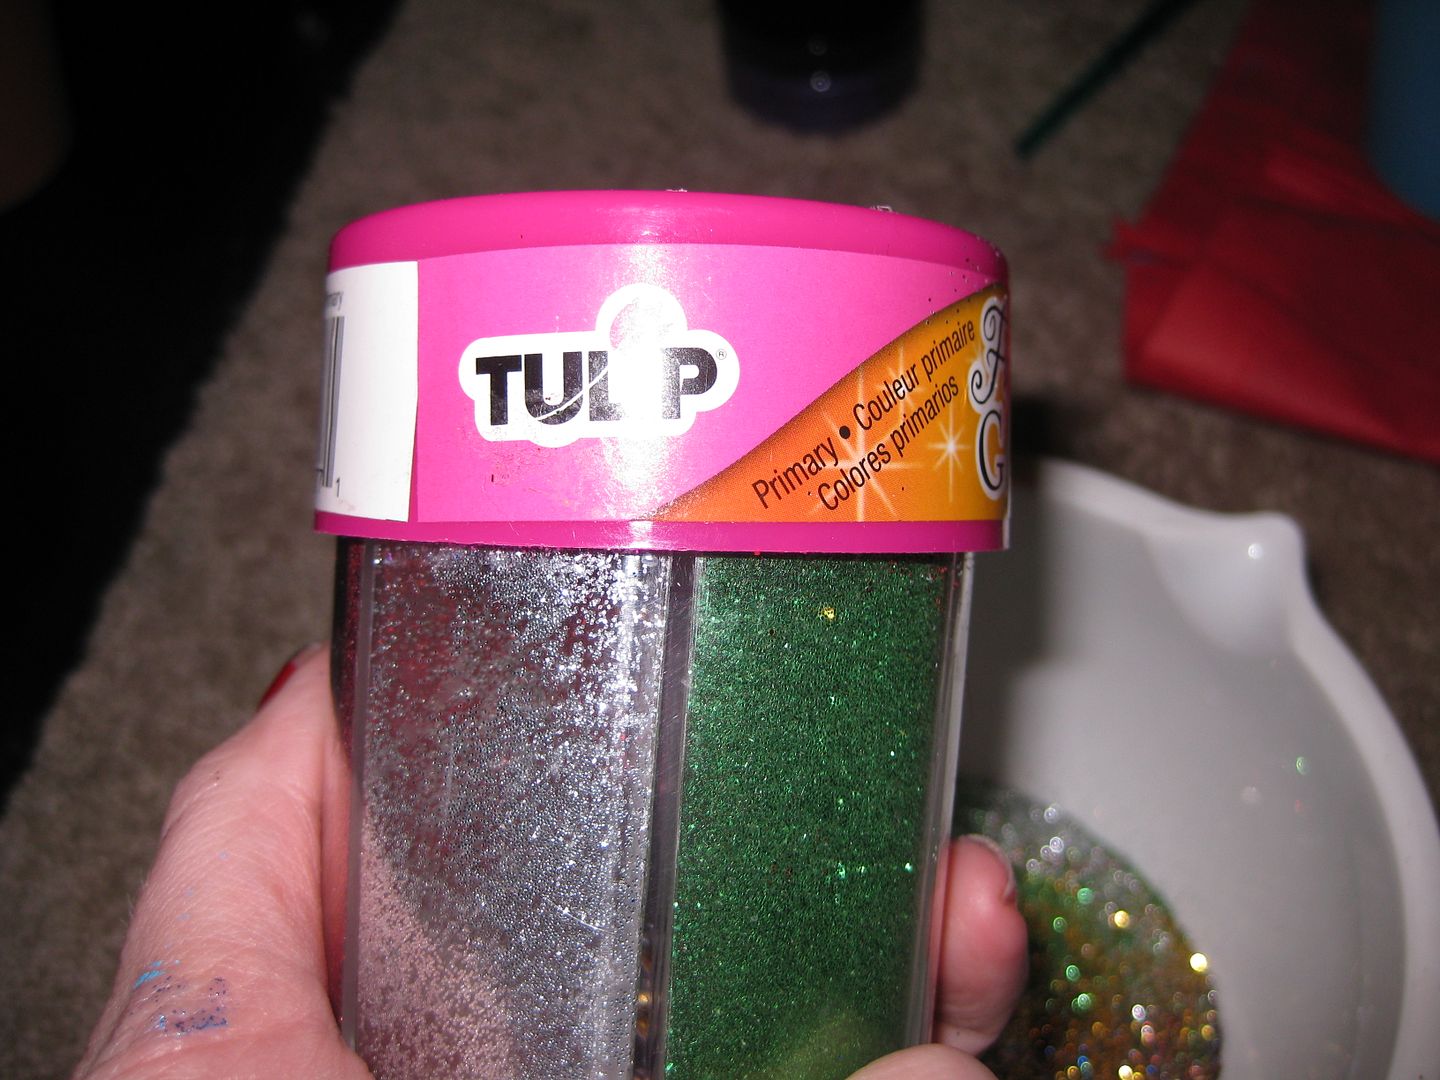
I had this in my craft bin, tulip glitter. 

I combined all glitter into one b/c separately I didn't know if I could cover a pot. 

Mix and mix well. 

So I take my pot. I covered the ground with several layers of wax paper to catch the free glitter. 

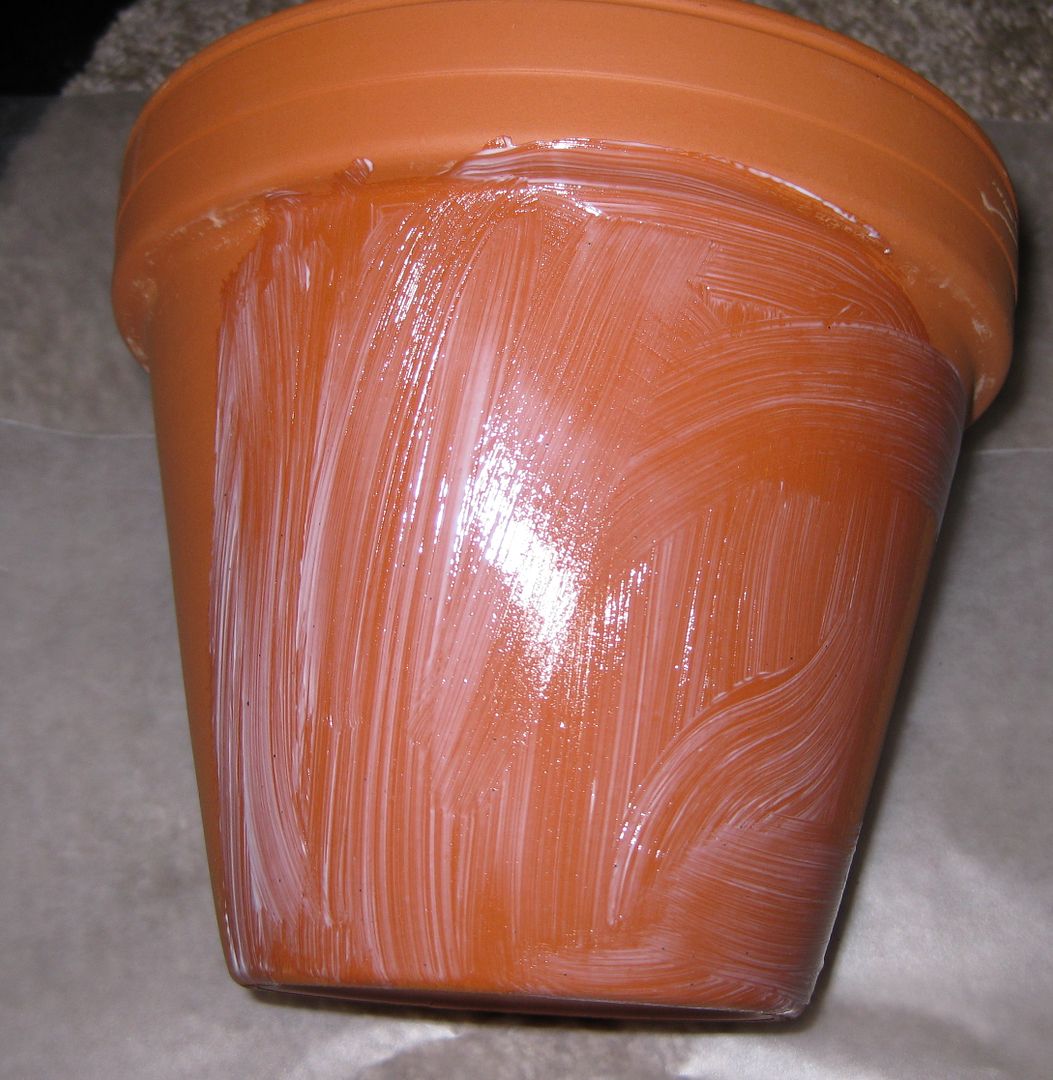
coat with the mod podge

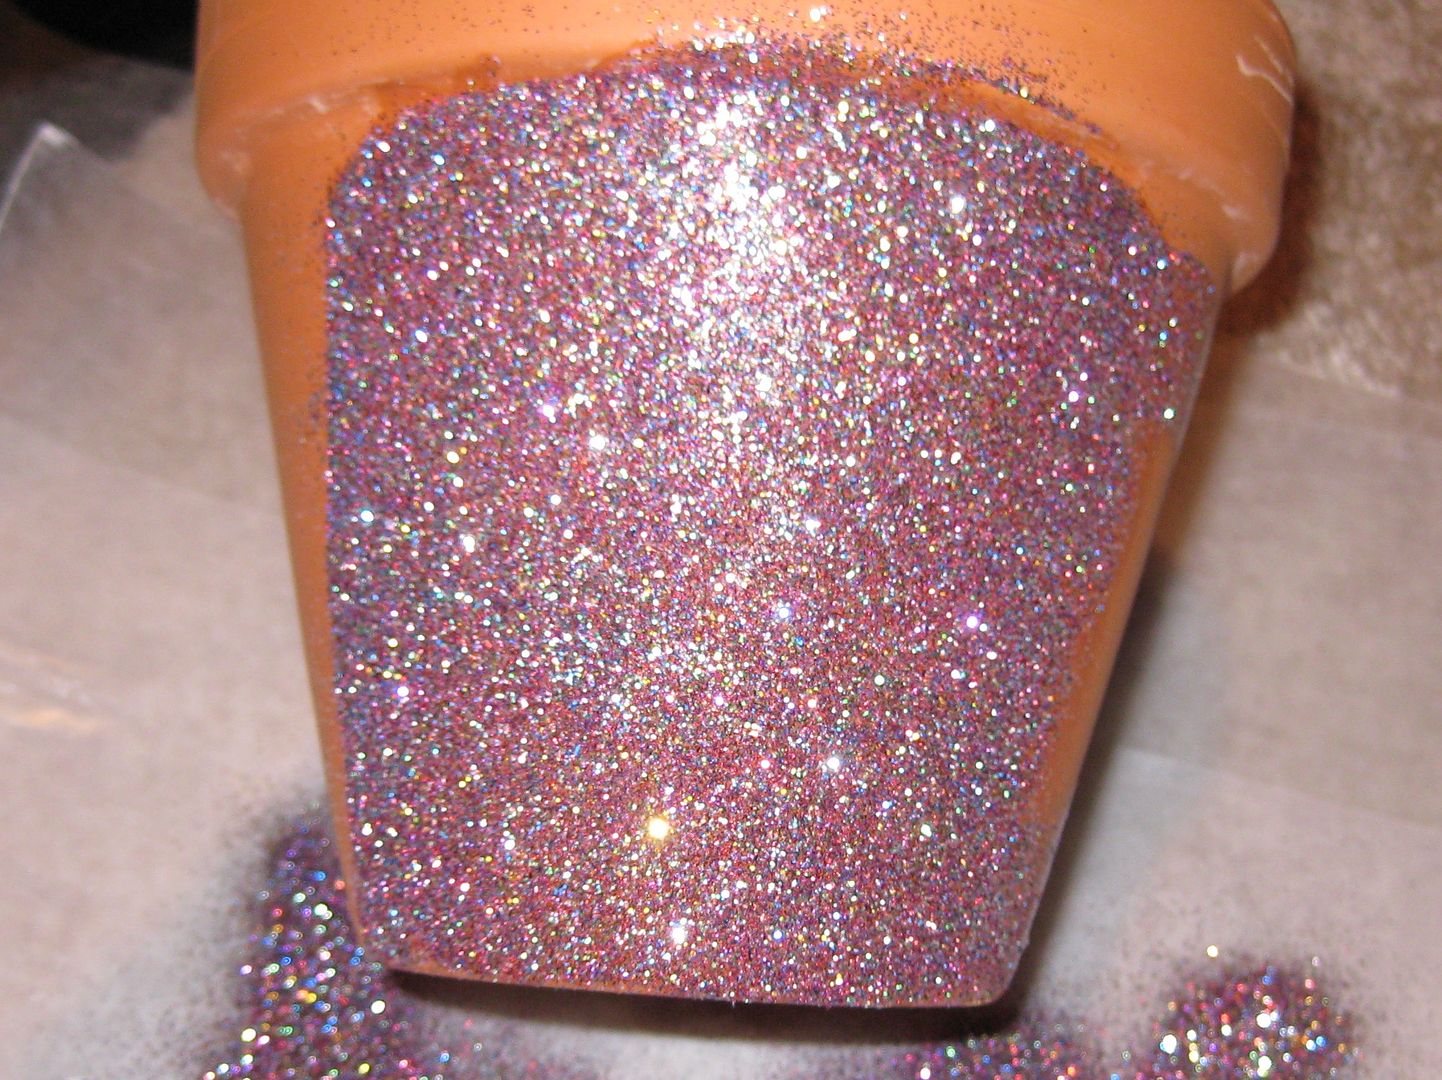
Add glitter!

shake off excess. 

in the second round I went for thicker layer of mod podge
I did 2 coats of glitter. 

Again I sprayed with the clear gloss acrylic spray both inside and outside. I did several coats.

Here is one of my pots close up. With my pretty pink leaf plant. 
Here are more pictures.


You saw my previous multi glitter plant stakes, this is also what I created.

Yay! Got to love glitter!

xoxoxo,
Lauren

Monday, June 10, 2013

Garden Fit for a Diva: Part 1, paint glitter plant pots

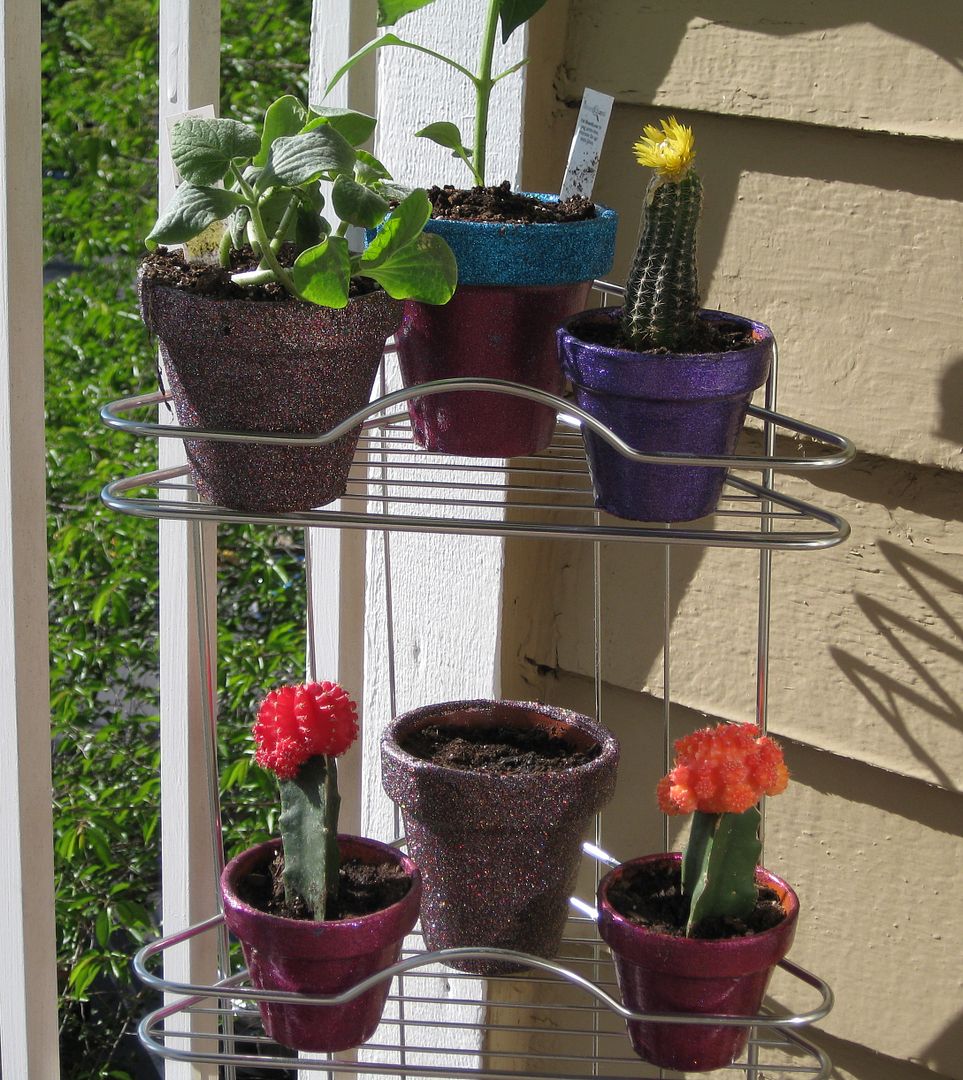
I have decided to take up gardening on my patio. I have no idea what has gotten into me but I just felt the need to try to grow plants. I am not known to have a green thumb. I actually killed lucky bamboo in the past in Alabama. Usually plants went to my place to die. I was bound to change that this year. Here is a preview of some of my plants! Now to show you what I did! All this week I will feature my crafts for the garden.

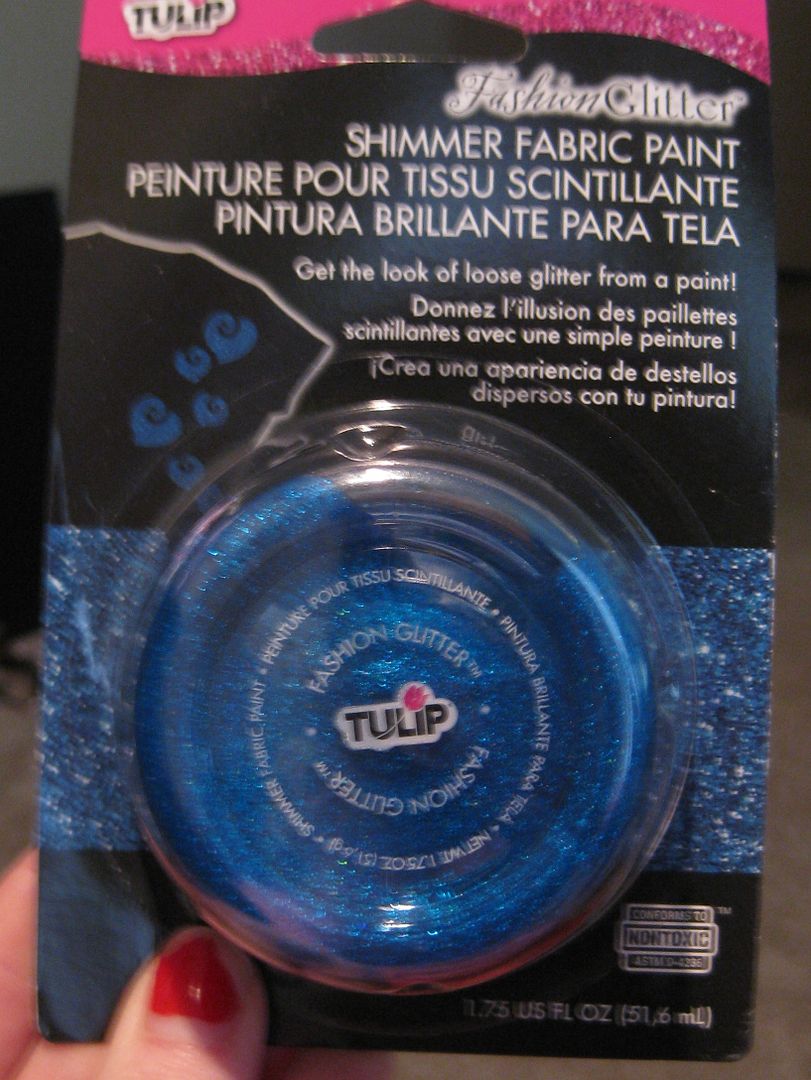
I can't lie but I find most plant pots boring and dull. I just wanted something sparkly and shinny. I found this fabric paint/glitter in my craft bin and thought I would make several pots with this. I had several colors in this paint.

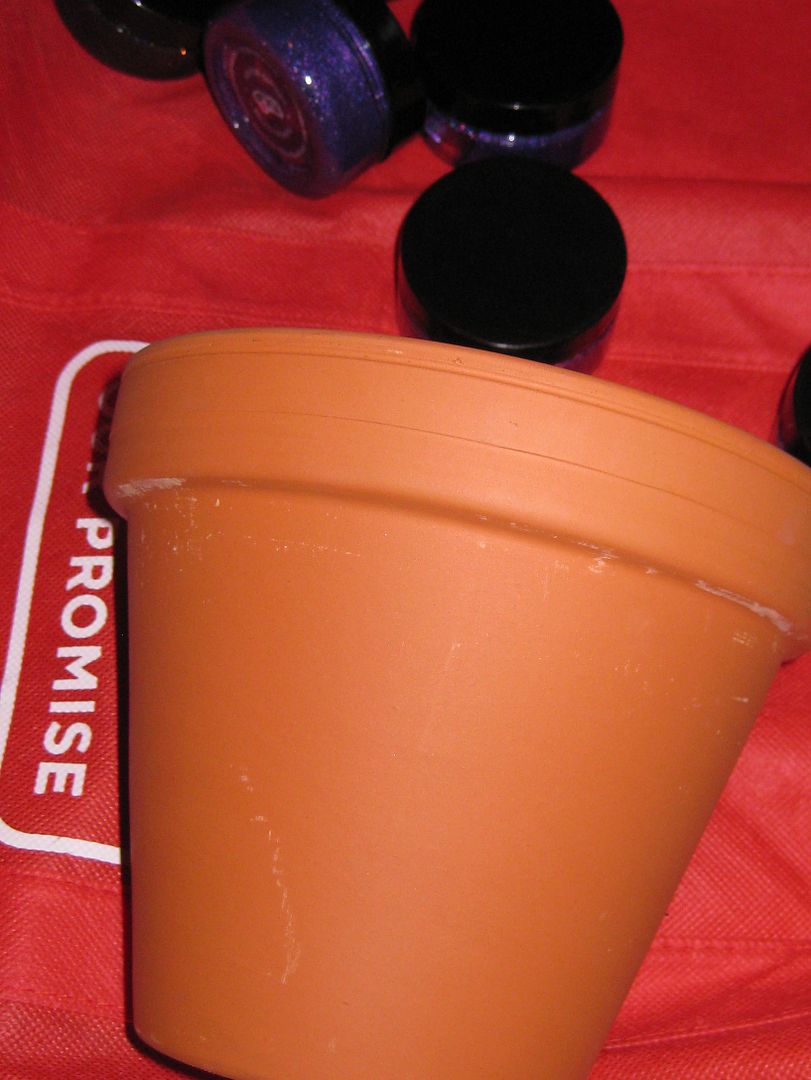
I selected terra cotta pots in various sizes. 

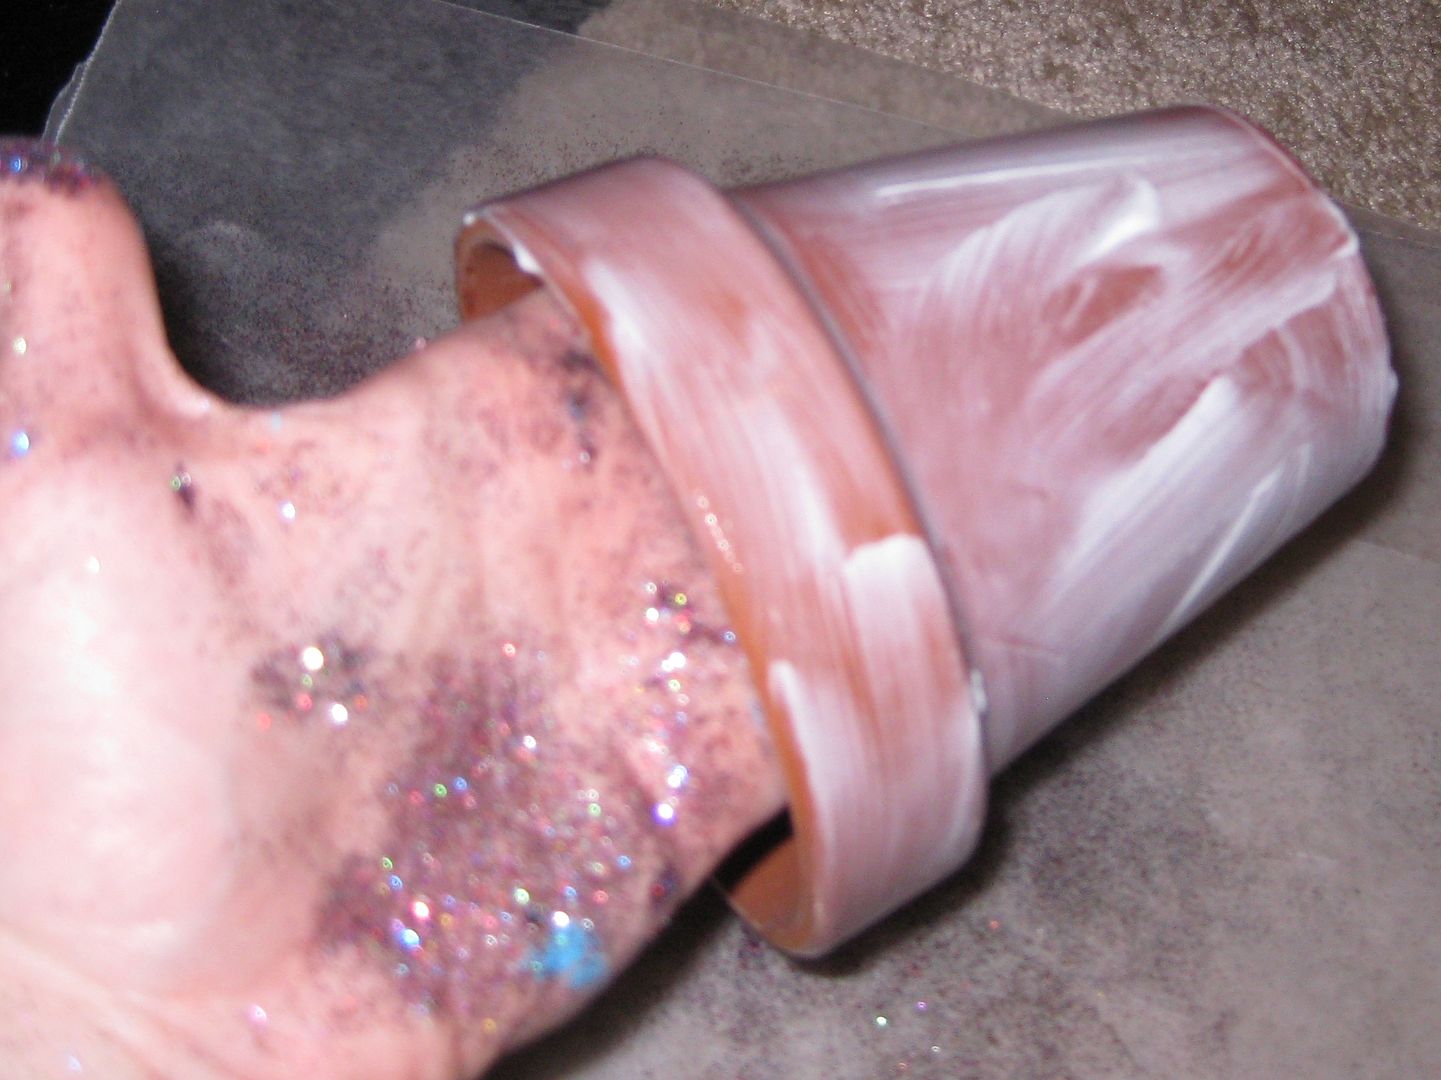
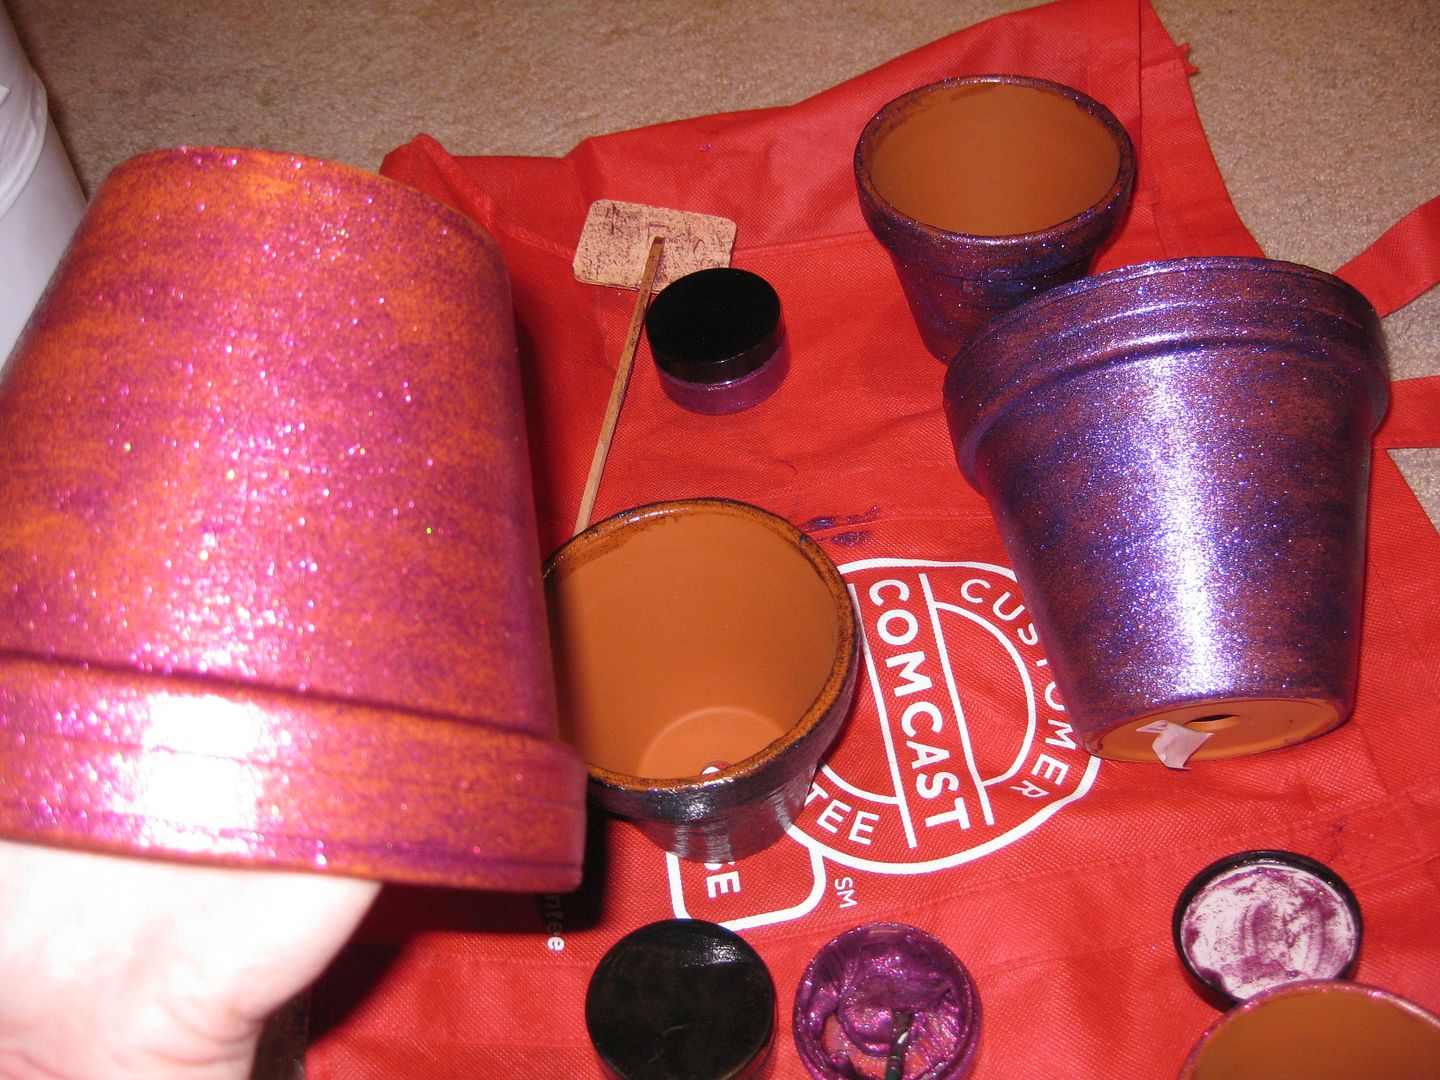
Brush on. And on. And on. Let them dry between coats. 

The black was not so successful. I wound up covering that with another glitter. 


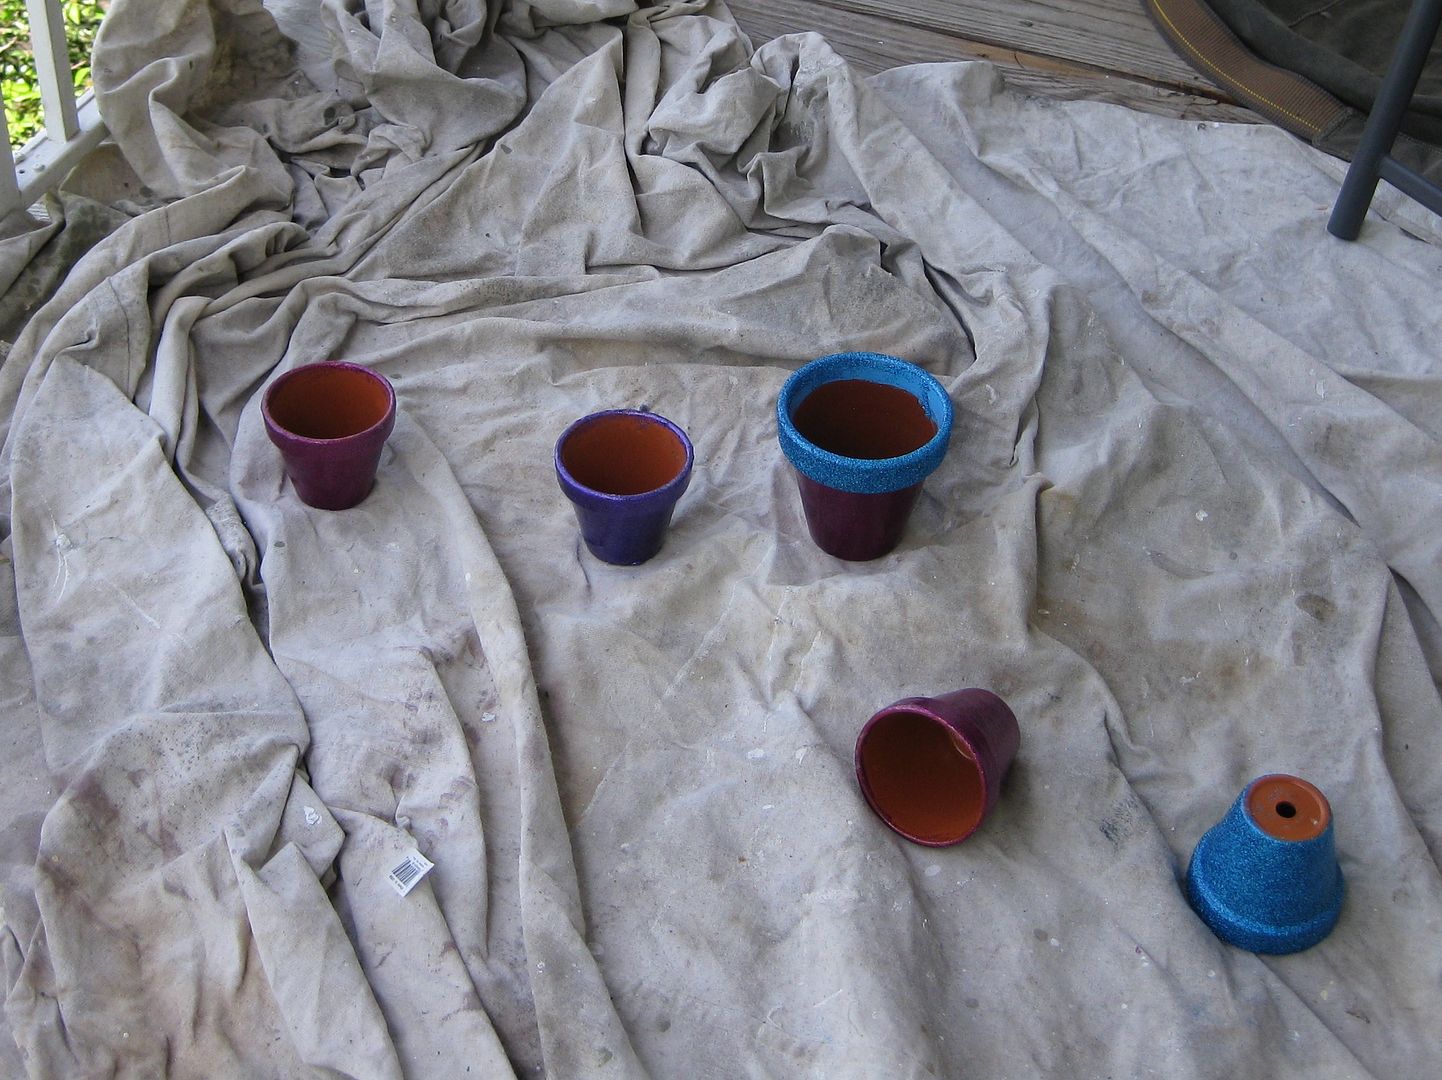
Here they are drying. 

Then I sprayed them with clear gloss acrylic spray. I did it on my patio b/c it is stinky!!! Spray the outside and the inside. Terra cotta  is very porous.

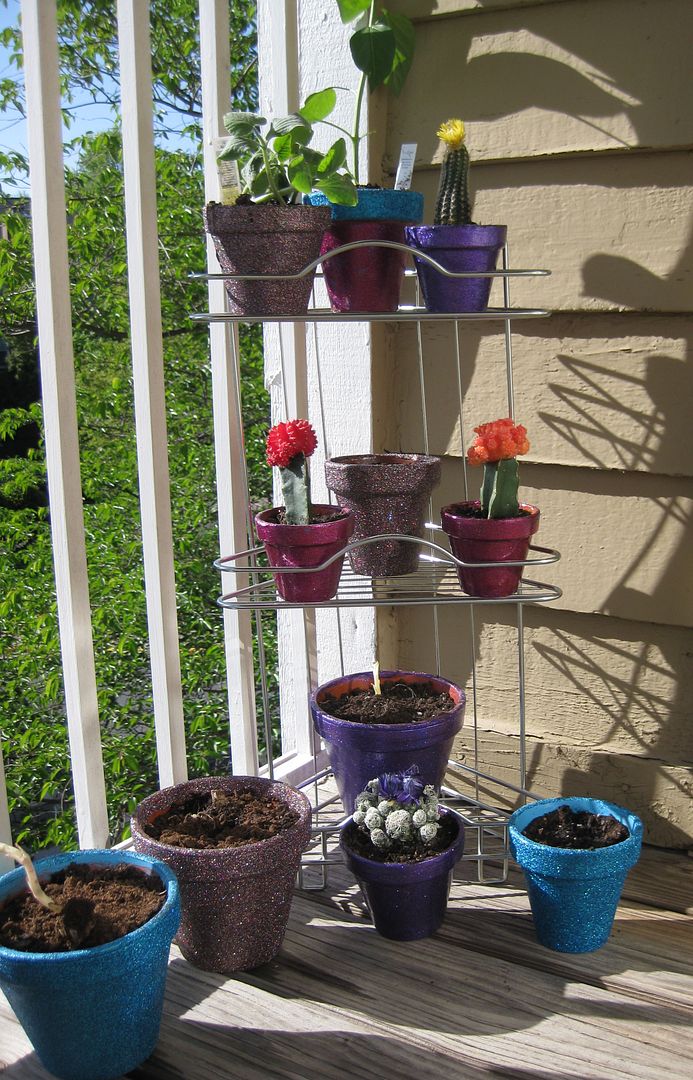
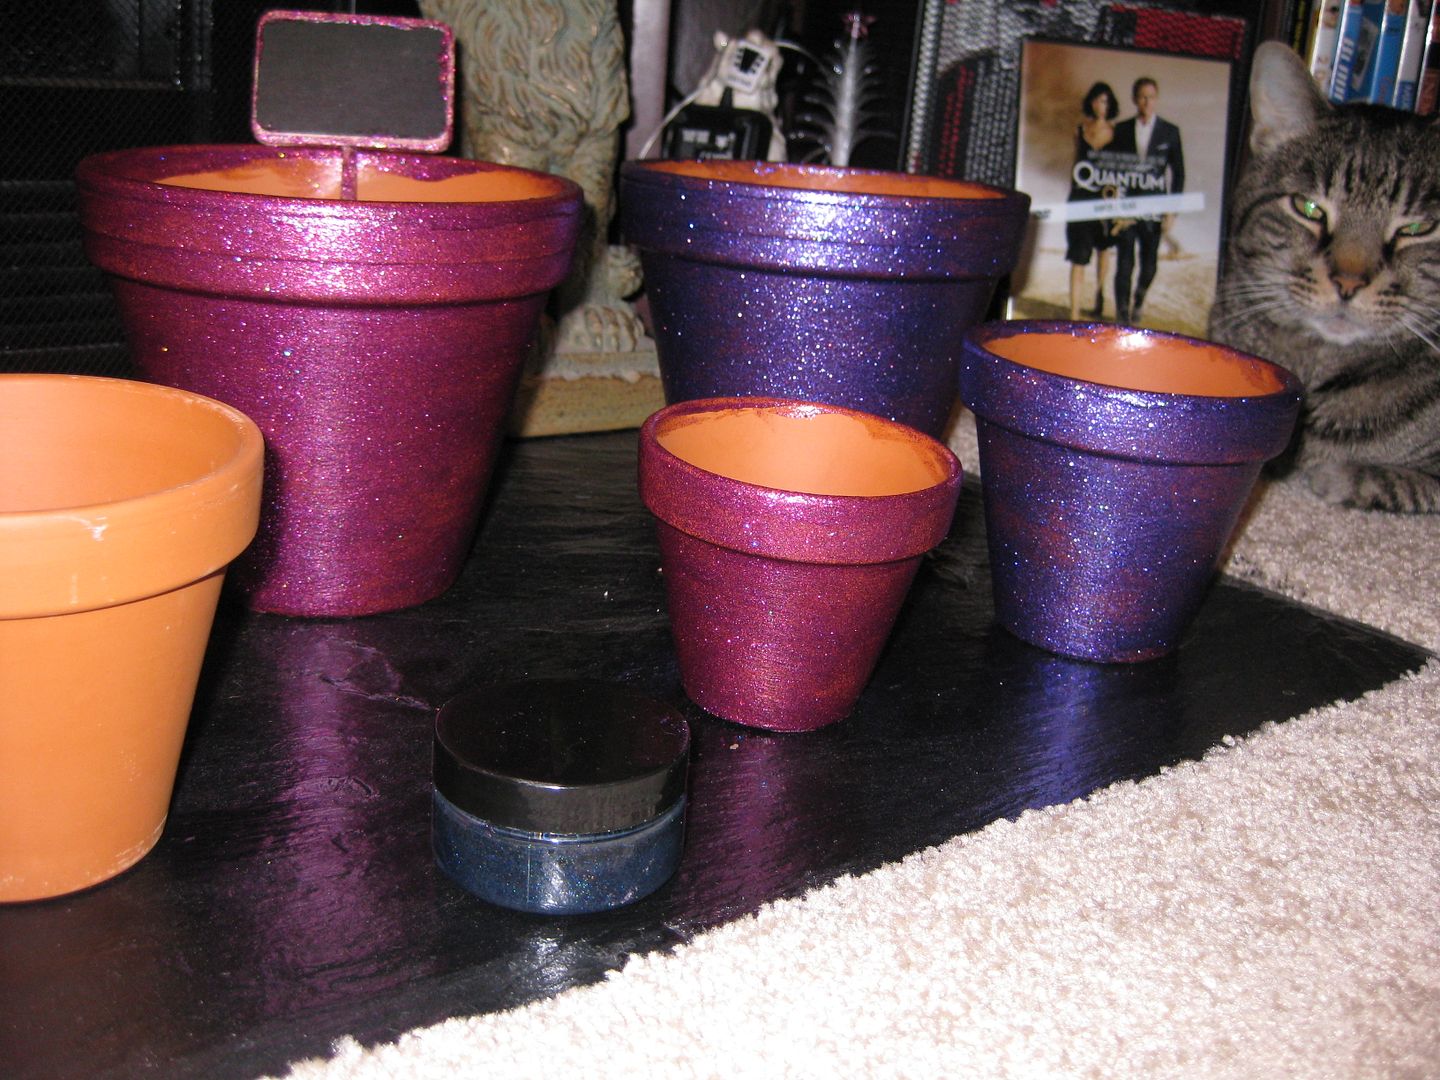
Here is my sparkly garden! Even if everything dies my dirt looks pretty!

These are my Dahlia's growing from bulb!


I am so excited! :) Yay! I have a few more pots! And I can say is after several weeks, the pots are doing well with being in the heat. No bubbling or anything. They are holding up well.

xoxoxo,
Lauren

Saturday, June 8, 2013

Charity bib sewing round 2!!!

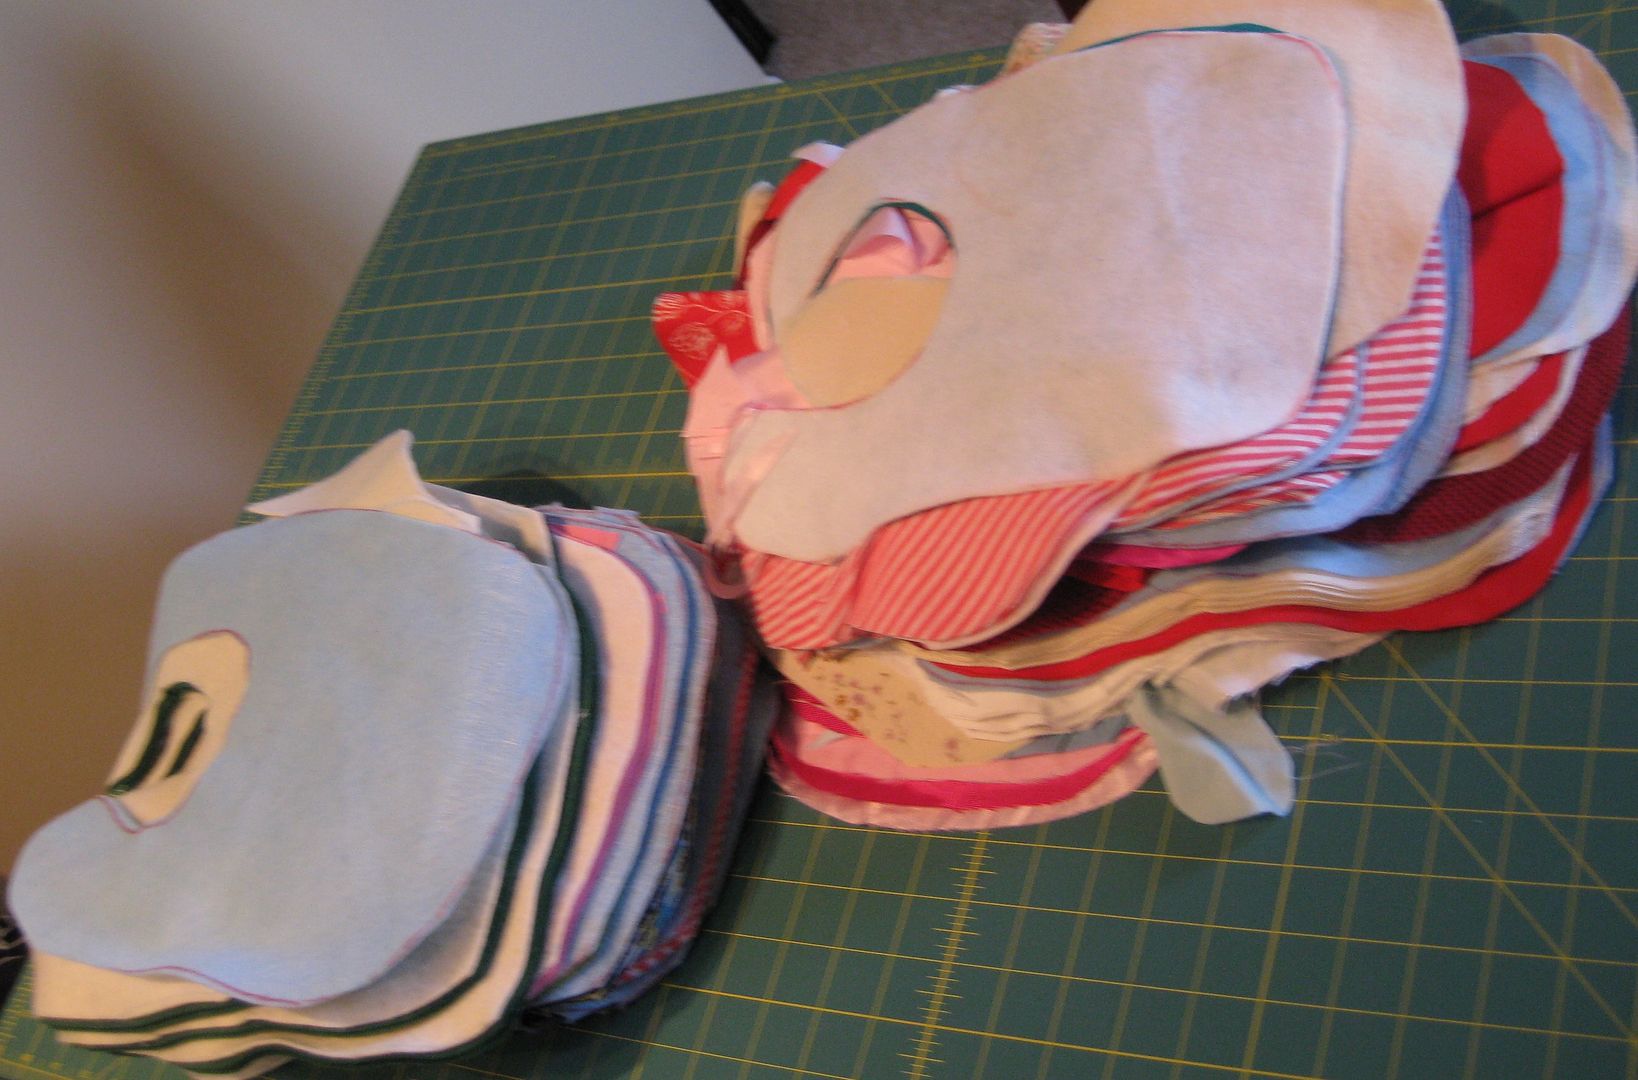
Here we go again! More bib sewing! Cutting was half the battle! This has taken a lot of my time but I just wanted to focus on one project and reach my New Years Resolution Goal!

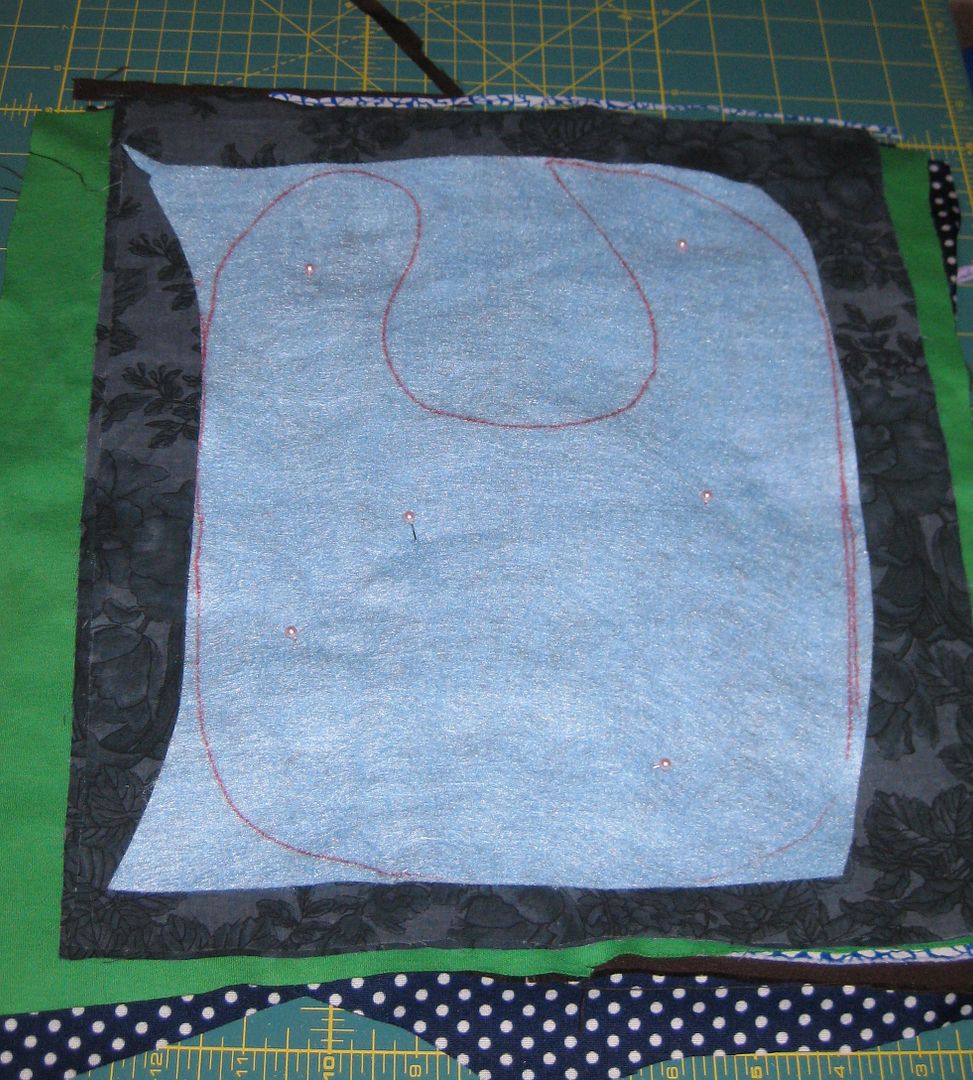
How I reduced my time was cut several bibs at once


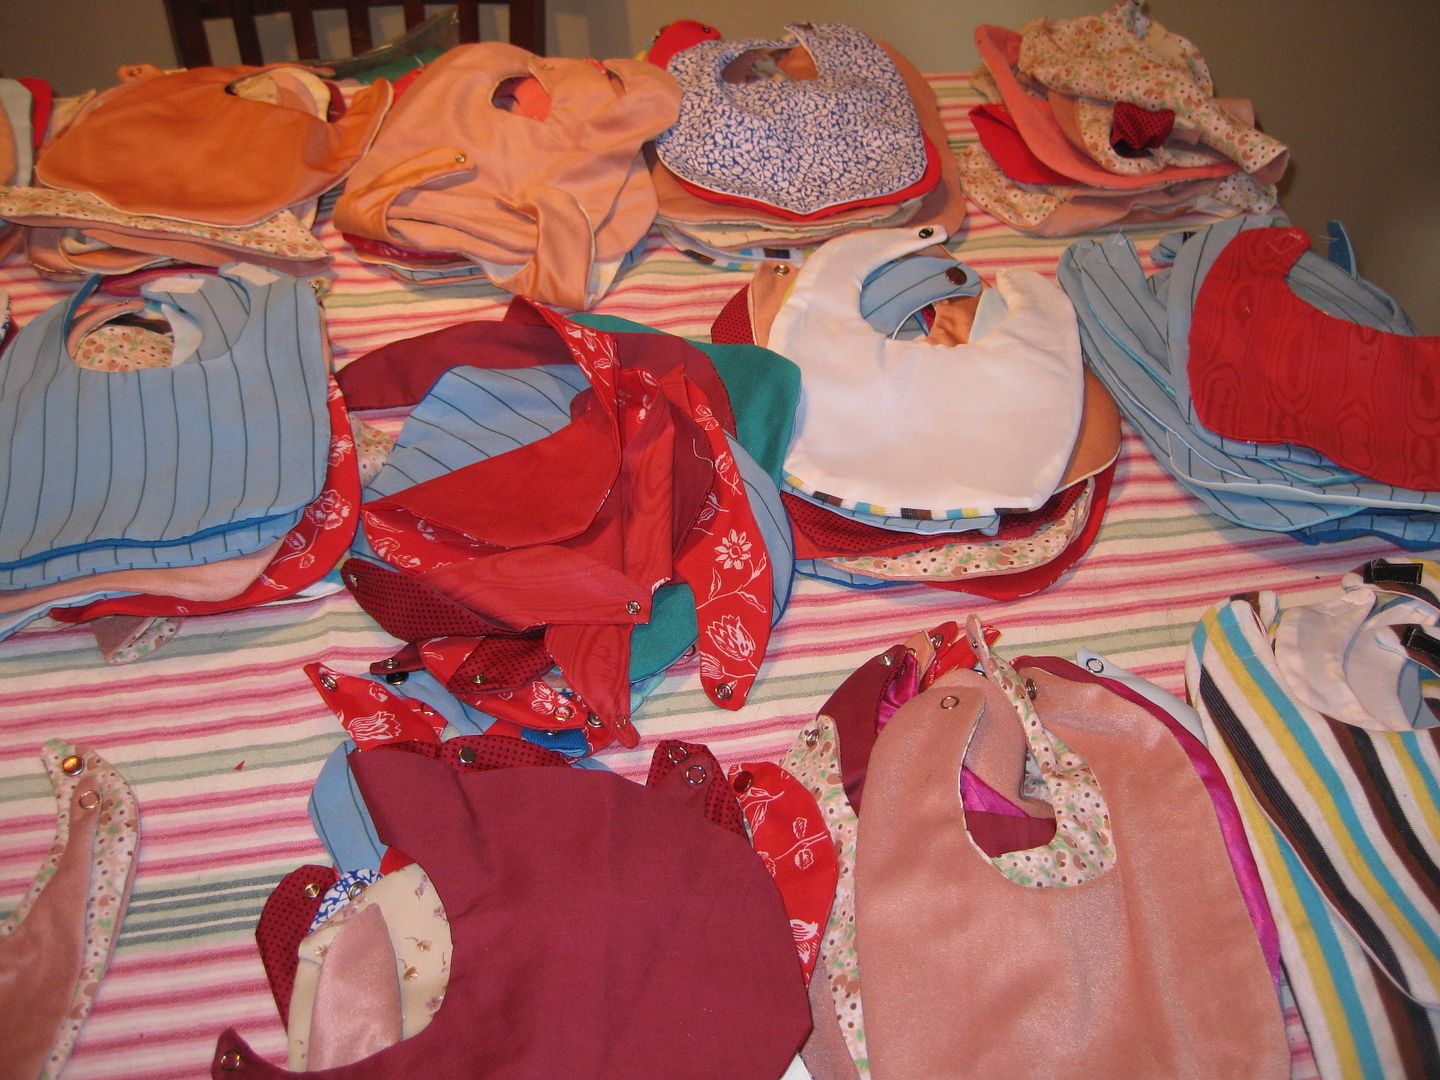
Oh Yeah I had over 350 pieces!!! Wow. Just wow. Now to start sewing them!!!!!


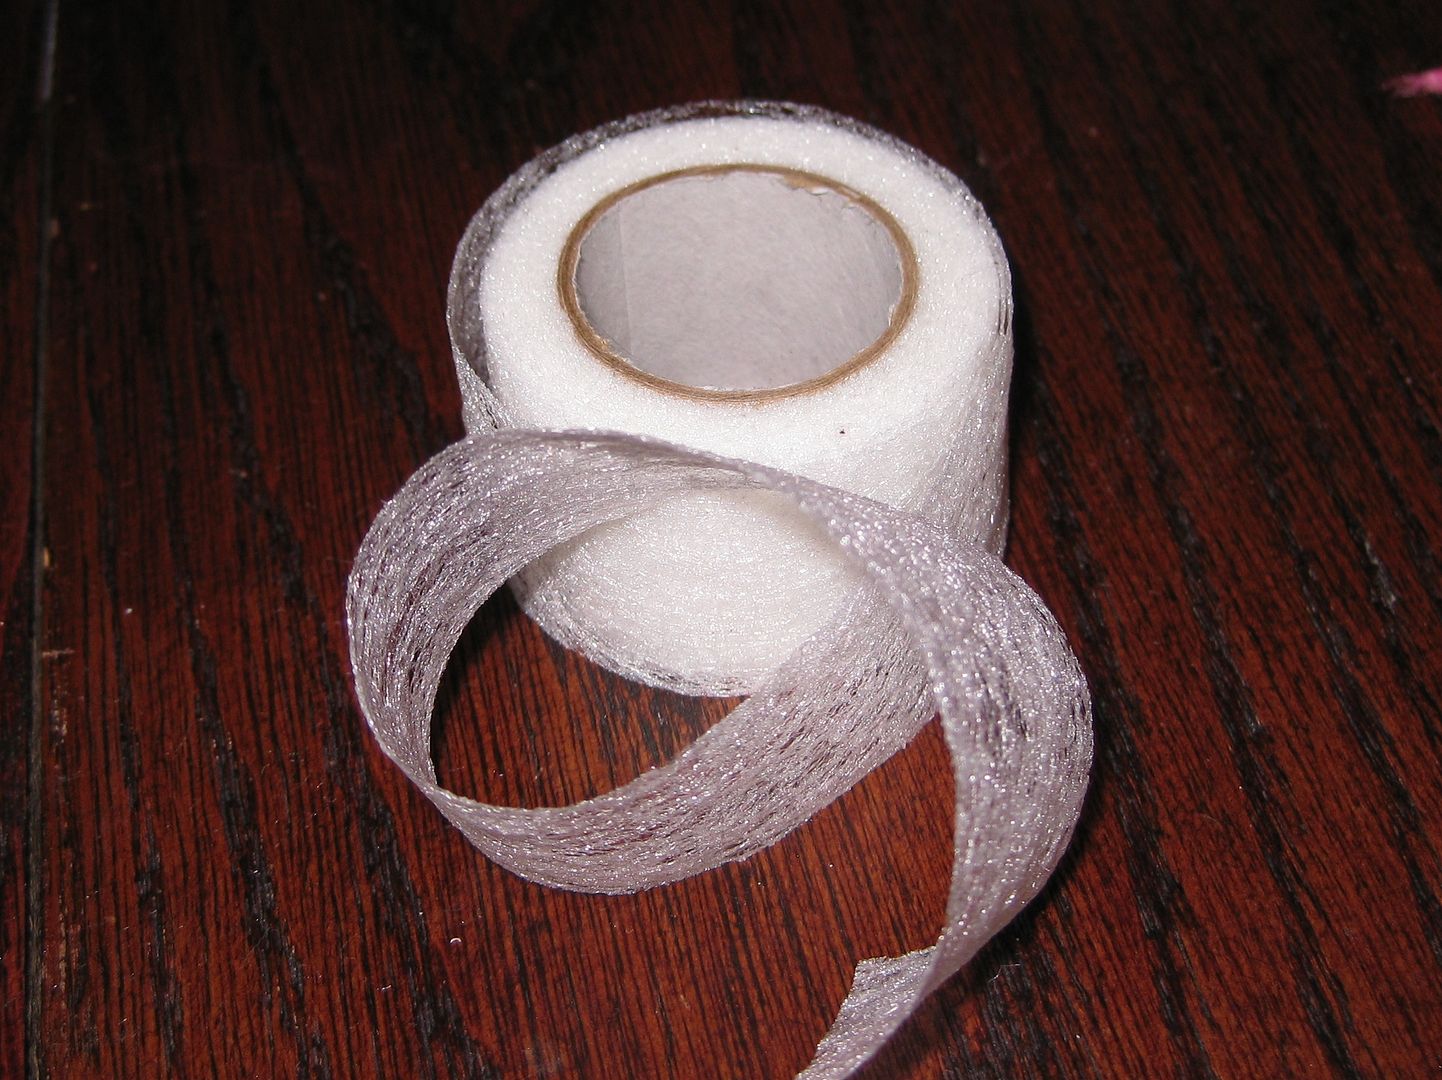
Again I went in batches, I could cut everything I could. Then I sewed everything. Then I sealed them shut.... I used a trick I used fusible seam sealer-the wide kind. Saves a ton of time! No sewing involved!

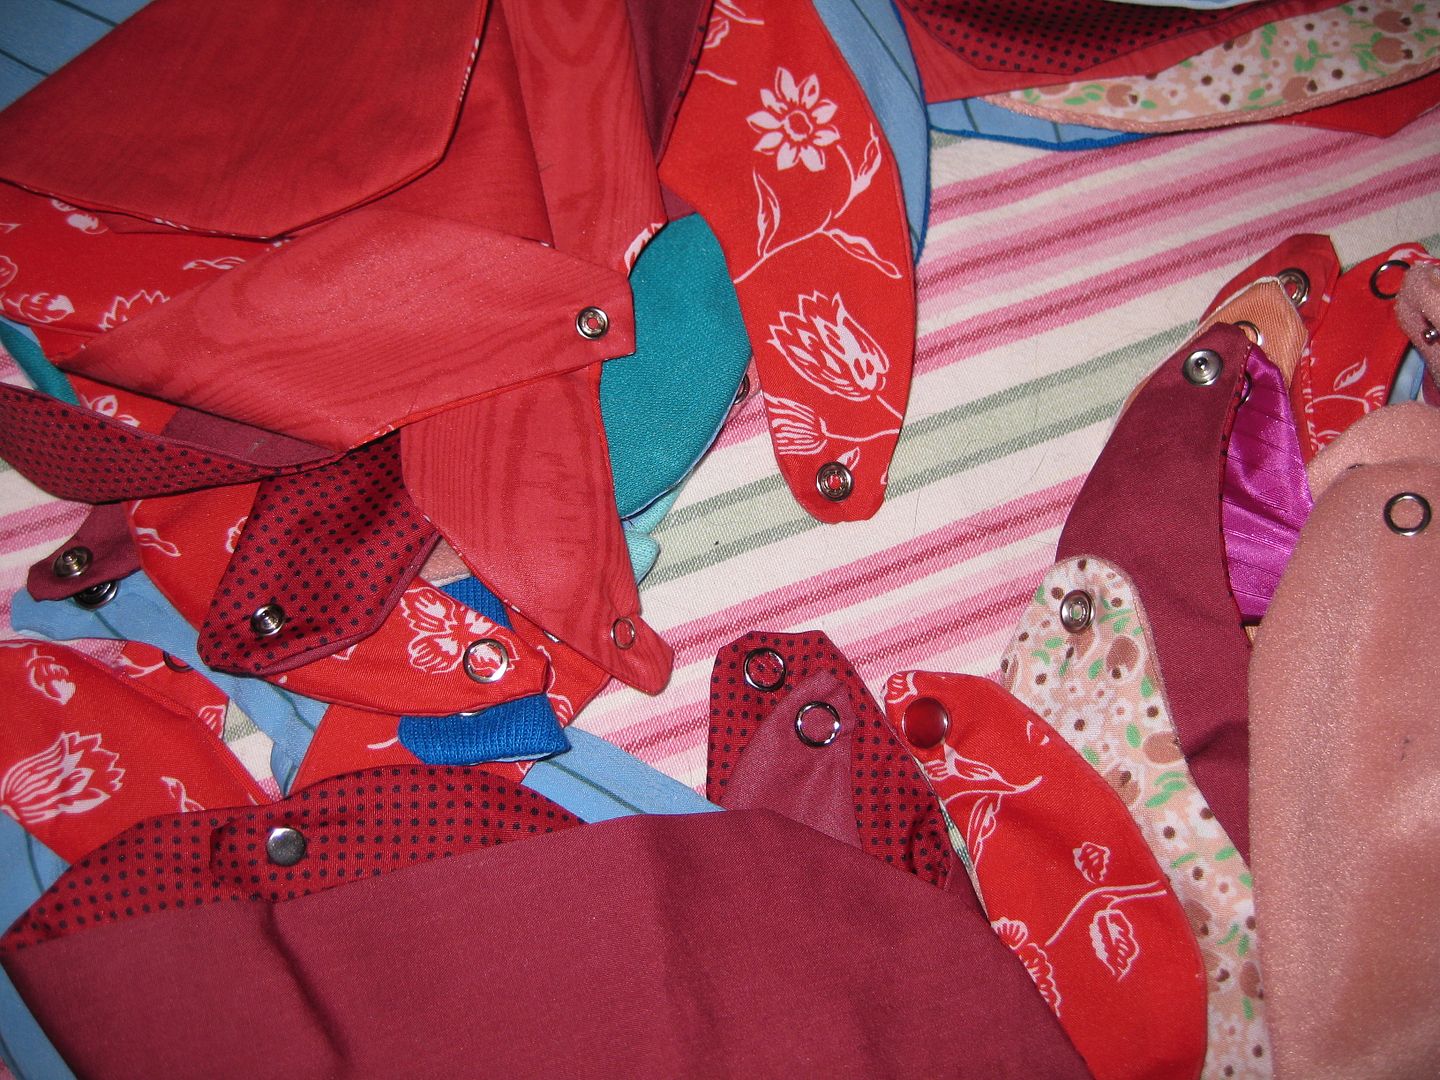
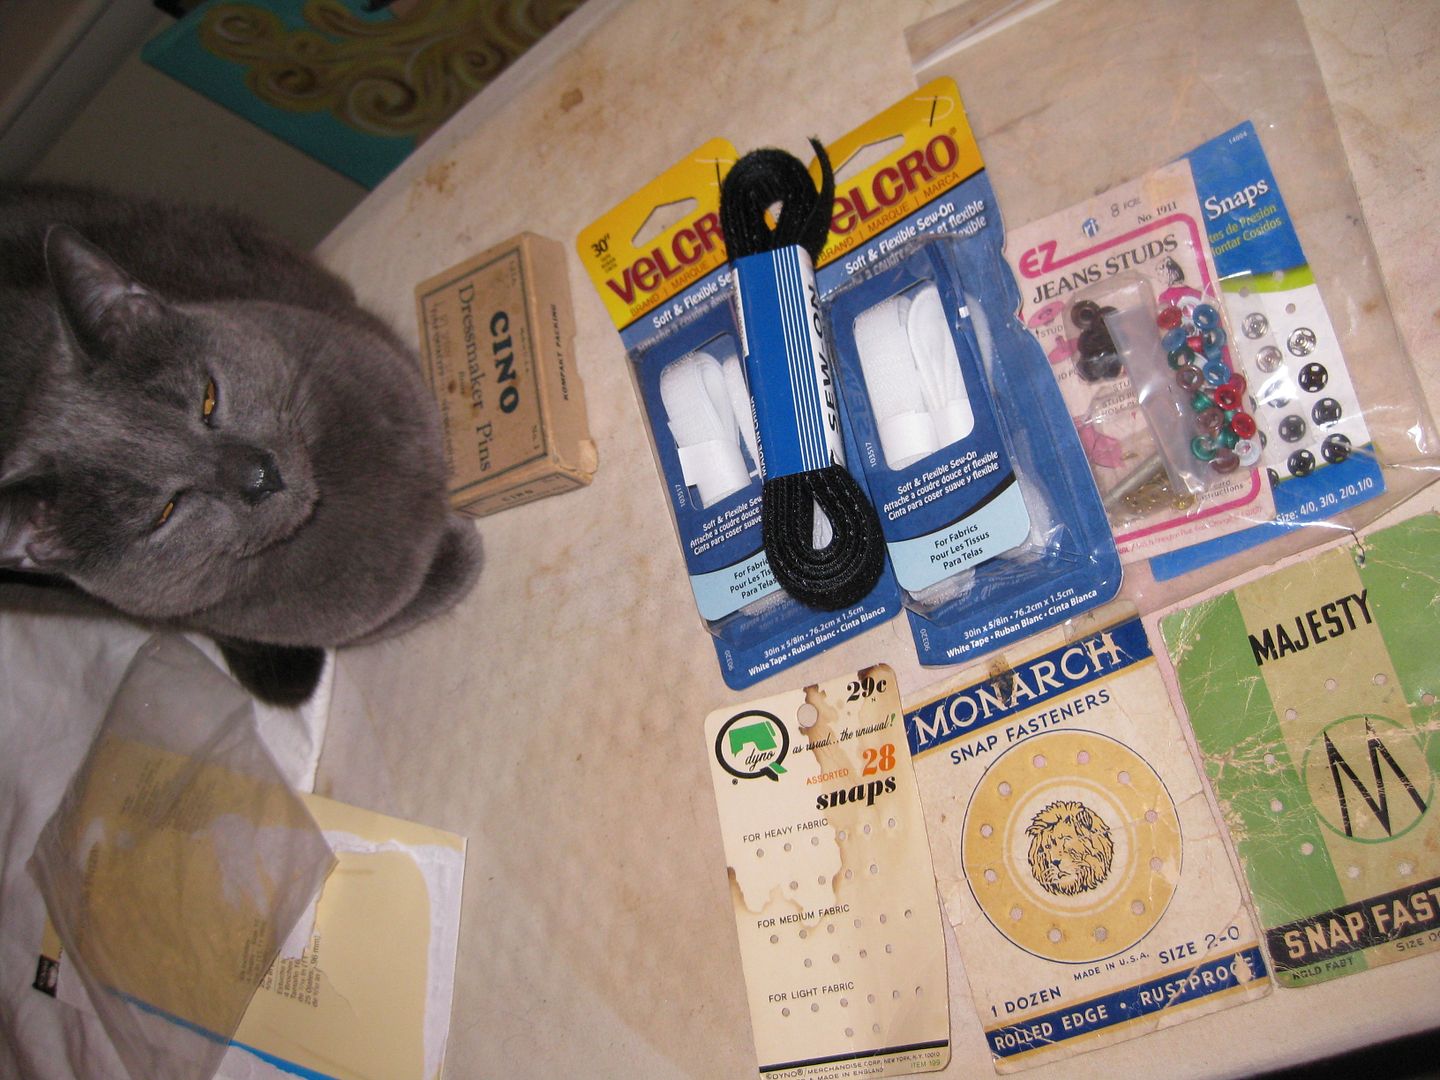
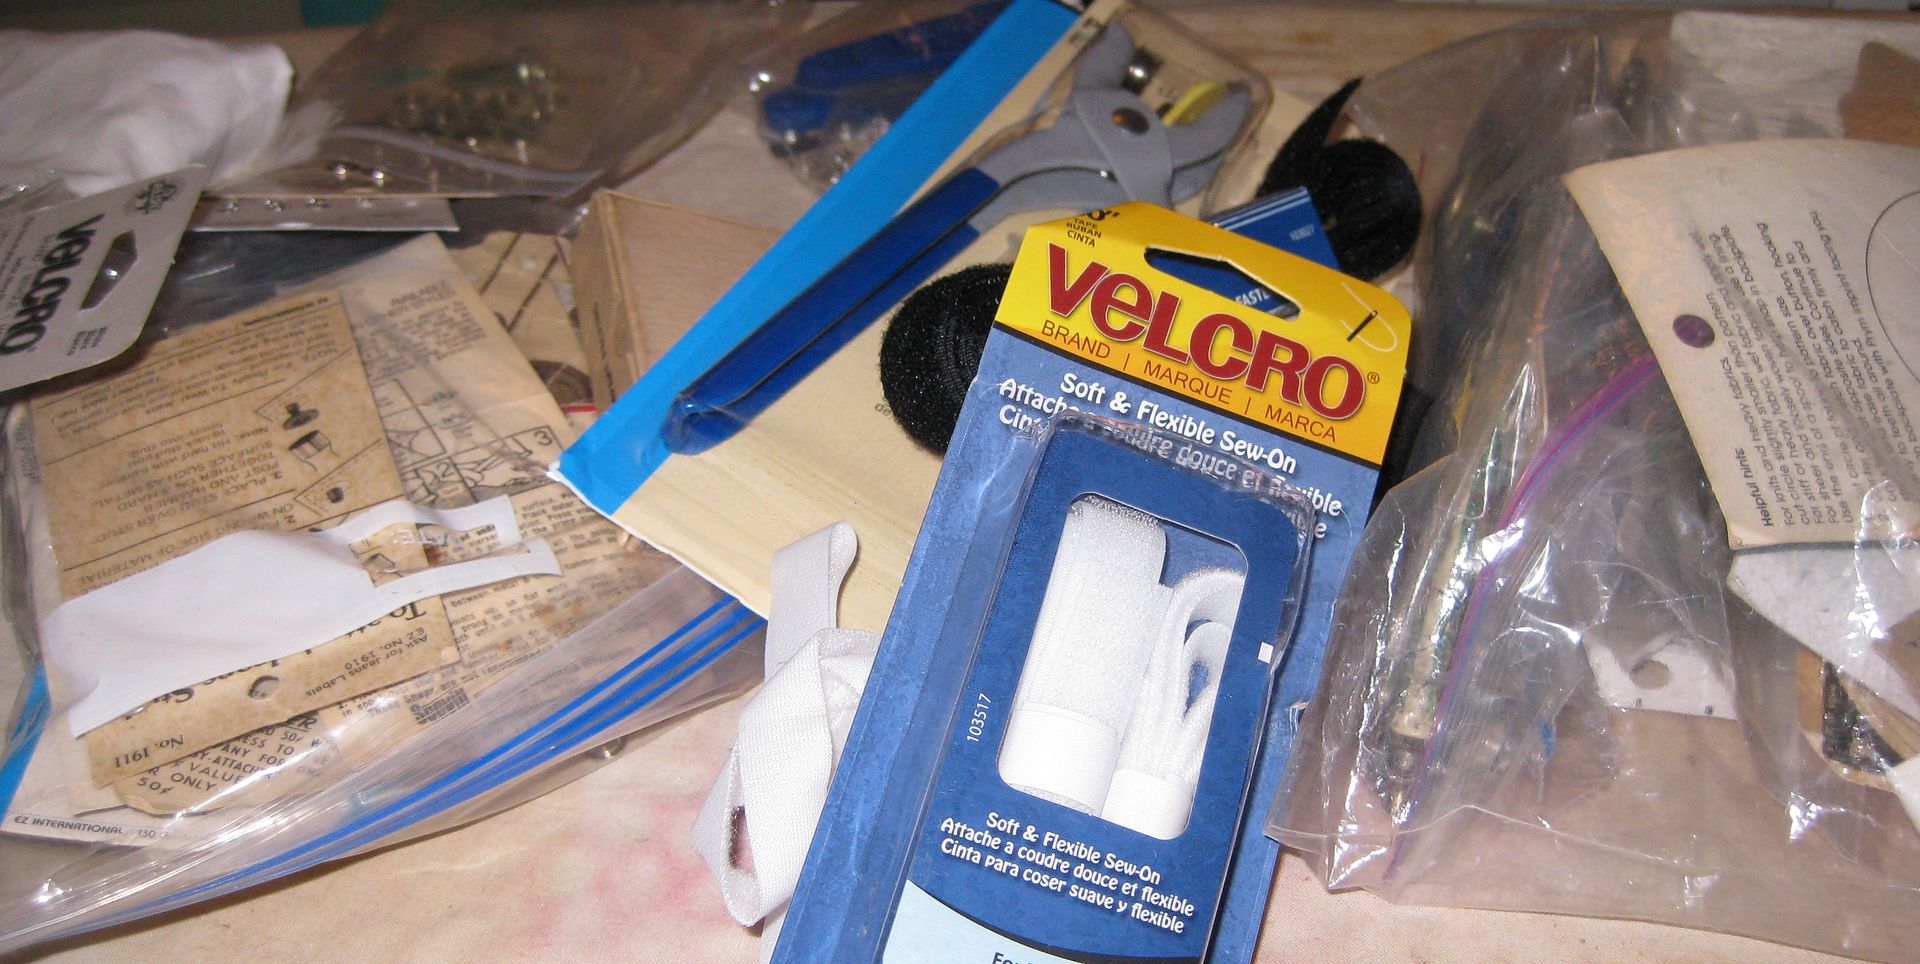
Now time to close the bibs. I grabbed everything I had on hand. Which was a lot considering people have donated their old notions to me in the past. Now time to use them! We have everything from sew on snaps, velcro, and bang in snaps. 

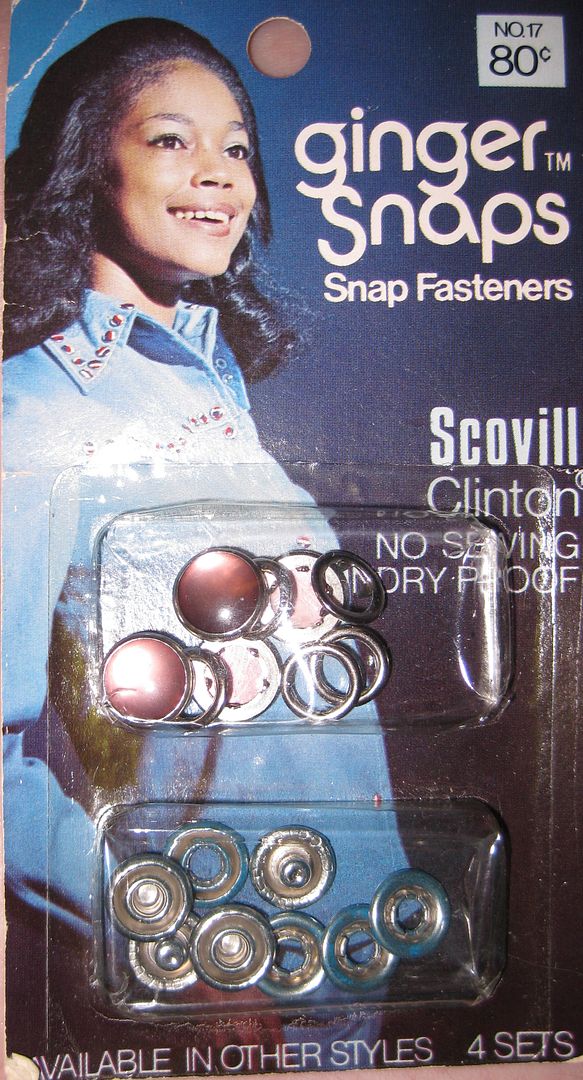
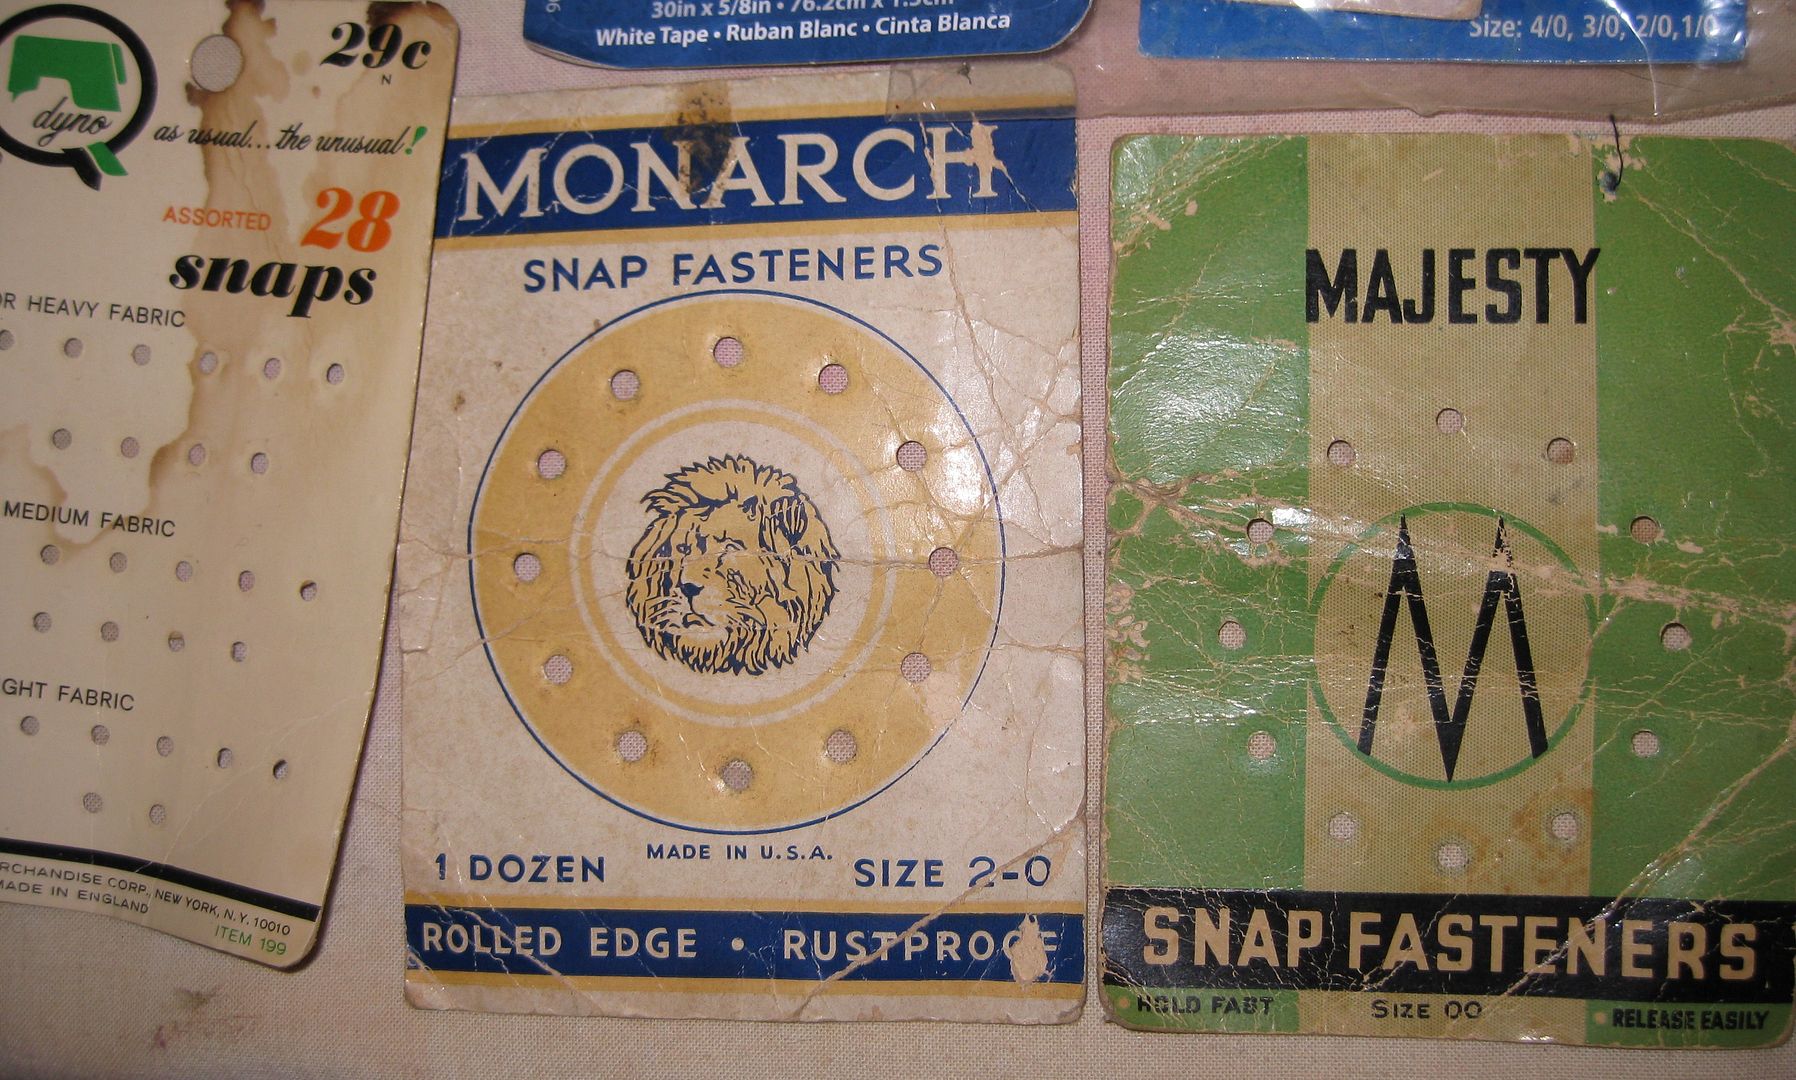
I love this old school box of snaps. 80 cents- wow! These were ones I had to learn how to bang into the fabric. 

Same with these snaps. Total old school right here. 

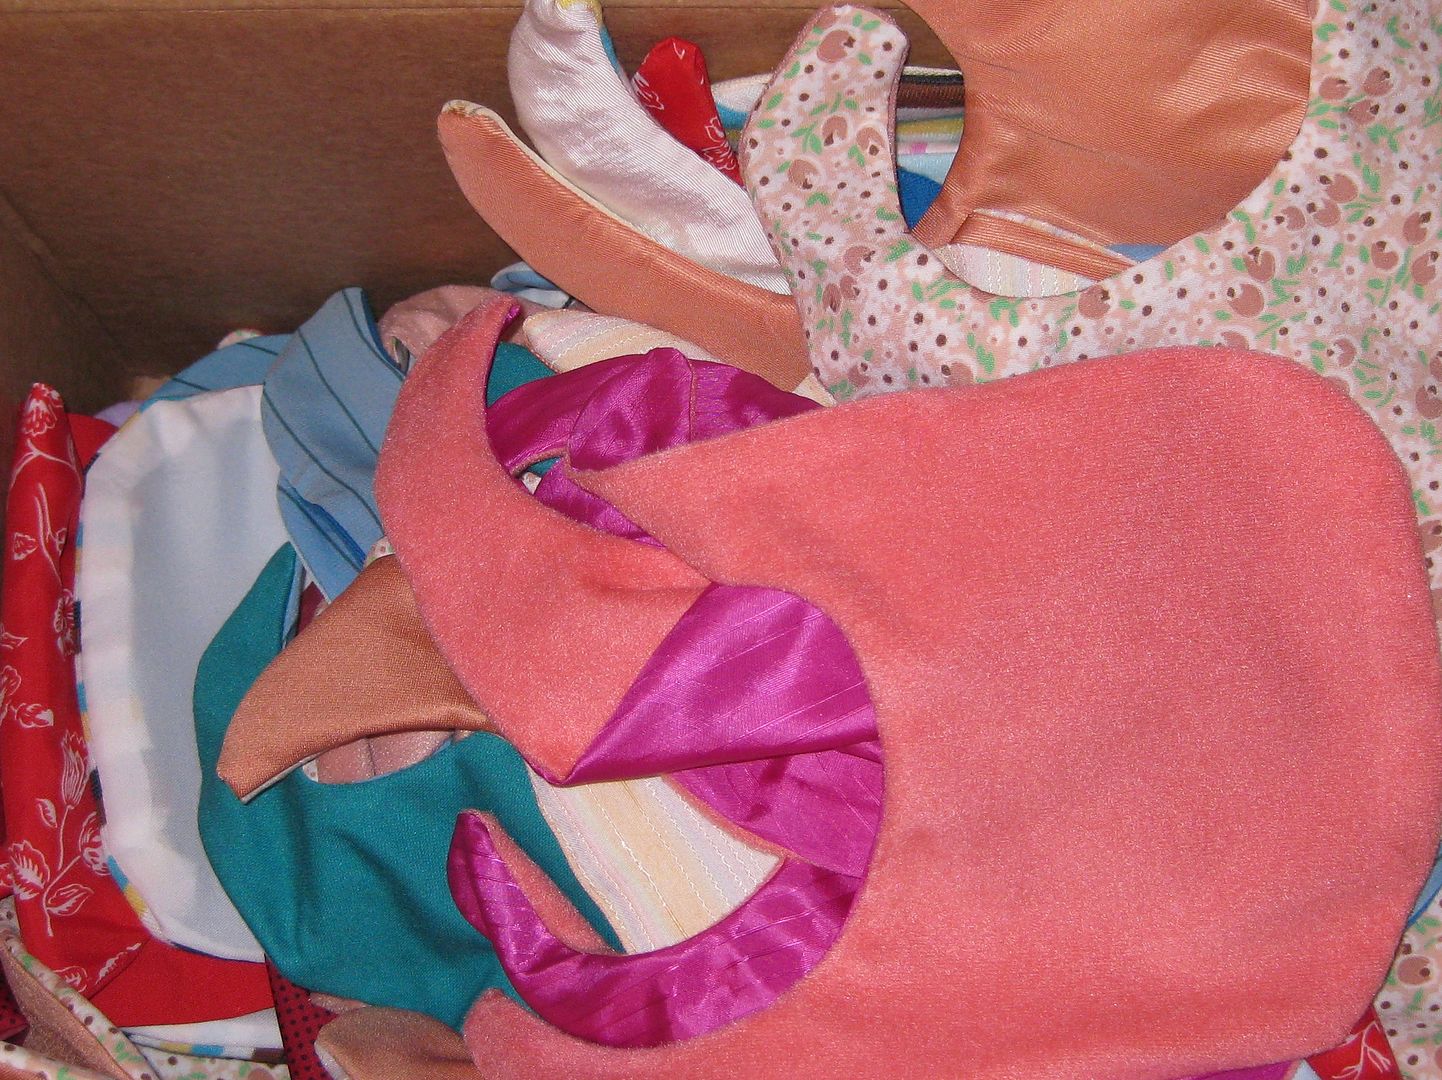
Here are all the ends bibs on my kitchen table. 

Close up of some of the snaps. 

Velcro too. easy sew. 

Here is my Natasha Bear with the what was leftover from the first picture. I used A LOT! Got to love my cat, she is my sewing buddy. 

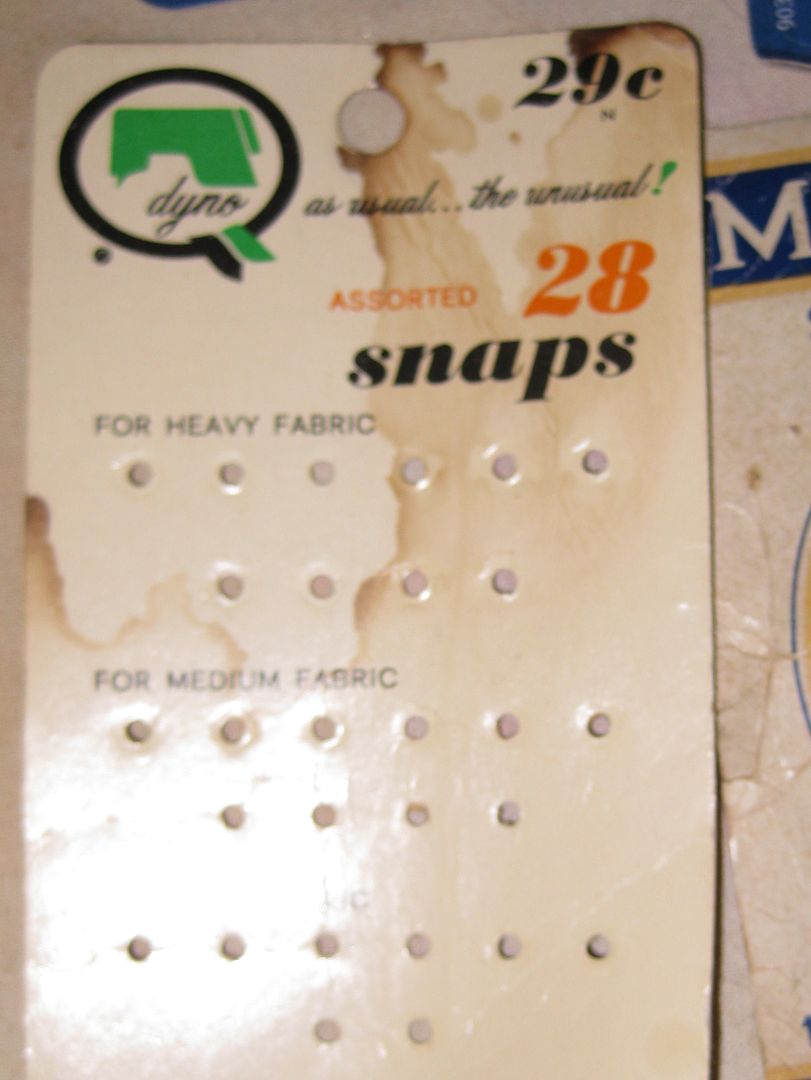
I just had to take a picture of some of these old snap packets. These are old! I just love the old school notions. 

Look this cost only 29 cents! crazy! 

Into the box everything went. 

So what was my totals for Bundles of Love??

132 total bibs for charity
33 wash cloths
1 piece of extra terry cloth that they can use to make more items. After sewing that I couldn't do it. So I just donated! :)

I just shipped the other weekend and I am so grateful that I did! :)

Almost at my 200 goal for the year!

xoxoxo,
Lauren

LinkWithin
Related Posts Plugin for WordPress, Blogger...