Well hi welcome to my little blog. Just my little corner of craftiness, sewing, and refashioning. I am also a newly gluten free eater so you have a little bit of recipes mixed in here.
Showing posts with label iron craft. Show all posts

Monday, August 11, 2014

Striped shorts fix, iron craft and refashion

Well I managed to finally get into the iron craft groove. Being sick, I felt ok to be upright for a bit and thought I would tackle this shorts fixing project. Actually I have no idea where the before photos went. Sigh. Basically, what I started with was a pair of white and light, light tan striped shorts that I thrifted while visiting my family last year. They were white house, black market and just a tiny bit too big. Nothing bad. After washing them, prior to putting them in my suitcase to return home, I noticed a hole ripped right down the middle of one of the sides. Grr. But I really liked these shorts. I needed a way to fix them.

My solution was to use these sheets of white fabric that are iron on and meant for mending.So I ironed on both sides. Cut to fit the shorts. Now this was all fine and dandy but boring as heck. I decided to use this bedazzler/stud setter I inherited from a sewer back in Alabama. I don't think it was used much as when I opened up the instructions, they were still stapled. Date stamp- 1981. Wow. I practiced to get the hang of putting in the studs. Then I just went for it.
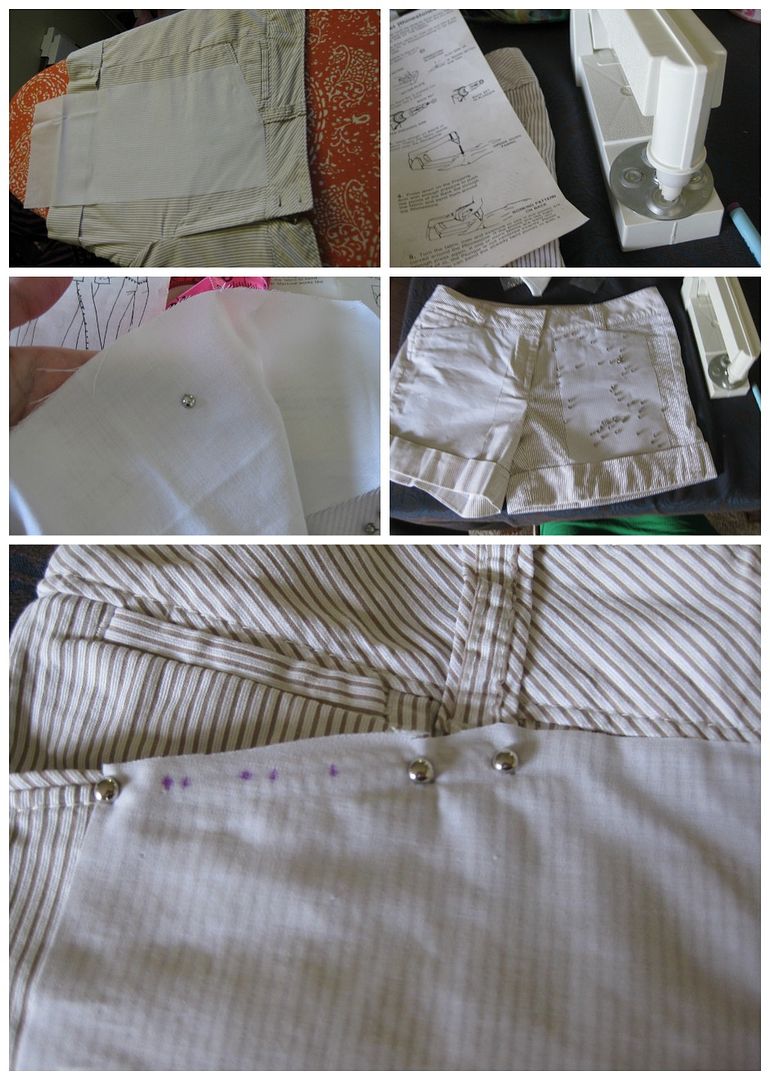
I went one side then to the other side. I separated each stud by 1.5 cm. I marked it with my invisible marker in order to speed up the process. It still took a while. And my poor left thumb hates me. Insert pronged stud, line up, smack, repeat. I realized that the item was not lining up properly and that I had to make sure that I pulled it to the left so it would line up properly. Otherwise I had prongs that went awry. 
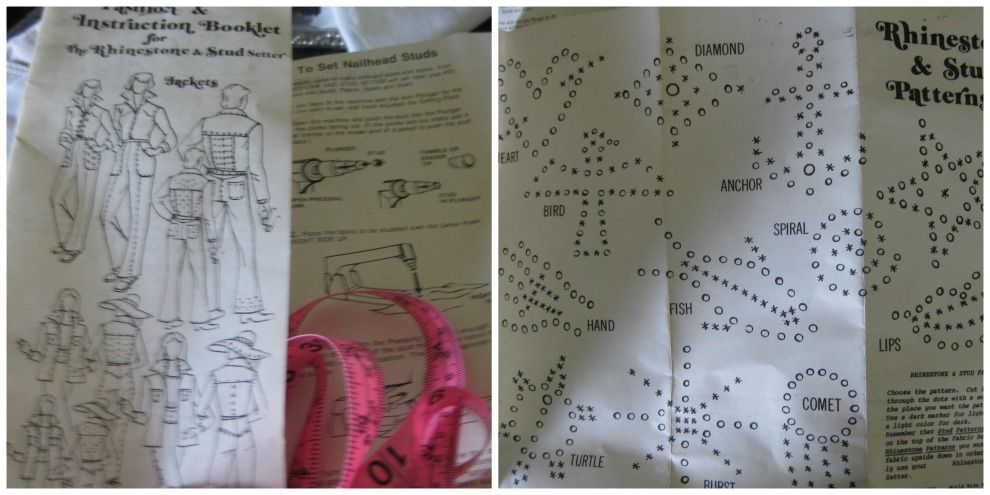
I did like the booklets. I kept the booklets. This is what 1981 looked like baby! 
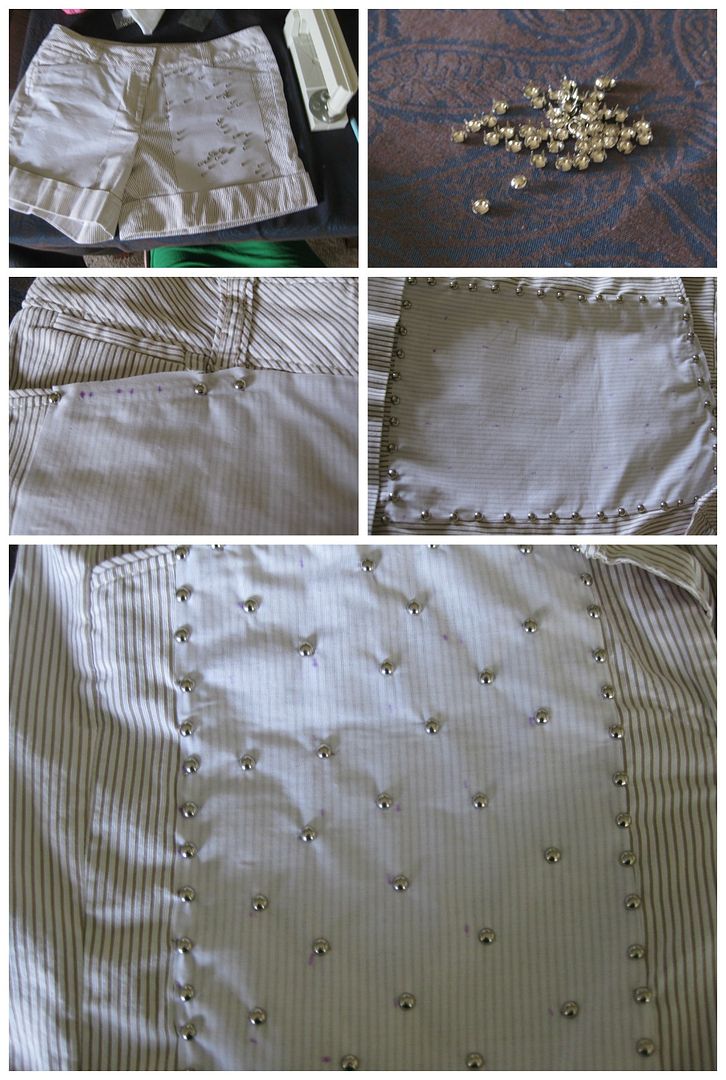
After doing the outline, I separated the studs in half and randomly scattered them on each leg. Done

Since I am not feeling my best, this is what you are going to get. I have no desire to stand up and take pictures. And I have a bunch of things I need to photograph. They have languished for almost 2 weeks. 
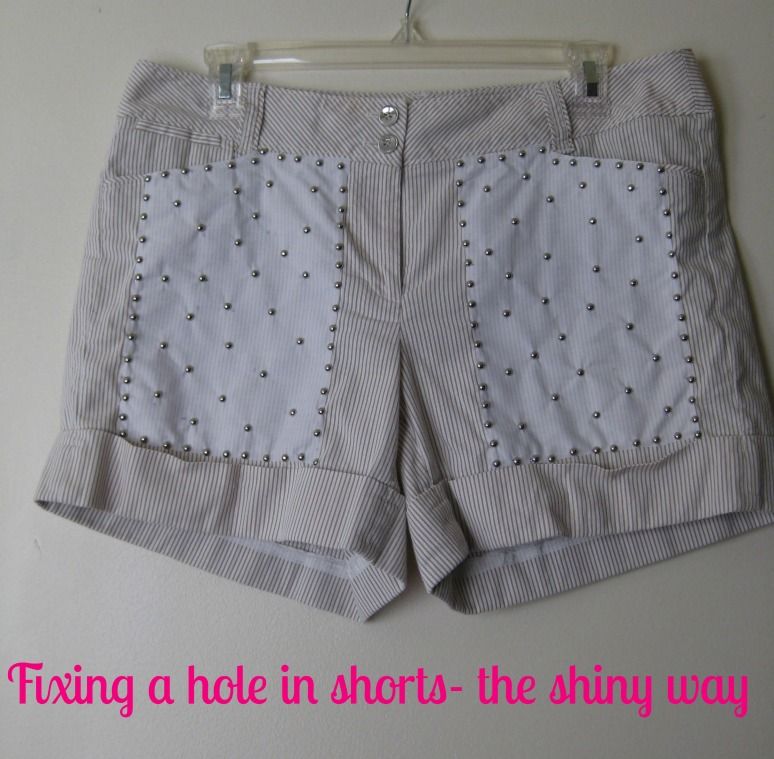
There you have it, I completed my iron craft white challenge, knocked out a refashion (number 57!!), and used up some of my craft supplies. I don't plan on keeping my stud setter- I don't foresee myself using it more.

Cheers,
Lauren

Monday, June 30, 2014

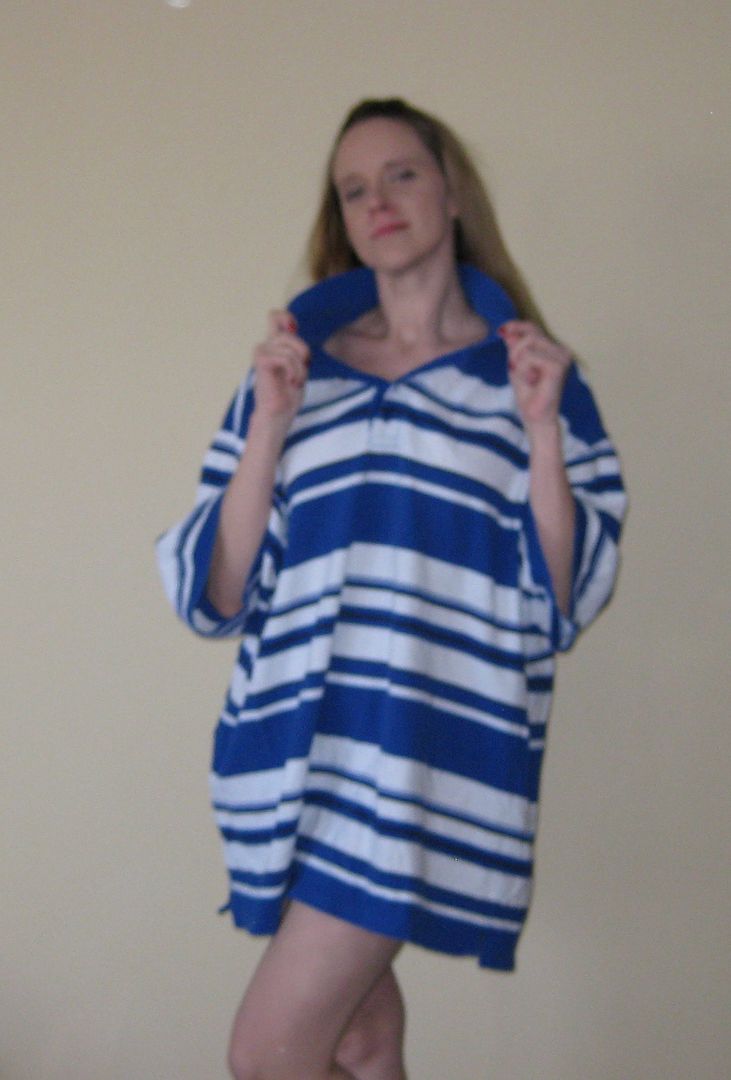
4XL men's polo refashion to dress, #47

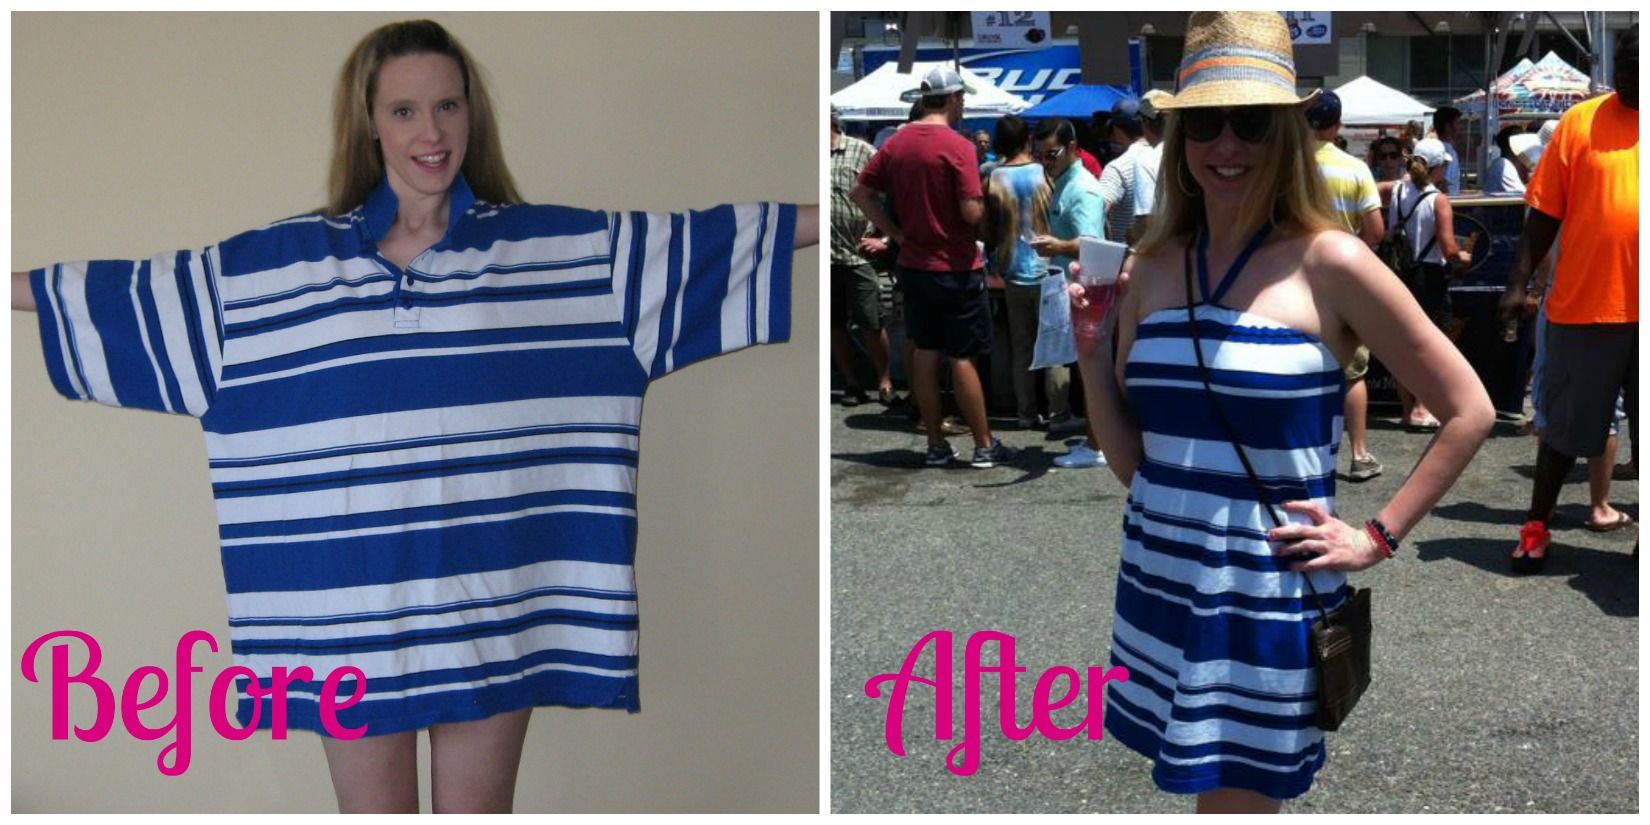
OMG how big is this polo shirt?? I am wearing shorts under this shirt!!! For real!
Ok I just have to pop the collar, I can't help myself...
I'd call this an epic men's polo refashion. Now what should I do with it? This iron craft challenge, I am back! The theme is stars and stripes. I thought this would be great for stripes! And it is semi-patriotic.

Since it was so big and huge, my goal was to turn it into a dress. Now to make it happen.... And I had a hole too... :(

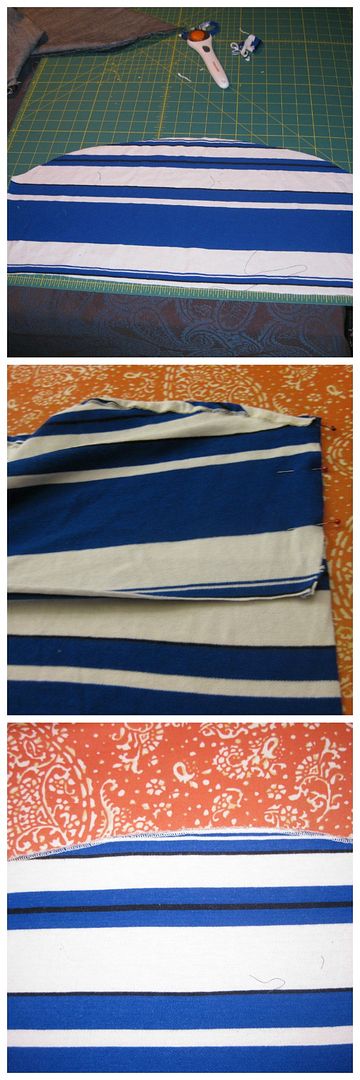
First we need to deconstruct this shirt. I cut right below the arm holes- this will become a skirt. I removed the collar too. Off cam the sleeves, which I opened up and removed the arm binding.

Dang still a lot of stripes. I attempted the bodice next. I really liked how the sleeve curved and thought it would make a cute bodice, I mean 1 sleeve was an easy half of the top. So I evened it out. I attached to the back, which was just another piece of material with a straight across. I serged the top to avoid fraying, and then ironed under to create a casing. More on that later.

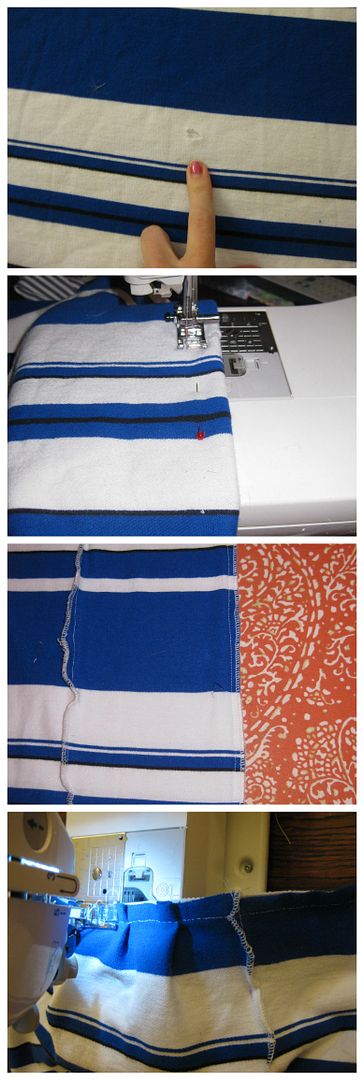
Time to fix up this skirt! I sewed out the hole. Serged to prevent fraying. I actually did a mirror "sewing out a hole" just so the skirt would look balanced. I did several pintuck both on front and back. Attach to the bodice!

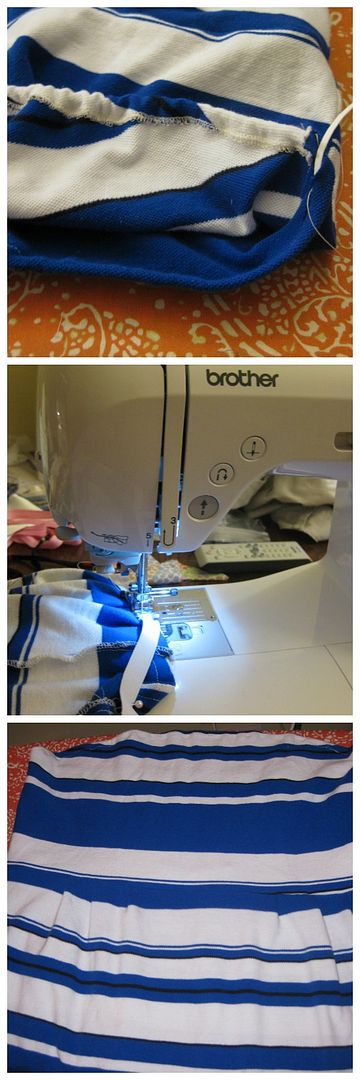
Time to start finishing up. I added elastic to the top of the dress. I also added elastic to the back part of the skirt to get a better fit.
Now we are not done yet! With the elastic in the top of the dress, you lost the curve that I really liked. I cut off the widest blue stripe and made a tube. I used my tube turner I just purchased and OMG my life is changed forever- quickest way ever to turn a tubing right side out!!! Yay! Then I sewed my new tube to the top of the bodice to give a slight point back to the curve.
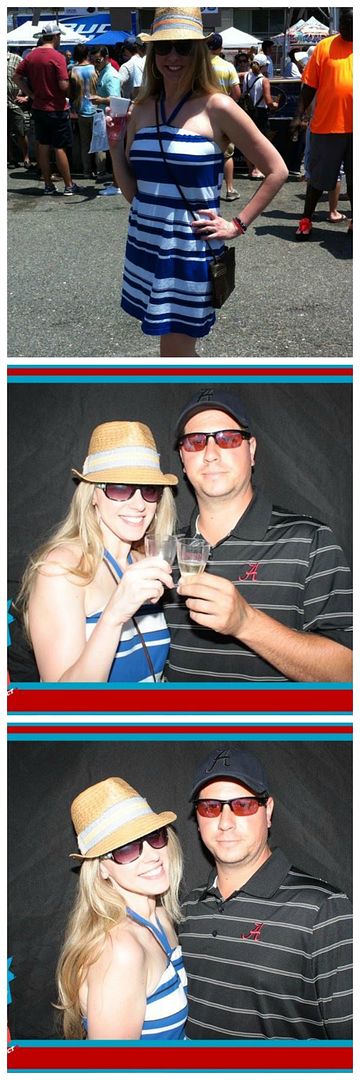
I just wore my dress out this weekend to a festival and it was nice for the heat. Here is my finished dress.

It was super comfy! Here is the recap! I plan on turning the rest of the fabric into bibs for boys. There is that much left of this polo! Crazy!

Cheers,
Lauren (almost half way done!!!)

Monday, May 19, 2014

Bow dress refashion, #38

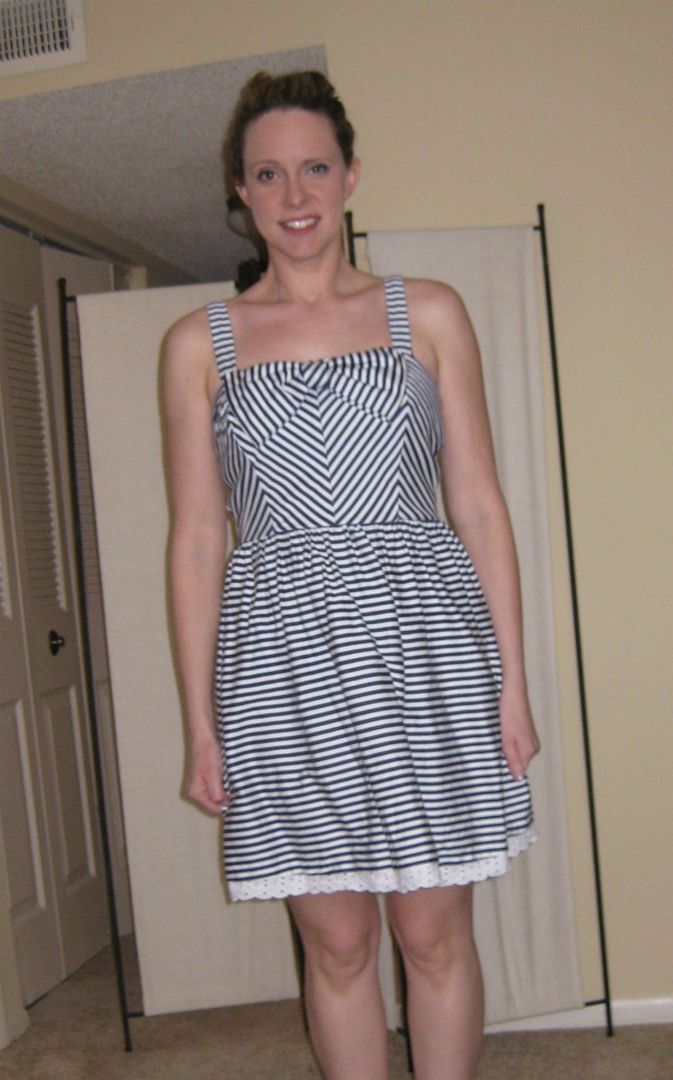
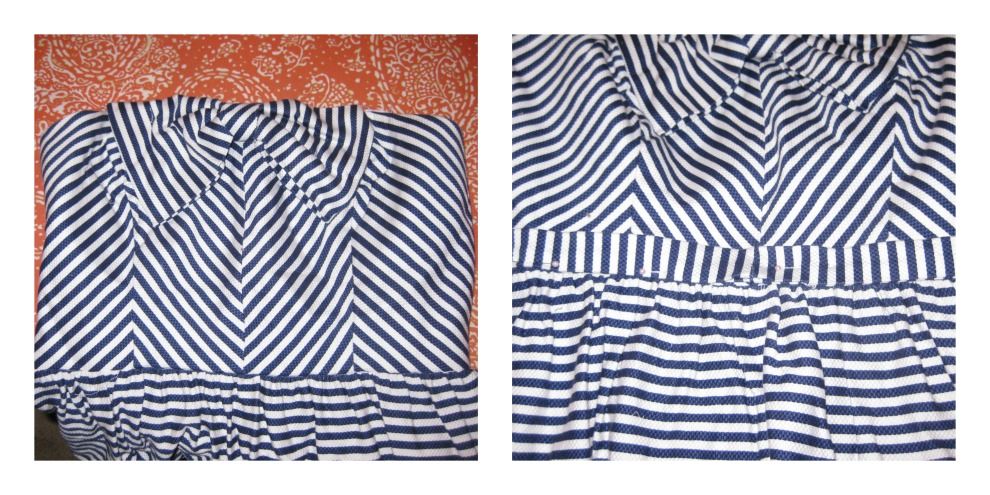
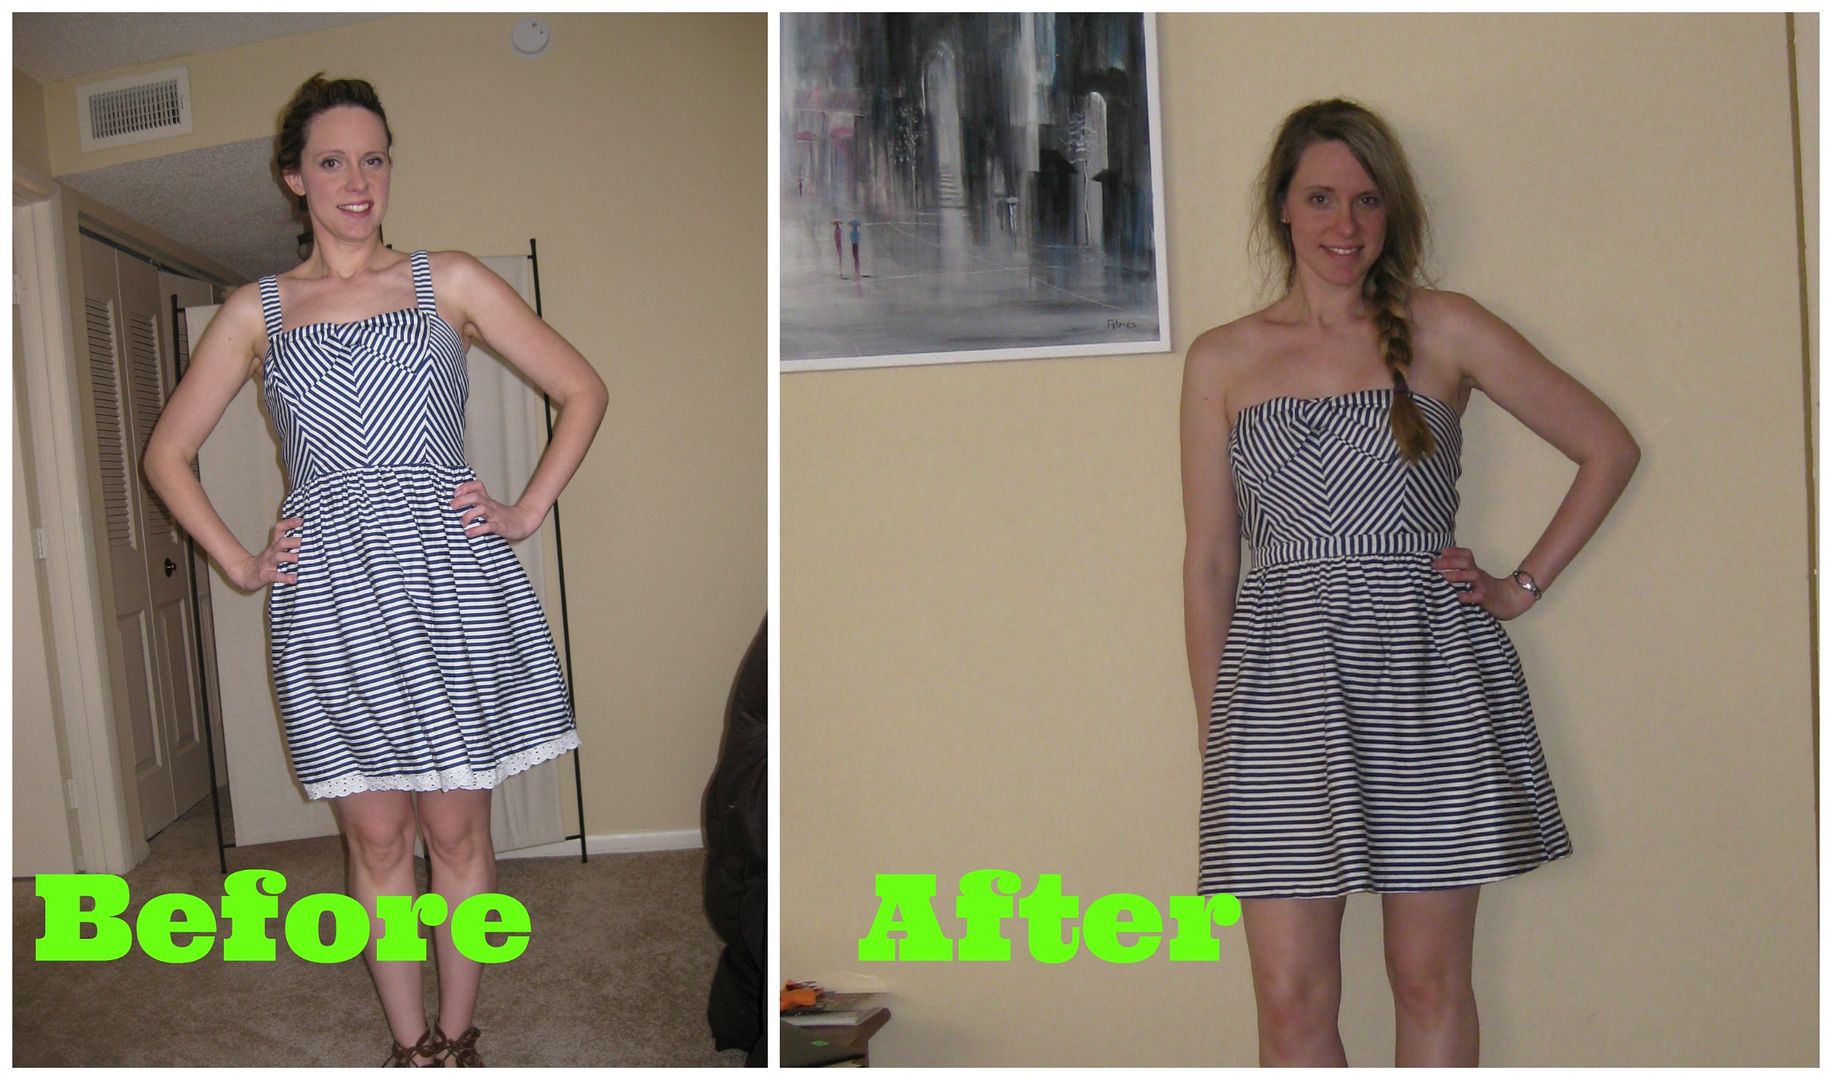
Another refashion for iron craft... the challenge was B. My B= bow. Let's start off with this bow dress. I thought it was darling but on, it seemed as if there were too many design ideas and none of them worked all together...

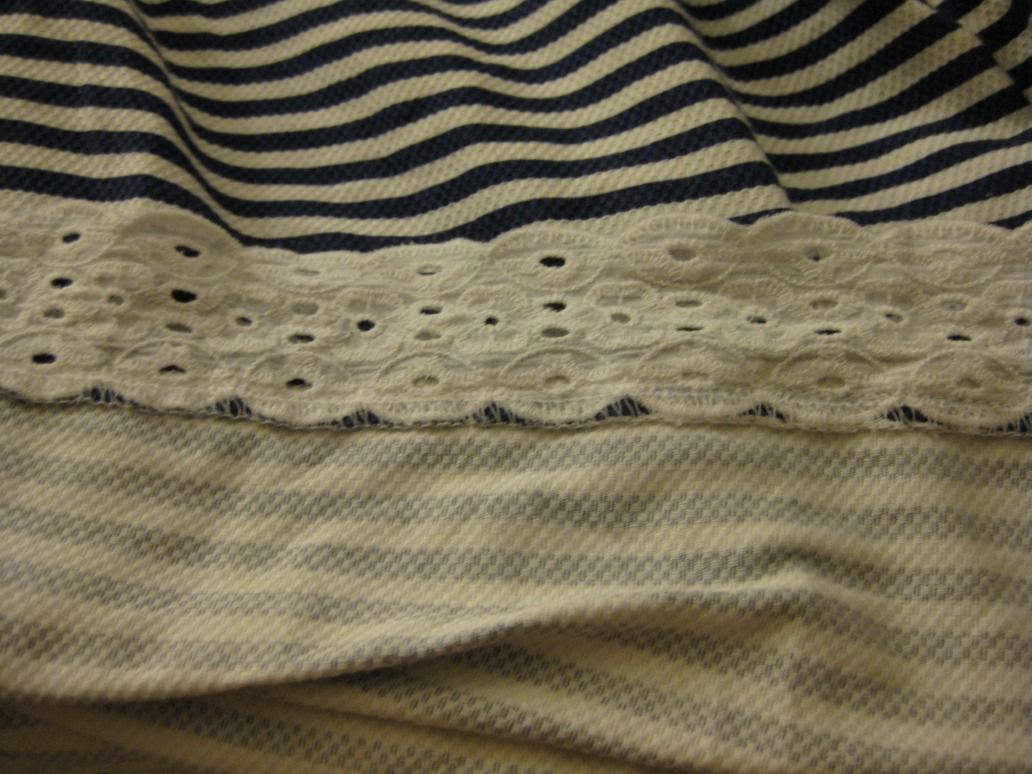
I mean but look at those stripes.... And I LOVE the bow. But I don't like straps with it and also the eyelet lace on the bottom on the dress.

Darn! That eyelet lace is SERGED on! To save myself time and frustration, I simply cut off the lace.

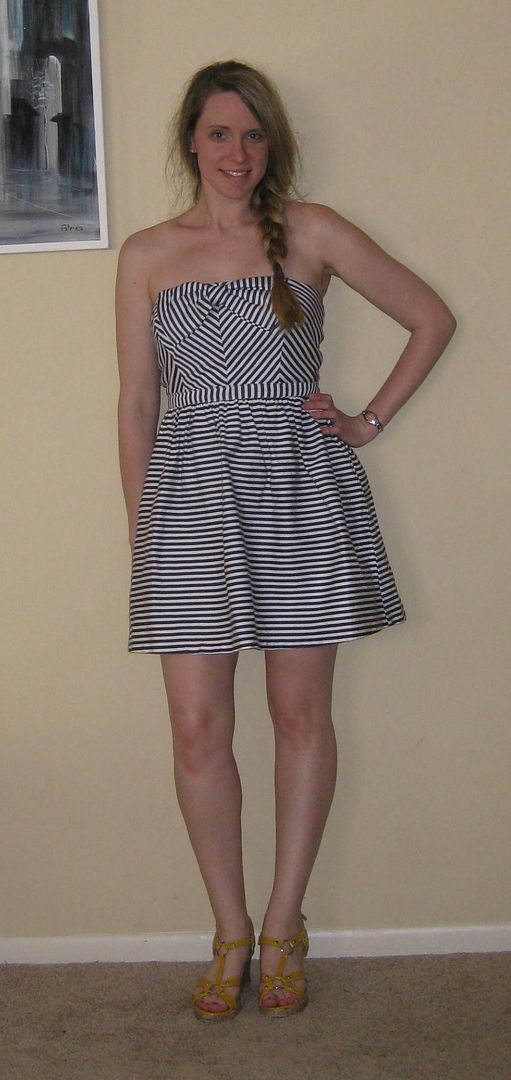
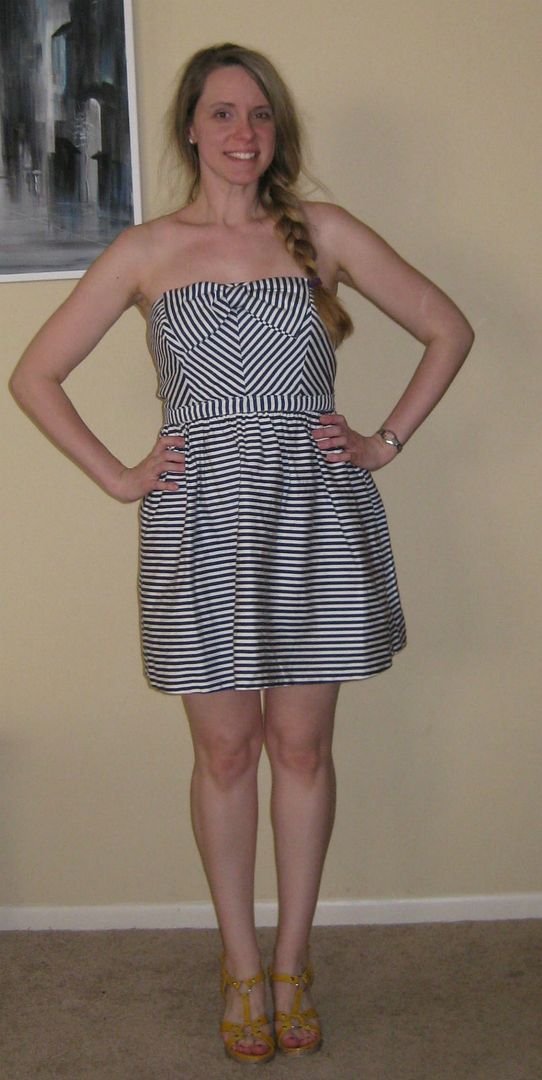
Next, off came the straps. Dress is instantly better. But I felt as if there needed a transition between the bodice and the skirt. I connected the straps to make like a belt. Sew down. I had just enough fabric for the straps. JUST enough. I also had to retack the bow down as removing the straps caused the bow to come somewhat loose. I then closed the holes where the straps were located. Dress is done!
Done!!! Dress is simpler and simply better. :) 


I actually wore it out recently to dinner with my hair and makeup all nicely done... and I completely did not take any photos. Grr. I got a lot of compliments on the dress.
Cheers!
Lauren

Monday, May 5, 2014

Sherbert dreams dress refashion, #34

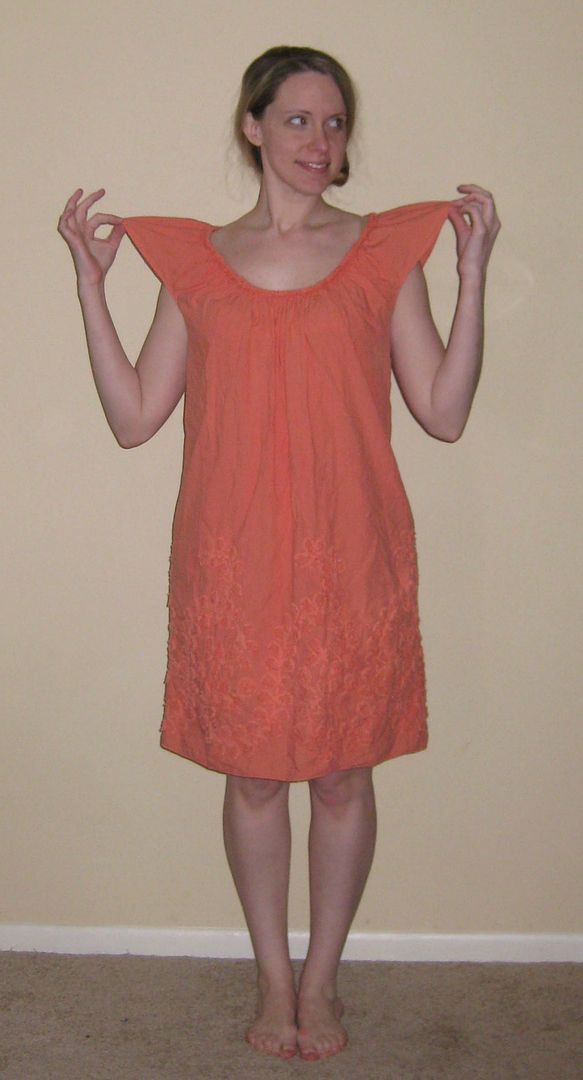
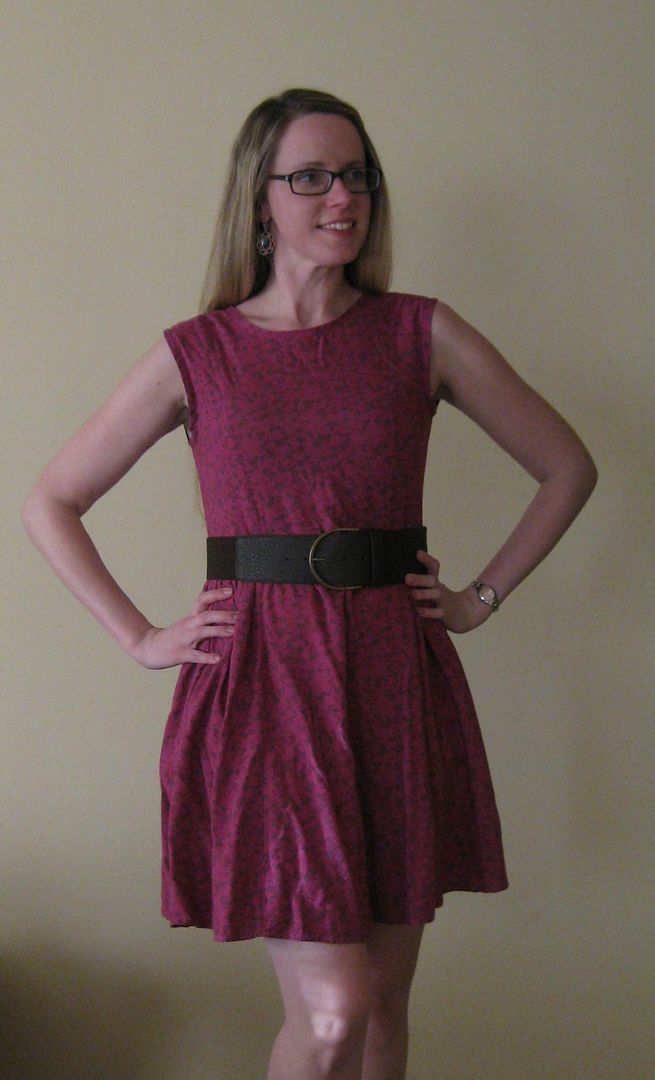
Iron craft challenge! This challenge was about art. To do something inspired by art. Again I am striving to do refashions this year, so I am going to start out with dress my mom gave me. It was the wrong color for my skin tone, not to mention that it was big and the sleeves tended to fly up.

Wahoo big!

I decided on my options and literally went on pinterest and just looked at art. I came across the poppies from Georgia O'Keefe. They have an orange base. I decided I could dye the dress and refashion it.


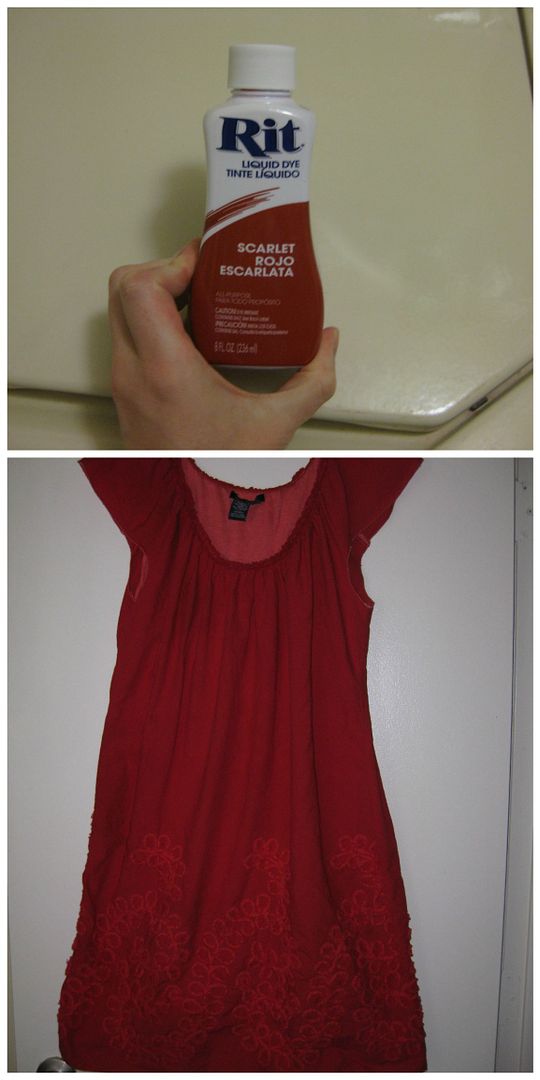
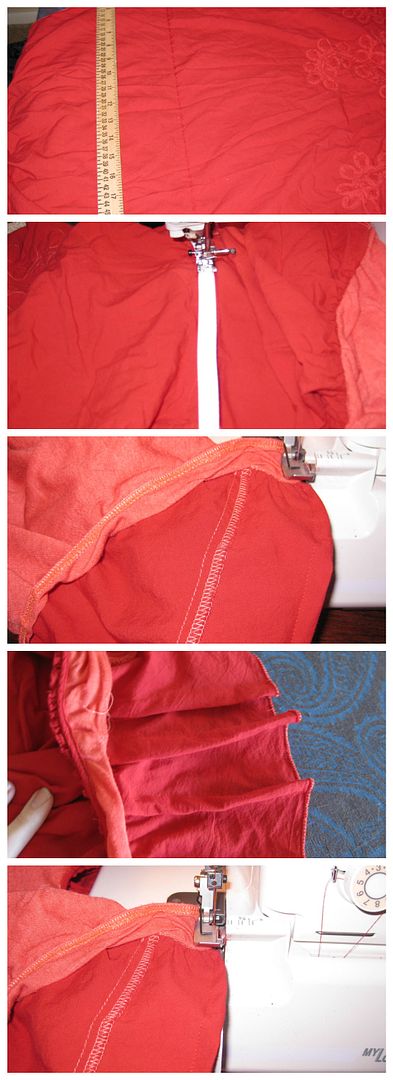
I went for RIT dye scarlet red and dyed the dress. It came out great!

I decided I wanted to take it in using elastic. My aim was to keep the dress, if I failed then I'll turn it into a skirt. 
I drew a line on my dress.
Cut a piece of elastic slightly smaller than my waist. 
Sew it to the dress while stretching i. 
To fix the sleeves, I took it in 3 times-you kind of don't see them b/c of the gathering of the sleeves.
I serged off the excess.
Then did a rolled hem on the bottom portion of the sleeve.
That lead to some stretching on the  bottom portion of the arm hole. 
The fix for that was taking it on the sides by machine. Done! 

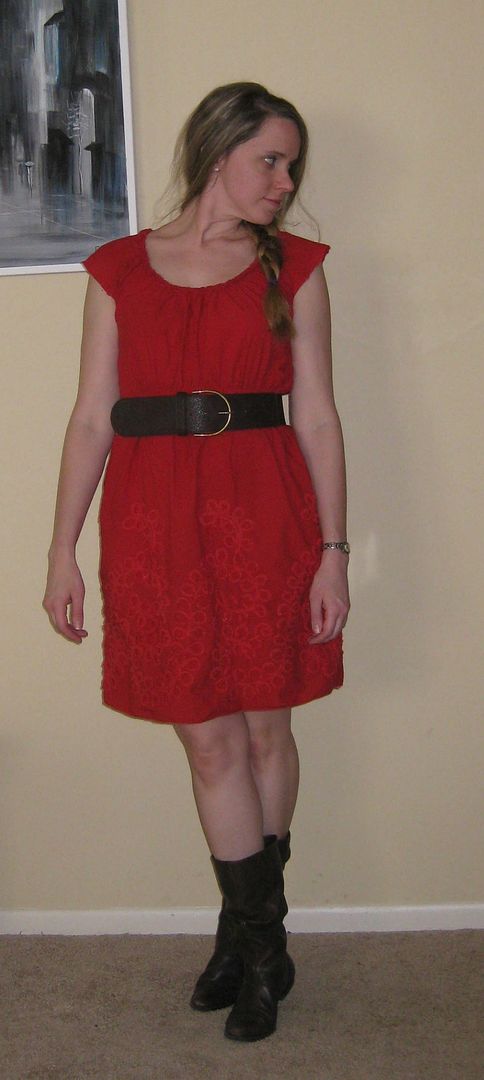
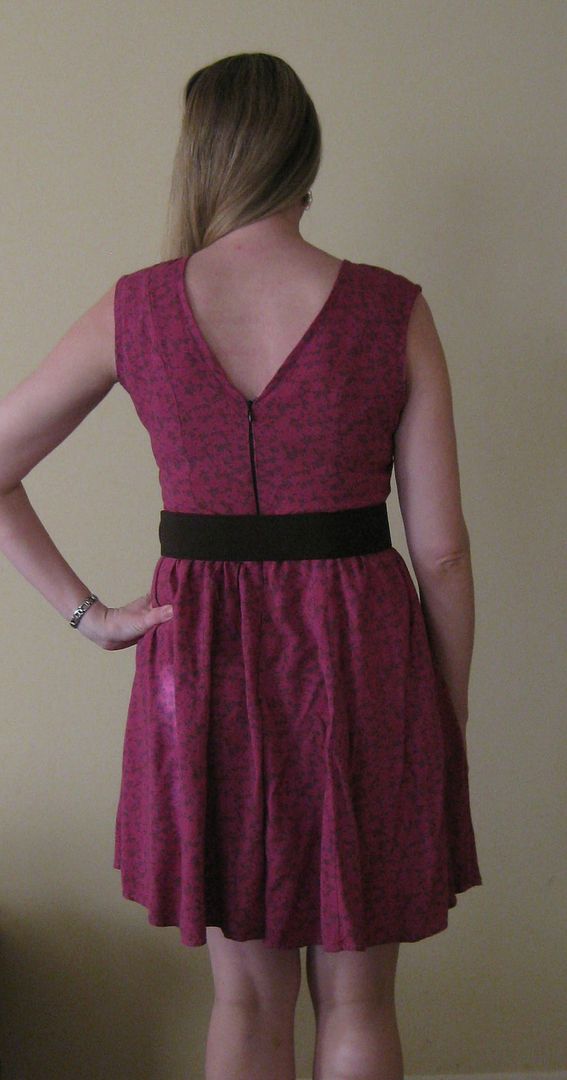
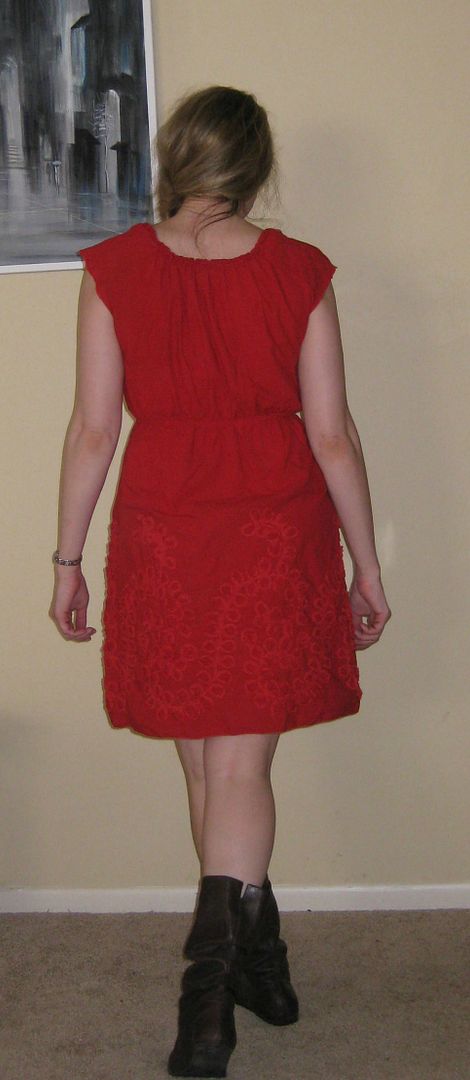
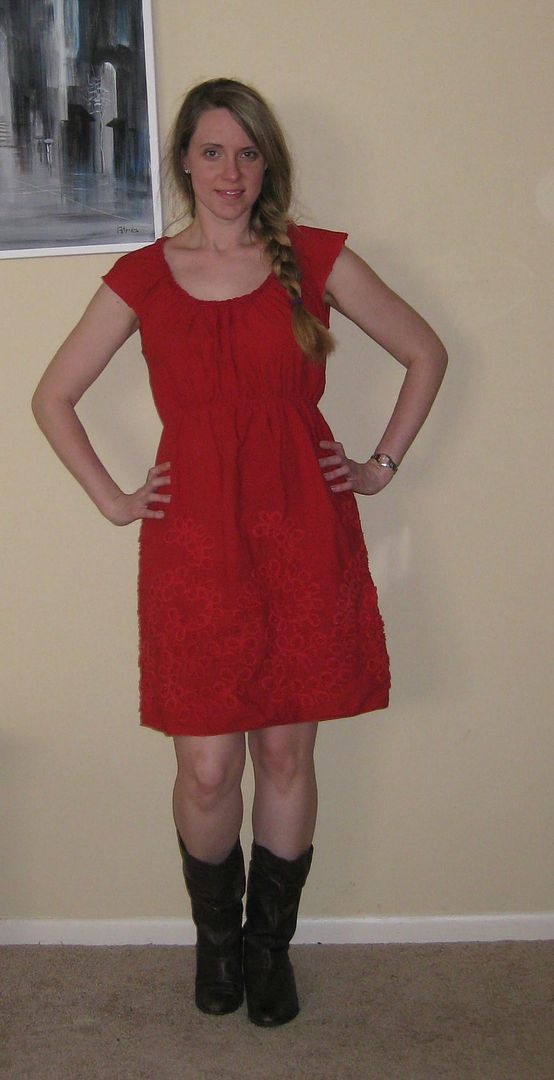
I think i got the poppy red (with orange undertones). Dress is much wearable now 


With a belt. 


Yeah felt a little too much like Miss Claus so this belt is a no. 

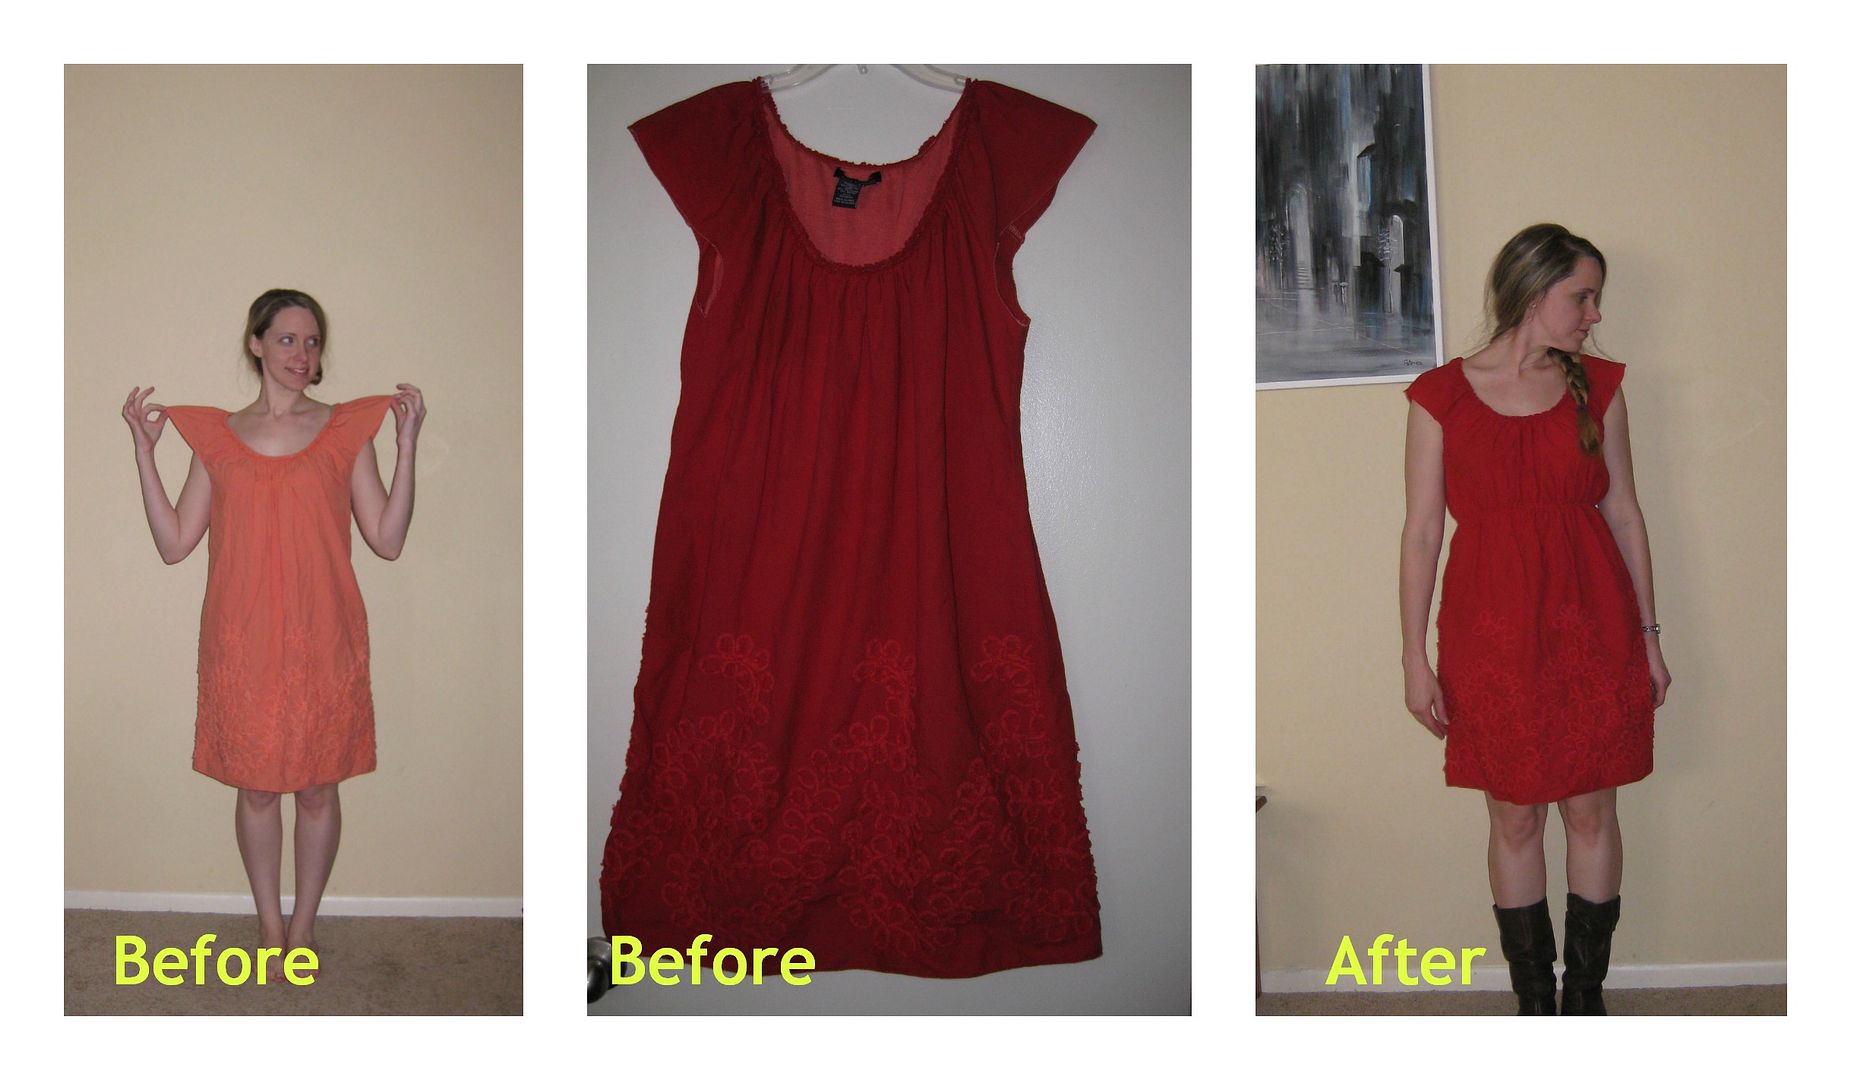
Recap. The dress is wearable now! Yay!

Cheers to another refashion and another iron craft challenge! 
Lauren


Monday, April 21, 2014

Iron Craft: DIY Plant Pot

This Iron Craft Challenge was Spring. Make something for spring. For me the weather around here is warming up and I am eager to start my patio garden and that is what I have done these past weekends. Haven't done much sewing, but I am starting to get back in the swing. I decided I was going to reuse one of my boyfriend's whey protein bottles and turn them into planters. Here is my first one.
Basically the one I used was black plastic over white plastic base. I cut off the top and did a quick roughing with some sand paper. Then I sprayed it with the rock spray paint that I got on clearance- hey..... Here is my new planter!
I actually don't have a plant in it as most of mine are just tiny seedlings. So I put in my aloe plant. I am excited.  I have a new plant pot. And it was free. We got another one so I'll probably be making another one. I will have more pictures. The camera was MIA and I had a lot of things to do.

Cheers,
Lauren
Monday, April 7, 2014

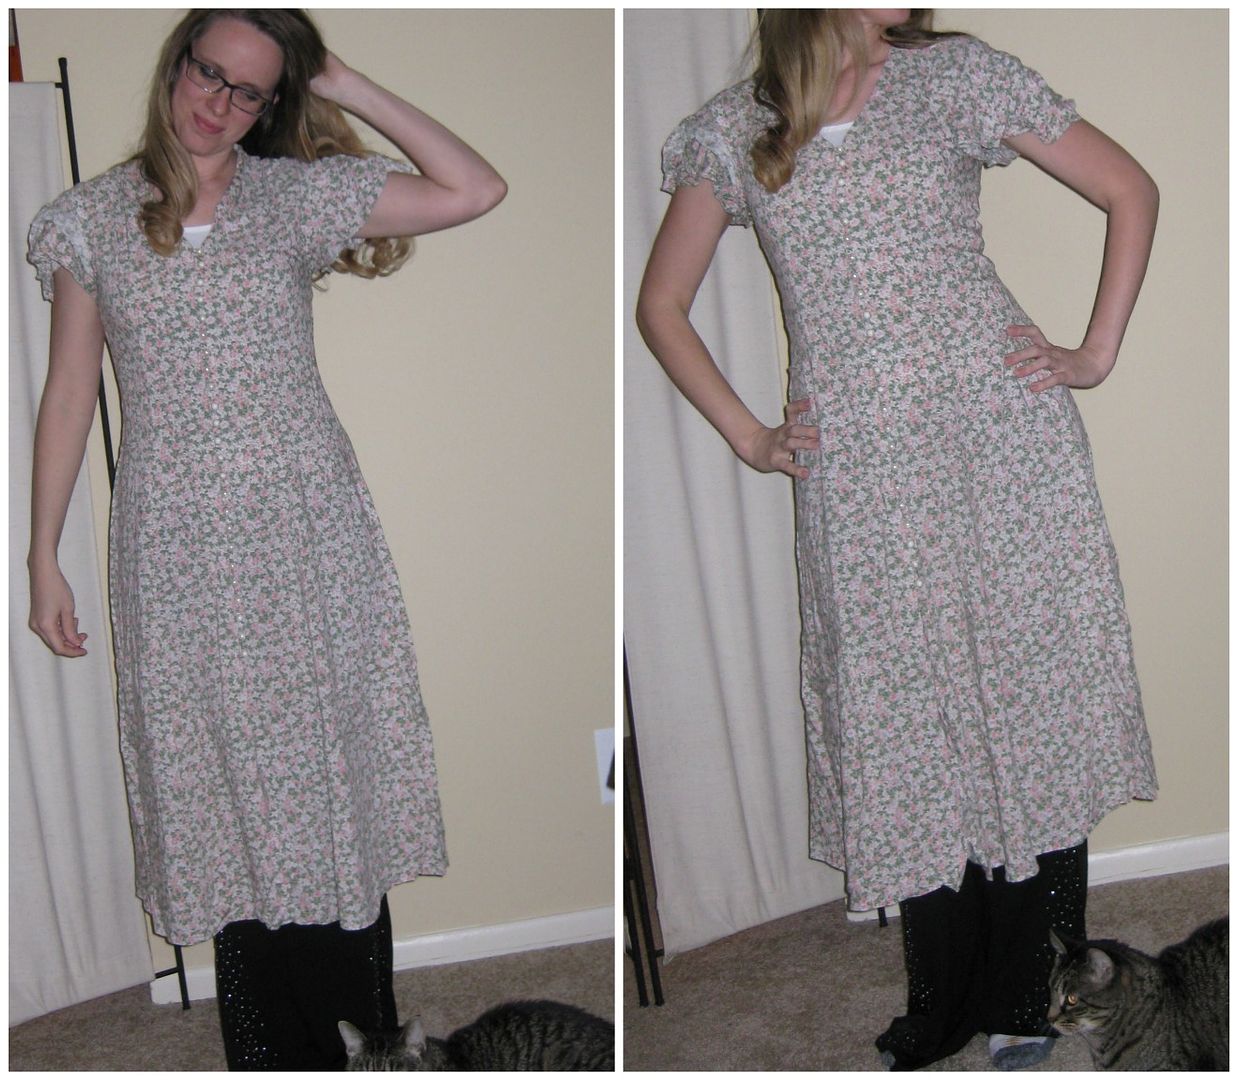
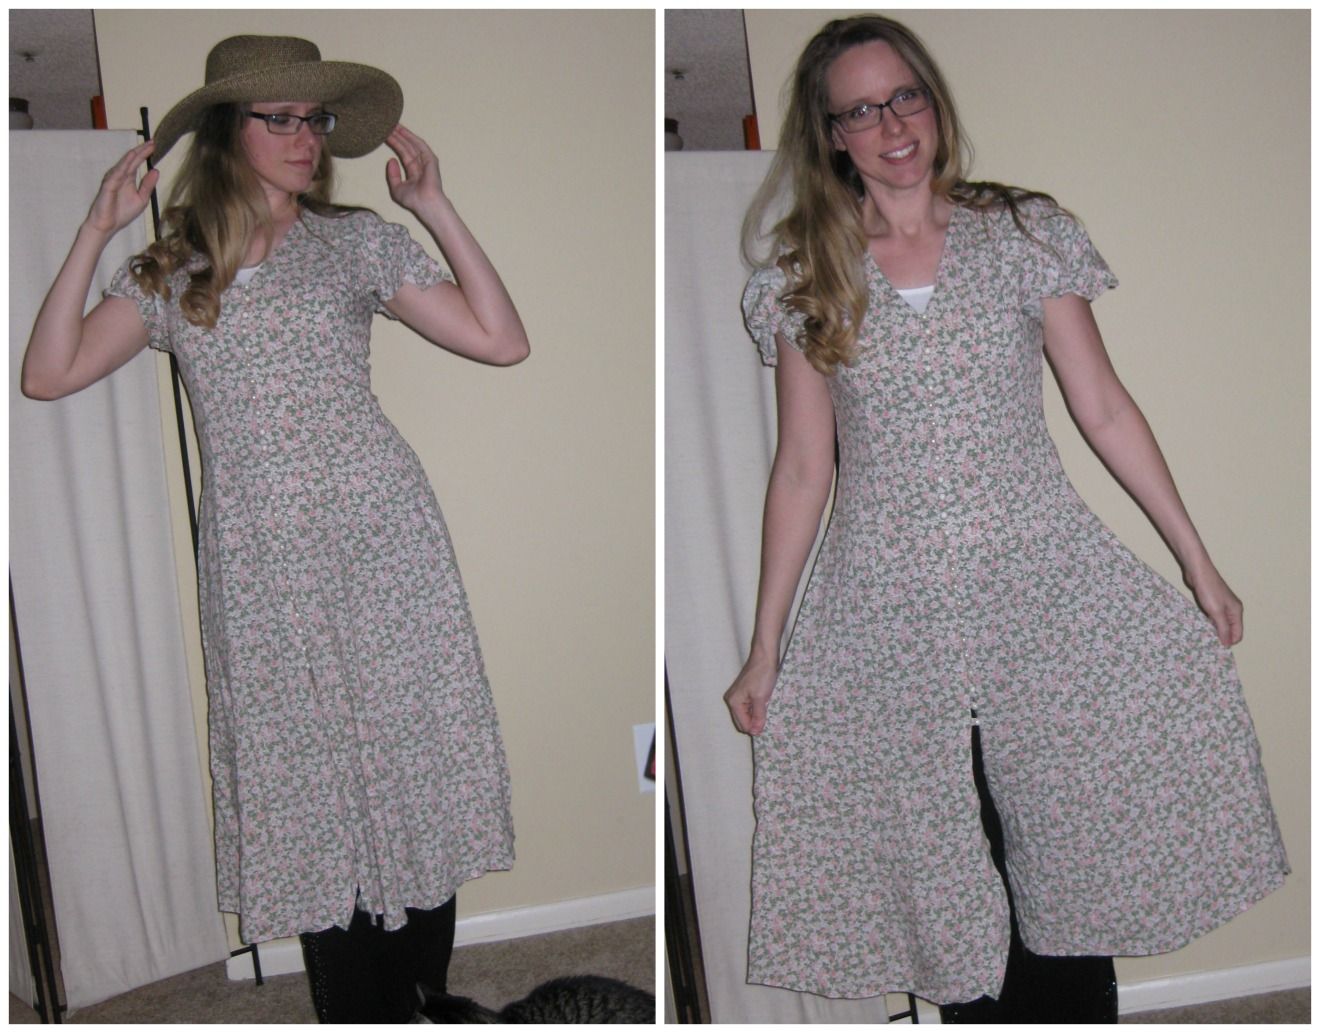
The Oklahoma Church dress refashion, #26

When I got this dress on my tiny break, thrifting with my mom. When I got home, of course the first thing I do is try all my goodies on. When I put on this dress the only terms that come to mind was Oklahoma Church dress. No idea why. And yes the cat had to make his appearance.

However, what is not appropriate for church is the buttons only go so far. Um No! Not wearing this to church!

Now the iron craft challenge is trend: nautical, floral, radiant orchid, or geometric. This one hits 2 of these categories- floral and radiant orchid!! Yeah. So we had a bunch of buttons (24 after I removed them), some loops with a tie in the back, and no zippers. I removed the buttons and the ties. I decided to turn the dress backwards to wear and use the old button placket for me to put in a zipper. I also pulled open the seams and removed the loops- closed it back up. And added some bust darts. Then we dyed it with RIT dye Violet.
Um not what I expected with color but I like it. And it is radiant orchid. I also created a new neckline. Cut the dress in half- removed the middle section and then reattached the middle section. Add zipper. Finish all edges with bias tape. Done! And I finished it in time! (I'm out of town). Hurried up and took some end shots....

Added a belt to mix it up. :) 

All I need is a good iron but no time!

Yeah this picture the zipper is crooked... no idea why. It is not. Being in a hurry isn't always the best. 


Recap, the before and after. :) Much better!
Cheers,
Lauren

Monday, March 24, 2014

Iron craft- yarn heart pom-poms

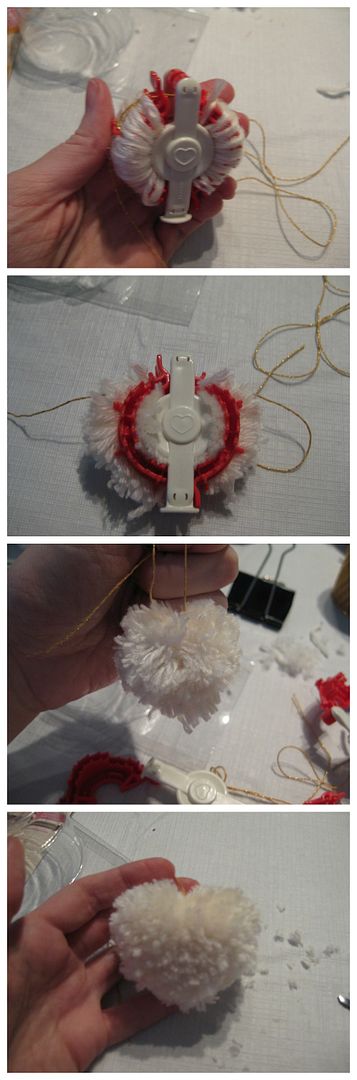
This iron craft challenge was string theory. Make something with strings. After pondering what I could do, I decided that this would be time to try out my Pom-pom makers that I got on clearance from Clover.

First time through, it was a hot mess. Second time worked out better, I watched a youtube video of how to use this thing. The key to success with this pom pom maker is NOT using the same yarn to tie across. You need a really strong thread- I used a thread that I had that was some sort of crochet thread (it is the gold thread).
Not bad after some trimming. I mad 2: a large and the small version. The small version was much more difficult to make a heart.
Let me tell you it was a win with the cat. They disappeared and all I heard was chaos. Easy cat toy. Yay

Cheers,
Lauren
Monday, March 10, 2014

A is for Animal print, Iron Craft and refashion #18

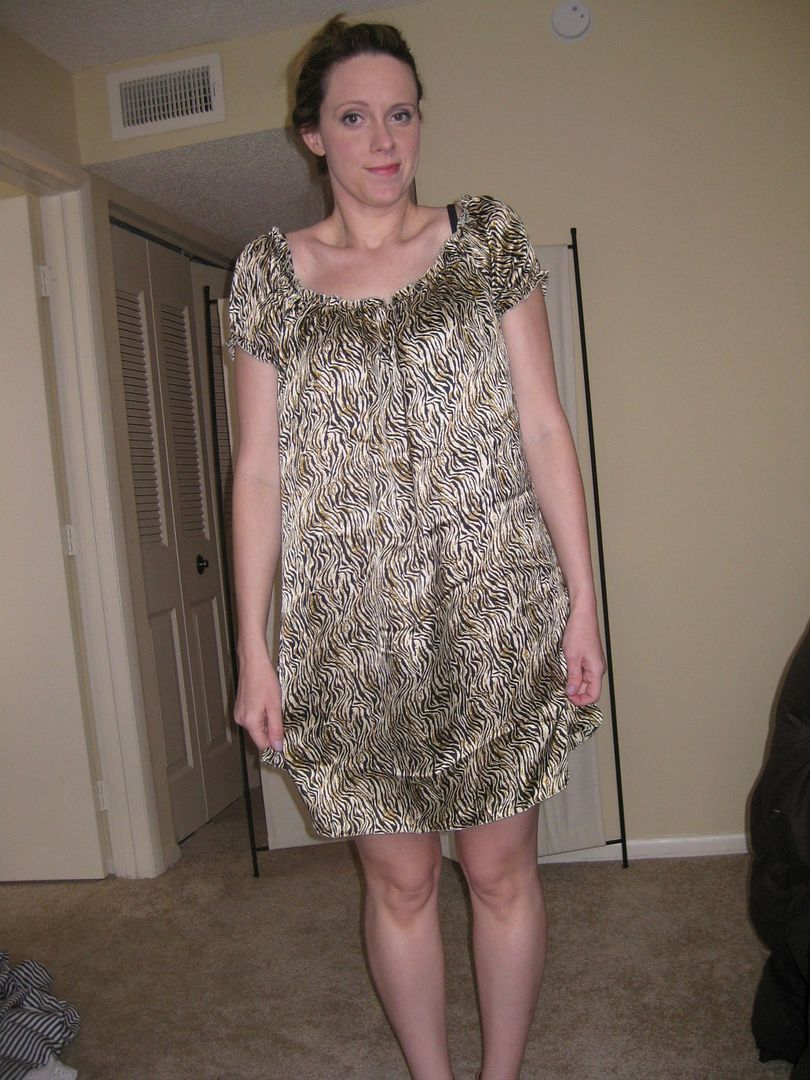
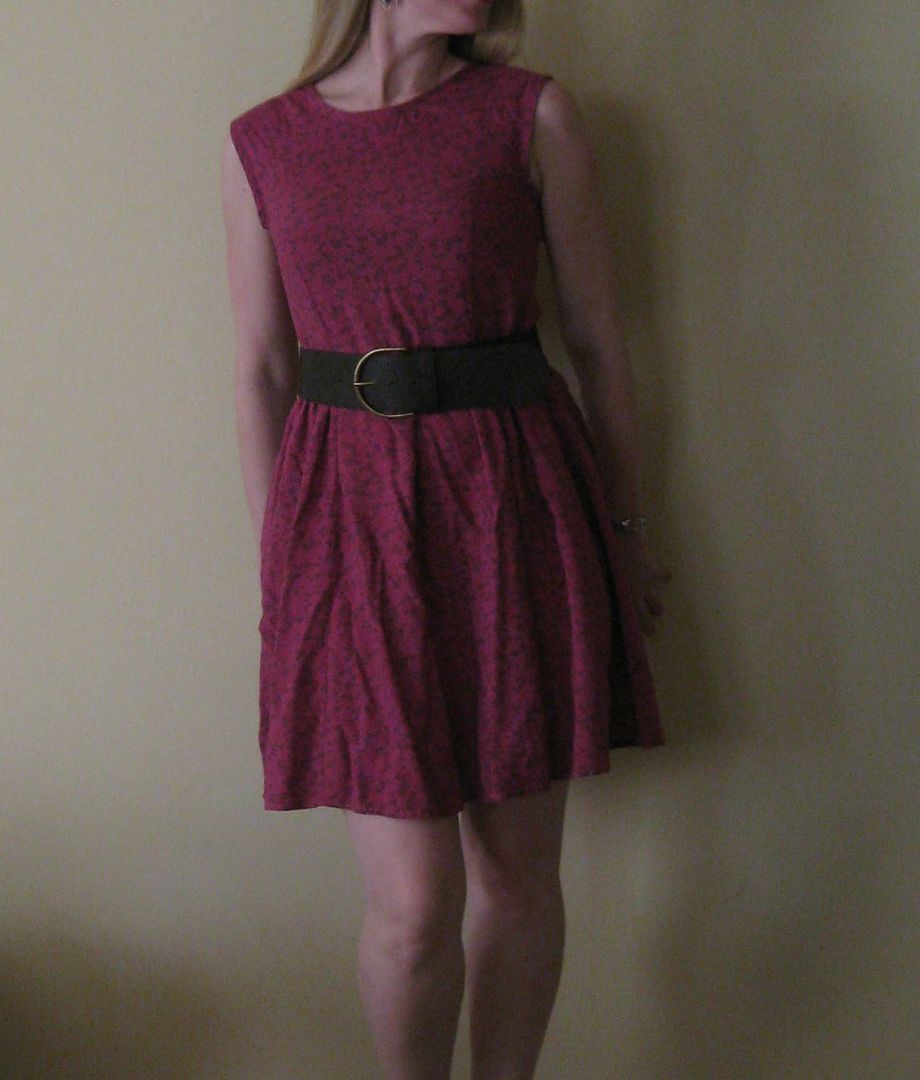
This iron craft challenge is to make something with the letter A. So I thought about it... A is for ANIMAL PRINT! Oh yeah! As I am trying to refashion 99 things this year, I again wanted to focus on a refashion. My mom is responsible for this refashion. :) I don't know if this was a PJ or a cover-up or what. No idea but it is animal print and too big for me!!

I decided to turn it into a PJ based on the pillowcase dresses I made way back when for charity. And I'd make myself a PJ top for when it gets warmer over here (P.S. Dear spring- I'm waiting.....). The top is pure elastic around the neckline and some small sleeves. But the basic design is quite rectangular.

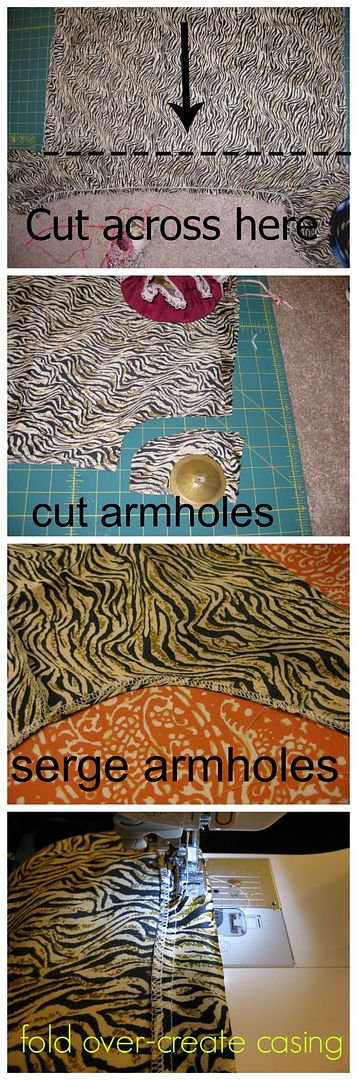
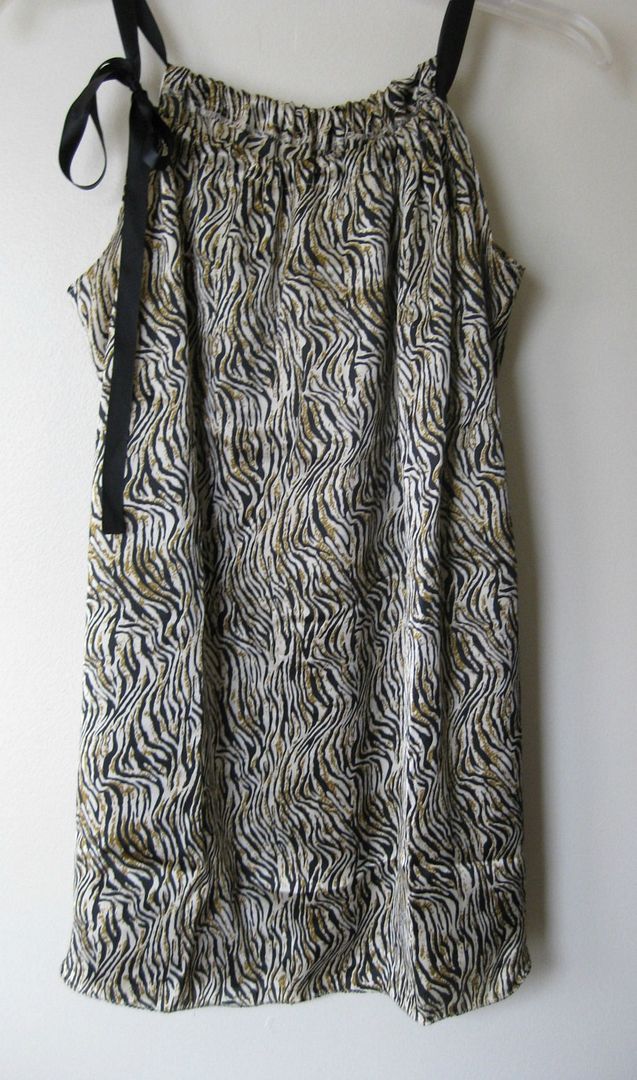
I stretched out the top and cut right below the sleeves. Then I cut out a J shape. It was 3X5 inches. Then I did a quick serge around the new armholes and the top of the freshly cut dress. Then folded over the armhole- sew down. Now it is nicely finished. Then folded down the front and back to make a casing- sew across. Then found some simple black satin ribbon in my stash. Wove it through, connecting the front and back. Tie in a pretty bow. :) 

Much cuter! Now I have a PJ for the spring and summer. Yeah not taking a picture with it on!


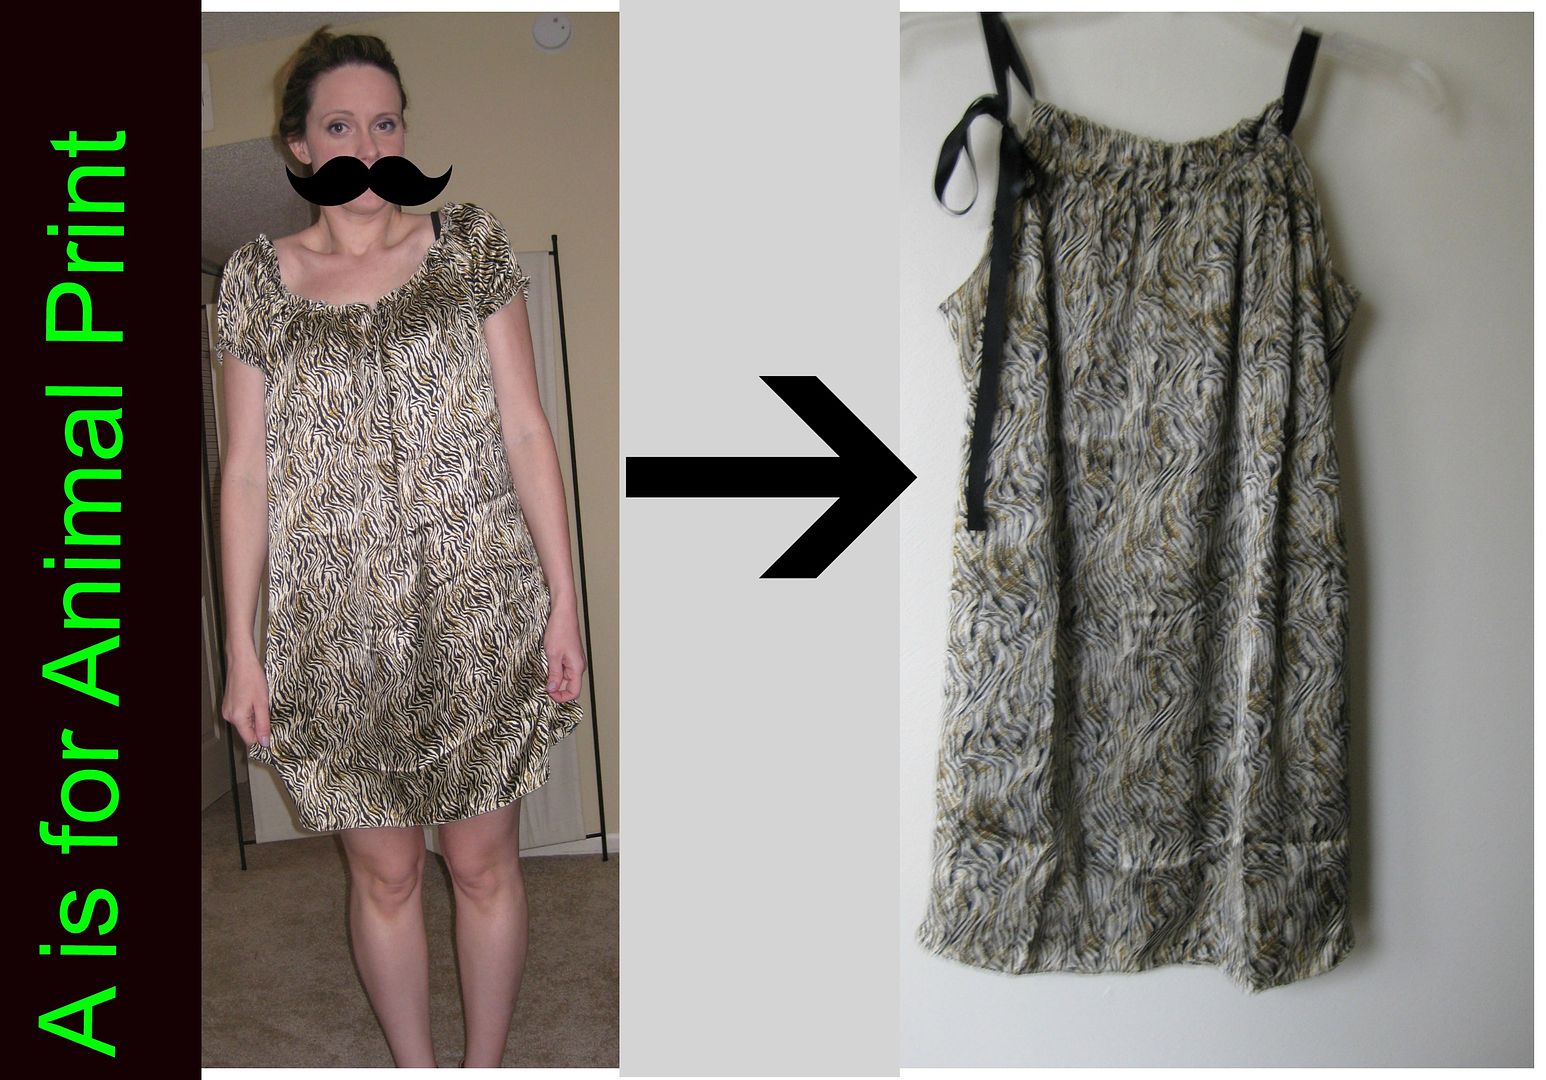
Let's recap and have some fun with the mustache option of picmonkey. ;)

Cheers,
Lauren
LinkWithin
Related Posts Plugin for WordPress, Blogger...