Well hi welcome to my little blog. Just my little corner of craftiness, sewing, and refashioning. I am also a newly gluten free eater so you have a little bit of recipes mixed in here.
Showing posts with label mens shirt refashion. Show all posts

Monday, June 30, 2014

4XL men's polo refashion to dress, #47

OMG how big is this polo shirt?? I am wearing shorts under this shirt!!! For real!
Ok I just have to pop the collar, I can't help myself...
I'd call this an epic men's polo refashion. Now what should I do with it? This iron craft challenge, I am back! The theme is stars and stripes. I thought this would be great for stripes! And it is semi-patriotic.

Since it was so big and huge, my goal was to turn it into a dress. Now to make it happen.... And I had a hole too... :(

First we need to deconstruct this shirt. I cut right below the arm holes- this will become a skirt. I removed the collar too. Off cam the sleeves, which I opened up and removed the arm binding.

Dang still a lot of stripes. I attempted the bodice next. I really liked how the sleeve curved and thought it would make a cute bodice, I mean 1 sleeve was an easy half of the top. So I evened it out. I attached to the back, which was just another piece of material with a straight across. I serged the top to avoid fraying, and then ironed under to create a casing. More on that later.
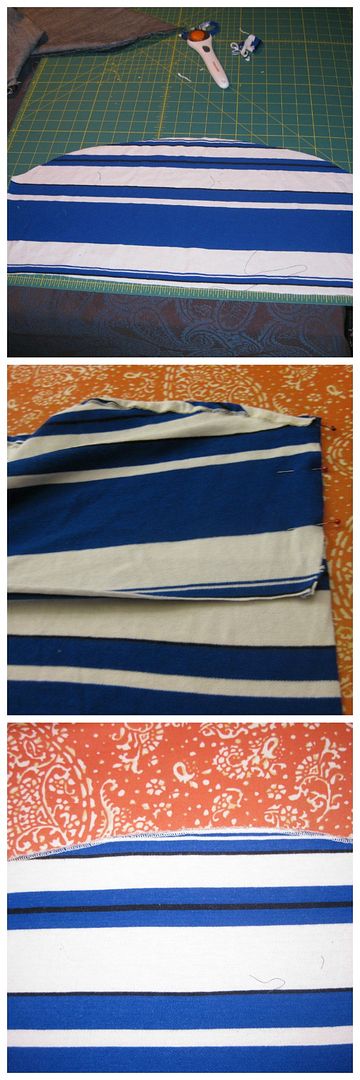
Time to fix up this skirt! I sewed out the hole. Serged to prevent fraying. I actually did a mirror "sewing out a hole" just so the skirt would look balanced. I did several pintuck both on front and back. Attach to the bodice!
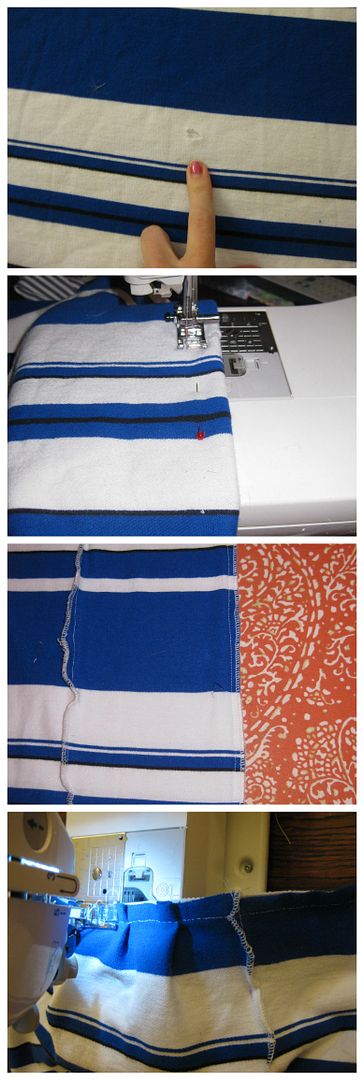
Time to start finishing up. I added elastic to the top of the dress. I also added elastic to the back part of the skirt to get a better fit.
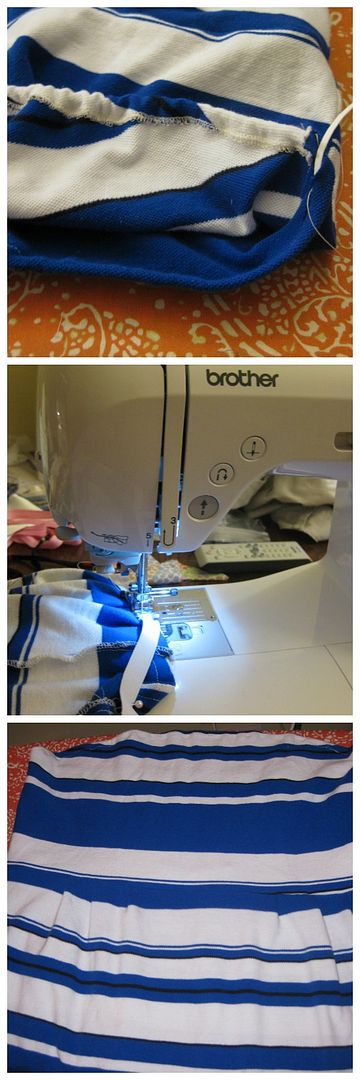
Now we are not done yet! With the elastic in the top of the dress, you lost the curve that I really liked. I cut off the widest blue stripe and made a tube. I used my tube turner I just purchased and OMG my life is changed forever- quickest way ever to turn a tubing right side out!!! Yay! Then I sewed my new tube to the top of the bodice to give a slight point back to the curve.
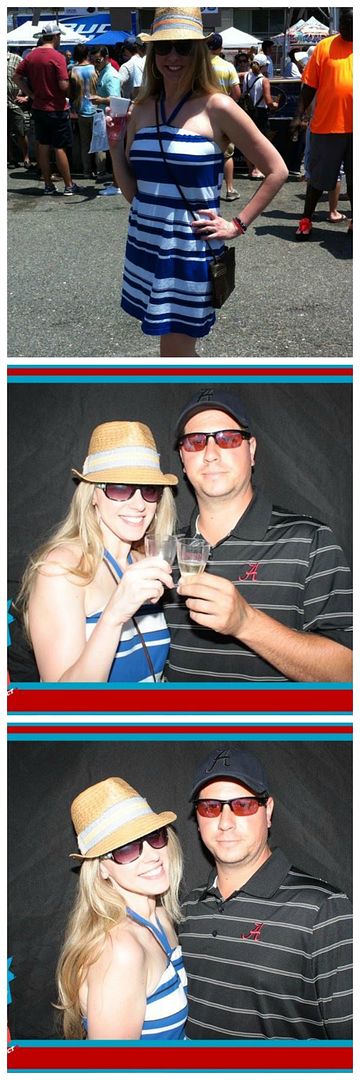
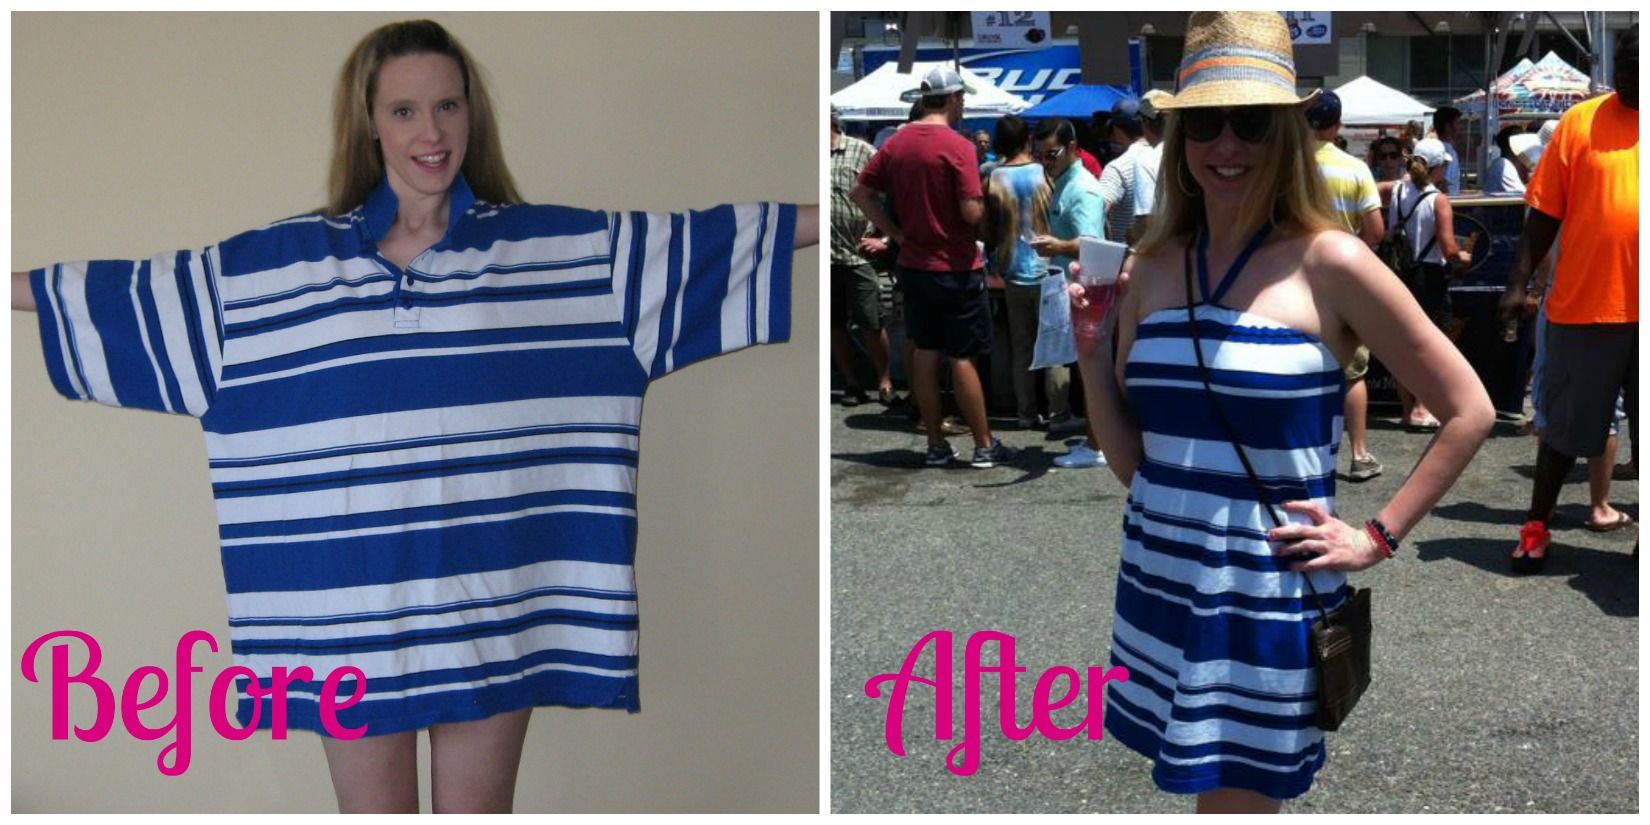
I just wore my dress out this weekend to a festival and it was nice for the heat. Here is my finished dress.

It was super comfy! Here is the recap! I plan on turning the rest of the fabric into bibs for boys. There is that much left of this polo! Crazy!
Cheers,
Lauren (almost half way done!!!)

Friday, October 5, 2012

Day 66: Men's button down shirt refashion to a skirt!

Day 66! I am getting closer to the end! Yes! Well not really but I girl can dream right?? Today I took my boyfriend's button down shirt that he did not like because of the light colored buttons on a black shirt. Now it is mine!!!

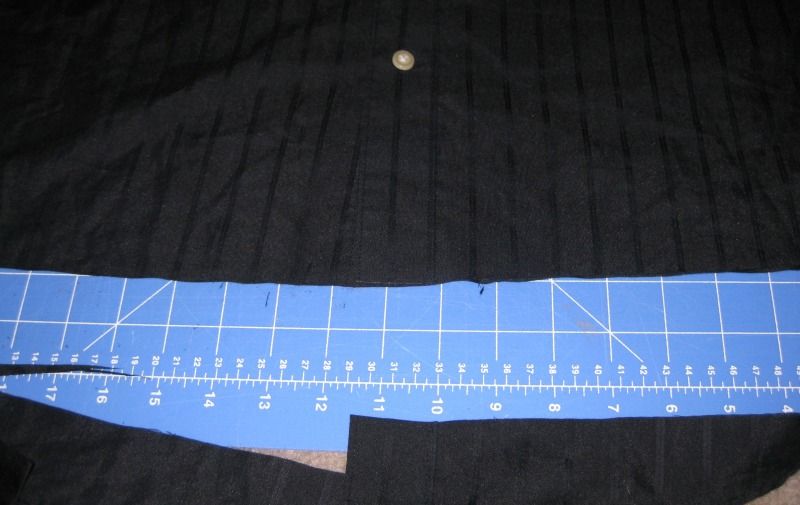
I decided I wanted to turn it into a skirt. First I need to even the bottom hem.

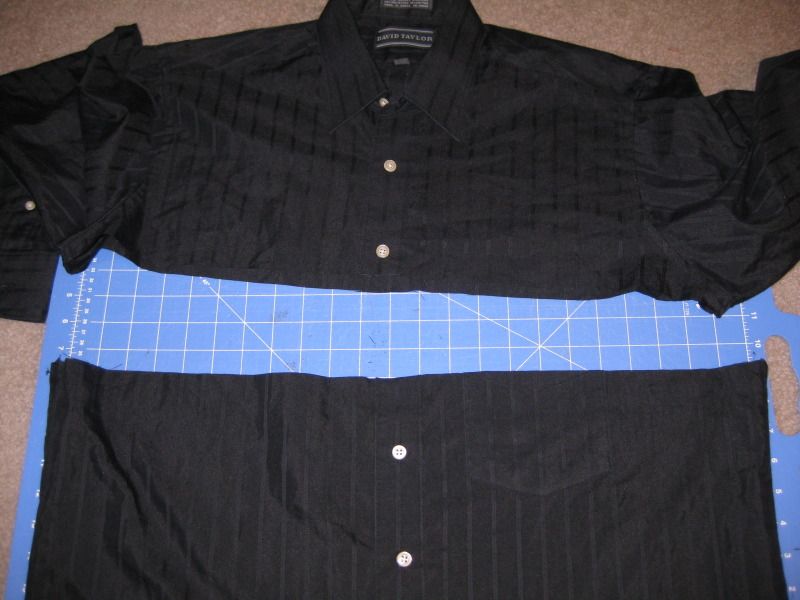
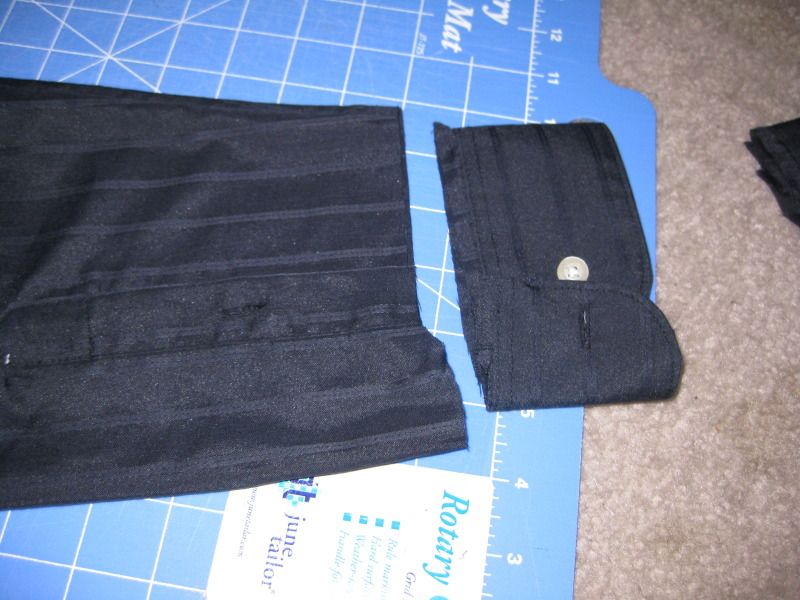
Next cut beneath the arm holes

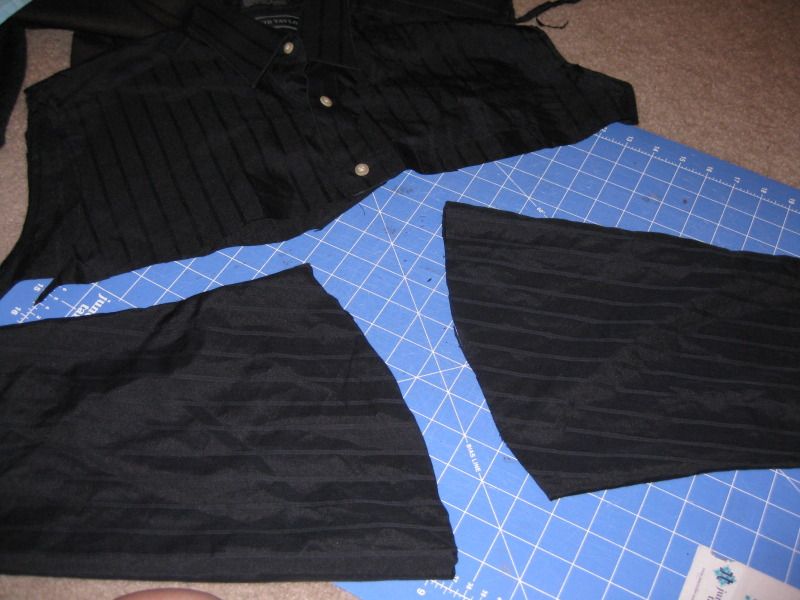
Cut off the seam for the arms b/c I decided I was going to use them later. And also the cuffs.


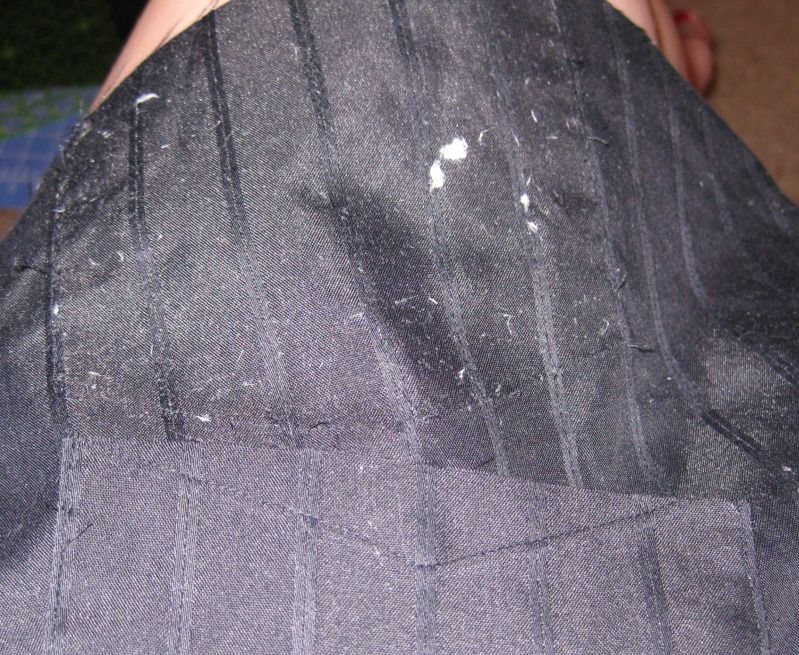
Forget I needed to pull of the pocket. Found it was washed with a tissue or piece of paper! Ick!

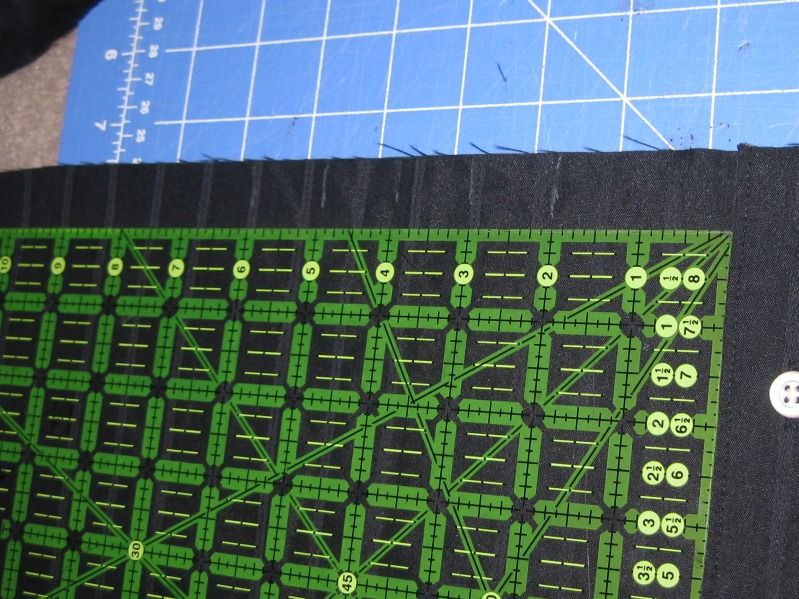
I decided I was going to try my hands at pleating. I just tried pleating with the McCalls dress I just sewn and thought I would wing it. Ha! I marked with my ruler 2 inches from the middle button area out from each side. And then 1 inch markings.

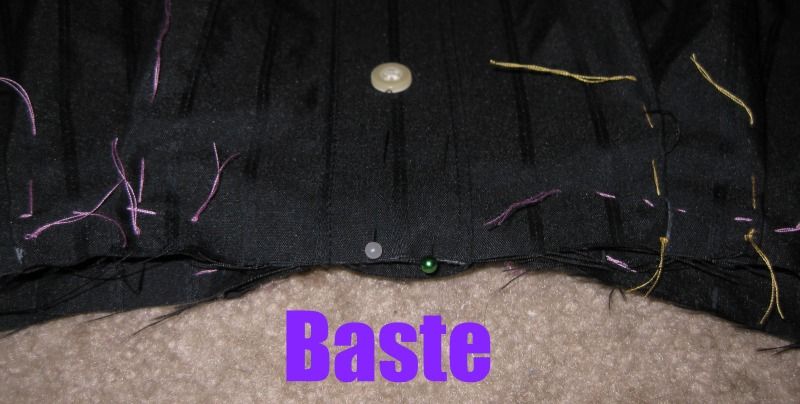
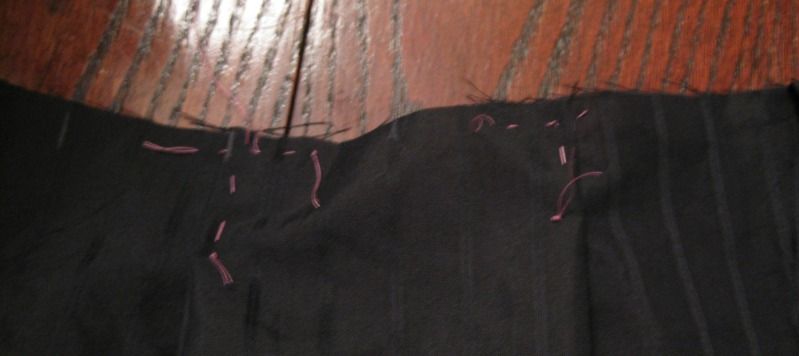
I did 2 pleats on the front going from in to out on each side. I think basted the pleats down.


I also put 2 pleats in the back.

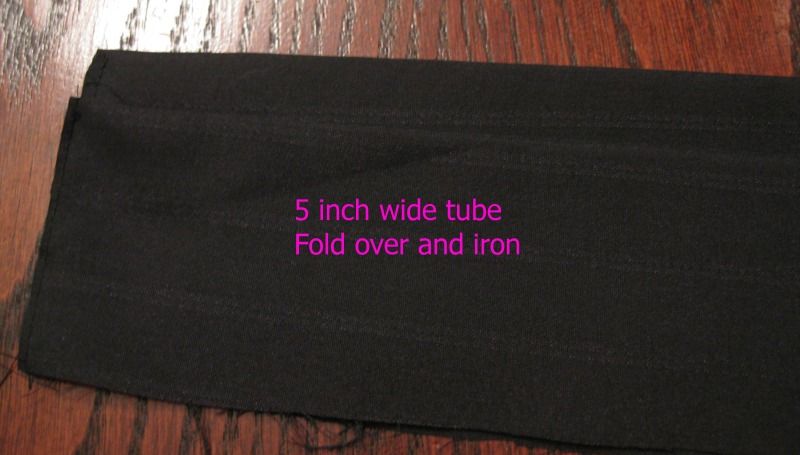
Next I wanted to create a waistband using the leftover fabric from the sleeves. I cut 5 inches across and sewed them together. I had just enough to cover my waist (yes!!) Fold in half right sides together, iron and sew the edges. Turn right side out and then the edges look nice and neat.

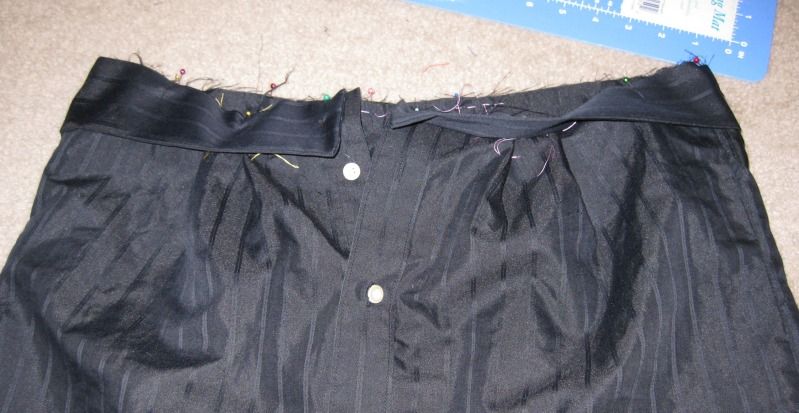
Pin the waistband to the skirt right sides together. Go all the way around the skirt until the next side.


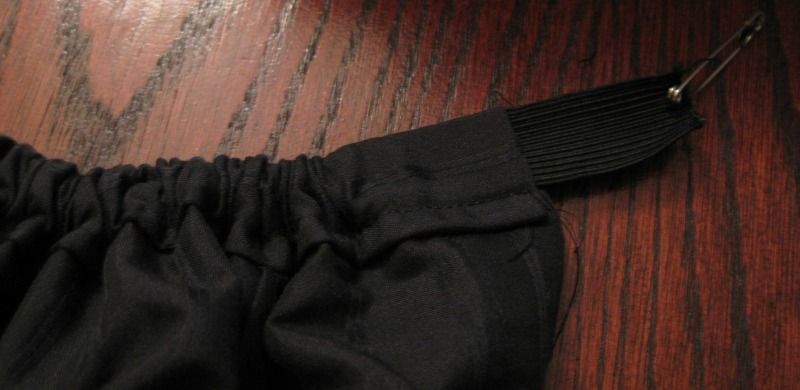
I sewed with a 1/2 inch seam allowance. I realized the band was too big really for my taste and it did not fit me. I improvised by folding the wasitband down to the seam line, essentially creating a casing.

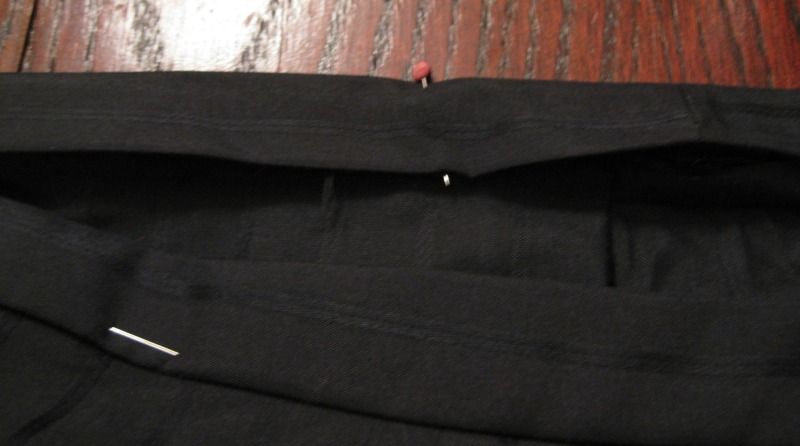
Sew down. You should include the seam you just sewn to attach the waistband. Next weave a piece of elastic through the casing.

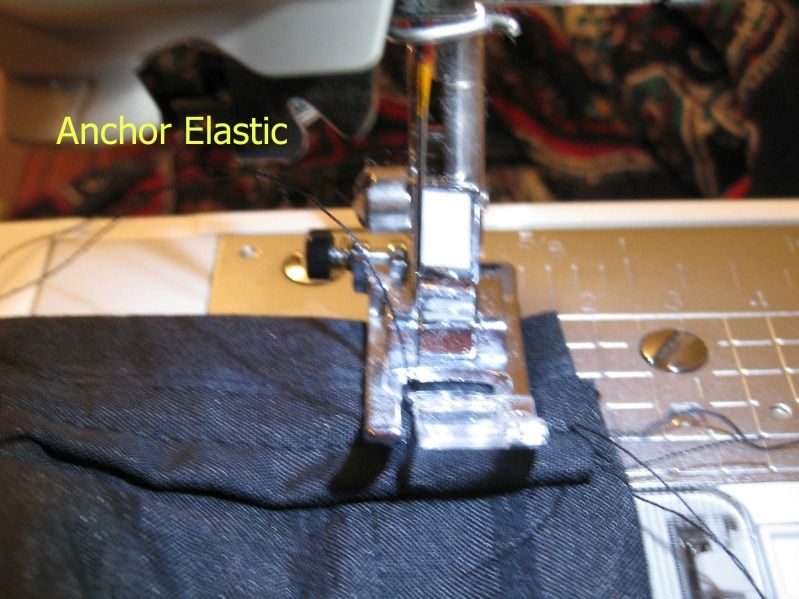
Anchor the elastic.

It looks so lovely and nicely finished. I added bias tape to the bottom to finish the hem. Again looking nice!

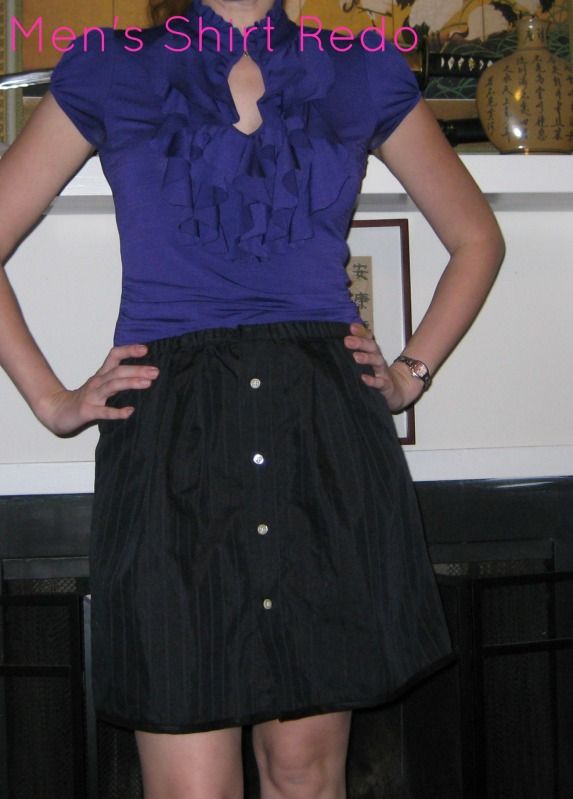
Finally I added a hook and eye to the ends so I could close my skirt. (not shown). Here is my finished product!

Not bad skirt if I do say so for myself! I realize now that I need to take down the front piece so the skirt doesn't open while I sit, etc. I would love to use one of the buttons leftover and add it to the bottom too b/c I think it would "finish" the skirt.

For more of my 90 days of blogging to DC click here!.

xoxoxo,
Lauren

Sunday, July 17, 2011

Men's polo shirt Refashion #1

Calvin gave me 2 of his too small (and as he put it well no its not, it is really too thick. sure honey tell yourself that) to go and refashion. I did not have many ideas yet with what I could do so I browsed the internet and I stumbled upon this lovely website!

OMG I love what she did with the men's shirt so I set off to copy it. My shirt was smaller than hers (I only have a large), so I thought it may be easier (wrong!). LOL


First I cut off that collar. No one wants it. Instantly the shirt began to look more feminine. I also knew I wanted to make this like a v-neck, folded the inside parts out and pinned in place.

Then I cut 8 inches from the bottom. --- this was my fail step. I should have cut less b/c it is slightly too short. Oh well!

I made a tube for the neckline to create the bow. I cut 3.5 inches of the fabric that I cut off from the bottom and cut away. I had just enough or else I would have had to seam rip the shirt bottom. I wanted to avoid doing that.

After sewing up my tube (just like I have been in the previous posts!), I found the center of the tube and the center neckline back. I sewed it down with my sewing machine. While on my body I actually pinned the tube to the top of the shirt. Since I did not want the stitches to show, I whip stitched the inner portion of the tube to the inside of the shirt. Now my tie won't move and look weird!


Then I also took in the shirt and the sleeves. I left both the bottom and the sleeves raw. I may change my mind on the sleeves but the bottom, since it is short, I will only be wearing tucked in with high-waisted bottoms. No use cleaning up that no one will see. :)

The end (yes I wore it to work!!)... with a high waisted black pencil skirt. Doesn't even look like a men's polo right??? :) Yay!


XOXOXO,
LaLaLauren

Monday, June 20, 2011

Men's button down to peasant top

Ok finally able to finish up and publish my blogs. Had to change browsers but oh well. Next up, I thought I would take a stab at refashioning a men's button down tshirt. I found this easy tutorial at cutoutandkeep.net. I saved it for when I was ready to attempt it and now I was ready since I found this pretty multi-blue striped shirt at goodwill for $1.

The tutorial is located here. I pretty much followed her tutorial. The hardest part I had was making the first cut, I wanted to make sure I had the sleeves positioned in the right way so I would not detach the remaining part of the sleeve from the shirt. This part was hard. I kind of eyeballed it-though I did position my ruler and cut 2 inches from the button so I could still make a ruffle.


Here is what it looked like after the first cut.

Next I sewed a zigzag stitch across the top about 1 inch from the edge. To make it gather I added thin elastic I wove through the zigzags with a dull wide needle.


I tied off the elastic and we had the top done! Next I evened out the bottom part of the shirt and cut off about 9 inches off from the sleeves. I repeated the zigzag stitch and adding of elastic for all cut parts.


Done! Here's the shirt! I'm quite fond of it!


Ok its a bit wrinkly but there is a really long story with that. I wore it out and it was super comfy. Surprisingly I got it right with the elastic! Can't wait to try another one soon! This was fun and super easy. :)

Until next post!

XOXOXO,
LaLaLauren

LinkWithin

Related Posts Plugin for WordPress, Blogger...