Well hi welcome to my little blog. Just my little corner of craftiness, sewing, and refashioning. I am also a newly gluten free eater so you have a little bit of recipes mixed in here.
Showing posts with label pants to skirt refashion. Show all posts

Sunday, August 2, 2015

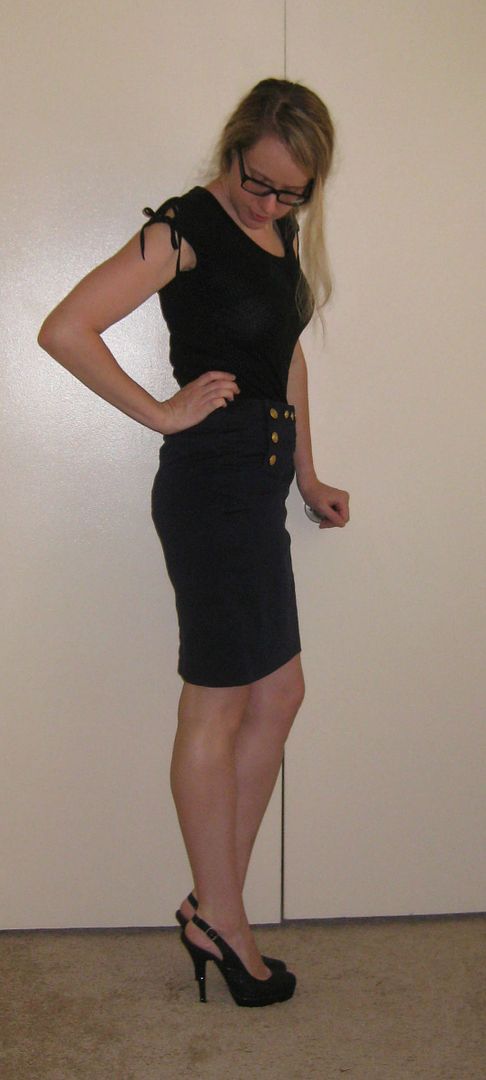
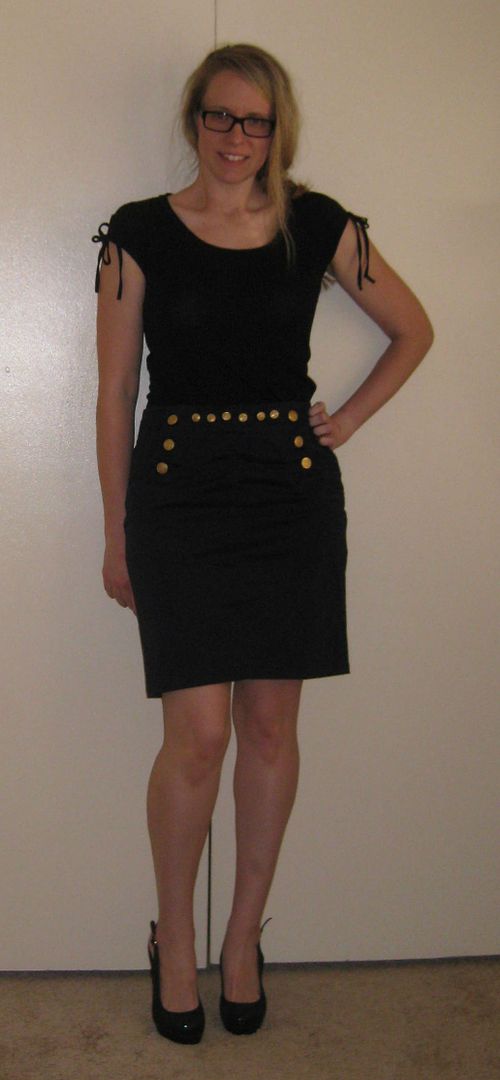
Ahoy #2- a pencil skirt

These were another pair of pants that were $1. I bought them the same time I bought the other sailor-ish pants that I turned into shorts (click here for more information)

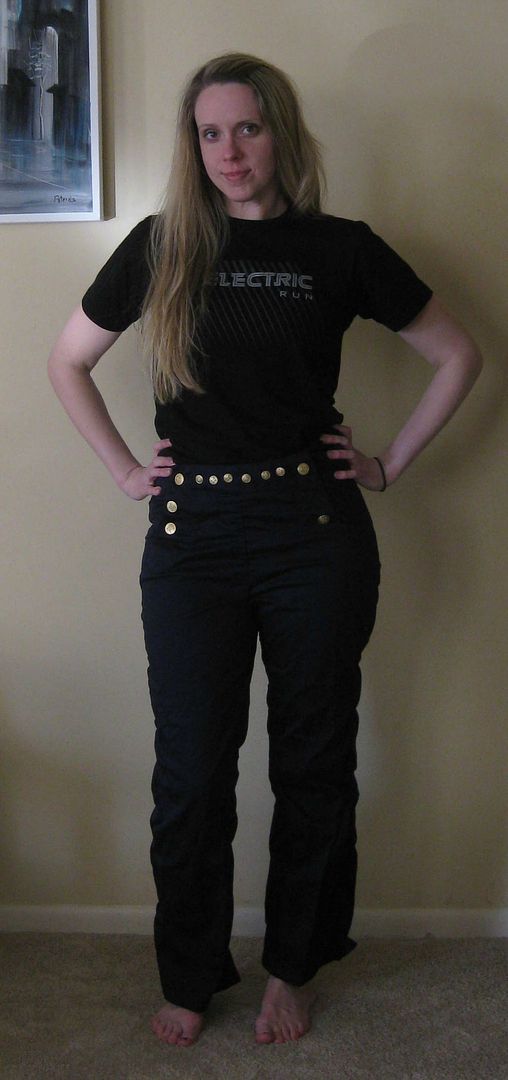
When I initially tried them on they were big and didn't sit right. I gave up and washed them. When I washed them, they sort of shrunk and then I took the picture ... They were much bigger prior to washing I promise!

But these pants still sit sort of odd. Can't salvage them as pants. Plus those gold buttons as pants just don't work. But this would make a great pencil skirt!
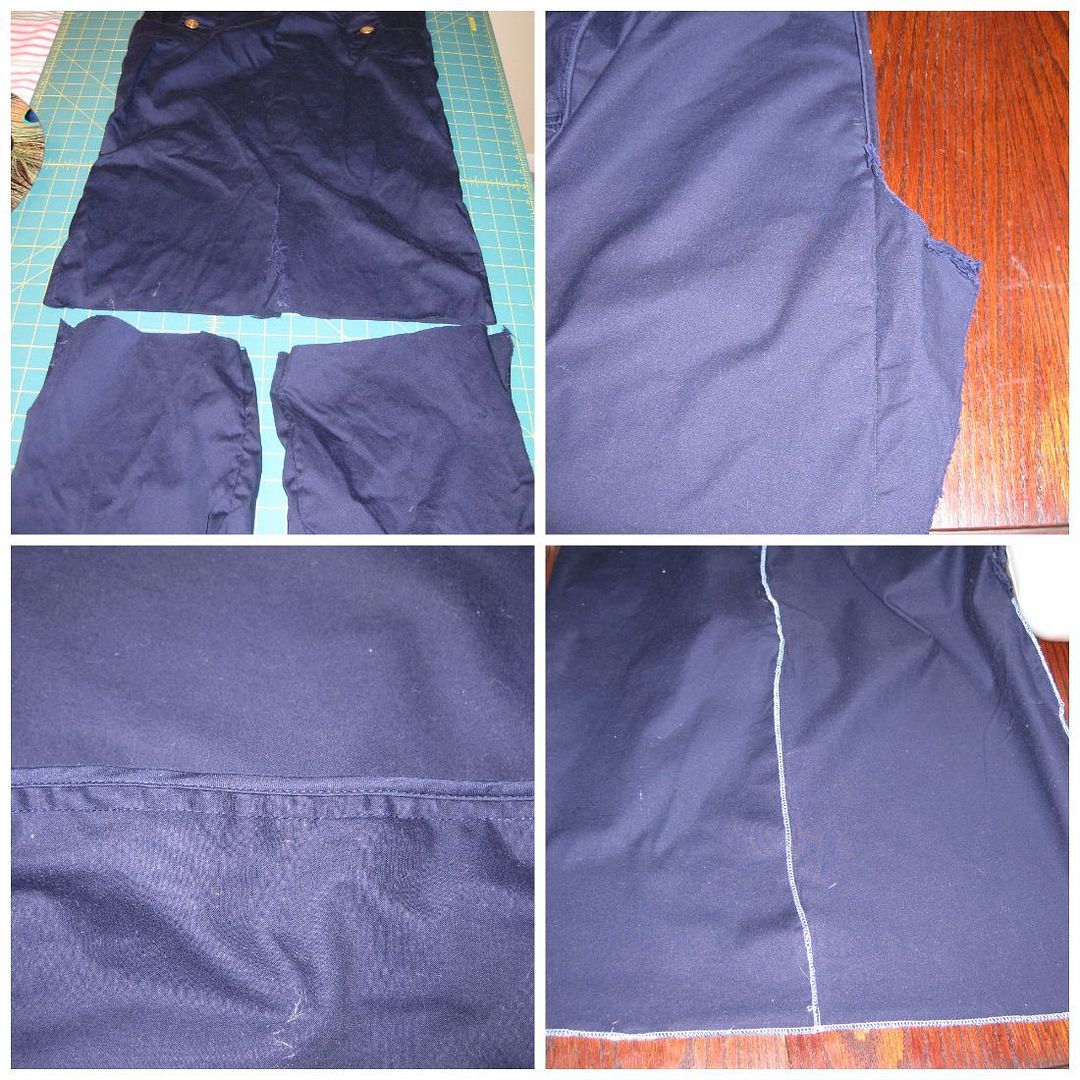
So off I went to convert pants to a skirt. Super easy of course, just had to get past the BIAS TAPE SEAMS... I just opted to cut them off. No need to make my life complicated. Then I took my seam ripper and pulled out the inner leg seams. Actually, I ripped them off like the Hulk opening up a bag of potato chips.

Poof, open. Flatten them out and sew out the J shape of the inseam. Cut off the bottom. Hem.

Done. But wait, 2 of the gold button tab front jumped ship. This of course meant finding where they decided to hide in my apartment (yeah that took awhile!). I sewed them back on.
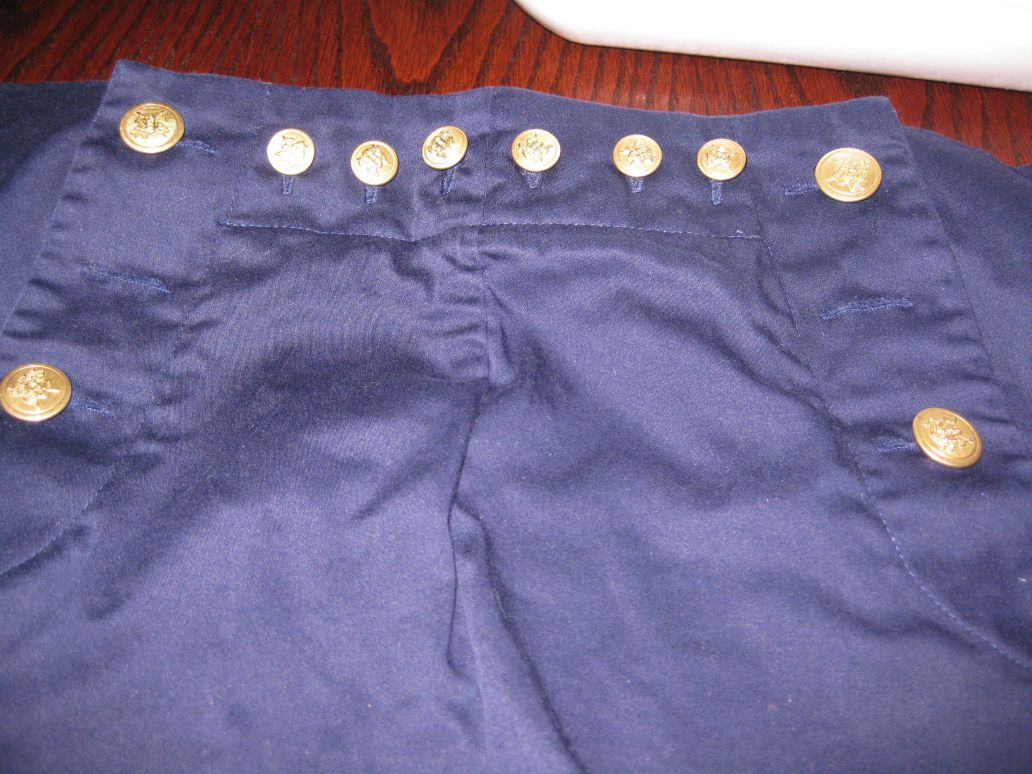

Yeah! Yay for new skirt!


 I just love this skirt! Just way too cute!

Here is the recap!
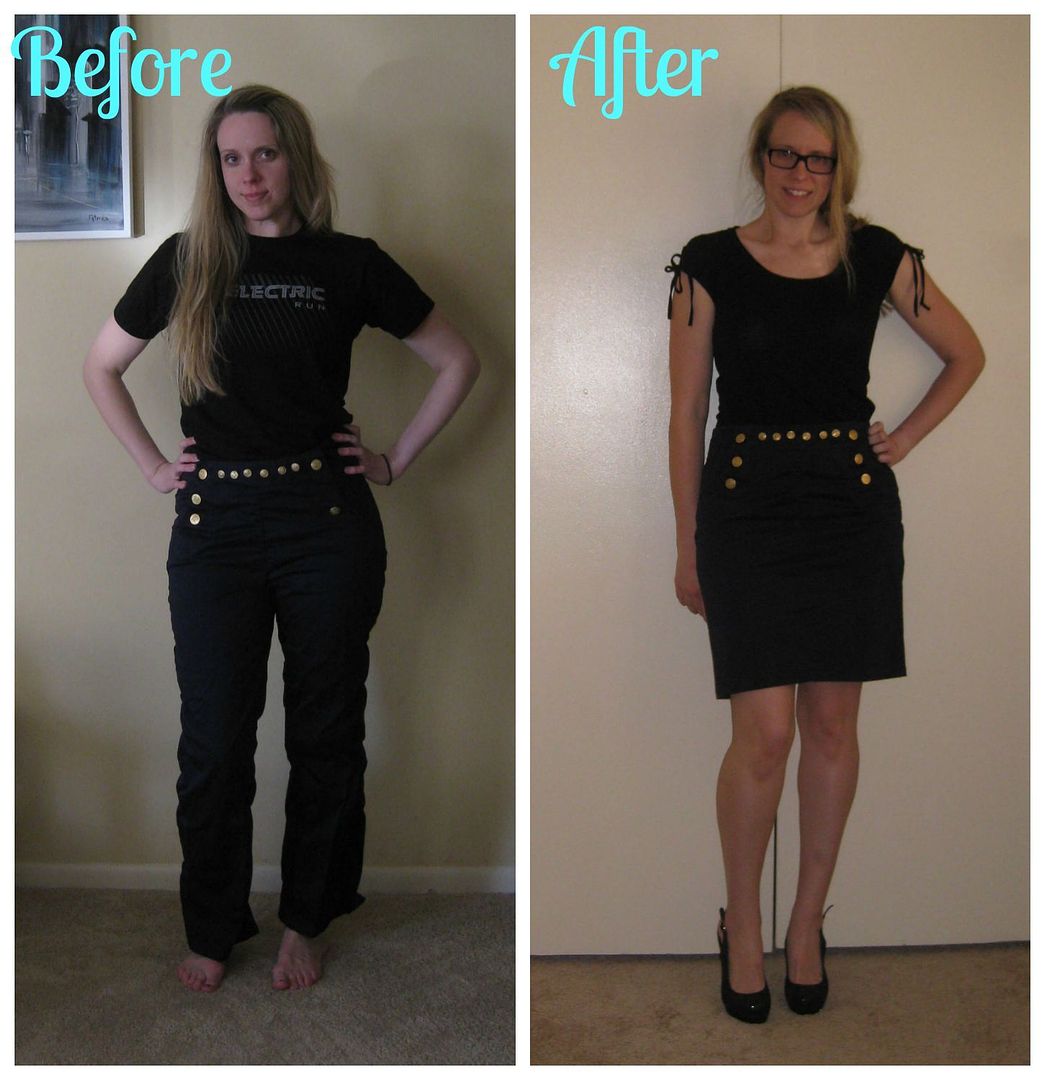
These pants just work better as a skirt! 

Cheers,
Lauren

Wednesday, November 5, 2014

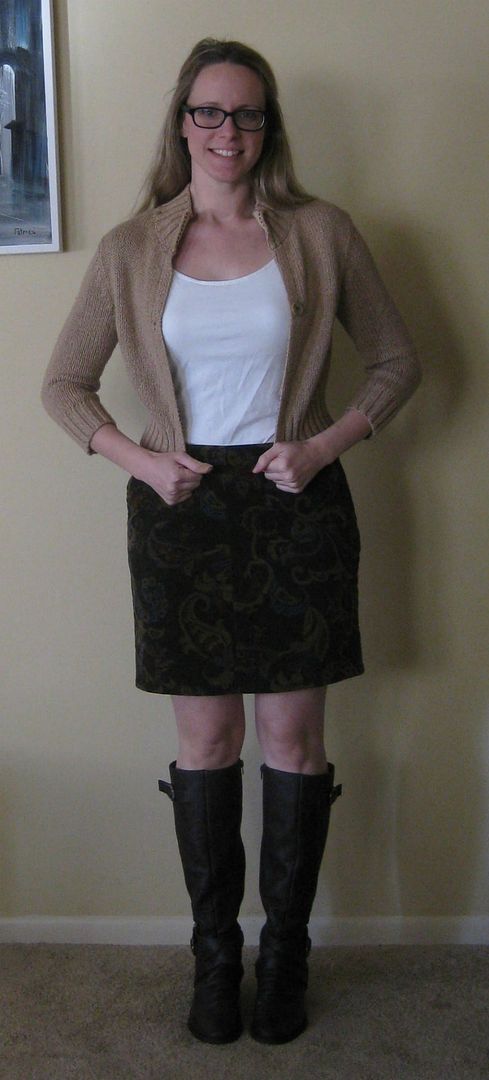
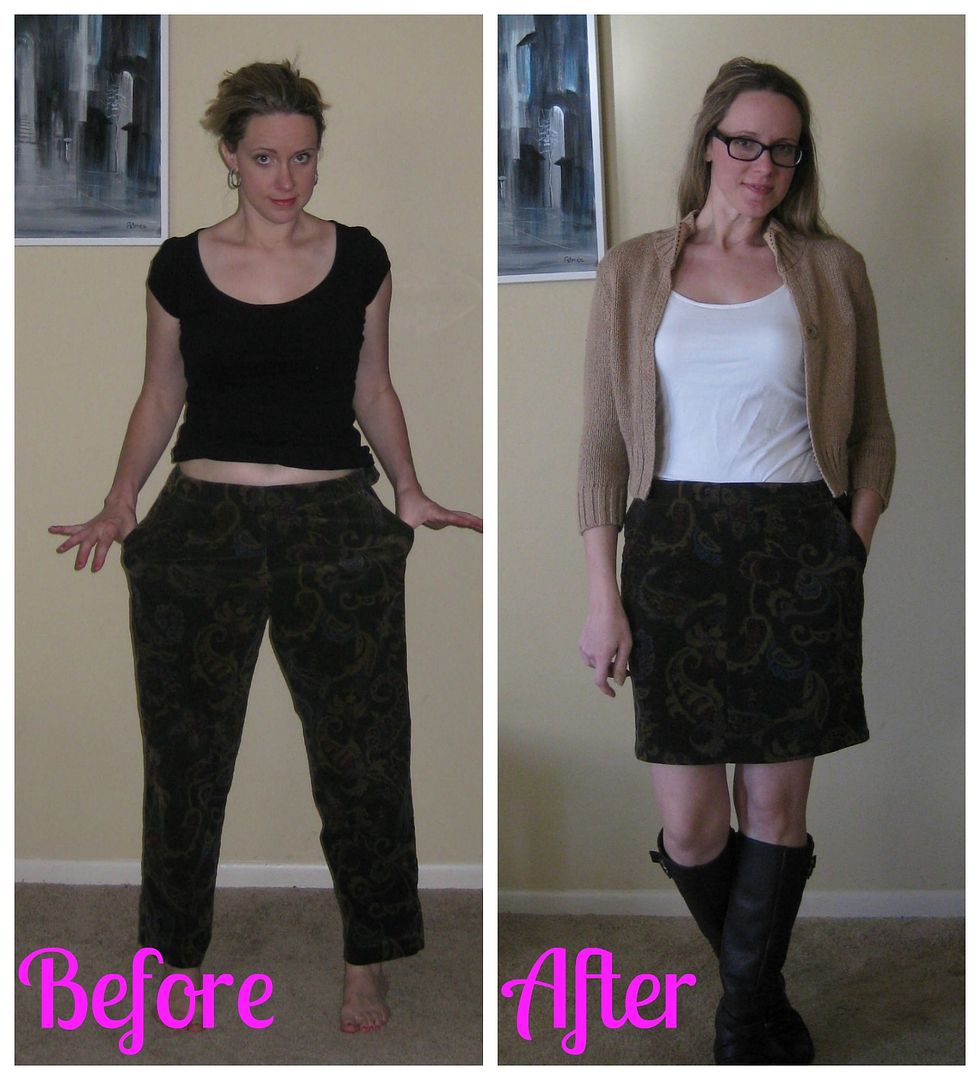
Paisley Cord pants to skirt, #84

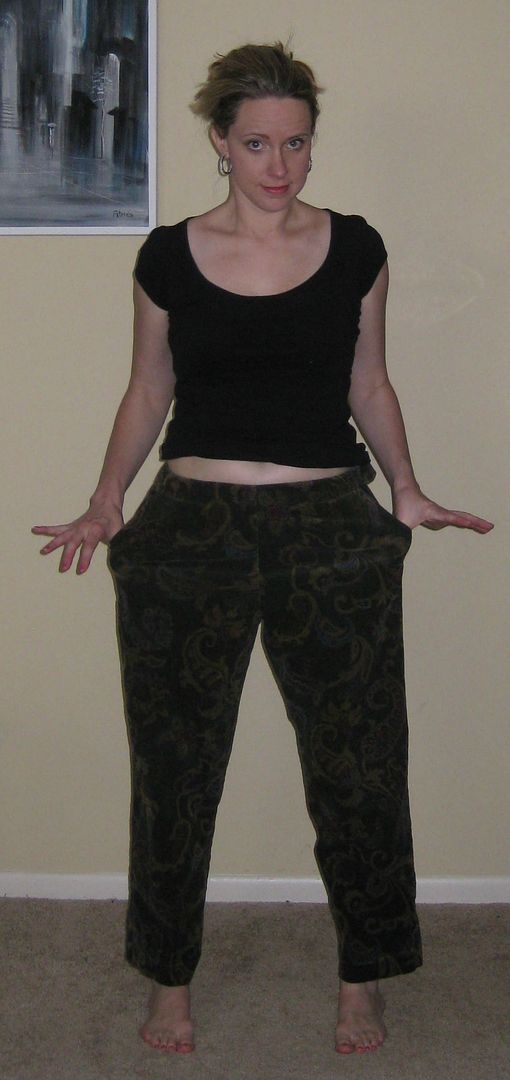
Found these fabulous pants made from corduroy, that I scored at the by-the-pound thrift shop. They were from Talbots! But obviously, they were not going to work as pants- too big and too short! Too many toos!!

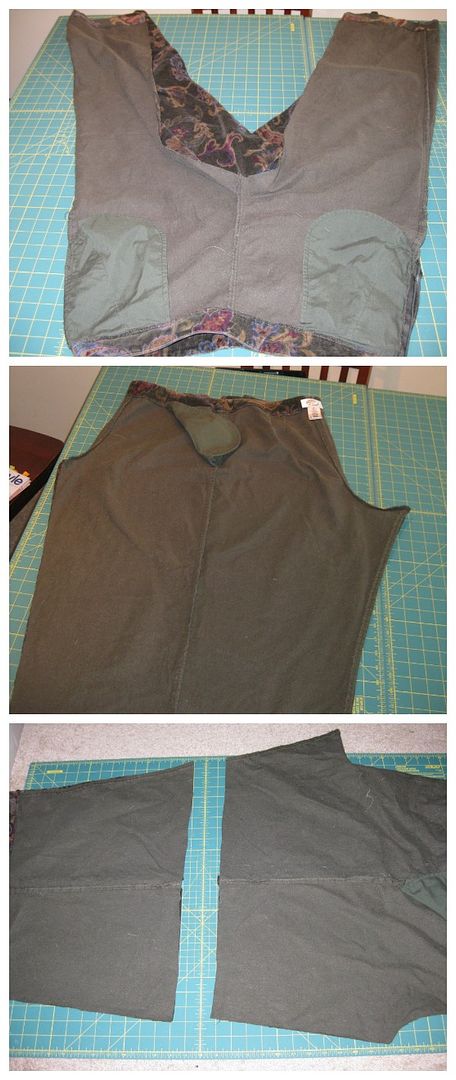
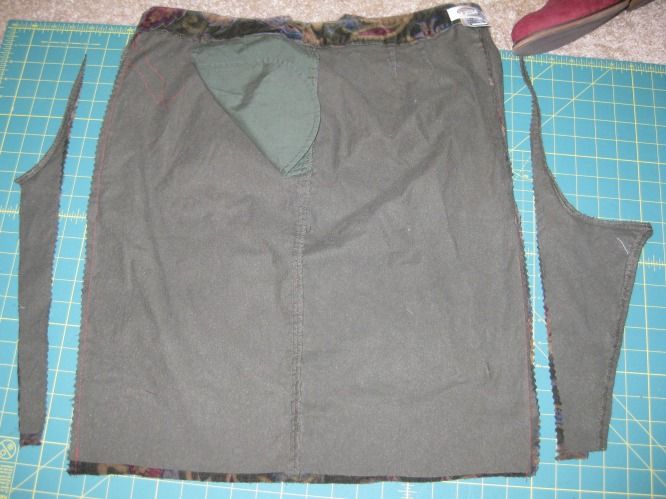
Time to convert it to a skirt. So undid the center leg seams. Fold having the inseams together. Cut off some of the length.

While starting the the waistline, sew out the inseams creating a skirt. 
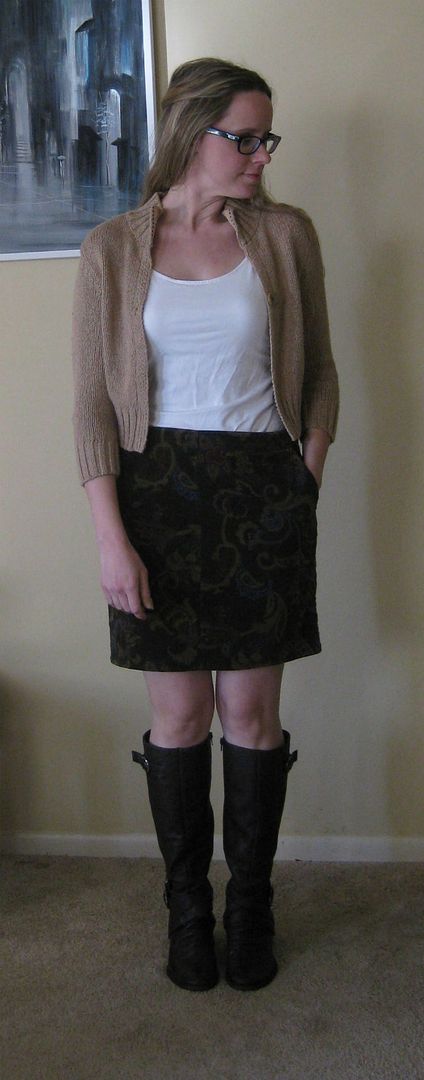
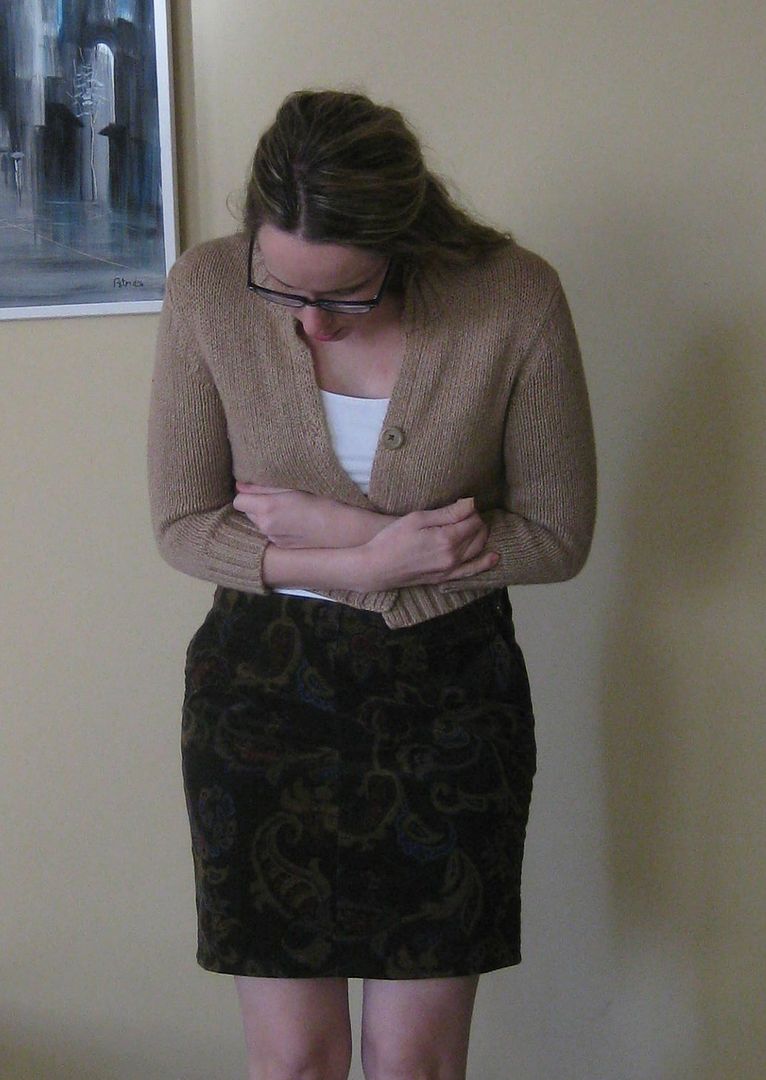
Then with a simple hem this skirt was done! I LOVE this skirt! It fits soo well and it is warm! 


Recap. I think that this fabric makes for a skirt. And hey it has pockets! Yay!

Cheers,
Lauren

Monday, March 31, 2014

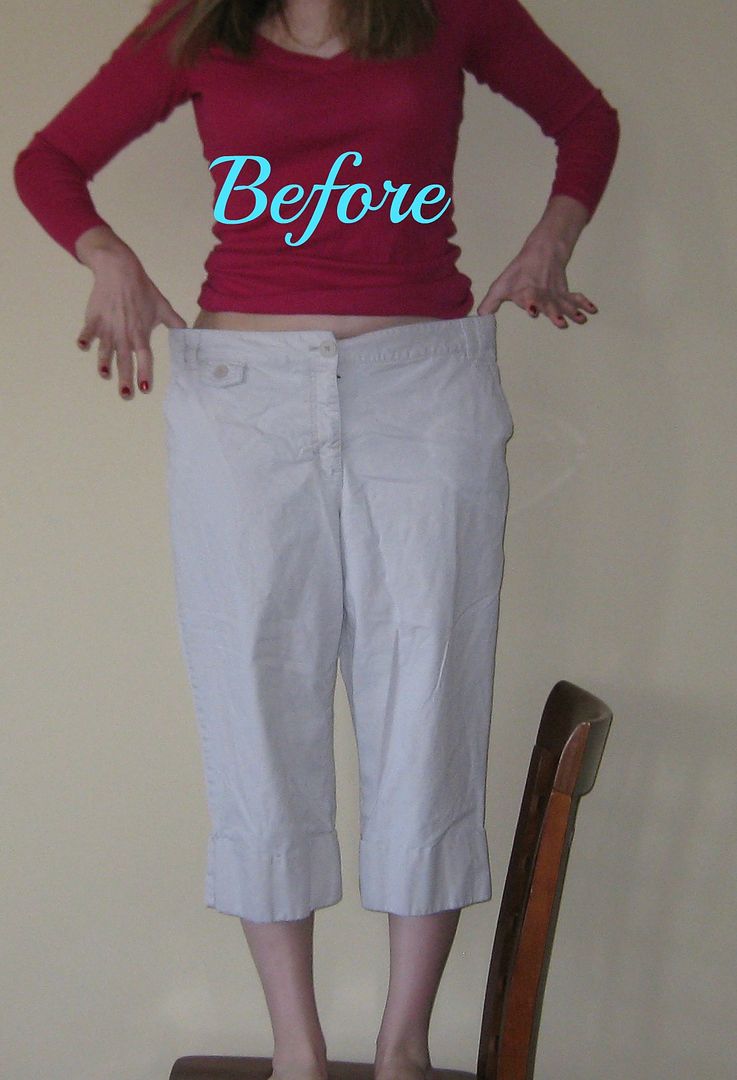
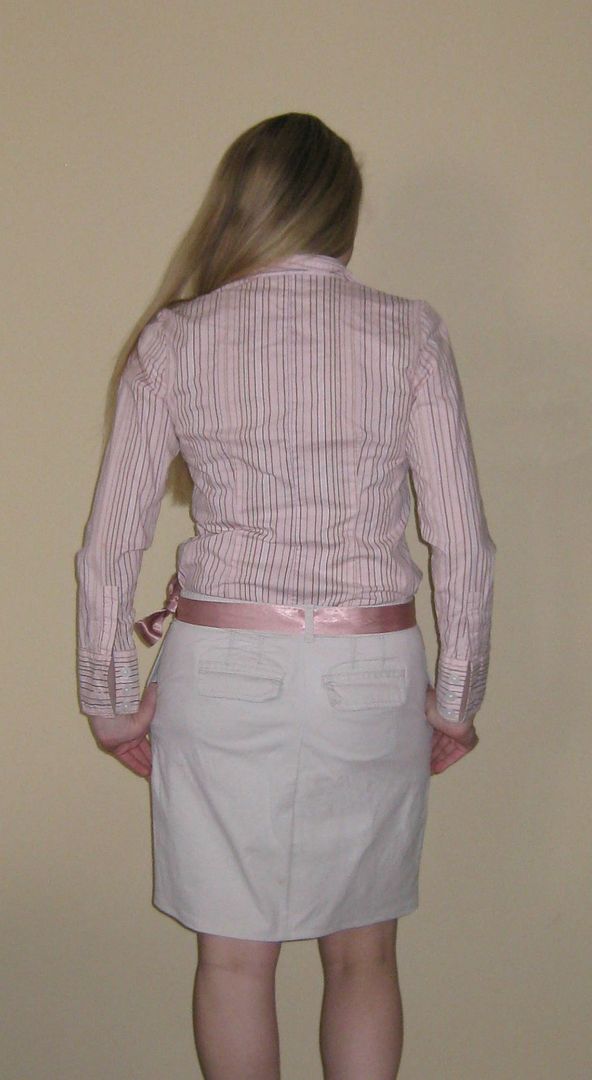
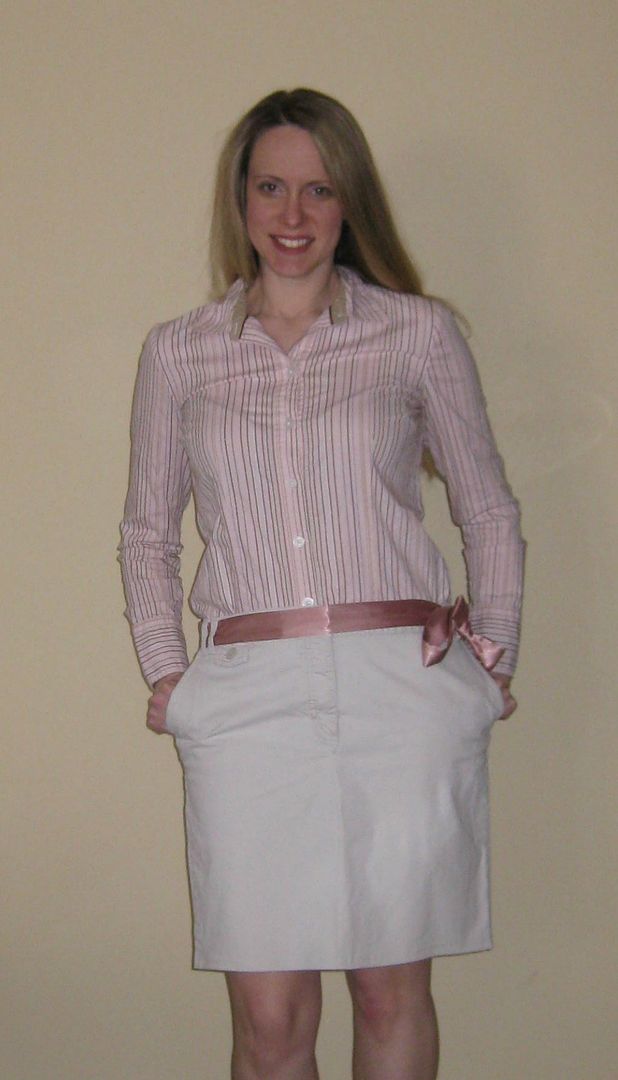
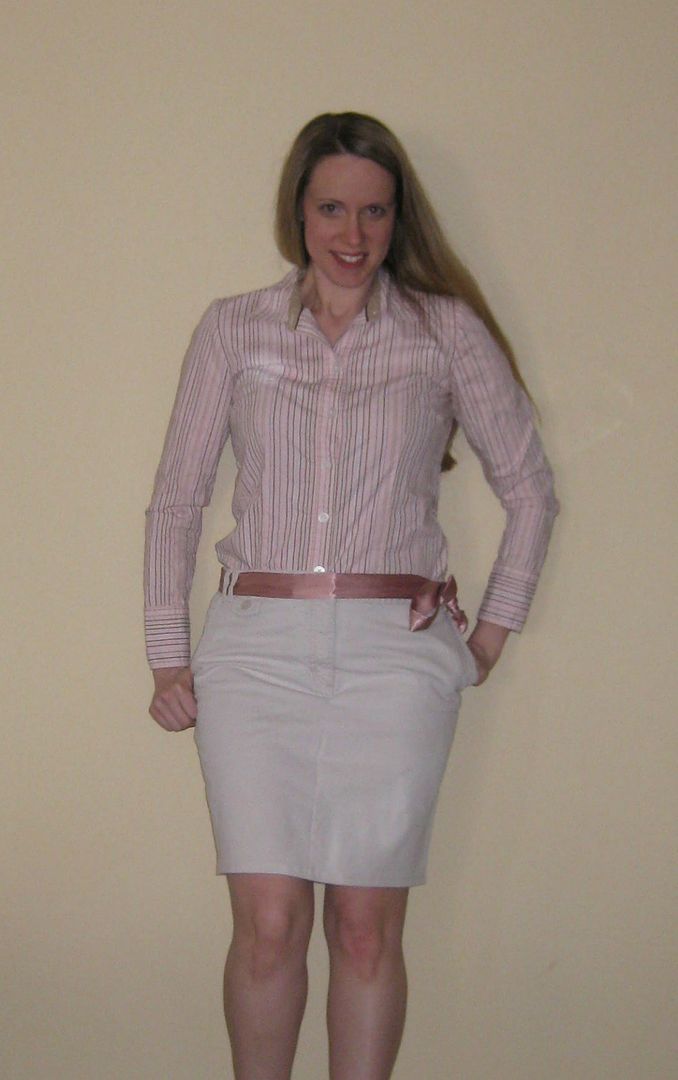
I dislike khaki capris, refashion #24

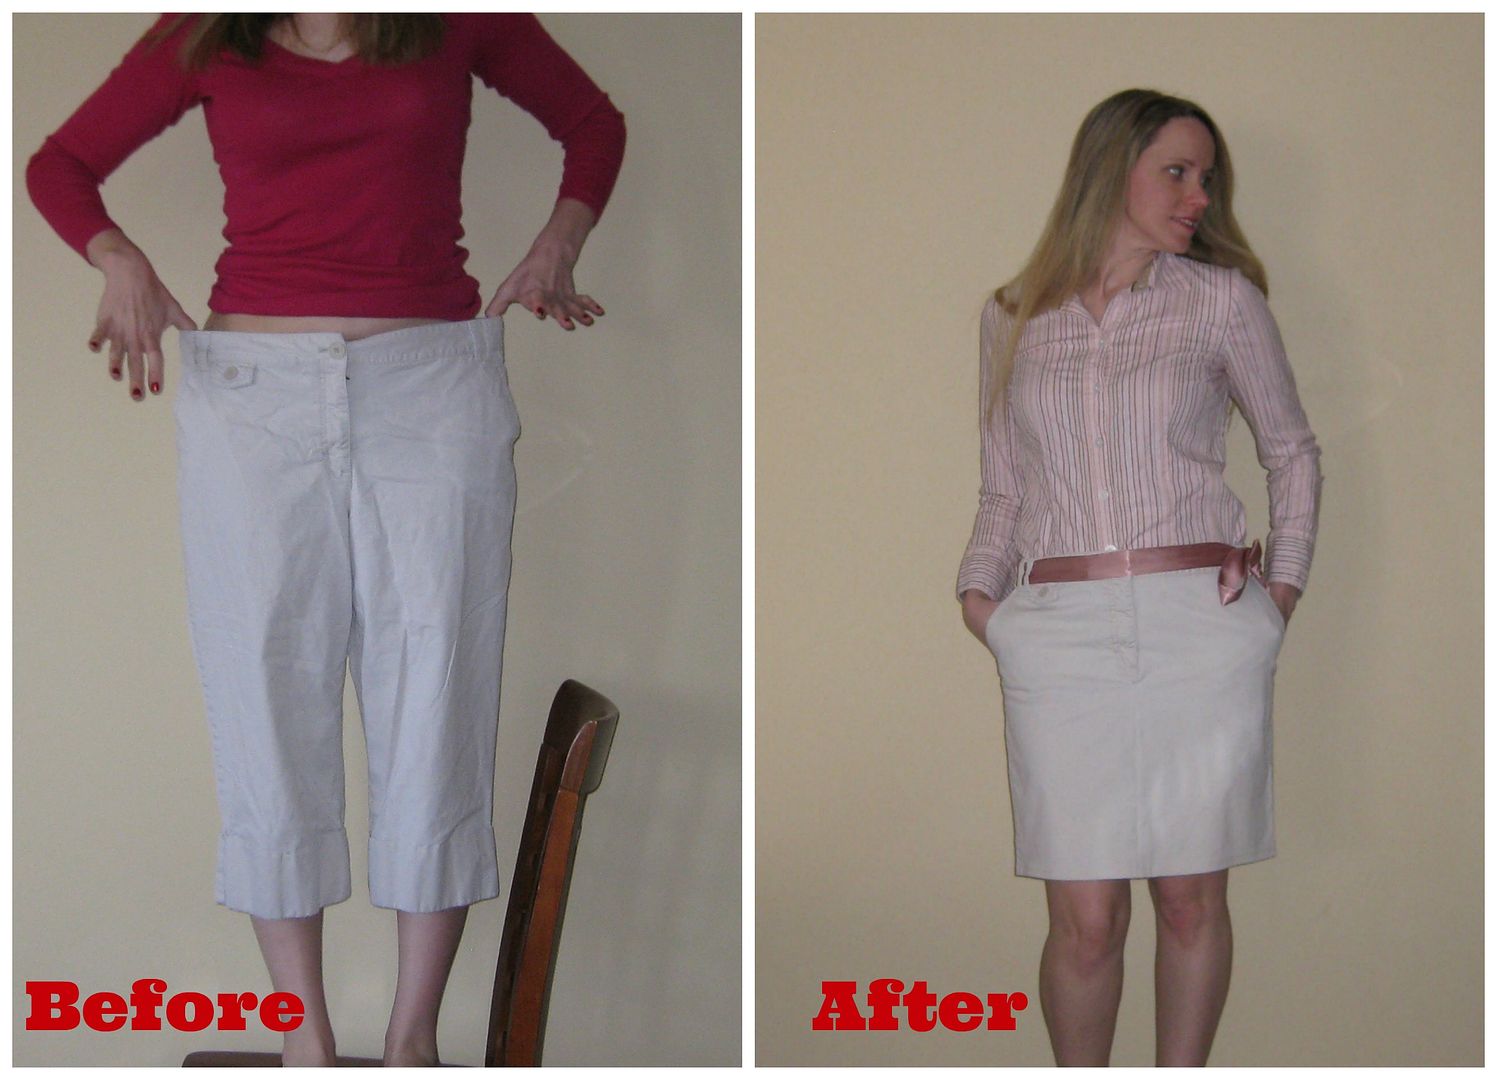
This is a pretty good statement about how I feel about most khaki capris. First they range in a variety of colors and some of colors just don't work for me at all. I look sickly white. Capris also come in a variety of lengths and sometimes I feel that they can hurt your visual height-meaning make you look shorter than you are actually. So I don't do a lot of capris. But I wound up with this very large pair-now what?
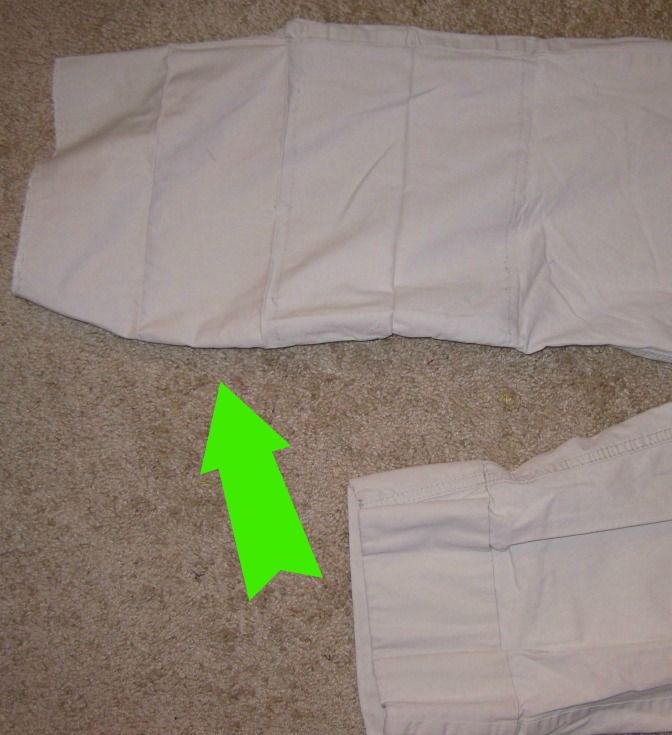
I undid the bottom cuff to find I could almost make myself a pair of pants but decided against it. Instead I decided to convert it to a skirt. I could use a nice khaki skirt for work. I did undo the cuffs and almost had enough fabric to make pants but it was not going to work. Skirt it is.

I undid the waistband. Then I got rid of the J shape in the front and back of the old legs. Sew straight down.
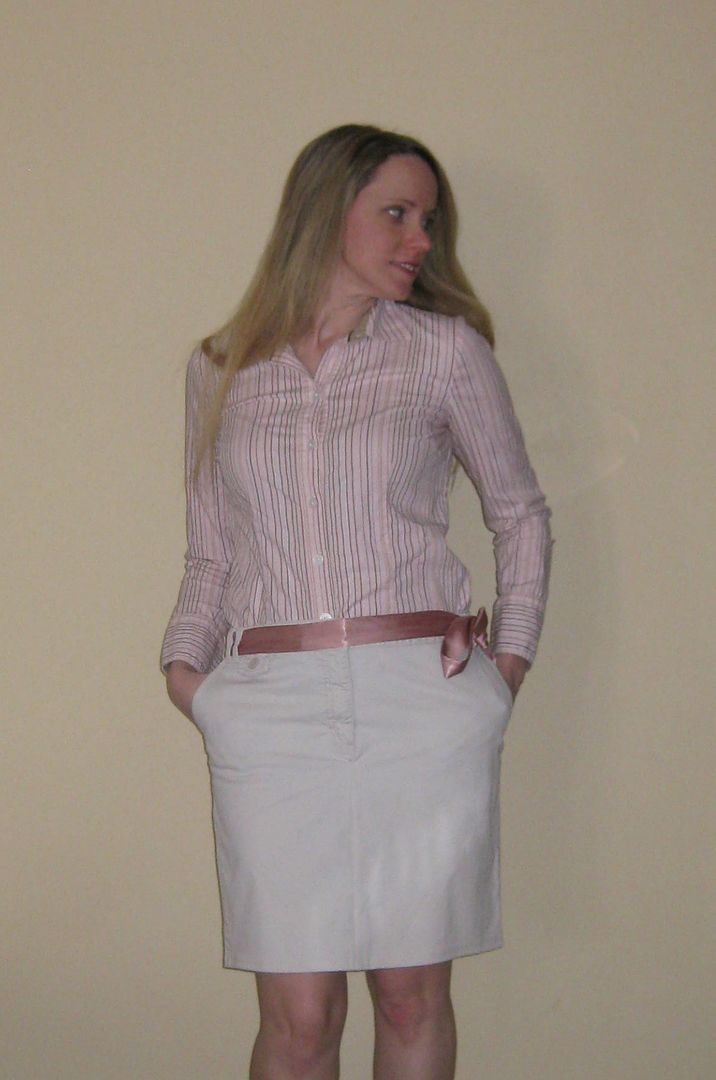
I sewed the waist band back after I took the skirt in. What happens now is it did make the pockets come closer together. I'm fine with that. Then cut and sew and the bottom hem. I got a nice pencil skirt for work. Yay!

Yes and I can pair belts with the skirt too and make it fun. 


Here is the recap. Such an improvement from those capris. Sorry Ann Taylor, but your capris were ugly!

Cheers,
Lauren

Monday, July 18, 2011

Pants to skirt Challenge!

This piece of clothing was givenn to me by Sonja. She was out shopping one day at goodwill and found this orange and pink paisley capris and instantly thought of me. My challenge was to turn it into something cute and wearable. HMMM....


I decided to turn it into a skirt. it was a size XL but it was also stretchy. Don't think it was actually true to size. I never actually tried it on b/c it was a bit ugly.

First thing to come off was that tshirt material edge. It just didn't work and I did not like it. It was also old looking.

Next, I continued with my seam ripper and began to undo the middle leg seam on both sides. I went up past the inseam area so the skirt would work without any funky things going on.


Next we need to join the 2 legs together. I began at the top and worked my way to the bottom. I pinned it in place and now you can see this J- shape in the inseam. I knew about this b/c I have sewn several pairs of harem pants. We want to remove this J and make it flso the skirt will sit straight.

While I was pinning I pinned to wear the J would be gone (so straight down) this was where I was going to sew.

Simply just sew. I tried it on and the length was not working. You can tell the pants began to taper b/c of the shape the skirt took on. Off came many inches.

Then I just created a hem, folding up 1 inch. Pin and iron to make your sewing life easier. Then sew.


End product.. not too bad. No zippers (yay!) the elastic barely stretches on my hips but it is comfy. I am trying to figure out what is the perfect top to pair it with yet. But it would also be perfect for beach day/coverup b/c its so nice and light. :)


It is not a fancy skirt, just something simple.

Challenge taken, success! Thank you Sonja for my new skirt!

XOXOXO,
Lauren

LinkWithin

Related Posts Plugin for WordPress, Blogger...