Well hi welcome to my little blog. Just my little corner of craftiness, sewing, and refashioning. I am also a newly gluten free eater so you have a little bit of recipes mixed in here.
Showing posts with label necklace. Show all posts

Wednesday, August 14, 2013

Paint pen necklace redo: blue and gold

I was inspired by this necklace I saw on Pinterest. I had a bunch of these blue  beads that looked similar to these. And this might be a great way to use my beads.

Problem is I don't have any gold ones. 

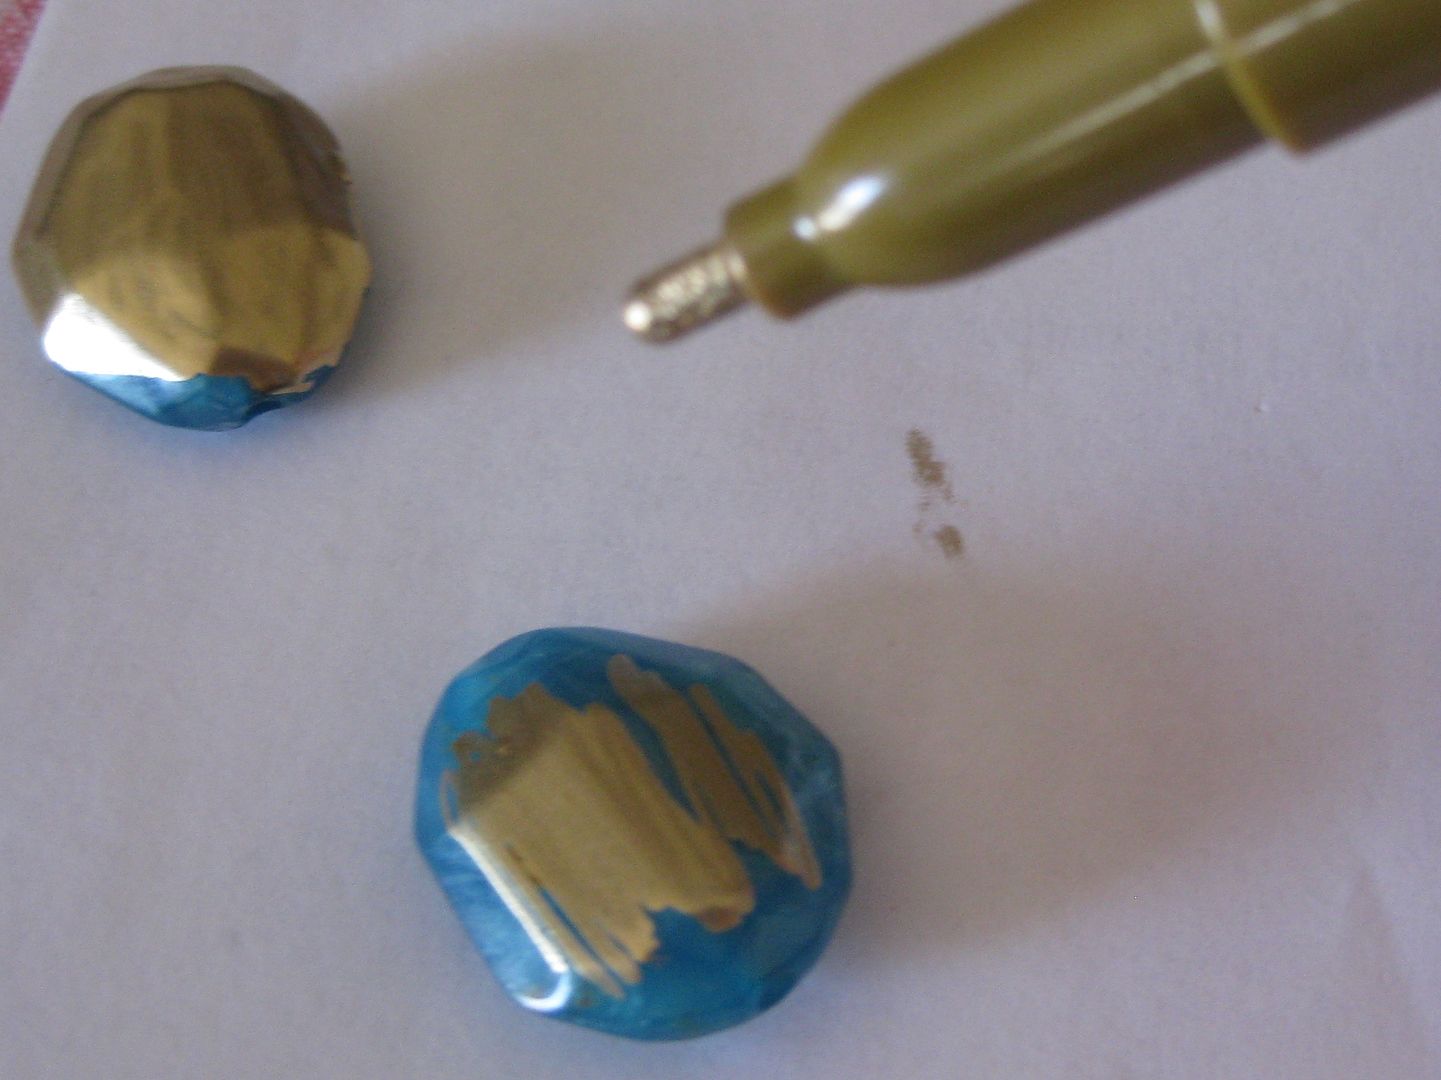
But I had a great idea... I had a gold paint pen!! Oh yeah I am so doing this!
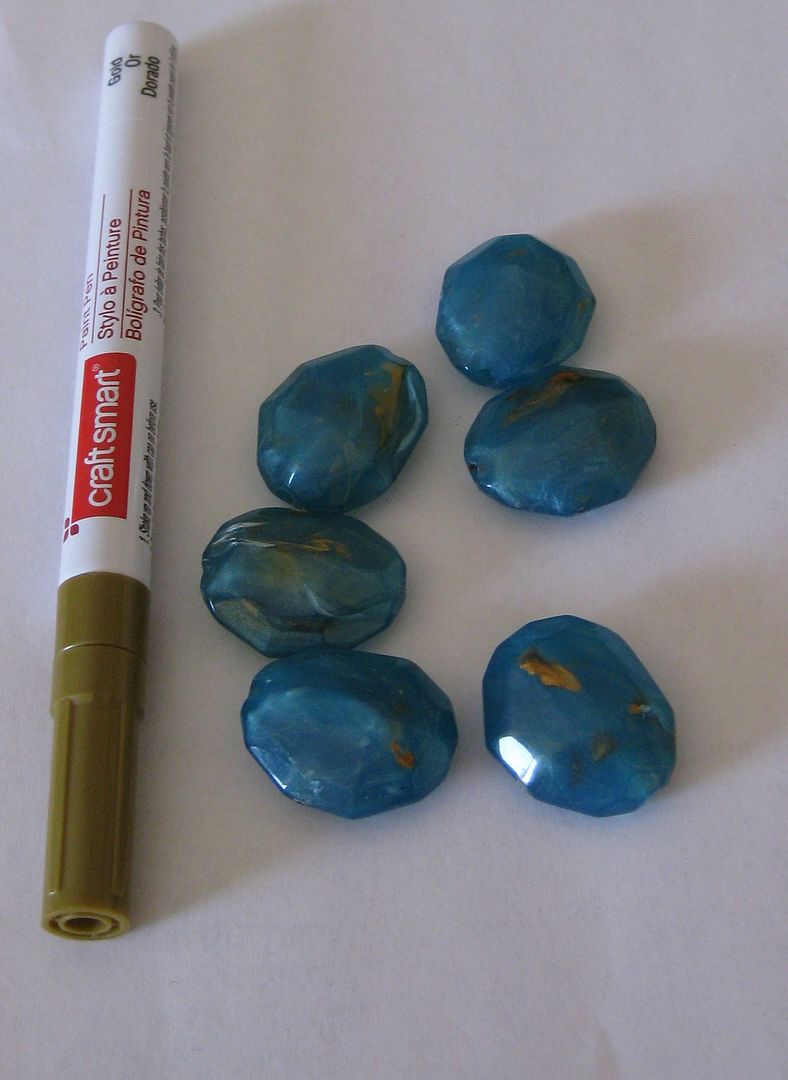

So I colored several beads with my gold paint pen, letting dry between coats. 

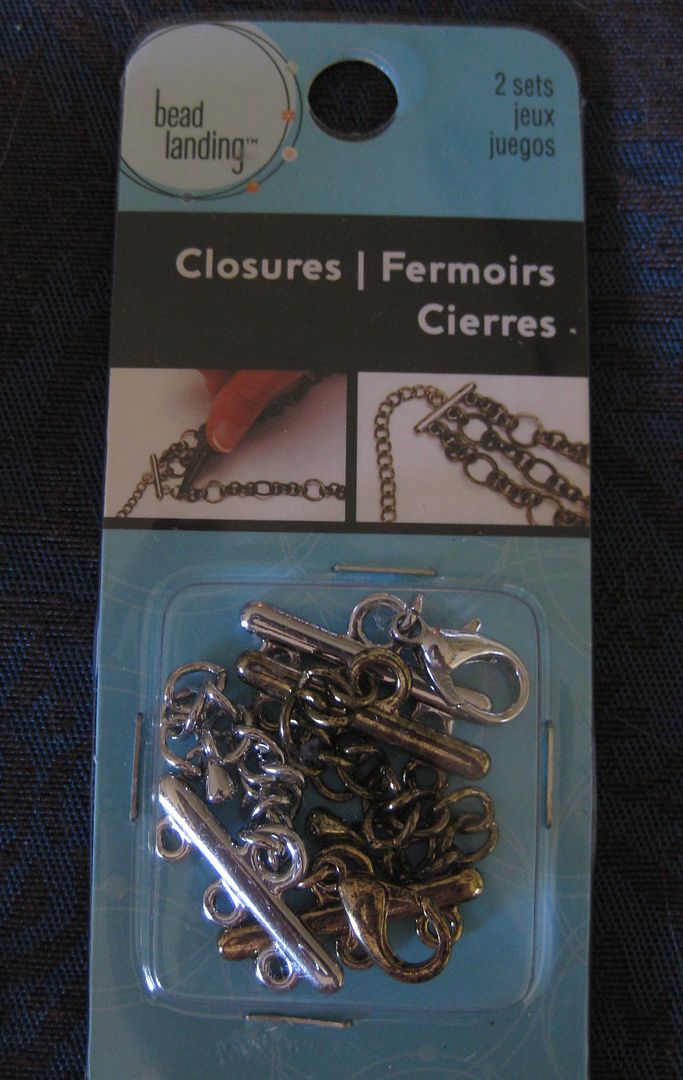
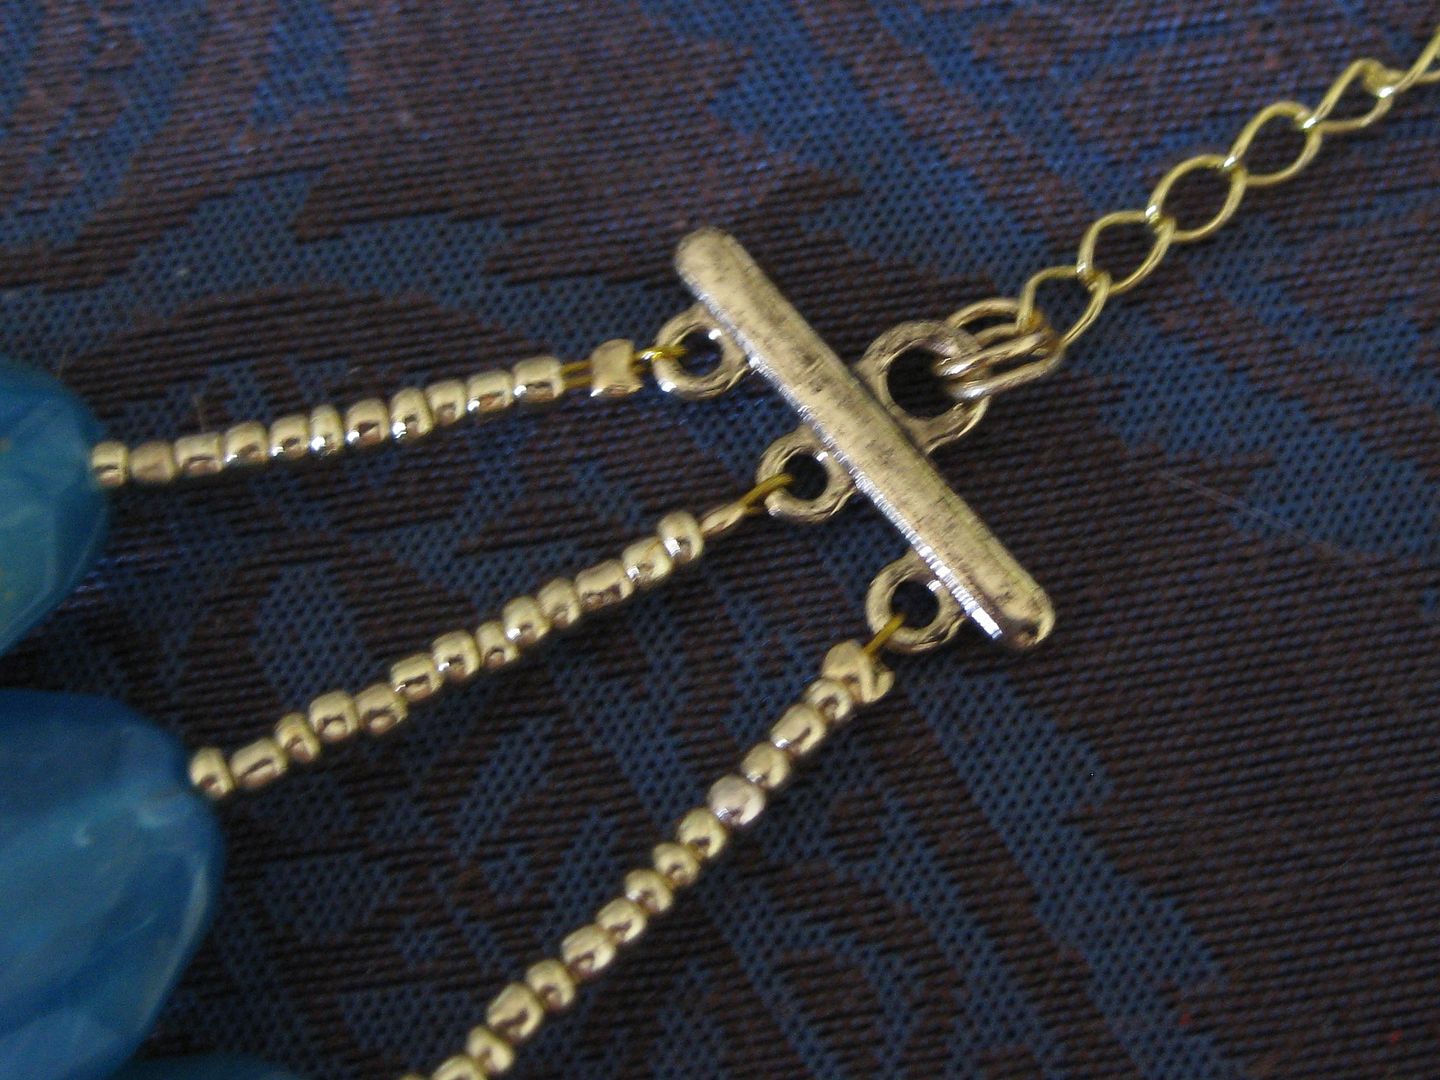
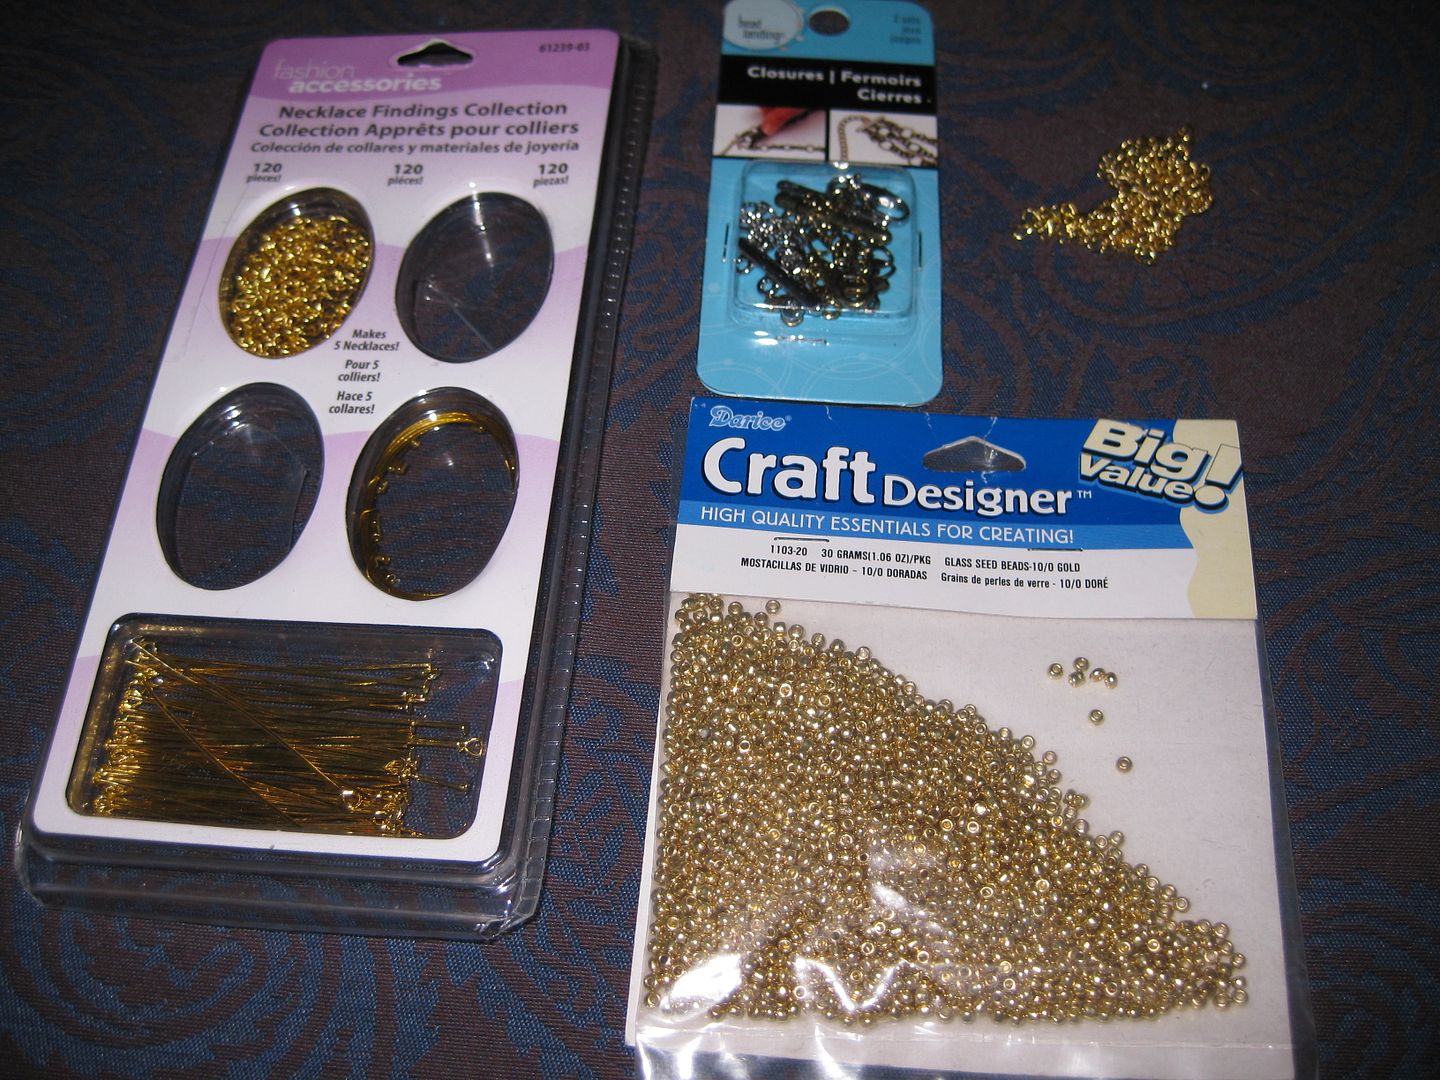
Next time to string my necklace. I needed clasp, crimp beads, wire, 3 hold bars, gold filler beads, and some jump rings to git. 

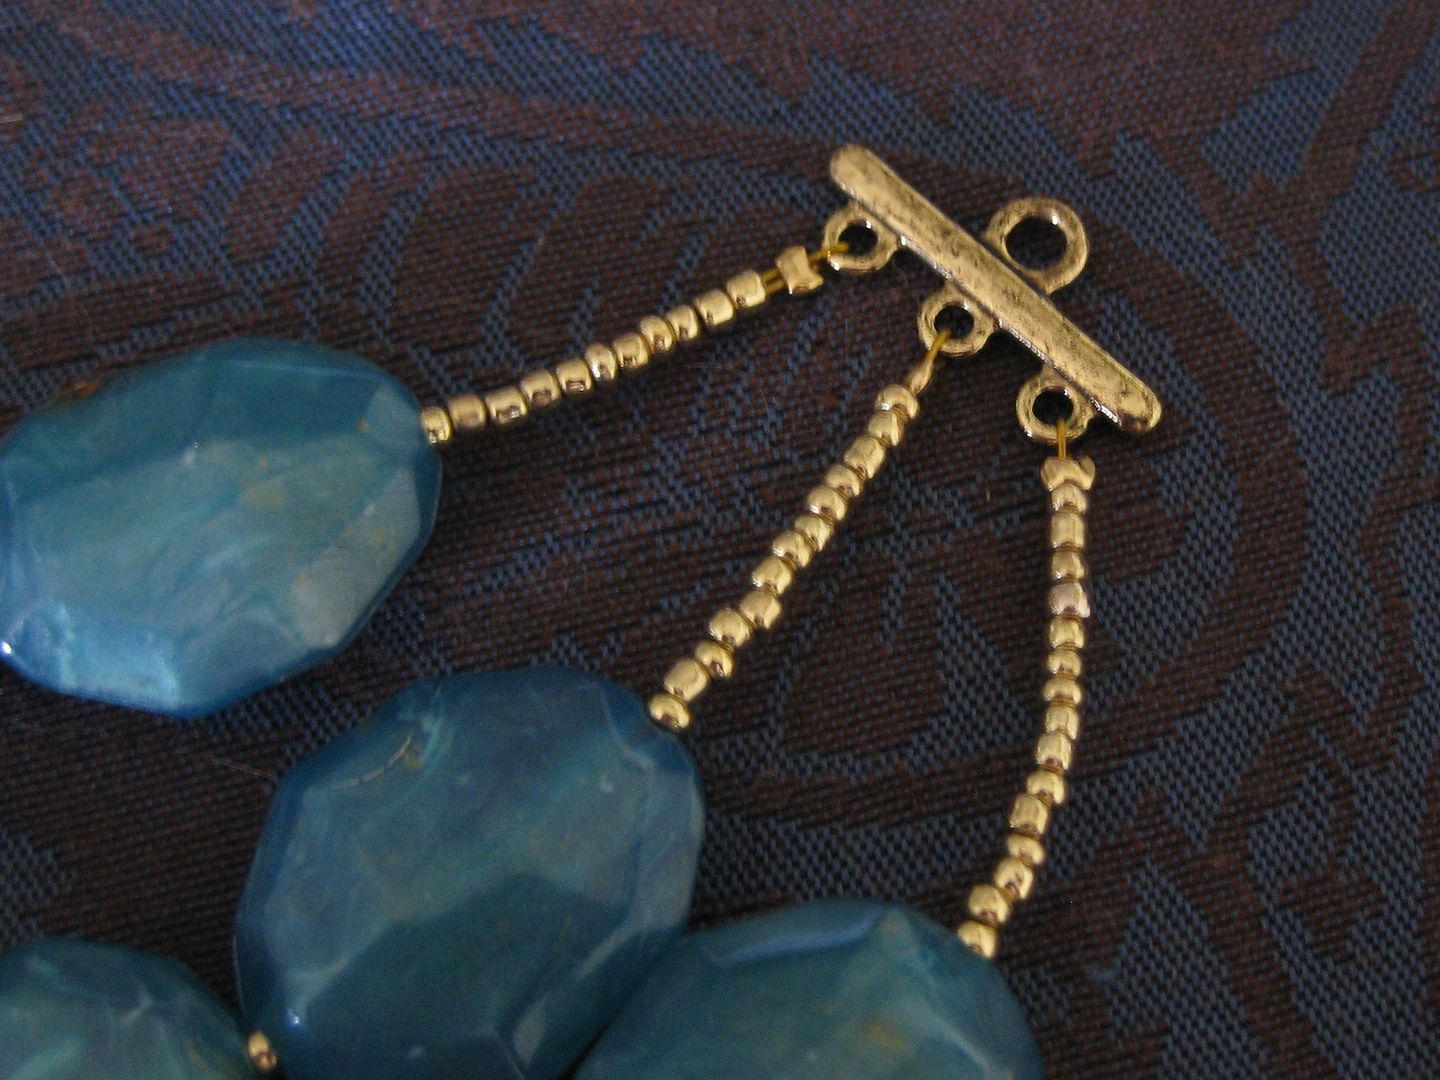
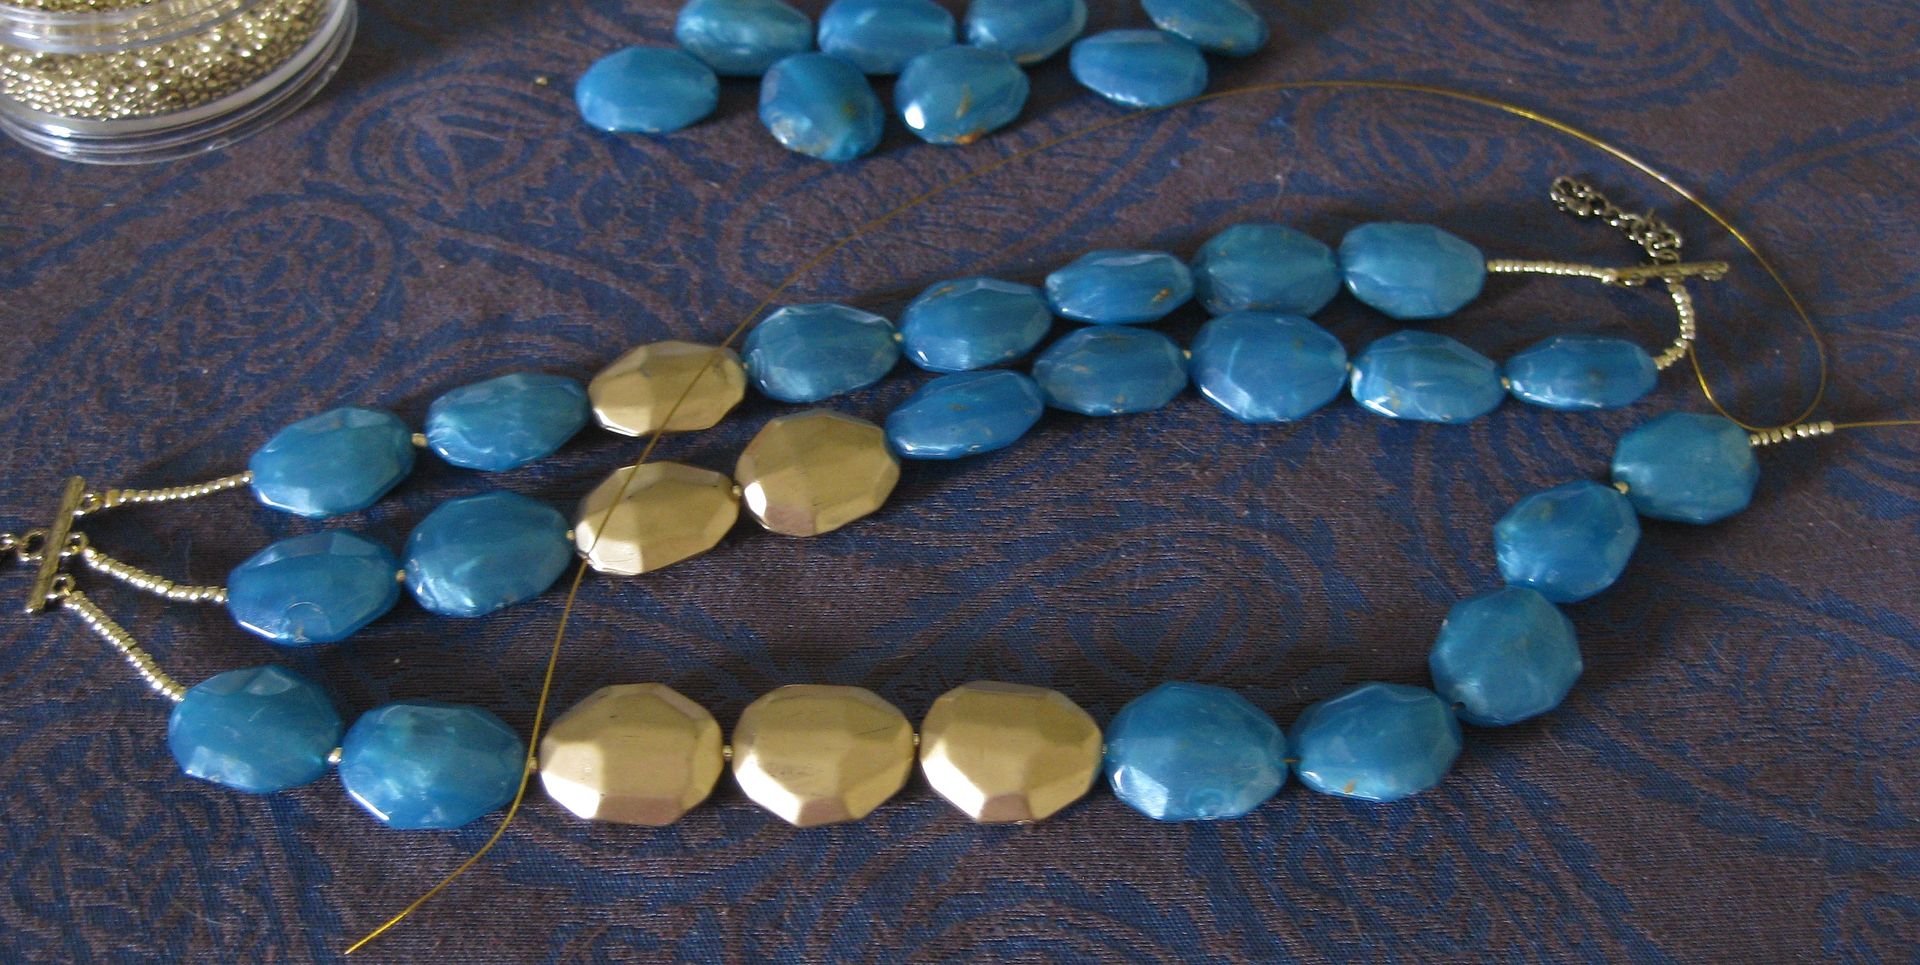
So I just strung the beads starting with 2 blue followed by 1, 2, or 3 gold beads. Then blue to finish. It did take some time to get it to hang right. But I also did this by adjust the small beads on the ends. It did take some fiddling. But simply crimp bead the ends. 

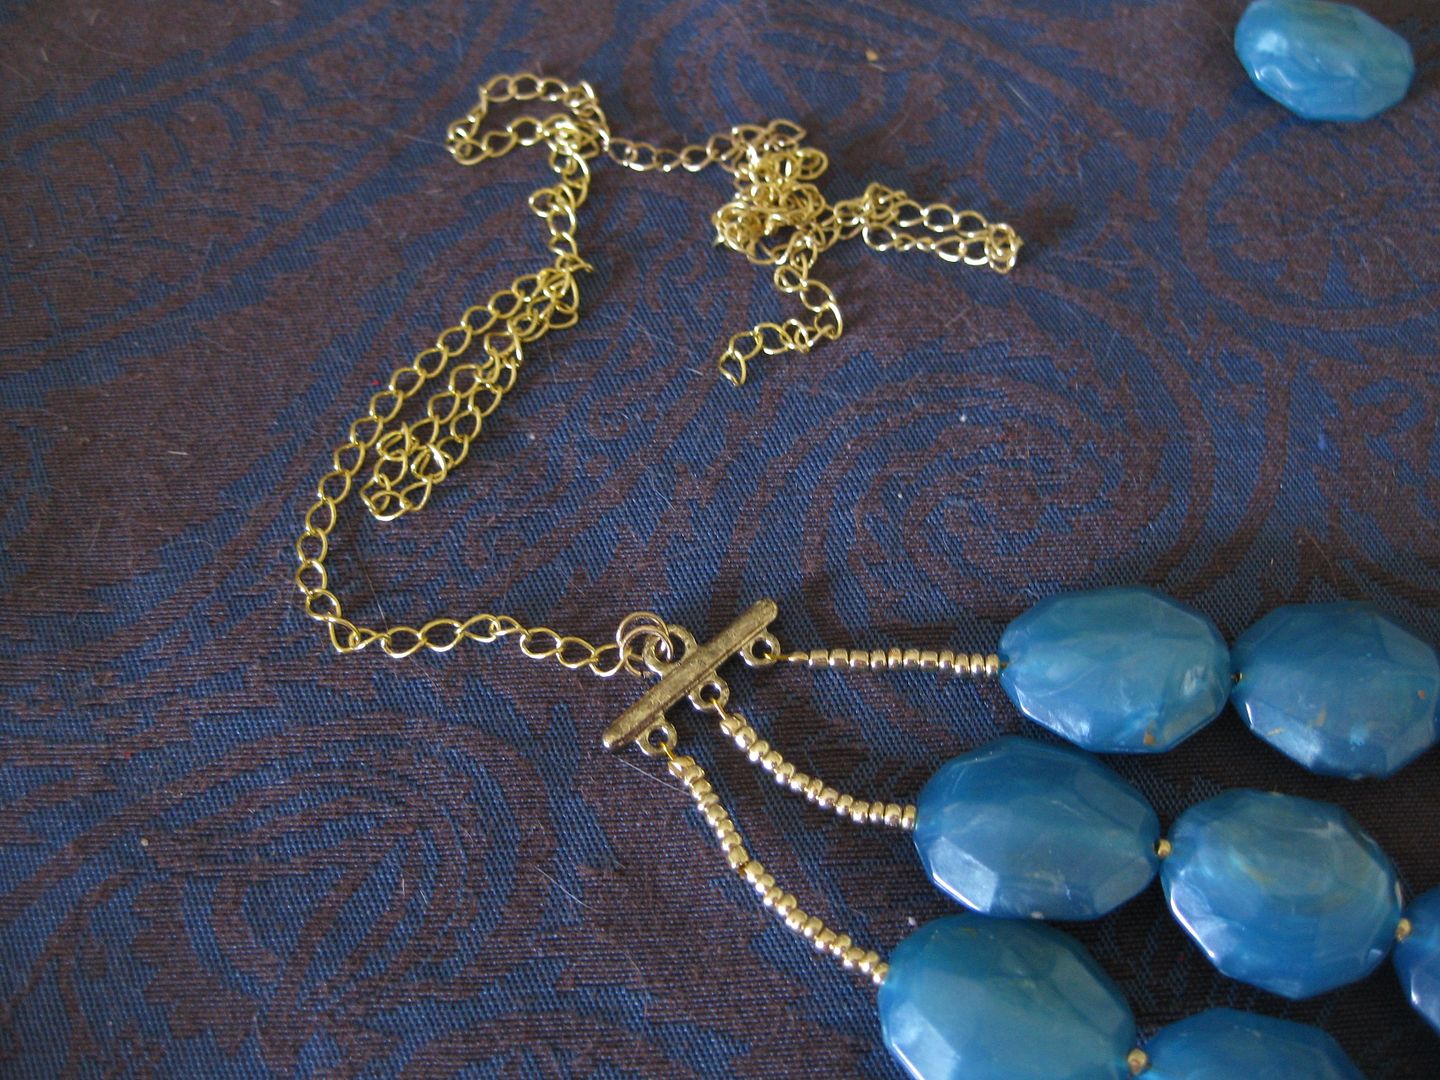
Then I added a lobster clasp and some chain to the ends to adjust how the necklace sits. Always a plus. 


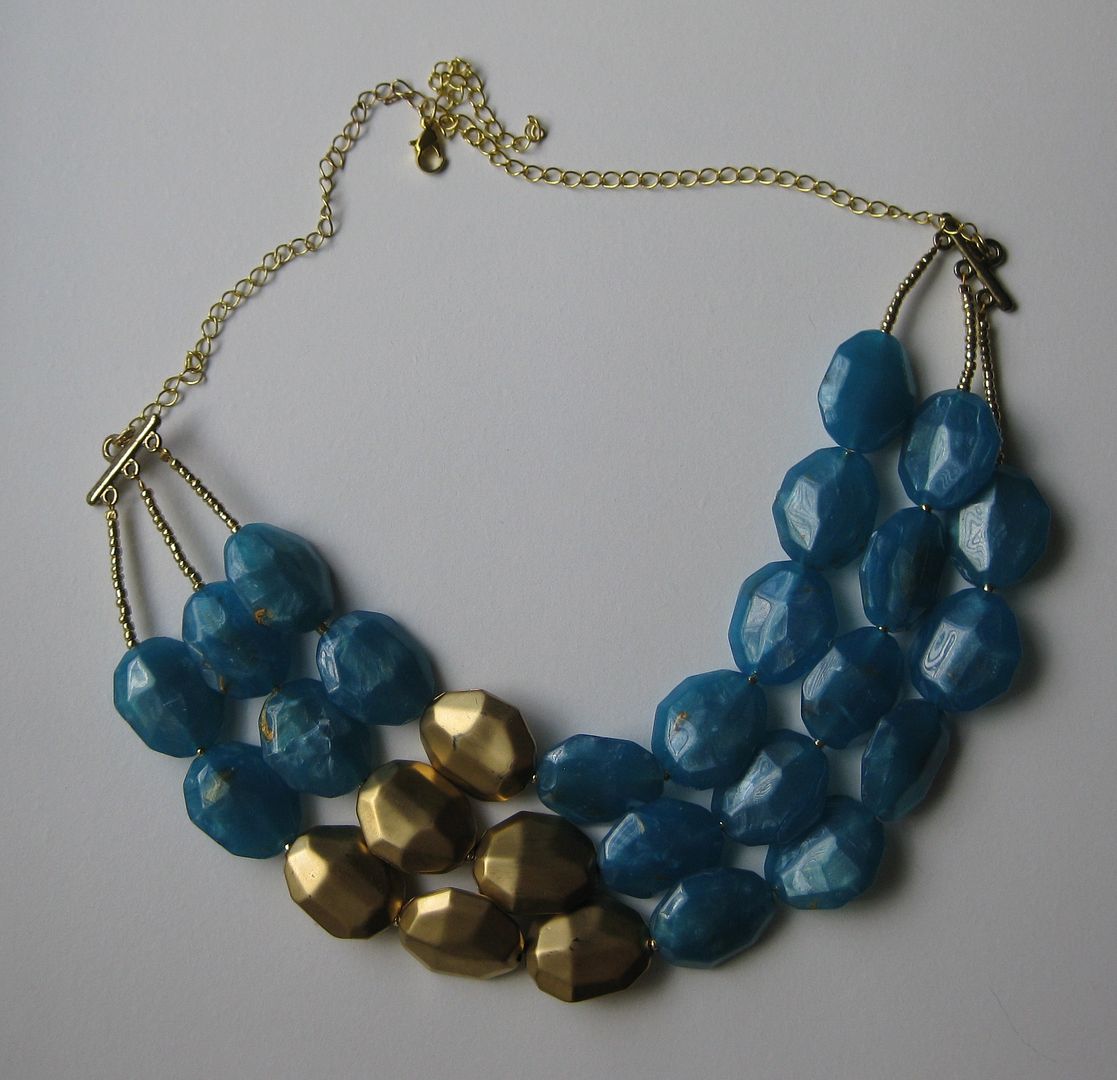
Done! Not bad for a paint pen necklace huh? I had everything on hand. Yay for using what I have!

xoxoxo,
Lauren
Wednesday, July 10, 2013

Purple Earring and Necklace Set

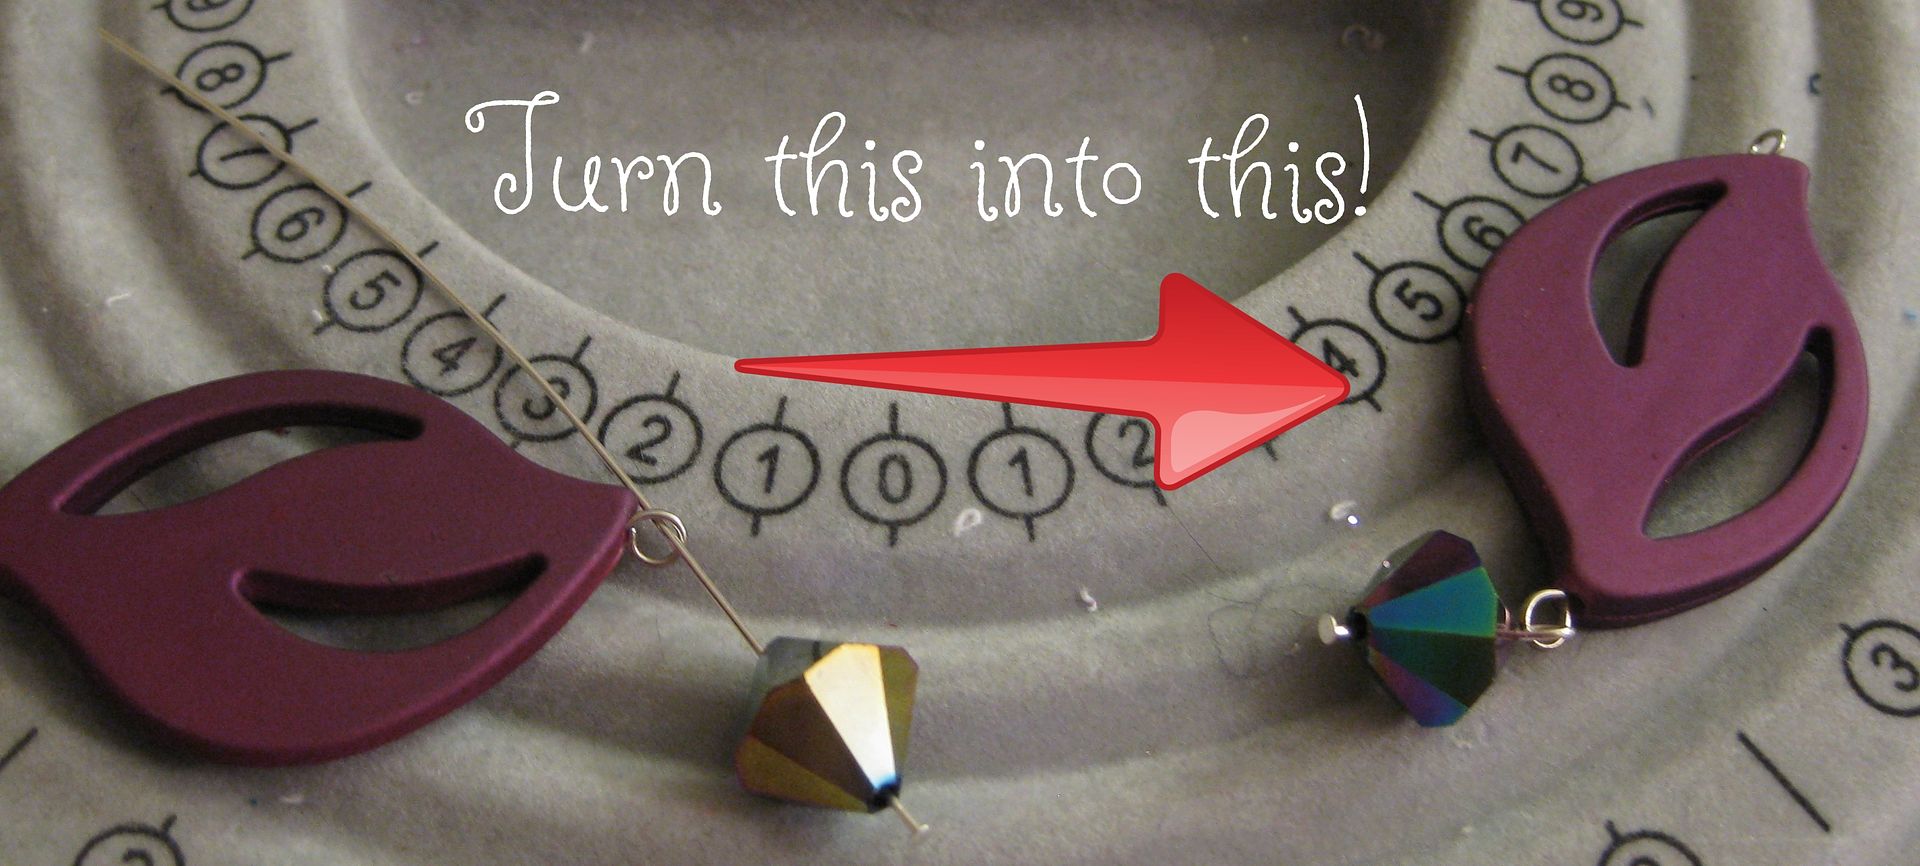
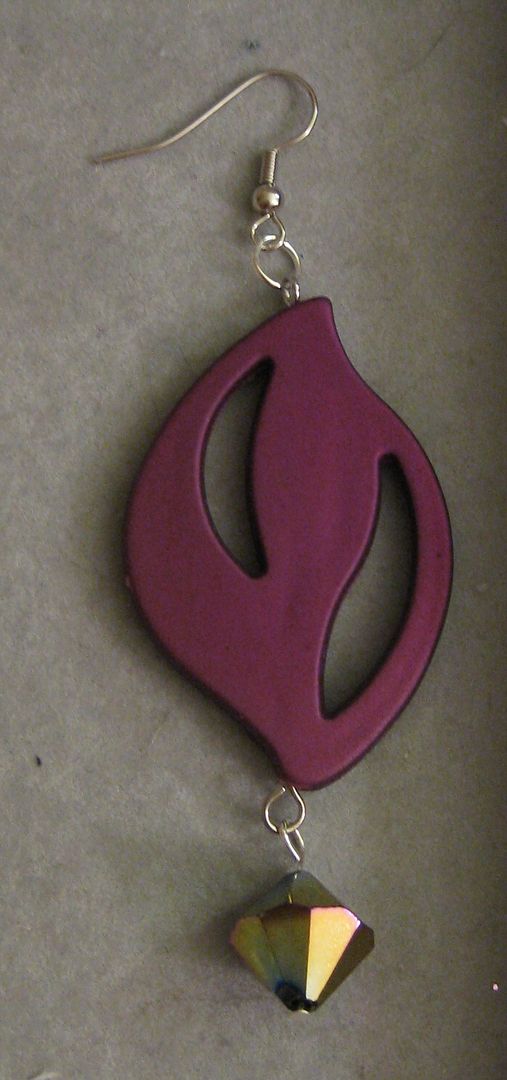
Just messing around with beads.... I decided to use up some of my beads into a necklace and earring set. First the earrings- simple end pin with a earring hook


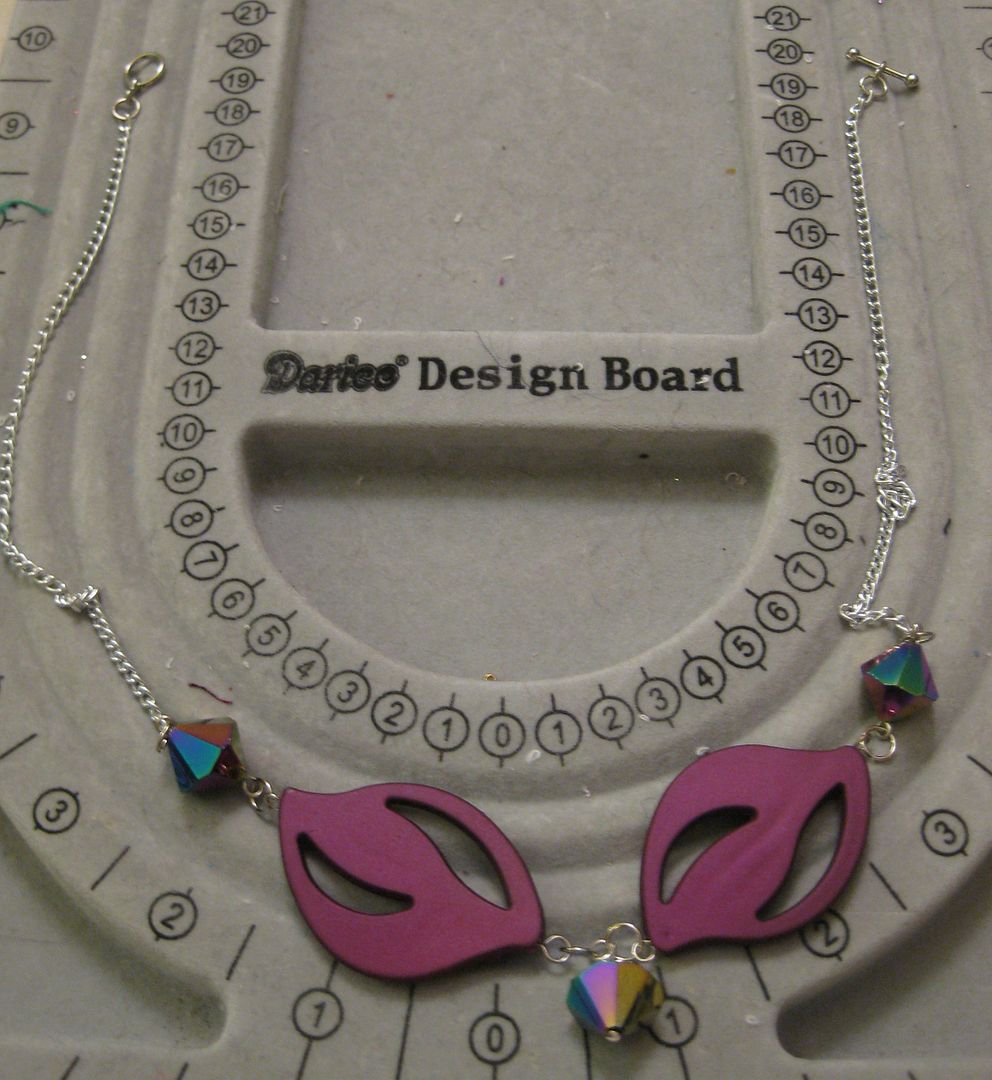
necklace I just combined everything

added chain

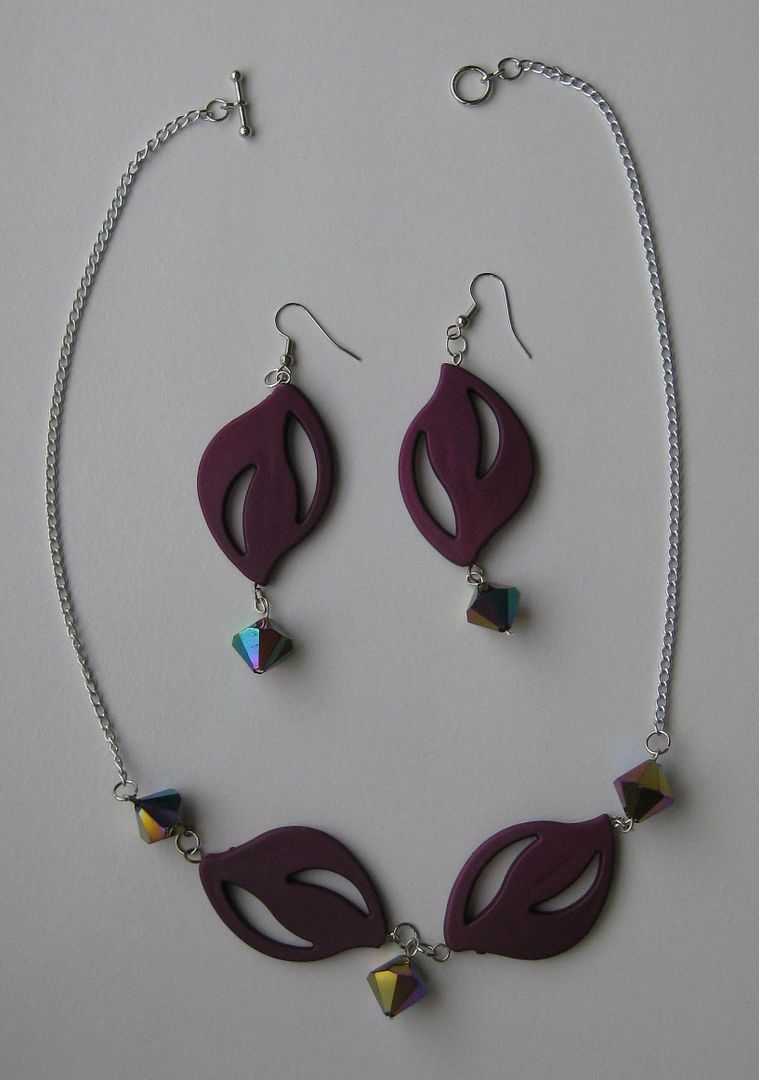
Done!


Can't wait to wear this set!

xoxoxo,
Lauren
Wednesday, July 3, 2013

Fixing a necklace

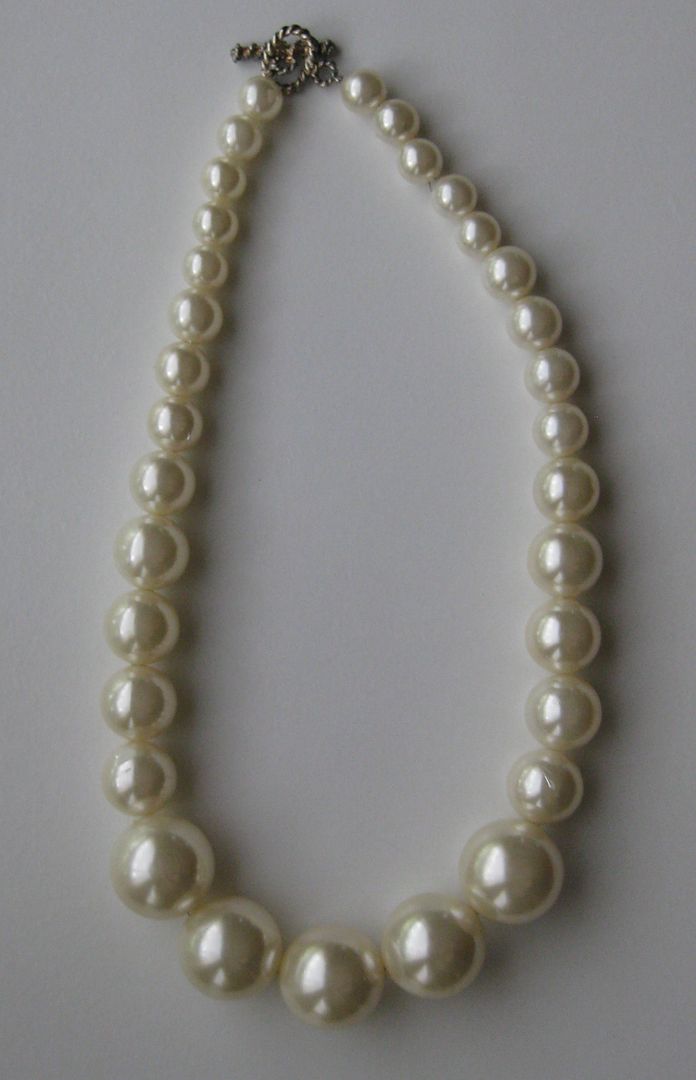
I had a necklace similar to this one just with cream beads. It needed some fixing. I literally cut all of the beads away (each one was knotted!!)

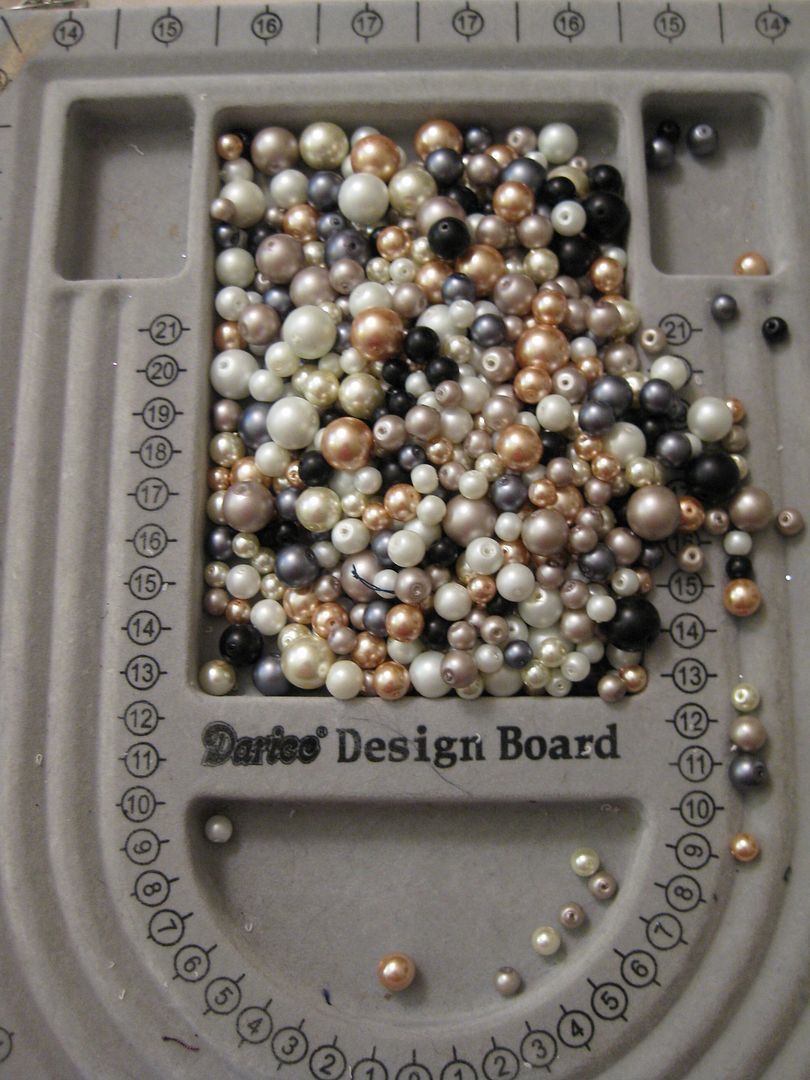
Here is what I got so again I lined up the beads putting the larger ones in the center of the necklace. 

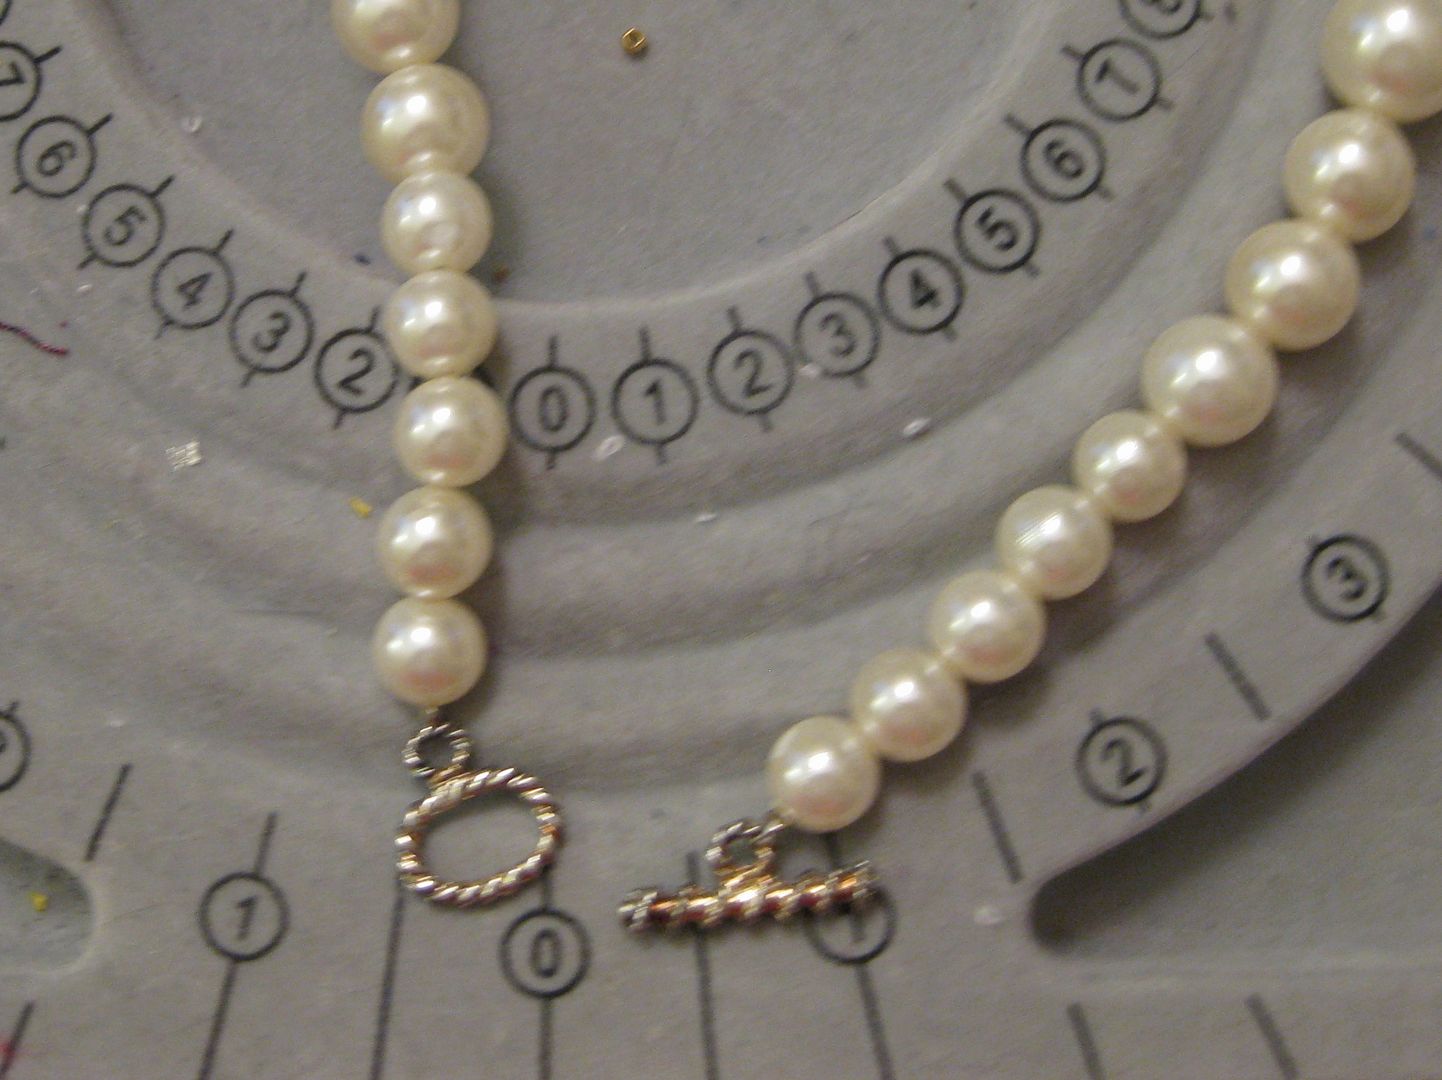
I simply restrung it and added a eye/toggle.

Ahhh Done!! Necklace looks so much more polished and wearable for work

I love simple projects, where I turn something into something I can wear and WILL wear. :)

Cheers,
Lauren
Wednesday, June 26, 2013

Dyeing beads try...

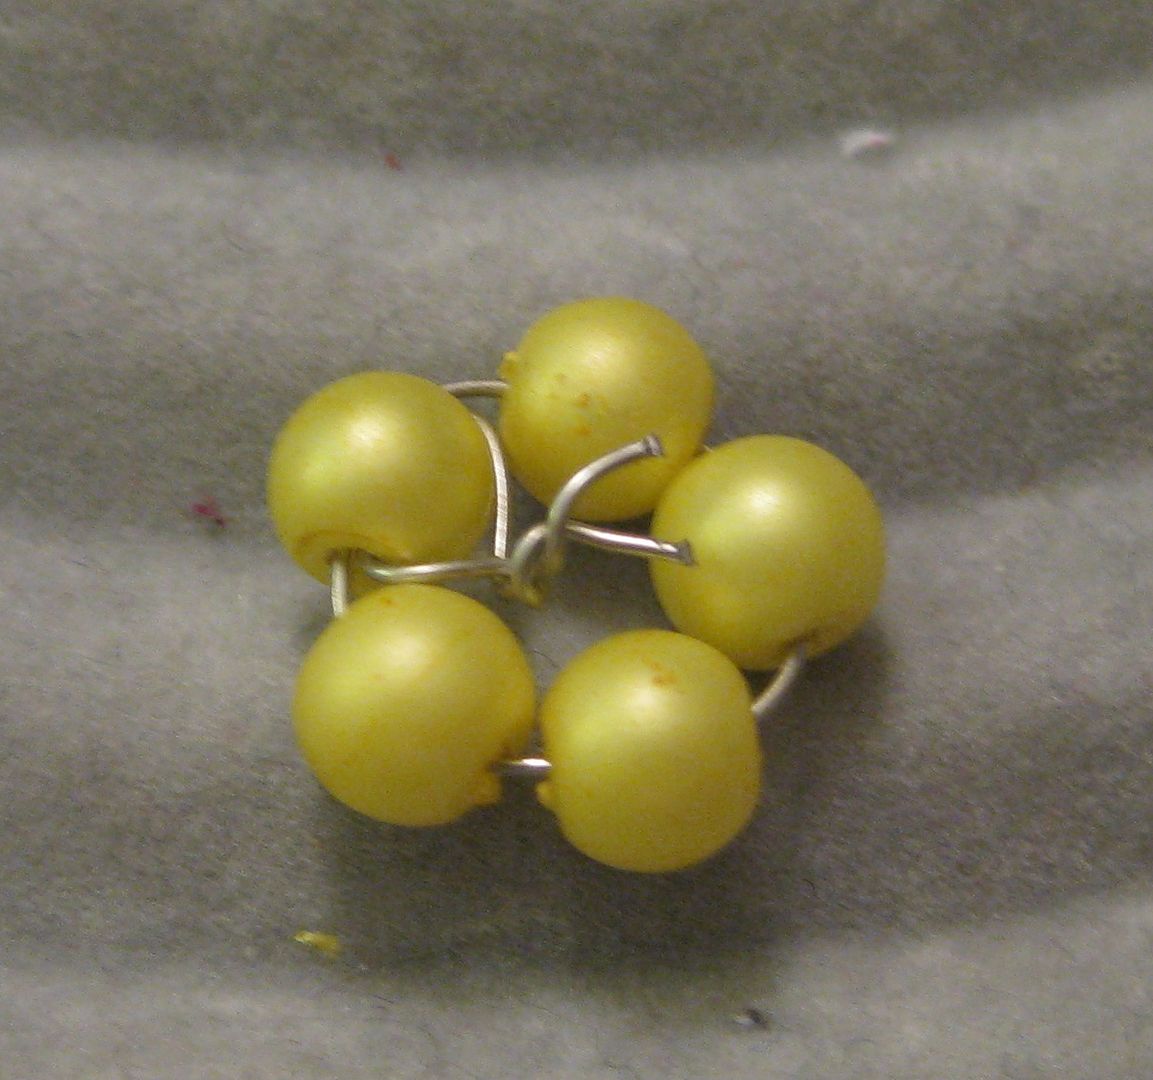
Going through my beadstash I had this mix of beads. they are not anything fancy. Simple regular plastic beads. There were these one beads that were this dull white I could not stand. I wanted to see if I could dye them....

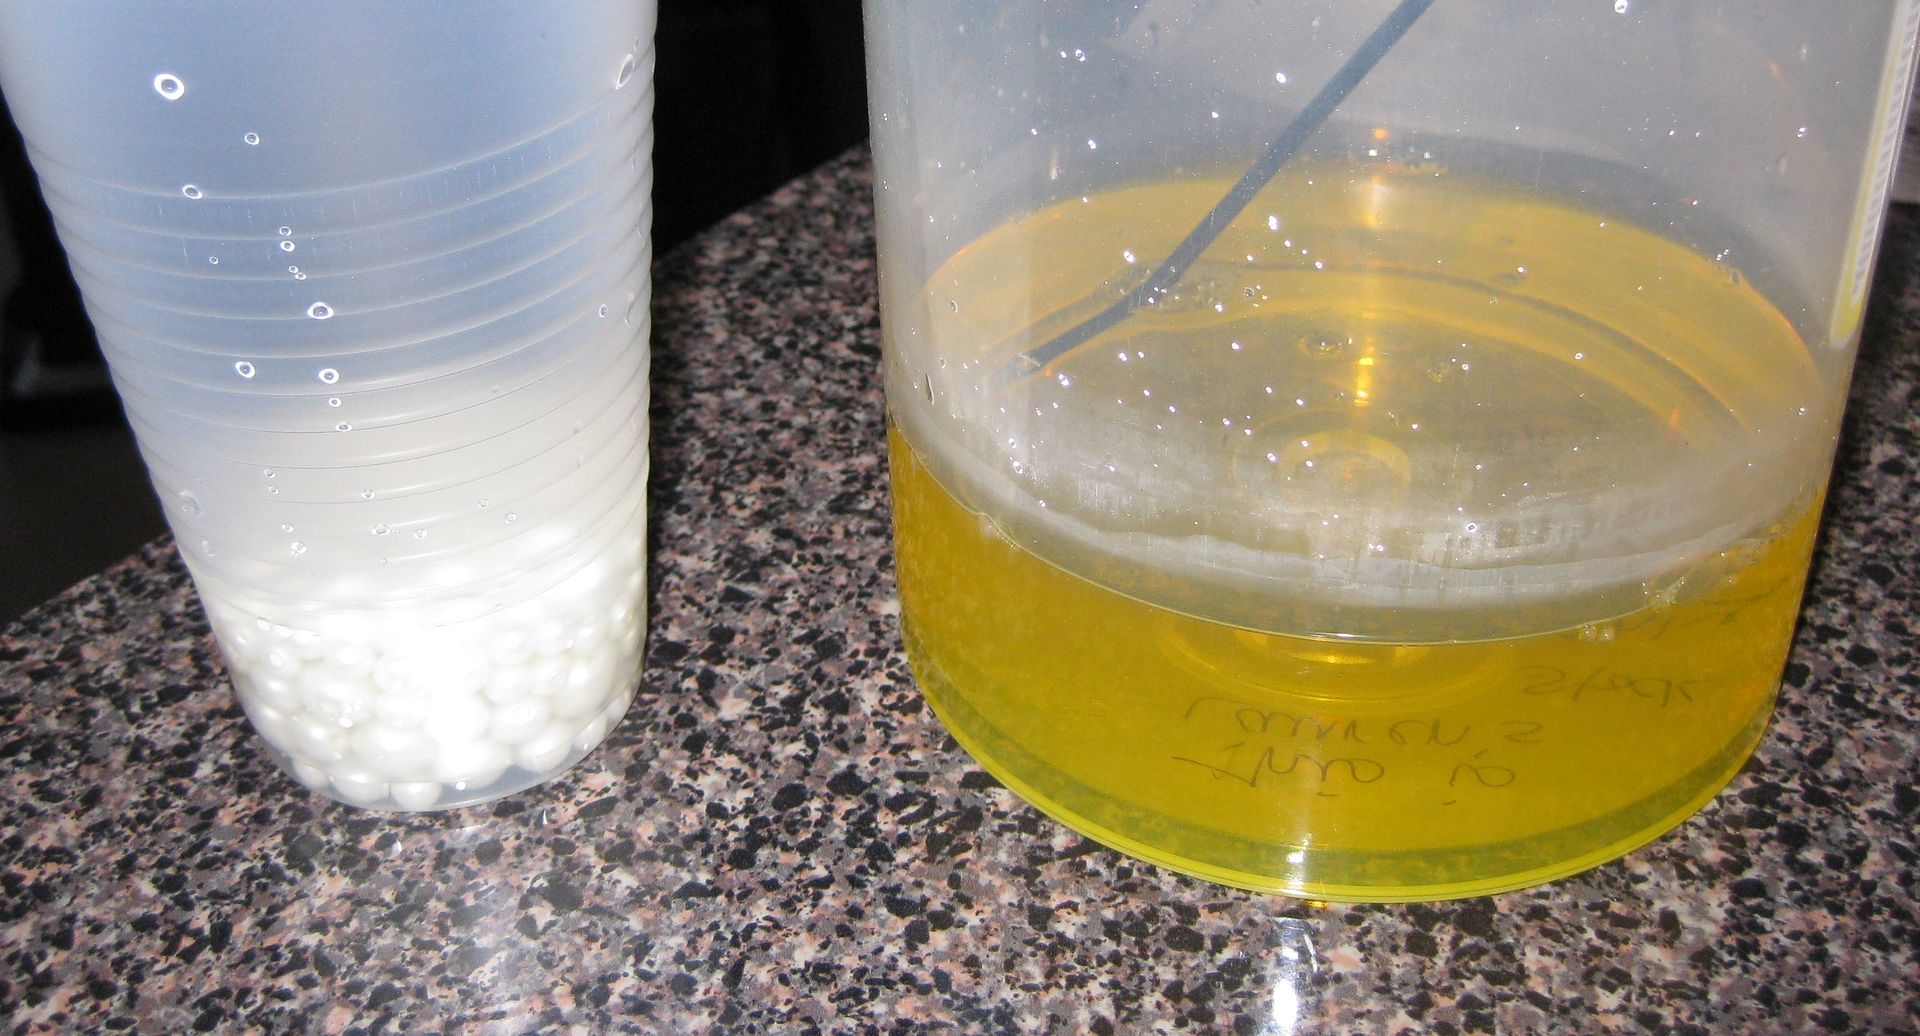
First I attempted lemon yellow rit dye. This was a FAIL. The dye didn't take. 


Yup I got nothing...

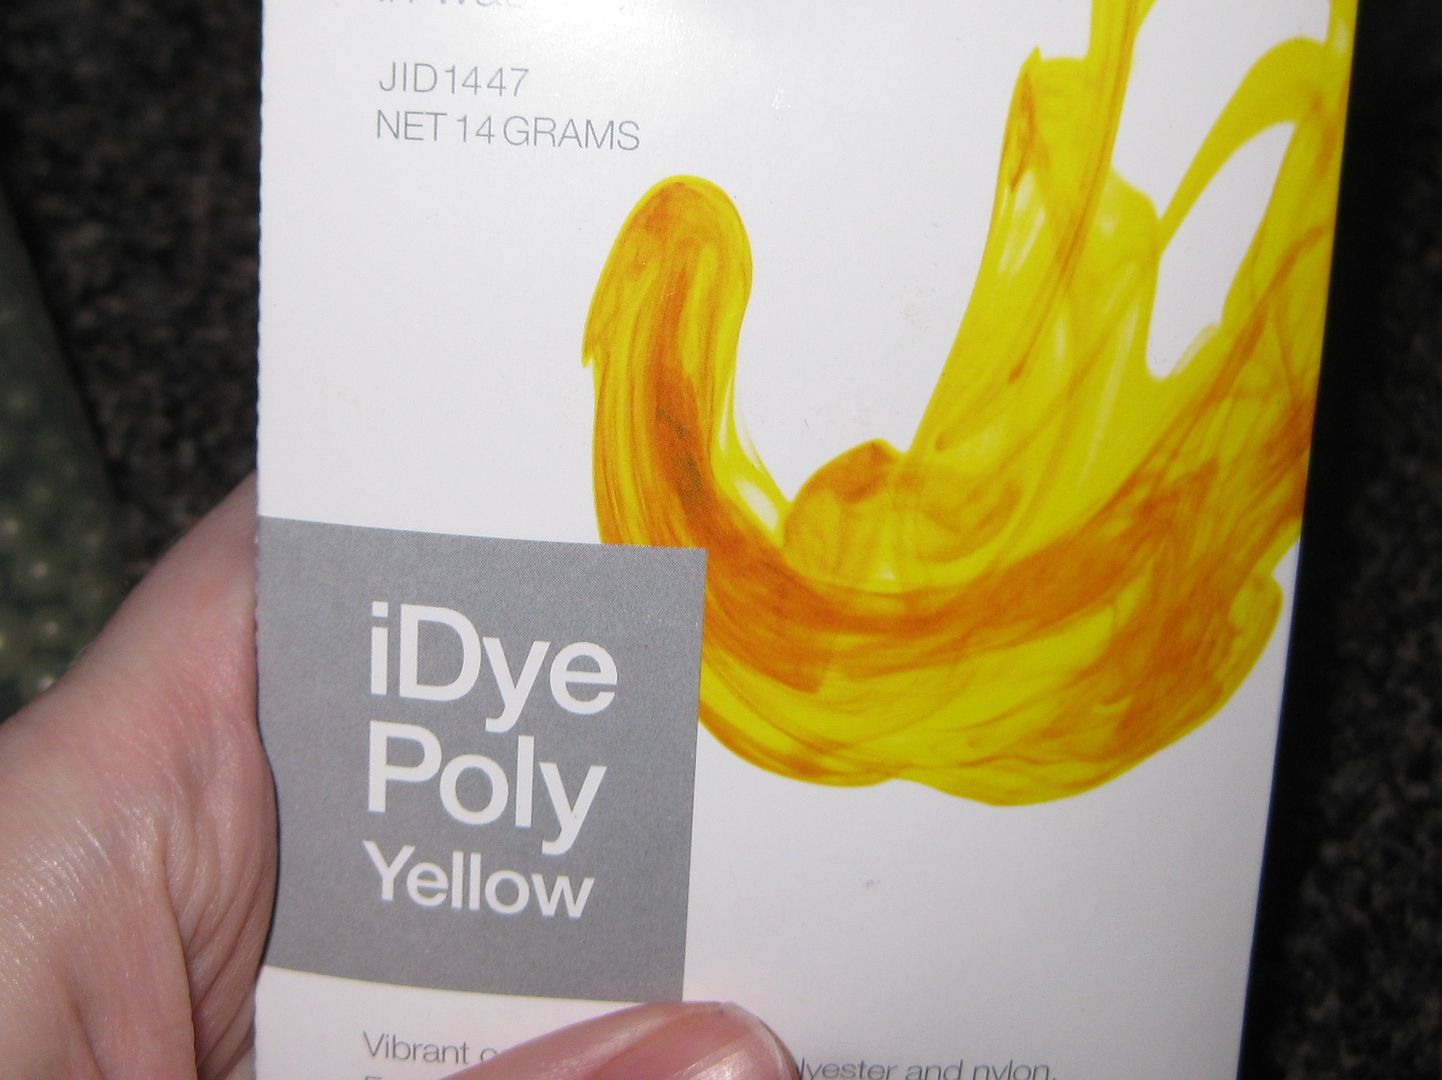
Time to pull out the heavy artillery. I thought iDye dyes polyester--which is plastic-- why not plastic beads??

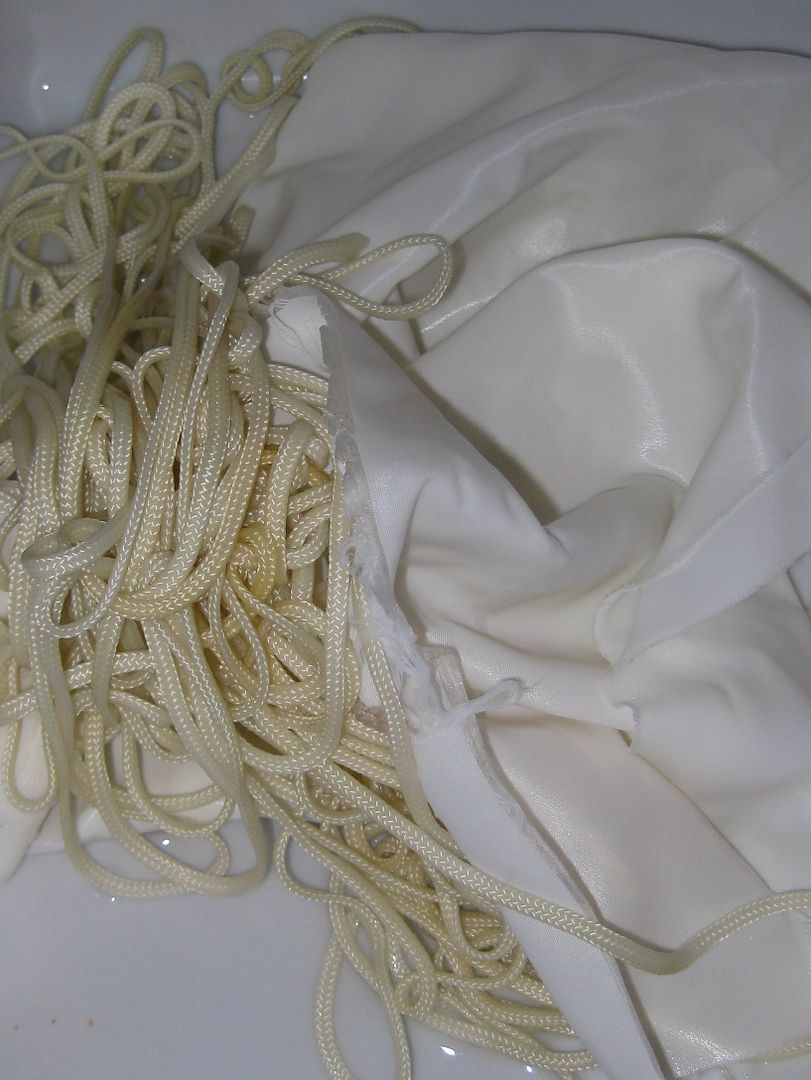
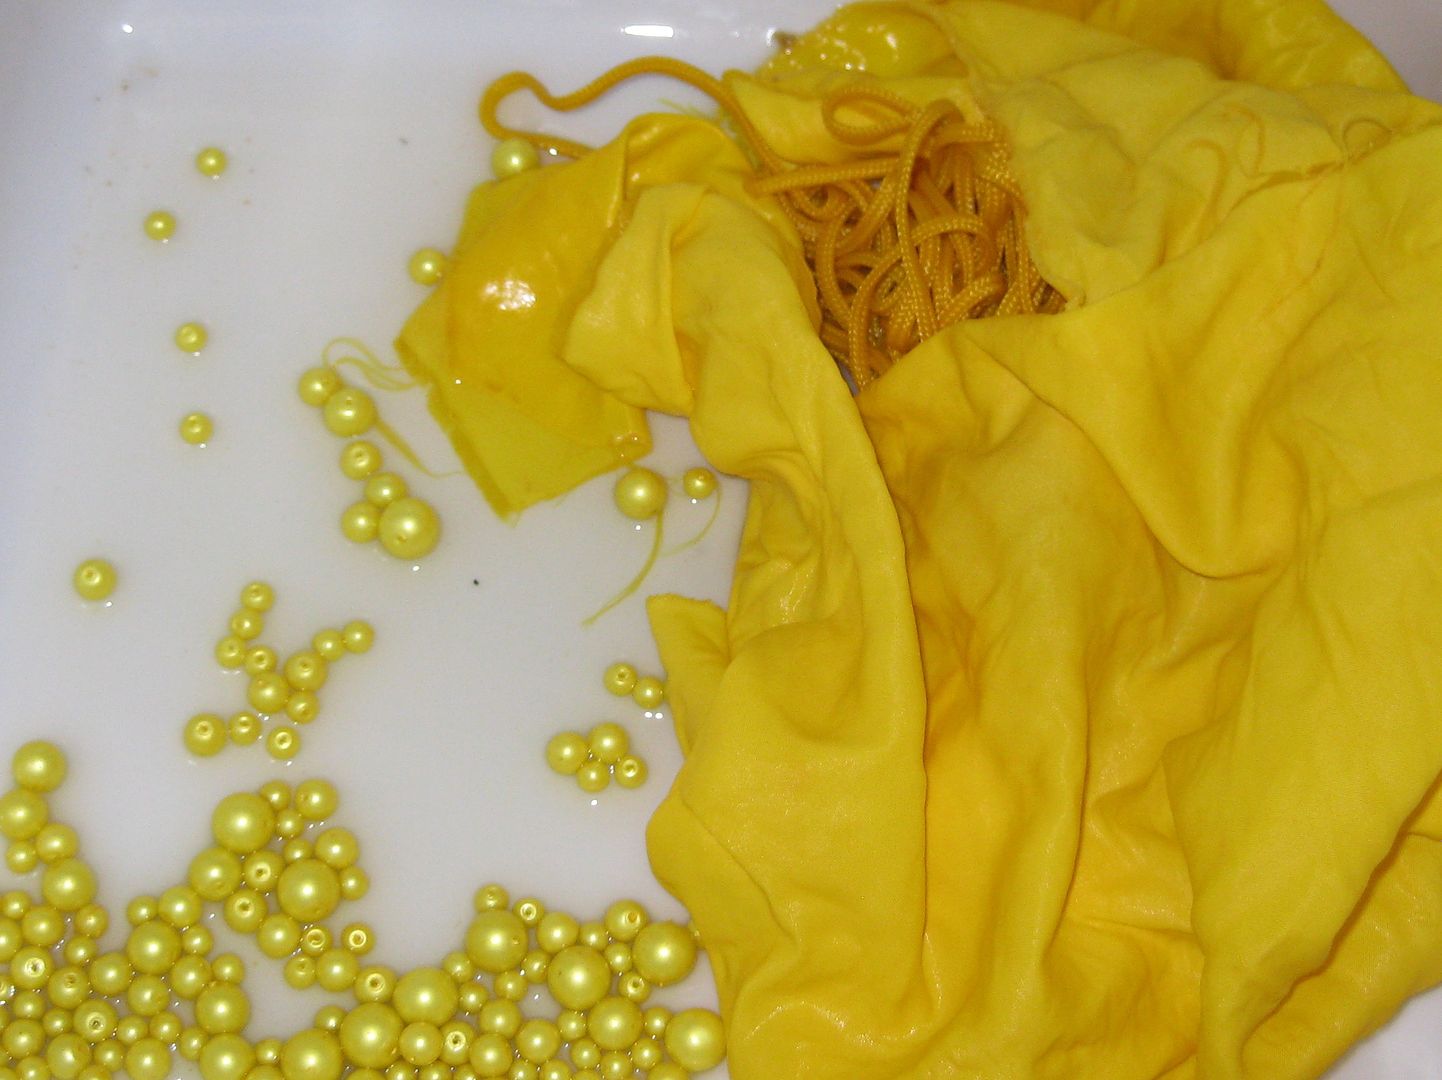
I also selected some other things also since I didn't want to waste dye. Rope trim and a piece of satin.

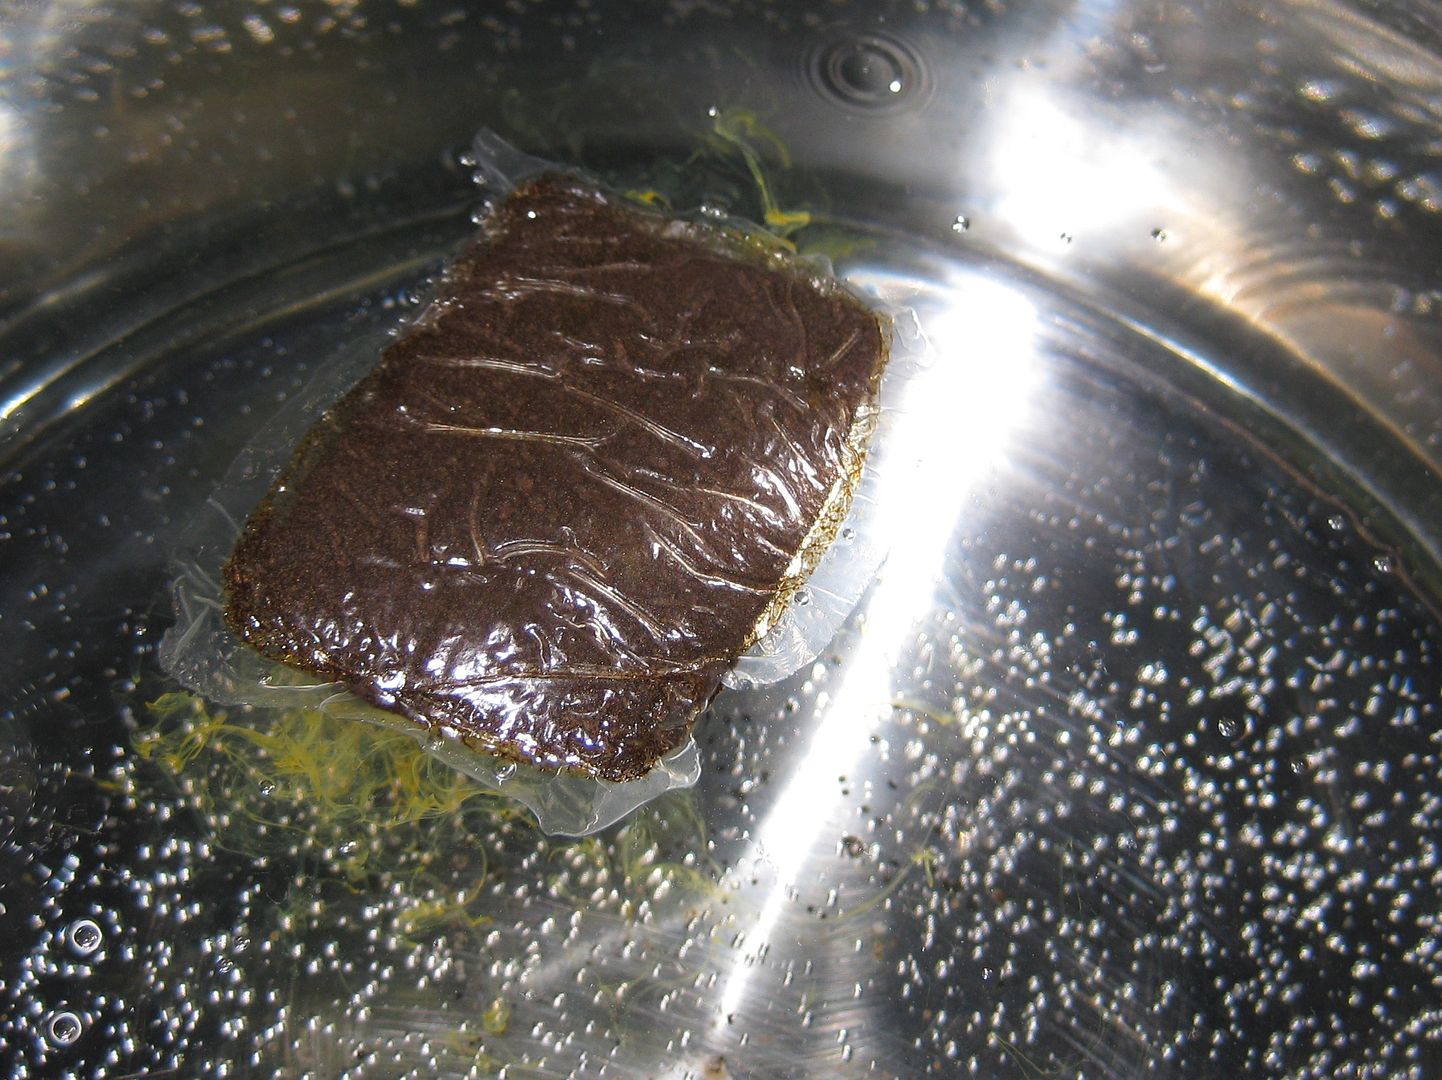
Simply add packet to the water.. Yup no spills or worrying about the dye going anywhere else!

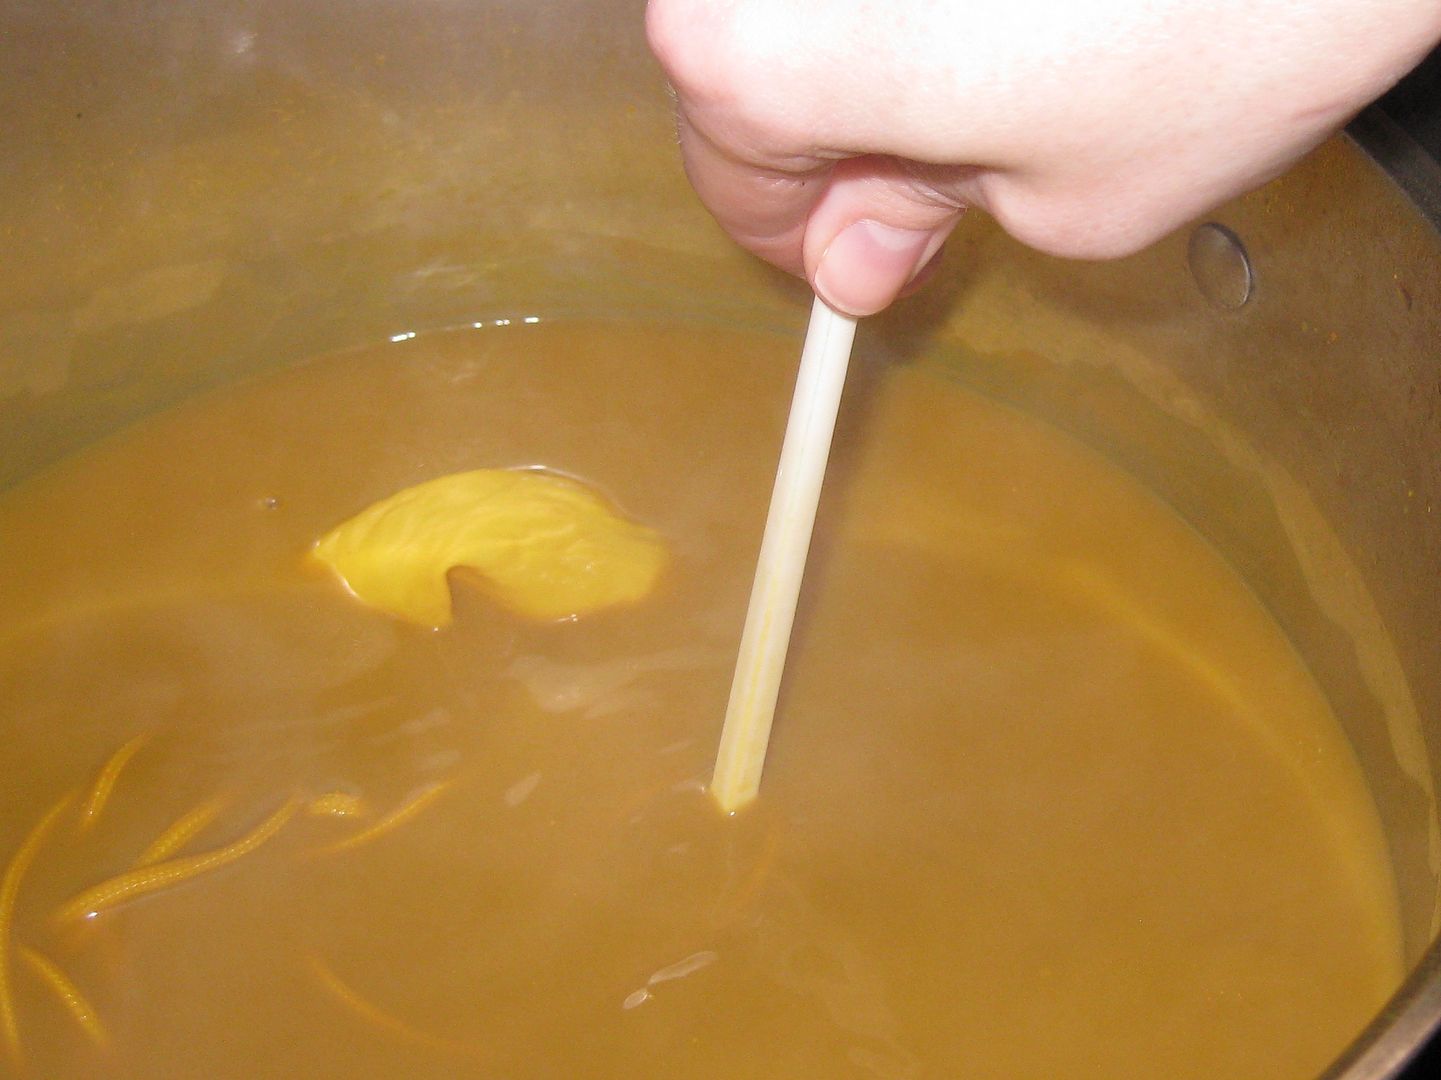
Mix well, add beads, etc... mix while on a medium heat

Here's the full removal out of the bath... yay  everything took!!

Let the beads dry- they look great

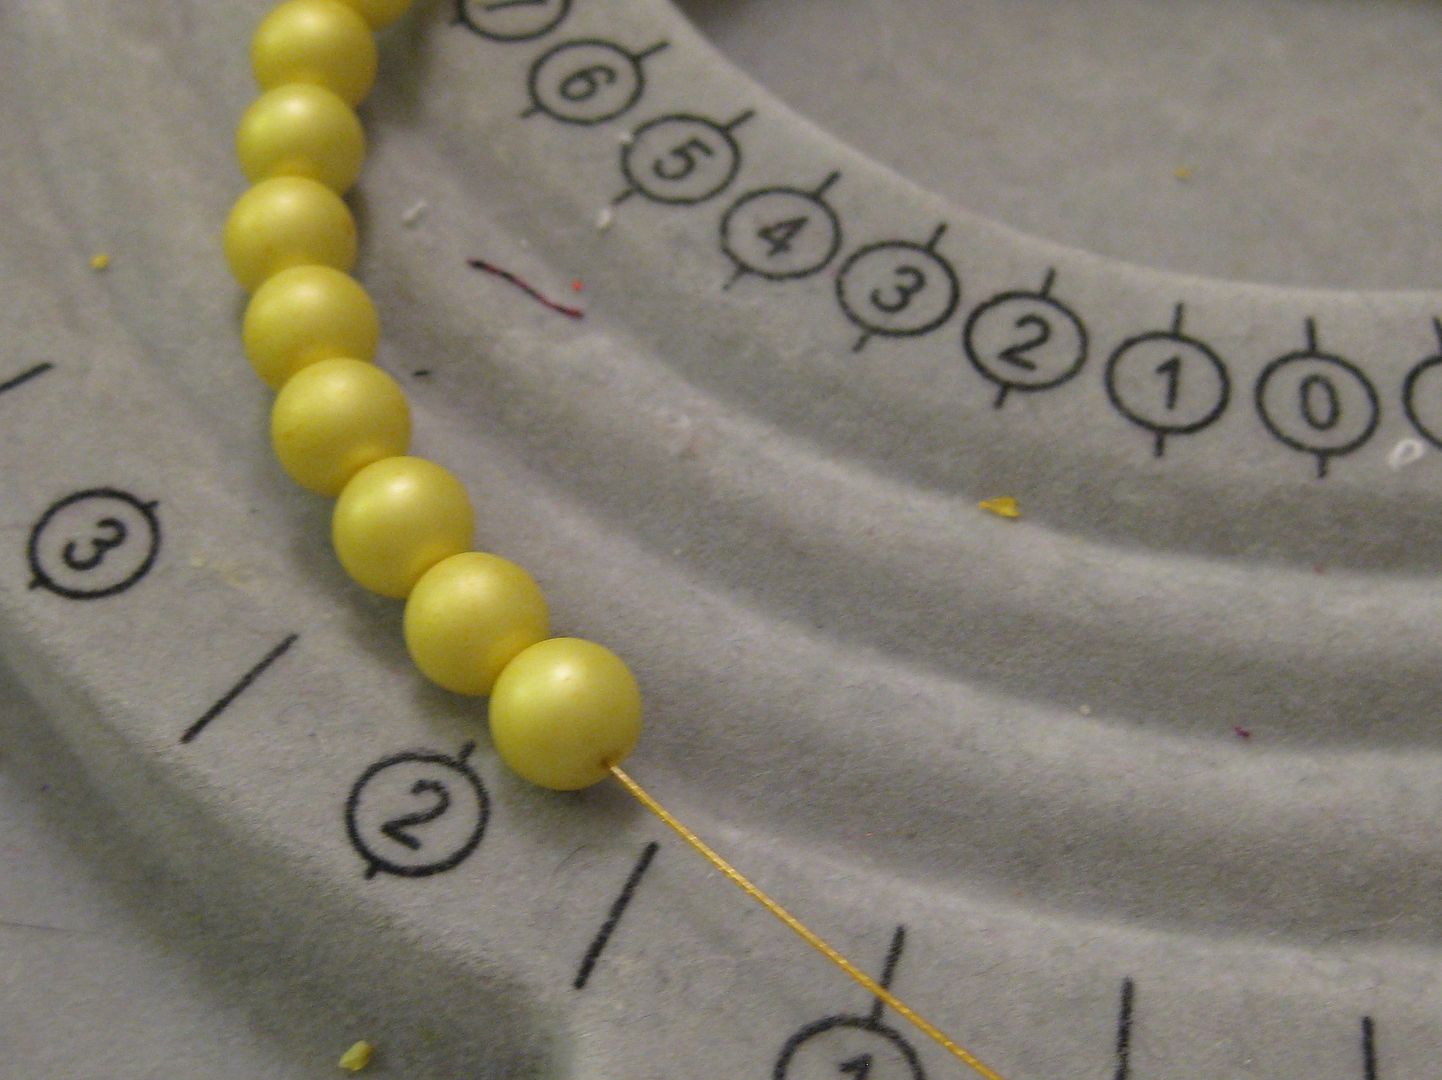
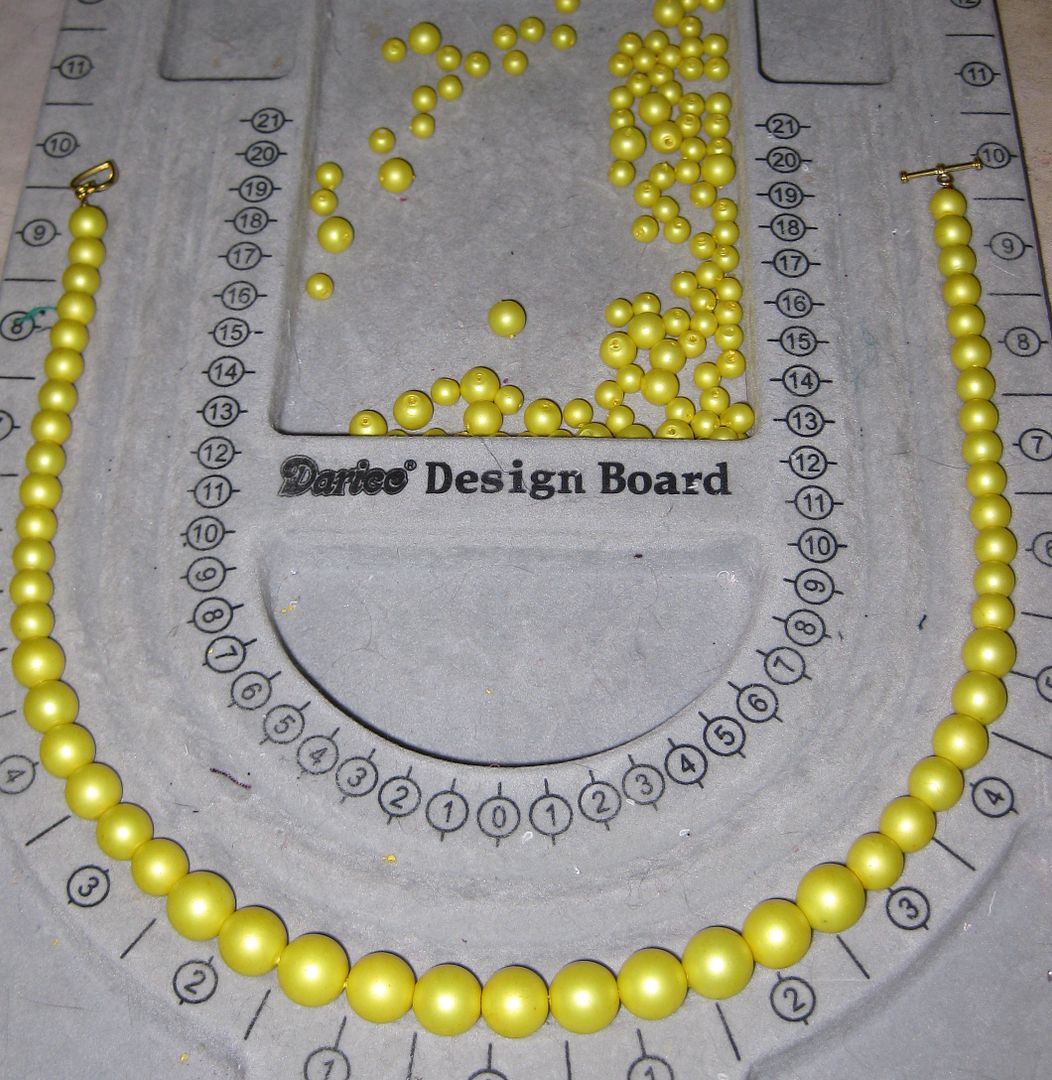
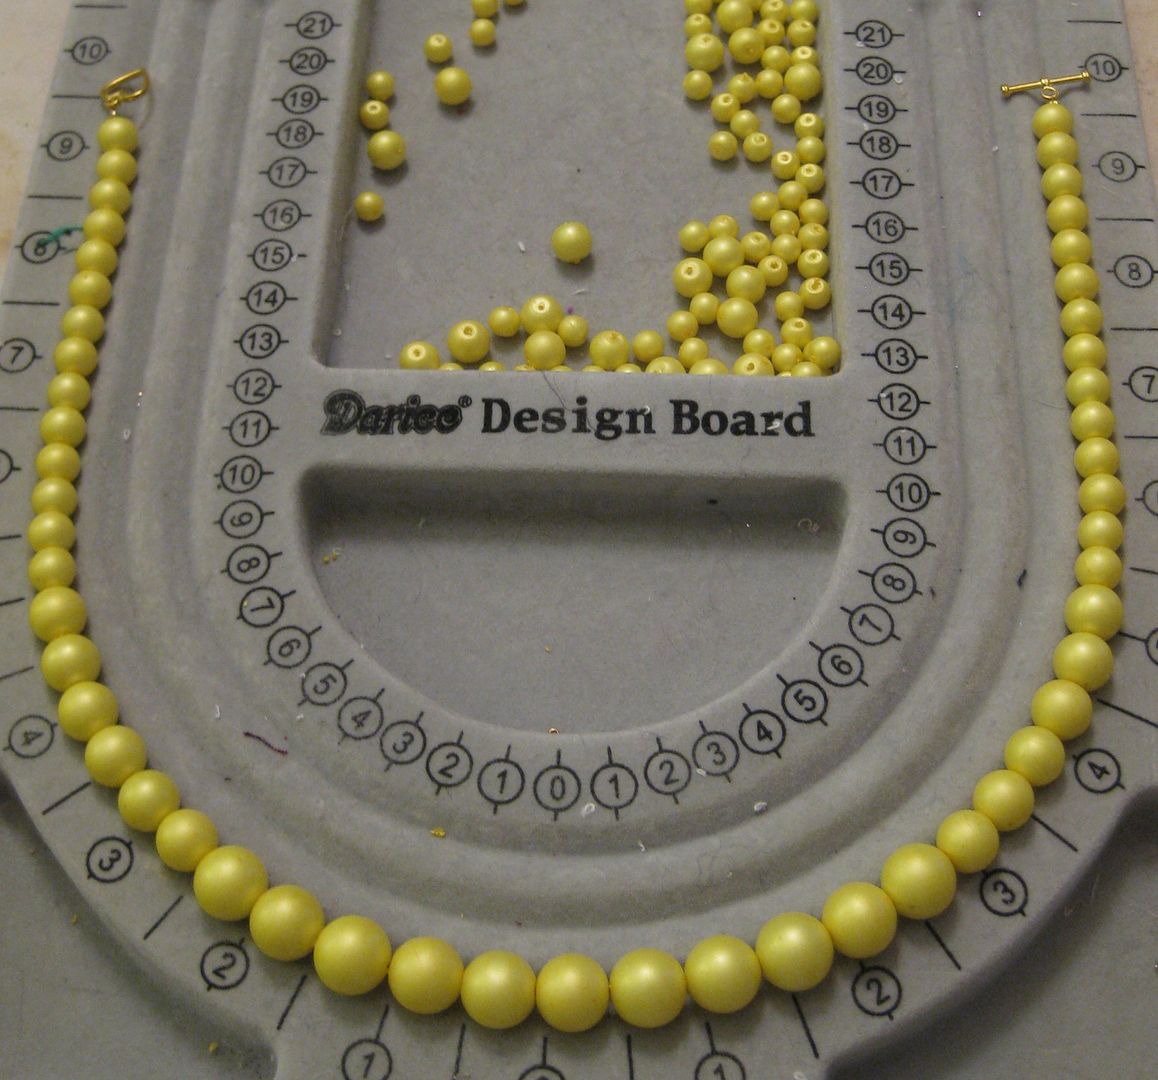
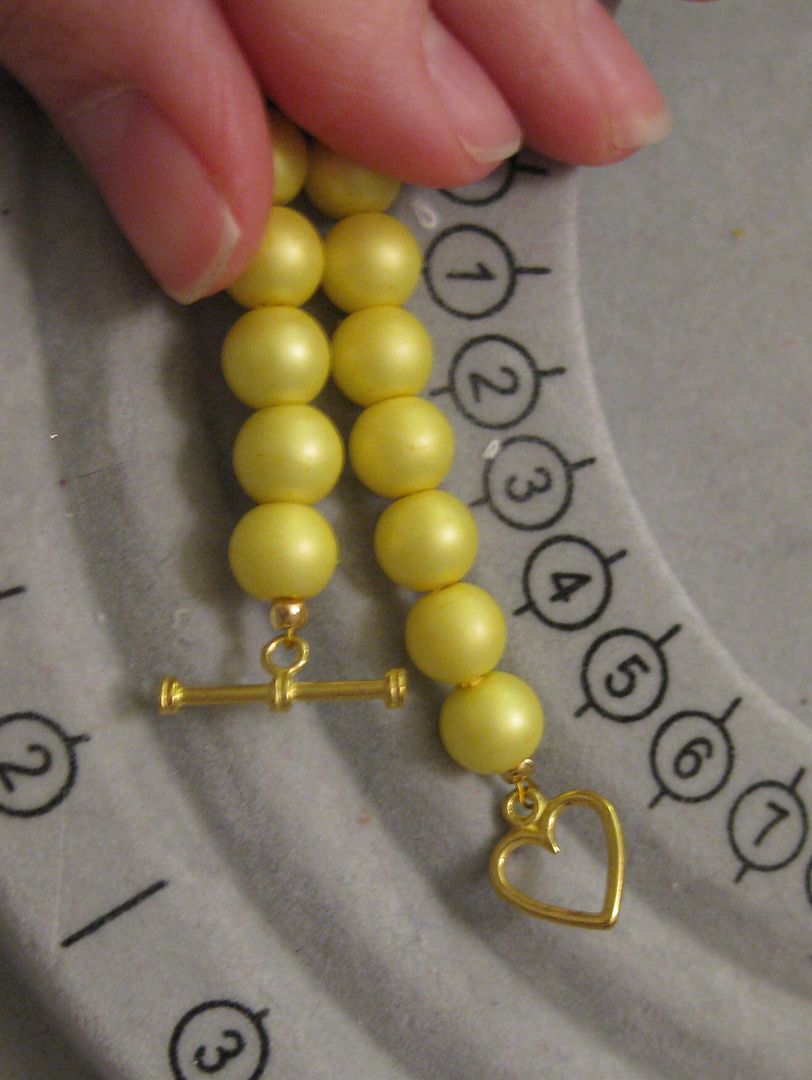
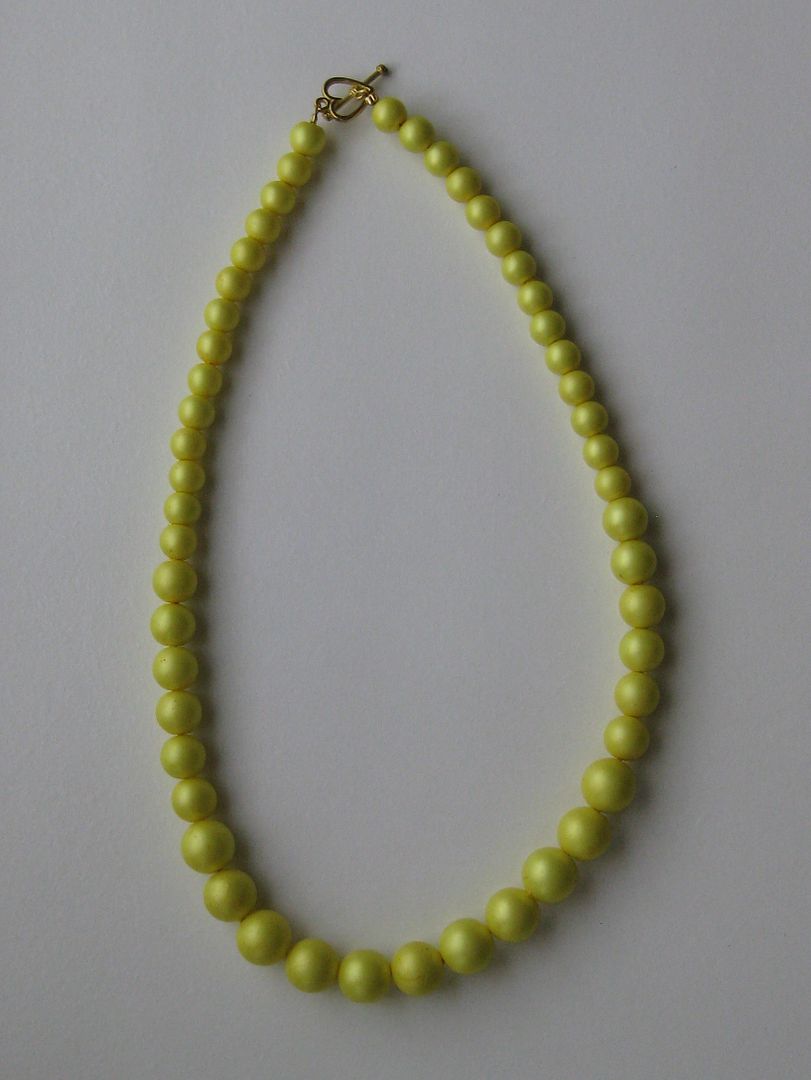
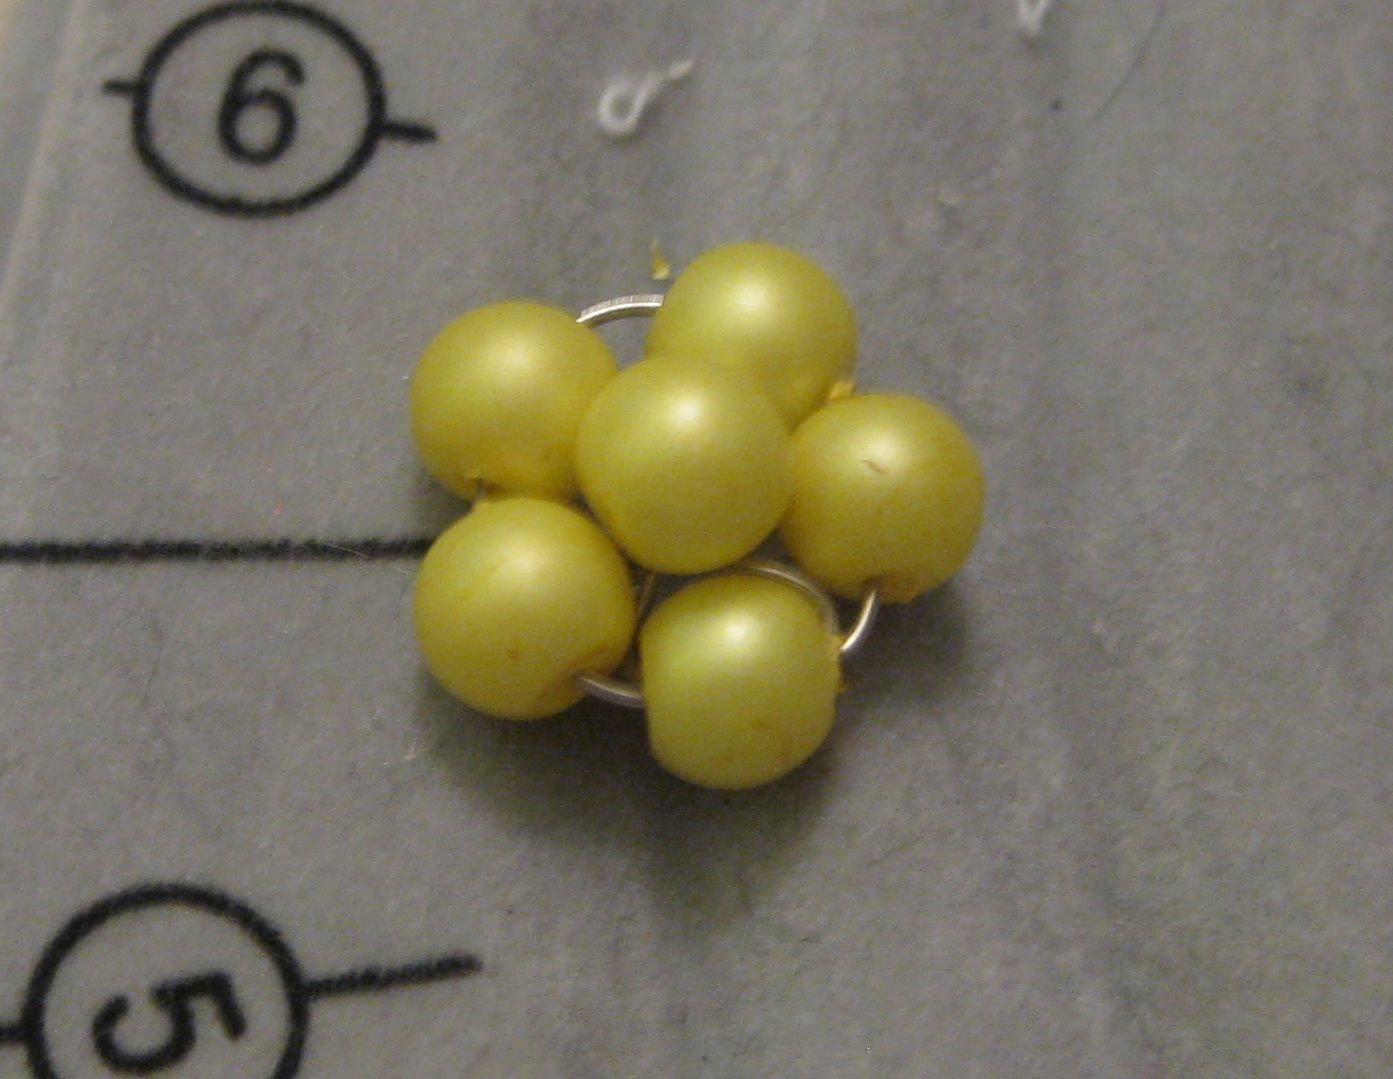
Time to make a necklace! I centered the bigger beads and then flanked the smaller beads at each end. 

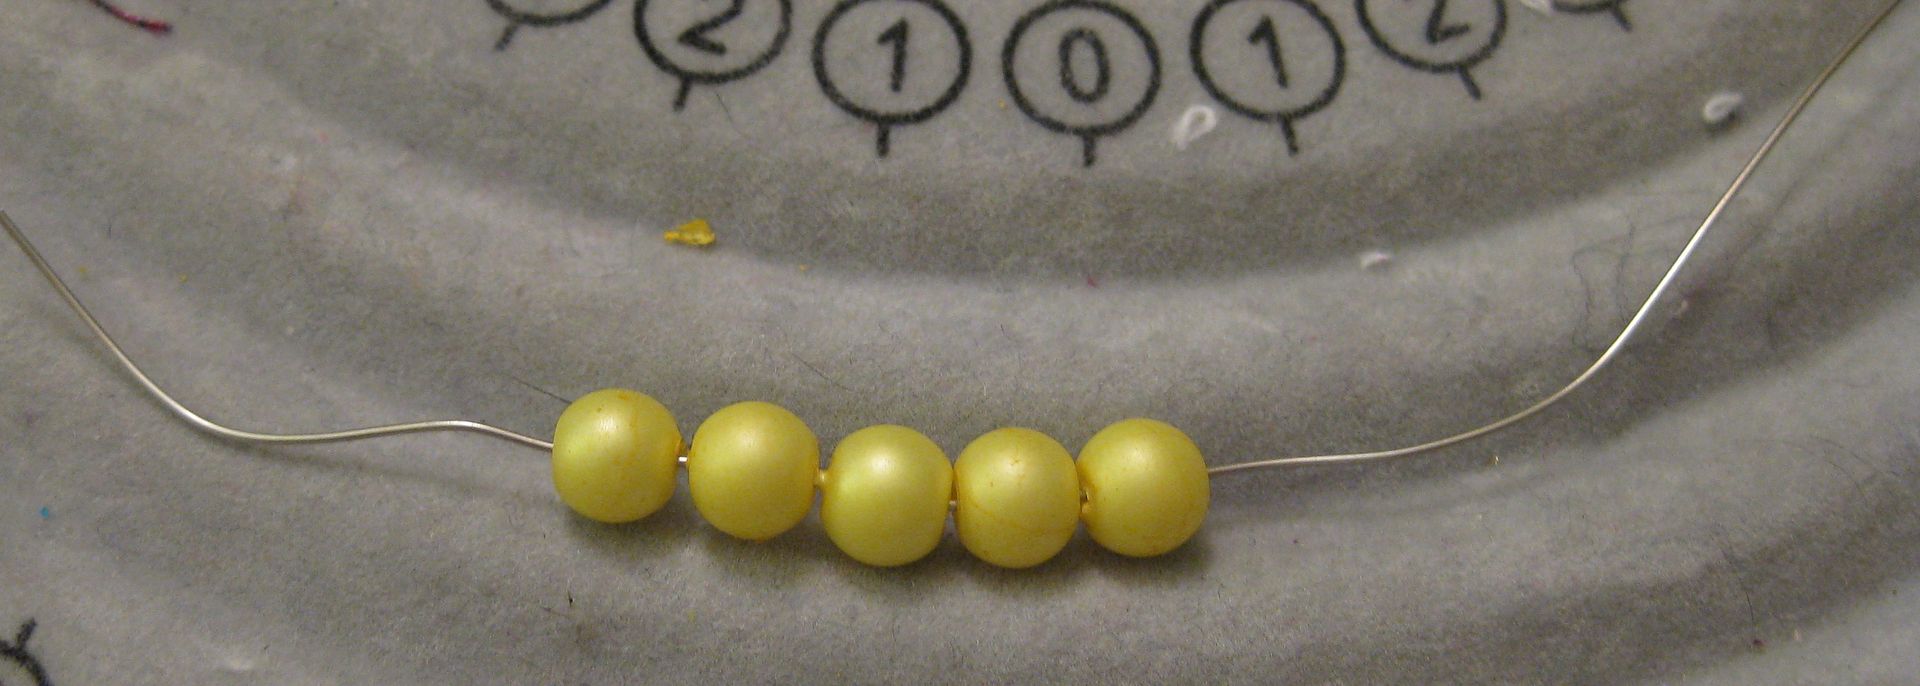
Went easy with gold beading wire-coated of course- part of my stash.

with the hook & toggle..


I love the heart eye for the necklace. Really cute!

Here is the finished product... way prettier than those dull white beads. A pop of yellow will make for a good add in my wardrobe!

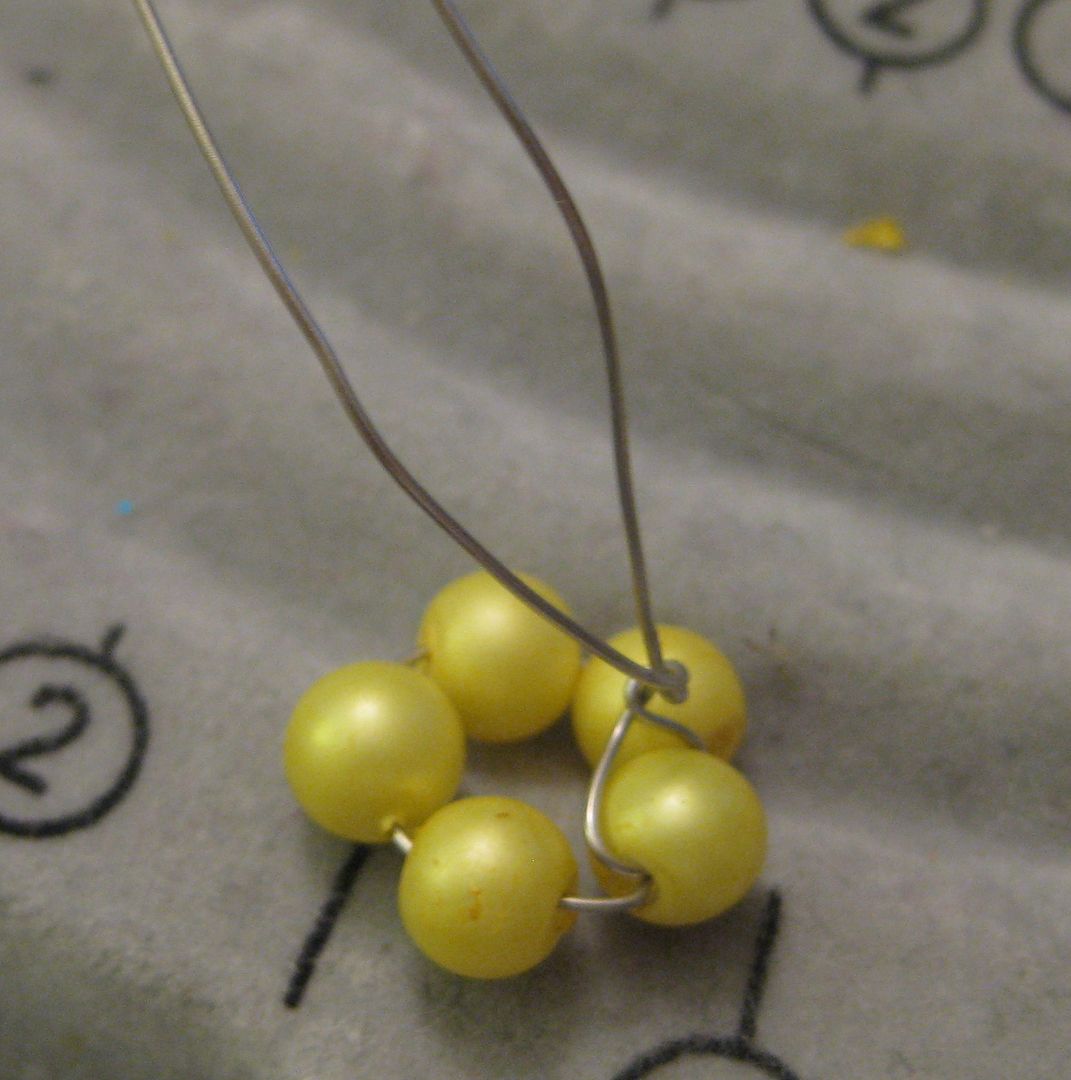
Not done with these but playing around with trying to make earrings with these beads...


Let's see. I am still working on it. I had company come in town and I did absolutely no crafts or sewing! Must play catch up now...

xoxoxo,
Lauren
Wednesday, May 22, 2013

Peacock necklace

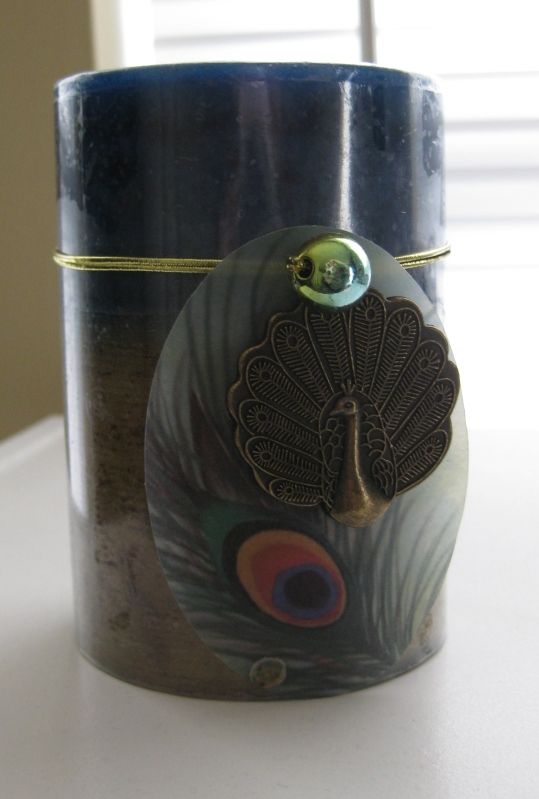
This necklace all started with this candle. I noticed it had a cool peacock charm. And with my obsession with peacocks this candle came home and I decided a necklace was in line. :)

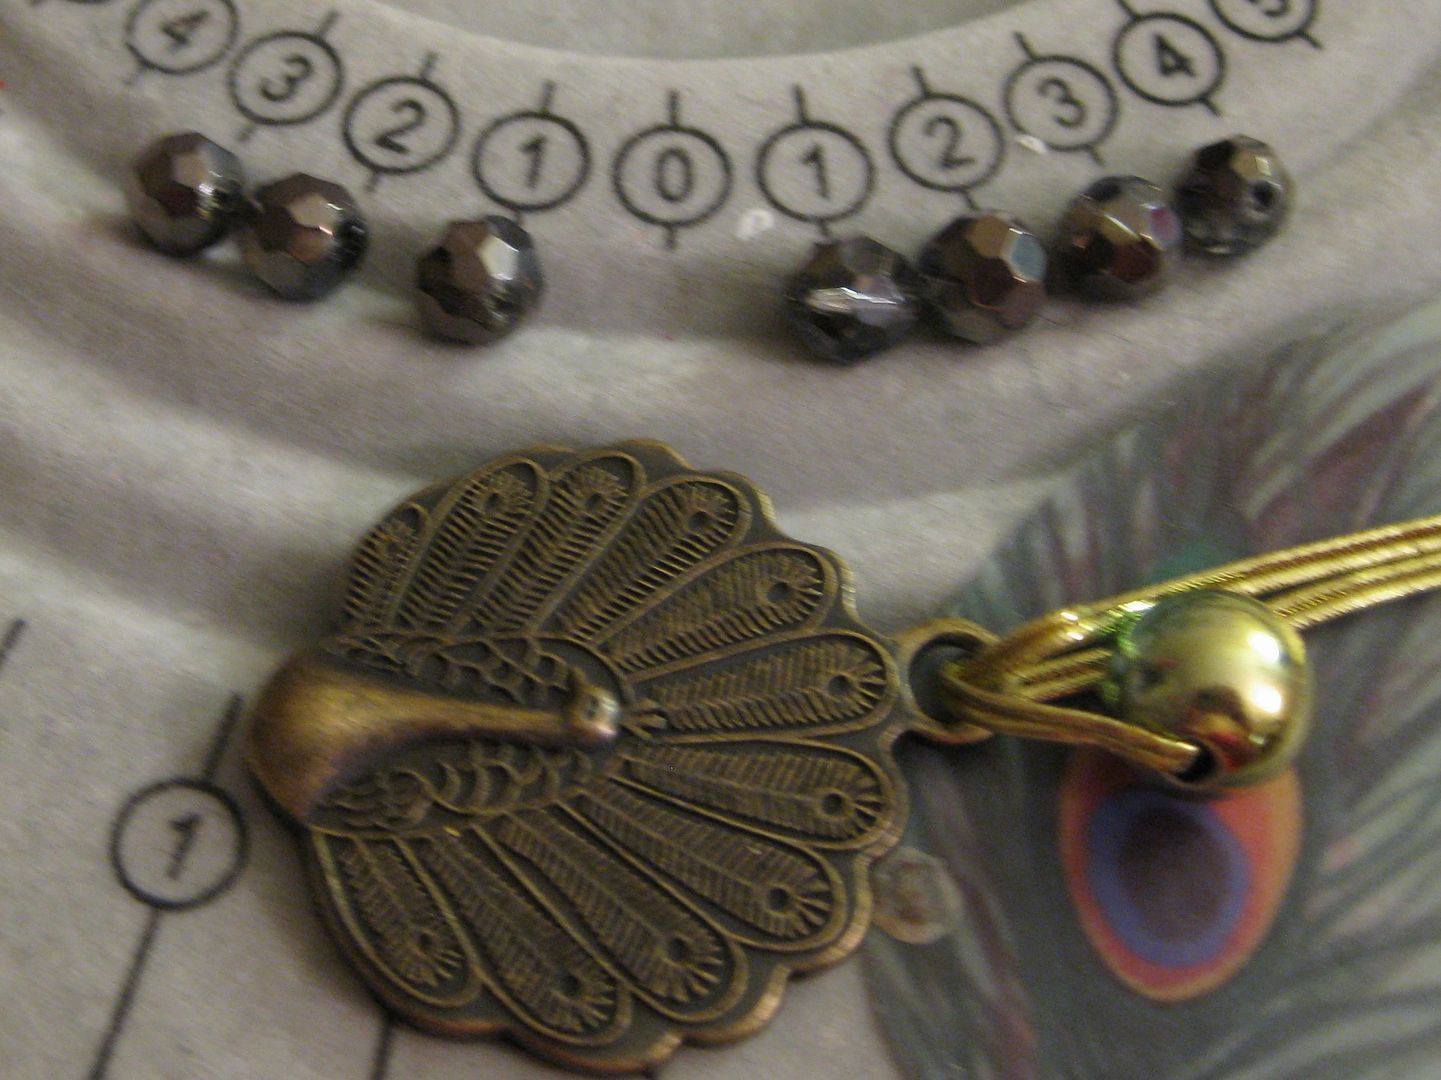
Off came the gold stuff. And you can see the cystals I am going to pair with the charm. 

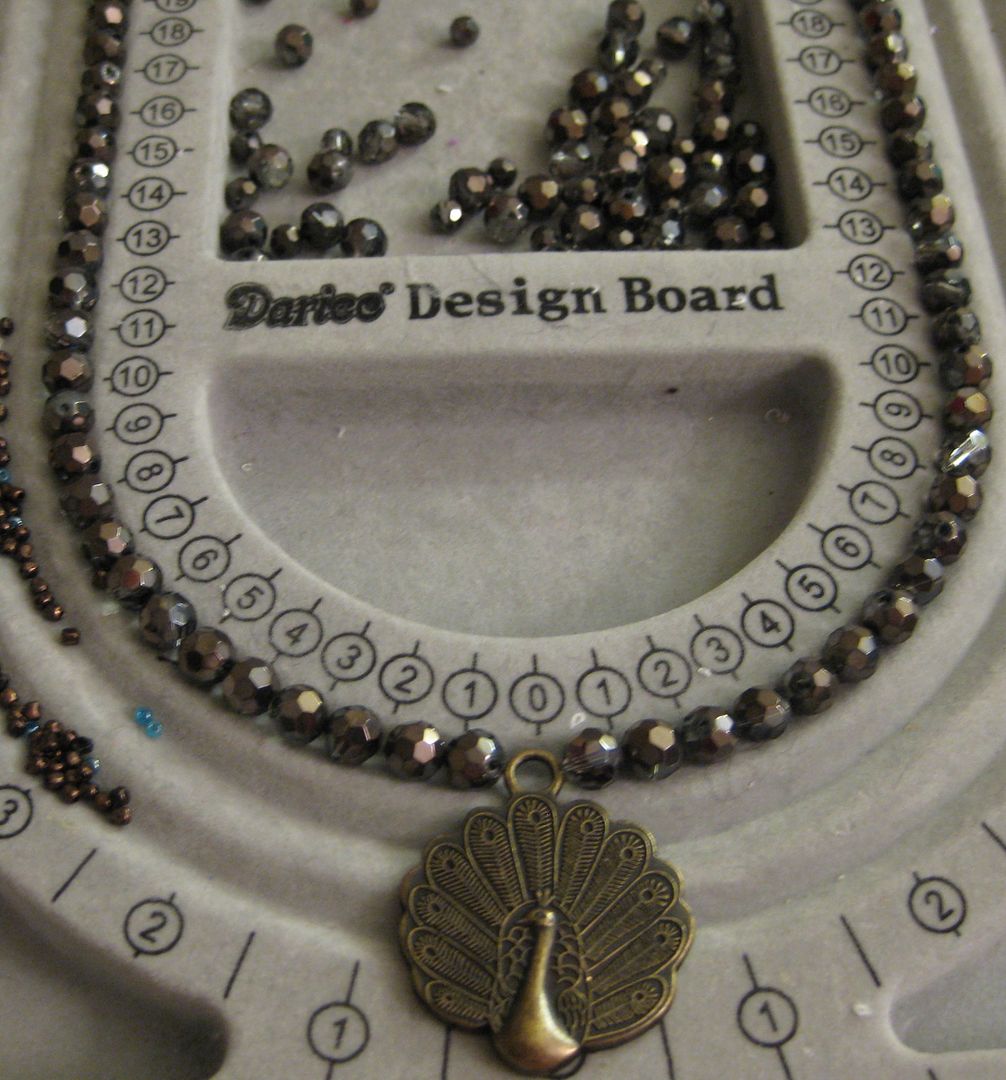
Here is my design. I was also going to use some bronze spacer seed beads. I used 2 jump rings to keep the peacock facing forward. It was pretty easy to string. 

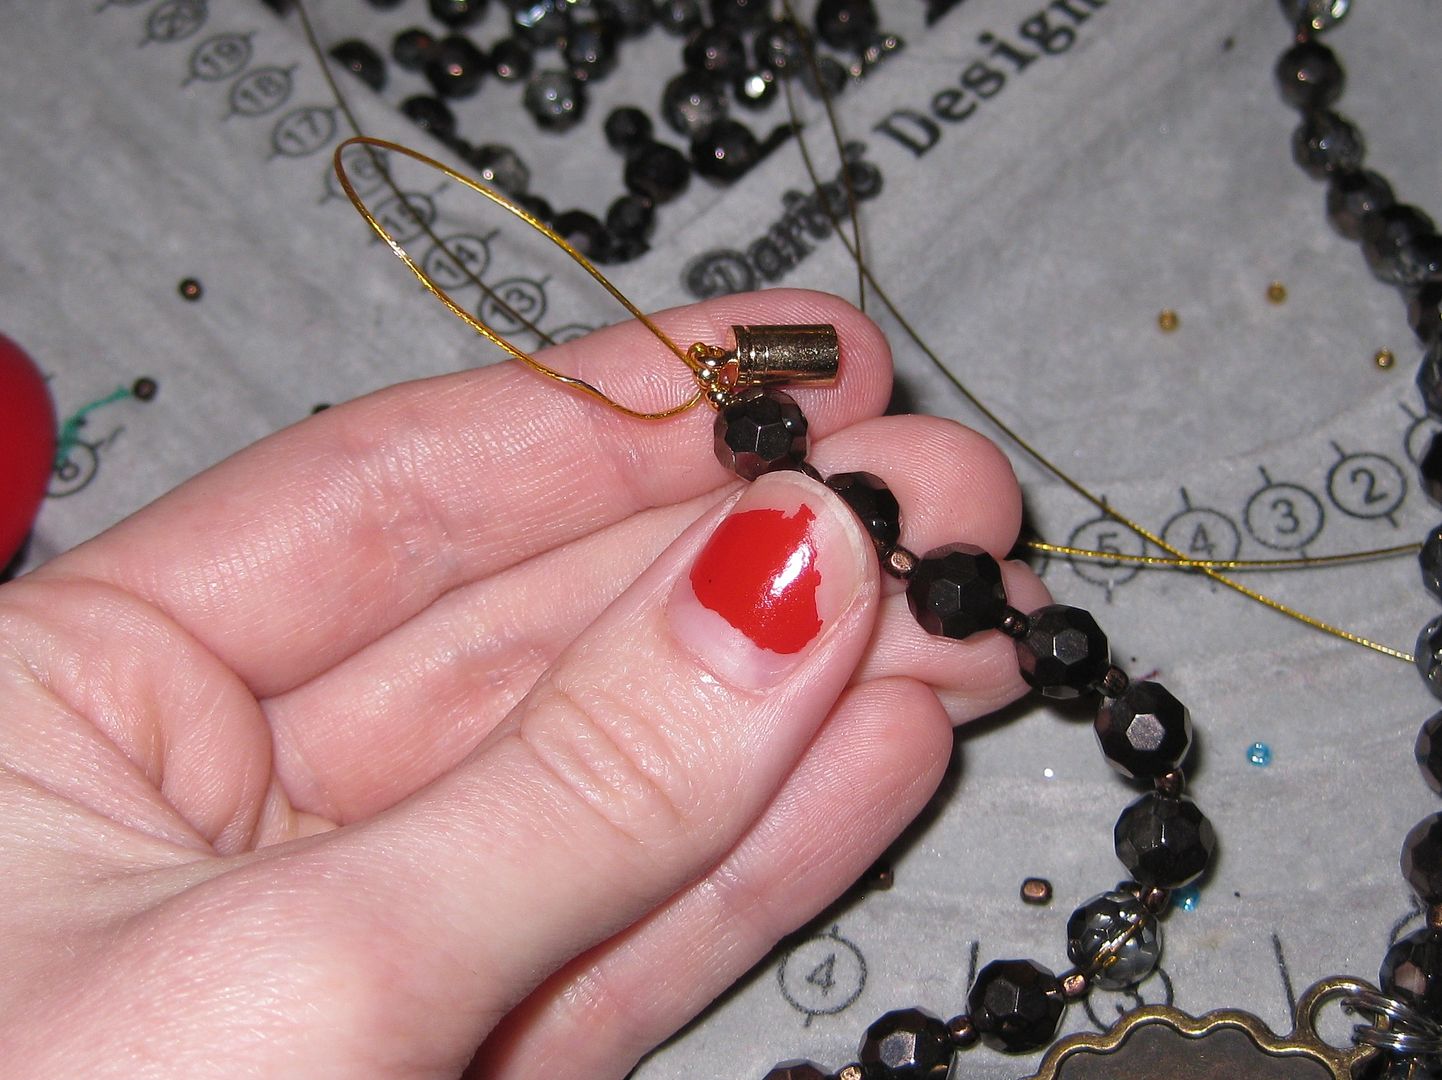
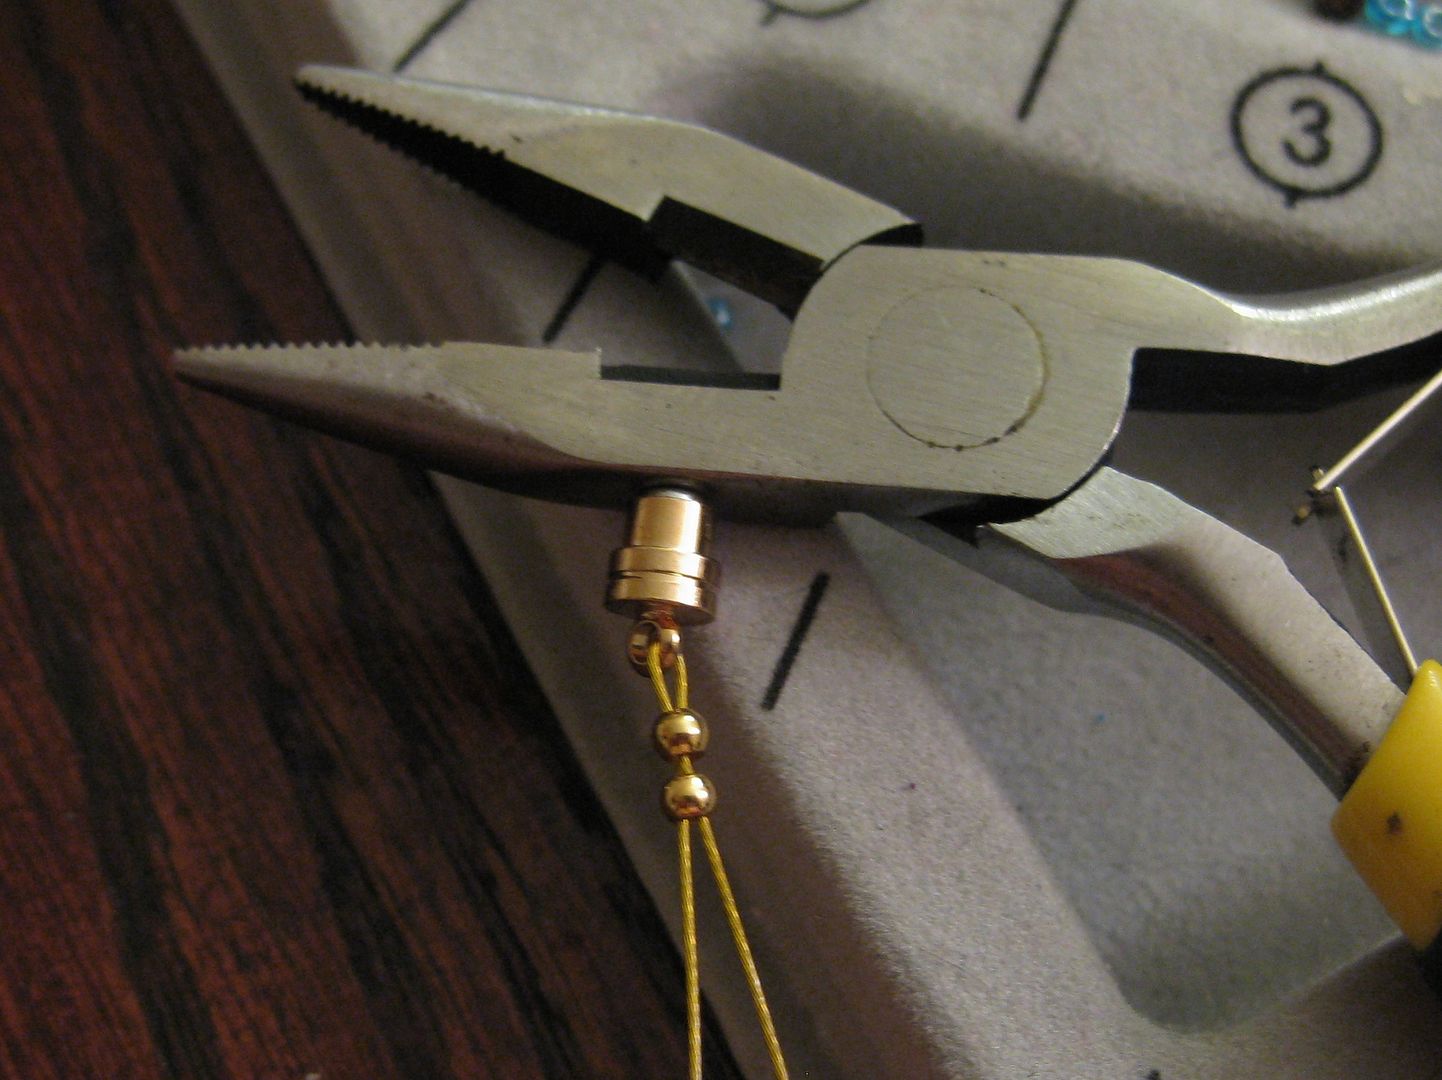
Now to add fasteners-I am going to use a magnetic clasp. Here is a hint on how to get your crimp beads crimped with a magnetic clasp... let it attach to something magnetic, THEN crimp. Or you will have lots of problems!

I used 2 crimp beads on both sides. And weaved it through the nearby beads to hide the string.

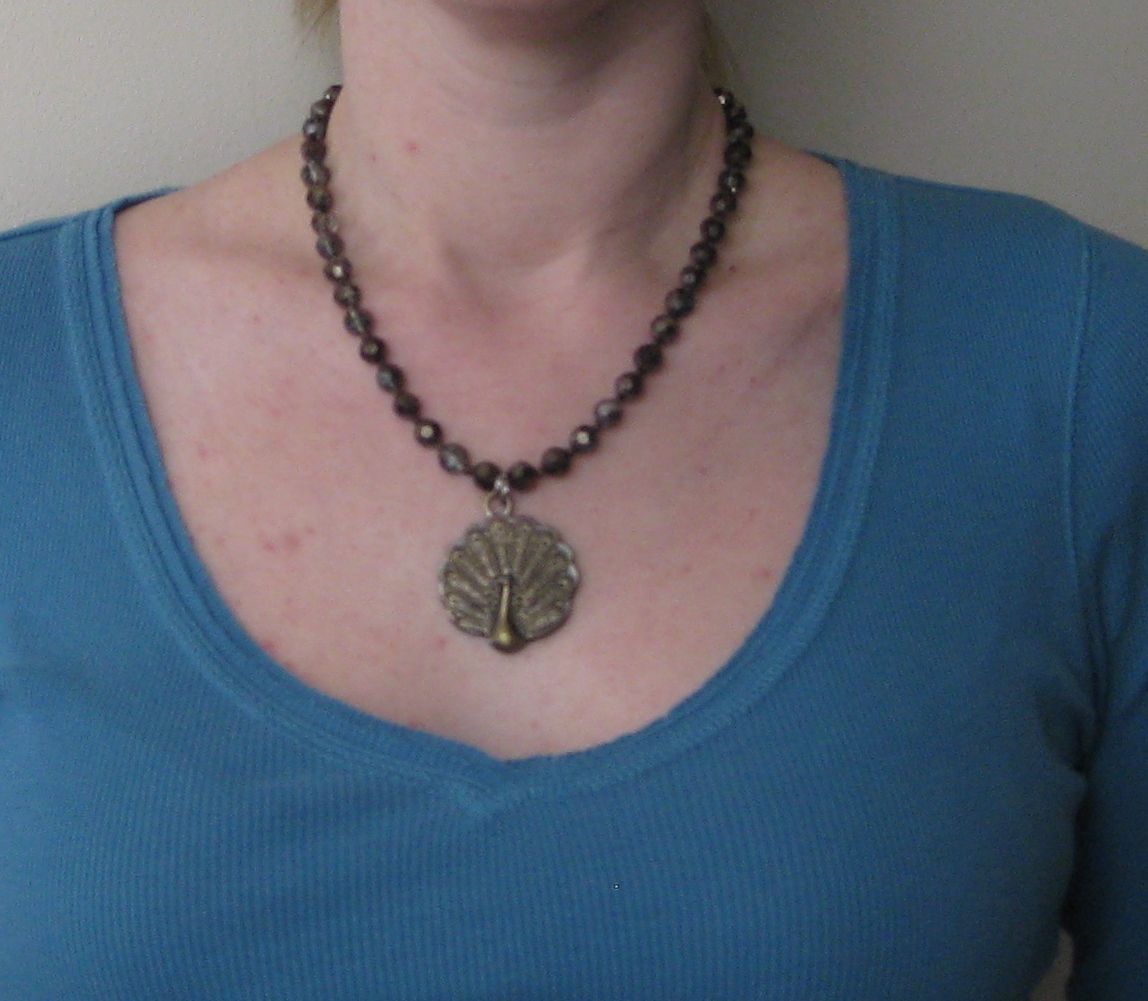
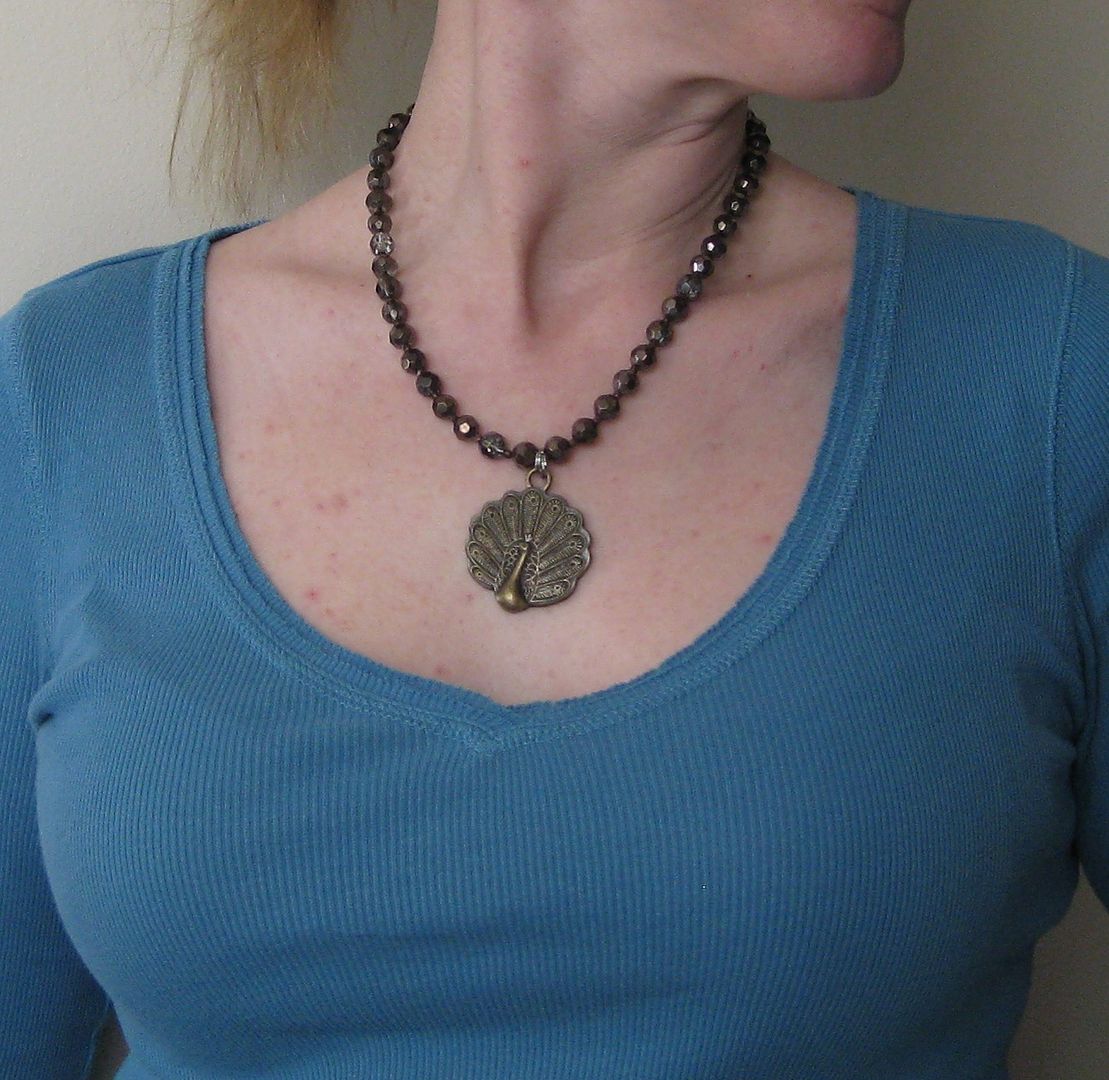
Done! Yay! 

This peacock charm looks so much nicer on my then it does on the candle. But I am little biased. :) Yay for recycling something that could have been just tossed. But it was too pretty to pass up.

xoxoxo,
Lauren
LinkWithin
Related Posts Plugin for WordPress, Blogger...