Well hi welcome to my little blog. Just my little corner of craftiness, sewing, and refashioning. I am also a newly gluten free eater so you have a little bit of recipes mixed in here.
Showing posts with label peacock. Show all posts

Wednesday, January 7, 2015

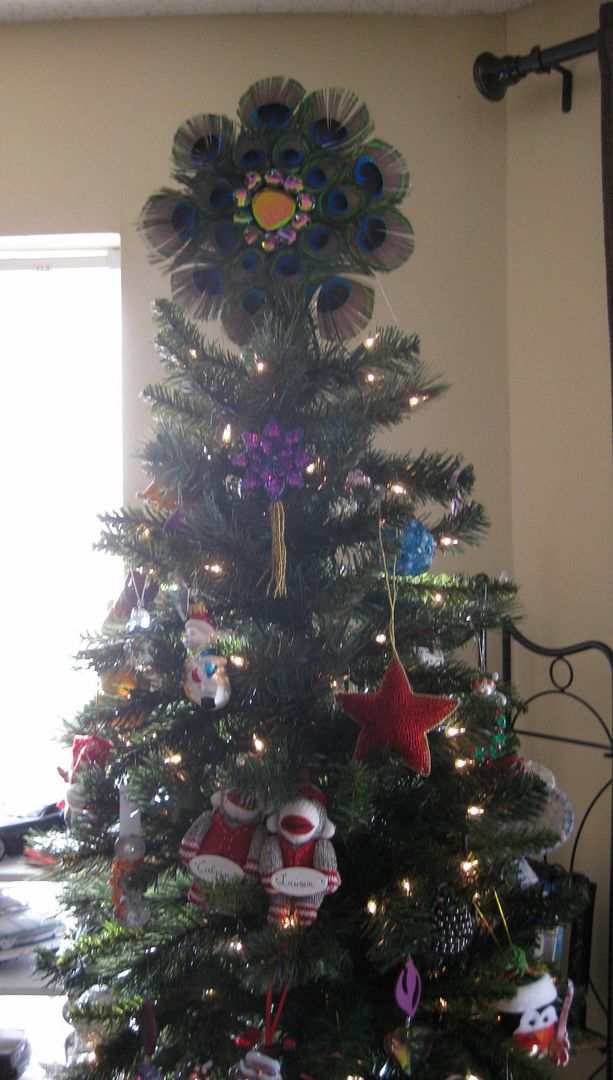
Peacock Feather Tree Topper

So I have been a royal slacker when it comes to blog posts. And some of my finished stuff does not have end pictures as it has not been sunny at all so that doesn't make for good pictures. So I am a little behind. That and this past weekend since it was not sunny out, I took on a big project- blog post to come.

I put up my tree and I thought it needed some bling. And I wanted a topper for it. I had a huge amount of peacock feathers. One day. months back, I came up with an idea on what I wanted to do.

Here is what I basically did
- took small and large peacock feather based on their eye size
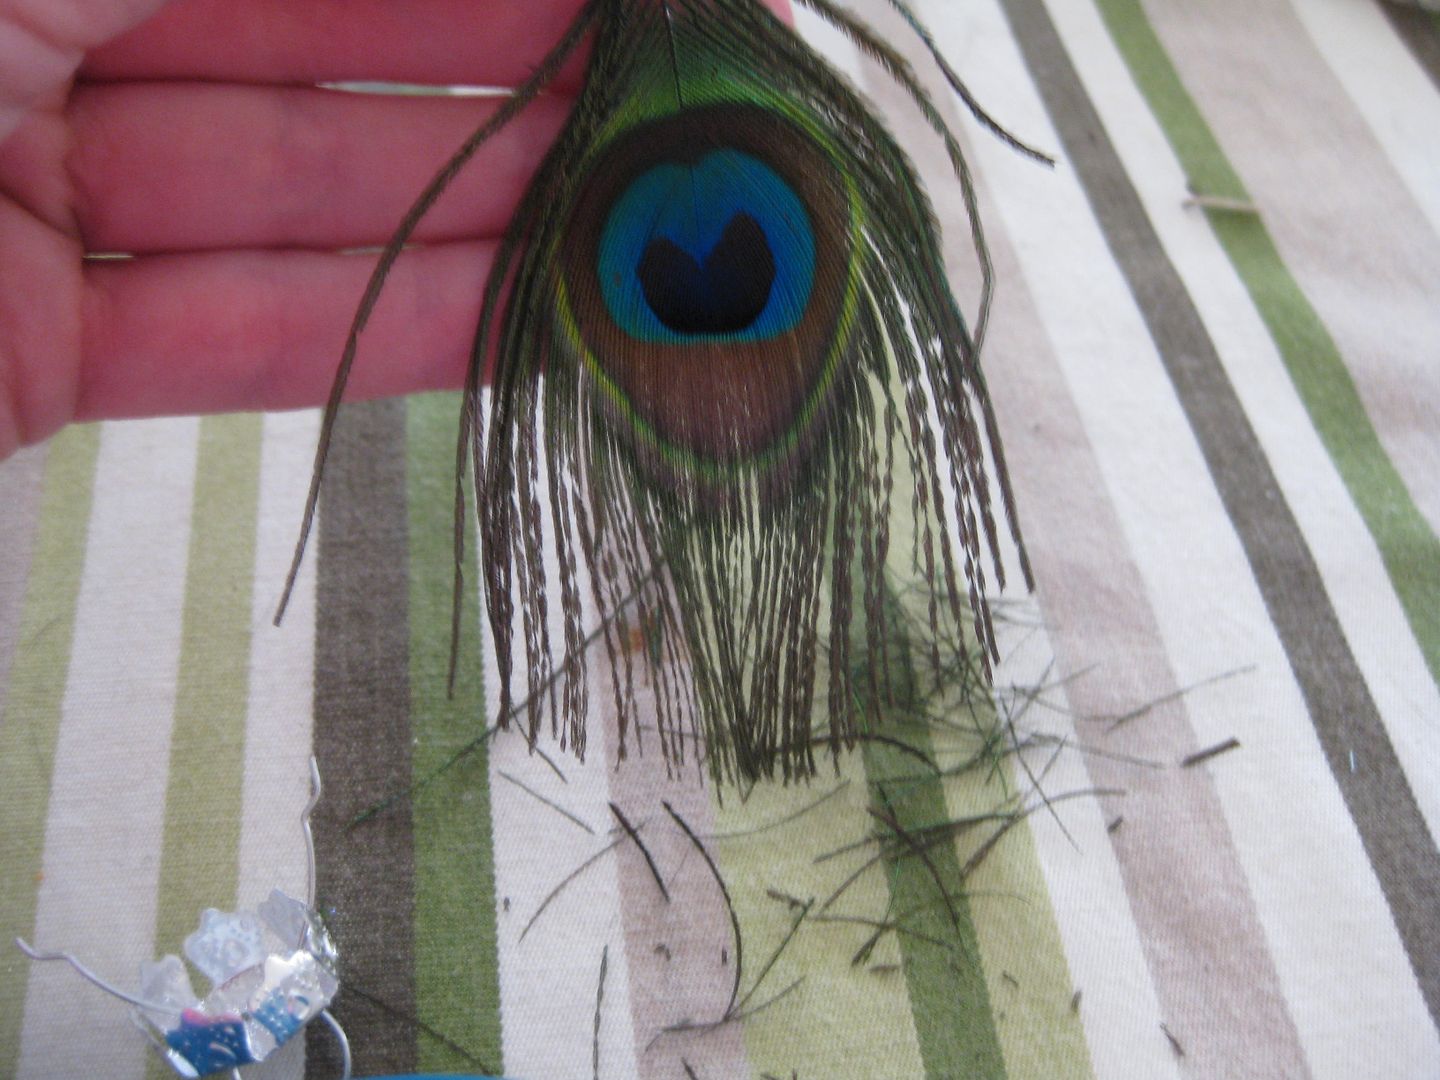
- cut down and even out
- cut circle of card board and use as a base
- hot glue large ones first around circle
- next hot glue small ones
- glue the center and iridescent beads in the center to cover everything up
- I attached wire to the back so I could twist it on a branch.

Done! It made one heck of a mess!!! Feather pieces everywhere.


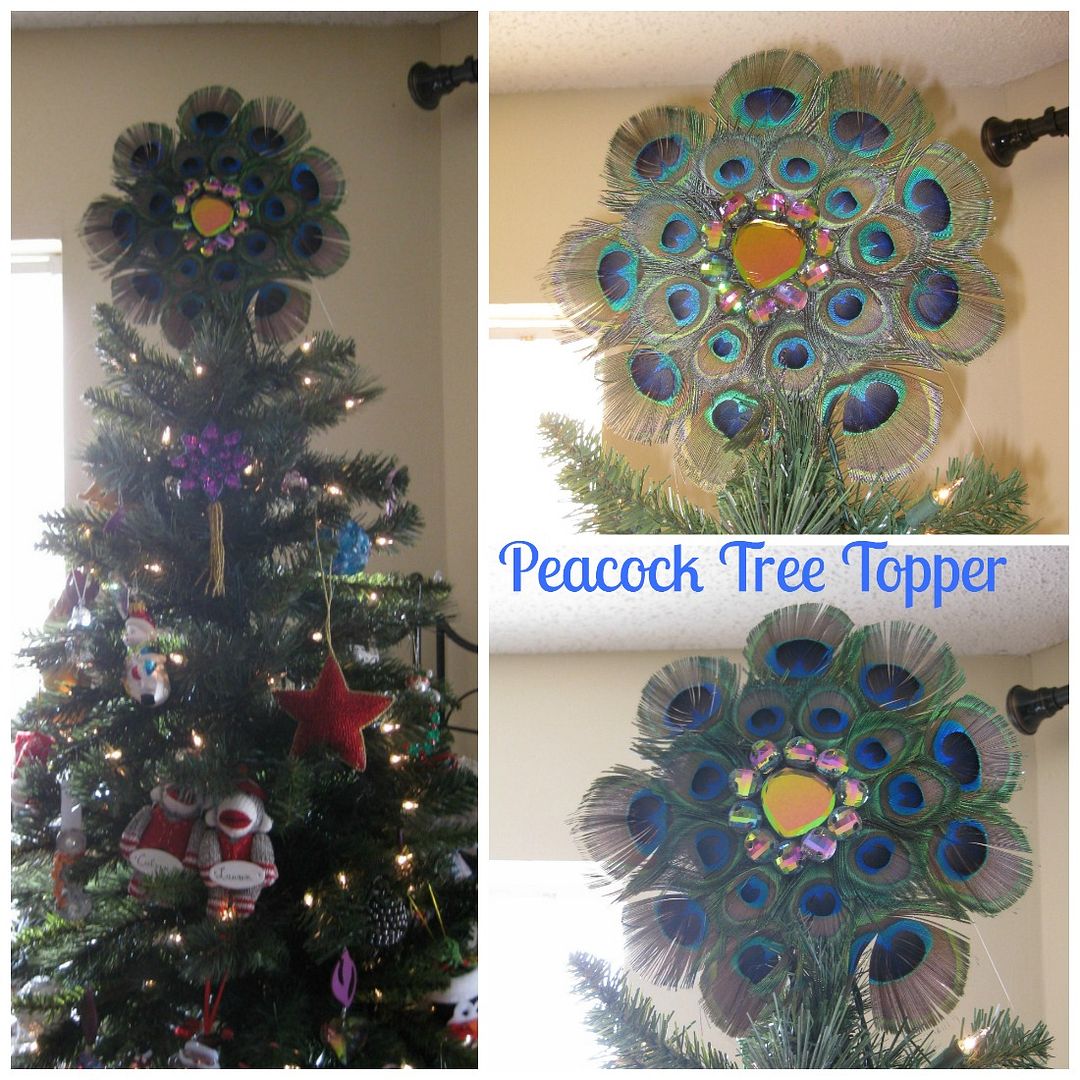
Here are a few more closeups, with and without flash.
I just loved staring at it. Too pretty. I just love peacocks.

Cheers,
Lauren

Monday, December 2, 2013

Peacock Feather Ornament: Iron Craft Holidays

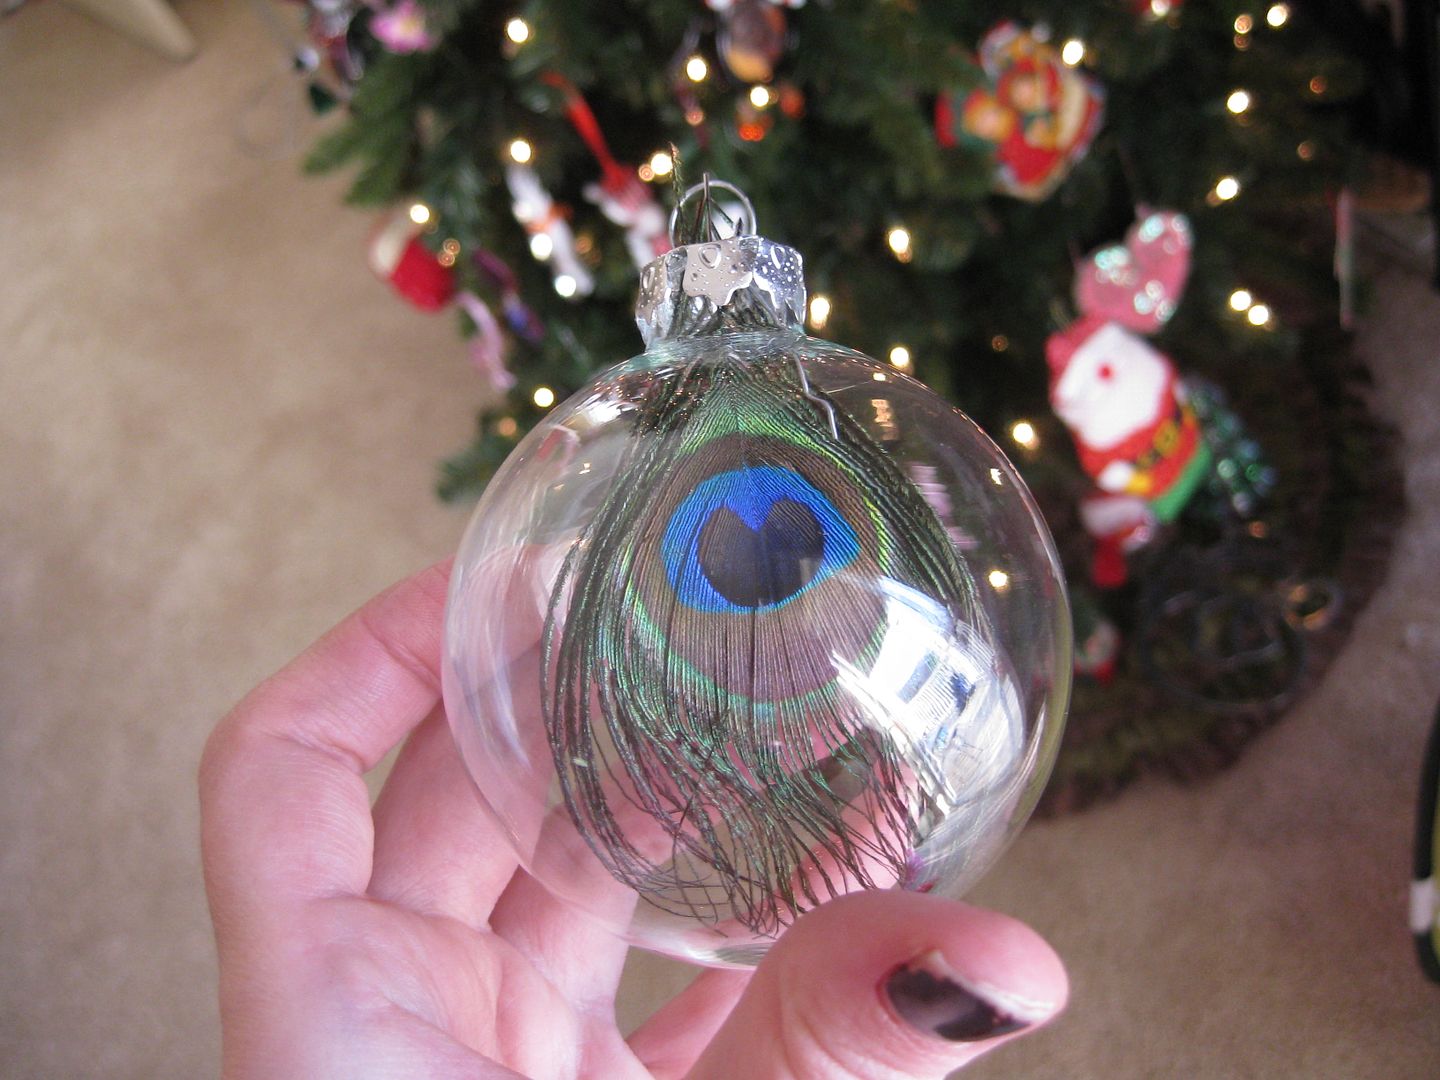
I love peacock and their feathers. Just love them. The iron craft challenge was making something for the holidays. I actually had another project up and going but I don't know how to finish it. That will come later, got to think. Instead after putting up my Christmas tree I decided I wanted to make more ornaments, it is starting to become tradition. I have a huge stash of peacock feathers I decided to turn it into an ornament. :)

First I trimmed some off the bottom of the feather. Then I grabbed a clear ornament I got at Joann fabric. The hardest part of this project was simply getting the feather in the tiny hole. Easiest thing was to twist it with my finger. Then add the top back to the ornament. I had the stem go through the hole. Trim a little off the top. And it was perfect.
Hardest thing next was getting a decent photo without the glare. We actually had some sunshine in the apartment.
Soooo lovely. Yay!! I actually got inspired after this to make more ornaments. This time with beads. They are almost done too! Need some good after shots. I used up so much beads my stash has dramatically shrunk. Exciting!

Cheers,
Lauren

Monday, July 22, 2013

Peacock feather reverse dyed shirt using the blue glue

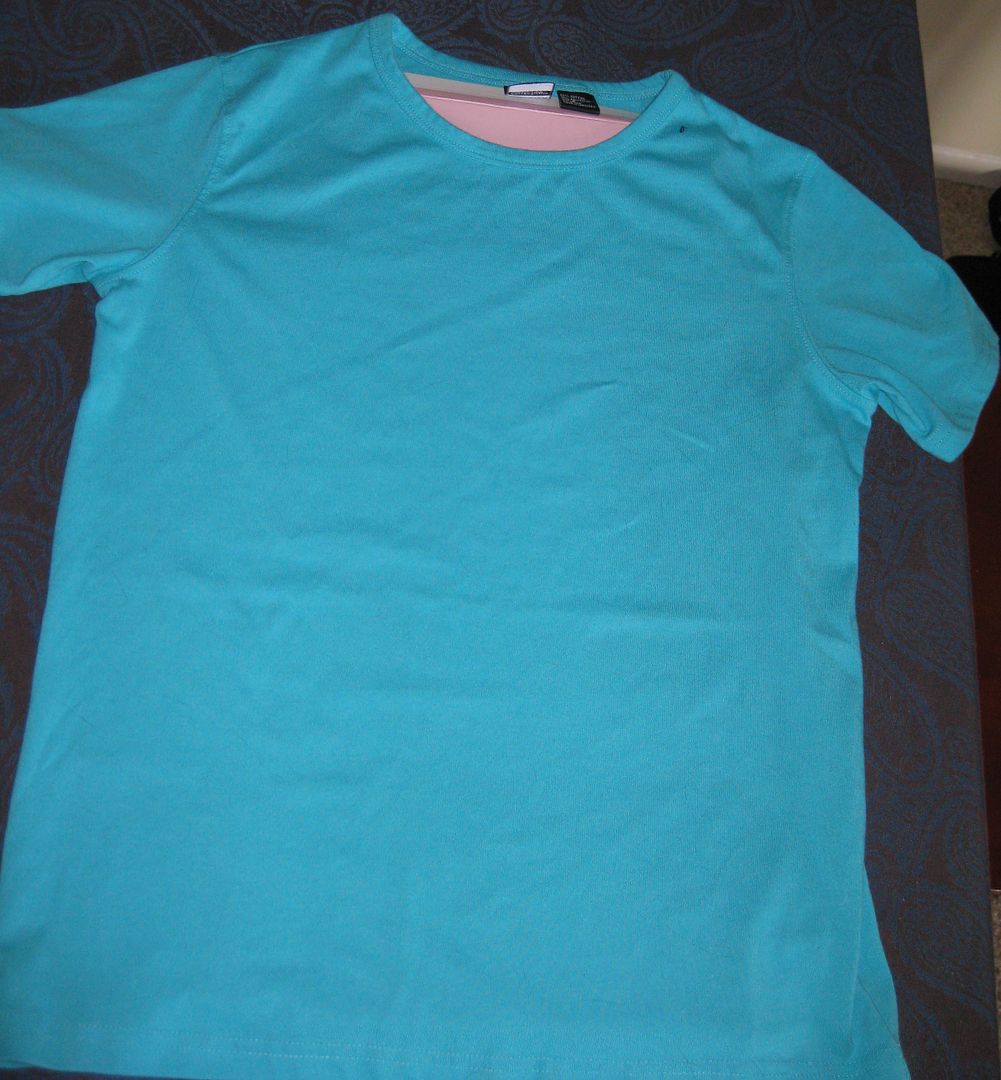
Here is my attempt at dyeing with using the blue elmer's glue to draw patterns on clothing and then dye. I have seen them on pinterest and thought I would try it out. First I started out with a top that was big on me and the color I wanted subdued some

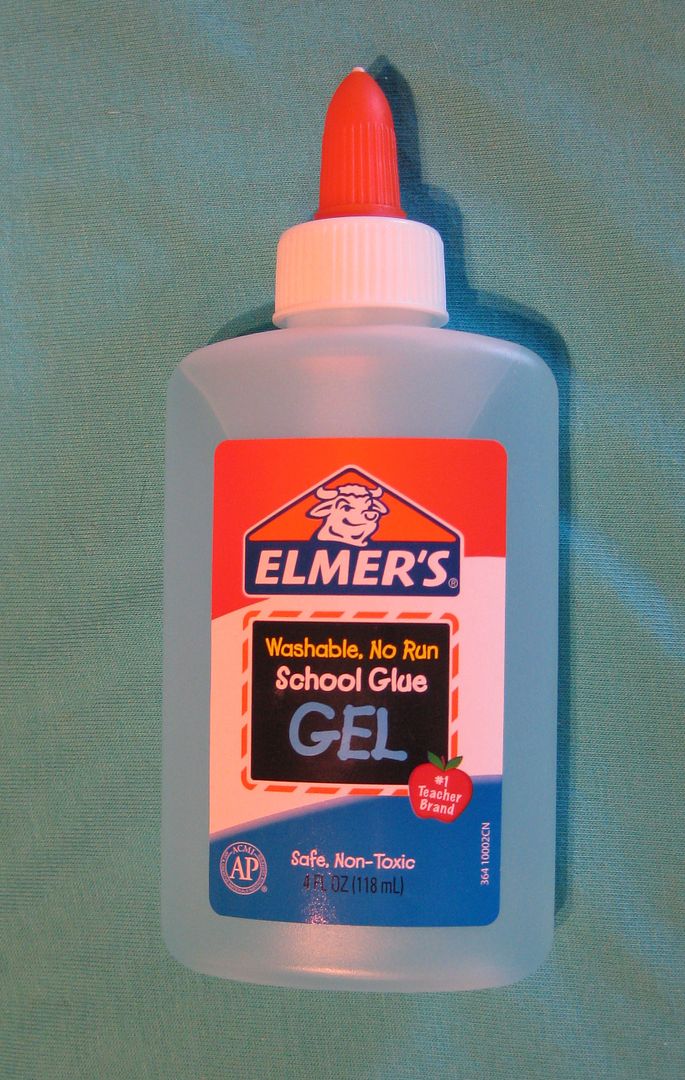
I inserted a piece of cardboard between the layers and grabbed the blue elmer's glue. This is a MUST!

Also here's a hint on finding the blue glue. I went to many stores trying to find this here in D.C. Office supplies, general stores, etc. I found it at Joann Fabrics. By accident after trying 5 stores prior!!!

Now I decided I wanted to draw peacock feathers on this shirt. Here is an easy way I figured out how to draw them. First, draw an upside down heart where you want the eye of the feather to be.
draw a circle or a tear drop around that heart. Then draw another circle around that.
Now to draw the thin parts of the feathers. I drew a stem from the eye part of the feather. Really I just had fun with it. And then kept drawing lines that curved off the eye and off the stem. It doesn't have to be perfect.
My first feather. Now to repeat adding more feathers! Here is the second. Notice again I start with an upside down heart, then tear drop, tear drop...
My third...

And then the forth. I had a lot of fun drawing these and excited at how simple it was to draw them!


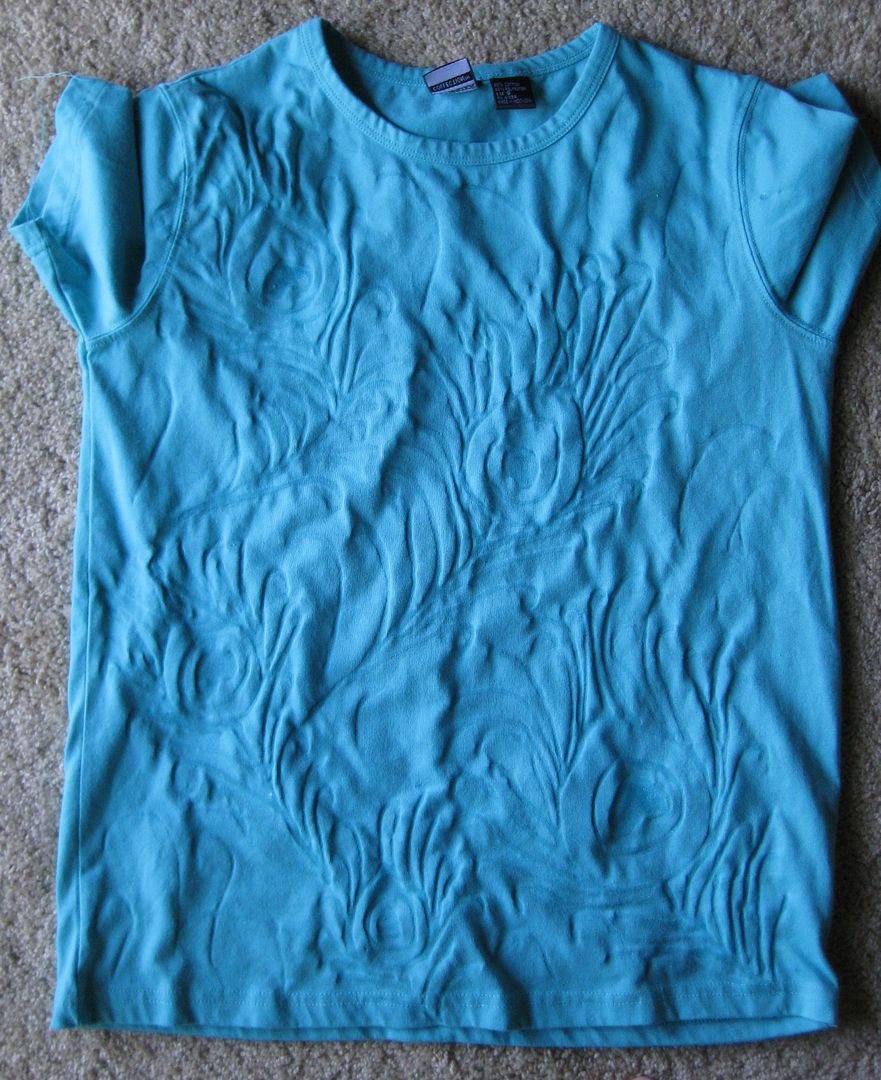
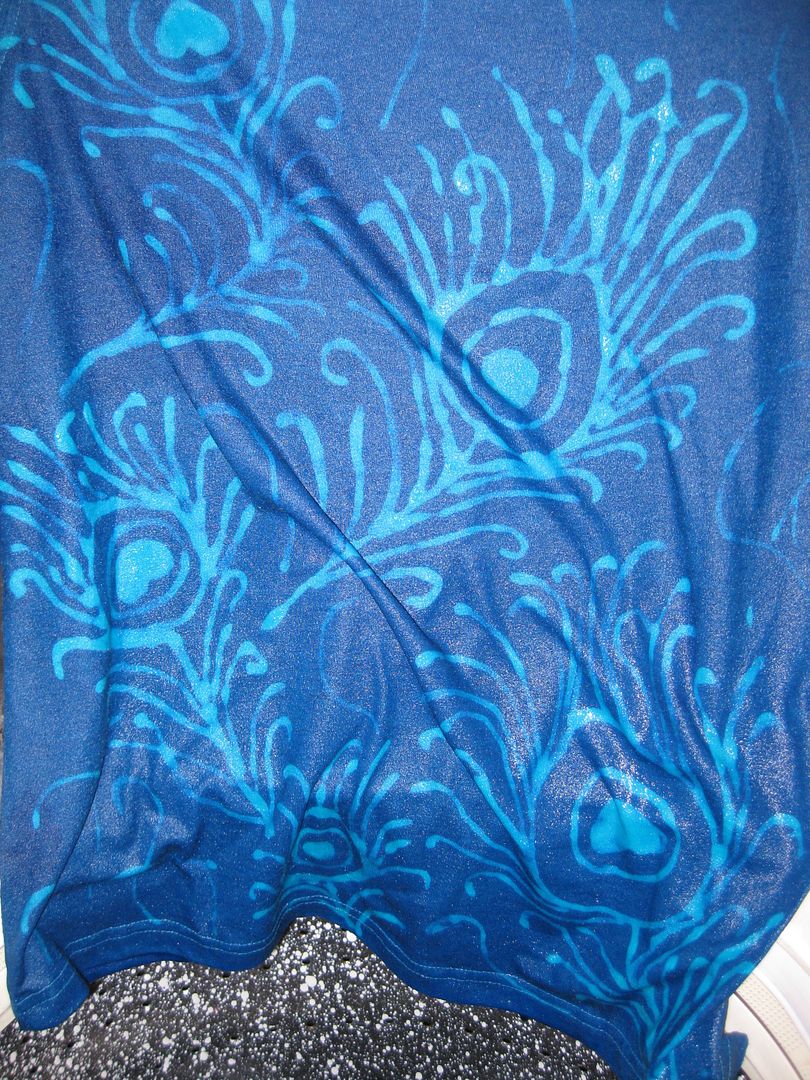
I actually drew some dots and squilly lines on the top b/c I don't like empty space. Yes I am weird like that! Now let the glue dry. Overnight is fine but I went 2 nights b/c that was when my free time on the weekend was coming up. This is what the shirt looked like... this is NORMAL to shrivel up.
Ok on to the dye bath. I choose RIT dye in blue.
Now I made the mistake of adding salt later. Which greatly helps increase the darkness of your dye bath. Also this is cold water. It has to be cold water. I also should have did longer than 30 mins in a cold bath. But I was super excited when I first pulled it out
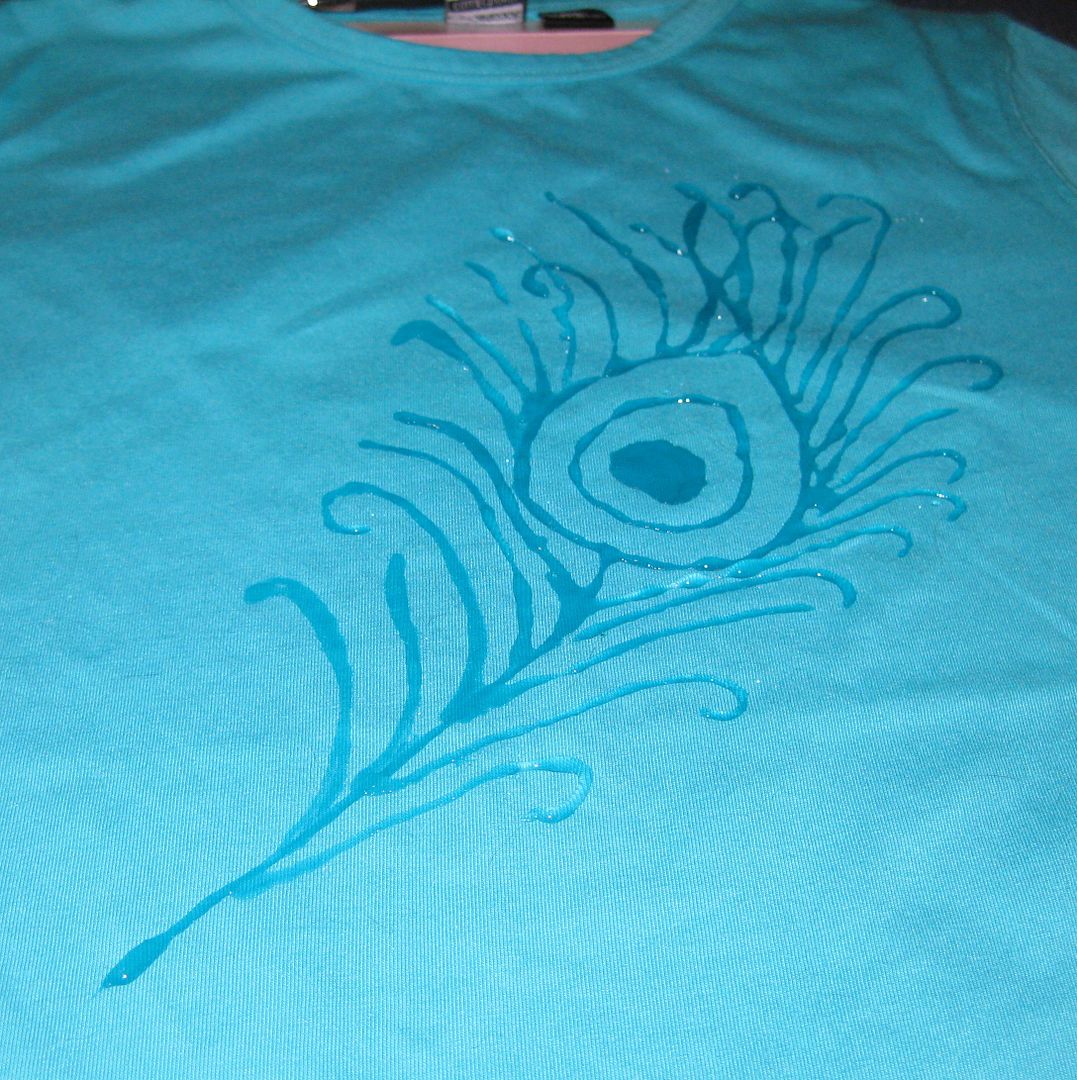
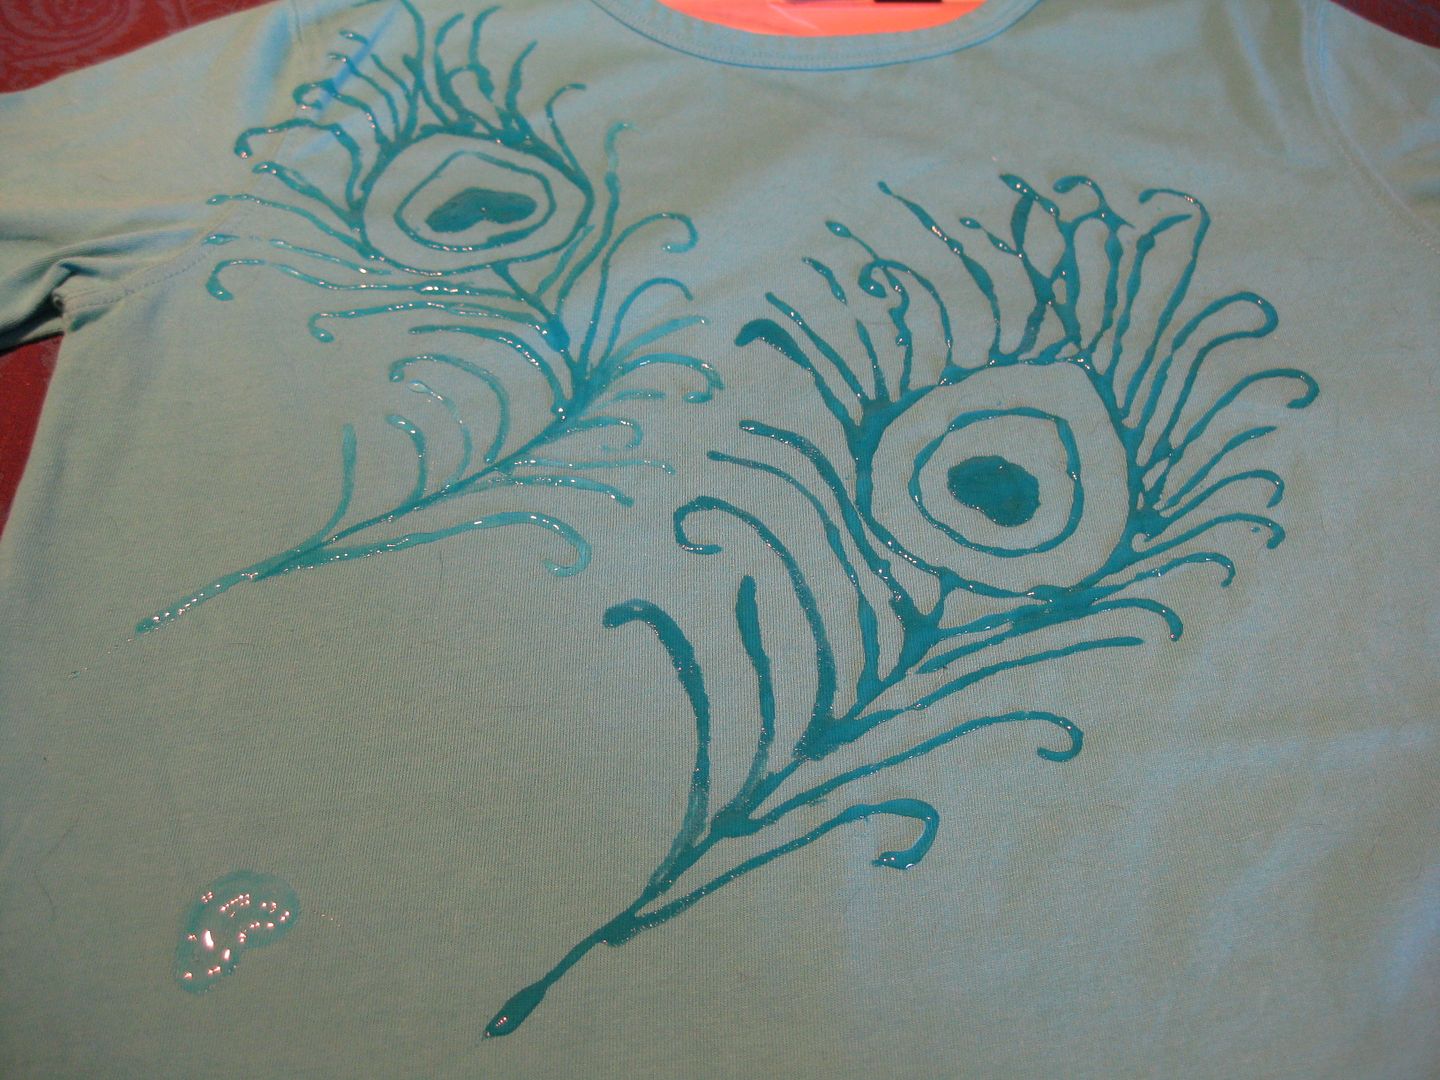
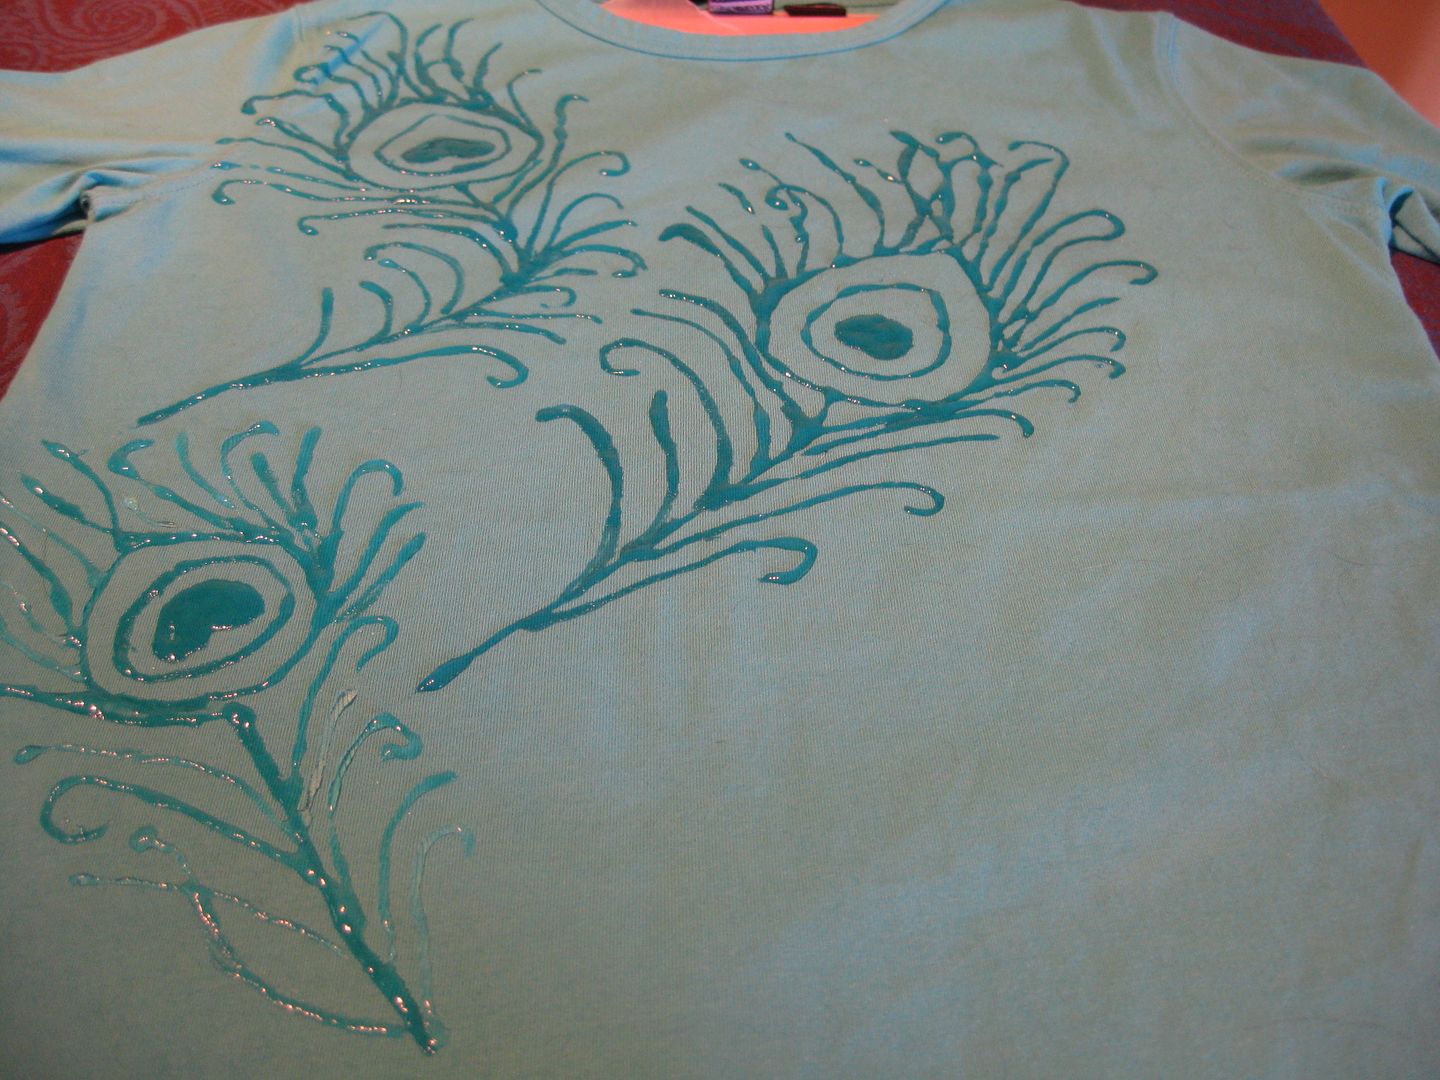
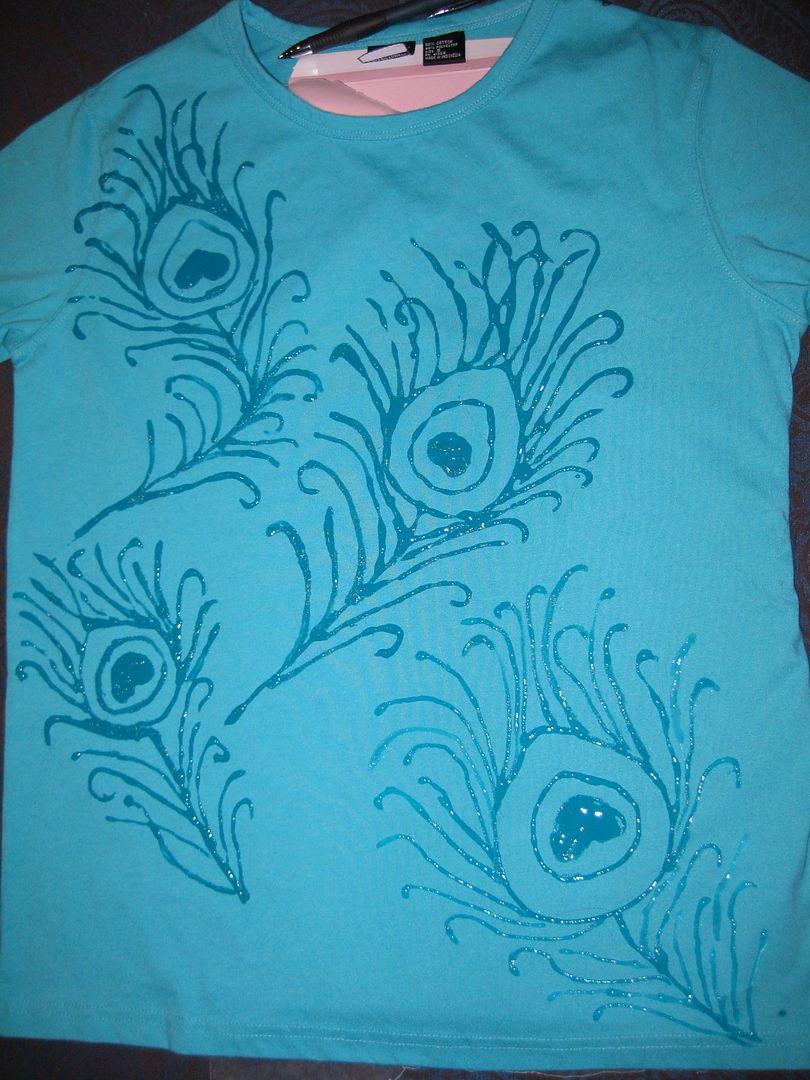
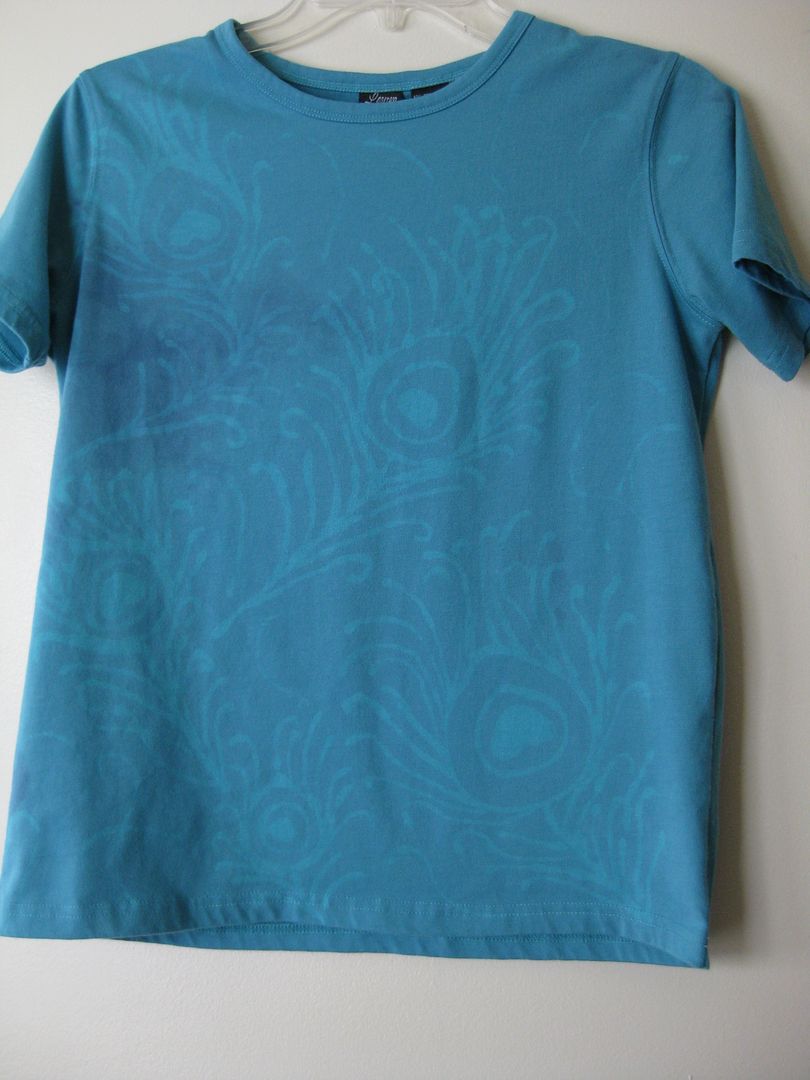
My jaw dropped and I was excited. Tho what I should have done next was rinse it prior to washing b/c I lost some of the distinct colors. So I went into the wash with HOT water to dissolve the glue and wash out the excess dye. Here is my final shirt.


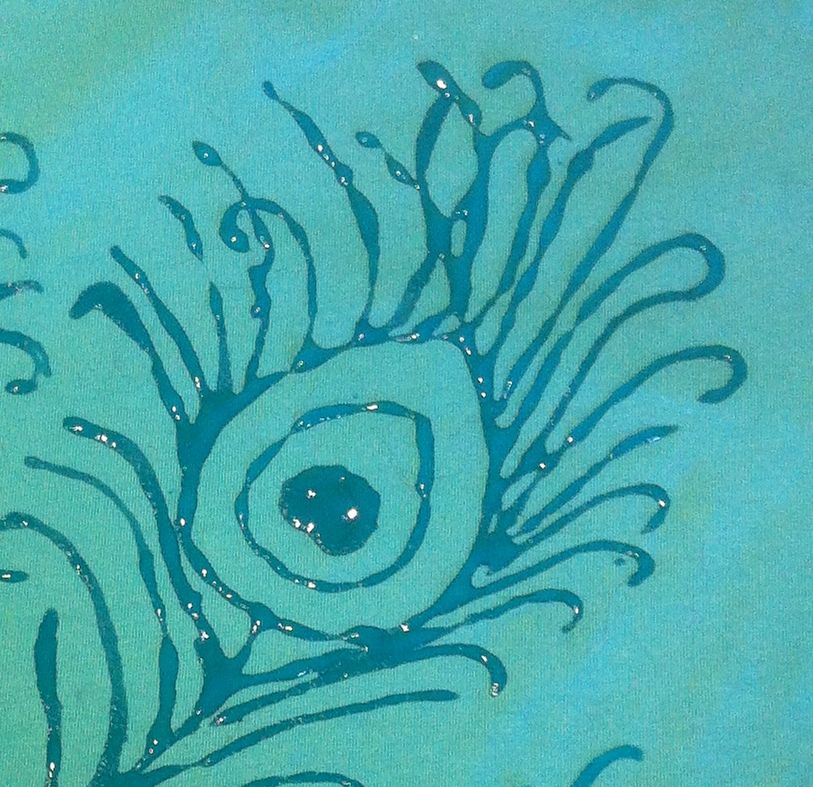
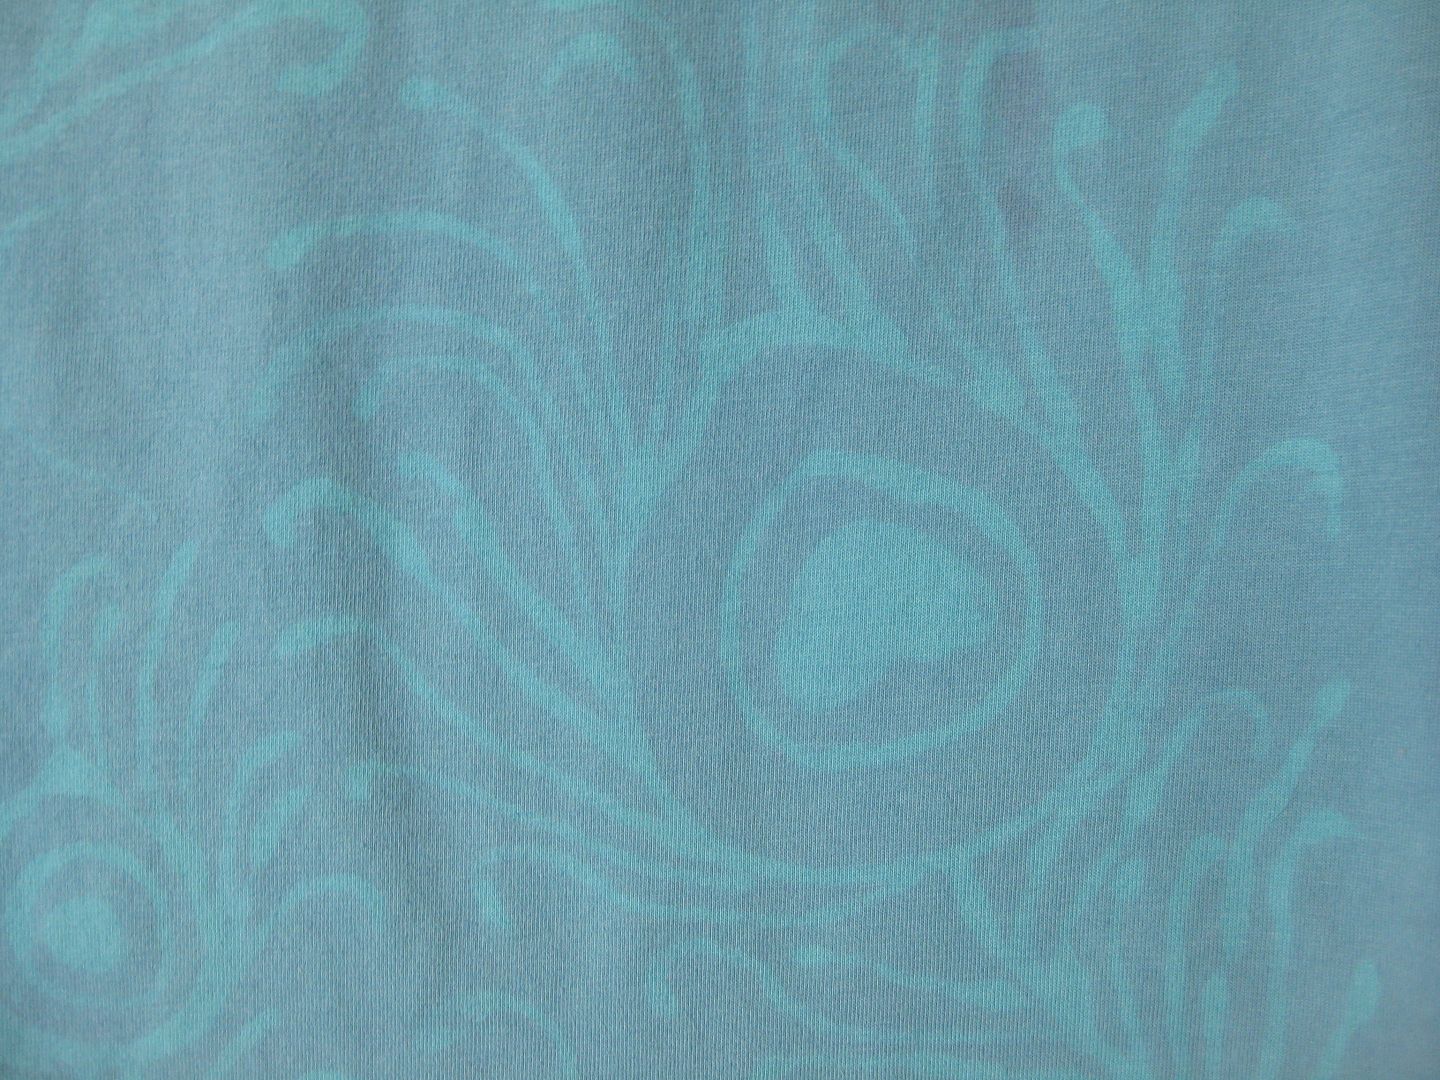
Up close..

It isn't bad, I have also now read somewhere that I should have let the wet shirt dry overnight with the dye before I washed it. Makes sense. It is a subtle detail. I like the feathers. And now the hot water wash shrunk the tee and it fits much nicer now.

Next time this is what I would do...
- draw my designs
- set up the water with salt, let cool
- add shirt
- dye for at least an hour
- let dry
- do initial rinse in cold water
- wash in hot water

I think I would get a darker dye. But it worked! This is so much fun!

xoxoxo,
Lauren

Wednesday, May 22, 2013

Peacock necklace

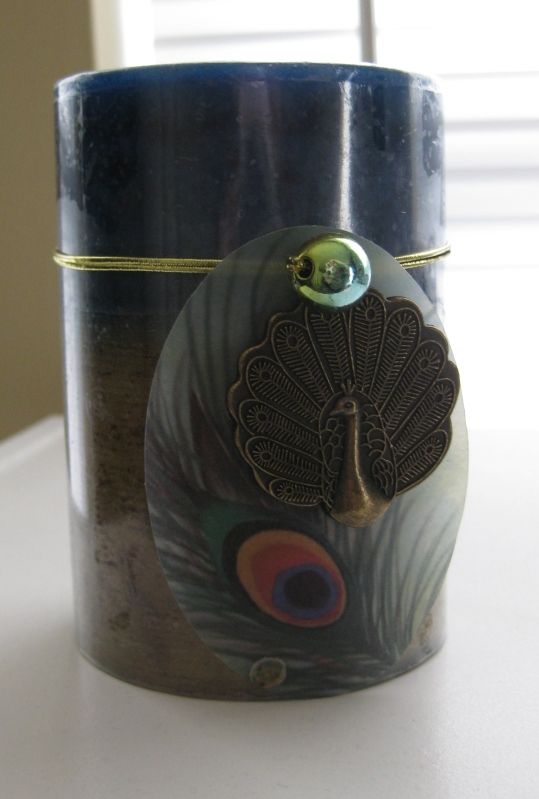
This necklace all started with this candle. I noticed it had a cool peacock charm. And with my obsession with peacocks this candle came home and I decided a necklace was in line. :)

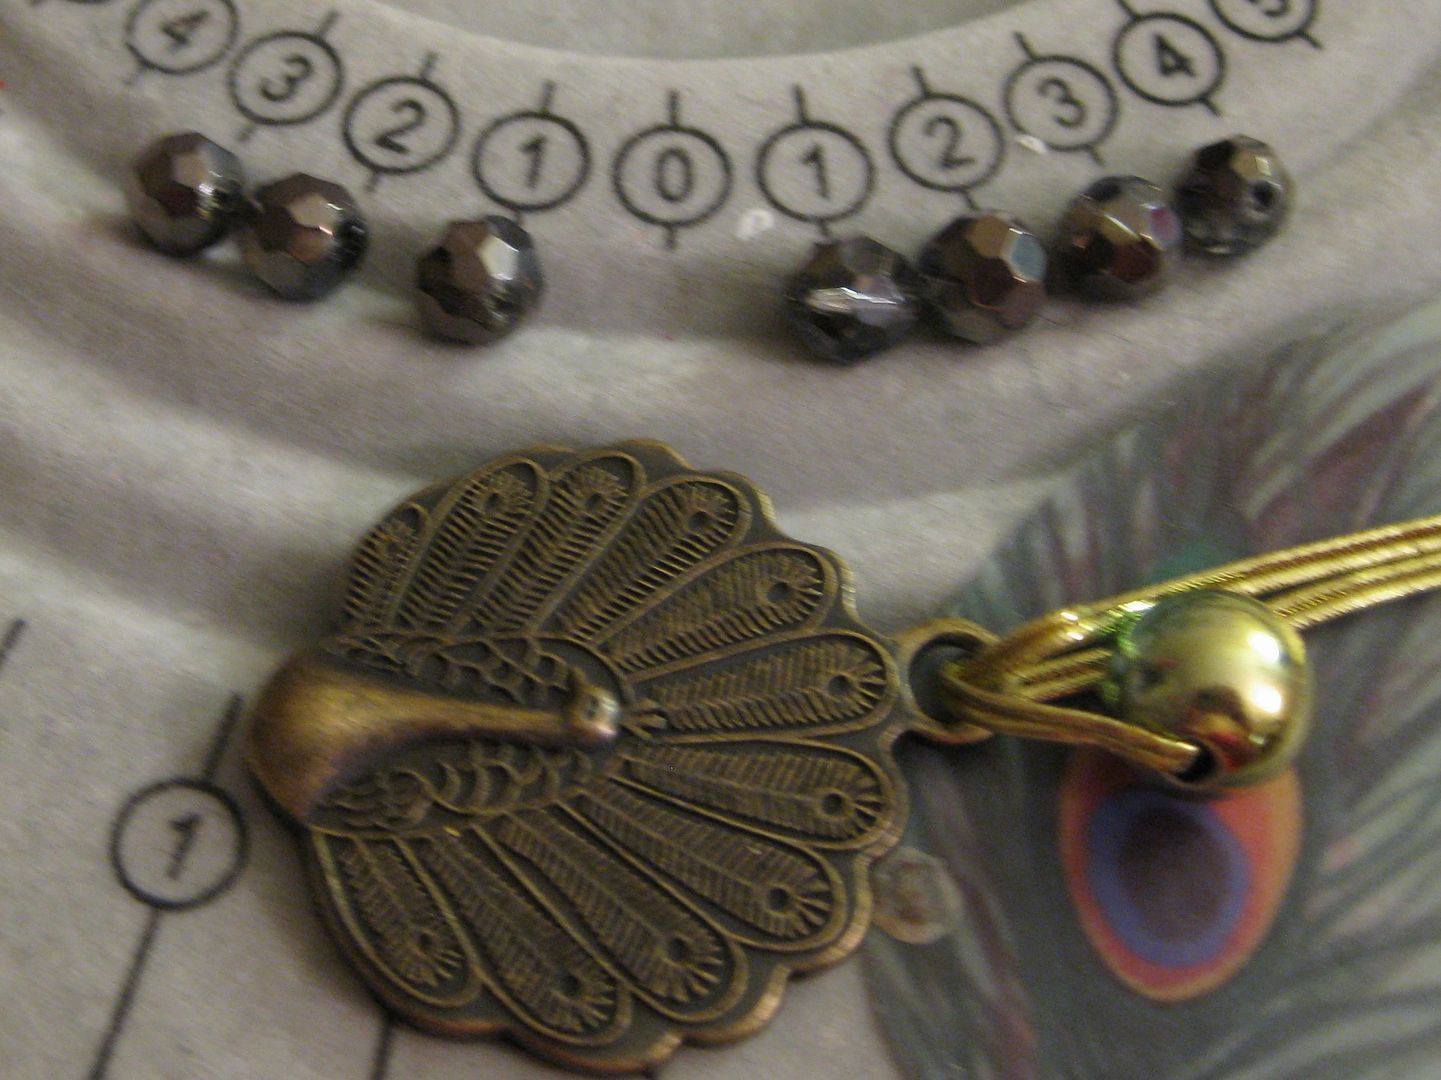
Off came the gold stuff. And you can see the cystals I am going to pair with the charm. 

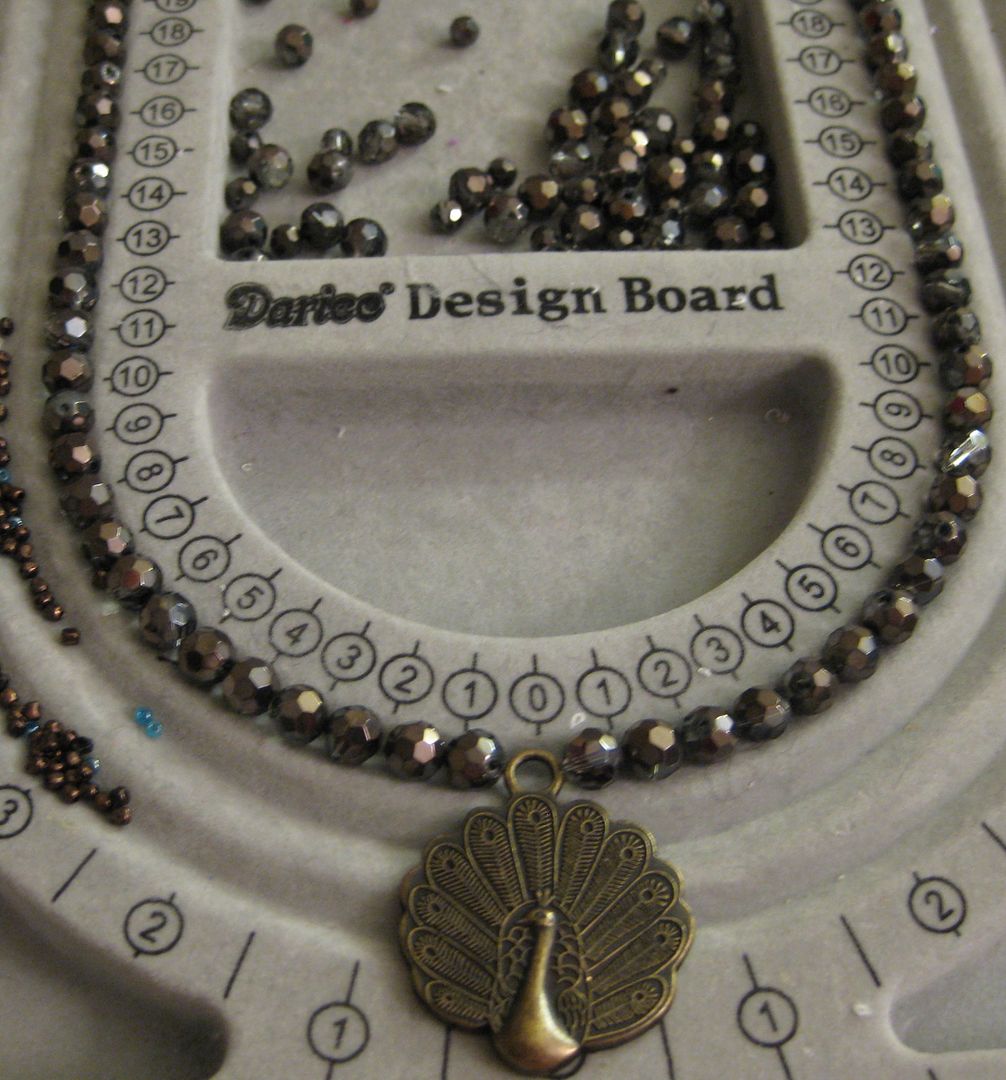
Here is my design. I was also going to use some bronze spacer seed beads. I used 2 jump rings to keep the peacock facing forward. It was pretty easy to string. 

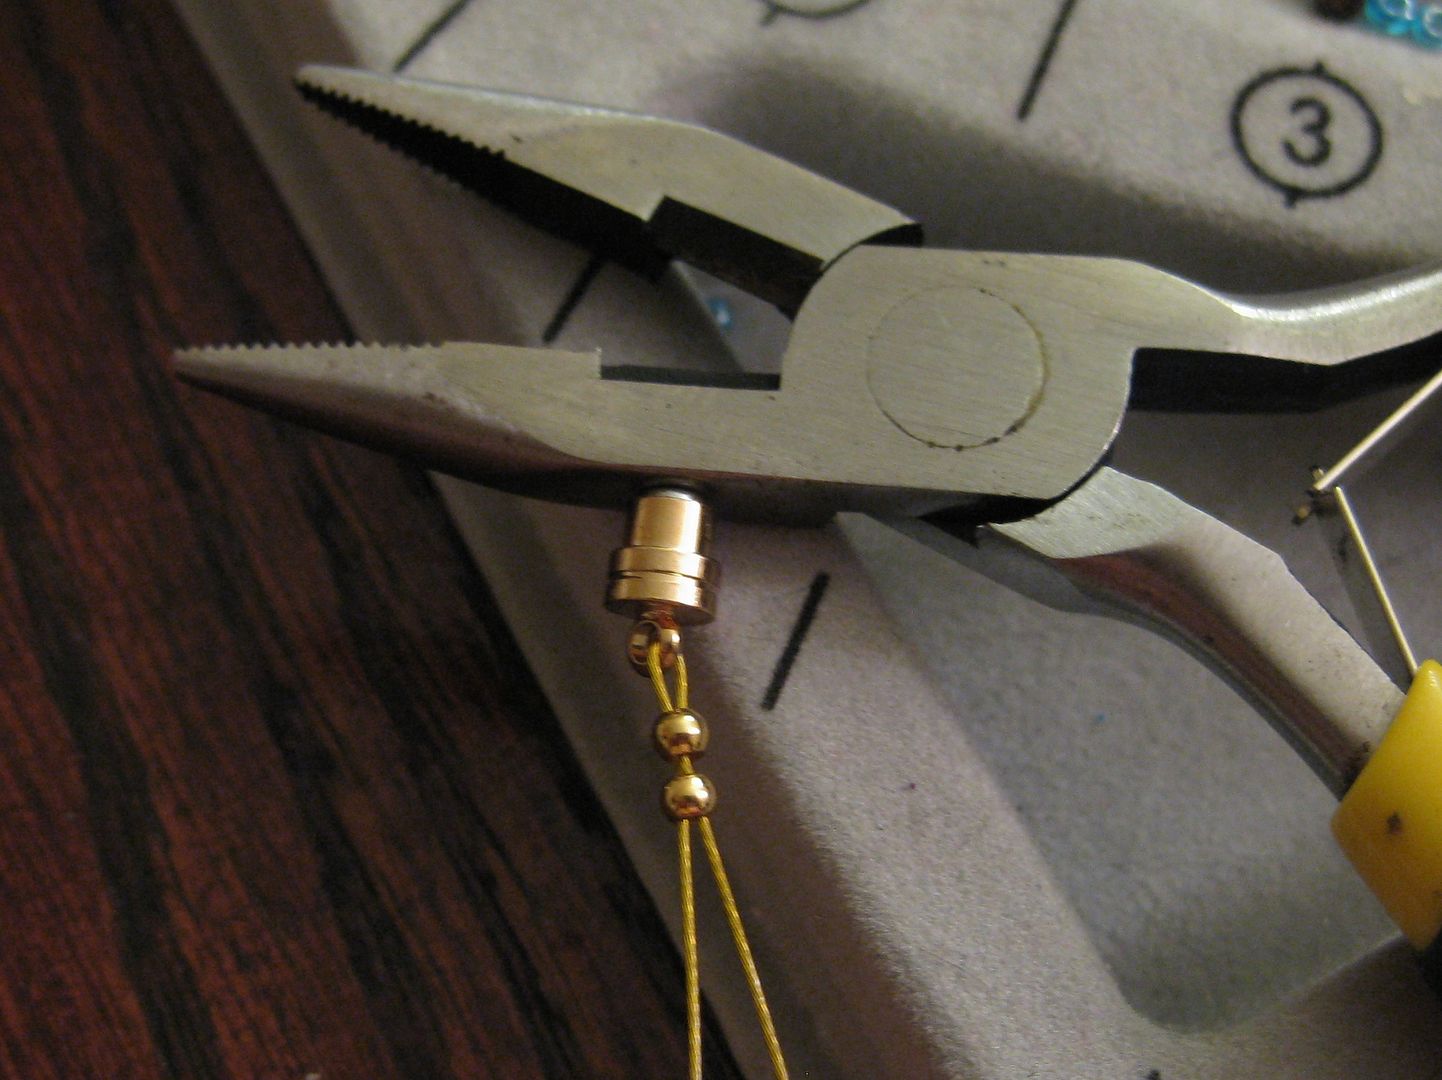
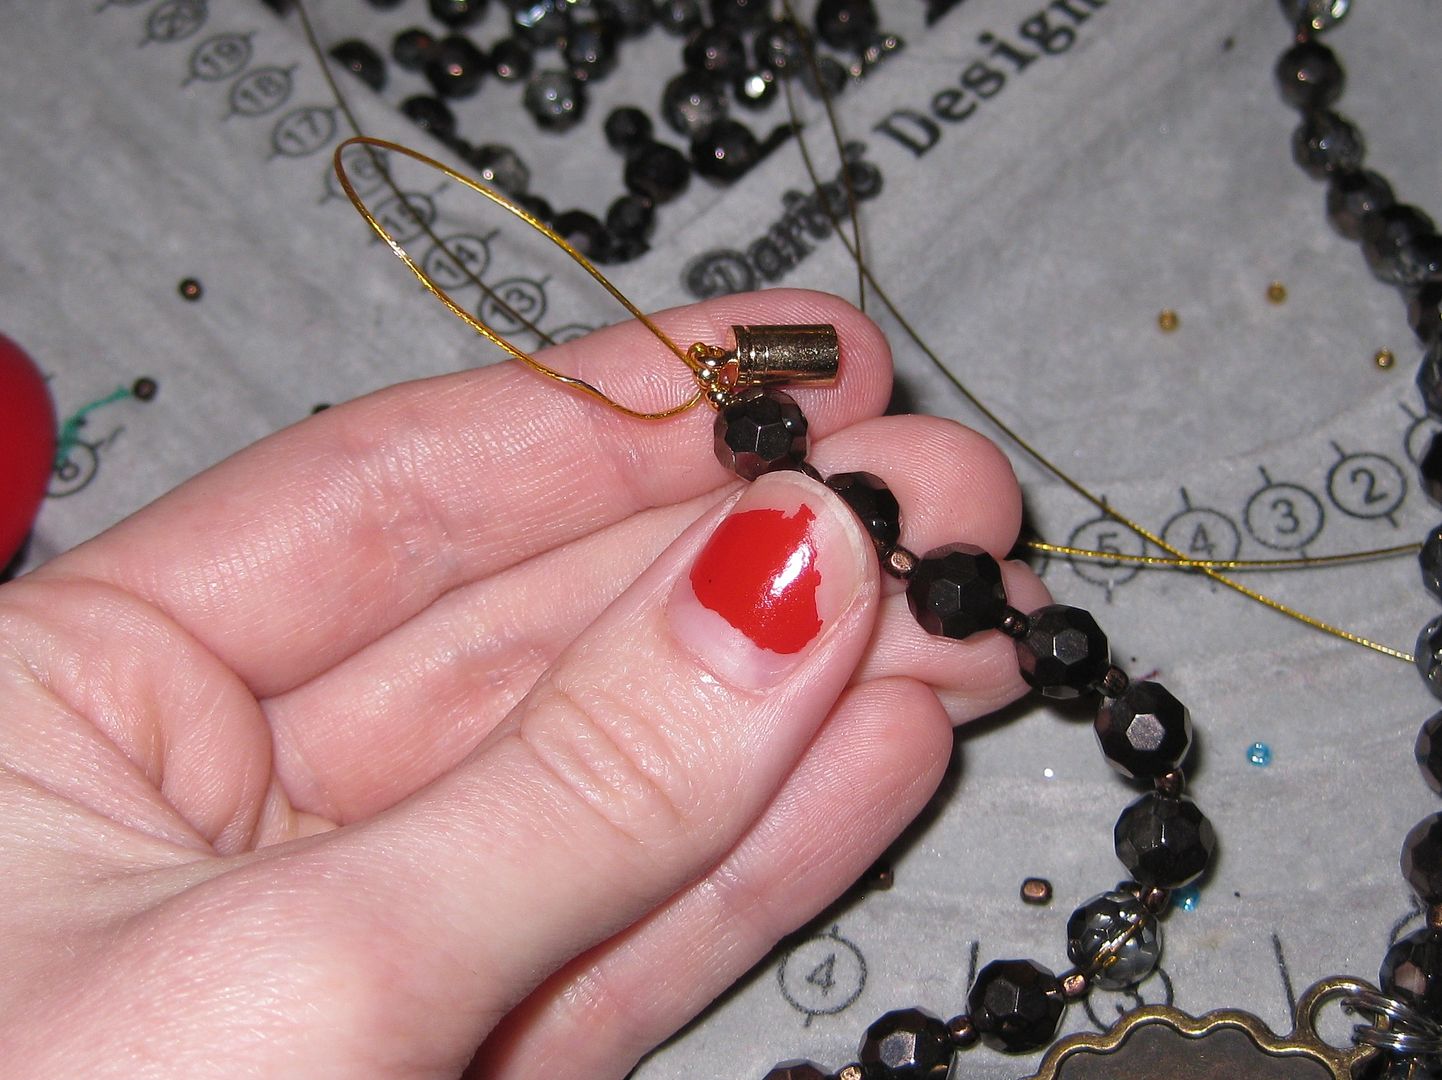
Now to add fasteners-I am going to use a magnetic clasp. Here is a hint on how to get your crimp beads crimped with a magnetic clasp... let it attach to something magnetic, THEN crimp. Or you will have lots of problems!

I used 2 crimp beads on both sides. And weaved it through the nearby beads to hide the string.

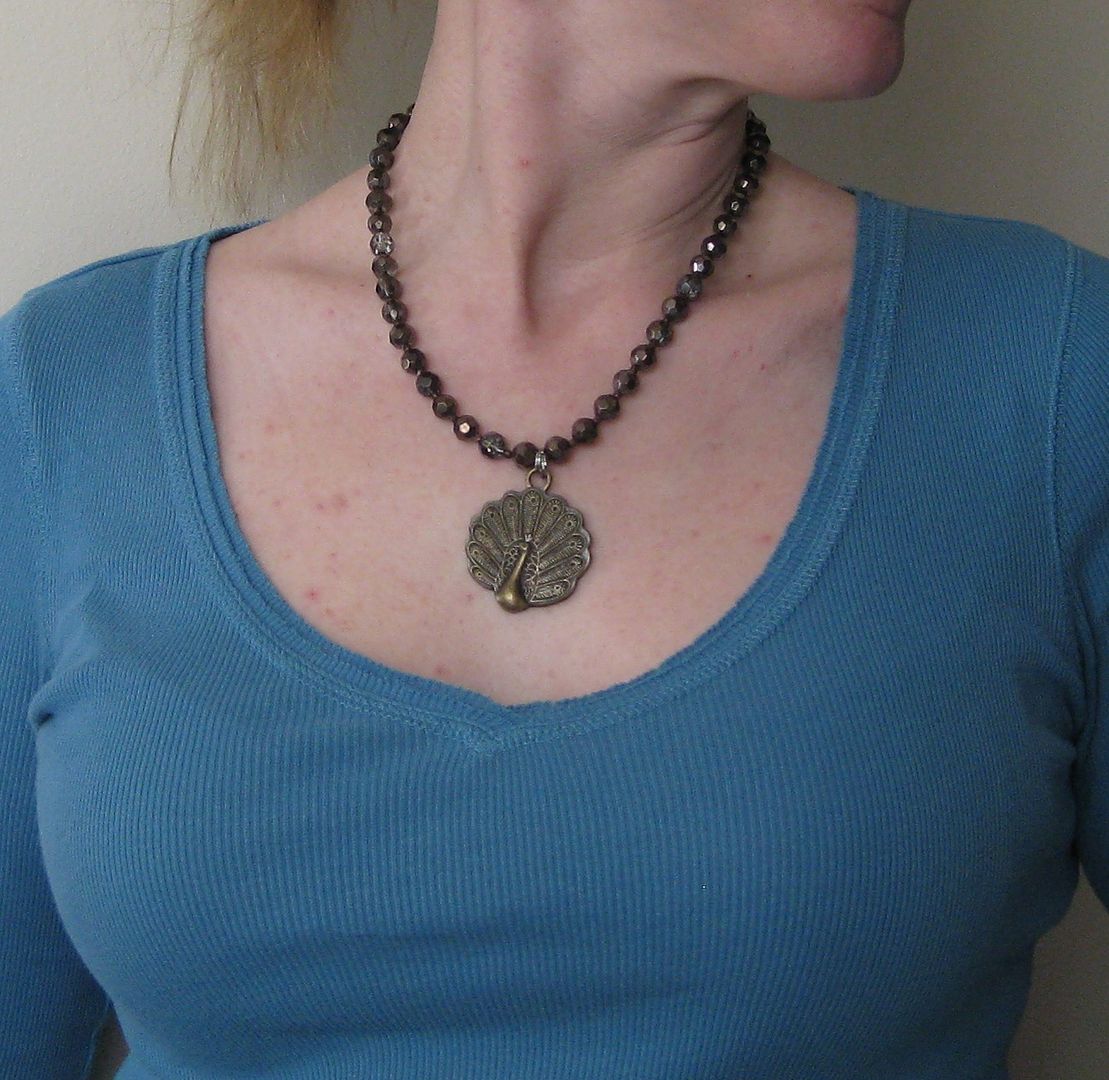
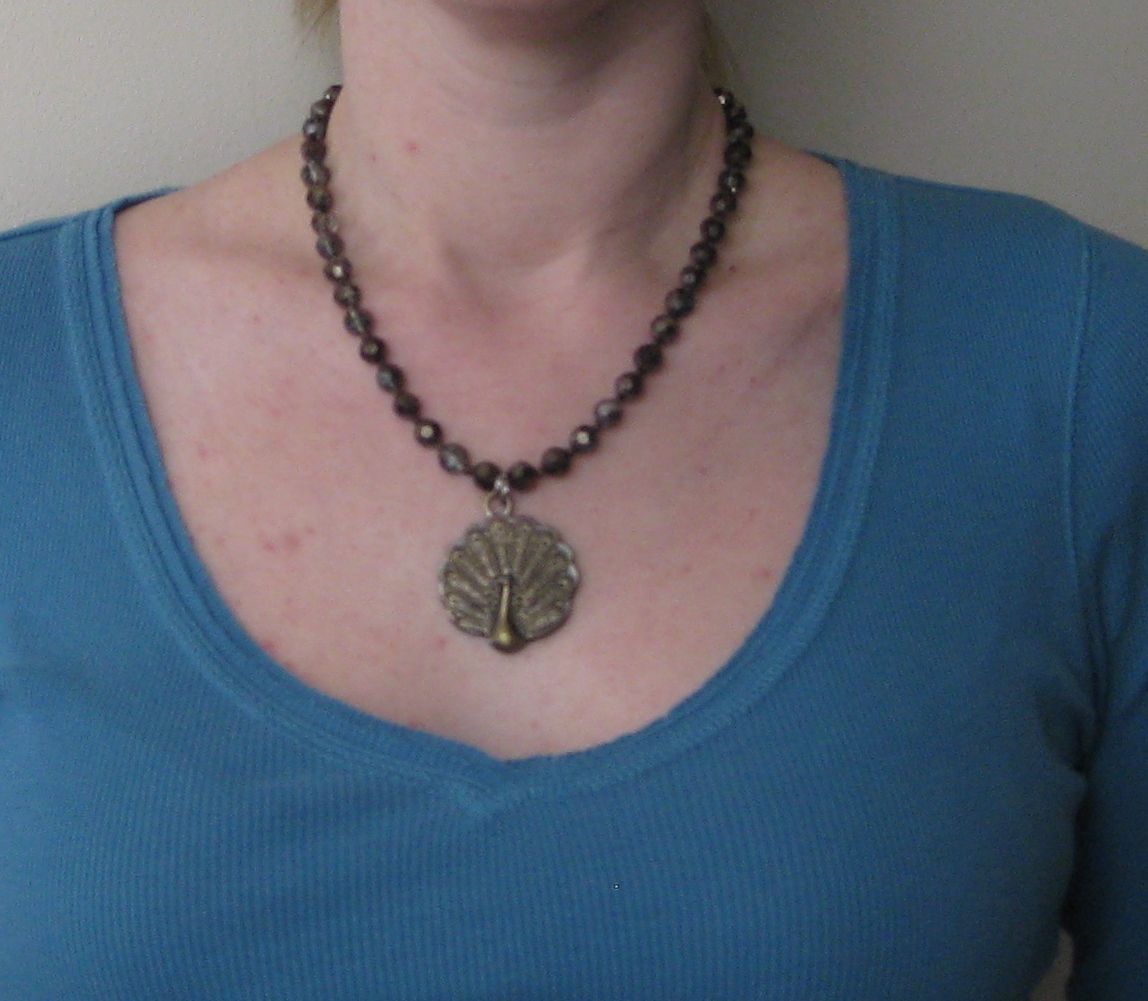
Done! Yay! 

This peacock charm looks so much nicer on my then it does on the candle. But I am little biased. :) Yay for recycling something that could have been just tossed. But it was too pretty to pass up.

xoxoxo,
Lauren
Monday, April 29, 2013

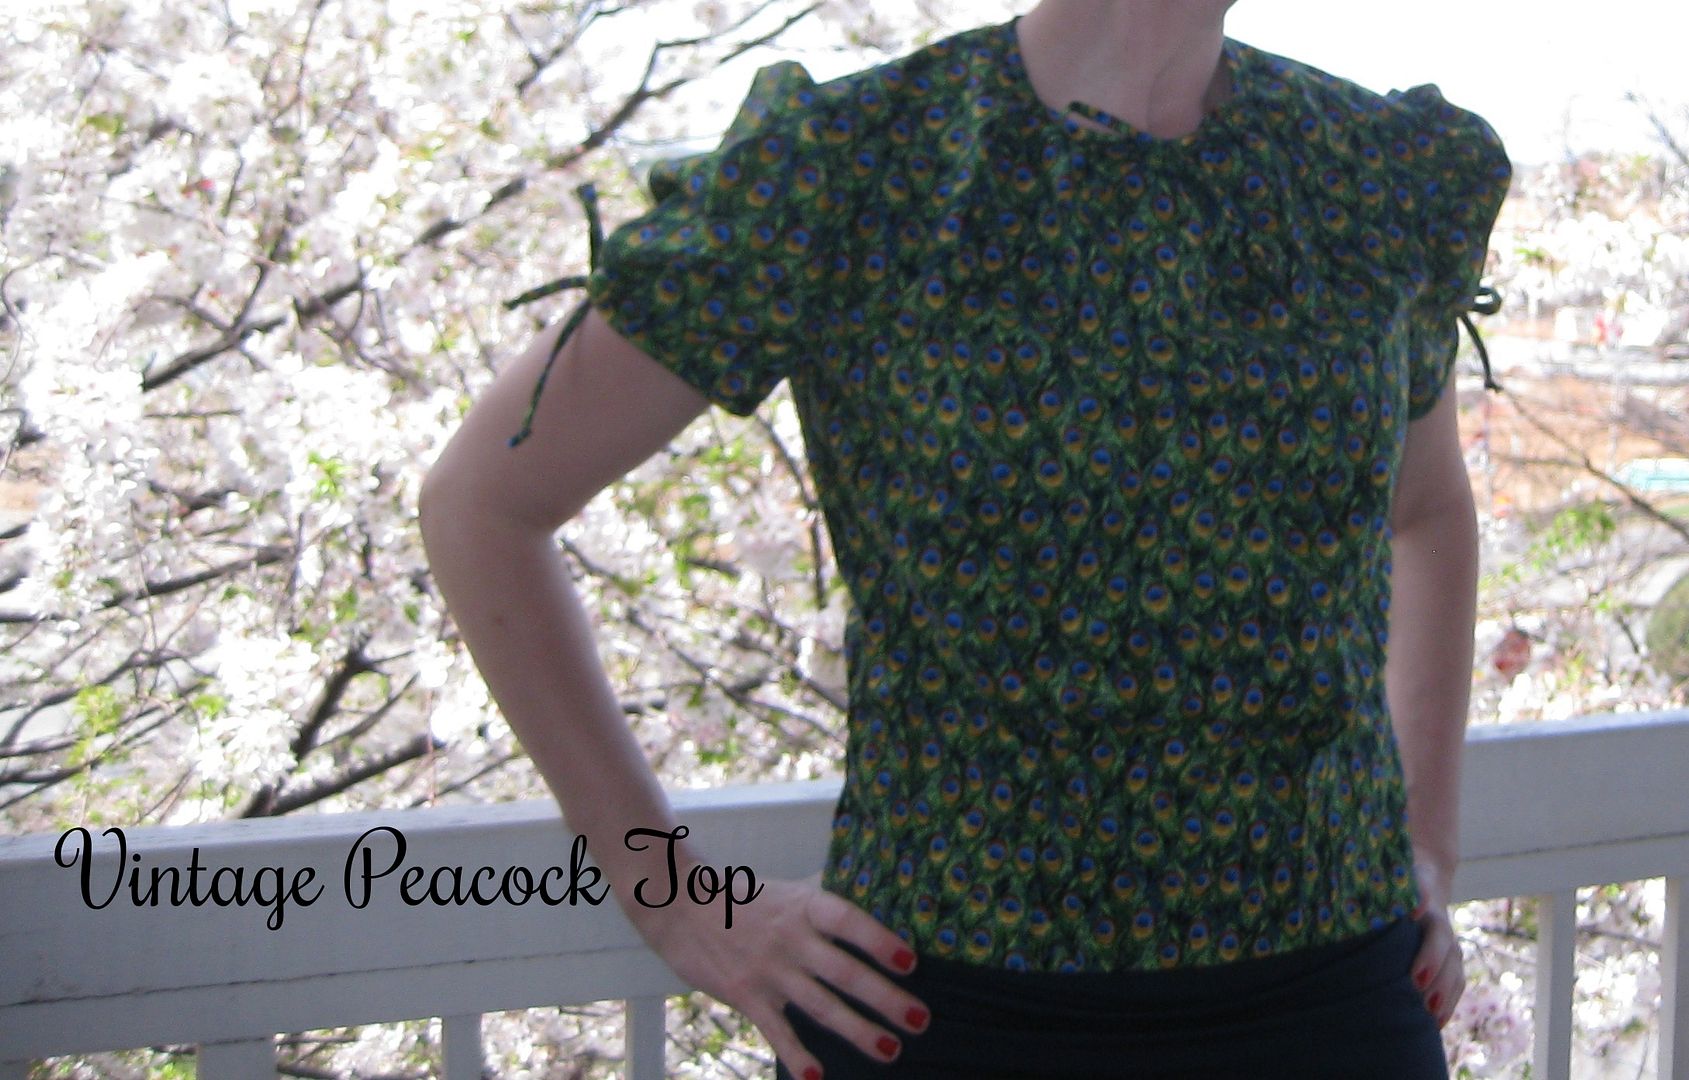
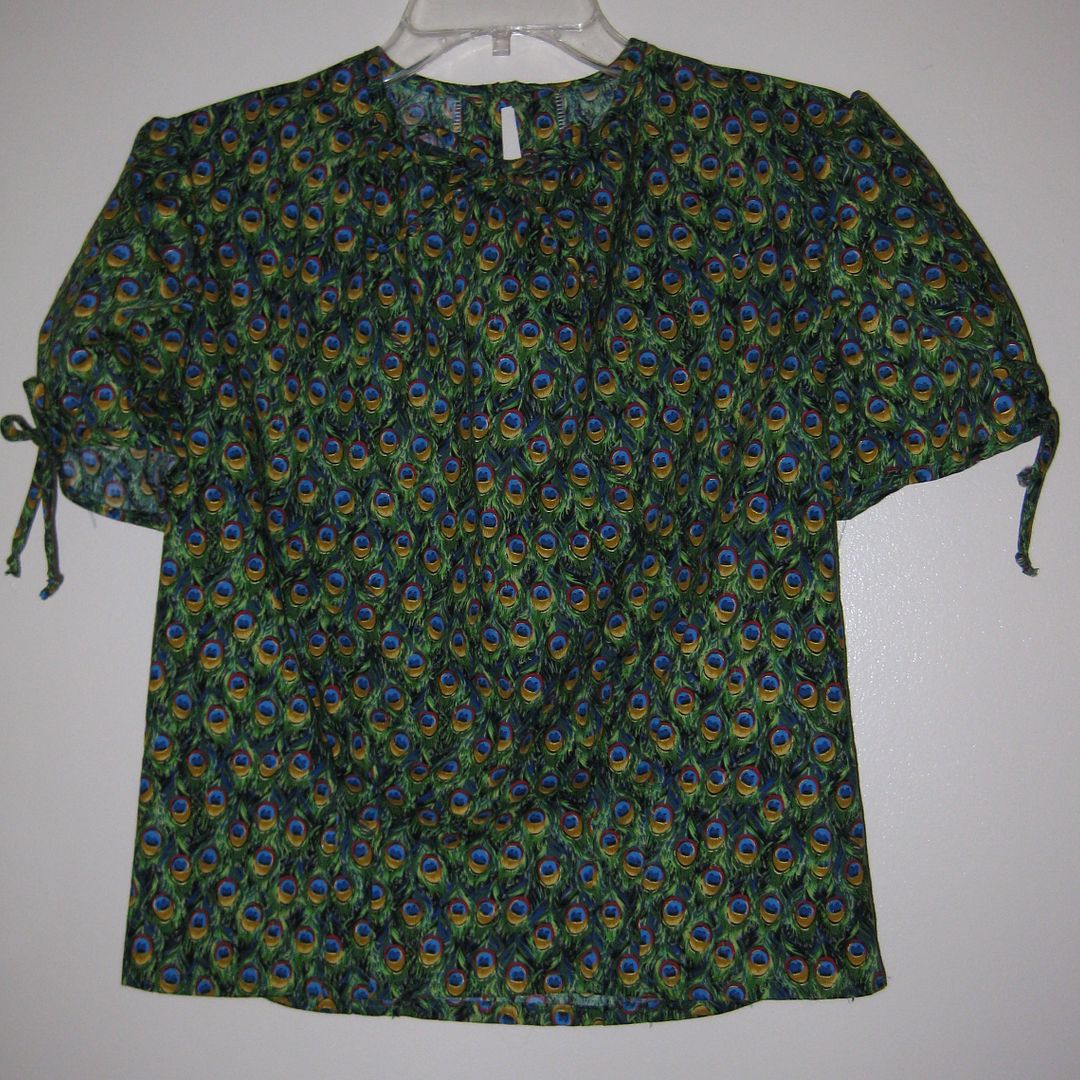
The peacock feather 40s inspired top


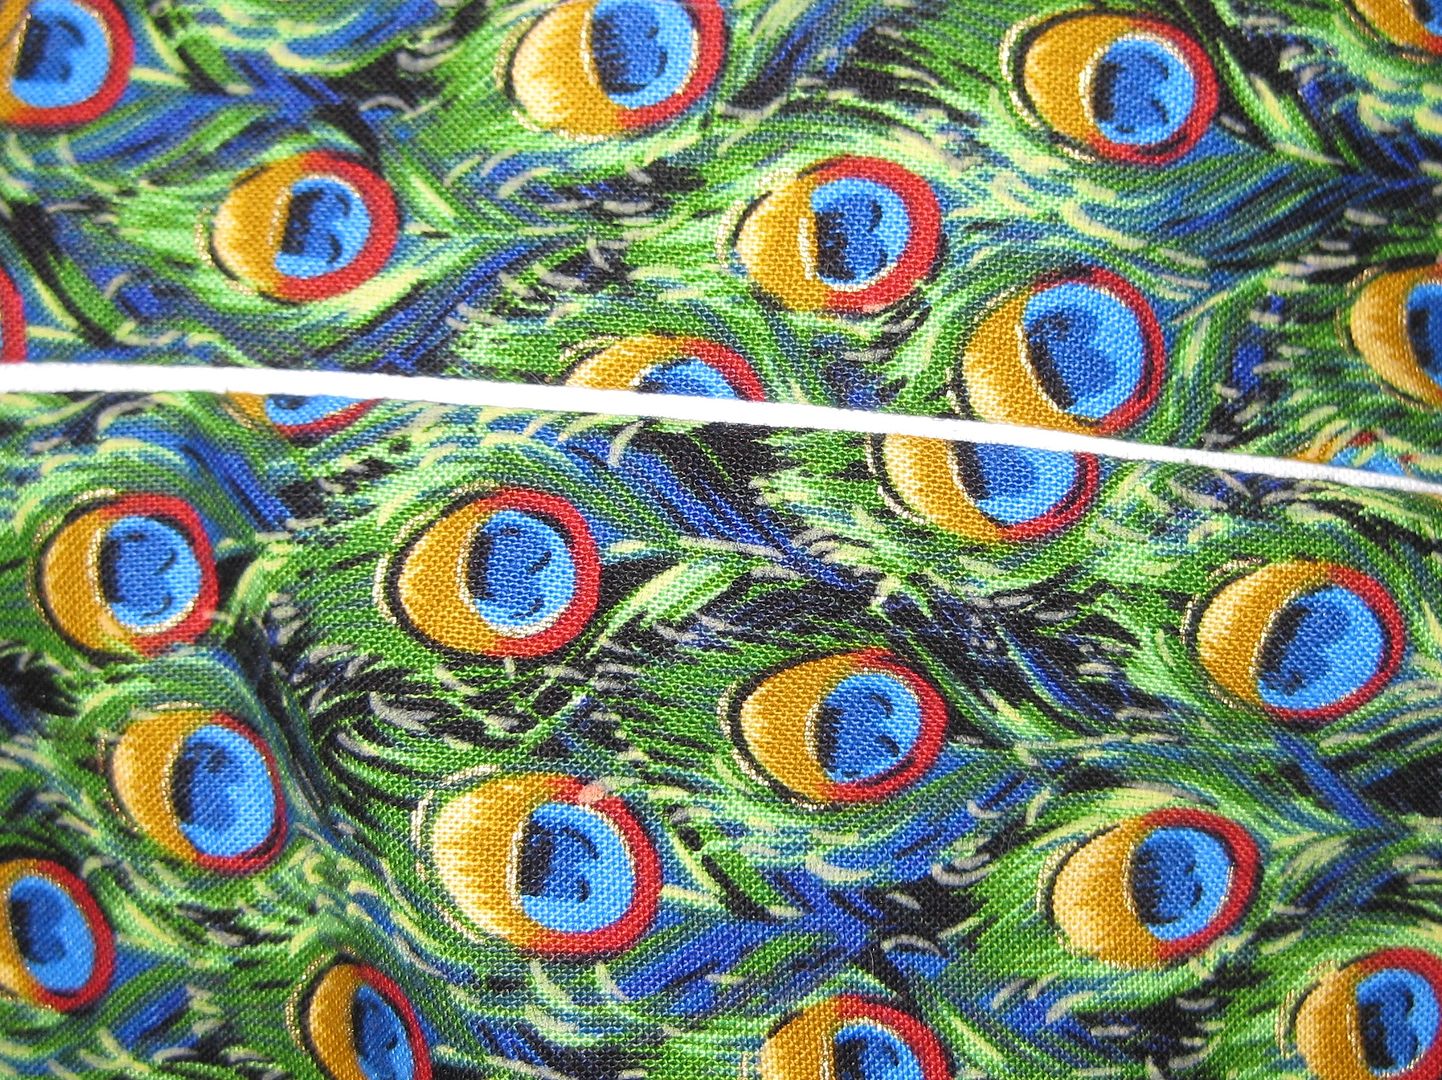
I have this peacock feather fabric that I purchased  just because I love peacock items... I actually did not have a plan-LOL imagine that!!

I did not know what I wanted to make with it until I saw this simplicity pattern
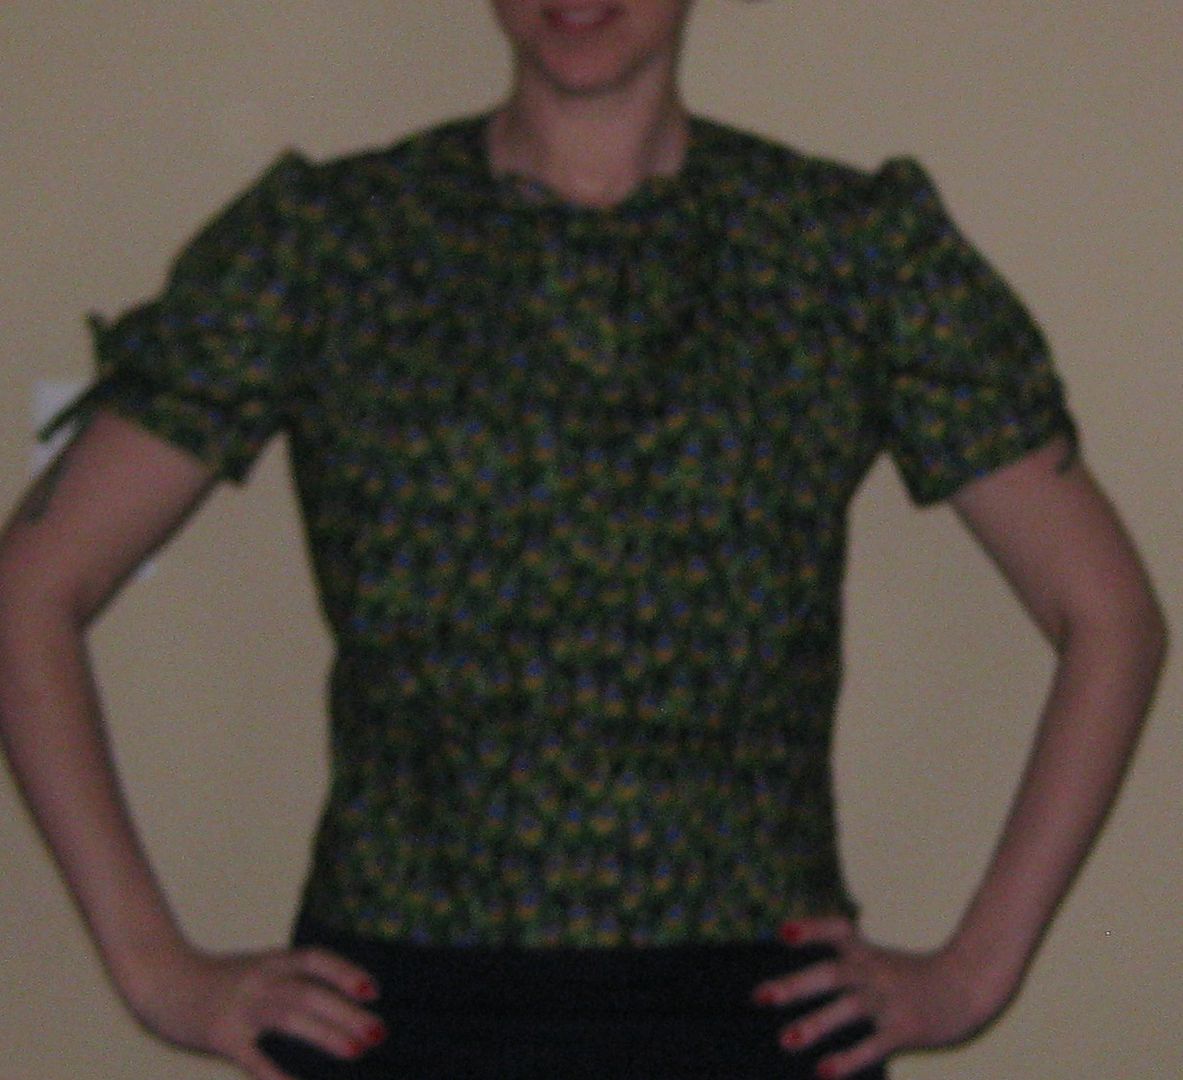
I love the retro feeling of this blouse! LOVE! I followed the pattern. I got confused with the side invisible zipper, which I have never done before. I actually ran out of fabric and found it online and had to wait for that. OMG it was crazy. This took a while... another story

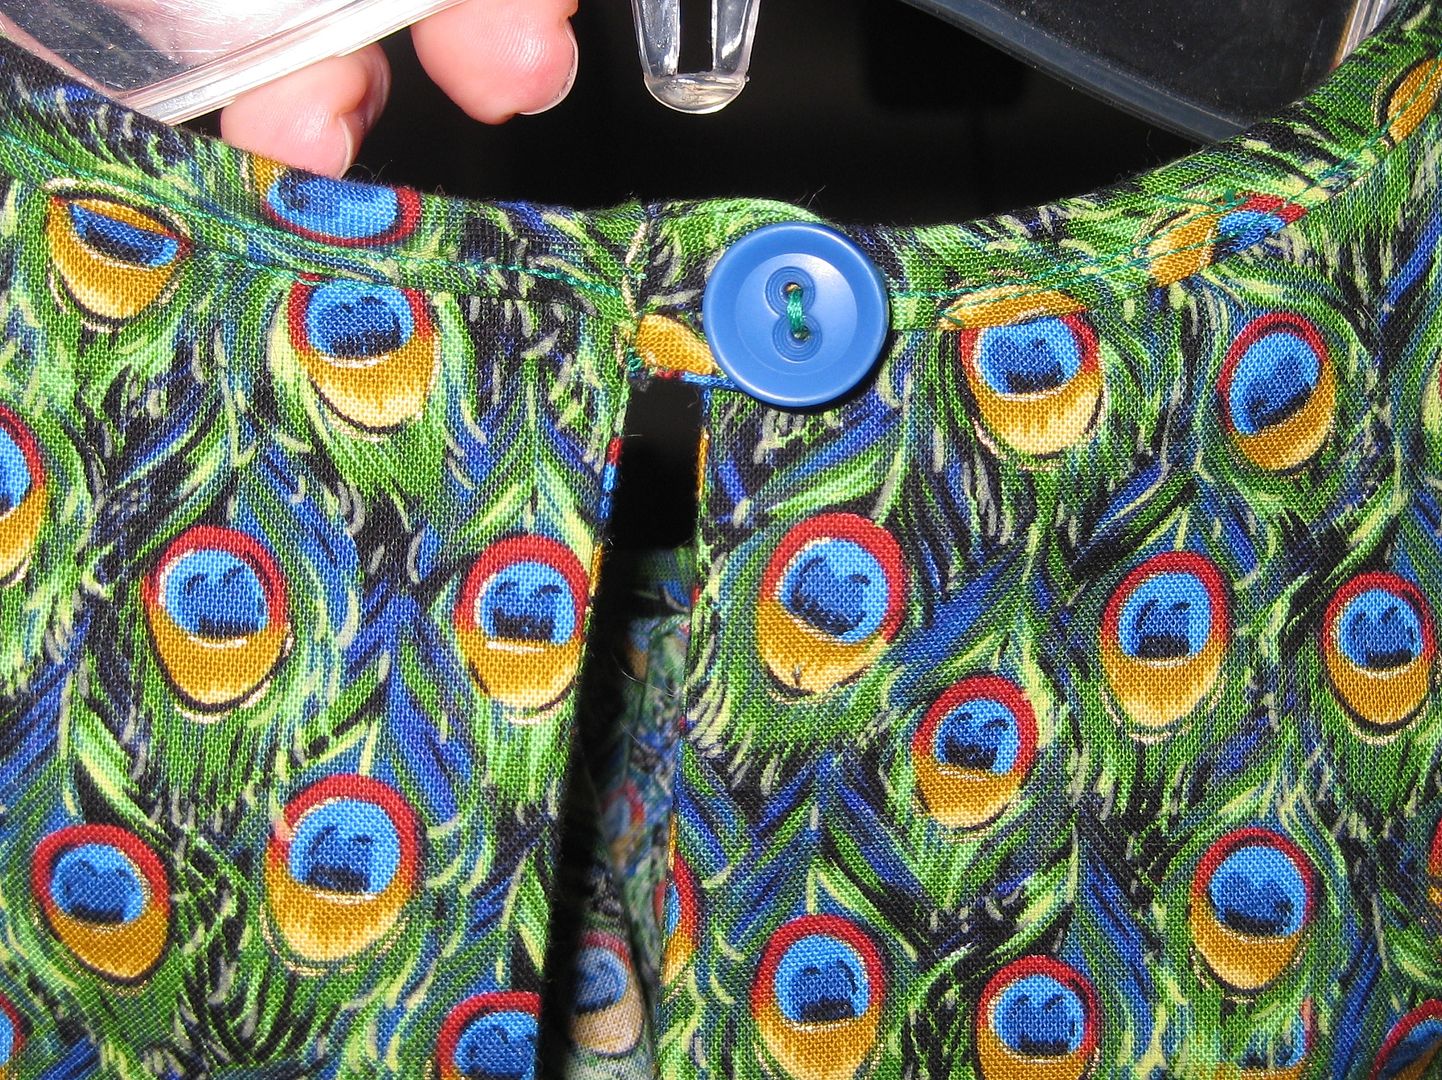
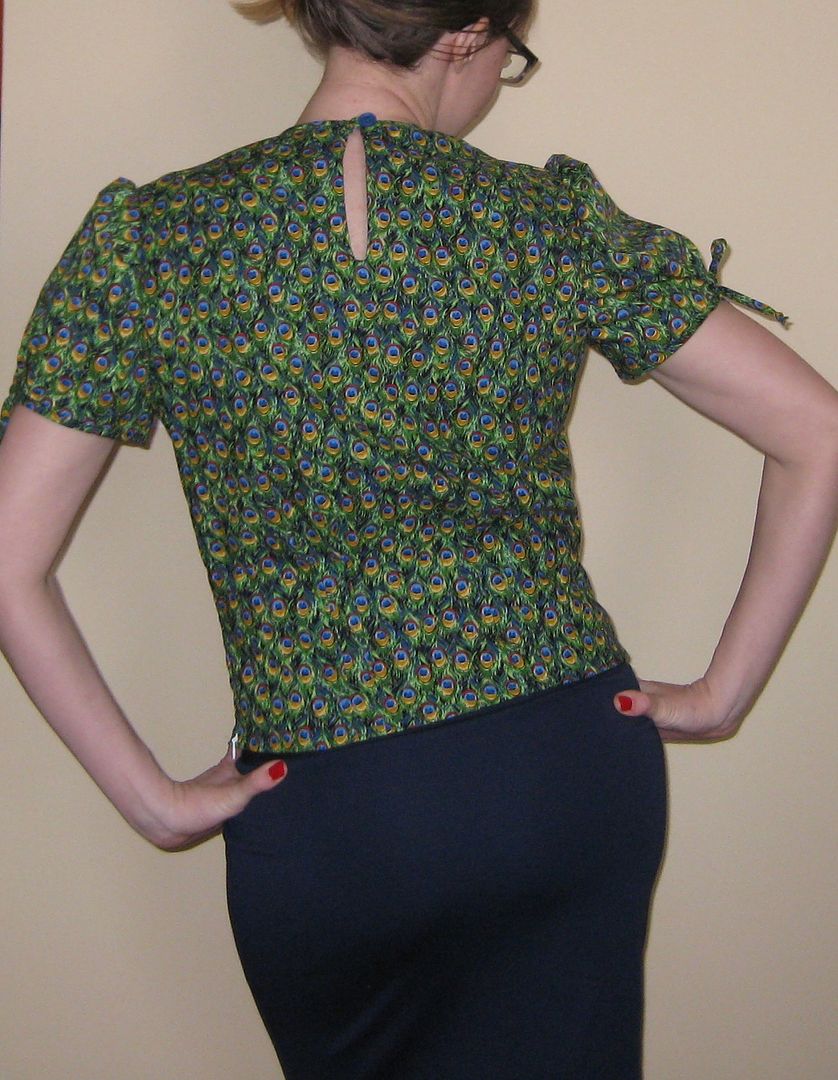
I added a button- I use a toothpick- great technique. I went for a blue button- to mimic the eye of the peacock feathers.


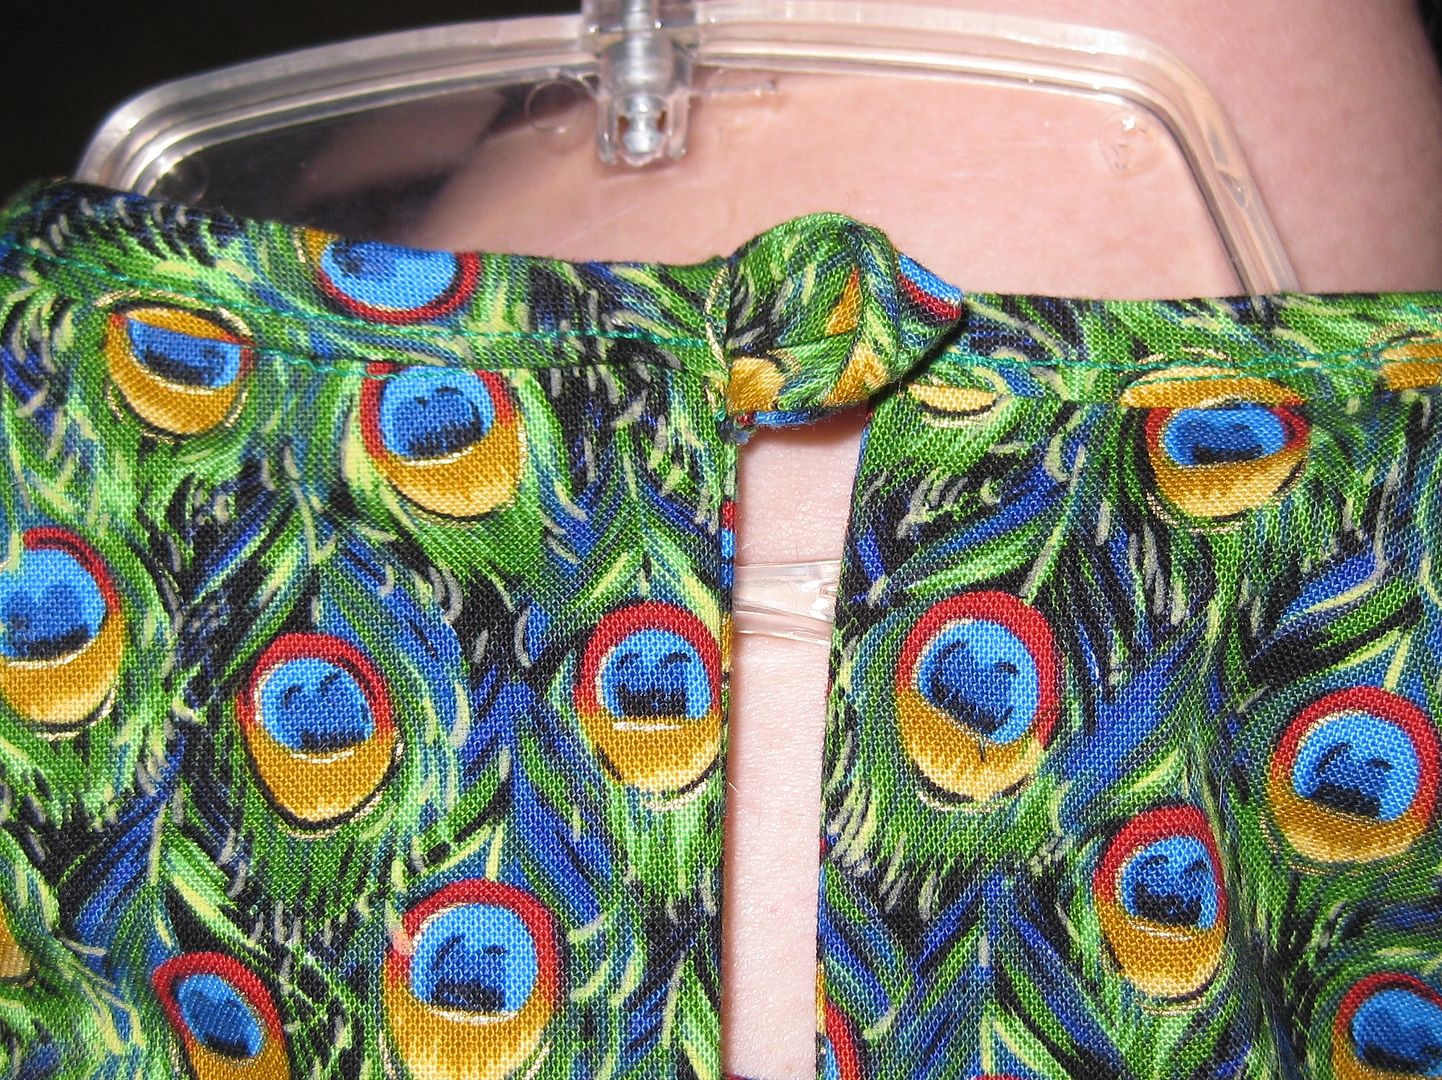
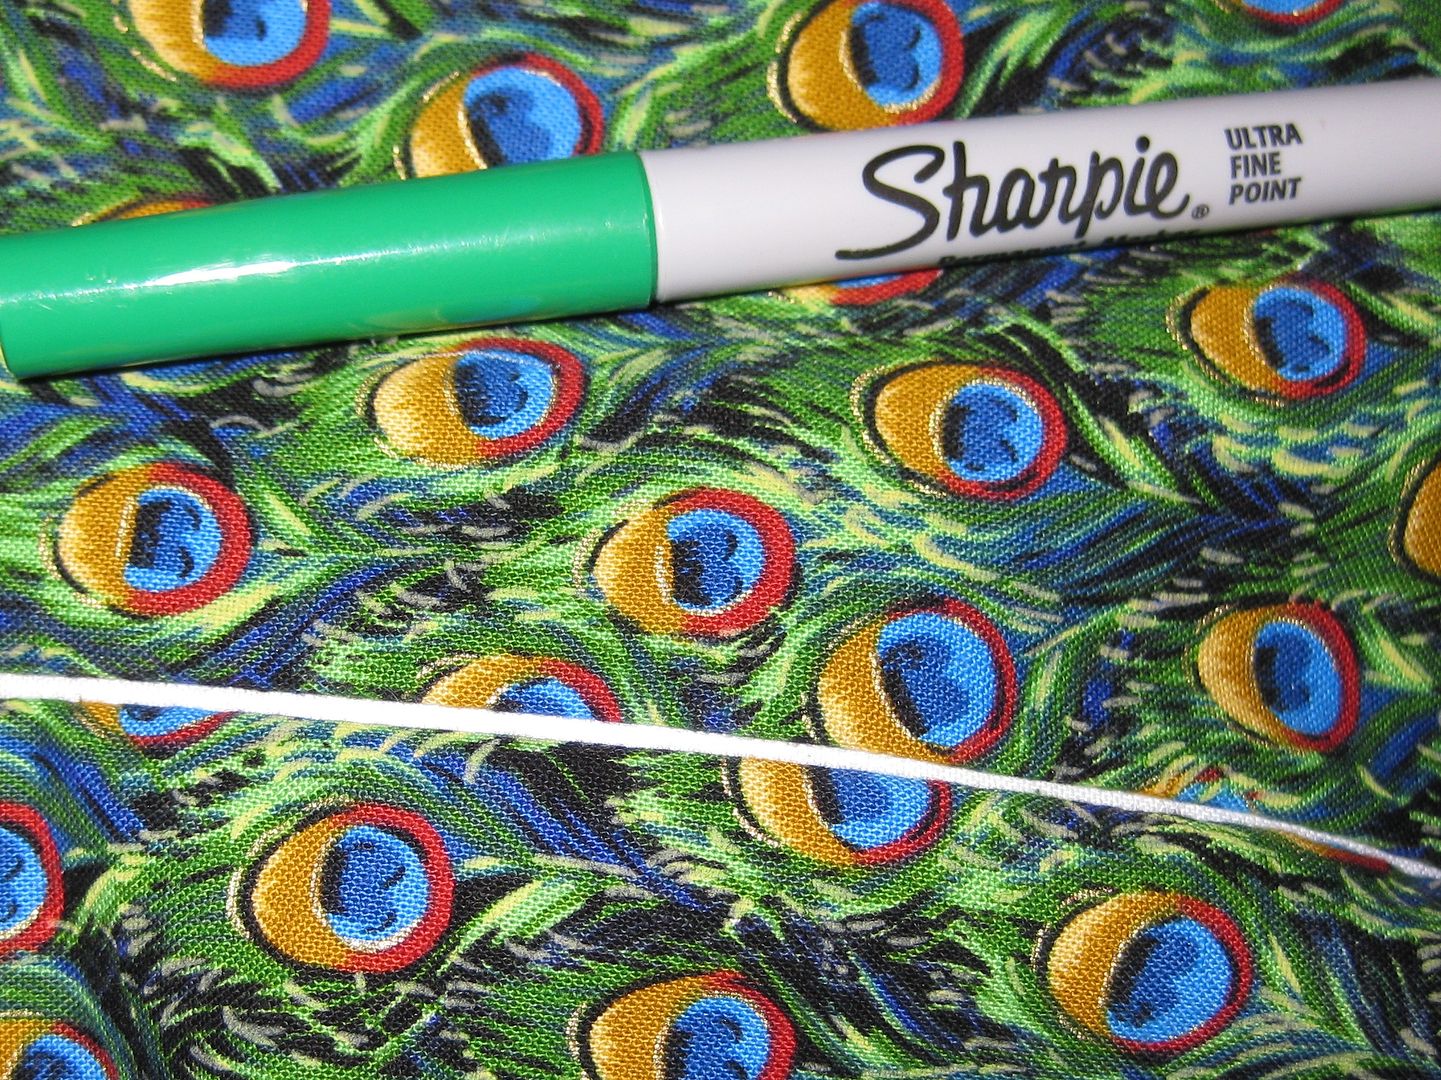
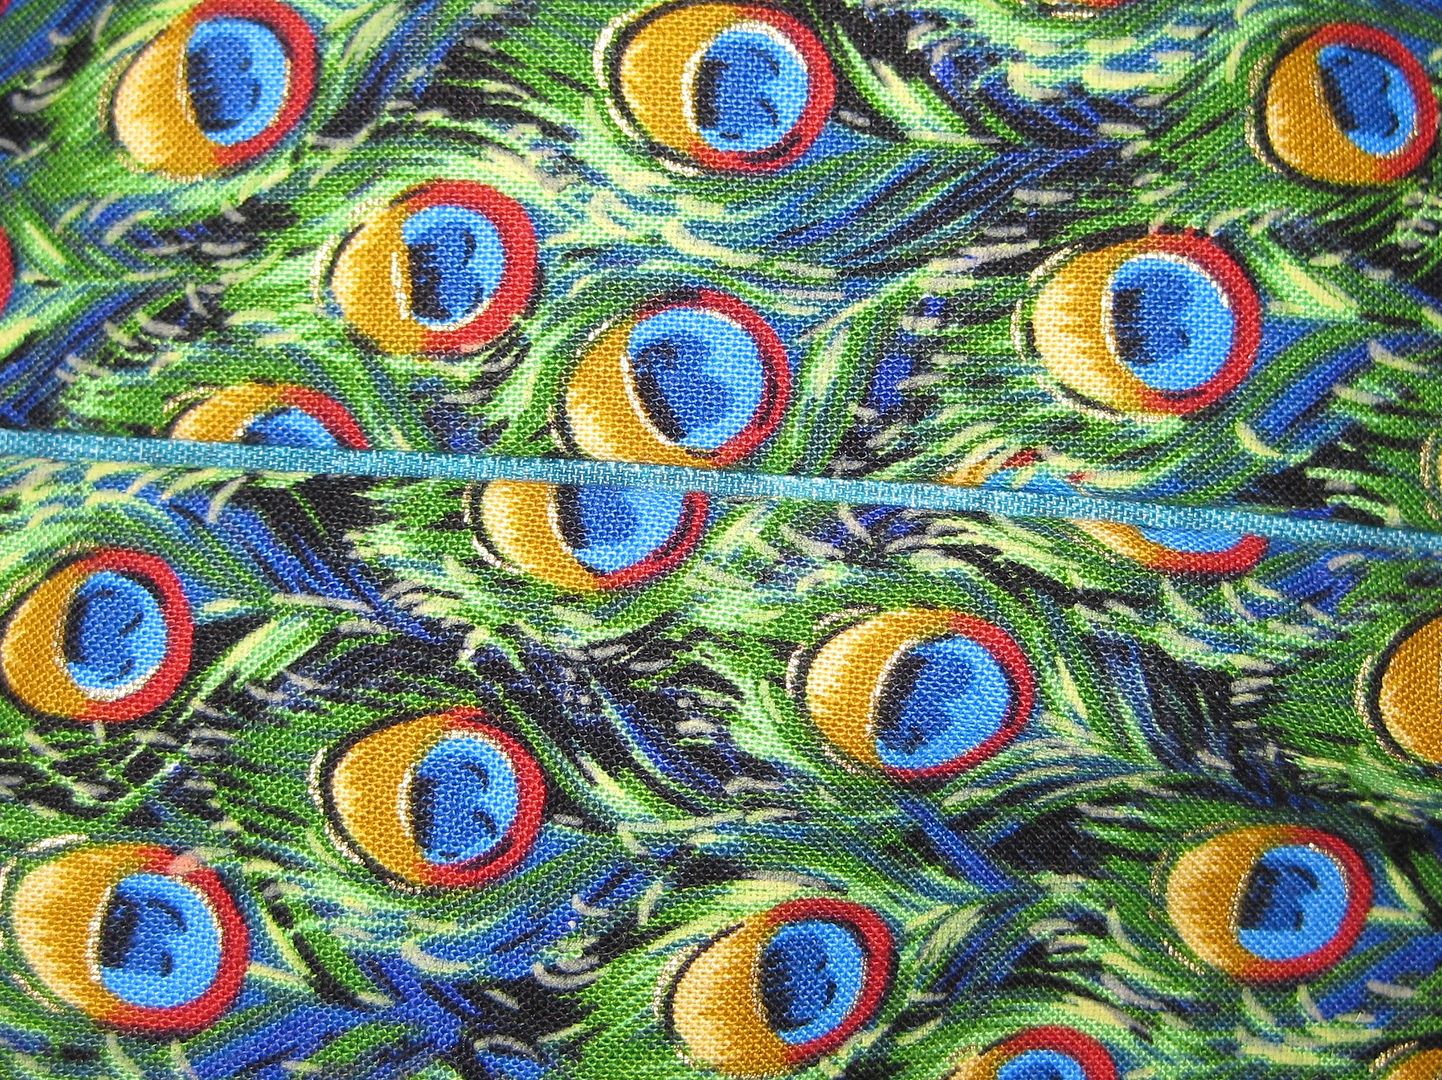
Now an issue I had was with the zipper-it was white and I had some issues with the side zip. It showed from the fabric.

I stumbled on the solution- use a green sharpie! 

Done now it blends in with the fabric. 

Here is the blouse done being sewn! Love! 


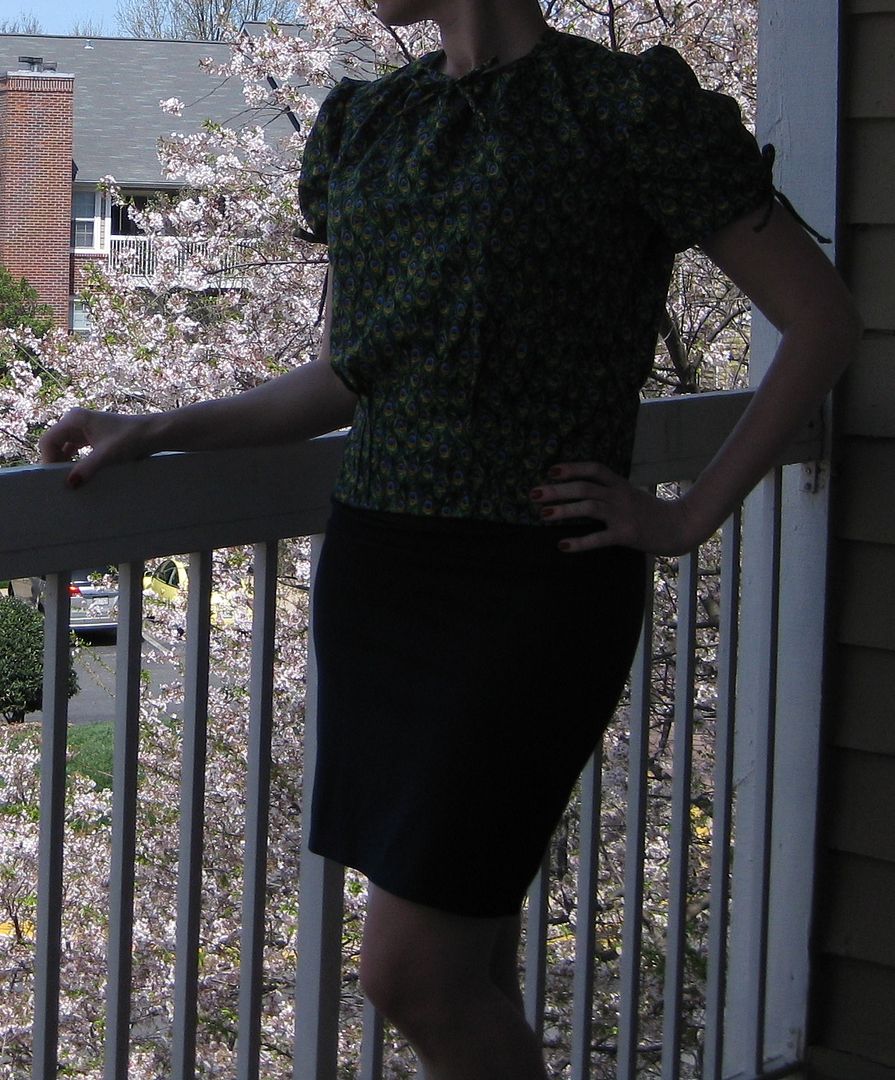
Got to include the bad weirdly out of focus shot. 

Yes the cherry blossoms are in bloom here in DC. They are right outside my window. Enjoy! 

I would probably sew the pattern again. I think I would maybe not do the side zipper and take out of the waist darts. I love the retro feel. And had I not had side zipper this would have been a quick and easy sew.

xoxoxo,
Lauren
Monday, February 18, 2013

Peacock feather stamped scarf

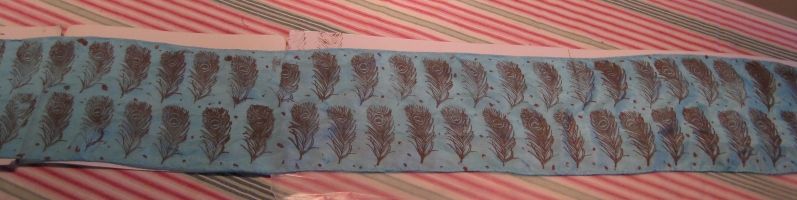
Well happy President's Day everyone! So excited to share this project. I am again giddy! I first started with a plain white silk scarf I got as a bonus gift after purchasing from Dharma trading. I had to do something with it, I dyed it aqua using RIT dye aqua. Love the color!

Before:

with dye

I decided it was too boring so I must do something with it. Then one day casually strolling in Hobby Lobby I saw that stamps were 50% off. Score! And then I saw this beautiful peacock feather. Had to have it! I decided I wanted to stamp my scarf with this stamp!! First I practiced on a thin piece of cotton to get used to stamping b/c frankly i have not stamped since I was like in grade school... I also used Tulip's soft fabric paint in brown. I also diluted this to not make it so thick and leave the fabric still flowy. 

Stamp!! I placed cardboard underneath to catch the water and paint. As you can see I had 1 plate with my mixed paint. One side is thicker than the other. I stamp on the right side (the thinner side) then I stamped on the other plate (located on the right) then I stamped the fabric. 

Close up, I had a few hang ups but overall it was looking good. I realized perfection was not going to happen. Now to do the other side. 

OOps! This is what happens when they don't match up. Feathers don't look good 

Here is after I was done. I filled in the rest of the scarf with smudges since I got 2 from my stamp. 

Let dry! And we are ready! 


Now I need to learn how to wear it but it looks fabulous on my red purse! :) Won't mistake my purse for anyone else's!


Hope you enjoyed this. Now I am obsessed with this stamp and would love to create my own fabric..... Oh wheels are turning!!!!

xoxox,
Lauren

LinkWithin
Related Posts Plugin for WordPress, Blogger...