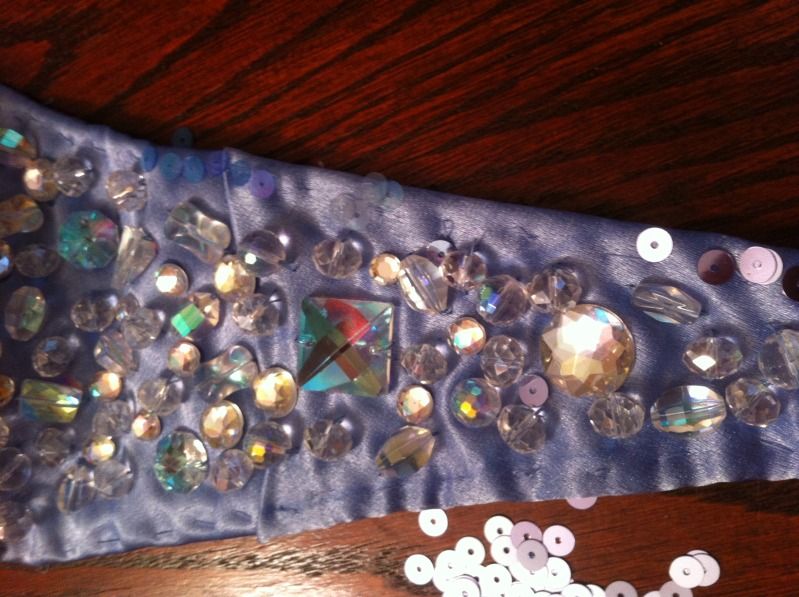
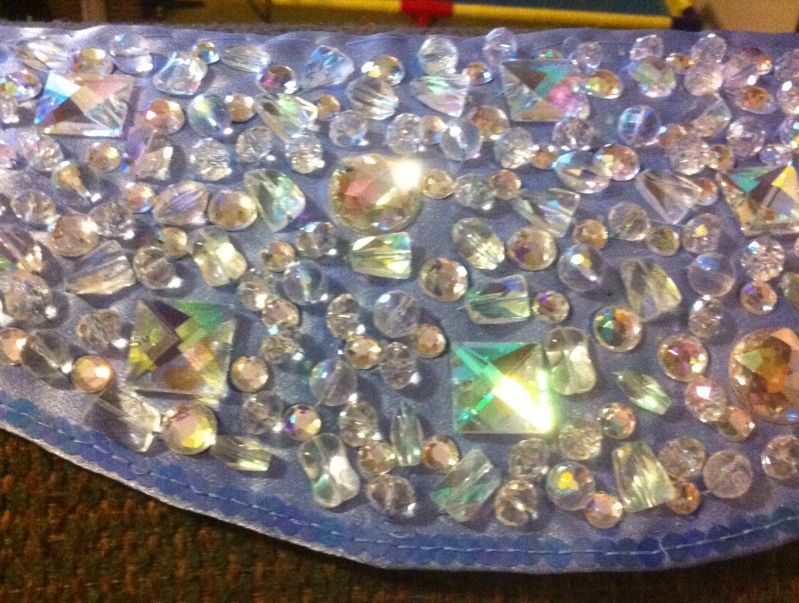
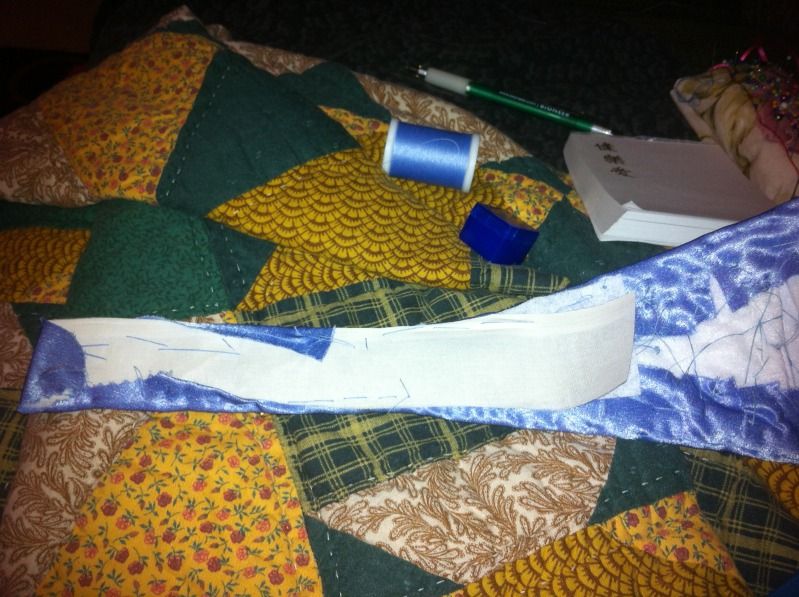
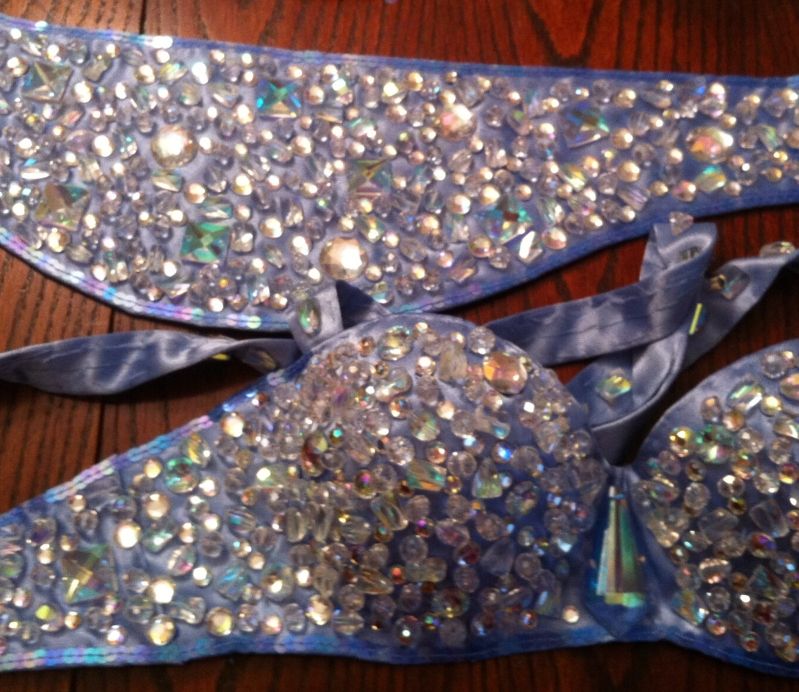
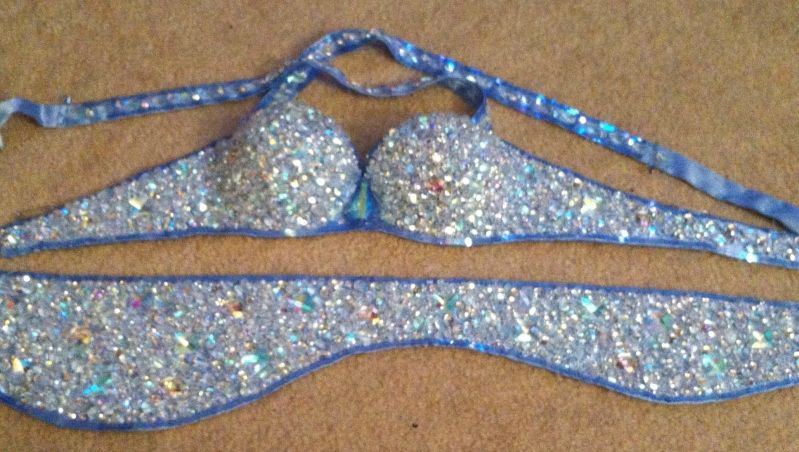
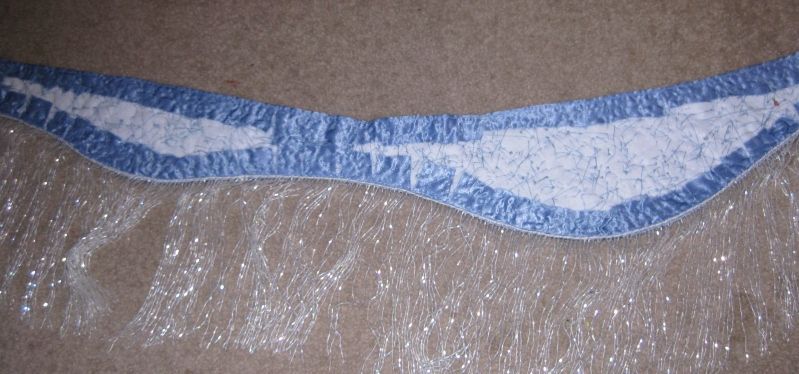
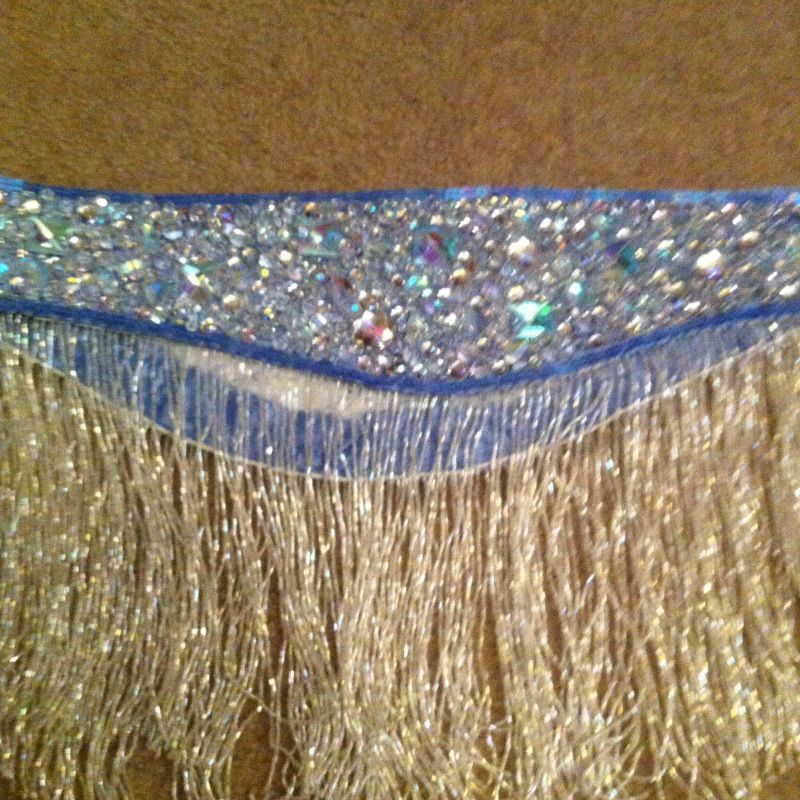
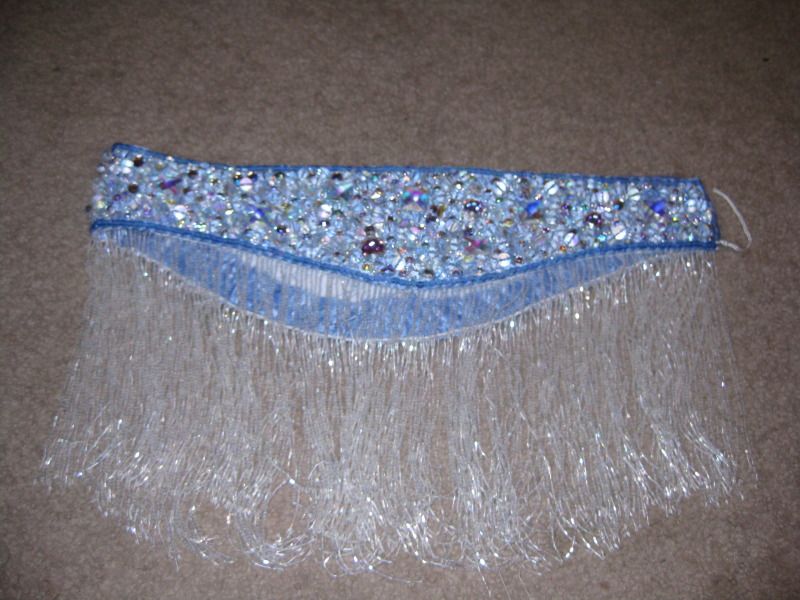
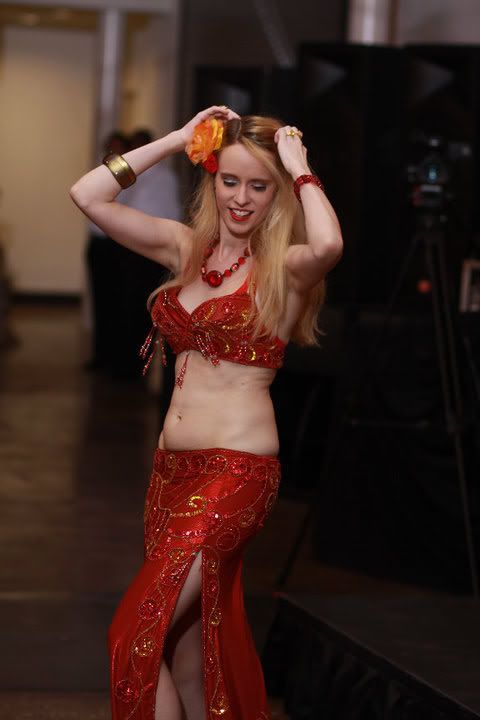
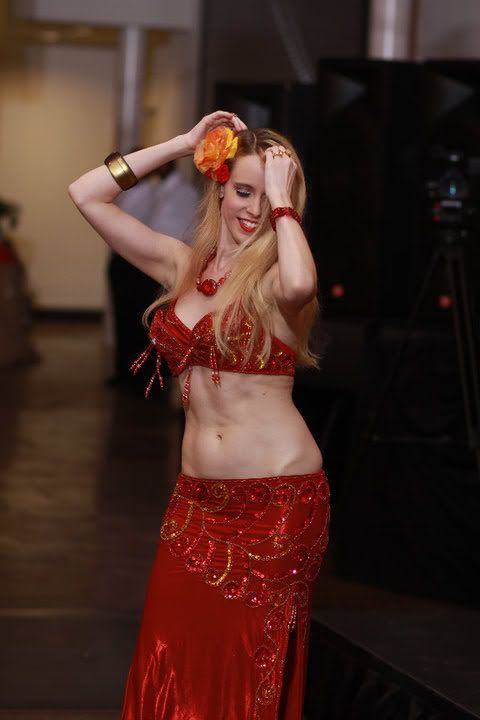
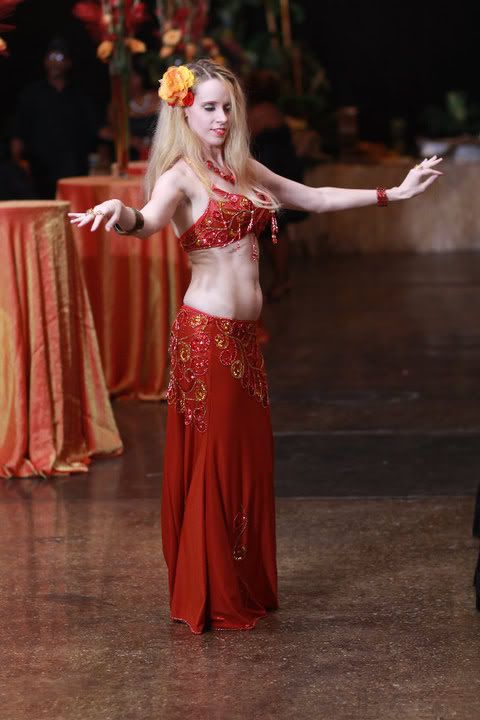
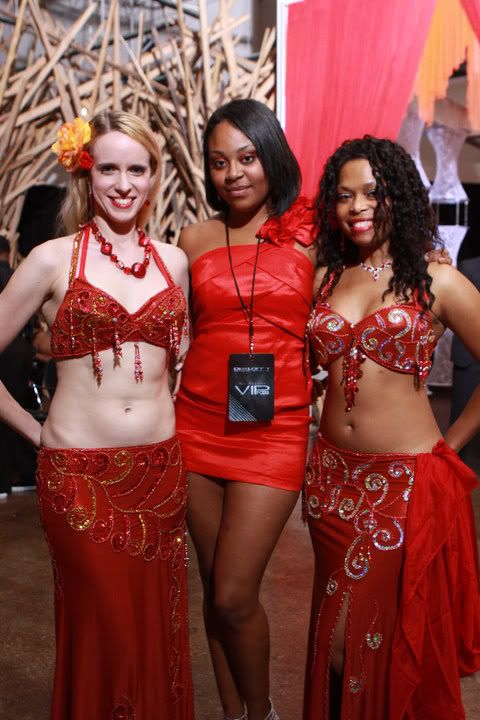
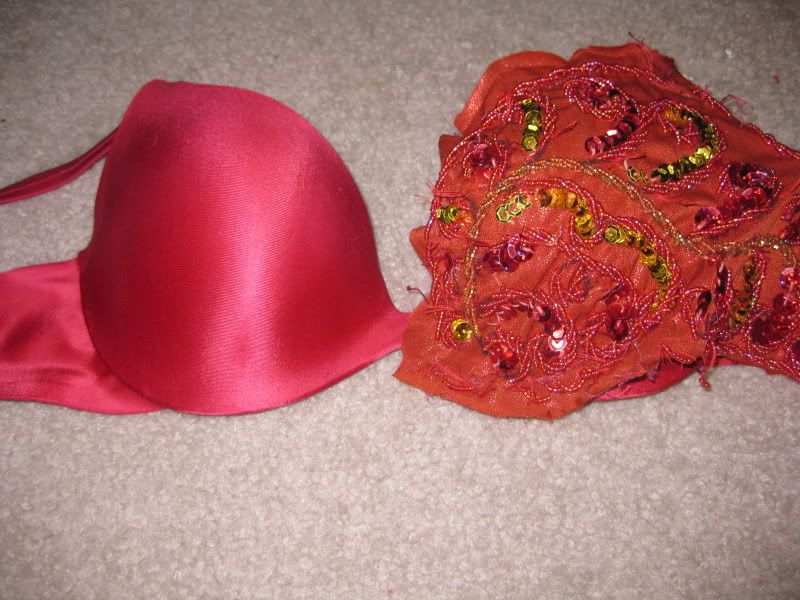
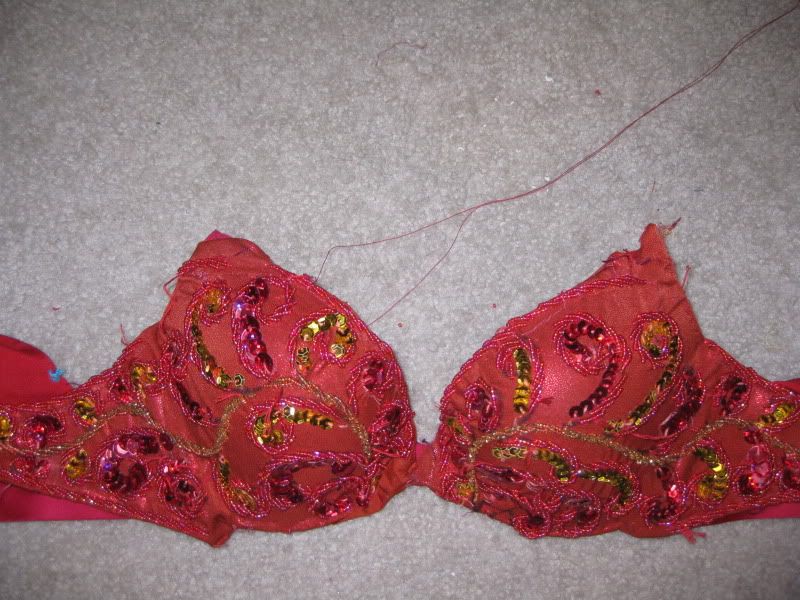
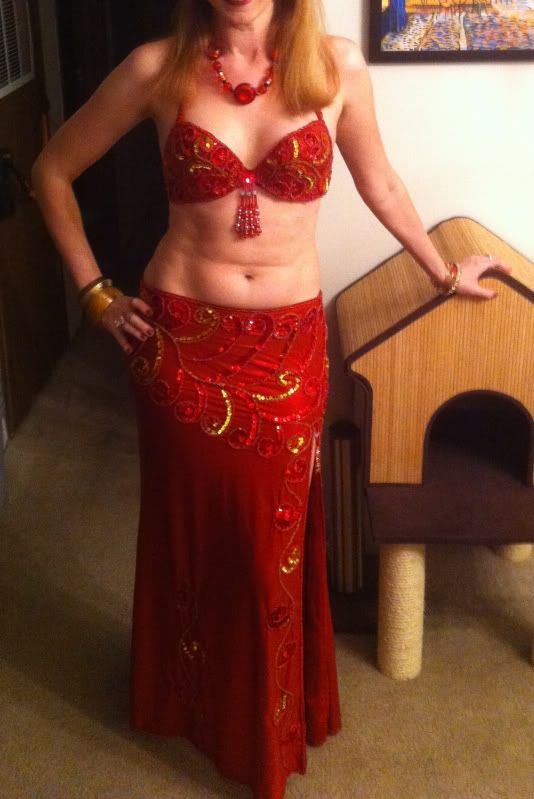
I got this Egyptian red swirl costume for a particular event and the price was a steal. It was meant for a B cup but when I got the costume clearly something was different.
The skirt was fine, a teeny big but i was also having weight issues. The length was fine too, which was surprising. The bra needed a lot of work! When I tried it on, I realized that this was no B cup, maybe more like a DD cup. Even though in the description it said it would fit between a 34B to a 36C someone lied! What was horrible about this costume was I could not wear the bra and add padding or the cutlets to make it work. The cups seemed to want to move away from the body and no matter was you could see something-something! I was appalled!!!
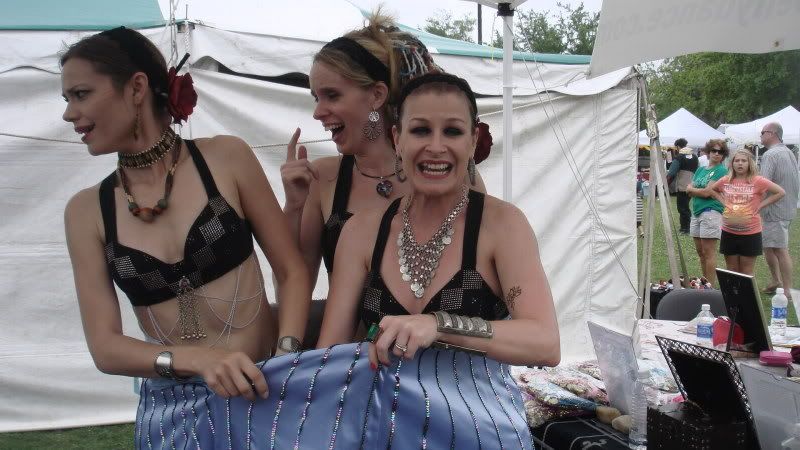
With little time to fix it, I decided to wear a red colored bra underneath and I used the headband sewed to the top of the bra to make it look like it was part of the costume. Oh yeah the headband didn't even fit the head either. This costume seriously had issues! So in a quick fix, I was saved by the extra bra. Tiana had similar issues too! We are both wearing double bras!
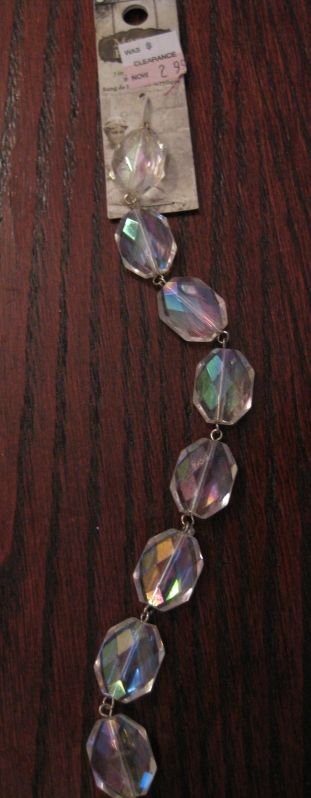
Now for future performances, I wanted to be able to wear this without having the double bra. Because there was still a gap. I looked at the costume and the only way to fix this was to remove the fabric that was attached to cup. It appeared that only a portion of the design was actually sewn to the cup. Mostly the randomly scattered boob tassels (oh yeah forgot to mention that!).
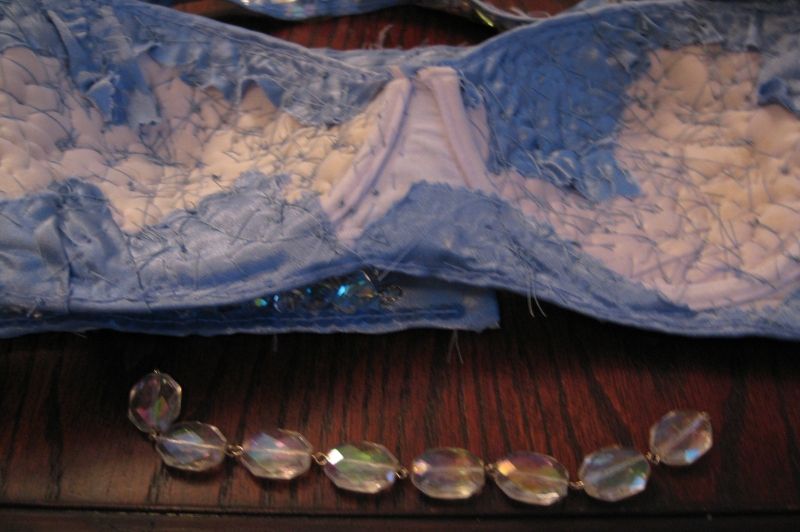
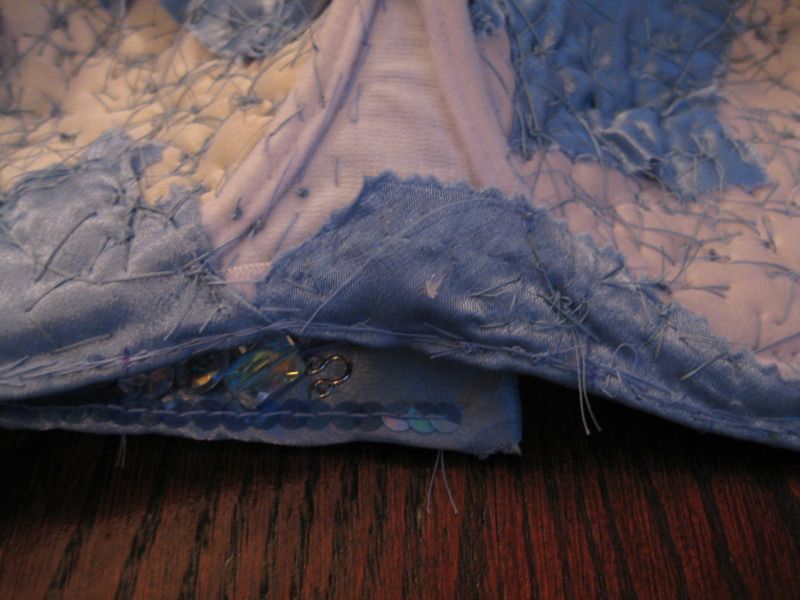
First I removed the tassels and saved the beads. Then I took my seam ripper and began to remove the lining for the middle and the cup portions of the bra. I had an idea to save the sides so less work for me.
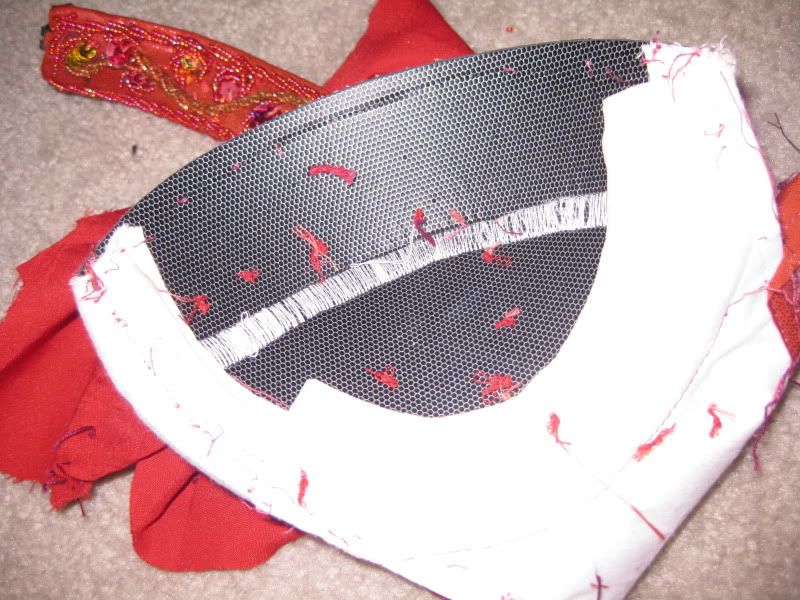
To my astonishment, this is what I found as the cup!!!! I don't even know what to call this stuff but it looks like something you would use in a car's interior or on a boat. It is so hard to describe but it was like a foam rubber. I was absolutely appalled. Though, I probably could have taken a bullet with these bra cups!
After the lining was removed, I realized I could remove the covering from the bra and not loose many beads. And so it began! Actually, it was not too hard. I tried to save as many of the beads and sequins so I could fix it later.
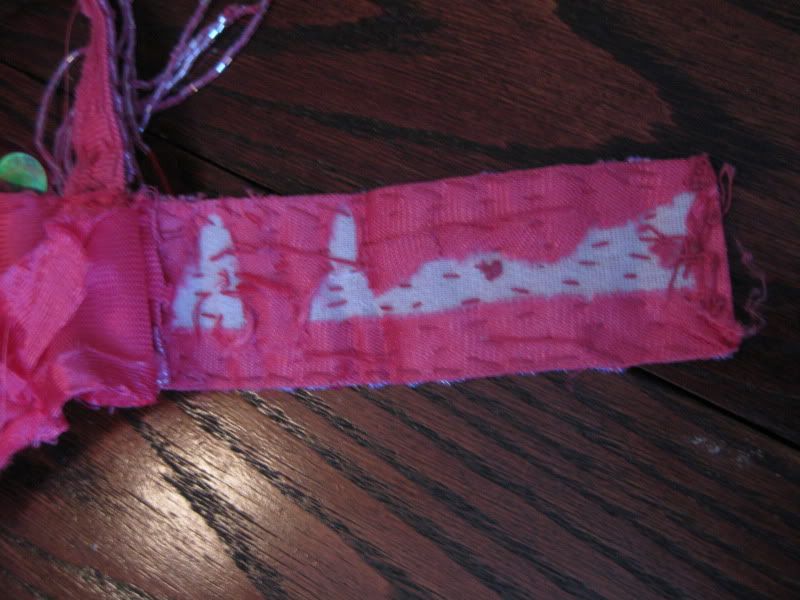
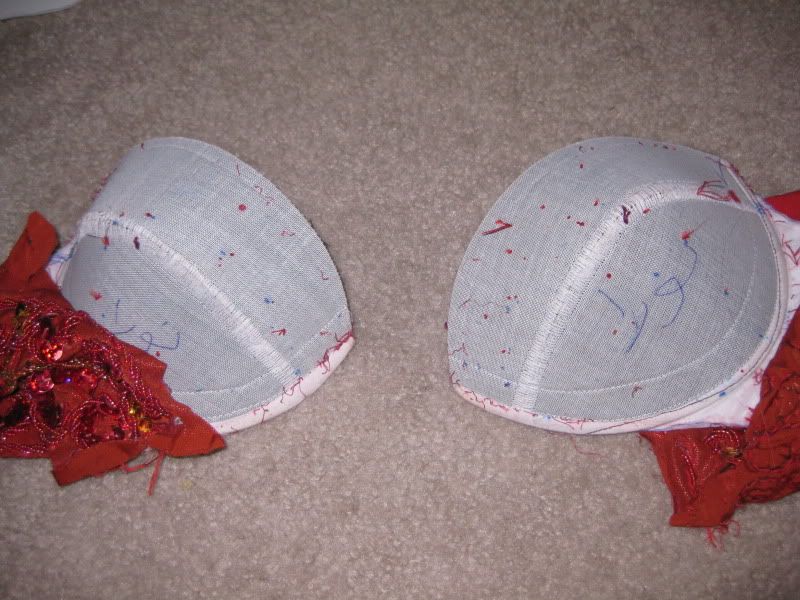
If you could look closely what is written on the cups is in arabic!!
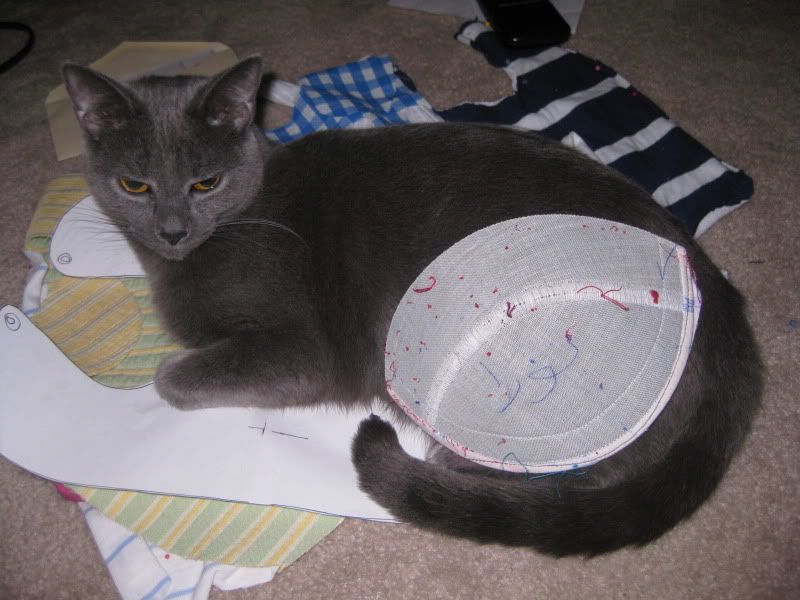
What the heck are these things! I figured it out if you would normally place the cups like a regular bra yes they would fit a b cup. However, when you turn it sideways, it moves the cup forward and also pulls away from the body. My cat natasha was fascinated with this project. Look she could fit into the cup. ;)
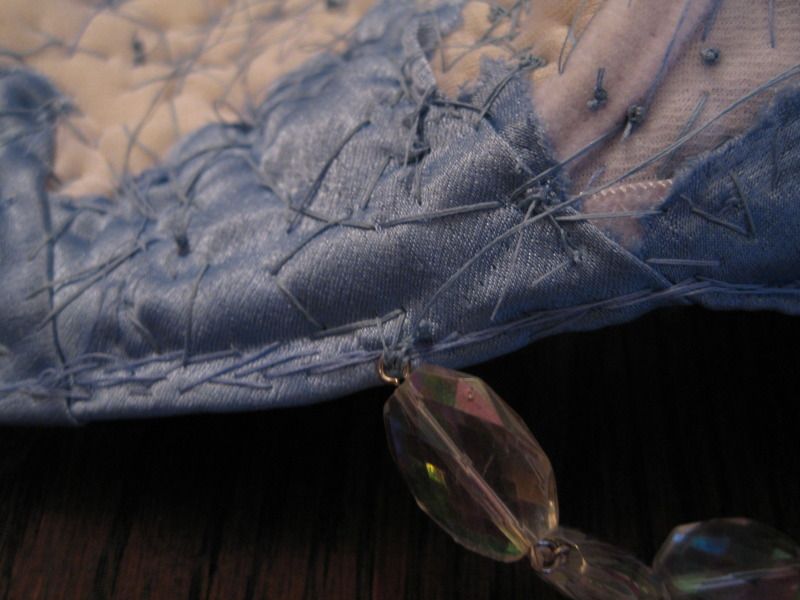
ICK! This is how they beaded their center! What????? Save the beads!
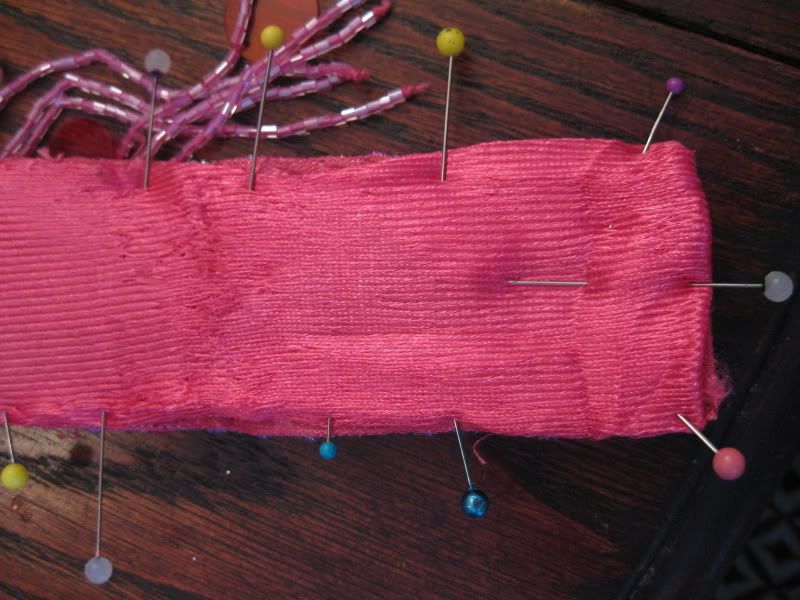
Next I removed the cup from the bra sides (which were just several pieces of maybe buckram put together). What I had left was just the bra sides and the beaded material. Next comes the hard part!
Now I had another red bra that had a similar shape in my house that would work to be covered with the removed material. I began to cover one side of the cup with the material. Luckily the pattern was perfect and needed very little fixing (so it was not way too big or way too small for the cup). Next I positioned the other side with the material. I waited to attached the center part just yet, in case things did not work. I tried it on and had success with everything lining up the right way.
Next, I sewed down the fabric to the bra. Then I removed several problem areas with the beads that were used to edge/finish the bra. There was an area where it didn't match the edge of the cup. I removed the beads and would do it myself.
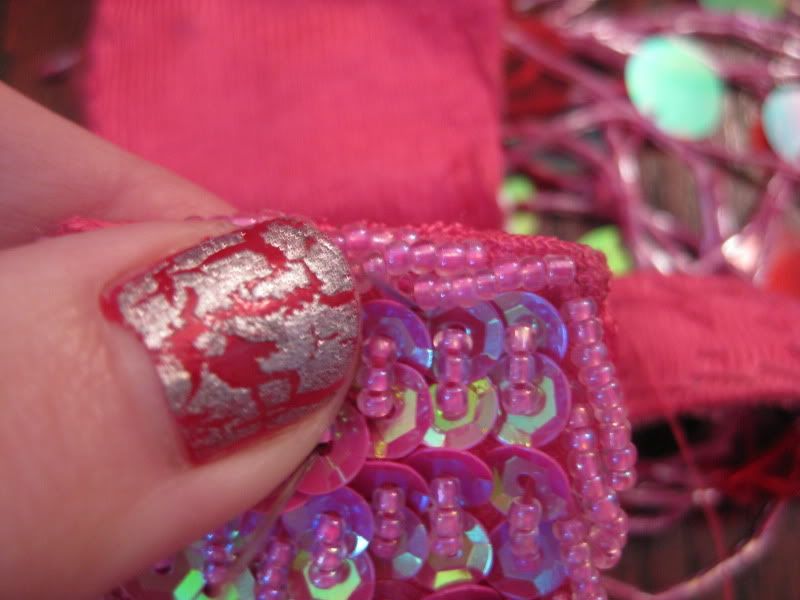
Basically the next part was just securring the wobbly beads and sequins and finishing the edge with the small seed beads. It didn't take much time once I got my mojo, it went fast. I also added some small red sew-on rhinestones I had purchased for another costume but were the wrong color and tone. I used these small things to help secure the material to the bra in a scattered/random fashion, which I do well apparently according to my fellow dance troupe members.
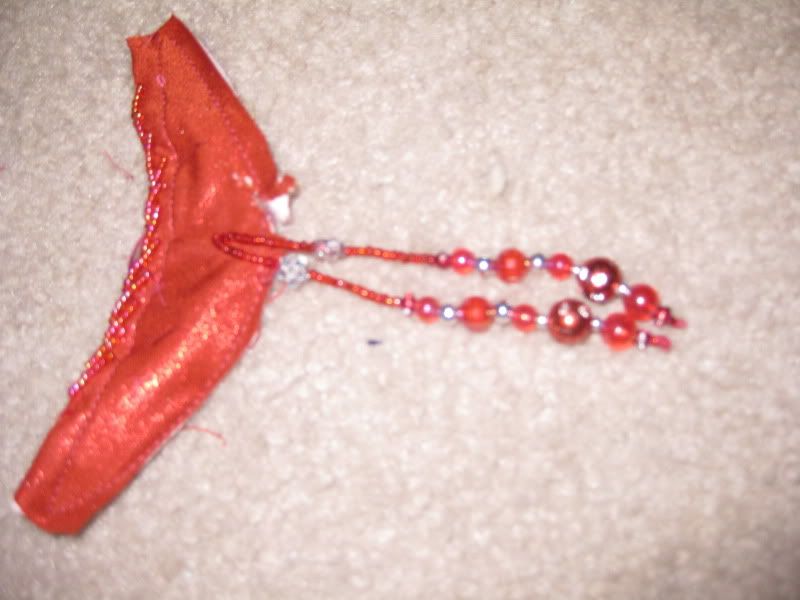
Next, I tackled the center. I rebeaded the boob fringe and made it all match and added several strands of fringe in the center. I couldn't figure what I wanted to add in the center so I opted for the large red holographic sequins that were amongst the cup just so it would "flow" with the costume.
Last was just to add back the lining! Pretty easy! And I was done! I thought I had more pictures but they have disappeared. But you get the drift! If I find more I will repost them!
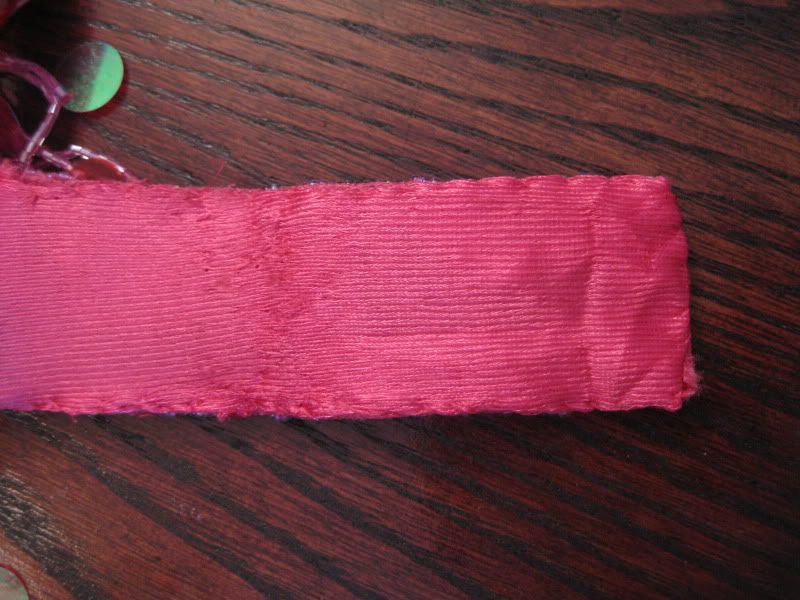
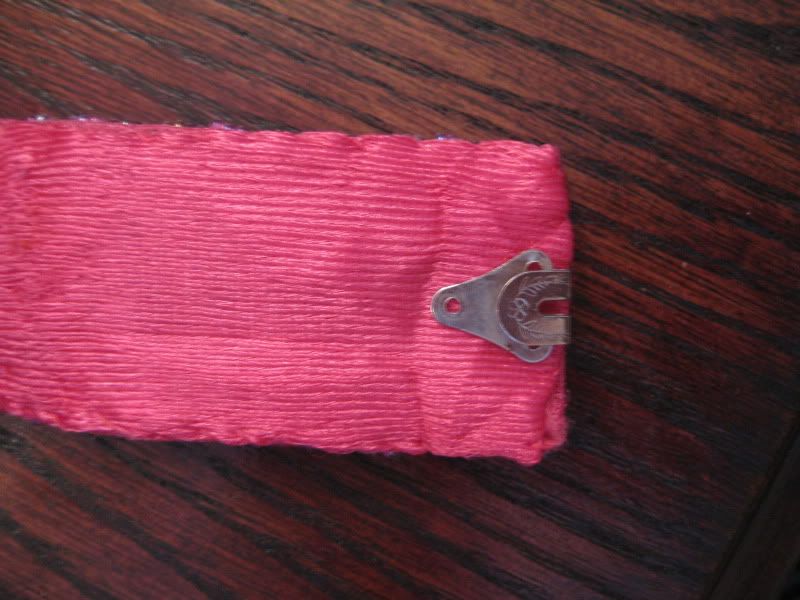
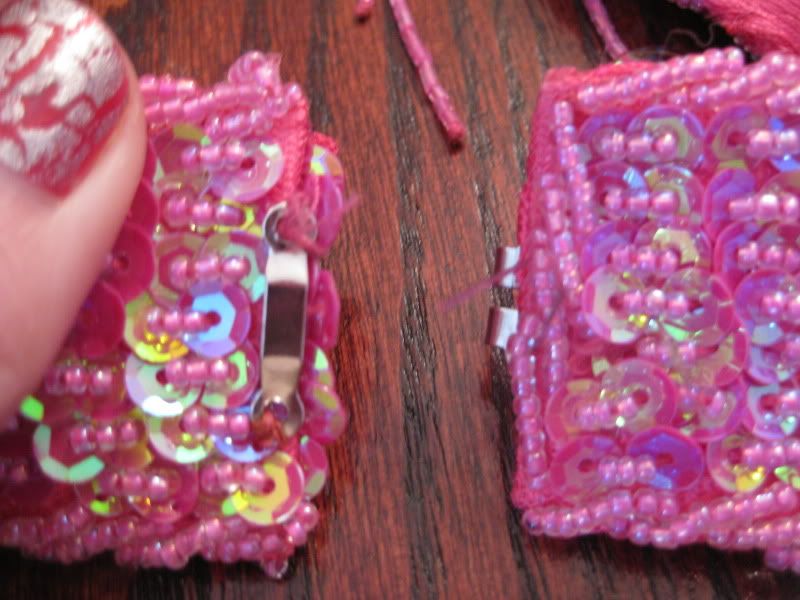
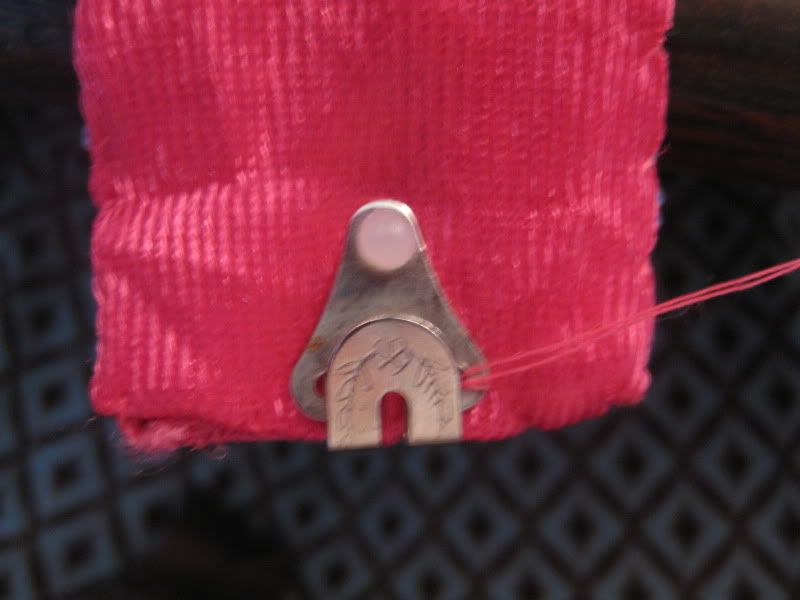
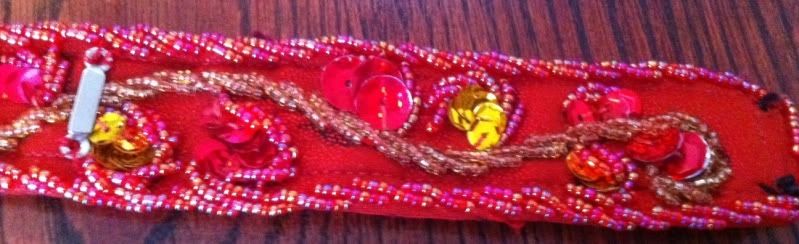
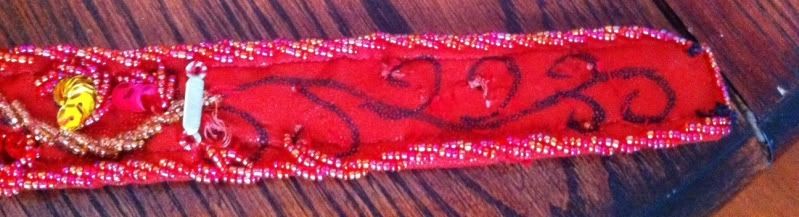
Since I had spent so much time fixing this costume. I decided to fit the straps next. The band overlap was a lot but at least it was going to fit! I moved the clasp on one side now but I still needed the underneath fixed. I opted to go with putting some velcro underneath so I would have a hook/eye finishing but I would also had the security of velcro.
First I removed all the beads/sequins in the areas where the velcro was to go. Yes people, the mystery of how patterns get added to a costume.... black sharpie! Seriously! And badly drawn might I add!
Then I hand sewed the velcro to both sides. I used the non-sticky kind of velcro so I could sew it by hand. Then I was done! :) sorry don't know what happened to the picture.
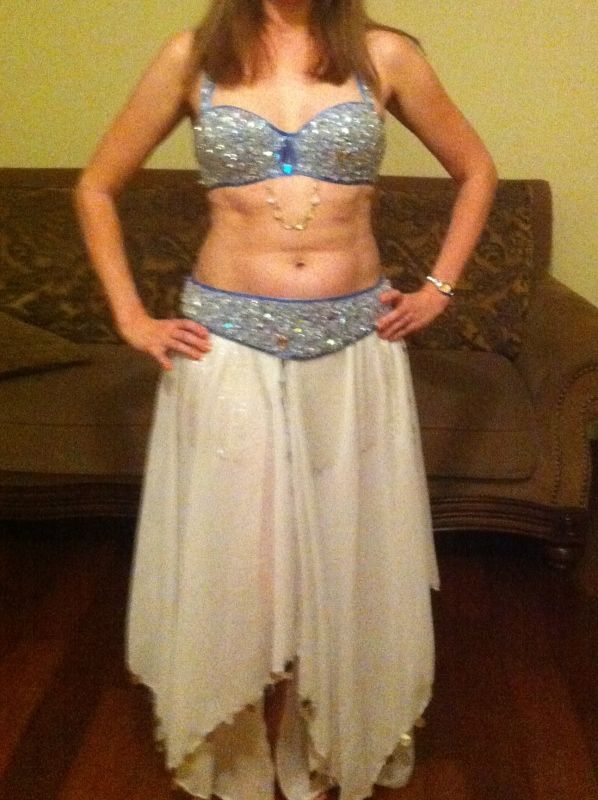
Now no more gap-age, and I have a fitting bra. Oh the joy. Here's the end product. Ahhh. So nice! It is always nice when costumes fit! I don't know what they do over there in Egypt, or who is sewing this but they have no clue about correctly fitting costumes.
Yes I am posing next to the cat house but I wanted to nab my boyfriend before he left. Look I even added jewelry. :) I just didn't like my hair and smile so I cropped my head off. Love when costumes actually fit!
I am currently in the process of working on more costumes. I finished this costume last year but just never got an end picture until now. Baklava is moving along with the black midnight madness for the Club Bellydance show. And I am almost done beading my own fringe for a belt (never again but not as painful as I thought it would be) so that means the pink patchwork should be ready to post soon! Yeah!
XOXOXO,
Lauren