I purchased this striped fabric one day on clearance at Hancock Fabrics (RIP, miss you!) When I got home, I wondered what in the world I was thinking! It reminded me of a tent and I asked the question to my facebook friends and no one thought of a dress. I was determined to try and make it work.
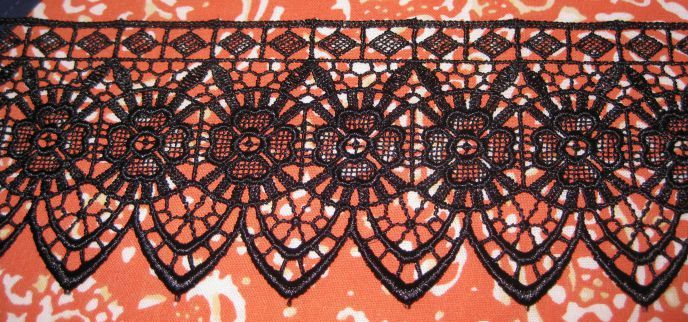
I saw this Vogue pattern and thought I could make it work with the pattern. I decided the bottom panel I could use this old bellydance veil I had to compliment the colors.

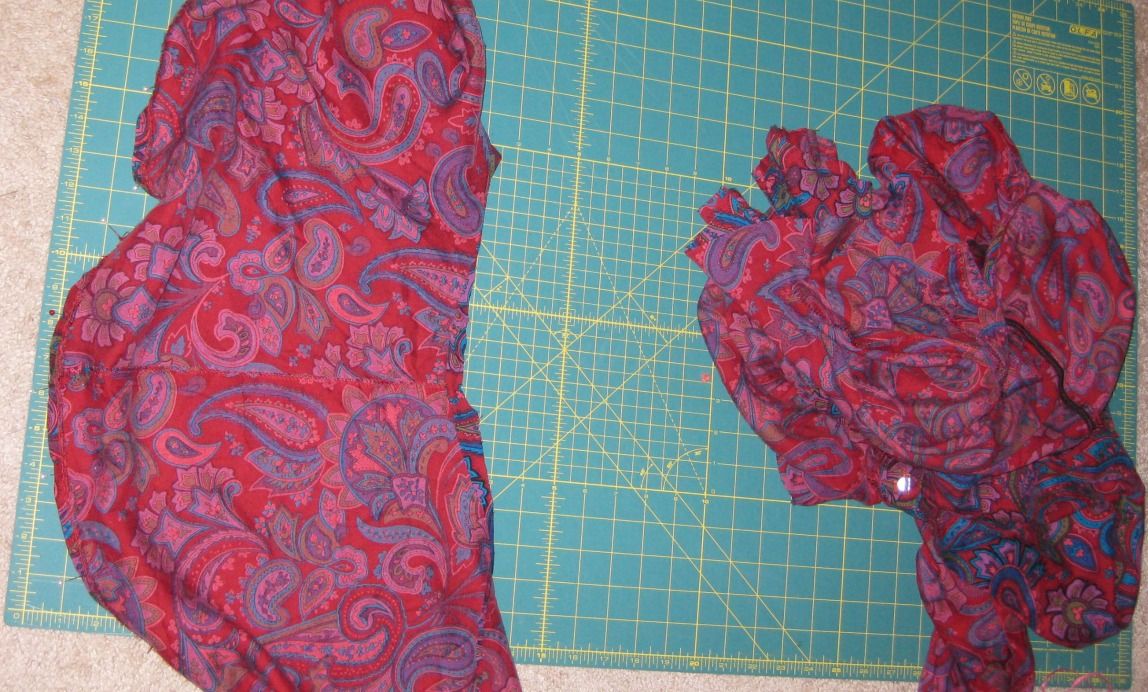
Sorry I am having issues resizing this photo for some unknown reason. Blah. First I had pull off the tiny bells that were on this veil. FYI I never used this veil mostly b/c of these bells. If you actually want to dance with this veil it is too heavy. Not to mention the bells grab things on your costume. It never worked. And this veil just sat in my costume pile. Now at least it is getting some use.
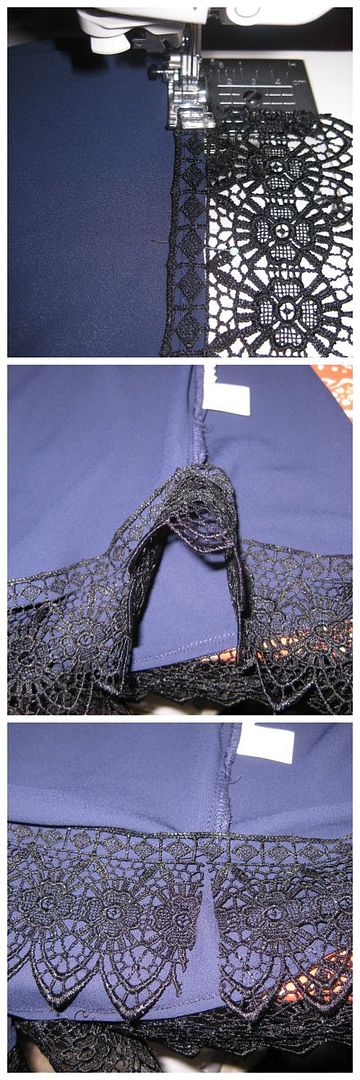
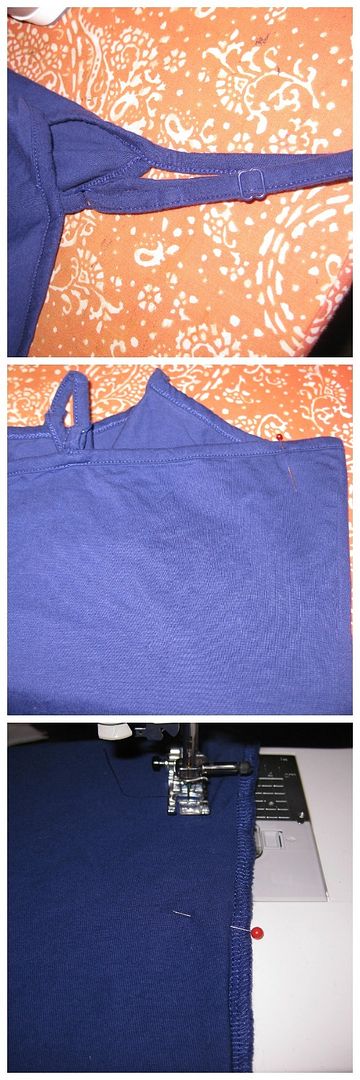
I used it for the bottom and there is me cutting. So the sew is very easy. I believe I put the bottom portion of the dress on the wrong way but I just left it and kept going.
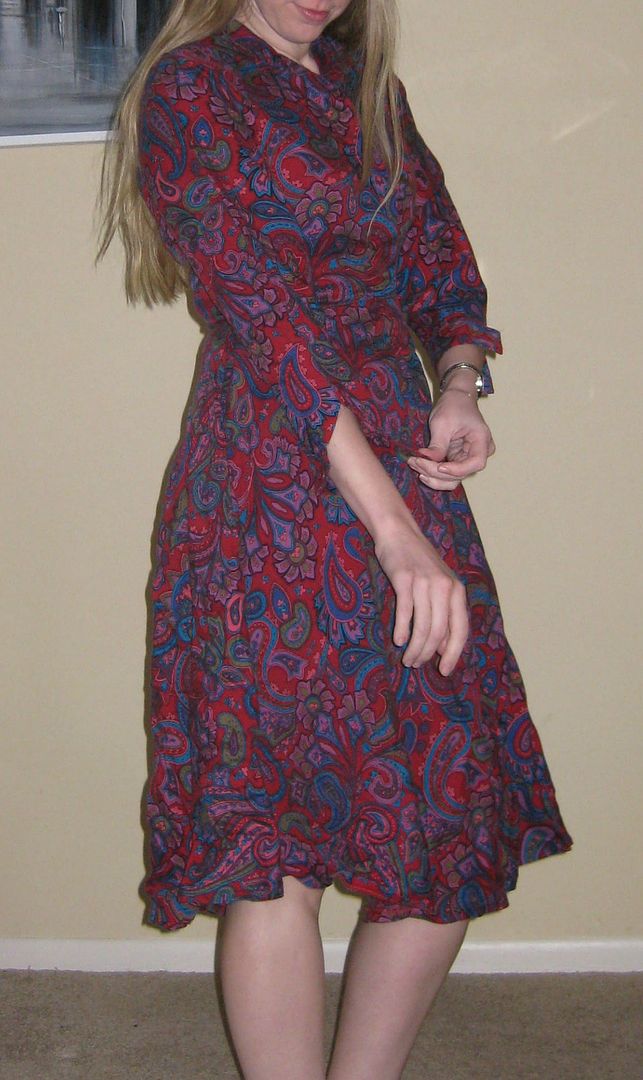
This dress is A LOT to handle. I feel like a circus tent. I mean it is a tent. The belt helps... but...
Just wow... LOL I tried my hardest.
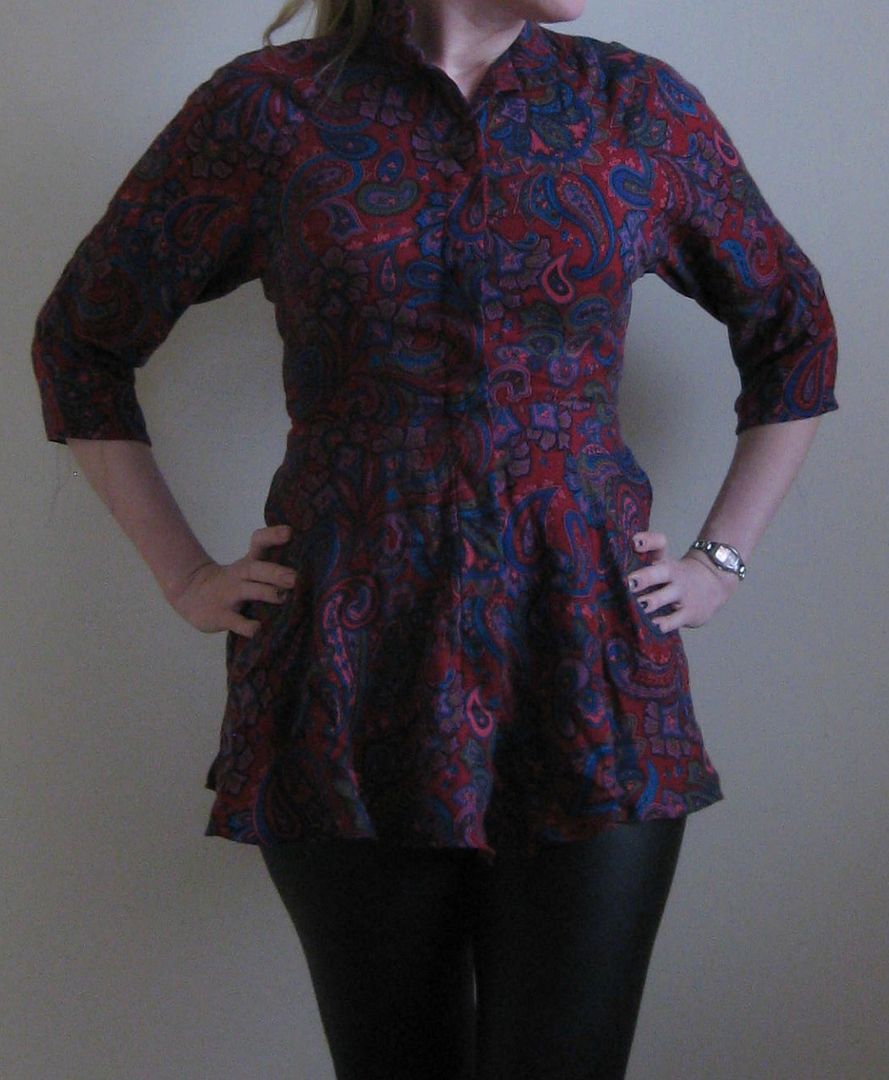
Thinking about it, if i was on a cruise this would work. Actually, after I took these photos, we had a cat nascar incident and my precious little fur ball put her claws into the chiffon and caused a few rips. I can't fix them. I guess it was slightly serendipitous as now I need to fix it. Call it cat ESP. So stay tuned, I am going to cut it and make it into a shorter dress. Looking at it- I might work as a shorter dress. Let's see!
Cheers,
Lauren