Well hi welcome to my little blog. Just my little corner of craftiness, sewing, and refashioning. I am also a newly gluten free eater so you have a little bit of recipes mixed in here.
Showing posts with label cardigan refashion. Show all posts

Wednesday, February 5, 2014

Large Striped Sweater Refashion, Refashion #9

OMG I am so excited about this refashion. I can't take credit for it much but it is such a great idea!!

First started with this large knit sweater. It was large but man just love that pink and navy blue stripes! But what was odd about this shirt was the sleeves were tight starting mid arm. Which if this top was for a larger lady how could they get their arms in this. They just fit MY bony arms.
 After seeing this post from Oh Everything Handmade. She turned a sweater into an open front cardigan. After seeing this tutorial I KNEW I HAD TO DO THIS AND THIS WAS THE PERFECT TOP TO DO THIS!

I basically followed her tutorial. Basically take off the sleeves, sew across the top to create the back, created arm holes. I evened out the new top and bottom of the cardigan.

Now I serged the top and bottom but as you can see, since I have a thinner knit-if I don't have the right setting on my serger I was going to have lettuce ripples. I added some iron on tear-away interfacing to stabilize the fabric while I serged it. As a result, I had a nice even edge. That made me very happy. 

I then sewed the 10 cm on each side to create the shoulder seams but while doing that I also added stabilizer to prevent it from sagging. Again it was a thin knit, it will pull over time with the weight. 
Then I added my sleeves, which I didn't have to alter, I would say if you are working with a thin knit that you should probably do some stay stitches before you add the sleeves. That would have helped me b/c it STRETCHED. But boom! I am done! I know have a fabulous new open front cardigan. Giddy!!!

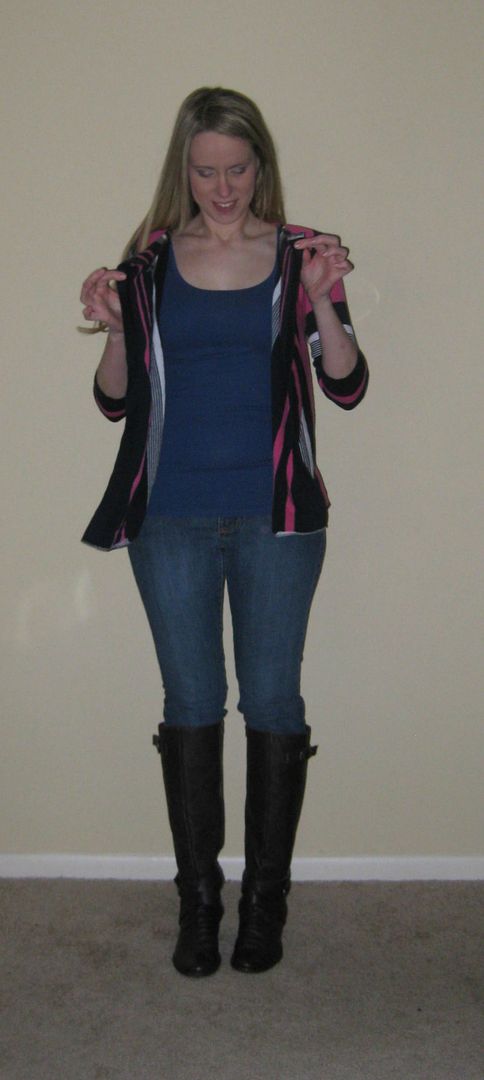


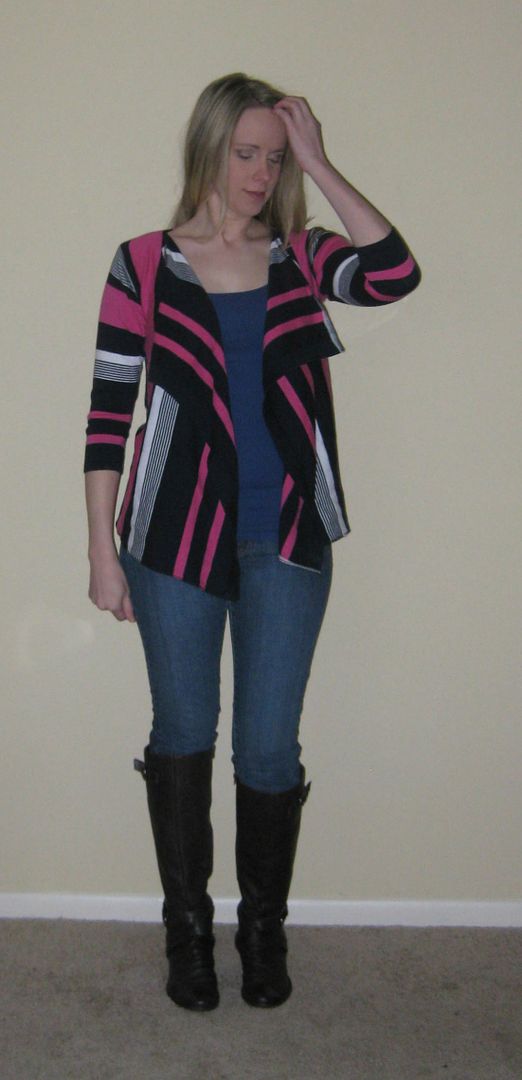
OMG what an improvement! And thank you to Oh Everything Handmade for such a fabulous tutorial for this refashions! I even tried a belt . 

91 left to go (not that I am counting!)

Cheers,
Lauren

Friday, August 30, 2013

IC'13 #17: Striped Blazer Refashion (my UFO project)

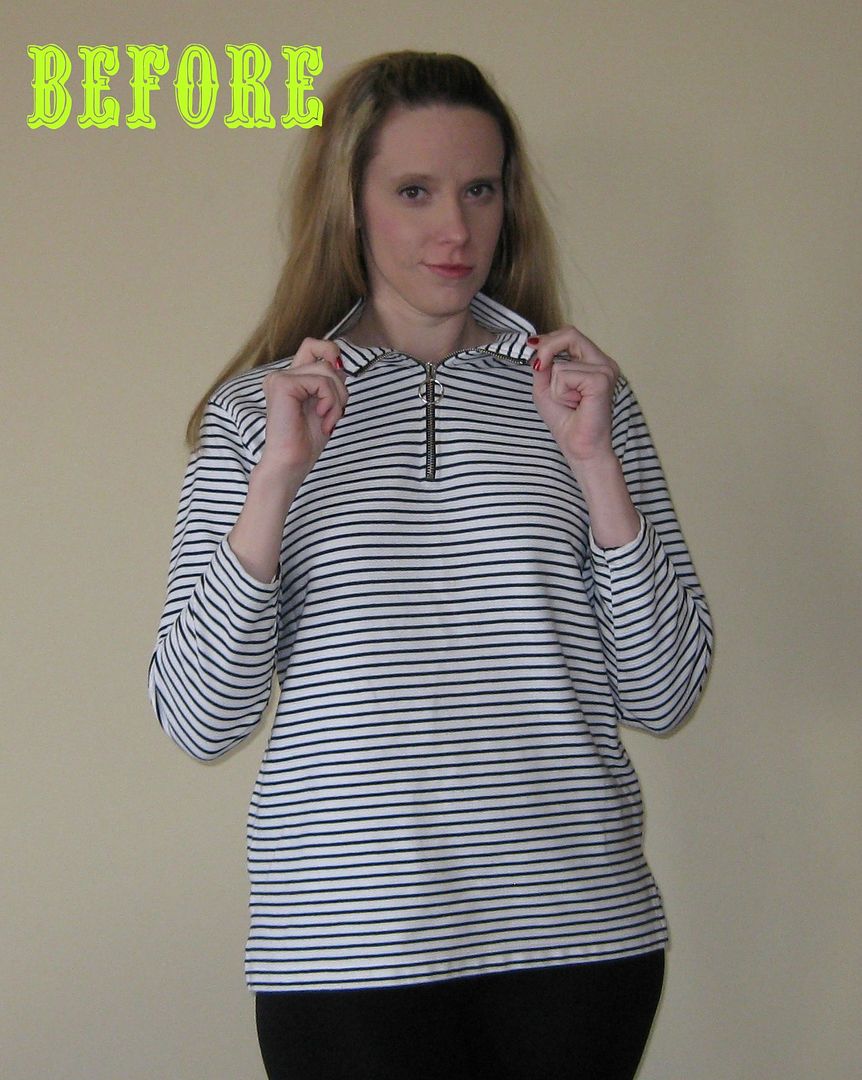
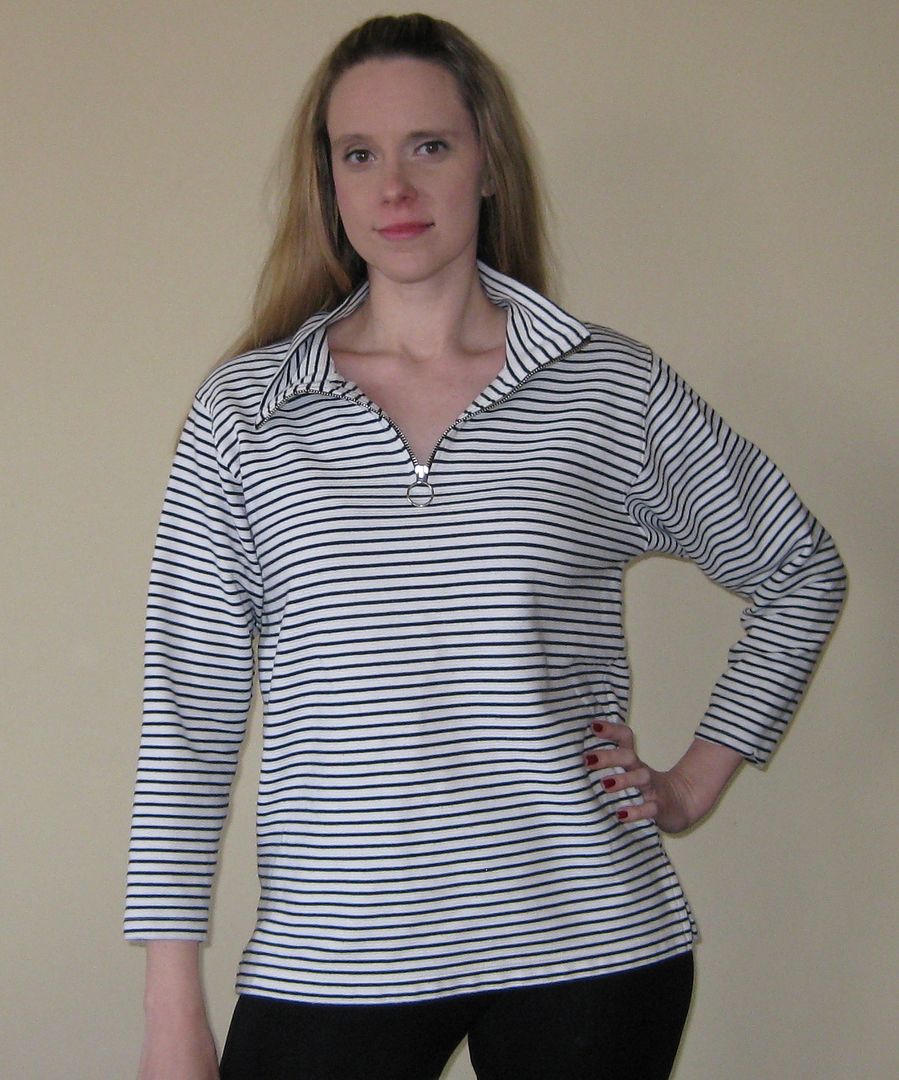
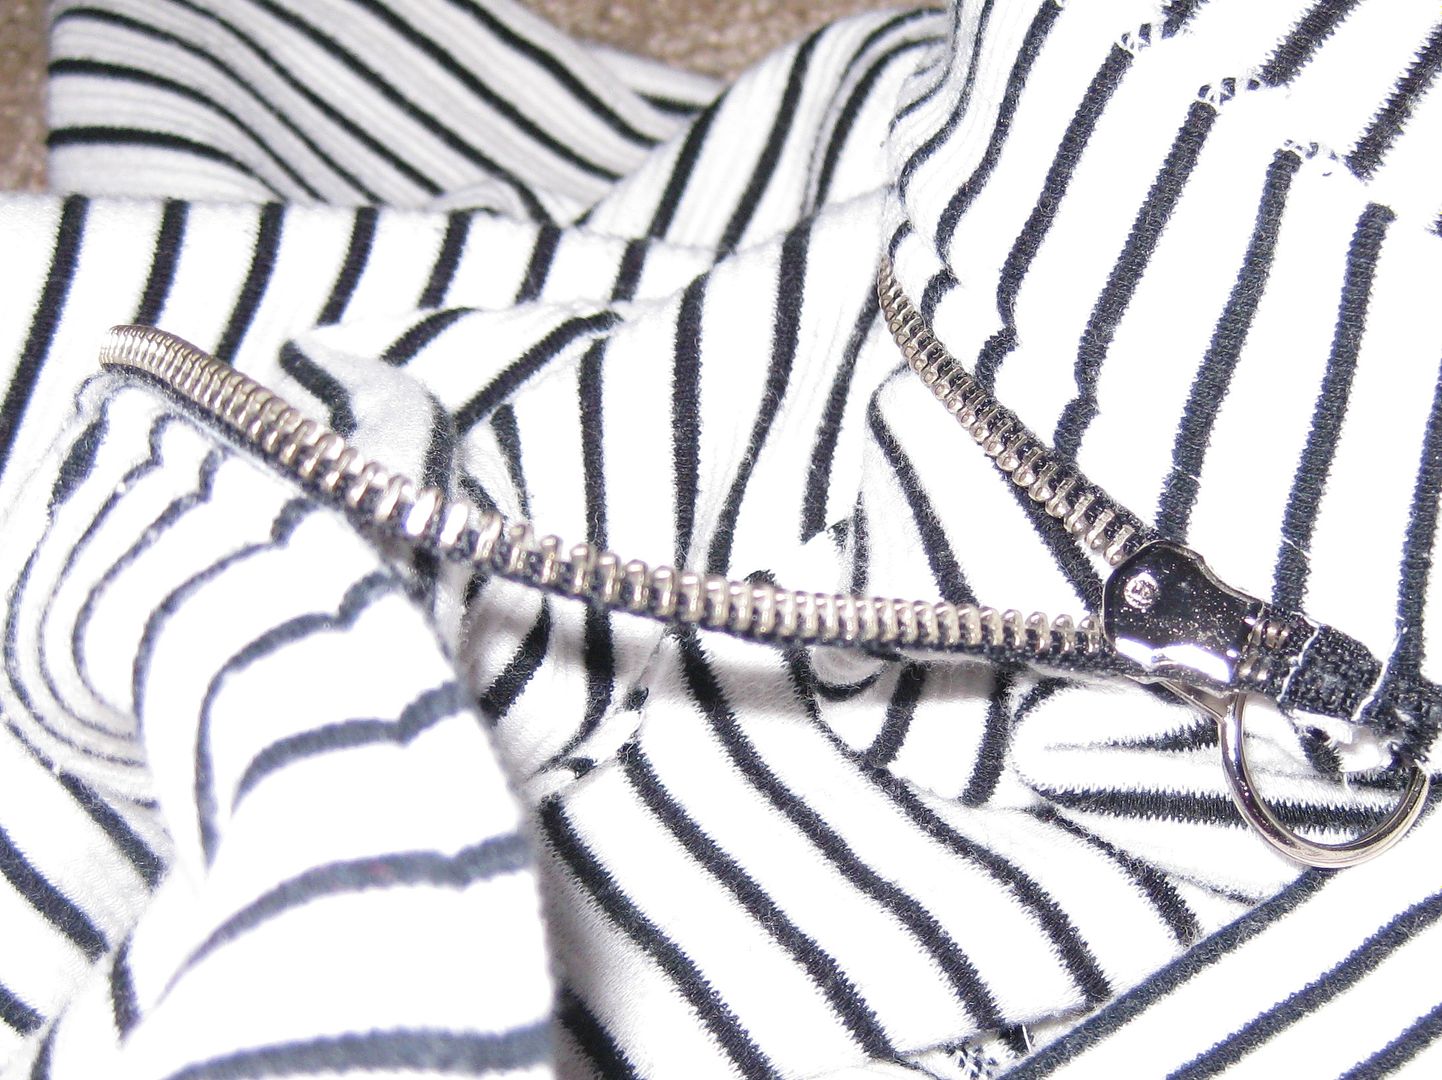
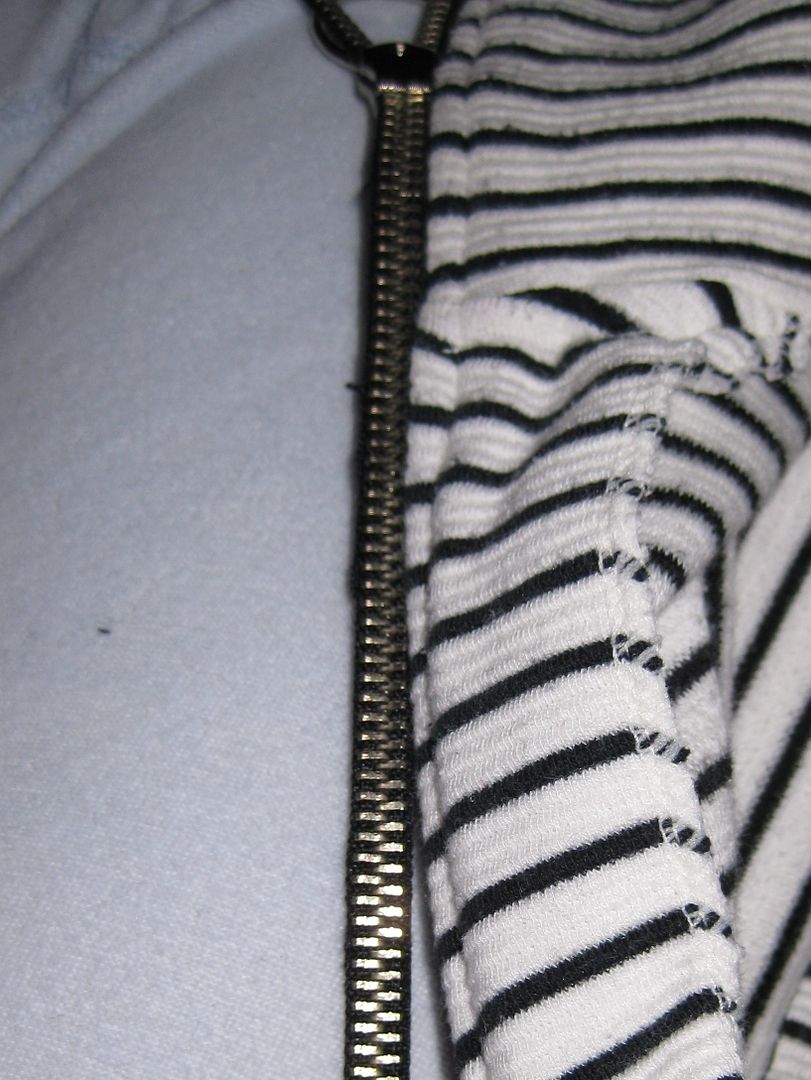
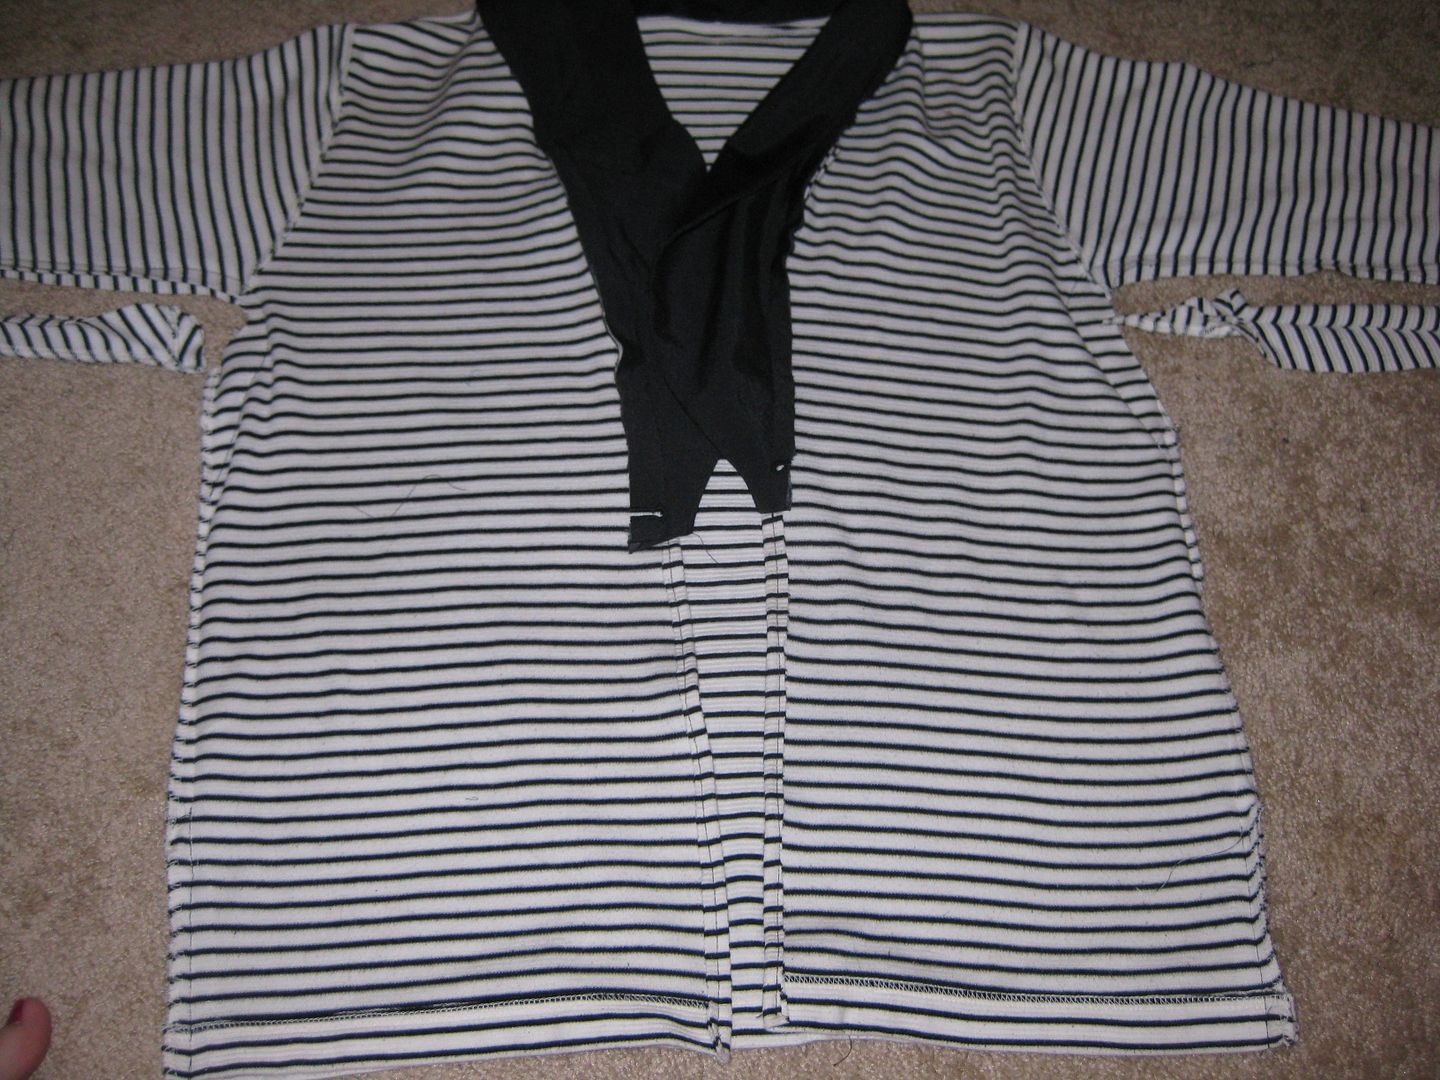
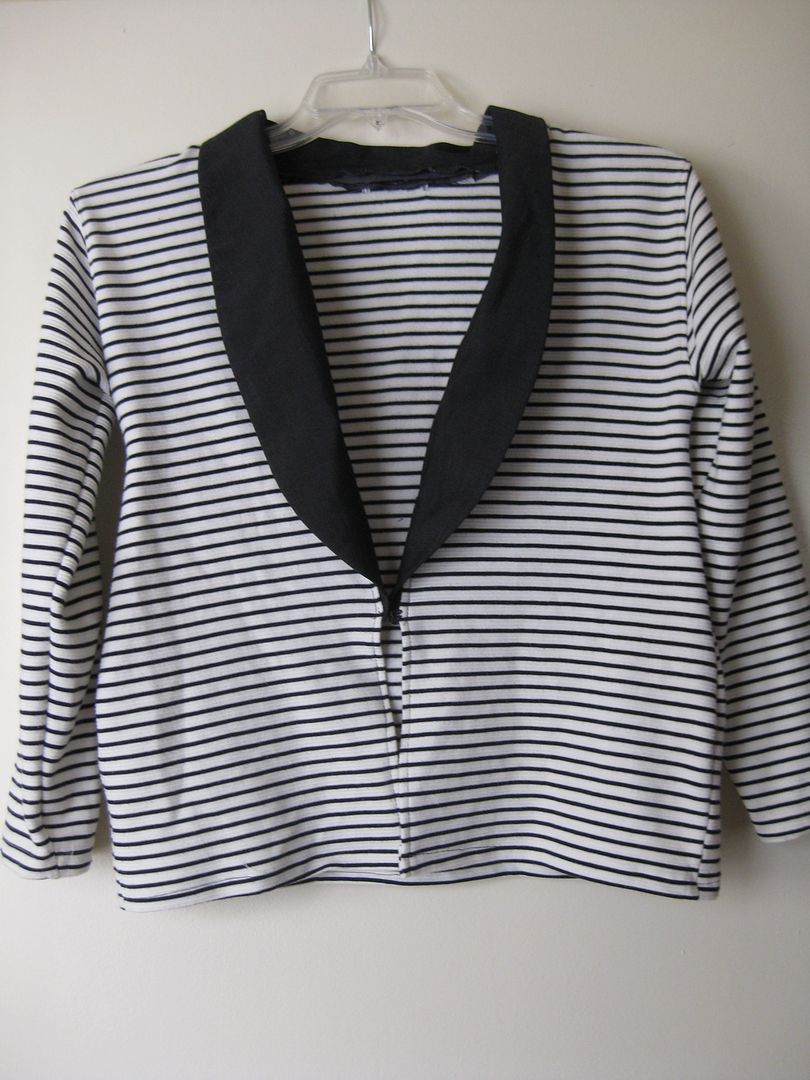
It started with this white and black striped top and yuck it was a turtleneck and zippered!!

OMG bad flashback to the 80s!

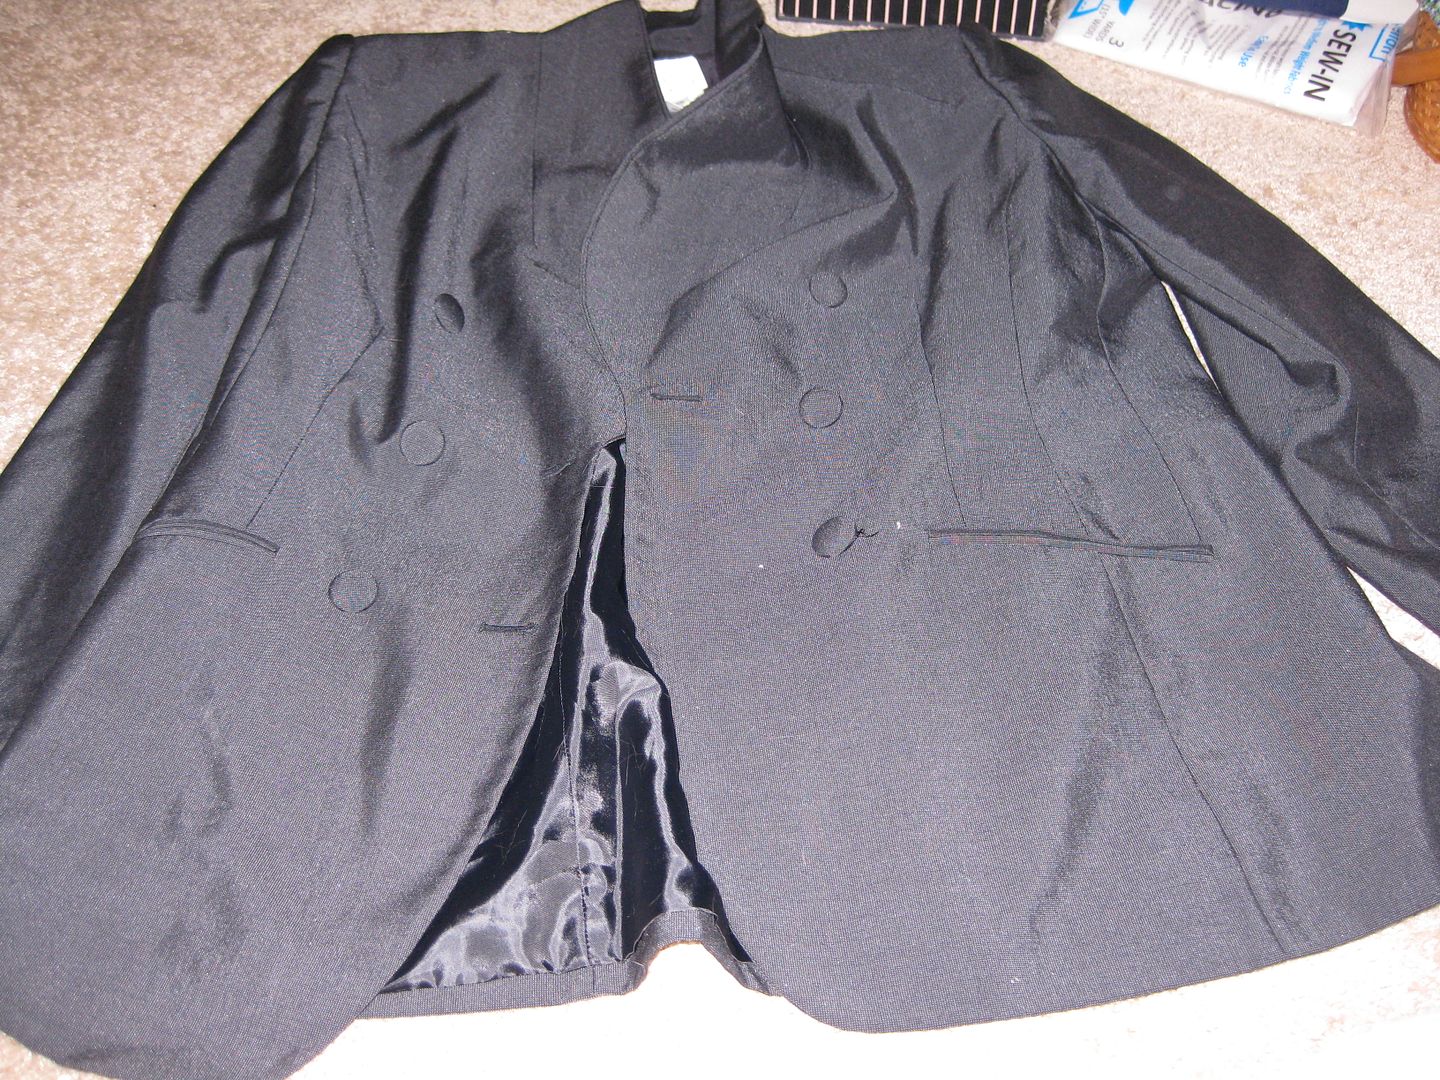
So yes this top is a top from the 80s easy. But it is in good shape. I wanted to do something different with this top. Then I had this suit jacket that I have no idea where exactly this came from. I probably paid nothing for it.
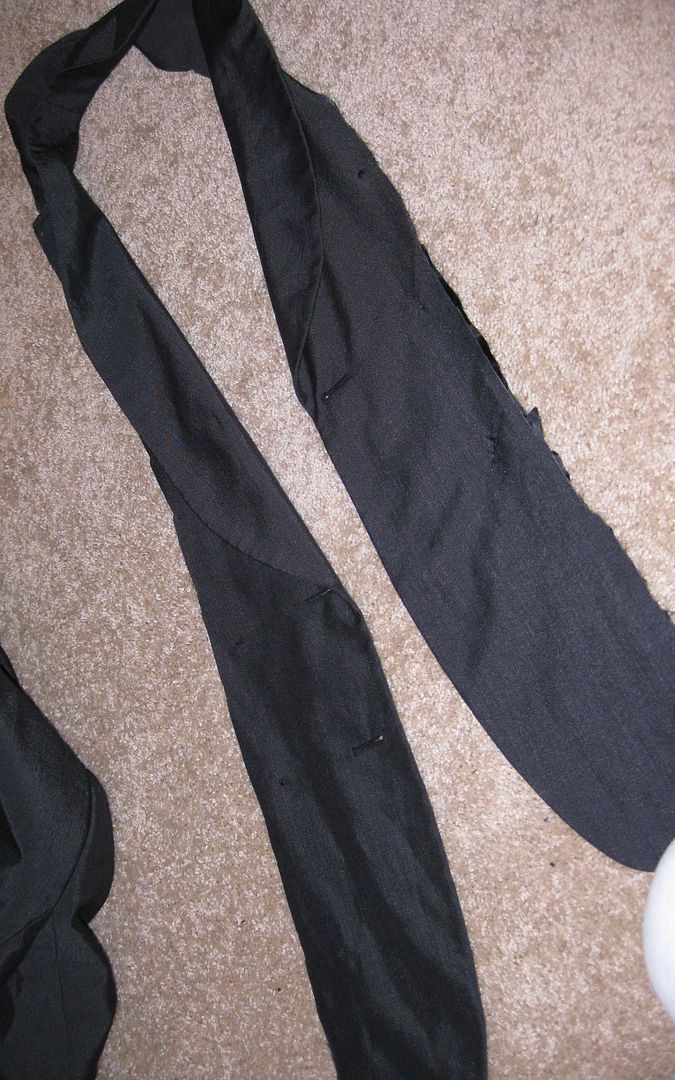
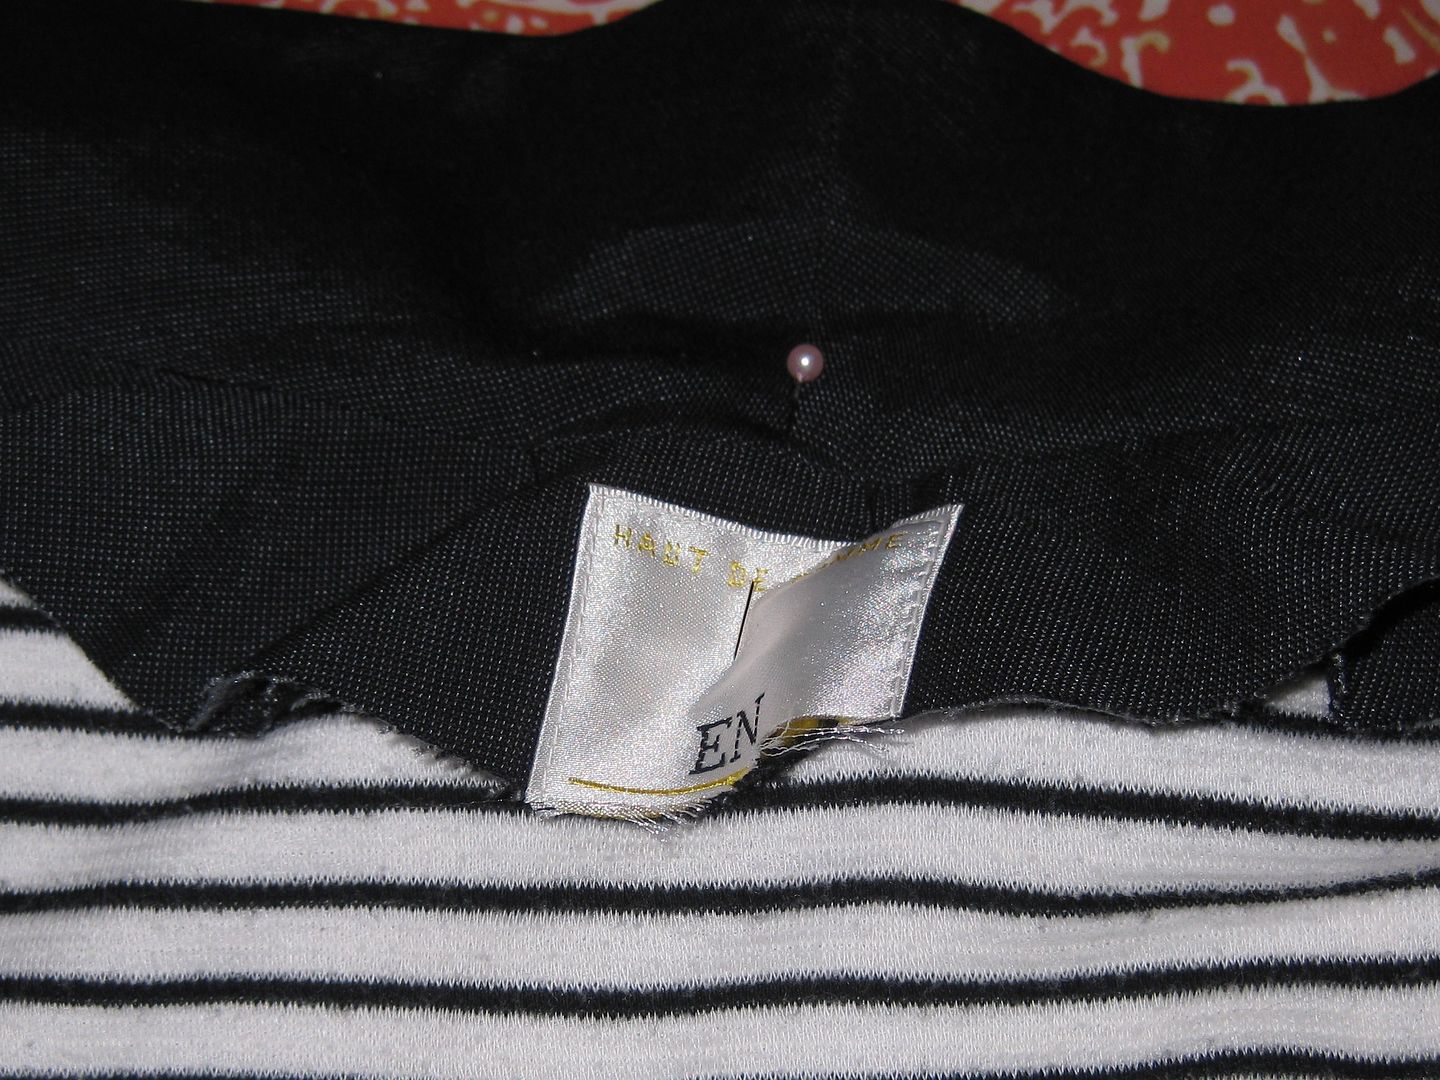
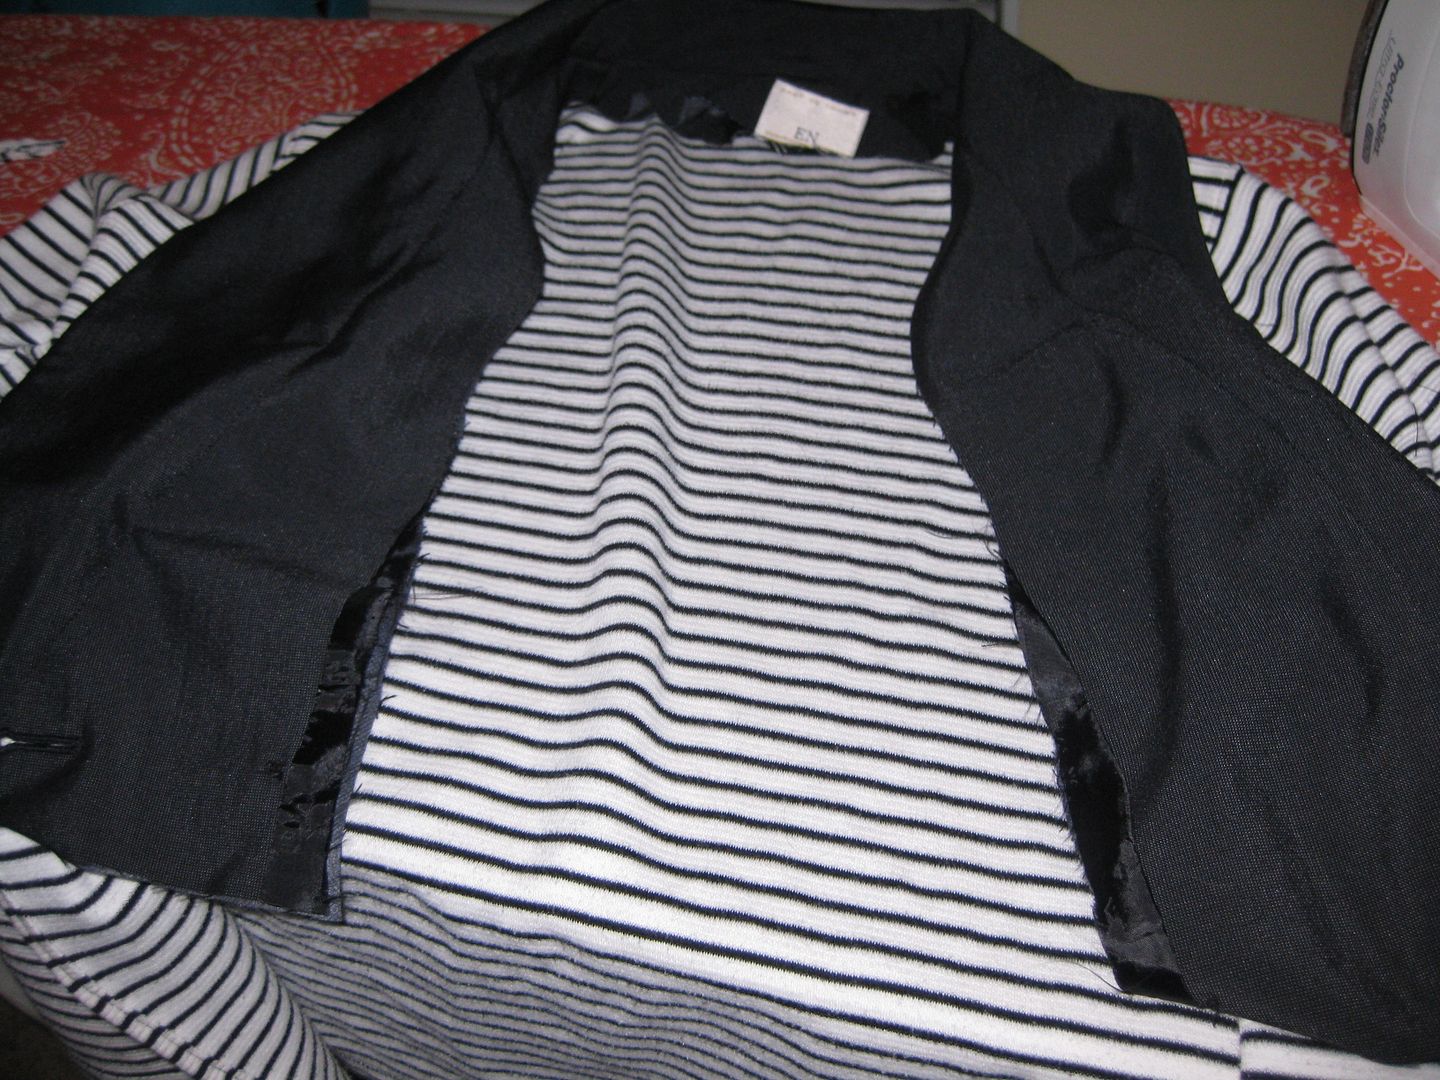
Since I was uninspired with this coat I decided I wanted to cut it up. So I removed the collar and along the buttons.


Here is me just playing around. It will work! I like it! I needed to cut off the striped collar. Now the question is how am I going to best put this together?

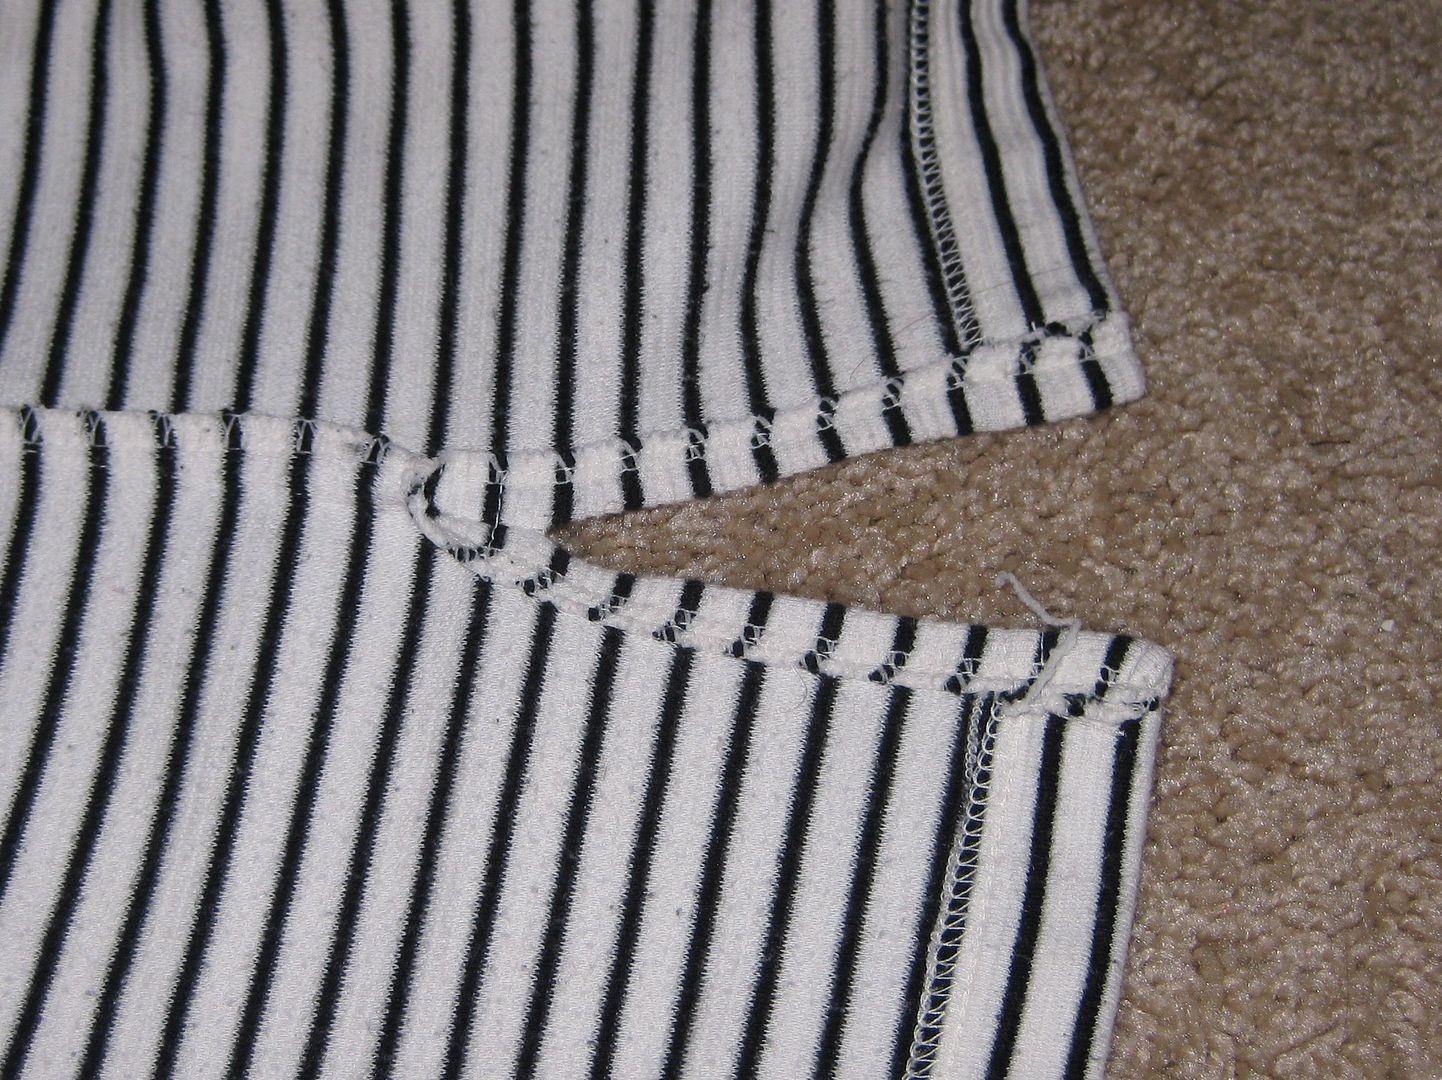
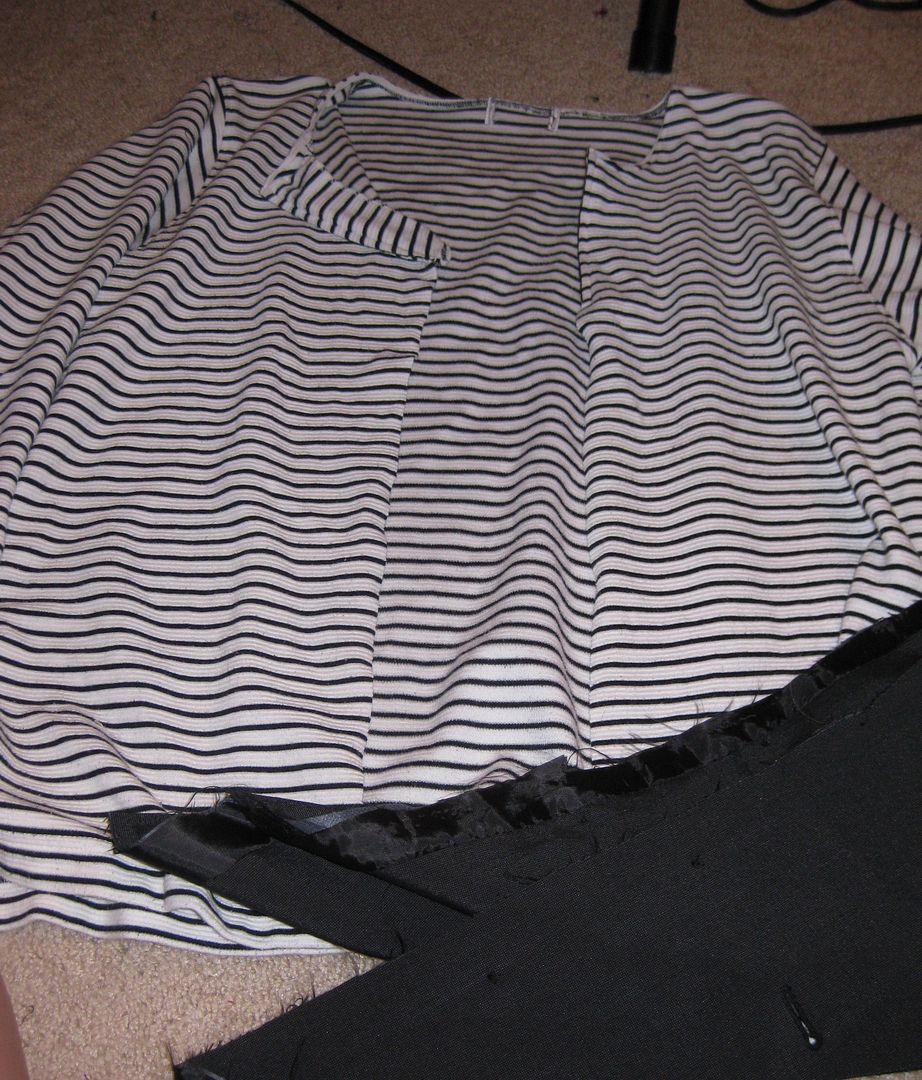
But first I needed to get rid of the side gap

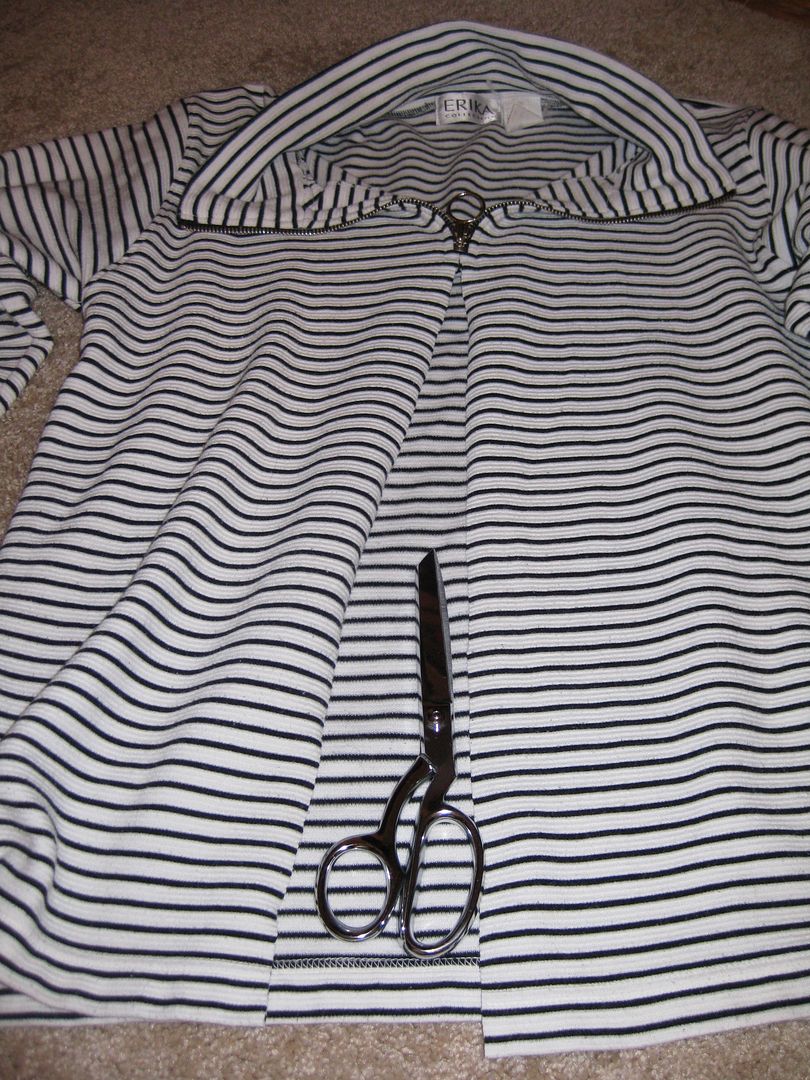
Also need to get rid of the zipper, first cup up the middle of the shirt


And that is where I had left off for a few weeks (months whatever you want to call it!) So I decided b/c the weather has its cool moments here in DC, this would be the best time to finished this UFO (UnFinished Object).

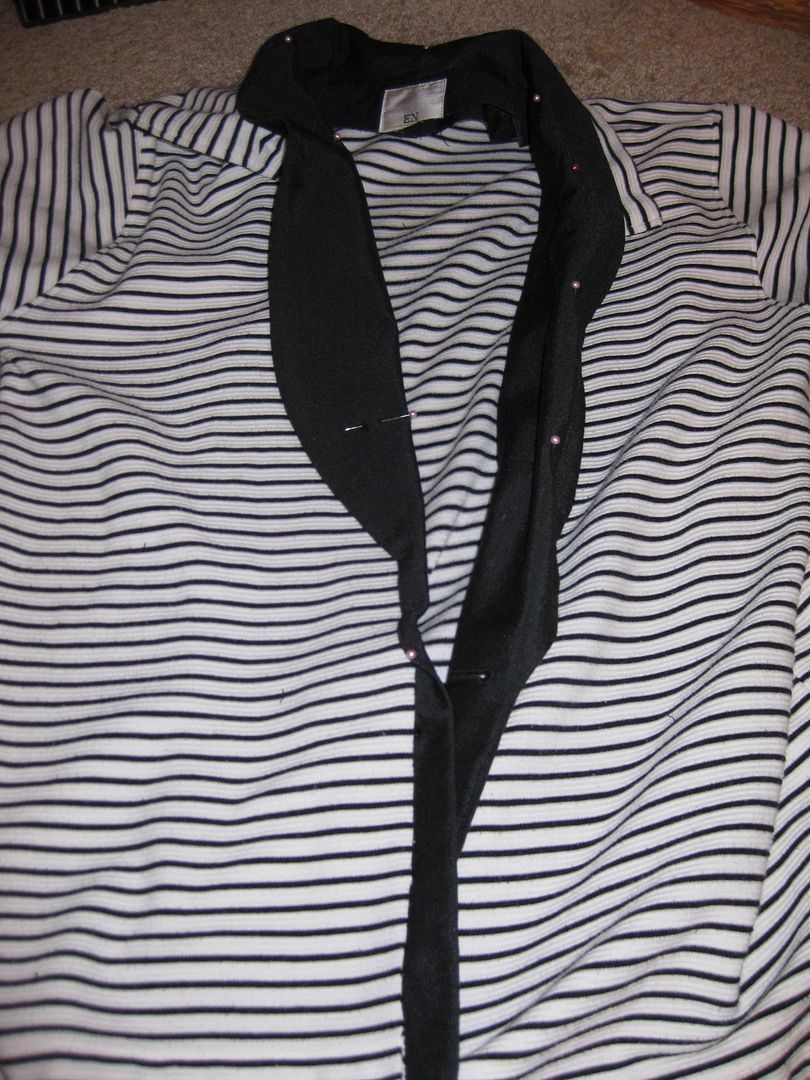
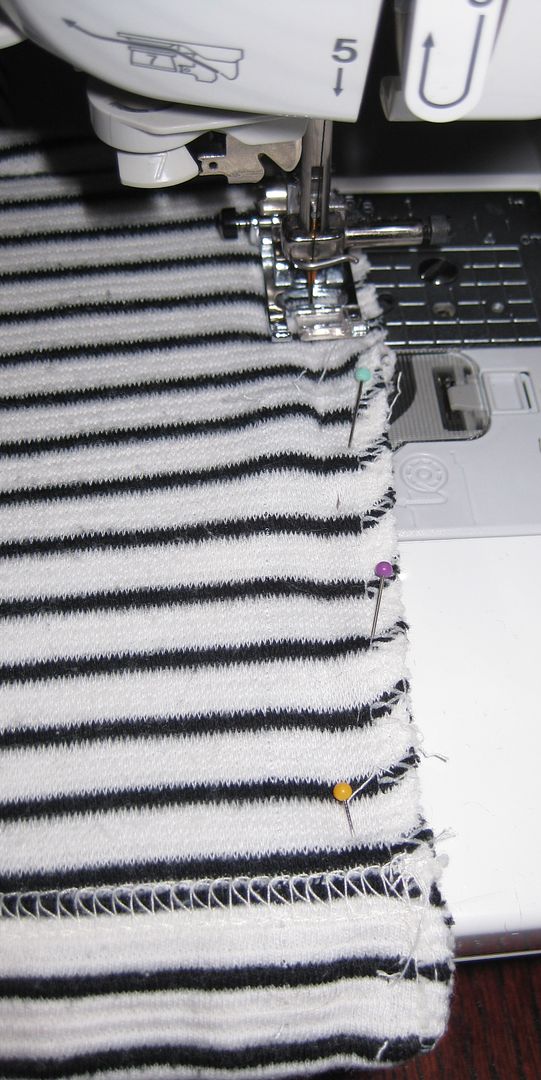
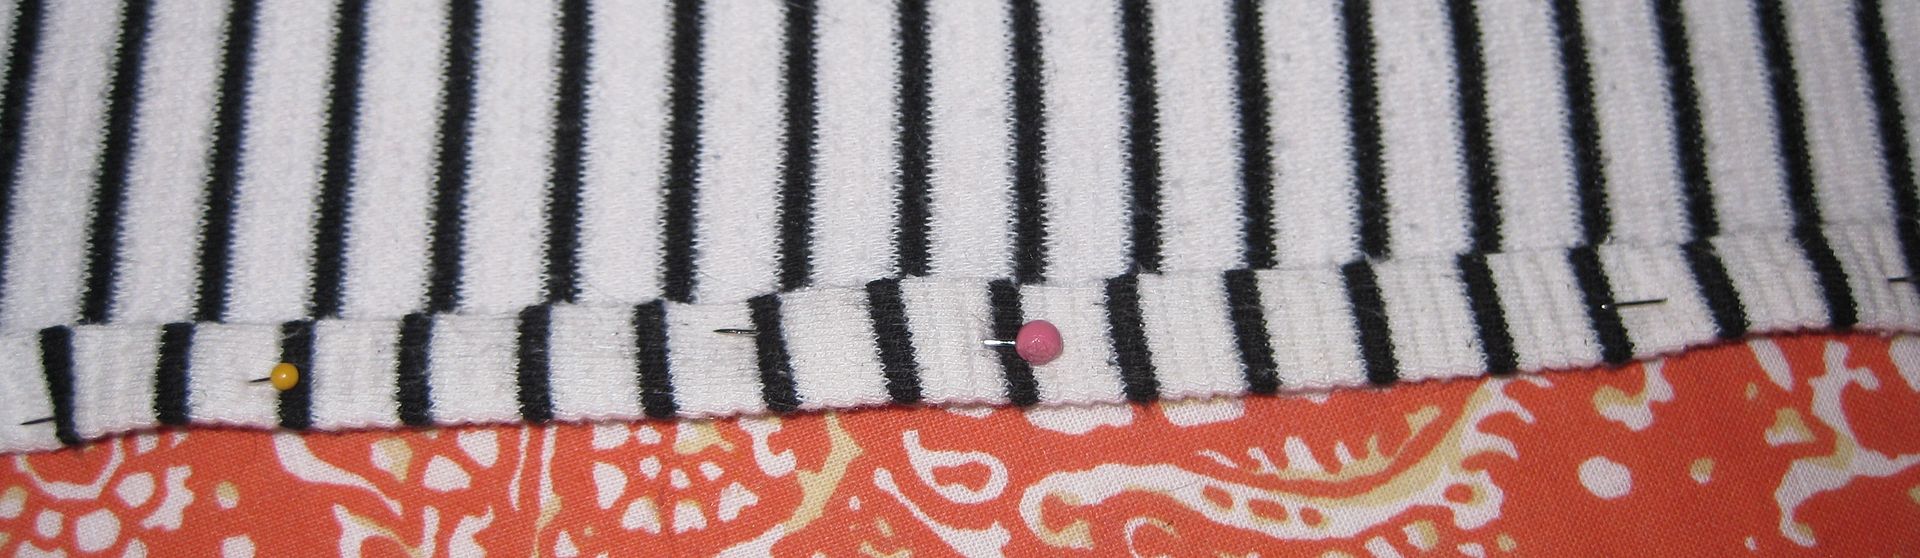
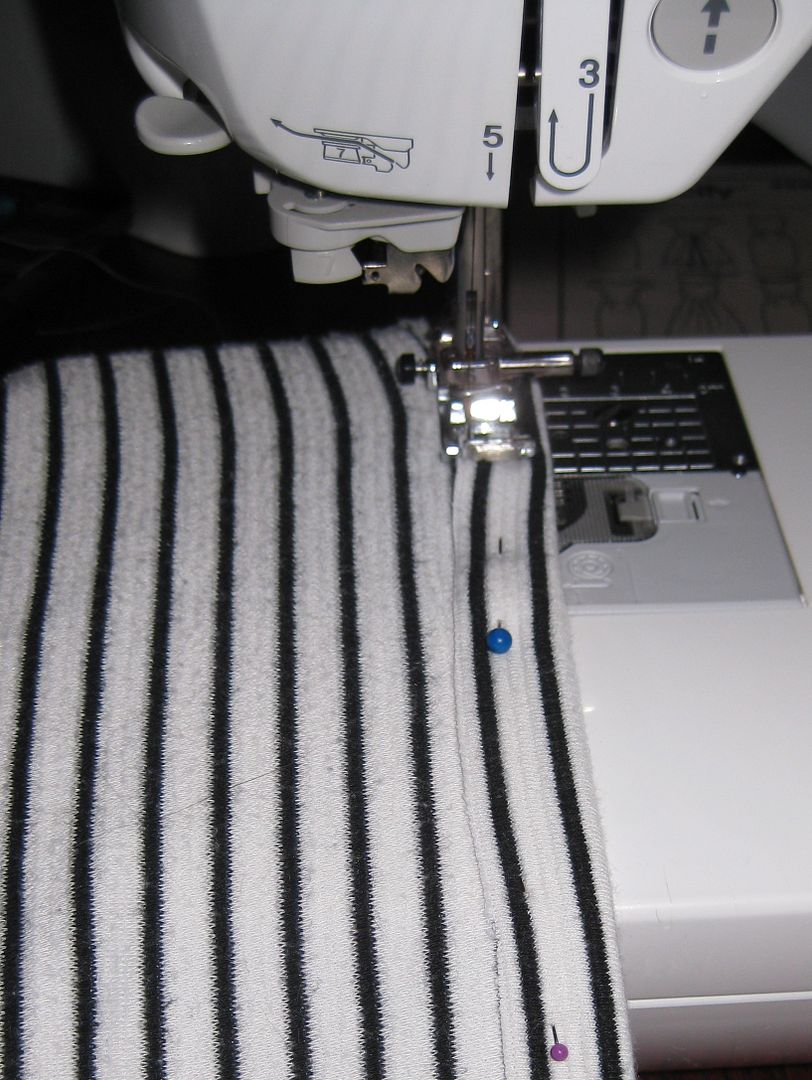
So I pinned it at the center and just took the leap to pin and sew!

I basically top stitched up to a point where the jacket needs to be curved

And also the bottom needs to be cut off. I basically cut and folded under and sewed the lapel portion. Then I will sew this portion to the striped shirt. 


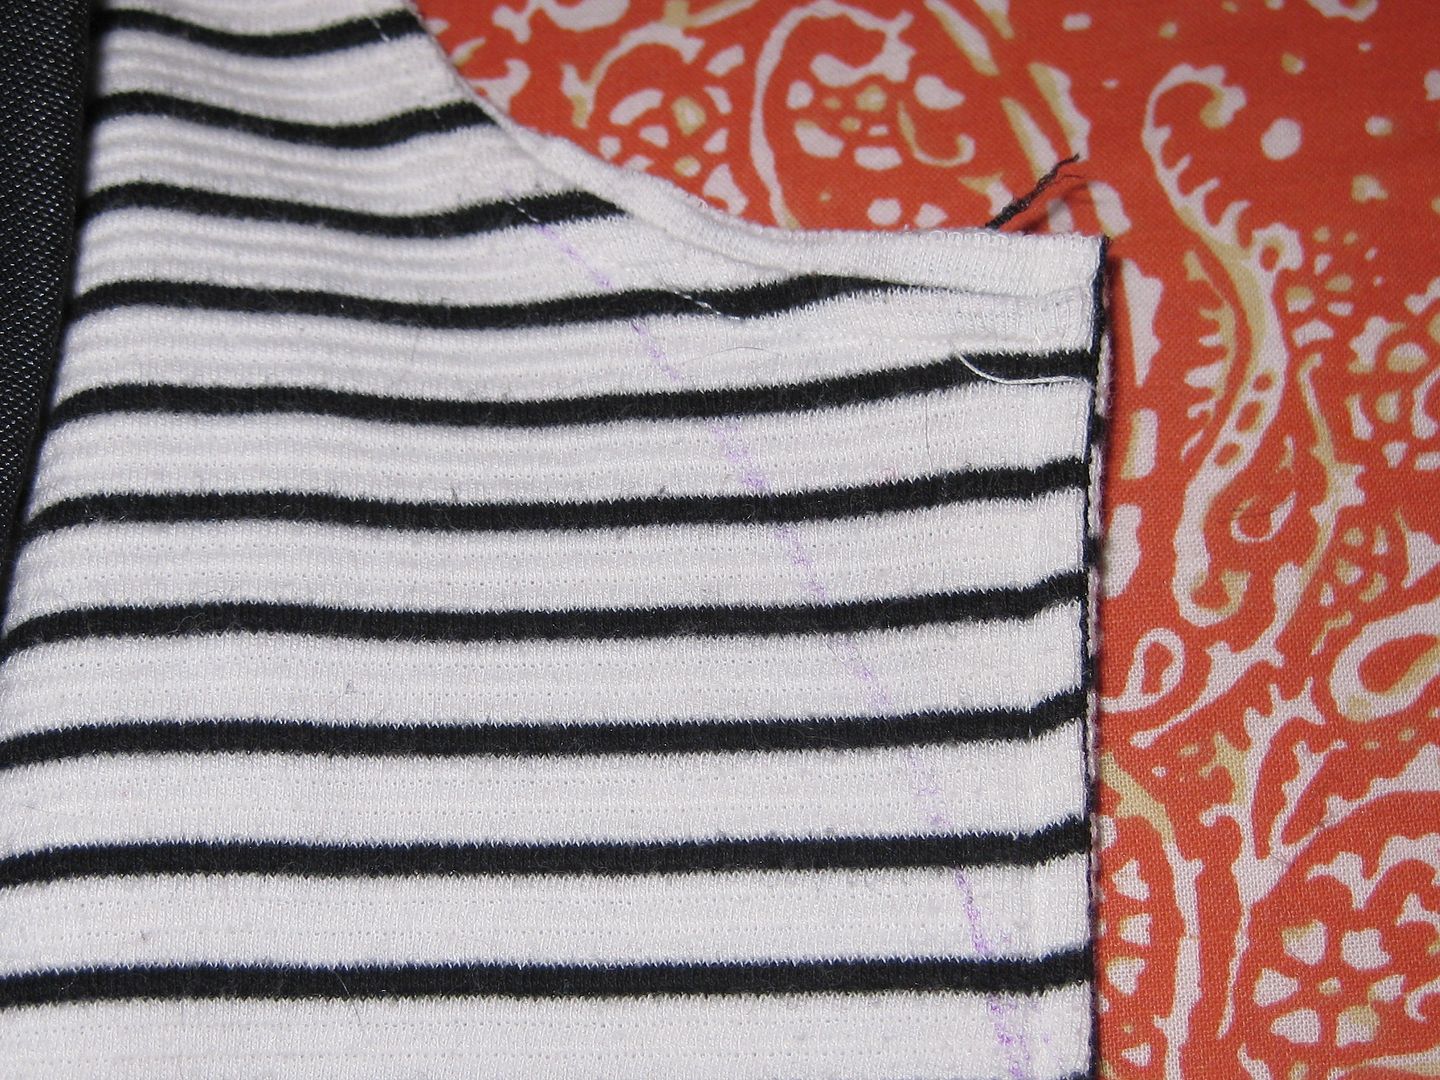
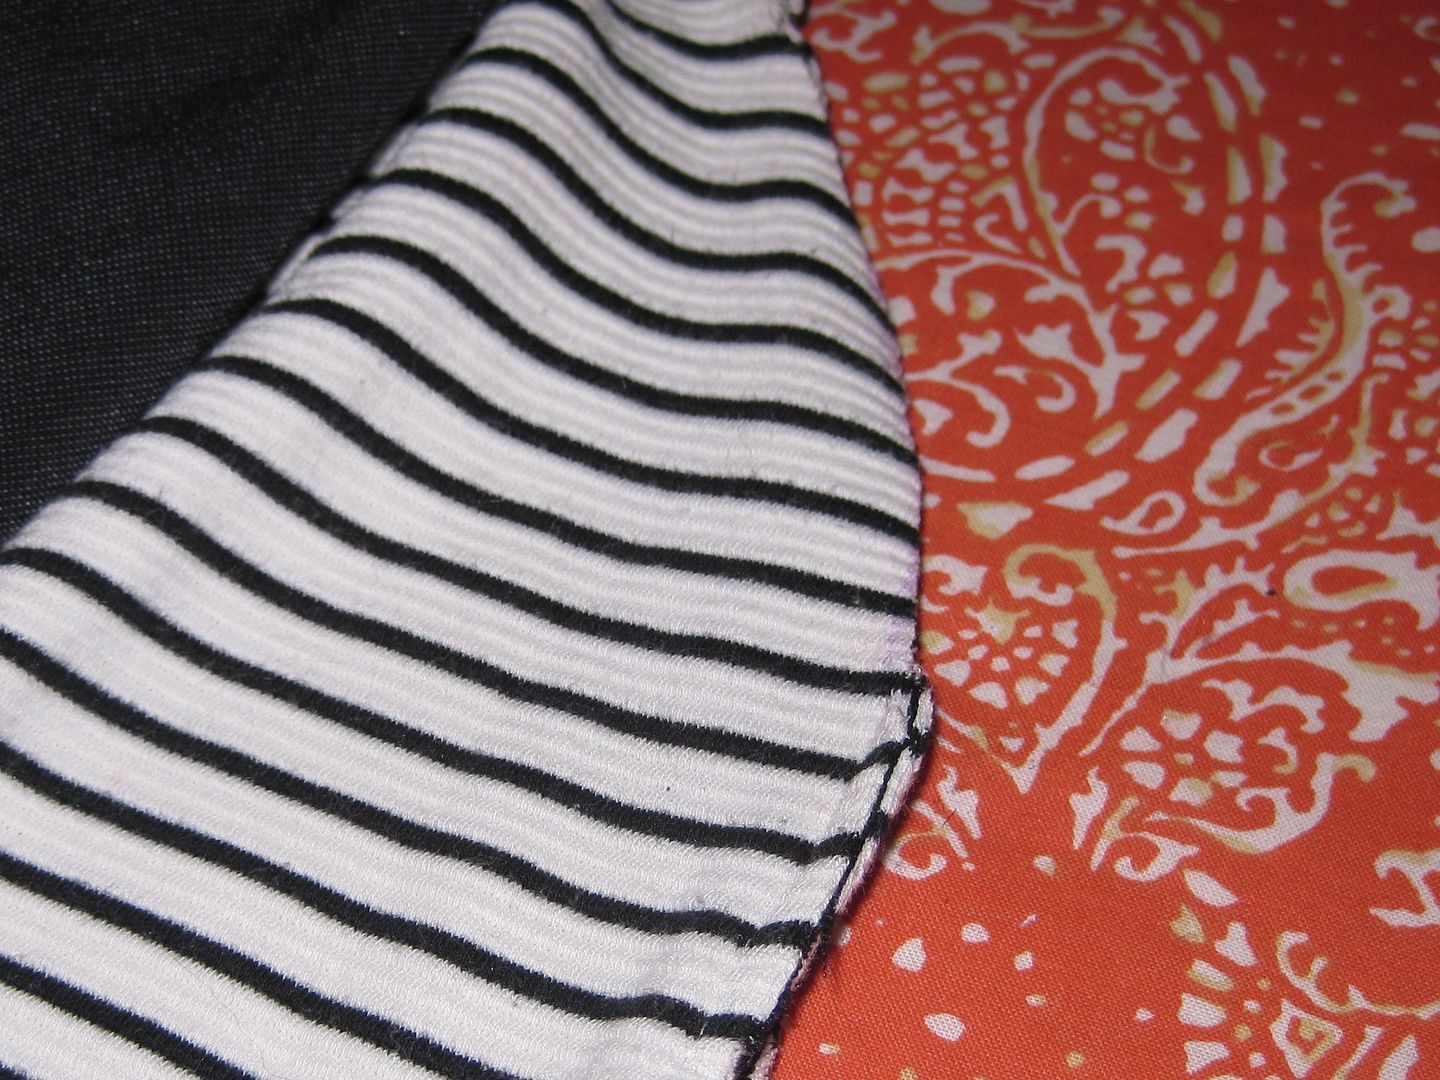
If you can't tell in the picture below, before I sewed the raw, cut part creating a finished edge. Now it is time to tackle the curving of the striped shirt.

I simply drew a line with disappearing ink pen. Cut


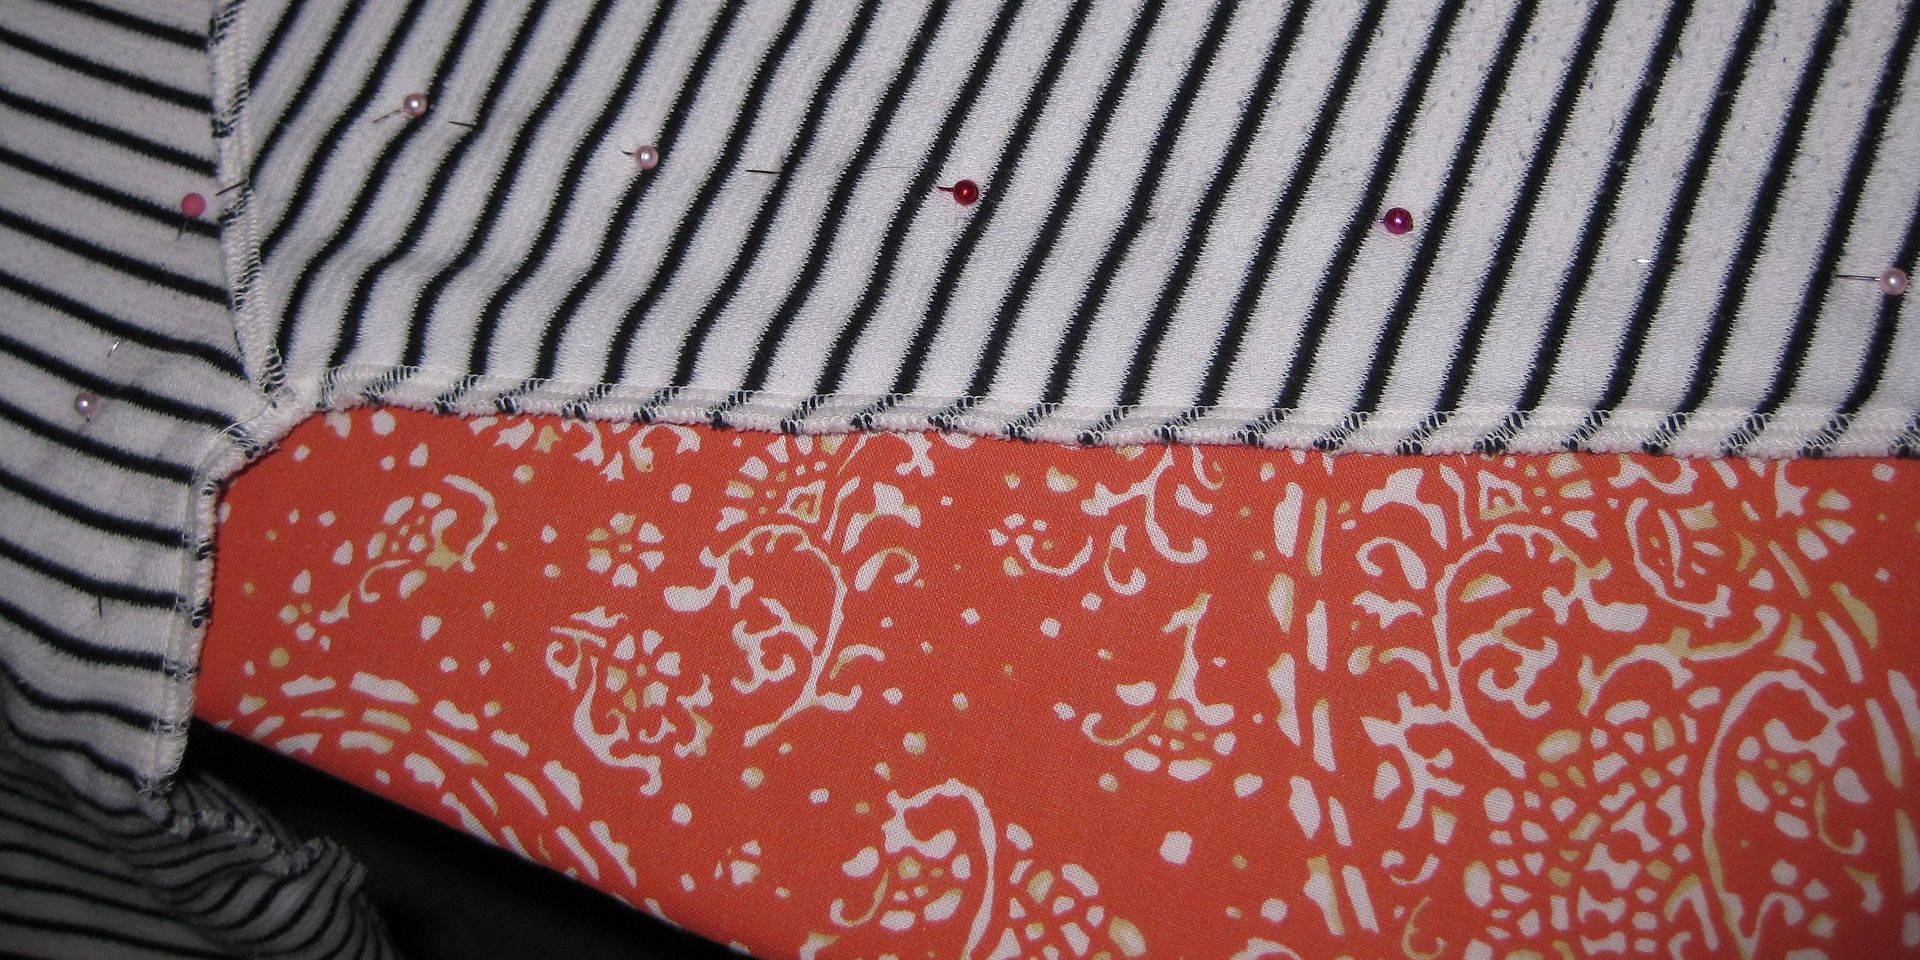
Sew. Then I also decided I needed to debulk the sleeves and the side of the jacket. Pin, pin, sew!

Also got rid of the side openings.

Also took some off the bottom. Sew it down to create a new hem!


Done! ahhh. I used a hook/eye to close it. But I am going to wear it to see if maybe I want to add a zipper. Let's see. I have some room to spare.


Love it. I am so ready for fall! :)

cheers,
Lauren
Wednesday, January 23, 2013

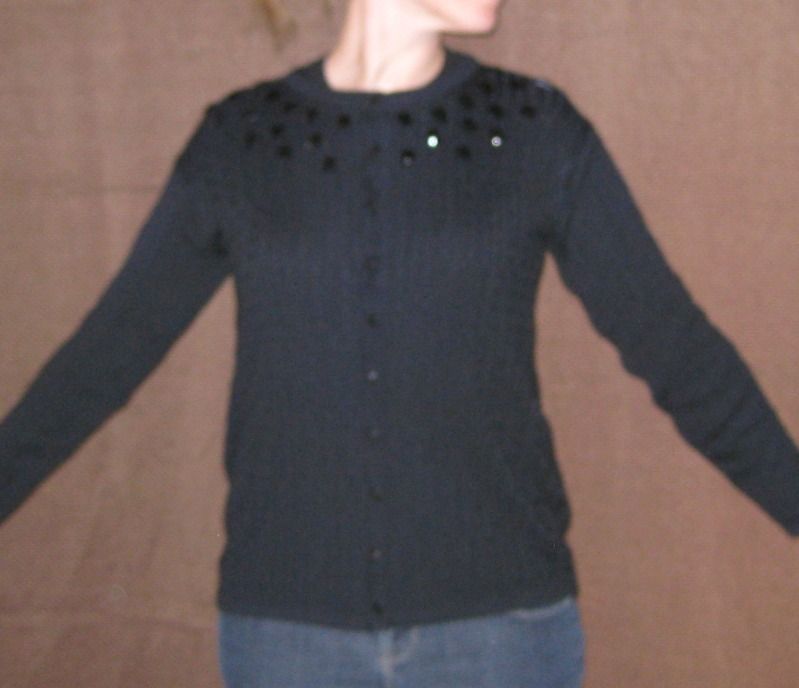
Rhinestone Black Cardigan Refashion

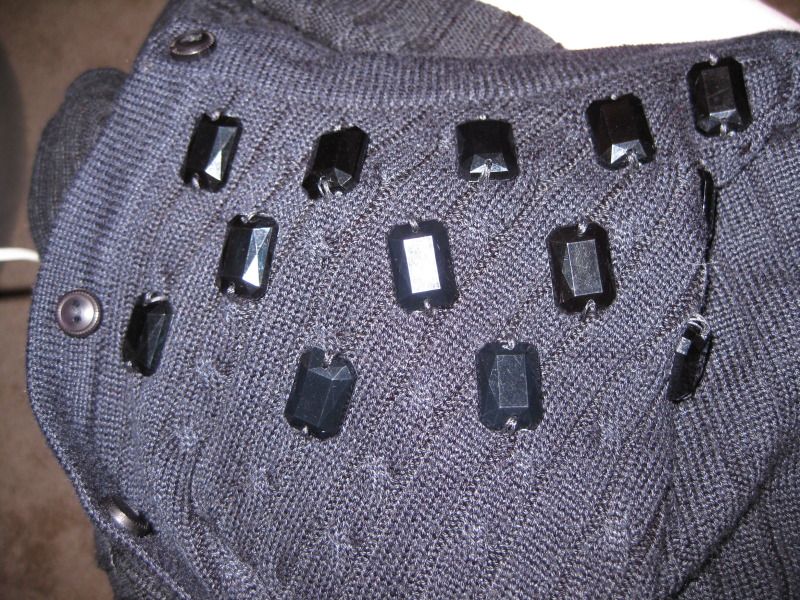
No before picture but it was a big black sweater cardigan. Pretty boring. Needs fitting and bling! Enter scraped rectangle sew on rhinestones. I HAND sewed each one individually. First I came up with a design (these are completely not attached in this picture- I had to use this as a reference)

Hand stitch each one on.... it took some time. 

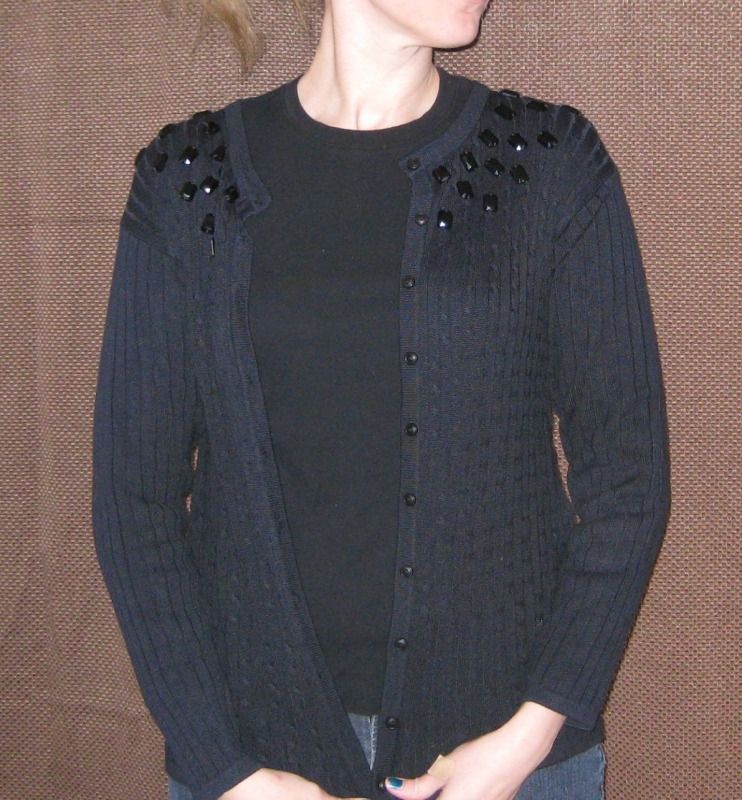
From the front

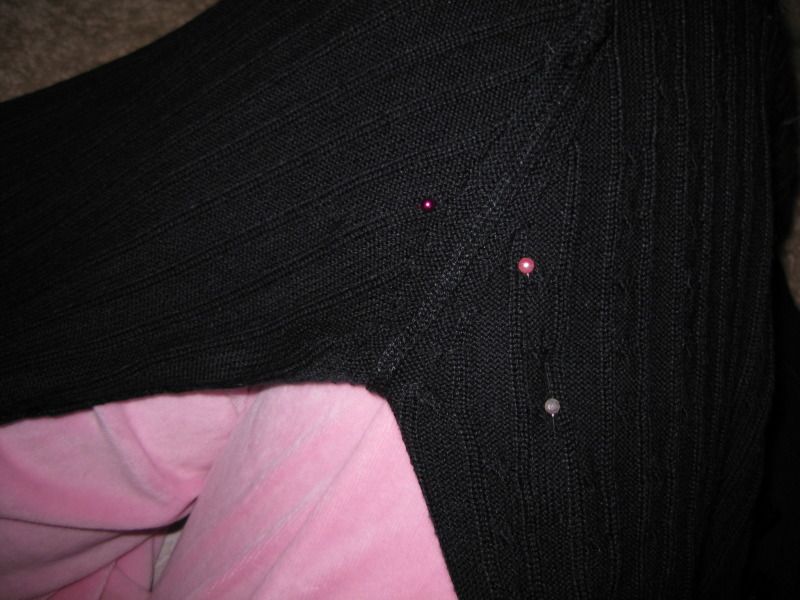
Now take in.... I am getting really good at putting a few pins (like 3!) and I know exactly how to take the sweater in. I have done it that much now! 

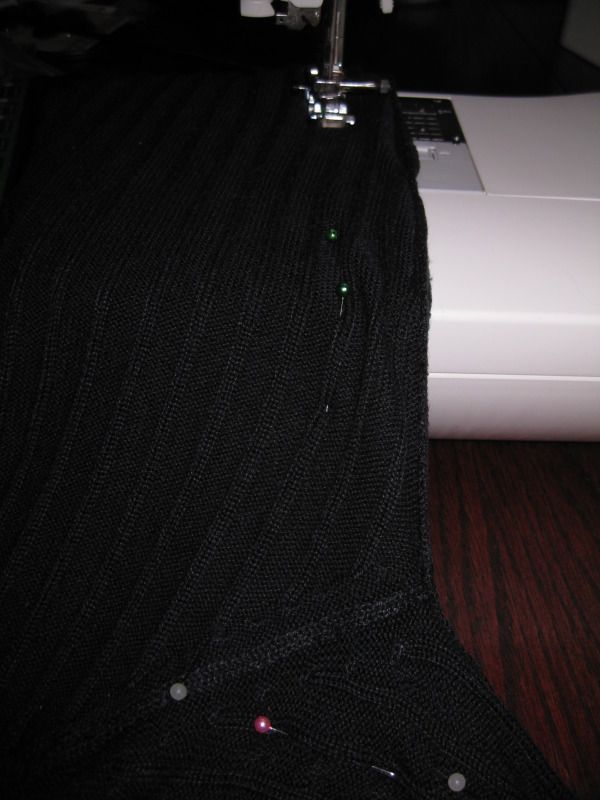
Sew! 

Cut off the excess and zig zag stitch to reinforce and stop fraying. 

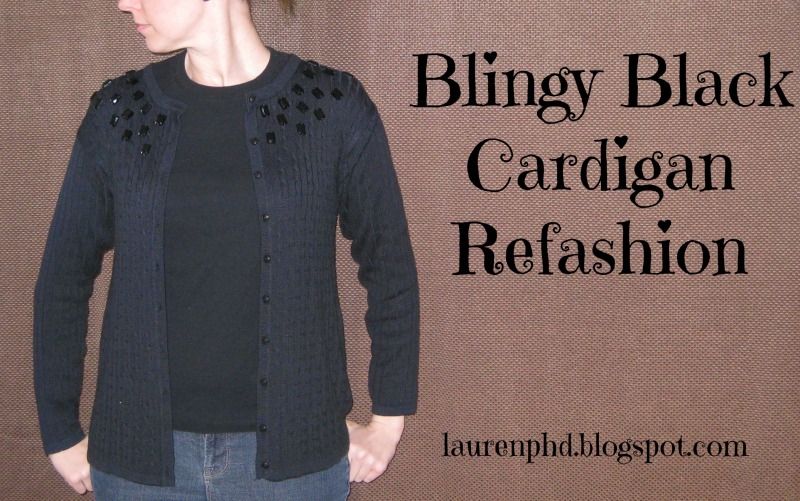
Done! I love my new cardigan! 


And it is no longer frumpy and saggy. Perfect for work! Got to stay warm!

xoxoxo,
Lauren
Wednesday, January 18, 2012

Dyed Cardigan Take 2

This is take 2 b/c my first dyeing attempt on a white cardigan left me an electric tangerine cardigan, now given to Sonja to refashion into an item. When she is done I'll post it. Until then I'll start with take #2!

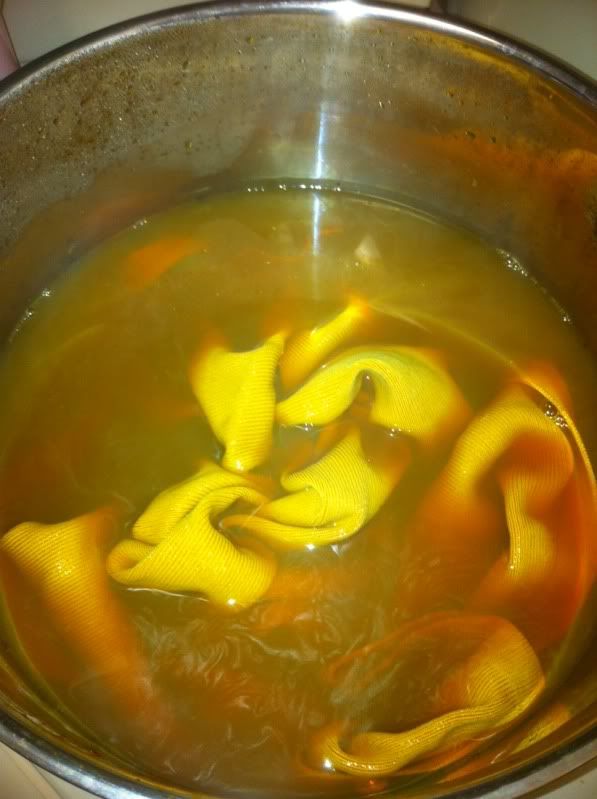
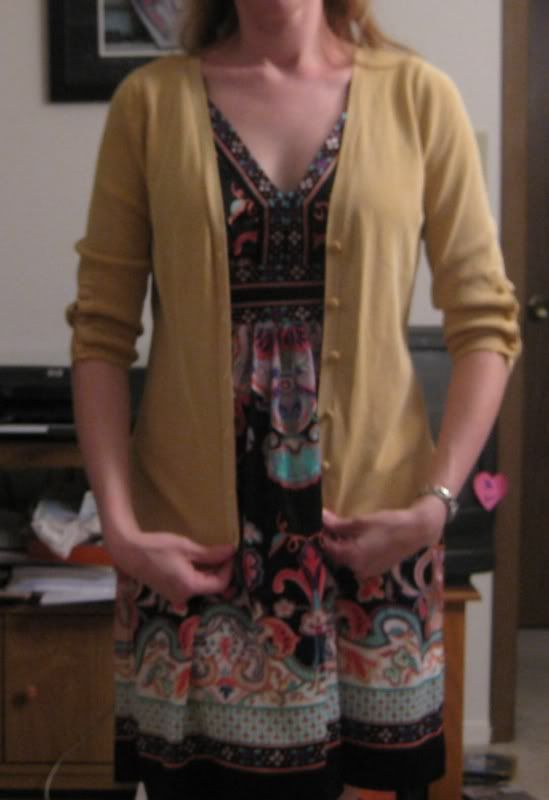
So another boring white cardigan. I wanted a mustard/beige cardigan to go with more items for work. This time I decided to try a Acid dye from Dharma trading. Yes I was slightly scared too when I first read it but thought I would give it a try.

I used their Honey mustard. I didn't weight the powder out, I just slopped it into the pot! LOL. Heated it up and made sure it was in solution (which I probably added too much b/c I did get some chunks but it actually didn't affect the dyeing process) washed my cardigan and mixed the two. The directions then called for adding vinegar. Luckly the boyfriend wasn't home and it didn't smell as bad as I thought it would. Instantly we had emulsification!


The end product.... a nice beige cardigan for work.

I am the cardigan queen! LOL! Much better than the stark white bland cardigan.

Monday, November 7, 2011

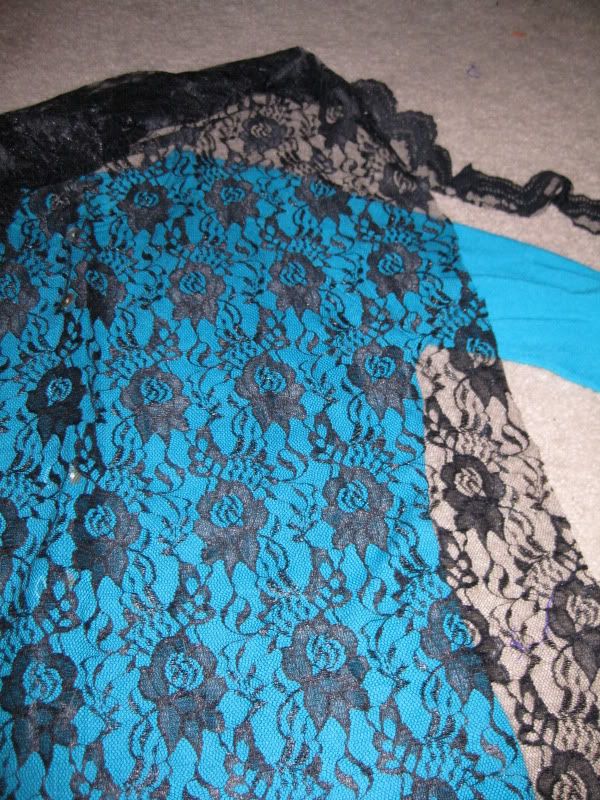
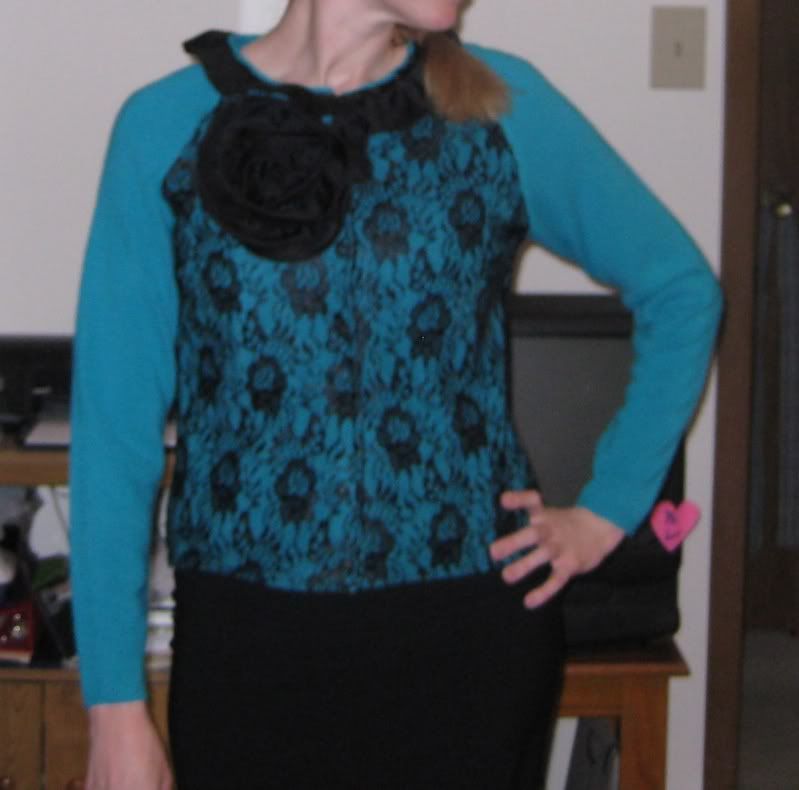
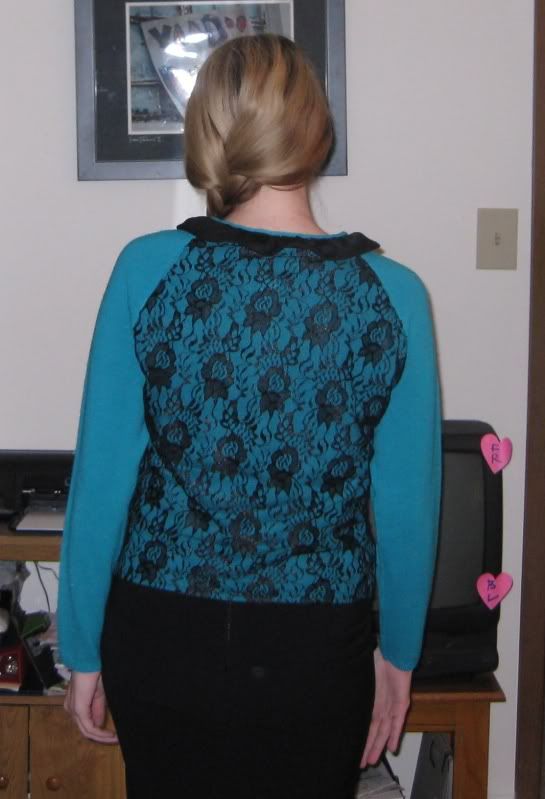
Teal lace Rose Cardigan refashion

Finally I finished this cardgian! I have just been waiting on buttons to finally finish this!!! I think I started to work on it in August! Seriously.

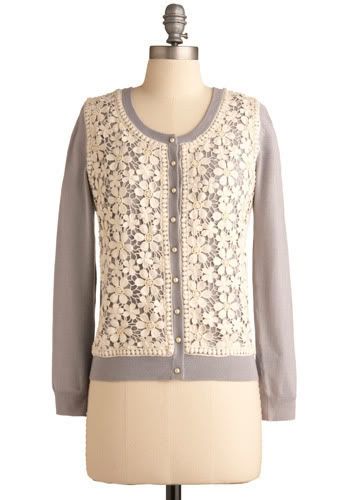
So my inspiration was this cardigan I found online. I forget where it is from

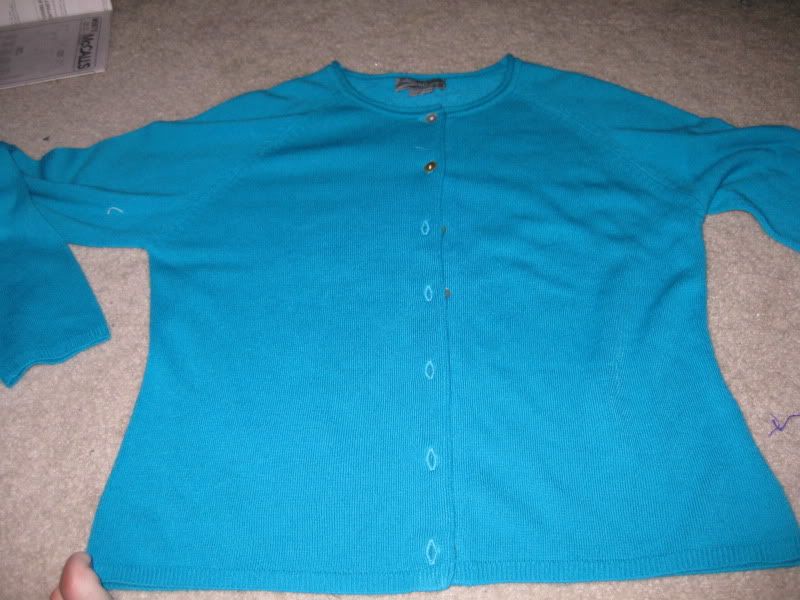
I started out with a plain teal cardigan.

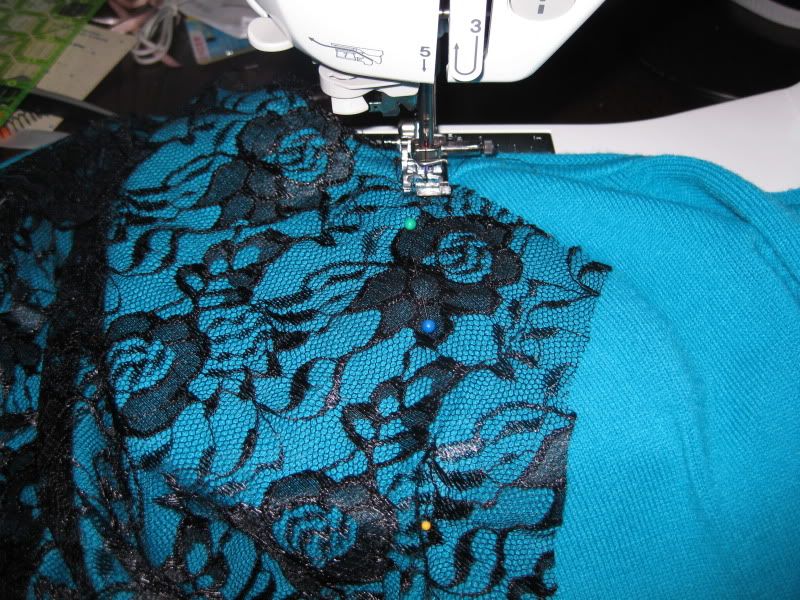
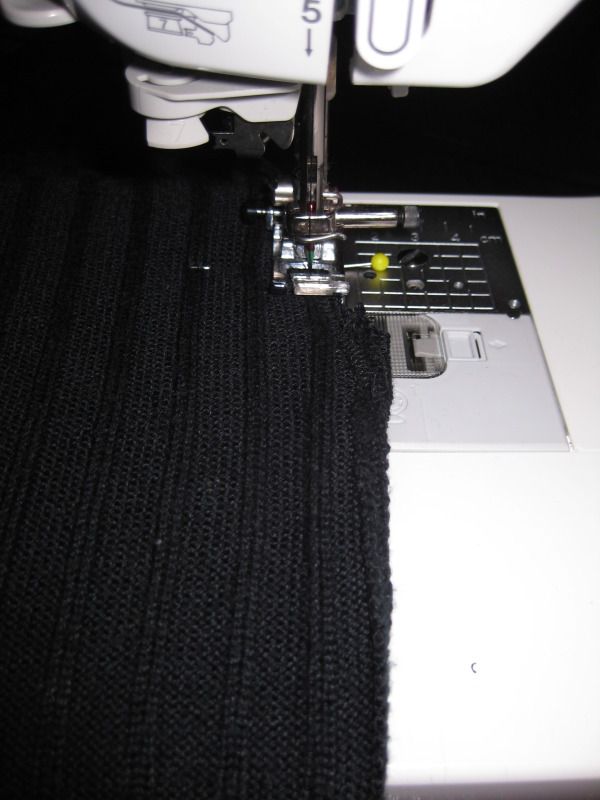
I laid the lace on top of it and began to pin at edges, etc. And then I sewed it down.

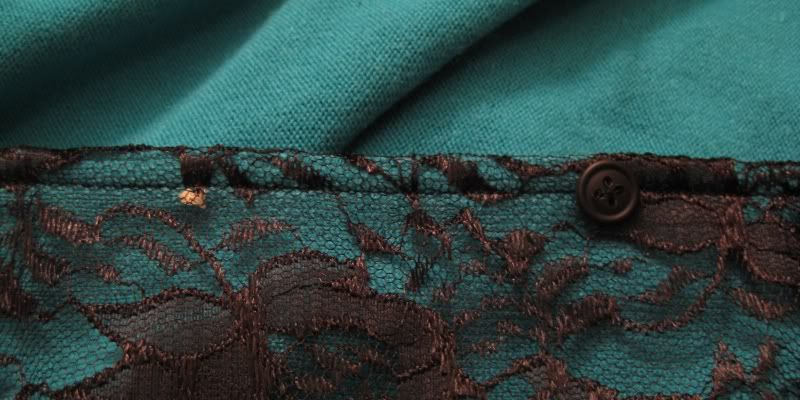
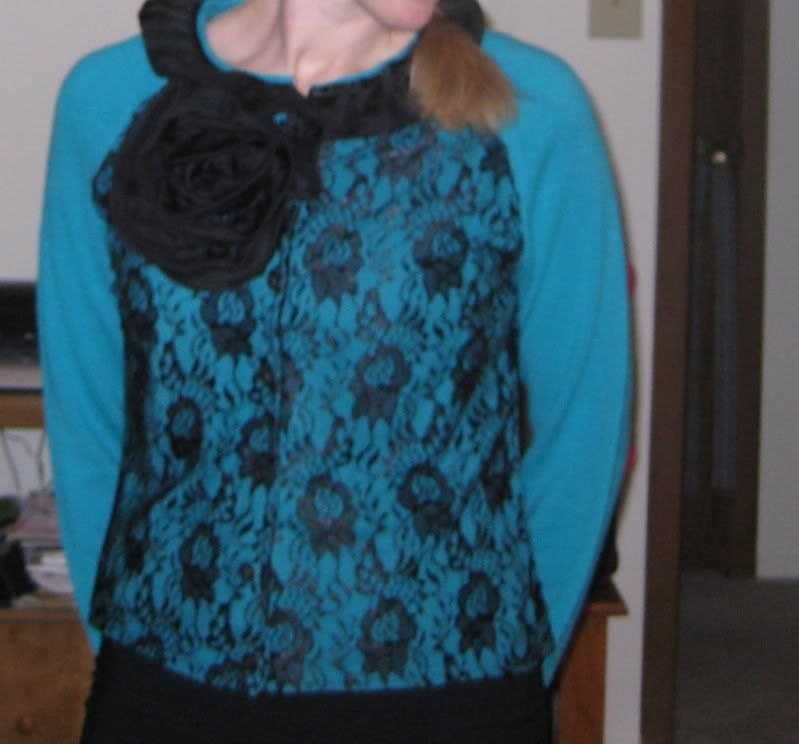
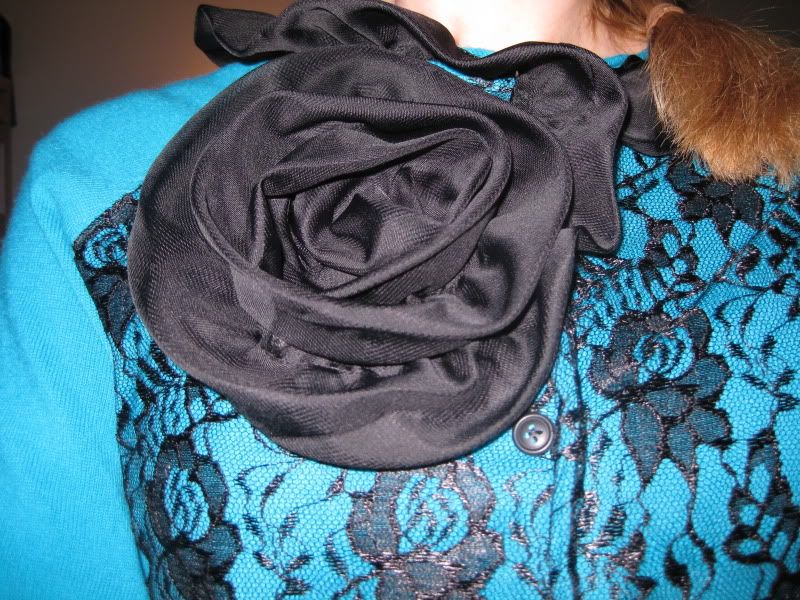
Ok so I don't have a lot of pictures since this project elapsed over several months. I got stuck. The arm seam just sort of threw me off. I had no idea where to go with it. I found this premade chiffon ruffle I decided to add to the neckline to sort of finish it. I used the leftover of the chiffon ruffle to make like a rosette sort of shape on the one side- I tacked that down by hand. Finally, add the buttons back. The buttons that came on the sweater were like a brown/cream color and needed to be changed. I got some simple black buttons and added them where the old ones were. :)


The final product... well it is something I am not sure I would wear all the time. But I just finished it, that is what counts! :)

I may give it away. I will say it is well made with the edges being even. I am very proud of that. I just wish I realized the arm seams were on a diagonal then I would have opted for another cardigan. So I call it my avant-garde cardigan. lol. Don't know if I will wear it yet!

Until next post!
Lauren
LinkWithin
Related Posts Plugin for WordPress, Blogger...