Well hi welcome to my little blog. Just my little corner of craftiness, sewing, and refashioning. I am also a newly gluten free eater so you have a little bit of recipes mixed in here.
Showing posts with label diy. Show all posts

Monday, April 22, 2013

ic '13 #8- baseball bib

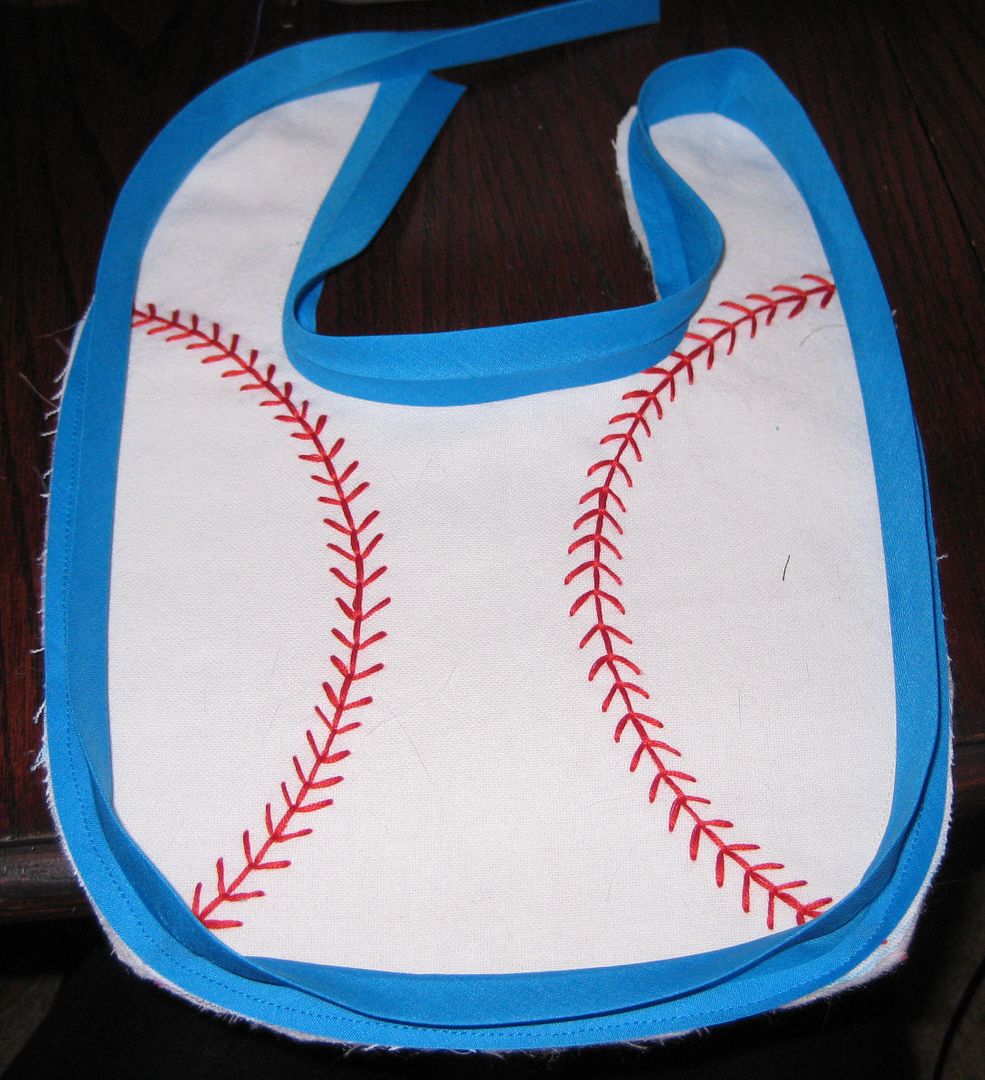
This iron craft's challenge was playtime. So we were to make something based on a game, toy, etc. I thought about it and I am on  a kick to make now bibs for charity again. So I thought I would make a something I could put on a bib and something relative easy since time just seems to evade me lately. I decided I would give a try with embroidery to make a baseball bib.

First I started with some cut fabric, just plain white and I fused with the fusible fleece to make it thicker and sturdier. You want a good fabric that can take embroidery. Ok now we are ready to draw some circles. I used a bowl and traced the edge of the bowl with a pencil. I needed it to stay in line.


Time to embroider! I found some red embroidery floss from Sonja's grandmother (which I love a piece of her still lives on!). Now I saw this embroidery on Pinterest here and I thought ok let's try it out. FYI the site is all in asian letters. I can't find another site so I do not know if it is the source. I thank them for putting this out there!

The stitch is really easy. Here I am starting

Sadly my camera died and well I kept going. Basically the baseball stitches go in opposite directions on the sides. I was really impressed that the stitches looked good! OMG LOVE!

So now I need to finish the bib. I attached a white piece of fabric I cut in my massive scrap usage. And then I decided to finish with bias tape. I went into my box and I have no idea how I had no read but I had this lovely blue. Actually I like the color combo

Here it is finished with the bias tape (hey curves are hard!)

Now time to add a snap!

Done! OMG I am seriously happy this idea worked out! Look how great this turned out!


Yay and I finished an iron craft project on time! Yay! :) wahoo! Can't wait for our next challenge!

xoxoxo,
Lauren

Wednesday, January 30, 2013

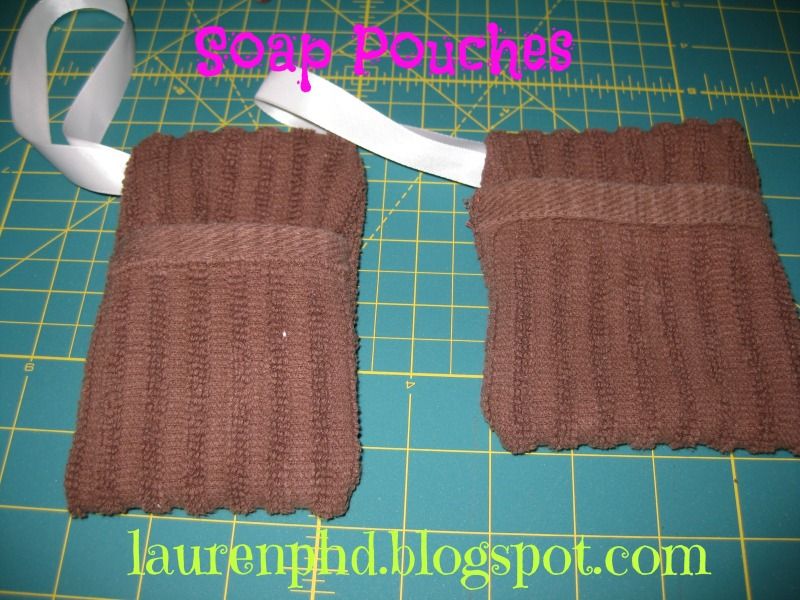
Soap Pouch

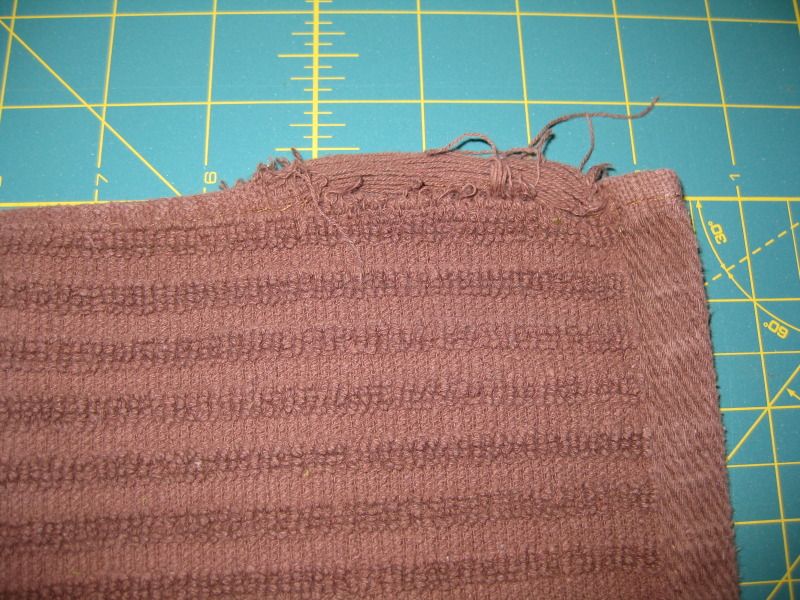
I actually did this project when we first moved to DC. Calvin needed something for his soap and I had this messed up wash cloth. I have no idea but I have a lot of wash cloths...

Enter Pinterest. I found this pin about how to make soap pouches. Click here for the Tutorial!

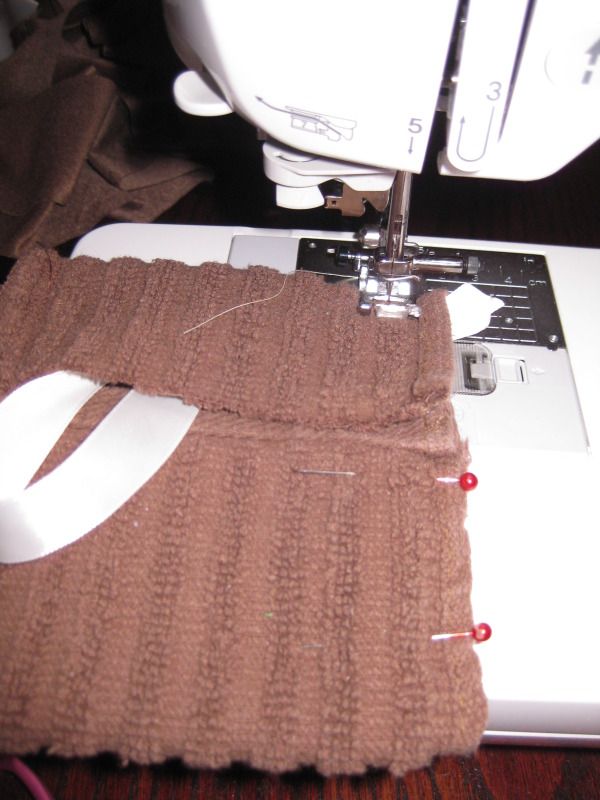
I tried to follow the tutorial but of course I messed up and changed things up.

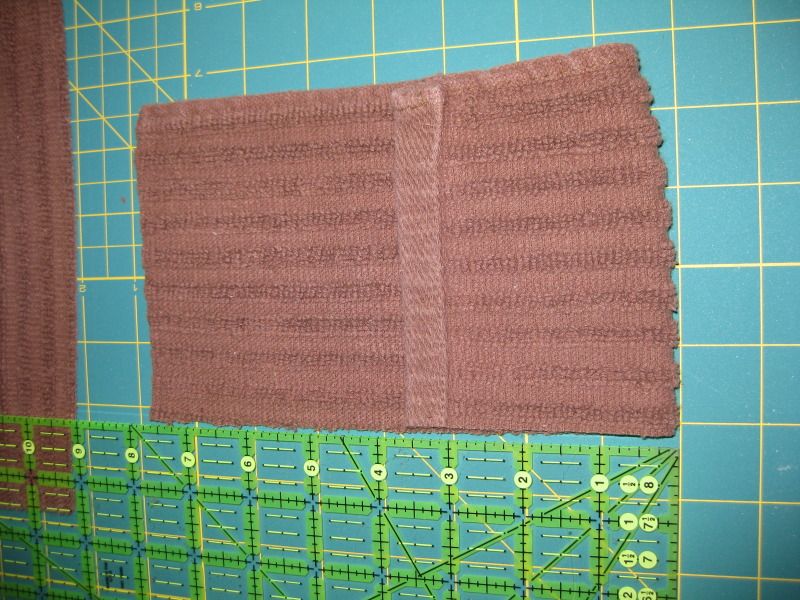
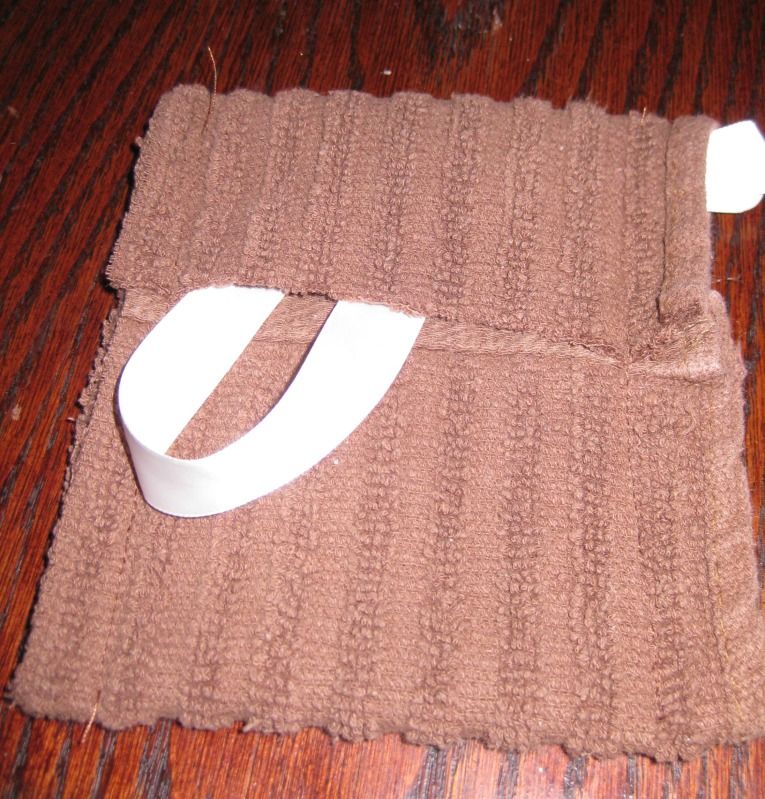
Fold over the top part. 

Meet with the other side. 


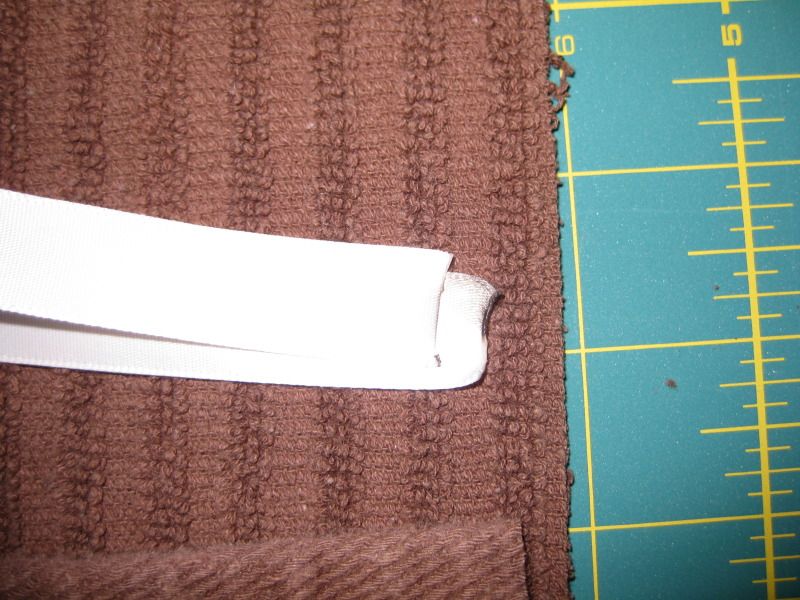
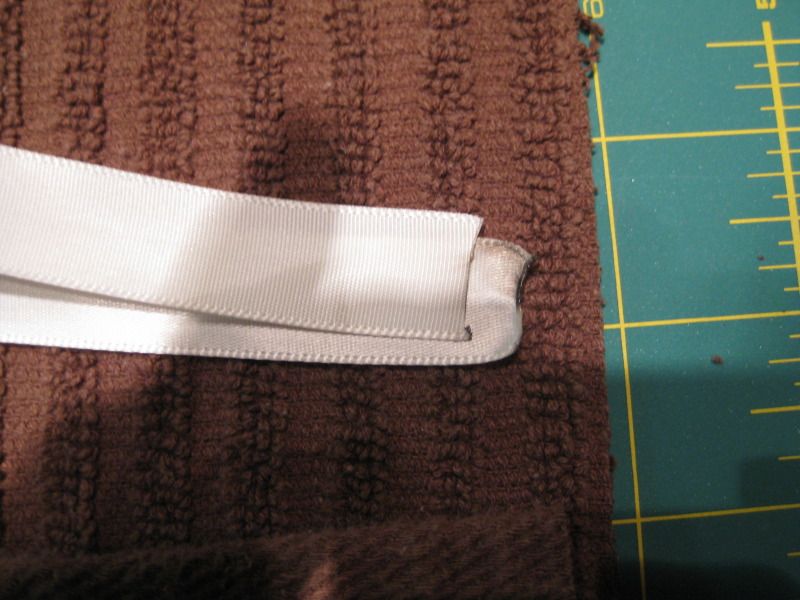
And I added a ribbon, do this before you sew along the outer edges!!! See below! 


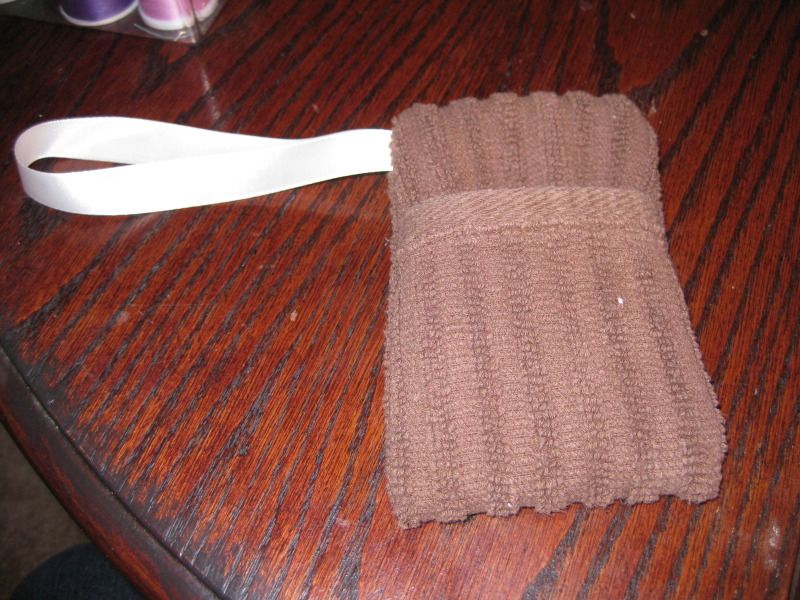
Here is what it looks like when you turn it right side out. 

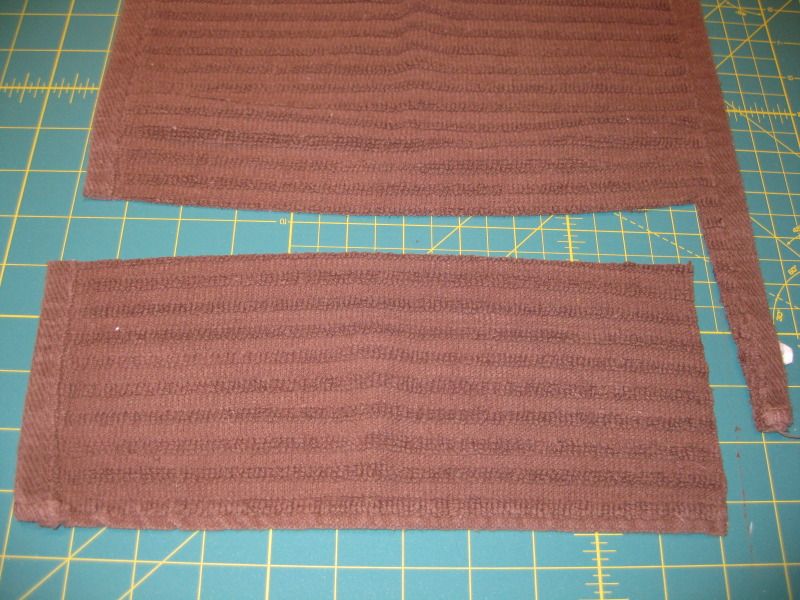
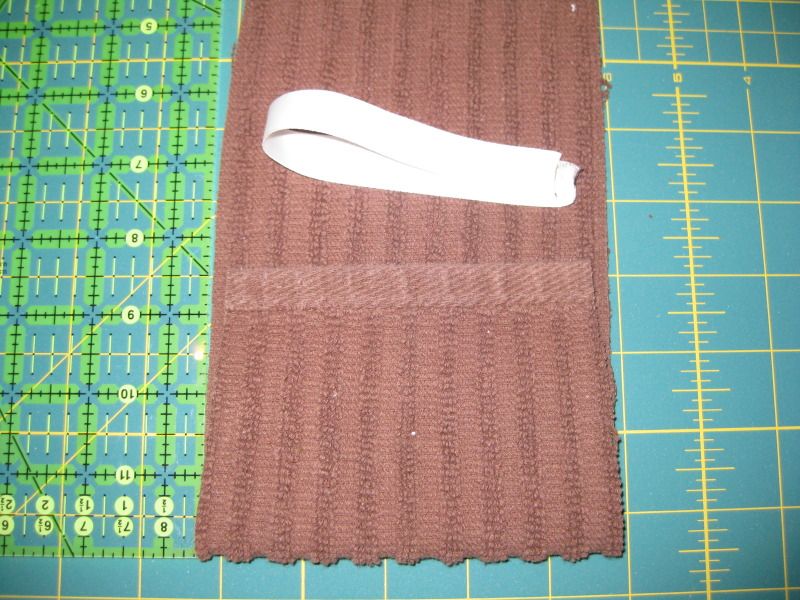
I repeated again. with the leftover part of the wash cloth. 


I like the one I overlapped more. But if you have different sized bar soaps. They were super easy to make!

xoxoxo,
Lauren

Wednesday, August 1, 2012

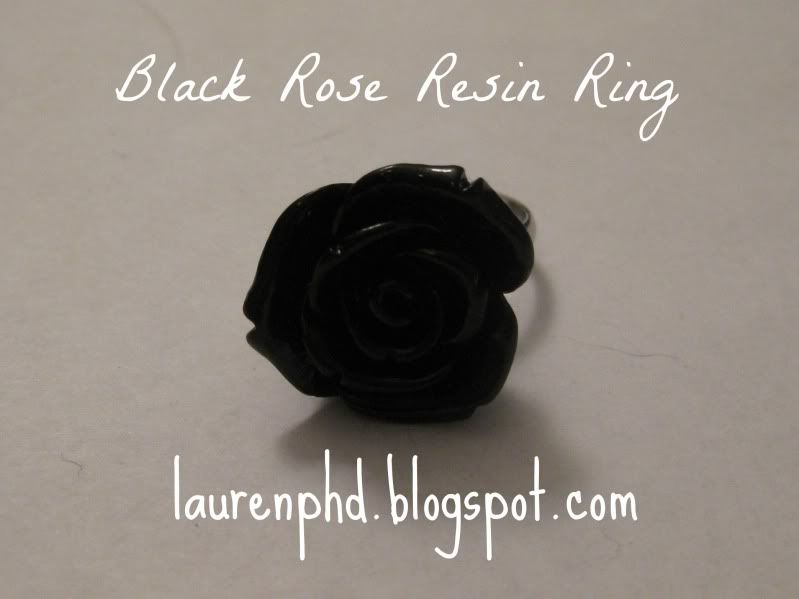
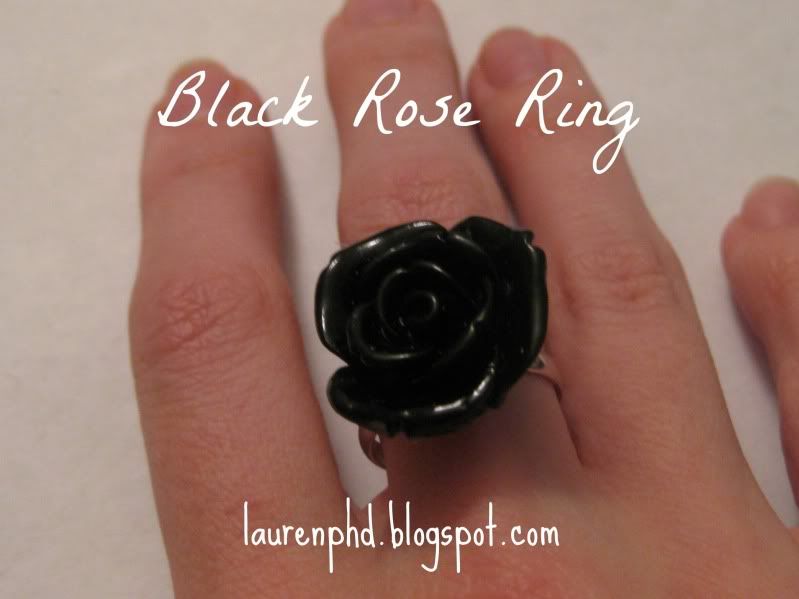
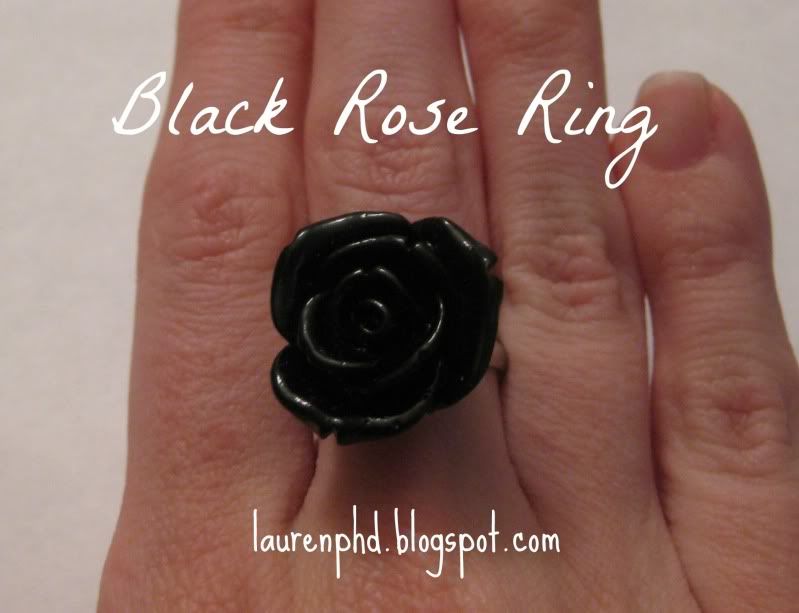
Day 1: Easy Black Rose Ring

Ok here we go! Day 1 of 60 days of blogging to DC! Today I am going to talk about how to make an easy ring.


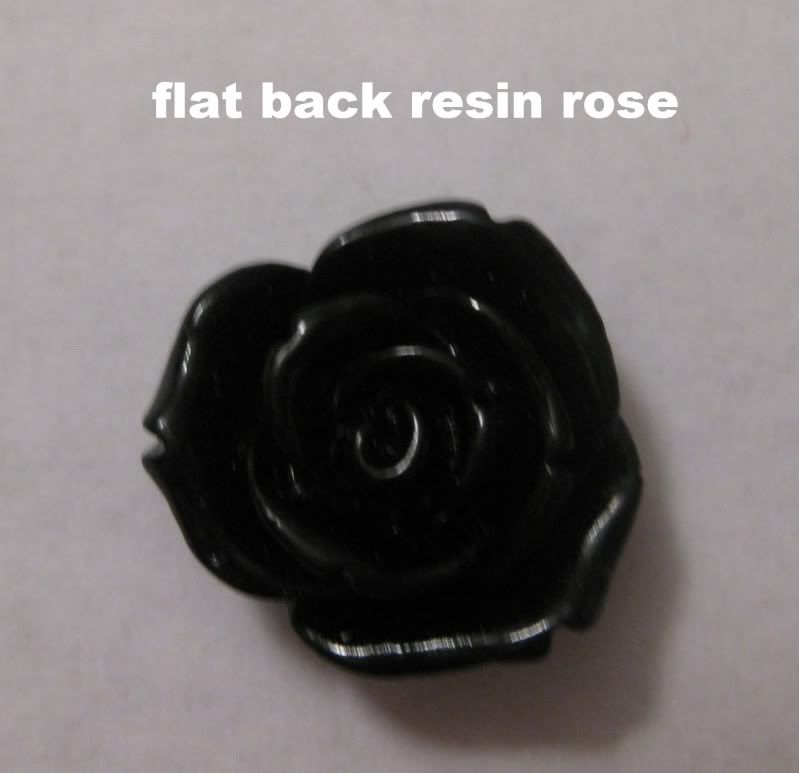
Recently, I have been trying to match a certain color rhinestones for a dance costume I am in the process of making. This has been very challenging. OMG very challenging,, the costume is about halfway done so when I get the costume completed I will definitely share. But in the meantime.... I wound of acquiring a thank you gift from an etsy dealer I purchased rhinestones from which was a black resin rose. It was cute and I was trying to think of ways to use it; it can not go on a fashion garment, there is only 1 so many jewelry things are out of the question. But then I realized it would make a great ring!

So here is my tutorial for an easy peasy ring!

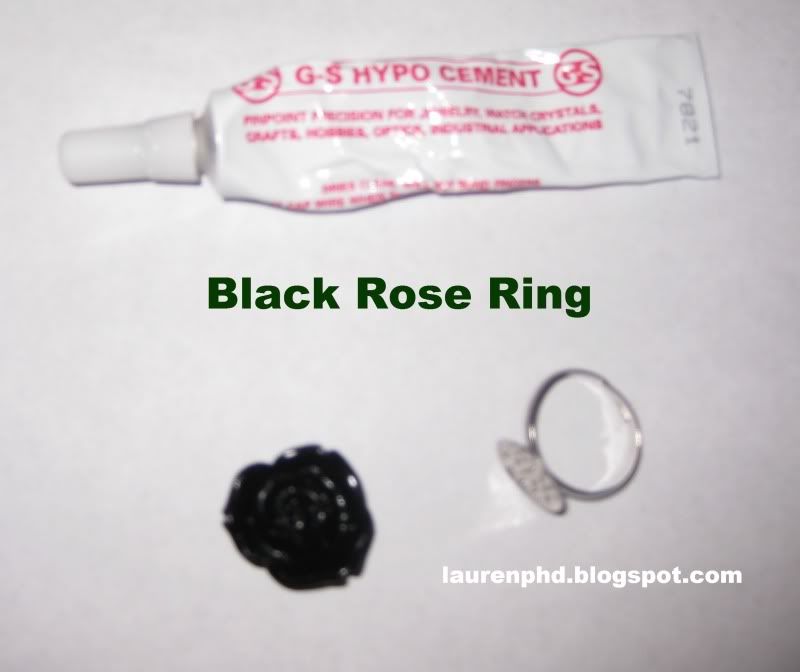
I purchased from Hobby Lobby, rings that can be modified for size and can be made into anything! Here is what else you need, I used GS hypo cement glue, however E6000 would work too.


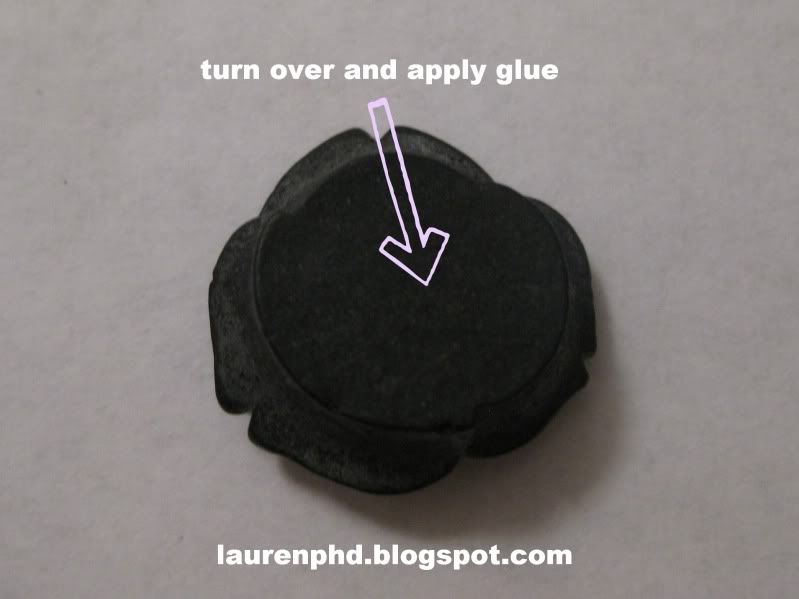
Then just a dab of glue to the ring and rose. Let dry- I found that keeping it upside down was the best way to keep it from detaching while the glue is drying.

Let dry. The more time you let the glue cure, the better. I let this one set for 48 hours. 
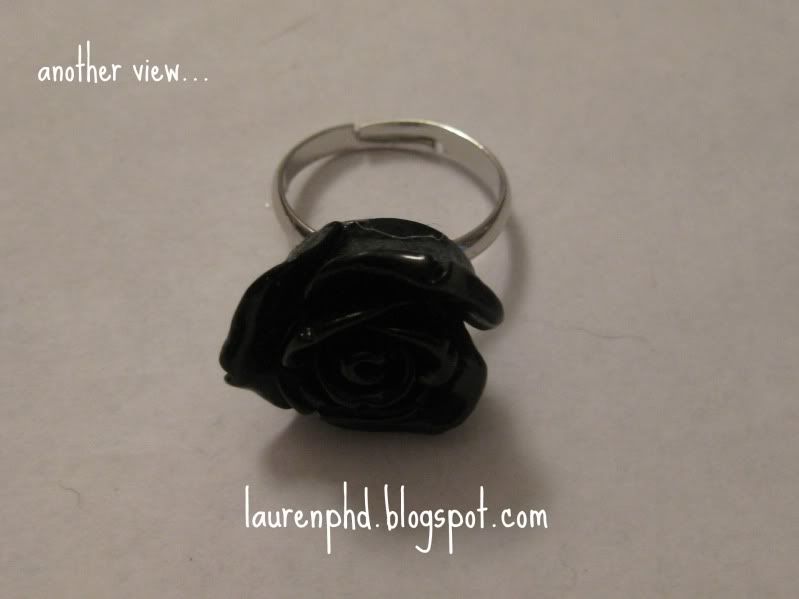
Voila done! 


Yay for easy projects!


xoxoxo,
Lauren

1 Day Down, 59 more days to go..... Click here to see the other days of blogging!

Friday, May 4, 2012

Outdoor TV Cover

Greetings y'all!

So many of you in the South know, football is a religion down here. One of our traditions is to sit outside our friend Charlie's house on a Saturday and watch football the entire day while eating and cooking some great food!
Charlie has a tv that he has now decided to keep outdoors but wanted something to keep it protected from some of the outside elements. In comes me!

I had this pretty horrible thick dirty rose fabric I acquired in the fabric stash that I never knew what to do with it... until now! Yay for using up my fabric stash! I have no idea what it is... some sort of thick synthetic b/c it felt like it could repel water.

The TV measurements height: 20 inches, length= 31 inches, depth= 5 inches AND it was also on a wall bracket about 2/3 the way up, or at least according to my boyfriend.

Since I did not want the thing to be fun and allow for seam allowance I added 2 inches to each measurement, I sew on a 1/4 seam allowance. New numbers: 22, 33, 7. So now I am ready to cut some things out!

Essentially I am cutting out 2 rectangle the size of the tv so 22 X 33. Then I need to cut out 2 rectangles for the sides, which is the depth and width: 7 X 22. Finally, 1 more rectangle for the top piece which is the length and depth: 7 X 33.

Now time to sew! I first started with sewing the top to the main sides. Pin the short rectangle to the longer one with right sides facing each other. Sew. :) Pin that piece at the smaller rectangle to the other rectangle and sew down.

Now to do the sides. This was really challenging for me b/c I have never done anything like this before- creating something more 3D b/c essentially we are making a box and now need to finish it.

I did not take the best pictures of this next part... But I will attempt to explain what I did. I started at sewing the top of the box to the top of the side. Then I sewed the tv front and back to that middle section. Repeat on the next side. Then hem the bottom.

Ta-da!!! We now have a box that is missing the bottom. I was impressed considering I really had no instructions or true plan. 
 I sealed all the edges of the fabric with seam sealant. 

Now it is time to allow for the bracket. My boyfriend said it was about 2/3 the way up. So I literally measured 2/3 of the way up in the middle of the tv back and cut. \

I hemmed the edges so it would not fray. And done! 

Here it is on the tv! It was the perfect fit.. not too loose and not too tight and even had room for the wall bracket! 


Just in case you were wondering here is what it looked like from the back. 

We just had a bad rainstorm this week and this was the test... and I passed. TV completely dry and safe from all the elements. The guys gave me a thumbs up! And I did this in 1 hour and got rid of some fabric! Wahoo! 

xoxoxoxo,
Lauren!


Tuesday, January 31, 2012

DIY laundry detergent

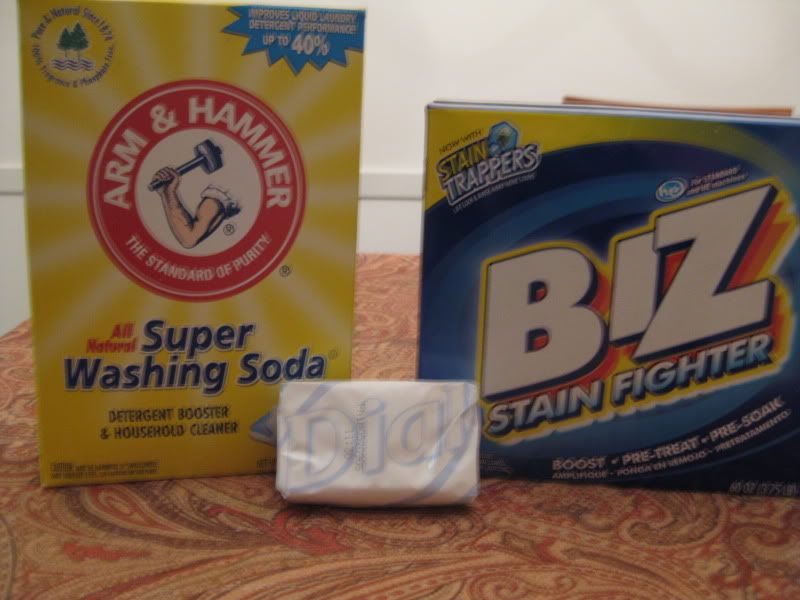
Ok so here I am jumping on the bandwagon! But let's see I am fully determined to get out of debt and reduce my costs here at home. One of the expenses that is just huge is laundry detergent. I wash a lot! I saw this on one of my fellow refashion co-op editor's blog and thought I would give it a try! It is a non-borax powdered detergent. Here is what you need...


1 box of biz boost/stain booster (in place of borax)
1 box washing soda
1 bar of dial soap (or another soap with no lotion added!)
cheese grater
food processor

all of the ingredients cost right under $10 total. I had a cheese grater and I borrowed Sonja's food processor.

Here's how to do it
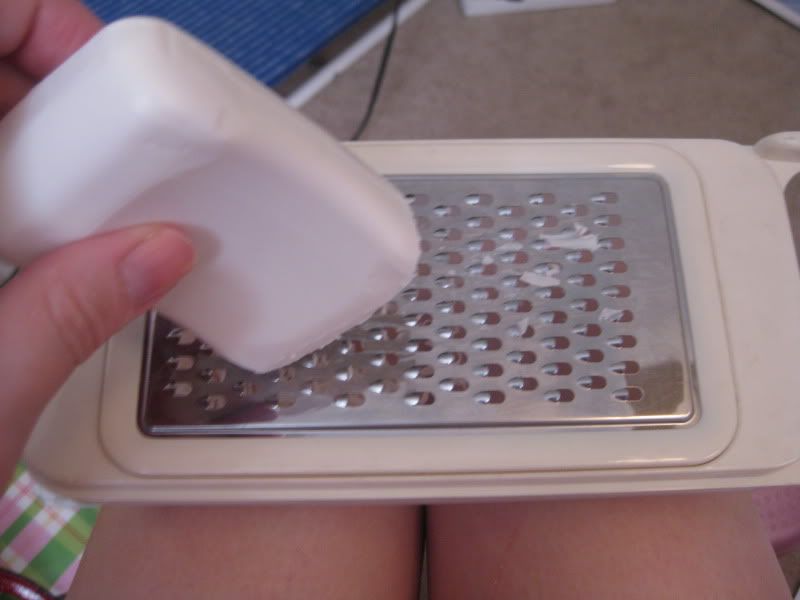
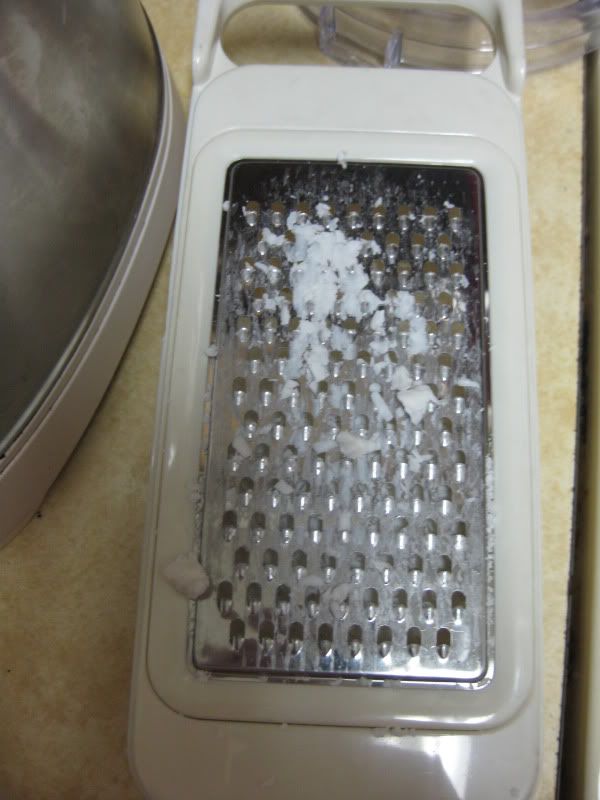
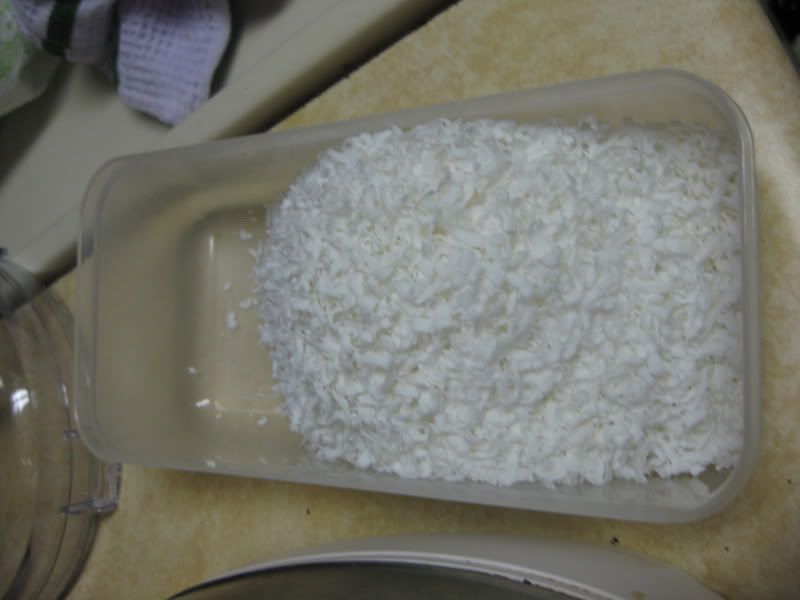
1. grate your bar of soap with the cheese grater. This is the longest part, I did this while watching a show on tv, balancing on my ball trying to strengthen my core.

Towards the end your grater may look like this...

but you have nicely shredded soap.

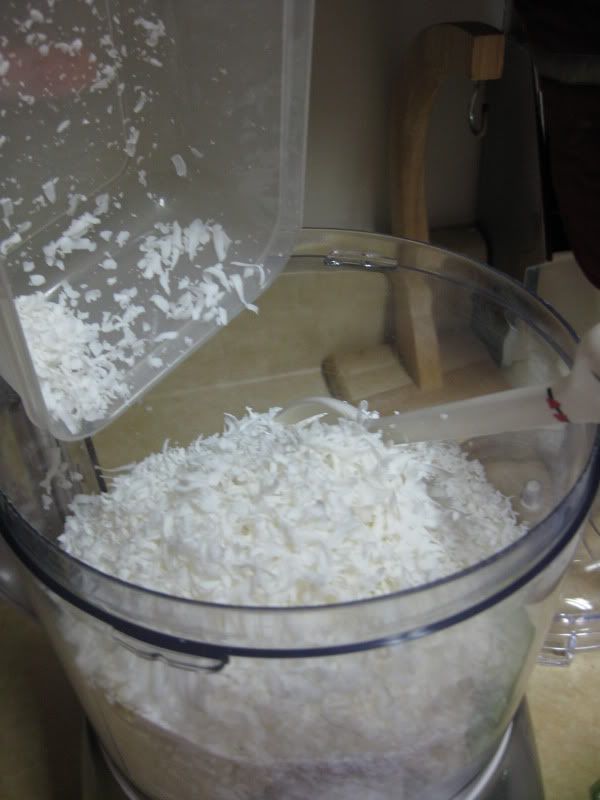
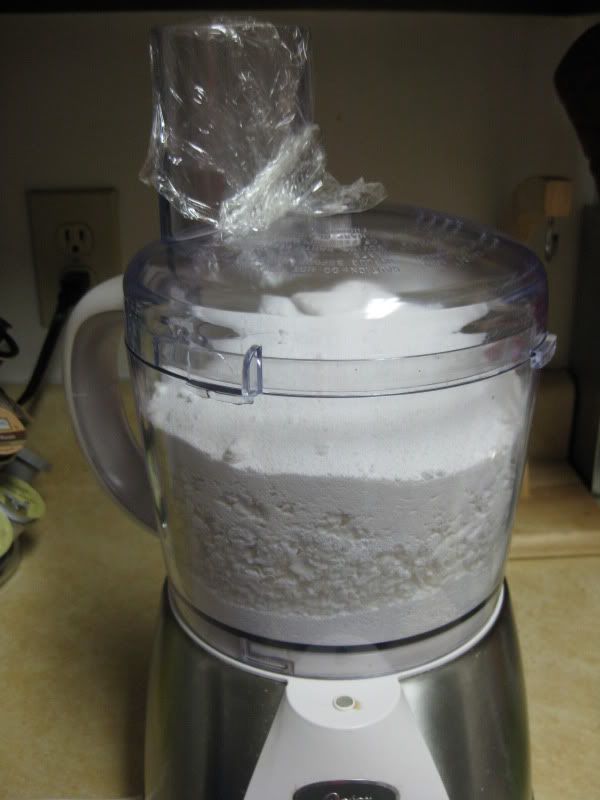
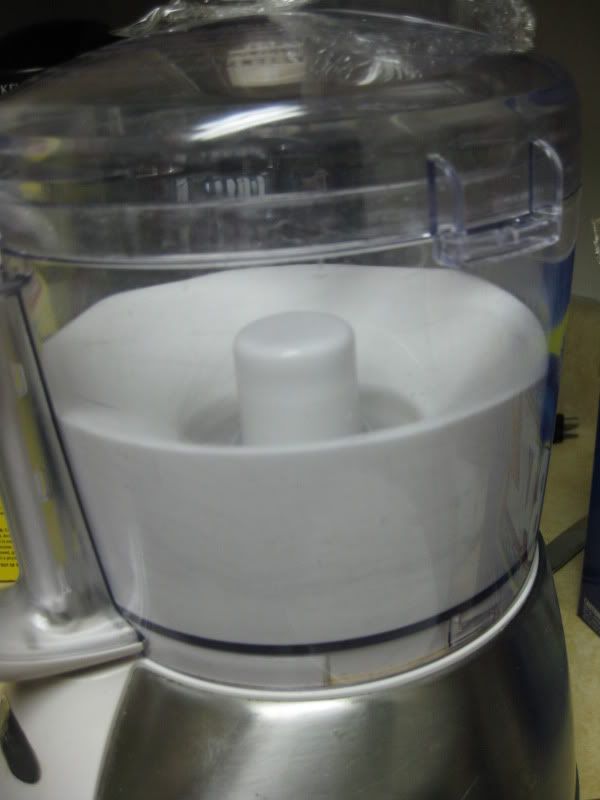
2. Combine with biz and some of the washing soda in the food processor to further grate into a powder.

Running... oooooh ahhhhhh

Continue with processing the remainder of the ingredients. Done!

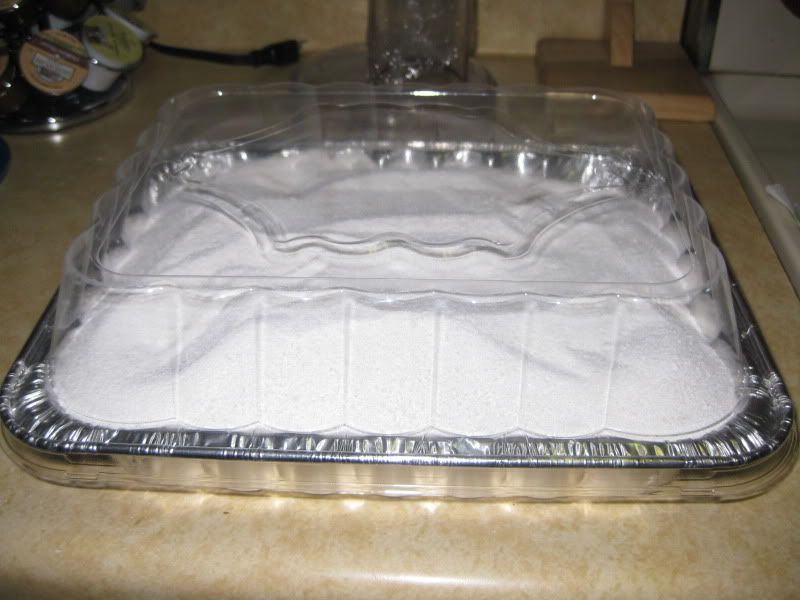
I had a small roasting pan worth of detergent! Holy cow!

This was the only thing I could find to hold it! Will look for a more permanent container for the future.

So here is the kicker you only need 3 tablespoons for an extra large load! Seriously! Scale down from there. I have tried it and my clothes smell fresh, have come out so clean and bright, you could not even tell it wasn't the expensive store brand stuff!

I think that I probably won't have to buy detergent for the rest of the year. Wahoo!!!

xoxoxoxo,
Lauren

Tuesday, December 20, 2011

DIY body scrub/polish

I have seen many posts about various people's DIY spa projects and I thought I would take a stab at it!

With the cold season, the air is dry and so is my skin. I need a frequent scrubbing to keep it looking fresh. But I don't want to spend a lot of money!

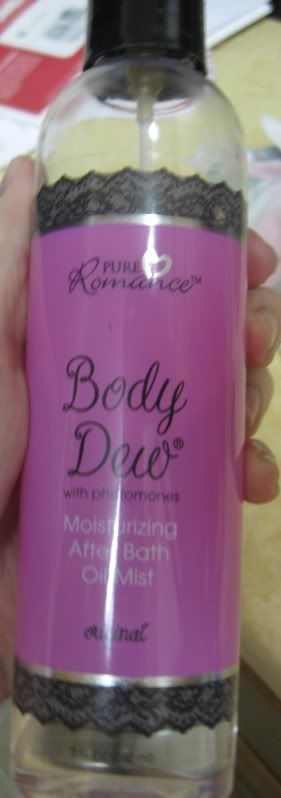
I had this bottle of body dew, which is a mix of essential oil and perfume. It smells wonderful! I thought I would give this a try to use as my base.


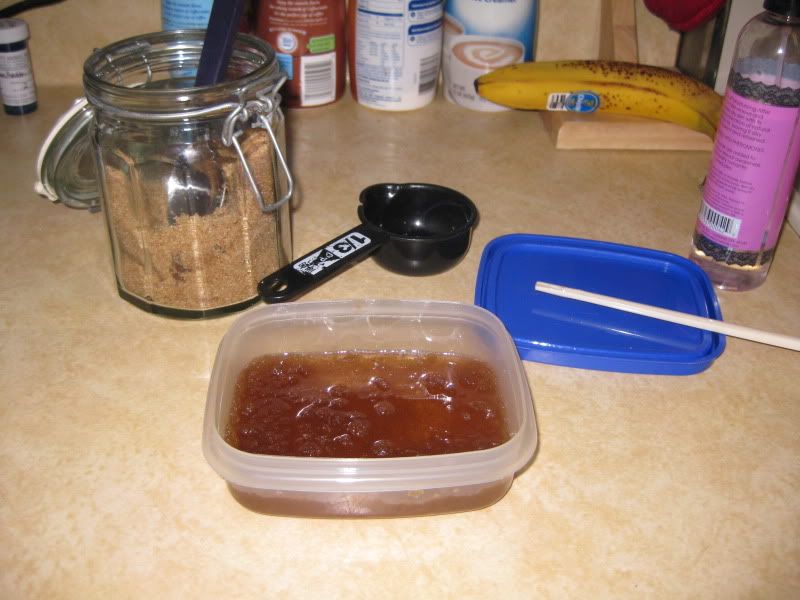
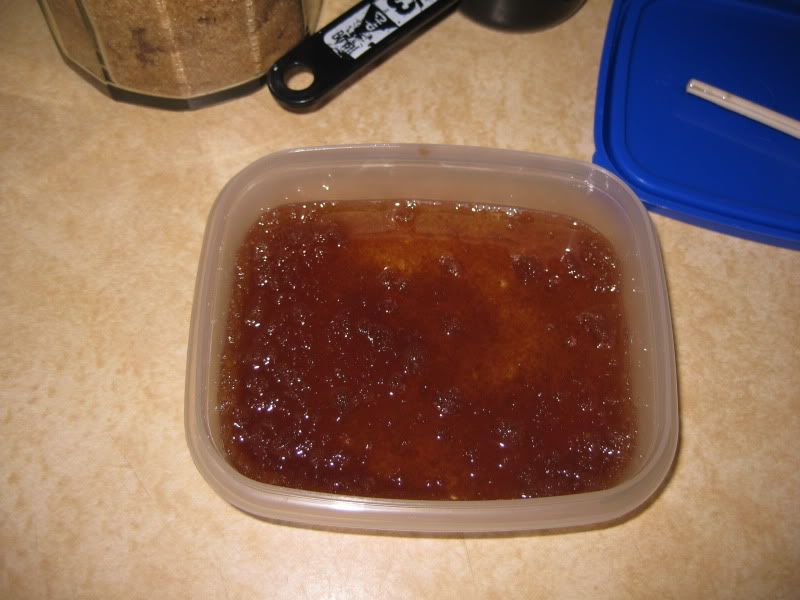
Next I pulled out my sugar, using both brown and white and I thought I would compare both. Next, I had to determine my ration of oil to sugar. First, I tried 1:1, so for non-scientists.... 1/3 cup oil to 1/3 cup sugar. Here is the first picture... too much oil not enough sugar.


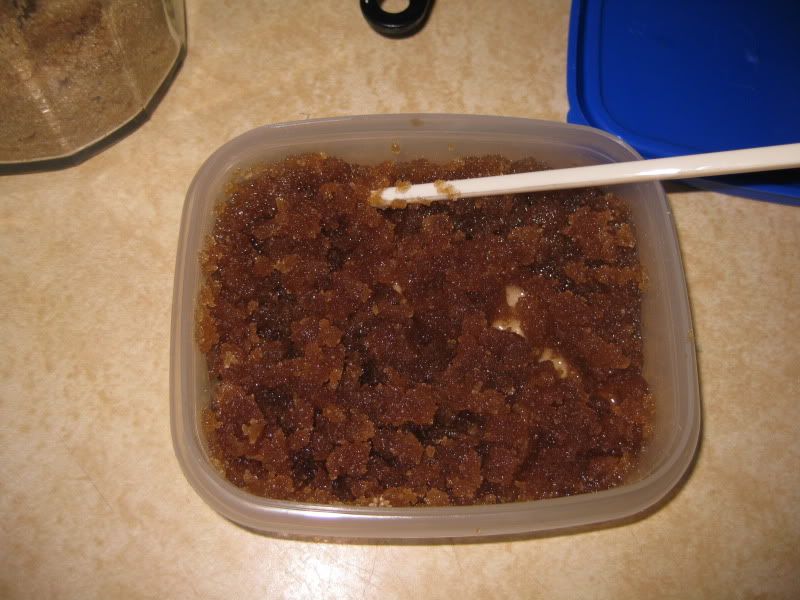
I definitely needed more sugar. I added another 1/3 cup of brown sugar (so 2/3 cup sugar to 1/3 cup oil, or 2:1 ratio) and then mixed it up (I used old chopsticks that I don't eat with, they make great stirrers for craft projects and clean up well!).


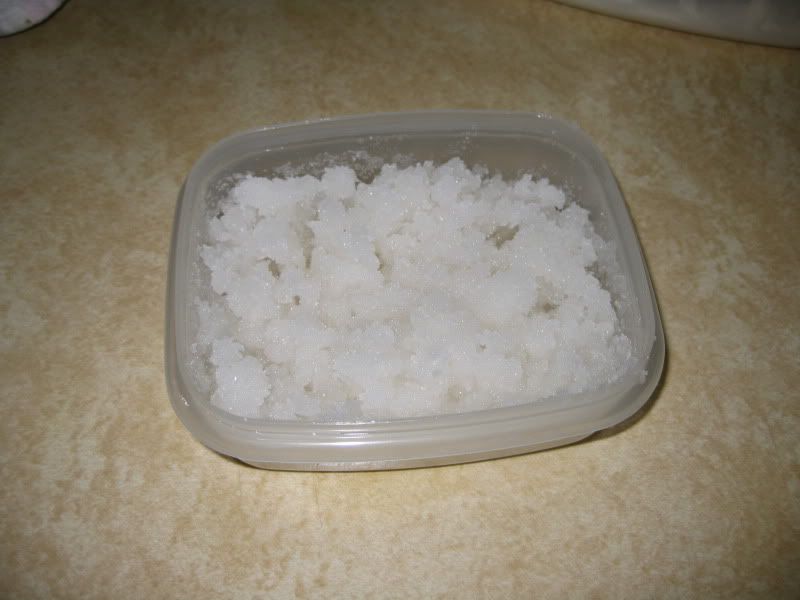
Success!!! Just the right consistency and perfect for a body scrub! I also tried it out with white sugar too!


Now I tried it in the shower the other night. I did have a lot of oil on me and it did make my bathtub slippery. I also had to wash my body again with some body wash but... OMG my skin was sooo soft and smooth, and no longer dry! Actually my skin has not been dry for days. It was great for my hands which stay constantly dry with all the hand washing I do daily.

I tried the white sugar on my body. I got a good scrub. I have only used the brown sugar on my hands, again equally as good but since it is fluffier the ratio was a bit different. Maybe I will combine both next time.

Either way, I do love what I made but I think I am still going mess with the formula a bit. It is worth trying. I love my new and soft skin!!! :)

XOXOXOXO,
Lauren

LinkWithin

Related Posts Plugin for WordPress, Blogger...