Well hi welcome to my little blog. Just my little corner of craftiness, sewing, and refashioning. I am also a newly gluten free eater so you have a little bit of recipes mixed in here.
Showing posts with label tablecloth refashion. Show all posts

Tuesday, February 10, 2015

Last refashion of 2014!! #99- Lace tablecloth

I found this wonderful lace tablecloth. For some reason I didn't realize that it was circular. Don't ask b/c I seriously don't know. I thought I could make a cute pair of shorts from them but the size put me at a bit of a disadvantage with wanting to stay on the grain
Problem was if I was going to use it for anything then the color was not going to work for me. I did not care for the tan. So I dyed it using 2 different RIT dyes. Since the lace is a lot of thread, that I don't know how it is going to react, I went with 2 dark dyes- dark green and denim blue. Thanks Mom for the dye you got on clearance.


The end result was awesome! It was a grey mixed with some blue green. There was no tan left. I cut off the ruffle around the edge. My initial plan was to make a lace circle top. But then I cut the circle too deep.

It was no longer going to work as a top. I sighed and it fell down, landing on my hips. Then I realized this fit perfectly as a skirt! Win!!! I needed to line it, which I found this brown fabric in my stash. And as serendipity would have it... it was the perfect size needed with my existing skirt!  Double Win!!!


So I cut out the brown circle and cut a line down one side. This will allow me to put in a zipper. Now I need to make a waistband. I used this new sewing notion I found by chance when I was looking for something else online. It is fusible interfacing that has cut line that allow for easy folding. Time to try it out!!
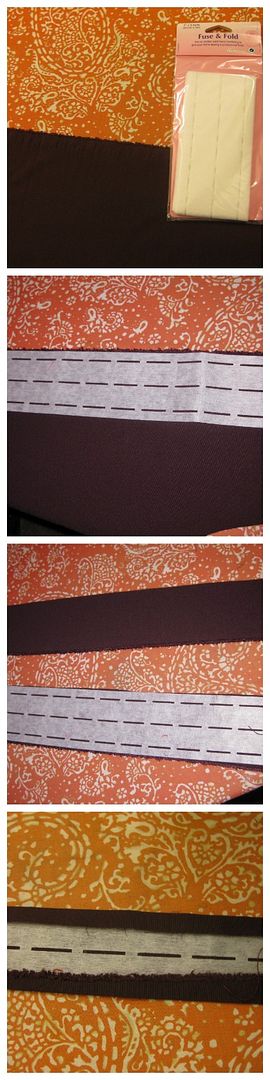
So Triple Win! This made making waistbands SOOOOOO easy. I attached it to my skirt, which I had to lightly gather to adjust it to fit. Boom done! Prior to this I added an invisible zipper.


Finally, hemming. I took apart the lining from the lace and resewed them individually. This was solely because I wanted to individually hem each layer. The lace layer, I folded twice and ironed. Then sew It was really smooth. I used my serger for the brown layer.  Done!

Here is my new skirt. OMG! It was completely destined to be a skirt. How fabulous is this!
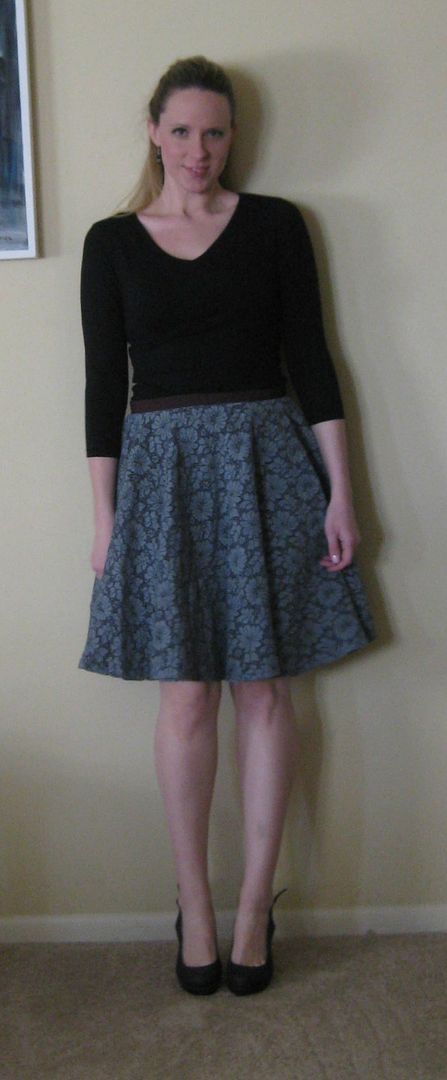
It also had a bit of a retro feel to it. It was a full circle skirt, no doubt!!
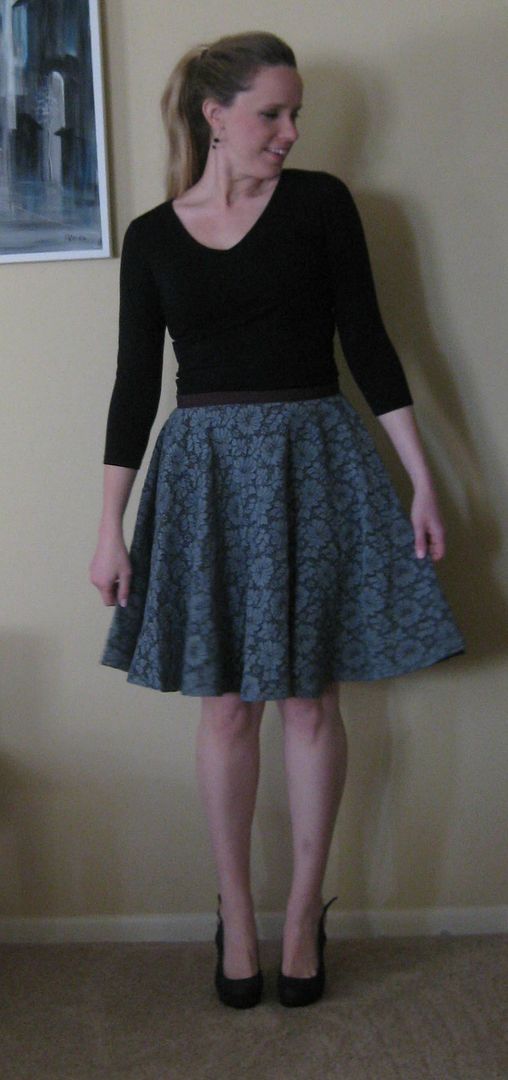
Even though the hem was a bit of a challenge it looks great!


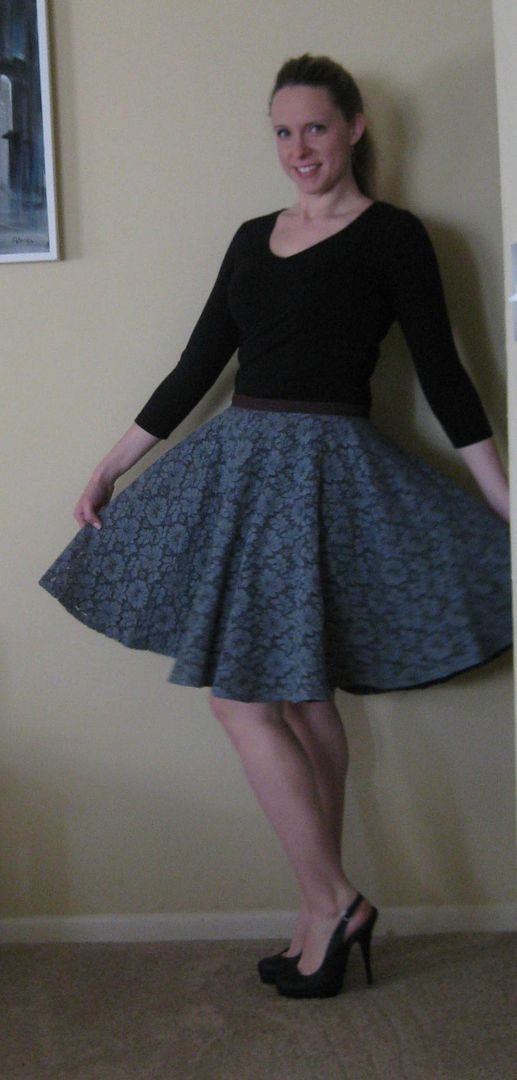
And with all circle skirts, you have to twirl with it! It is just sort of mandatory!

Here's the recap. Before a tablecloth, after an awesome circle skirt! Yay!

So this my readers finishes my 99 refashion challenge for 2014. Wow. It was really hard as my life got in the way of my life. I also realized putting numbers on things can at times make things harder. And stop some of the creativity. All of the refashions will go stored here on this list. It was a fun challenge and I came out with some fabulous clothing.
Yes there are more refashions and sewing on the way! :) No worries, I don't know what I would do with myself if I didn't refashion something. :)

Cheers,
Lauren


Tuesday, October 16, 2012

Day 77: Grandma's yellow lace tablecloth refashion

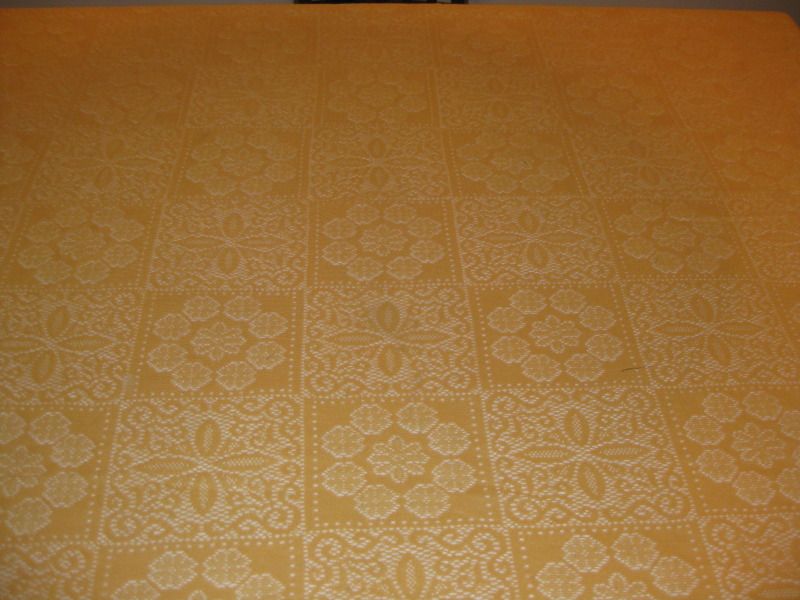
So let me first start off that this was NOT my grandmothers tablecloth. It maybe have been a goodwill purchase for $0.99. But it is that tablecloth that probably everyone's grandmother put on their table. In various colors. This on is a bright Sunflower Yellow.

Sadly it did not fit my table. And it also had paint on it on one part.

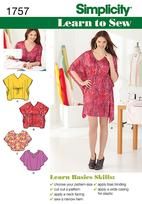
I was going to use a pattern for this refashion. Because it was a huge piece of fabric! I used this new pattern from Simplicity aimed at new sewers because they explain every step. Though as with simplicity patterns lately I was still confused.

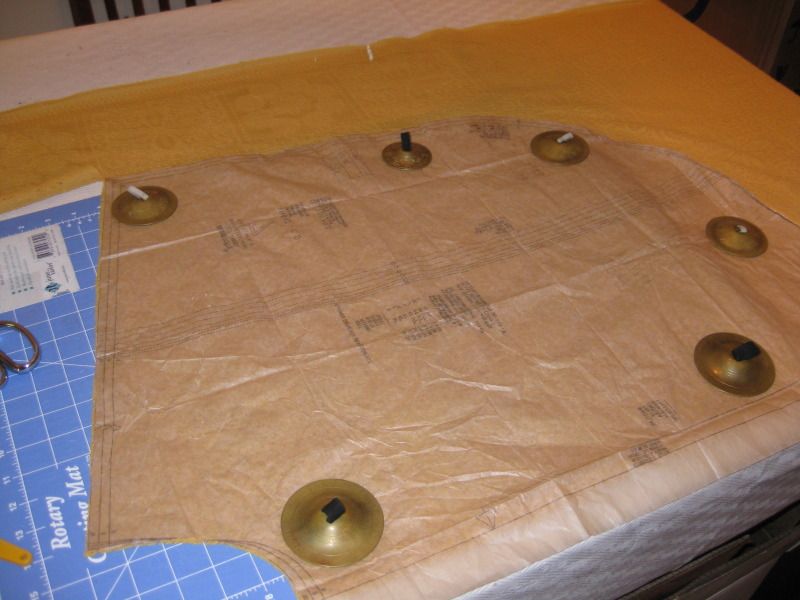
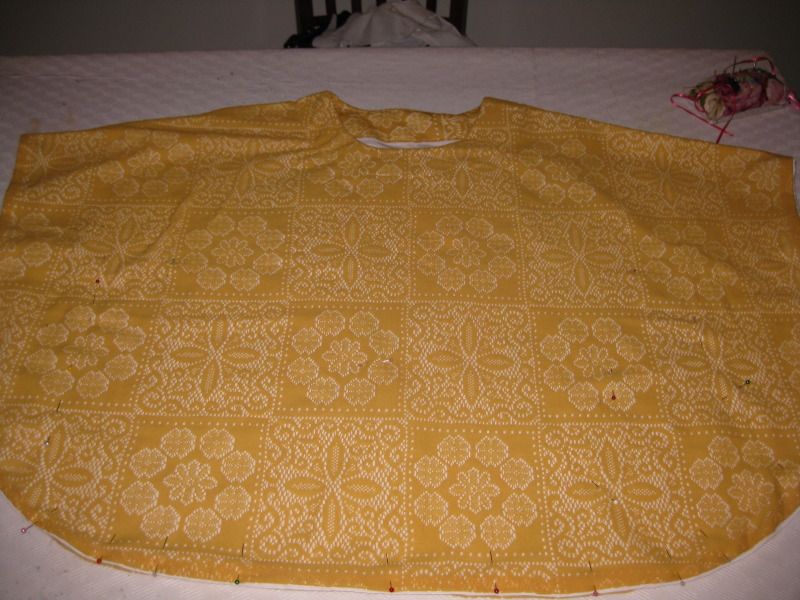
I did view C. Here is me cutting out my fabric!

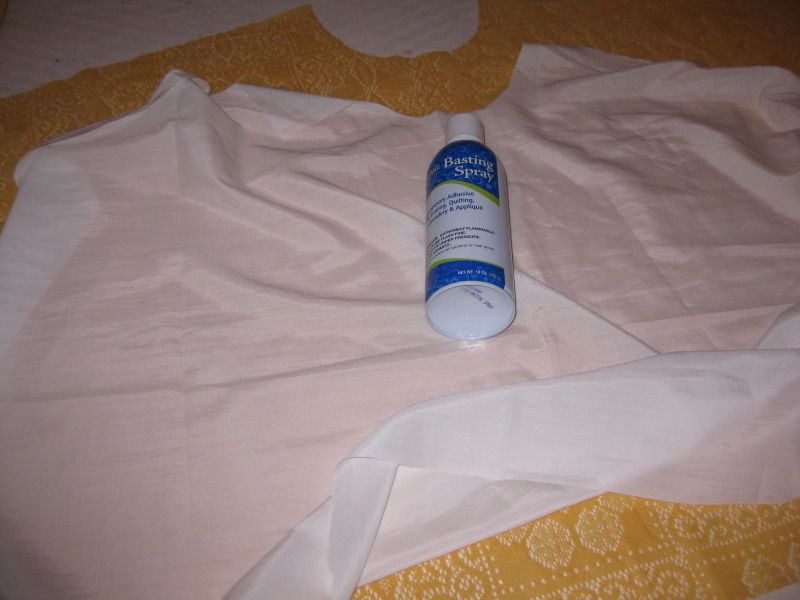
I did not want a see through top so I found a thin cotton to use as a lining for this top. This was not part of the pattern so I thought I would wing it. I thought I had a good idea by using basting spray to prevent the lining from slipping from the yellow lace. But I sprayed the wrong side.....

Then I had issues with the spray sticking to my foot of my sewing machine then that was ugly. I used some tissue paper to help with this. OMG it so did! Then it simply ripped right out! I so recommend it! I wrestled with the fabrics. It completely added a TON of time to this project.


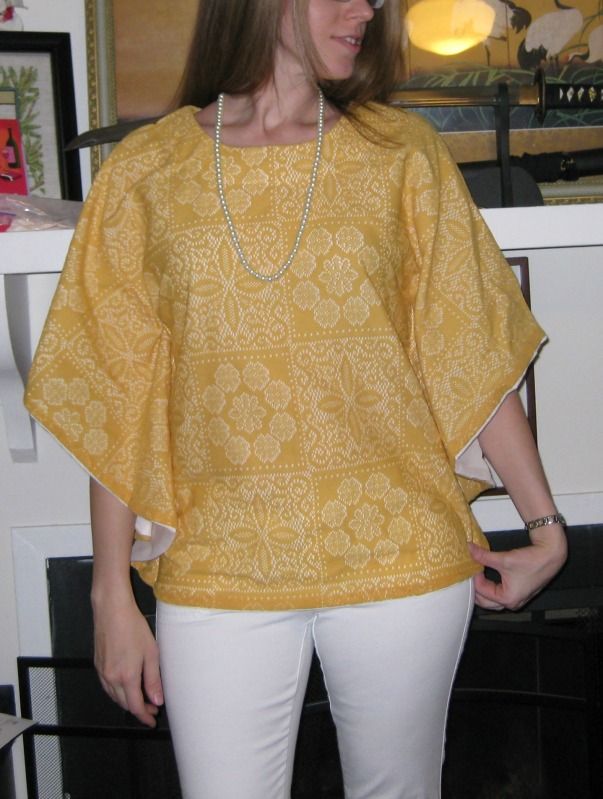
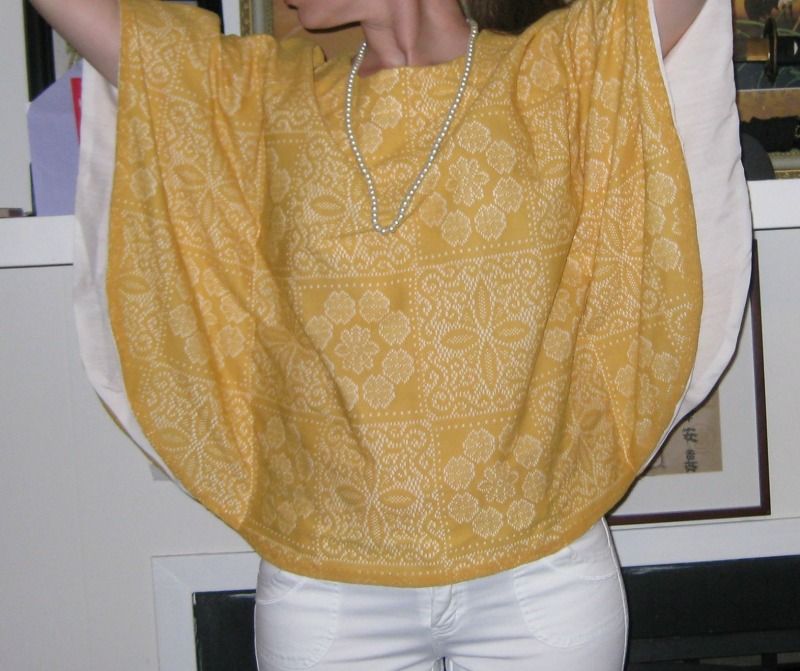
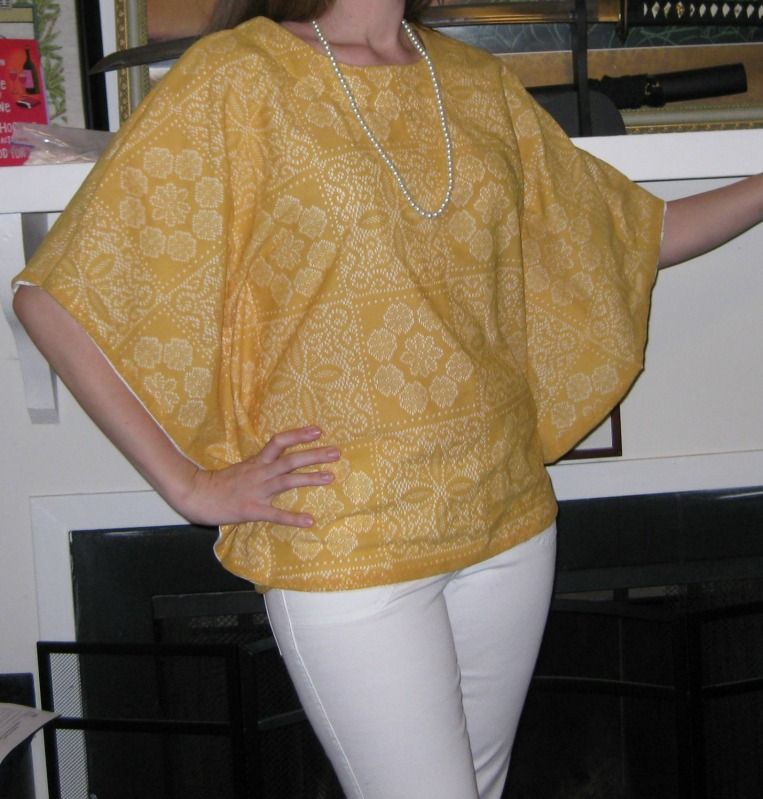
Basically I sewed the lining to the lace, trimmed the excess fabric and turn the material right side out. I then proceeded to follow the pattern except The armholes were already finished, as was the bottom hem. Then sewed the center to give me the bat wing arms. :) Here is my end top. It looks great with a pair of white pants!


I should have sewn each layer separately. Next time I will. It would flow better. Next time. I highly recommend this pattern. It is easy and it fits well and it isn't big and the neckline is just perfect. :)

For more of my 90 days of blogging click here.

xoxoxo,
Lauren

LinkWithin

Related Posts Plugin for WordPress, Blogger...