Well hi welcome to my little blog. Just my little corner of craftiness, sewing, and refashioning. I am also a newly gluten free eater so you have a little bit of recipes mixed in here.

Friday, November 4, 2011

Handmade Jewelry

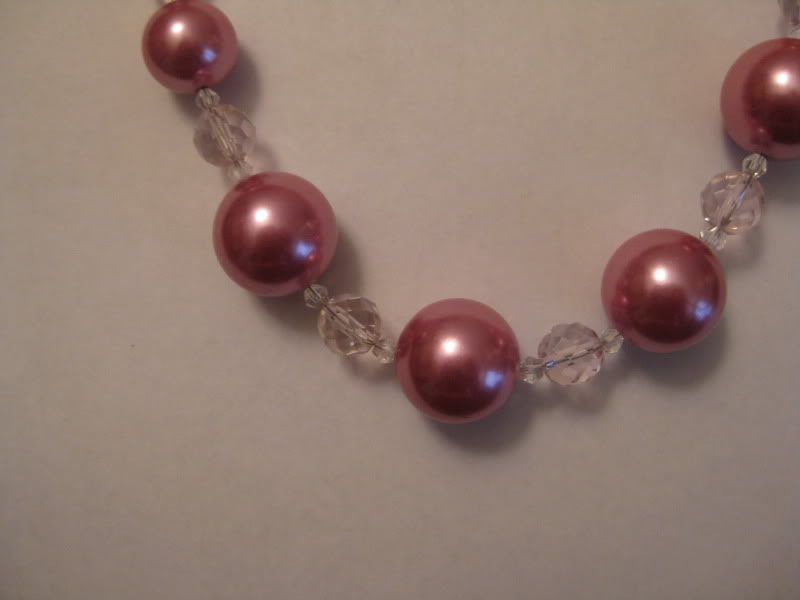
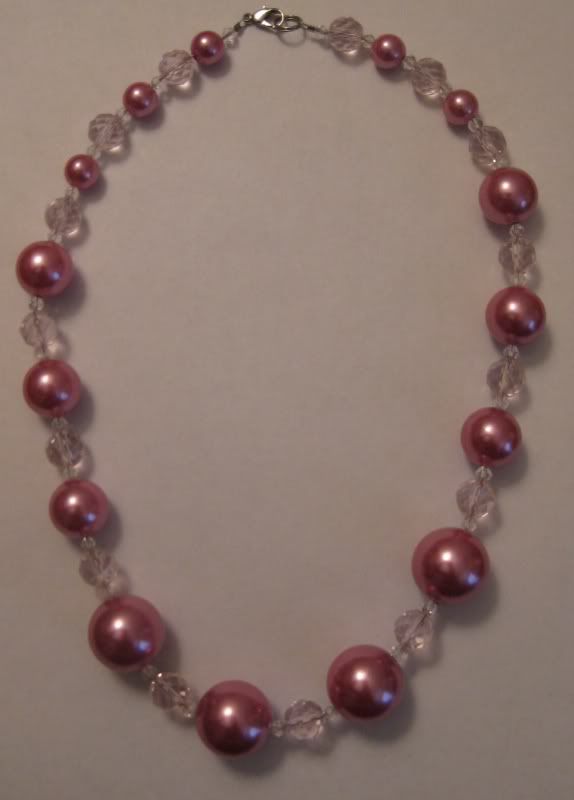
Got inspired one day to make another easy necklace with simply beading wire, beads, and crimp beads. I combined 2 different pink beads. One a various sized pink pearls and the second was clear pink crystal beads. I used some clear bicones to separate the 2 different beads. They came with one of the beads on a string.

There is no rhyme or reason or technique really I just put beads together-alternating and was happy with what I got! :)


A close up, really it is simple, simple beading.


I love easy thing! Here's to destashing my stash!

XOXOXO,
Lauren

White shirt makeover

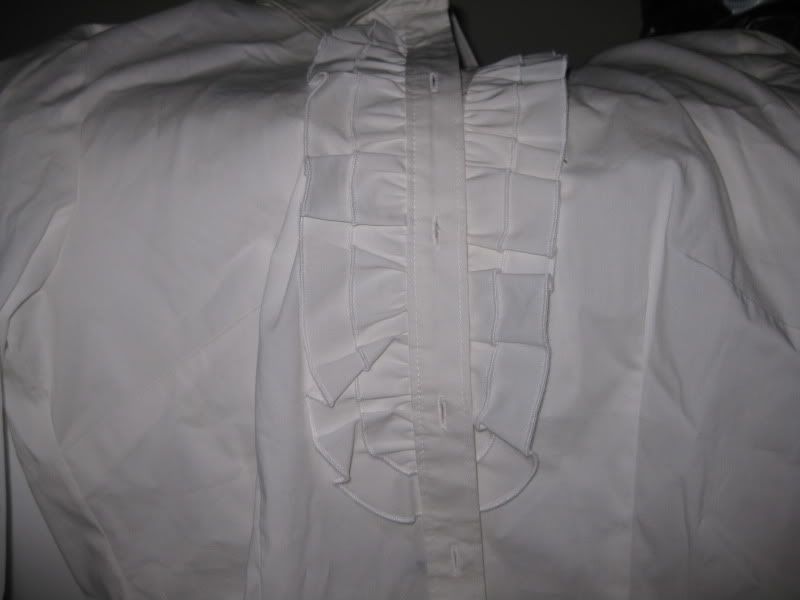
I found this lovely white button down Ann Taylor Loft shirt for $0.99 one day at goodwill. I loved it and it was in good shape.


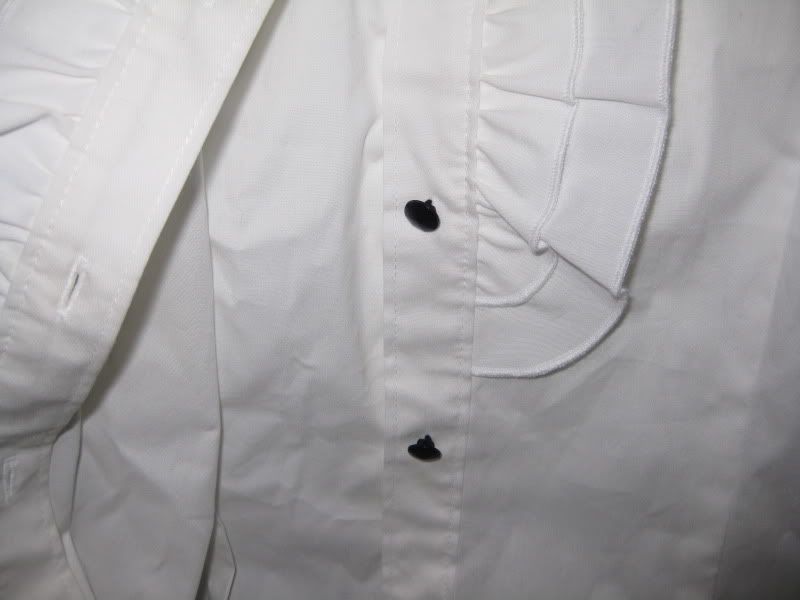
But I have a bunch of white button down shirts in my closet and I thought I would challenge myself to change the color. It had wonderful black buttons so I thought why not try gray.


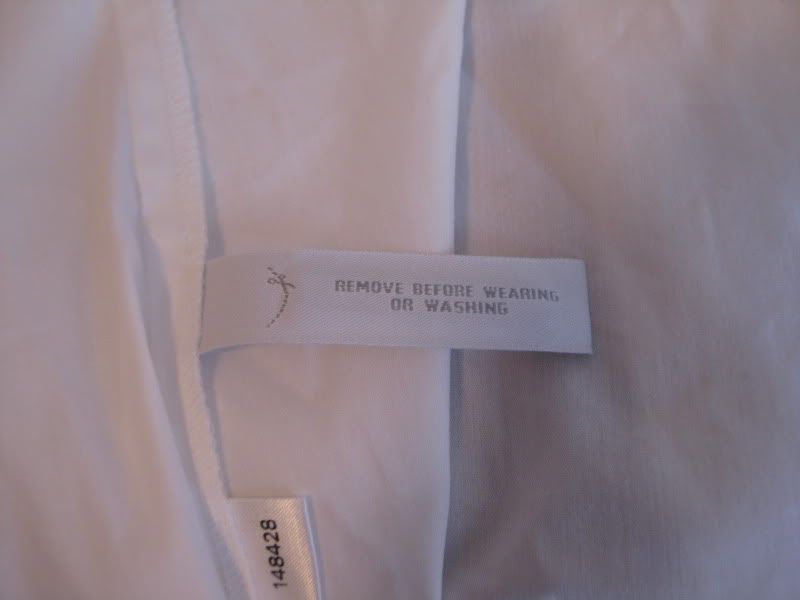
When I actually cut off the tags, I realized the shirt HAD NEVER BEEN WORN BEFORE! It still had the magnetic security tag in the shirt! OMG!!!


Maybe it is because I am in saving mode right now but I can not image spending a lot of money on a shirt and never wearing it. I just can't. I usually buy something and pretty much wear it! But then again I just got out of grad school, I have a different mindset.

I chose RIT dye in pearl gray. I had no idea how this was going to turn out b/c it was purple until it was dry.


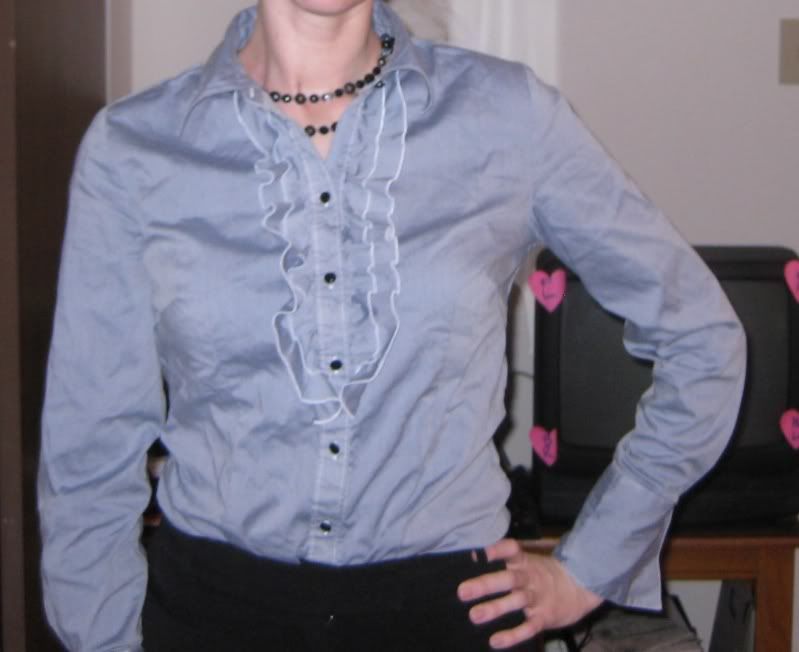
The end product no hemming or alterations needed. And since it was a blend of fabrics I kind of got a heathered gray. Very happy! Perfect for work!


XOXOXO,
Lauren

Milly- inspired black bow sequined cardigan

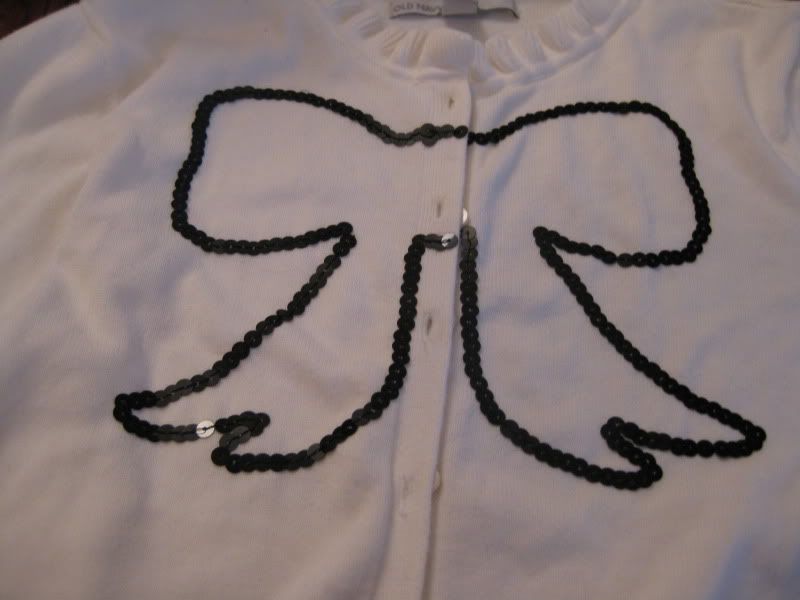
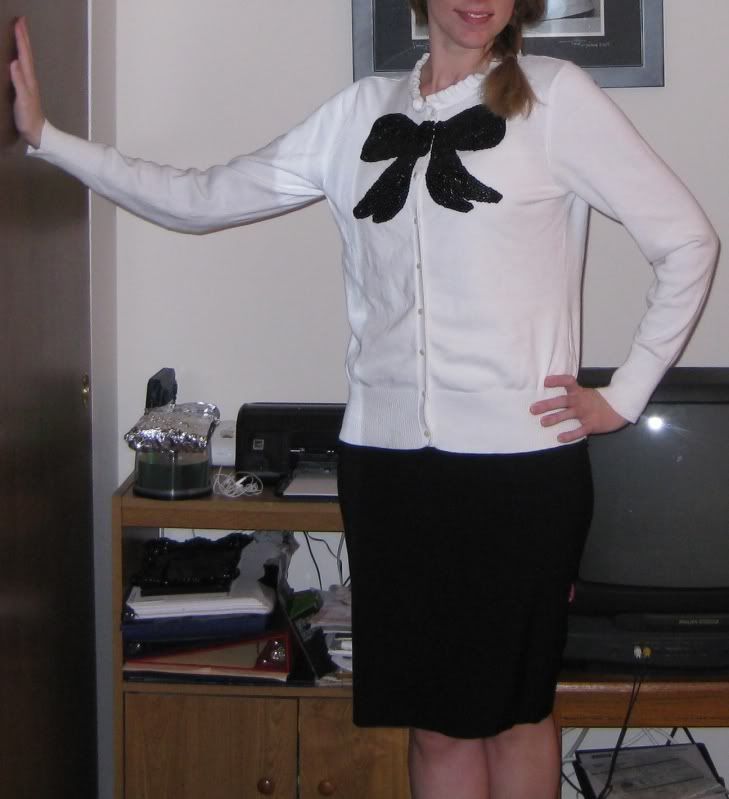
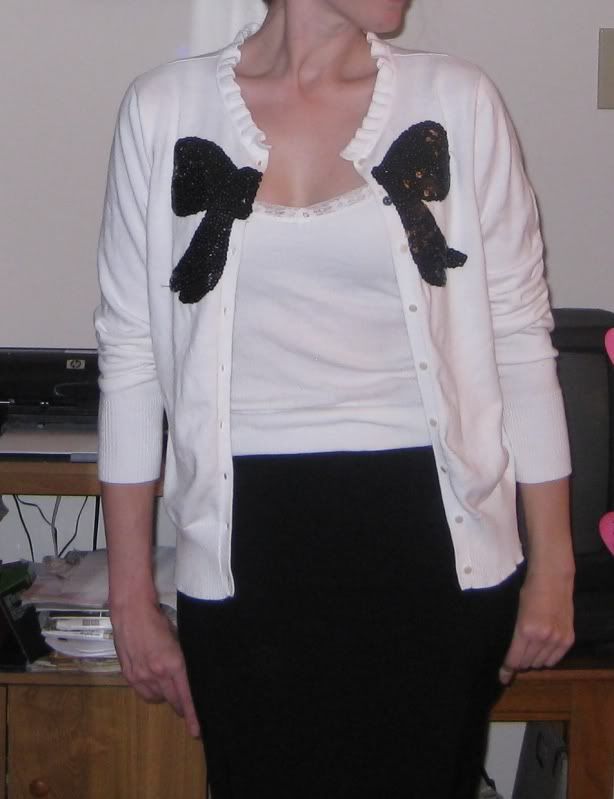
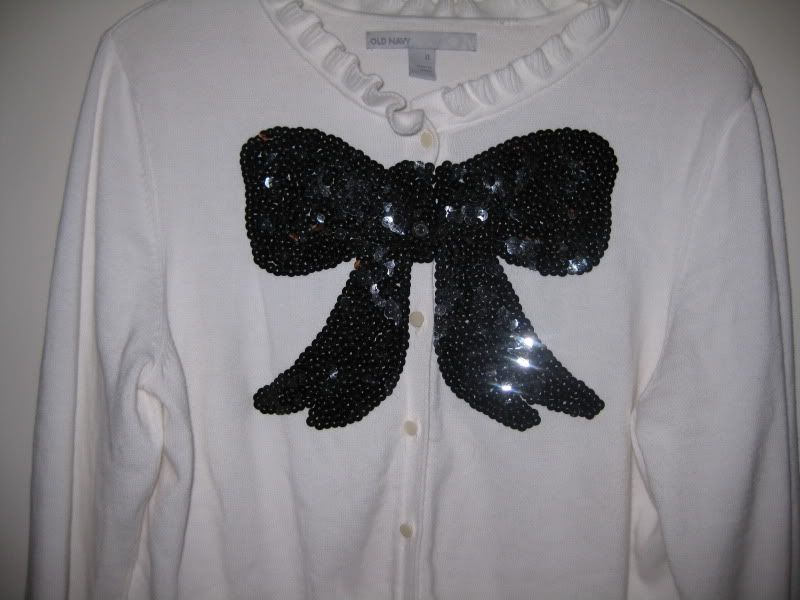
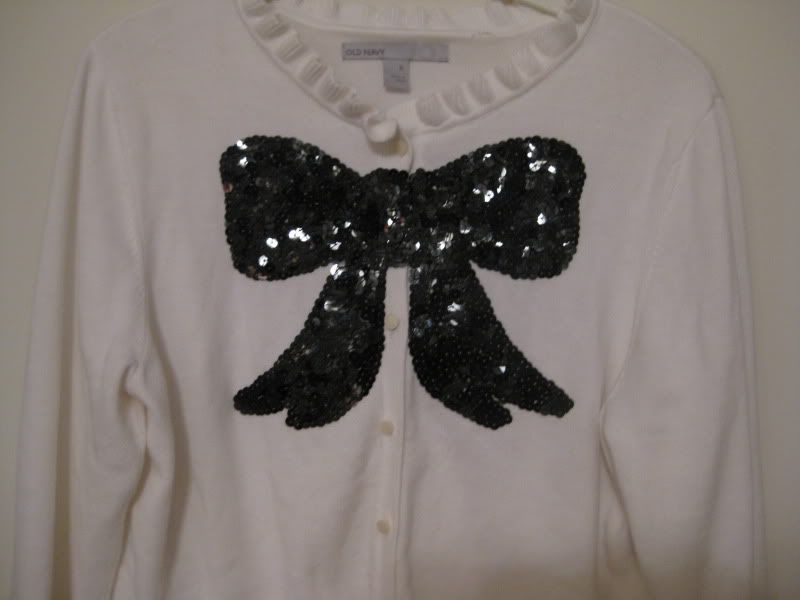
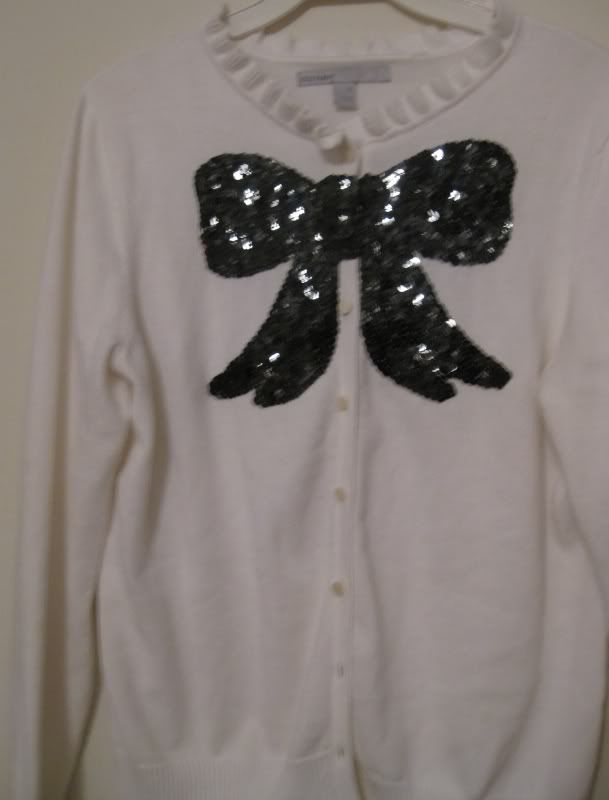
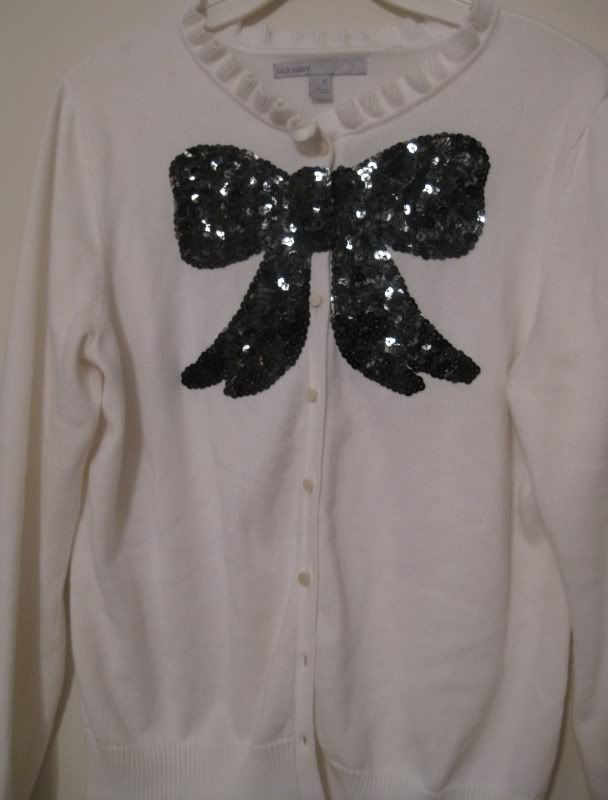
Alright I finished this cardigan back almost a month ago but just needed an end picture! Here is my black sequined bow cardigan!

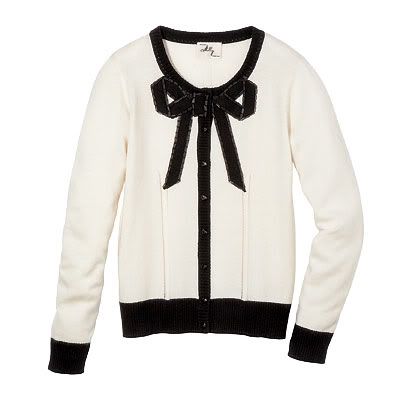
My inspiration came from a Milly sweater cardigan. Of course I love all of her sweaters but they are completely out of my price range ($300 for a cardigan sweater!) This one was also a $300 cardigan.


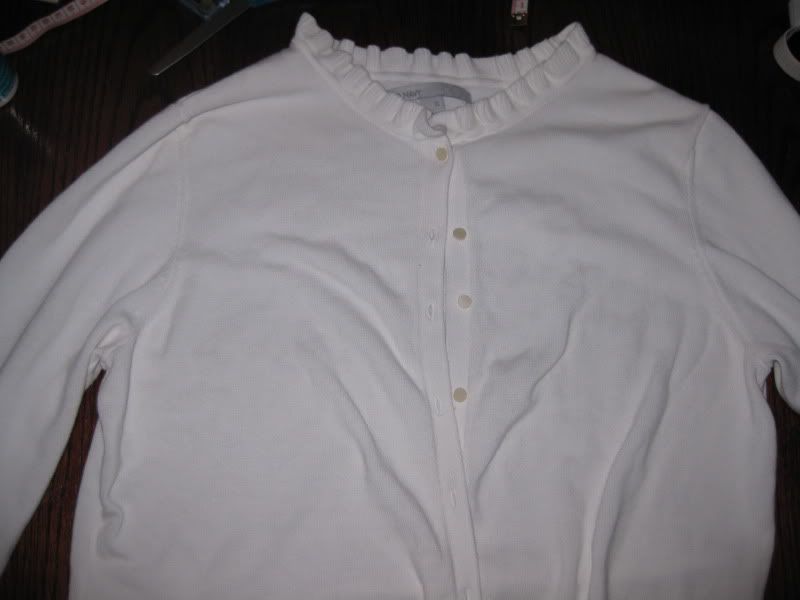
I found my white cardigan at goodwill one day and I thought I would try to make something very much like this cardigan. It says it is an XL but I don't believe it!

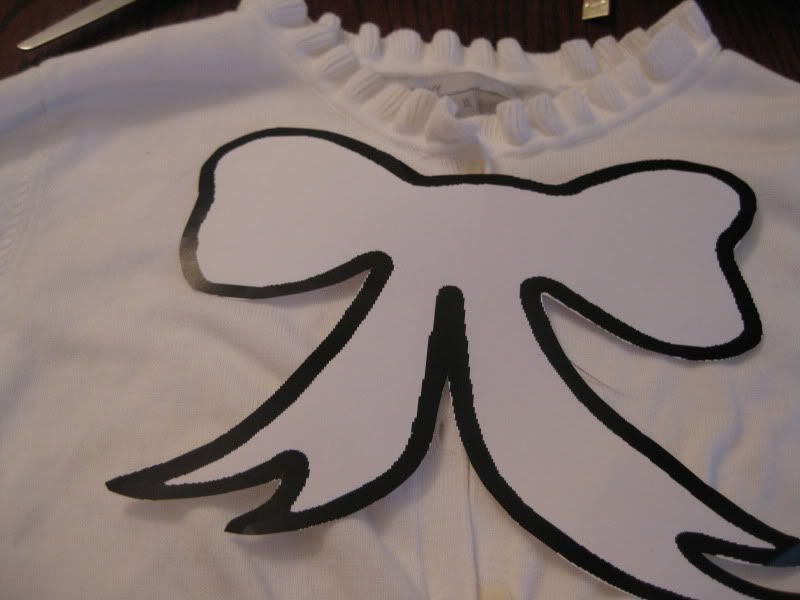
Now I can not free hand a bow so I went online to clip art and found an image of a bow. Actually this part was hard, b/c there are a lot of ugly bows out there. Whew knew? I printed the image super big and held it up to my cardigan. I noticed the bow was not symmetrical so I cut it in half and then chose 1 of the sides as my template.

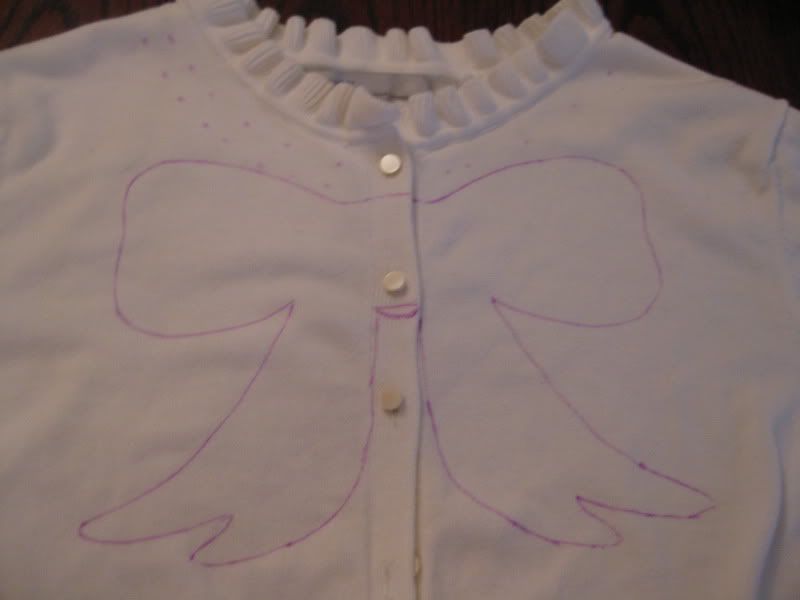
I buttoned the sweater and traced the bow with a disappearing fabric marker. I flipped over the template and repeated on the other side. Leaving the knot to span where the sides meet.

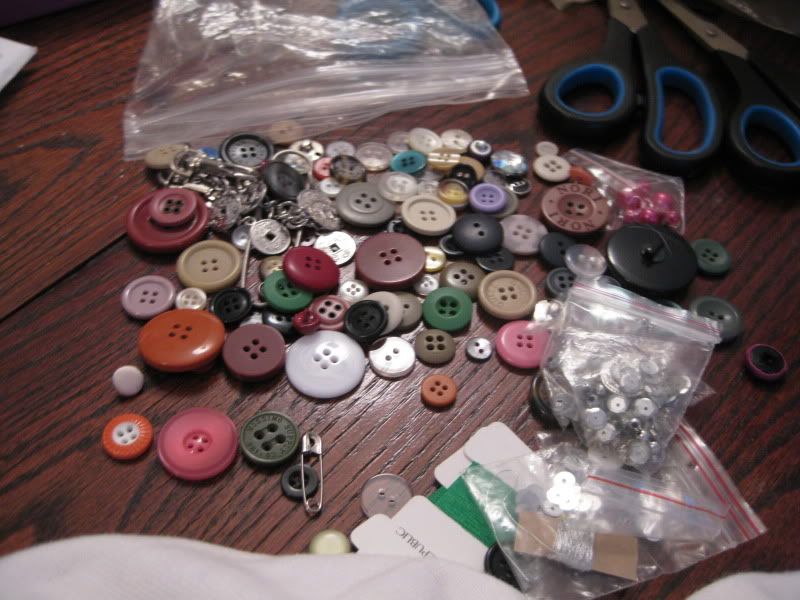
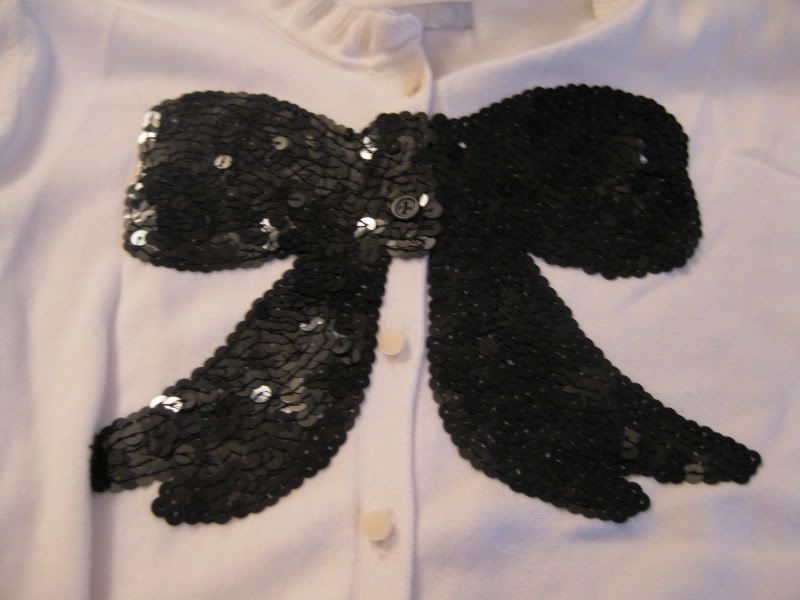
Next I just began to sequin along my traced line. I took my time with it since the outline needed to be perfect. And for some reason the knit kept grabbing my thread at various times so I had to make sure there were no stray threads-easier said than done.

Next I began from the bottom of the bow and worked my way up. One side at a time.

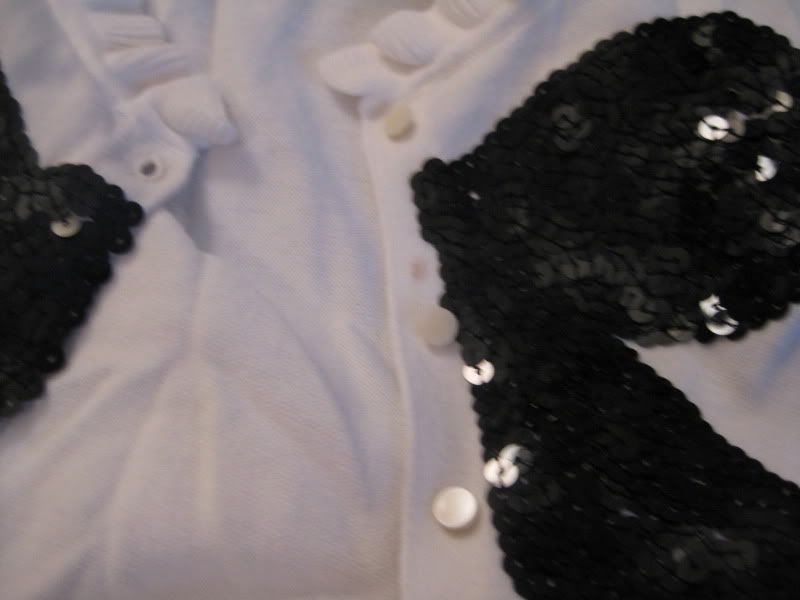
Now this cardigan is all white buttons. I thought about changing all the buttons to black but then got lazy (hey I just sequined my heart out!). And I thought if I incorporated more black with buttons I should add more black to the cardigan. It would be way to hard to replace the knit edges and I wanted it to flow. So I just changed the button where the bow meets to black. :)

picked a button

Done!

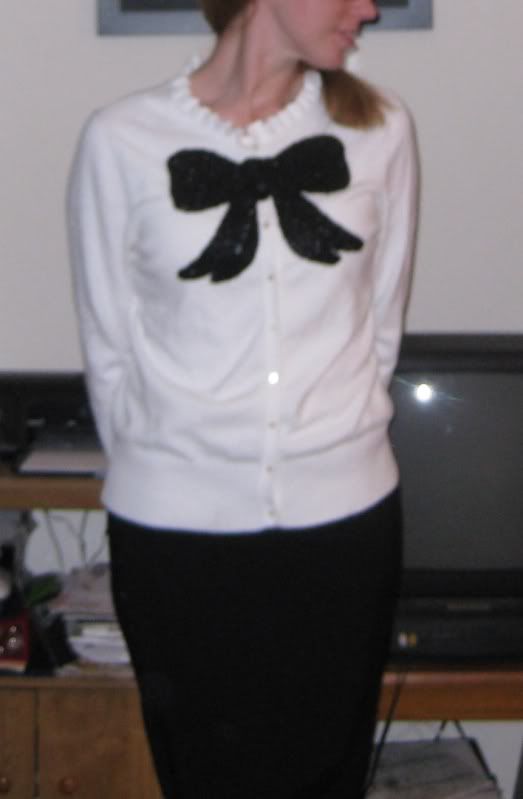
Here it is on!


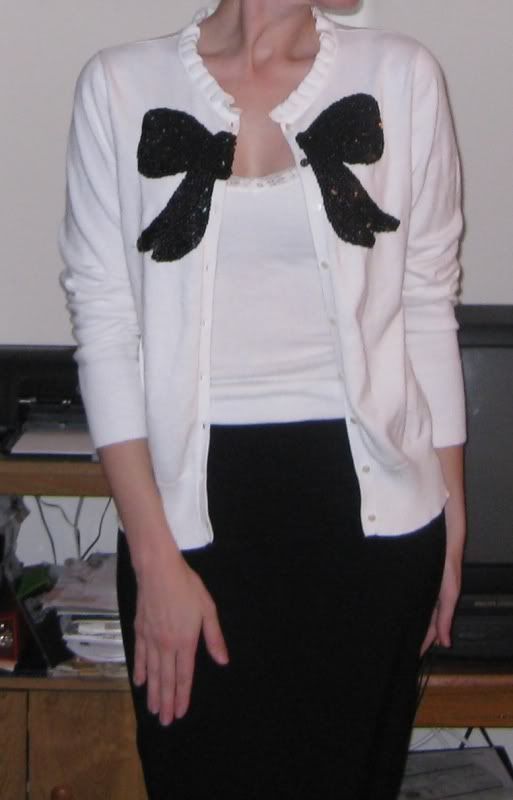
It also looks lovely open too!

I just love the sparkle!

Actually this refashion was easy. The only thing I can say is the knit likes to grab the thread while you are sequining. I had a lot of 1 string pulls, which I normally don't have a problem with. I would fix them and they would still come back so I gathered it was the knit that kept grabbing it! GRRRR! I have worn this 3X now, every time I get a compliment on it, and asked where I got it from. I tell them old sweater + me sequining. Blows everyone away! :)

xoxoxo,
Lauren

Old Spice Guy Halloween Costume

So what I have been spending a lot of my time on is this costume and now we can finally post about it! I did take pictures during the process since the 2 of us worked on it like nonstop for 2 nights with some work on other nights. Thank goodness for hot glue!

Here is what we are trying to achieve... the captain fighting an octopus/fish thing while walking in the door. I could not get coins to come out of his coat nor did I want to do the abs part either.

So we first started off with ordering a yatch captain costume from Amazon. We ordered it early September so we got it super cheap! BTW the material is thin and sort of see-through!

Now here is what I did to jazz up the yatch captain costume and turn it into an old spice guy!

1. Embellish the hat with an anchor applique!
Additionally I added some gold trim to the bottom of the sleeves. Sorry forgot a picture!

2. Medals, which I previously posted about made out of felt and some coins. See post here.

3. A gold tissue lame shash! This was simply me cutting a piece of gold lame 45 inches long (X2). Connect the 2 pieces, fold in half, sew down, turn inside out, and finish the edges with a taper.

oh and a side note I know sewing tissue lame can be challenging. I used a regulare point needle, I forget the size, released some of the tension (just a notch) and increased the stitch width. This reduced the lines you get when you sew tissue lame. I also ironed the shash to flatten it out b/c it so wanted to poof!

4. Octopus! Holy cow this took a bit b/c of the paint!
First I found some scrap grey fabric from my stash (yay for using stash!) Cut some long strips and moved in an out and taper to give a tentacle sort of look. I just went nuts with the sewing machine and had fun.

Before we started to put them together, we decided to get the free arms figured out first. We used coat hangers and glued the ends to the back of the jacket.

Here it is sticking out...

it is on my dress form (which btw is busted now!)

We just started to add the tentacles one by one. here is the front one

Then we started to spray with black fabric paint, which was disasterous and a pain! It never wanted to be a consistent spray... sigh. We covered the jacket while we sprayed. we should have sprayed and then added the tentacles. duh!

Calvin wanted a little suckers so we used the leftover felt and cut out various circle sizes.

Next we added the free tentacles to the back before adding the head next.

Octopus head! We used a styrofoam ball that we shaved down flat for the face. And flat for the shoulder too (actually in the end we notched it)

I covered the ball with batting and then fabric. I hot glued the batting but I did not glue the fabric fully so we could fuse the legs with the head. Then we just hot glued that baby to the shoulder!

That back part is wire for the odd sort of fish body, which we then covered with fabric.

We again sprayed the head with the bad fabric spray paint to match the arms. Now for the rest of it my boyfriend finished, he added the eyes and then made yellow teeth out of felt. lol. So it wound up as a sort of a comic sort of feeling. We really thought had we had more time we would have sprayed it with brown paint to give a better ton.

Here is Calvin with his costume (he didn't want to comit to a beard but later on at the party he wished he did).

He was a hit and ran around the party punching his octopus fish. :) Score!

XOXOXOX,
Lauren
Pink and Yellow Lemonade Dress

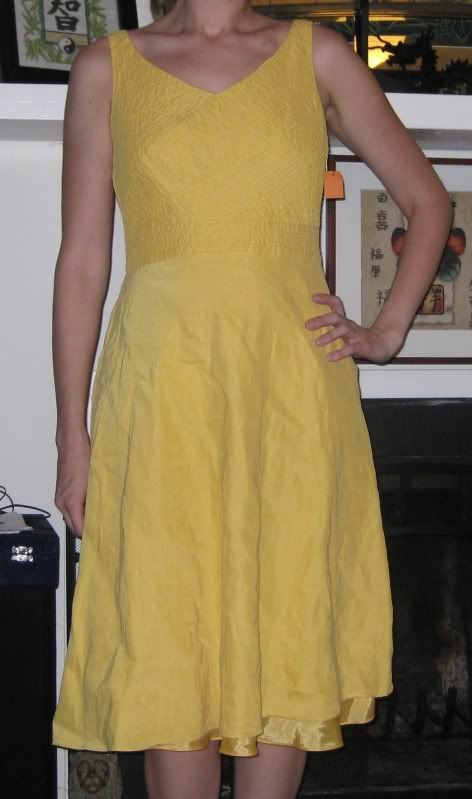
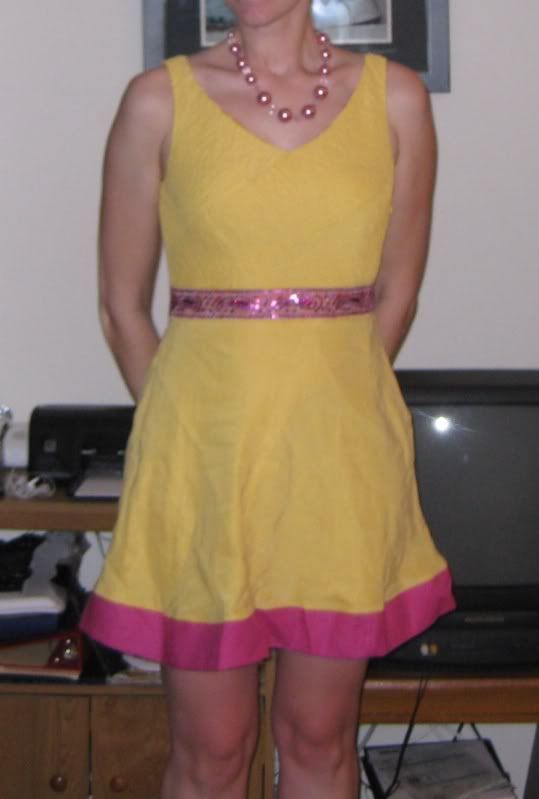
Alright I finished some pictures last night and I am ready to update my blog! wahoo!! I am so excited to finally be caught up! So.. I will start with a dress I can't wear right now b/c it is too cold! But I am eagerly saving it in my closet! Never thought I would buy or wear a yellow dress but I saw this one and decided to change my mind.


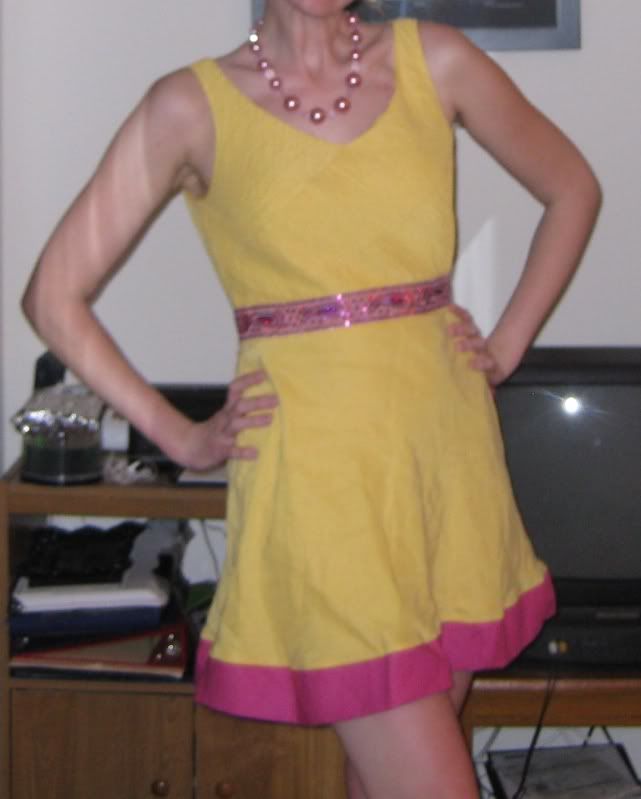
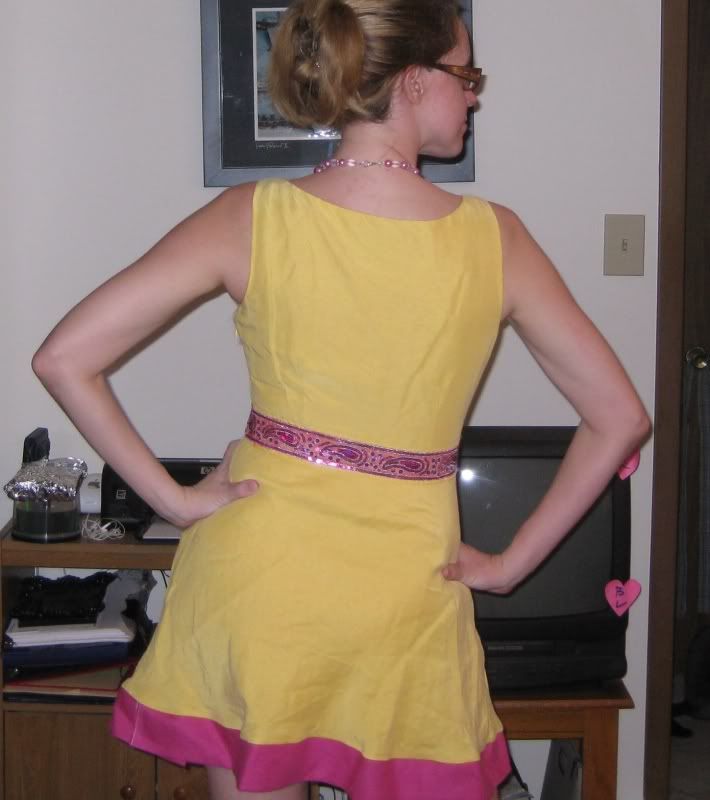
I loved the tucks in the bodice I just thought the bodice was too long and didn't help my figure. Additionally the bottom of the dress was messed up and crooked but not in a good way. I decided to cut off the bottom, it is a circle-like skirt so this may be tricky. Also I decided to add some pink trim to the middle to raise the waistline of the dress and add some bling to it! And then I added pink edge to the dress. I wanted it wider but didn't have enough fabric in my dress. I didn't take any pictures (how I managed that I have no idea!) during this process. Basically the middle part of trim is glued (hee hee!) and the bototm edge is just sewn.

The end product....

It is now a fun and flirty dress!. Yeah an iron would be good but it is going directly in my closet. Too short to wear to work but I can wear it anywhere else. The added piece of matieral is not perfect but it works and the longer it hangs on the hanger actually it is pulling out the boxiness as I put it! Again I only paid $0.99 for this dress. But the concepts I had for redesigning this dress are nice, it really needed a better defined waist. Plus the pink looks great with the yellow! Who knew?? We went from drab to fab! :)

XOXOXOXO,
Lauren

xoxoxoxo,
Lauren

Fall fabric panels

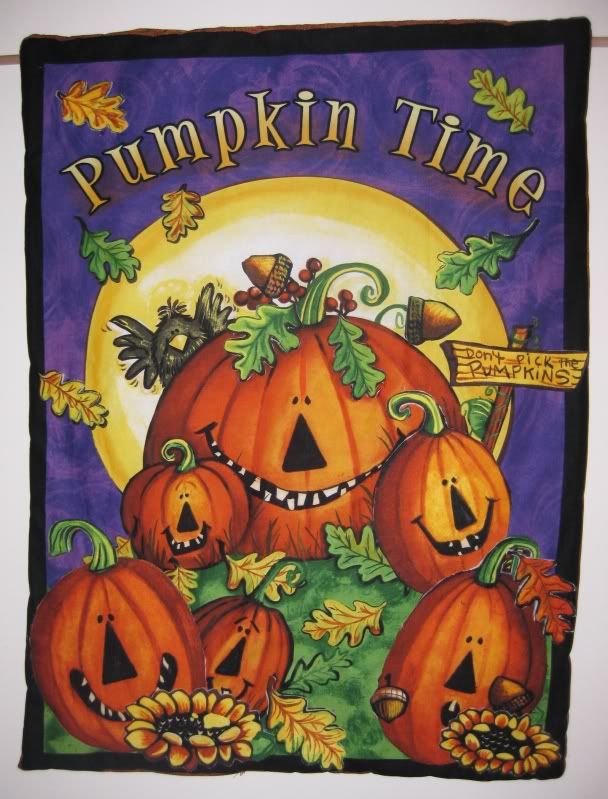
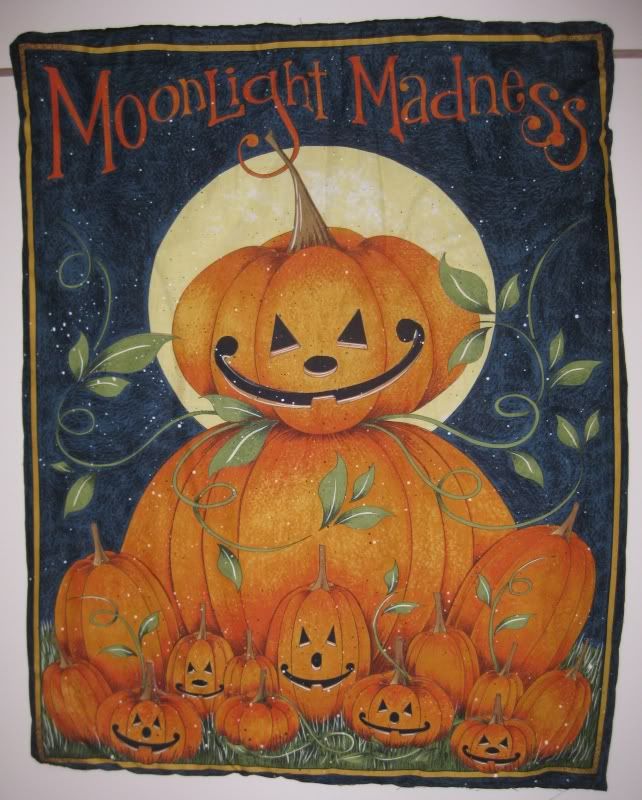
I love decorating for the Halloween and the fall. One of the fun things that I have made in the past that are super easy are these fabric panels that I usually get at Hobby Lobby I believe from Daisy Kingdom. I love how they come with instructions.

Here is how easy it is! First iron the fabric. Next cut out the main panel. Fuse the additions to fusible fleece. Cut out a piece of batting and fabric to back the panel. Sew together, turn inside out and close the seam. Cut out the decorations with a good pair of scissors and glue on the panel. I usually take my leftover fabric to make a sleeve for the back part of panel to hang up on a dowel. (I refuse to use a coat hanger and hot glue- I just think it looks tacky and I want the back to look good too. :)

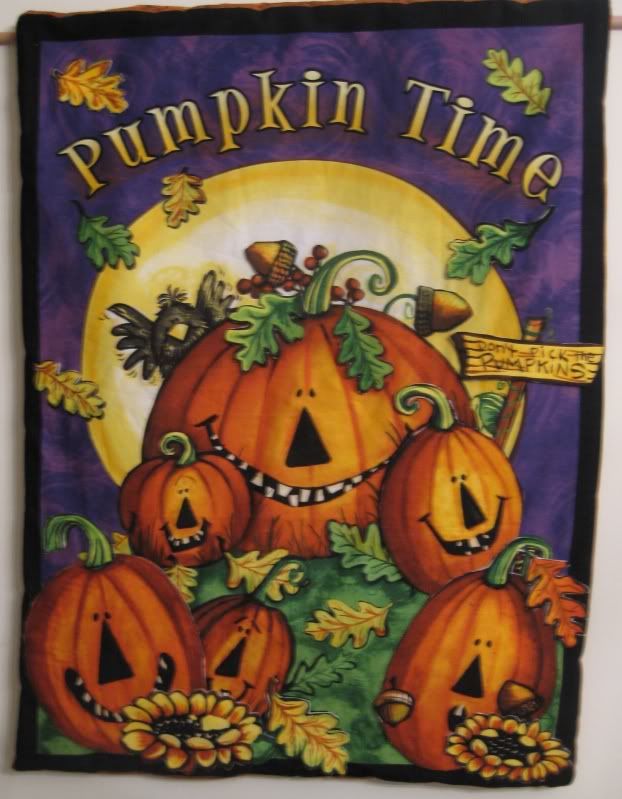
Here are my Fall/Halloween ones...


So far they both survived 1 year since I made them last year. :) I made some other ones for Christmas last year too. I have 2 new Winter Holiday ones I am going to do also so stay tuned for a tutorial. :)

XOXOXOXO,
Lauren

LinkWithin

Related Posts Plugin for WordPress, Blogger...