Well hi welcome to my little blog. Just my little corner of craftiness, sewing, and refashioning. I am also a newly gluten free eater so you have a little bit of recipes mixed in here.
Showing posts with label halloween craft. Show all posts

Monday, November 2, 2015

DIY Halloween Bibs

So things have been busy here. At the last minute, we decided to go as a couple costume for Halloween. And I pulled things together and ran around to get this costume together. I am just catching up with cleaning up after making this costume mess. A need to take after photos, and I am just a little a behind here.

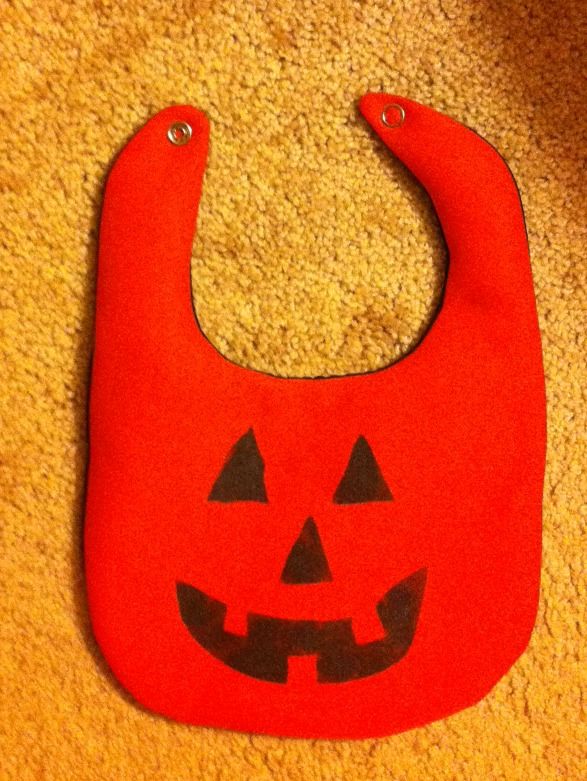
Today is just a quick post. A continuation of all my baby gifts that I have made for friends. These were some quick bibs I whipped up in time for babies born prior to Halloween. :)


All I did was create freezer paper stencils real quick. I ironed it on and simply sponge painted with black paint. Poof done! Here's to me getting caught up. EEk!

Cheers,
Lauren

Just a quick jack o' lantern.

Monday, September 23, 2013

Iron Craft: Halloween, Sparkly Pumpkins

Good Golly! Life is a bit of a blur.... between Flugtag (which was awesome!), security detail, fiscal year, Sick, Sick, and more sick, Refashion Runway, Iron Craft, Work, Life!  I am just trying to make sure I get things done on time and I take deep breaths!

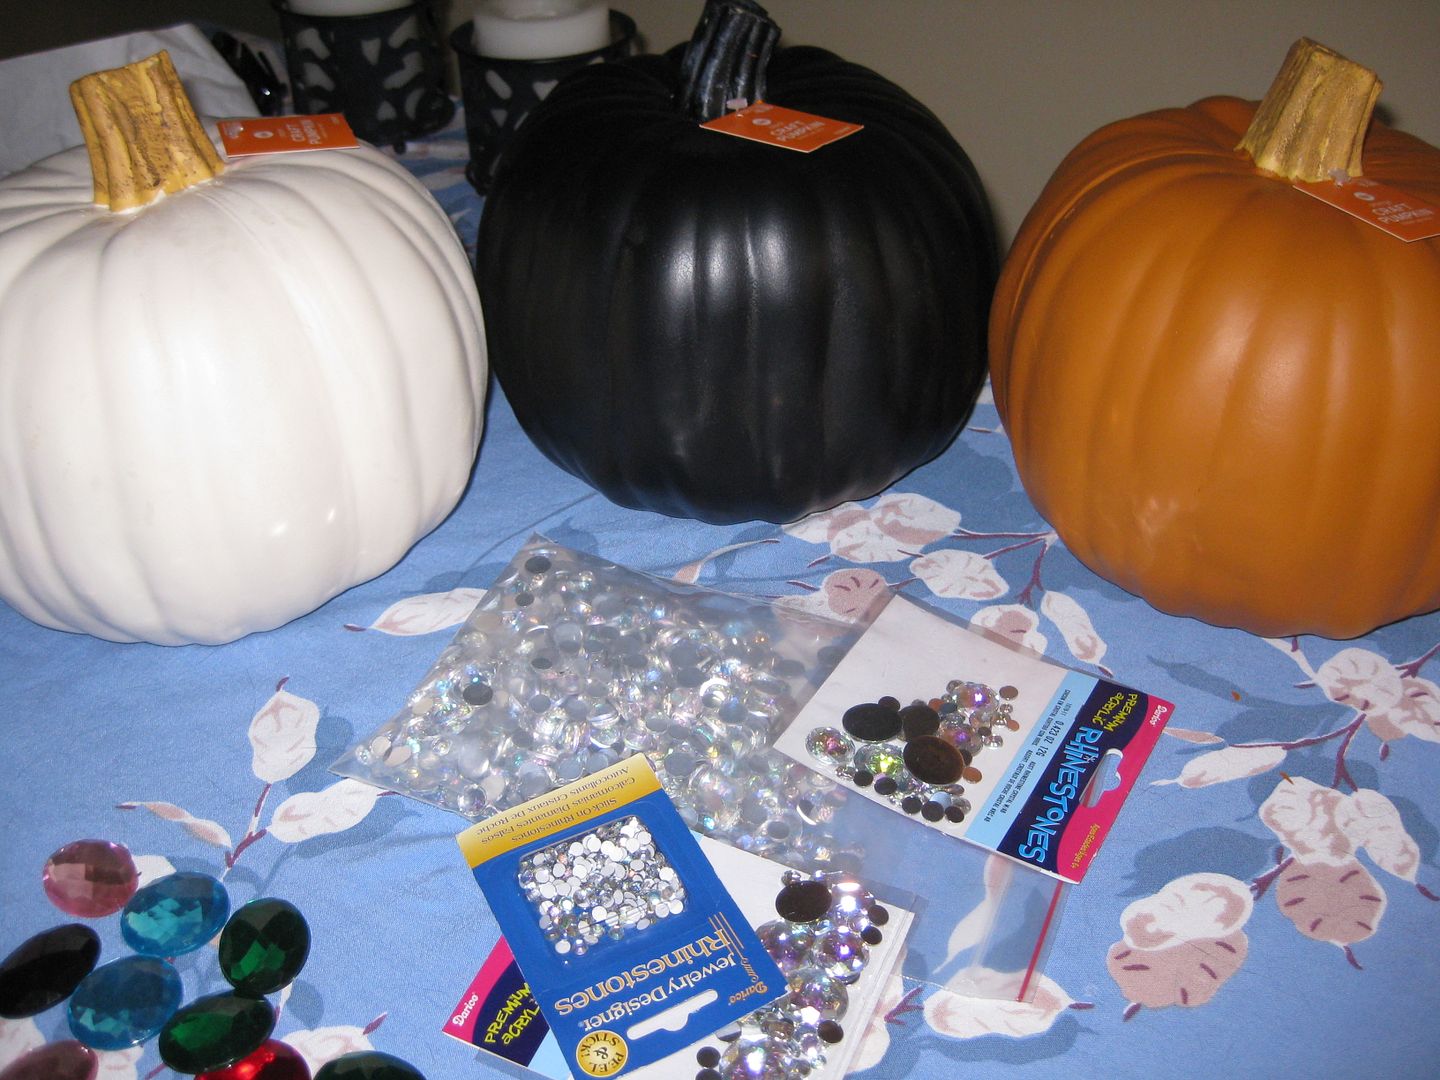
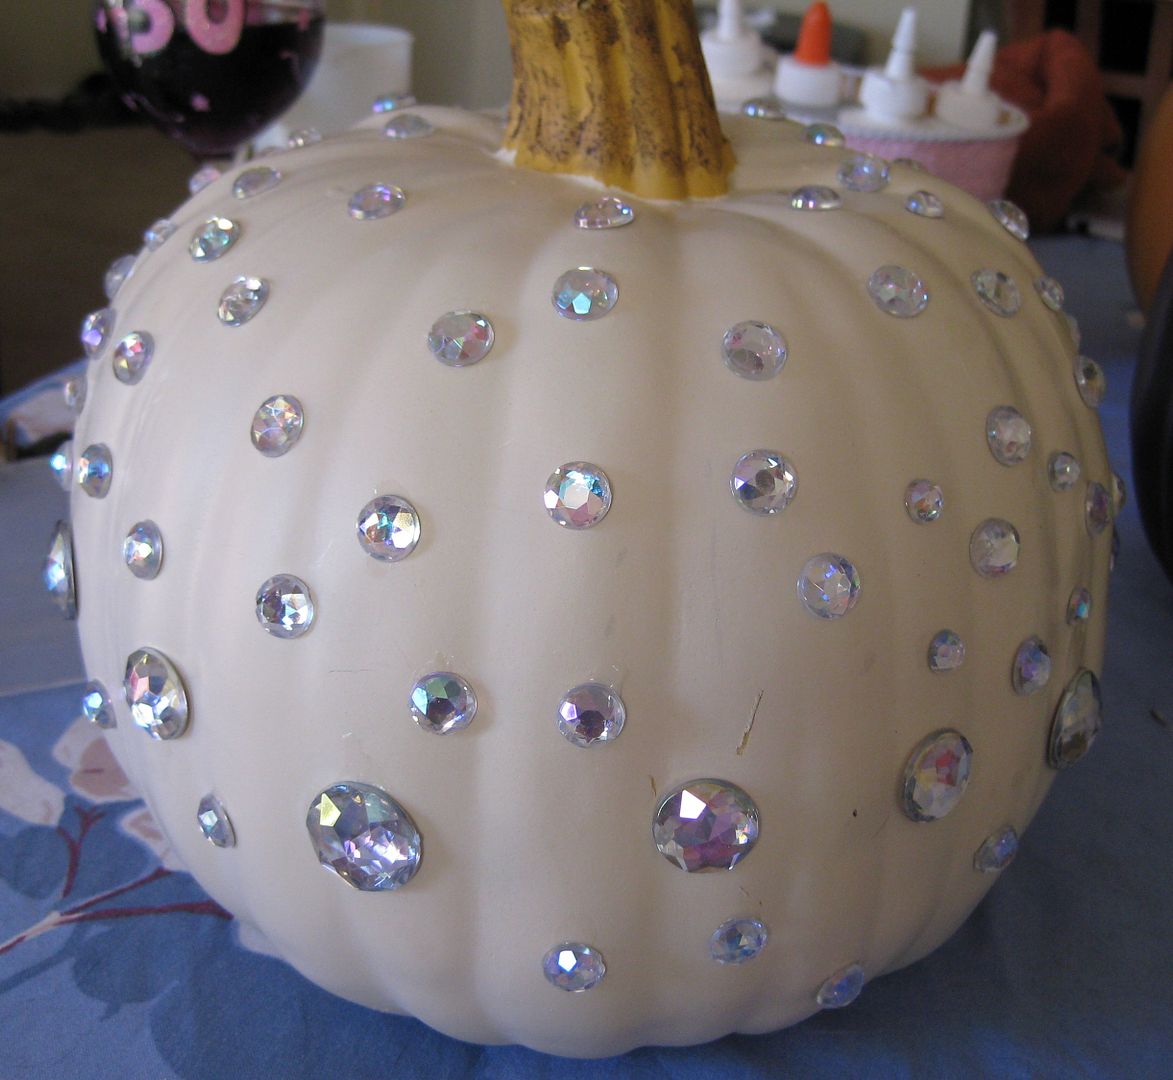
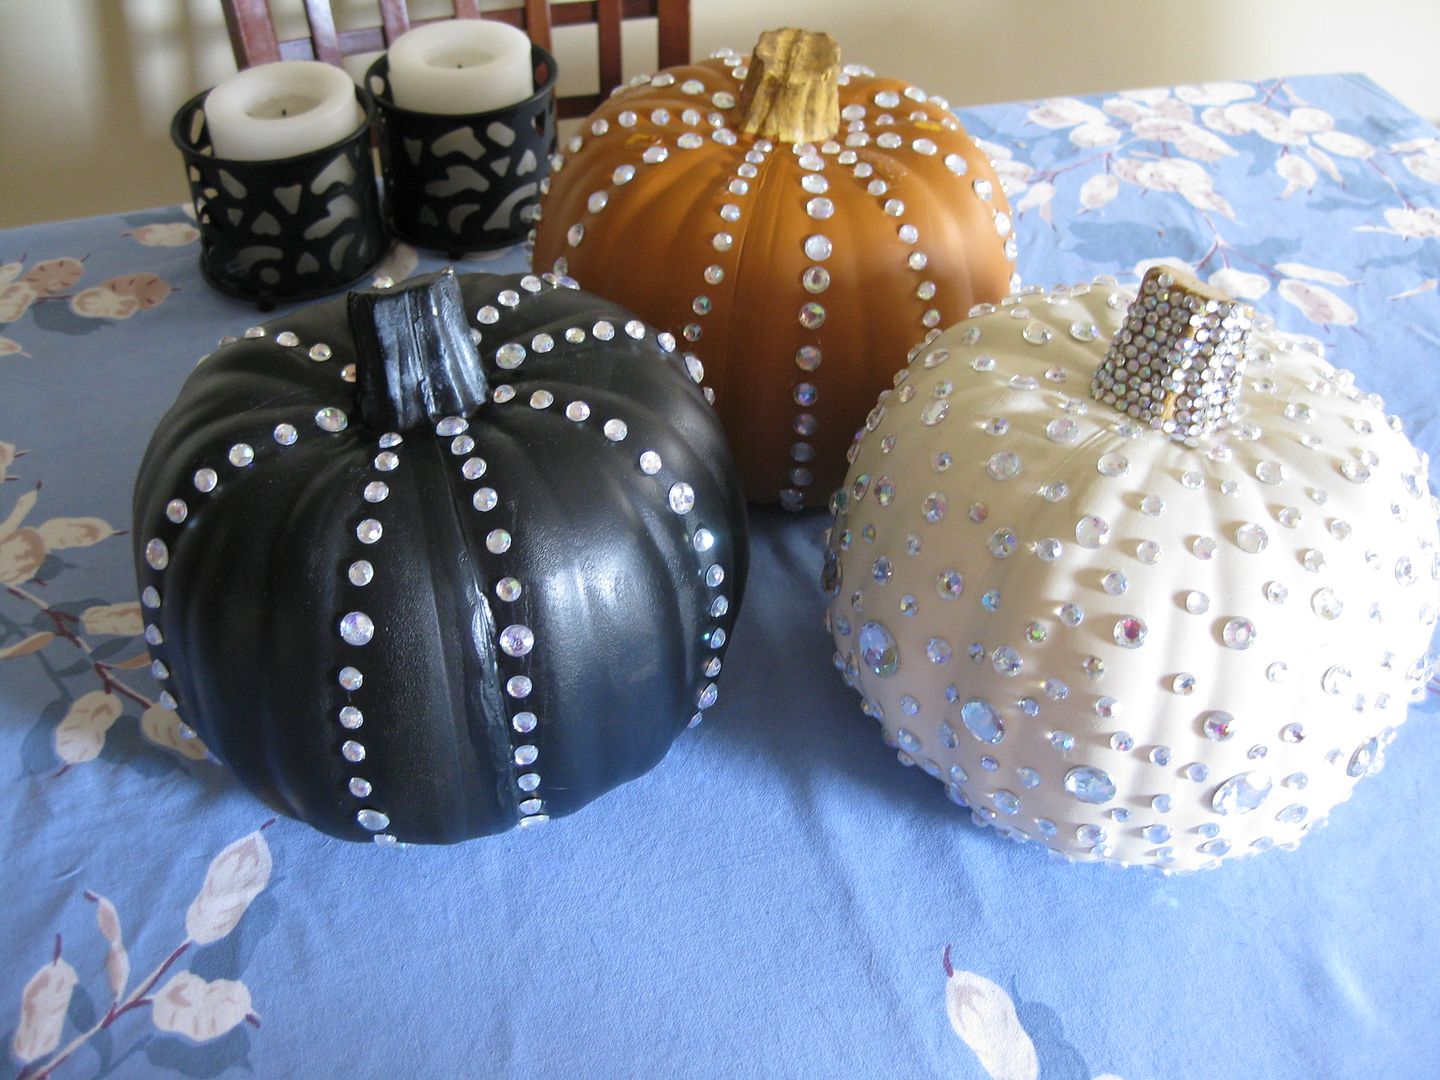
This next iron craft challenge is Halloween. Yes I know it is September but you know got to get started early. I debated what I wanted to do, beaded spiders? bunted banner? ???? I finally felt better the previous weekend and took a trip to Target, because my life is that exciting. I stumbled upon this different color pumpkins and realized this is what I want to do! I want to use up some of my bling on some pumpkins!!


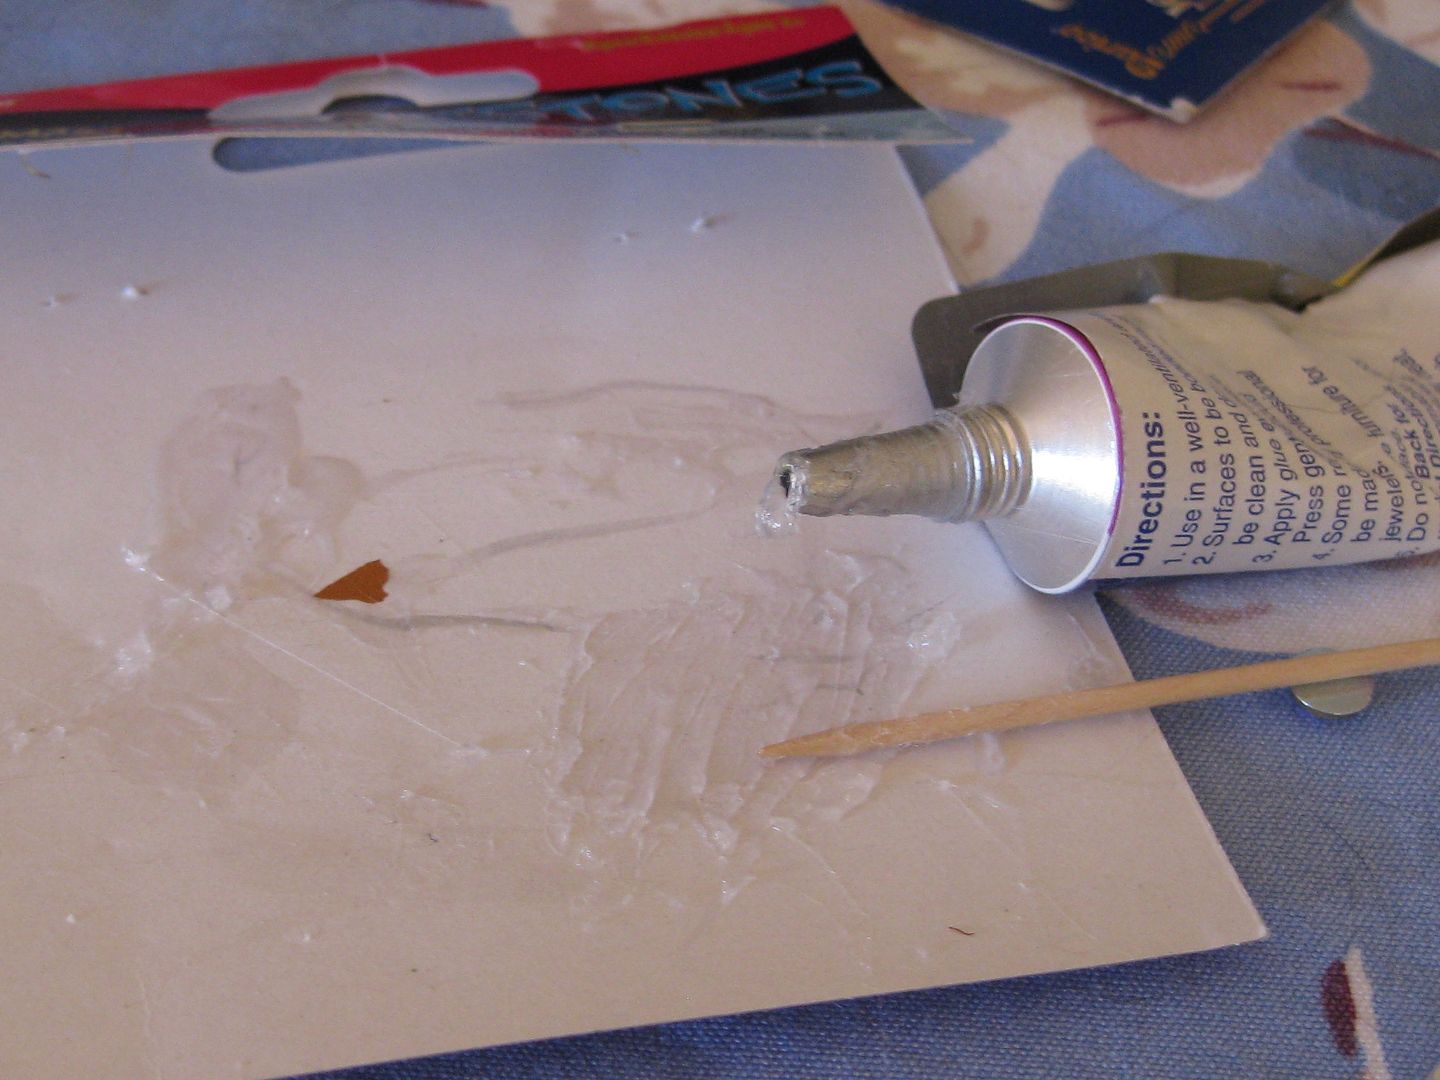
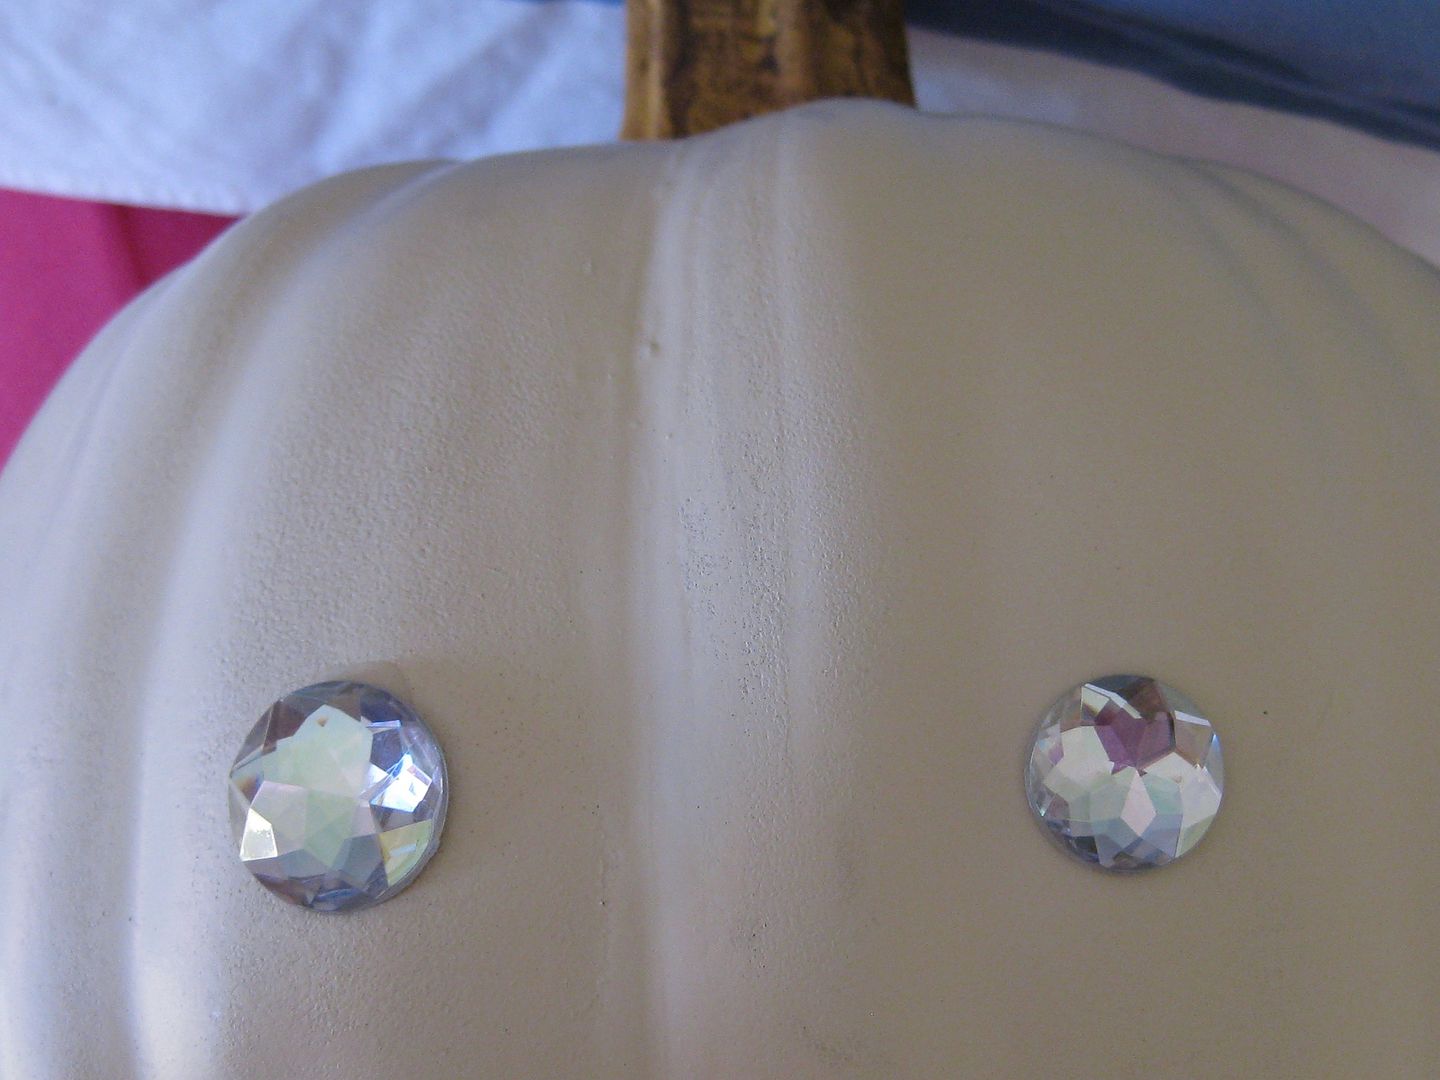
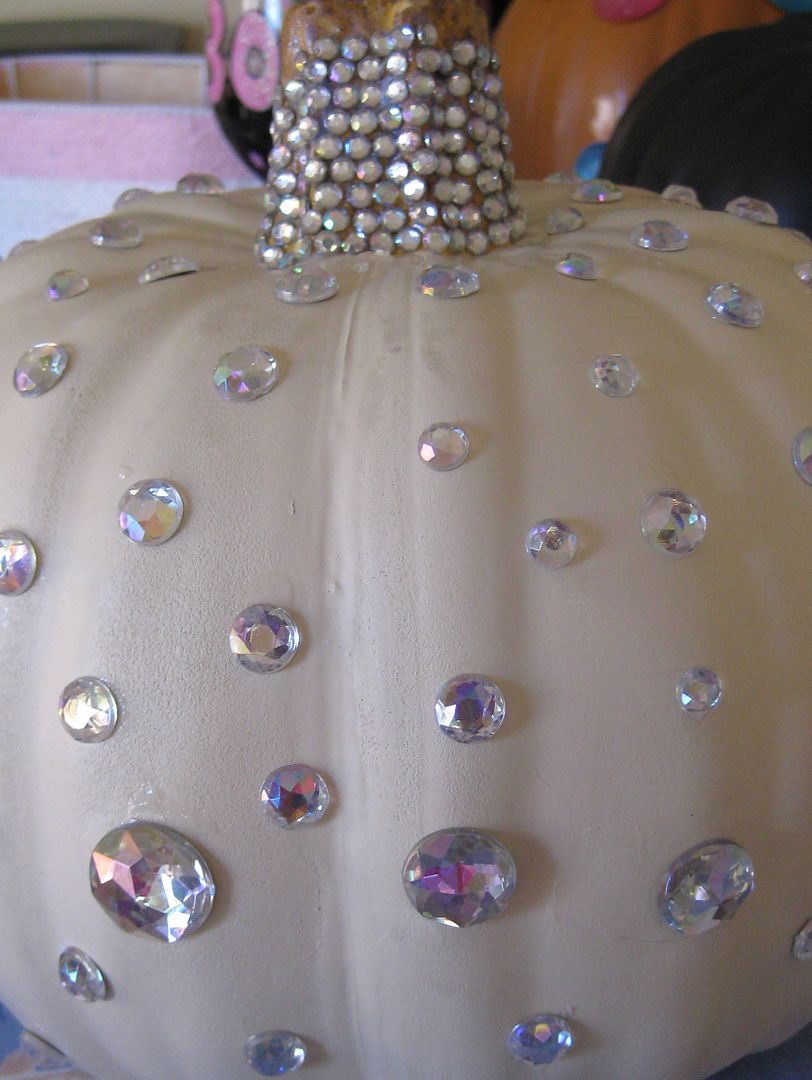
Giddy! I simply just put my clear AB rhinestones (in various sizes) on with some glue using a toothpick.


As you can see I added small rhinestones to the stem. Go big or go home!

The white one reminds me of Cinderella's carriage. The black a spiderweb. The orange... err just a sparkly pumpkin..


I love my new halloween decor! I will start decorating soon for fall. :) Yes! Actually just a reminder I am competing at Refashion Runway. My plaid project is up for a vote. Please go and check out the projects and vote! If I make it to the Halloween week, OMG my refashion costume I have in mind will be epic!!! I am so excited for this!

Cheers,
Lauren

Saturday, March 31, 2012

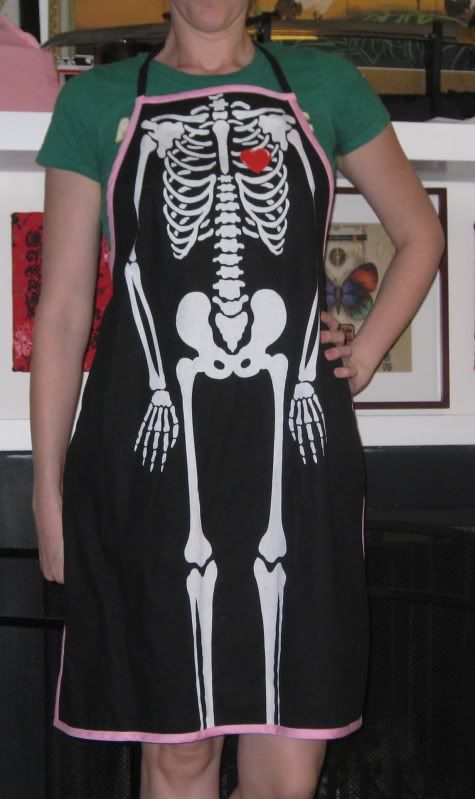
Skeleton apron

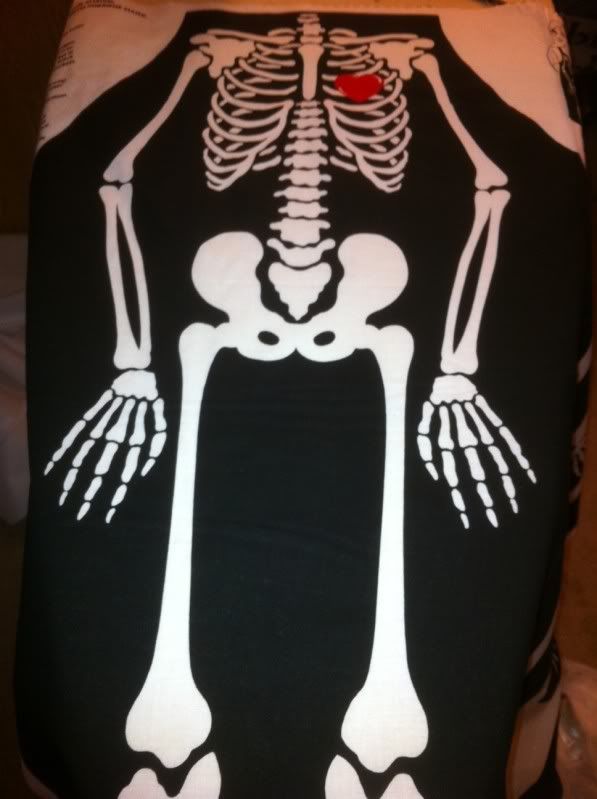
Yes this is a little late with Halloween but I had purchased it like 2 days before Halloween on sale at Hobby Lobby. Again I love these cut out and sew projects. :)


I used pink bias tape to edge it. Pretty easy and simple project to do..

My skeleton apron...


As you can see I didn't do the pockets b/c it didn't look right so I took them off.

:)

xoxoxo,
Lauren

Friday, November 4, 2011

Fall fabric panels

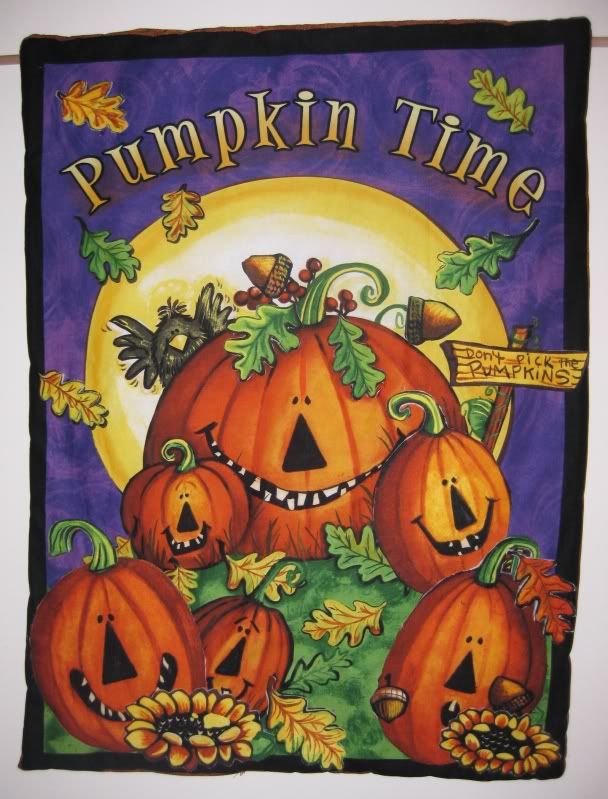
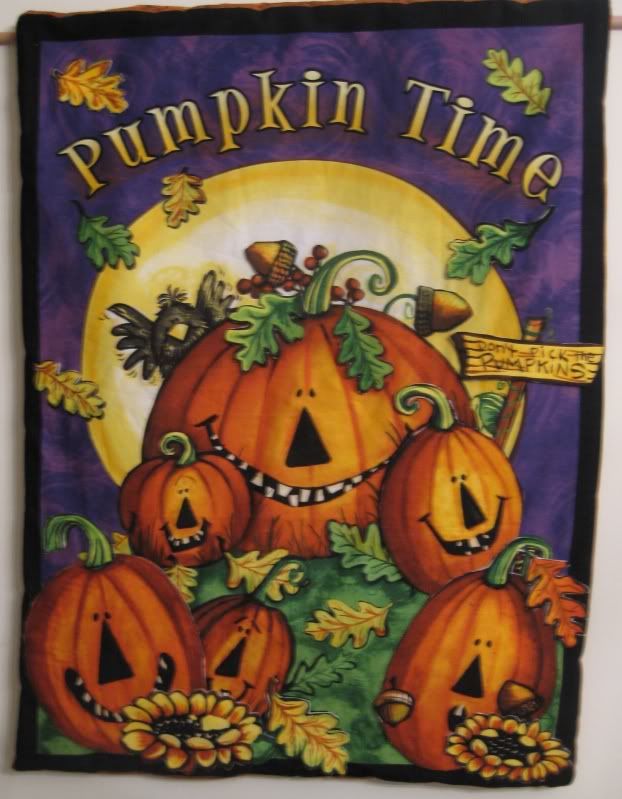
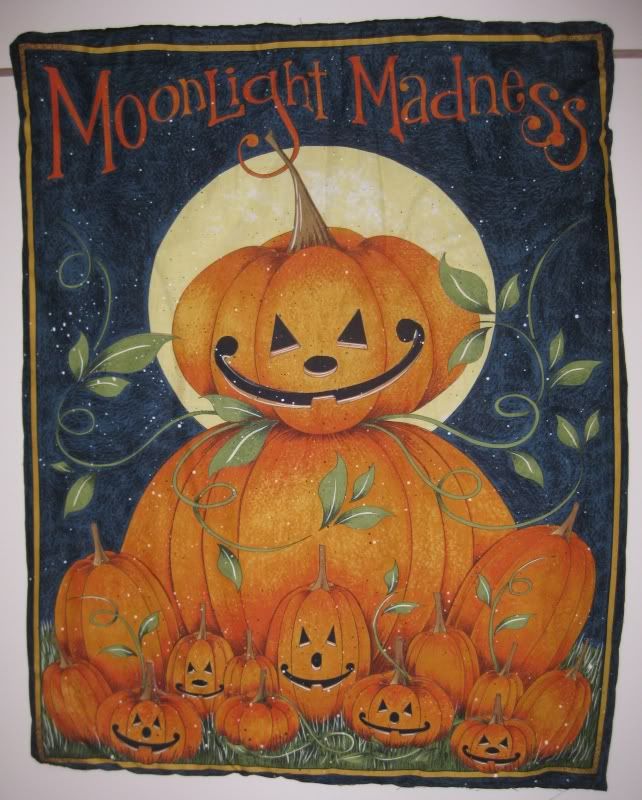
I love decorating for the Halloween and the fall. One of the fun things that I have made in the past that are super easy are these fabric panels that I usually get at Hobby Lobby I believe from Daisy Kingdom. I love how they come with instructions.

Here is how easy it is! First iron the fabric. Next cut out the main panel. Fuse the additions to fusible fleece. Cut out a piece of batting and fabric to back the panel. Sew together, turn inside out and close the seam. Cut out the decorations with a good pair of scissors and glue on the panel. I usually take my leftover fabric to make a sleeve for the back part of panel to hang up on a dowel. (I refuse to use a coat hanger and hot glue- I just think it looks tacky and I want the back to look good too. :)

Here are my Fall/Halloween ones...


So far they both survived 1 year since I made them last year. :) I made some other ones for Christmas last year too. I have 2 new Winter Holiday ones I am going to do also so stay tuned for a tutorial. :)

XOXOXOXO,
Lauren

Wednesday, October 26, 2011

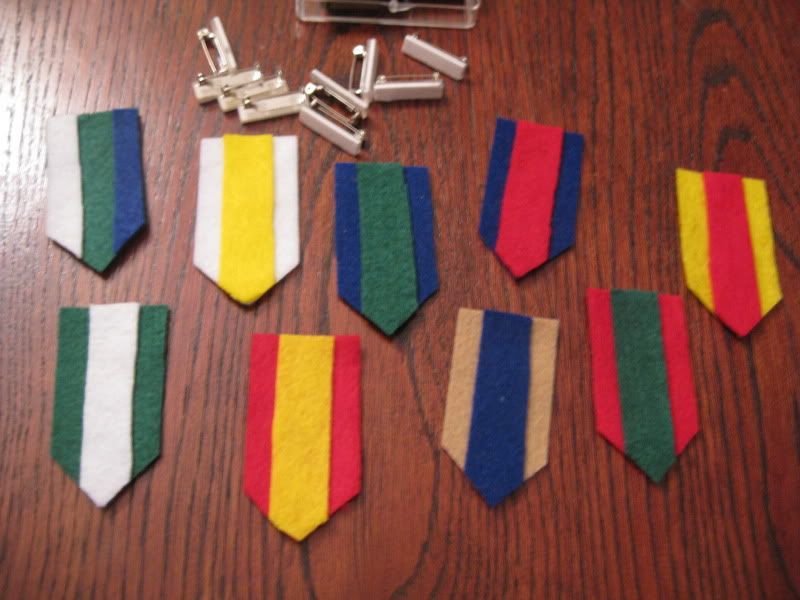
Halloween costume- Felt Medals

Part of my boyfriend's halloween costume this year (which we are not going to reveal until the party), requires medals. However, I wanted to make them rather then purchase them. We are looking to save money and get out of debt! Additionally, I decided to use this project for the iron craft challenge #43- fear not. The ulitmate goal was to try something new with what you normally craft with. Normally, I am a sewer, cross stitcher, needlepointer, and maybe a few random crafts in between. One thing I never use is felt. I am completely not a felter, it is not my choice to use as a medium. However, for this project I decided that felt would be the best (and cheapest) option to make medals. Thus my project!

What I used.....
I had a lot of everything in my craft boxes from many years so I actually did not need to purchase much
- pins with stick on backings
- coins (leftover from an old bellydance costume)
- felt in a variety of colors
- scissors
- glue- I used fabric fusion
- needle/thread that match your felt colors

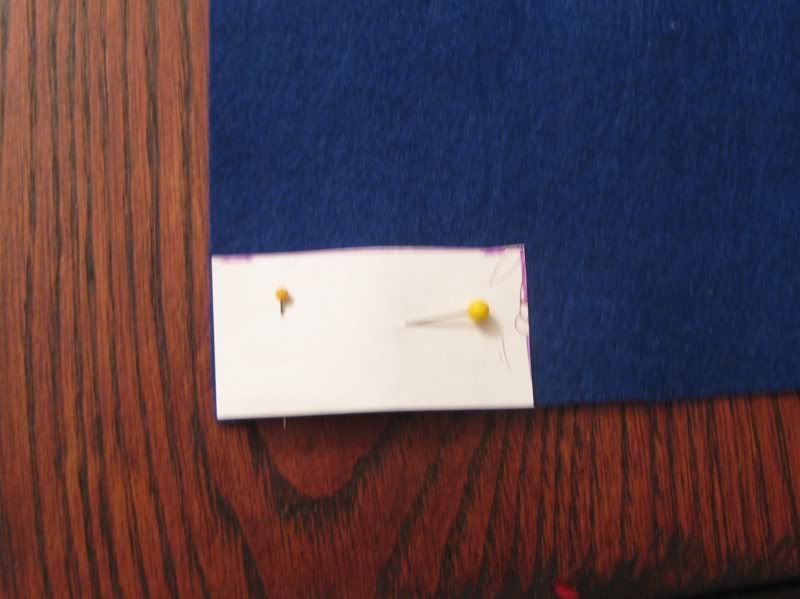
First I made a template out of a piece of paper that I thought looked like a good size for a medal. I pinned it to the felt and cut it out.

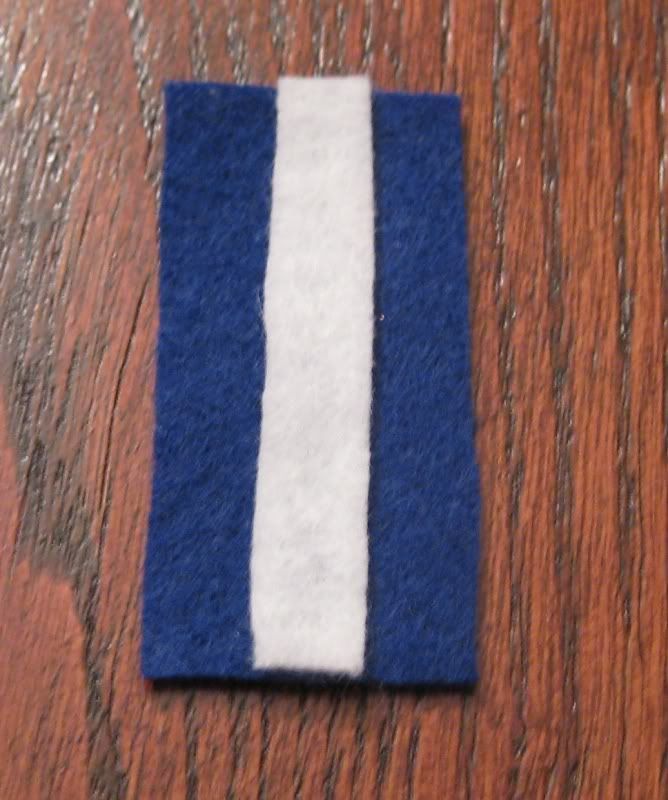
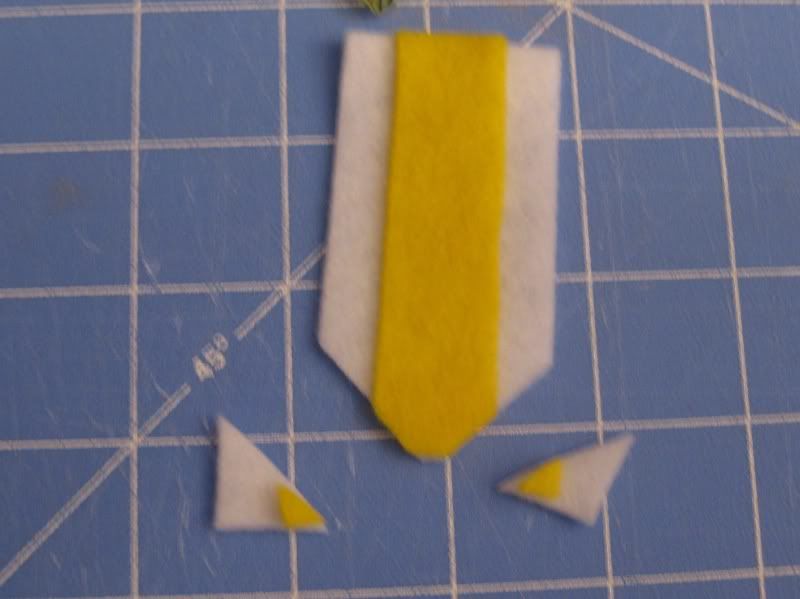
I added a small piece of an additional color and glued it to the first piece.

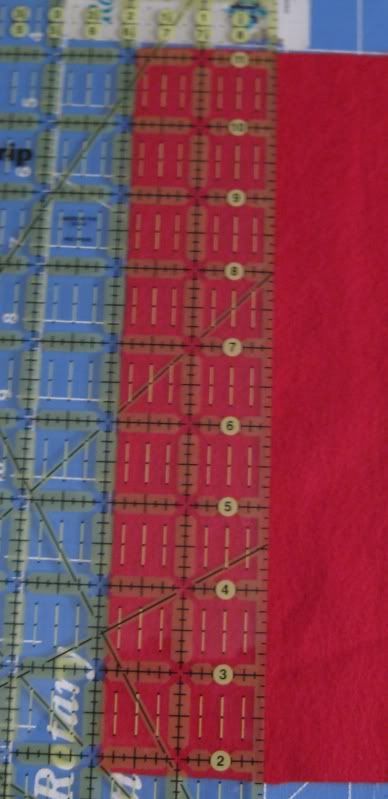
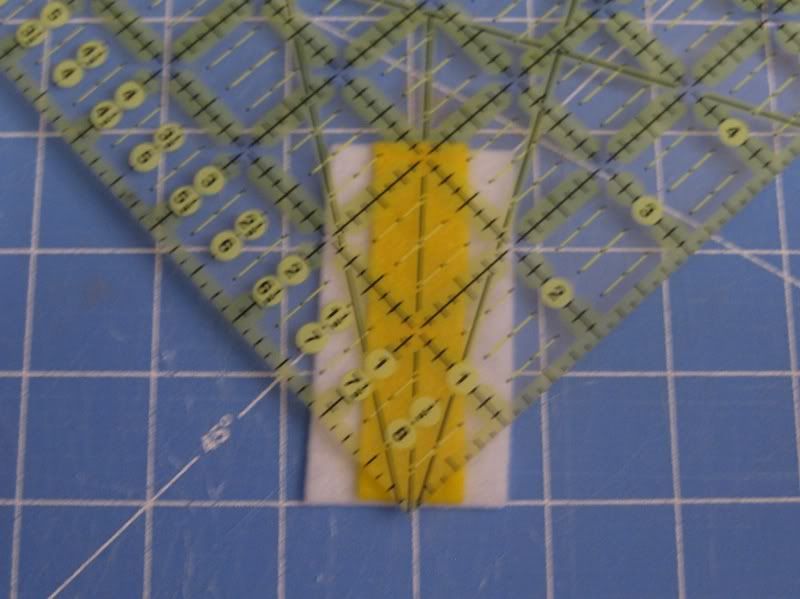
I decided this was a good template and good size so I used these measurements (which wound up being wrong but I used them anyways). so I used my rotary cutter and my nifty ruler to cut out more of them.

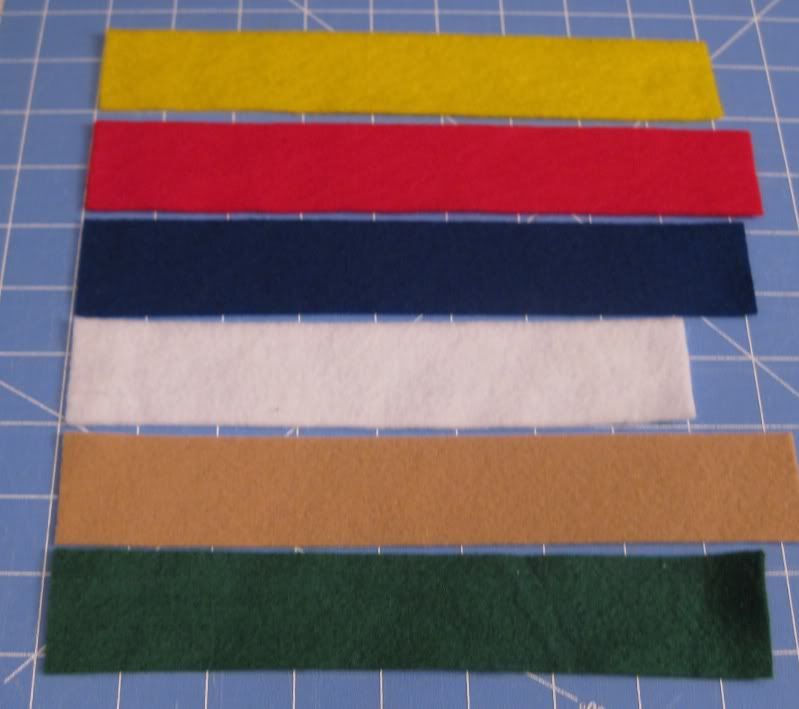
Cut, cut, cut with more colors.

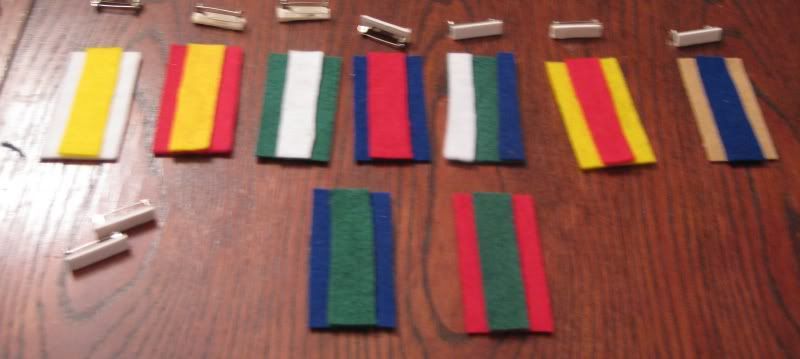
Next I used what I had and made a bunch of the ribbon portions.

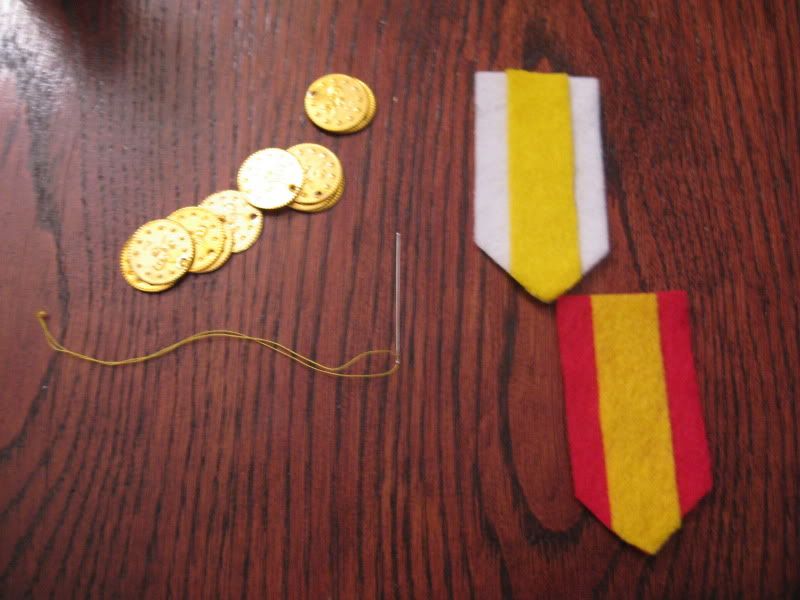
Now we need to give them a point. Again I used my quilter's ruler/guide to help me out. So easy with a rotary cutter.

Do that for the rest of the ribbons.

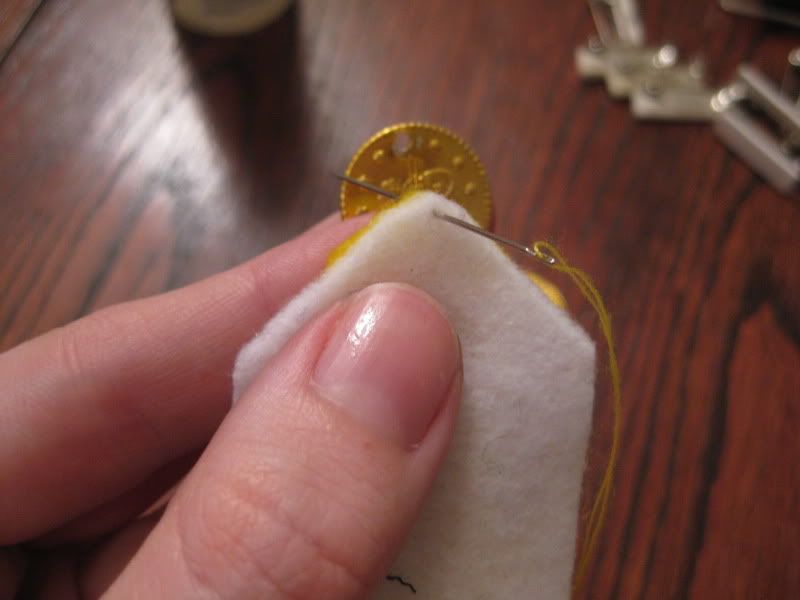
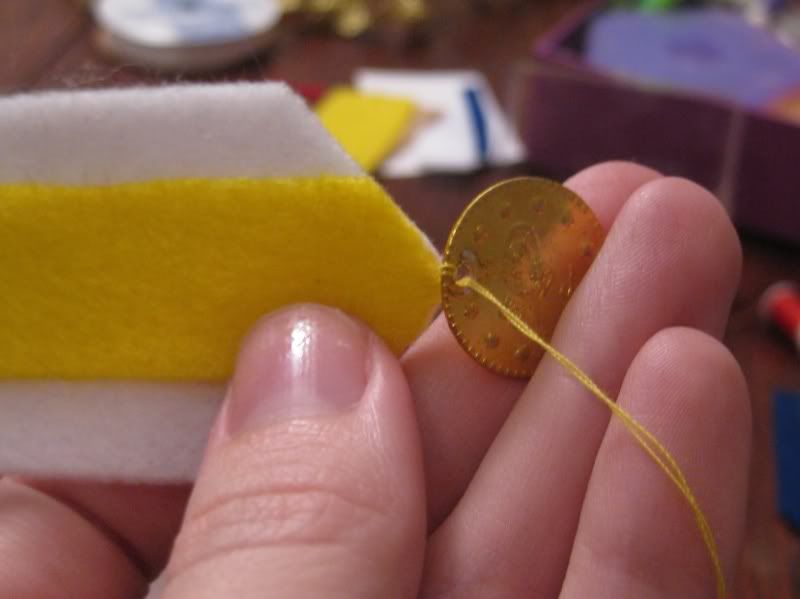
Next time to add the coins. Just using simple needle and thread, I tacked right at the bottom of the ribbon part.

Take your needle from the backside while holding the coin

Add your coin and make sure it faces front. Put the needle down through the front of the ribbon, just a little up from where you want the coin to hang.

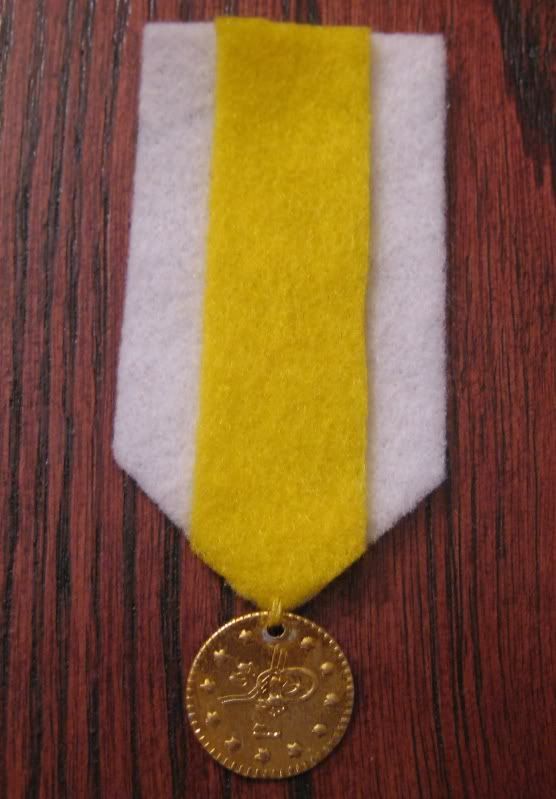
Repeat a few more timse to secure the coin and tie off in the back. Here is what one looked like!

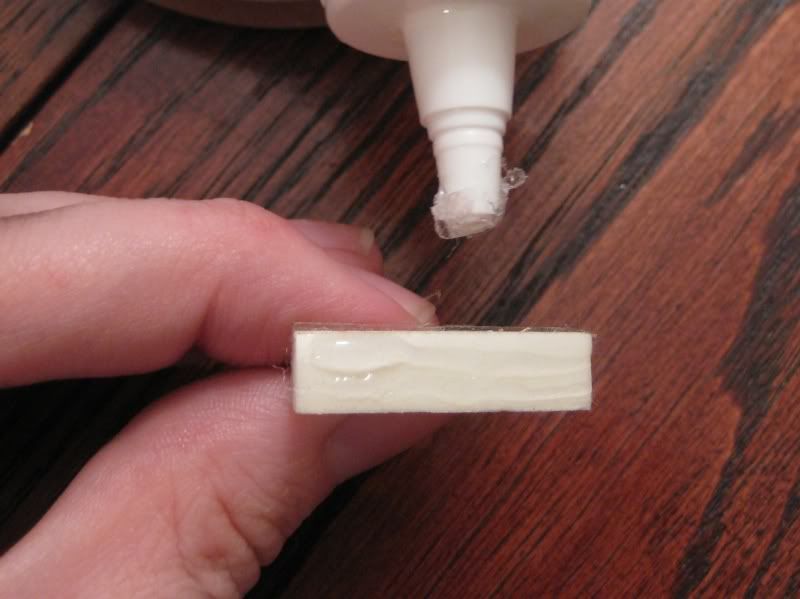
Now we are ready to add pin backs to our medals! I used the sticky back pins but added glue b/c I don't trust that adhesive!

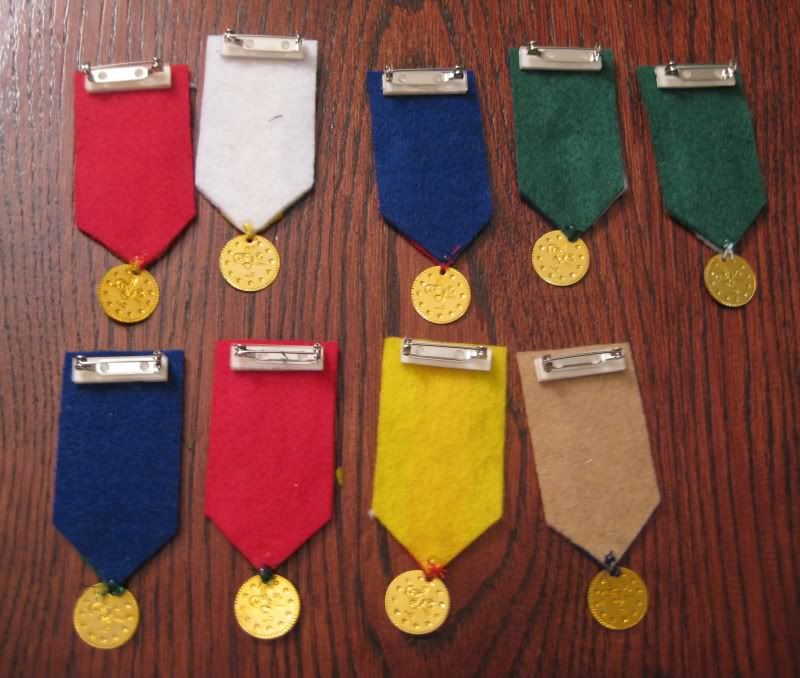
Place on the top of the ribbon. Here are all my pins waiting while the glue dries!

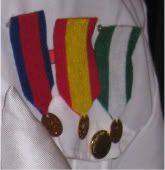
Done! Here are my end pins together!
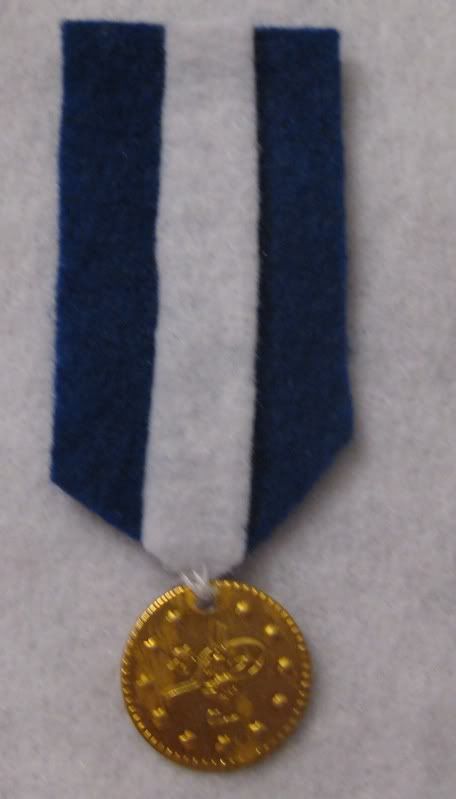

Ok I don't have a final picture of the costume yet since we are not showing the costume yet (plus it isn't done) but stay tuned!! It will be posted soon! :)

But here are 3 of them on a jacket to see how they would look!

I probably spent a total of $1. Not bad huh? Perfect for your military hero, veteran, captain, or medaled person's costume for halloween! :)

I can't wait for halloween to be done and over with! So busy with costumes, I need to get my refashions sewn and posted too! After this weekend, things will be back to normal. I can't wait!

XOXOXOXO,
Lauren

Tuesday, October 11, 2011

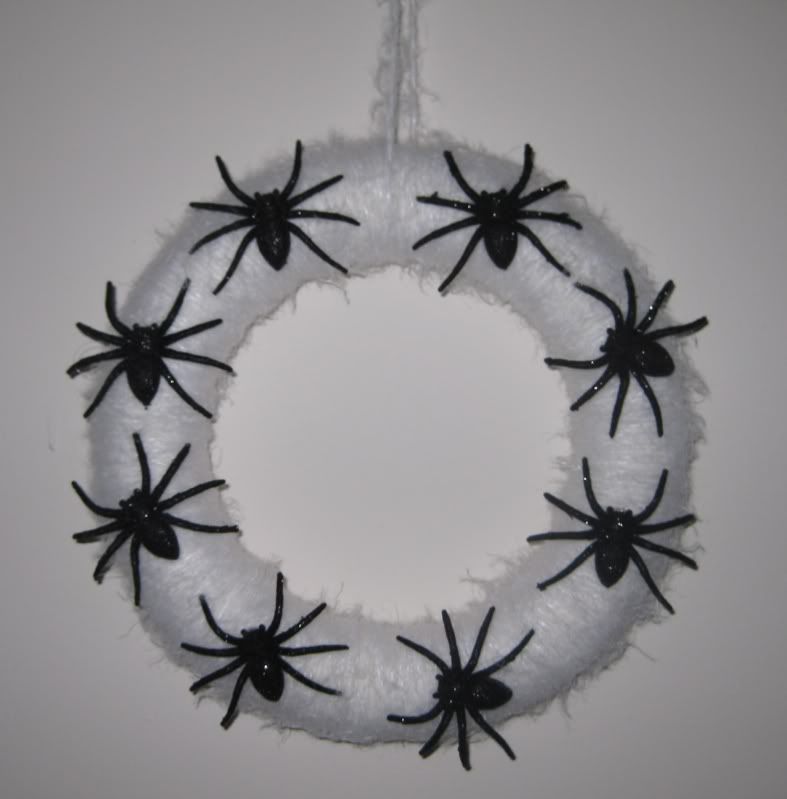
Spiderweb wreath- iron craft #41

Yay! This week the iron craft challenge was Boo! So halloween related! So exciting I love Halloween, and I love decorating for halloween. So I was super excited when this challenge rolled around. What I wasn't excited about this challenge was timing. Between poster presentation, talk presentations, papers, halloween costumes, and a busy schedule on top of it, I was trying my hardest to find some time to do what I wanted.

I chose something easy. A halloween wreath. Here is what I used...

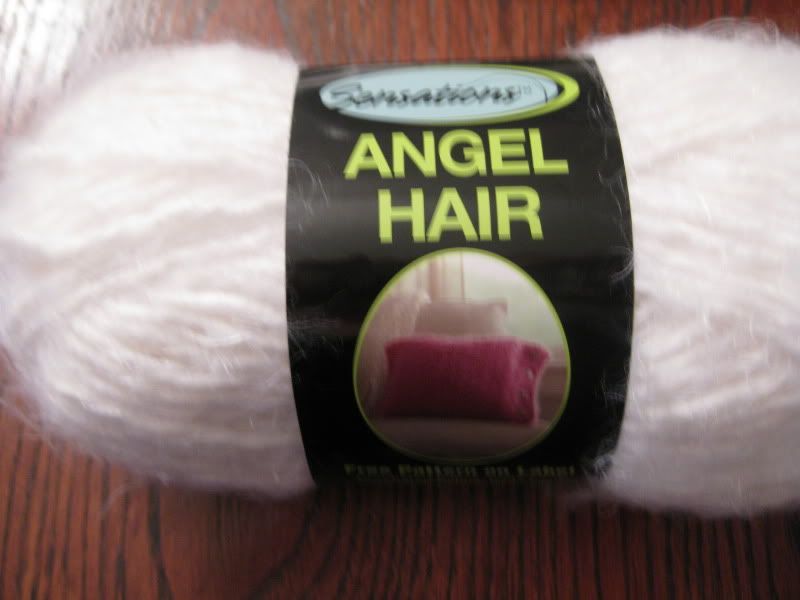
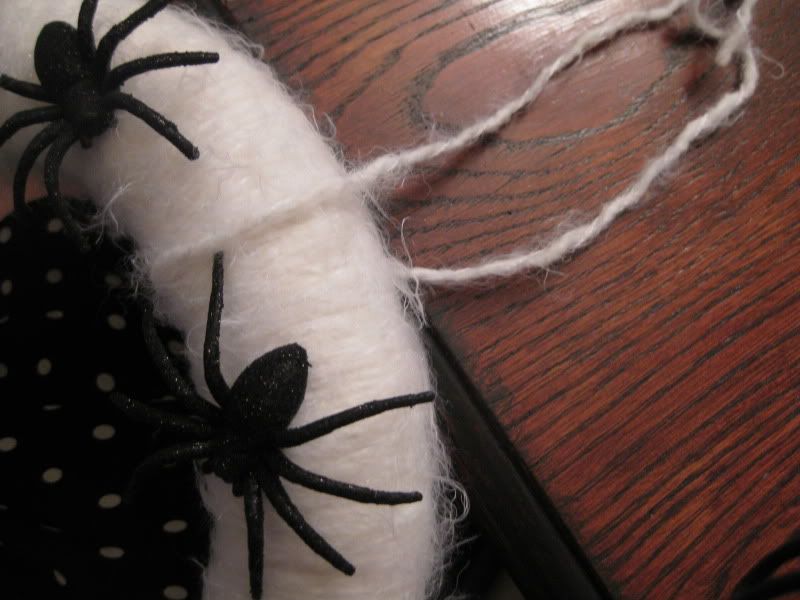
First I used this yarn I just found at Michael's, it was on sale! It is called Angel hair. Love it!

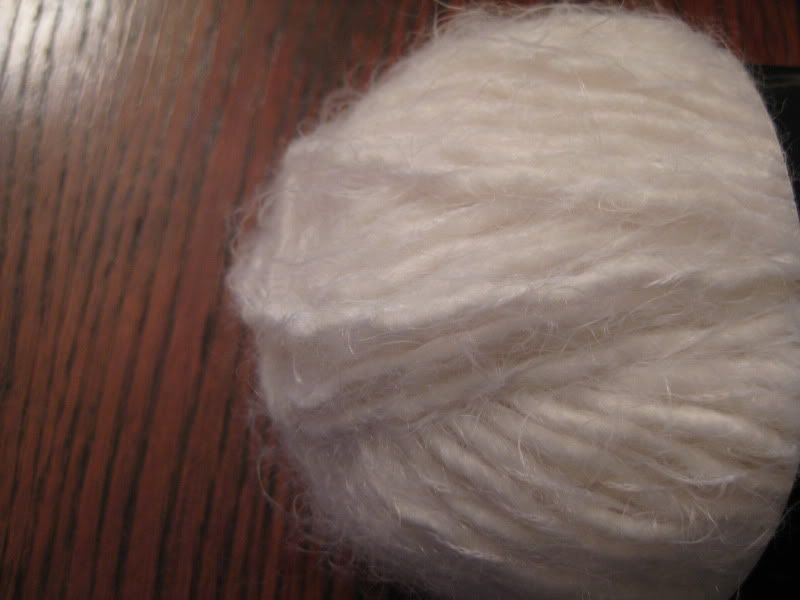
What I loved about it is it had this fuzzy sort of appearance and would give me a spiderweb effect.

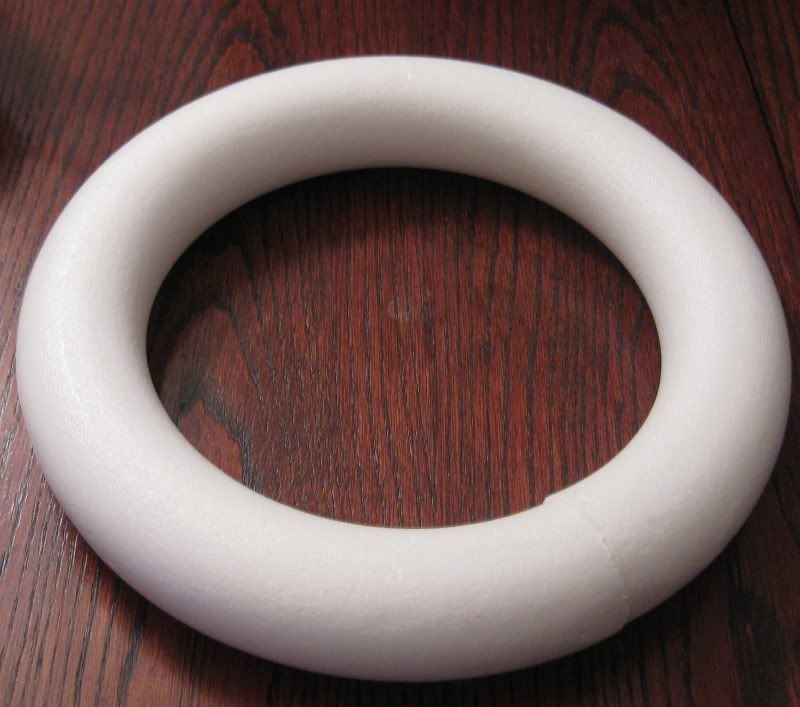
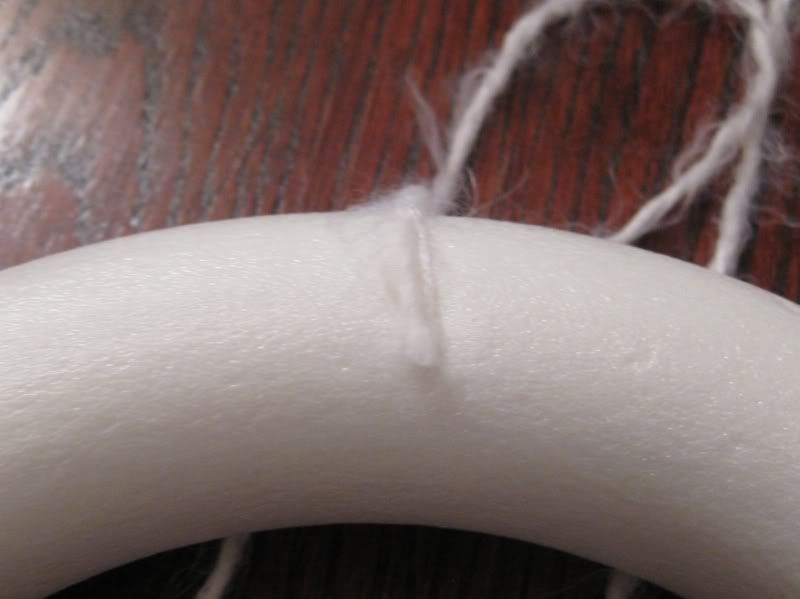
Next I just used a simple styrofoam wreath.

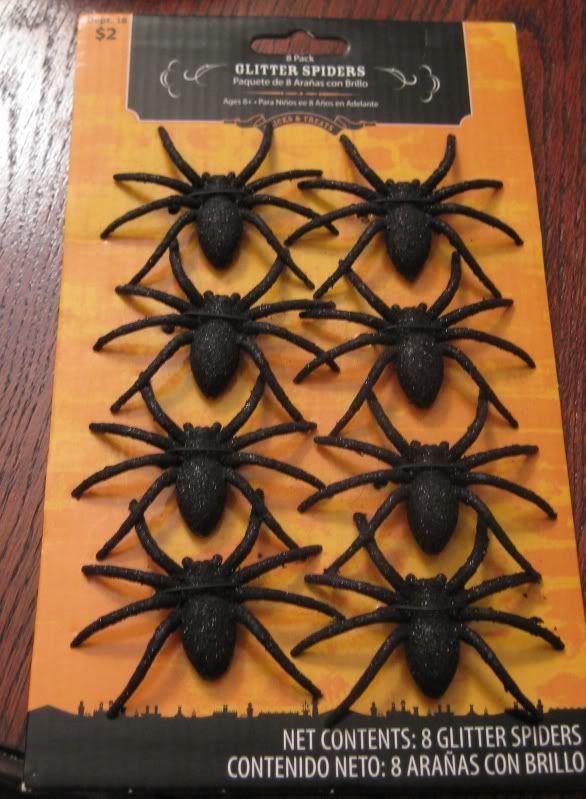
To adorn I finally get to use the black glitter spiders I got for over 50% off a year or two ago but just never used...

First I added a dot of hot glue on the back of the wreath to secure the yarn.

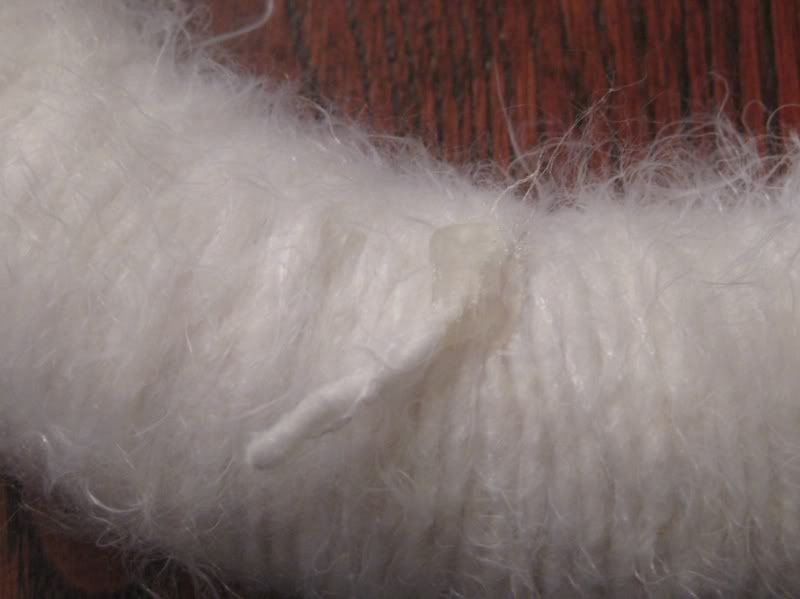
Then I just wrapped... and wrapped... and wrapped the yarn. I wrap a few round and then push it back to meet the rest so it is nice and flush and you don't see any exposed styrofoam.

Then when I went around and met up from the beginning, I again secured it with a dot of hot glue.

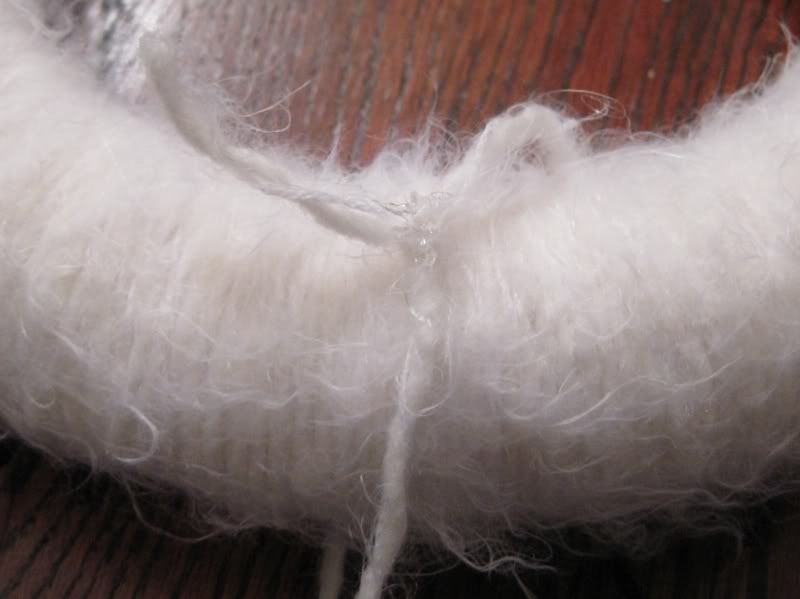
Next I added the spiders via hot glue. I'll wait to show you at the end what it looks like. but I wanted a way to hang it up. So I just used a piece of the same yarn tied it and then glued the knot to the back of the wreath, so no one would see it. :)

I clipped off the excess once the glue was dry (no need to ruin more scissors!).

Ta Da! We are done!


I totally love it and it was super easy, fast, and simple to make. Now I can get back to finishing my power point presentation for work.

Happy halloween! :)

XOXOXOXO,
Lauren
Wednesday, September 28, 2011

Pumpkin Gift Bag- Iron craft challenge

This week's iron craft challenge was to .... hmm. Again I am in the middle of finishing up some refashions I started and some sewing projects before I begin to start the Halloween costumes. I am sewing both mine and Calvin's costumes. I am not going to elaborate on what Calvin is going to be (b/c it is surprise and it is awesome!). My costume is somewhat related to his (sort of) and is one of Simplicity's new pattern for this Halloween.

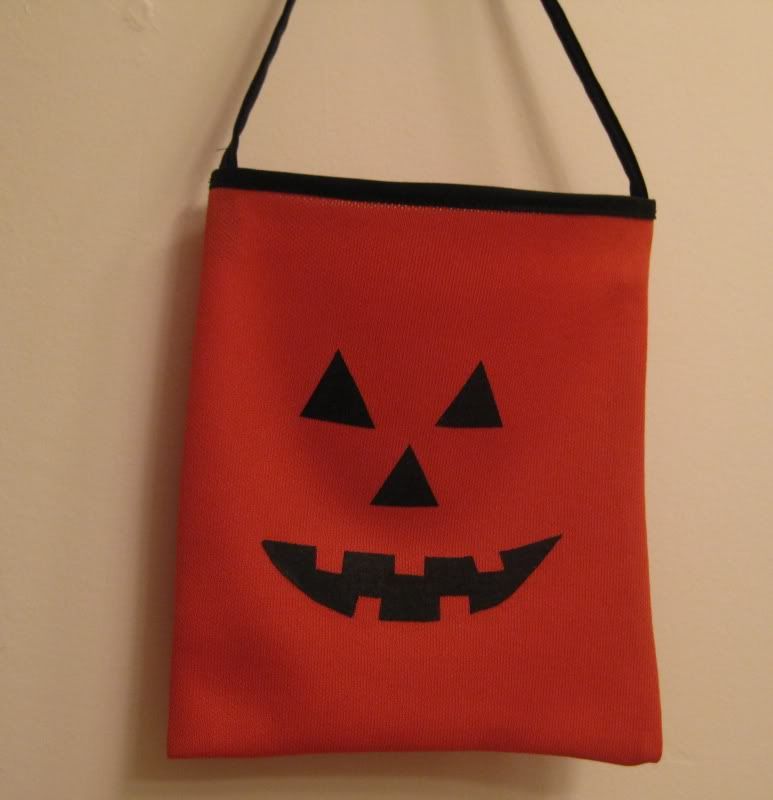
What I am trying to say is I don't need to be starting huge projects! Then I saw a piece of Orange scrap polyester in my stash (from previous owner) and ding I knew what I wanted to do. Apparently everyone and their mother in blog land here have started to create all of their halloween decorations. I am apparenlty one of the slackers. So here is my contribution to the iron craft challenge this week- a halloween jack o'lantern mini gift bag.

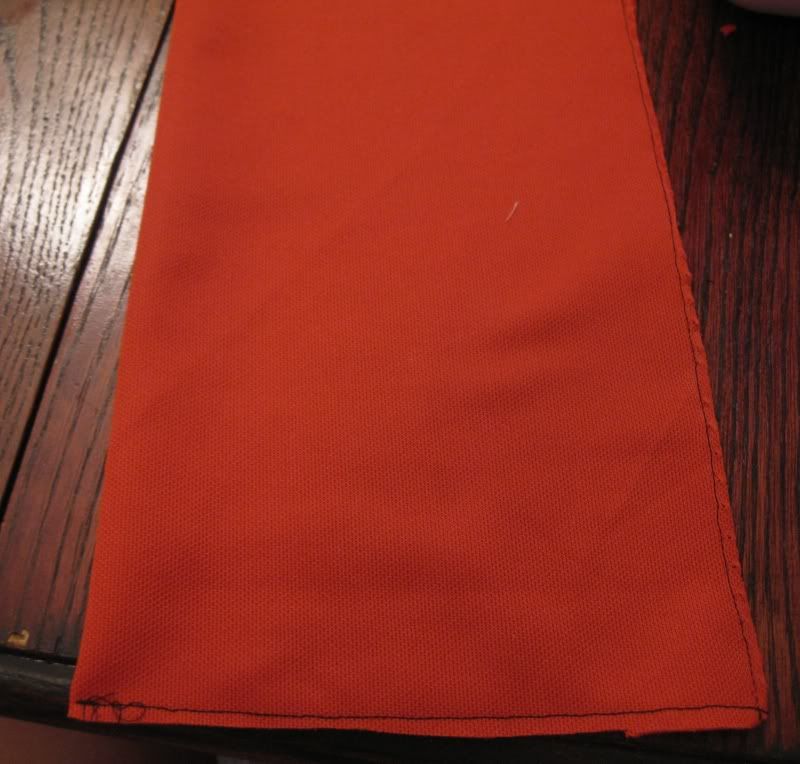
Not to worry this project was super easy. First I started with a piece of orange scrap fabric, already nicely cut into a rectangle. Wahoo. I sewed up the bottom and side.


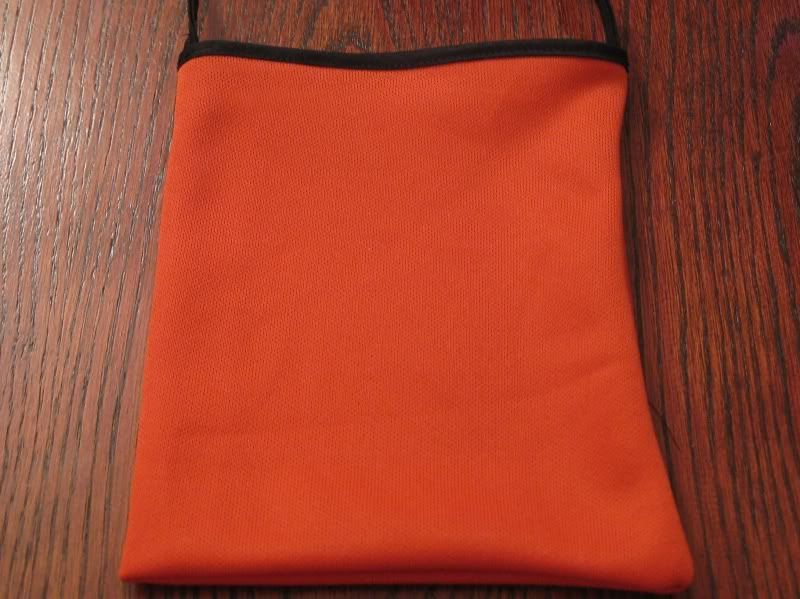
Next I added black bias tape, it was leftover from a previous project so I was happy to use it up! Attach to the top of the bag.


Make a handle for the bag, again I was using the leftover bias tape, I just sewed it to itself!

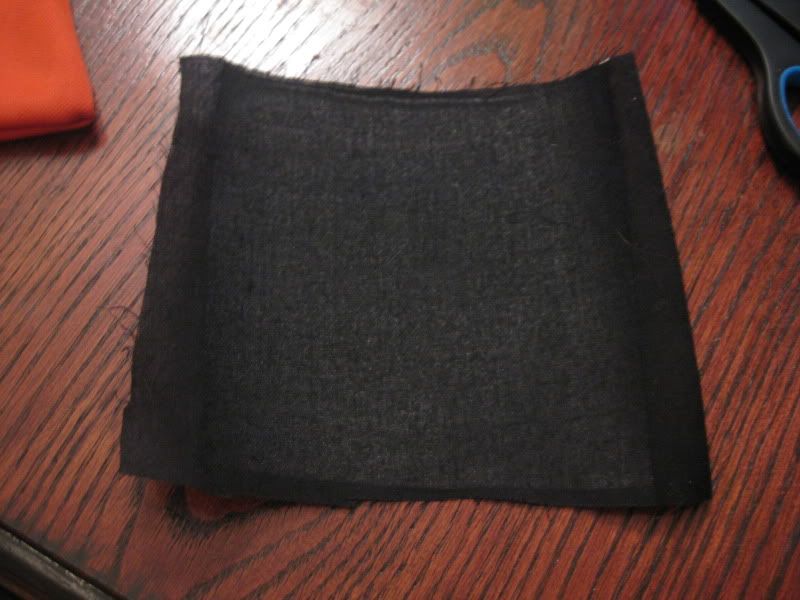
Next add face. I used scraps of black fabric and turned it into a fusible applique with that iron on stuff.... I cut out eyes, nose, and a mouth.


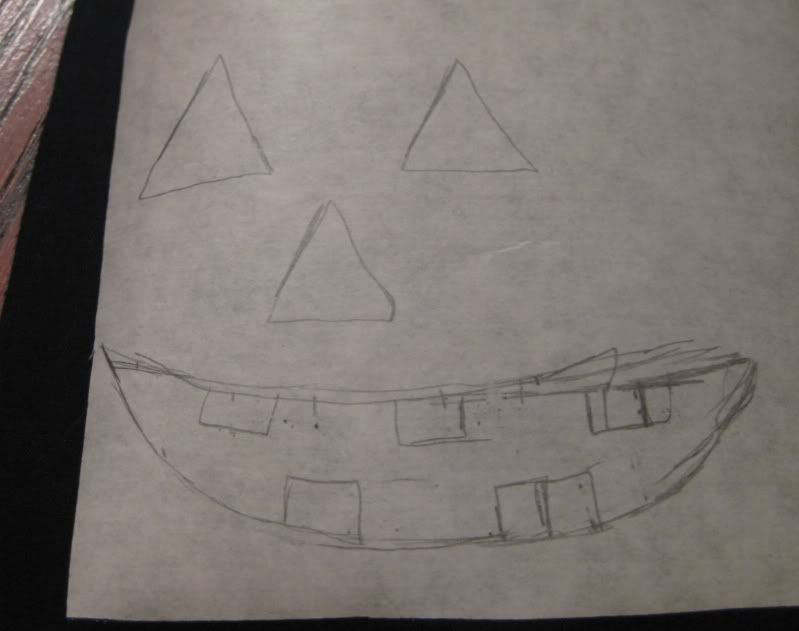
I just drew it out by hand. Yeah I am so not an artist!


Iron eyes, nose, and mouth to the bag.

Done. Isn't he cute?


See easy peasy right? I have several other pieces of orange fabric that I will probably never use so I may make more. Too bad I don't have kids (or nieces or nephews) this would be a great gift for some kids!

Until the next iron craft challenge!....

XOXOXOXO,
Lauren
LinkWithin
Related Posts Plugin for WordPress, Blogger...