Well hi welcome to my little blog. Just my little corner of craftiness, sewing, and refashioning. I am also a newly gluten free eater so you have a little bit of recipes mixed in here.

Monday, February 18, 2013

Peacock feather stamped scarf

Well happy President's Day everyone! So excited to share this project. I am again giddy! I first started with a plain white silk scarf I got as a bonus gift after purchasing from Dharma trading. I had to do something with it, I dyed it aqua using RIT dye aqua. Love the color!

Before:

with dye

I decided it was too boring so I must do something with it. Then one day casually strolling in Hobby Lobby I saw that stamps were 50% off. Score! And then I saw this beautiful peacock feather. Had to have it! I decided I wanted to stamp my scarf with this stamp!! First I practiced on a thin piece of cotton to get used to stamping b/c frankly i have not stamped since I was like in grade school... I also used Tulip's soft fabric paint in brown. I also diluted this to not make it so thick and leave the fabric still flowy. 

Stamp!! I placed cardboard underneath to catch the water and paint. As you can see I had 1 plate with my mixed paint. One side is thicker than the other. I stamp on the right side (the thinner side) then I stamped on the other plate (located on the right) then I stamped the fabric. 

Close up, I had a few hang ups but overall it was looking good. I realized perfection was not going to happen. Now to do the other side. 

OOps! This is what happens when they don't match up. Feathers don't look good 

Here is after I was done. I filled in the rest of the scarf with smudges since I got 2 from my stamp. 

Let dry! And we are ready! 
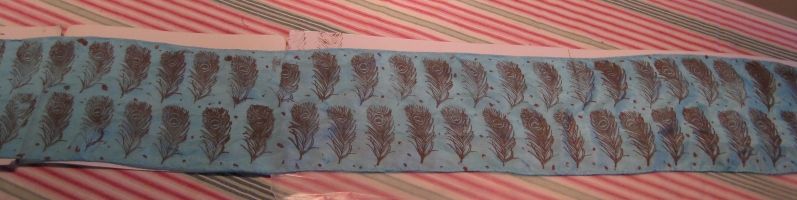

Now I need to learn how to wear it but it looks fabulous on my red purse! :) Won't mistake my purse for anyone else's!


Hope you enjoyed this. Now I am obsessed with this stamp and would love to create my own fabric..... Oh wheels are turning!!!!

xoxox,
Lauren

Saturday, February 16, 2013

Look I started a knitting class!

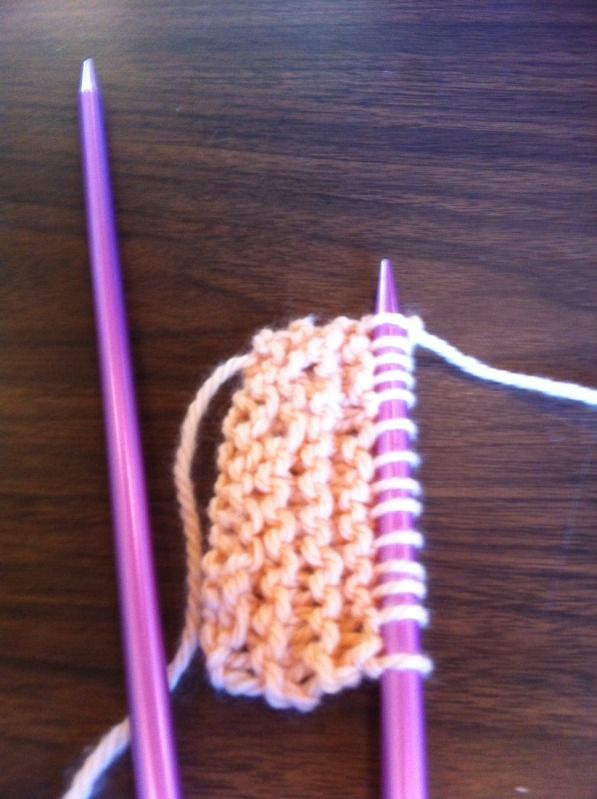
Well I have had 2 classes! I know how to cast on and cast off! Here's what I completed after 1 class. Not bad for someone not good with yarn things!

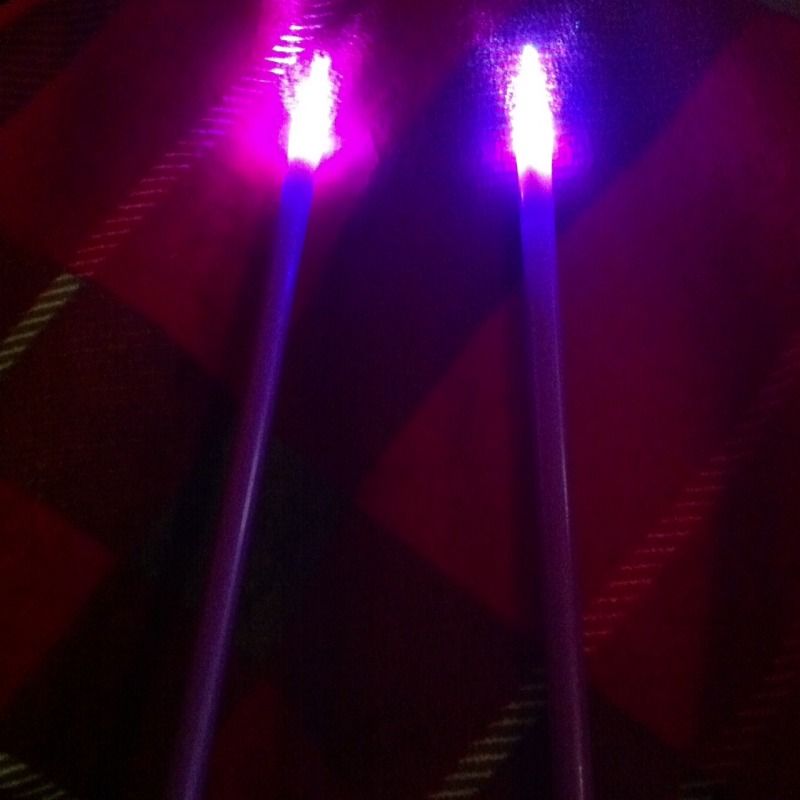
I totally forgot but I actually have light up knitting needles in my craft storage. I got them for $0.99! They are like knitting light sabers.

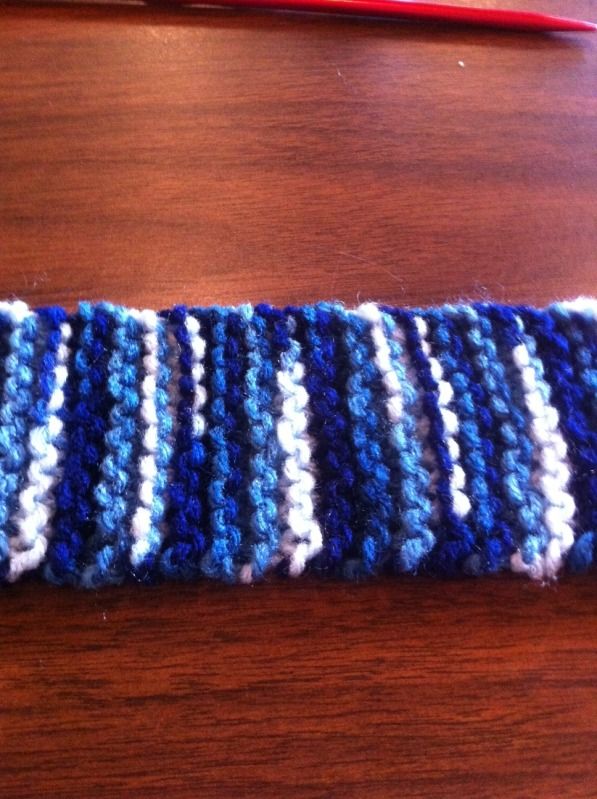
Here's what I practiced during the week before my second class. Again not bad! 

I can almost make ear warmers out of them. But I learned how to cast off with this part. Now I have purchased more yarn and ready to knit more. I see a bright fuschia pink scarf in my future!!

Yay so one thing off my craft bucket list. I should have done this last year (s).

Cheers,
Lauren
Friday, February 15, 2013

Gluten Free: Crispy Parmesan Green Beands

I first saw this pin on Pinterest, they looked soo good! It is from the website Dashing Dish.

So I thought I would give it a whirl! I basically followed the basic ingredients. I left out the pepper some until the very end. And I used an entire bag of fresh green beans, I am not a fan of using frozen veggies. So 1/2 cup parmesan cheese. I used the powdered version. 1 tsp garlic powder and 1/2 tsp salt. Mix it all together.

First add aluminum foil to a cookie sheet and lightly grease with spray oil.

Add cleaned green beans. of course cut off the ends. 

Add cheese mix! 

Bake! 425 degrees for 15 minutes. The house smelled amazing!!!! Mine never came out crispy like the picture. 


I tried it with fresh Parmesan cheese that was not powder. OMG they were awesome! The cheese melted. Favorite combo is garlic and Parmesan now. I had to make so many of them b/c my boyfriend now inhales them.


These were delicious even though they were not crispy they were delicious!! :) Will make again!

xoxoxoxo,
Lauren
Wednesday, February 13, 2013

Black Blingy Necklace from wooden beads.


Well the before picture has disappeared. I blame the move. Seriously I do. I spray painted some wooden beads with black spray paint I had leftover. I just didn't like the color of wood. Now what to do with them??


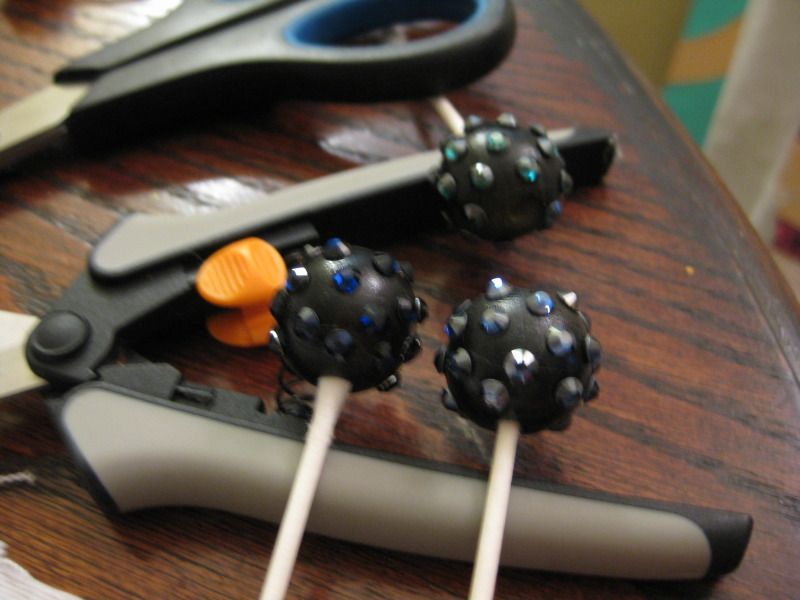
I had these crystals I got on clearance and decided I wanted to glue them on to some of the big round ones. I used GS Hypo cement. Stuff is awesome!

I kept them on Q-tips b/c it was easy to manipulate the beads. They fit perfectly Let dry. 

Repeat with other colors. 

Now time to make a necklace. I cheated and found a ready made necklace so all I had to do was add my beads. Many I love easy! Then I used a kit I already had for the black jump rings and those long connector things... whatever they are called.

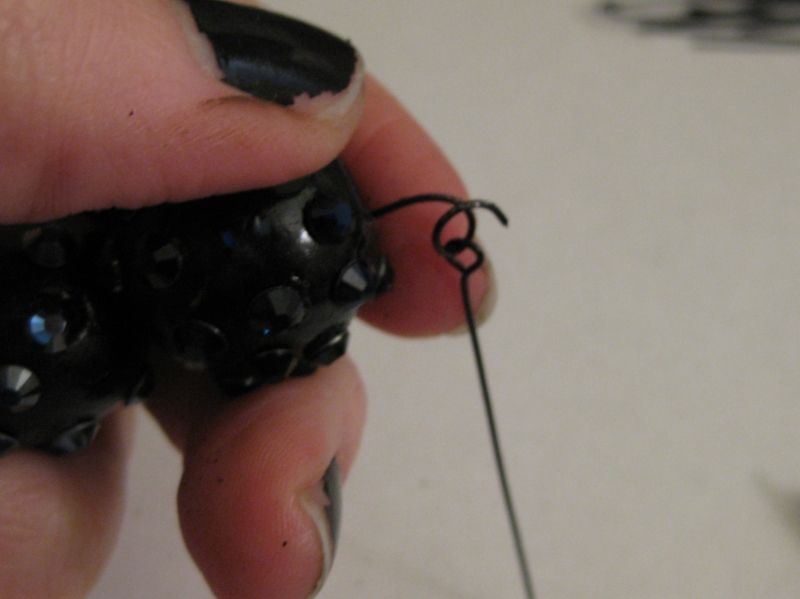
Hmm This one needs straightening. I messed up :(

Done! Wahoo. Yay for straightening pliers

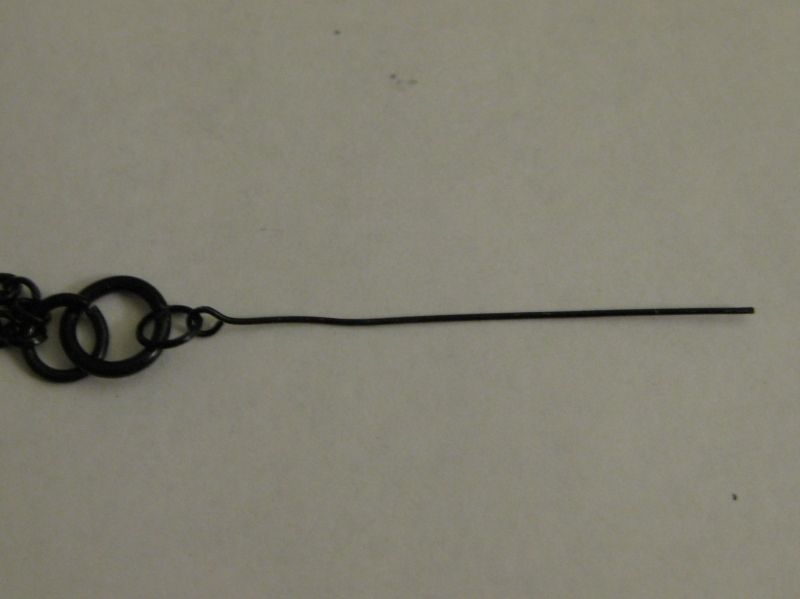
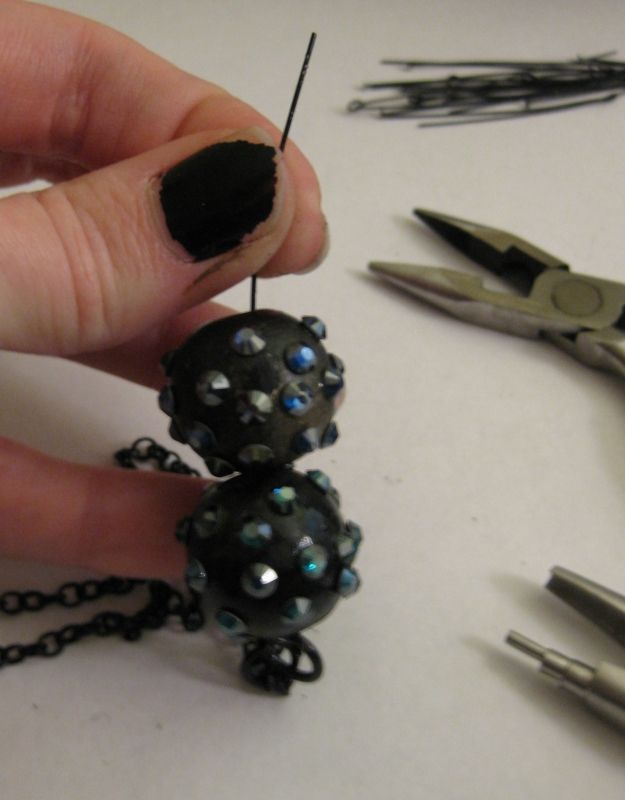
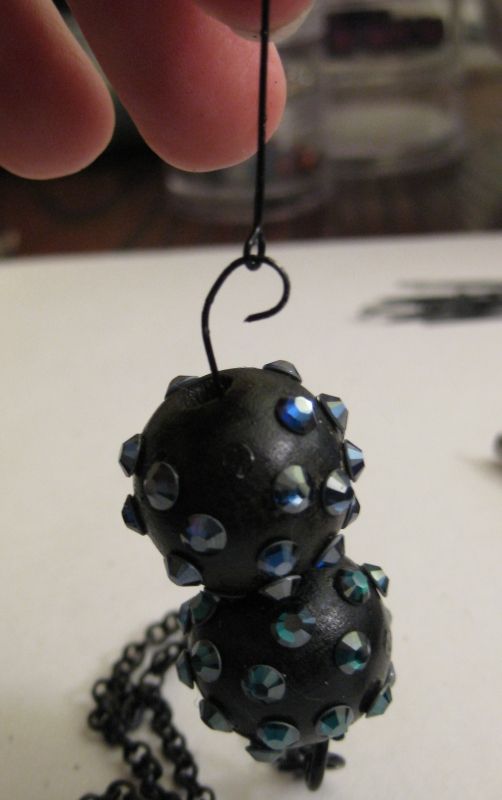
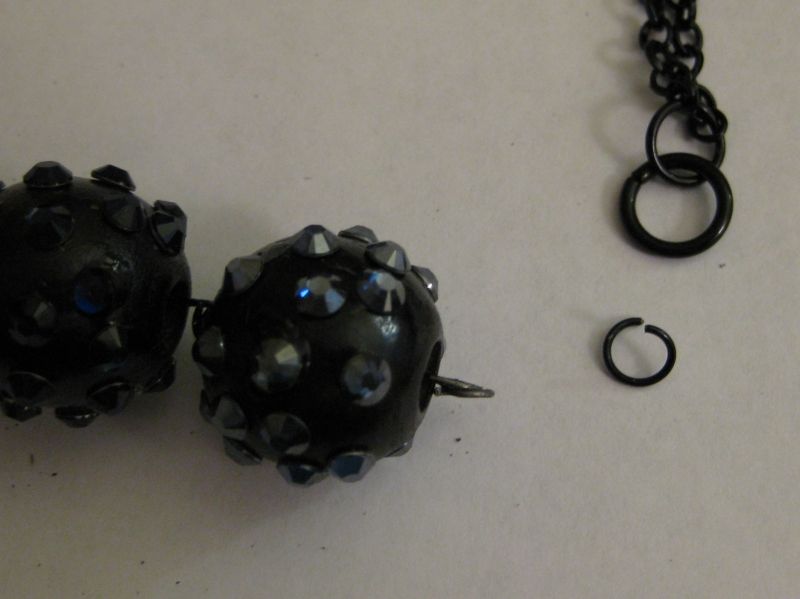
Basically all I am doing is connecting each bead. 


Almost done! Connect via jump ring. 

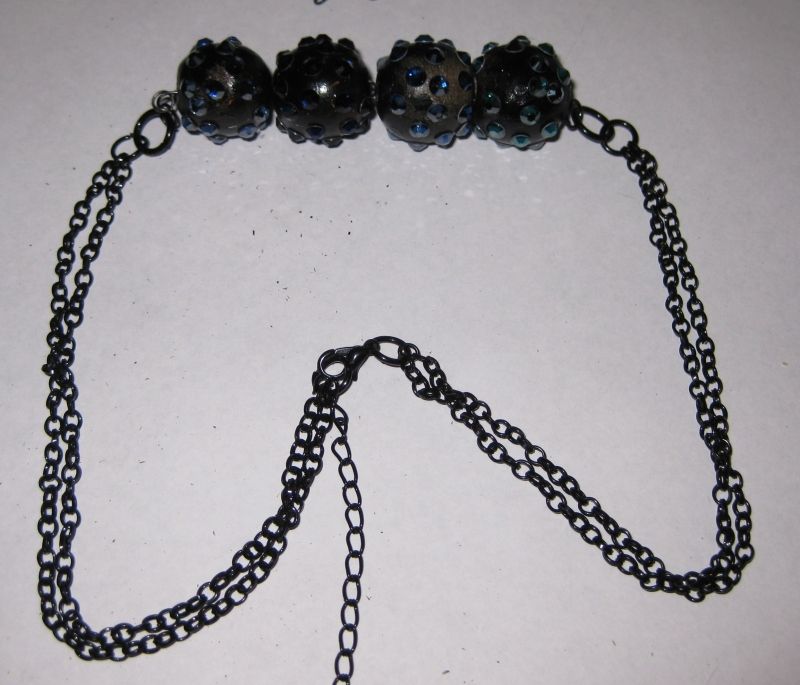
Here is how it is before I put it on.

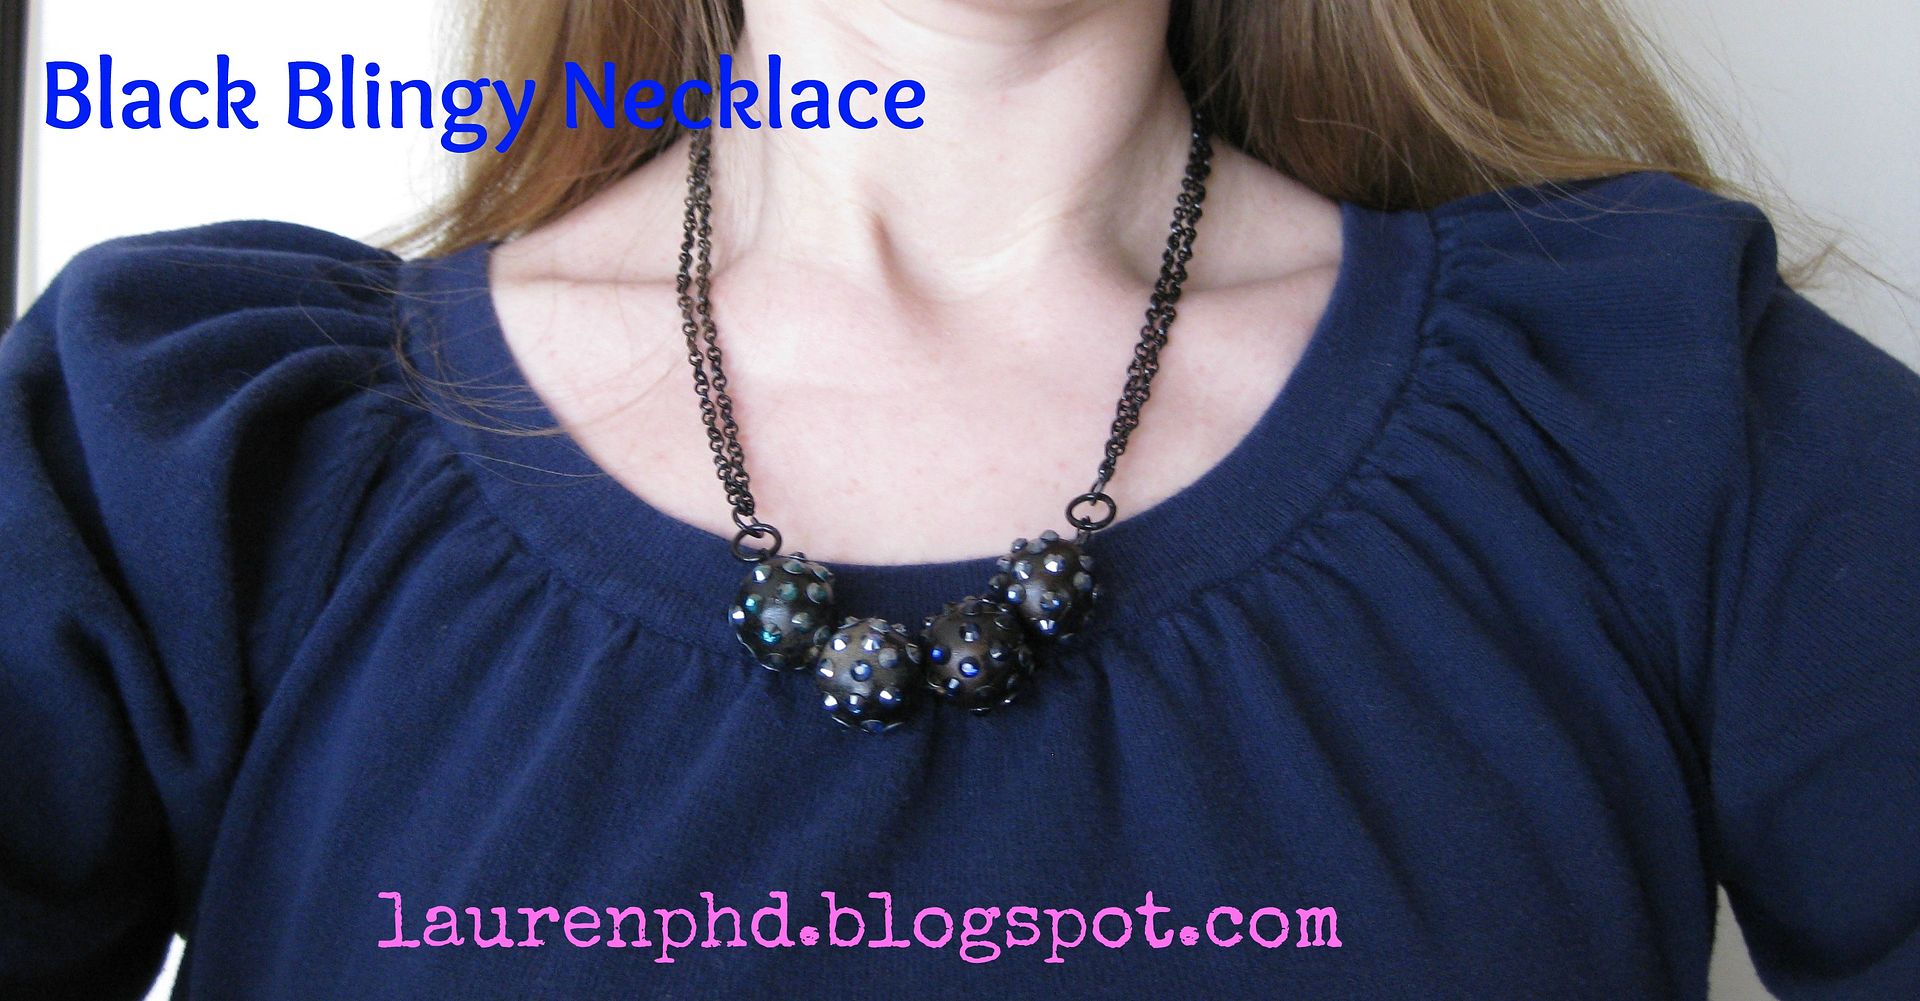
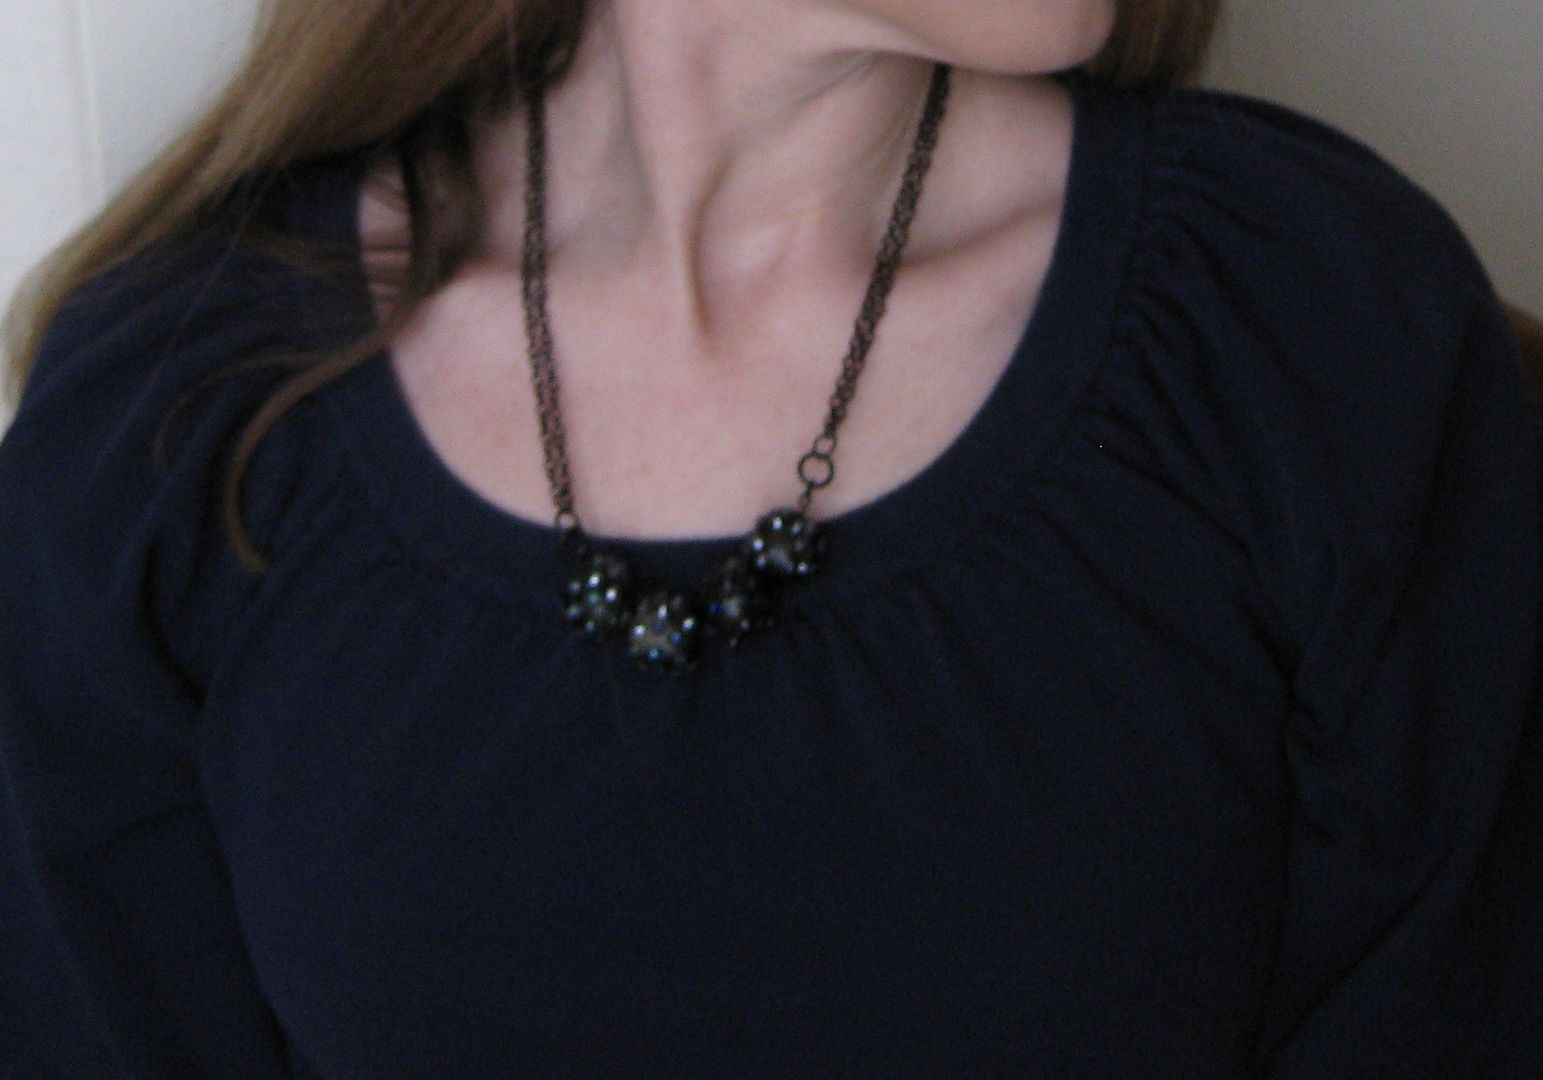
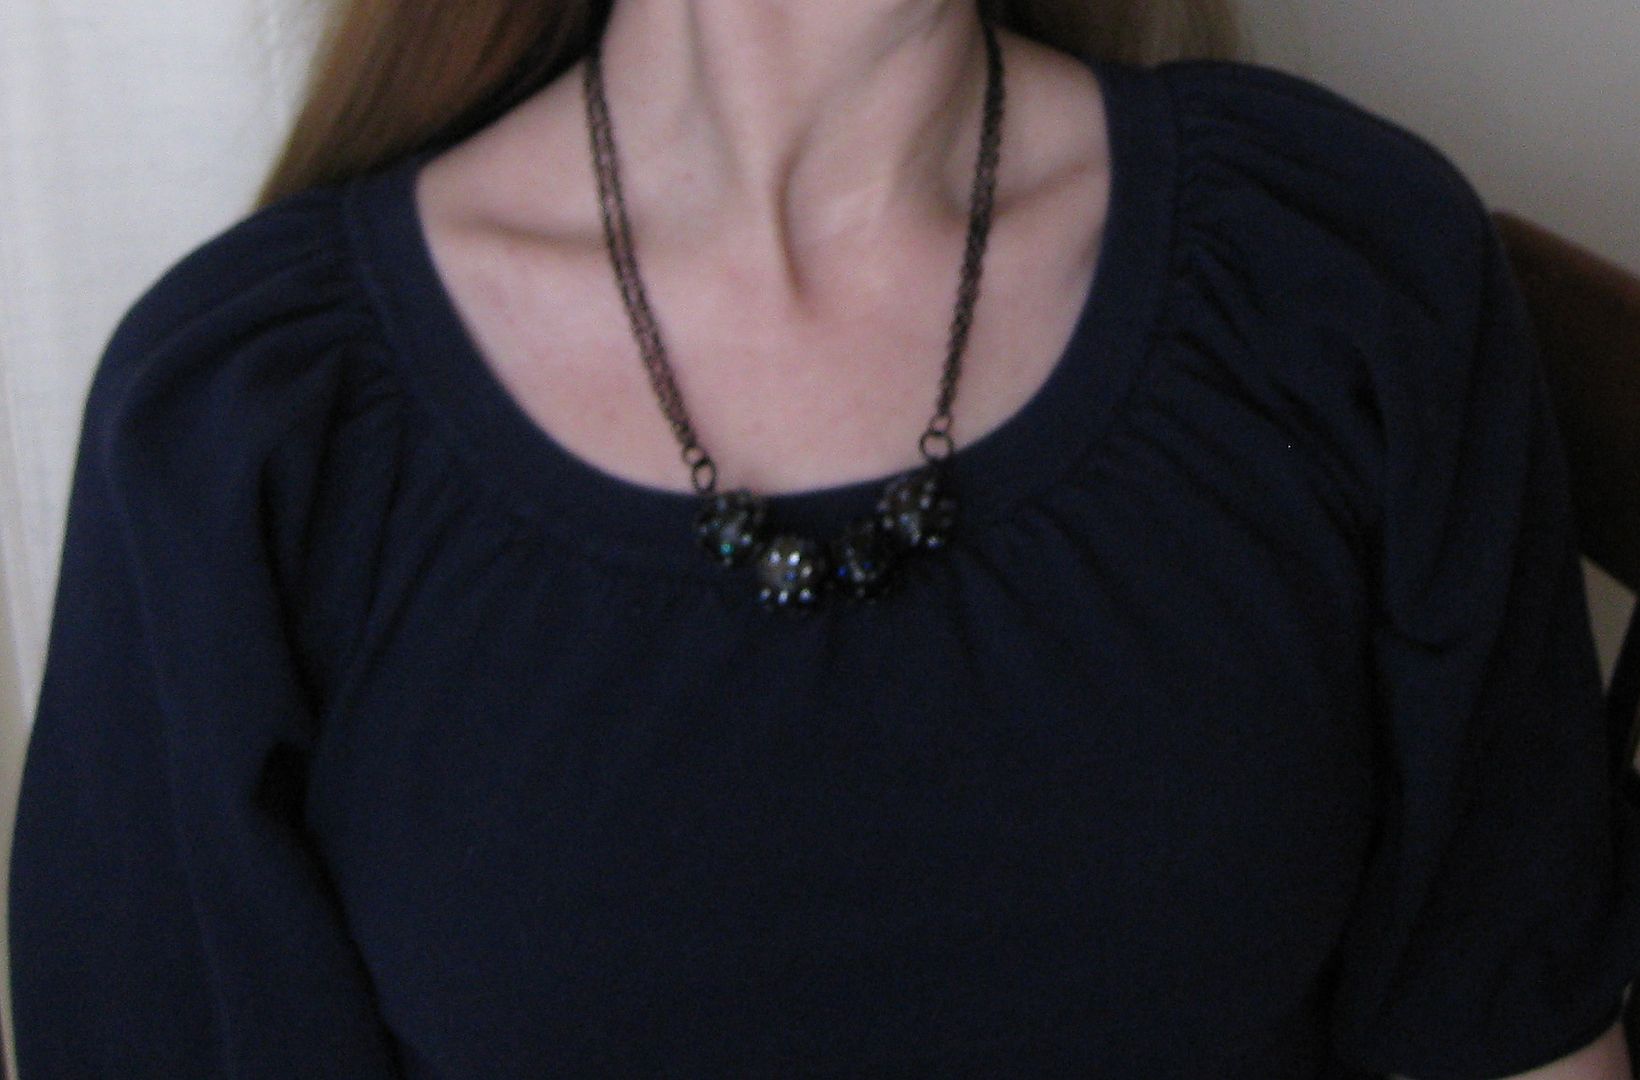
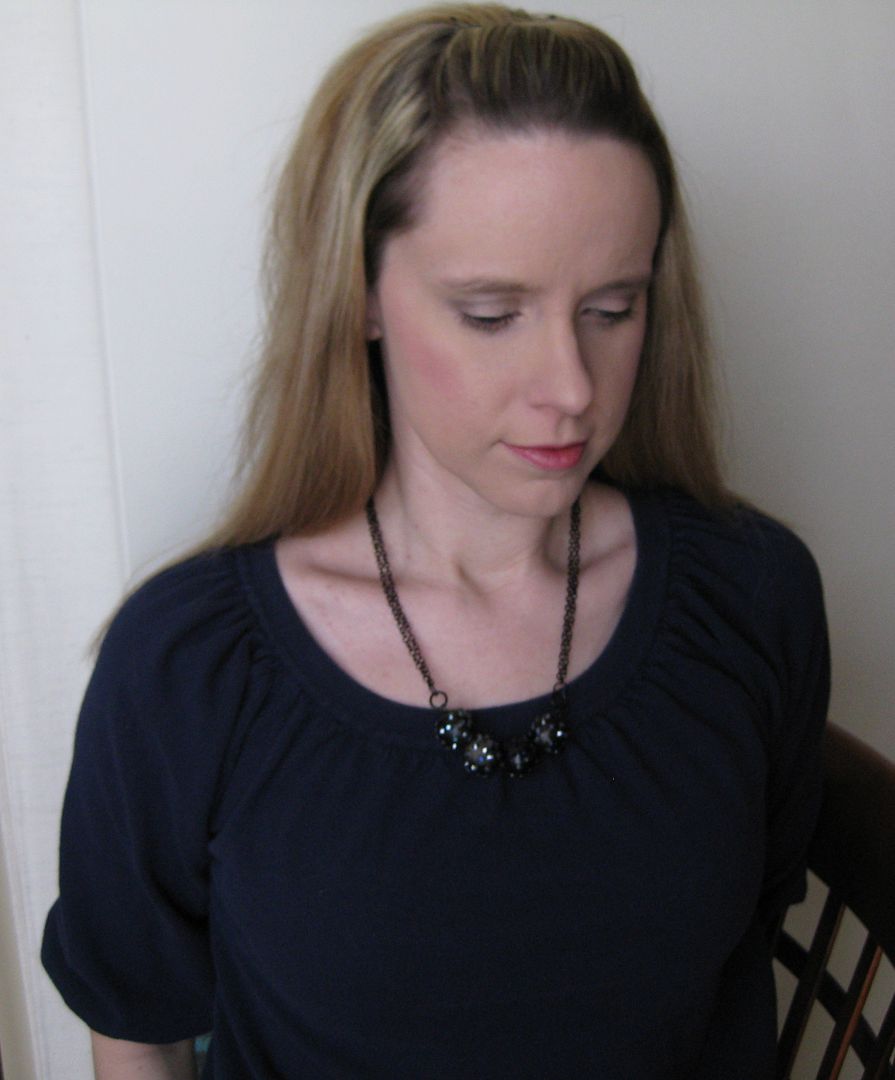
And here is me modeling it. The pictures do NOT do the crystals justice. 


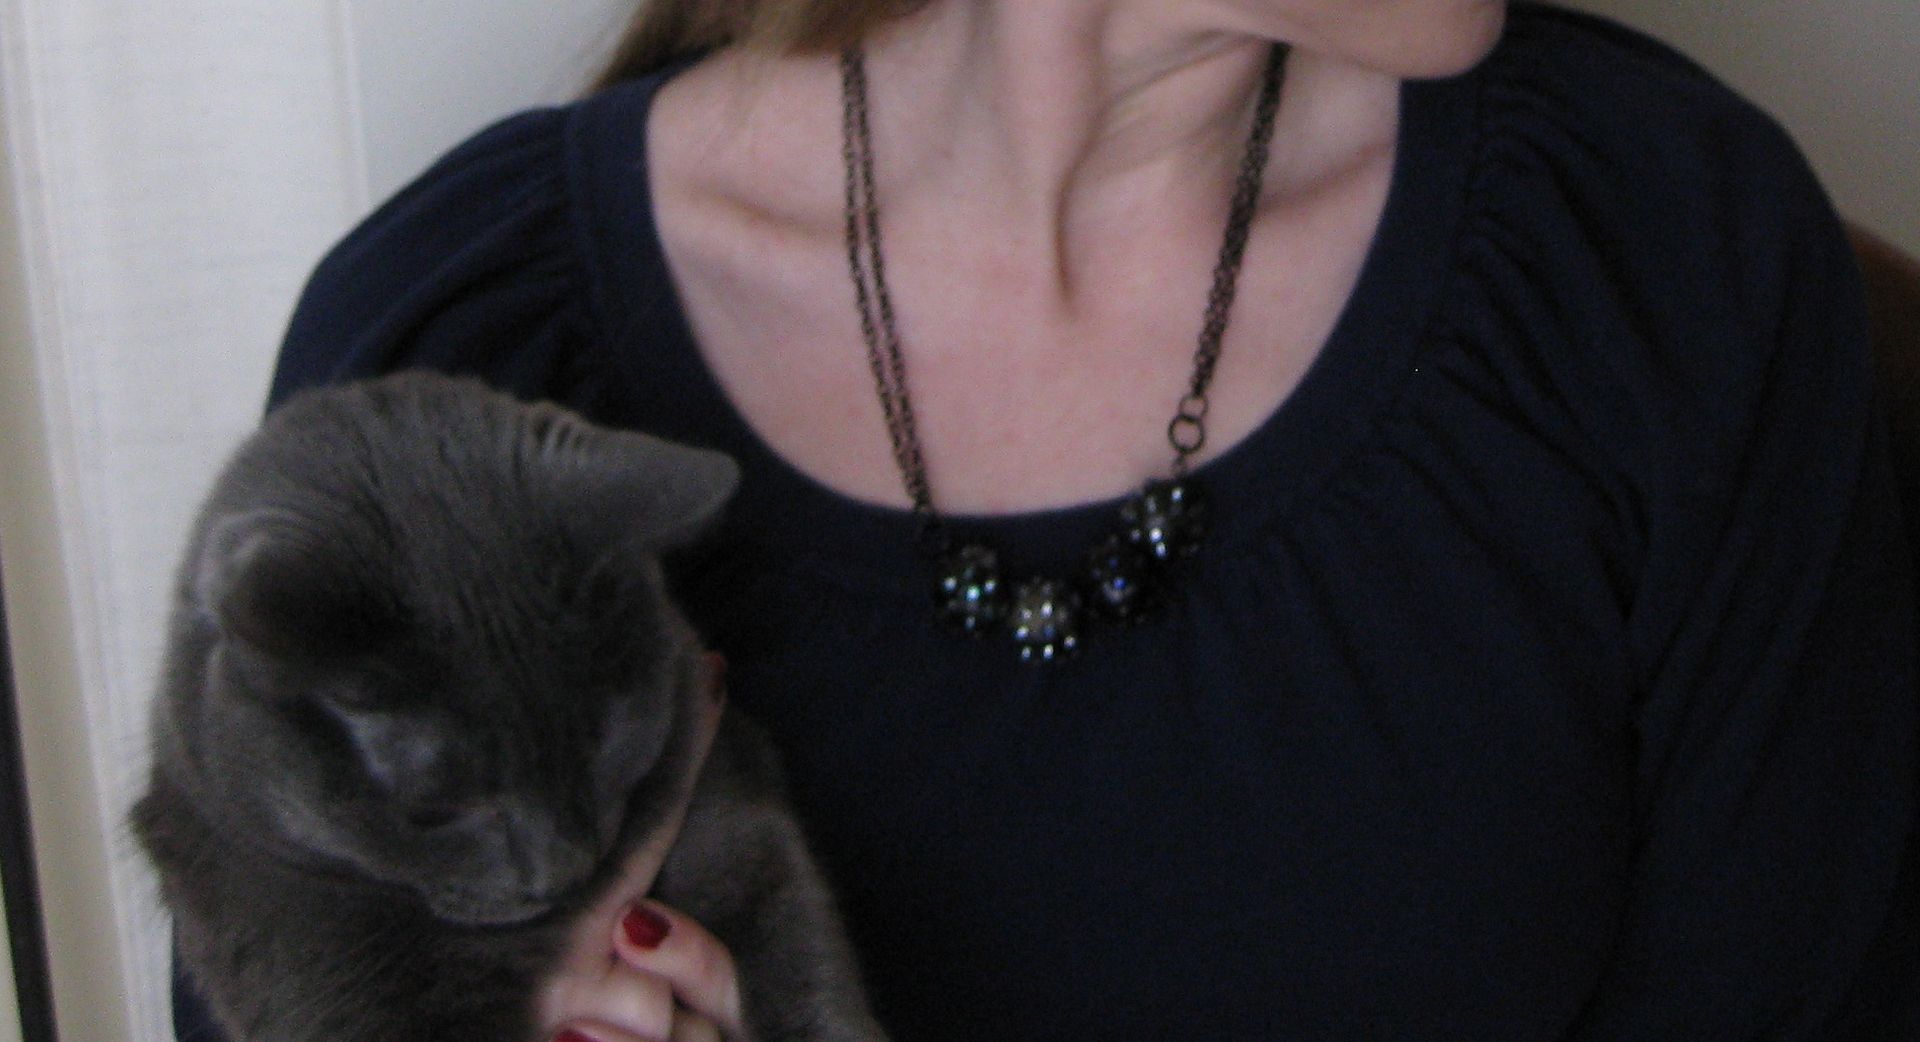
Here's a cameo appearance with my cat Natasha.


Couldn't help BUT to add this funny picture of myself. 


Yay +1 bling point! Yeah. Moving on up to a smaller closet, one bead at a time!

xoxoxo,
Lauren
Monday, February 11, 2013

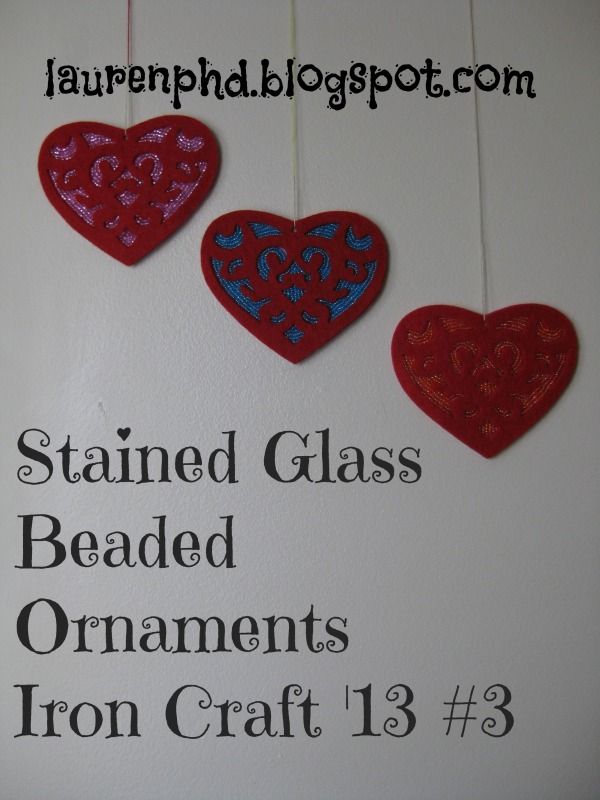
Iron Craft '13 #3: Hearts and Flowers

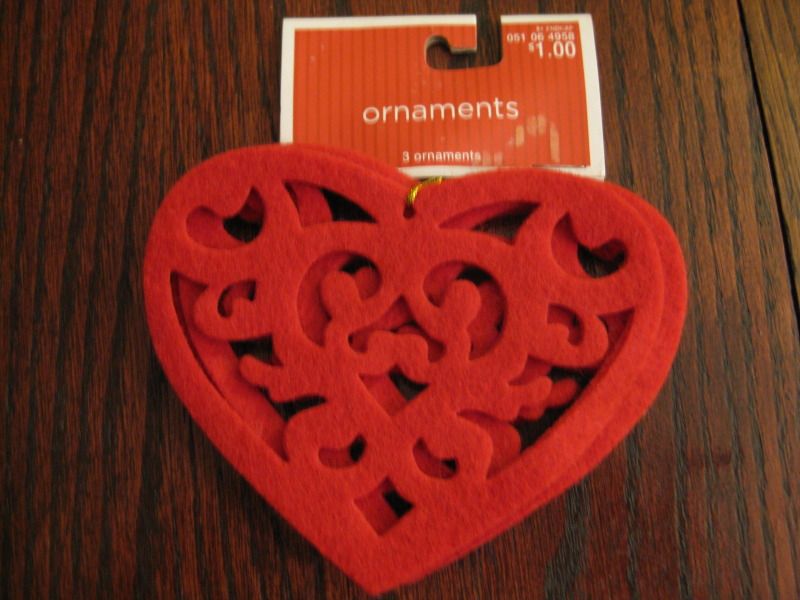
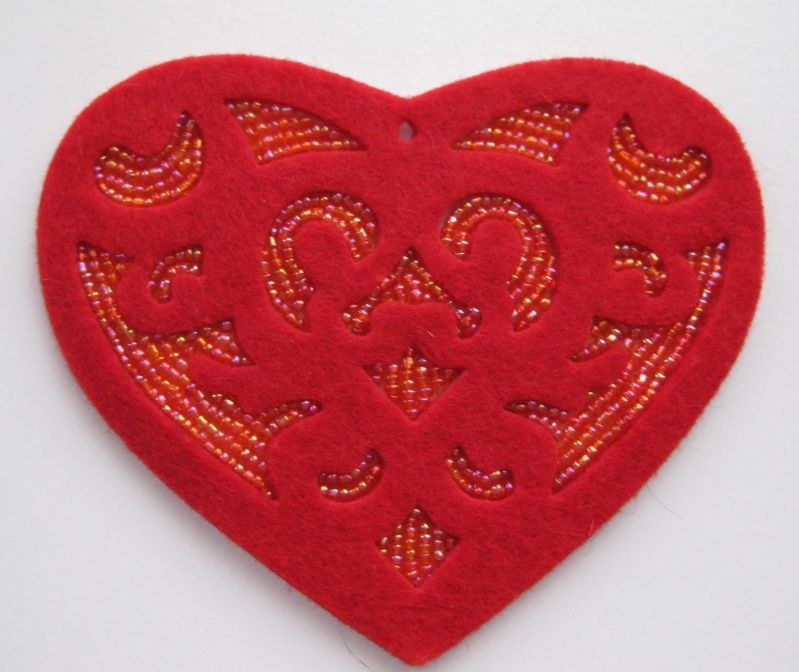
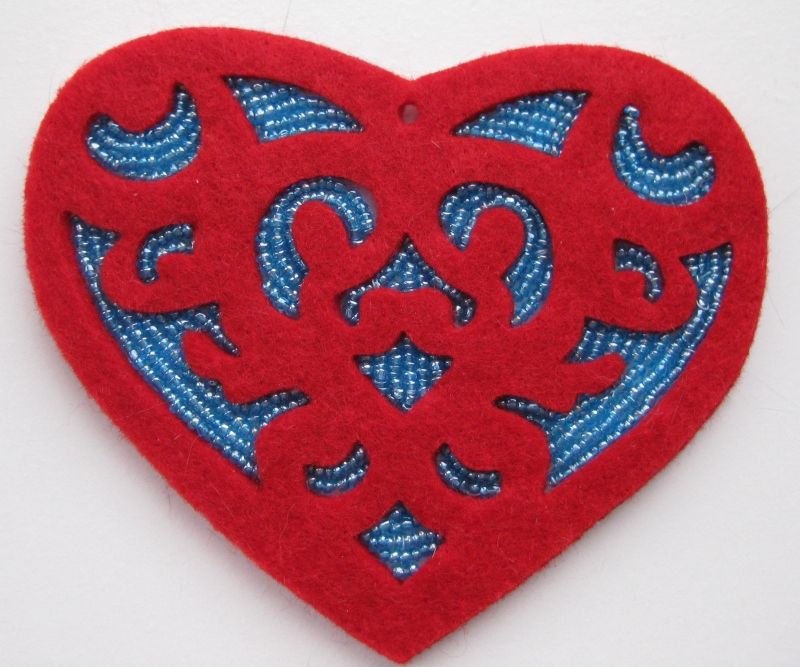
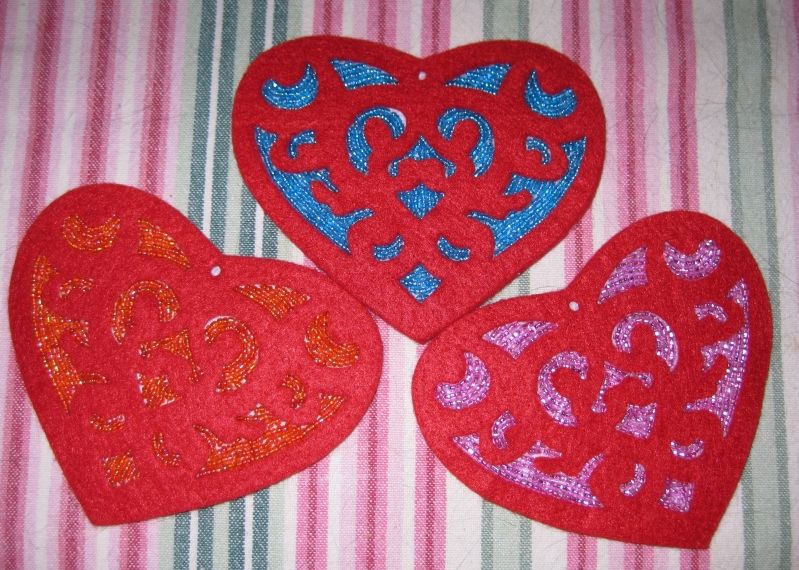
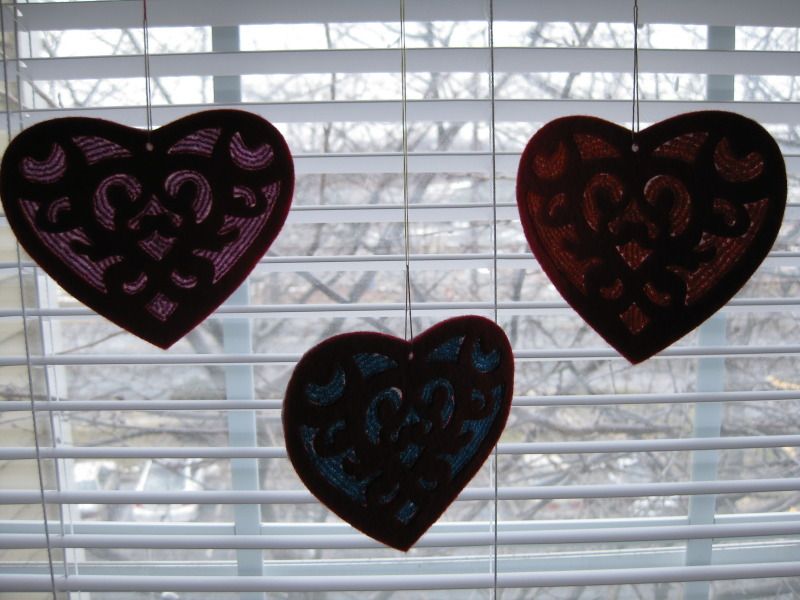
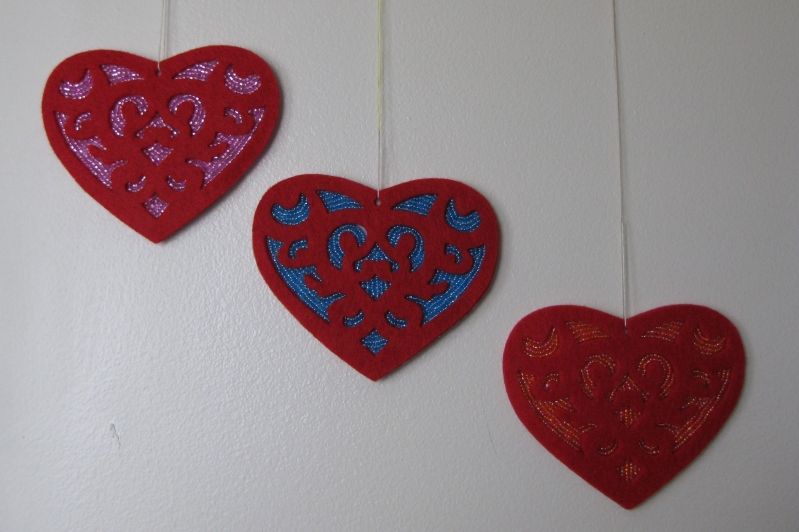
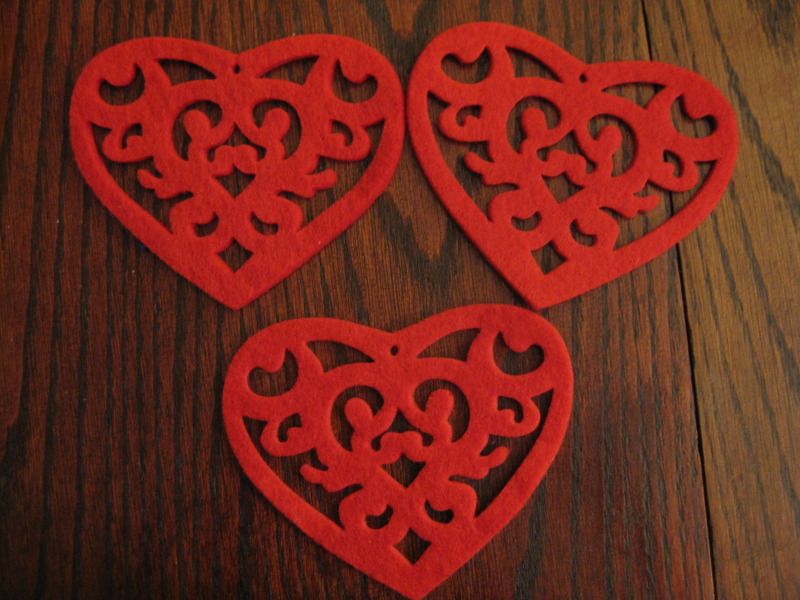
This new Iron Craft Challenge was hearts and flowers in lieu of Valentines Day! Yay I was so waiting for this challenge b/c I had these felt hearts my mother gave me out of her craft stash. (thanks mom!) So I had to come up with something with them.

There were a total of 3 and I wanted to do something with them but didn't like how they were see-through. But I got an idea

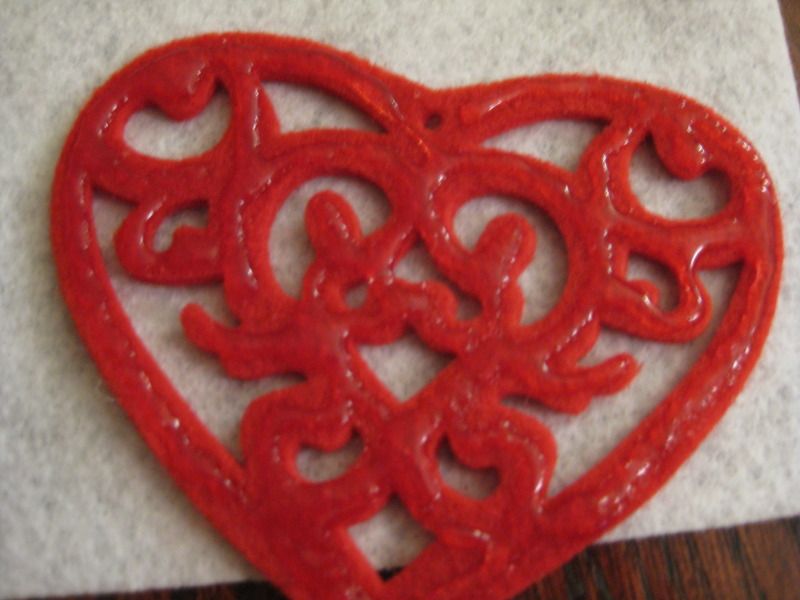
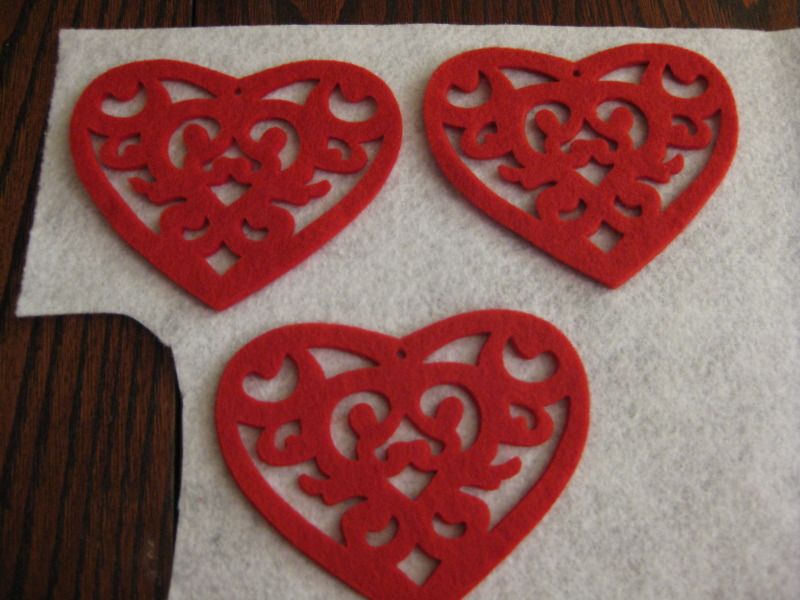
First I applied glue to one side of the ornament. Then glued on to white felt. Let dry!


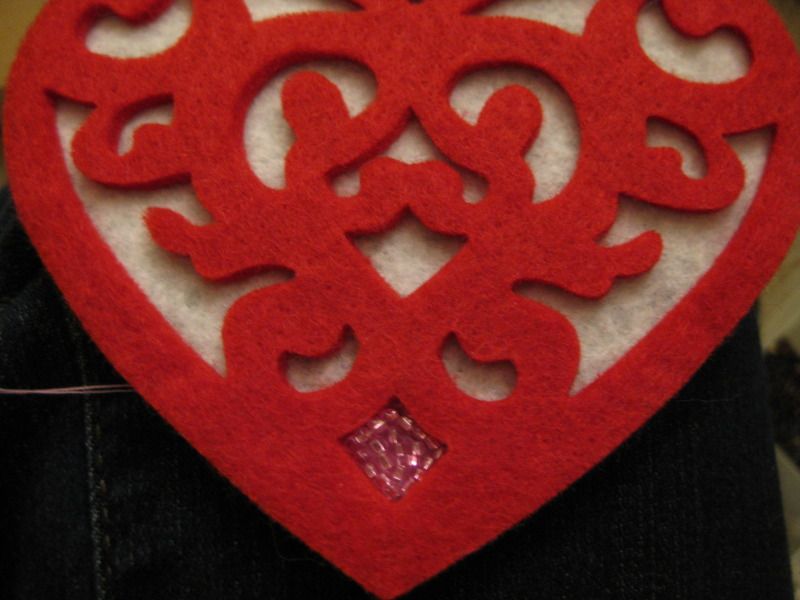
Cut away the felt from the ends. Now I wasn't done here. I thought it would be fun to use some of my bead stash and add shiny things to the background of the design. 

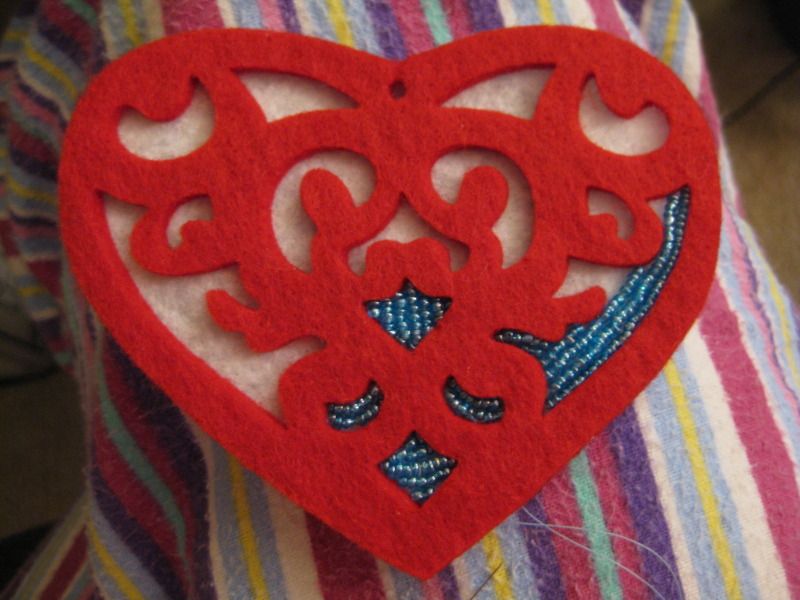
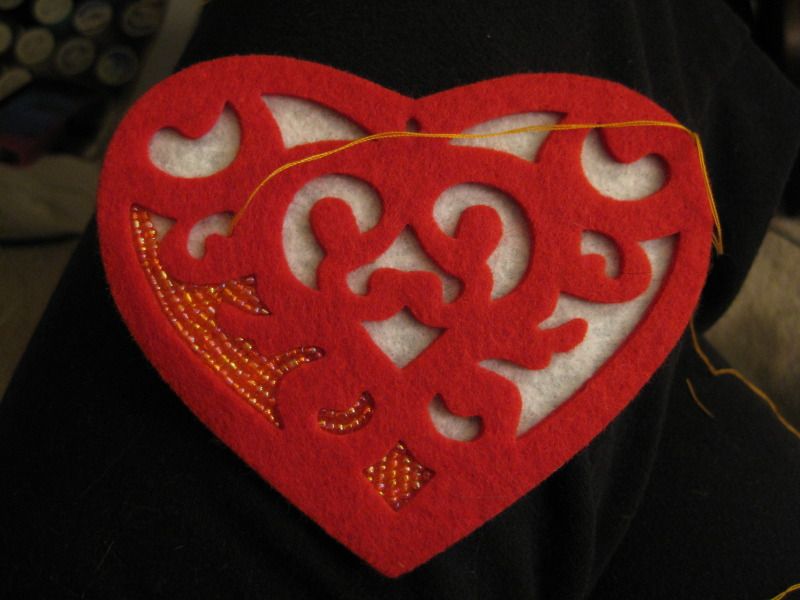
Enter my bead stash (1 box of many-sigh). I picked pink, turquoise, and and orange AB beads. 

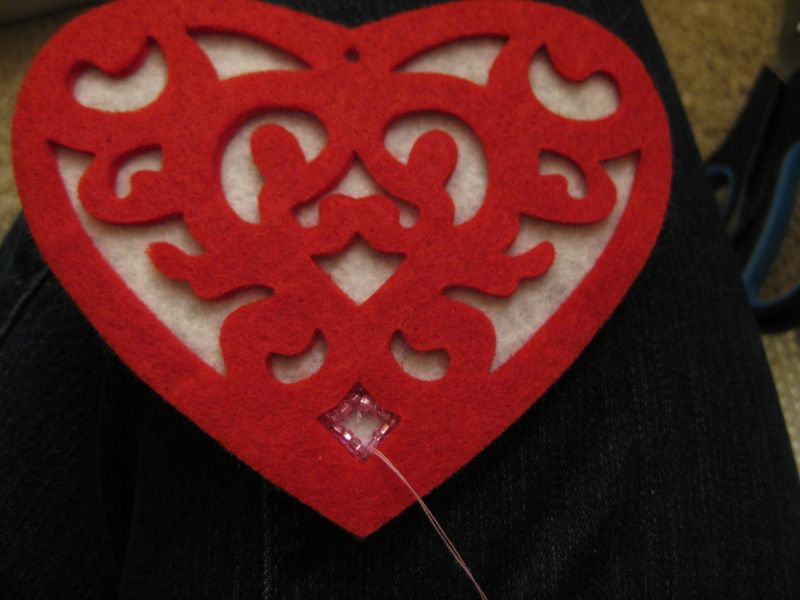
I selected thread that matched the color of each particular bead. This was for pink. I used a fine needle to bead and of course the miracle cream to prevent thread from tangling- thread heaven! 

I used a double thickness of the thread and simply start beading. I would bead in rows and tack down between beads. 


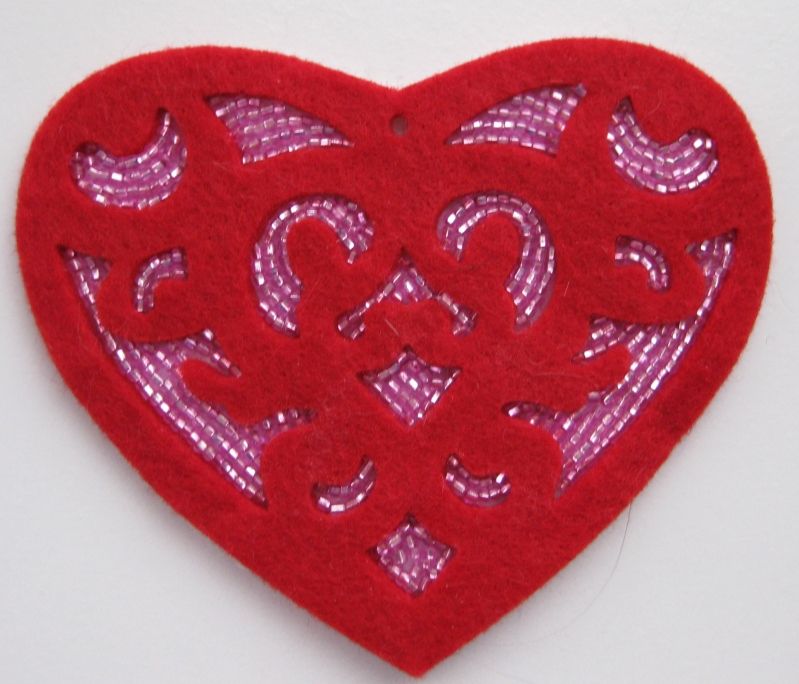
Here they are done!


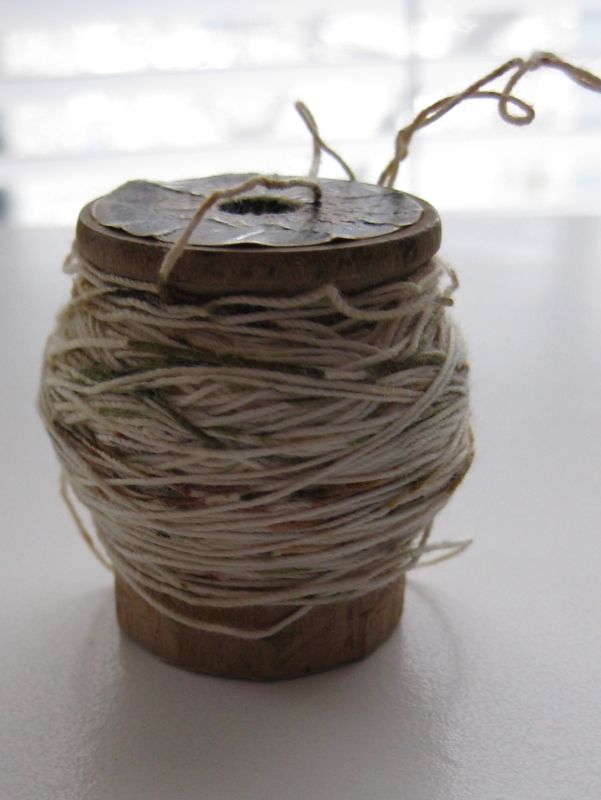
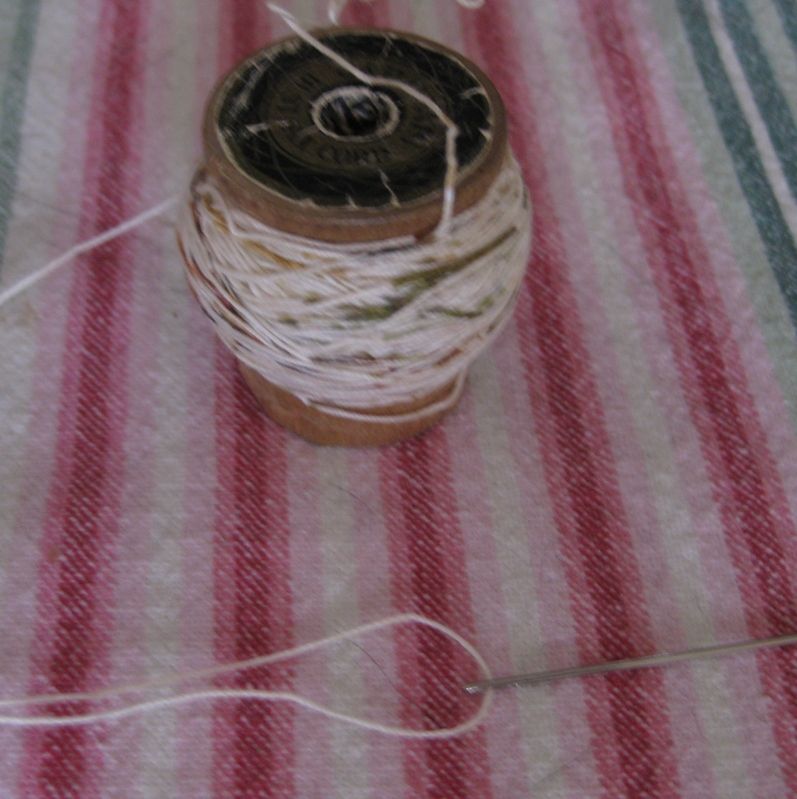
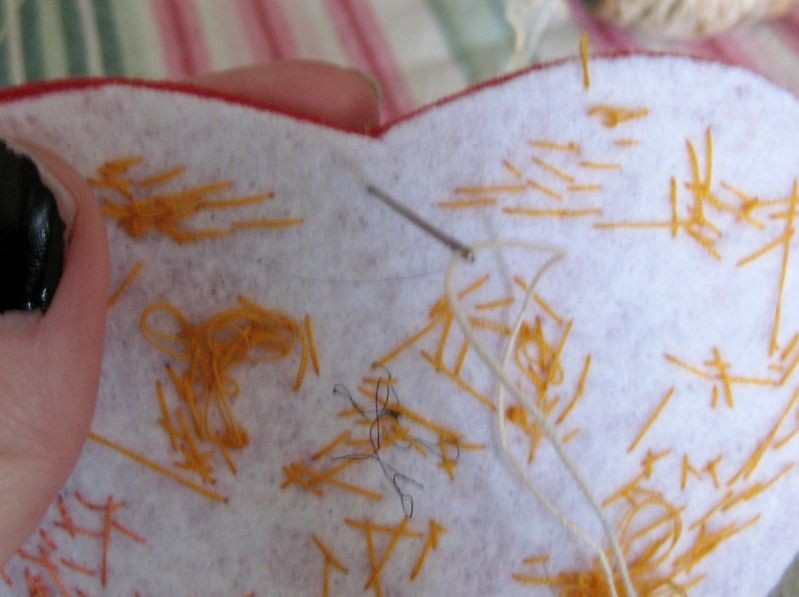
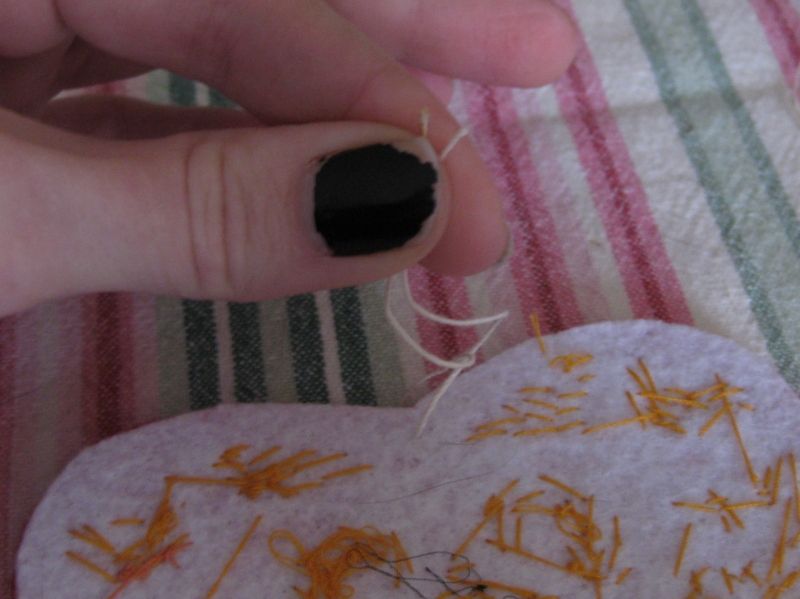
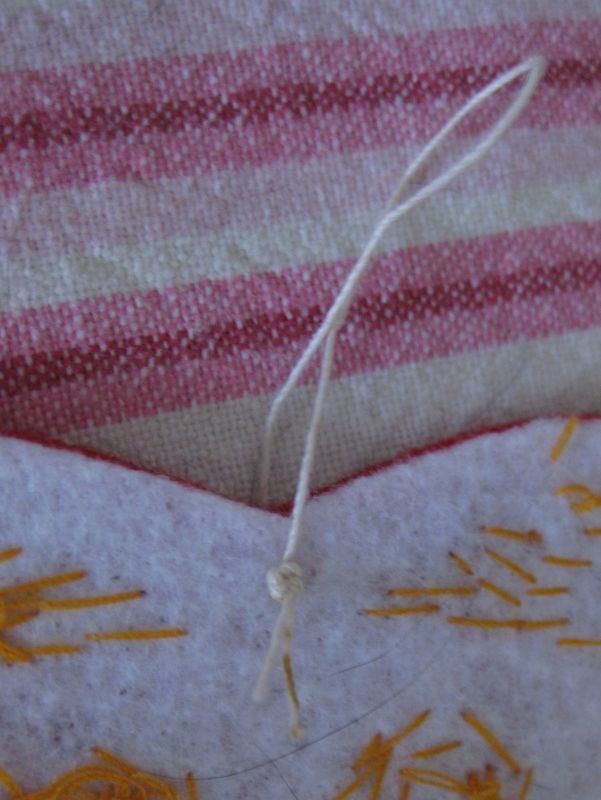
Next I wanted to hang them up so I found some old (and I mean old!) thread and used a thicker needle and threaded a small loop in the part of the ornament.


I am in love with how these turned out! My favorite is actually the turquoise! 


Totally Can't wait for the next challenge! Giddy!!! 

xoxoxo,
Lauren

LinkWithin
Related Posts Plugin for WordPress, Blogger...