Well hi welcome to my little blog. Just my little corner of craftiness, sewing, and refashioning. I am also a newly gluten free eater so you have a little bit of recipes mixed in here.

Friday, July 12, 2013

How to embroider the baseball bib

Previously I posted my baseball bib I embroidered myself

I thought I would do another post here that would break down the sewing and a little tutorial. :)

So I started with one end, knot the string at the end, start just away from the edge. You do not want to start right AT the edge-you run the risk of the stitch is coming out.
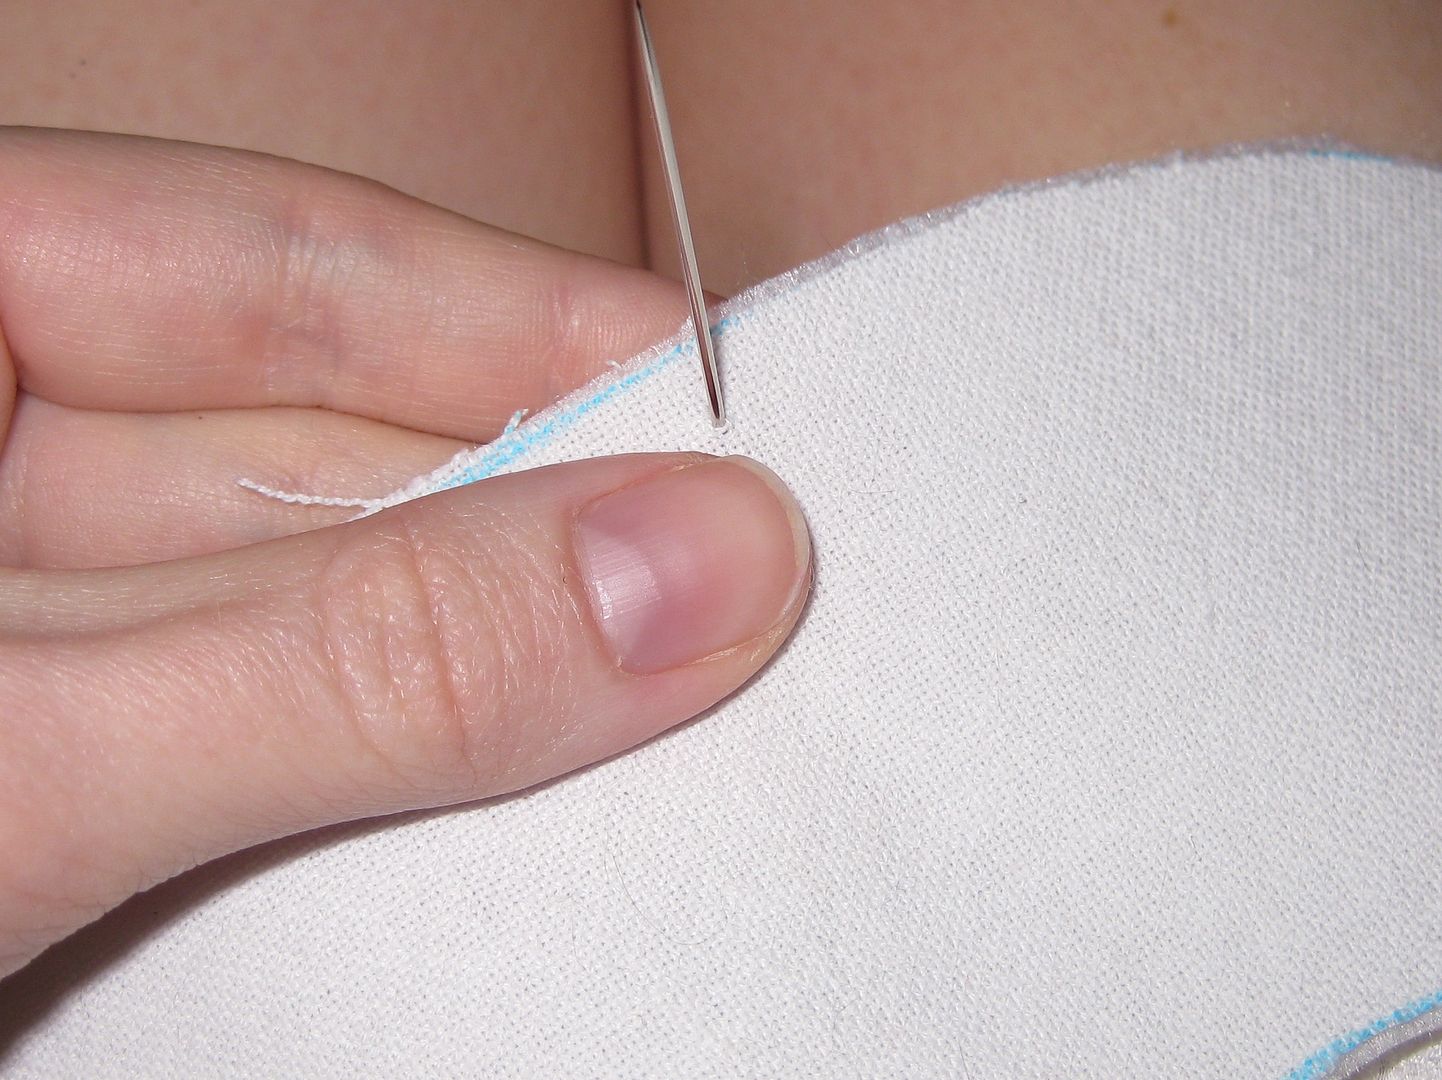
Then bring the needle down at the edge
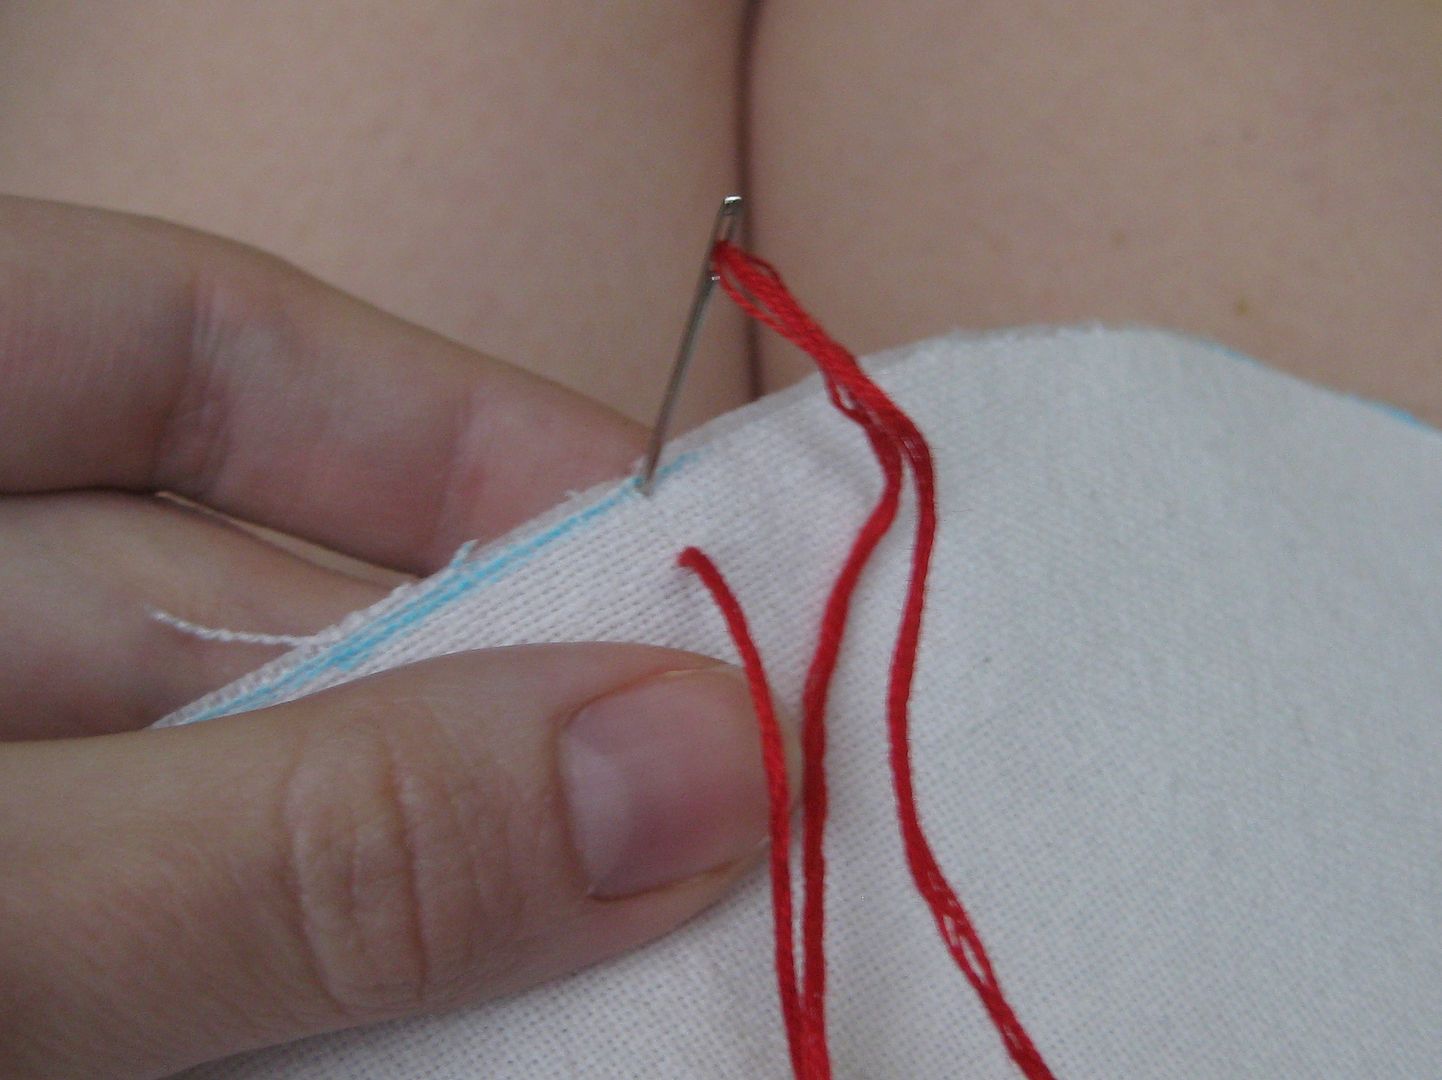

Now to start the "baseball stitch" I am going to show you 2 versions. They all start the same...
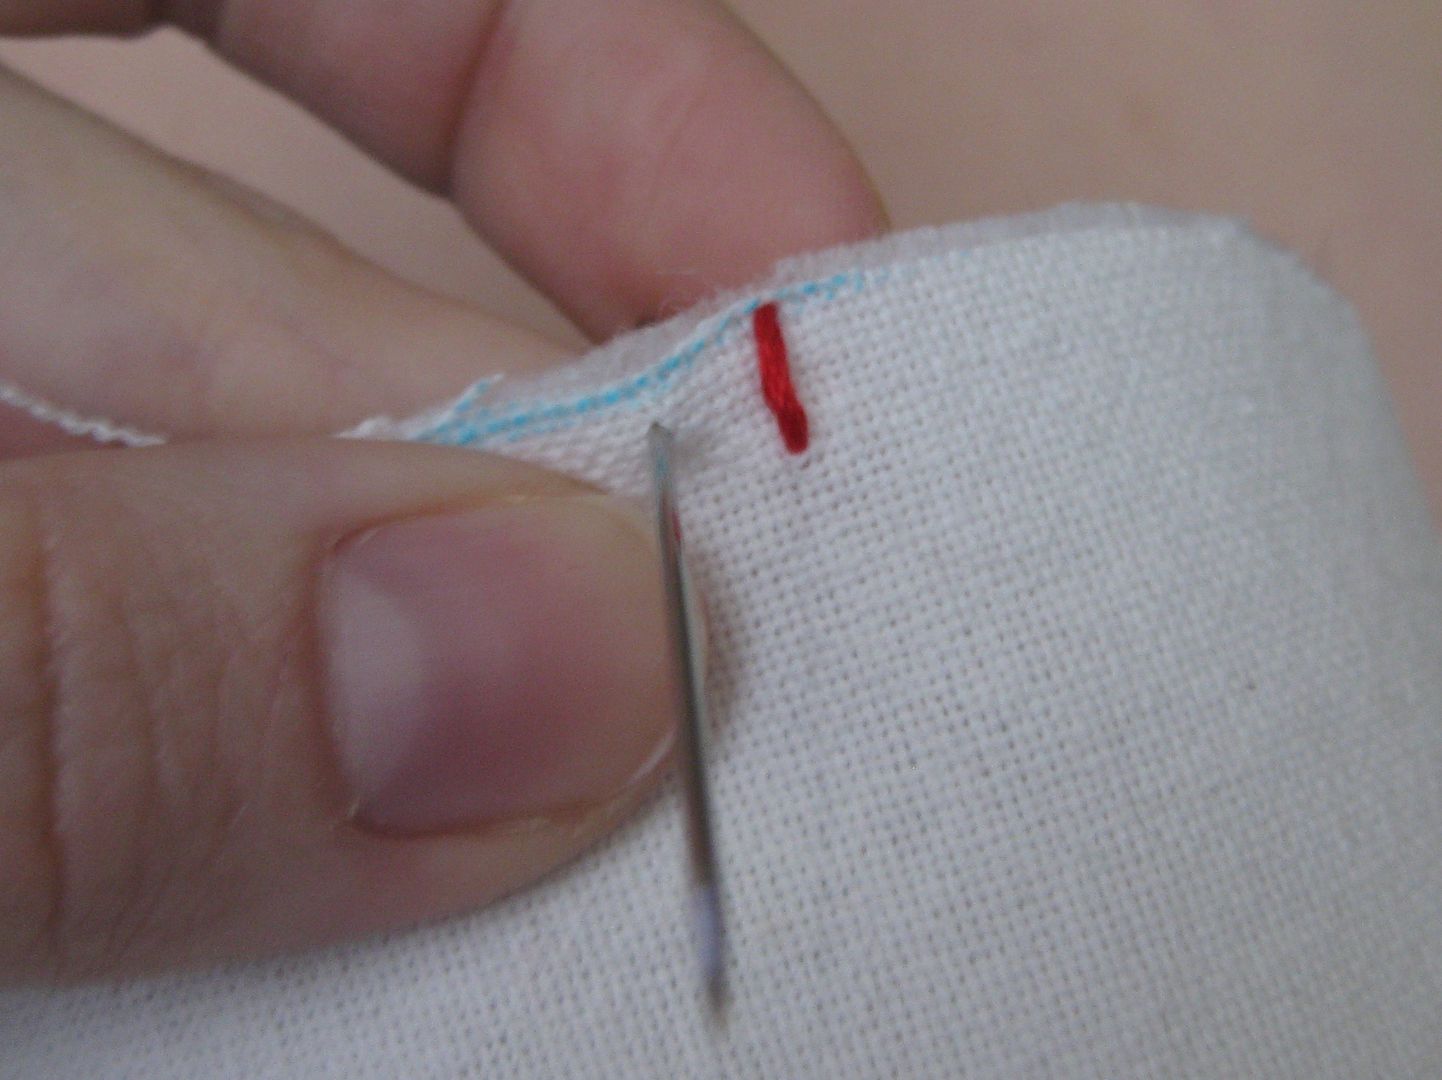
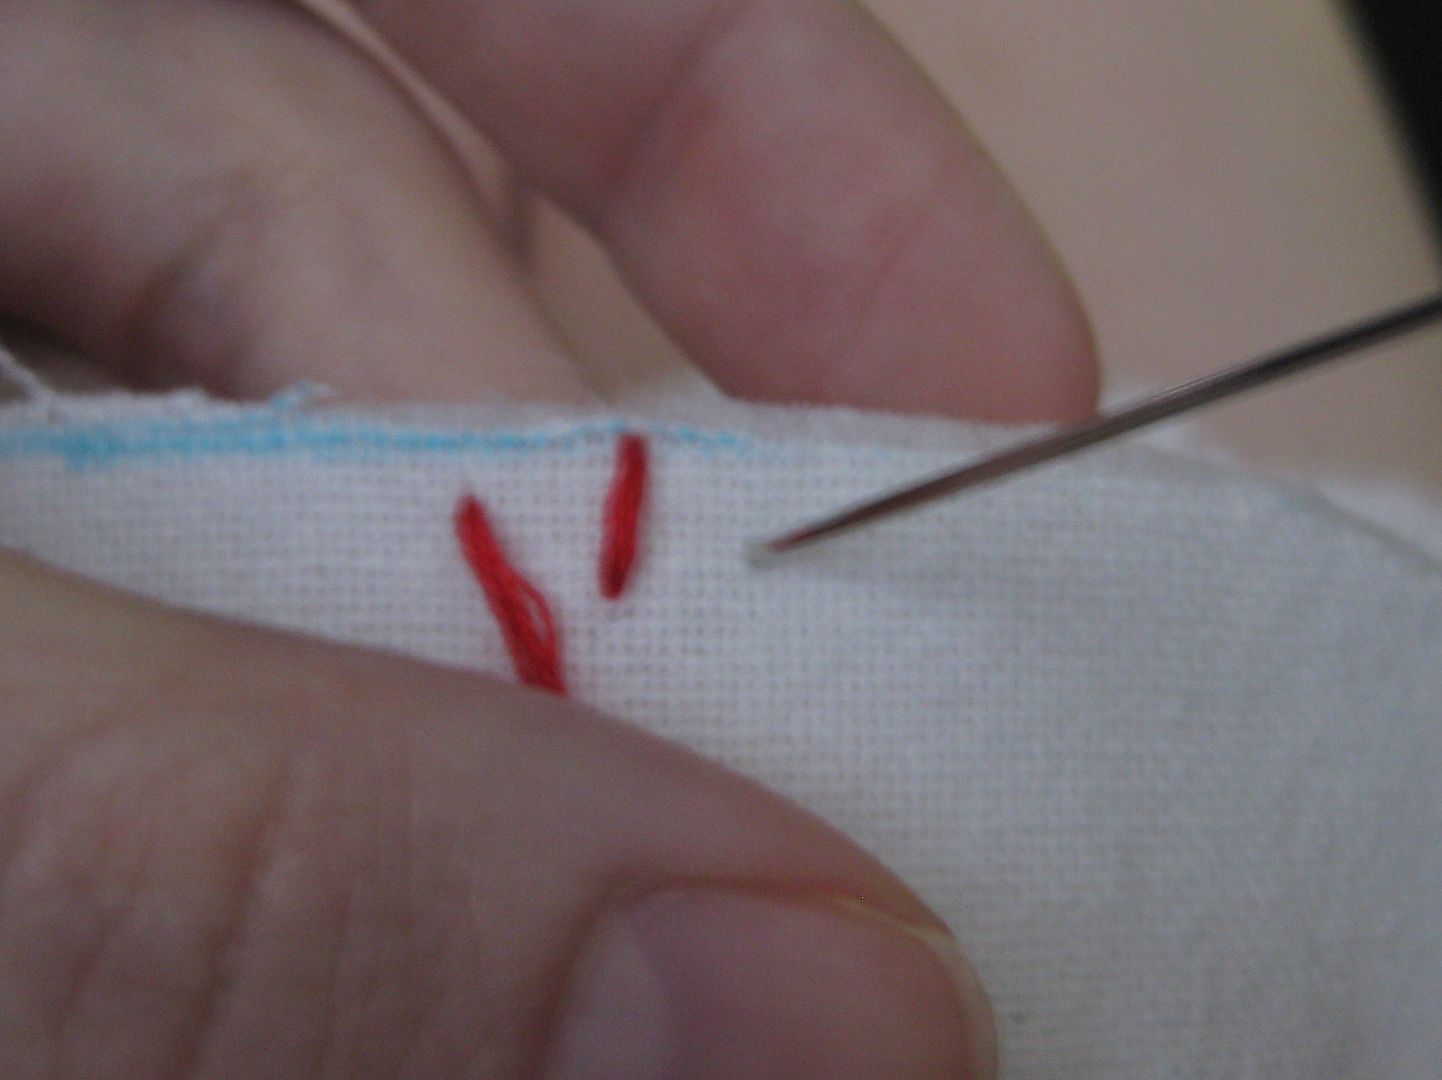
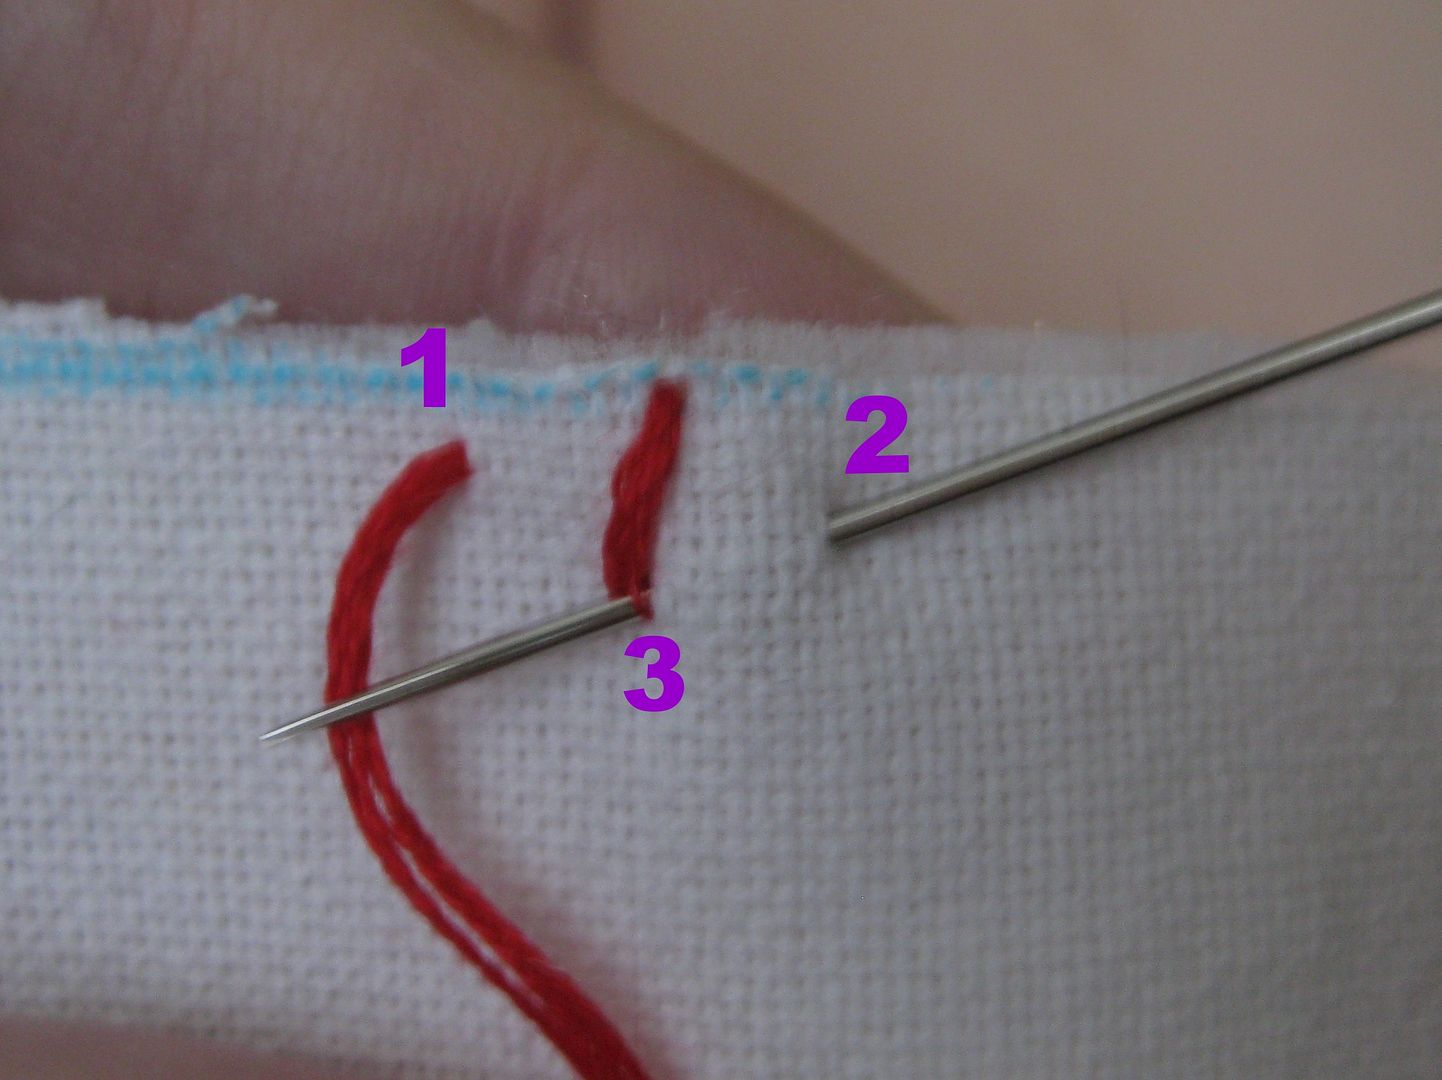
Anchor with the needle coming down right at the Y
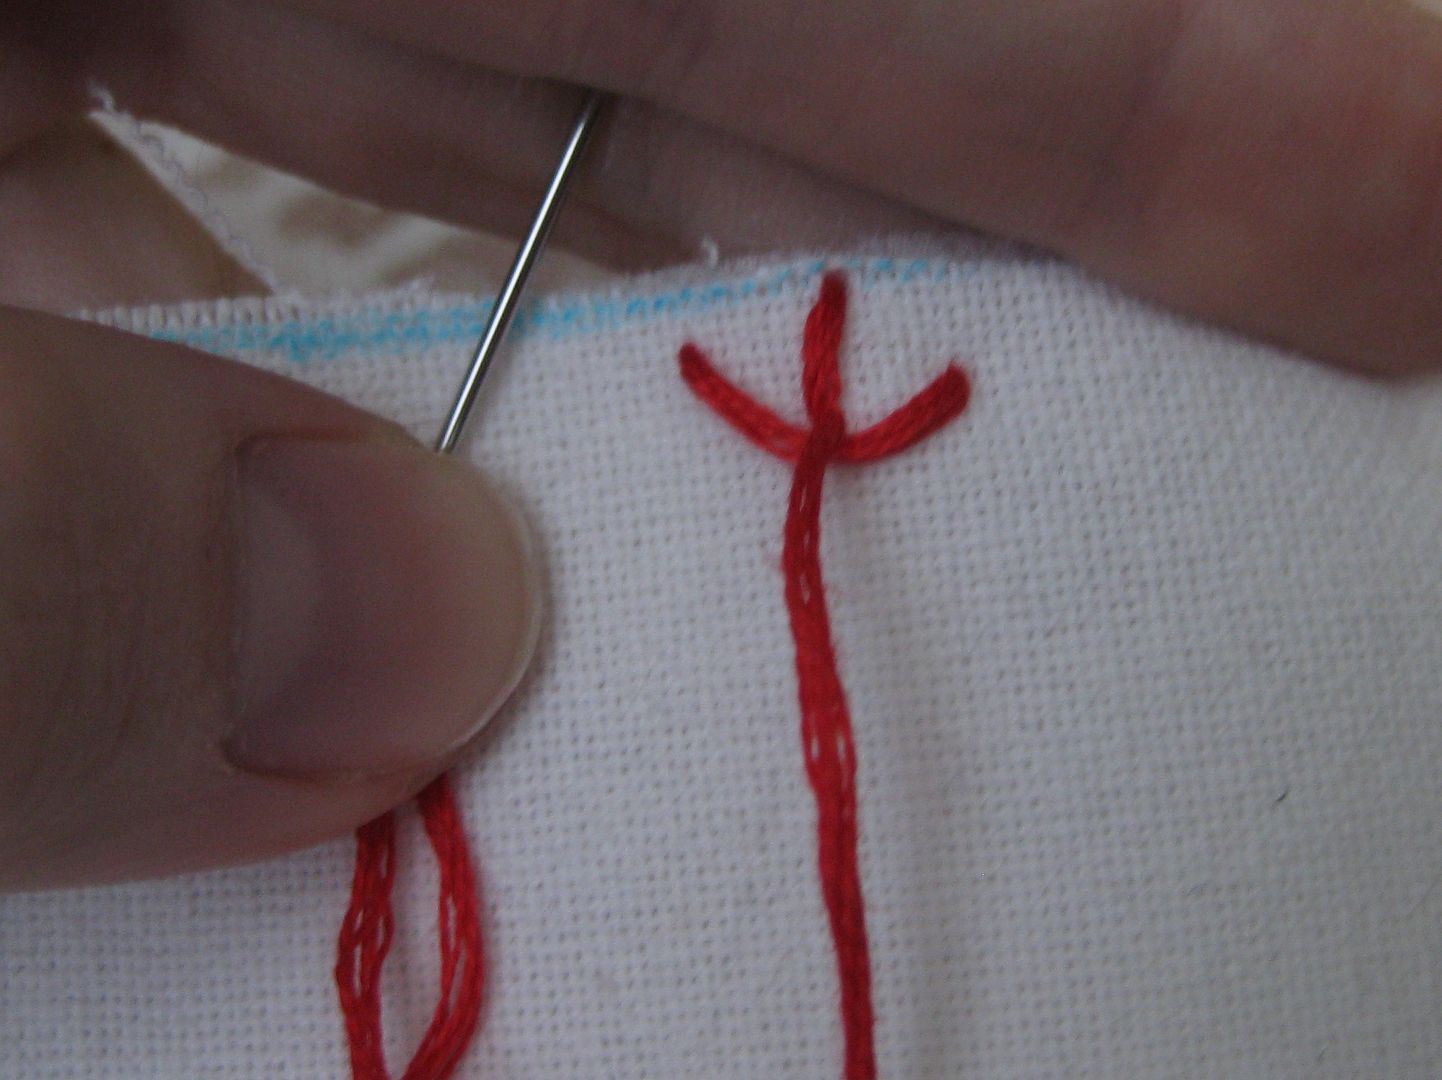
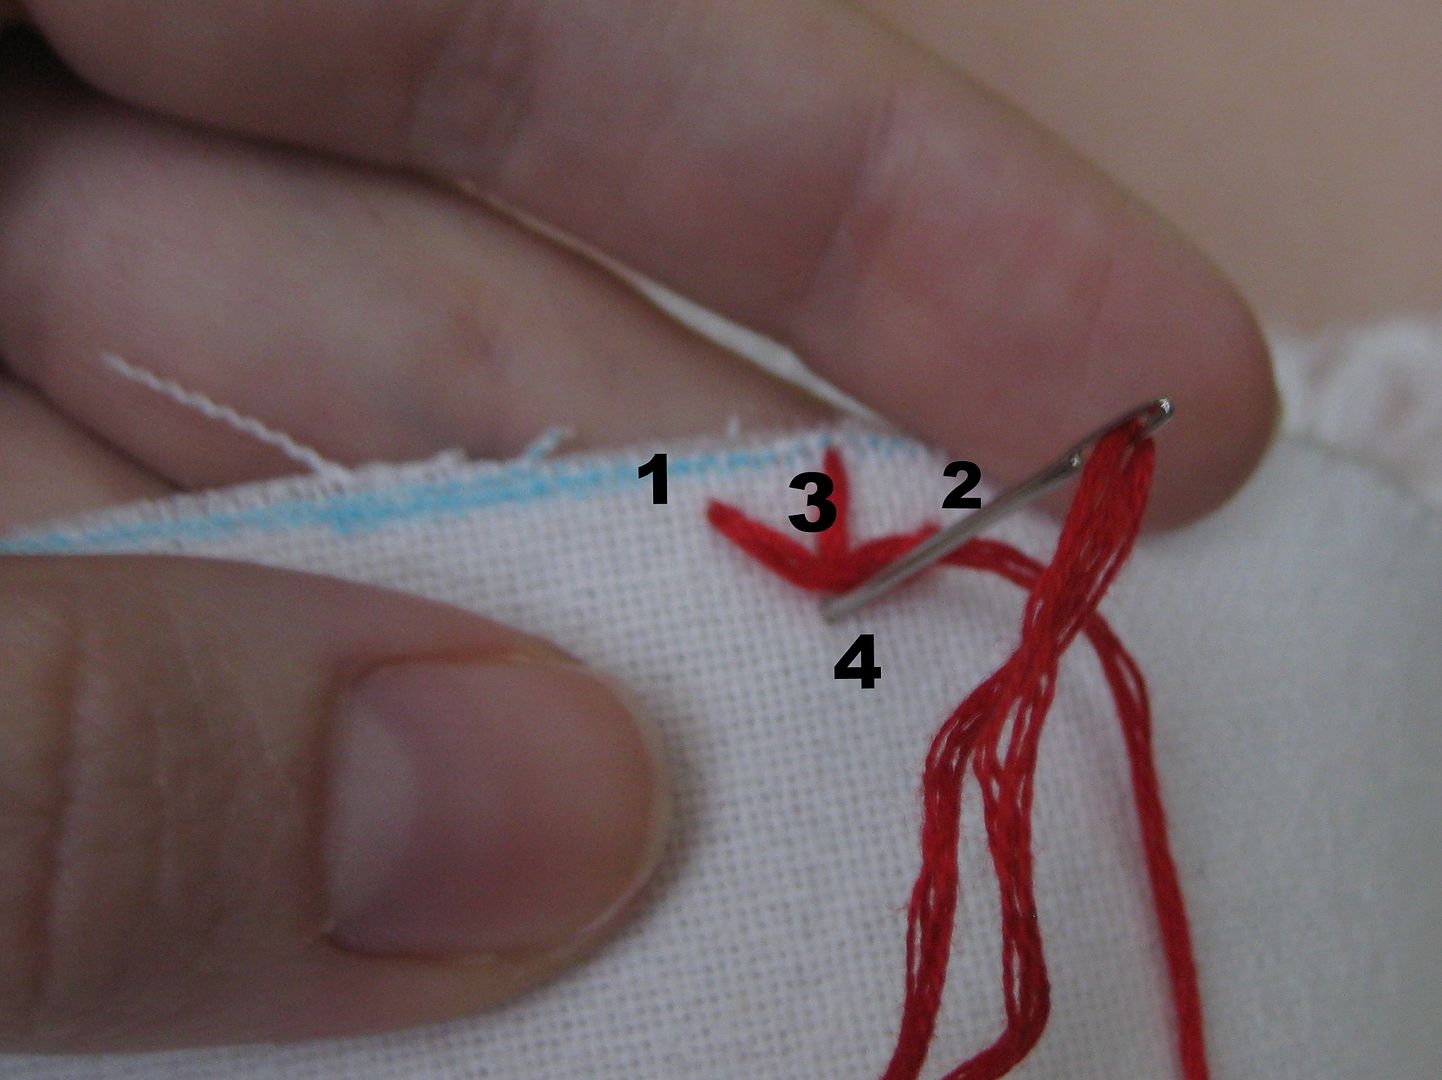
Done with our first baseball stitch!
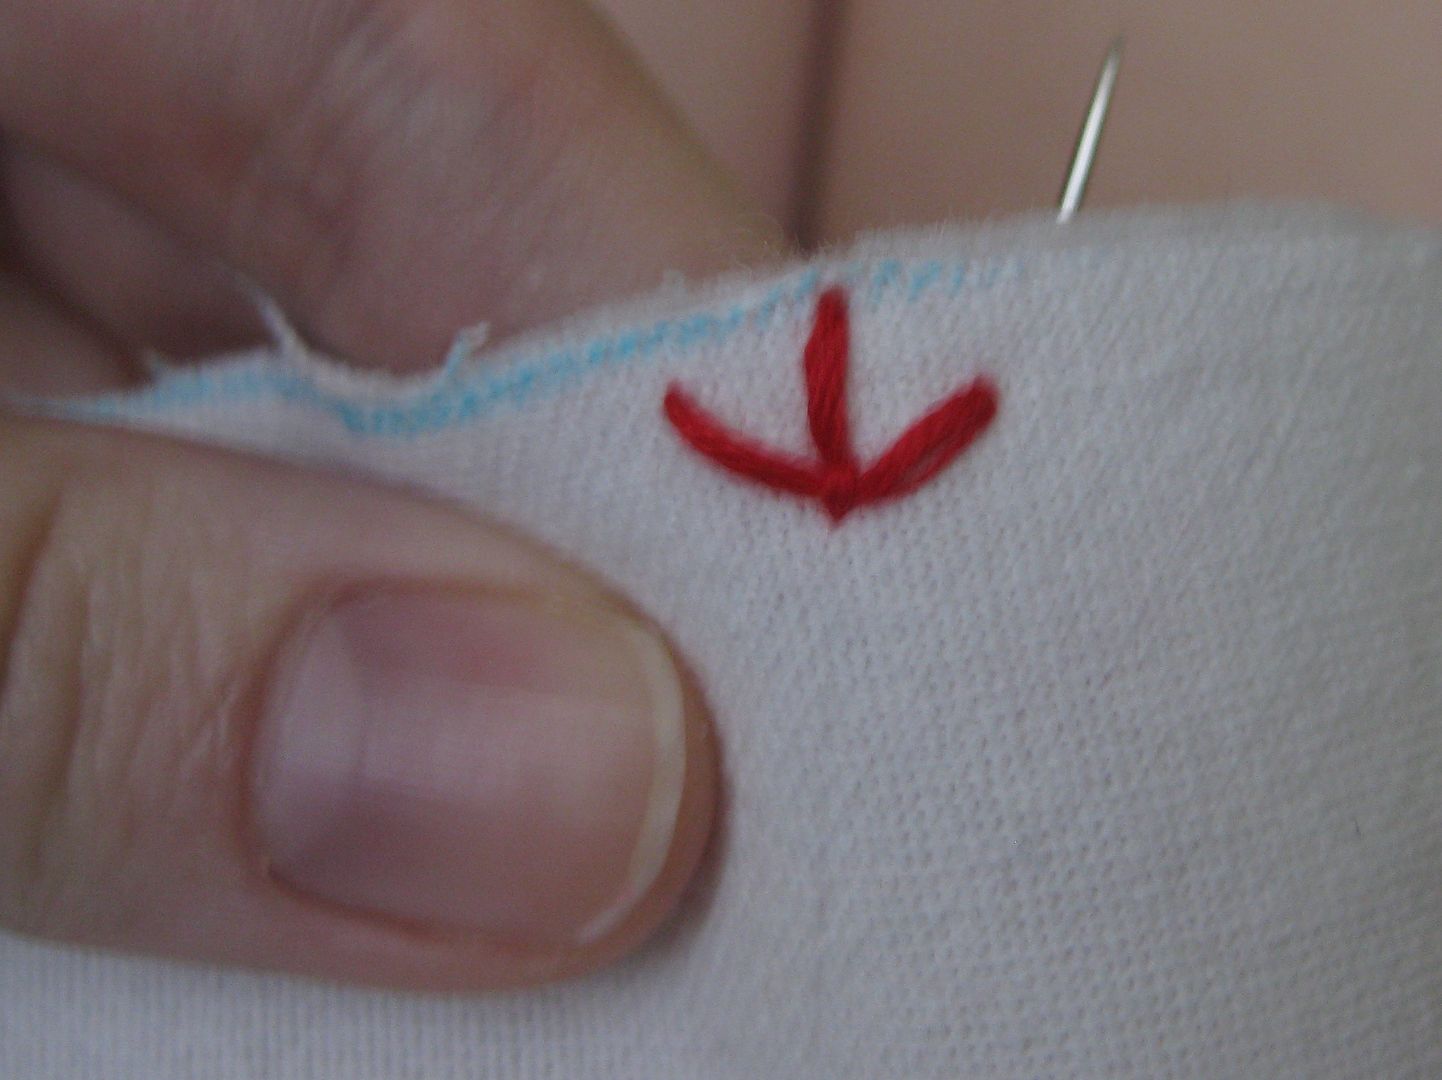
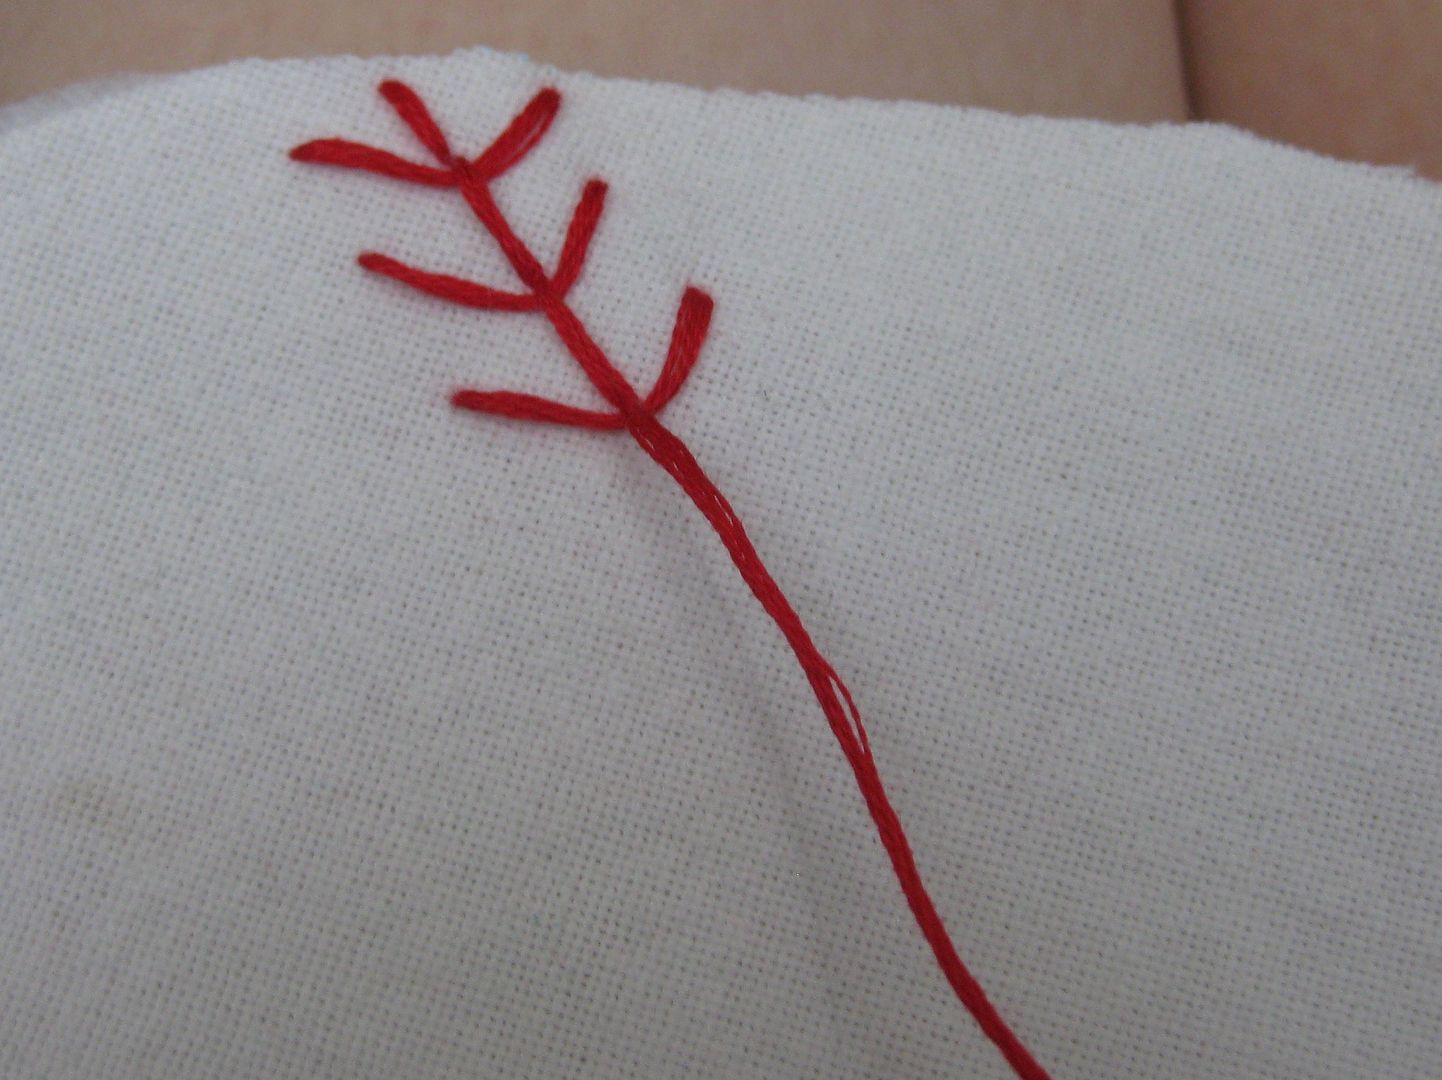
Ok on to the next stitch. Try to make the straight stitch-about the same length of the previous one. Start away from the group and go to your previous stitches
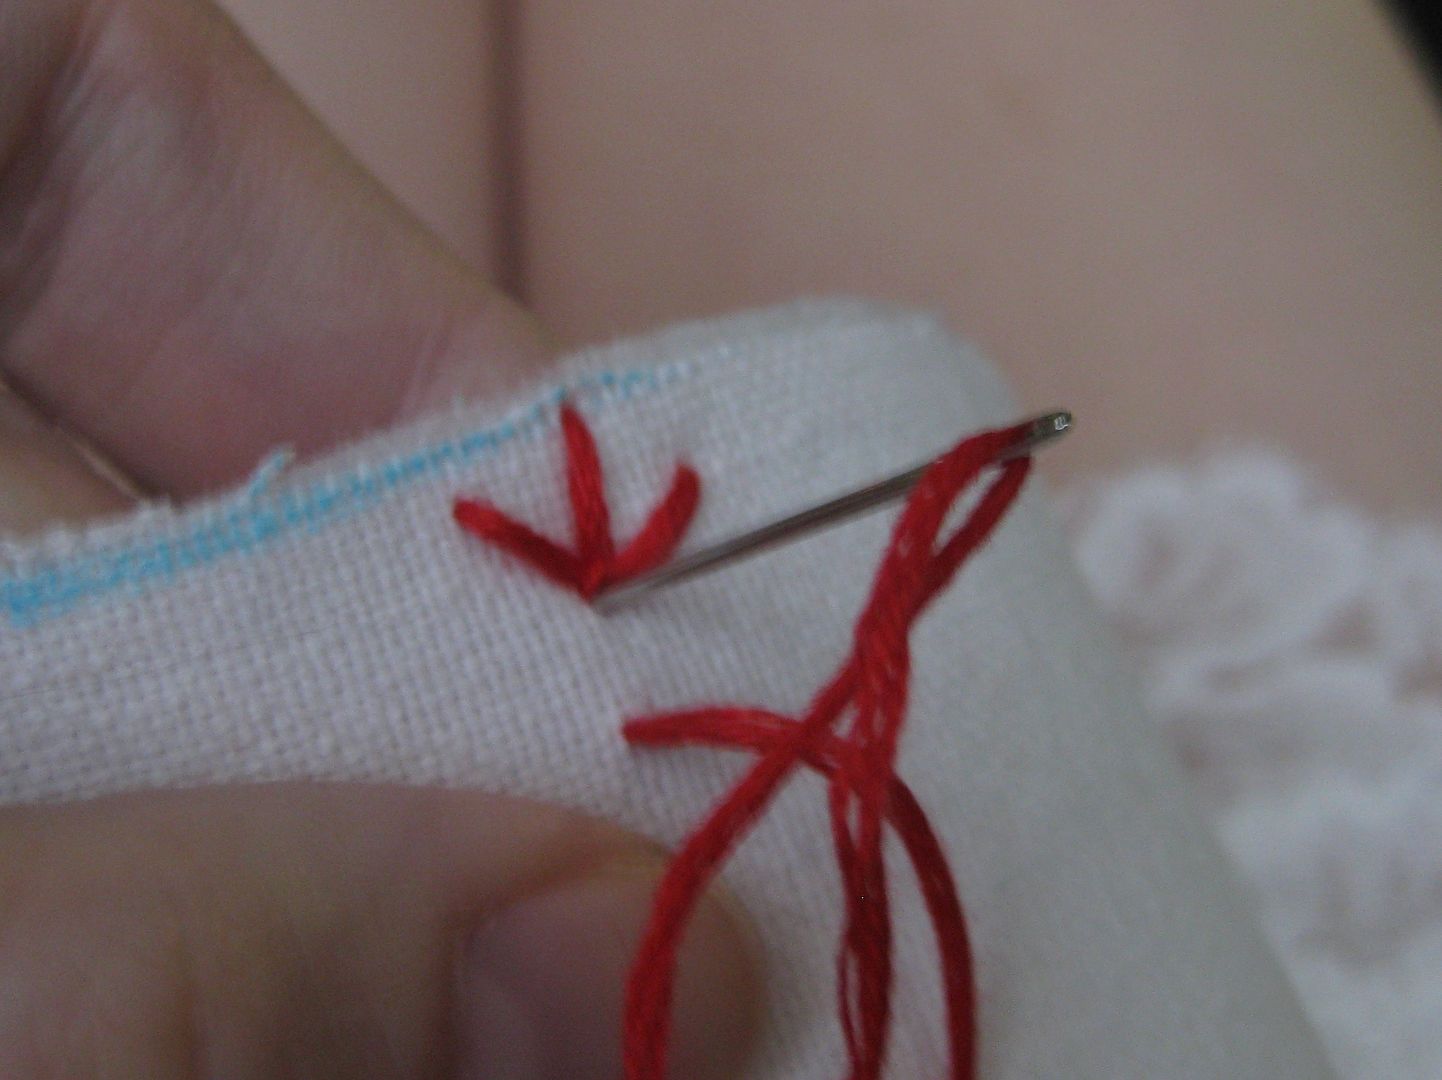
Repeat the 1-2-3
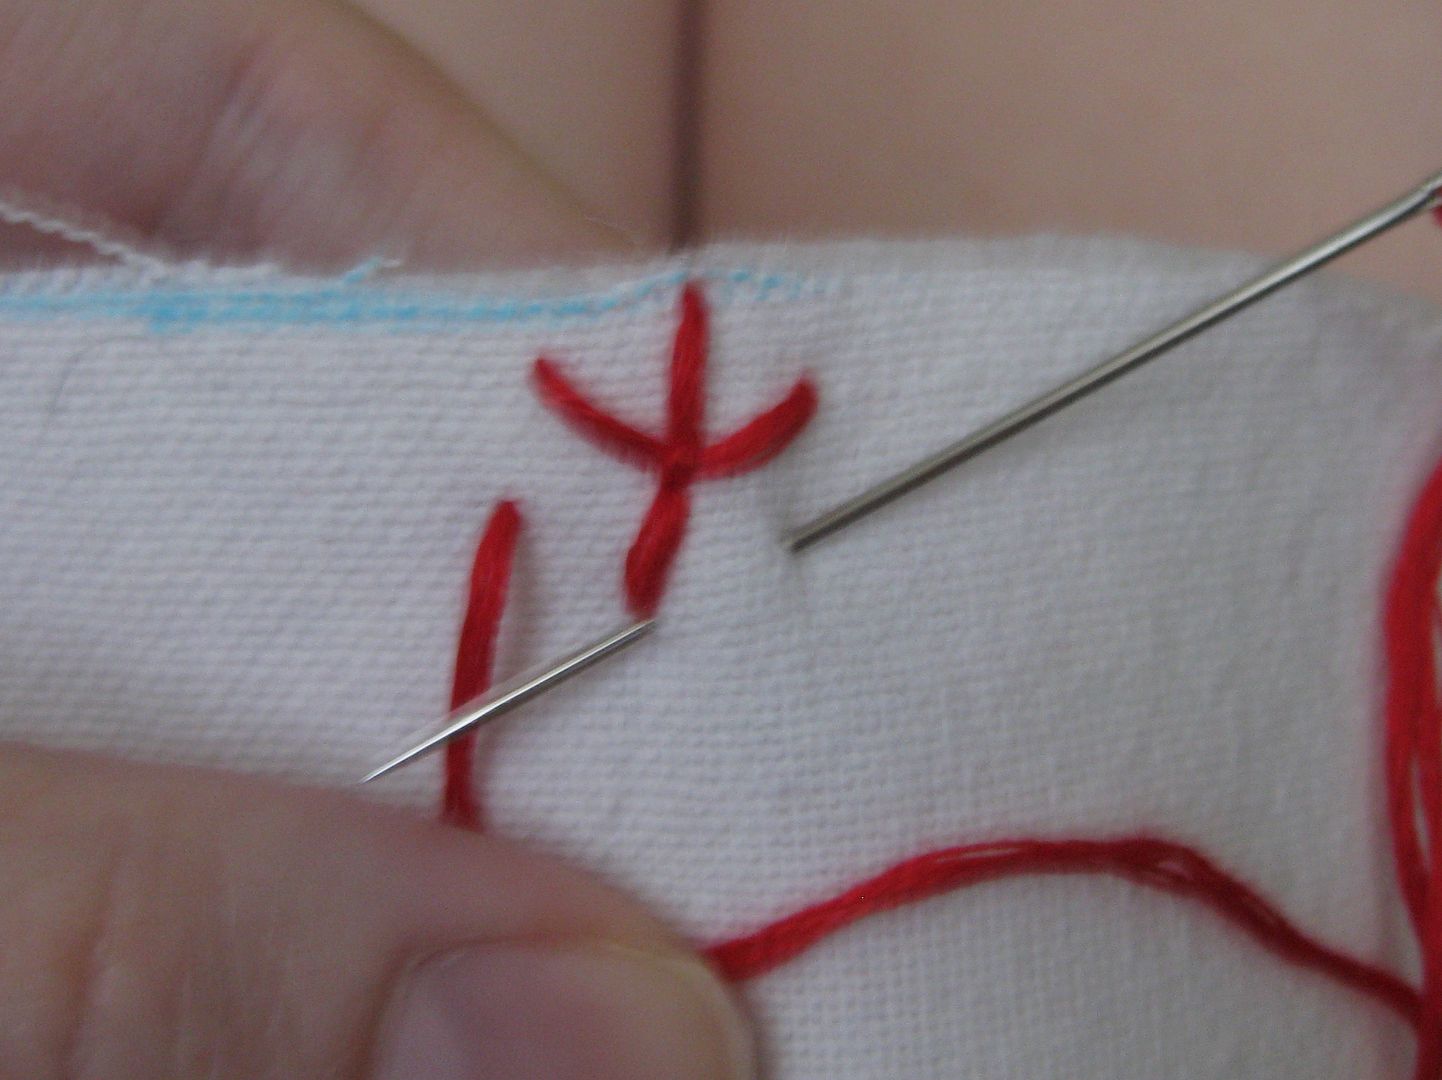
Anchor
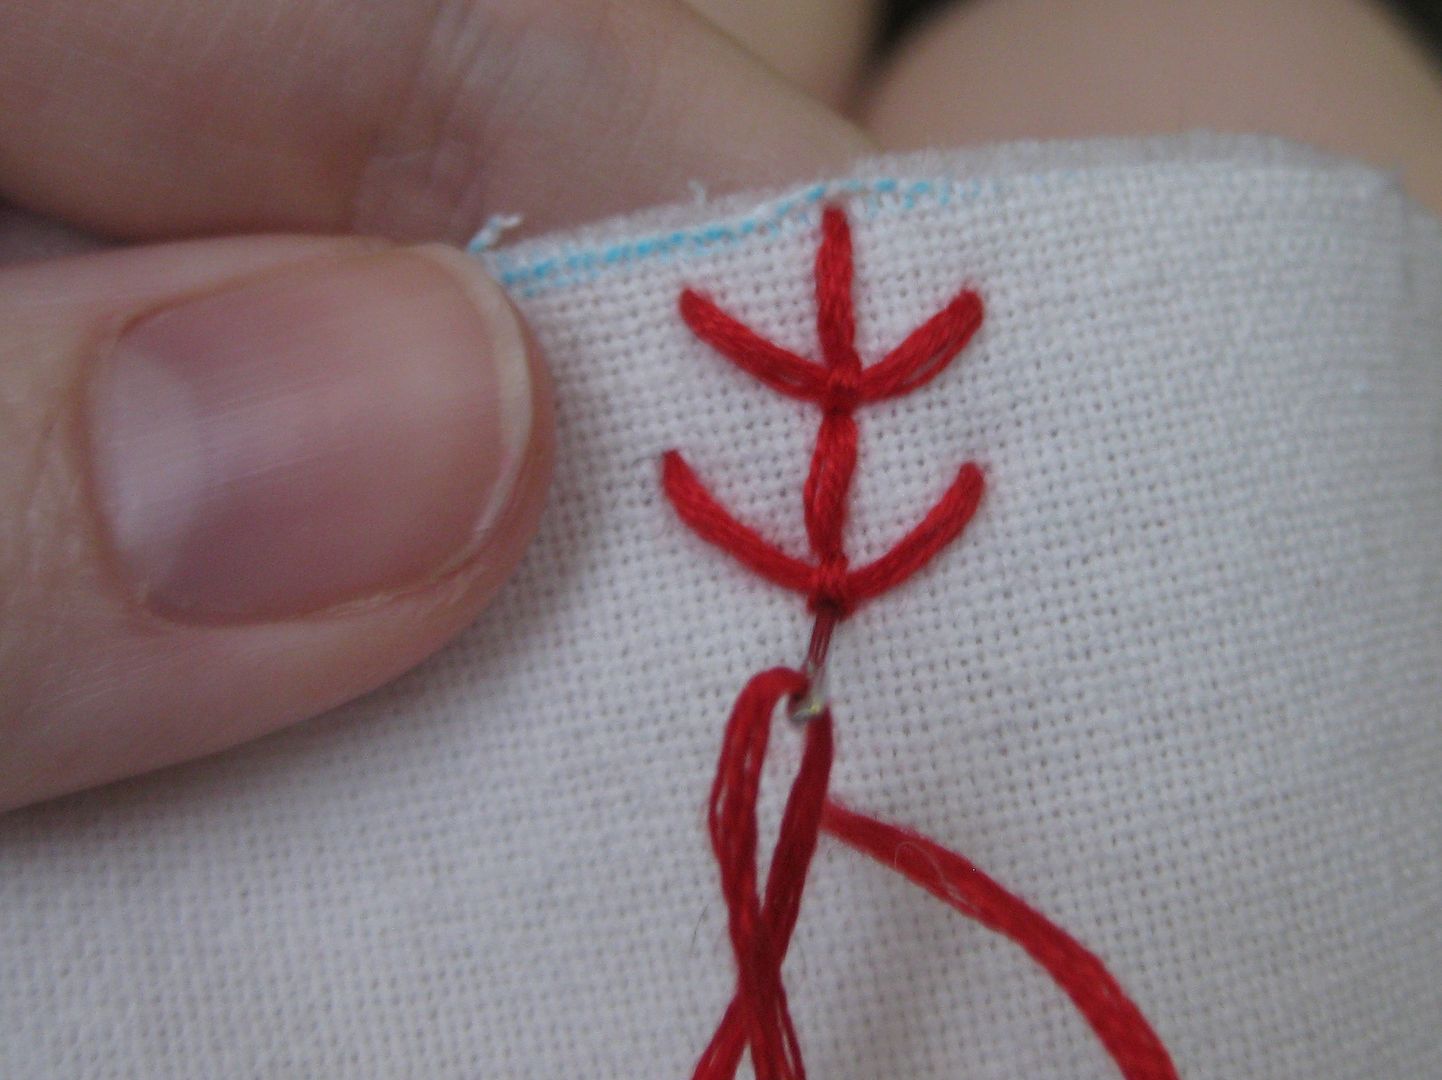
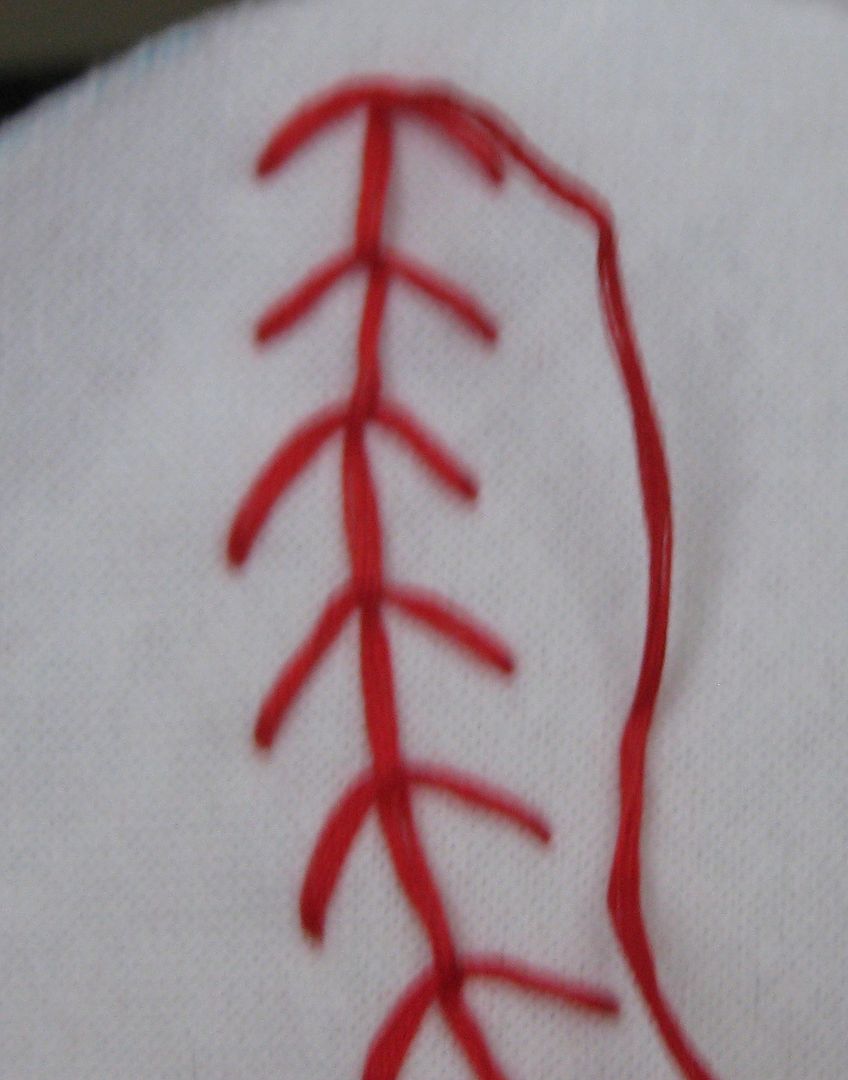
Keep going. Now to keep them even. I try to keep the inner stitch the same length. For the outer stitches, you want to keep a V sort of appearance. You want to keep the curve going too. You want to try and keep the distance similar.
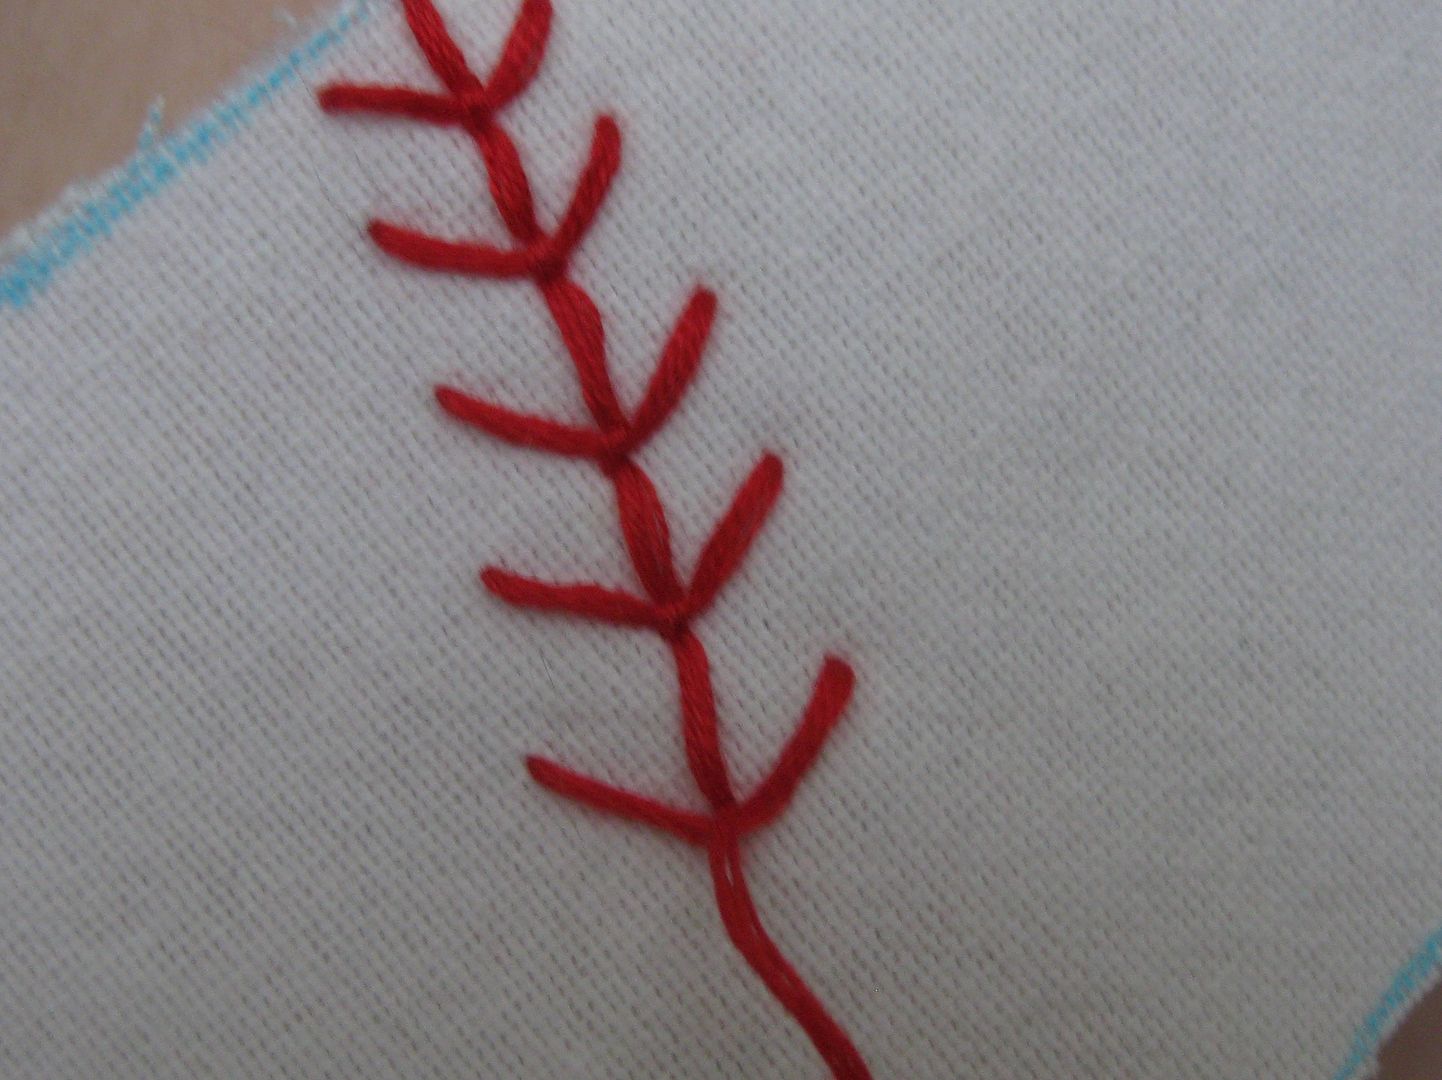
Now all what I have done so far has a bit of a flower stem appearance. Which is fine but there is a way to alter this to get rid of the "stem" appearance. 
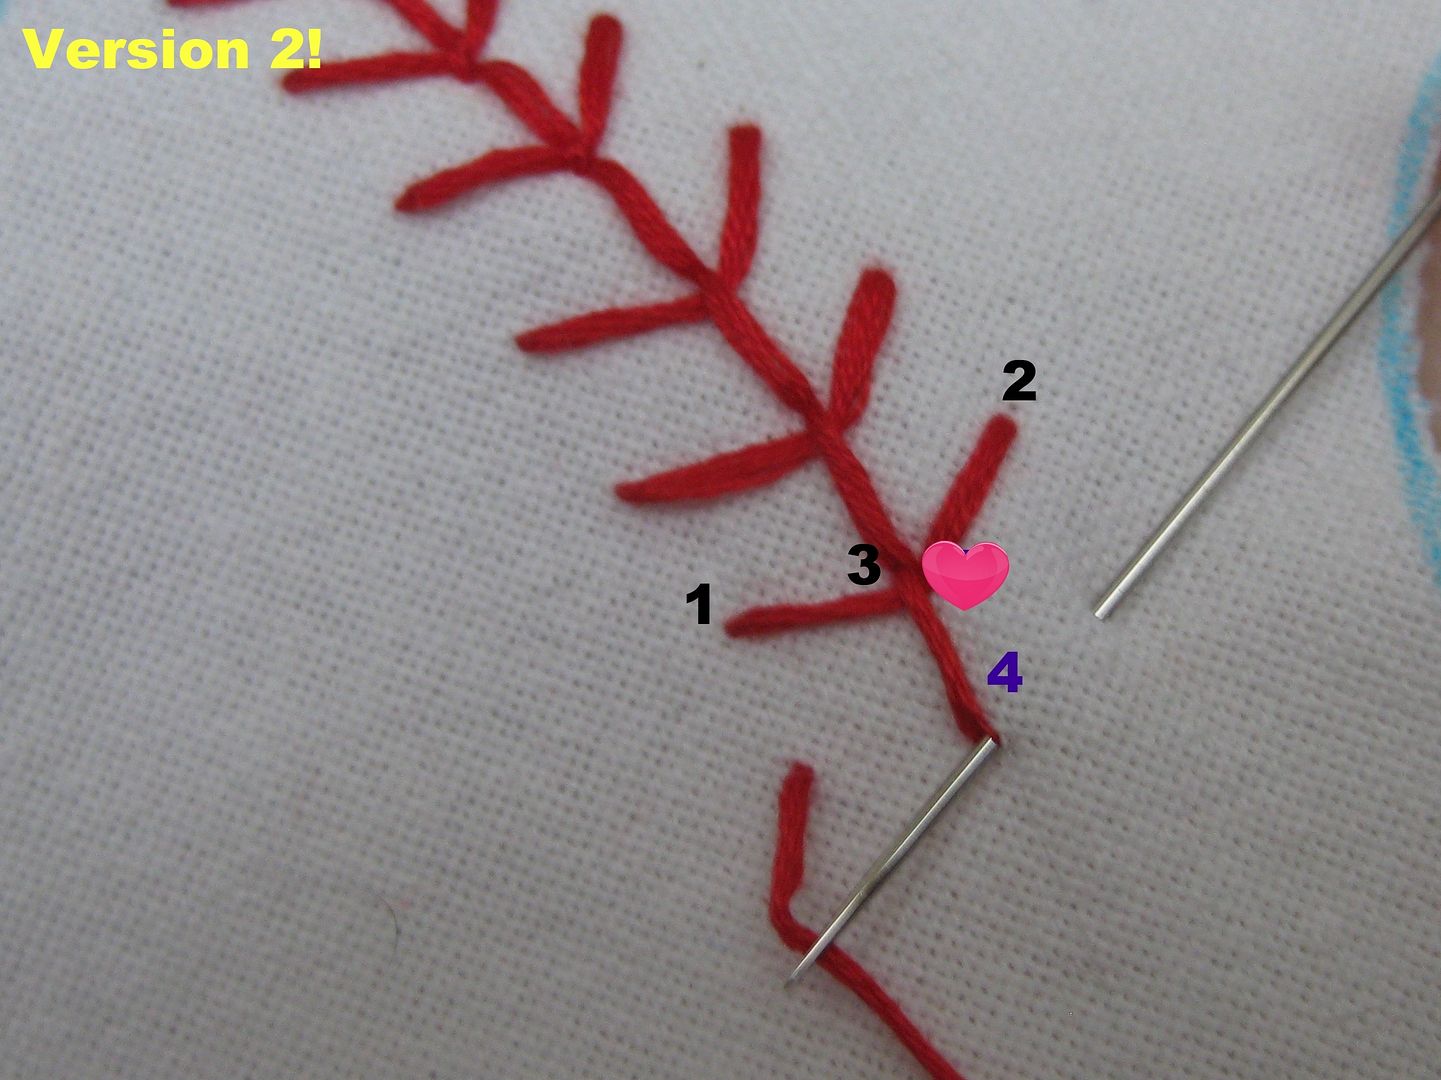
Here is the next version you can sort of see the difference.
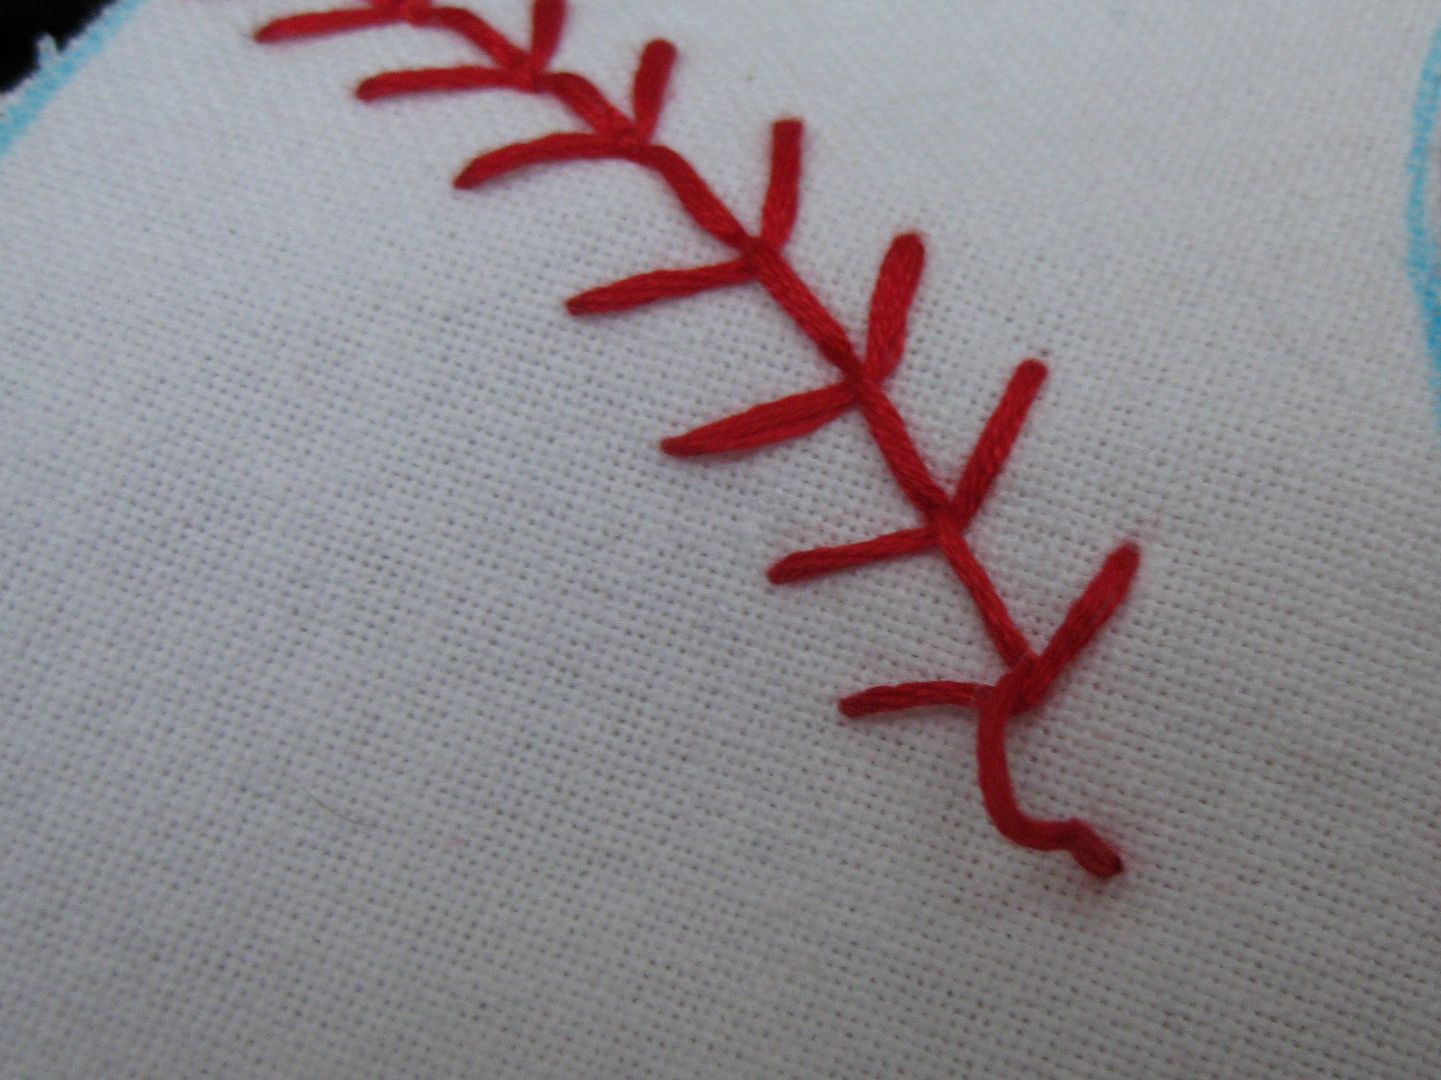

So it has a different appearance. Just a bit less stitches. 
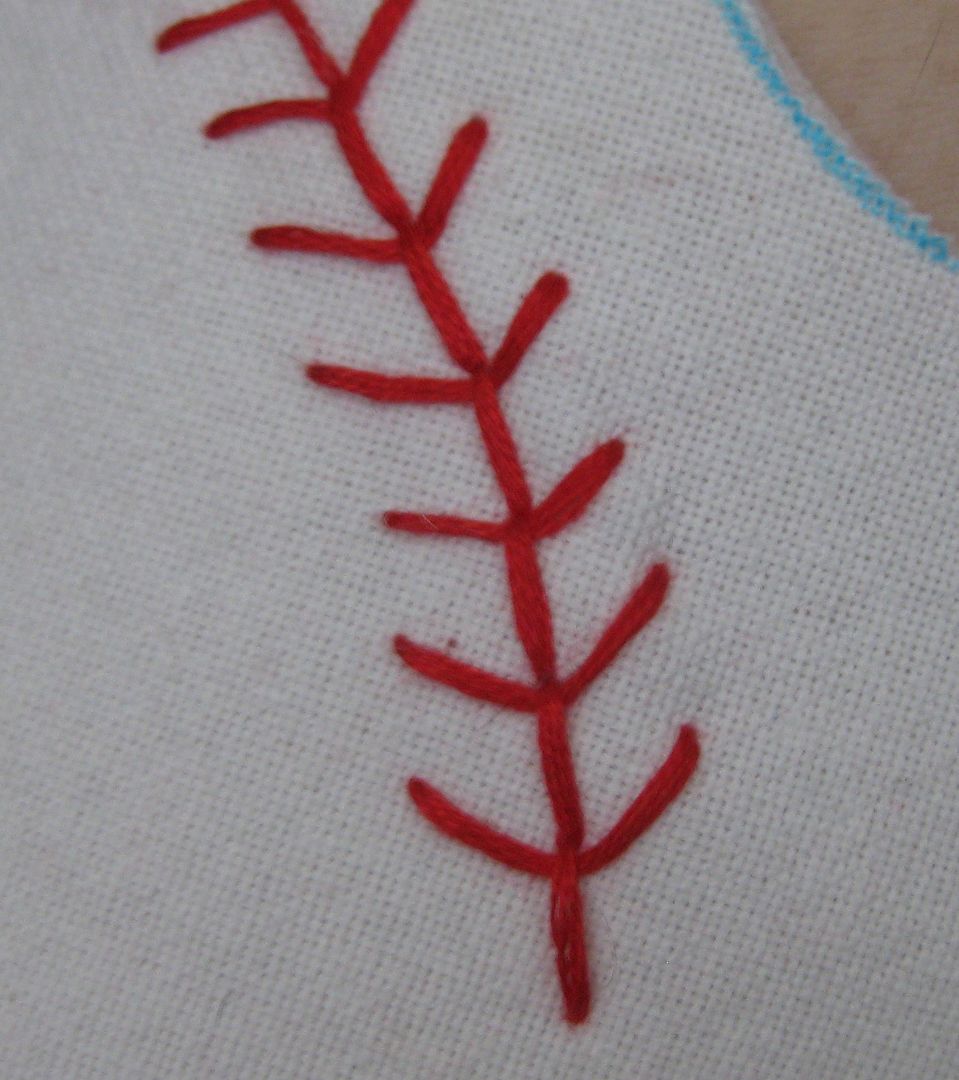

Here is what the back on my bib looks like. 
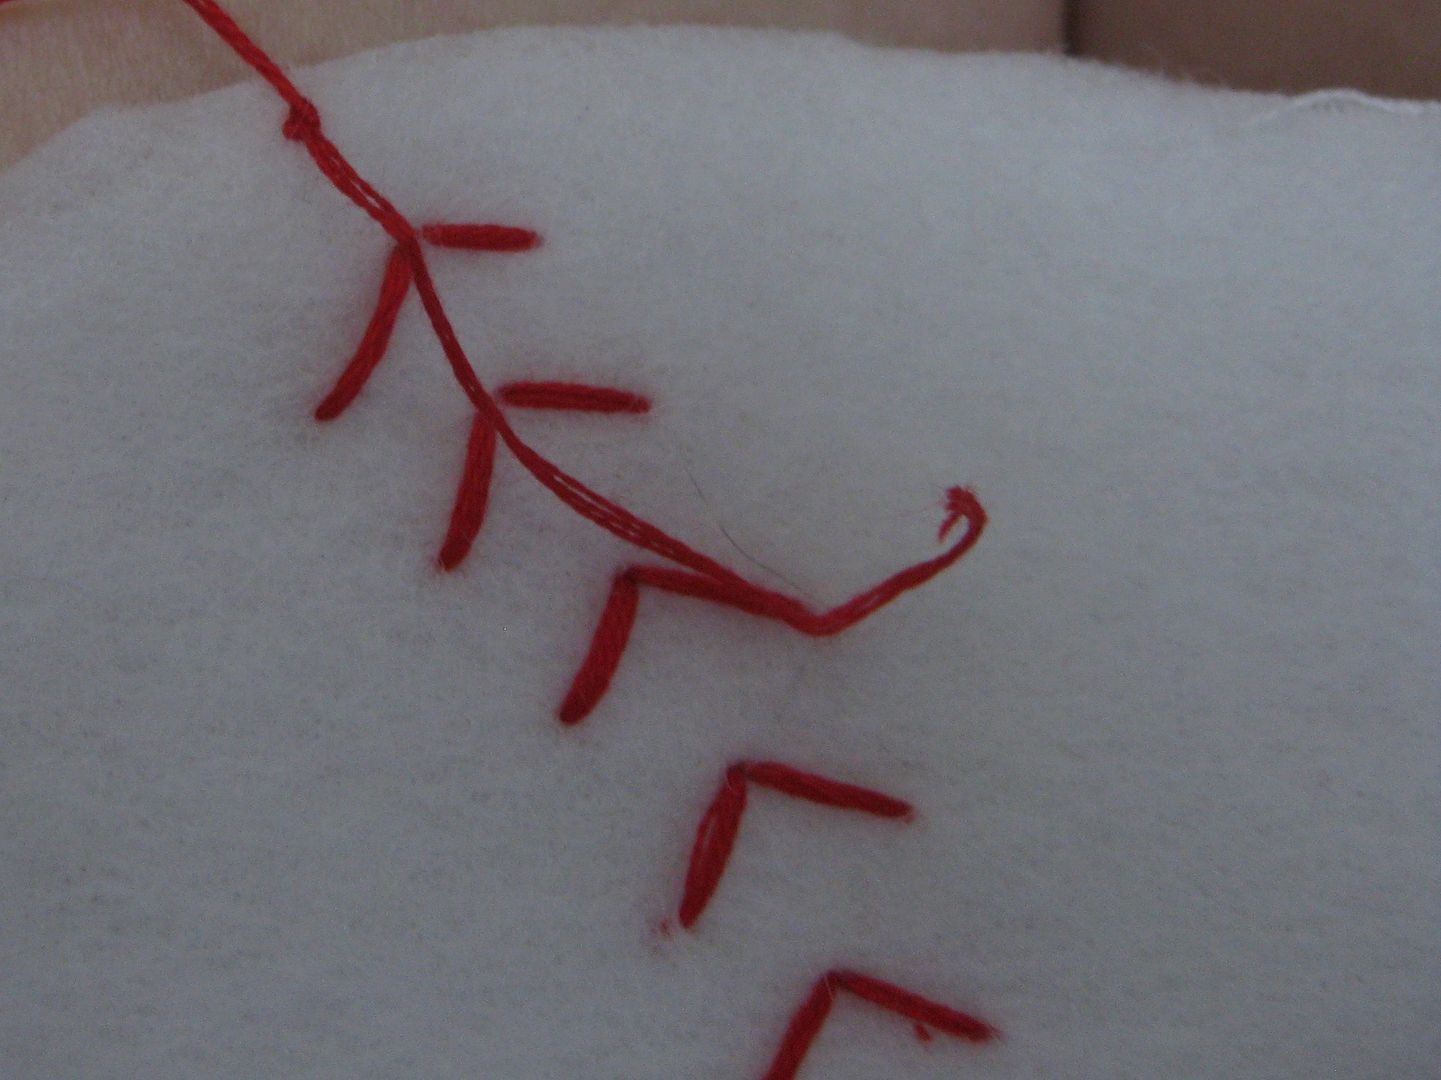
Keep going to the end! Knot and secure the thread.

Time for other side. I started at the opposite end so the stitches will go the opposite way. Which will help you with not having to match the stitches. Which would drive you (me) nuts. Repeat just like you did on the other end. 


It is not hard. The first stitches are hard but once you get your flow it will fly by! :)

Of course here is the finished product

Hope you enjoyed the tutorial! :)

Cheers,
Lauren

Wednesday, July 10, 2013

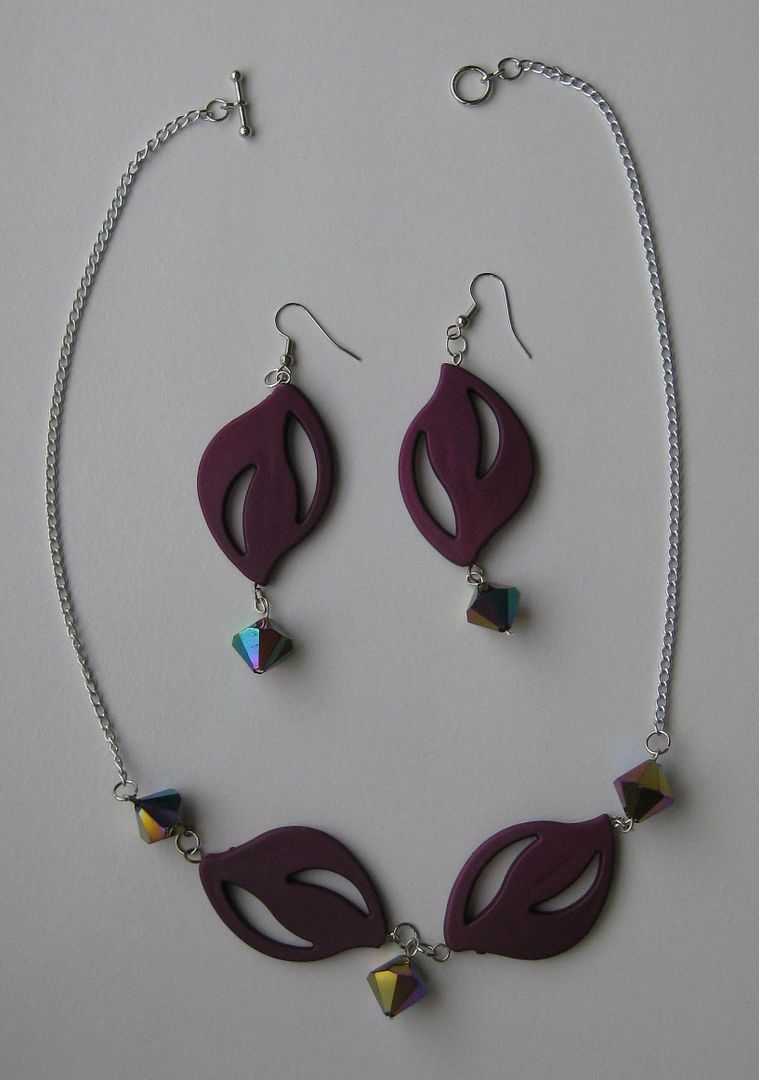
Purple Earring and Necklace Set

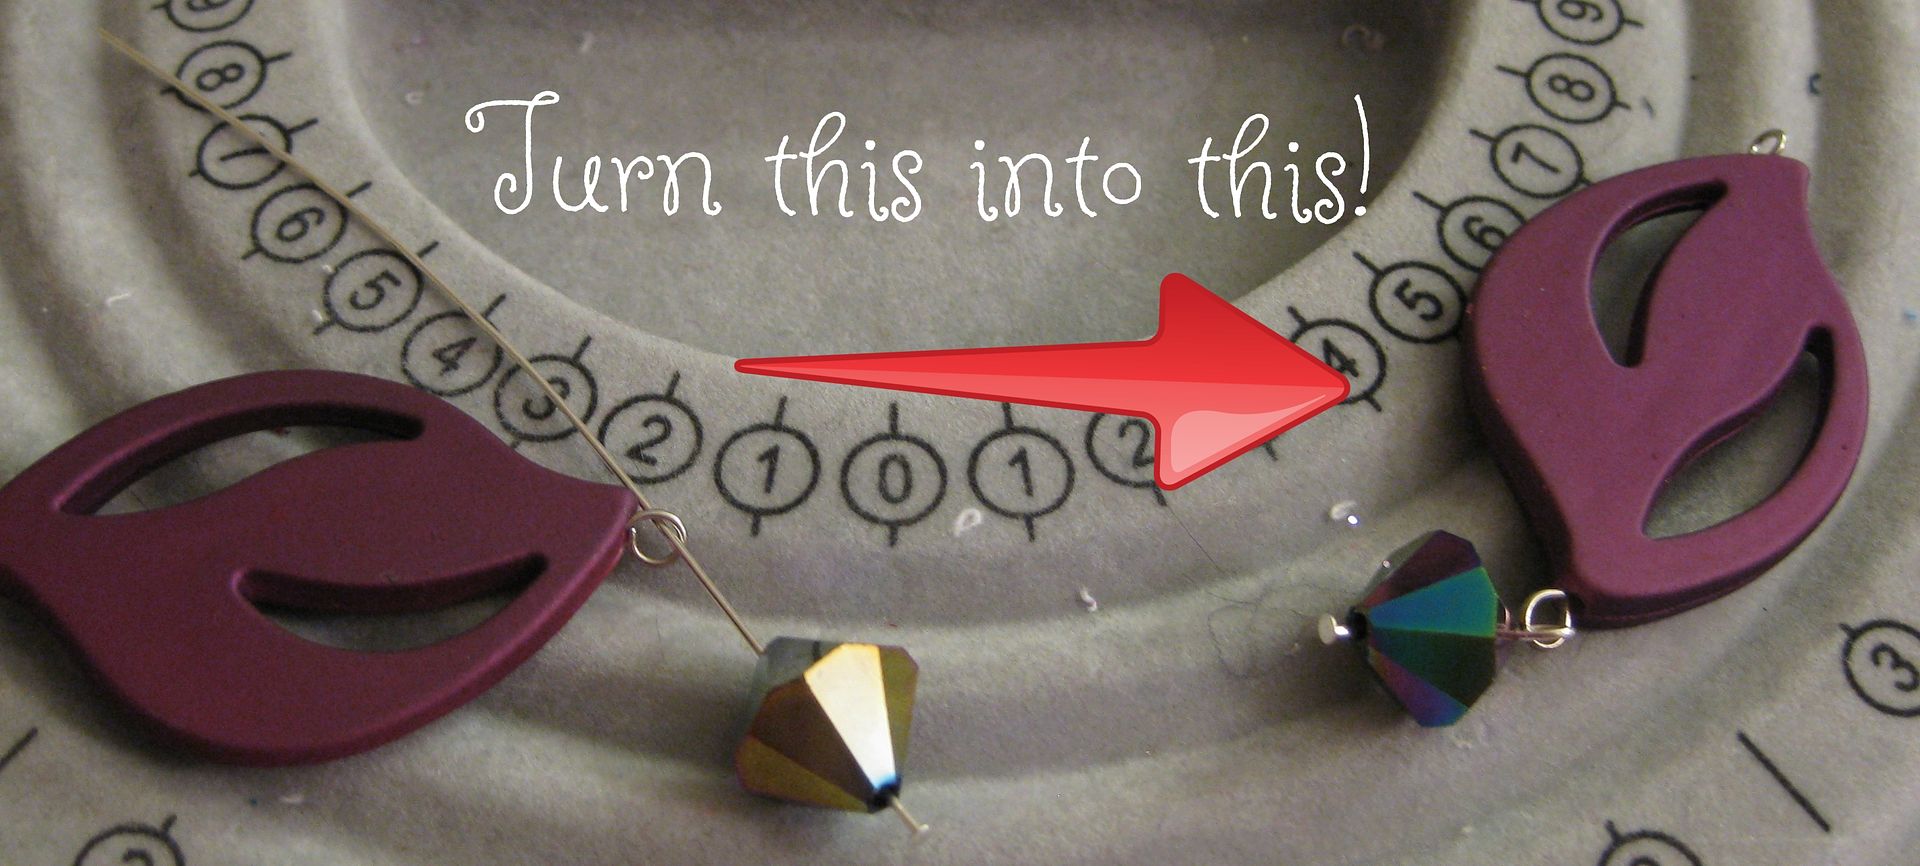
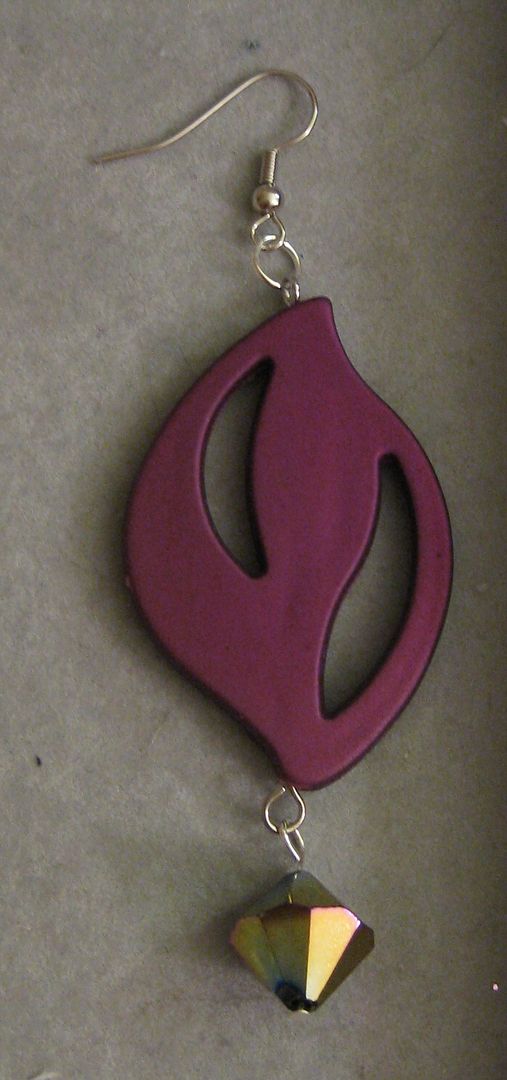
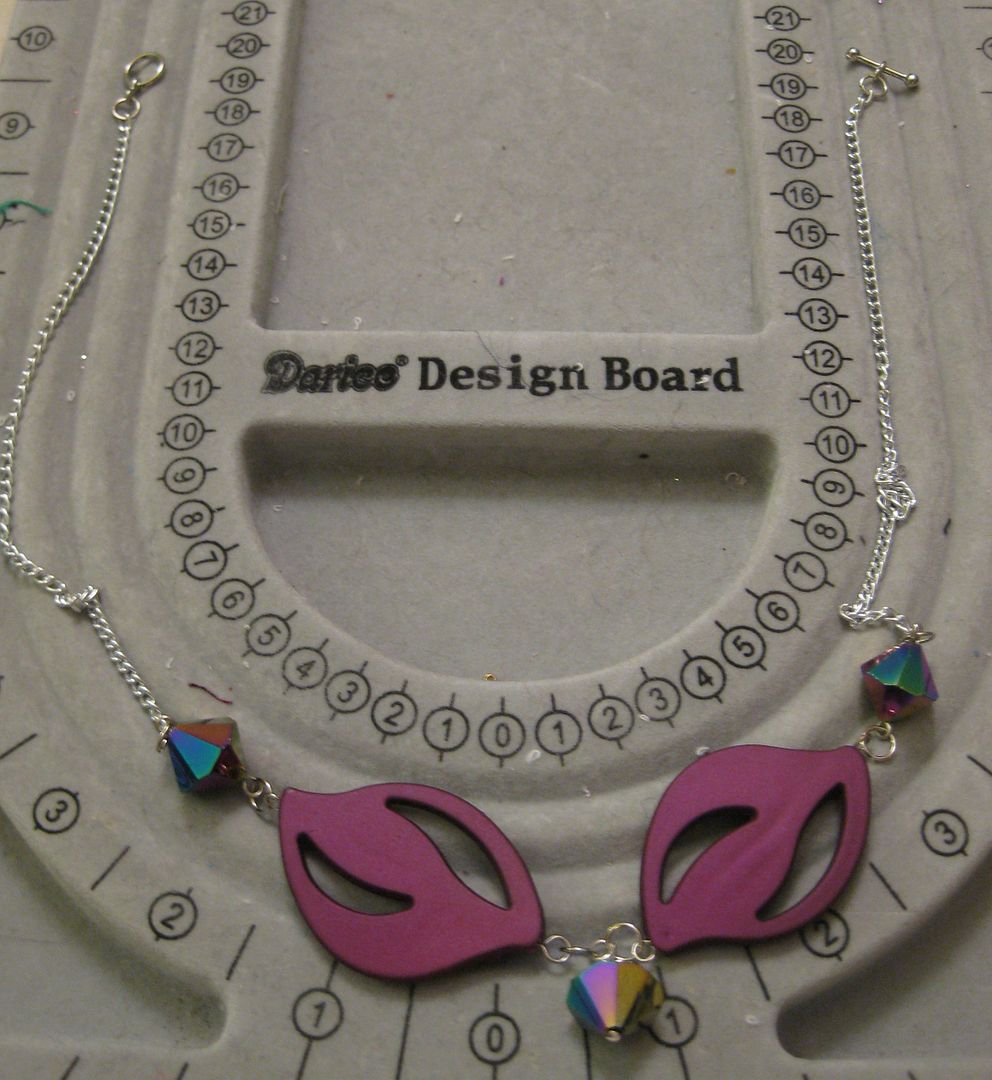
Just messing around with beads.... I decided to use up some of my beads into a necklace and earring set. First the earrings- simple end pin with a earring hook


necklace I just combined everything

added chain

Done!


Can't wait to wear this set!

xoxoxo,
Lauren

Monday, July 8, 2013

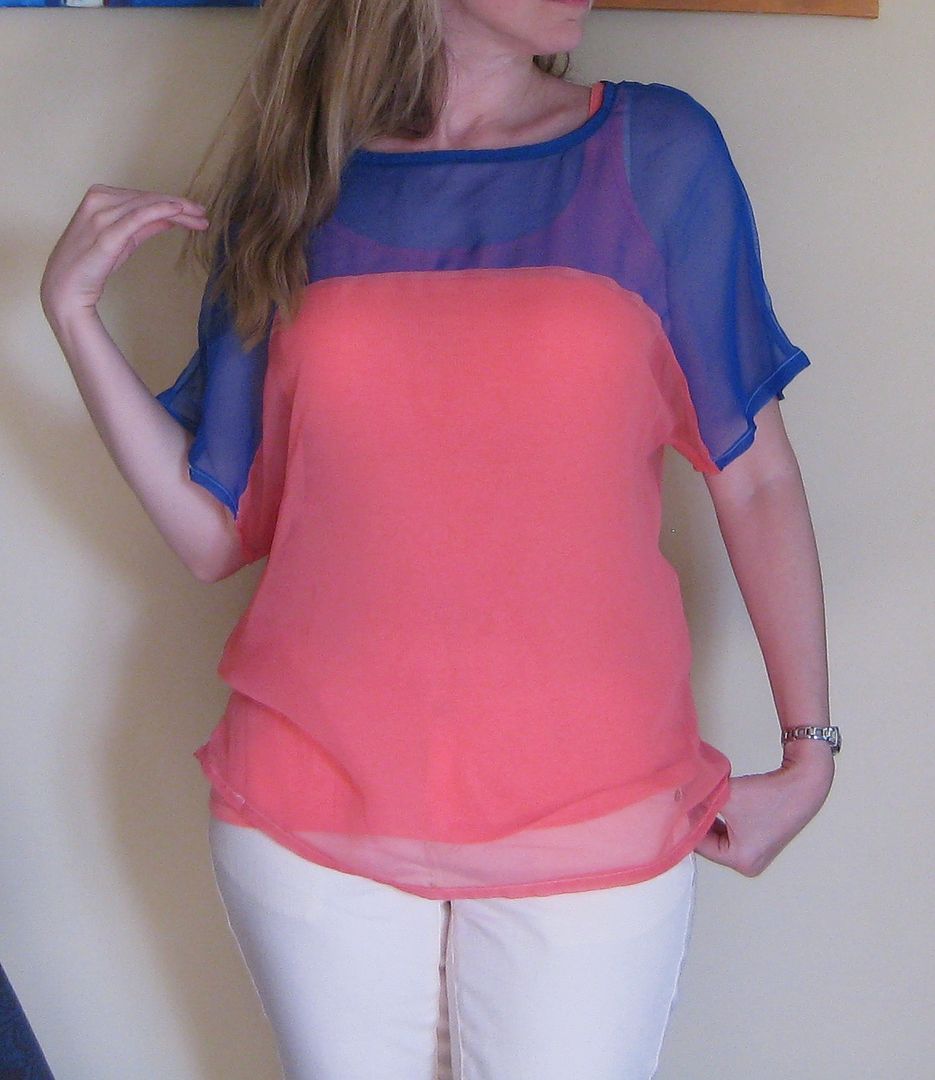
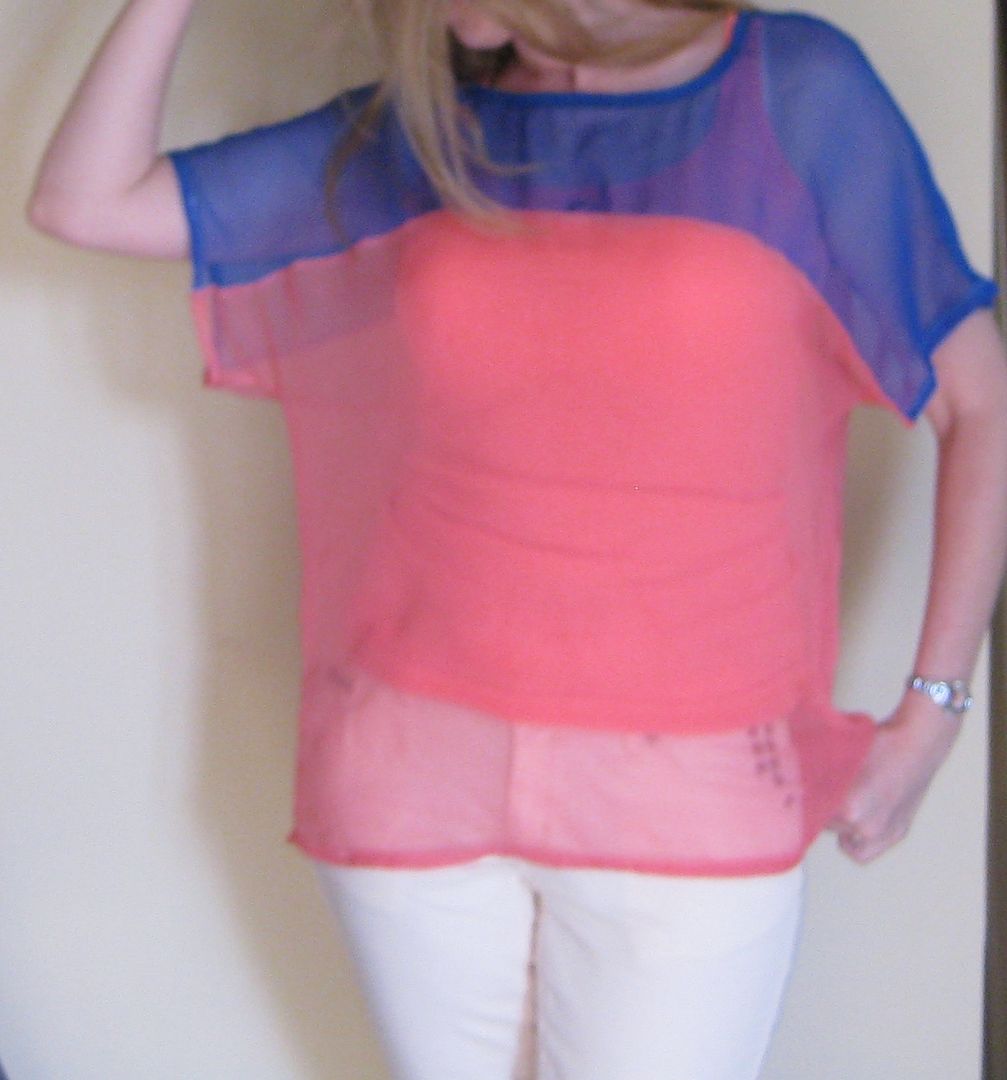
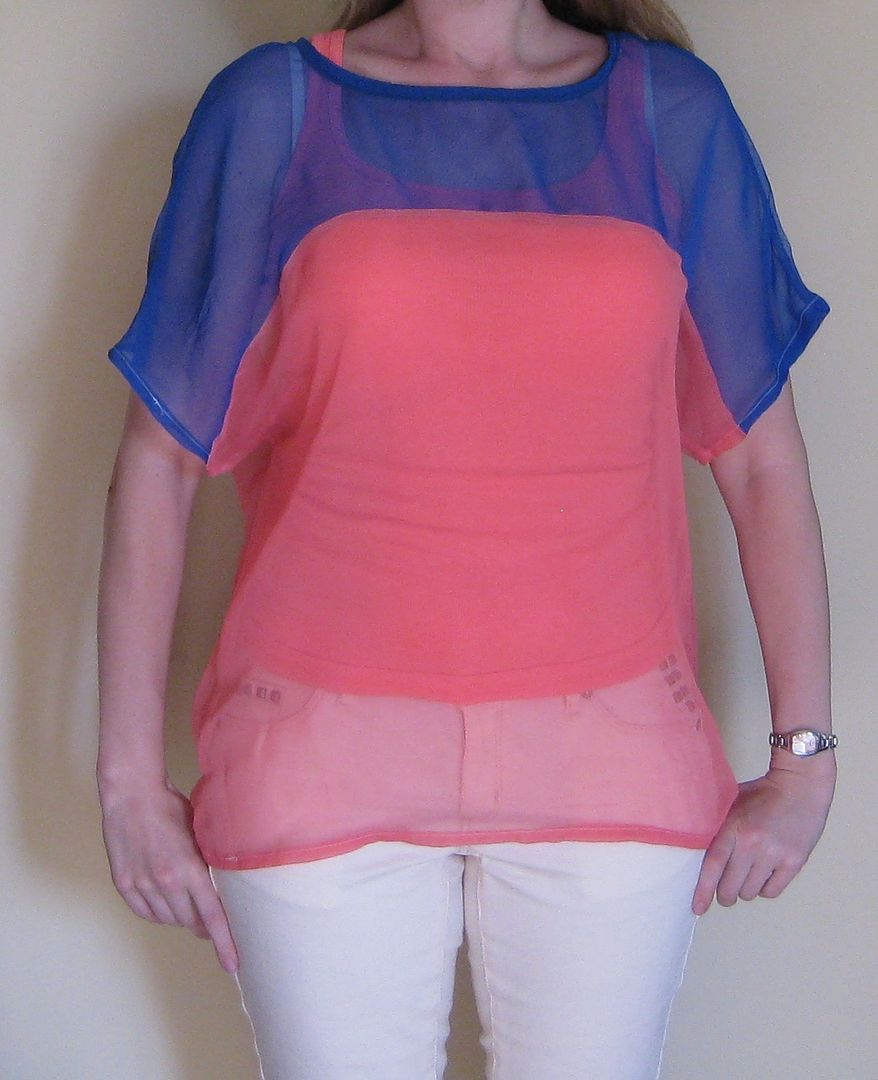
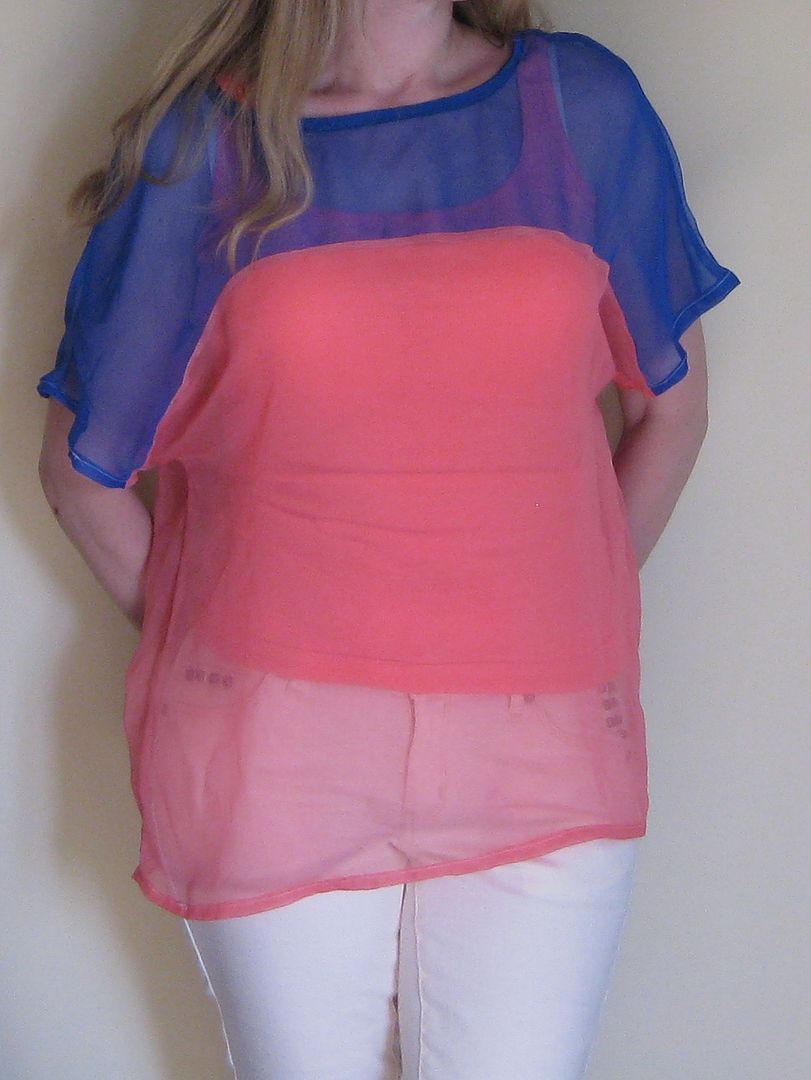
Two-tone chiffon Top: Vogue V8877

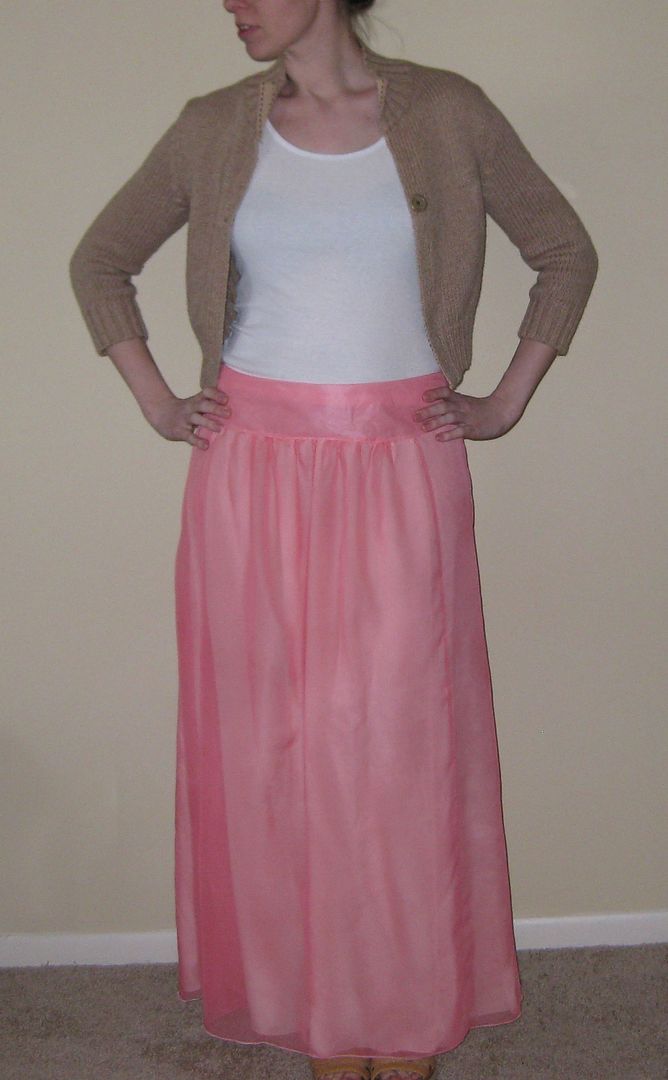
I am still trying to use up this coral chiffon I have.... I have the maxi skirt I made with it..
I have a lot of fabric leftover. I had a small slither of blue chiffon so I opted to combine the 2 and make a top...


Here is the vogue pattern here...


as you can see I did view A. Blue on top and coral on the botton


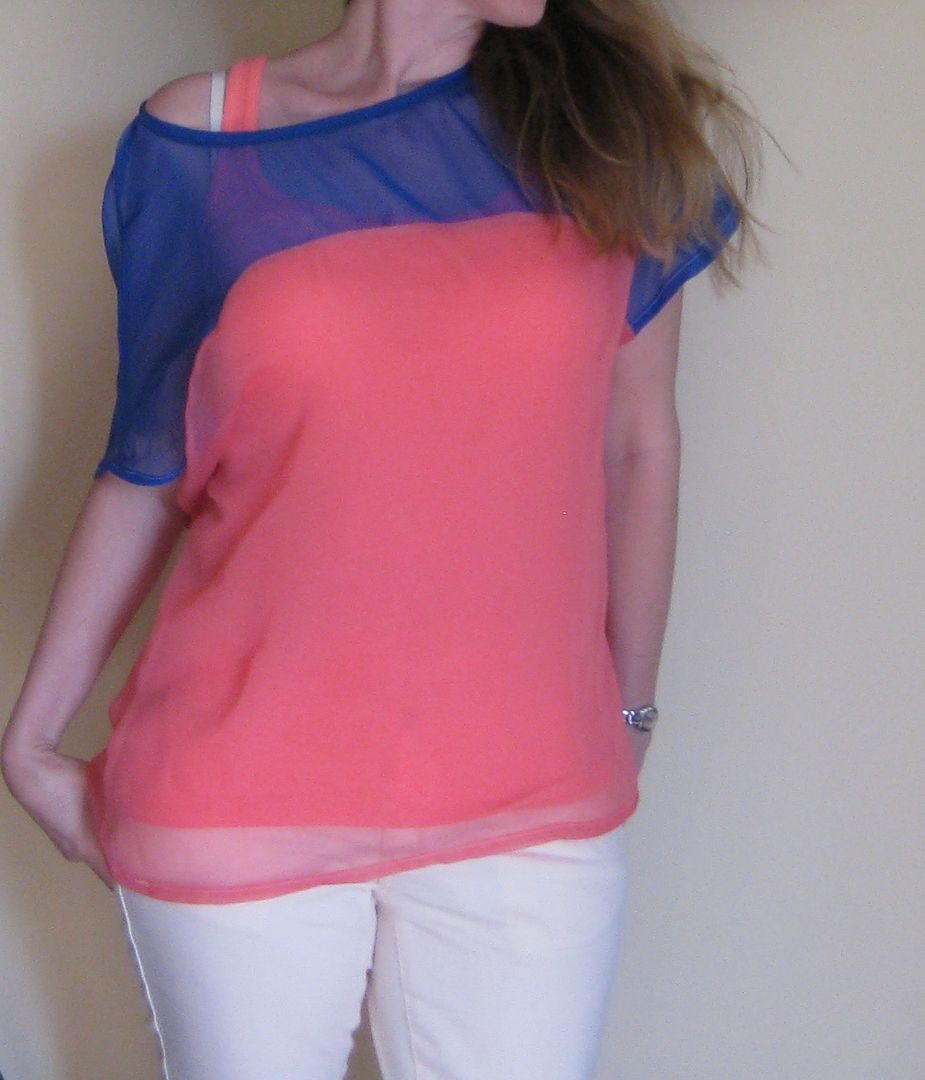
OMG this was the easiest pattern to sew. I will say that the blue chiffon was difficult to work with and I could tell that it was cheaper than the coral chiffon. I paired it with a bright tank underneath and a pair of light pink skinny jeans. 


As with most chiffon I did get some stretching and I even got a little off the shoulder effect

I would totally do this pattern again with less sheer material. It was easy and the fit was just right!! :)

cheers!
Lauren

Friday, July 5, 2013

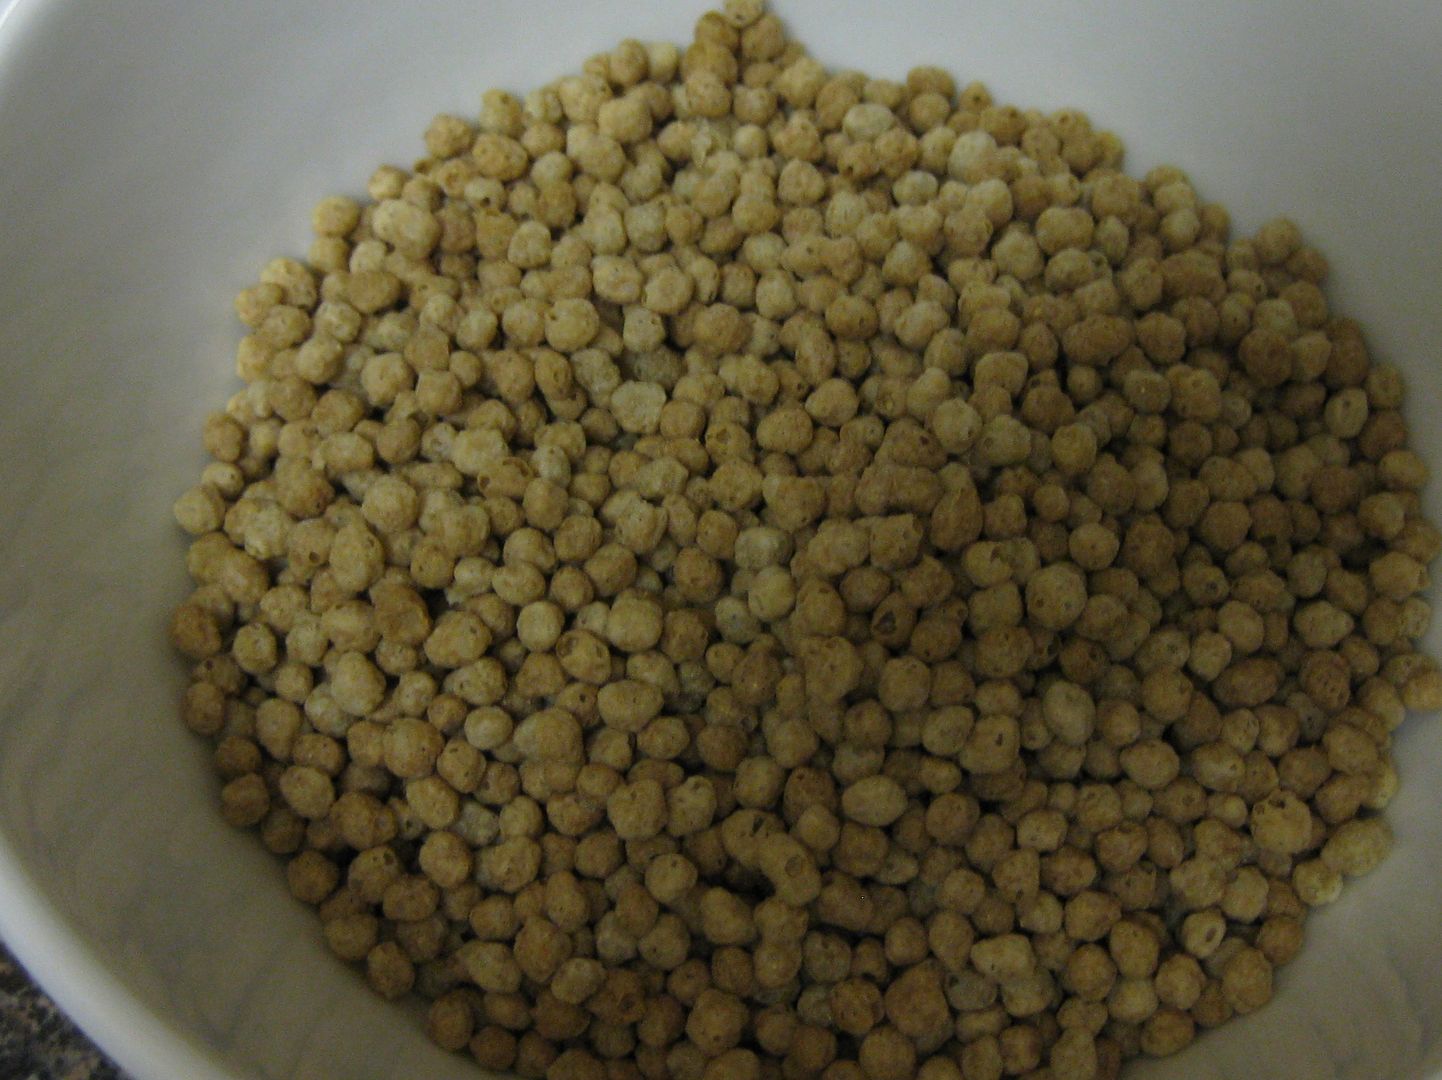
Gluten Free Review:Crunch Flax Cereal

Trying out something new-- crunch flax cereal

So poured myself a bowl

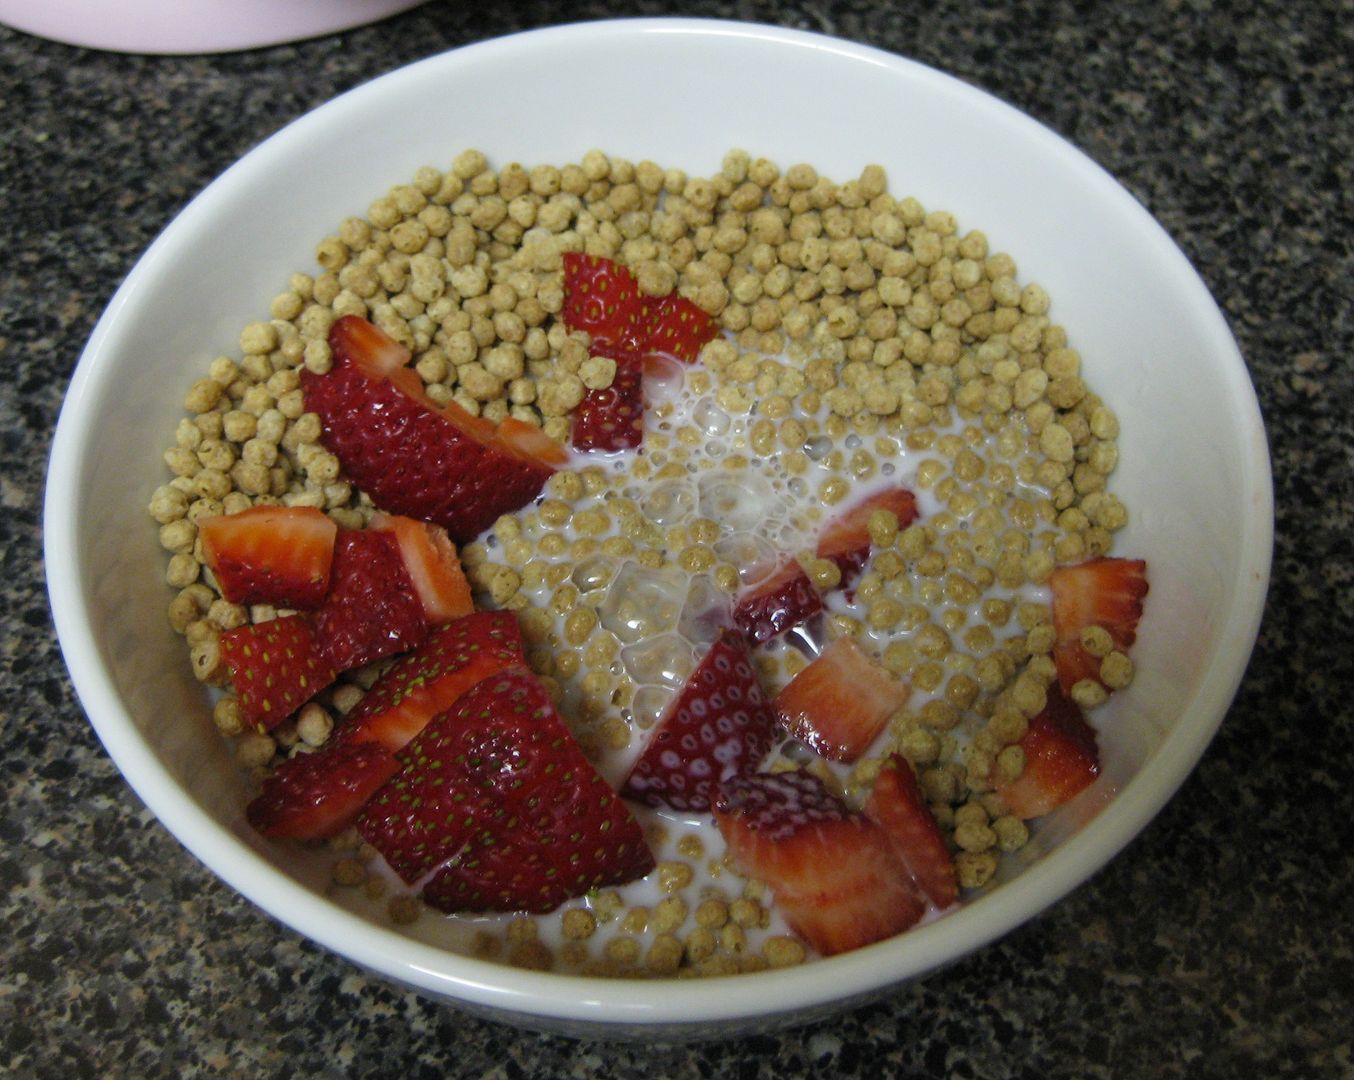
Added milk... and um it needed some flavor, so i added strawberries

Yeah I would recommend with some sort of flavored milk.... Healthy but bland and boring. Definitely needs flavor. Not bad though. Just needs flavor.

I don't know if I would purchase again. Let me finish the first box and I'll make a decision then!

xoxoxo,
Lauren

Wednesday, July 3, 2013

Fixing a necklace

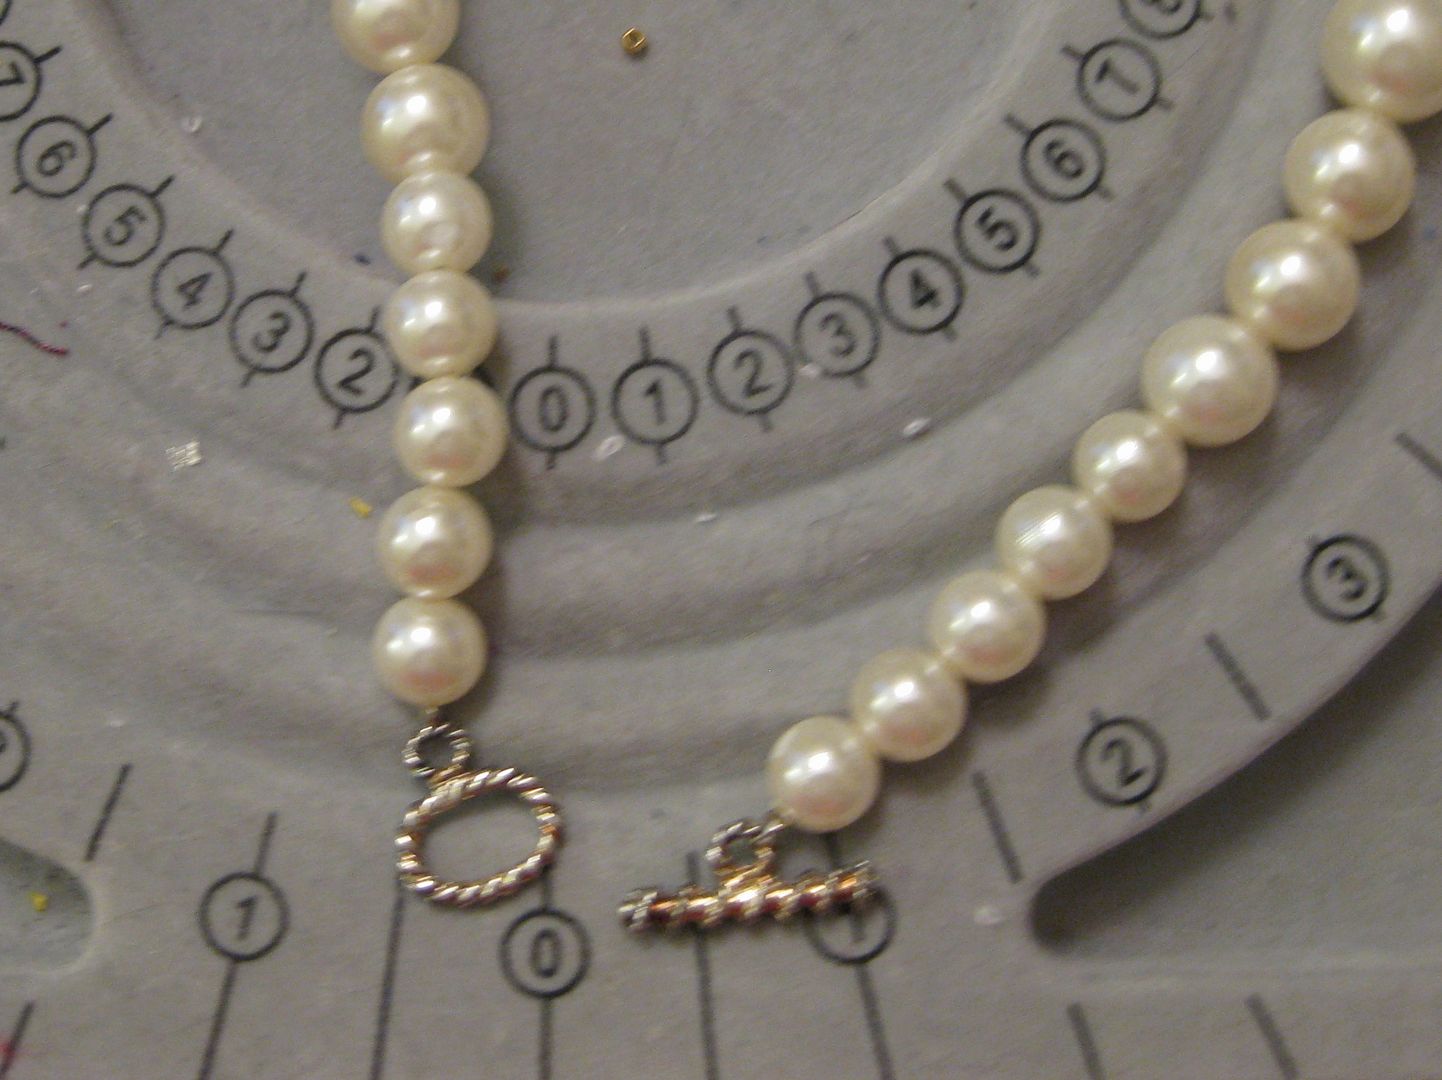
I had a necklace similar to this one just with cream beads. It needed some fixing. I literally cut all of the beads away (each one was knotted!!)

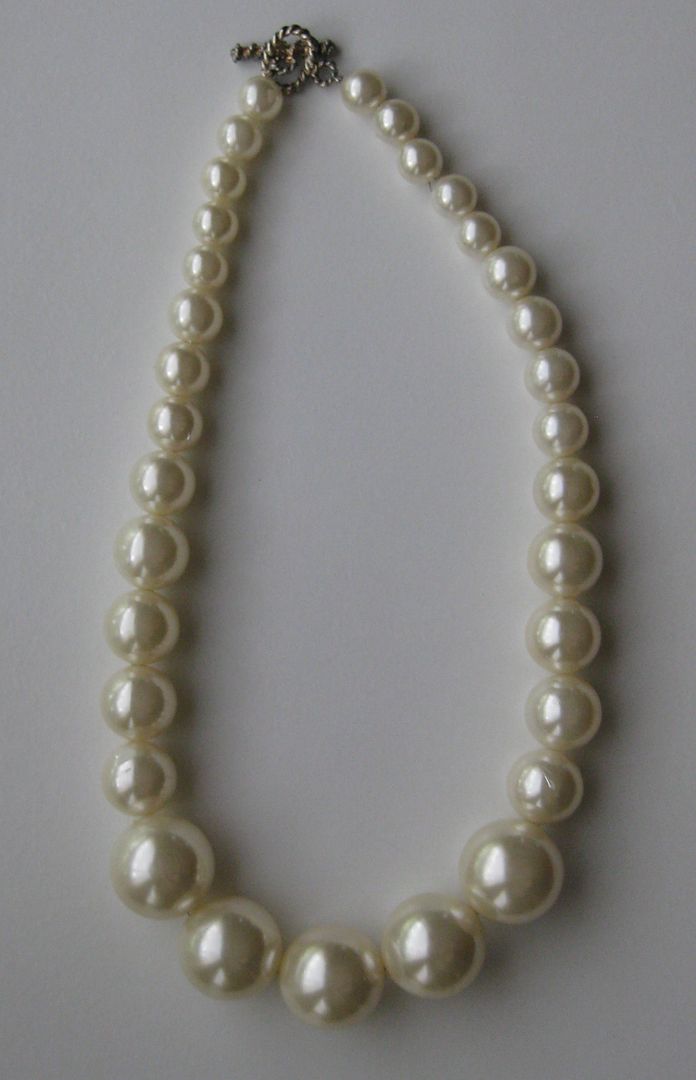
Here is what I got so again I lined up the beads putting the larger ones in the center of the necklace. 

I simply restrung it and added a eye/toggle.

Ahhh Done!! Necklace looks so much more polished and wearable for work

I love simple projects, where I turn something into something I can wear and WILL wear. :)

Cheers,
Lauren

Saturday, June 29, 2013

Sidewinder Bobbin Winder Review

I scored a sidewinder on clearance at Jo-Anne Fabrics! Can I get a hey...... :)


I opened it up and it could either be battery or plugged in for power

I just used batteries. Then set up my spool and my bobbin, push the button and let it go!

Done! It automatically stopped by itself. And very VERY quickly I had a bobbin wound! 

This was fabulous! Though I would not have paid full price for it. It is a nice convenience for myself. Now to get back to sewing so I can use it! :)

Cheers,
Lauren
LinkWithin

Related Posts Plugin for WordPress, Blogger...