Well hi welcome to my little blog. Just my little corner of craftiness, sewing, and refashioning. I am also a newly gluten free eater so you have a little bit of recipes mixed in here.

Saturday, September 28, 2013

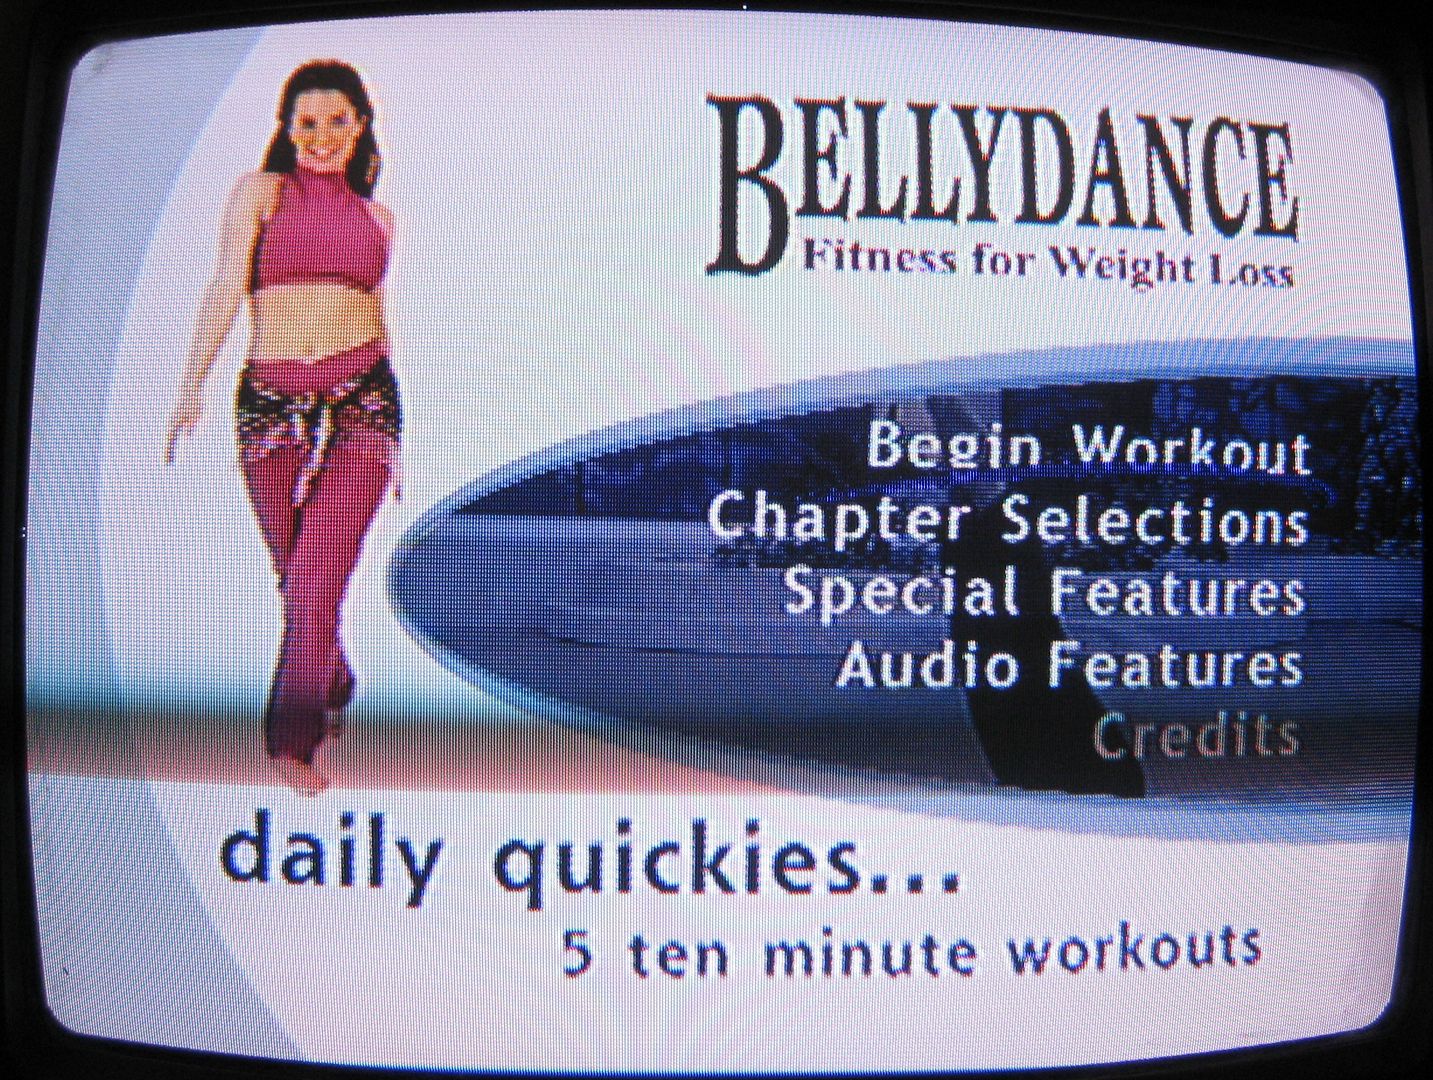
Bellydance DVD Review: Rania Daily Quickies

Happy Shimmy Saturday! Time for Rania's Daily Quickies. Now this is a fitness based DVD. There is no bellydance at all. Maybe just a move or 2 there.

 
Now I may not be the biggest Rania fan but I waned to give her a fair shake. And I could use a workout. The menu of the DVD was set up nice. You can select one of 5 10 minute workouts. All which target a certain area.

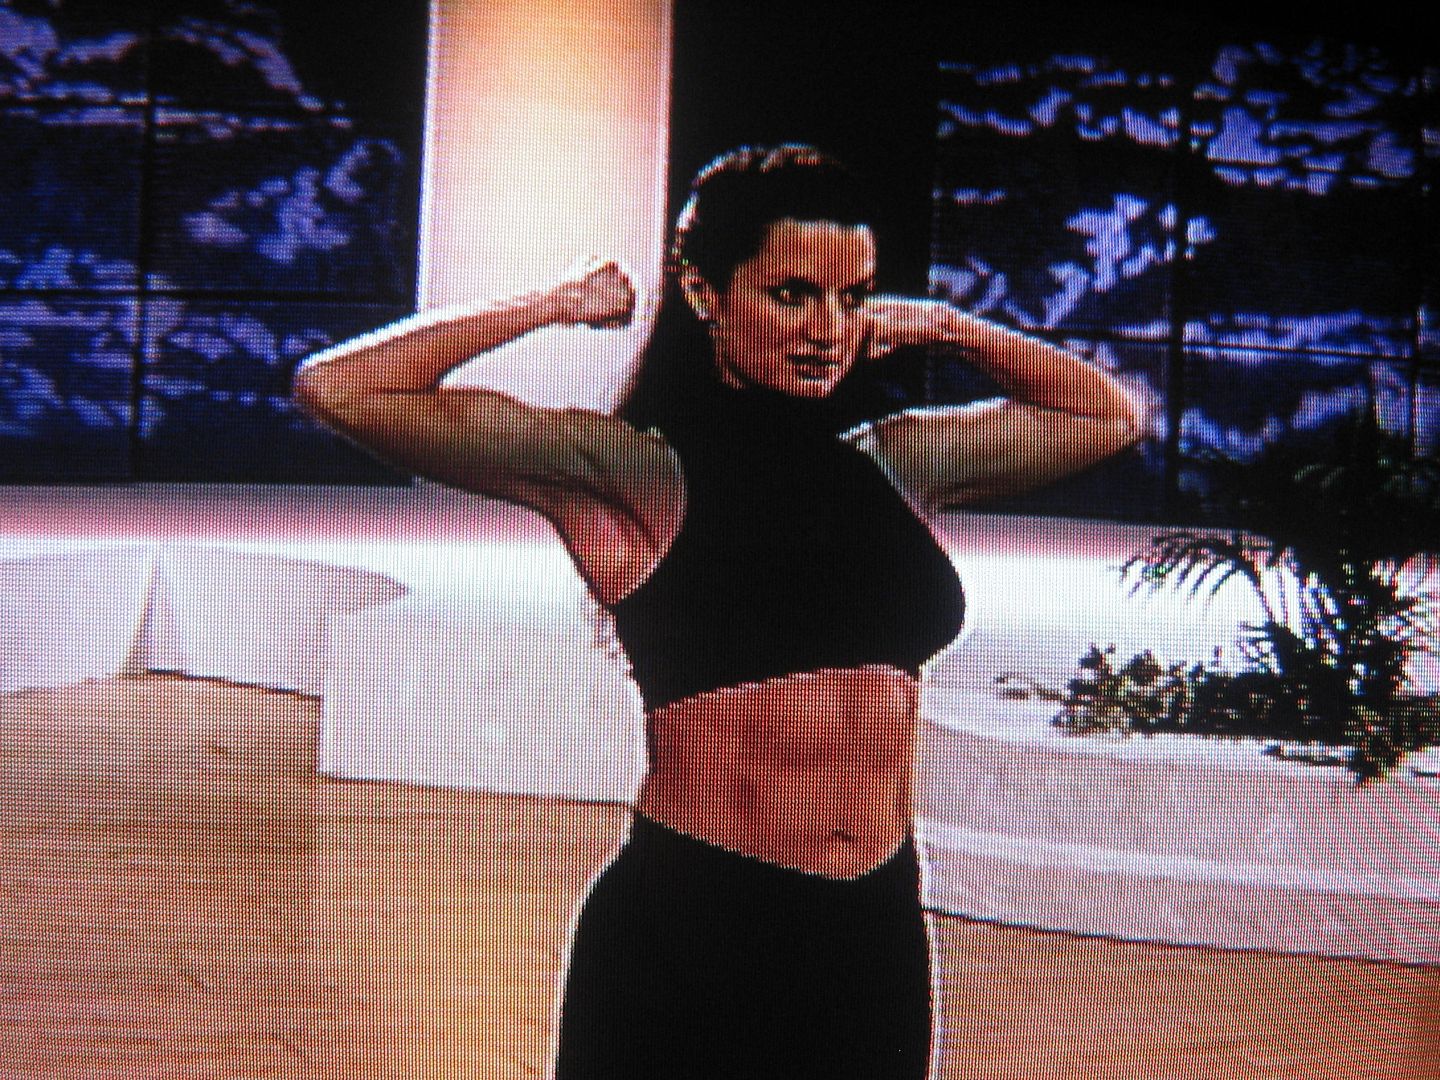
Now I am not also a fan of dancers having 6 packs. You just loose the feminity which the dance so entails
 
 
Now she voices over her workout. There are no other dancers.
There are 5 portions
1. Abs- bunch of crunches which really I could get a better ab workout doing pilates
2. Arms, chest back. I got really bored with this workout. I added my ball to get a better workout. Also she says nothing about doing weights. She then threw in push ups (which I hate).
3. Legs/bum. Squats, and some ballet moves.
4. waist- this is where she actually did some bellydance moves. Again I got bored.
5. Flexibility- which was some stretches. Nothing really fancy. I would rather do yoga.
 
 
This work out was not fun. I think that I would rather do something else then keep this DVD. I did get a little sore in my abs the next day. So the verdict is to get rid of this DVD. I have funner workouts. 

Friday, September 27, 2013

Linen Restoration Part 3: Restoring things with color

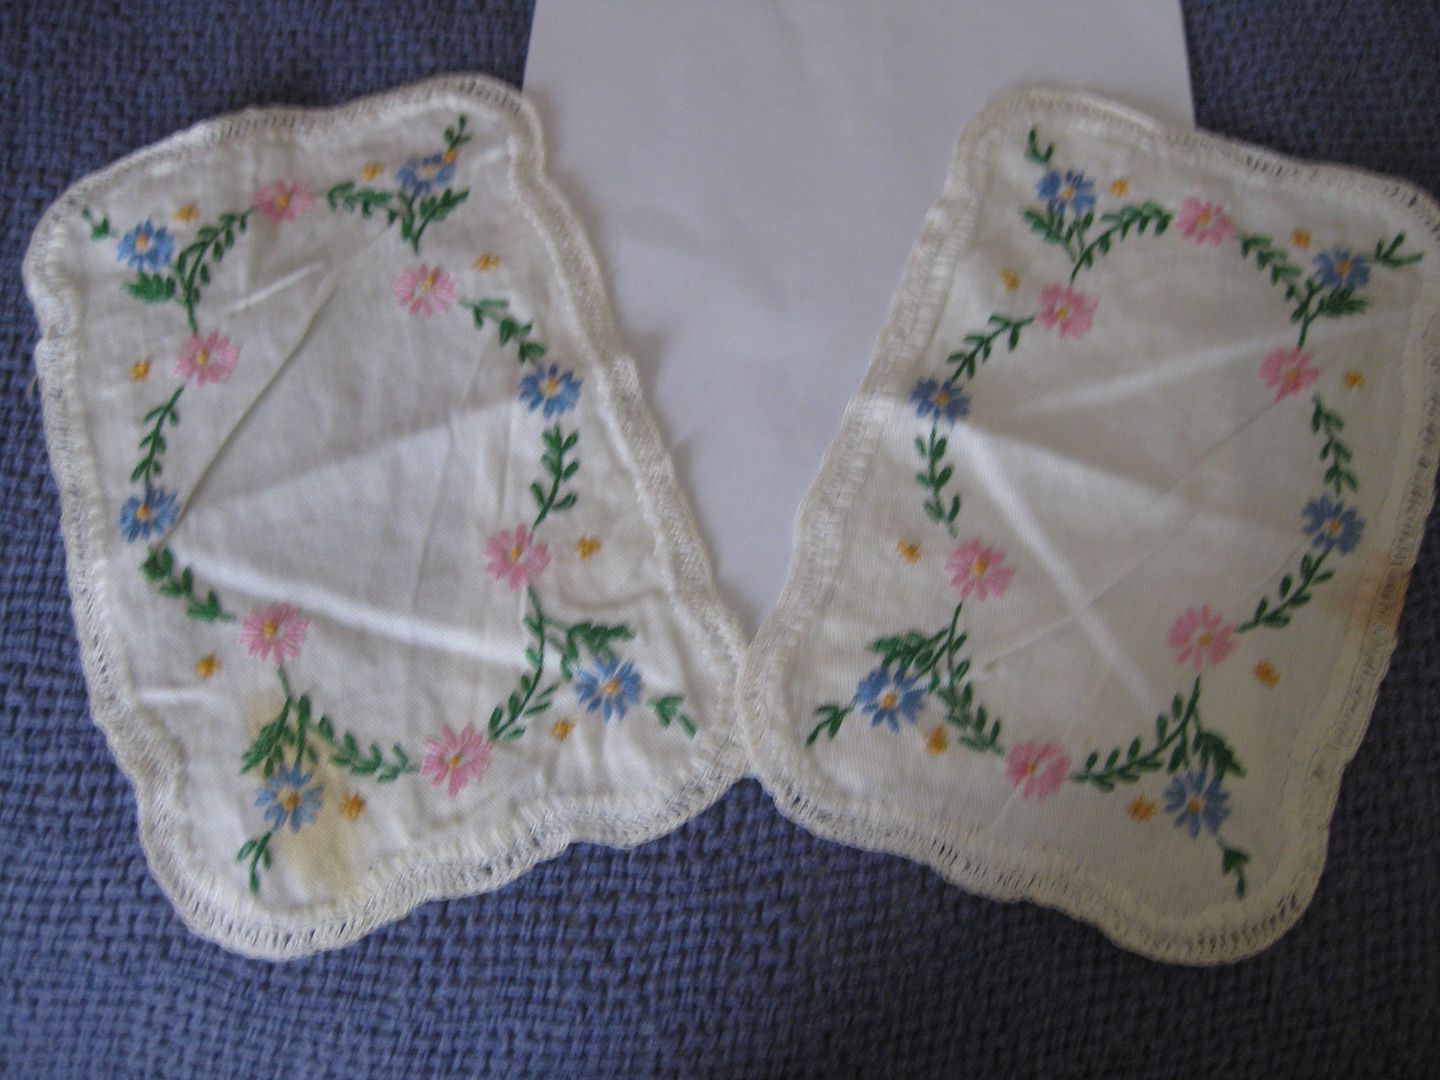
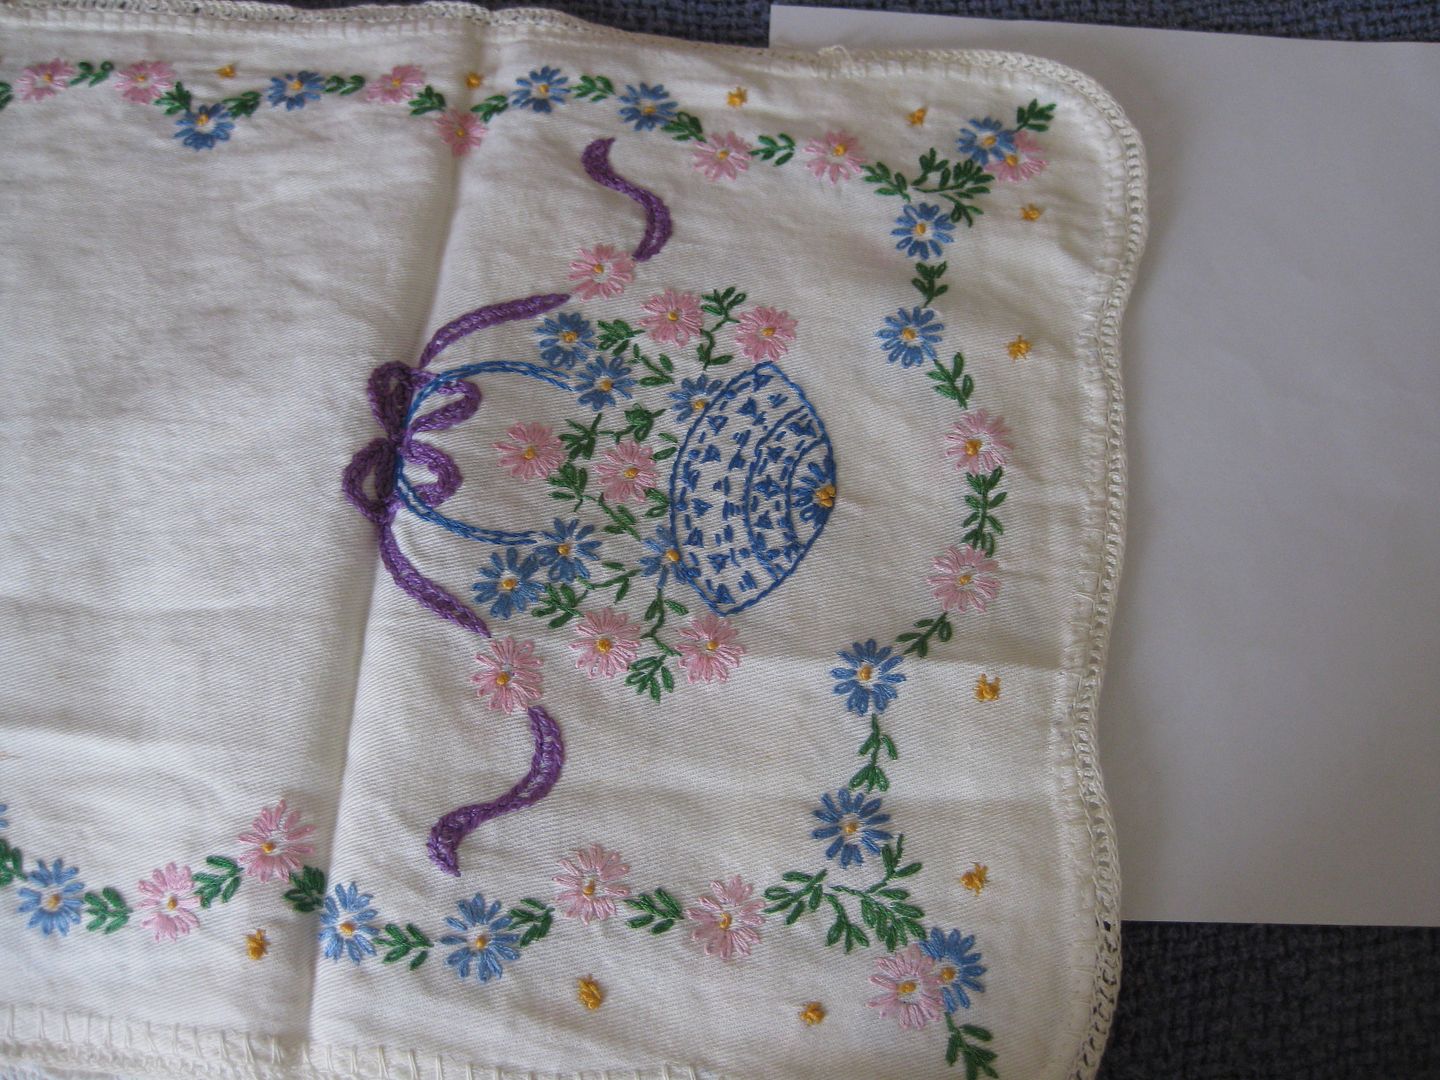
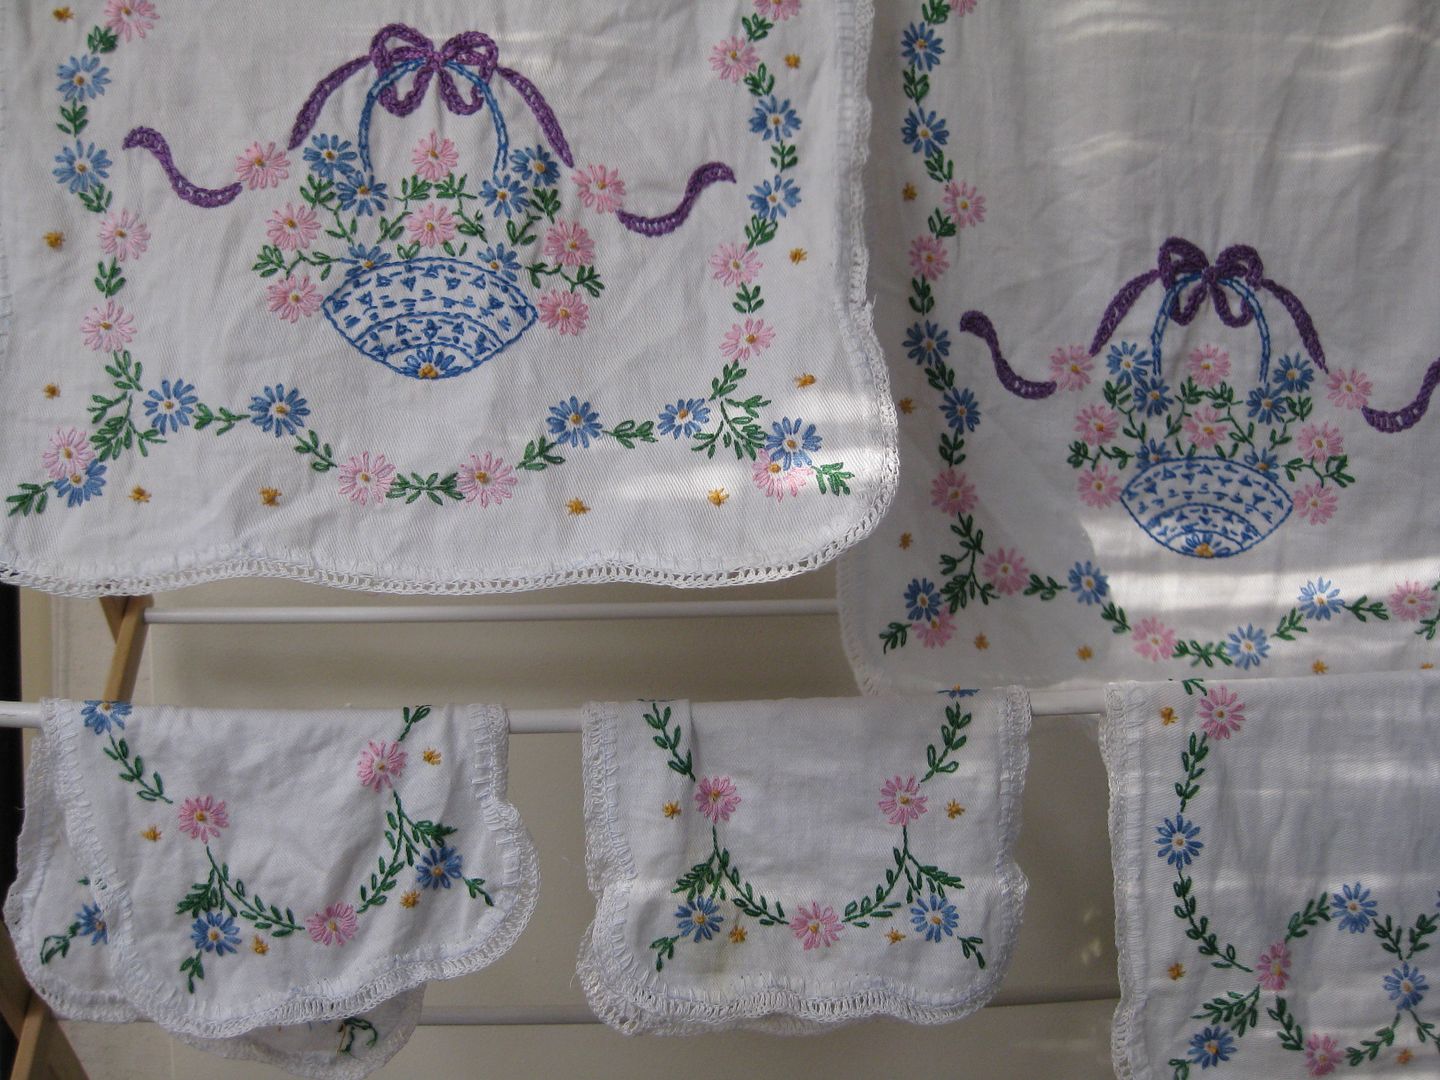
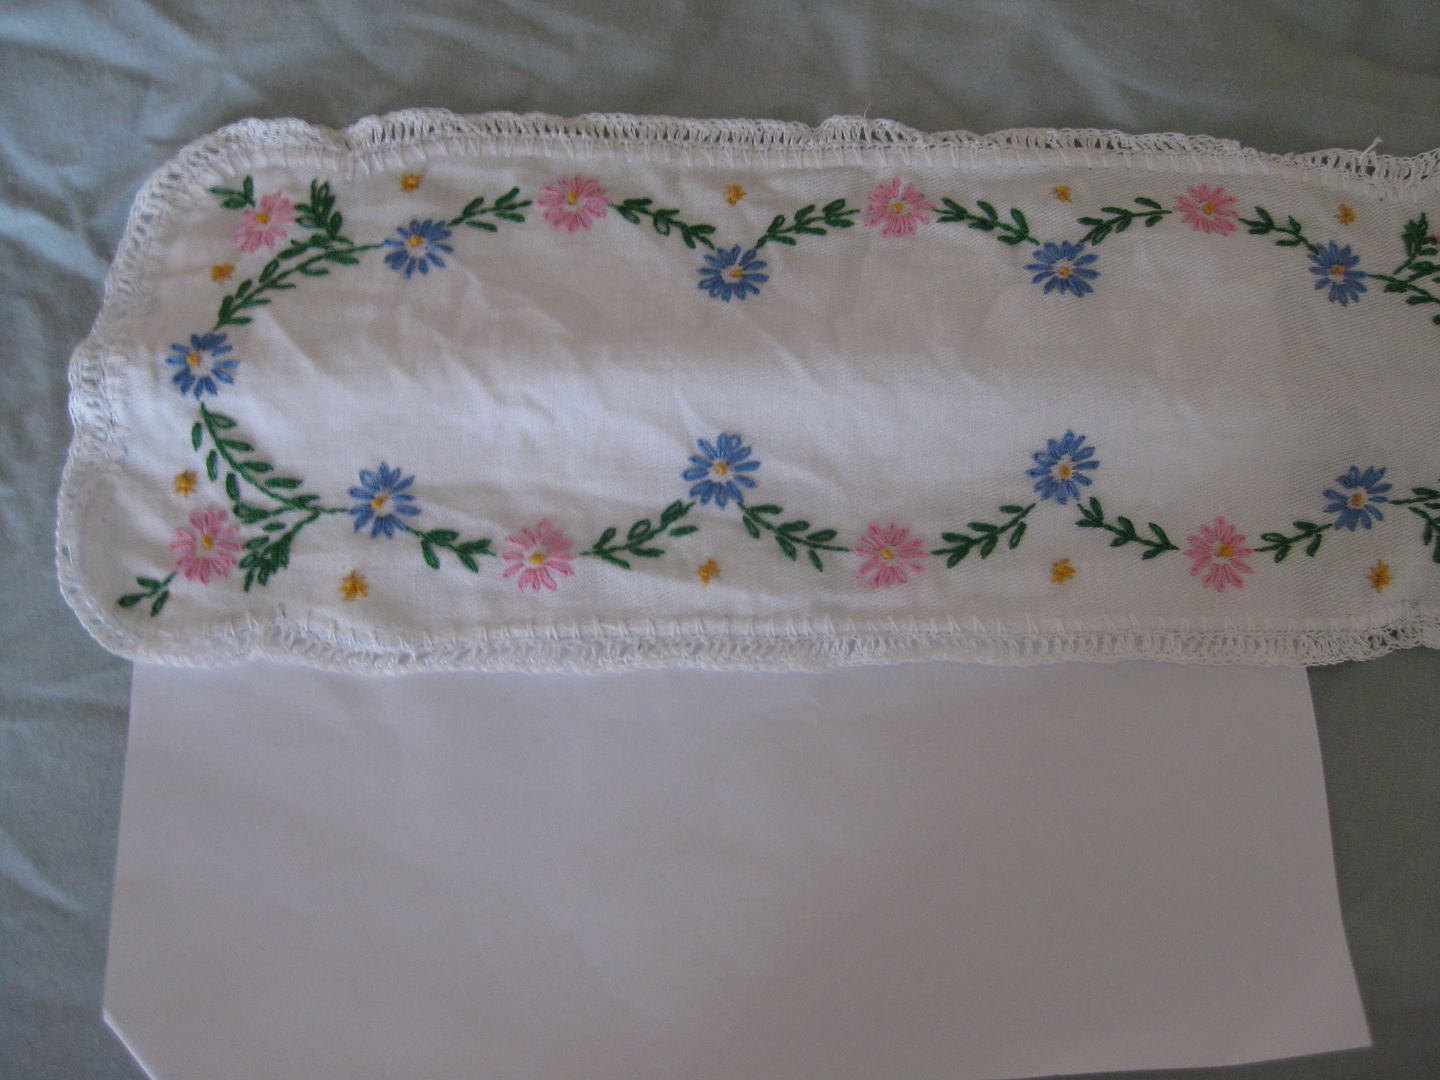
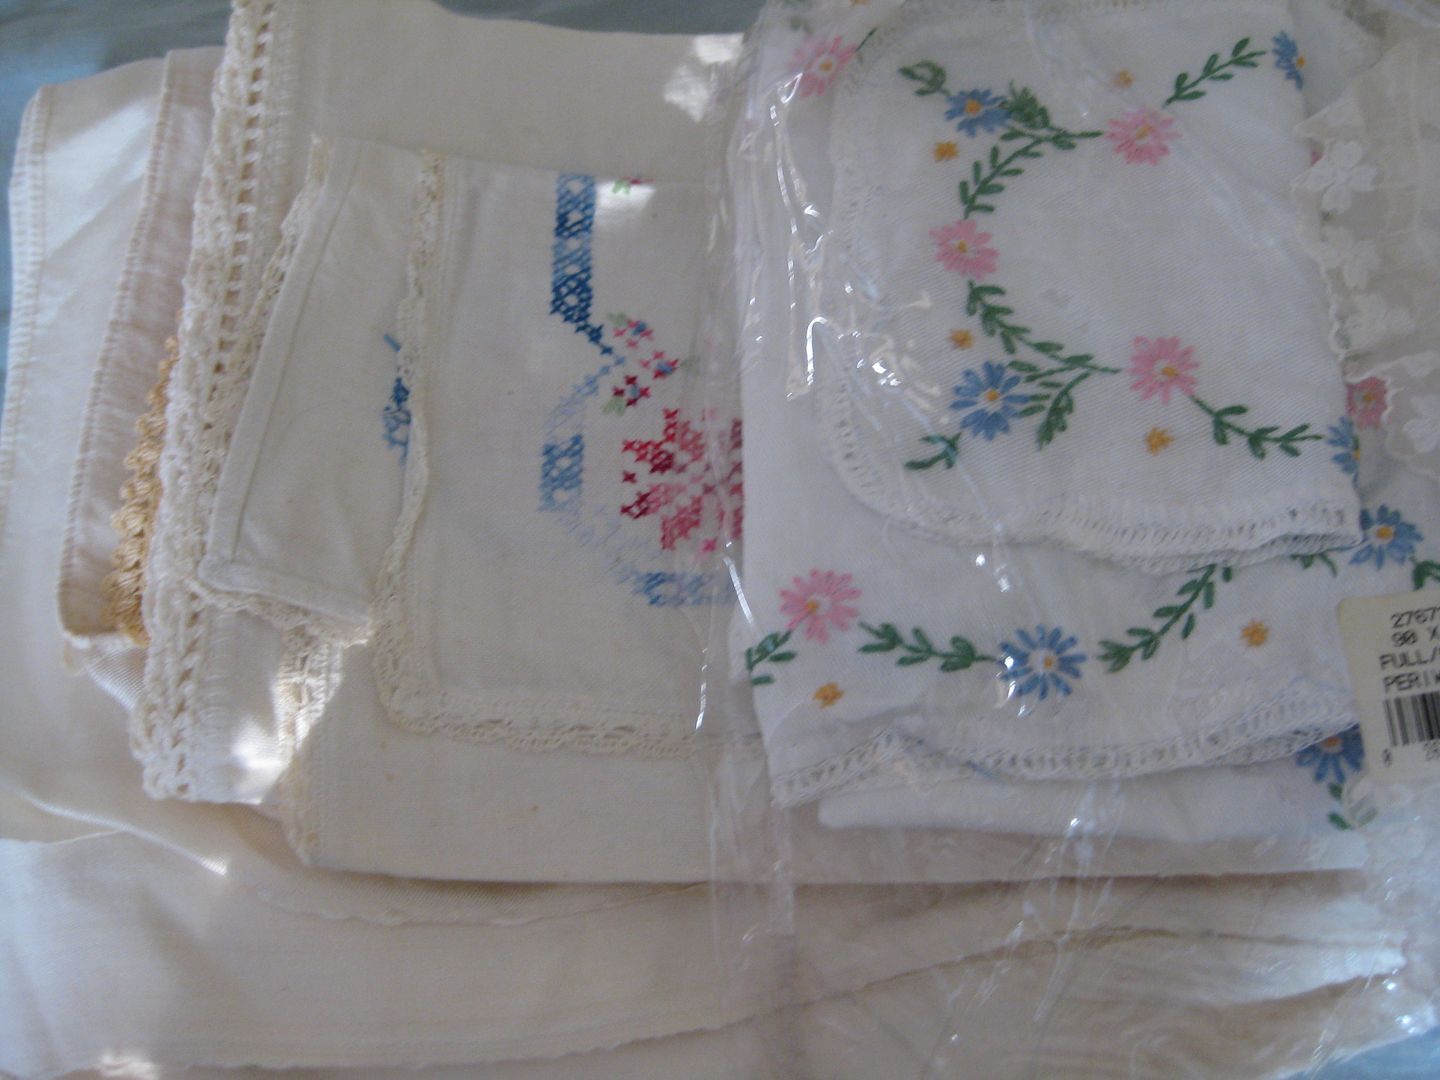
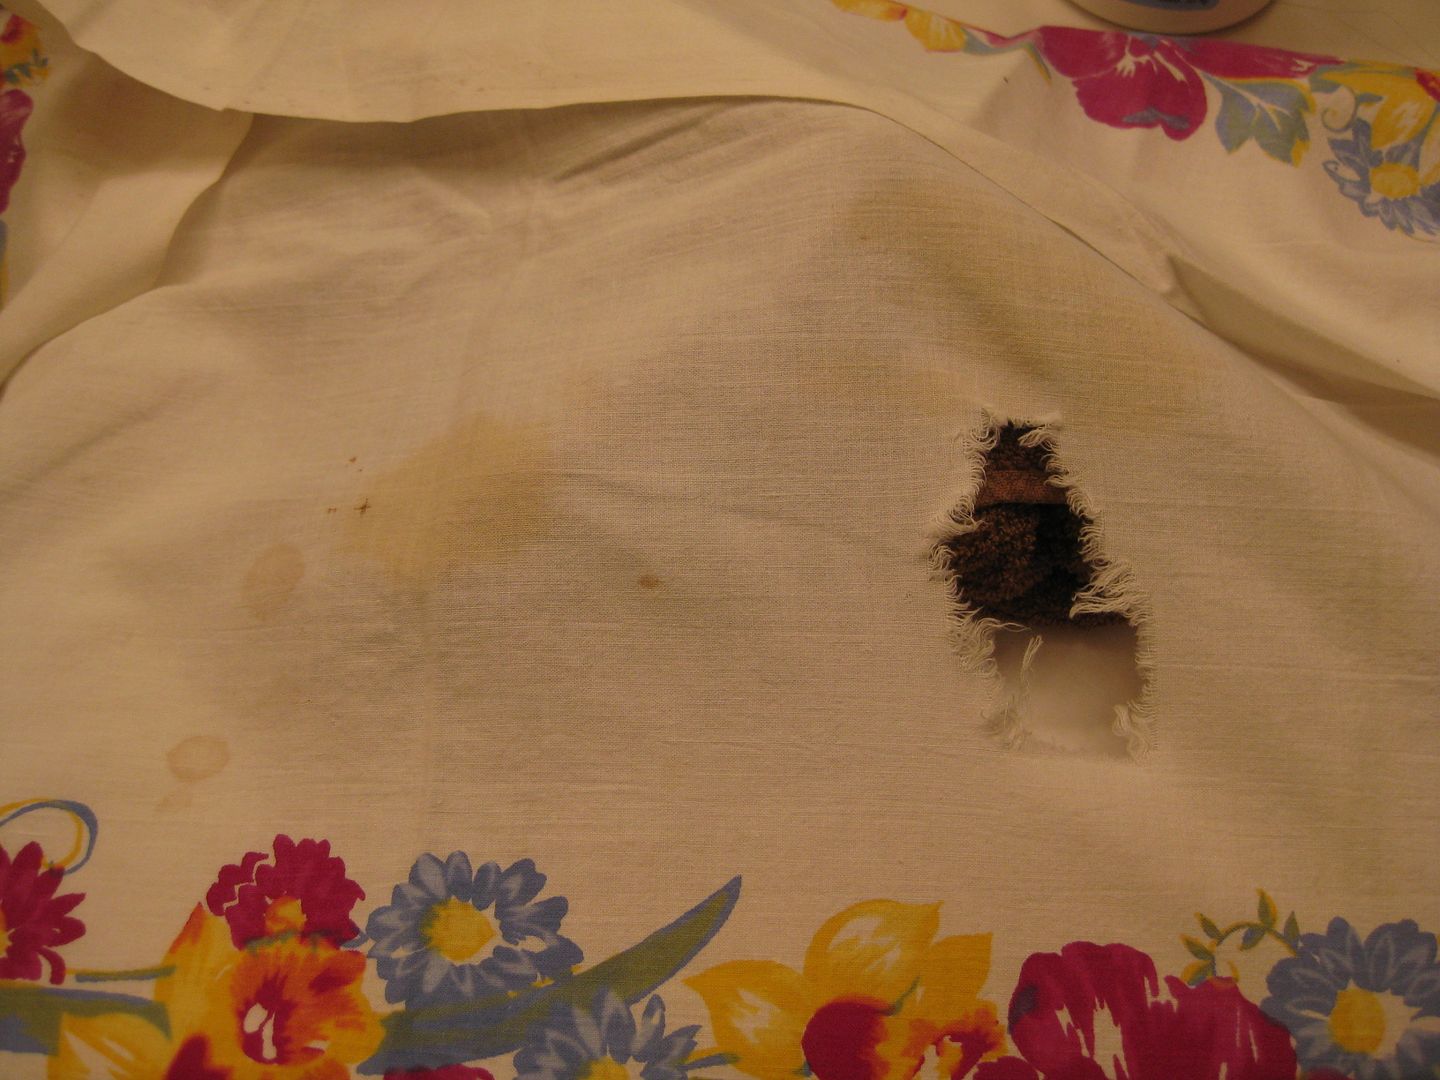
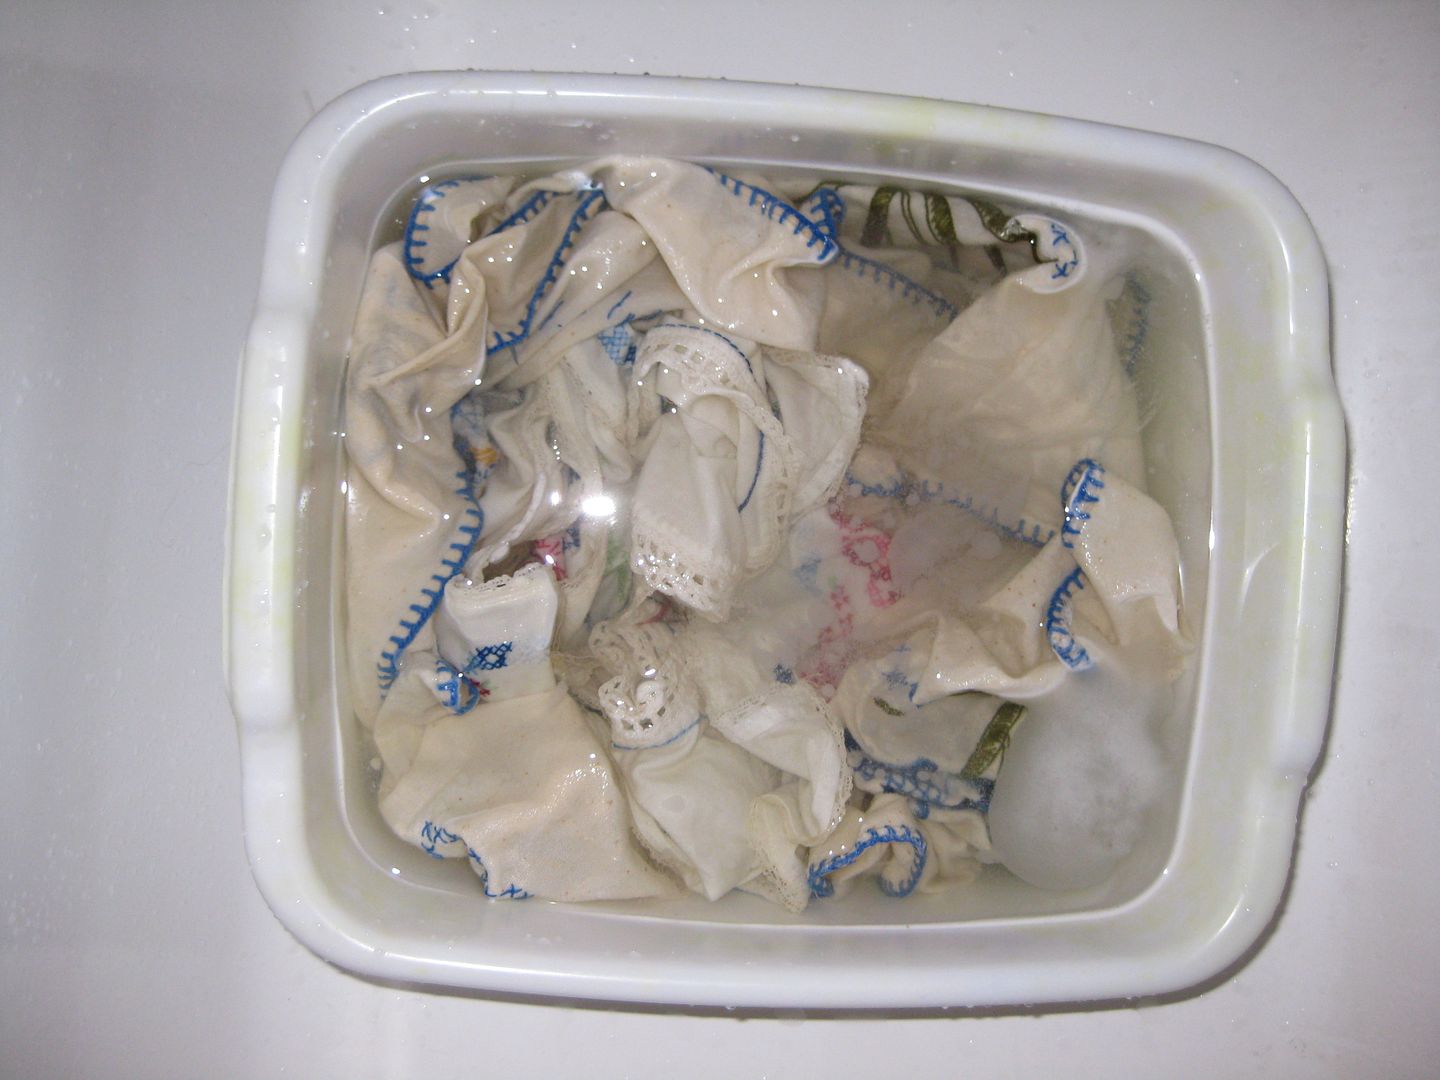
I have many things that are embroidered by my grandmother. All of which had horrible stains.


These all came out with out compromising any of the colors. Yay!

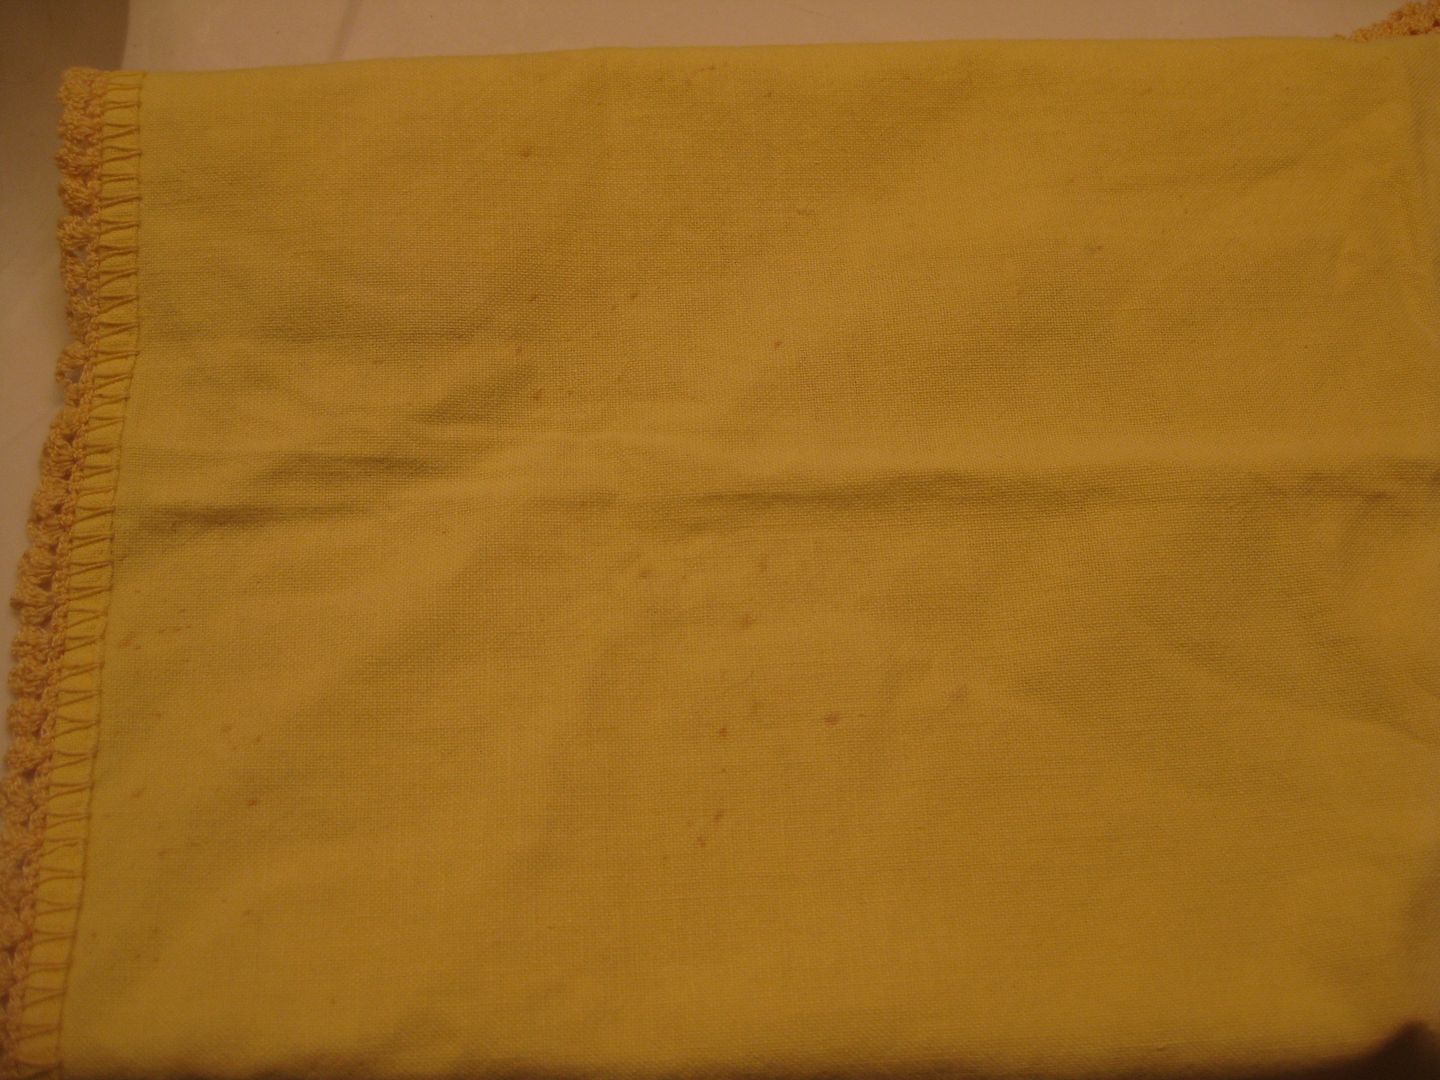
One stain out of all the stains I had did not come out. I threw it back into the  next batch.


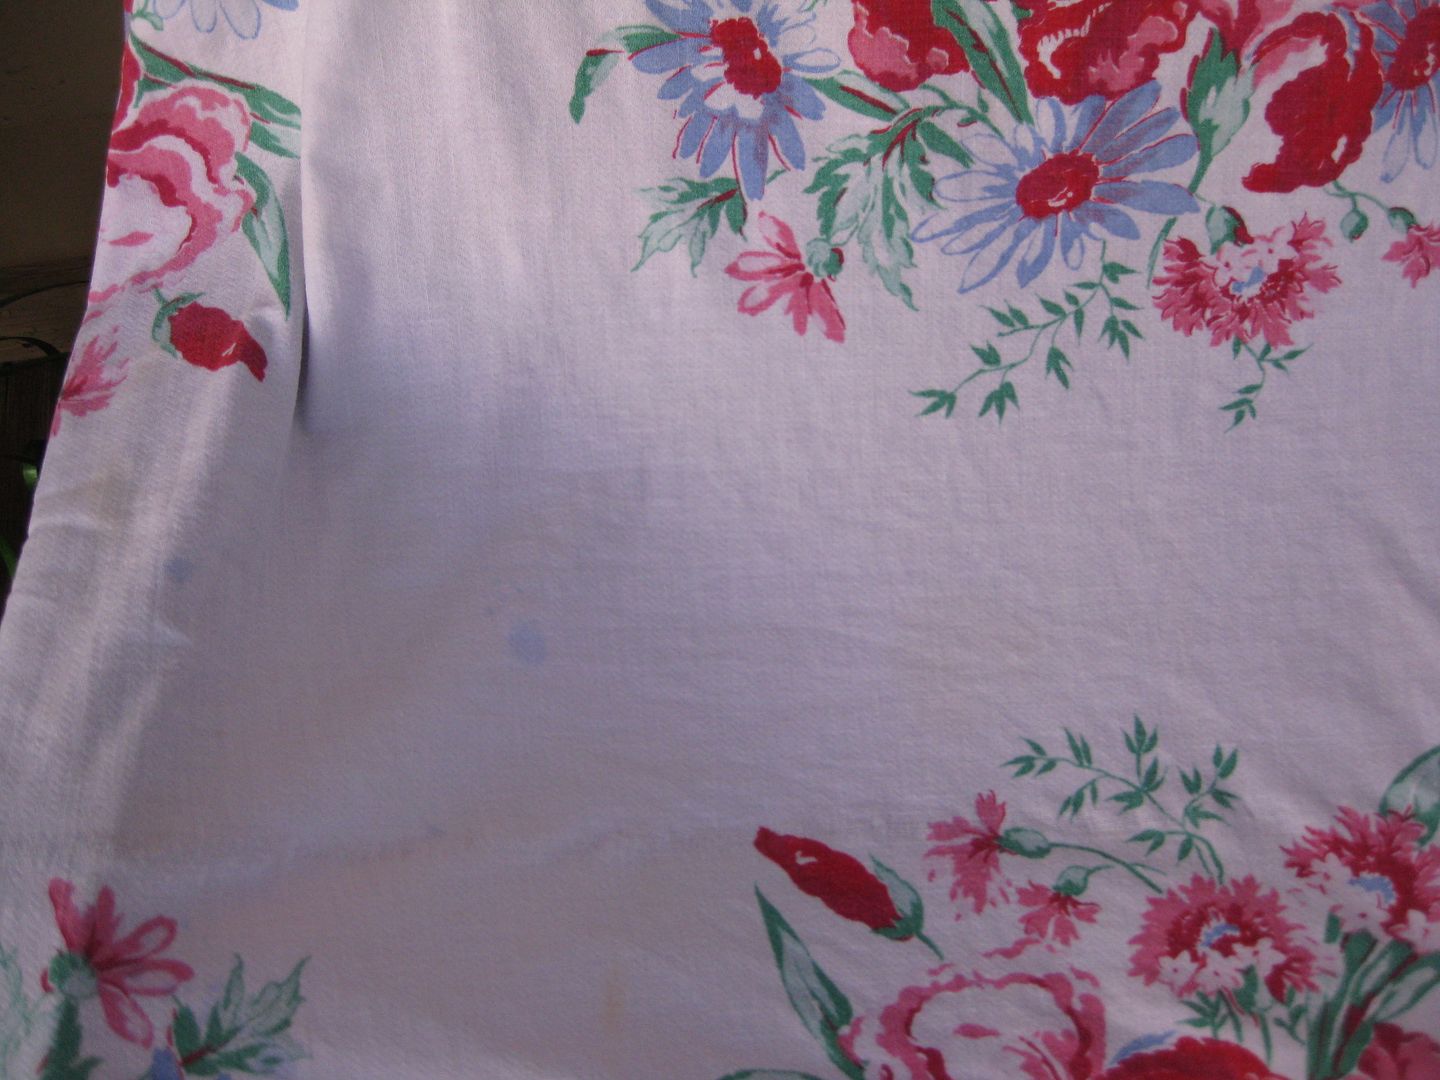
Pretty white right? It was really obvious when I put it up to ones which had not been treated yet. The difference is night and day.

 
This one I was nervous b/c it had a lot of stains and holes.


Basically everything worked well. But one tablecloth which then wound up with more color then when I started.

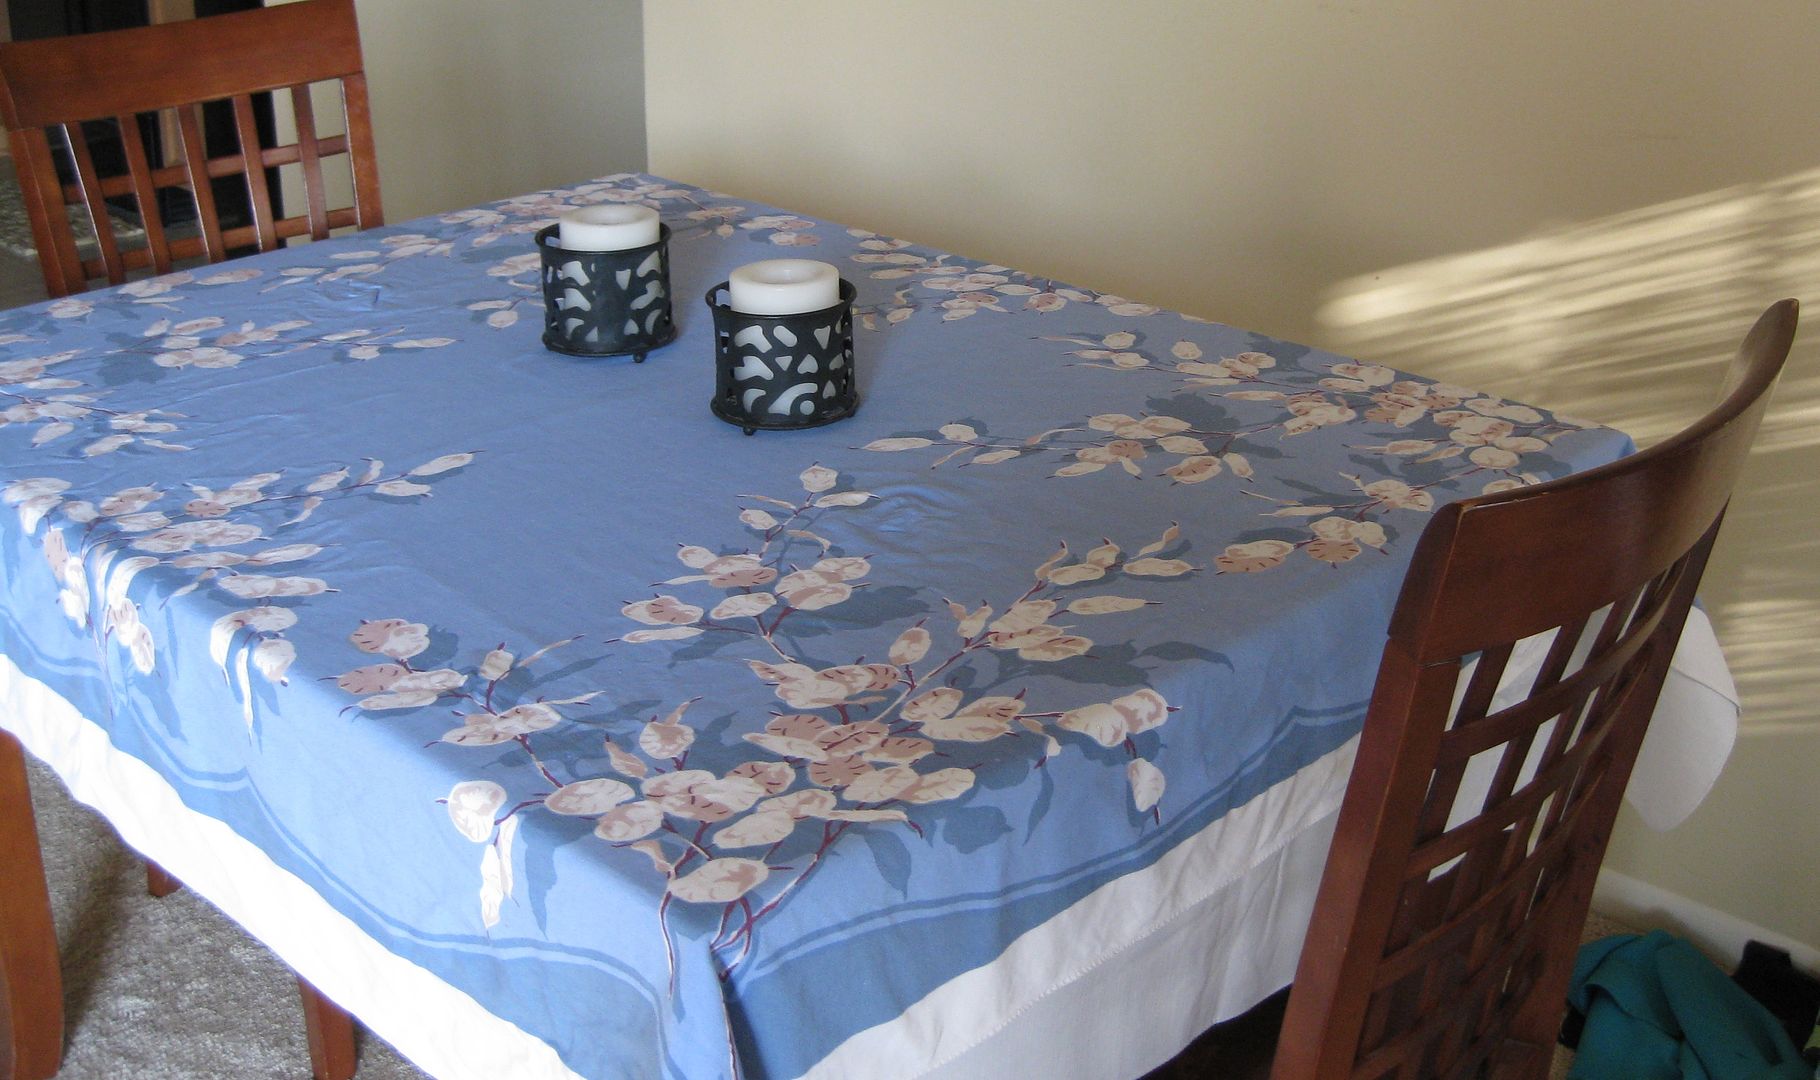
So all in all I am happy with what all turned out. Everything got lighter and stains removed. All but one! Not bad! And look how great things look with them on my table. I love this tablecloth.

Cheers
Lauren

Wednesday, September 25, 2013

Linen Restoration Part 2: Knit sweater and cotton

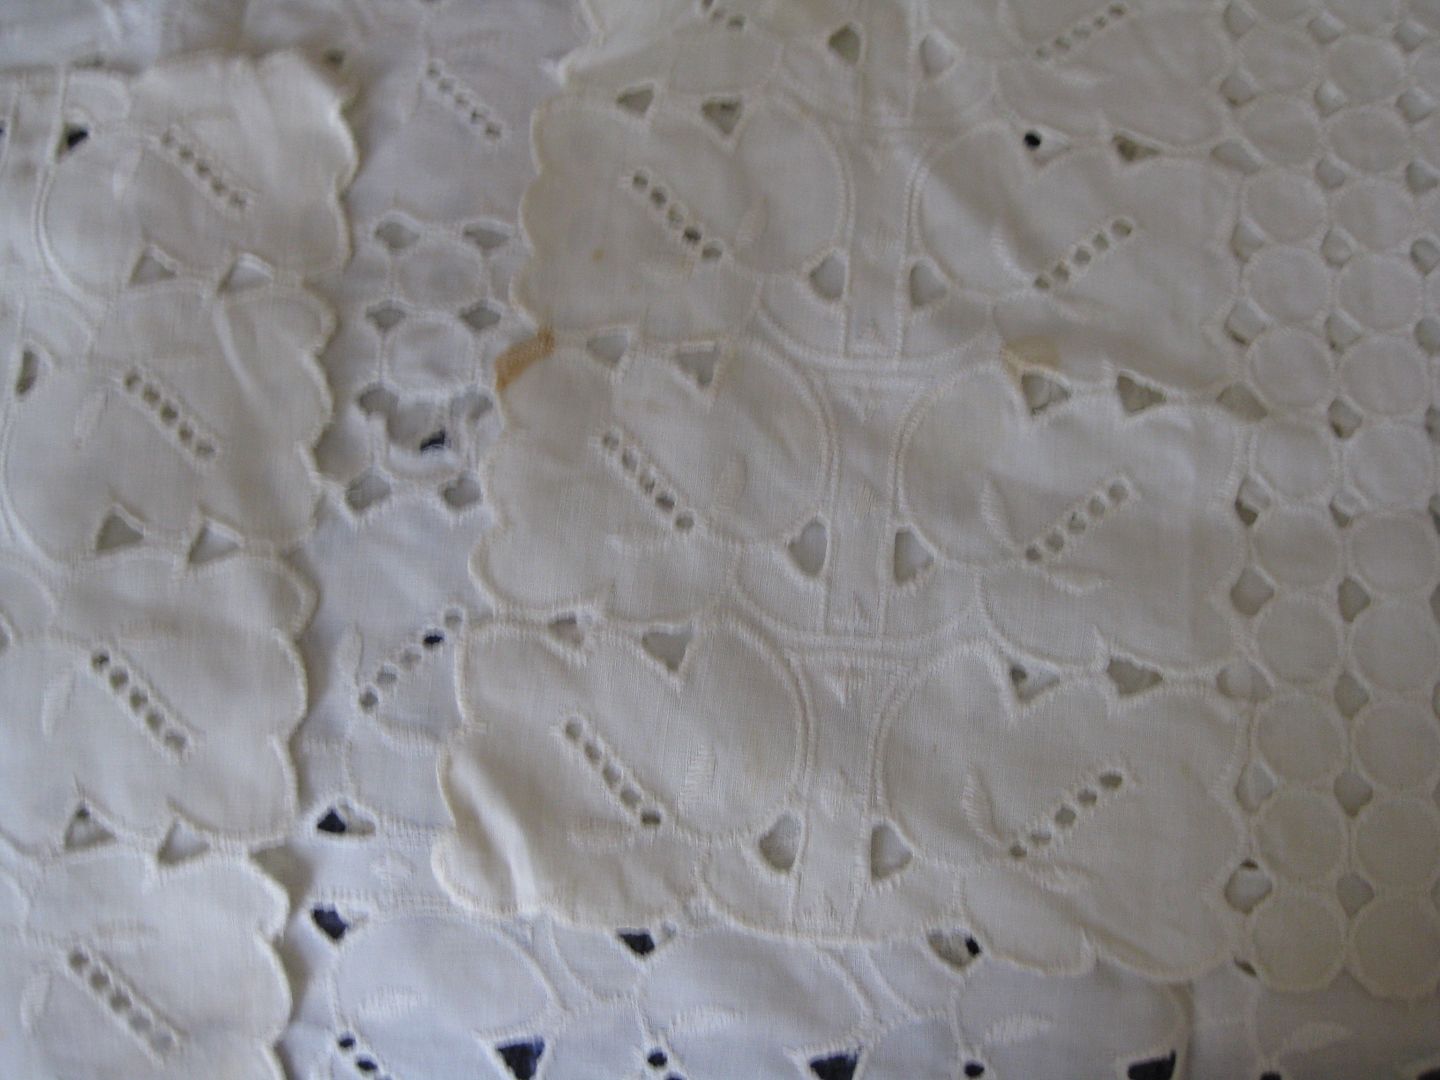
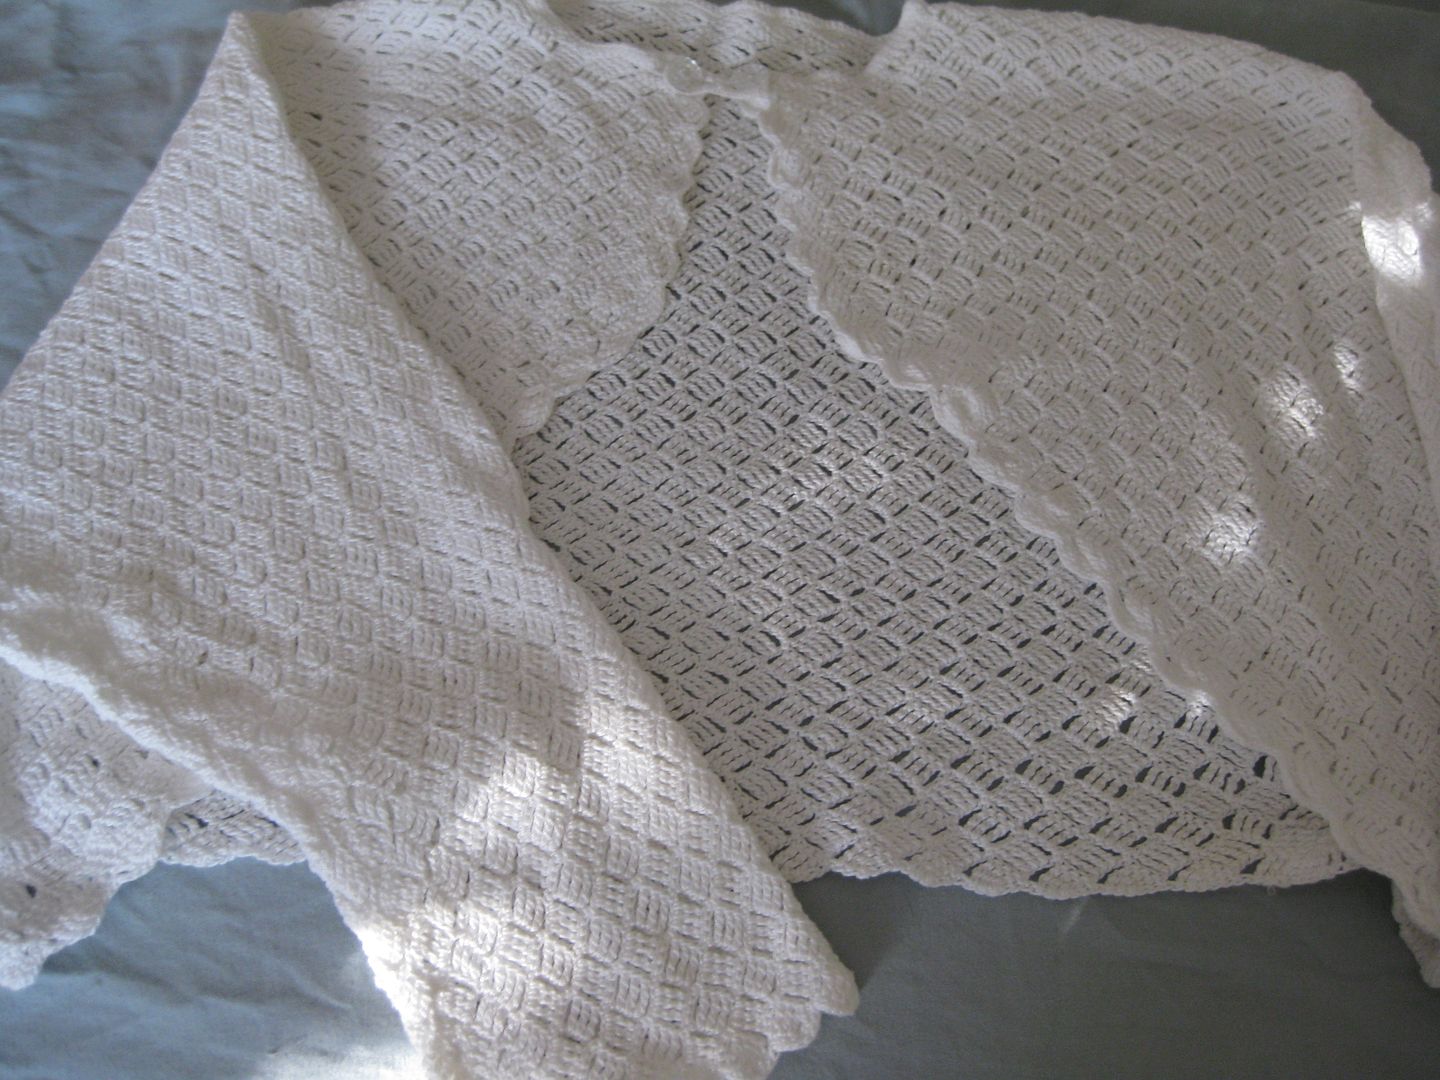
Here is party 2 of the restoration process I undertook. Now this was really delicate items in my hope chest. This lace thing (which had a hole

 
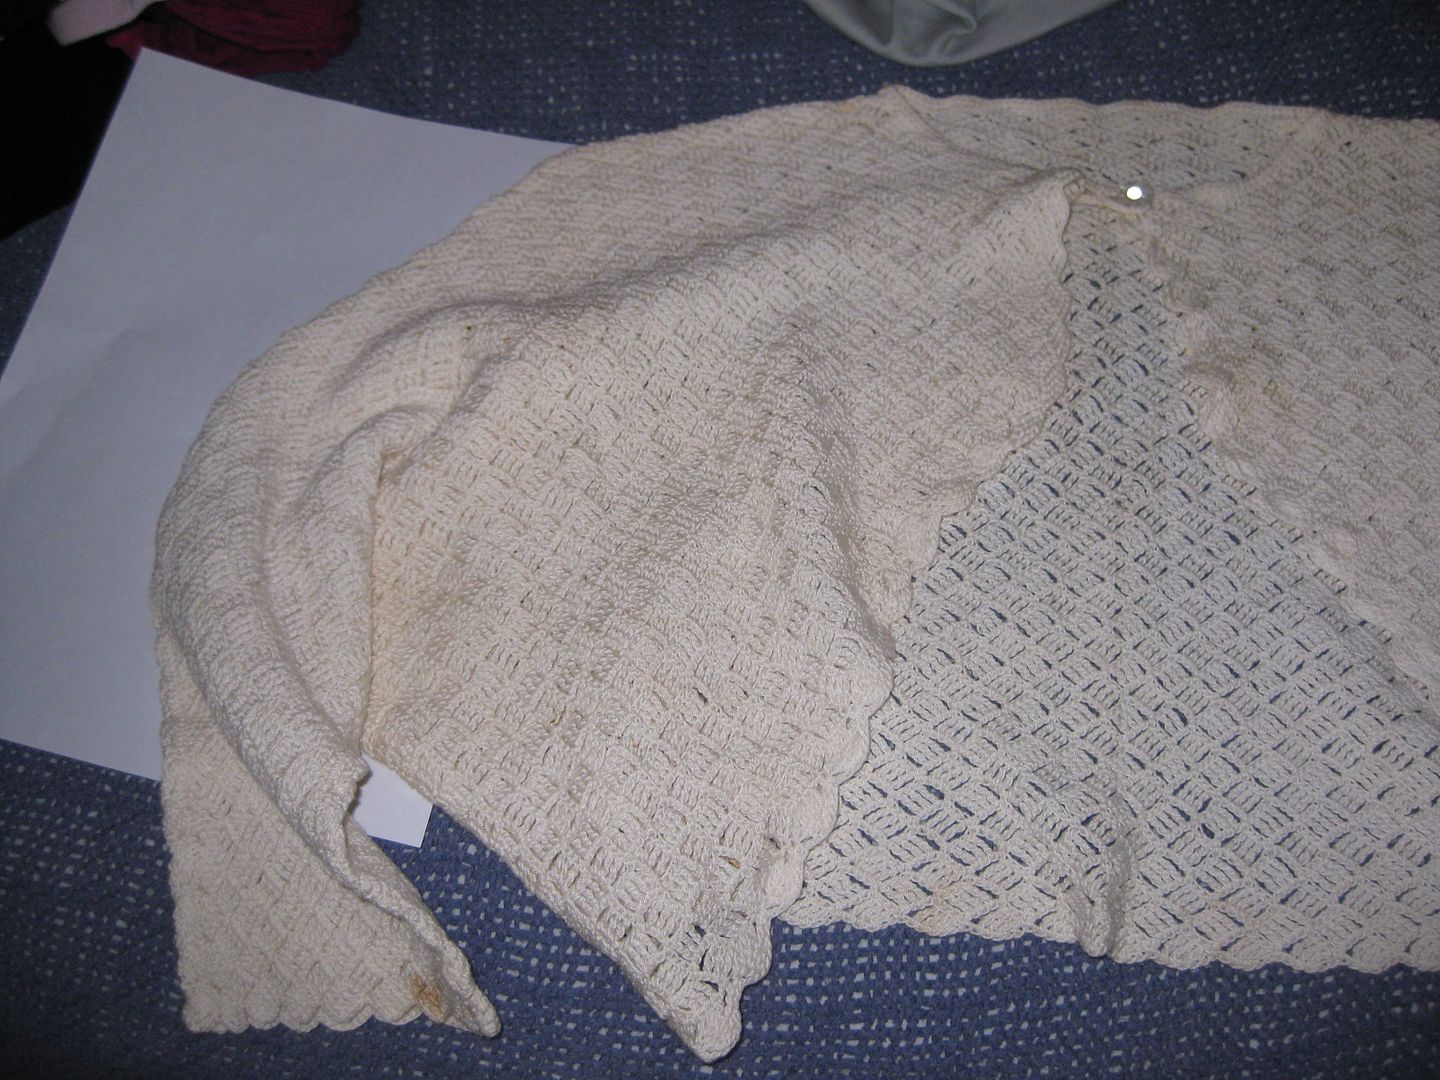
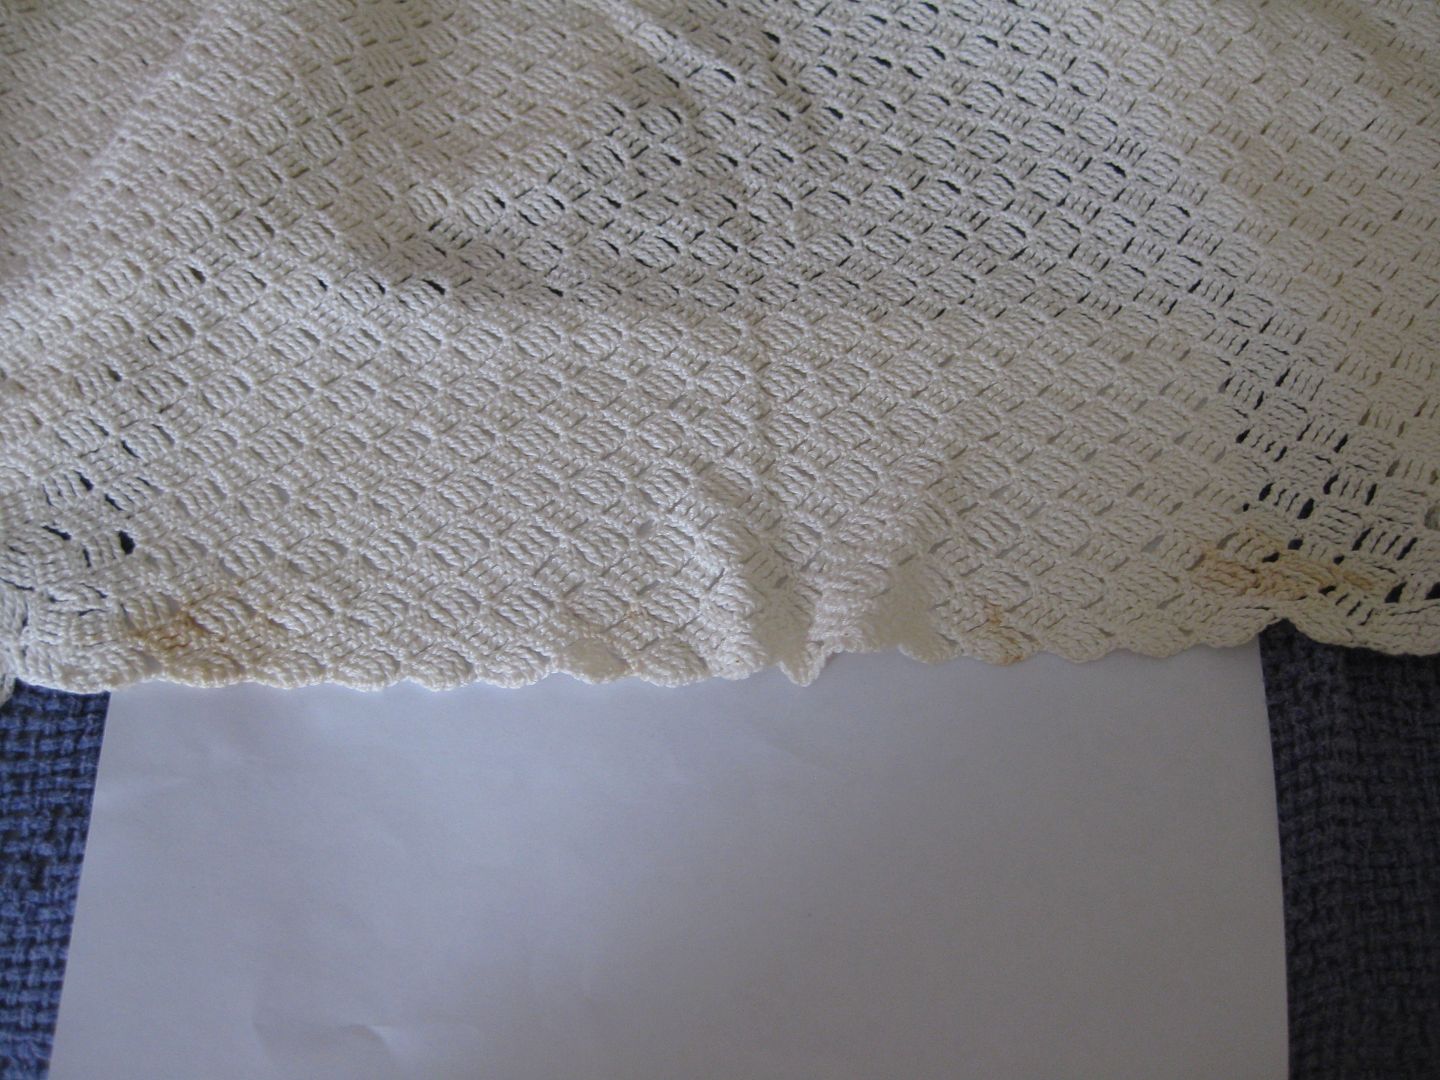
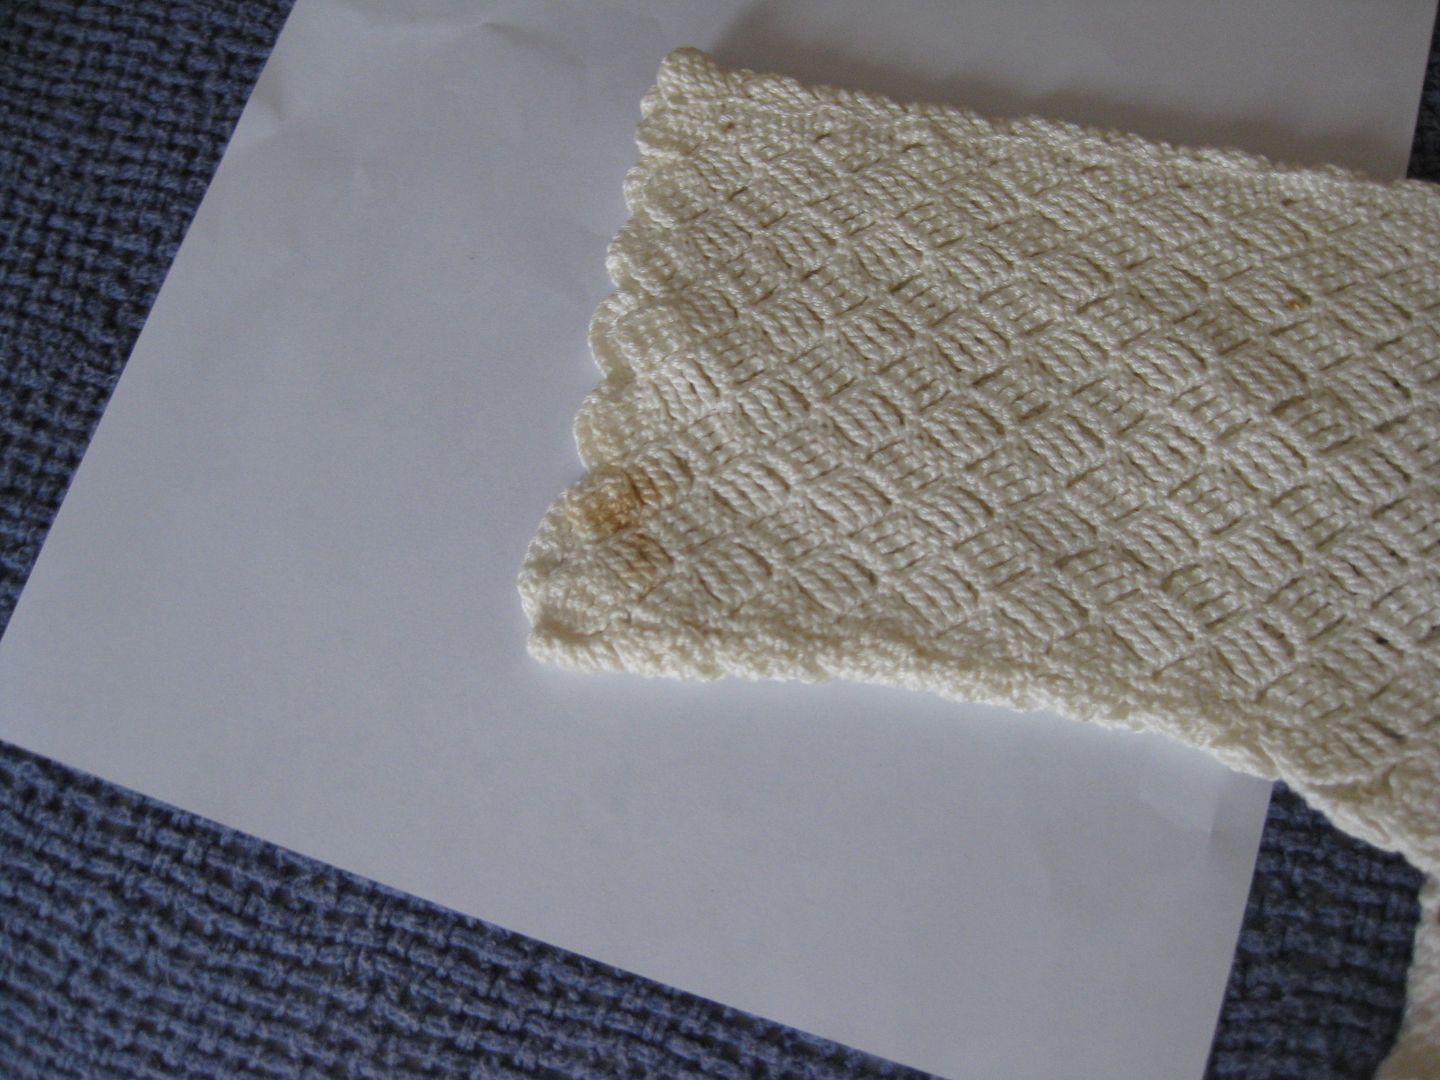
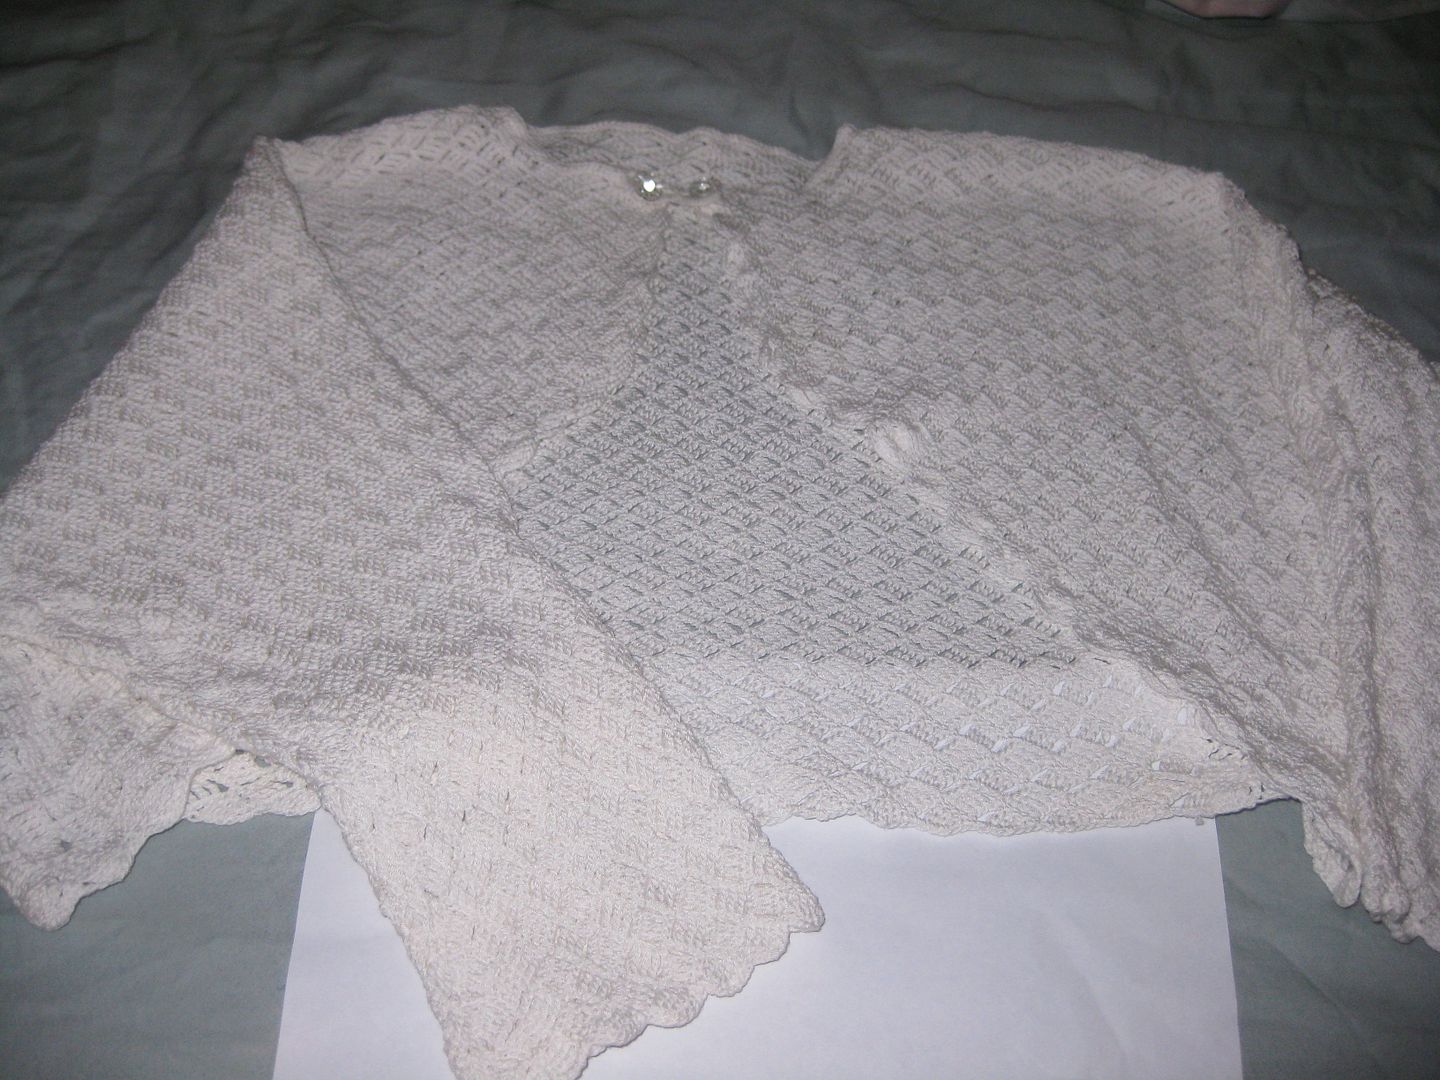
And a knit sweater/shawl item.


Both were super yellow and had brown spots But the restoration did the trick. Look at how white the knit sweater is!!

 
Both items turned out really well and the stains are gone. Very happy. Now on Friday I am going to try things with color. I am sort of nervous about it. Come back Friday!
 
Cheers,
Lauren

Monday, September 23, 2013

Iron Craft: Halloween, Sparkly Pumpkins

Good Golly! Life is a bit of a blur.... between Flugtag (which was awesome!), security detail, fiscal year, Sick, Sick, and more sick, Refashion Runway, Iron Craft, Work, Life!  I am just trying to make sure I get things done on time and I take deep breaths!

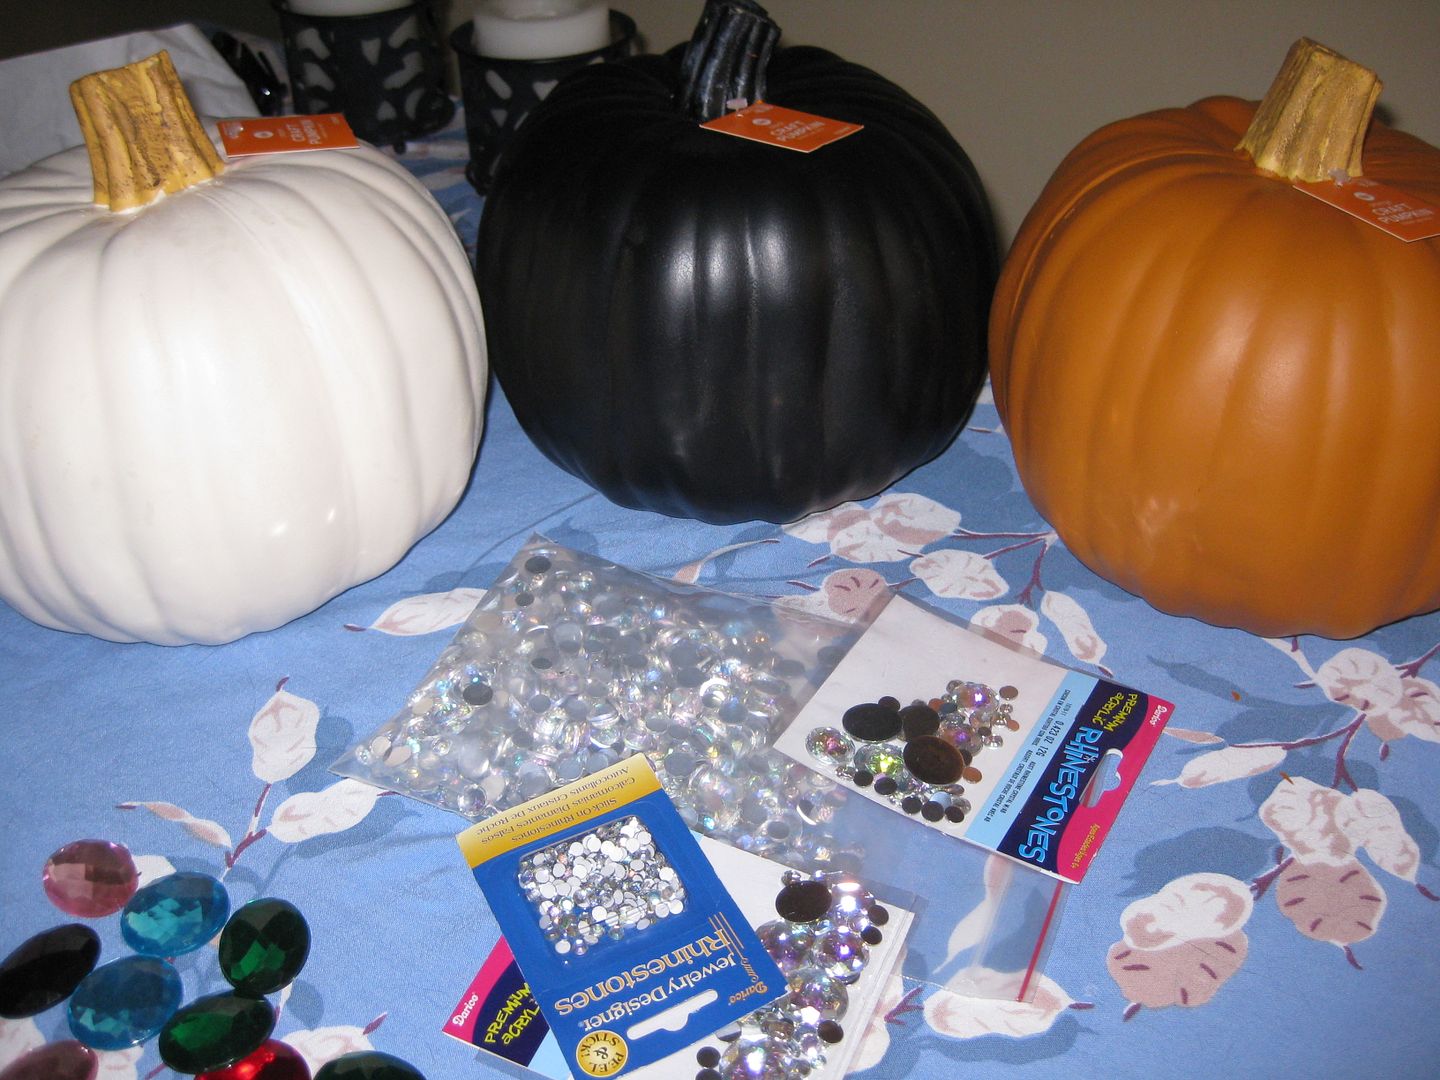
This next iron craft challenge is Halloween. Yes I know it is September but you know got to get started early. I debated what I wanted to do, beaded spiders? bunted banner? ???? I finally felt better the previous weekend and took a trip to Target, because my life is that exciting. I stumbled upon this different color pumpkins and realized this is what I want to do! I want to use up some of my bling on some pumpkins!!


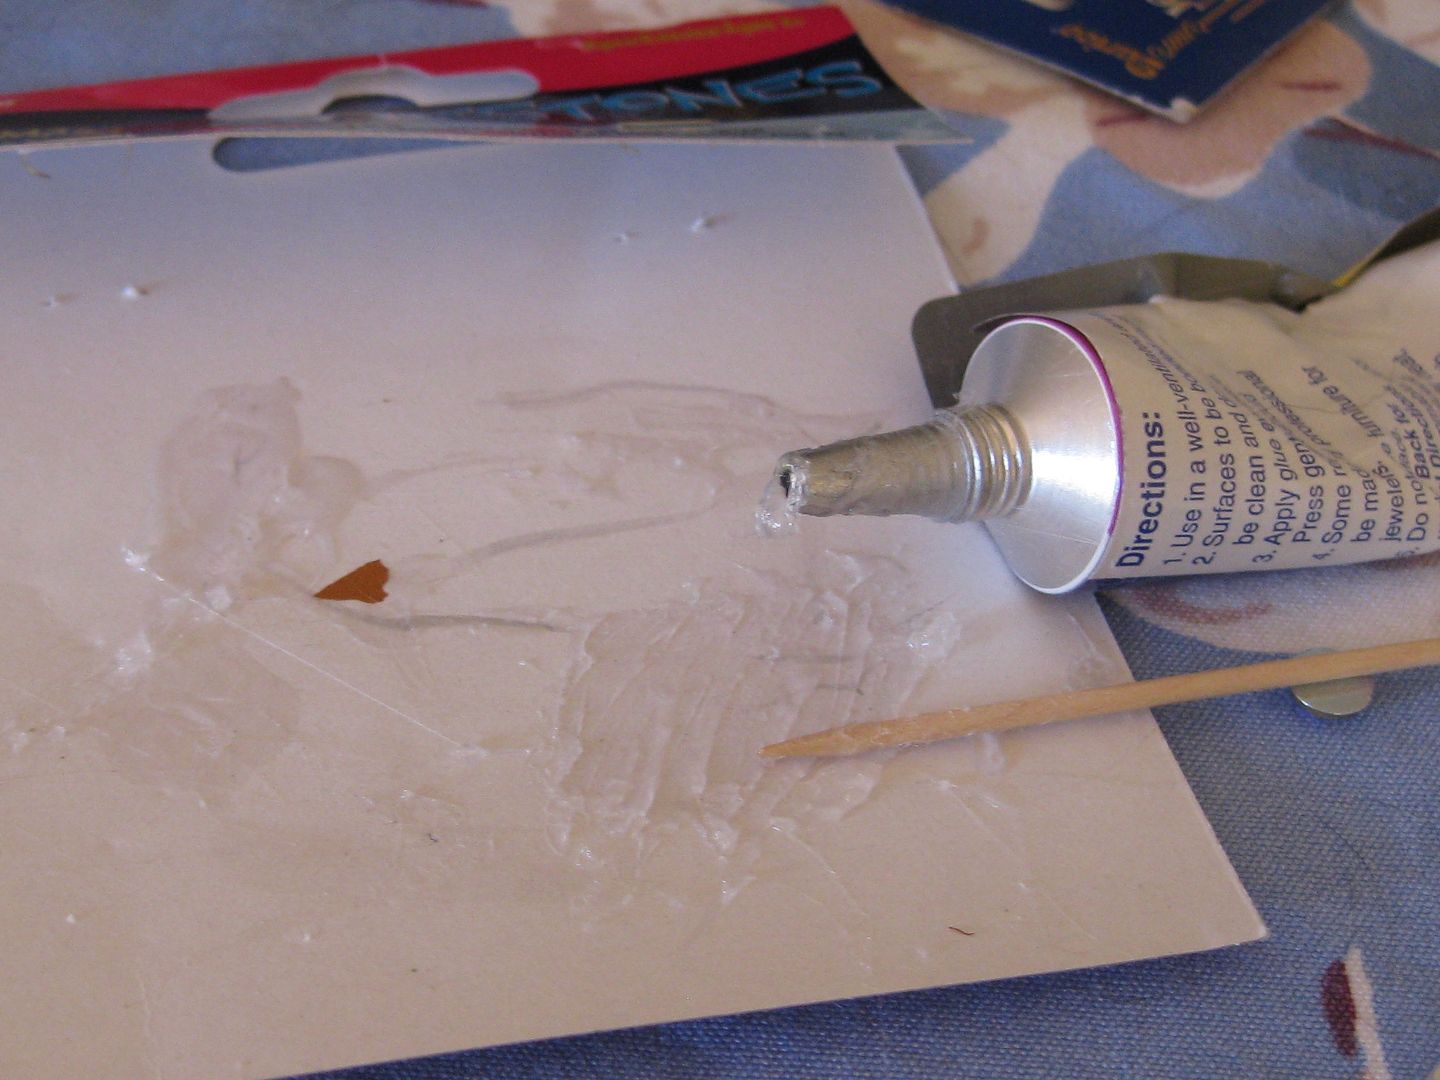
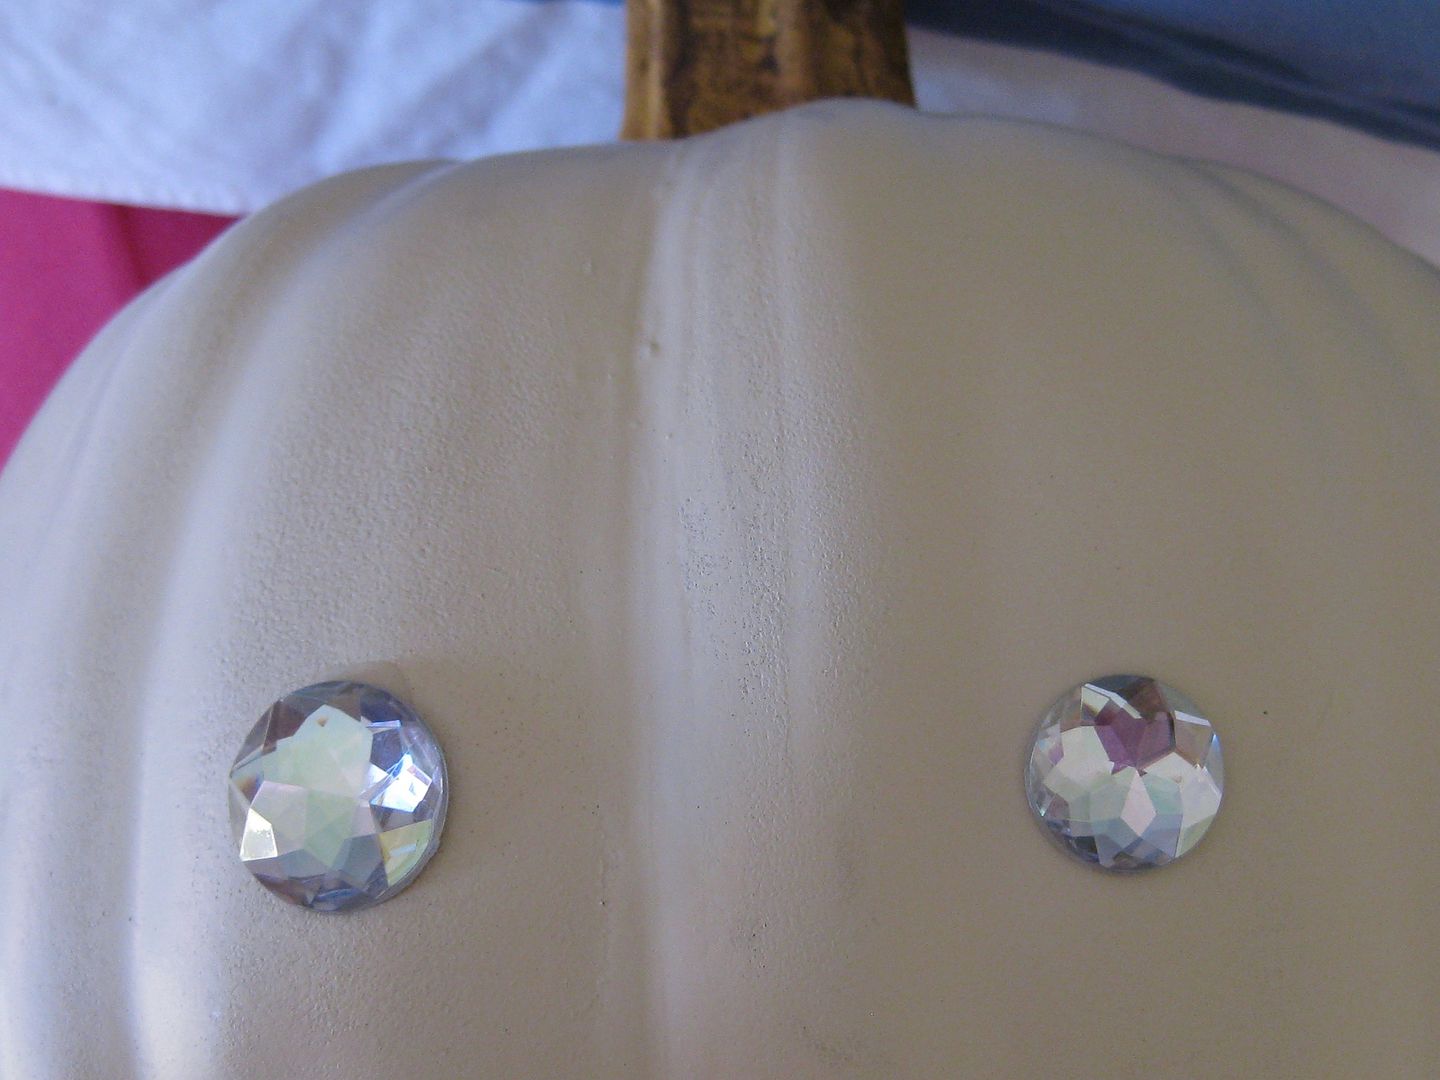
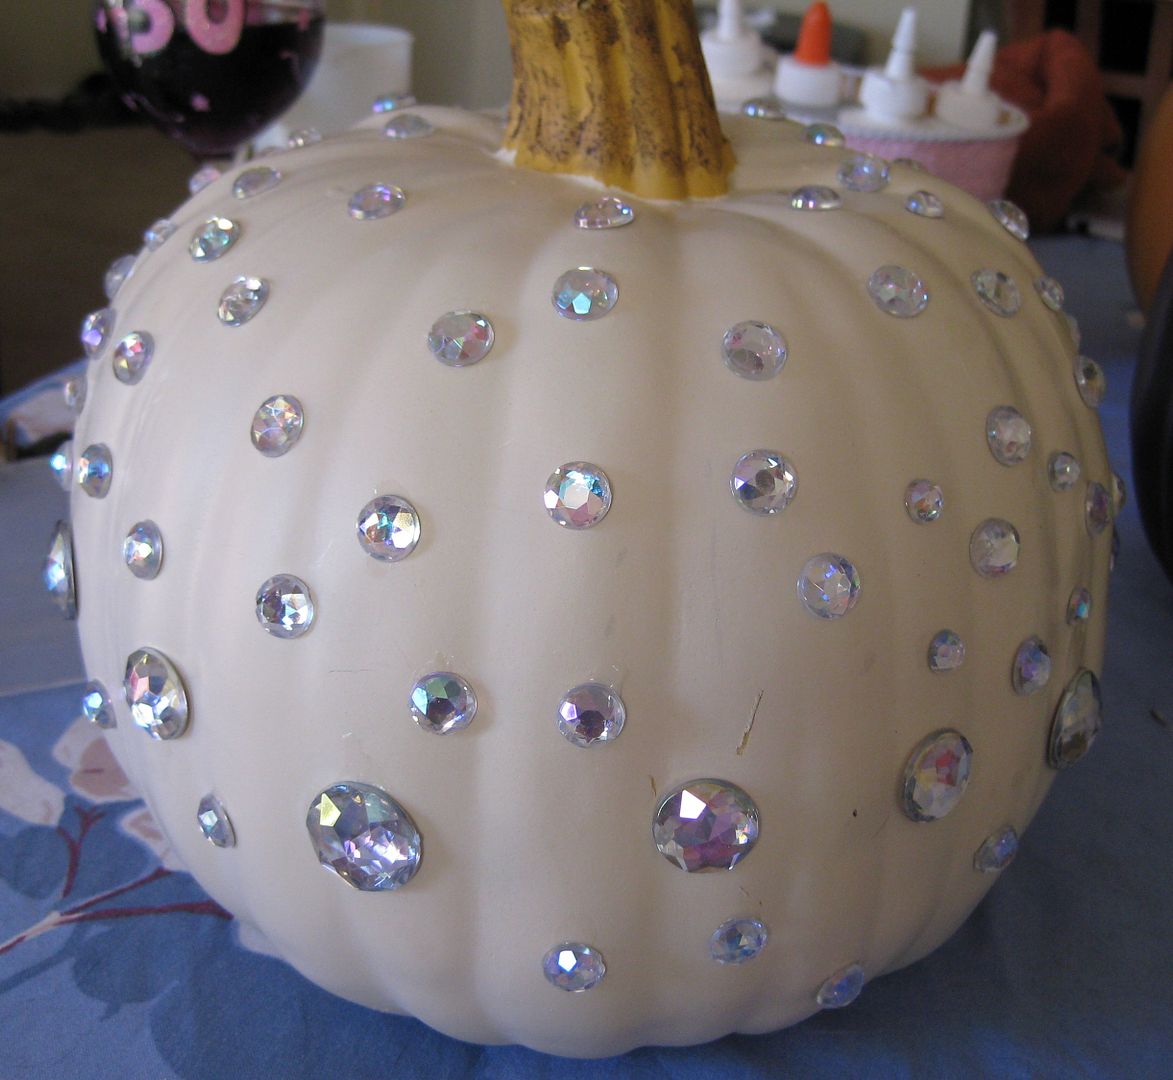
Giddy! I simply just put my clear AB rhinestones (in various sizes) on with some glue using a toothpick.


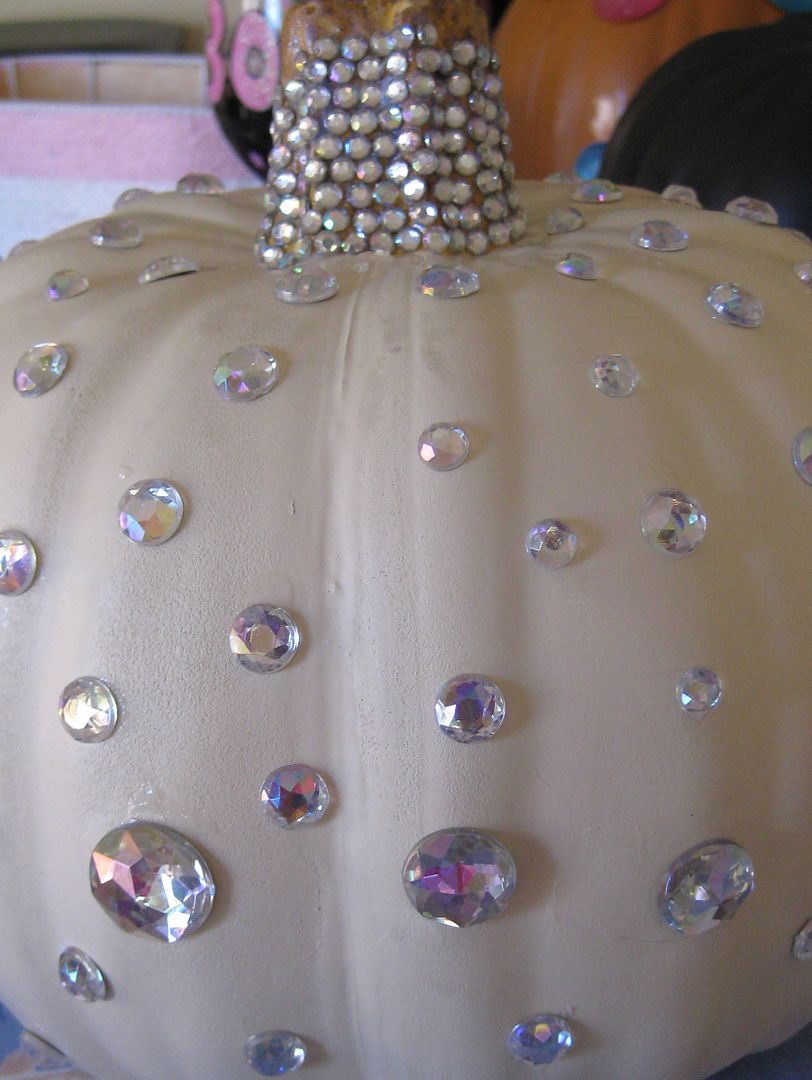
As you can see I added small rhinestones to the stem. Go big or go home!

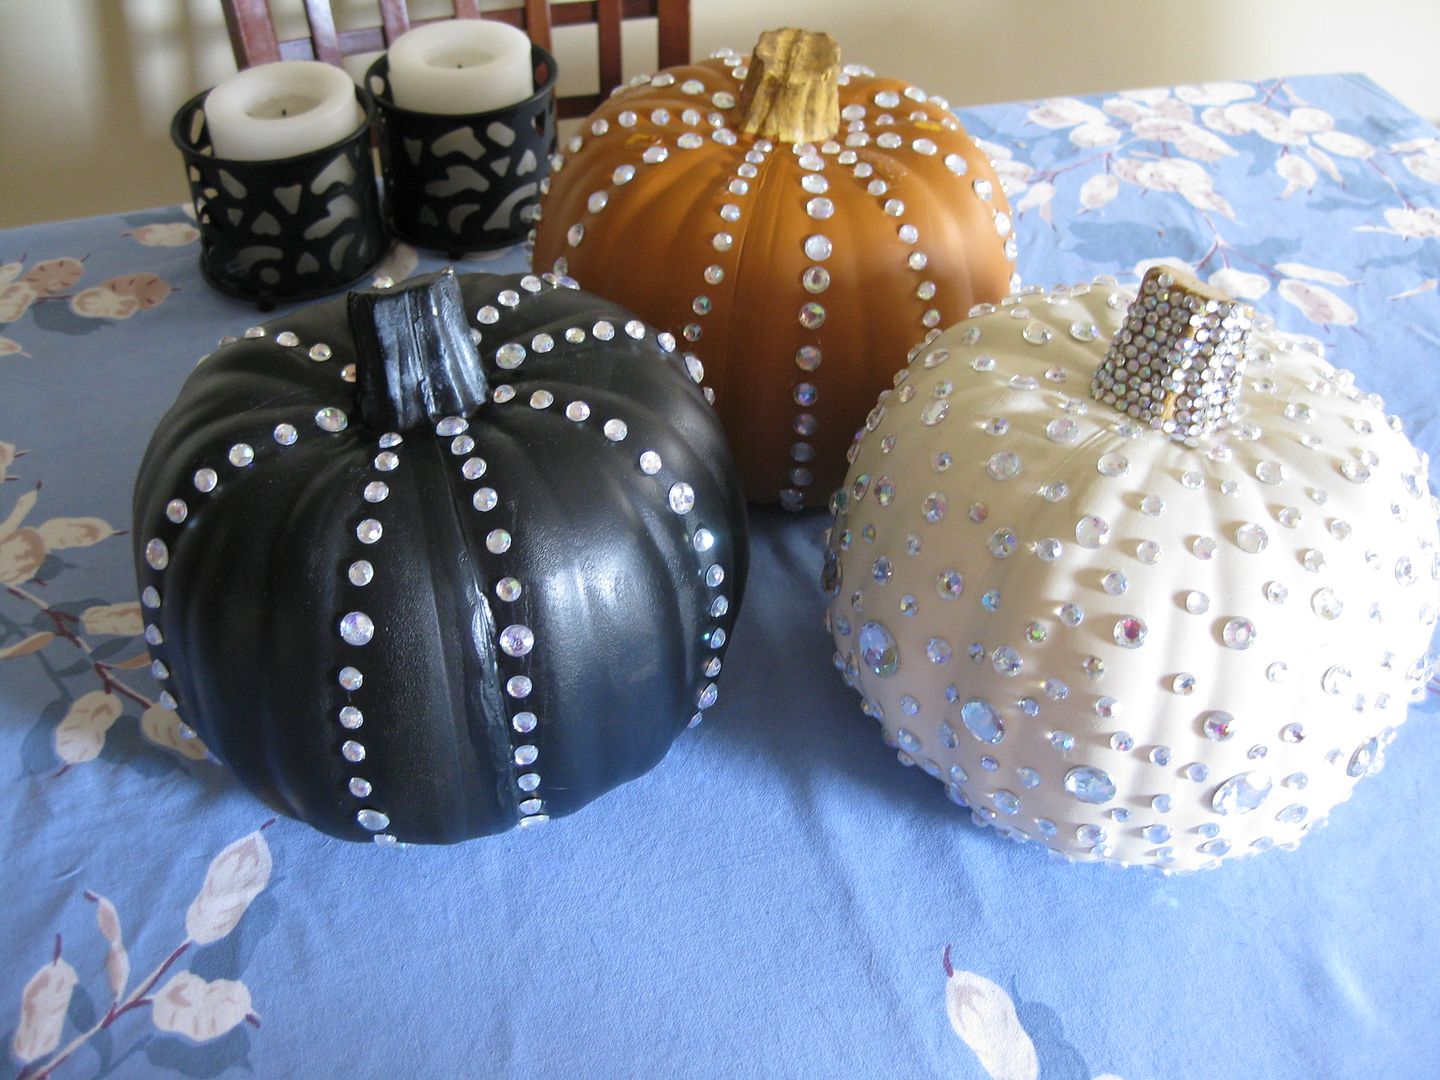
The white one reminds me of Cinderella's carriage. The black a spiderweb. The orange... err just a sparkly pumpkin..


I love my new halloween decor! I will start decorating soon for fall. :) Yes! Actually just a reminder I am competing at Refashion Runway. My plaid project is up for a vote. Please go and check out the projects and vote! If I make it to the Halloween week, OMG my refashion costume I have in mind will be epic!!! I am so excited for this!

Cheers,
Lauren

Sunday, September 22, 2013

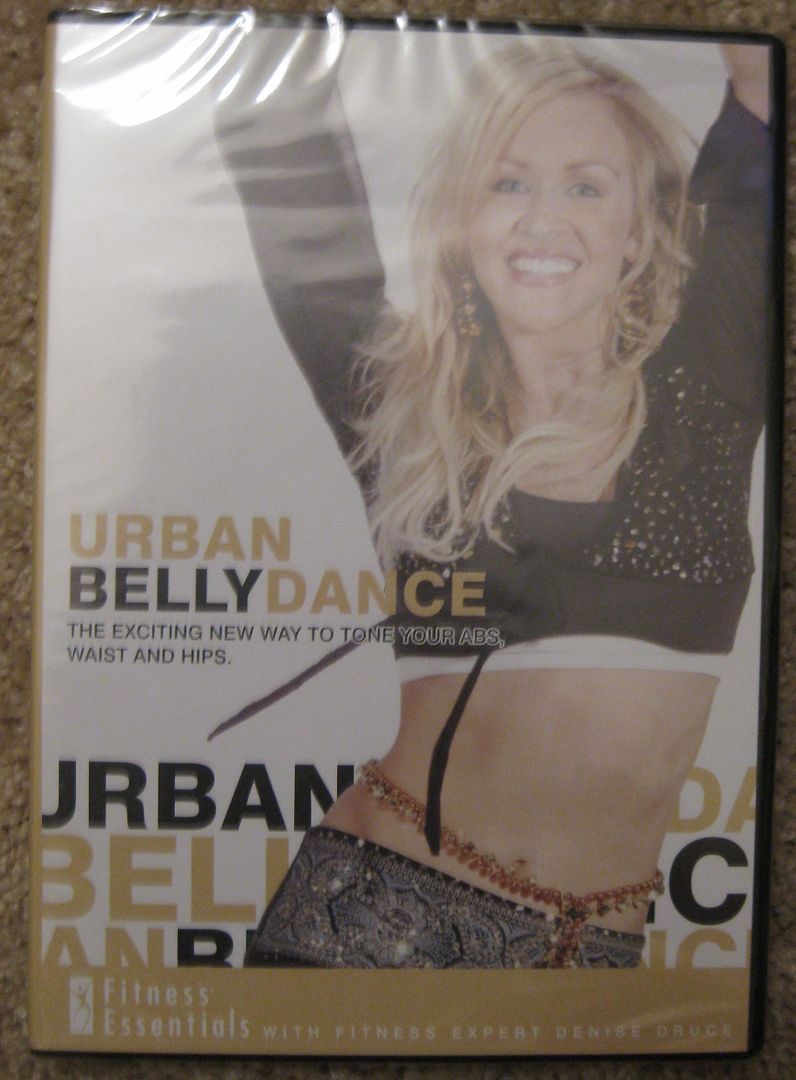
Bellydance DVD Review: Urban bellydance by Fitness Essentials

Happy Shimmy Sunday. So I might as well pull another fitness bellydance DVD bandaid off, metaphorically  speaking. By the same group, Fitness Essentials. This one is Urban Bellydance.


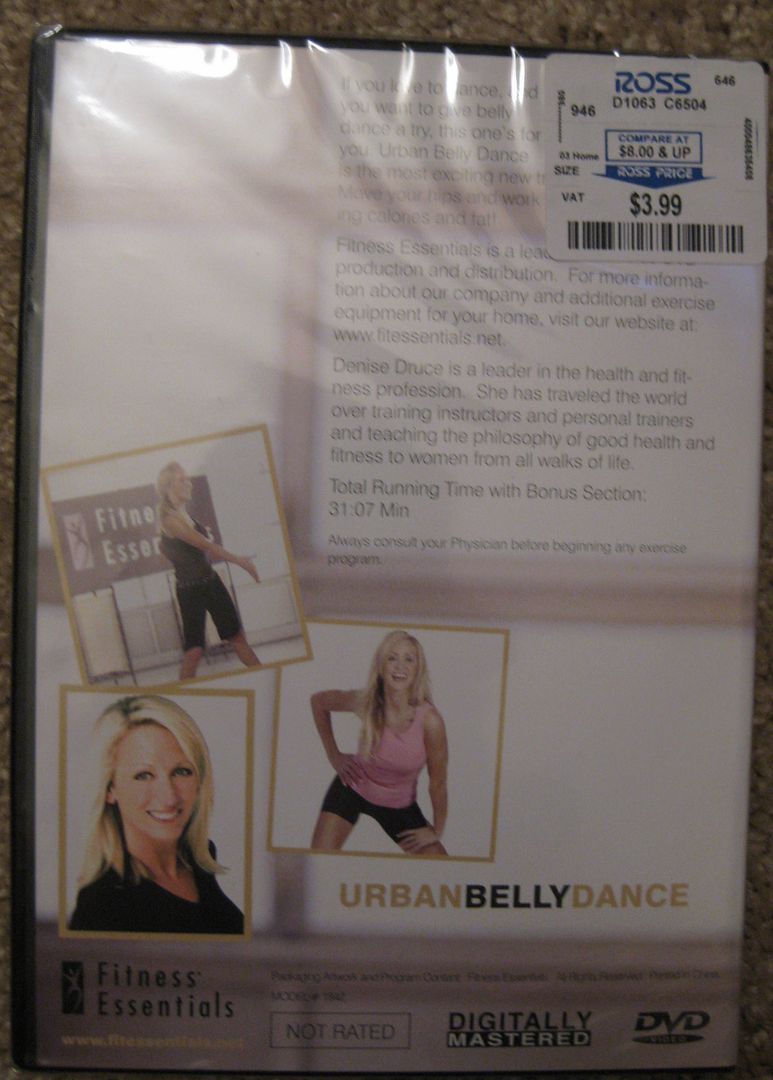
Luckily not much was spent on this DVD, as you can see it was purchased at Ross. I think this was a gift from someone. 

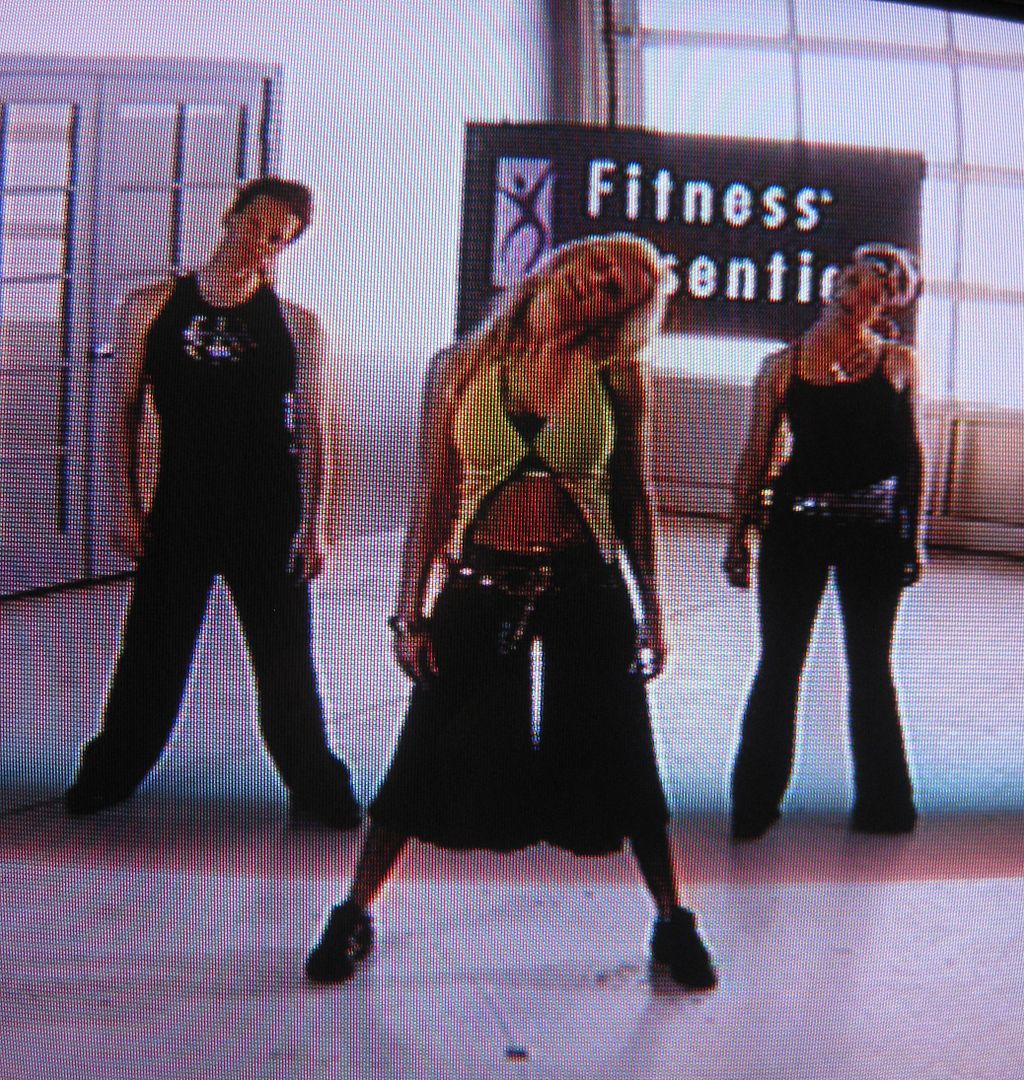
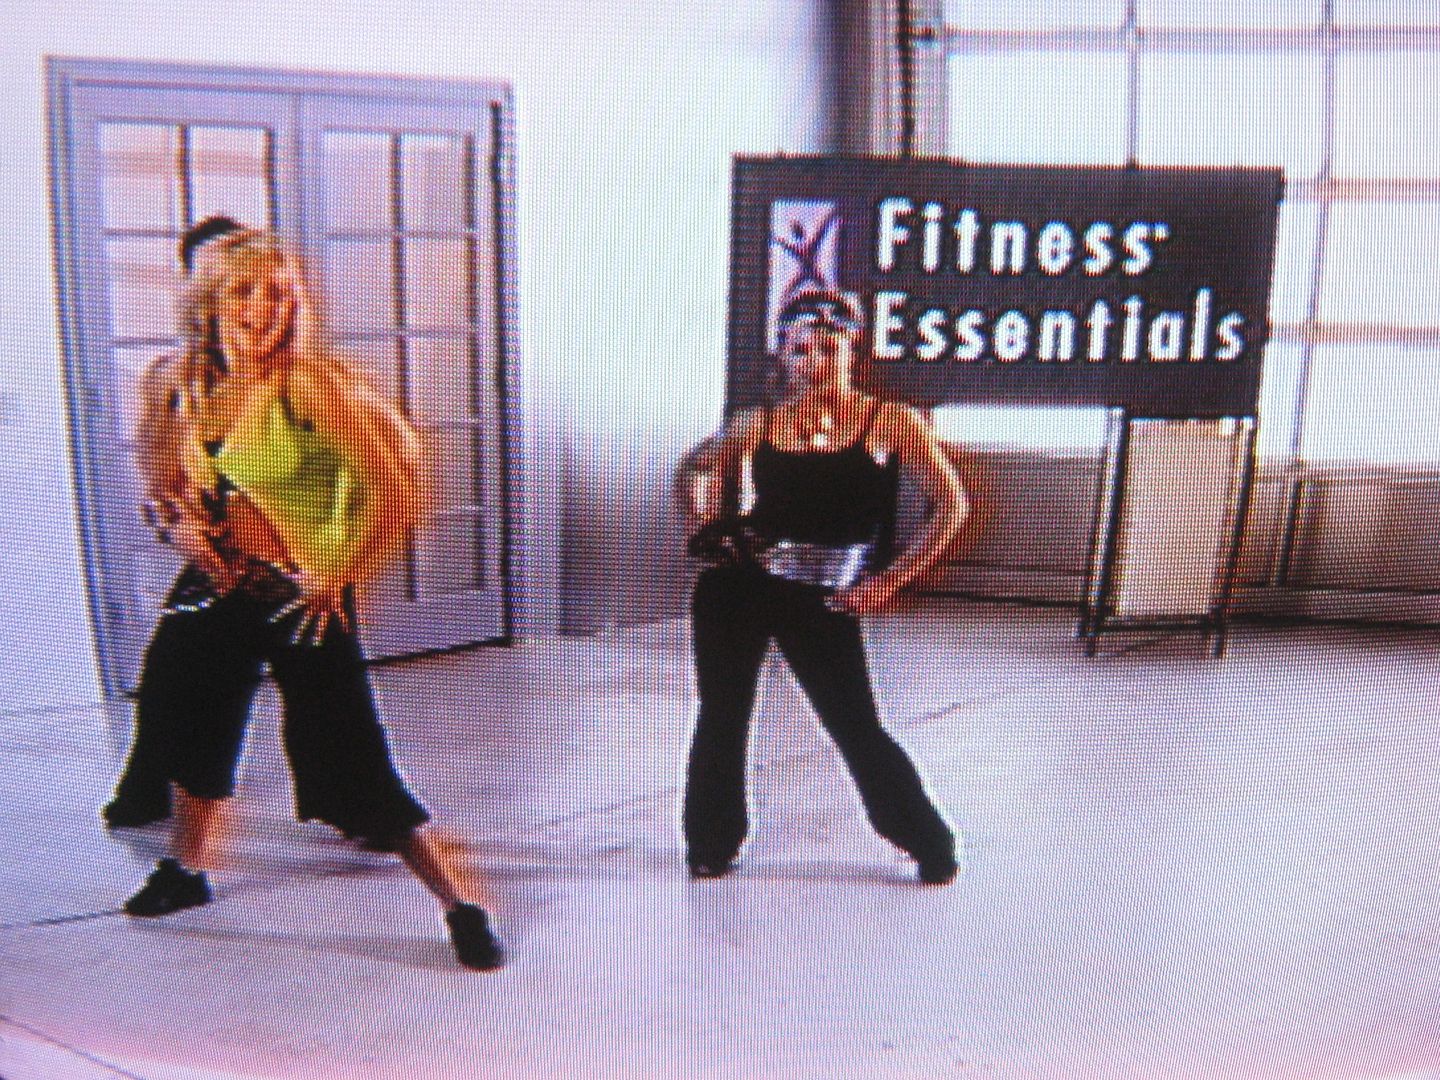
I didn't want to waste a lot of my camera and space with this DVD again. Again it talks about Denise Druce but Heather teaches the class. This time with 2 other people. And yes a man is with them! 


The total workout time is around 31 minutes with the bonus stuff. My first comment which came out of no where was these people are playing dress up. Having a sparkly waist belt doesn't make you a bellydancer. The workout was like a dance class or a zumba class, or jazzercise or salsa. Actually, when you see some of them move I don't see a bellydancer I see a salsa dancer. But I am guessing they took a few lessons (?) and thought well it is close enough to salsa, yeah let's make a bellydance fitness DVD. It is all the same right?

Well wrong. It was awful. I don't know which fitness dvd from this group was worse. At least the other one had bellydance moves. This one has like none. Actually, the workout is a hot mess. It looks like the backup people didn't even practice or go over what they were going to do while the cameras were on. The girl in the green frequently goes in front of the guy. The people in the back also are clueless just have no idea. AT least in this DVD the sound quality is better and so is the video.

Verdict: Toss. It wasn't even fun and I did not get a sweat going. I was bored. Not worth the money.

I am so glad I have no more DVDs from this group. I promise you no more reviews from them!!

Cheers,
Lauren

Saturday, September 21, 2013

Refashion Runway #1: The Plaid School Teacher Refashion

Greetings! I was one of the lucky people to get picked to be part of Season Two of Refashion Runway! Yay! I totally forgot to announce it! Last weekend was crazy!!! I am furiously refashioning for the weekly challenges. This week has been hard- I live in D.C. and in the wake of the shootings has everyone here on edge! But I managed to make a new fabulous new dress! Challenge 1- PLAID!!

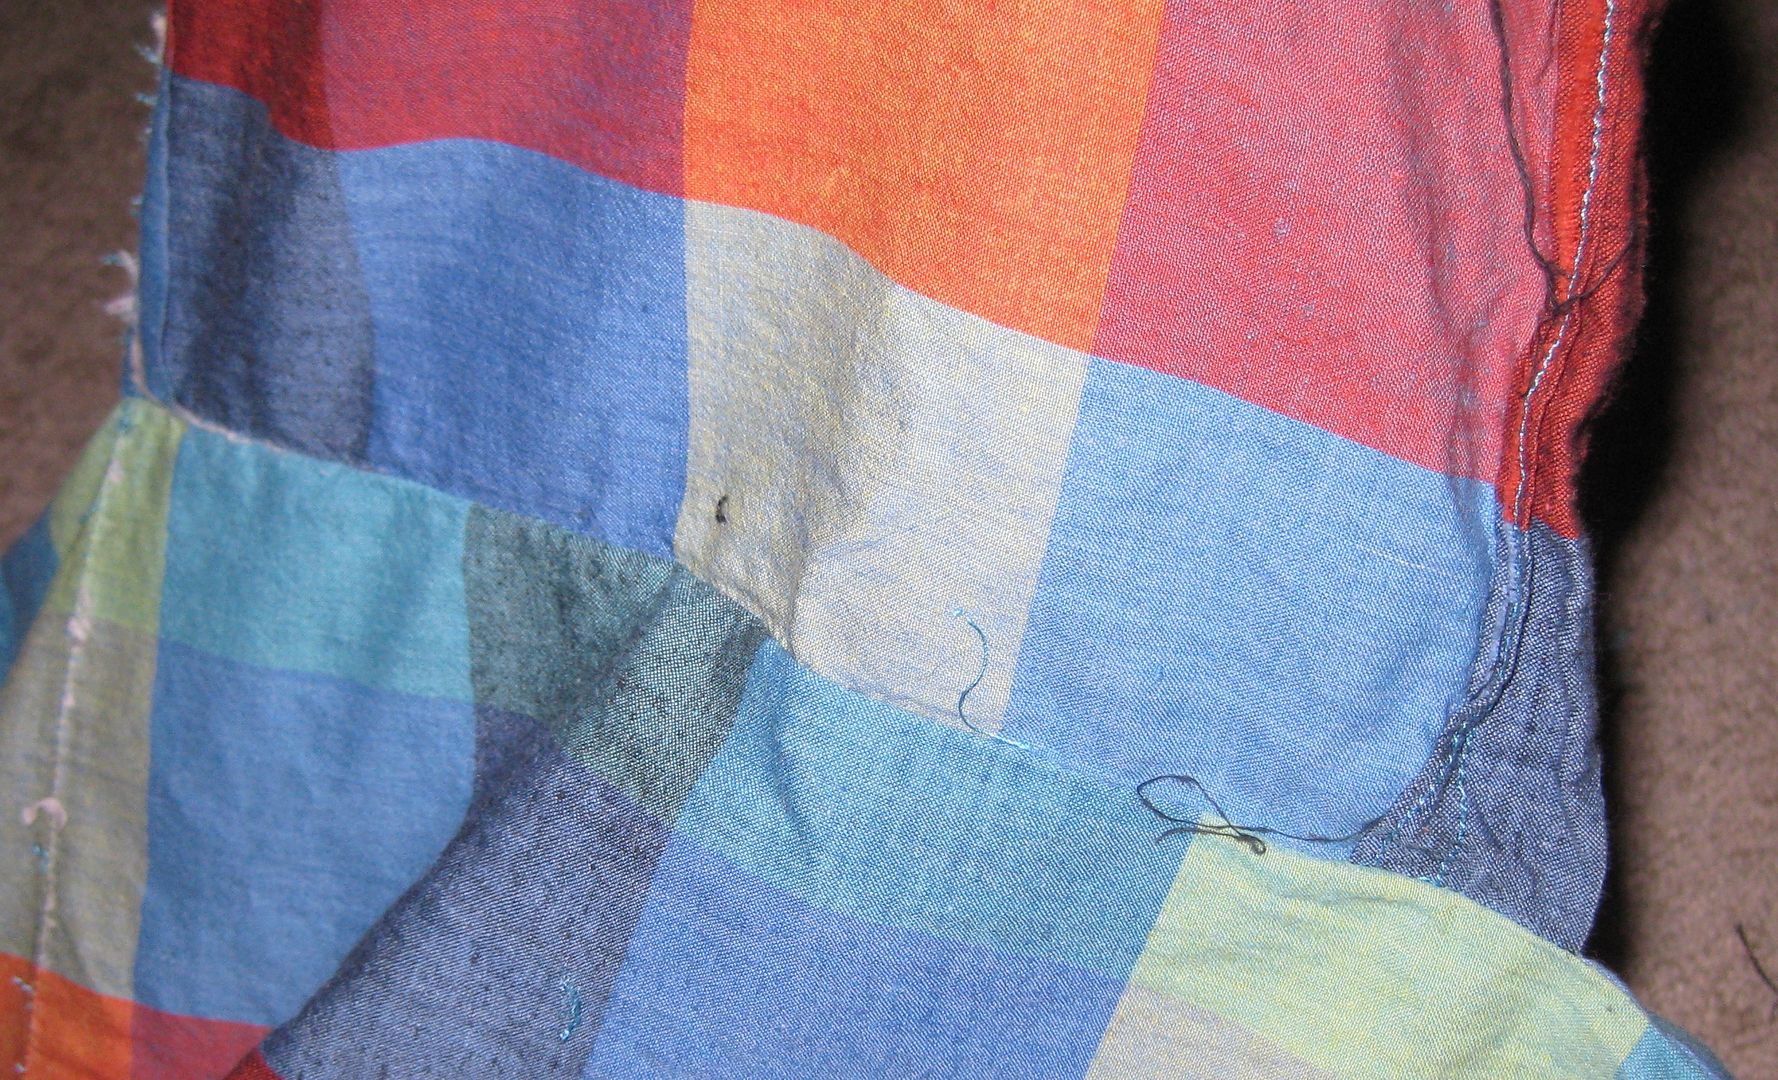
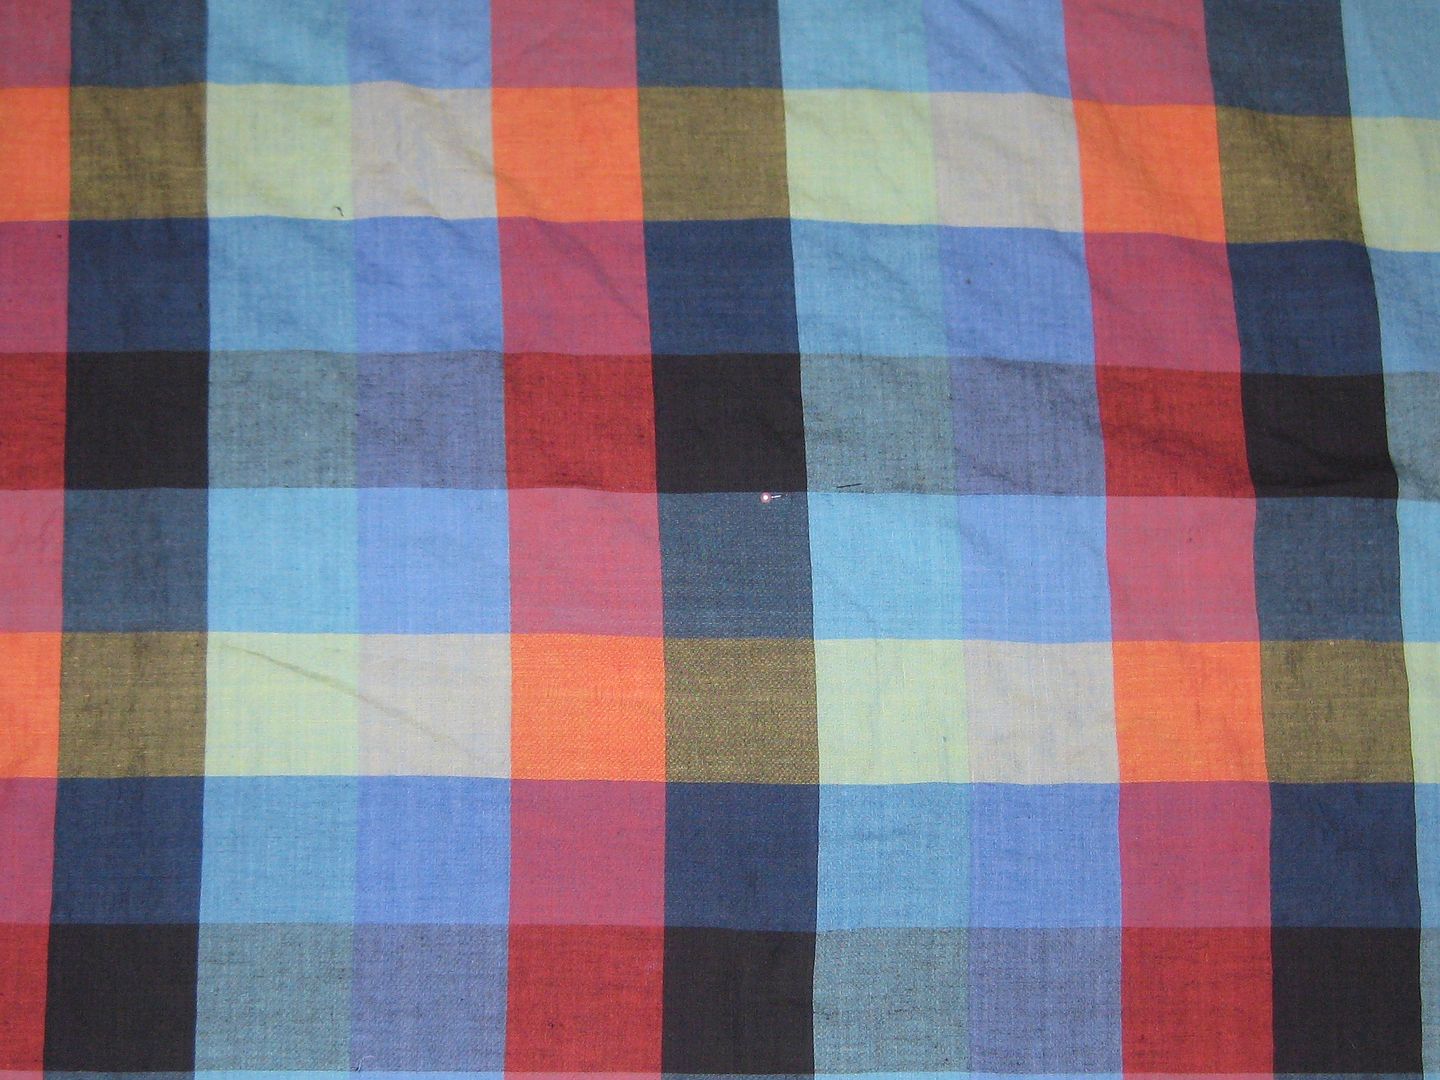
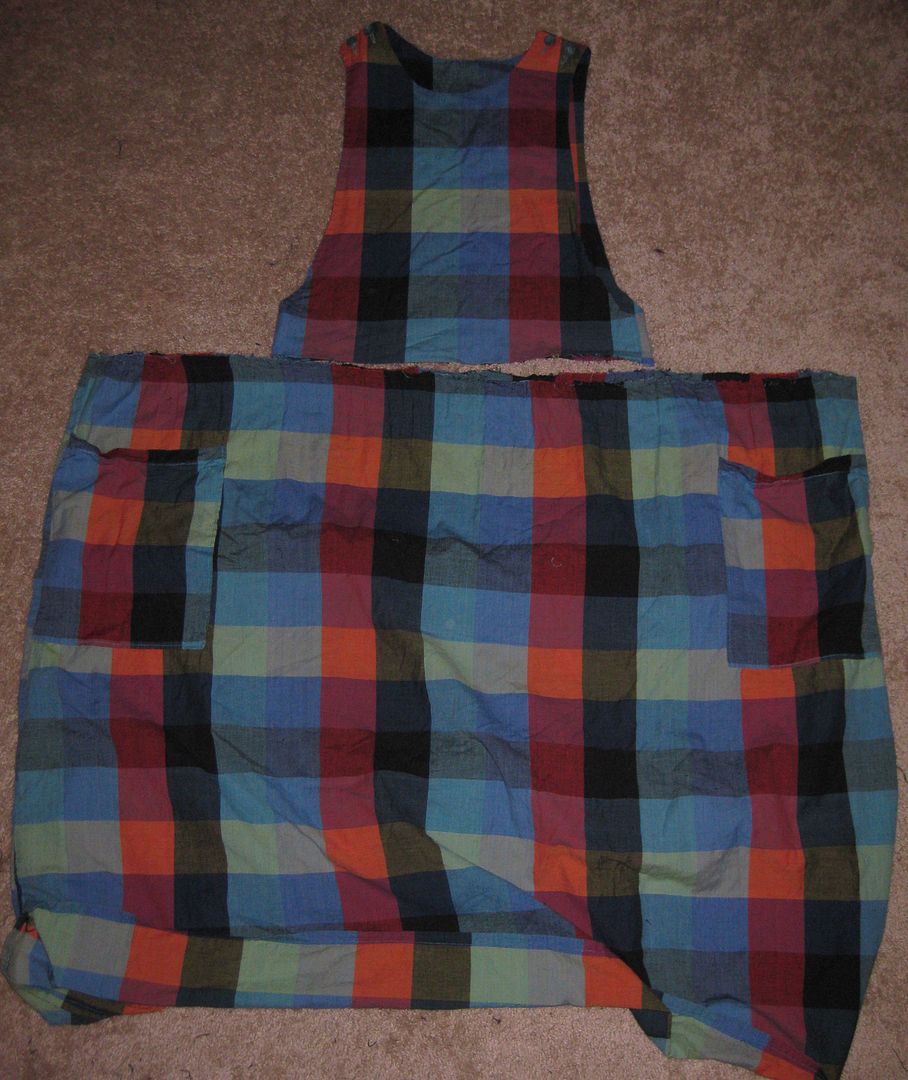
First, I found this homesewers dress at Goodwill. I knew someone made this due to the fact there were no tags, and the way it was finished on the inside (i.e. no serging). The only word I could come up with was.... BAD school teacher dress. B/c I promise you that one of my teachers in school had this exact same dress. But I love the colors! Big long maxi skirt? Overall bib-like top? Buttons? Huge pockets? I mean what is not to love? ;)

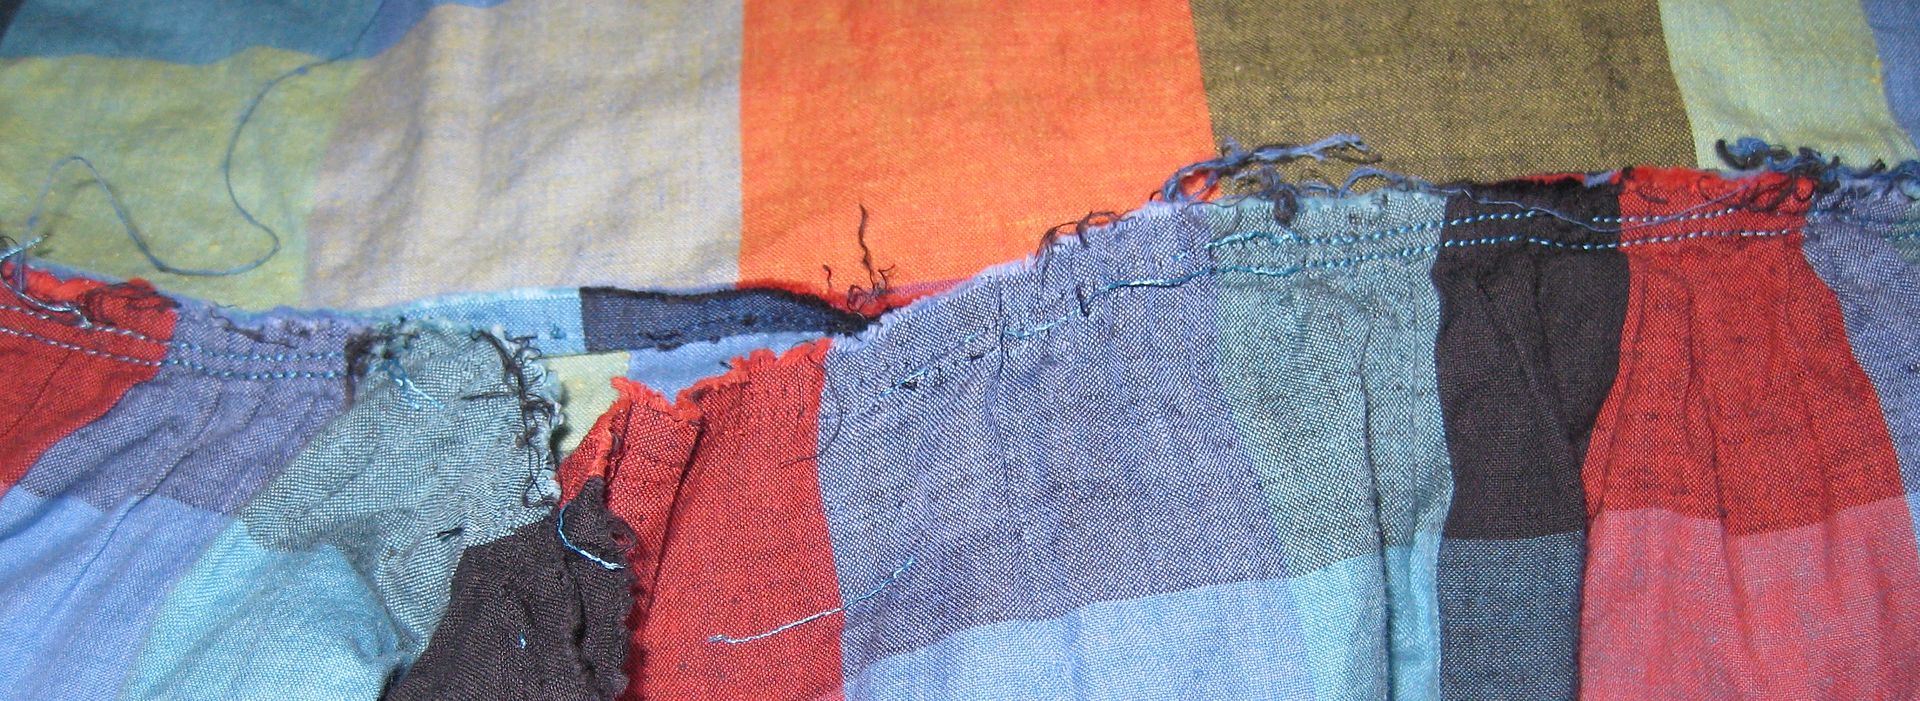
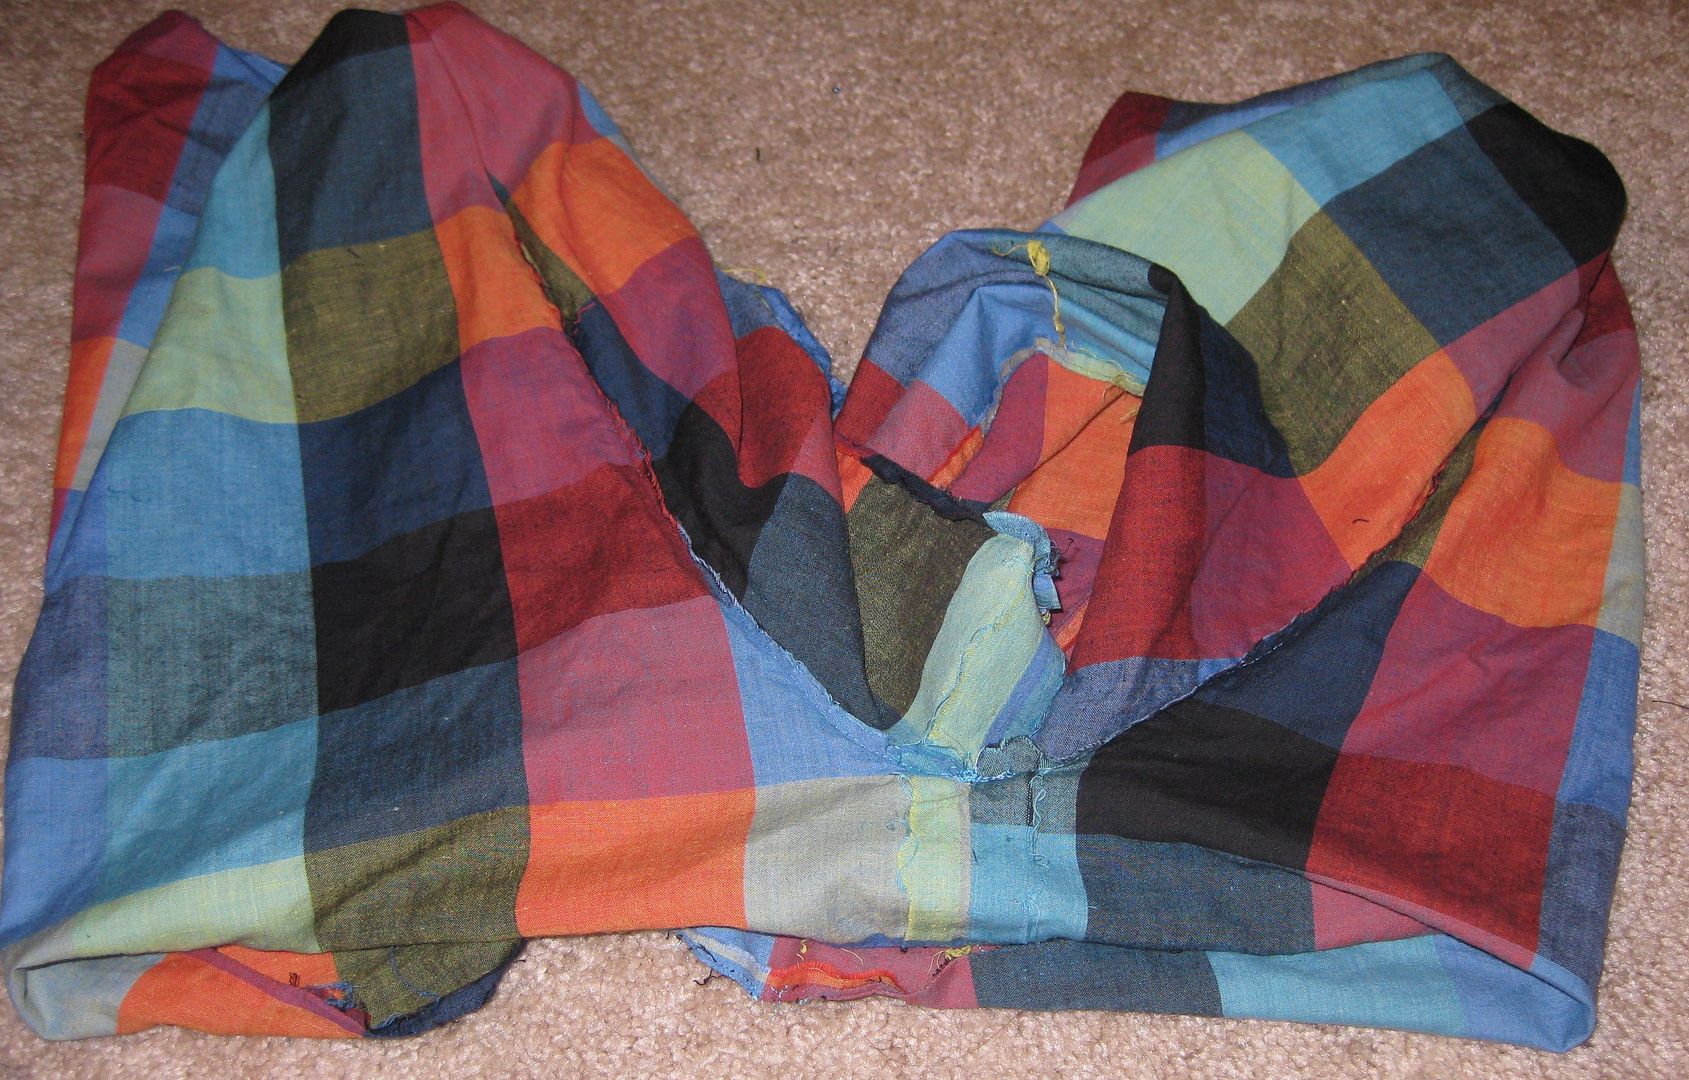
Trying to figure out what I wanted to do with it, I took my seam ripper and went to town. And wow I had to rip out a lot of seams. I spent all of Sunday night doing that. Just ripping seams. Wow that skirt was a lot of fabric!! You don't realize how much is there until you ungather it.


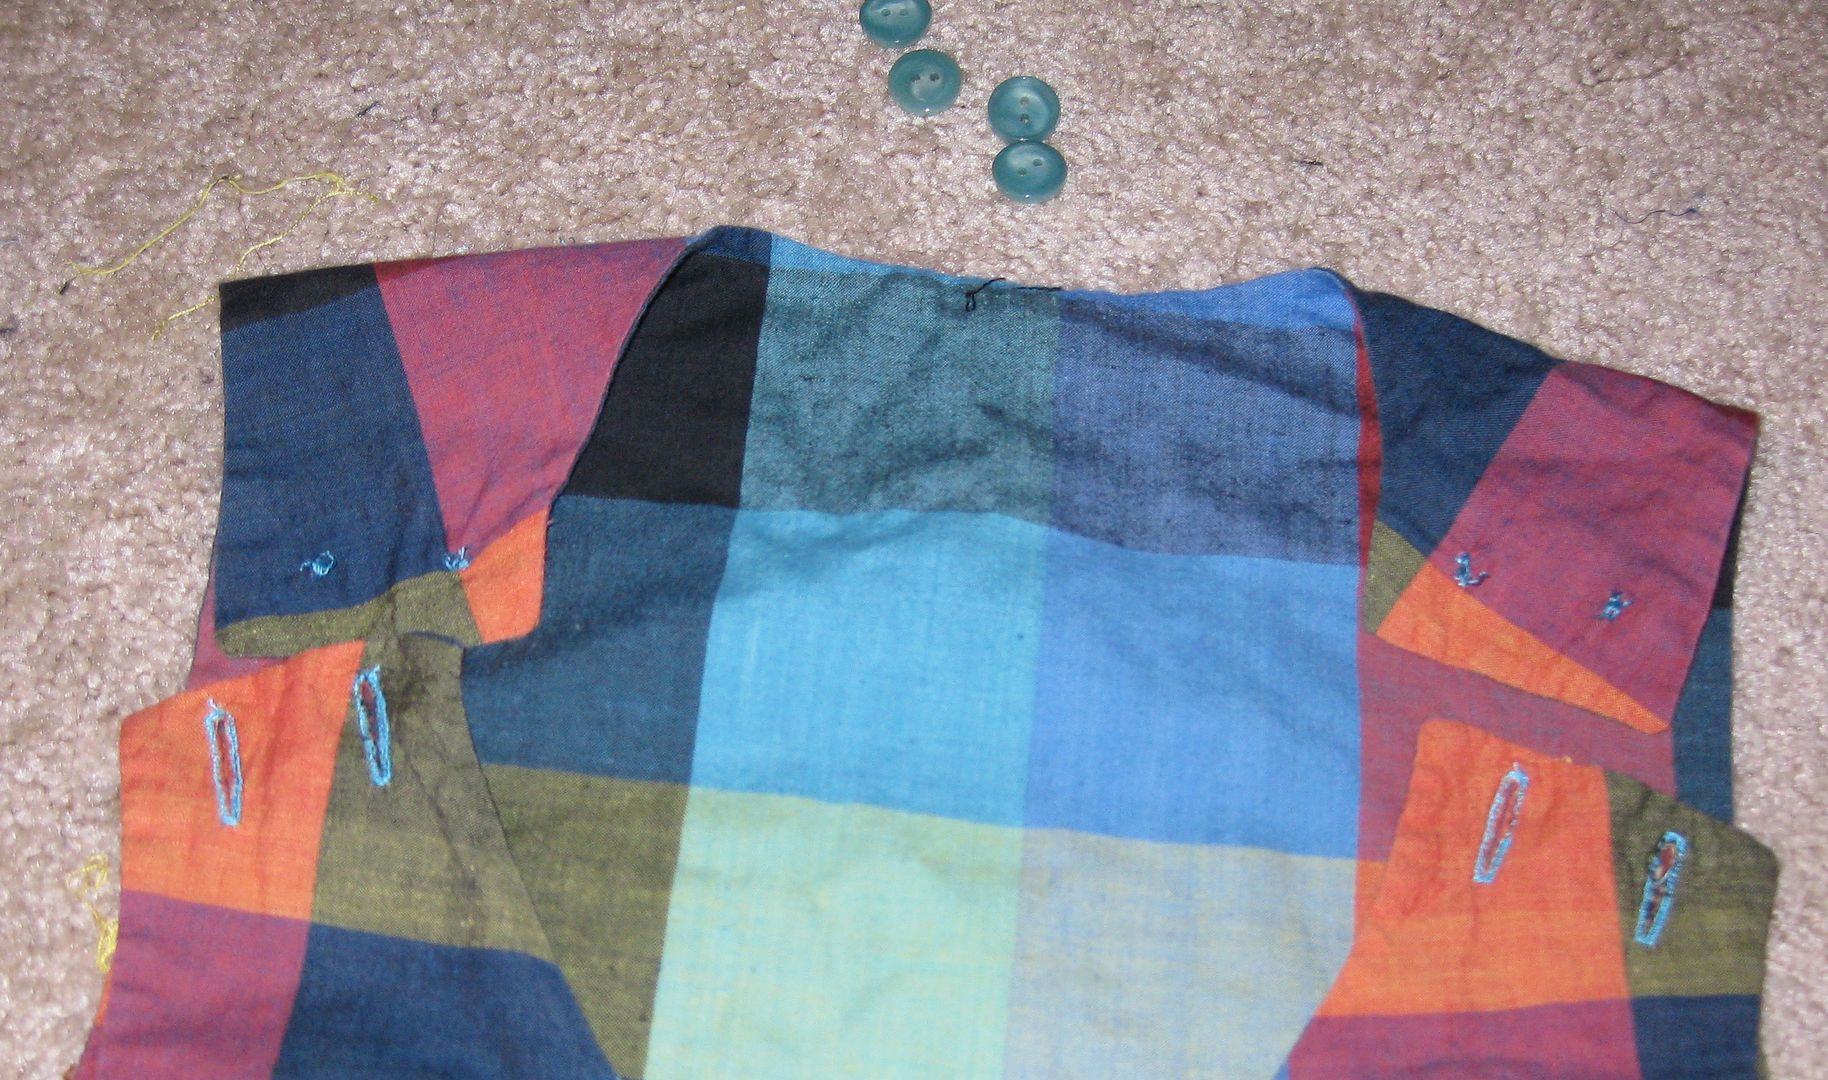
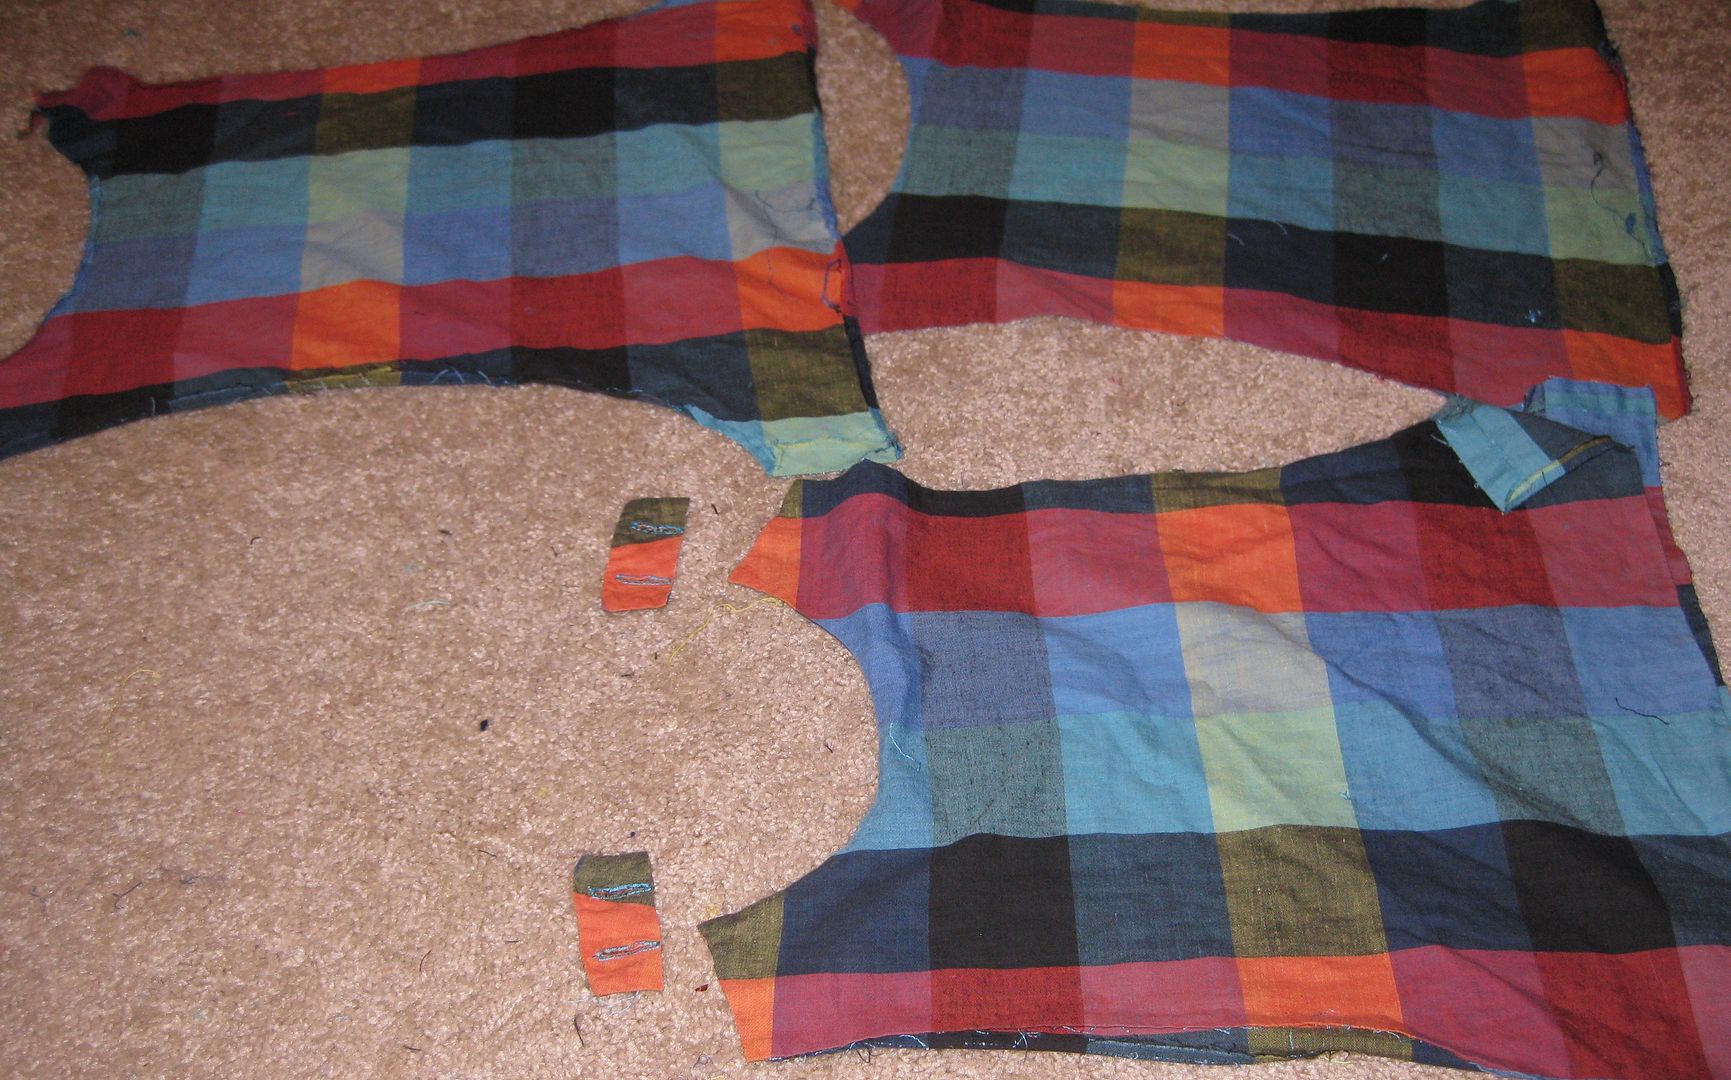
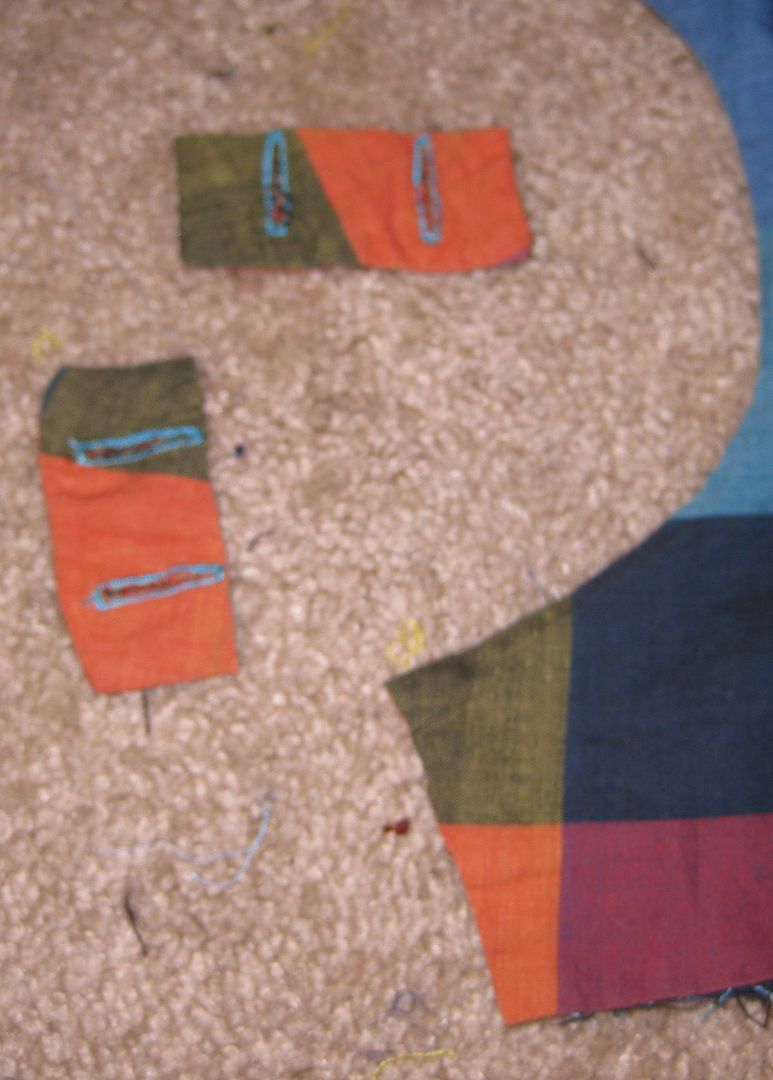
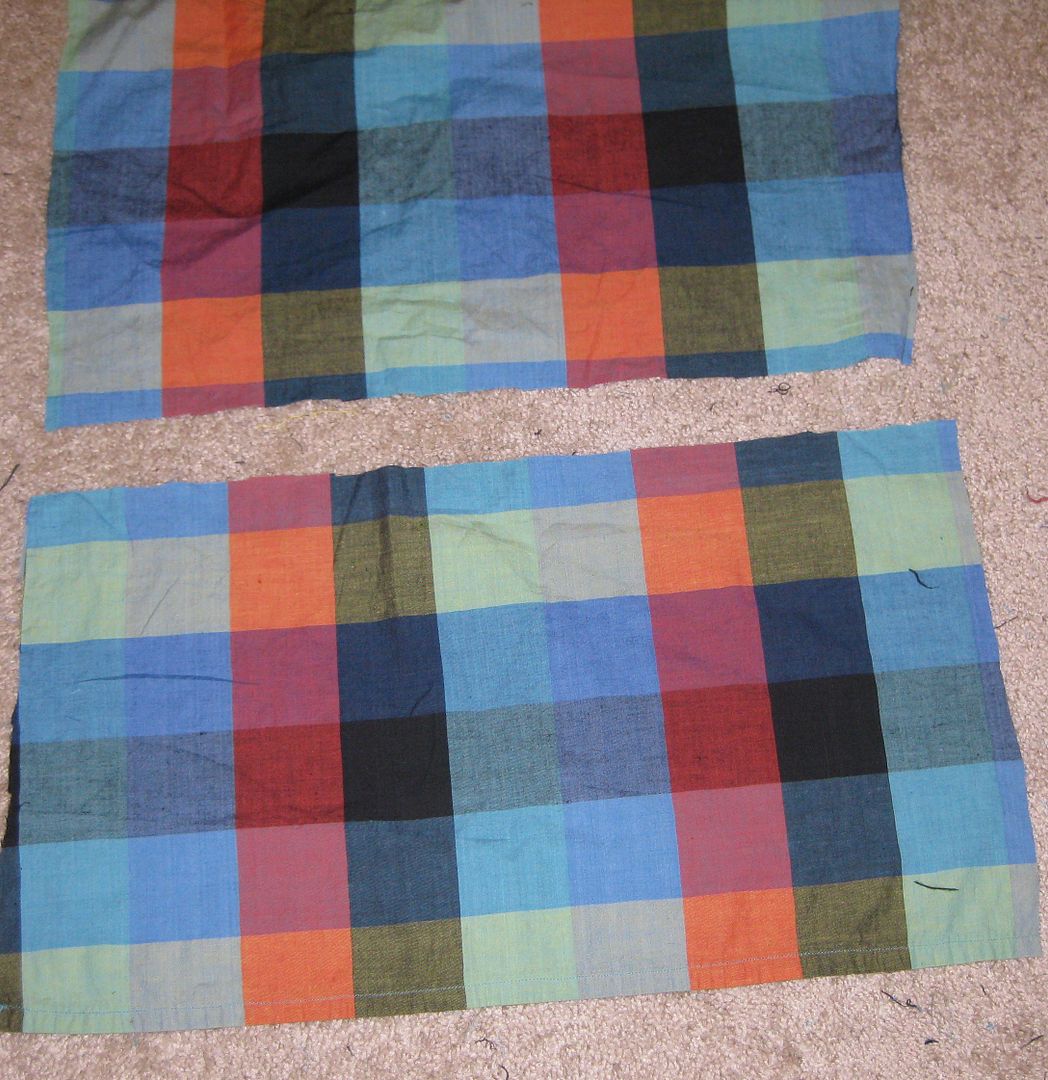
Luckily the front and back of the bib was double sided with the same fabric. I then ripped out the seams for this so I would have enough fabric. I also removed the buttons and cut off the button holes.


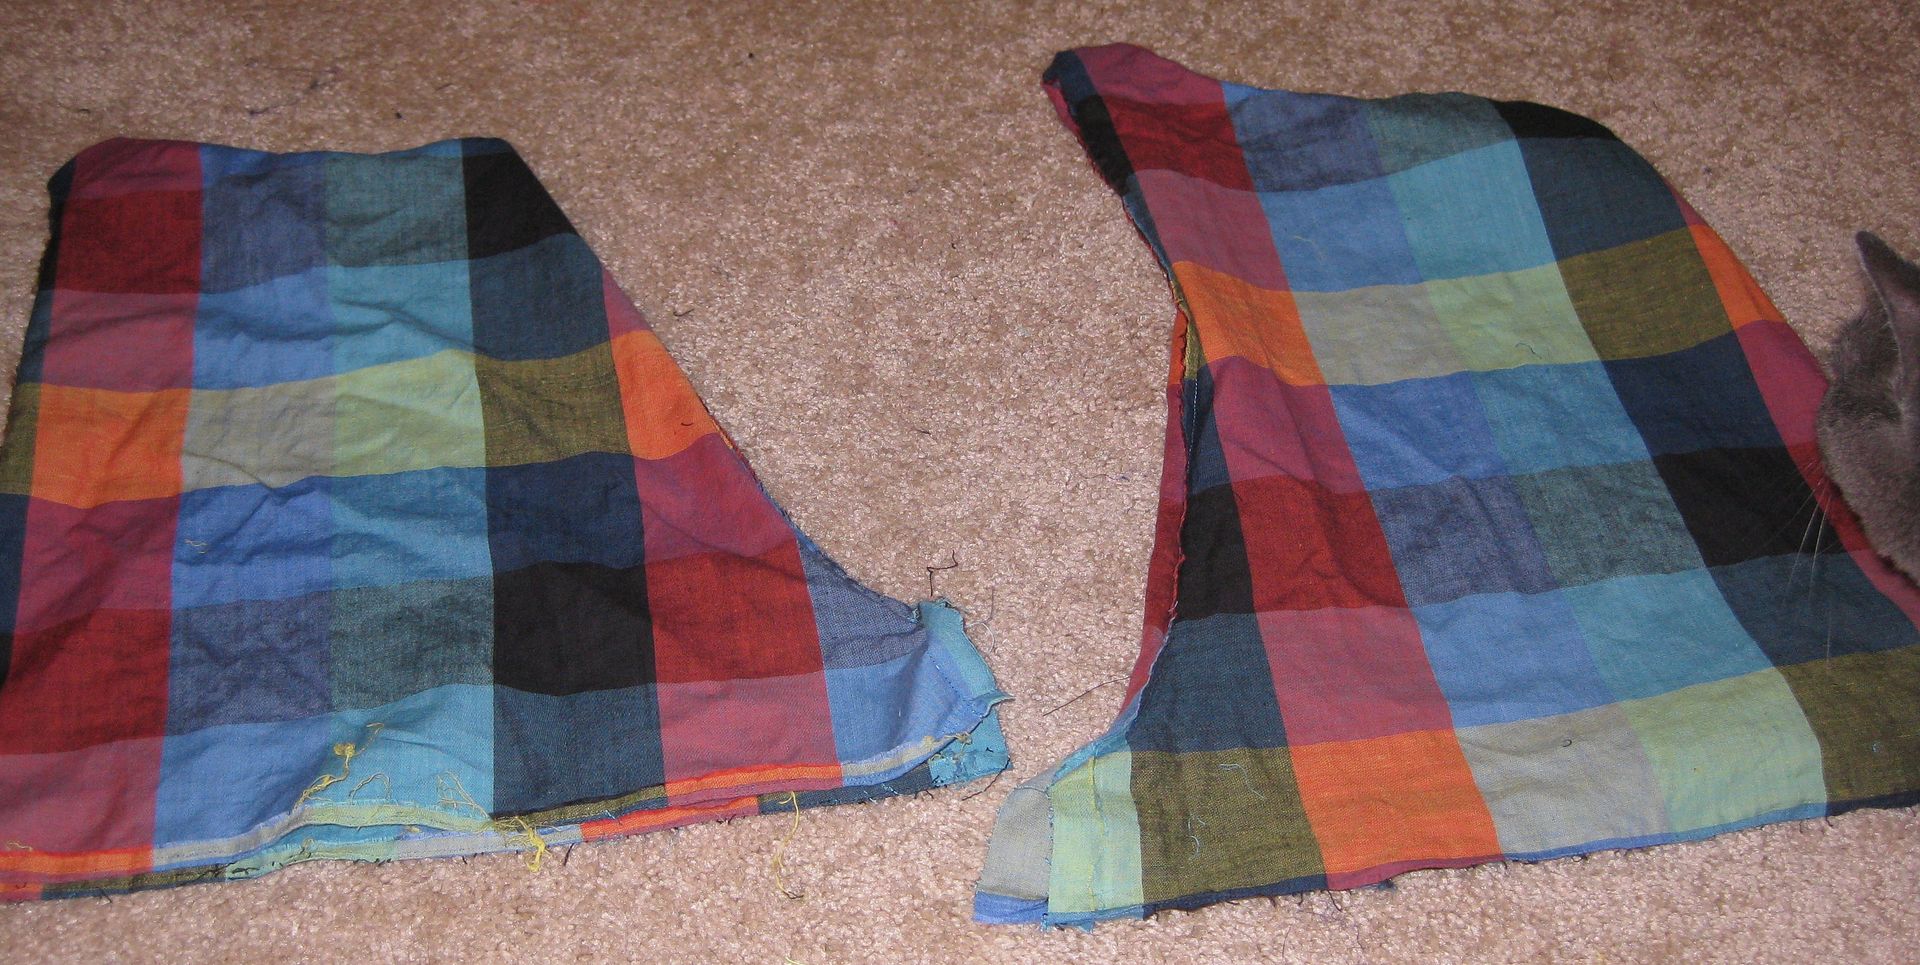
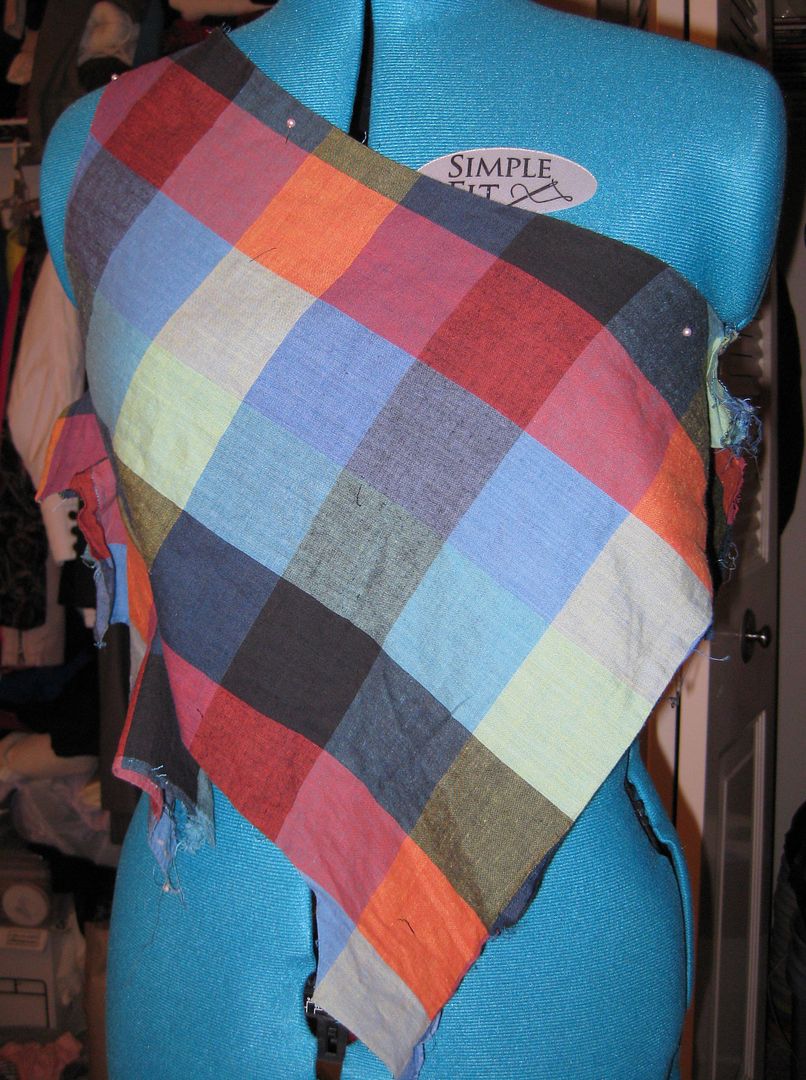
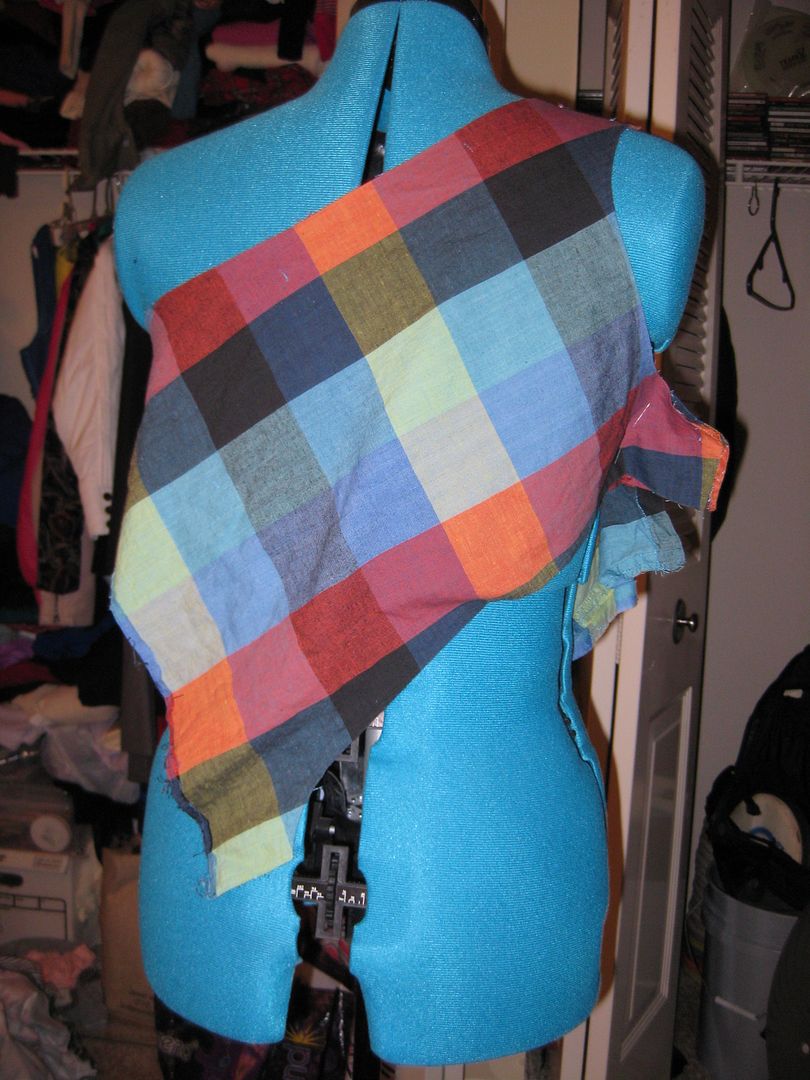
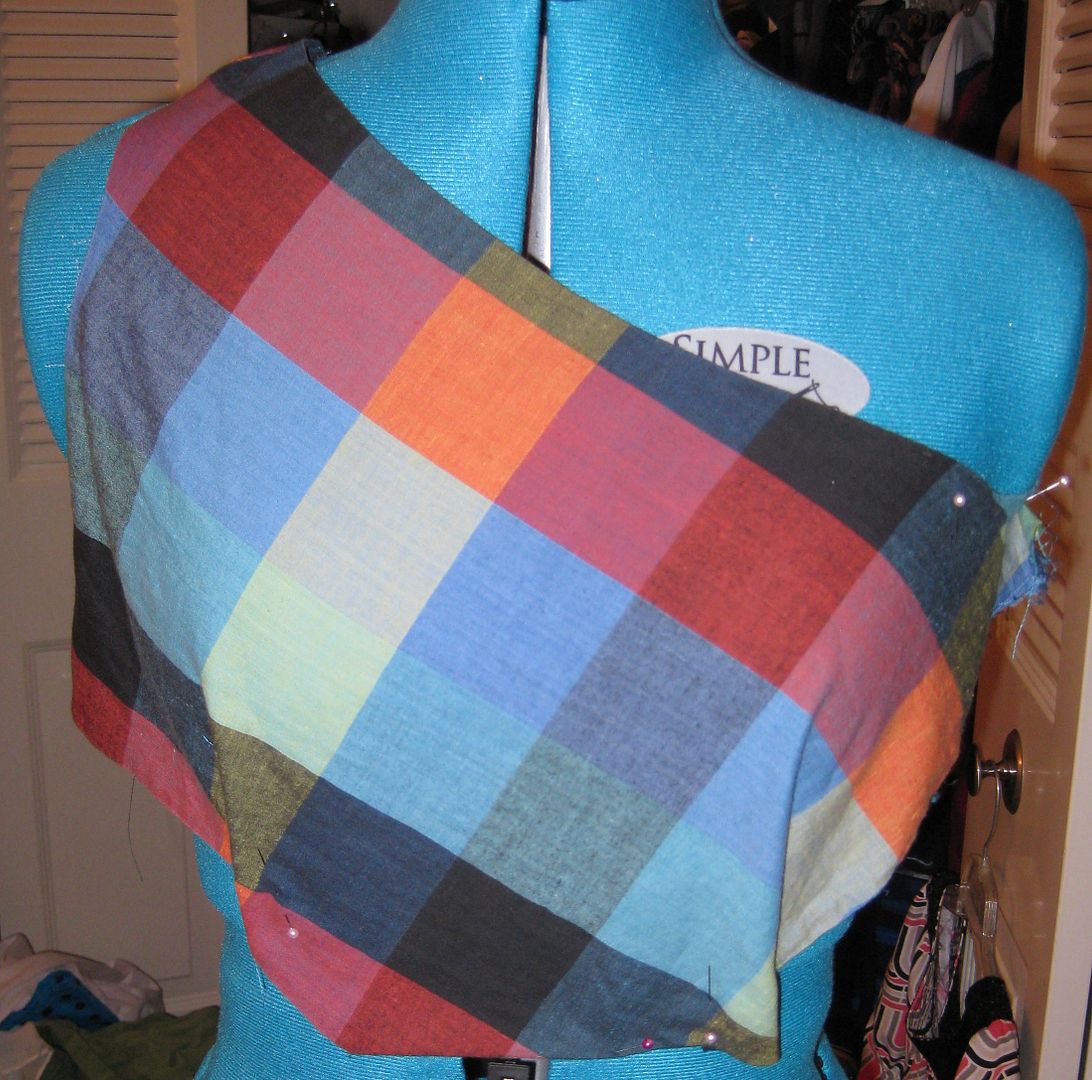
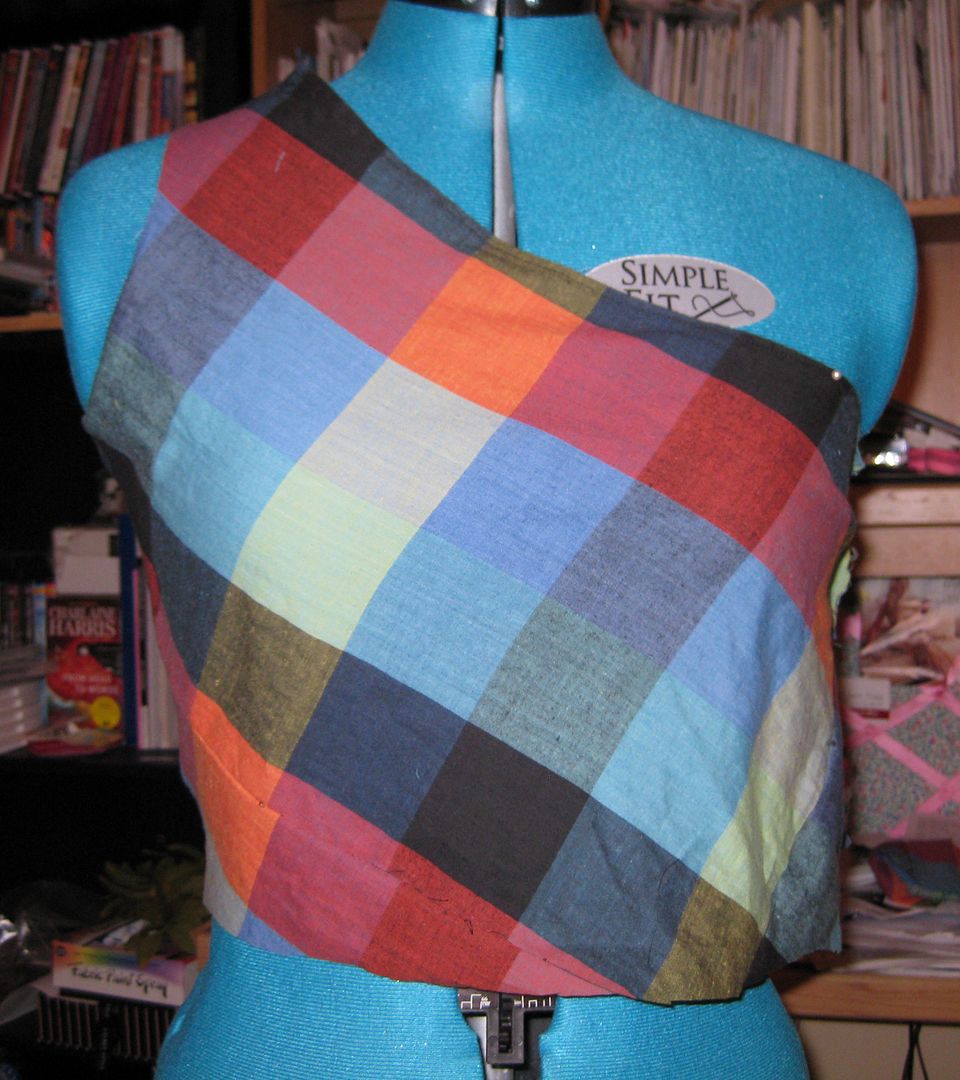
I used both backs to create the main bodice. I used the long arm holes to create the one shoulder line. The old neckline is actually the arm holes. I drapped this on my dressform to see if it will work. Yes it will.


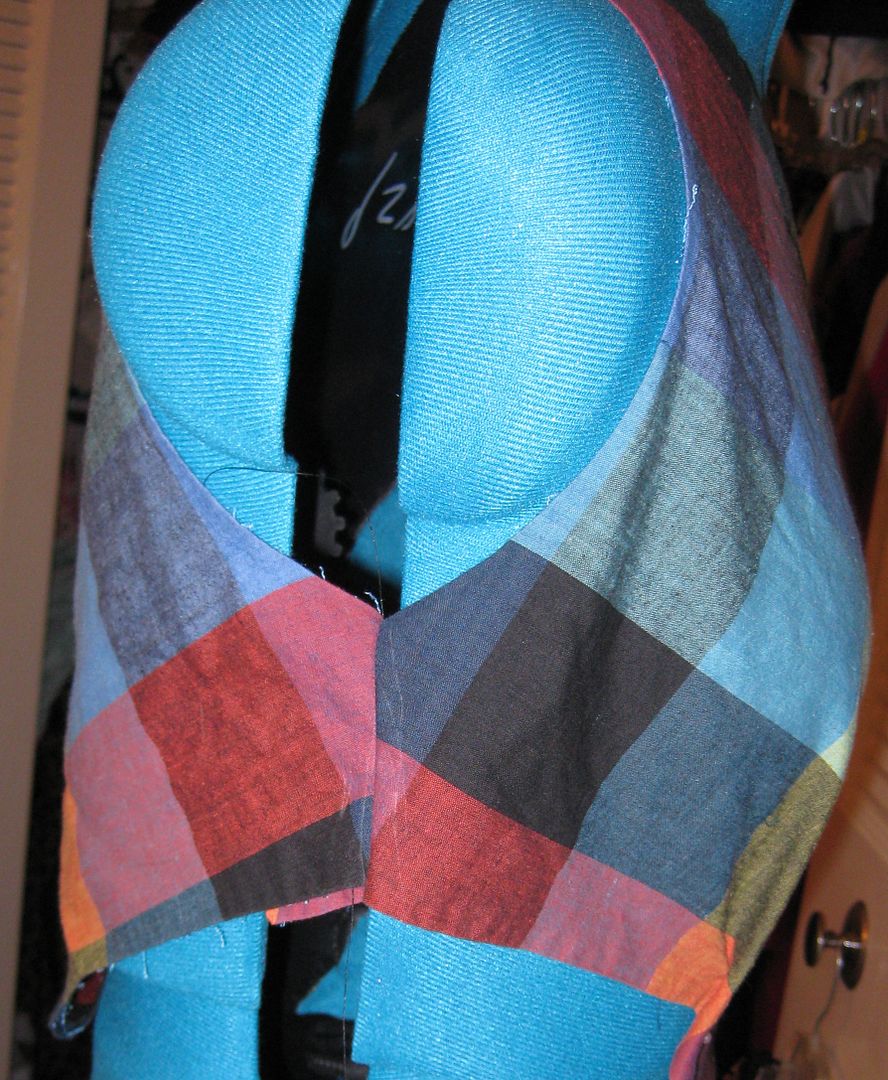
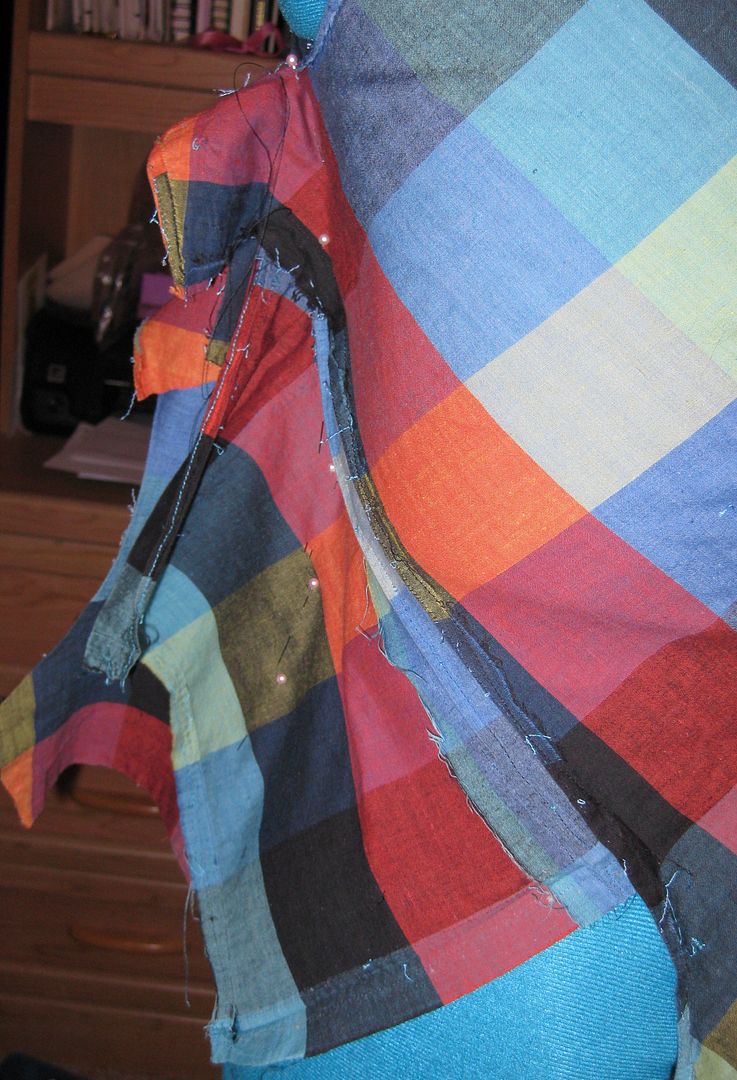
I connected the 2 shoulder seams to create a new shoulder seam. As you can see the armhole is emerging. Sew the bottom of the armhole.

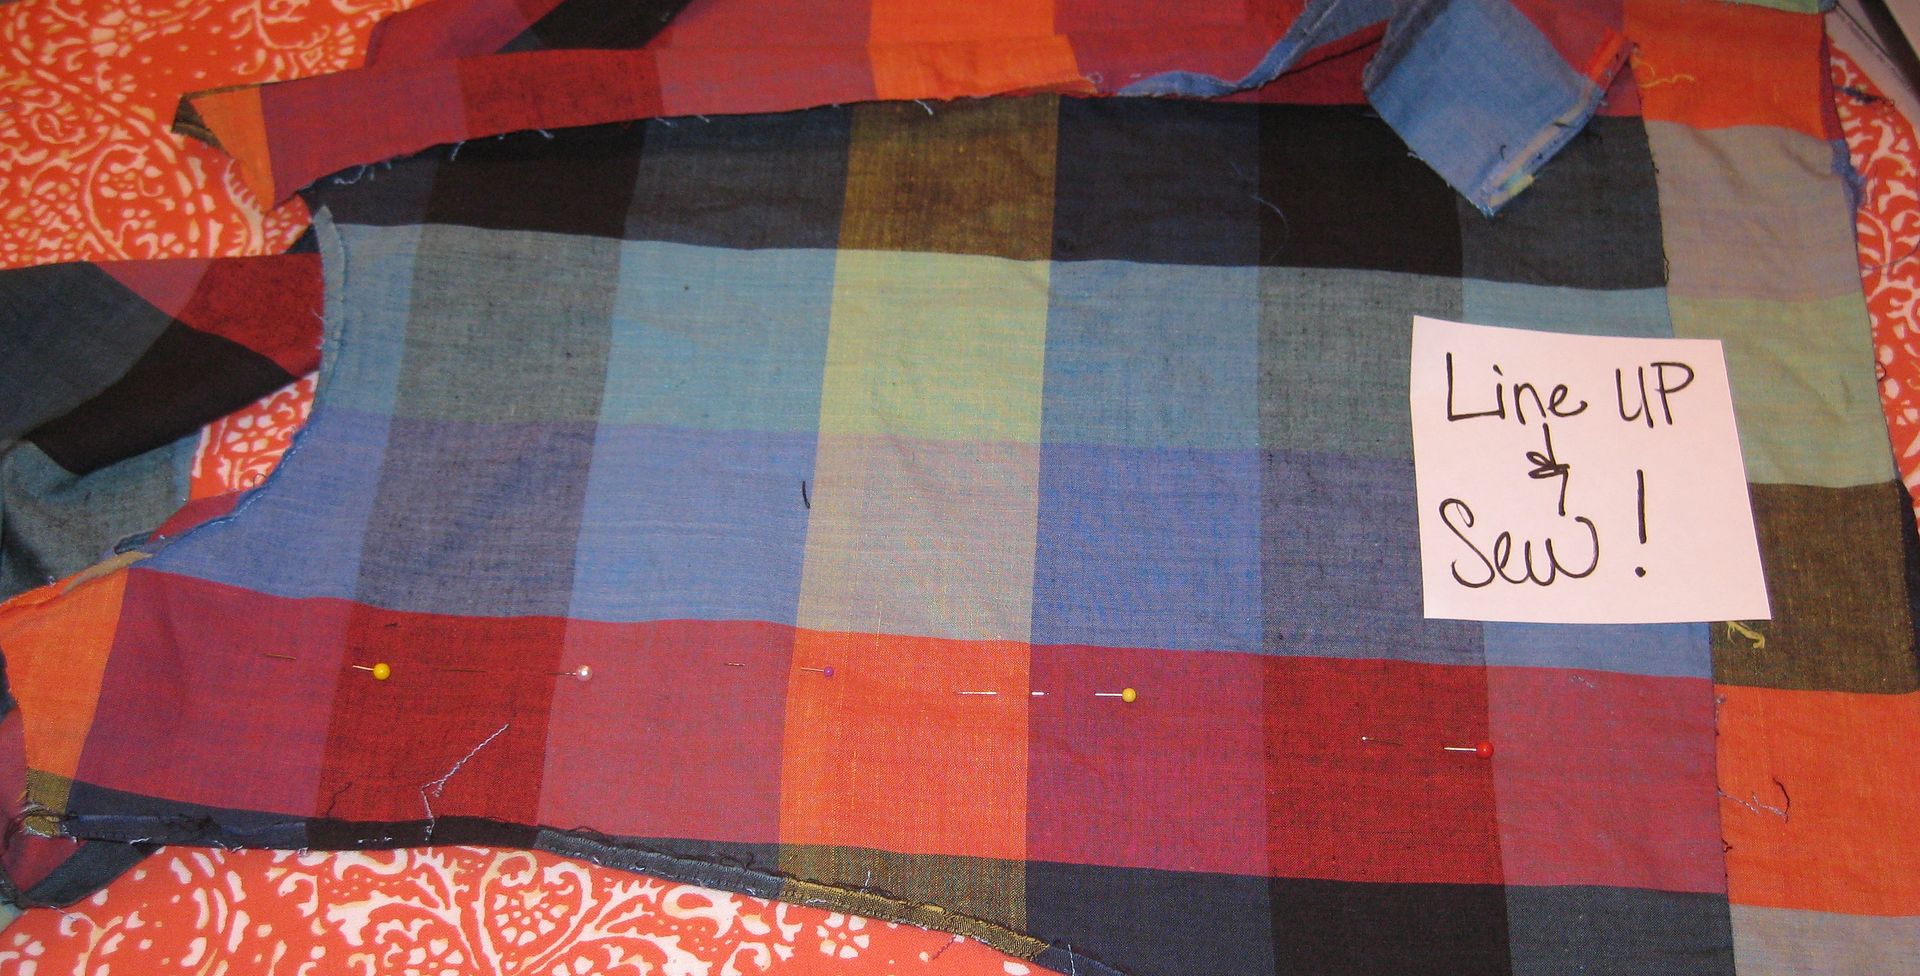
I used the front part of the old bib to fill in the gaps in the bodice and finish it. And yes I even attempted to match and line up the plaid (especially for the front of the dress). I also added 1 bust dart. It just seemed that it needed it.


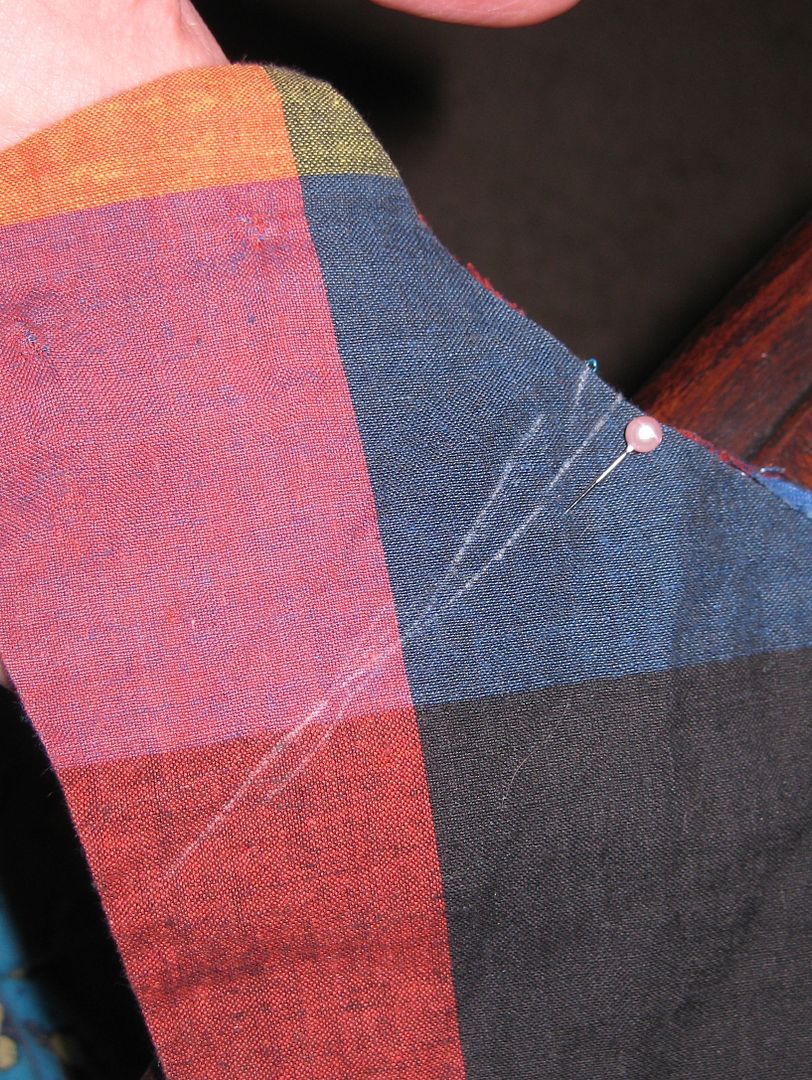
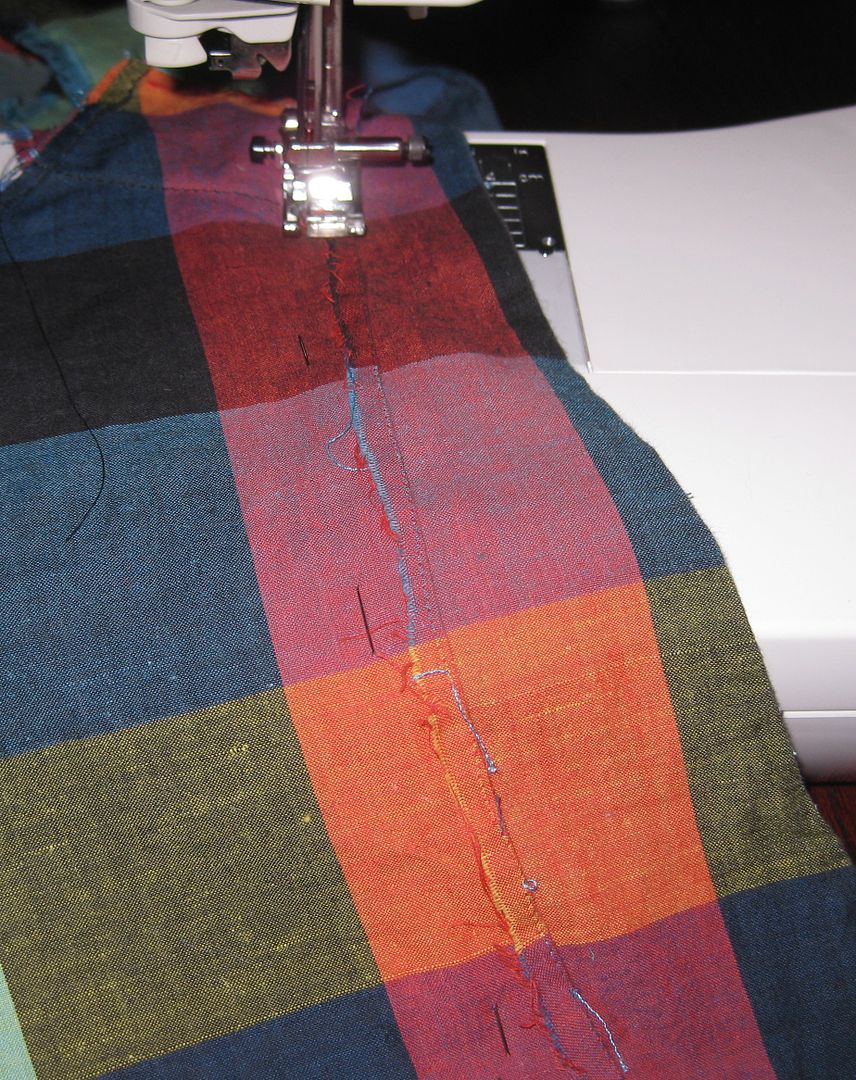
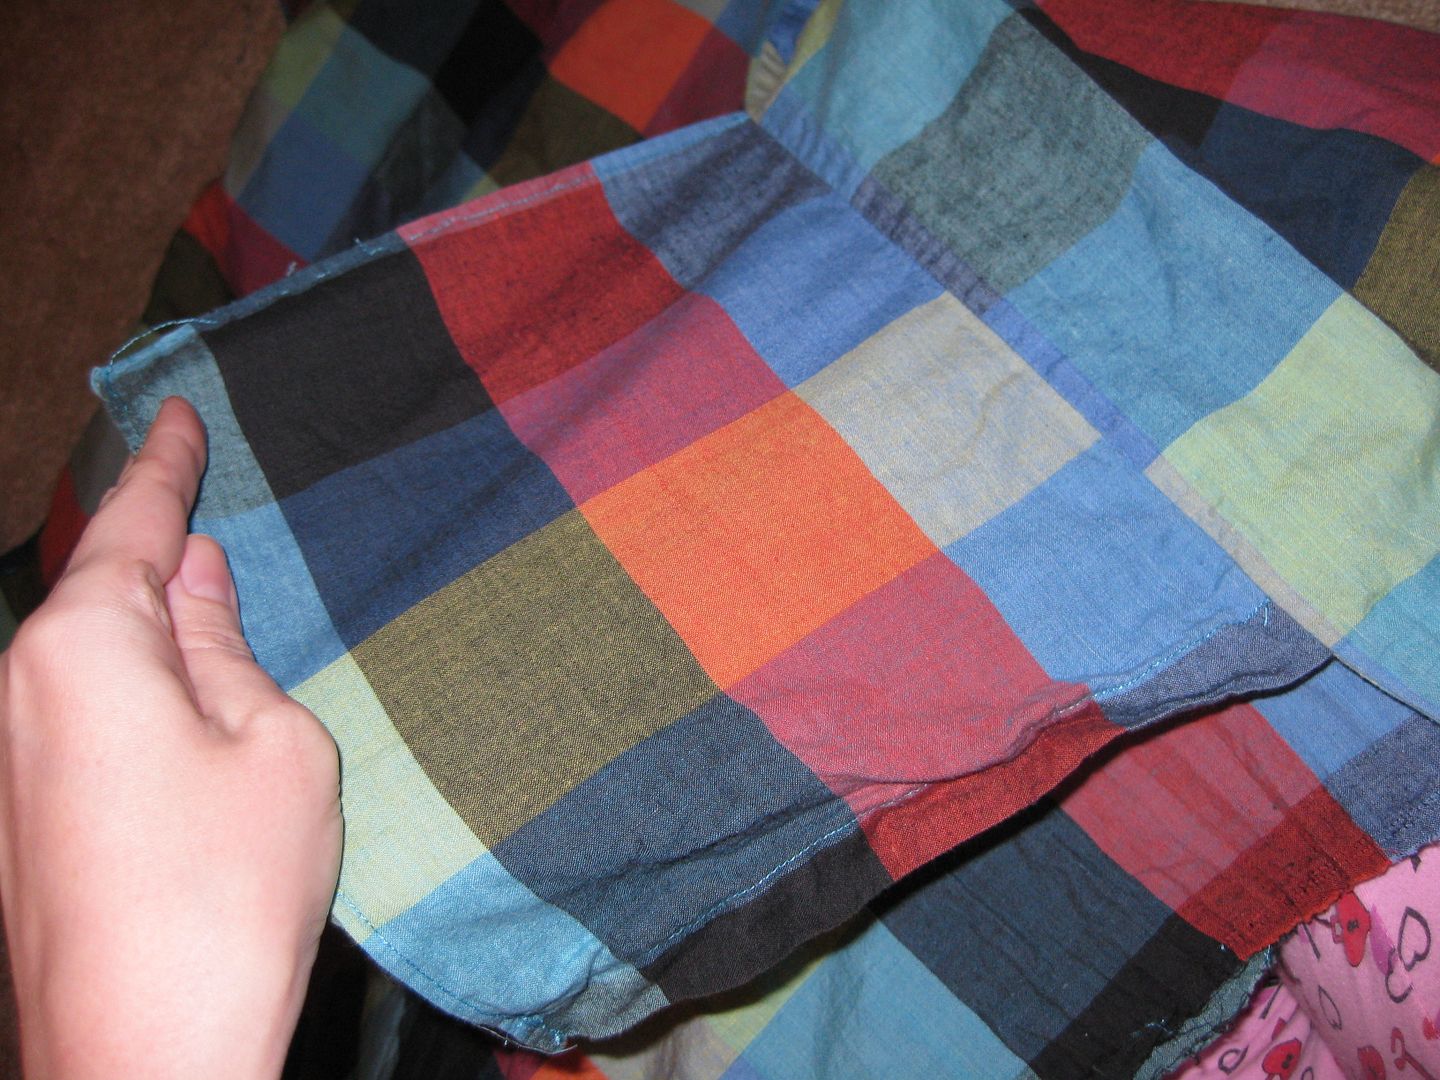
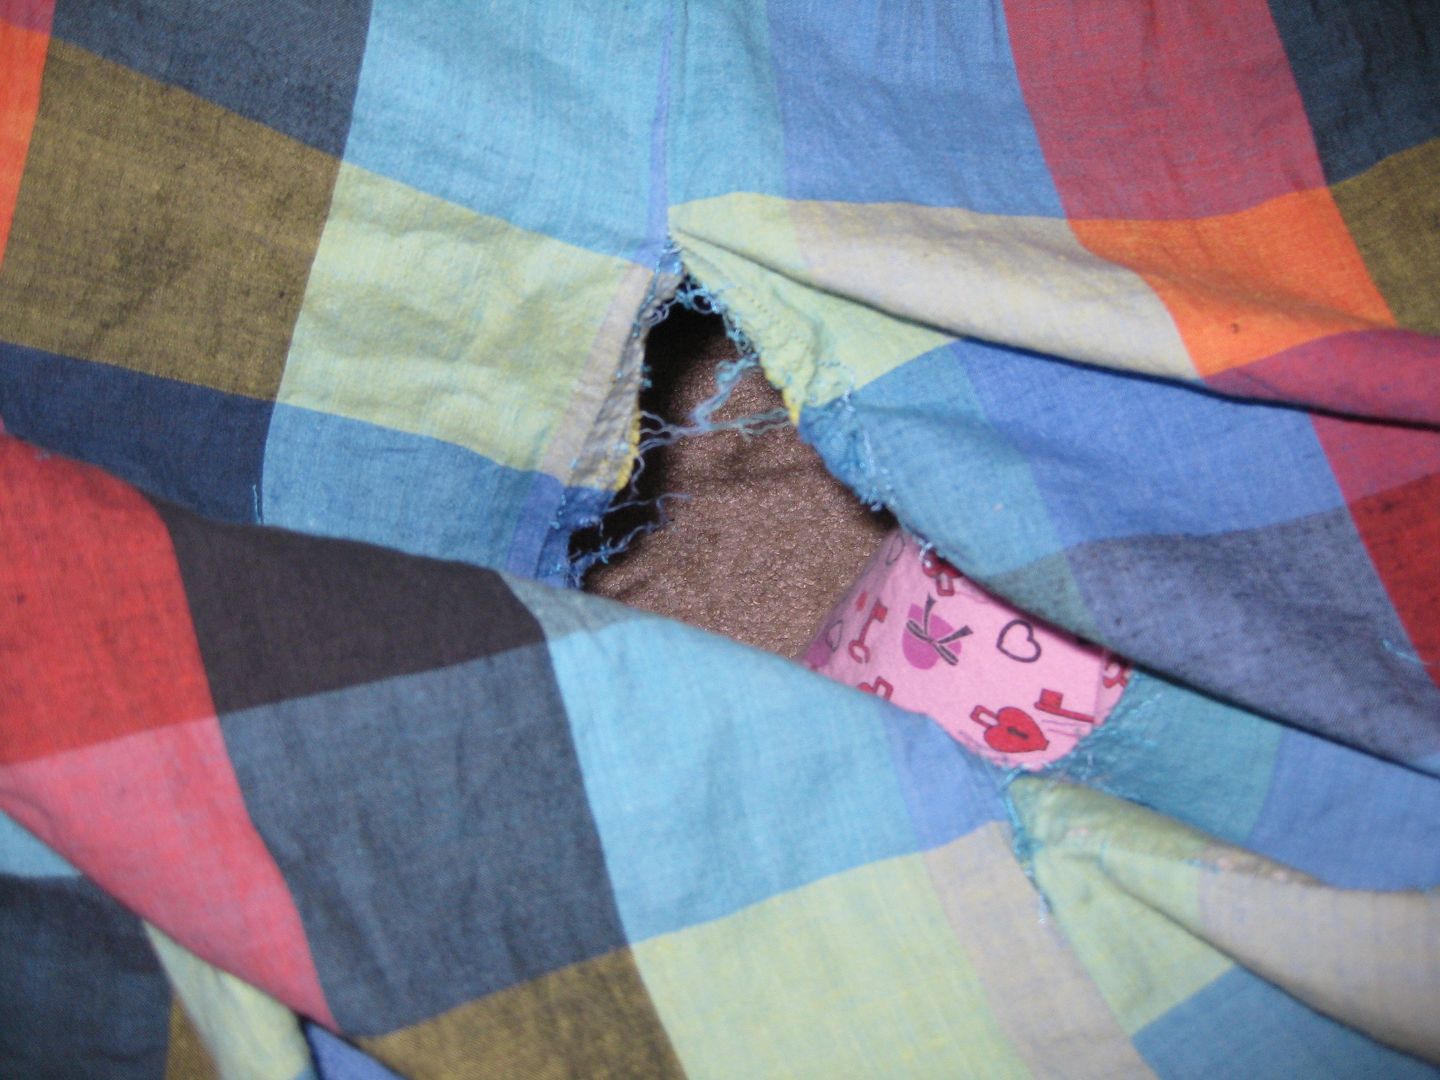
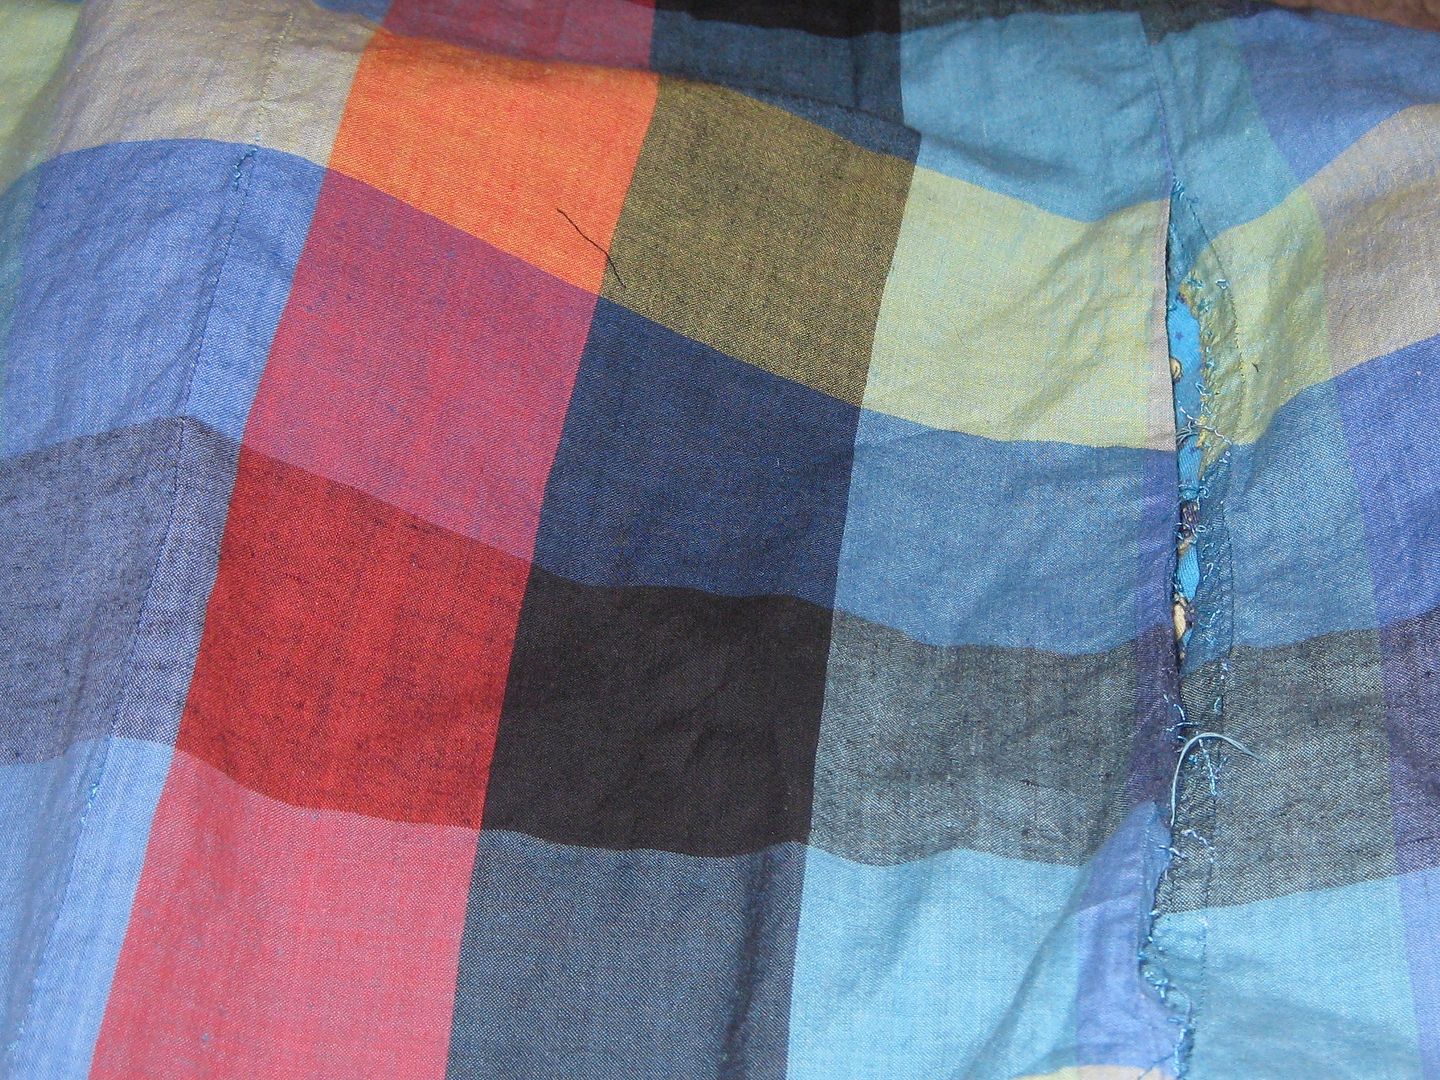
I removed the pockets which were seamed into the side seam. They actually were tacked down so tightly to the old dress they left holes in the skirt.


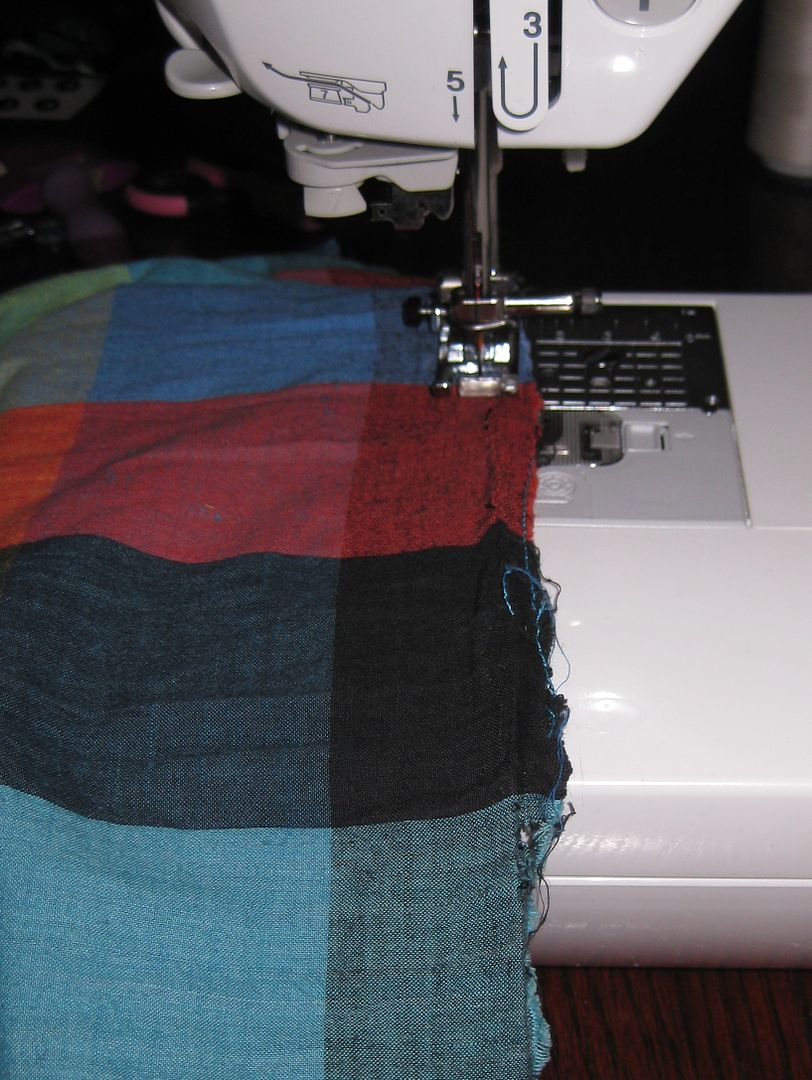
Got to open up the seam and pull out the pocket. I got a hole now! But I need to get rid of the holes from the pockets so I sewed everything out.


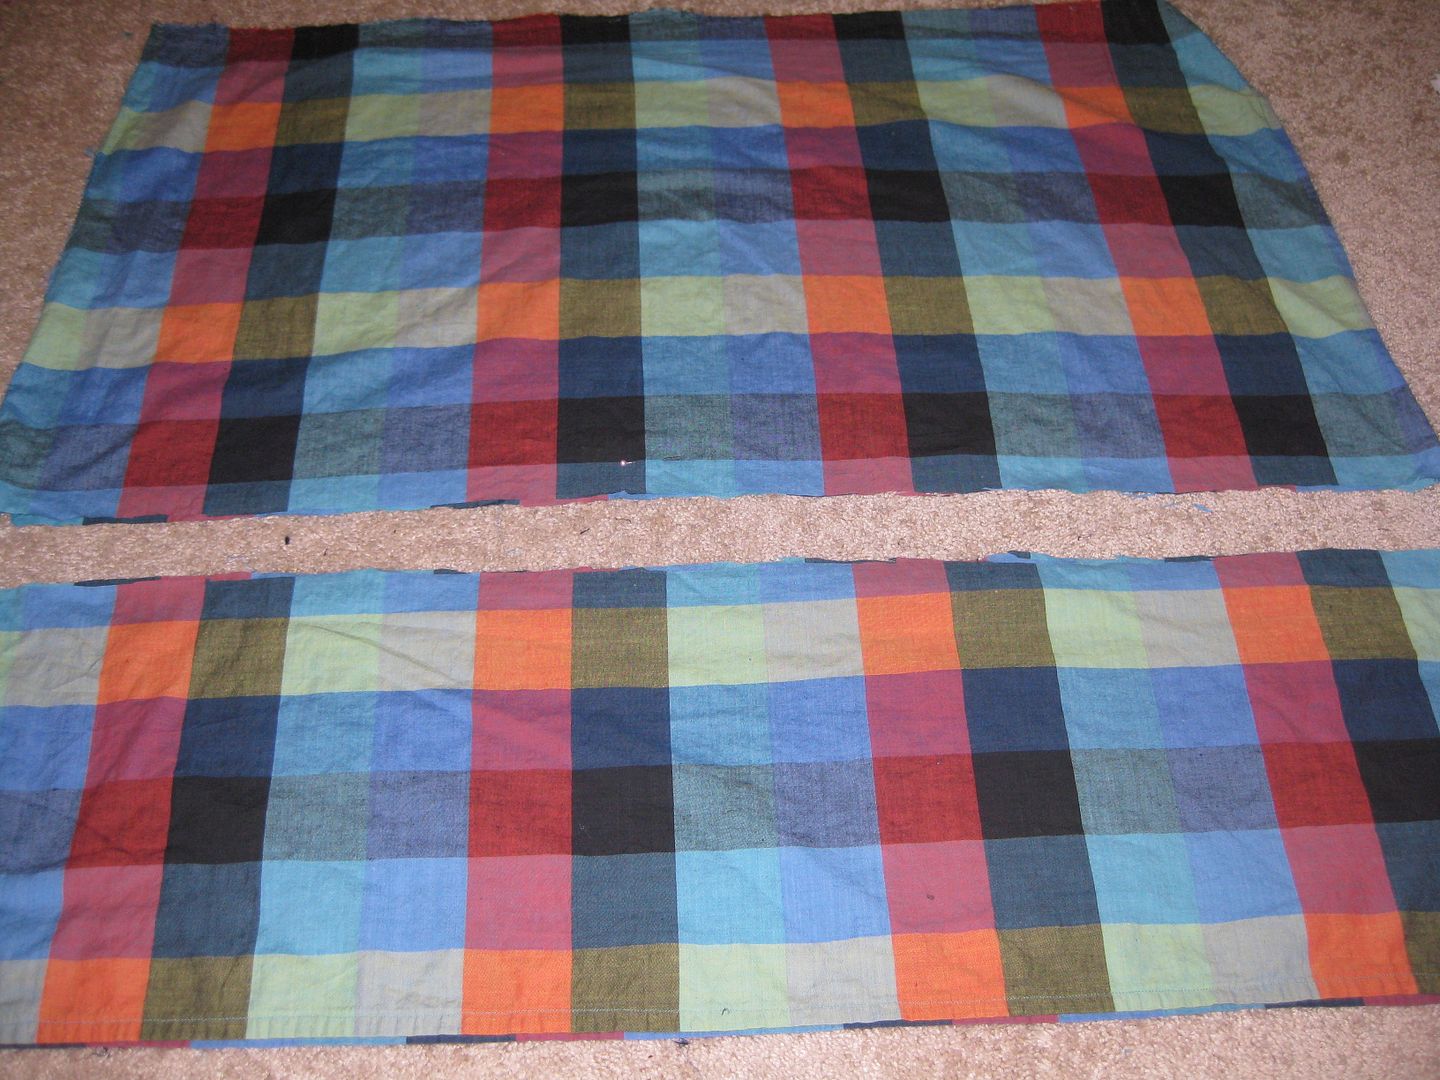
I wanted to make sure my idea was going to have enough fabric. I cut the excess of the maxi skirt off and will save them.


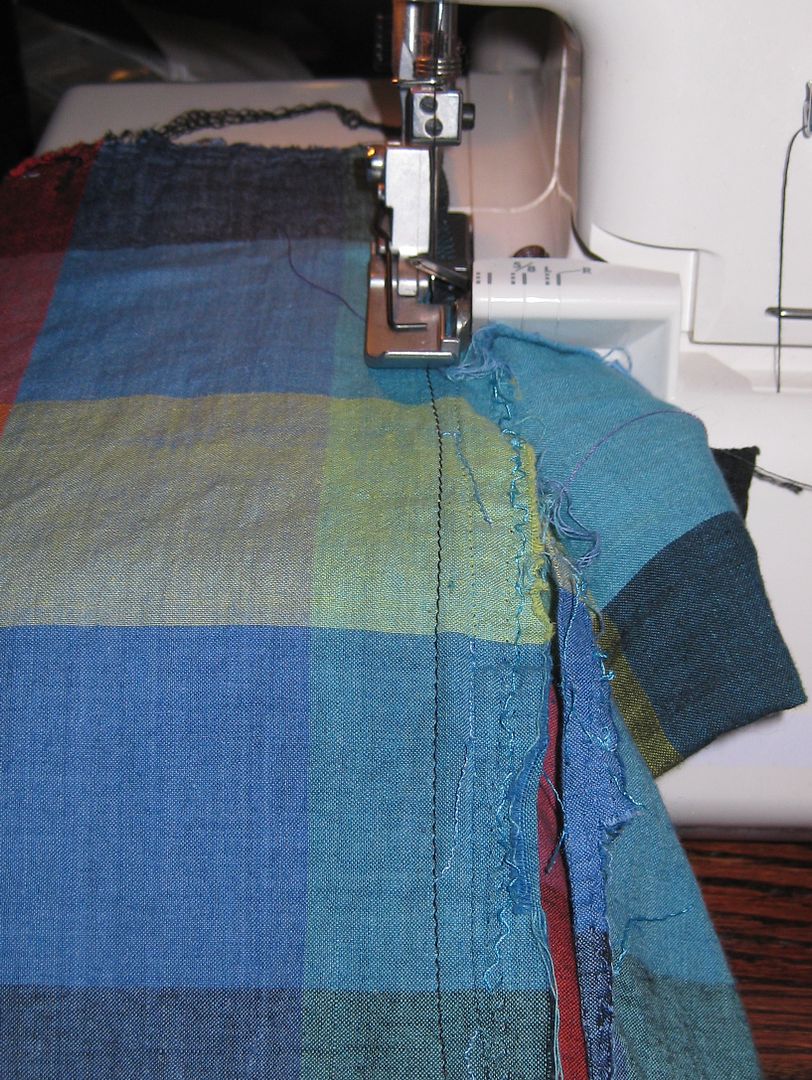
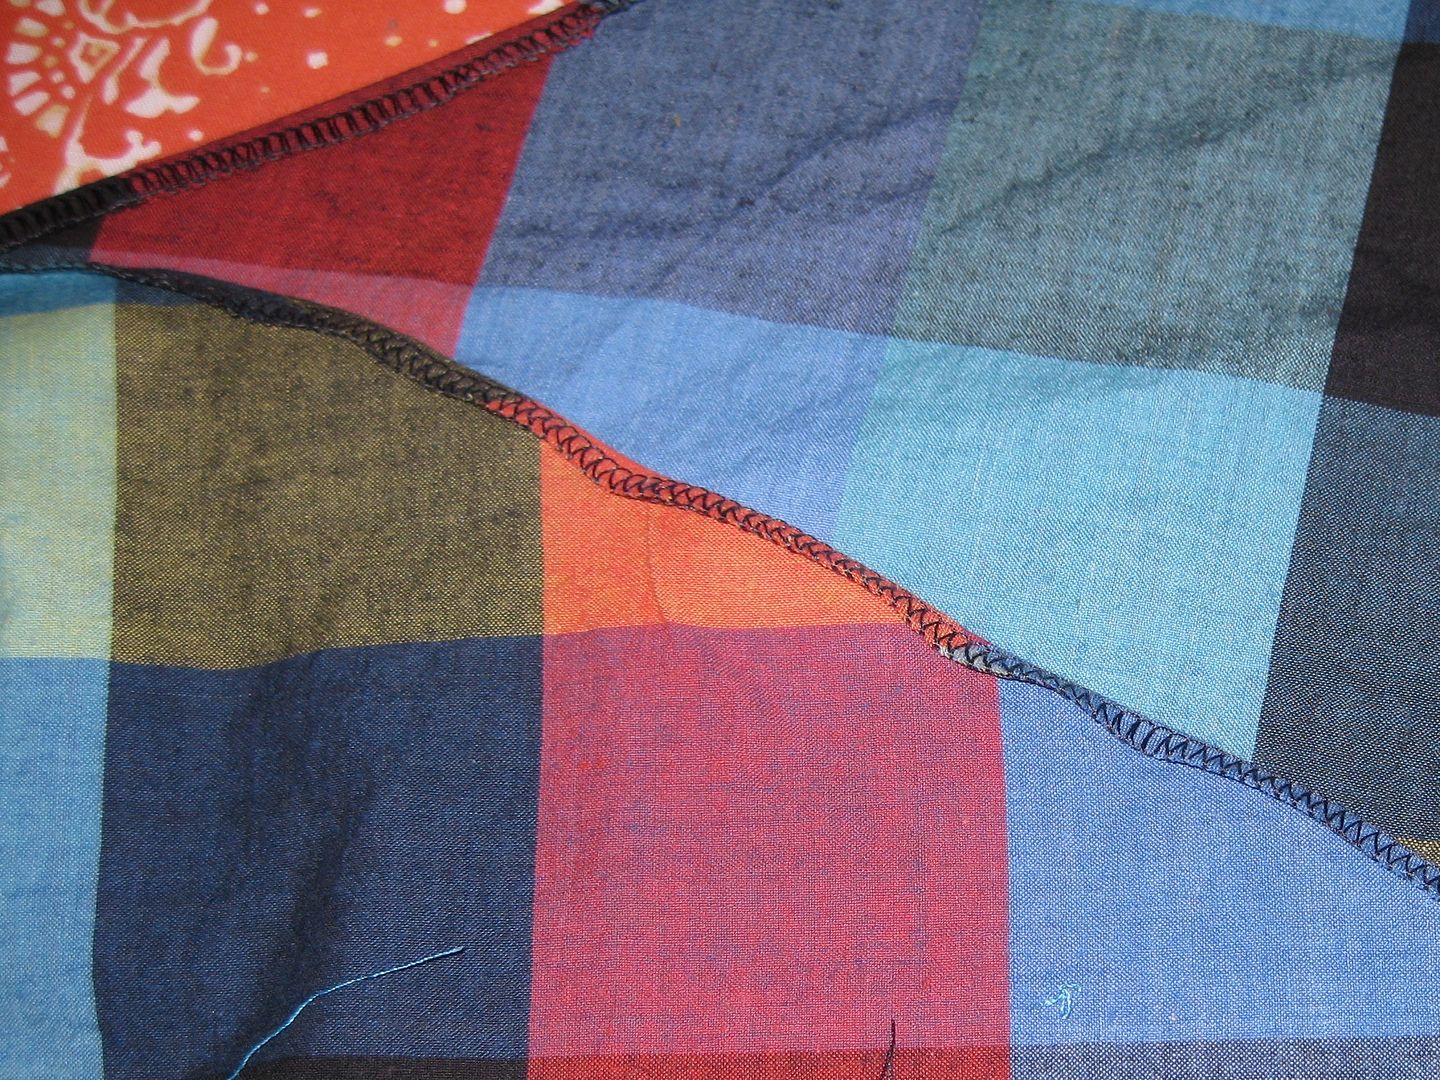
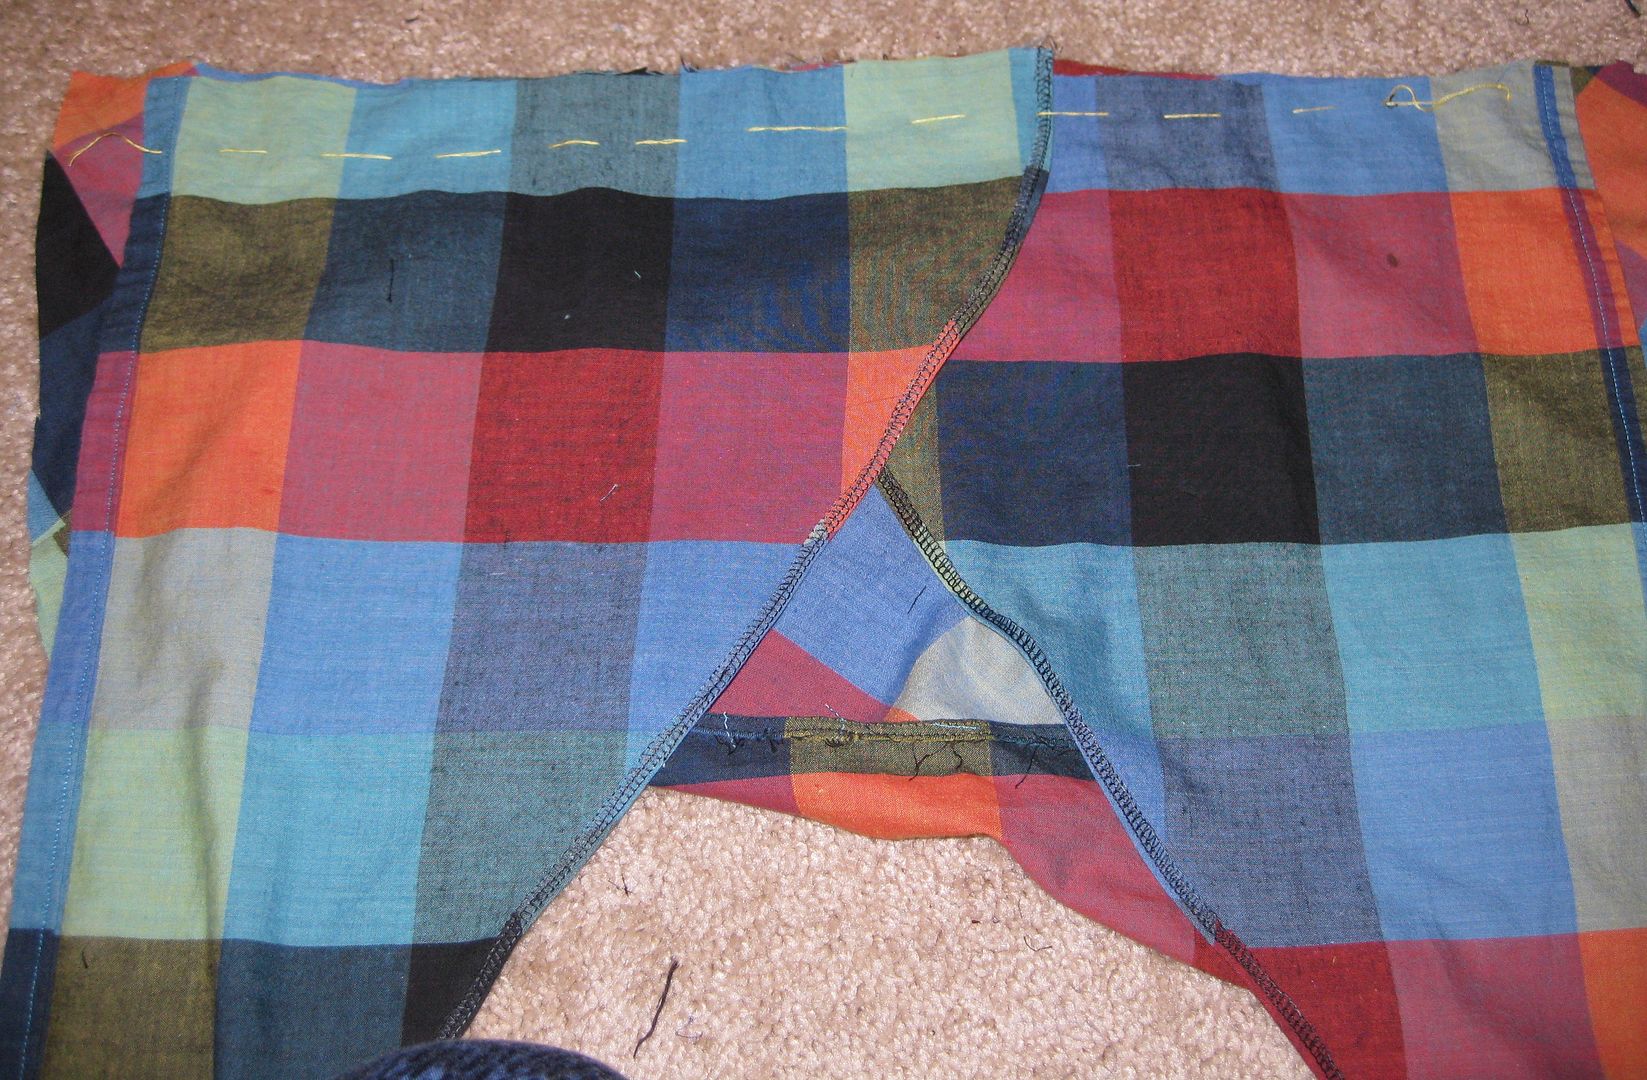
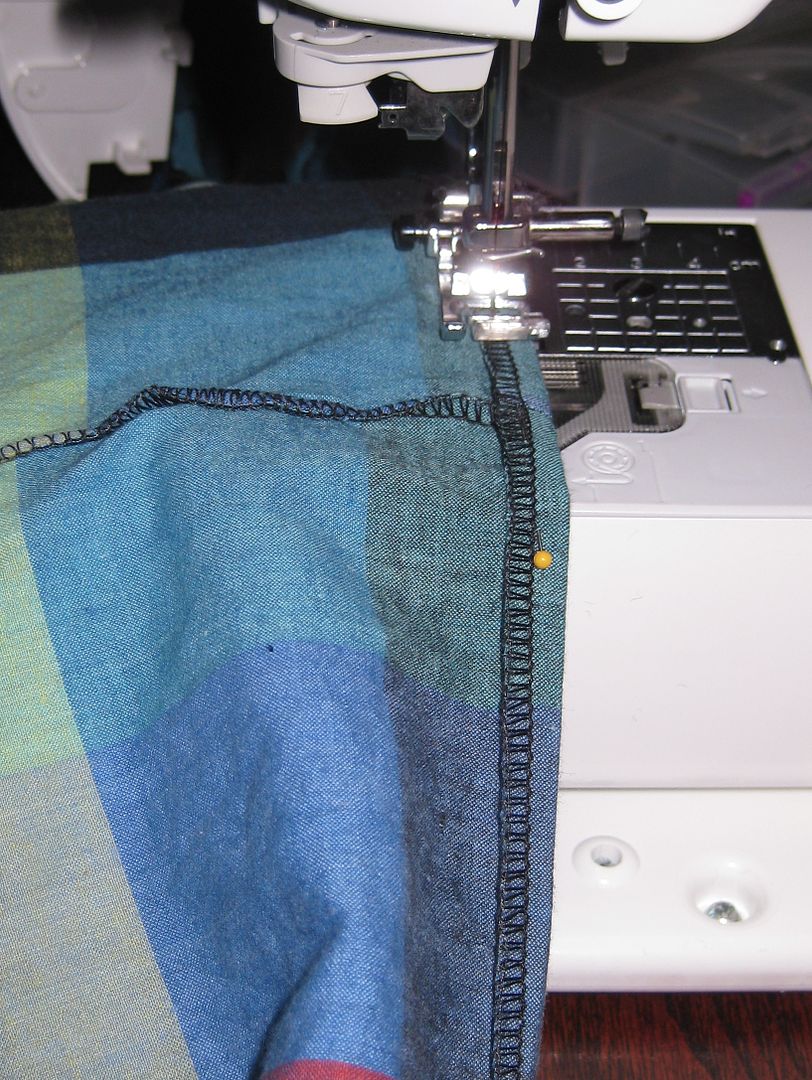
The leftover fabric to create what I can only call "tulip flower petals". Basically just an overlay to the skirt. I wanted a different dress! I took ~ half of the fabric and cut it on the diagonal. I did zero measuring I just went with it. But since I cut the 2 on top of each other they were identical. I serged the newly cut edge and then did a tiny hem. The bottom curve of the overlay I did not hem until the skirt was connected to the bodice.


Now time to connect all 3 pieces. First I cut the bodice so it was even. I just eyeballed it-no measuring here. I then realized I needed 1 bust dart so I added that. Lay out right side up.


Add the petals, right side down- overlapping them. I basted them to the bodice I really didn't want to worry about them moving with sewing.


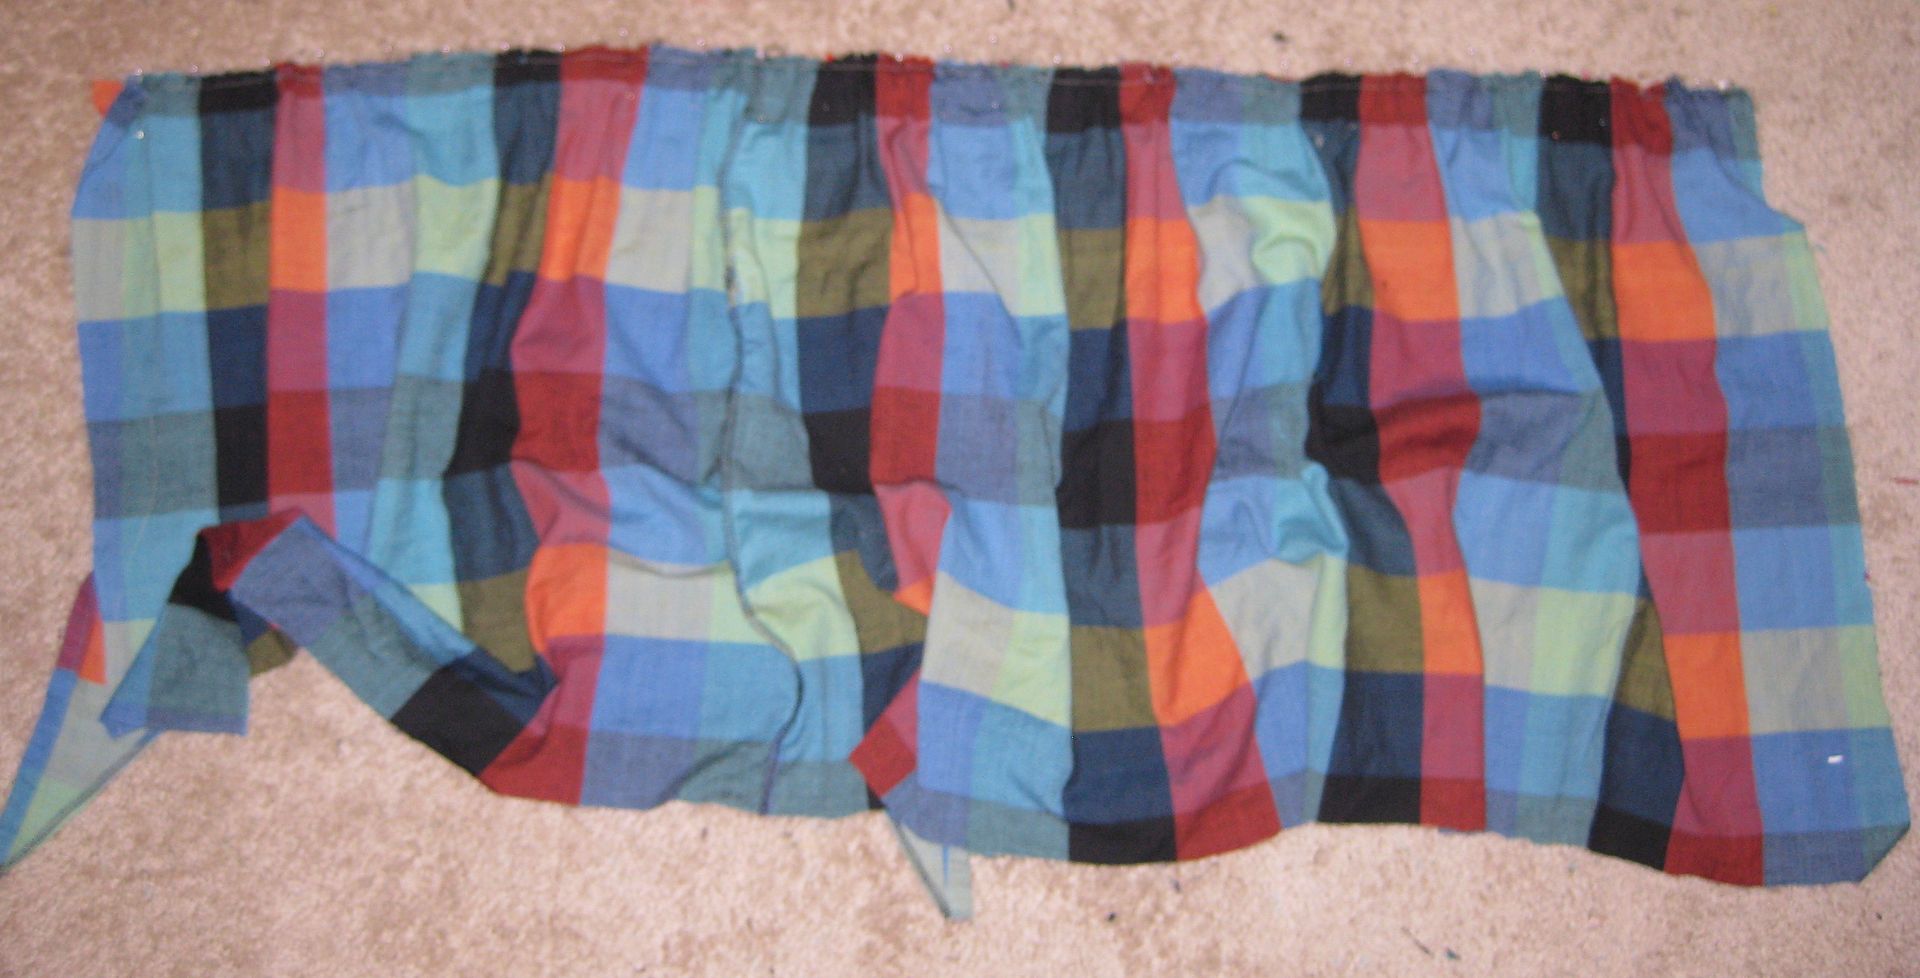
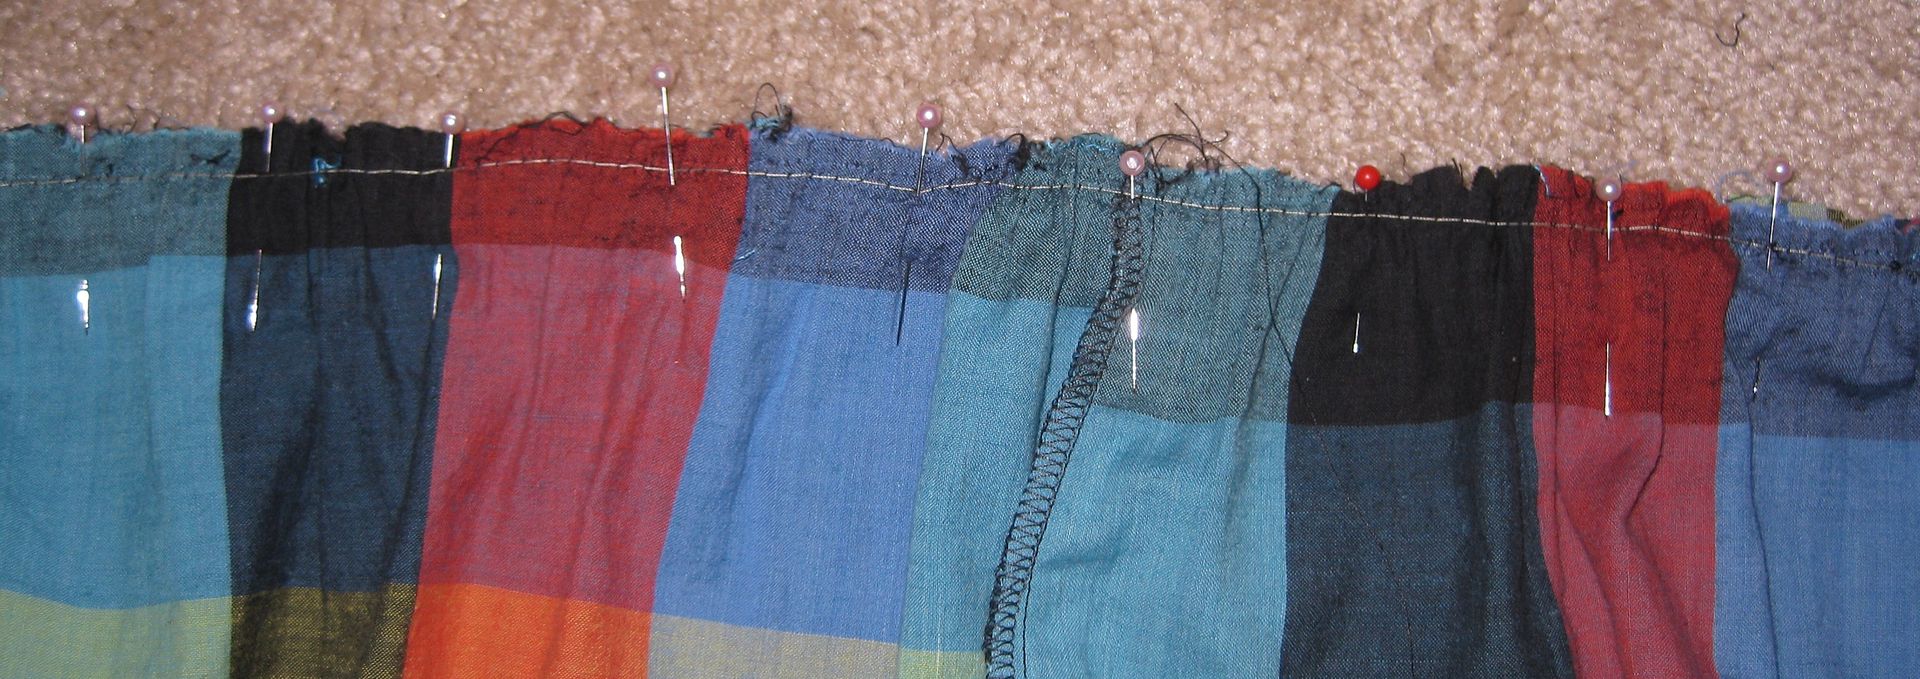
Next I gathered the top part of the skirt. I adjusted the gather to adjust to the length of the bodice. Place right side down.


Pin the heck out of it. Sew together.

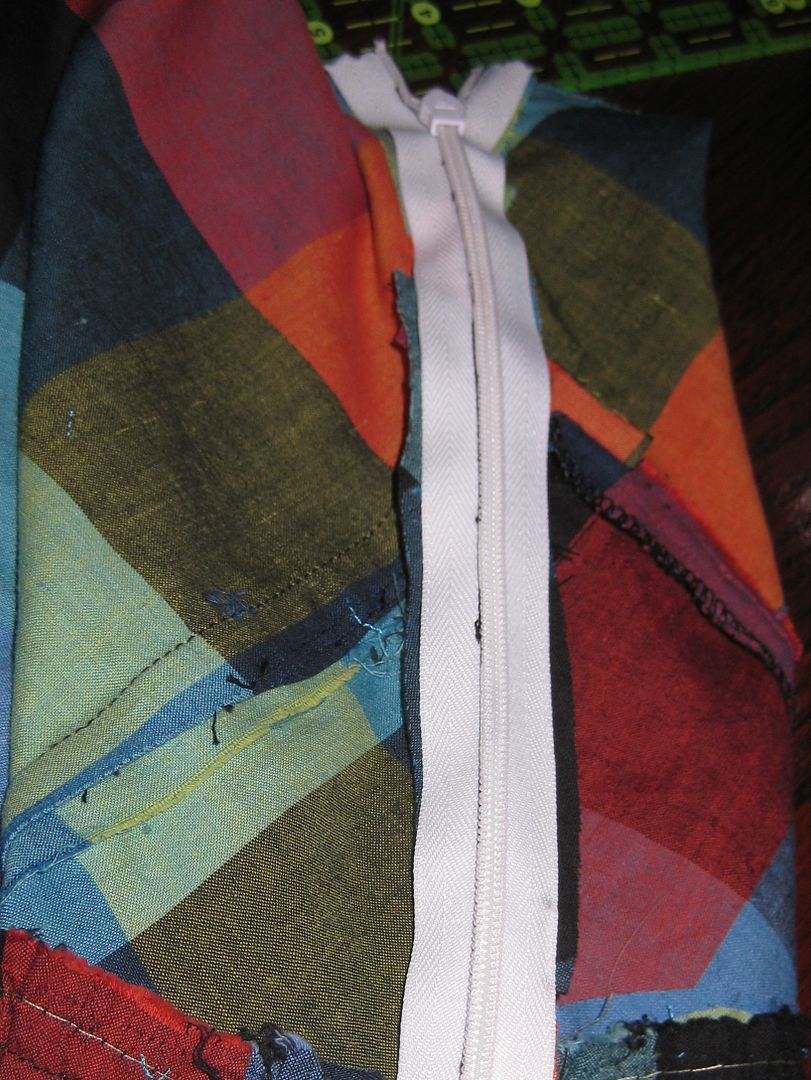
OMG it worked. I took out the basting. Now time to add a side zipper. Added a hook enclosure to the top of the zipper.

Hem the skirt and the overlays so they are even. Of course I serged it to keep it clean and not fray my fabric.


Now I went back and forth whether I wanted to make a plaid belt but it was just too much plaid. I used a sash I made in the past for another refashion b/c it was the perfect color. Here is my new dress!!


Now here comes the obligatory plea/begging.... I need votes!! Please if you like my project go and check out  Renegade Seamstress and vote for my bad plaid school teacher refashion.


Hope you enjoy my refashion! :)

Cheers,
Lauren

LinkWithin
Related Posts Plugin for WordPress, Blogger...