Well hi welcome to my little blog. Just my little corner of craftiness, sewing, and refashioning. I am also a newly gluten free eater so you have a little bit of recipes mixed in here.
Showing posts with label handmade jewelry. Show all posts

Monday, December 16, 2013

Circle Bead Christmas Tree- Iron Craft Open

Here is what I wanted to do for the last iron craft challenge but I didn't know how to finish it. So I had made the peacock feather ornament. It dawned on me on how to finish it and since this iron craft challenge is open (or past) I decided this could qualify for the holidays and also UFO b/c it was totally unfinished until this past week.

First I had all of these circle metal beads that a long, long time ago I had purchased for a bellydance costume. I had a huge stash of them. I never used them b/c in order for these medallions to look nice on a bra of a costume they would need to bend- easier said than done. Instead they languished in my bead stash until I could figure out what to do with them. One night they were all on the floor and it hit me, I could turn it into a tree and use it for Christmas decor. So I pulled out my jump rings and started to connect them. One by one.
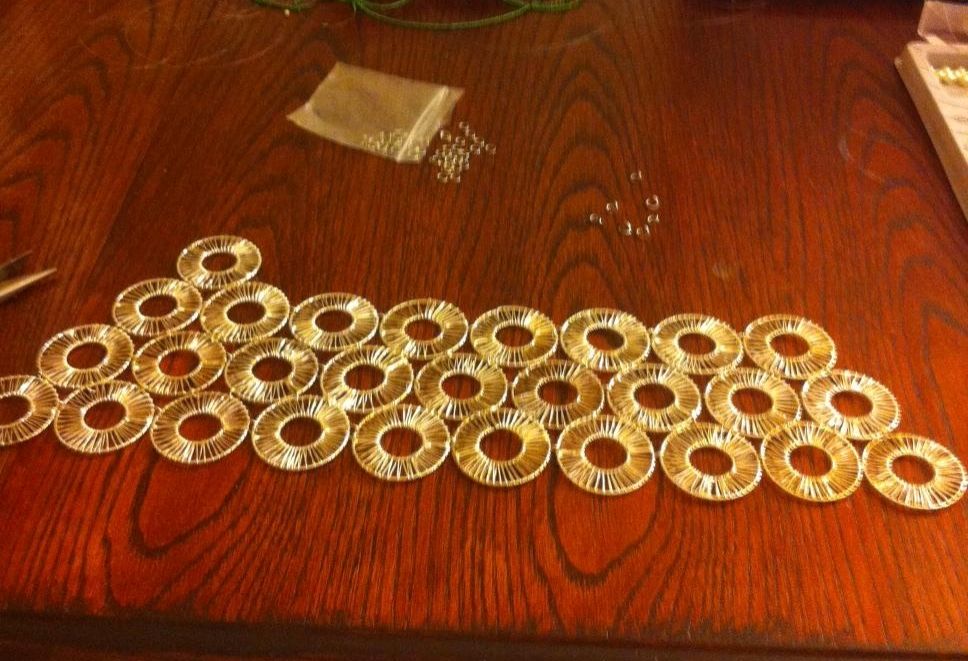
I used up my jump ring stash significantly. Which was great! Once I got the hang of this, connecting them together was easy. Now I was done with my tree but upon hanging the sides curled. Which I dont have a picture of, I had lost my camera and was only using my cell phone. This is where I got stumped. But then it hit me, I would put it on canvas and hang it up that way.

I found a canvas that was 60% off at Michaels that day plus an additional 25% off. Wahoo.

But I would like to cover it first, so I used a scrap piece of green velvet that was in my stash. It made the silver circles pop. First I cut a piece that was large enough to cover the canvas and then some. I added 2 pieces of fusible fleece and then a piece of interface to stiffen it up.


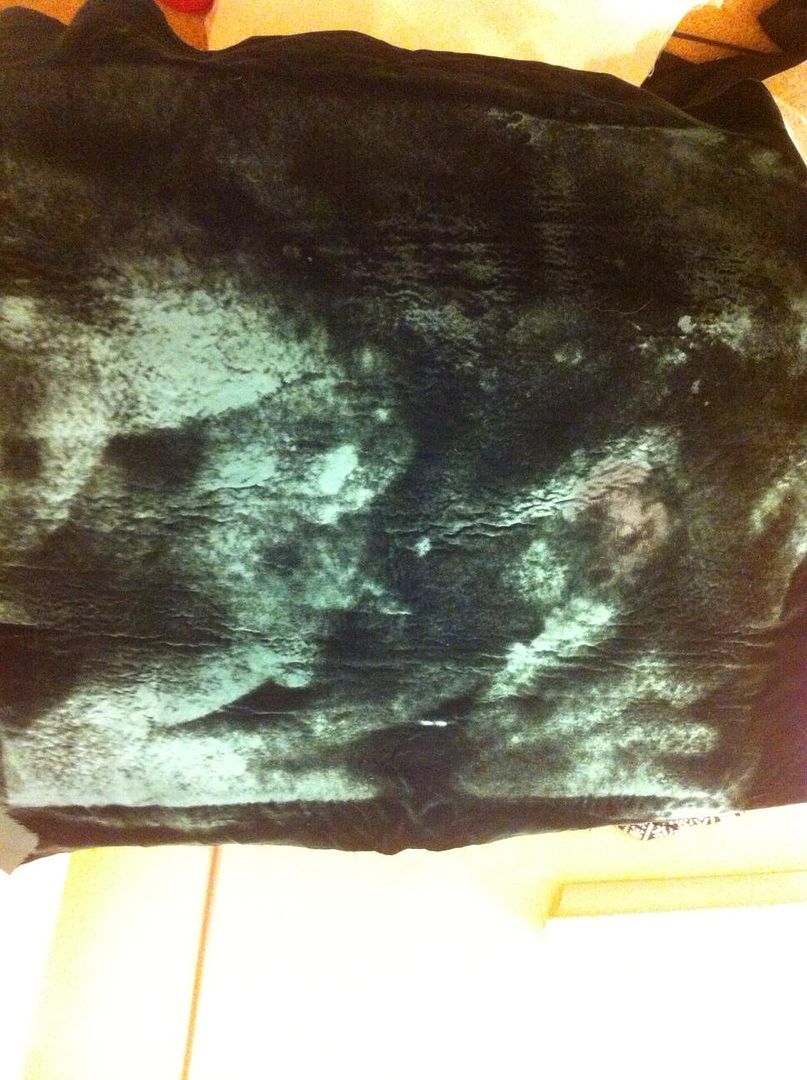
Ironing left marks so I went with it and gave the velvet an all around texture with iron marks

Now I am ready to attach my circles to the velvet. It was nice and thick so it could hold the weight of the metal. I laid out my tree, and tacked it down with silver thread. It was thicker thread, which I ran out of but then I used some white iridescent embroidery floss to finish up.

This actually didn't take long. I started at the bottom, went around the perimeter, then tacked inside the tree. I had put it on my ironing board and balanced with my leg that was crossed over each other while I sat. So I access on the top and bottom and could quickly sew up and down. After beading many dance costumes this was easy. Call it my stupid super human power.

Done! Now to attach to the canvas. I centered it and applied a layer of tacky glue and let the fabric/canvas dry over night. To help with the gluing, I actually turned everthing over so the tree was on the table and the canvas was on top, I placed books to help it get a solid hold. Sorry for no pics, I thought I took a picture of this!! But allowing it to dry upside down (face first) ensured that I didn't get a sagging or droopy canvas. Next I used my staple gun and finished the sides up.

Done! Tada!


Here is a close up to see the tacks I did.


I am super happy with the outcome and now those metal medallions have been used. Love my new Christmas decor! :)

Only 1 more Iron Craft left for the rest of the year! I am excited!

Cheers,
Lauren

Wednesday, October 9, 2013

Fun with wire beading- beaded cuffs

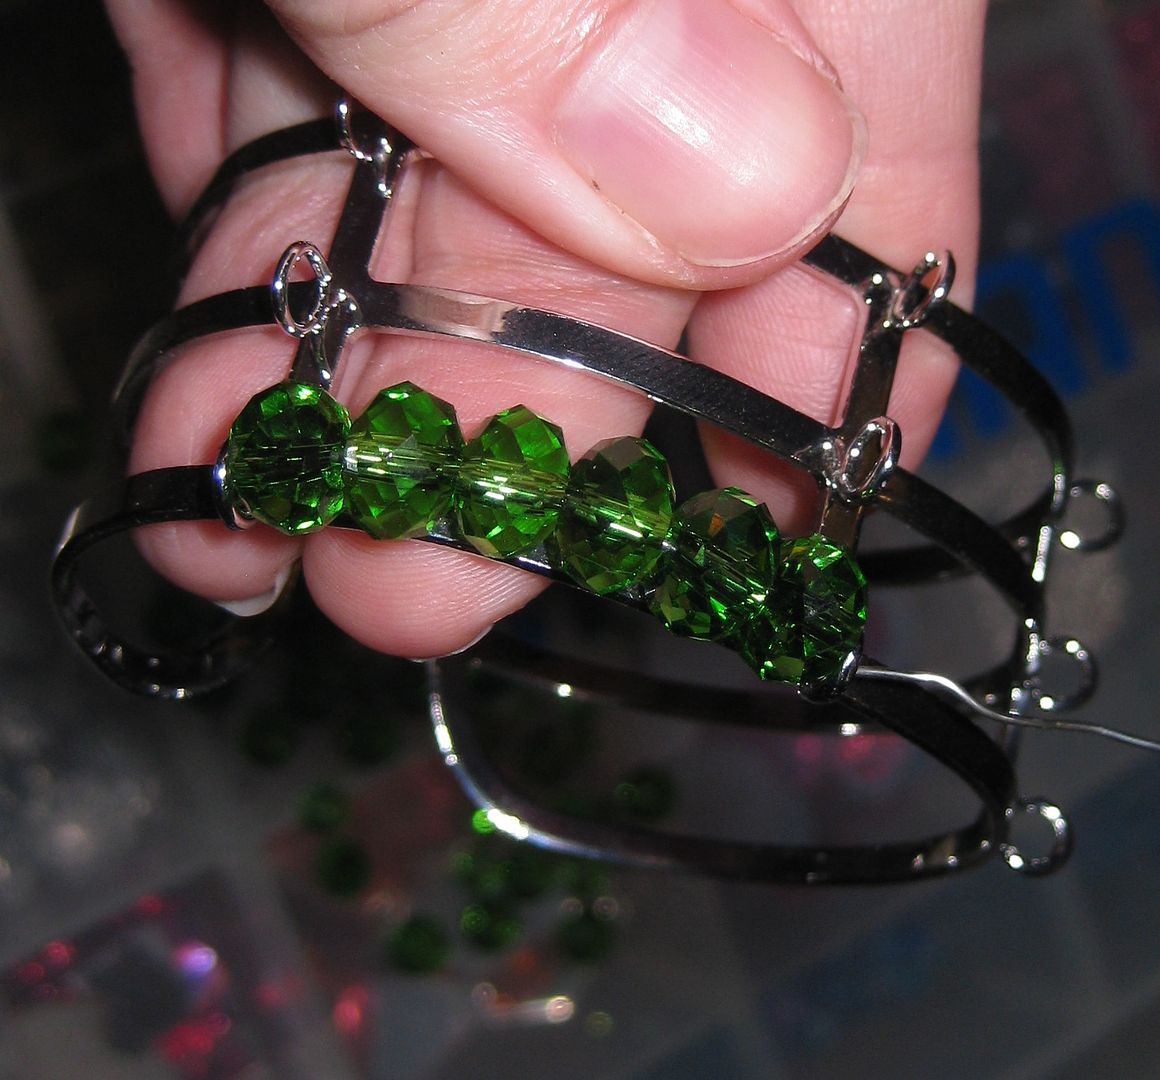
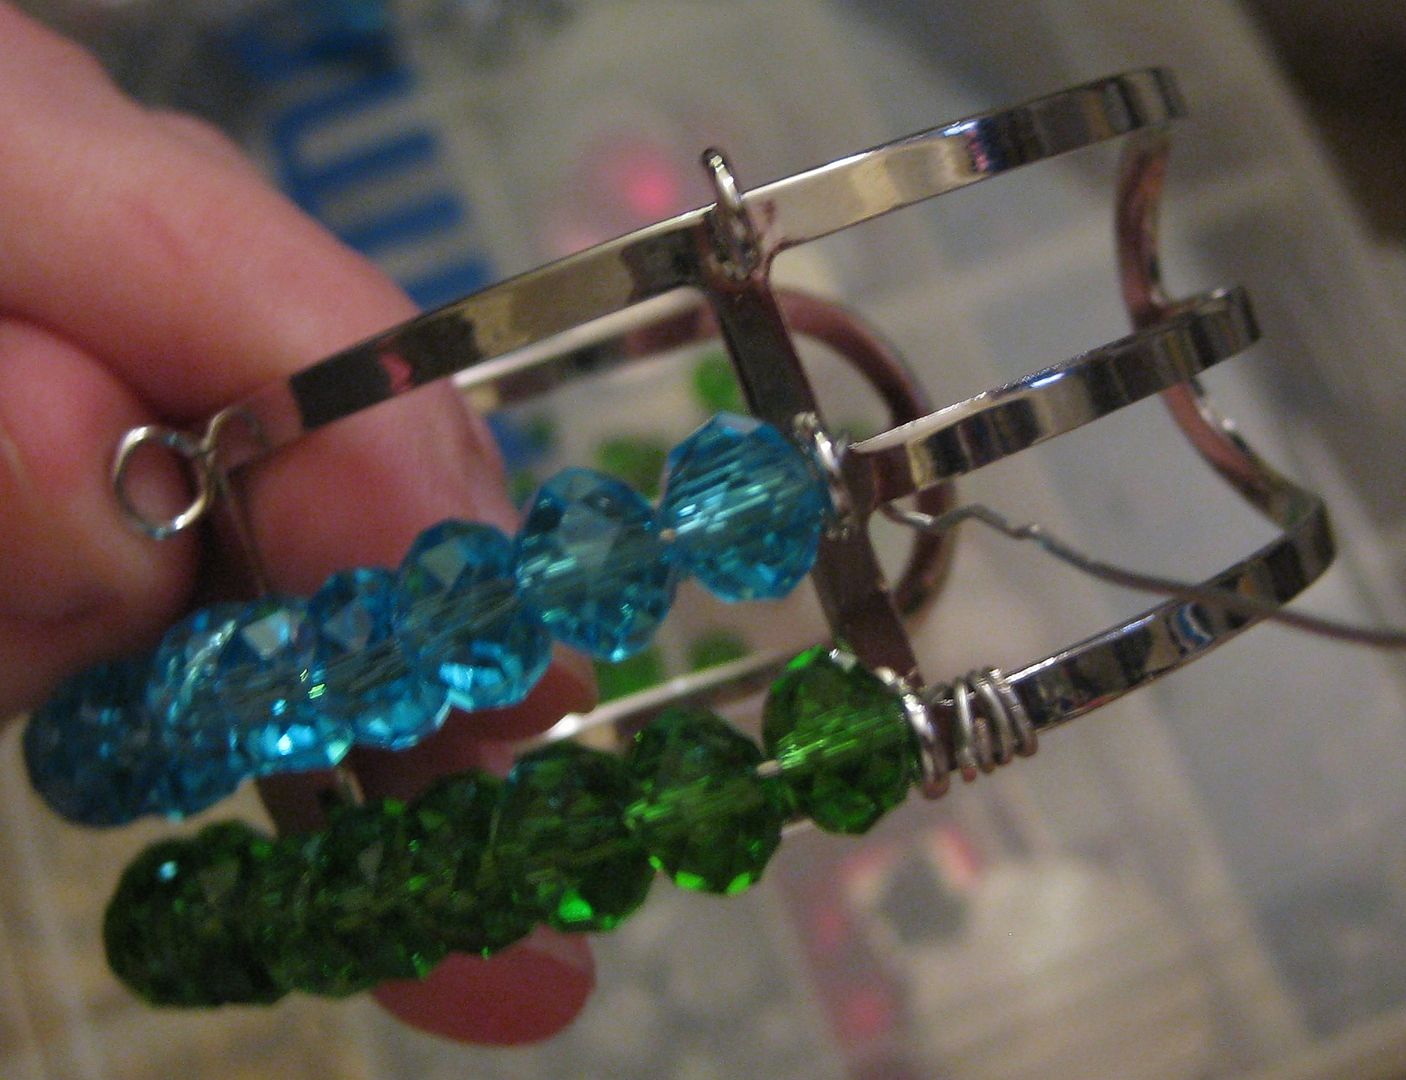
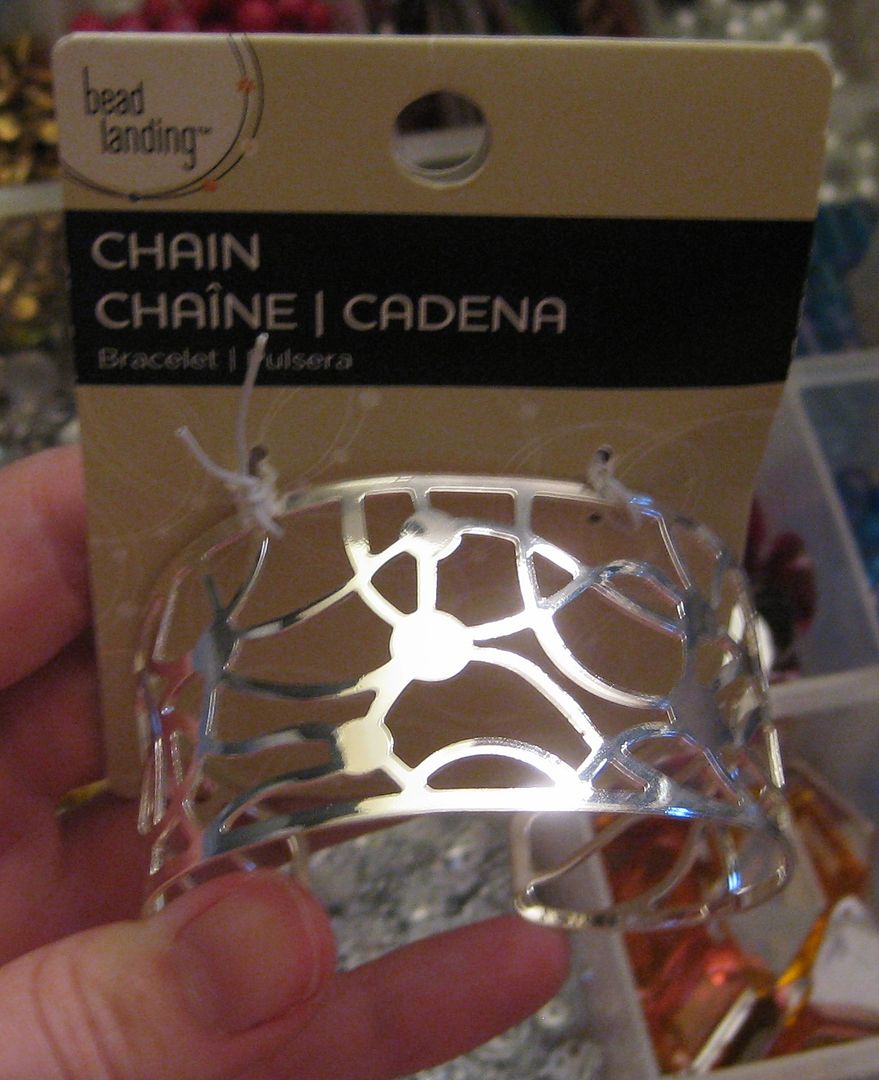
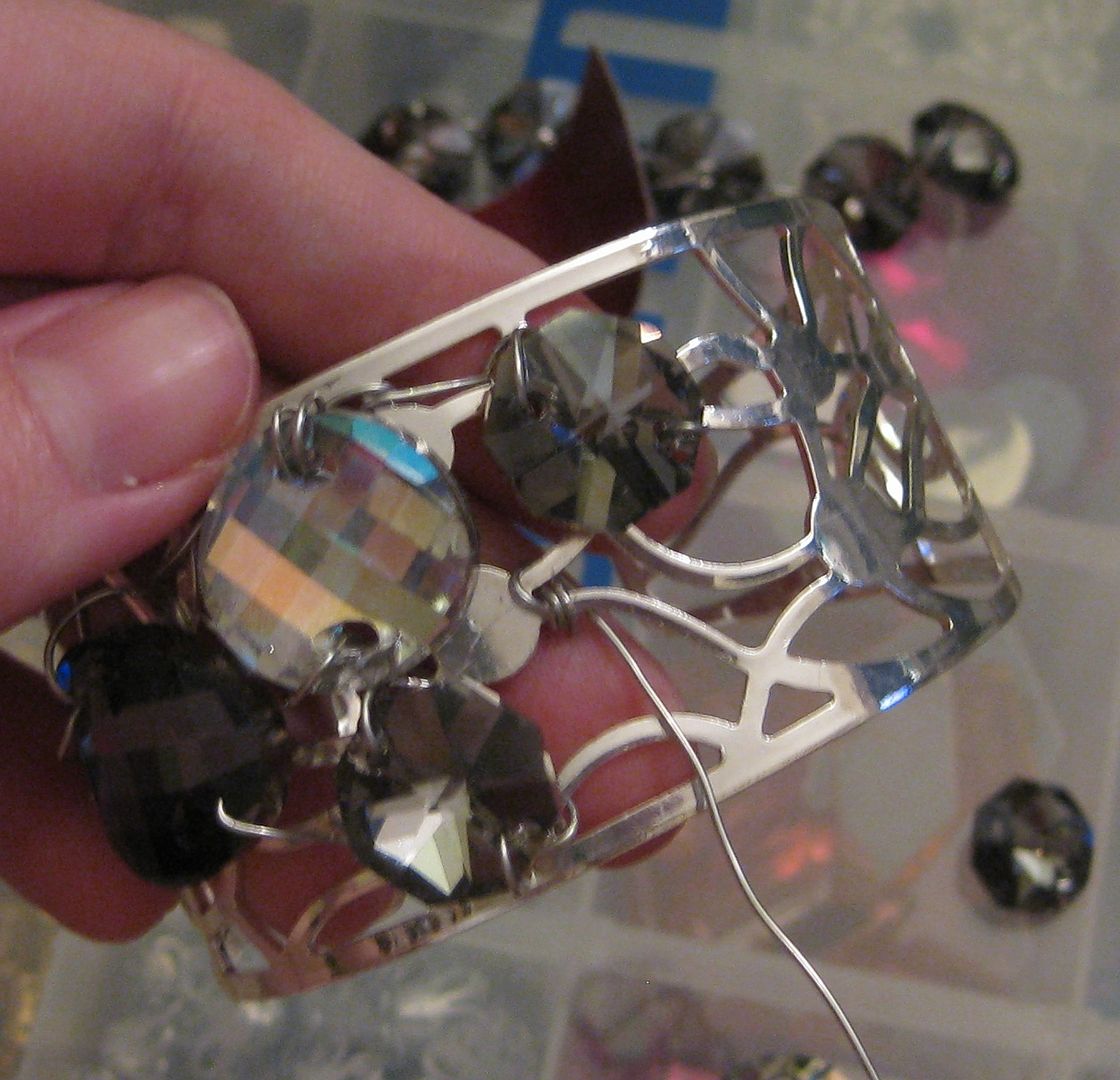
While sick I decided to try my hand at beading and wire wrapping. It was something I could do while laying down on the couch coughing up my lungs. I made 2 cuff bracelets. I like cuffs but they don't always work on my small wrists. These I liked b/c I could adjust.

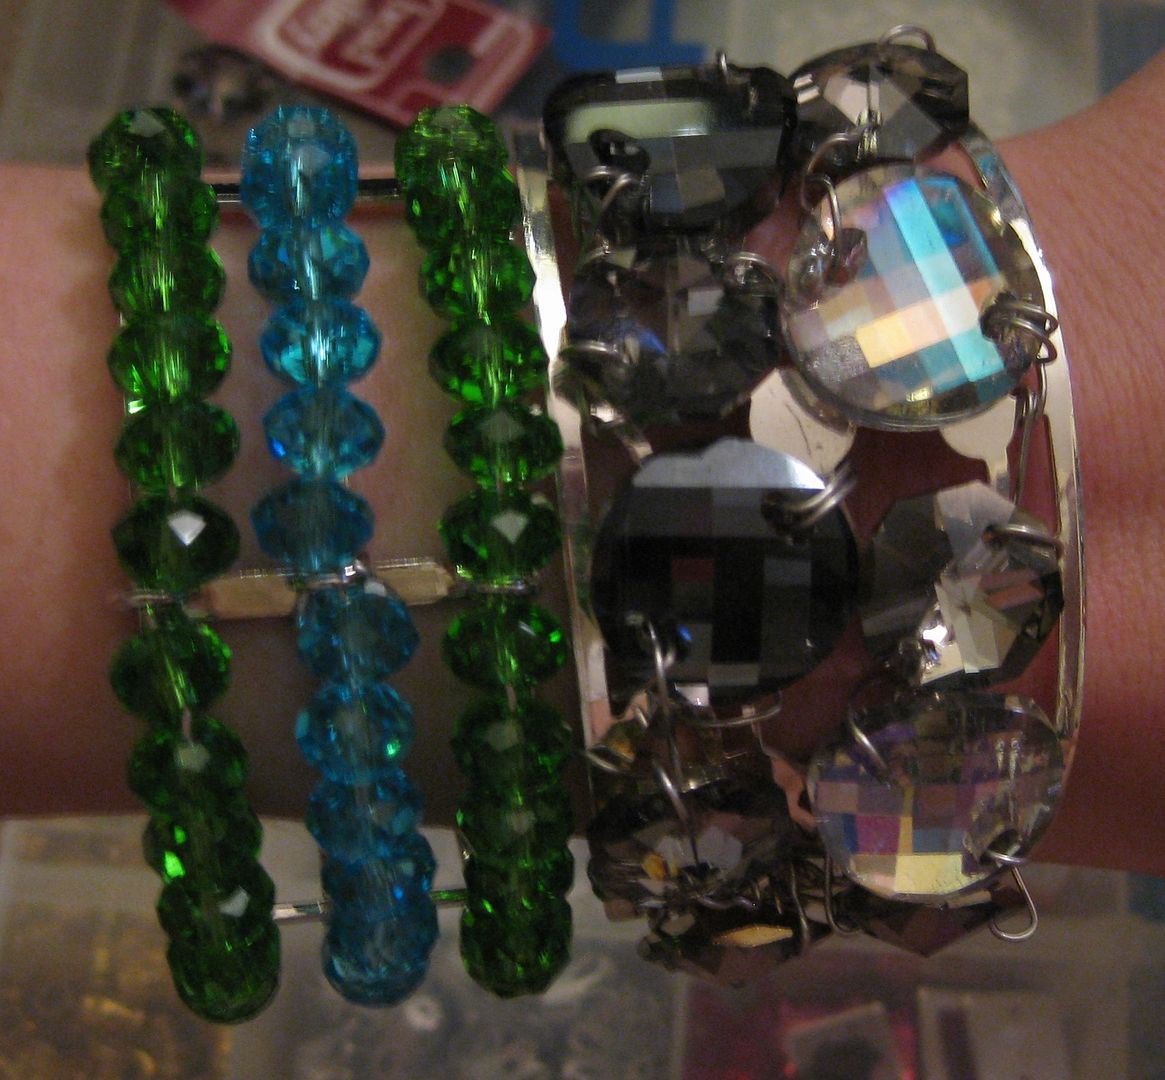
First one was a blue and green crystal cuff. Pretty easy. I did one row at a time, wrapping at the middle and then at the ends. I went green, blue, green.


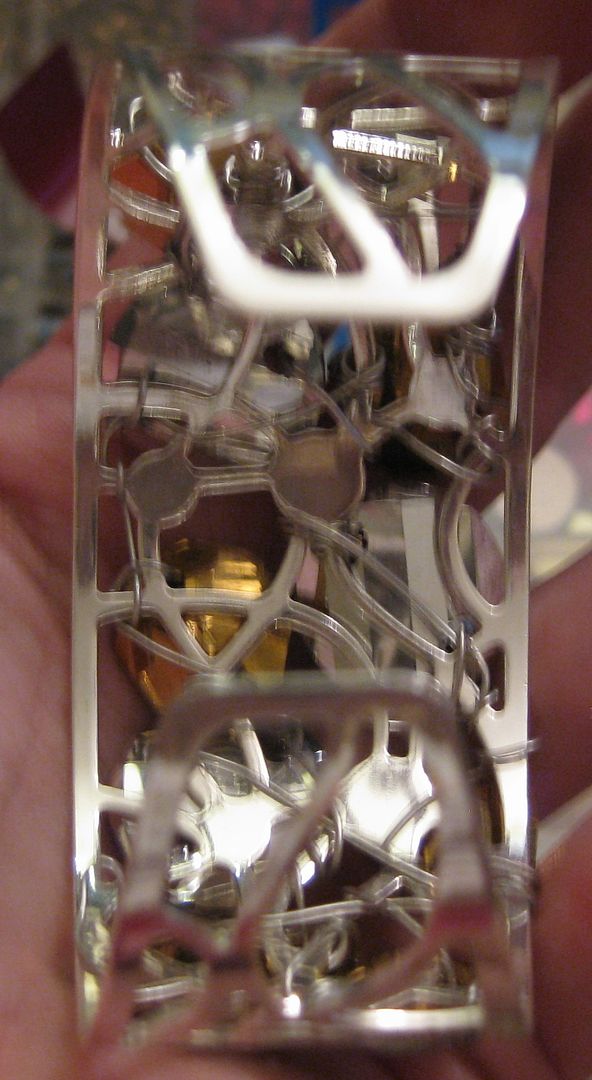
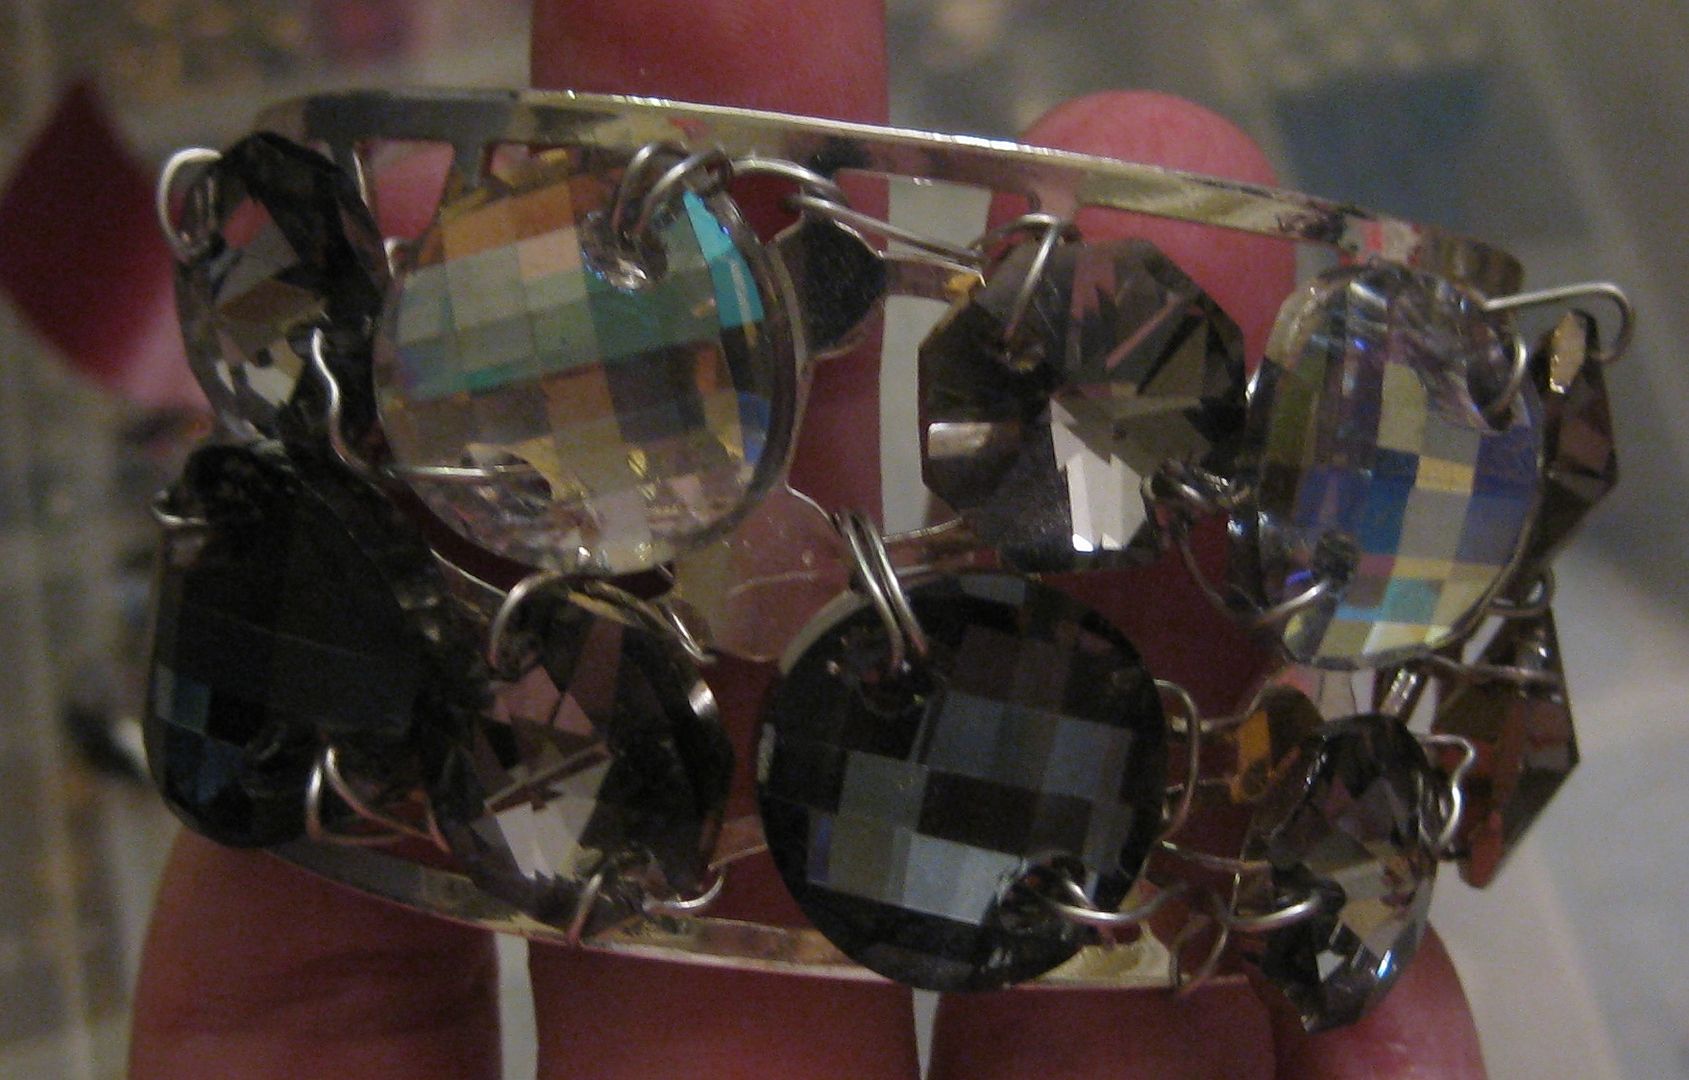
Next was my black and white one. This cuff was a bit different so I had to get creative with wrapping. I just sort of went with what I felt looked nice.


Here are both of them together. Really it isn't hard. Wire wrapping can be a challenge but really you just have to get the hang of it. Sometimes it helps to use shorter wire just so it is easier to work with and not get tension.

I pity the fool. ;) Easy and ready to wear and adjust to my small wrists. :)

Cheers,
Lauren
Wednesday, August 21, 2013

another pinterest necklace DiY

Another necklace on pinterest... I almost again have everything...

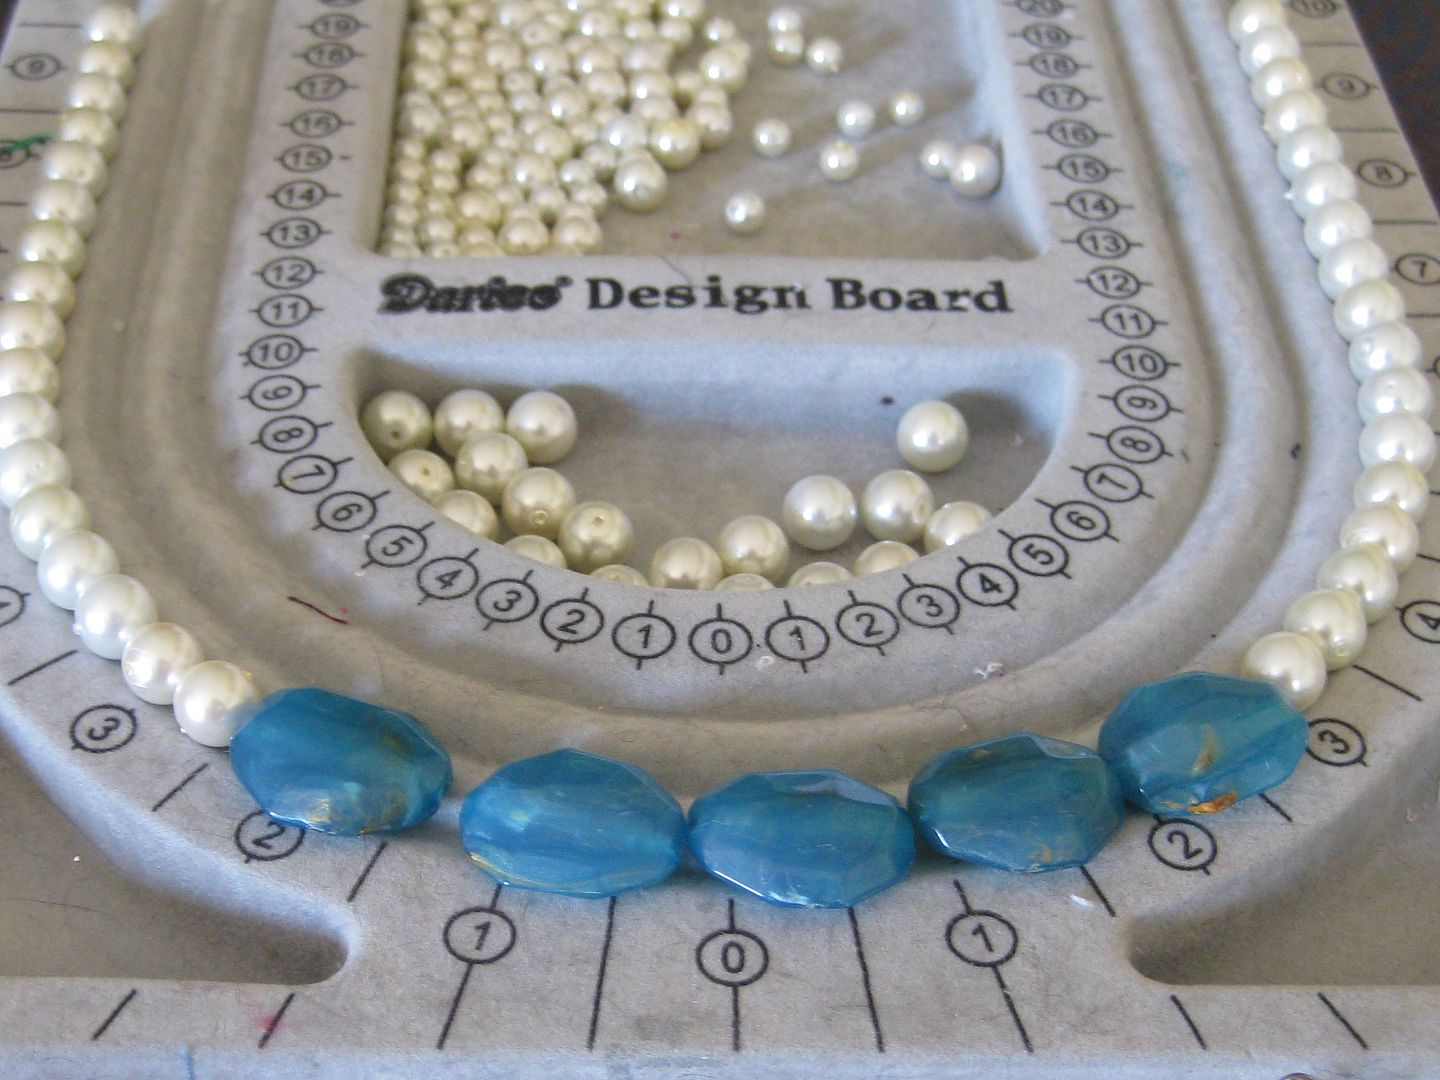
Remember those blue beads? They look very similar to the ones above. I had some pearls that I thought would look great with them. On ward to stringing


I also made myself a bracelet. Yay!

Done!! Yay!!

xoxoxo,
Lauren

Wednesday, August 14, 2013

Paint pen necklace redo: blue and gold

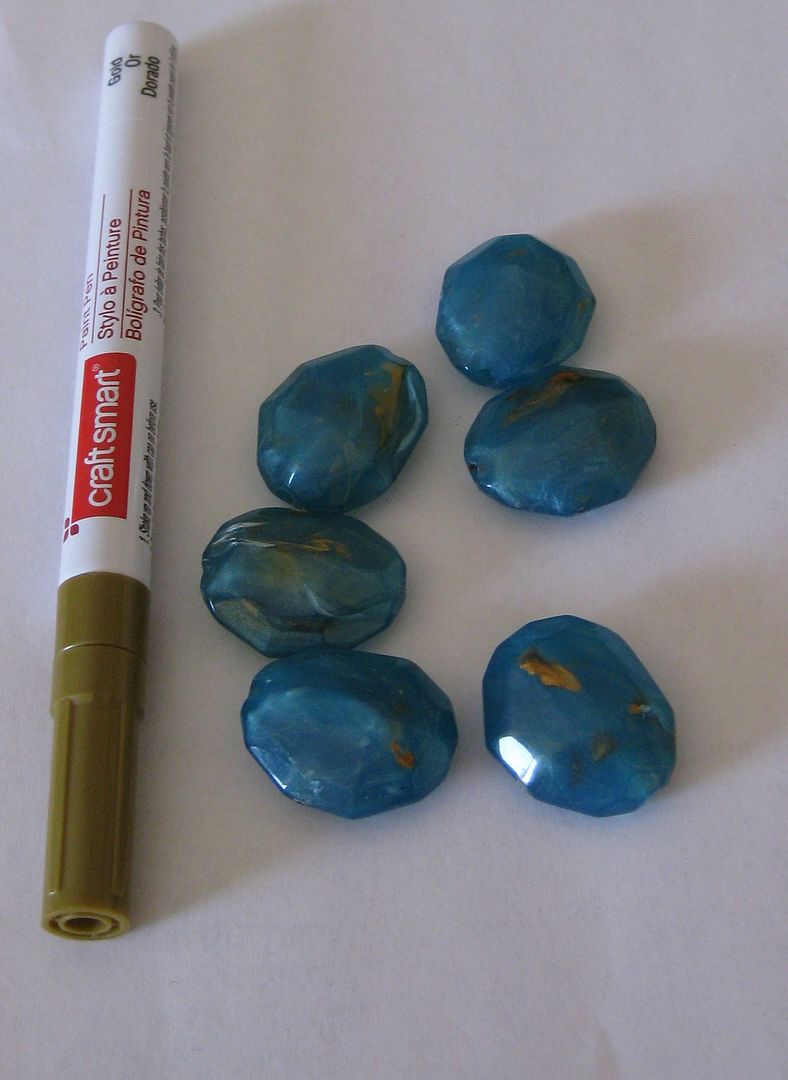
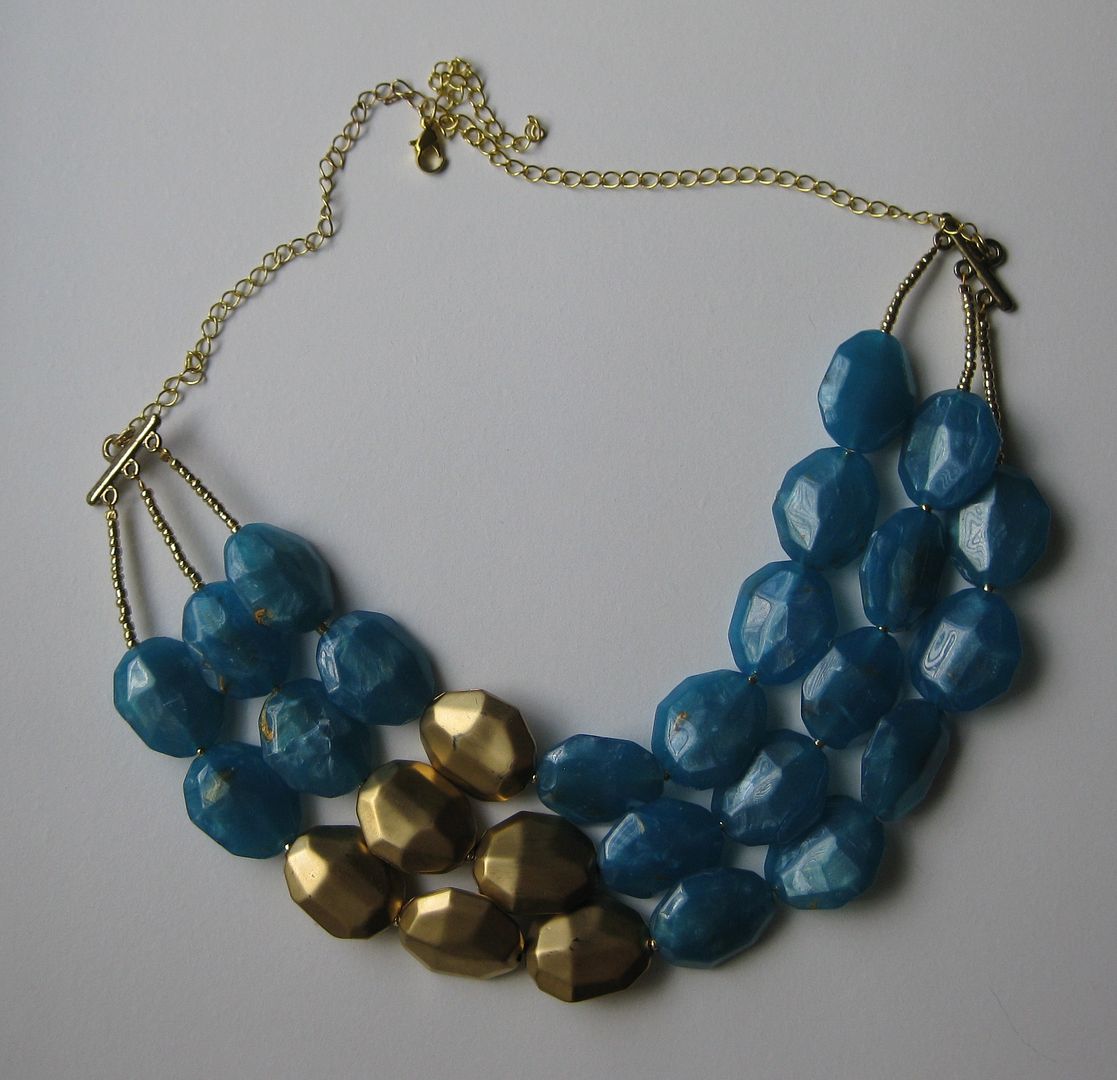
I was inspired by this necklace I saw on Pinterest. I had a bunch of these blue  beads that looked similar to these. And this might be a great way to use my beads.

Problem is I don't have any gold ones. 

But I had a great idea... I had a gold paint pen!! Oh yeah I am so doing this!


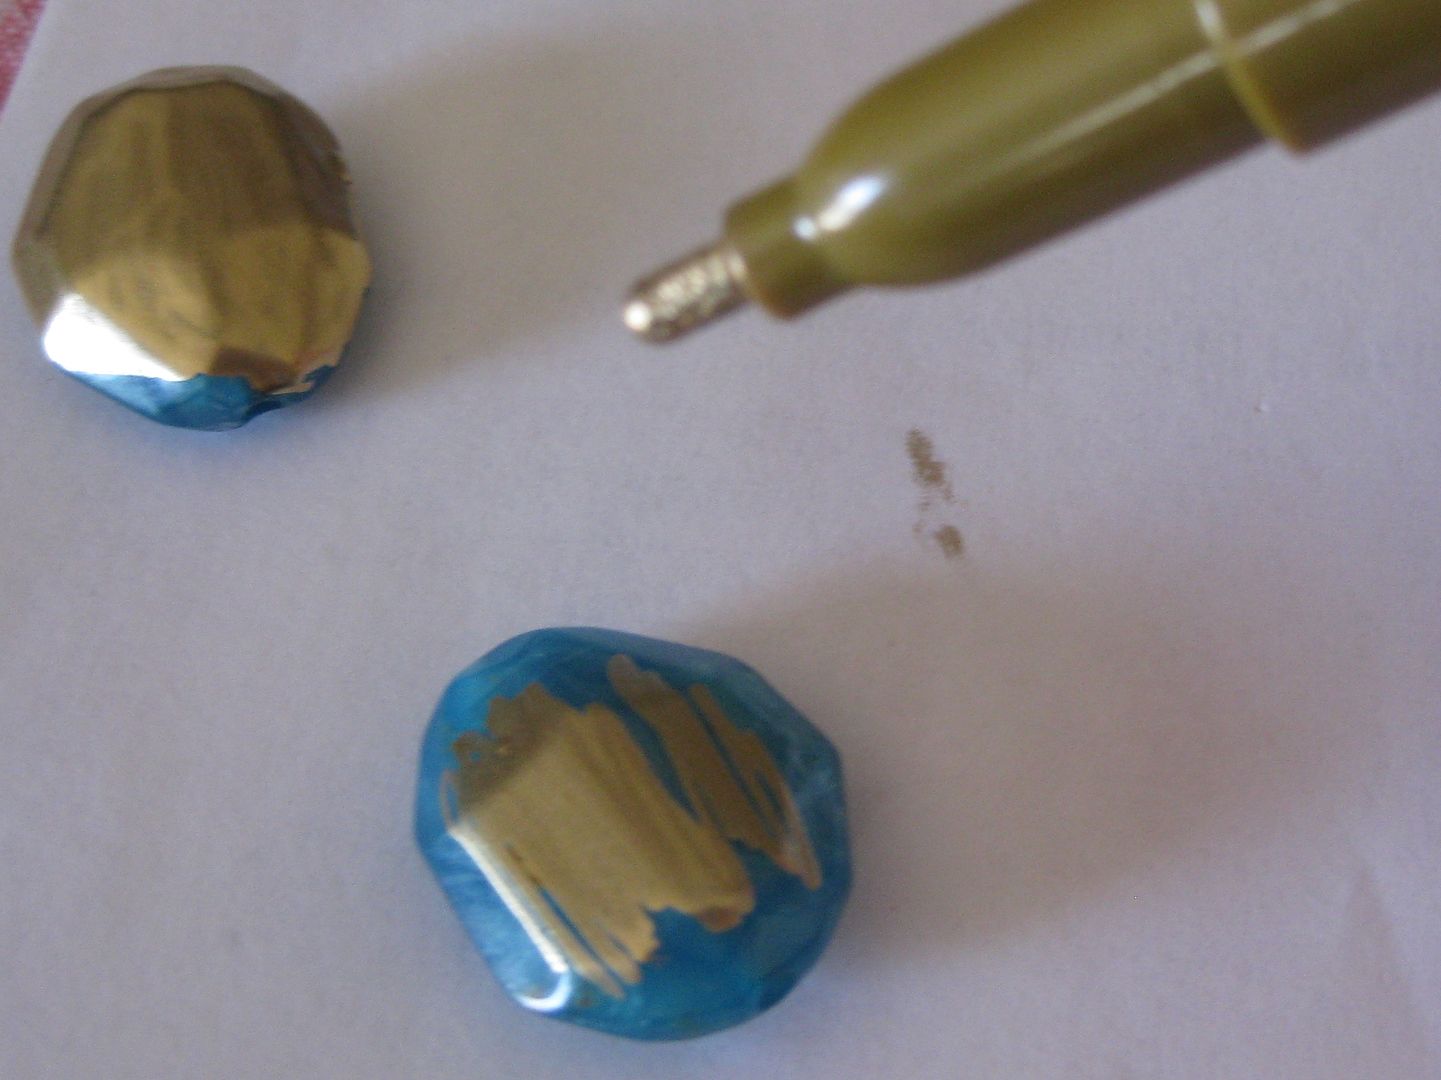
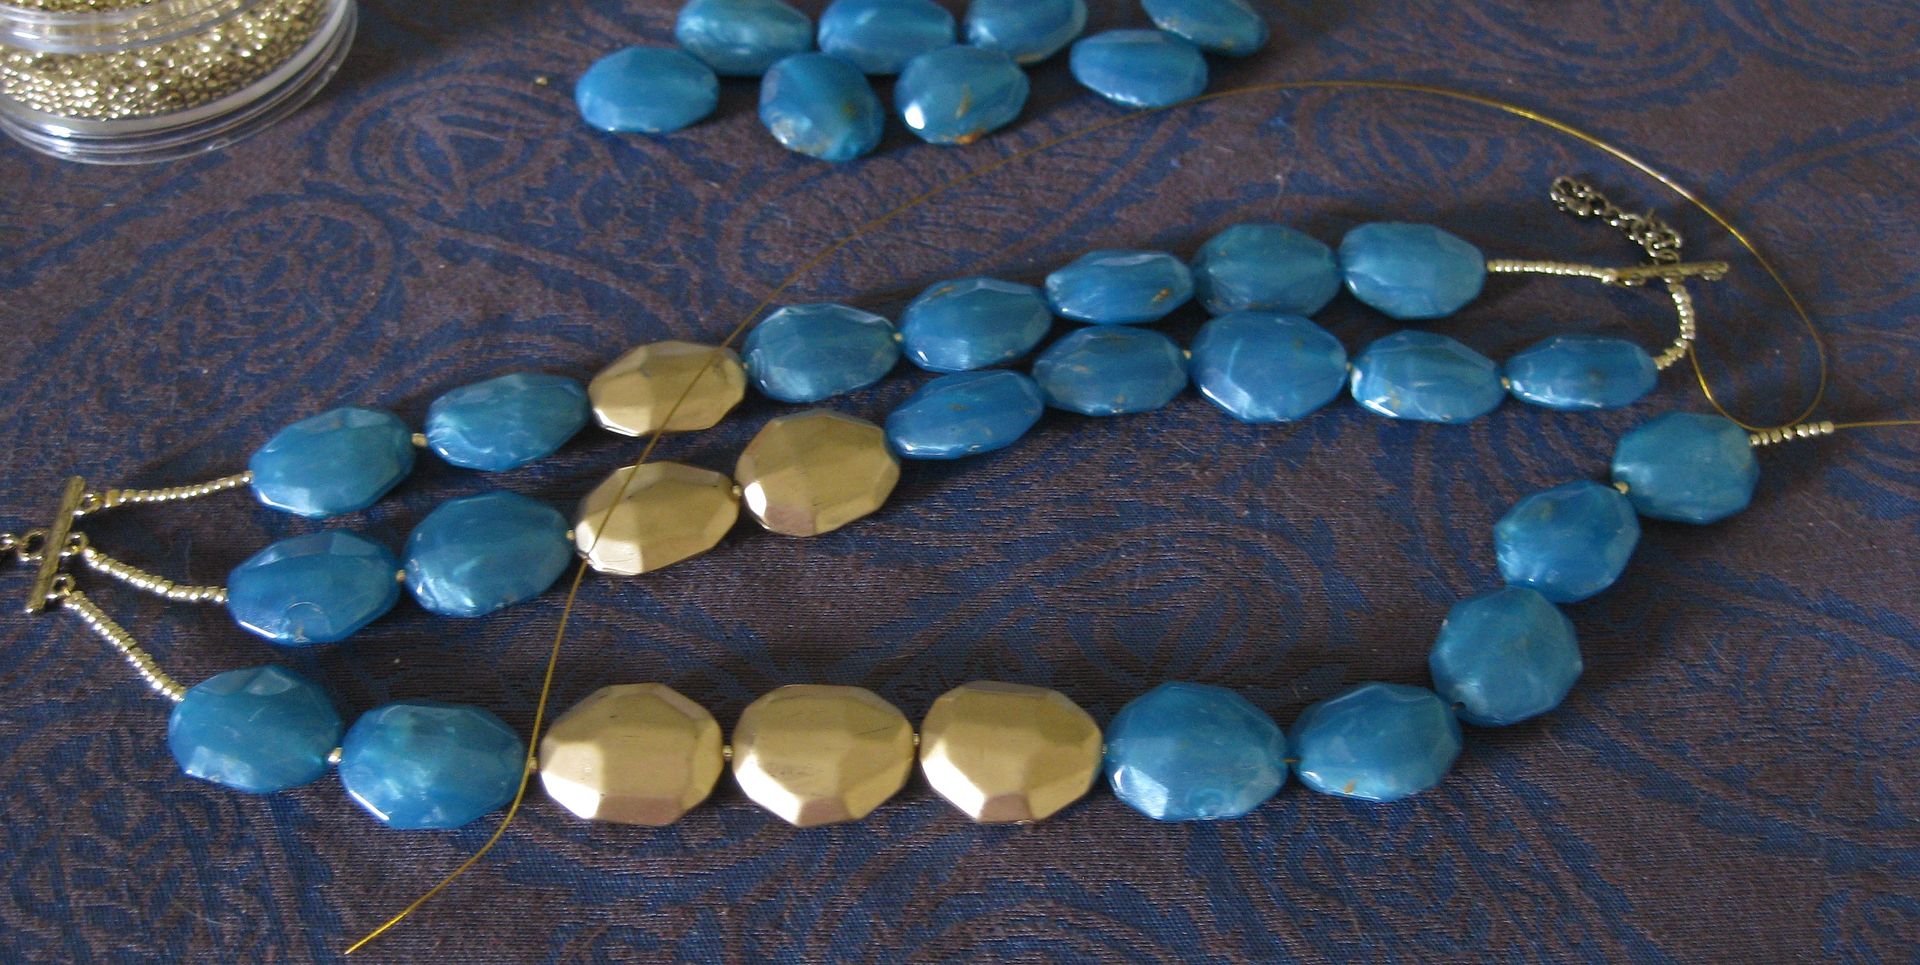
So I colored several beads with my gold paint pen, letting dry between coats. 

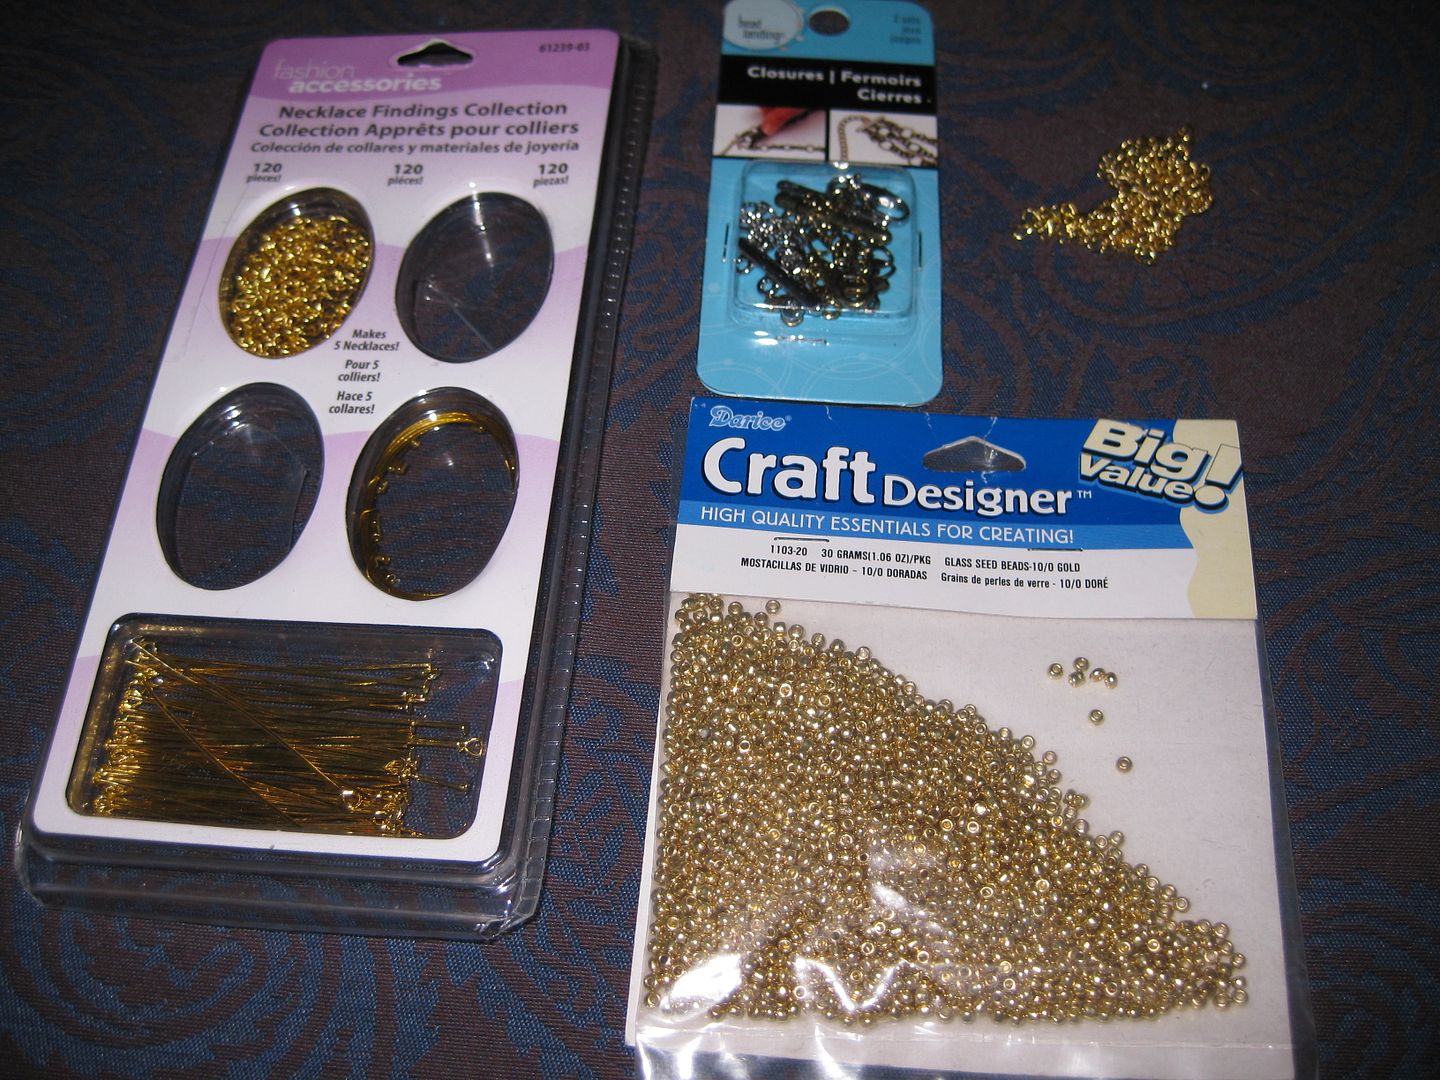
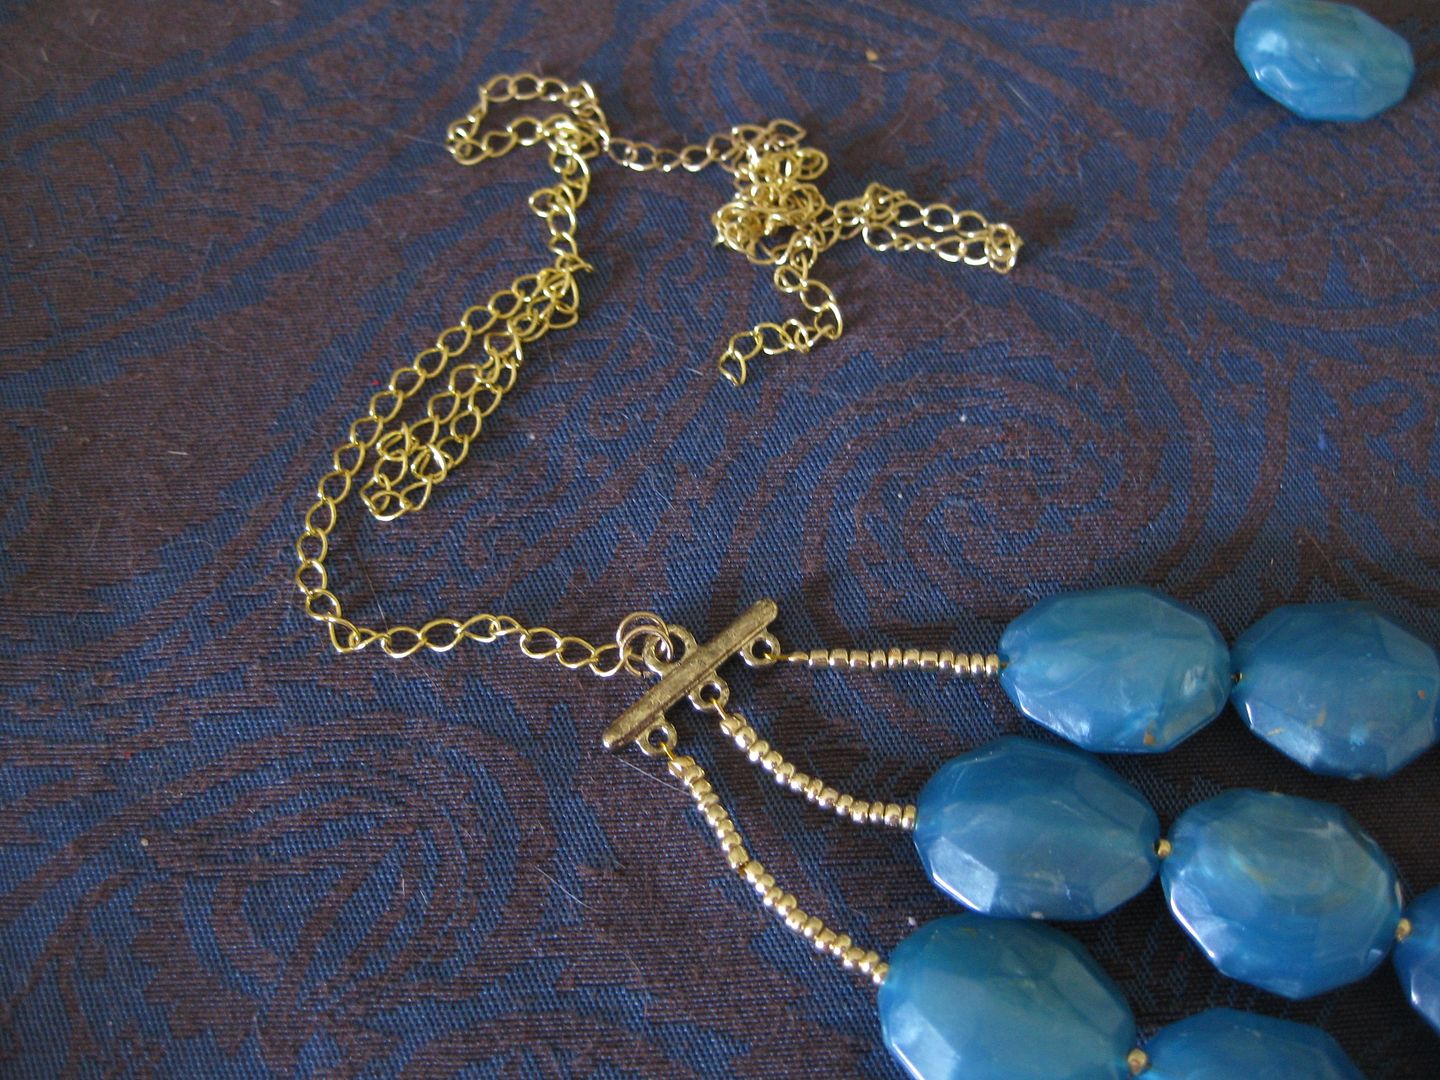
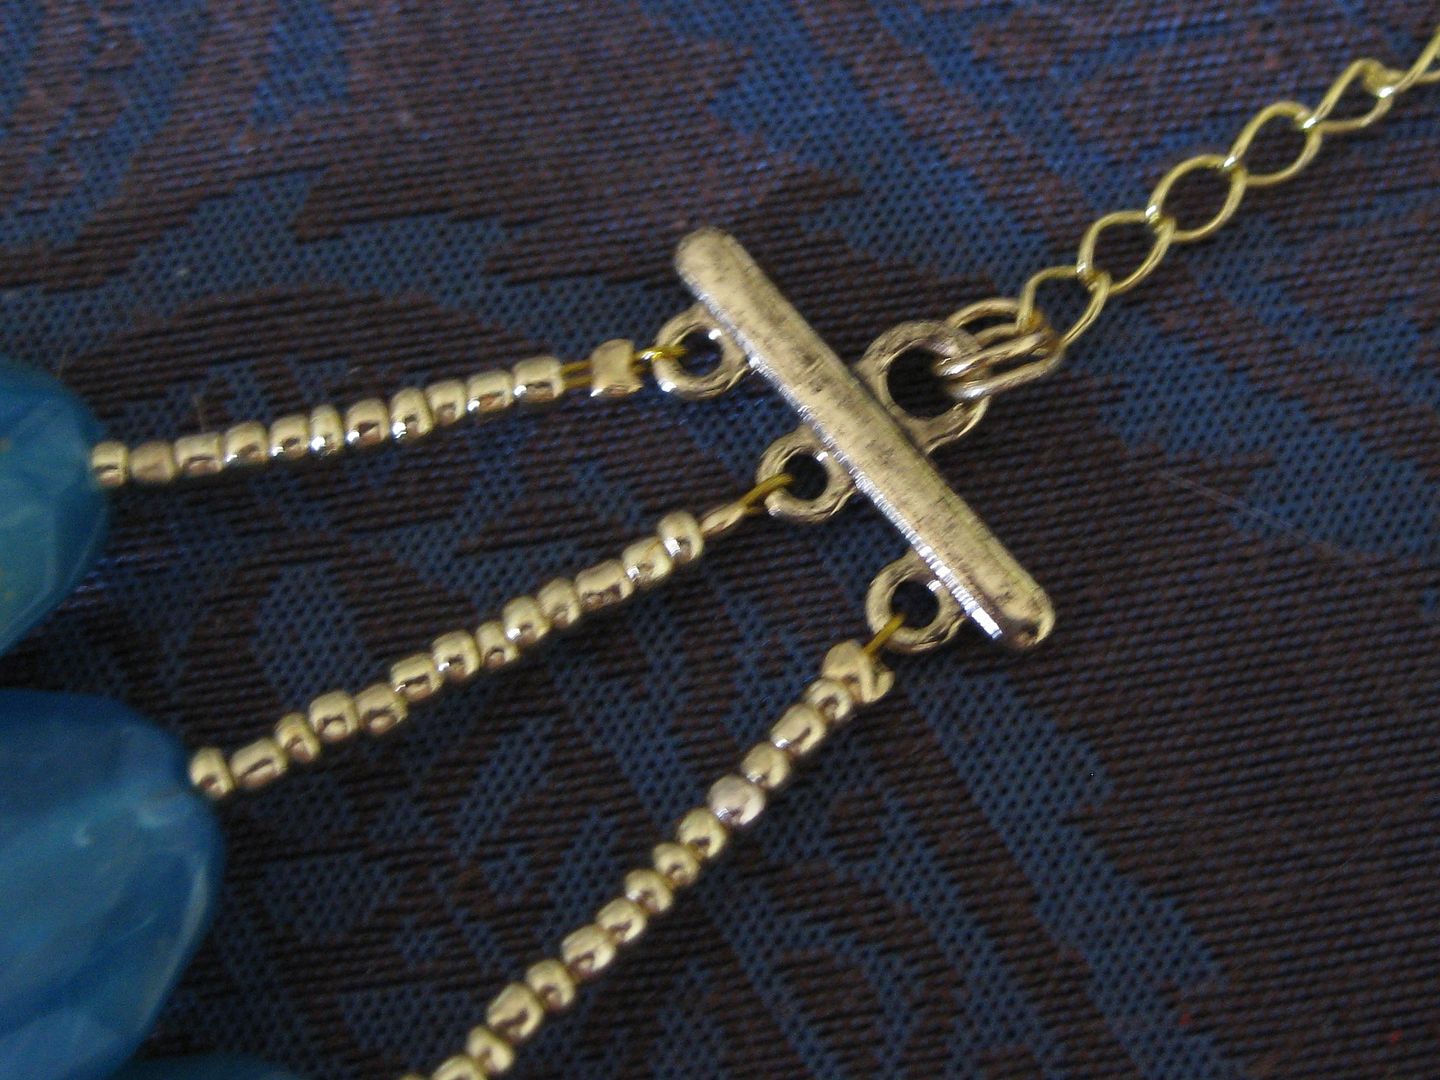
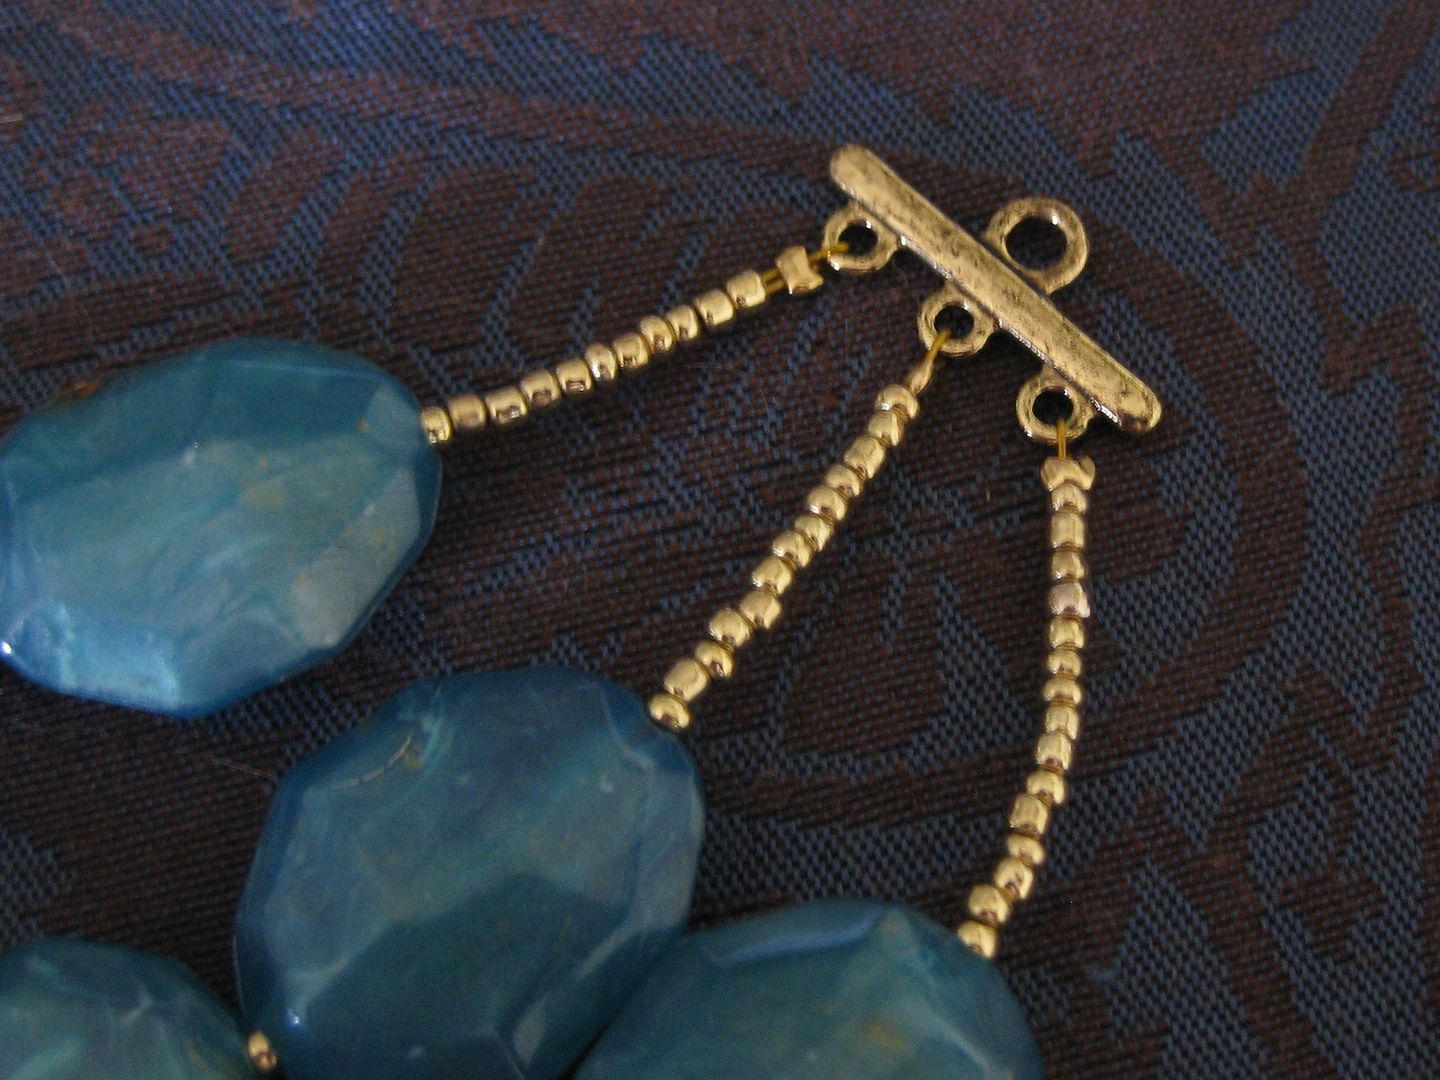
Next time to string my necklace. I needed clasp, crimp beads, wire, 3 hold bars, gold filler beads, and some jump rings to git. 


So I just strung the beads starting with 2 blue followed by 1, 2, or 3 gold beads. Then blue to finish. It did take some time to get it to hang right. But I also did this by adjust the small beads on the ends. It did take some fiddling. But simply crimp bead the ends. 


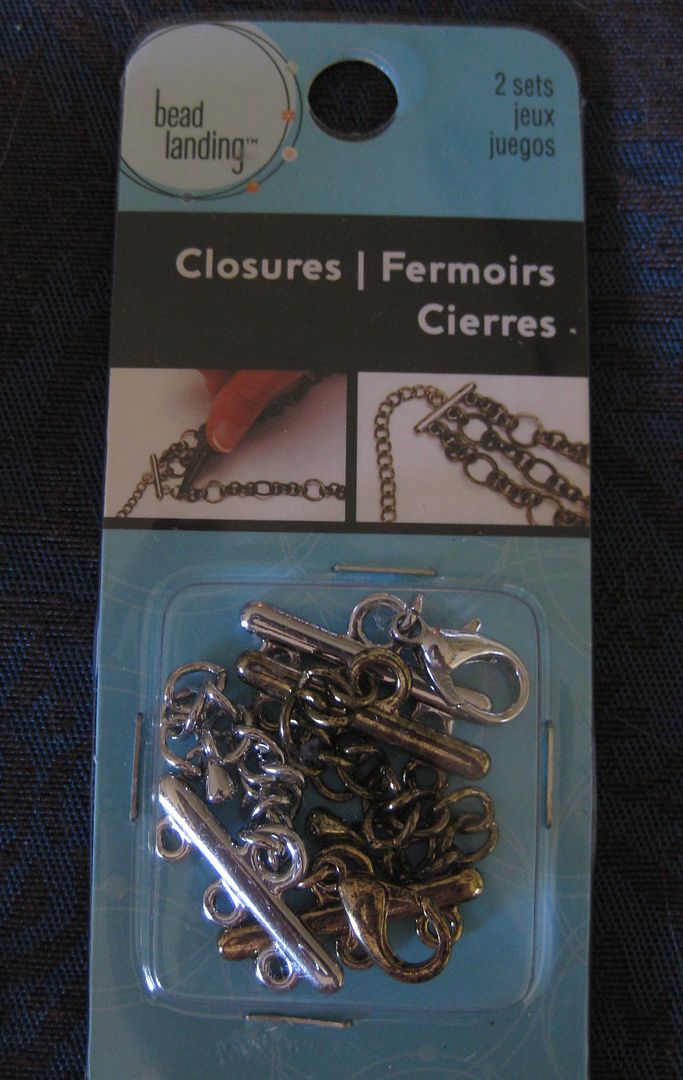
Then I added a lobster clasp and some chain to the ends to adjust how the necklace sits. Always a plus. 


Done! Not bad for a paint pen necklace huh? I had everything on hand. Yay for using what I have!


xoxoxo,
Lauren

Wednesday, July 10, 2013

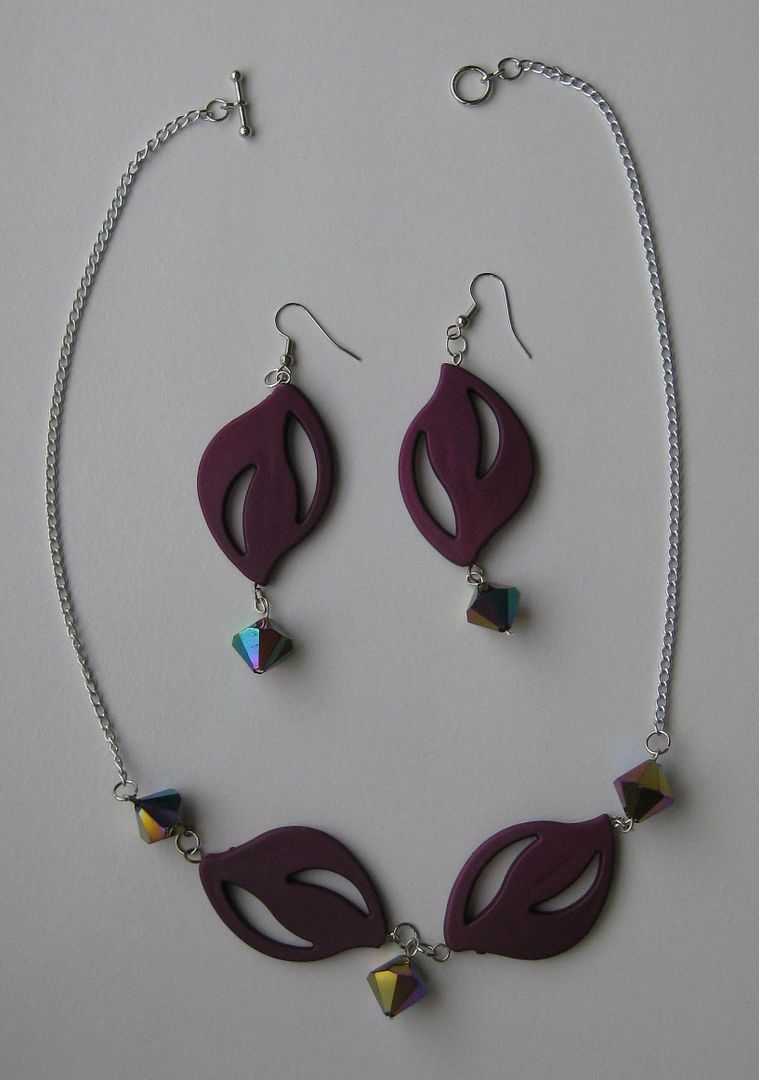
Purple Earring and Necklace Set

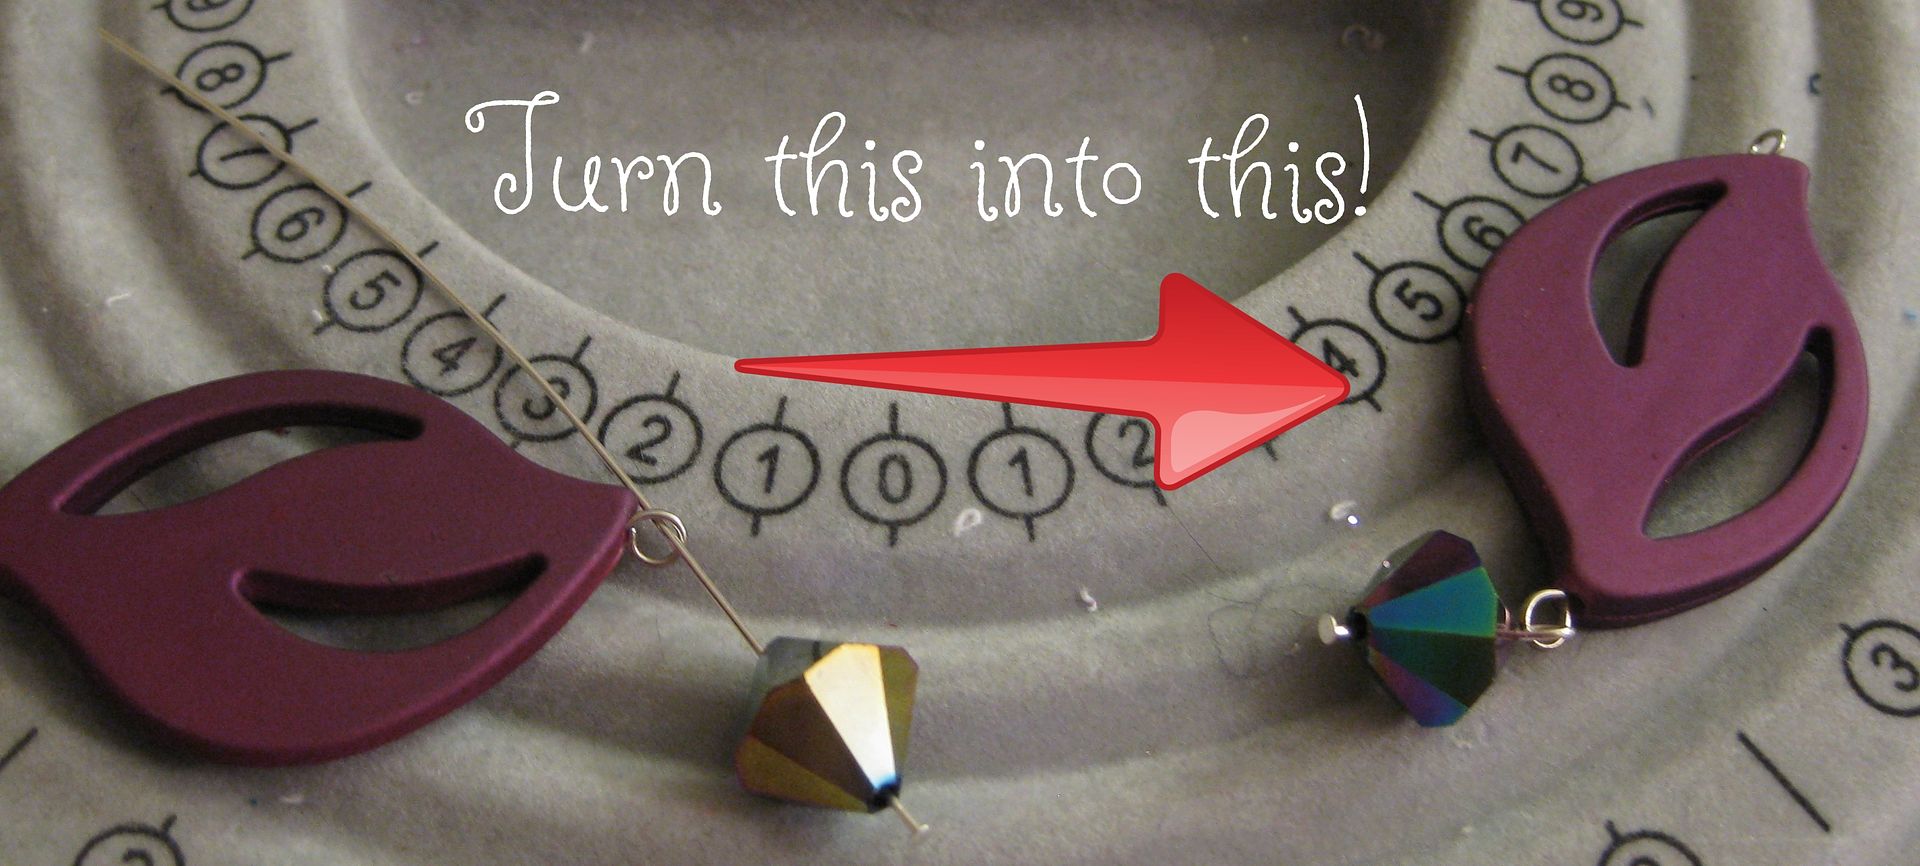
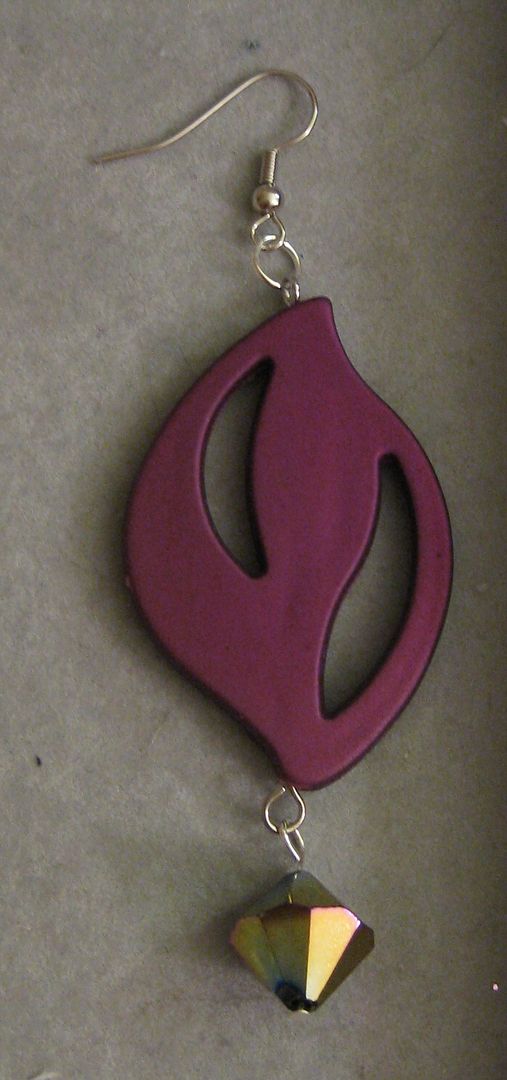
Just messing around with beads.... I decided to use up some of my beads into a necklace and earring set. First the earrings- simple end pin with a earring hook


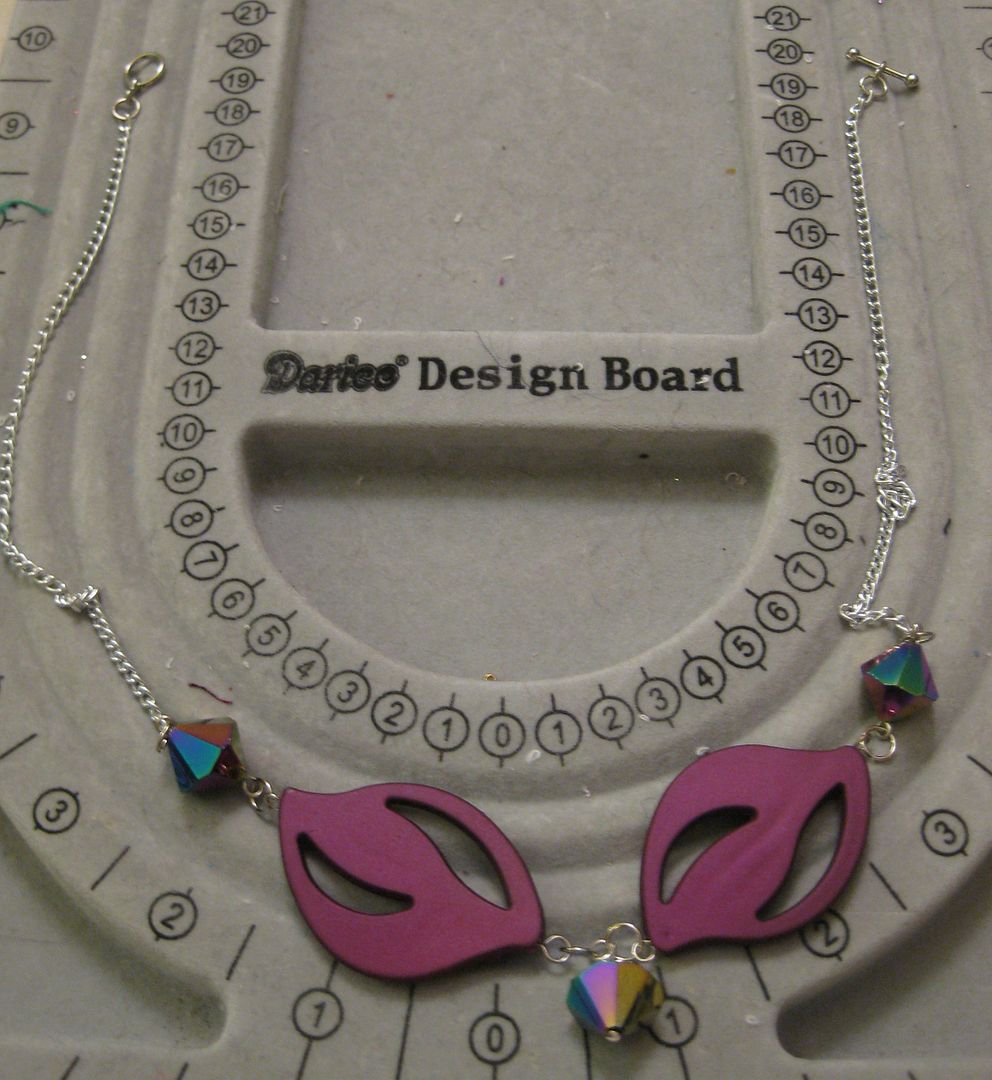
necklace I just combined everything

added chain

Done!


Can't wait to wear this set!

xoxoxo,
Lauren

Wednesday, July 3, 2013

Fixing a necklace

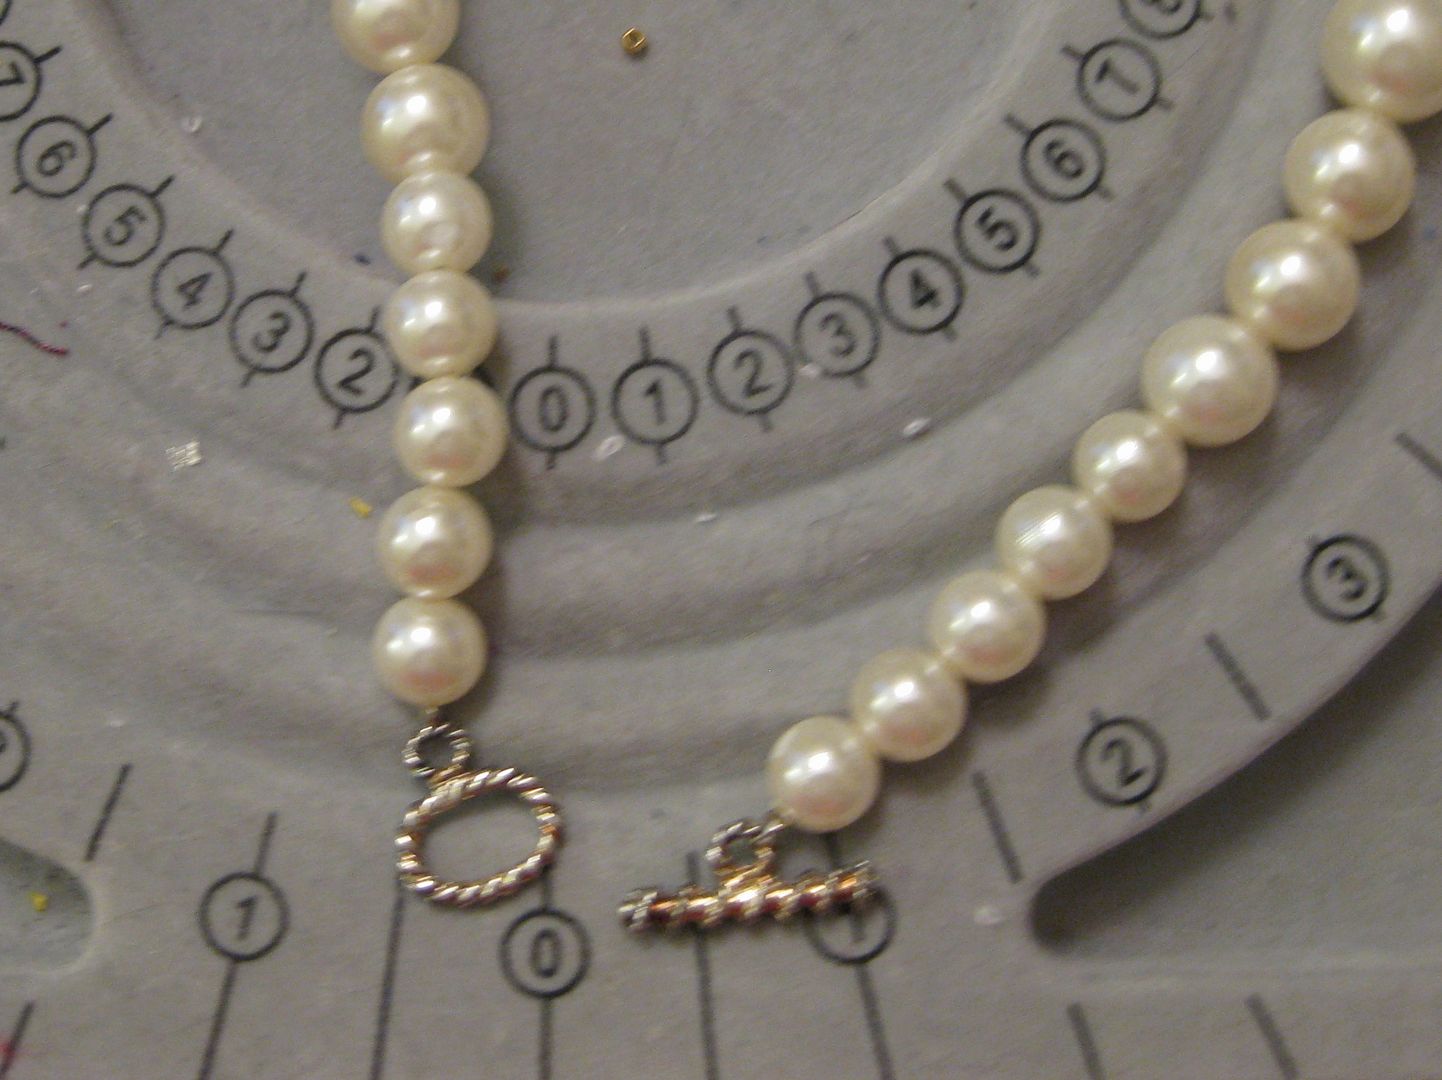
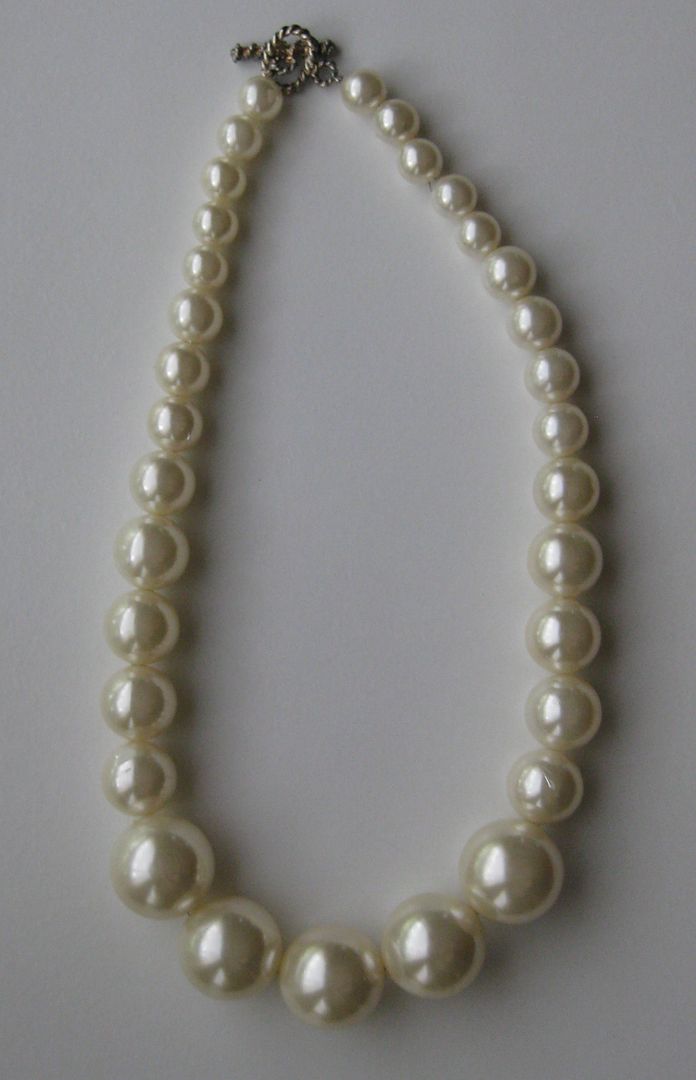
I had a necklace similar to this one just with cream beads. It needed some fixing. I literally cut all of the beads away (each one was knotted!!)

Here is what I got so again I lined up the beads putting the larger ones in the center of the necklace. 

I simply restrung it and added a eye/toggle.

Ahhh Done!! Necklace looks so much more polished and wearable for work

I love simple projects, where I turn something into something I can wear and WILL wear. :)

Cheers,
Lauren
Wednesday, June 26, 2013

Dyeing beads try...

Going through my beadstash I had this mix of beads. they are not anything fancy. Simple regular plastic beads. There were these one beads that were this dull white I could not stand. I wanted to see if I could dye them....

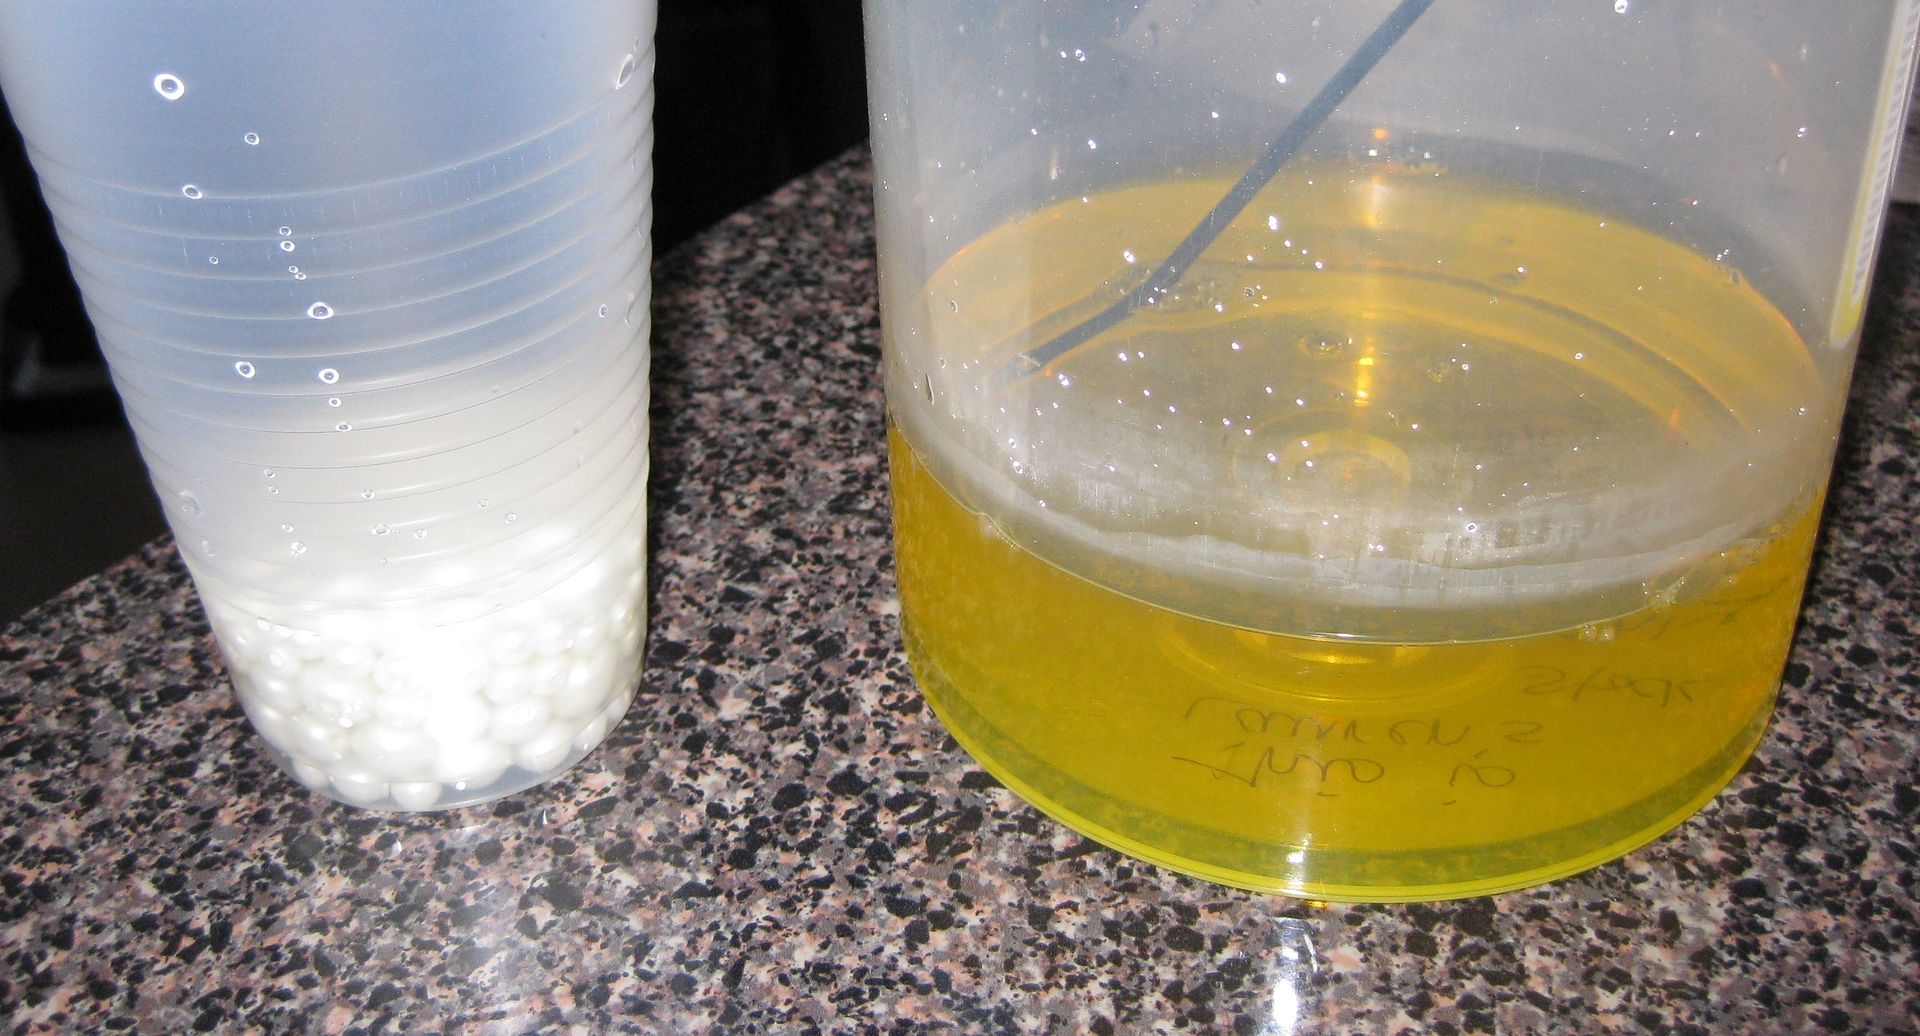
First I attempted lemon yellow rit dye. This was a FAIL. The dye didn't take. 


Yup I got nothing...

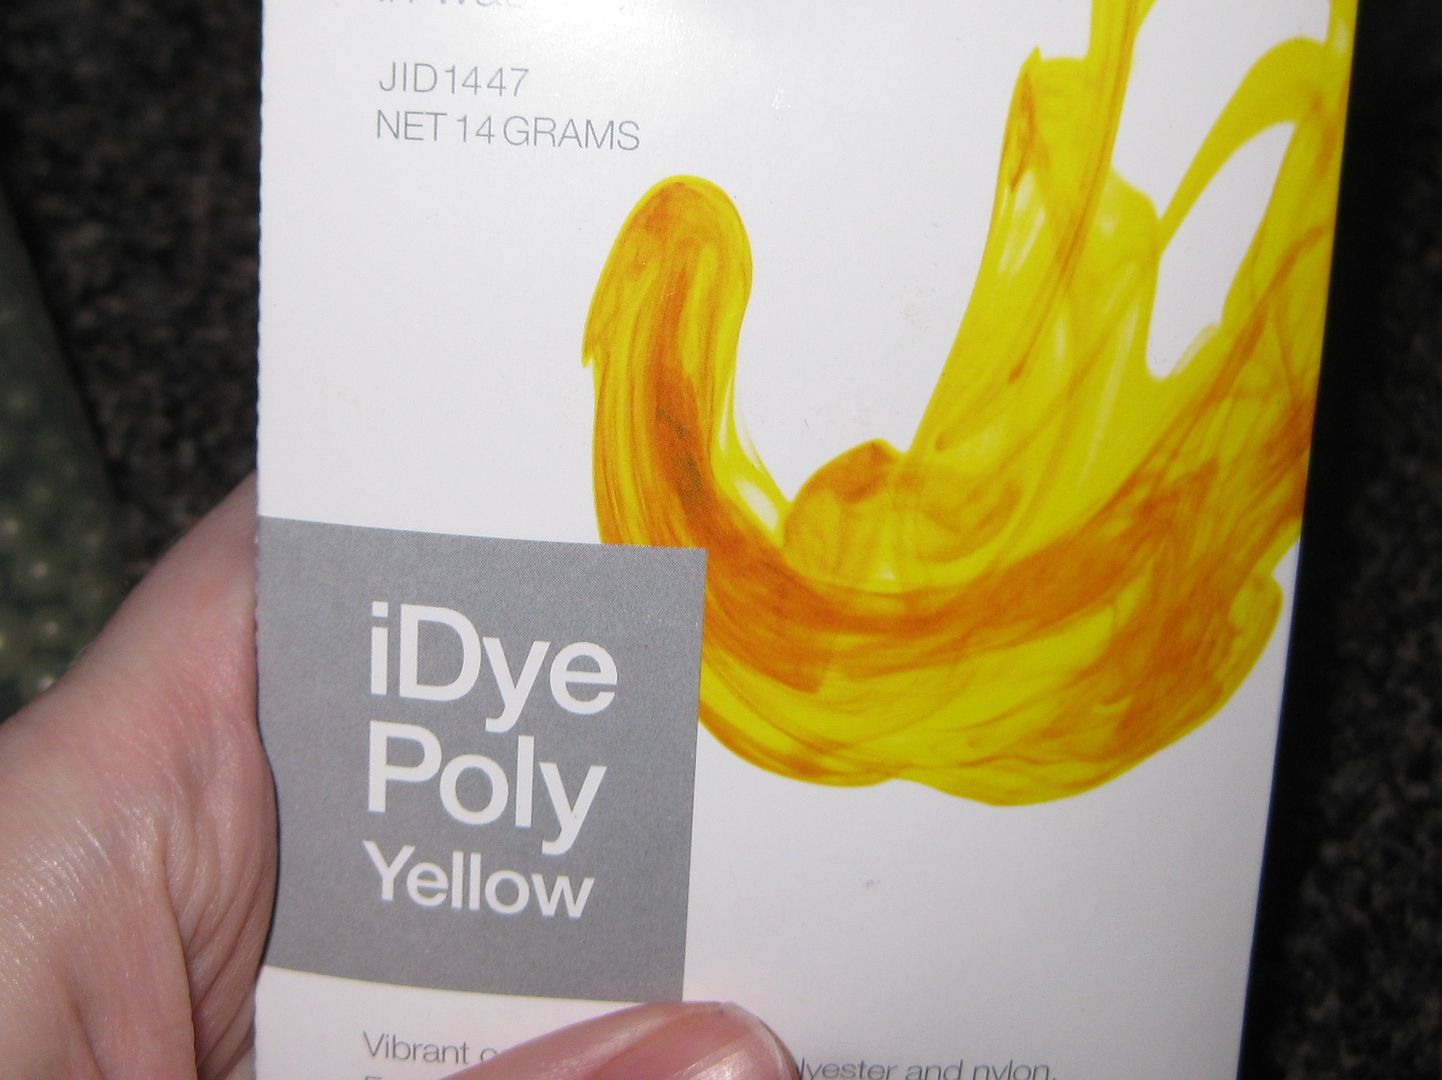
Time to pull out the heavy artillery. I thought iDye dyes polyester--which is plastic-- why not plastic beads??

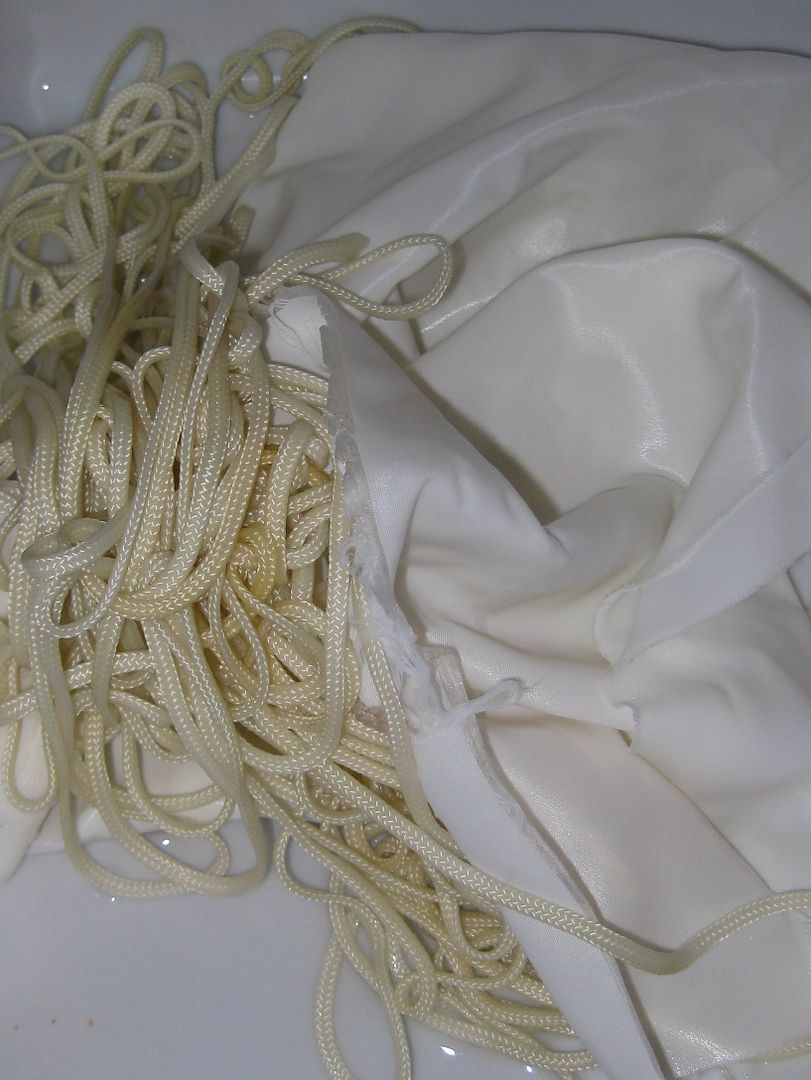
I also selected some other things also since I didn't want to waste dye. Rope trim and a piece of satin.

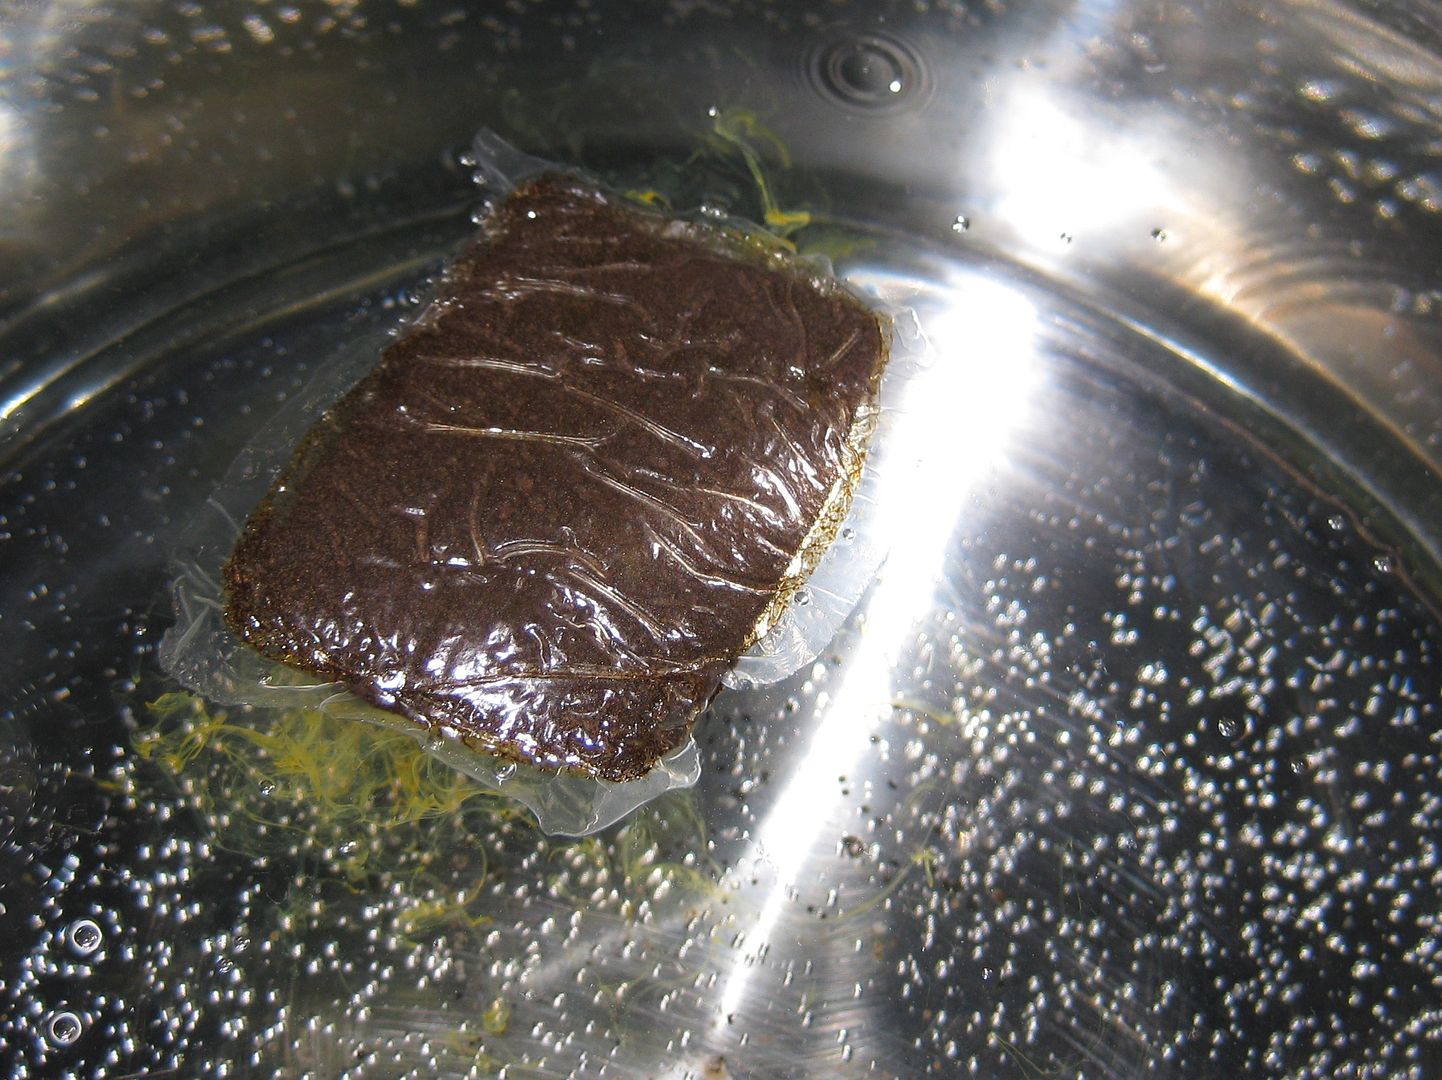
Simply add packet to the water.. Yup no spills or worrying about the dye going anywhere else!

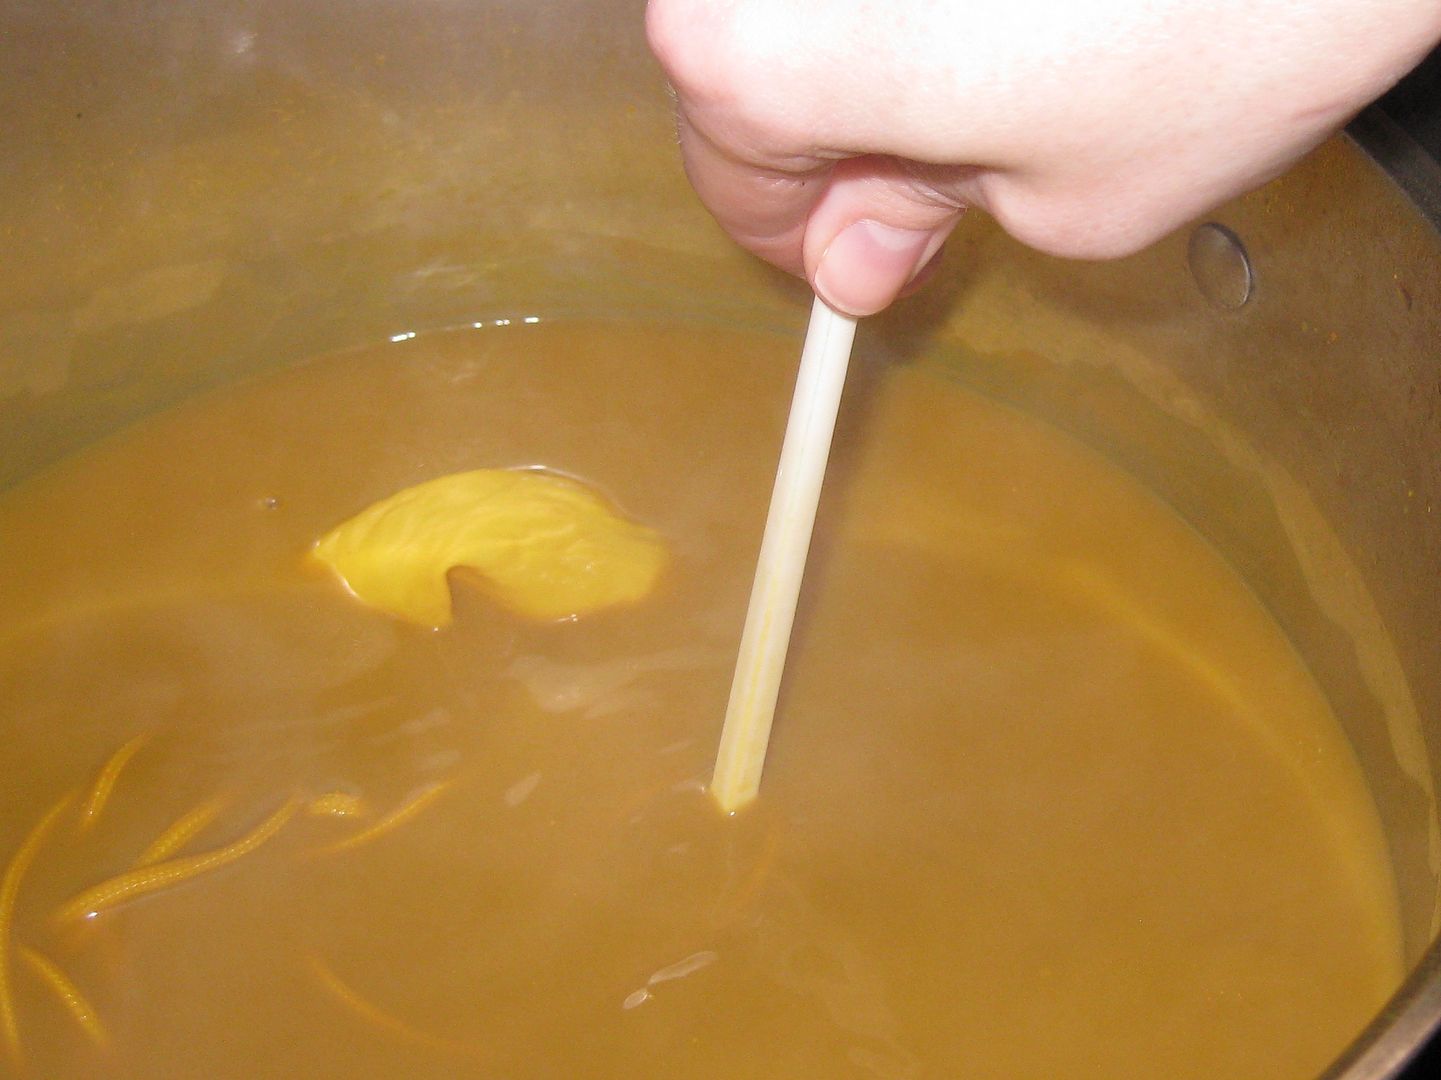
Mix well, add beads, etc... mix while on a medium heat

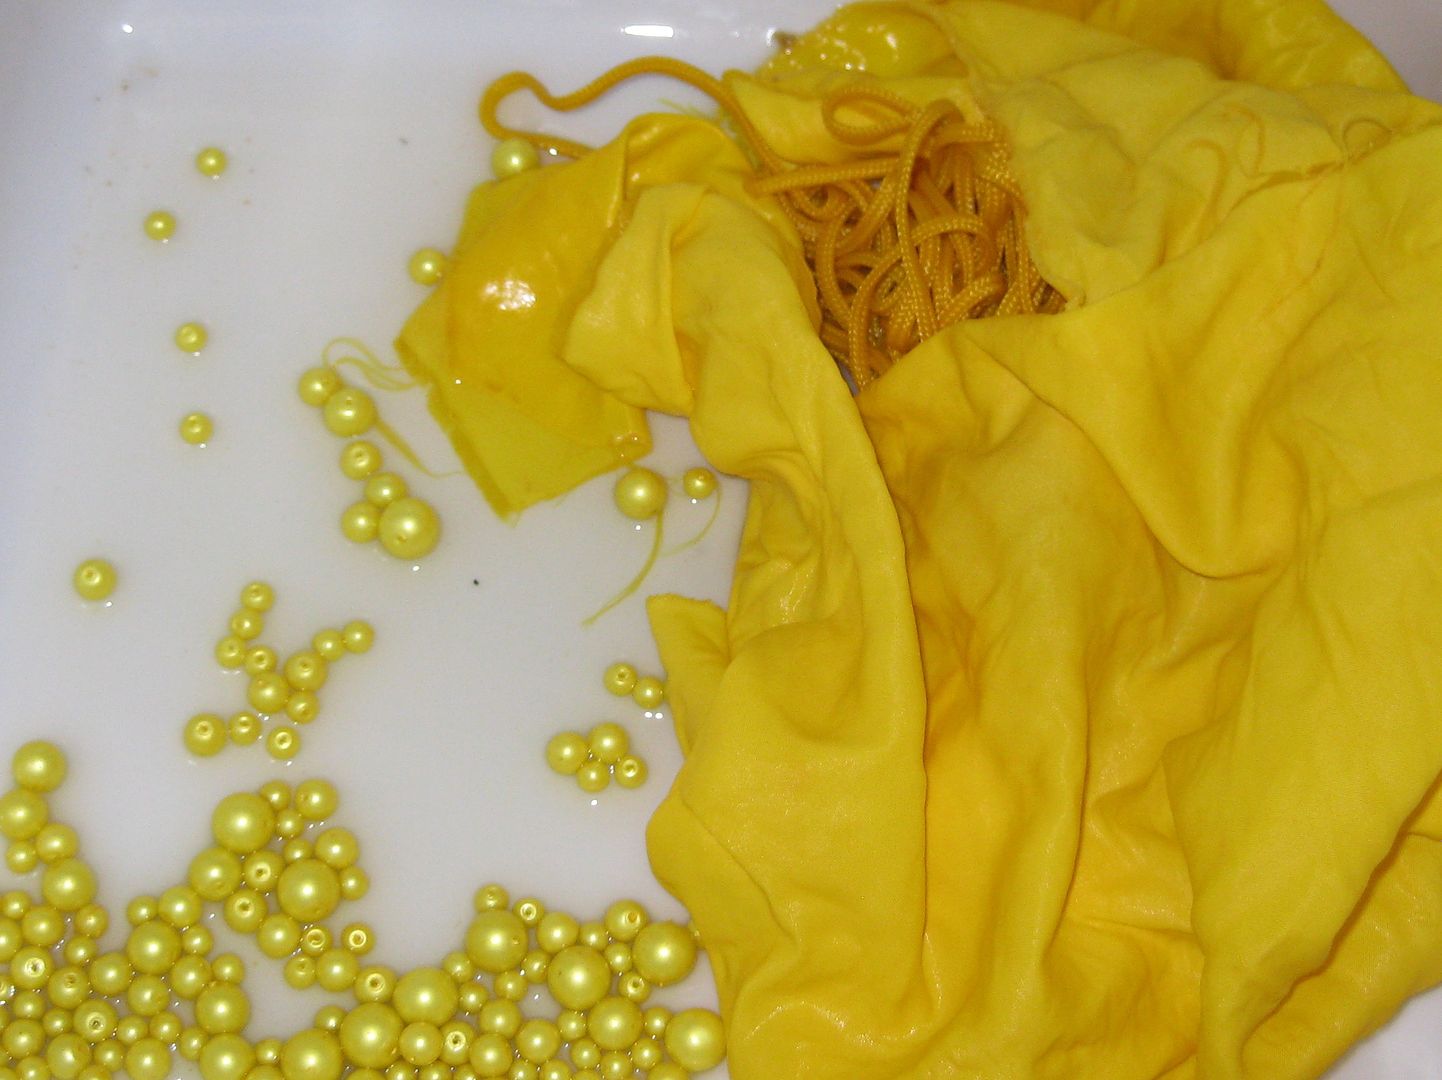
Here's the full removal out of the bath... yay  everything took!!

Let the beads dry- they look great

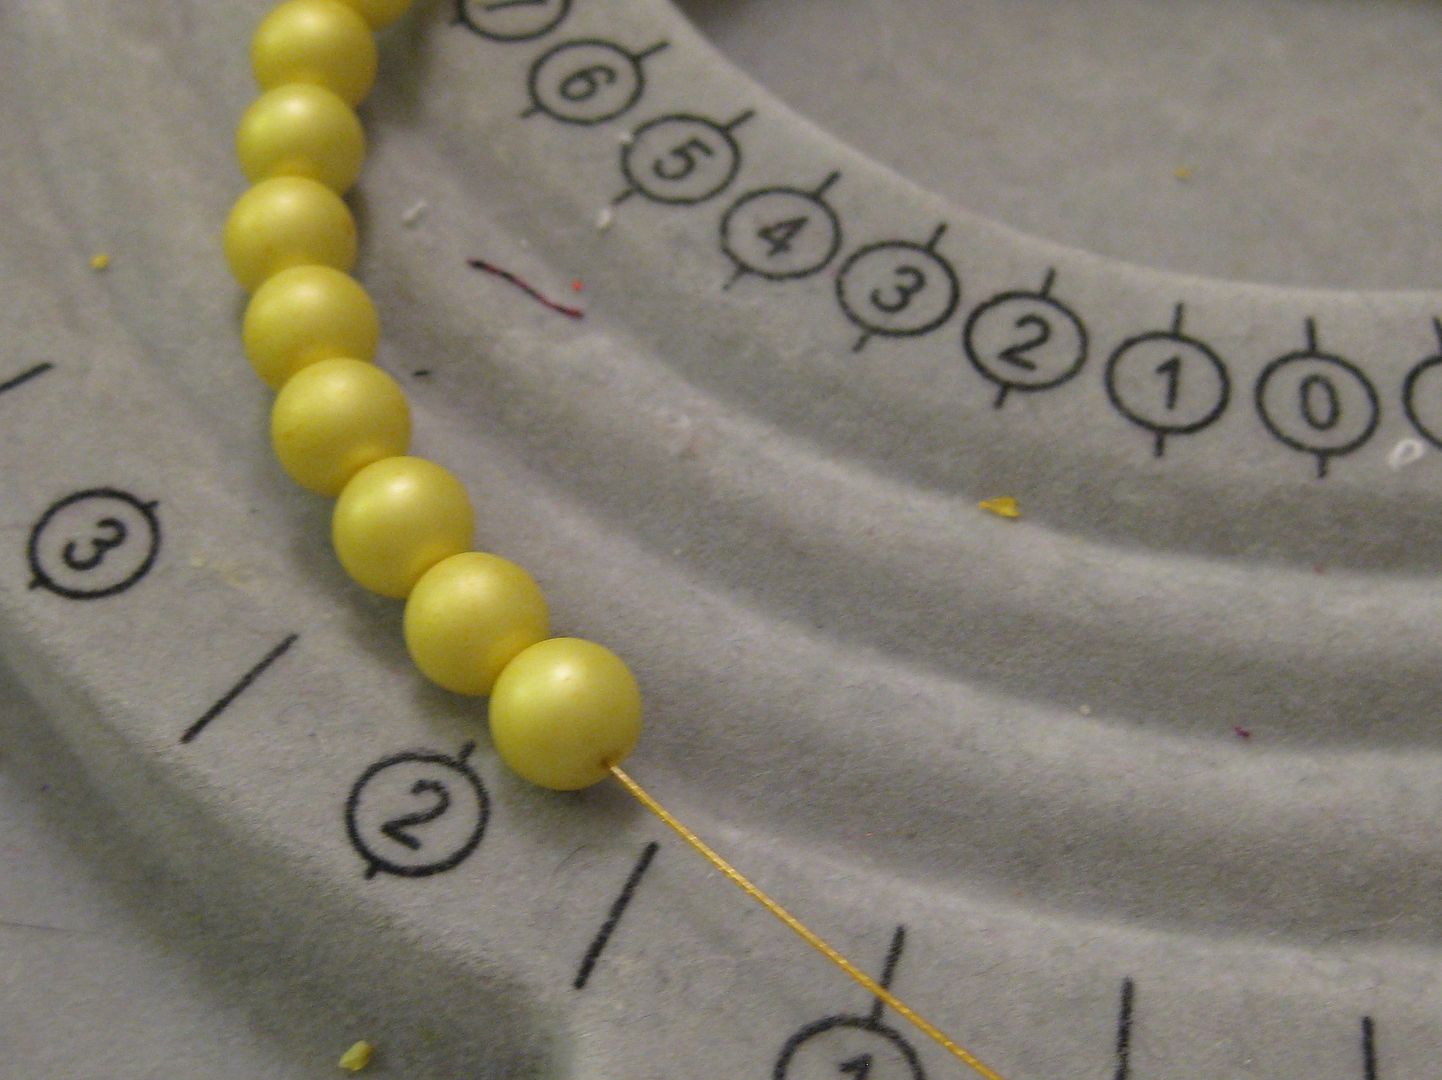
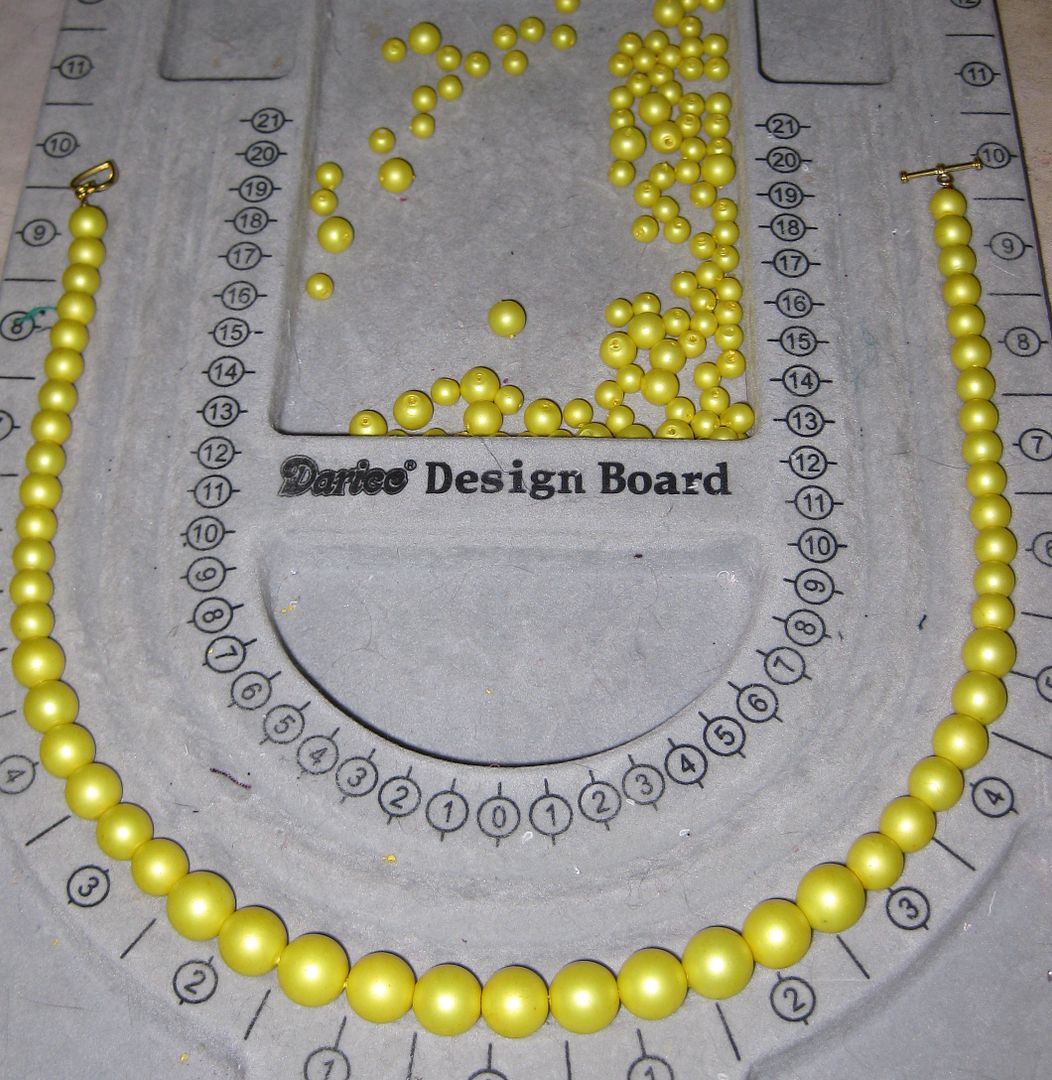
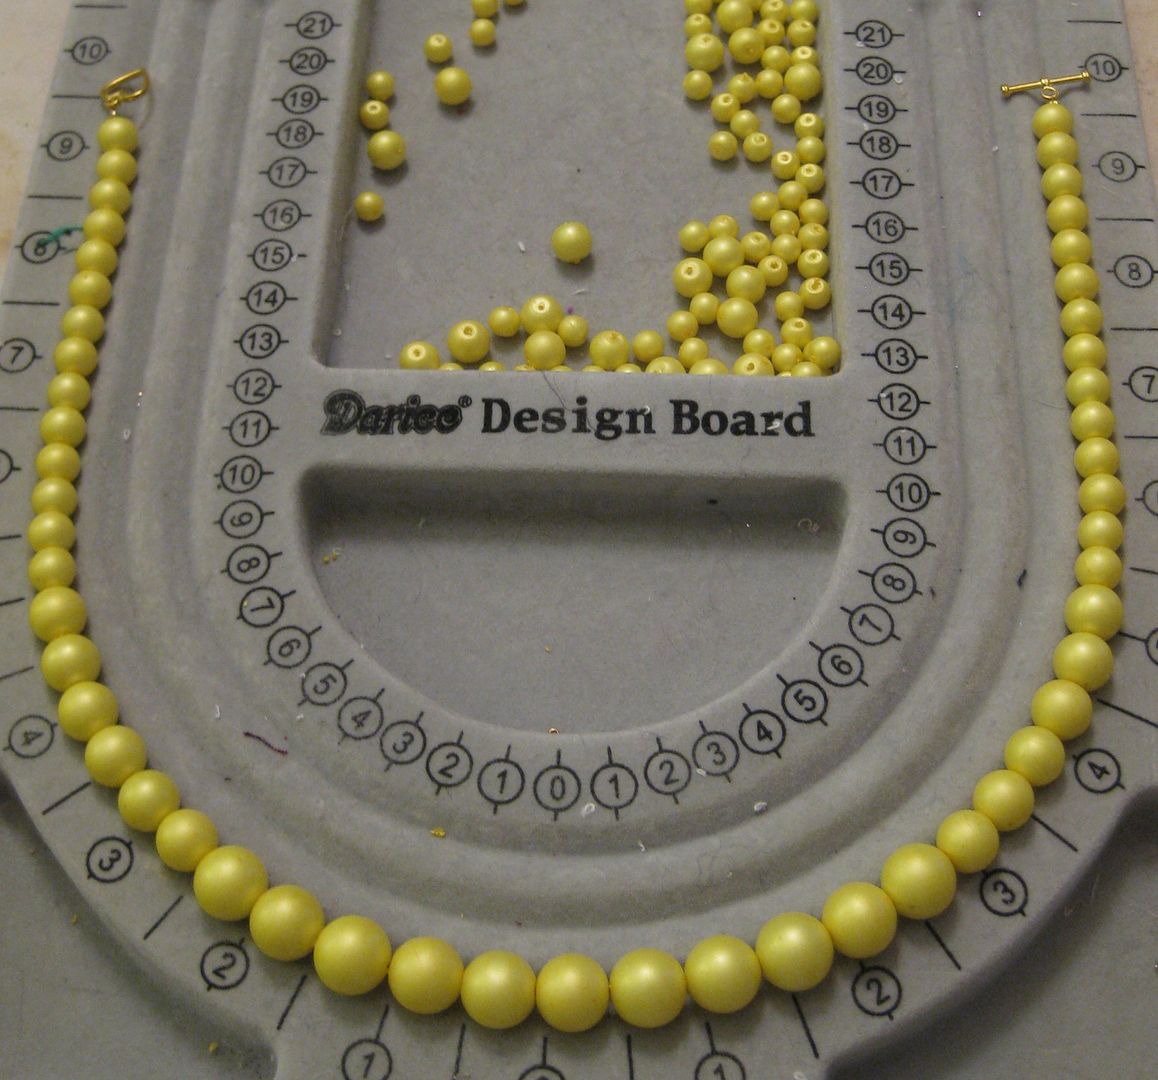
Time to make a necklace! I centered the bigger beads and then flanked the smaller beads at each end. 

Went easy with gold beading wire-coated of course- part of my stash.

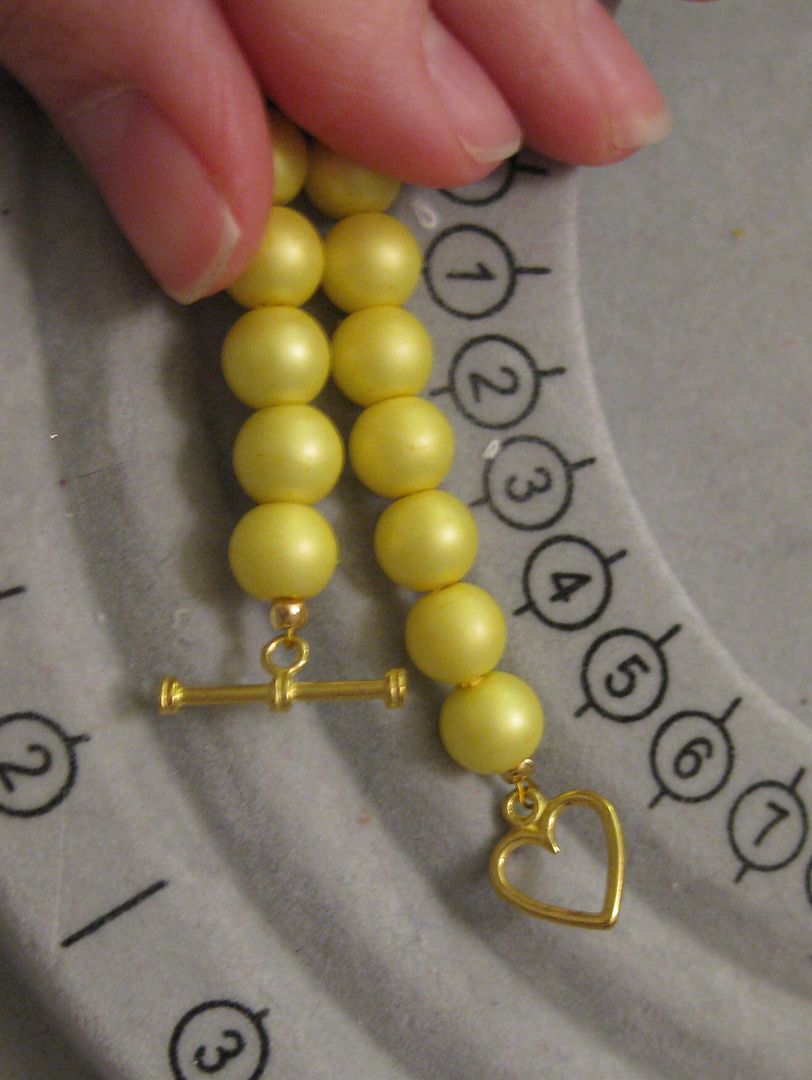
with the hook & toggle..


I love the heart eye for the necklace. Really cute!

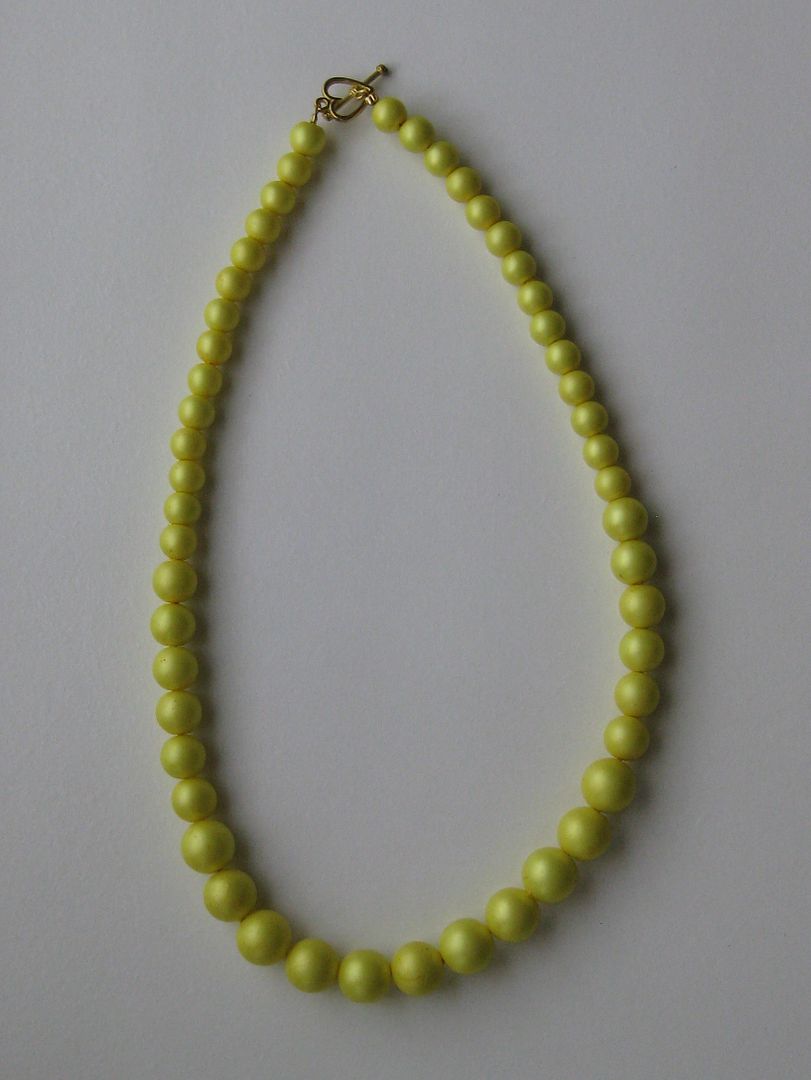
Here is the finished product... way prettier than those dull white beads. A pop of yellow will make for a good add in my wardrobe!

Not done with these but playing around with trying to make earrings with these beads...


Let's see. I am still working on it. I had company come in town and I did absolutely no crafts or sewing! Must play catch up now...

xoxoxo,
Lauren

LinkWithin
Related Posts Plugin for WordPress, Blogger...