Well hi welcome to my little blog. Just my little corner of craftiness, sewing, and refashioning. I am also a newly gluten free eater so you have a little bit of recipes mixed in here.
Showing posts with label wire wrapping. Show all posts

Wednesday, October 9, 2013

Fun with wire beading- beaded cuffs

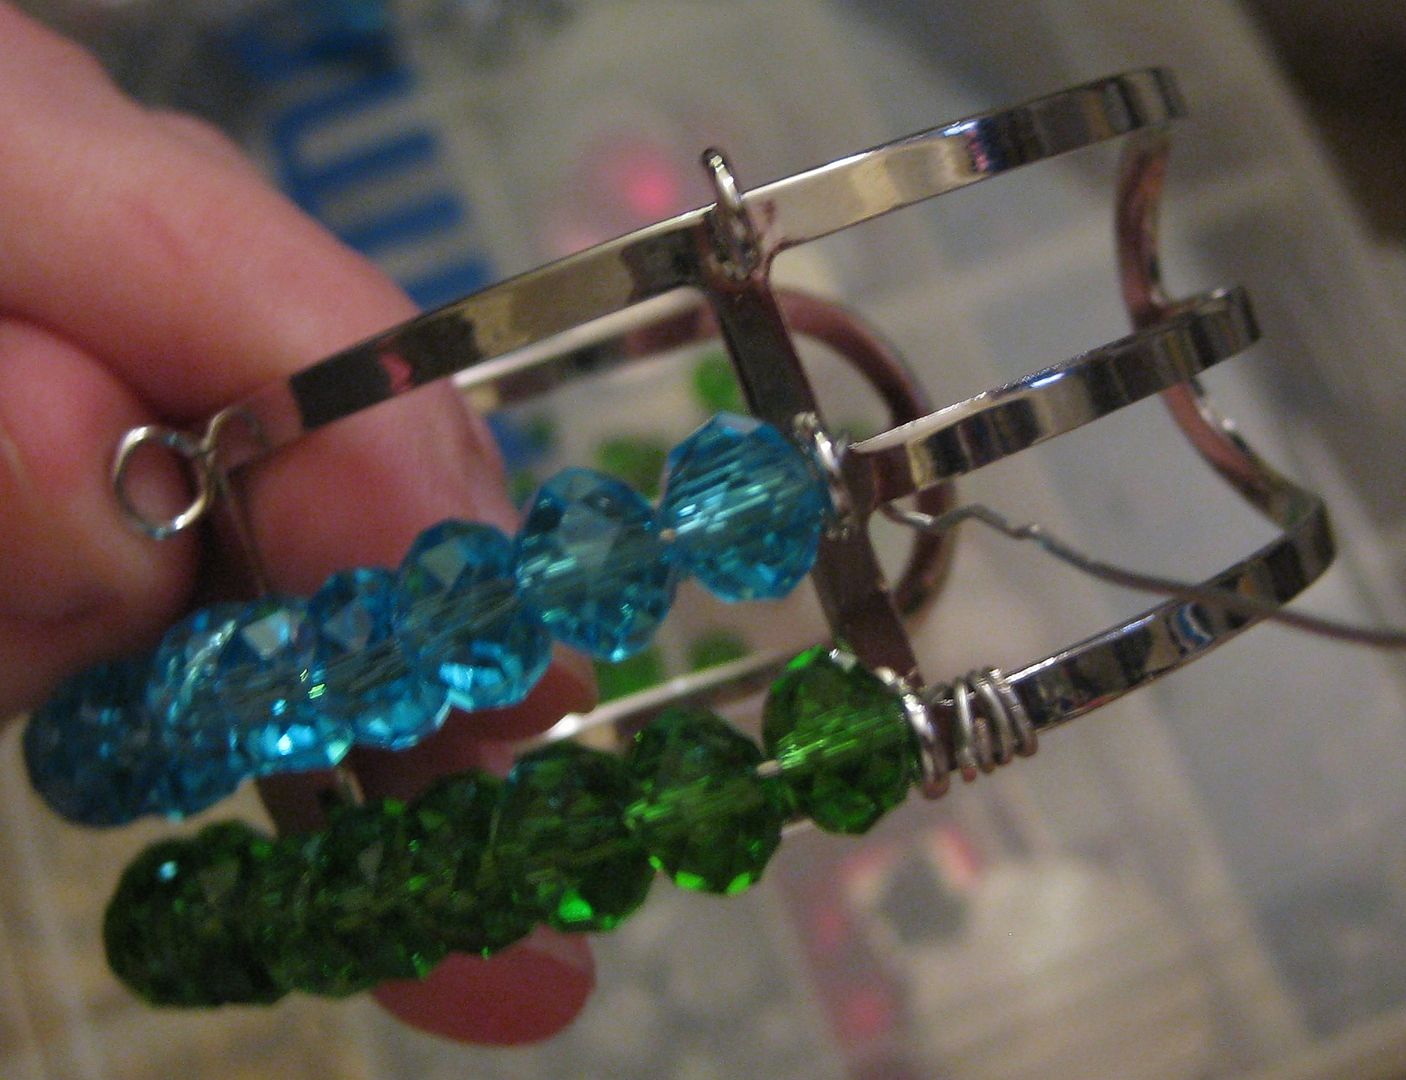
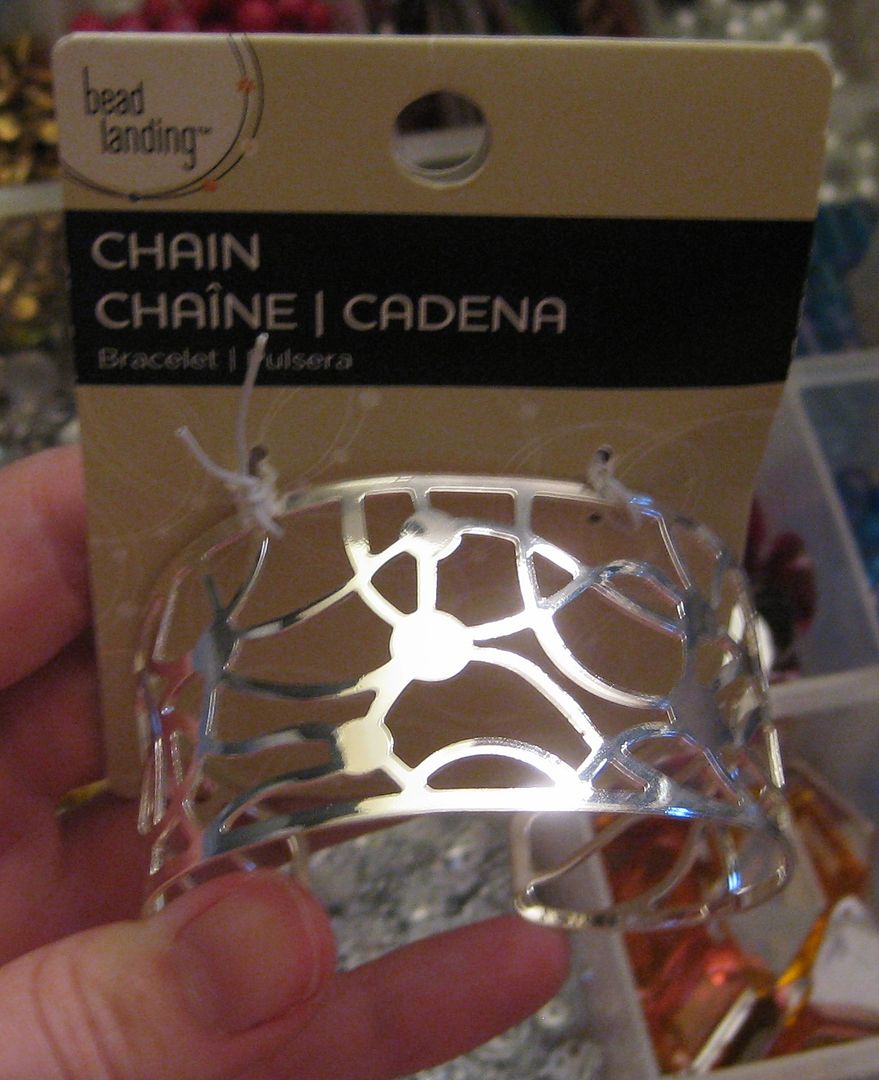
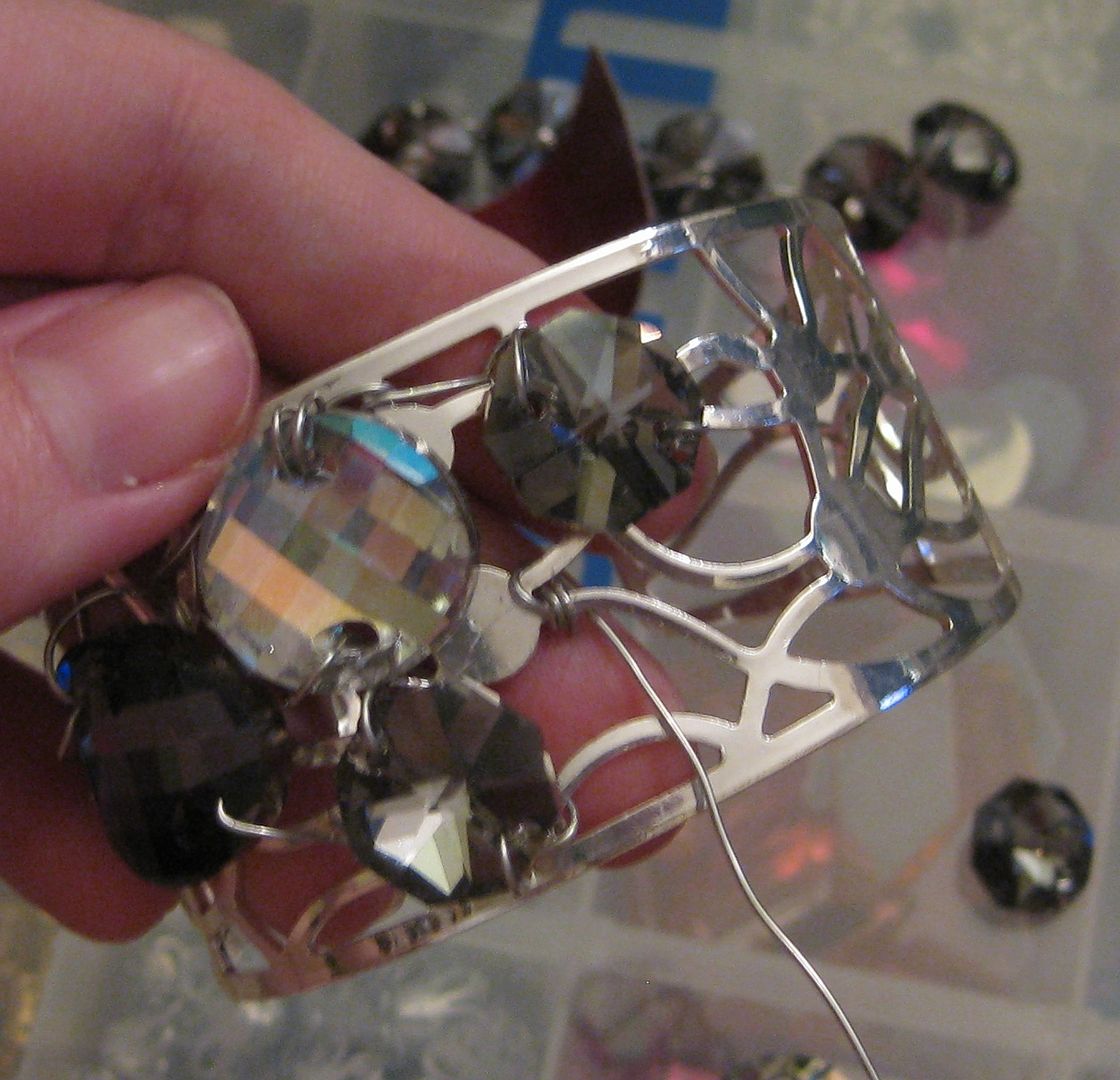
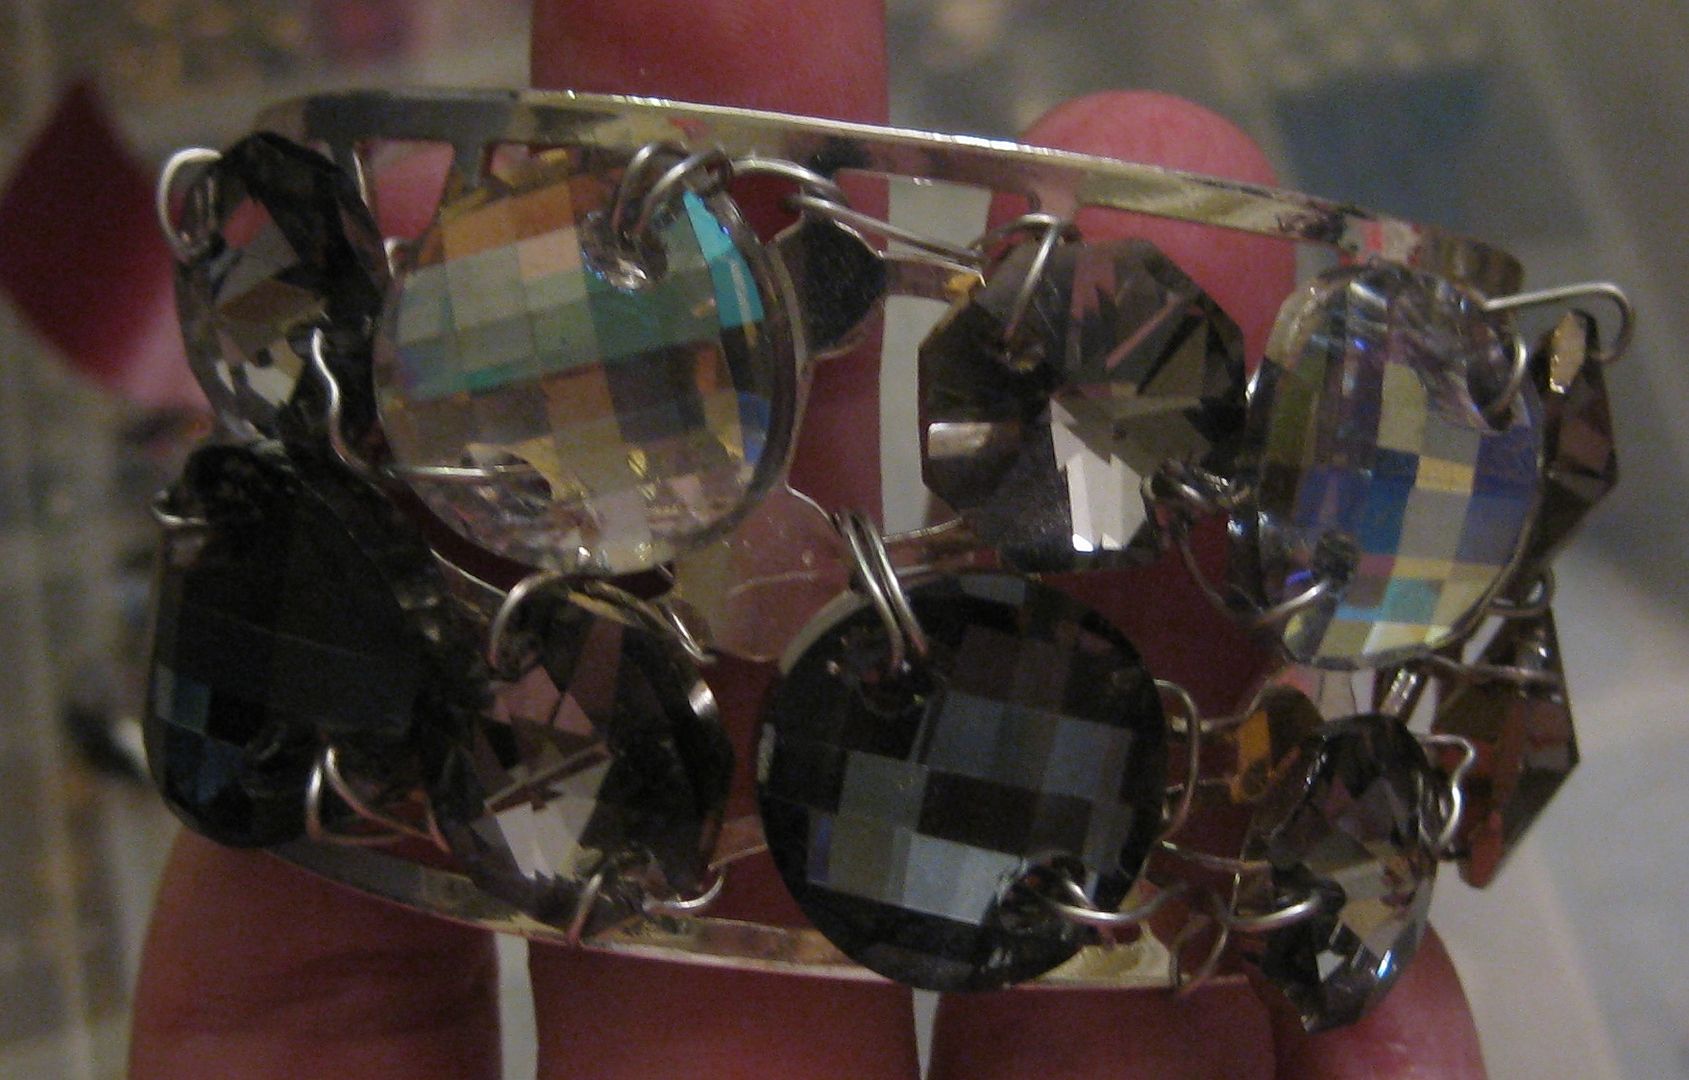
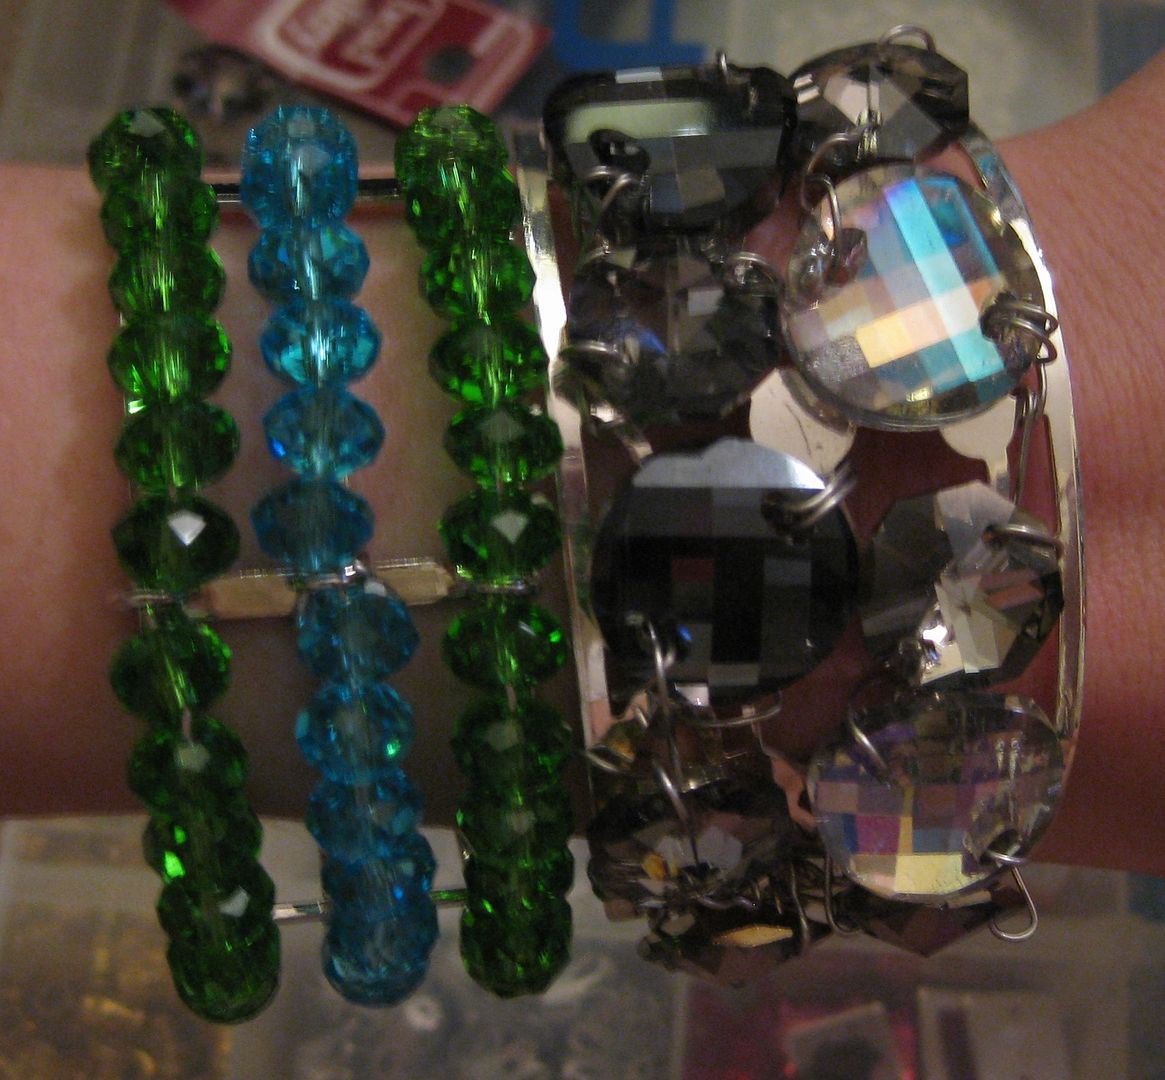
While sick I decided to try my hand at beading and wire wrapping. It was something I could do while laying down on the couch coughing up my lungs. I made 2 cuff bracelets. I like cuffs but they don't always work on my small wrists. These I liked b/c I could adjust.

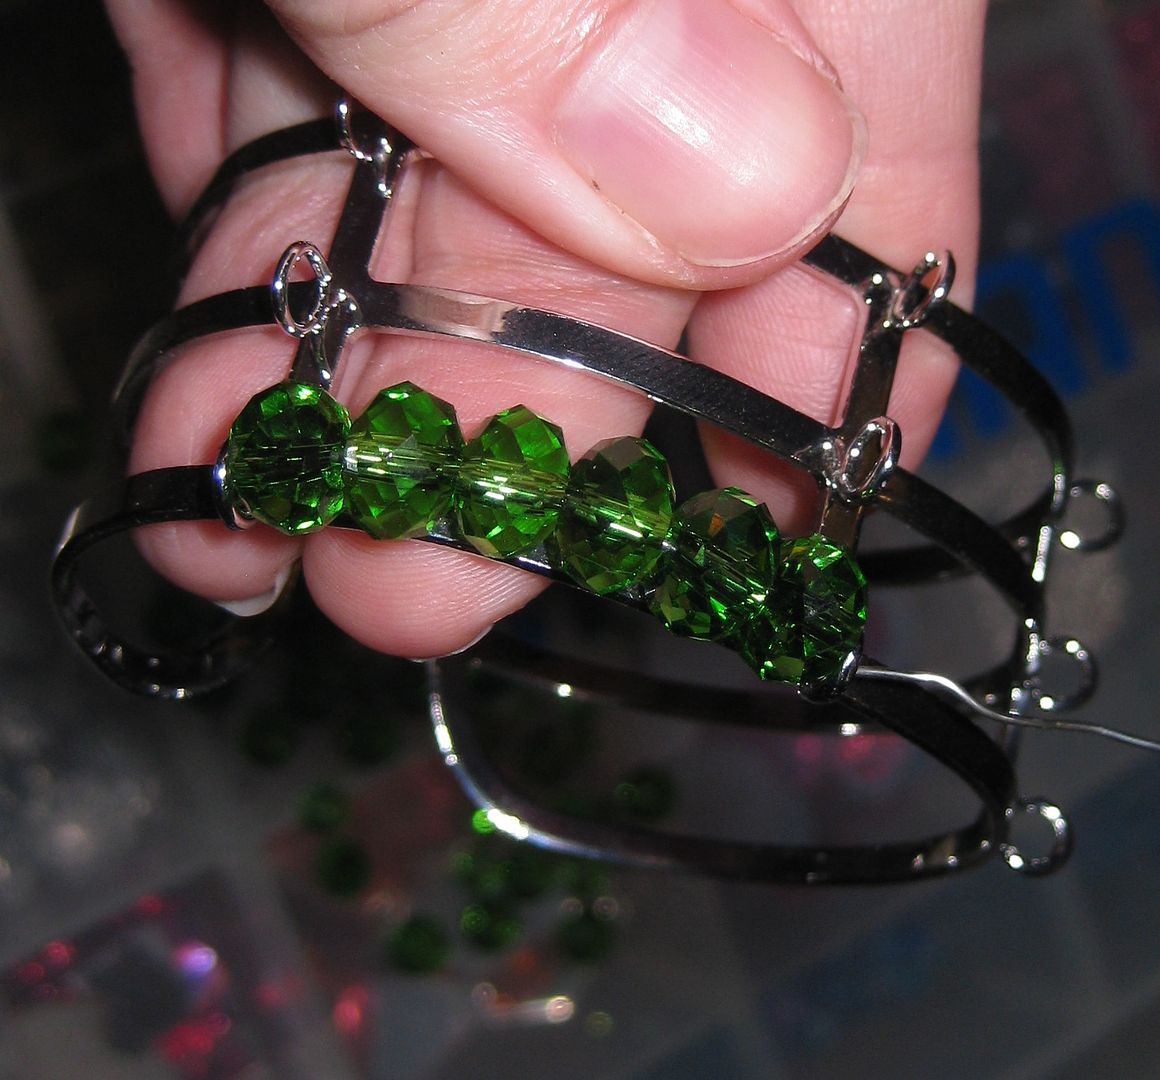
First one was a blue and green crystal cuff. Pretty easy. I did one row at a time, wrapping at the middle and then at the ends. I went green, blue, green.


Next was my black and white one. This cuff was a bit different so I had to get creative with wrapping. I just sort of went with what I felt looked nice.


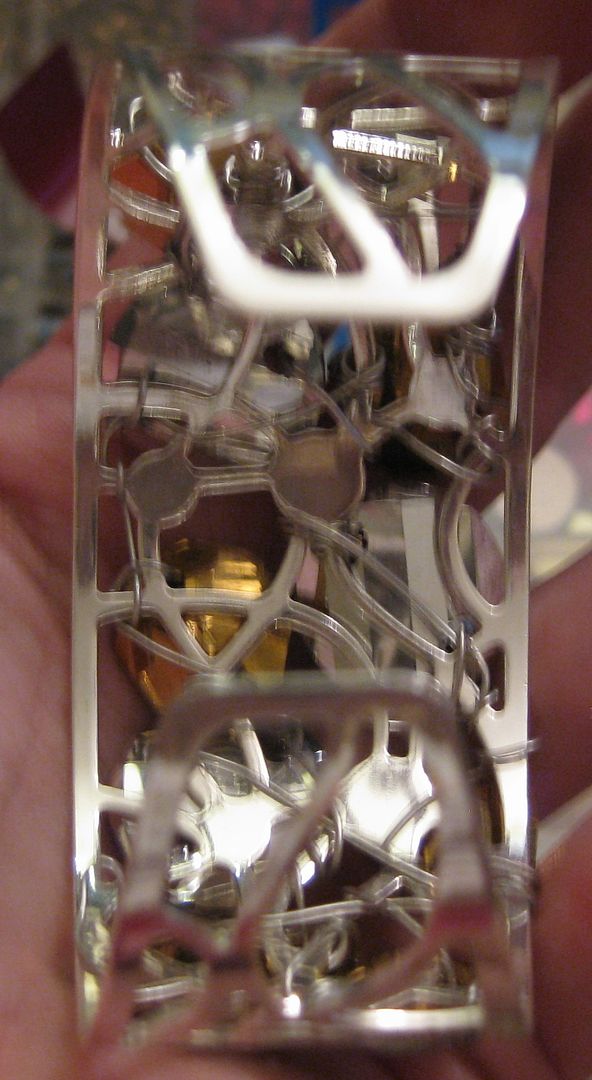
Here are both of them together. Really it isn't hard. Wire wrapping can be a challenge but really you just have to get the hang of it. Sometimes it helps to use shorter wire just so it is easier to work with and not get tension.

I pity the fool. ;) Easy and ready to wear and adjust to my small wrists. :)

Cheers,
Lauren

Tuesday, January 8, 2013

Wrapped wire rings part 2!

After the first wire rings project, I decided that I wanted to try other things and turn them into rings!

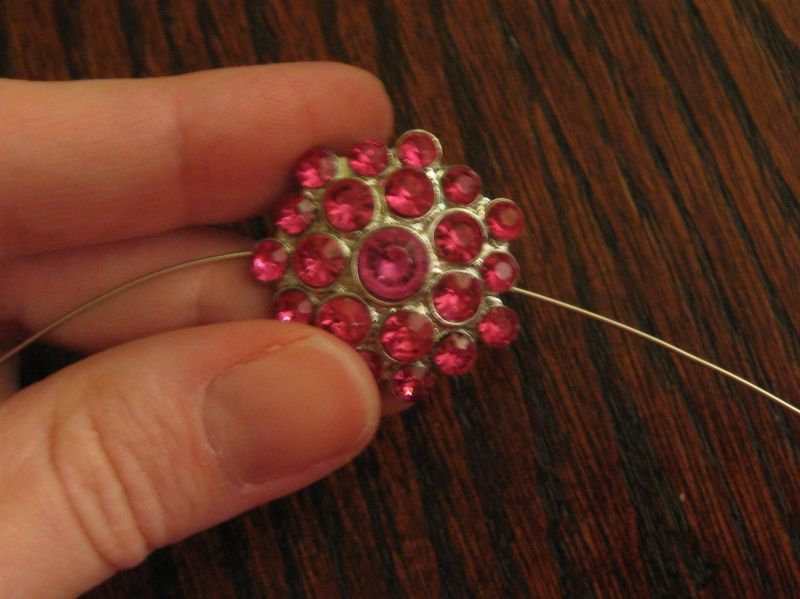
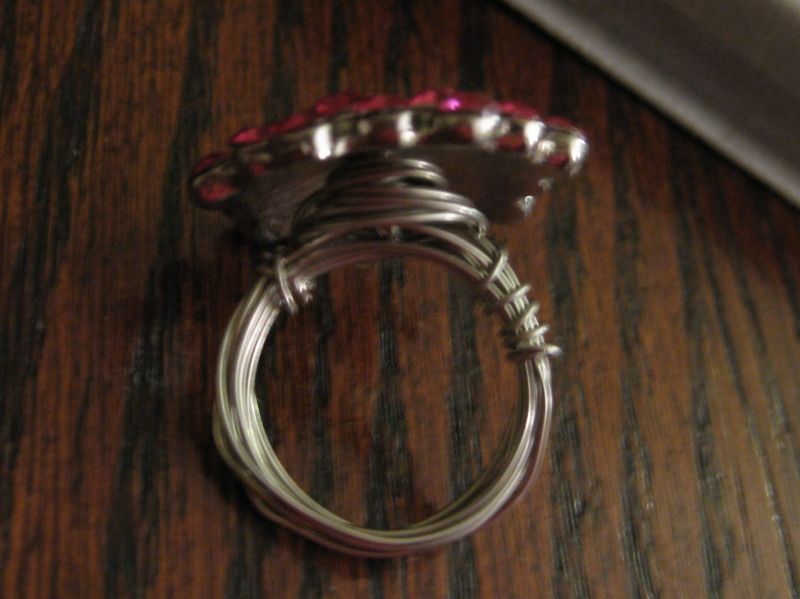
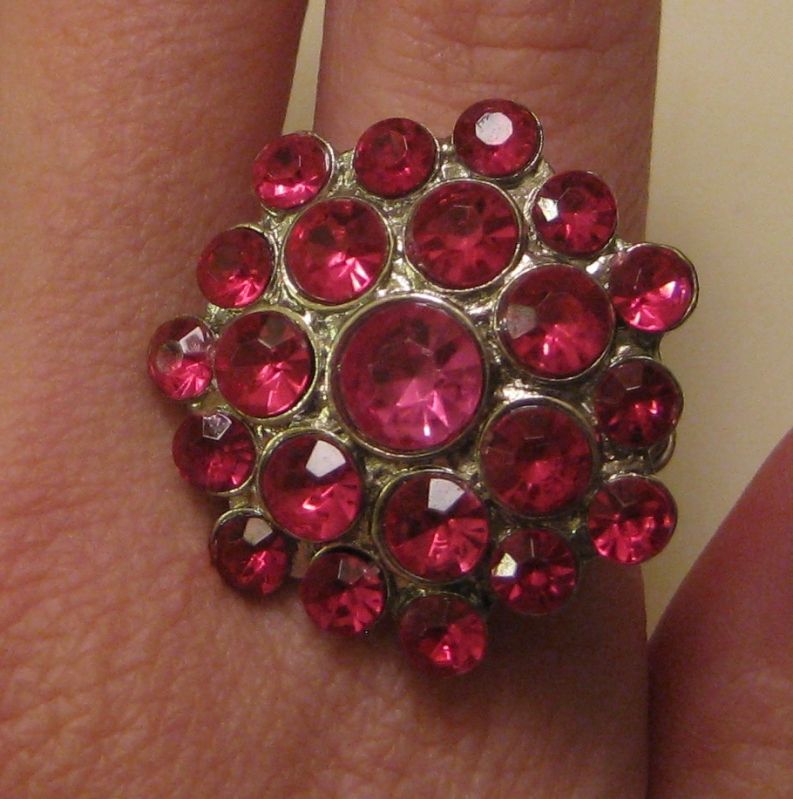
Here is with a pink sparkly button.


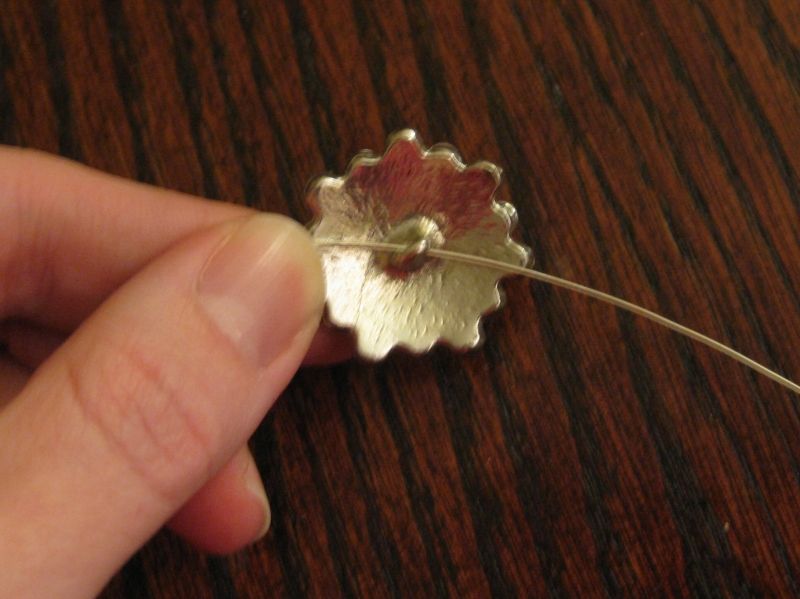
I actually wove it through the button part 2 times to give it a little strength. 


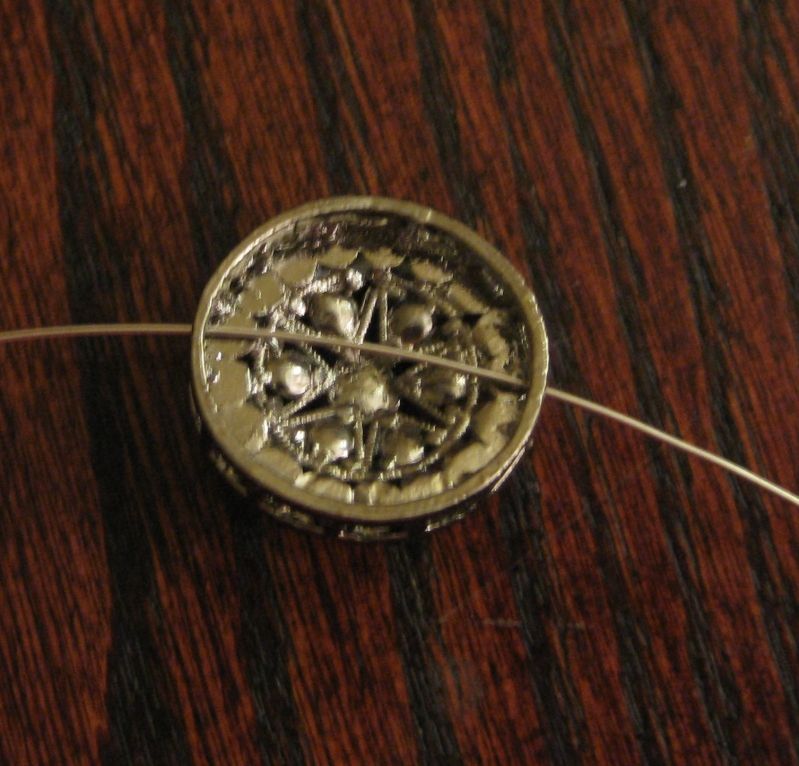
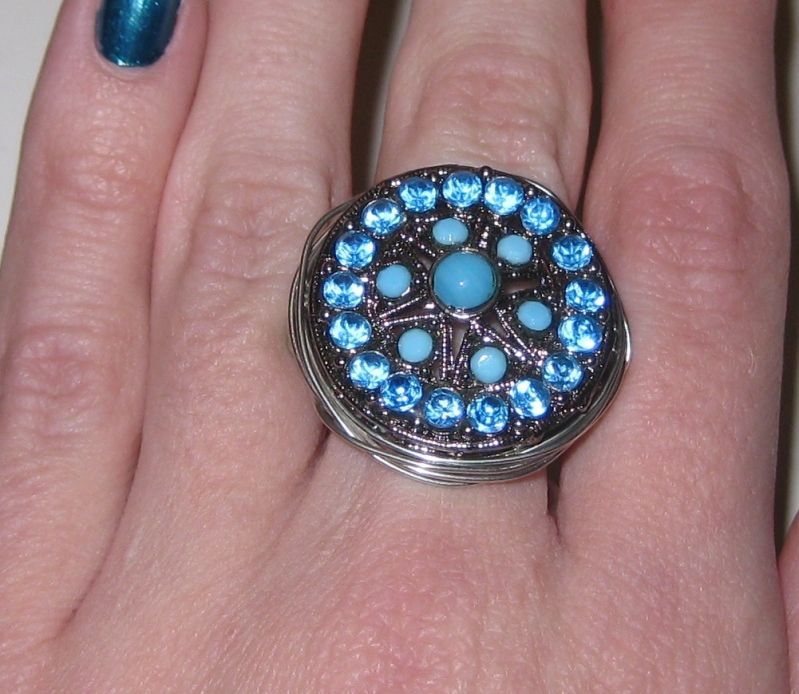
Next I tried these wide turquoise beads that were like medallions.


Again I went through the bead 2X since it was a flat medallion sort of bead and that would give it strength. 


As you can see I wrapped around the flat bead. Again I crimped down each side. So no scratching my sking!


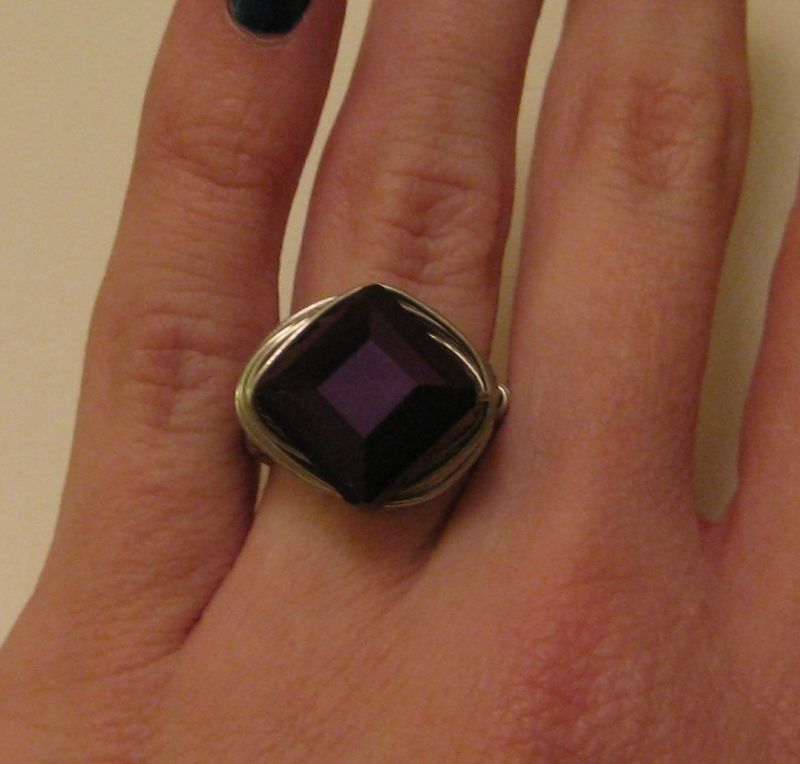
Here are some other beads I tried. This dark purple square crystal. 

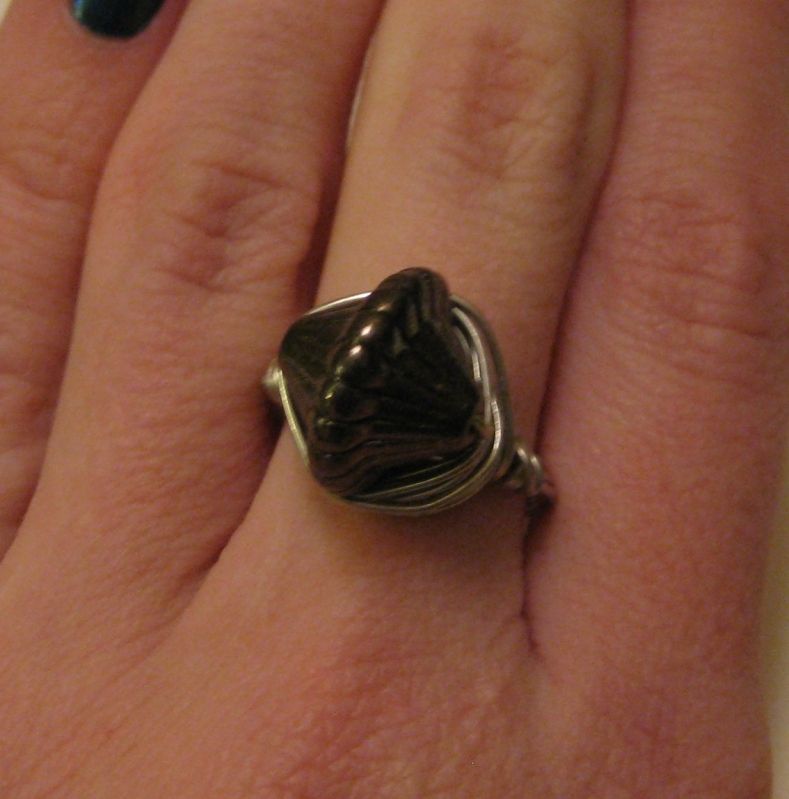
I had this funky bead. I wasn't so much as a fan of it. 

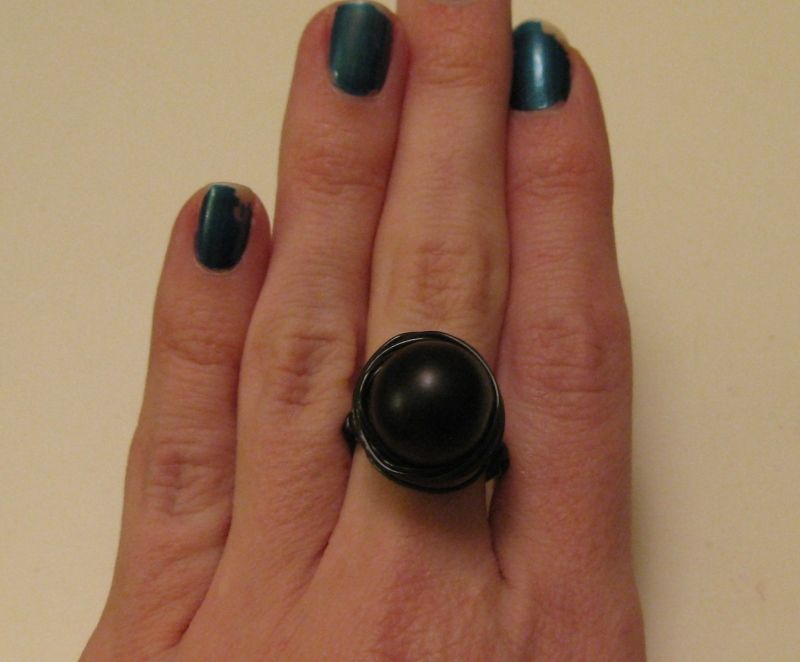
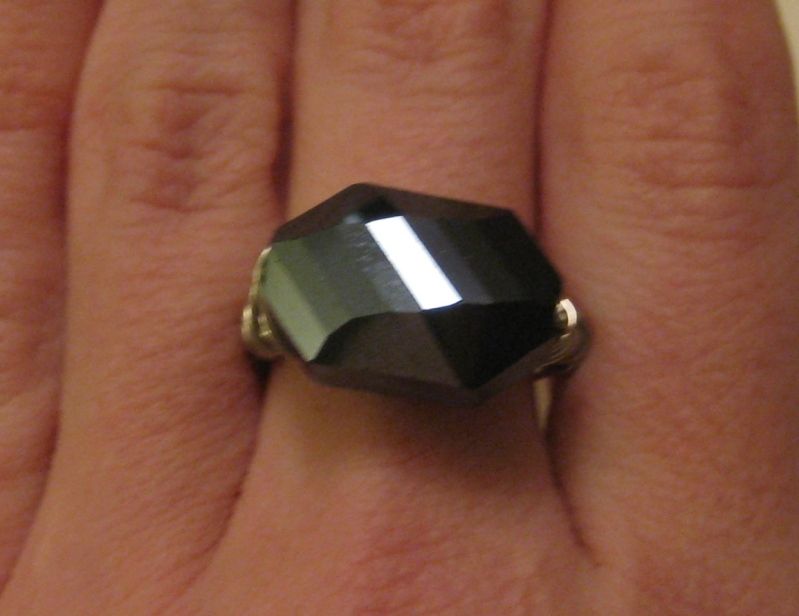
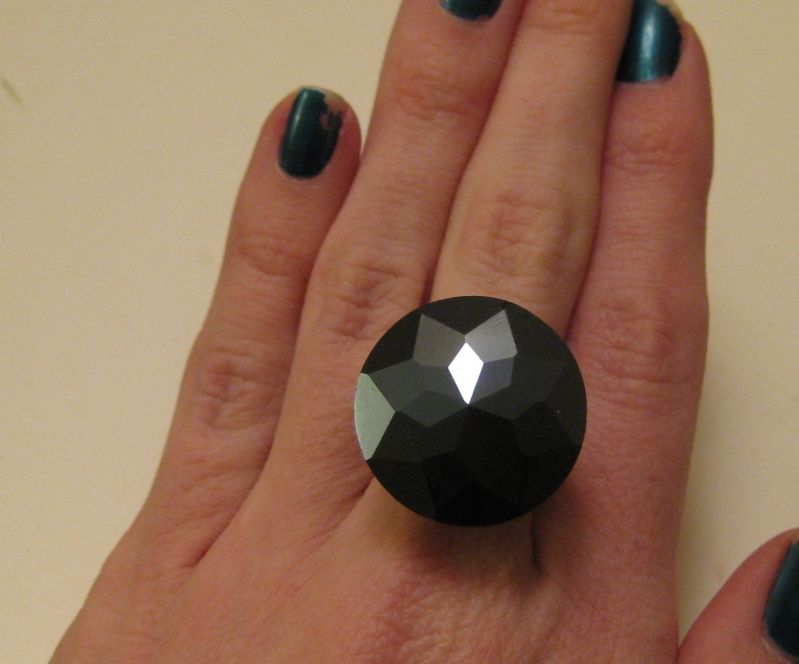
This one is one of my favorites. It is the big round black crystal bead. OMG it is fabulous in person!

This is what the wire wrapped pearls looked like on. 

This was another black crystal bead. 

Here is the pink button. :)

Yay for more wire wrapping fun. :) The possibilities are endless!

xoxoxo,
Lauren

Thursday, January 3, 2013

Beaded hair combs

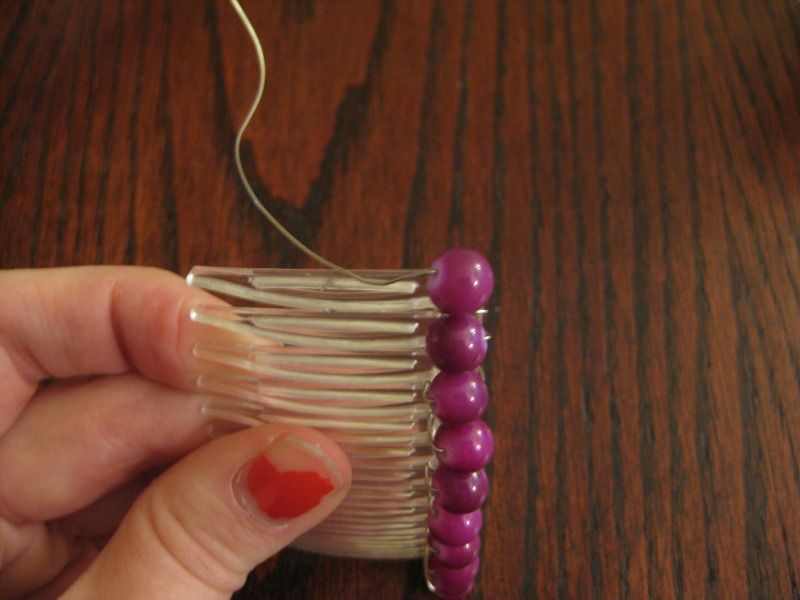
I have always wanted to learn how to wire wrap and I thought I would start with a simple project. It is very simple and rewarding. I started with thin wire that I had from someone. The thinner the wire the easier it is to manipulate. And if you are starting out like me, thin is good. Next you need a comb, I got these at hobby lobby awhile ago and never used them.

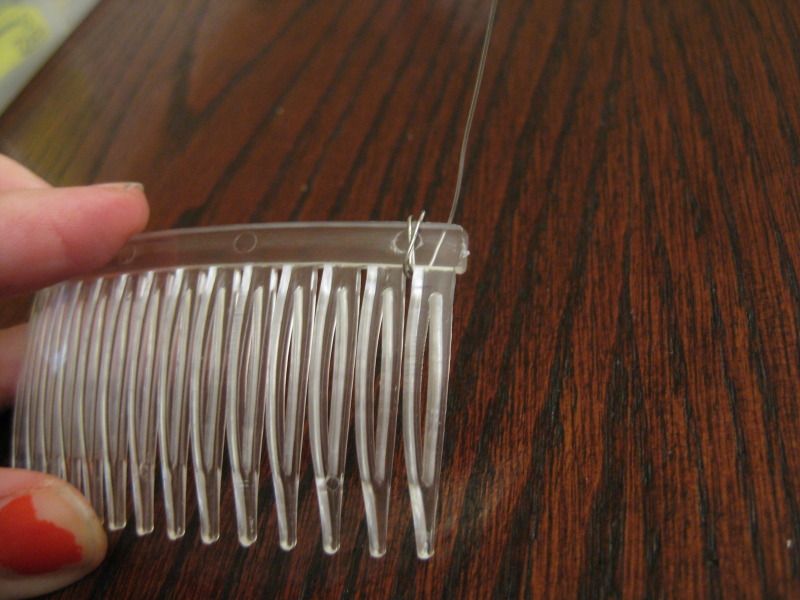
Start with a piece of wire, I don't really measure I just went with my wingspan of my arms. Now I have long arms so I would say its over a yard stick. That is plenty of wire, but I always like to be safe. We want to cover the end wire, so I ran it parallel to the comb, we will do an initial wrap to lock it in place. Then as we go the remainder of the wire will be covered.

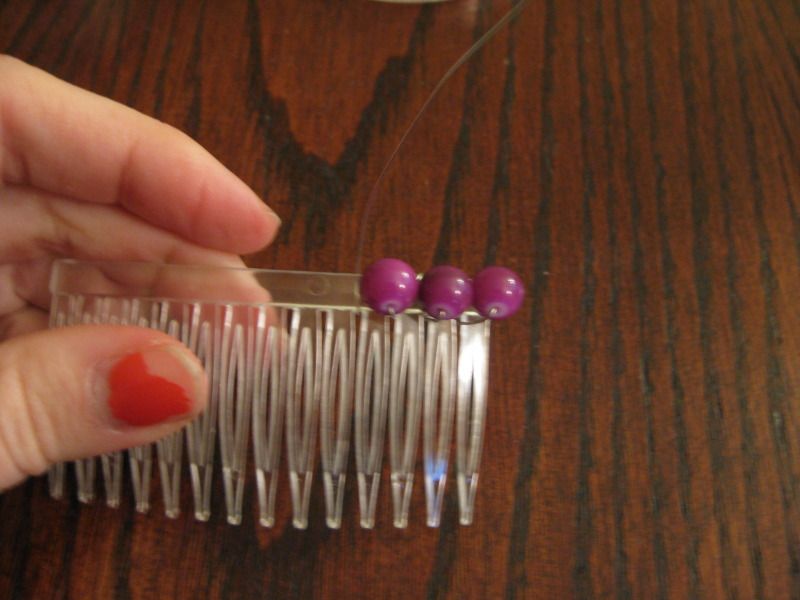
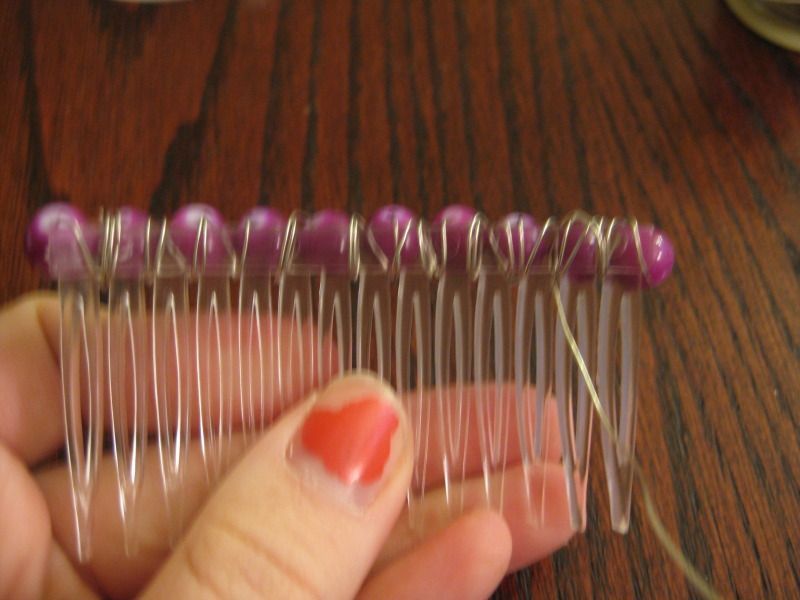
And just add beads. Now I forgot to mention to check that your wire will go through you beads. Again another reason to use a thin wire. I usually add a bead, wrap to lock the bead in the next groove, repeat.


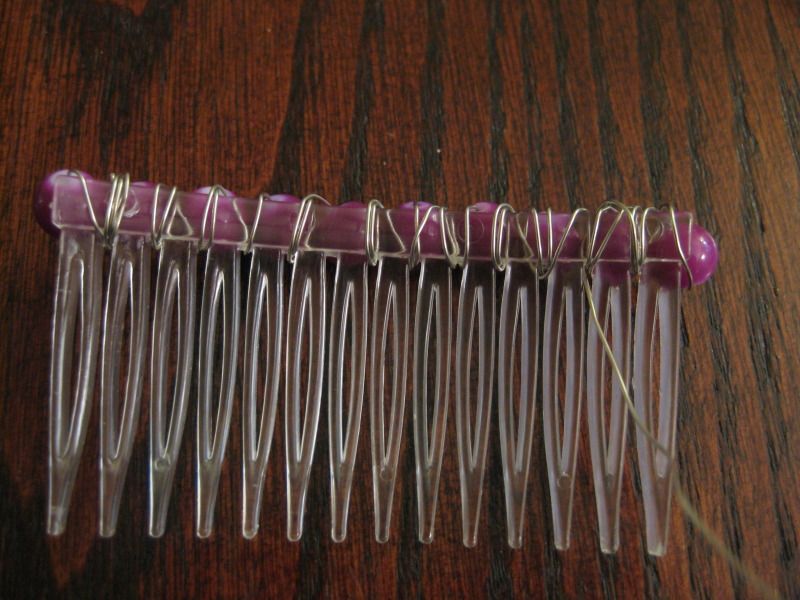
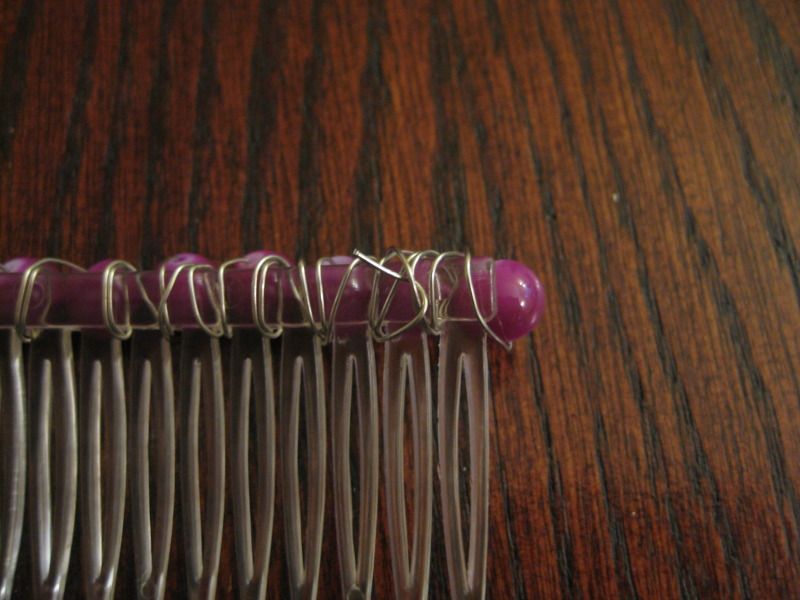
Ok at the end! We need to lock the last bead and hide the wire. I wrapped it a few times. When these pictures were taken I probably wrapped it too many times, on the other ones that followed I didn't wrap as much. Then I hid the wire end underneath the wraps. Done!


And yes I made sure the wire was not sticking out. I began to miss around with other beads. Here are larger crystal beads, which I loved but they wouldn't stay in my thin hair. It was pretty but it was a challenge.

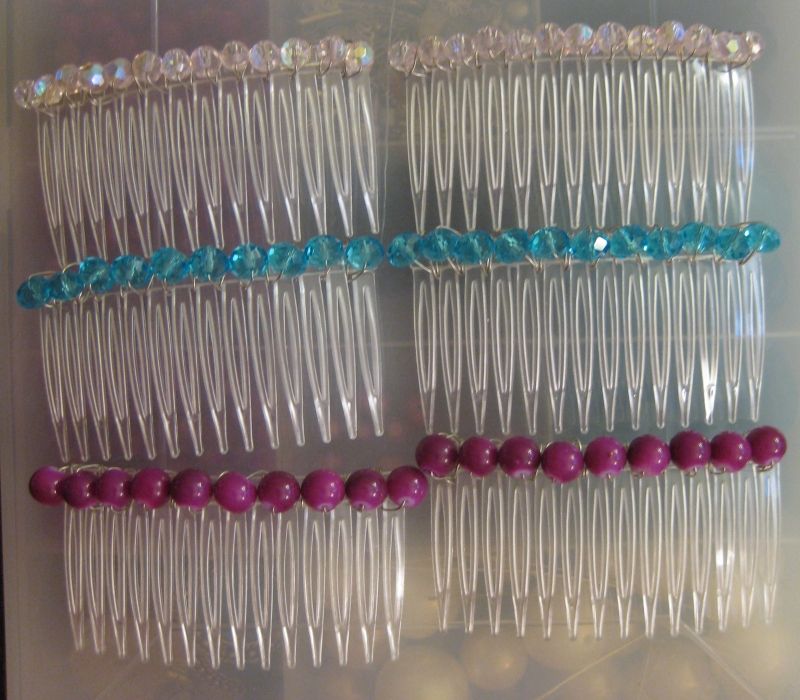
So I stuck with thin, lighter beads. Here are all the combs I made.


This was a fun and easy project. Can't wait to wear them in my hair! :)

xoxoxo,
Lauren
Tuesday, January 1, 2013

Wrapped wire rings

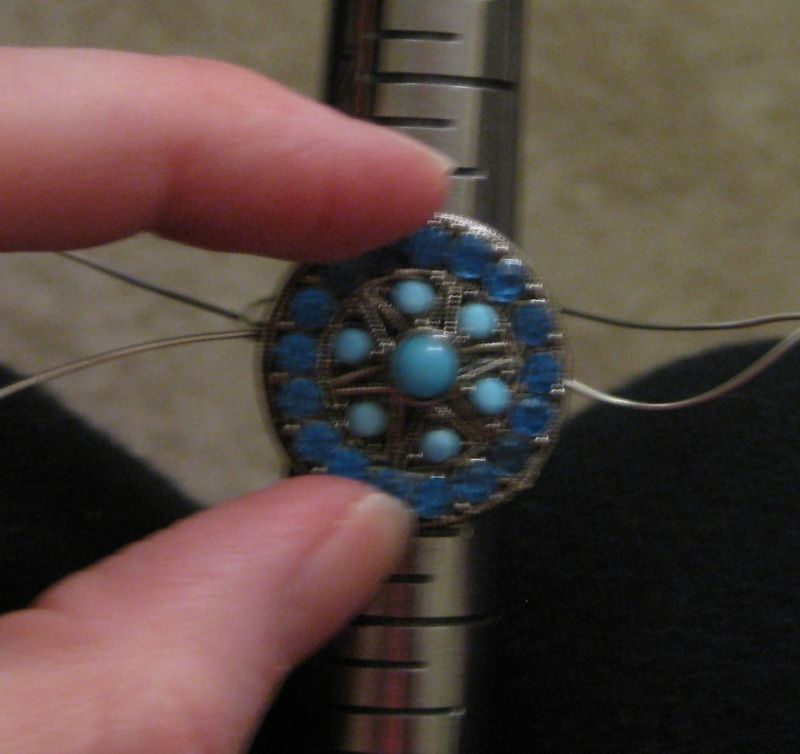
Happy New Years everyone! I hope 2013 brings you a wonderful year! Yay so I had so much fun with the wire combs I thought I would try out some rings! I had these large beads that would just not work on necklaces but they would make great rings. So here we go! Again I started with wire- I had different thicknesses so its flexible, it depends on if they will go through the beads! I had wire about the length of my arm span. Since the beads were big I wanted a lot of wire. First thread the bead on the wire right in half.

As you can see I'm using a ring mandrel that I can fix what size I want to use.

Wrap this around. Then from the backside reverse wrap the wire.

Repeat a few times.

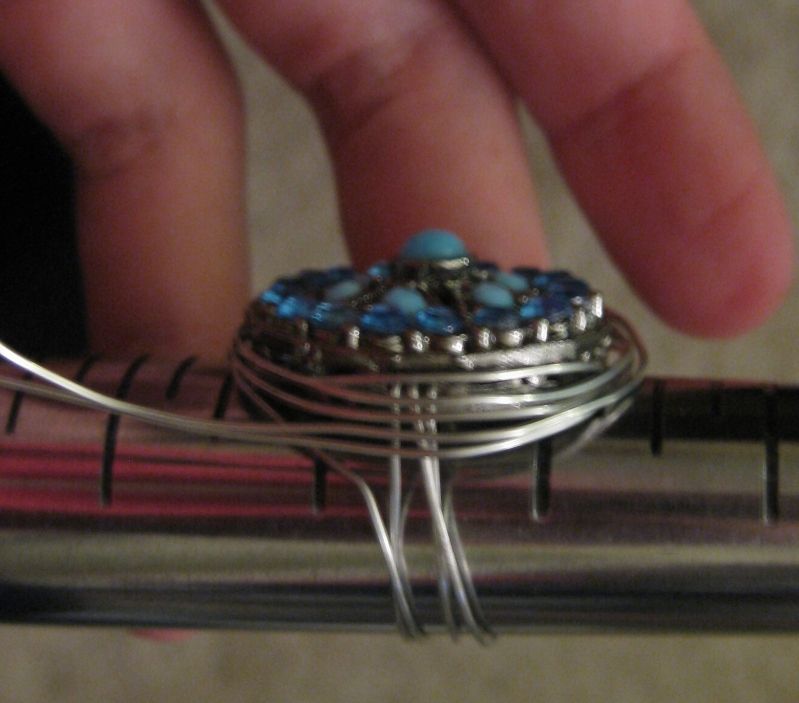
Now we will begin to wrap around the bead. Here is a hint, I have read several blogs about making rings similar to this and I have learned something doing this several times. Pinch the wire with the bead so it will sit a little more flush with the mandrel. Or else what happens is the bead will move and not be even and you will see the holes. Pinching helped a LOT! Now time to wrap the bead. You want to wrap the wire the same directions. I started with one side and wrapped to the other side.

Now join the 2 wires together and begin to wrap the bead around with the wire. I found doing 2 at the same time rather that wrapping each individual wire gives a cleaner look.


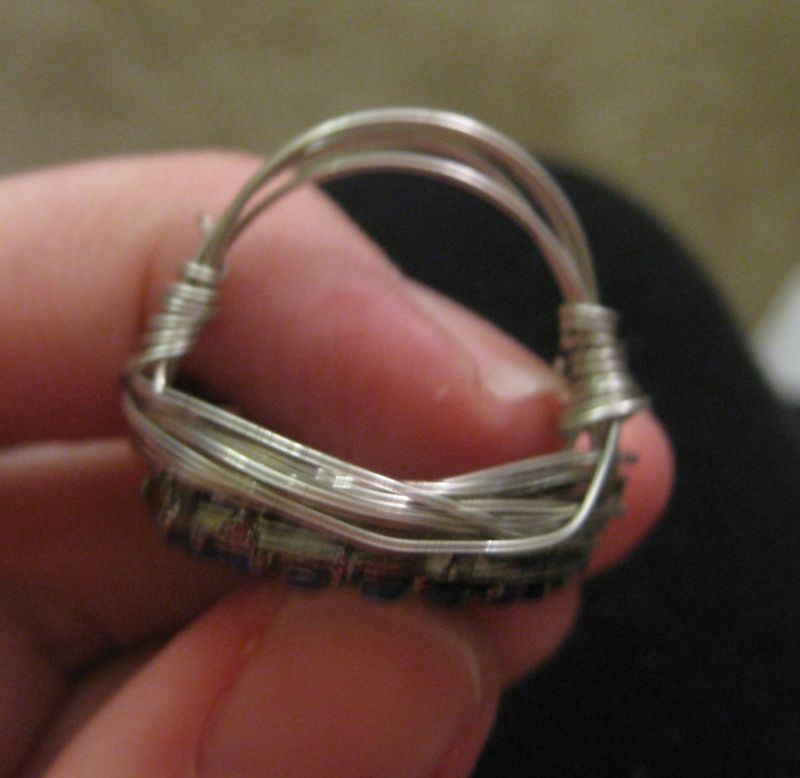
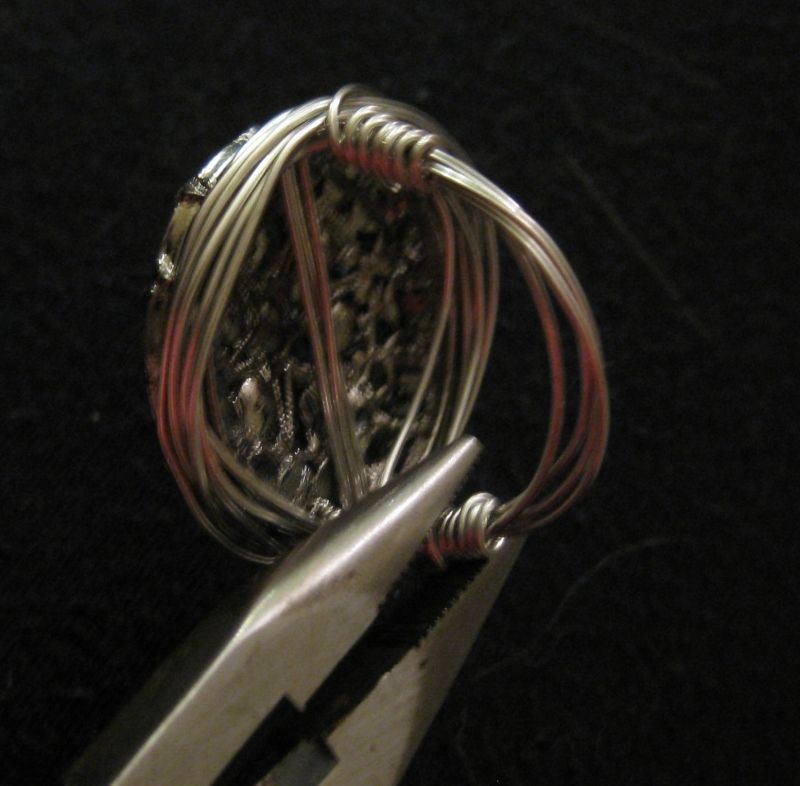
Now it is time to finish the ring one wire needs to go to each side. This was super hard to do and take pictures at the same time. OMG! Pull the ring off the mandrel. Wrap around the part of the ring. Repeat the other side.


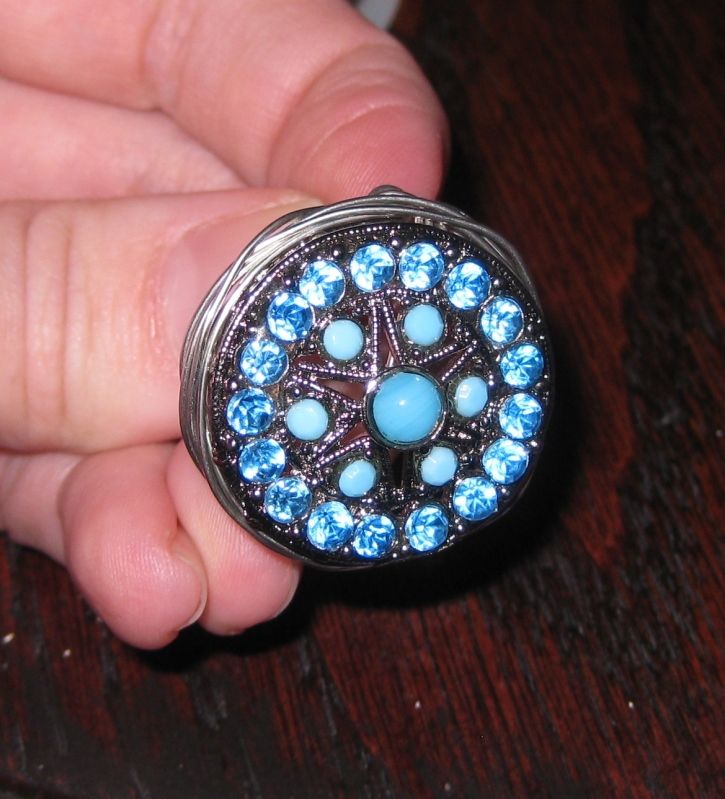
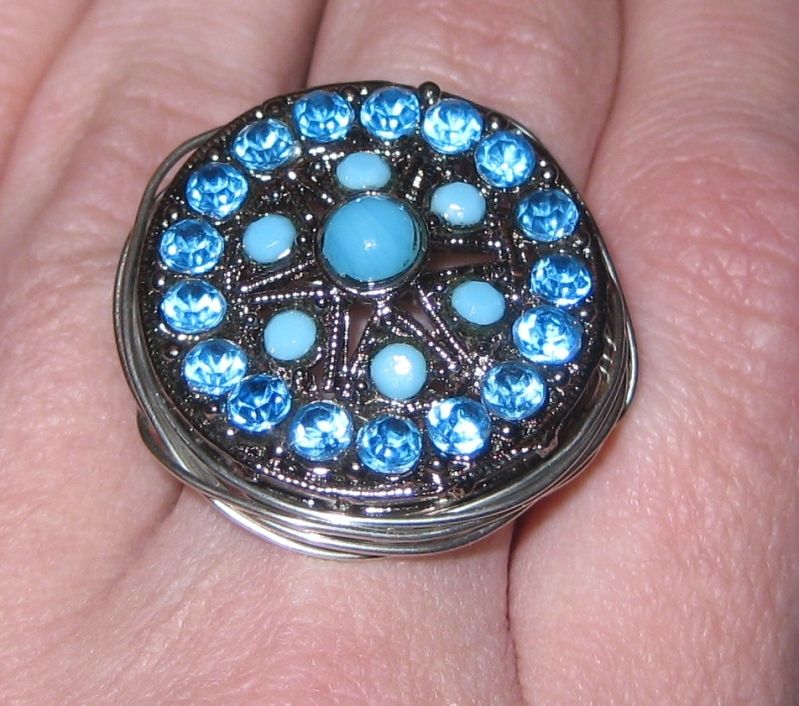
I used my needle nose pliers to help wrap (again really hard to do while taking pictures). Then also flush the wrap so it won't rip the skin. Here is another version with another color variation.


I had fun and made a ton of them. They are going to be gifts. Super easy and fun!


xoxoxo,
Lauren
LinkWithin

Related Posts Plugin for WordPress, Blogger...