Well hi welcome to my little blog. Just my little corner of craftiness, sewing, and refashioning. I am also a newly gluten free eater so you have a little bit of recipes mixed in here.
Showing posts with label spray painted craft. Show all posts

Monday, July 15, 2013

IC '13 France-abstract eiffel tower shirt

After a 1 month hiatus from Iron Craft (family came into town and then just haven't got back into crafting a bit-I have just let things run on my blog. I have been so busy with work, spare time is hard to come by!). But I'm back. This theme is France. After thinking I thought I would give this spray paint a try.

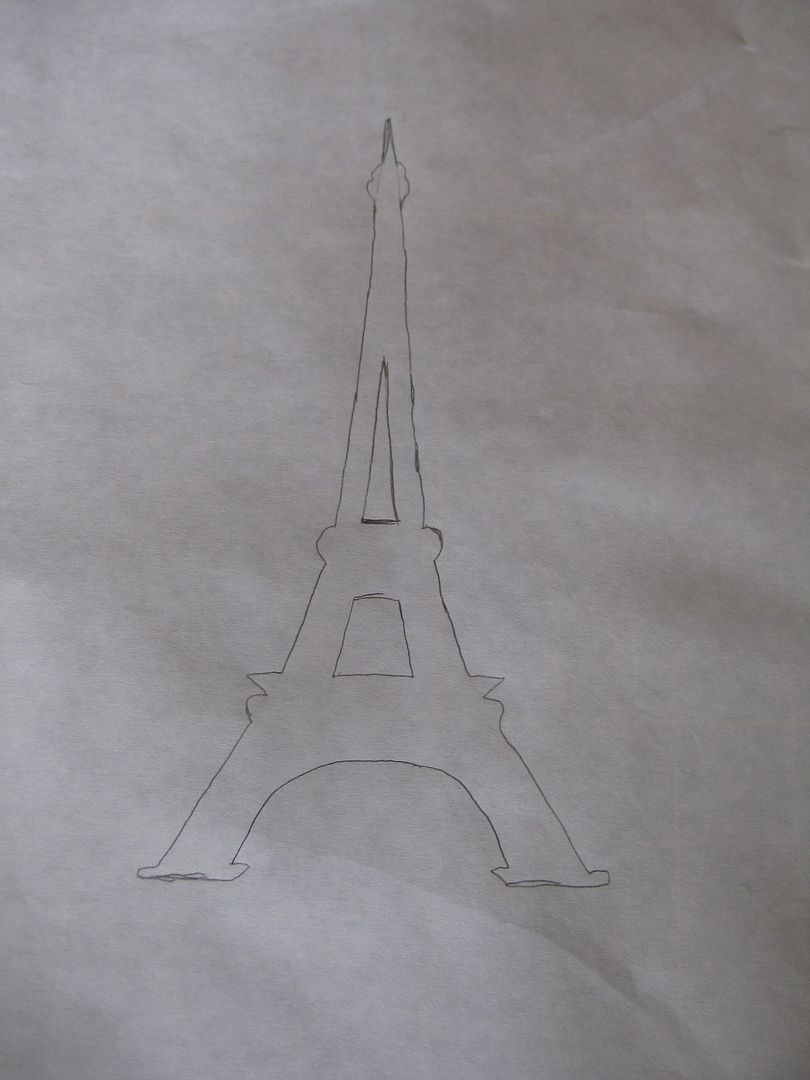
This is what I needed- i chose an Eiffel tower from clip art and printed it out. Then I grabbed some freezer paper. I am ready to go! Nothing says France than the Eiffel Tower!
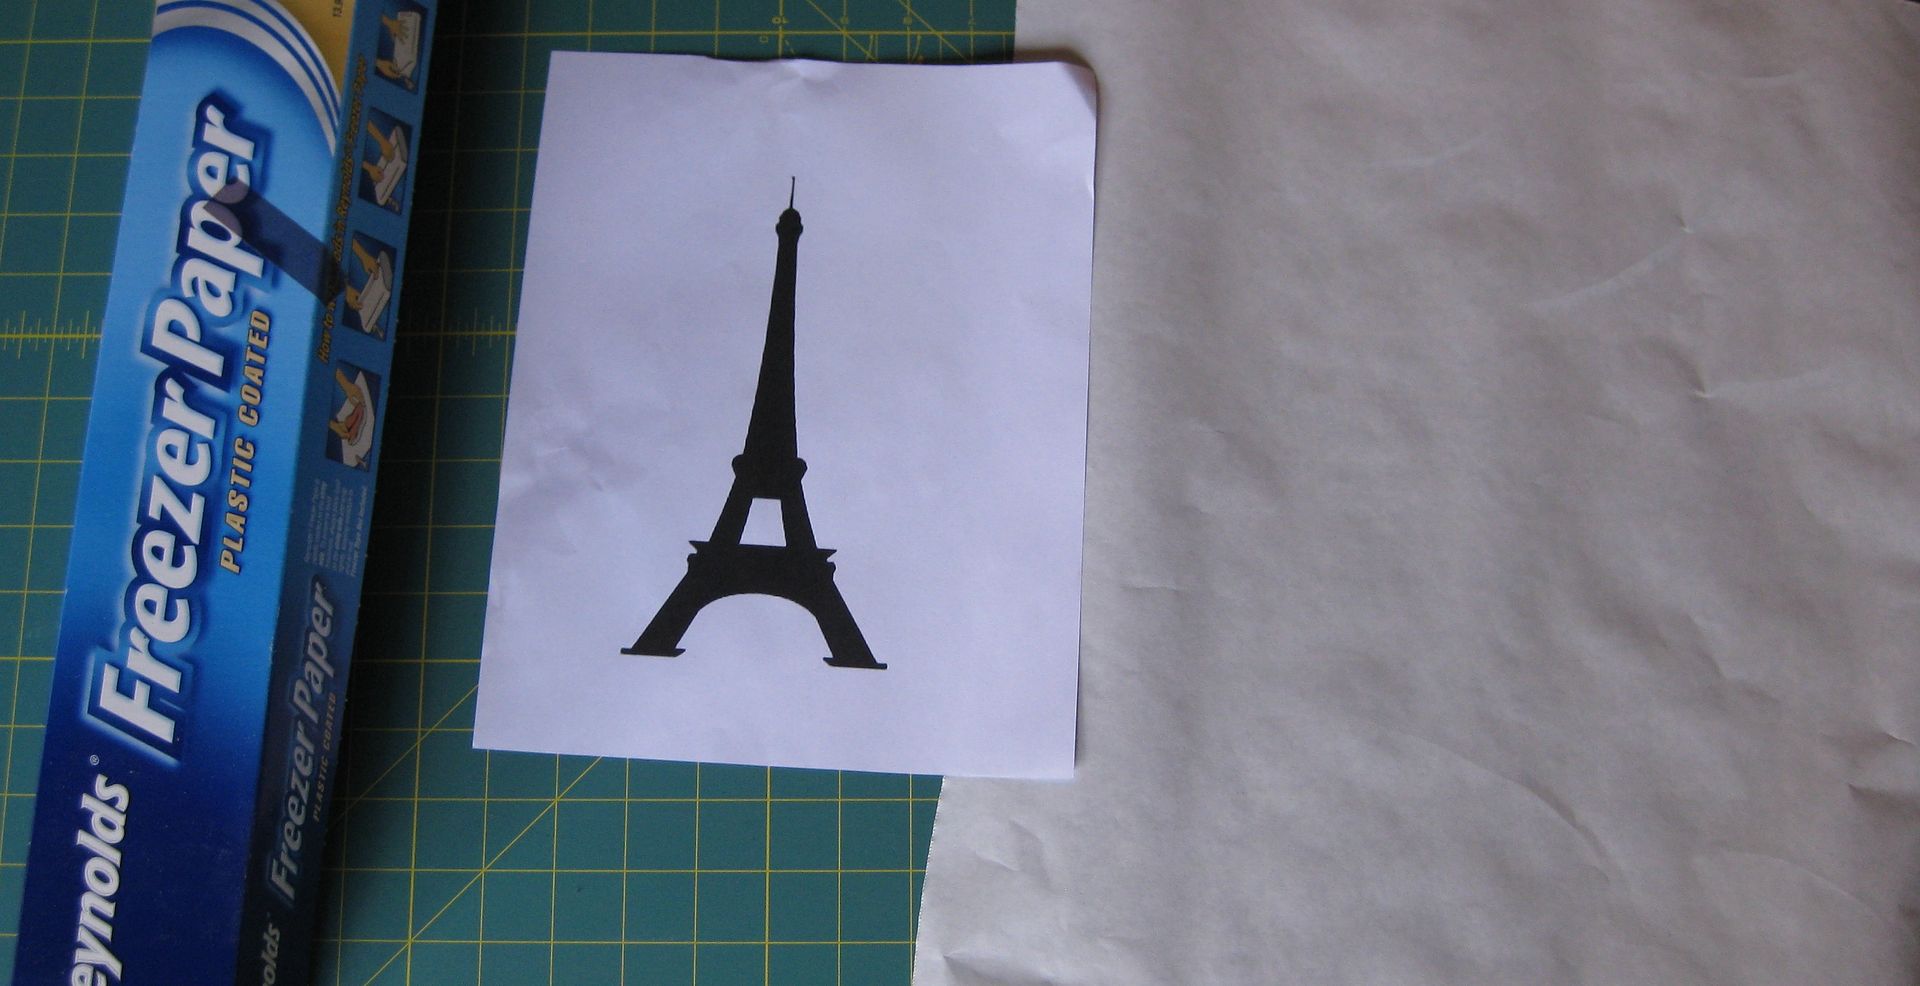

I placed the image behind the freezer paper so I could trace it. 

Afterwards
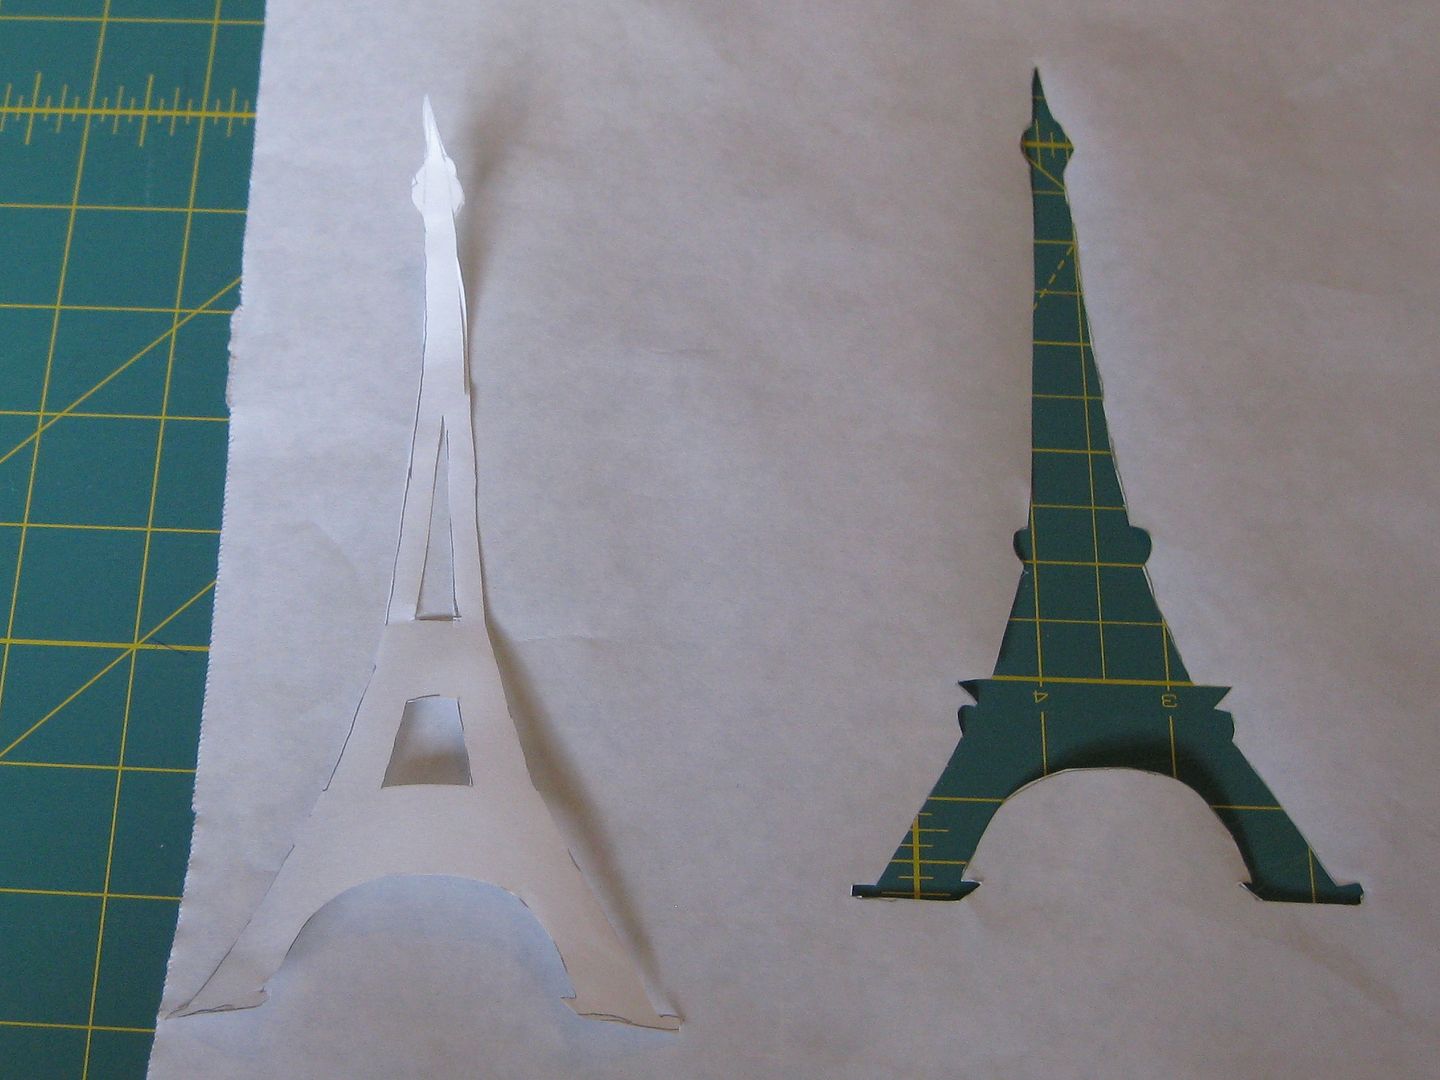
Cut! FYI it is easier to cut the flat parts then the accents. 
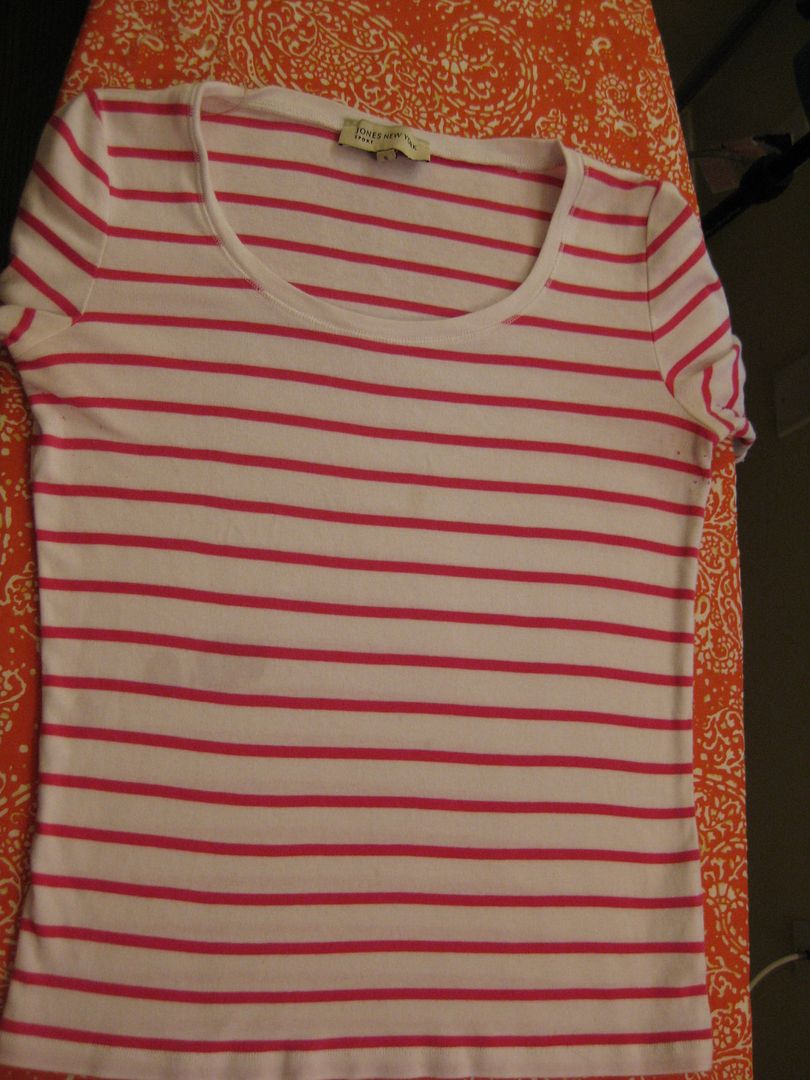
next my shirt. I decided to pick my pink striped shirt.
Find the center
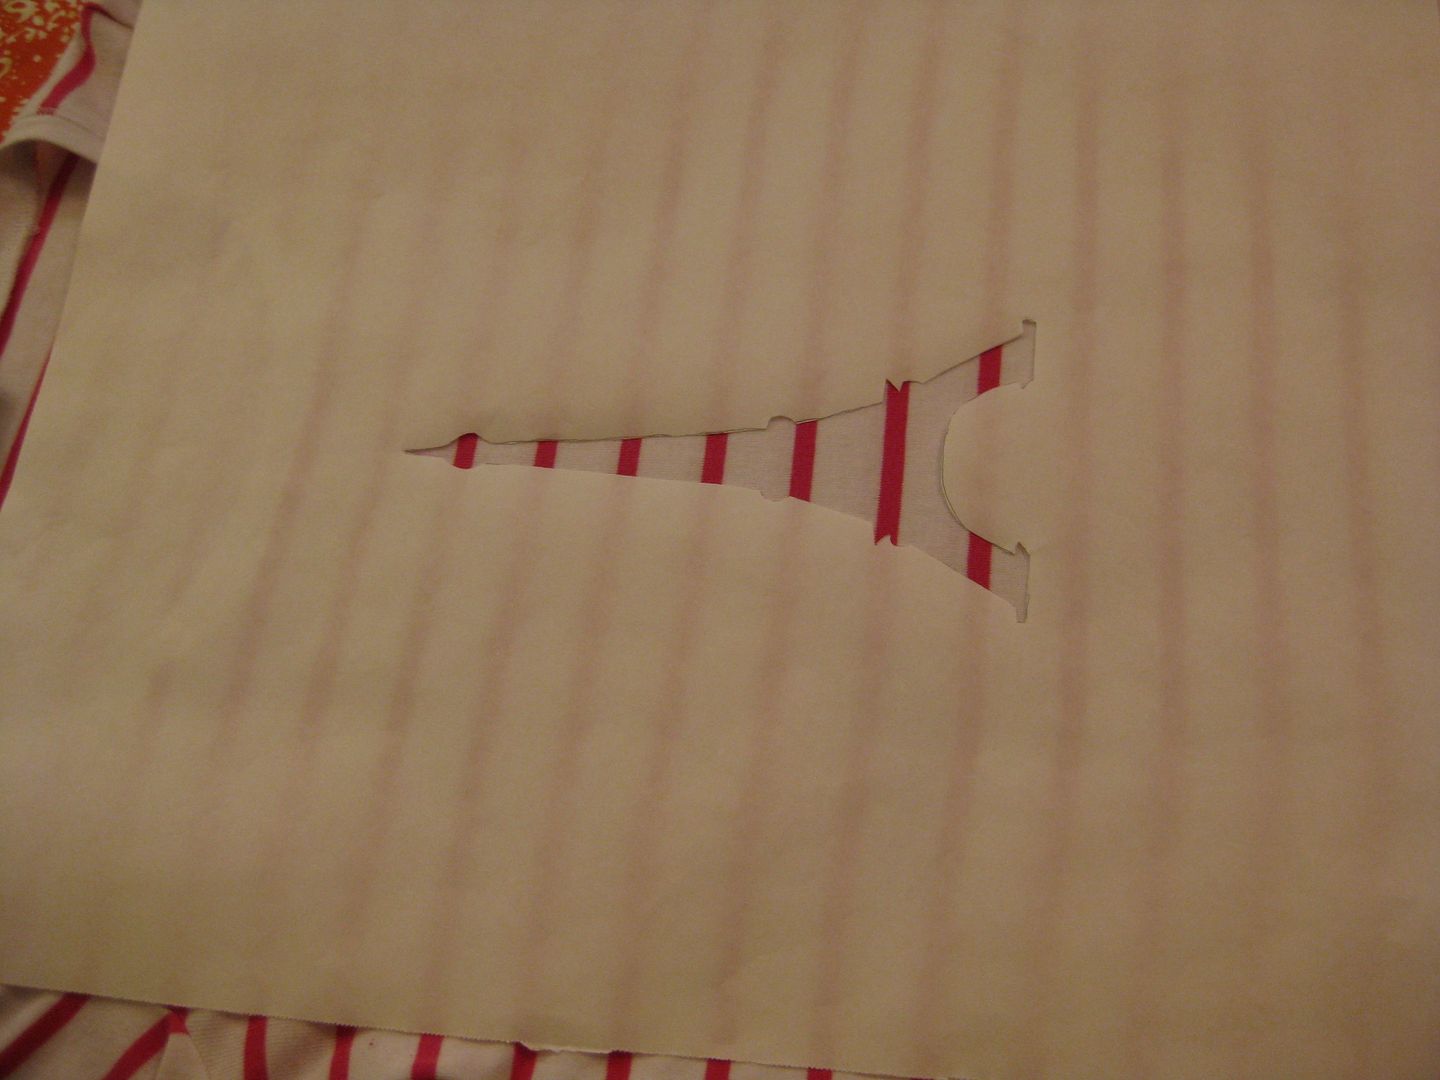
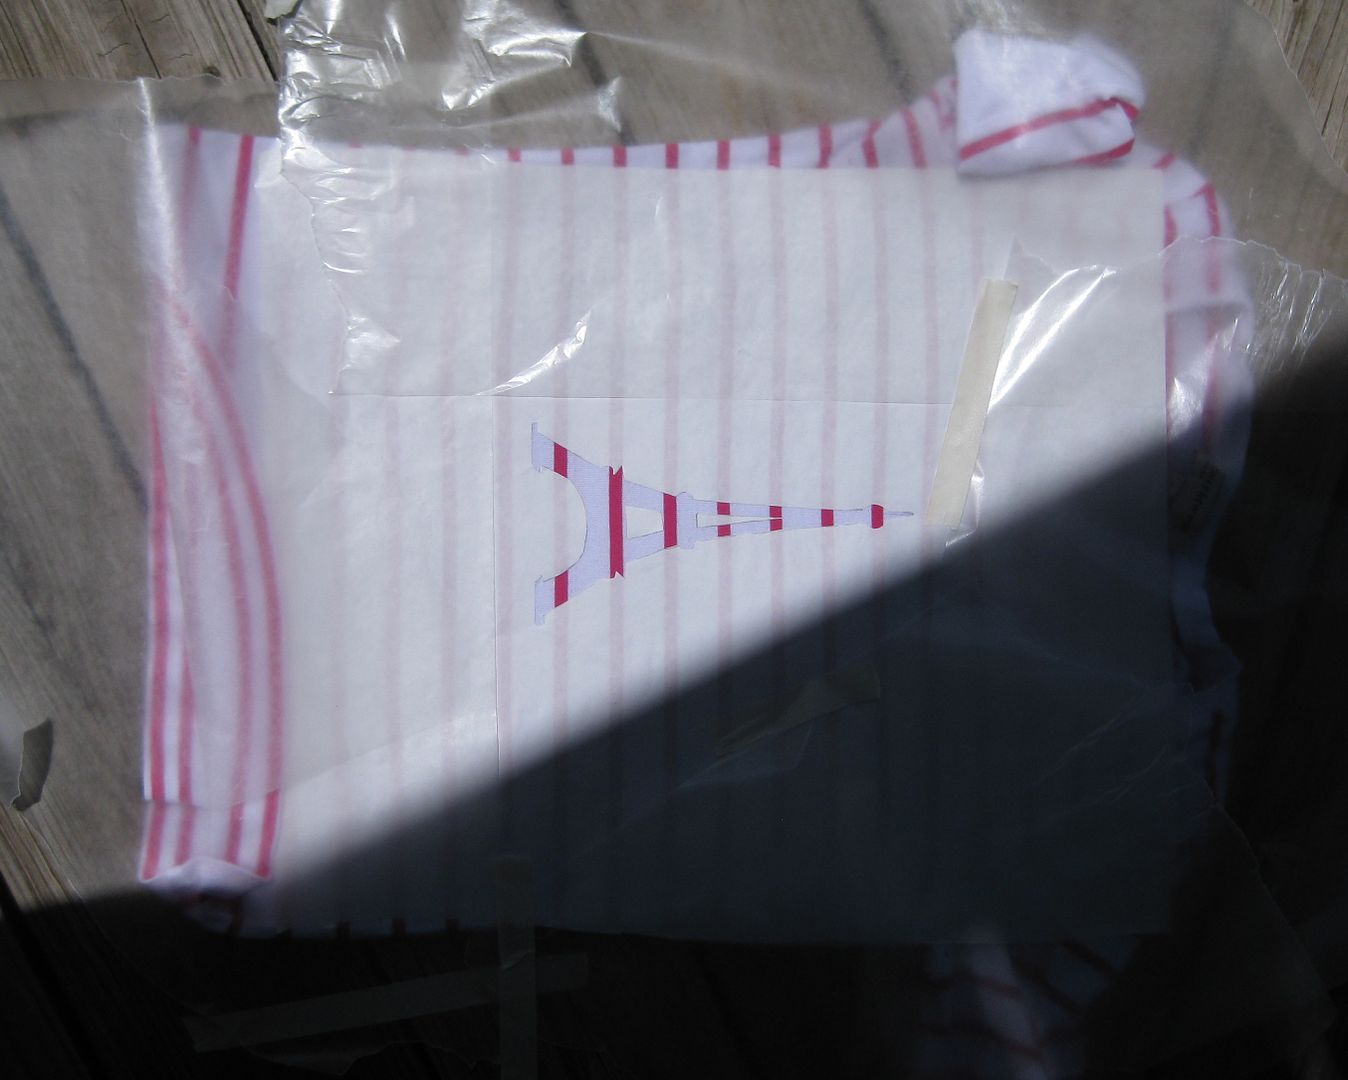
Iron (the glossy side is down on the fabric BTW)

Pulled the plug, went outside, and covered up the area. 
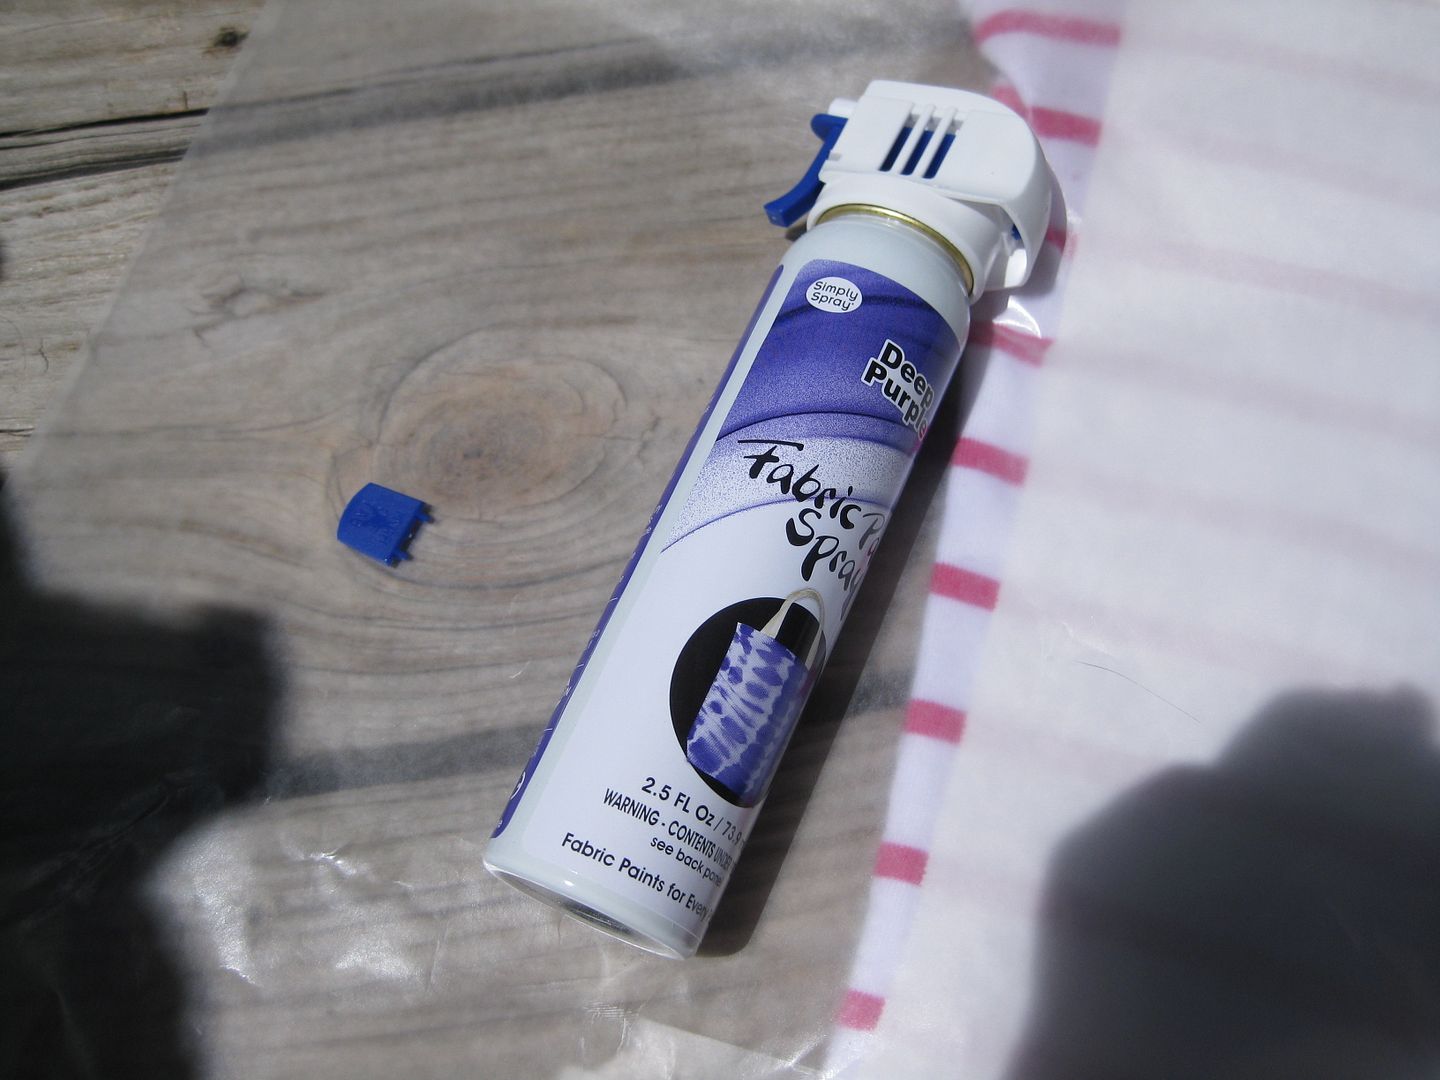

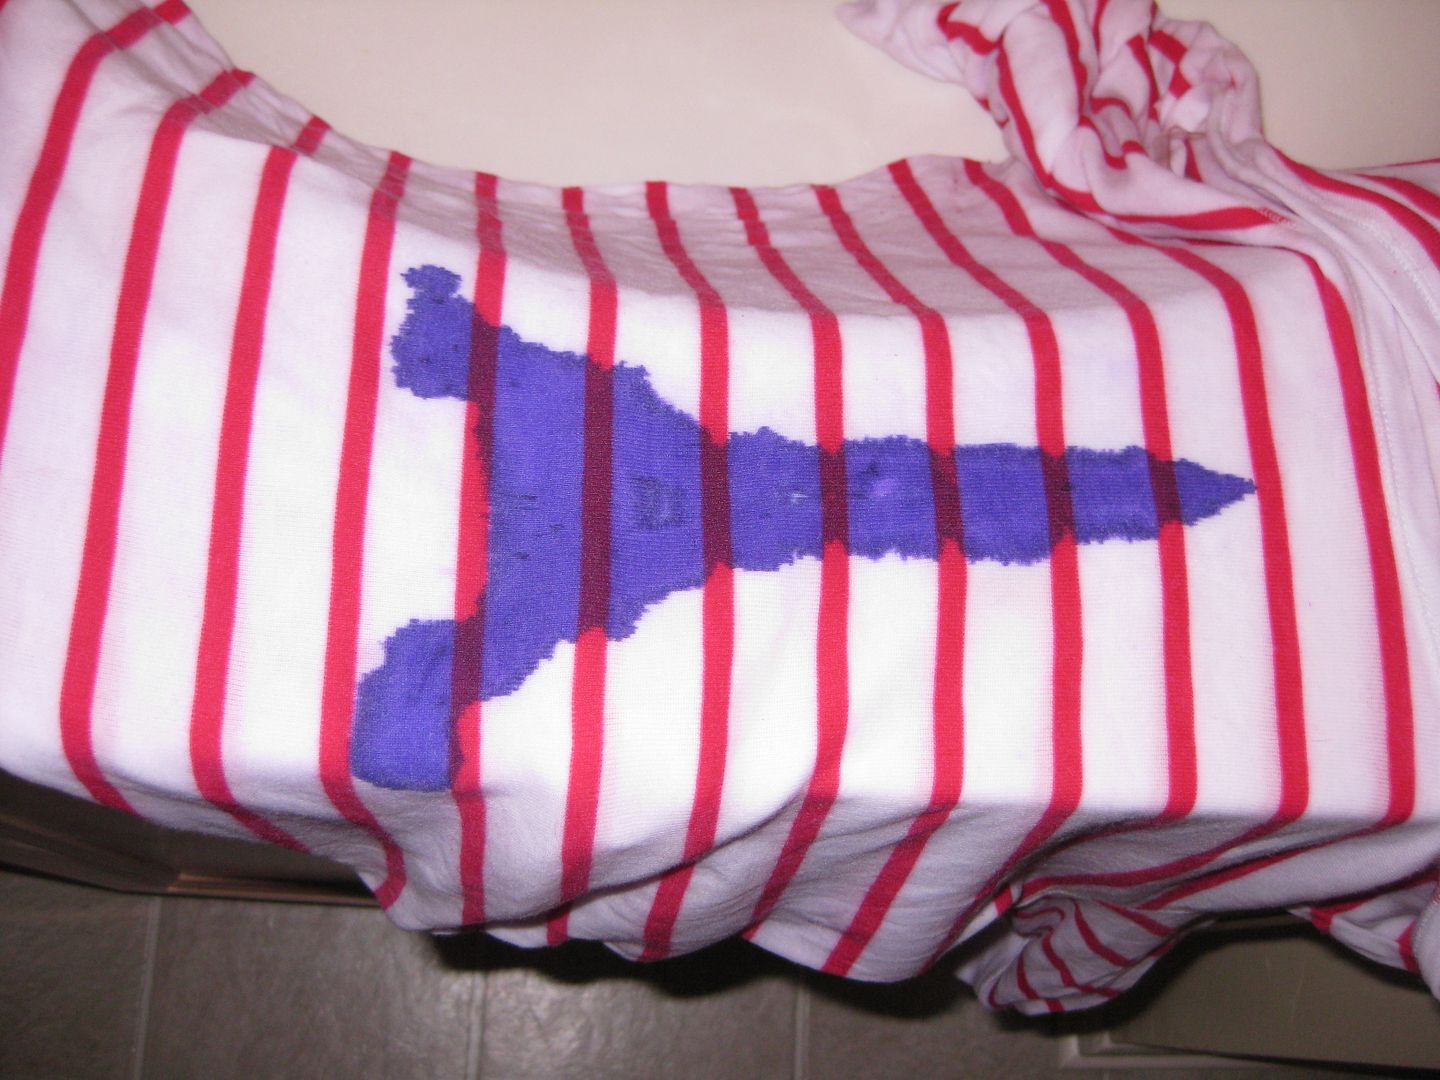
Eek! sprayed too much. 
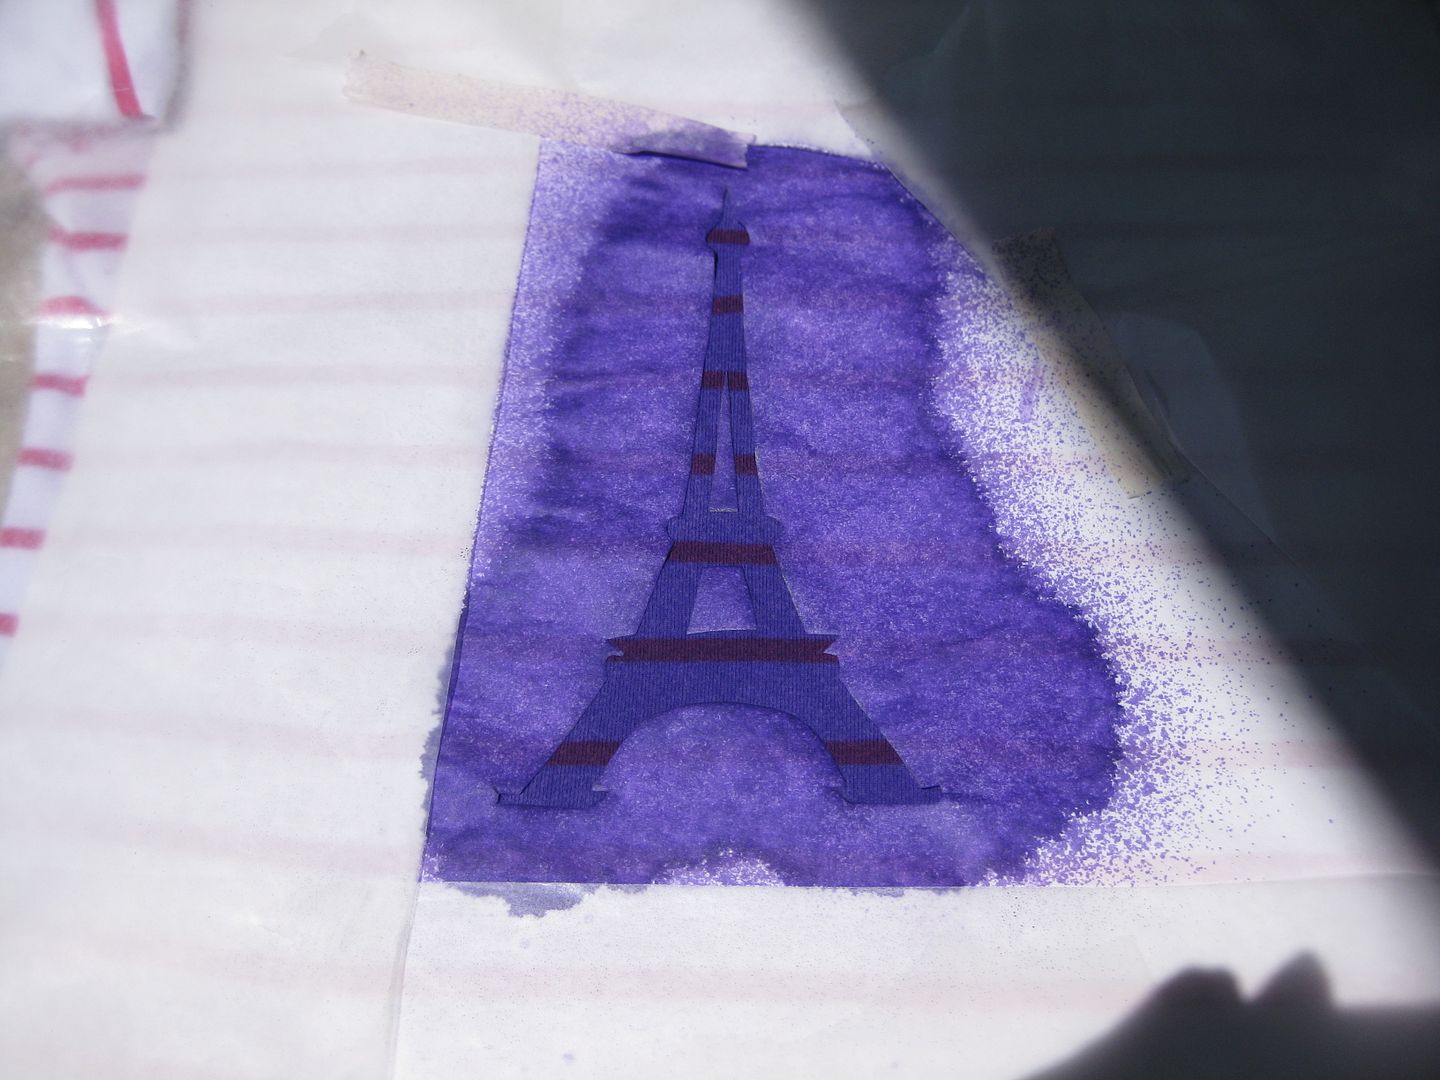
And it spread. Well soot! I have to come up with a plan to save this 
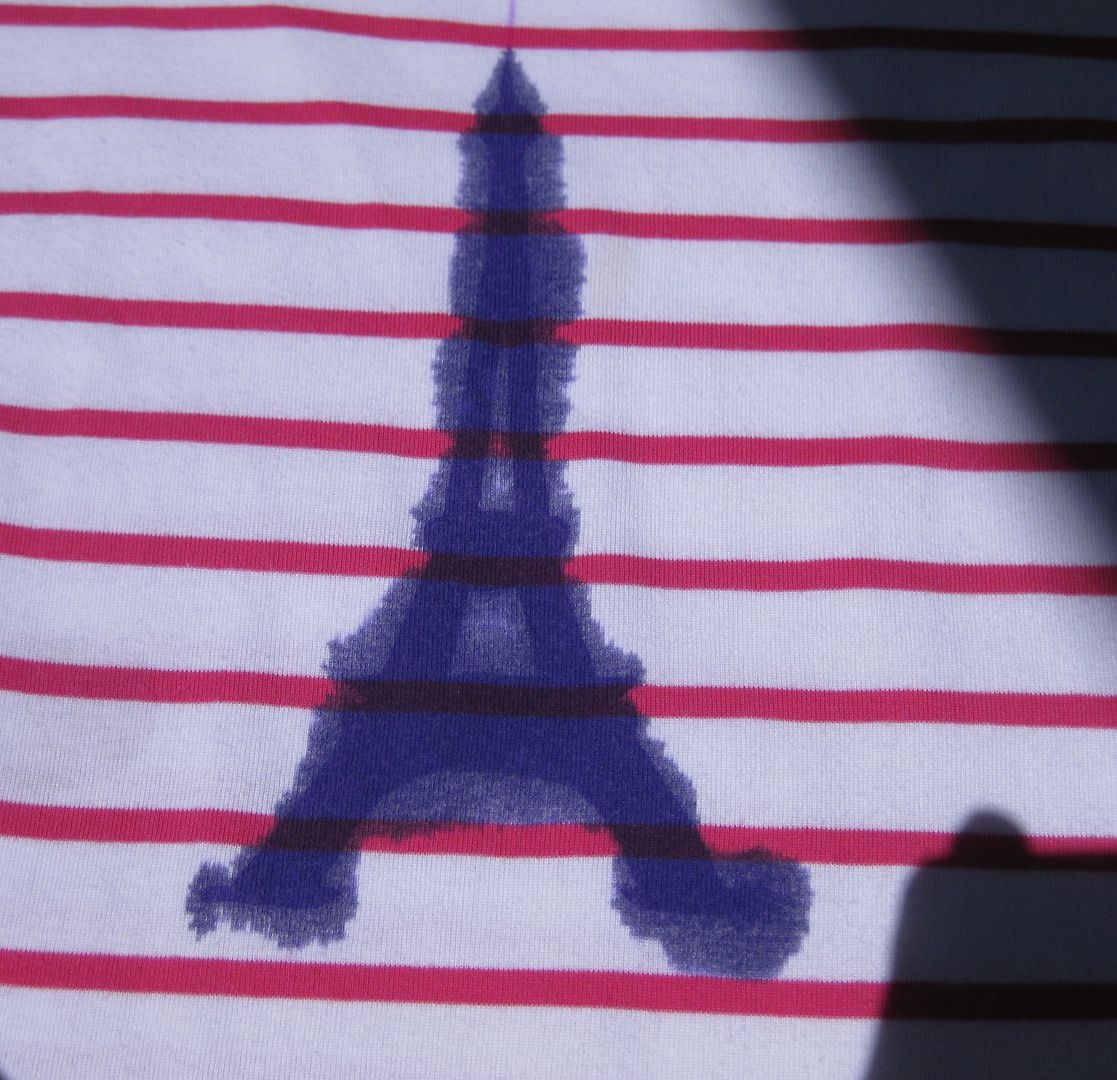
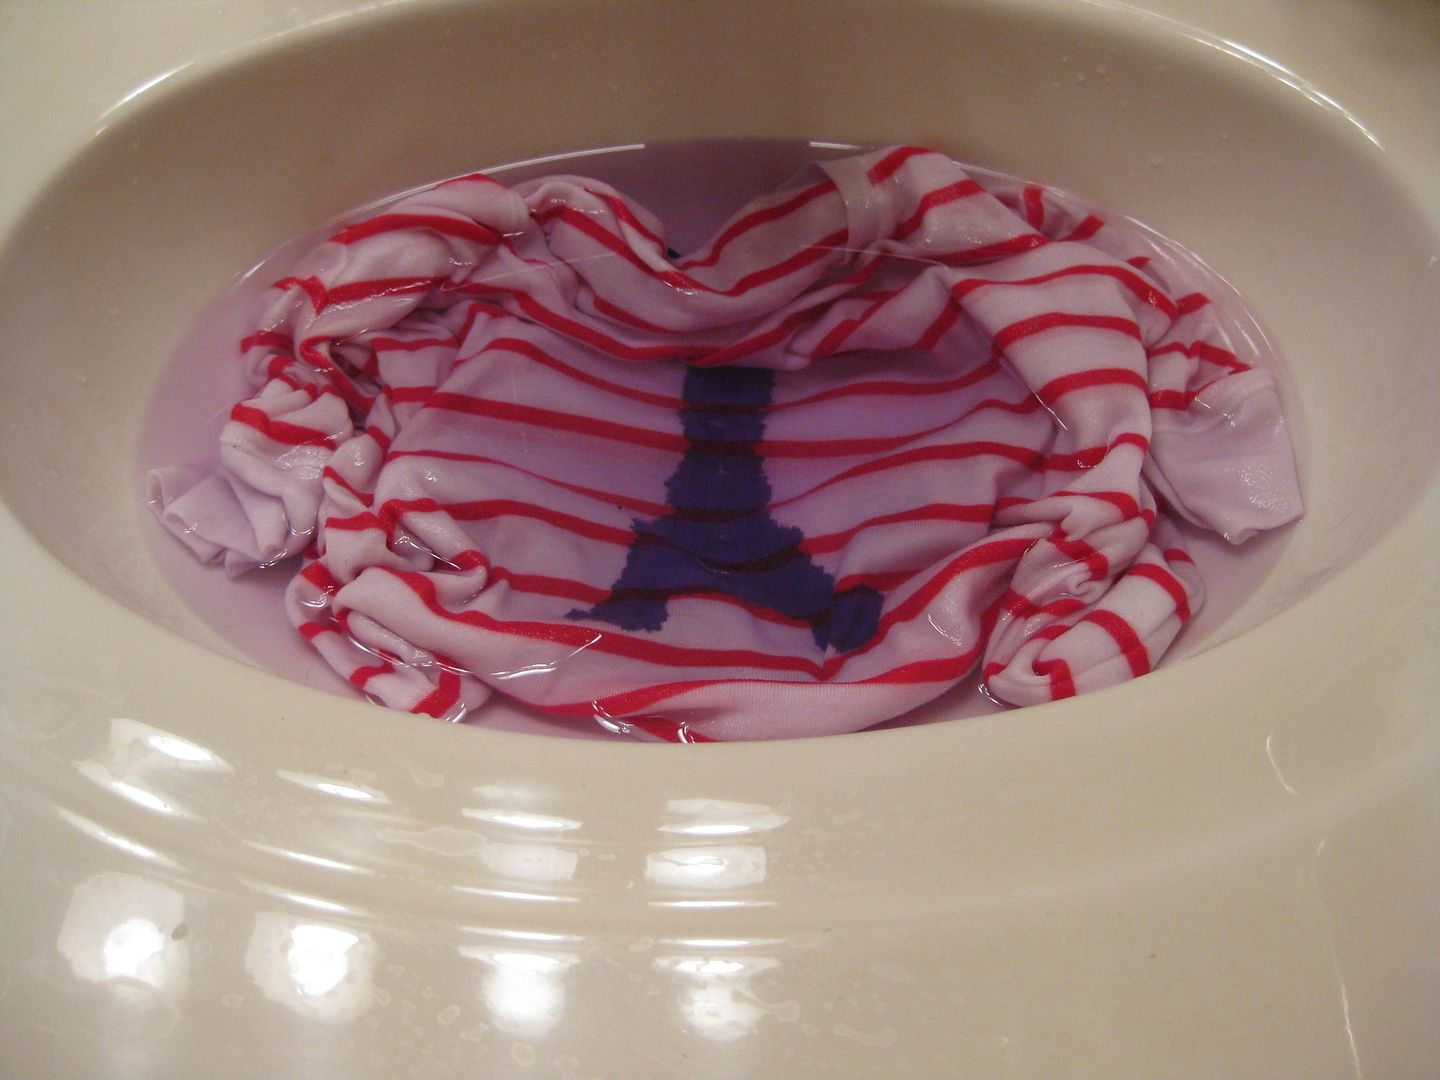
So I immediately threw it in water to get everything to spread more. Let's make it abstract. 
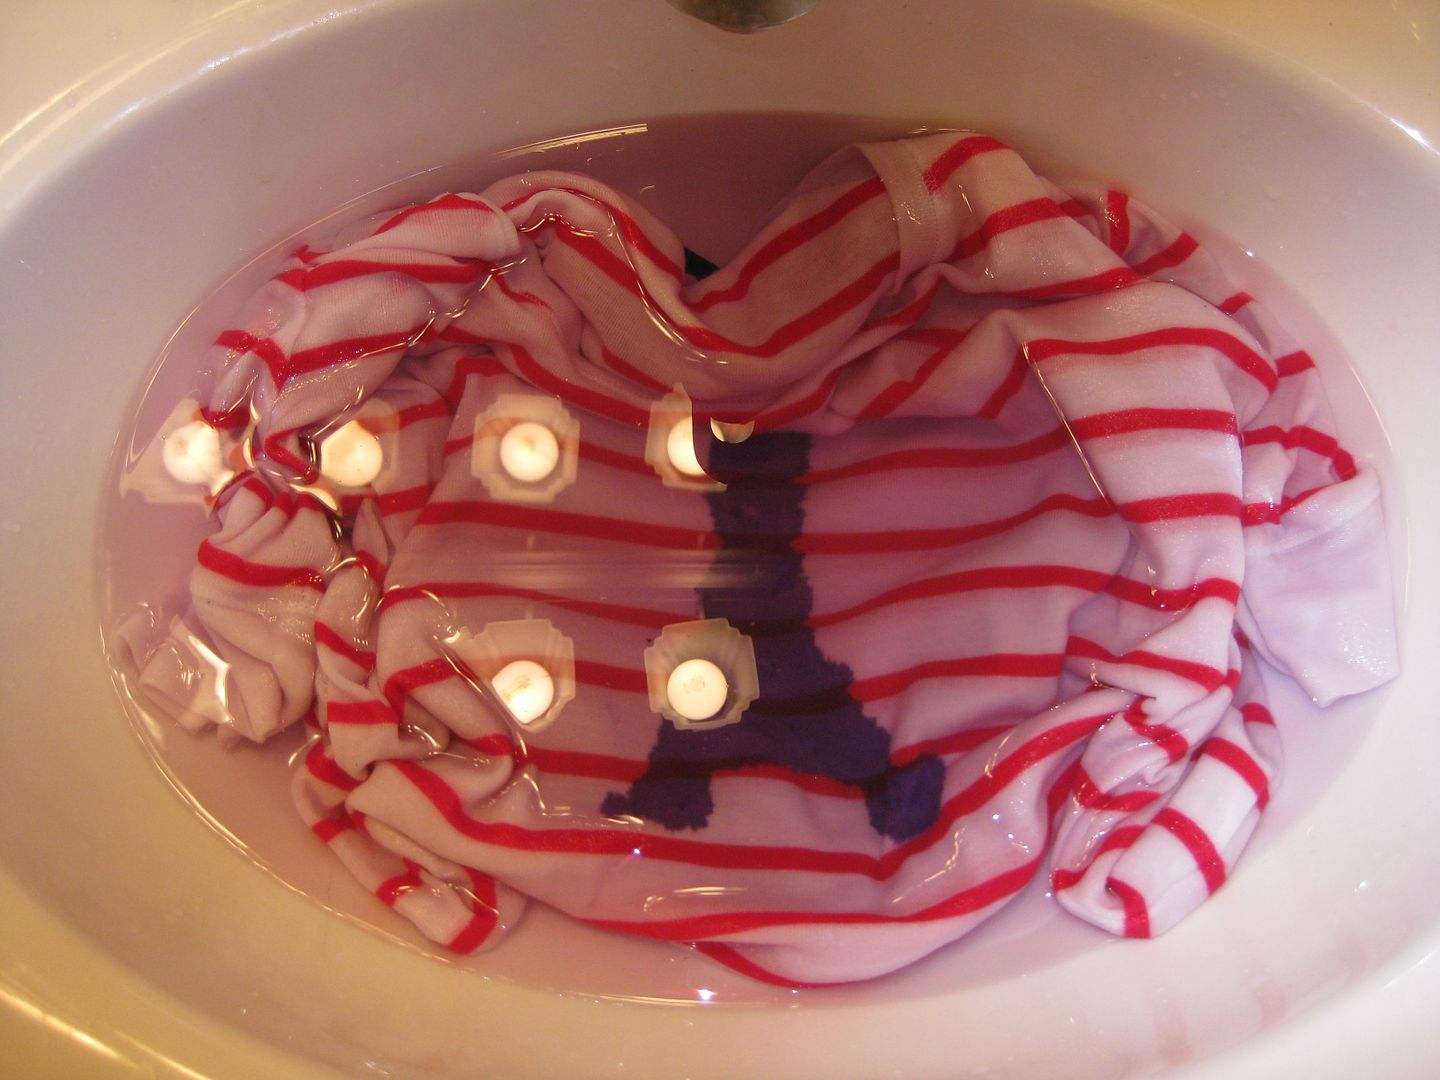

Ok so I got it to spread but I still need something to do with it
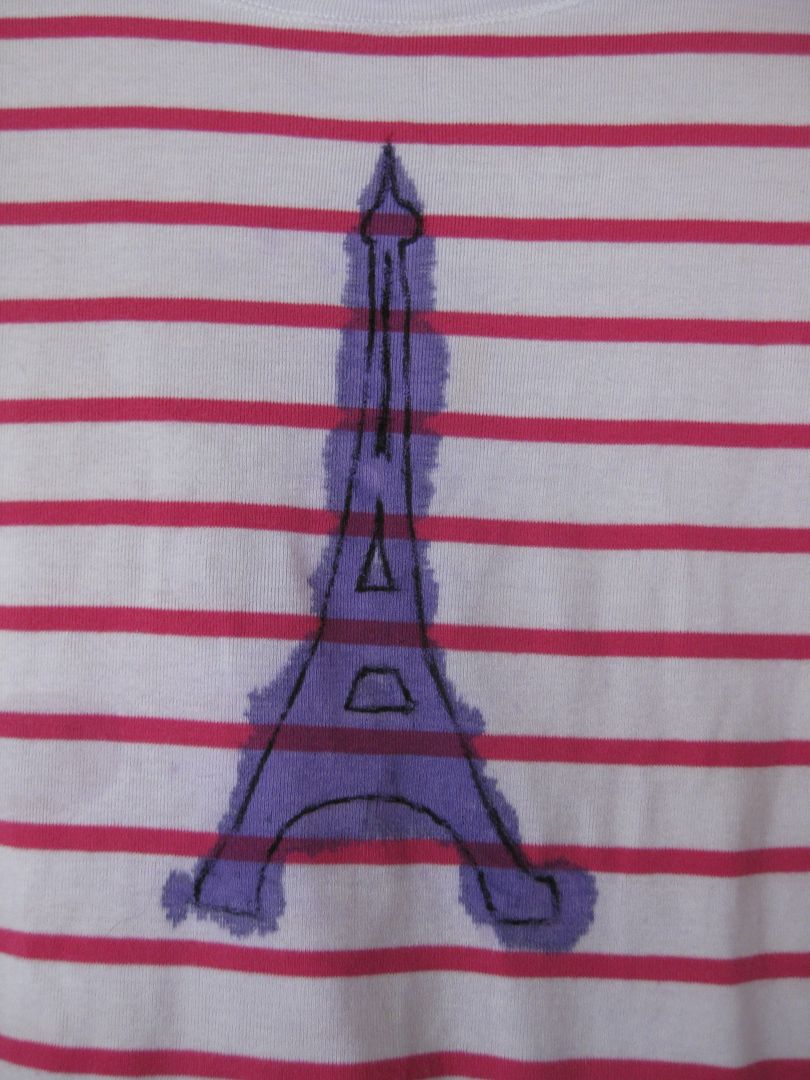
Grabbed a paint pen and drew the tower

Hey that didn't turn out half bad. Nice save for a mistake! 
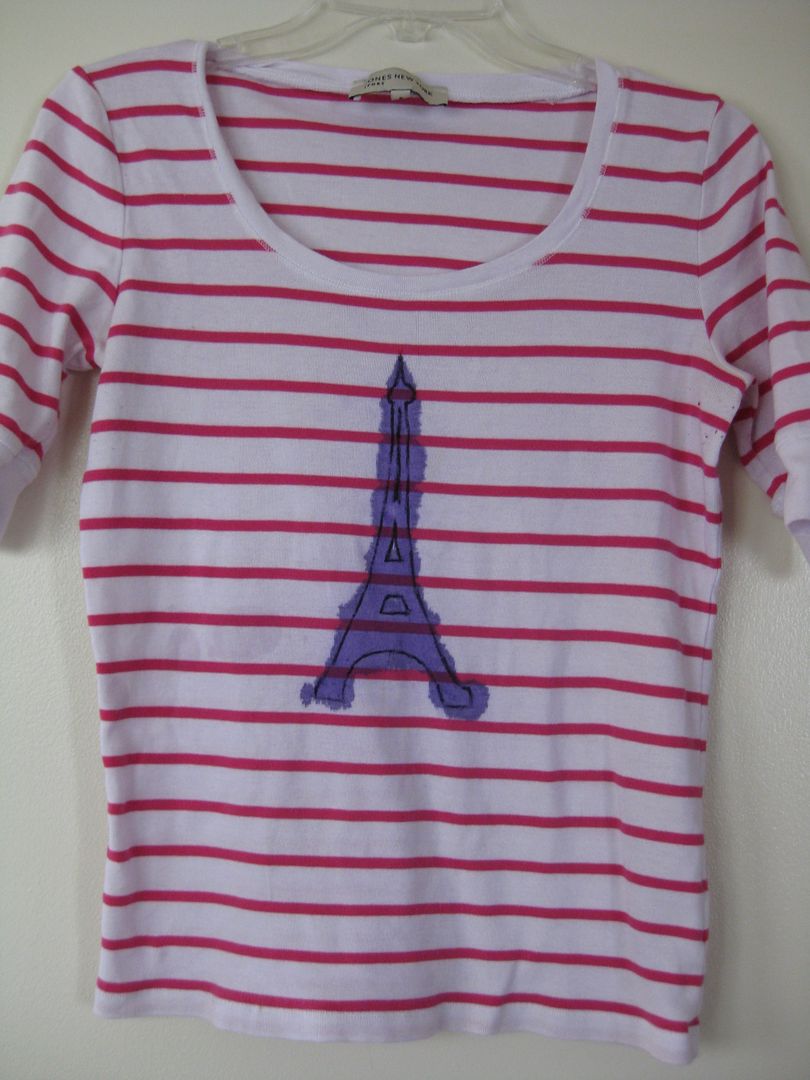

Don't know if I will make the next iron craft. Life is very busy and hectic. I miss my sewing machine. But such is life.
But yay for abstract eiffel tower!

xoxoxo,
Lauren

Wednesday, February 13, 2013

Black Blingy Necklace from wooden beads.


Well the before picture has disappeared. I blame the move. Seriously I do. I spray painted some wooden beads with black spray paint I had leftover. I just didn't like the color of wood. Now what to do with them??


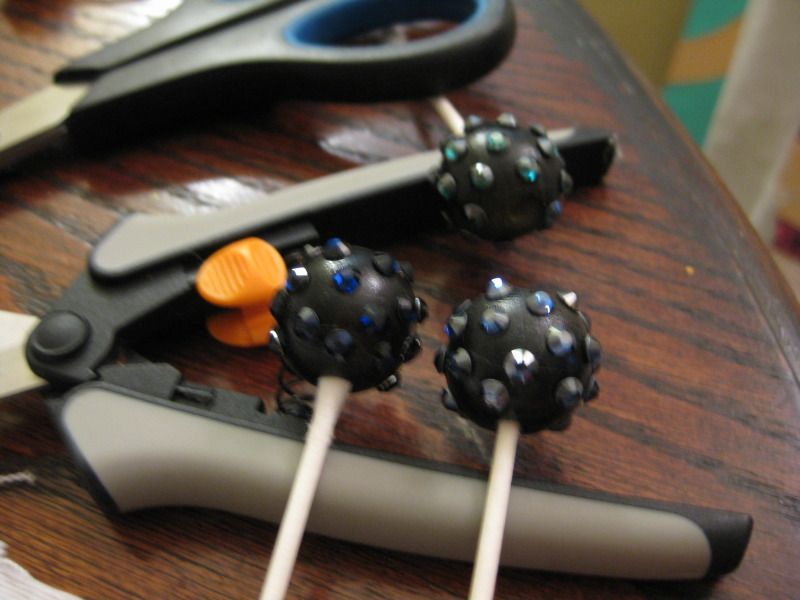
I had these crystals I got on clearance and decided I wanted to glue them on to some of the big round ones. I used GS Hypo cement. Stuff is awesome!

I kept them on Q-tips b/c it was easy to manipulate the beads. They fit perfectly Let dry. 

Repeat with other colors. 

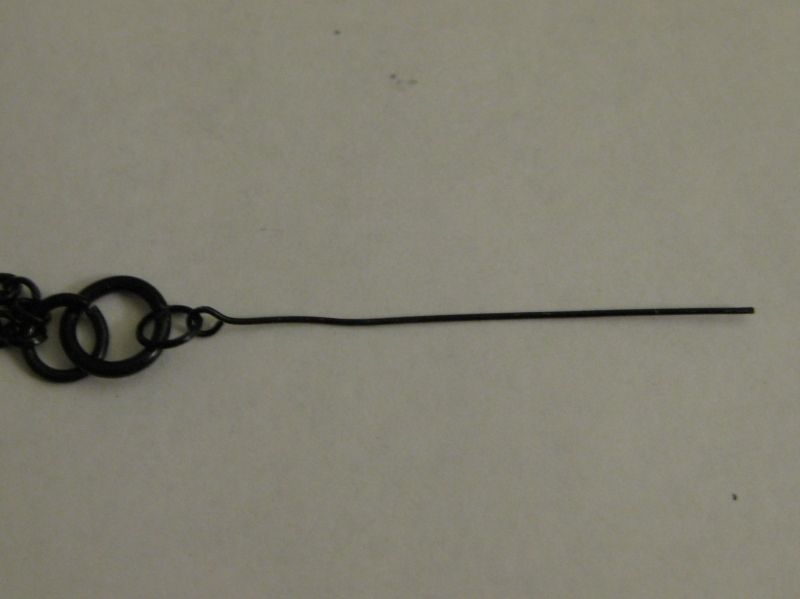
Now time to make a necklace. I cheated and found a ready made necklace so all I had to do was add my beads. Many I love easy! Then I used a kit I already had for the black jump rings and those long connector things... whatever they are called.

Hmm This one needs straightening. I messed up :(

Done! Wahoo. Yay for straightening pliers

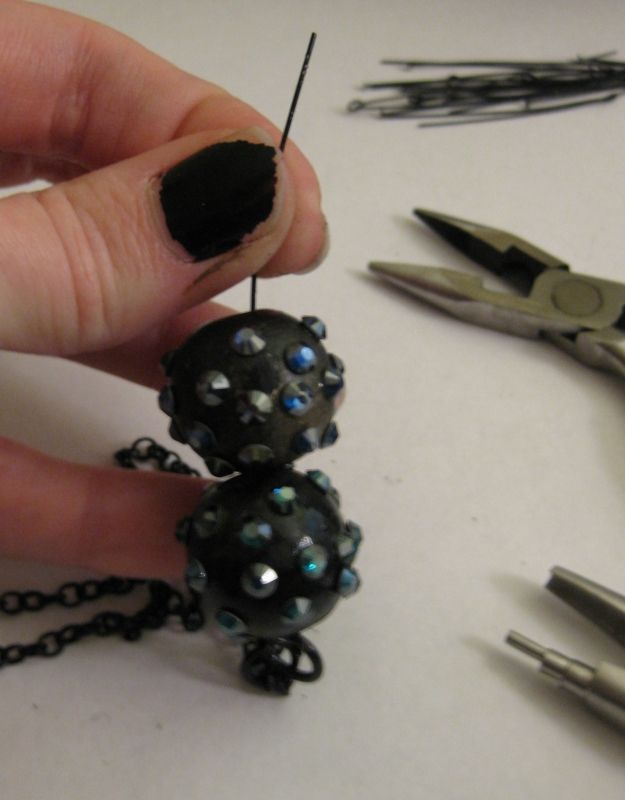
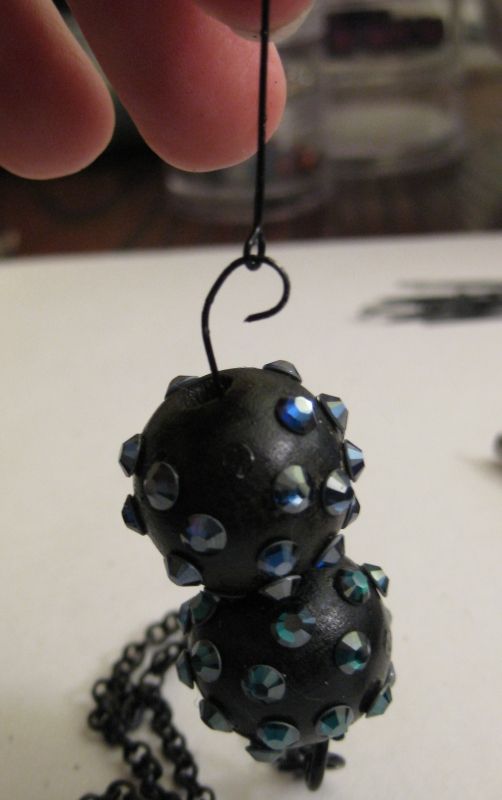
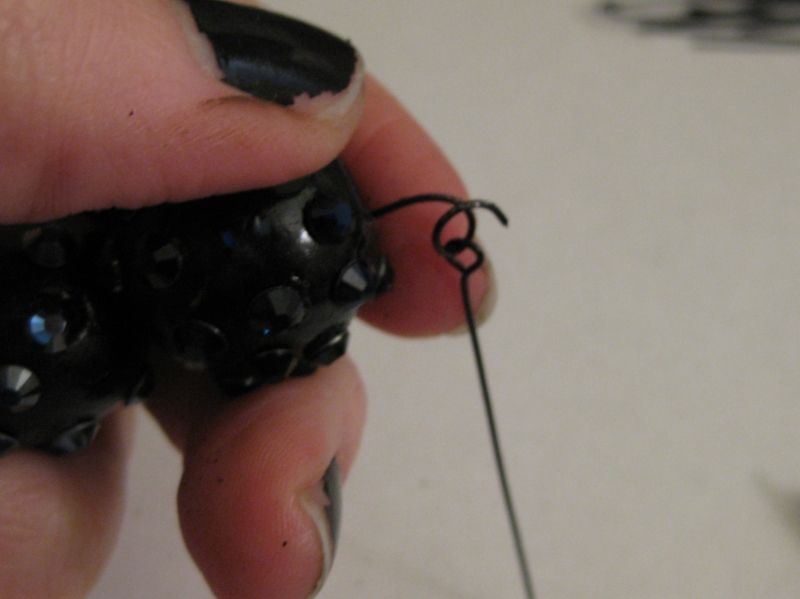
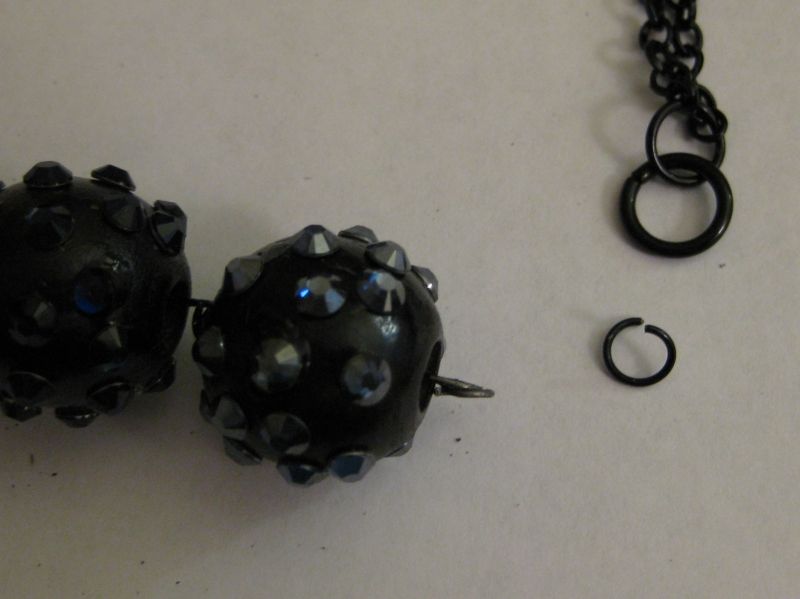
Basically all I am doing is connecting each bead. 


Almost done! Connect via jump ring. 

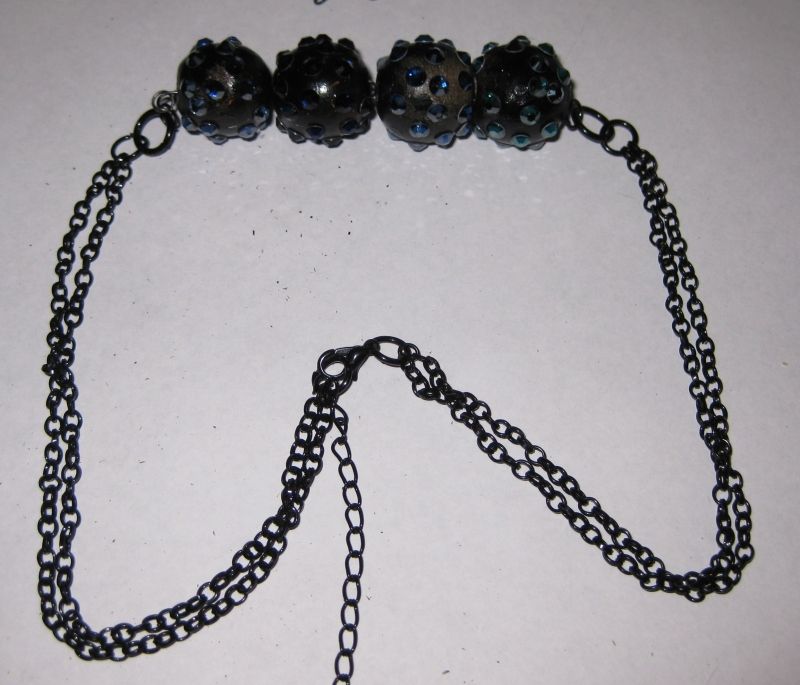
Here is how it is before I put it on.

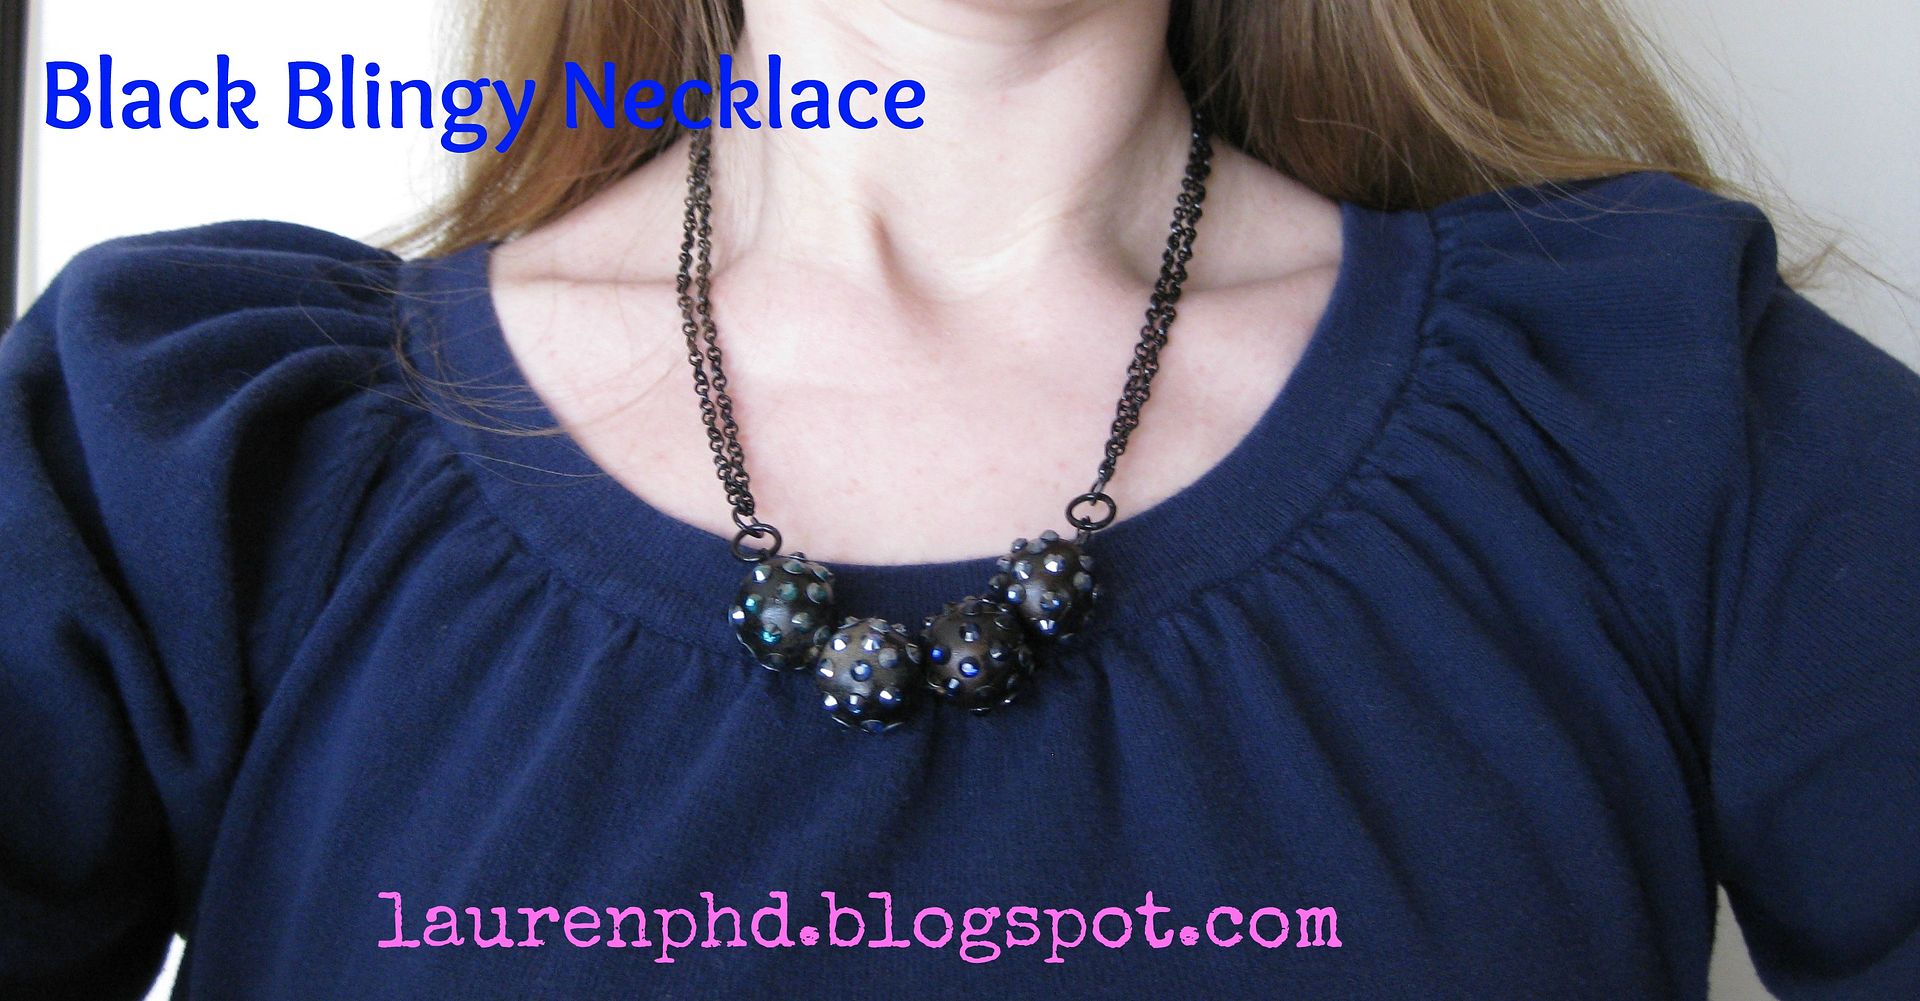
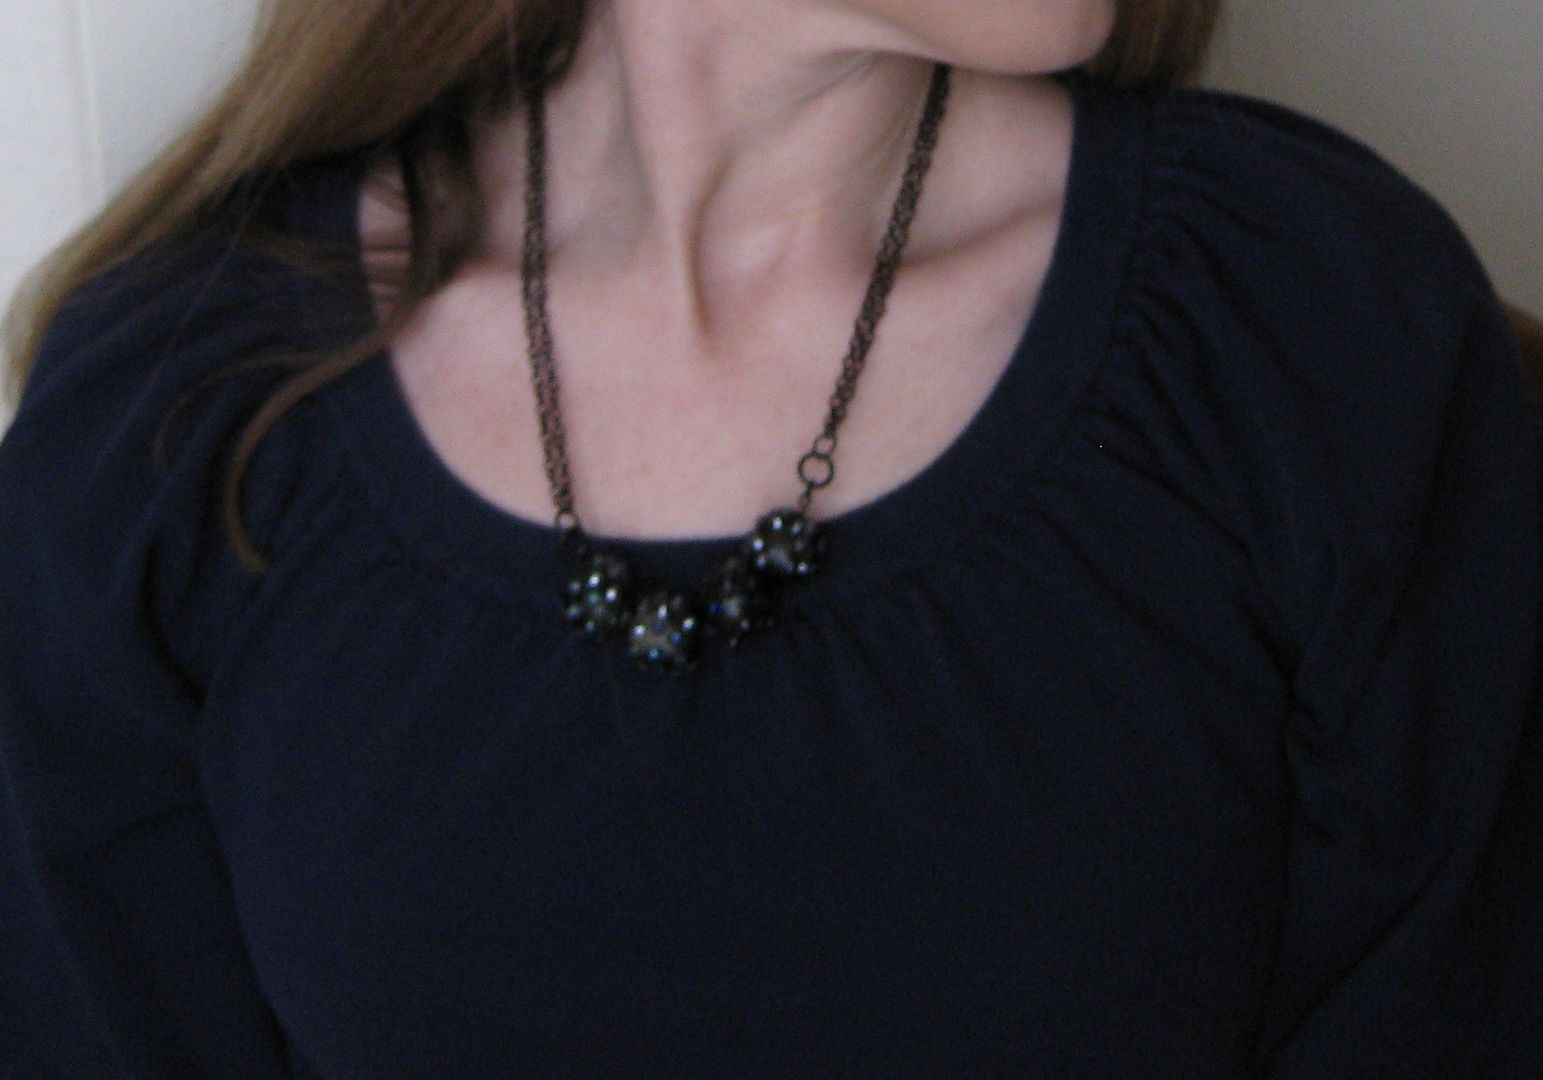
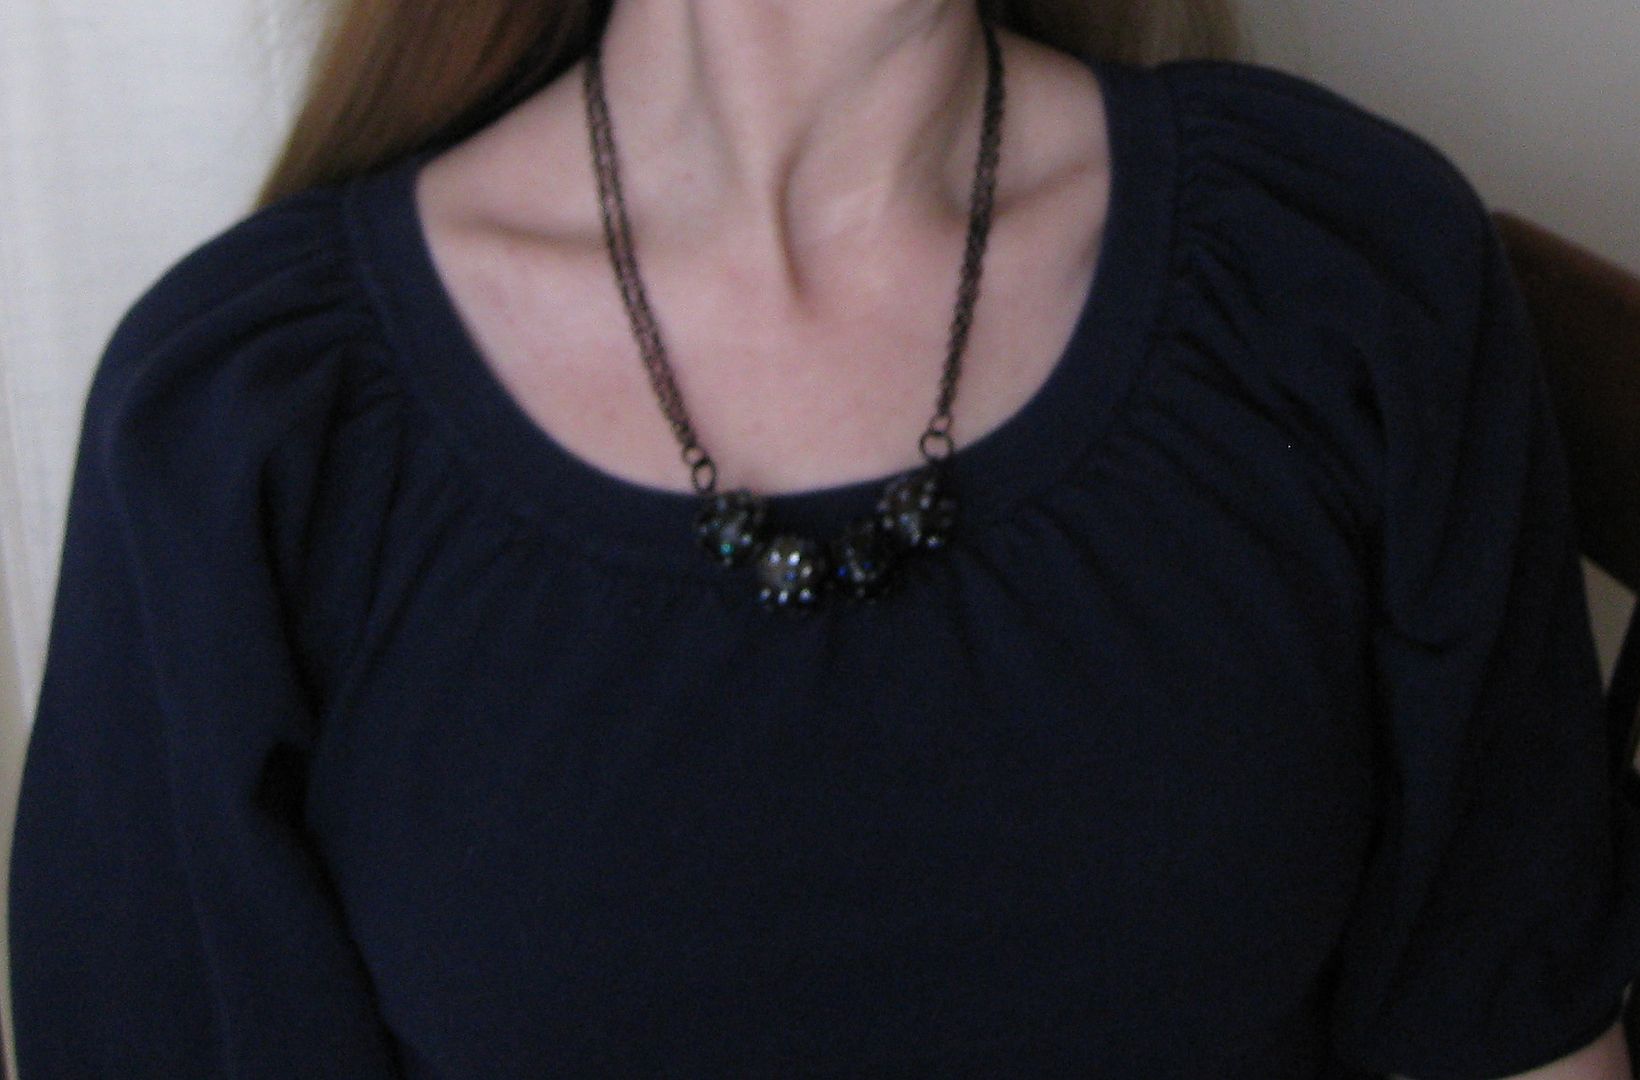
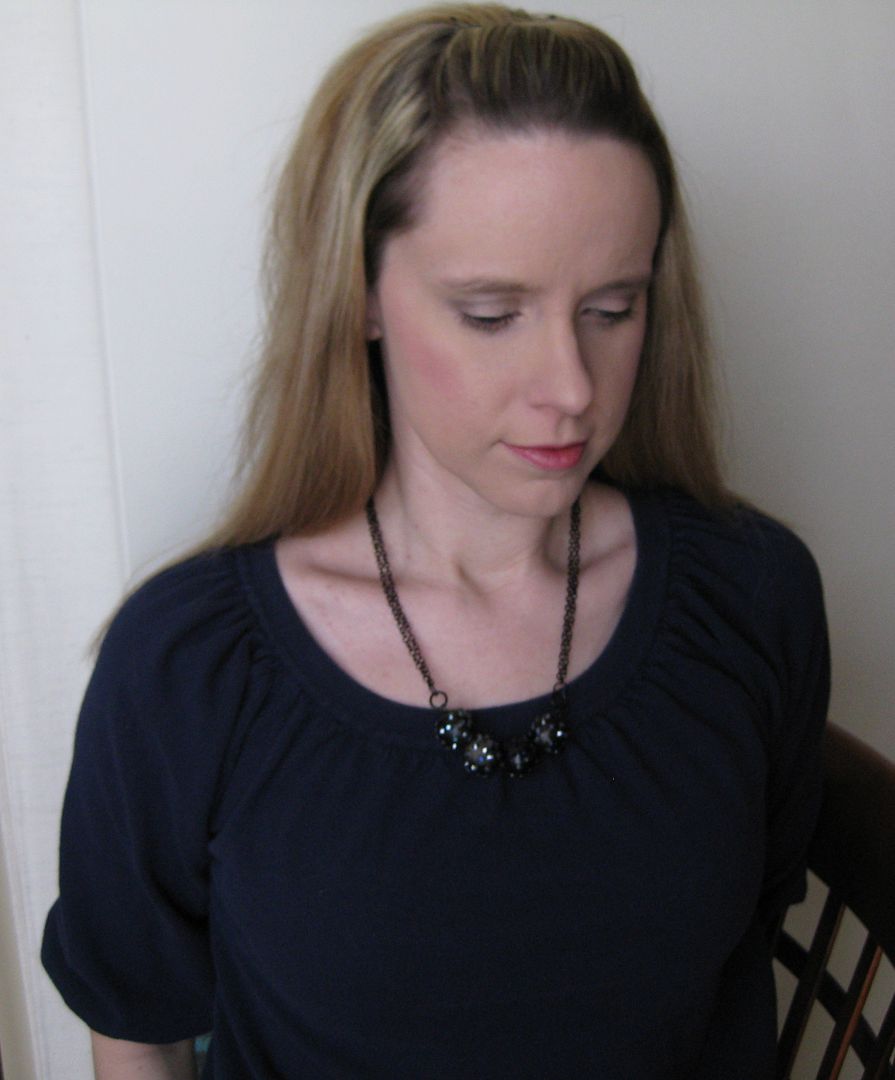
And here is me modeling it. The pictures do NOT do the crystals justice. 


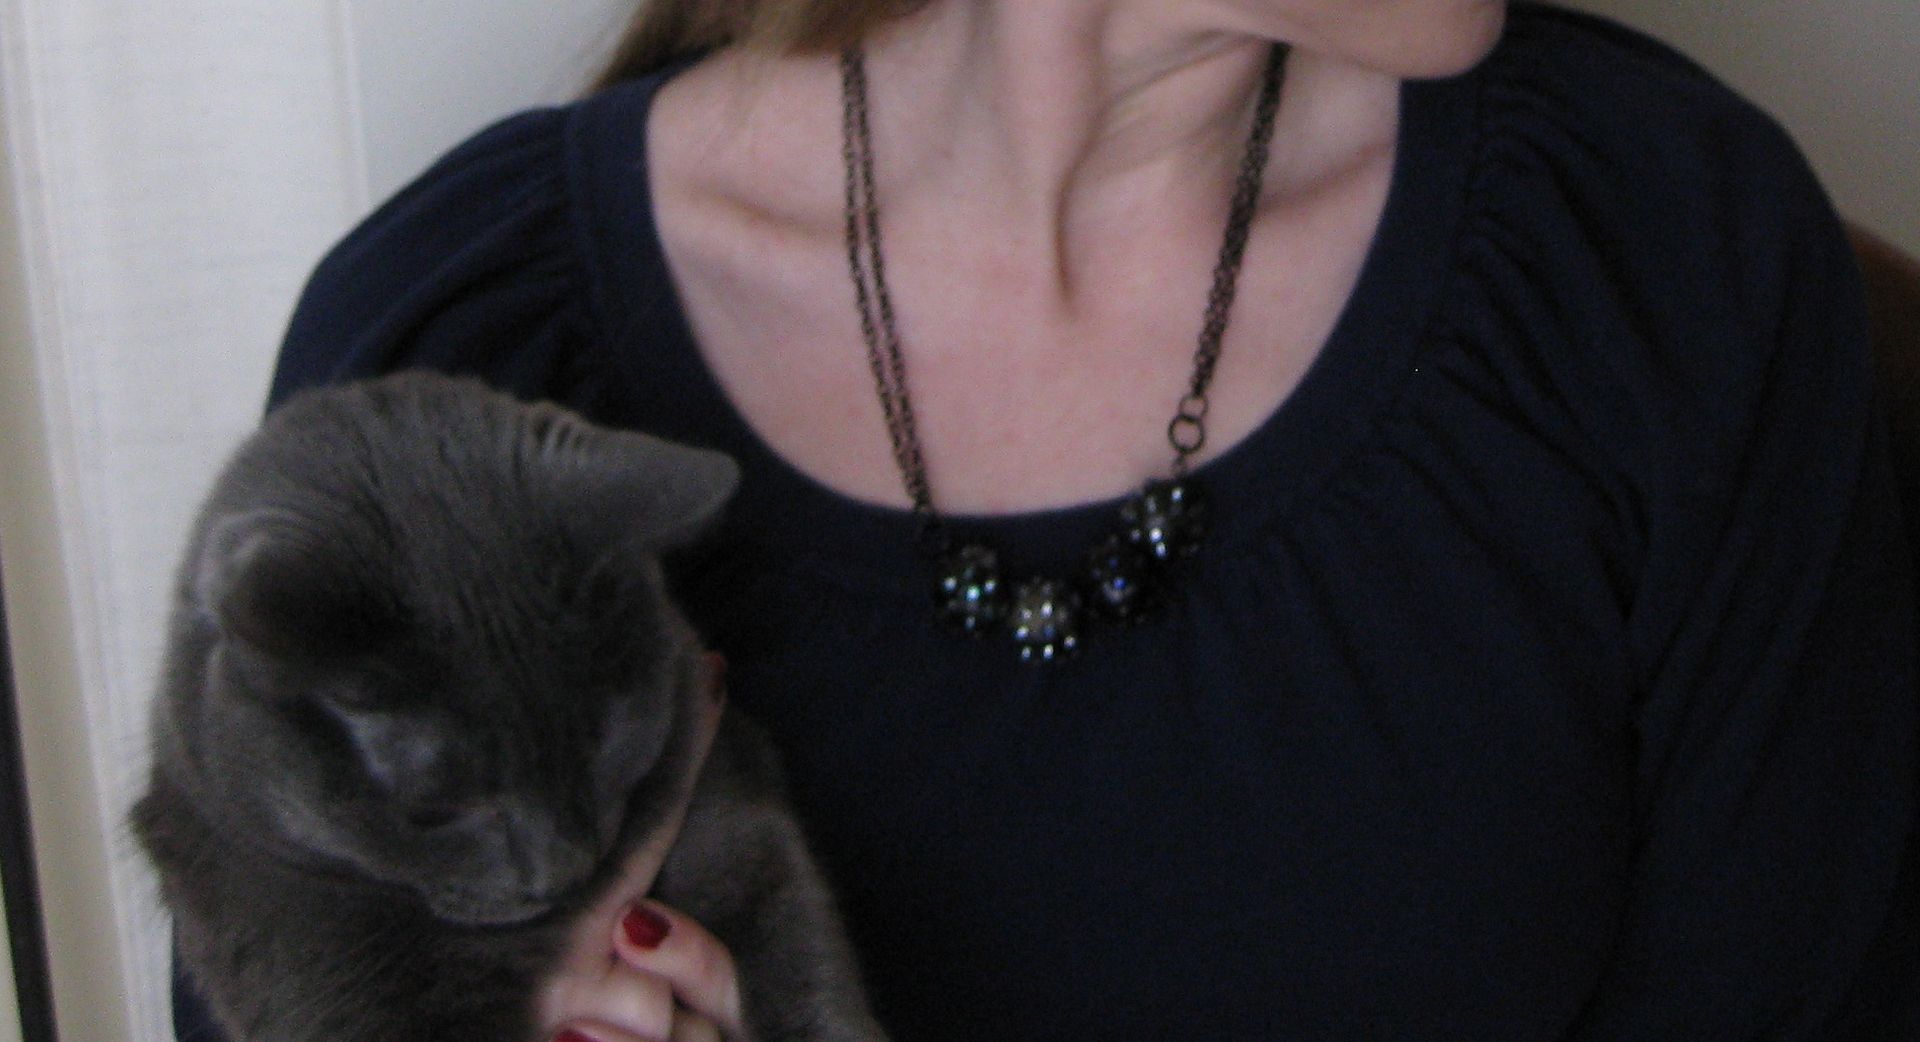
Here's a cameo appearance with my cat Natasha.


Couldn't help BUT to add this funny picture of myself. 


Yay +1 bling point! Yeah. Moving on up to a smaller closet, one bead at a time!

xoxoxo,
Lauren

LinkWithin

Related Posts Plugin for WordPress, Blogger...