Well hi welcome to my little blog. Just my little corner of craftiness, sewing, and refashioning. I am also a newly gluten free eater so you have a little bit of recipes mixed in here.
Showing posts with label crystal embellishments. Show all posts

Wednesday, May 22, 2013

Peacock necklace

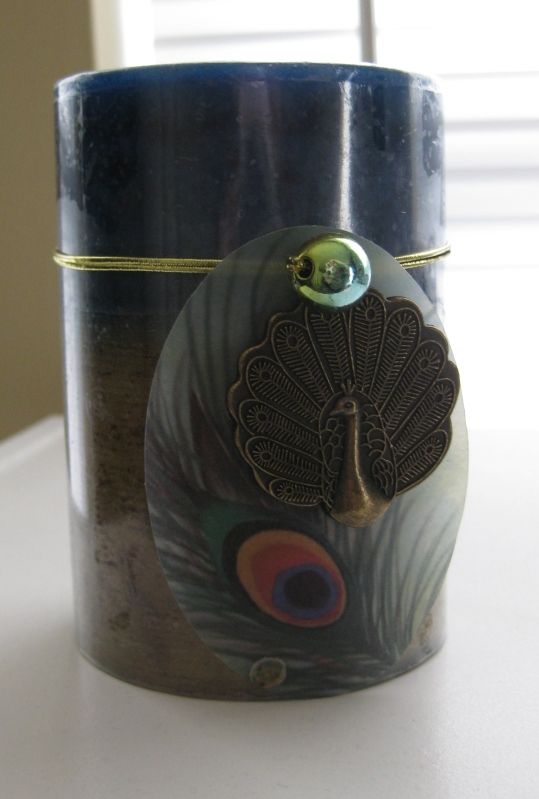
This necklace all started with this candle. I noticed it had a cool peacock charm. And with my obsession with peacocks this candle came home and I decided a necklace was in line. :)

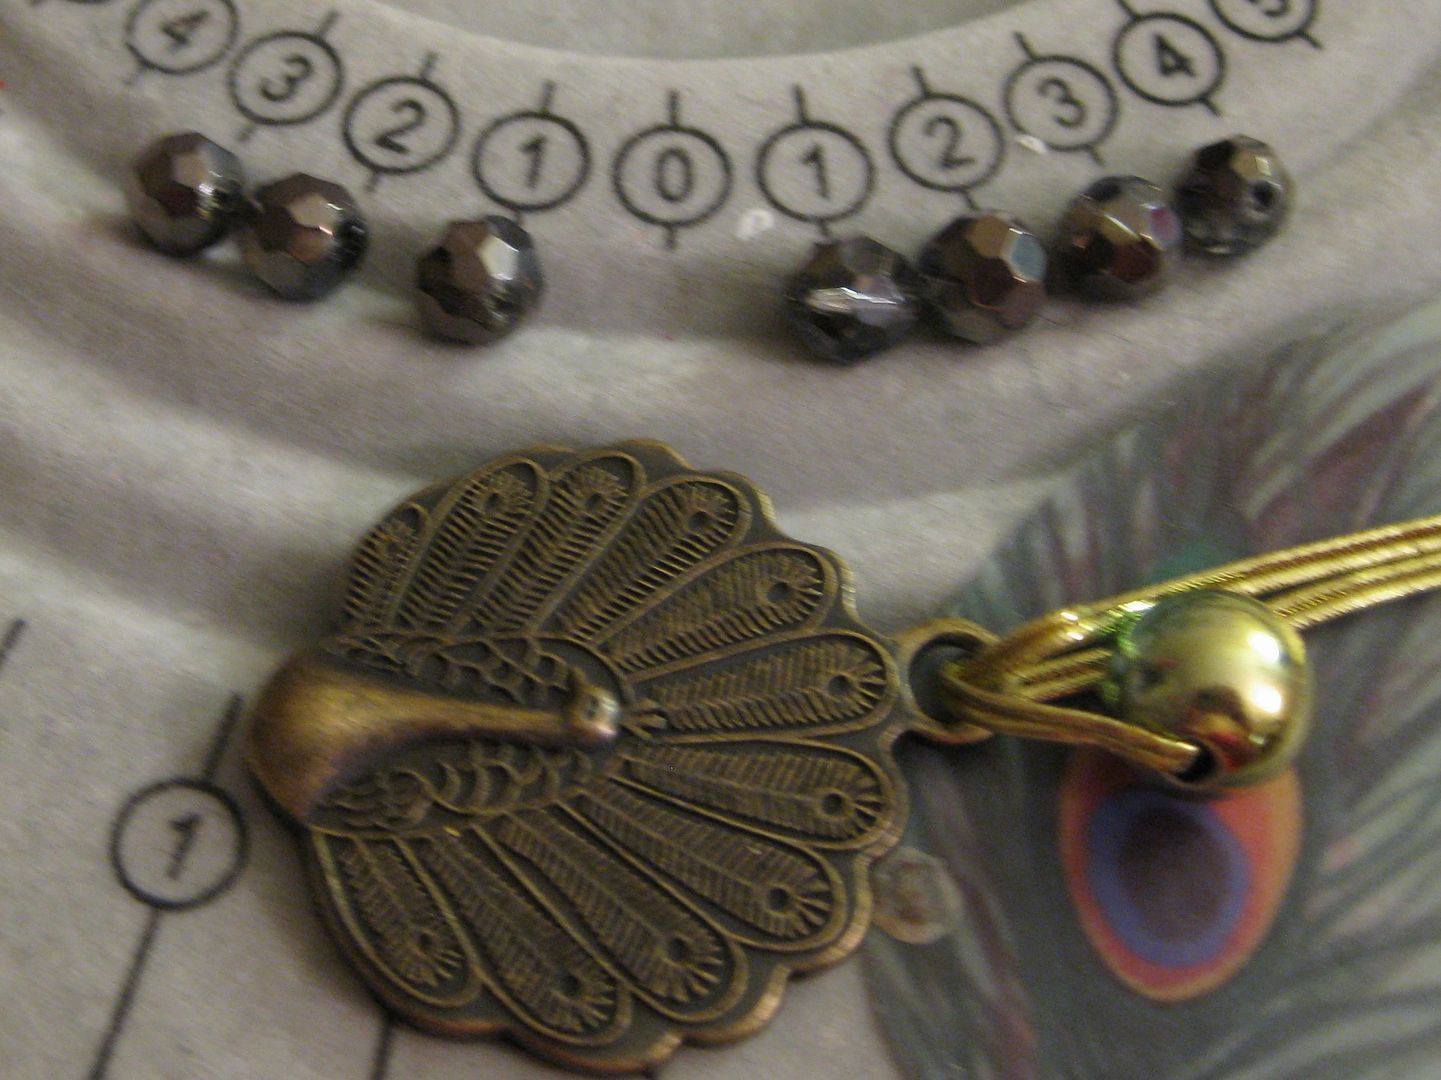
Off came the gold stuff. And you can see the cystals I am going to pair with the charm. 

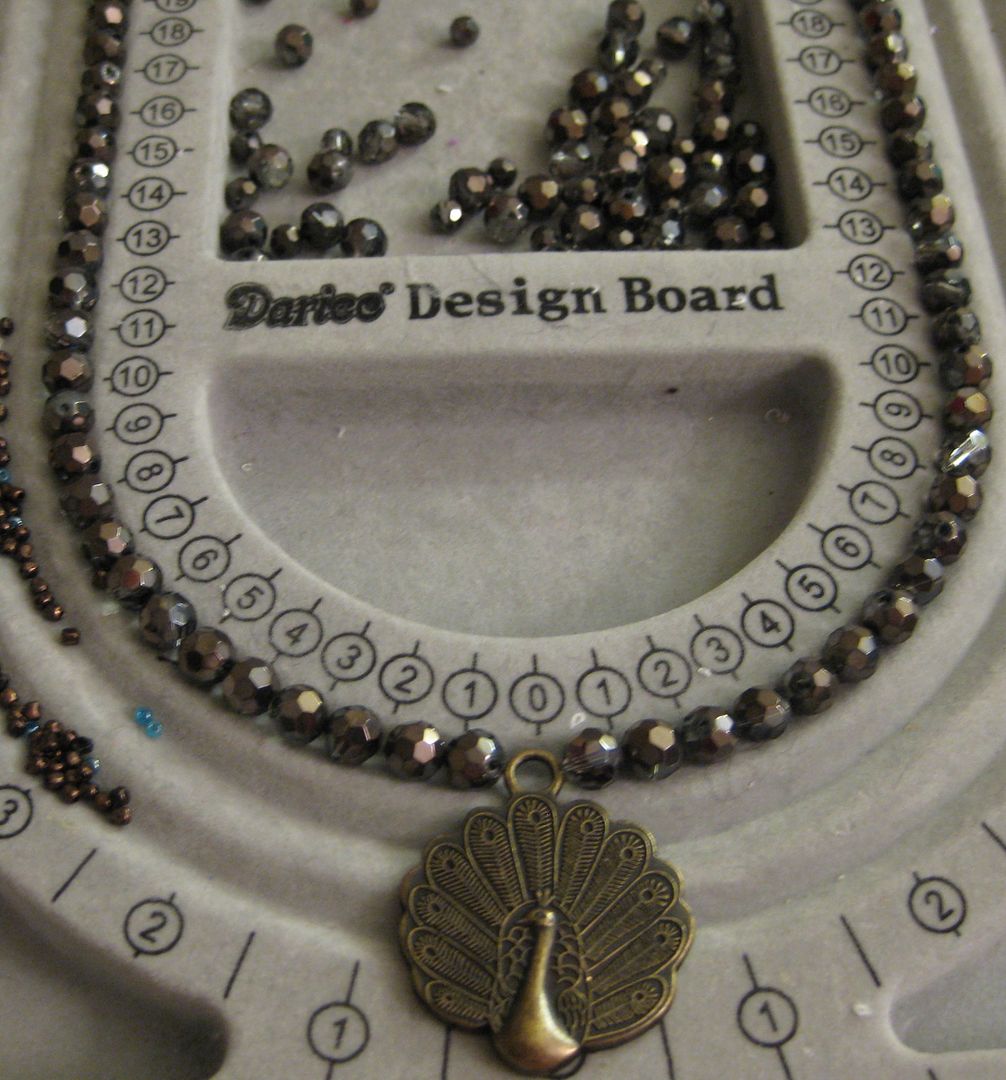
Here is my design. I was also going to use some bronze spacer seed beads. I used 2 jump rings to keep the peacock facing forward. It was pretty easy to string. 

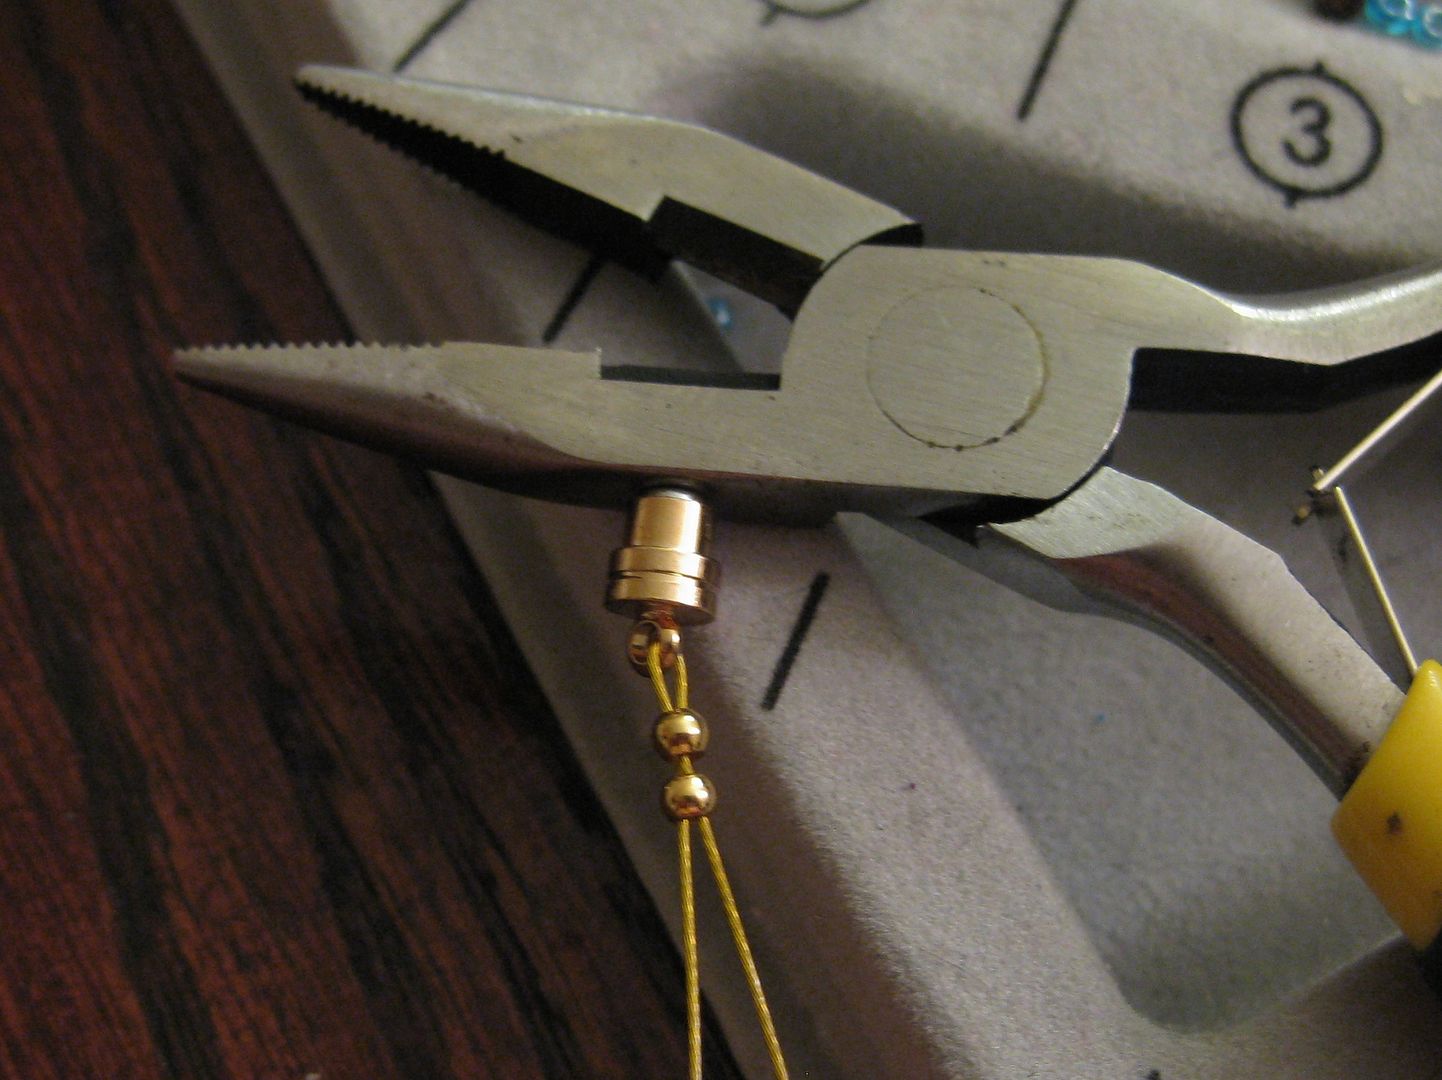
Now to add fasteners-I am going to use a magnetic clasp. Here is a hint on how to get your crimp beads crimped with a magnetic clasp... let it attach to something magnetic, THEN crimp. Or you will have lots of problems!

I used 2 crimp beads on both sides. And weaved it through the nearby beads to hide the string.

Done! Yay! 

This peacock charm looks so much nicer on my then it does on the candle. But I am little biased. :) Yay for recycling something that could have been just tossed. But it was too pretty to pass up.

xoxoxo,
Lauren

Wednesday, February 13, 2013

Black Blingy Necklace from wooden beads.


Well the before picture has disappeared. I blame the move. Seriously I do. I spray painted some wooden beads with black spray paint I had leftover. I just didn't like the color of wood. Now what to do with them??


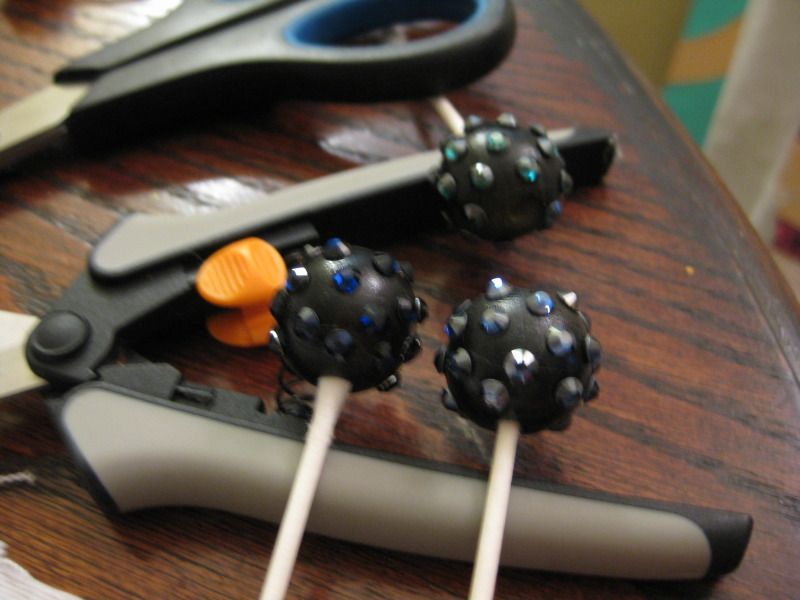
I had these crystals I got on clearance and decided I wanted to glue them on to some of the big round ones. I used GS Hypo cement. Stuff is awesome!

I kept them on Q-tips b/c it was easy to manipulate the beads. They fit perfectly Let dry. 

Repeat with other colors. 

Now time to make a necklace. I cheated and found a ready made necklace so all I had to do was add my beads. Many I love easy! Then I used a kit I already had for the black jump rings and those long connector things... whatever they are called.

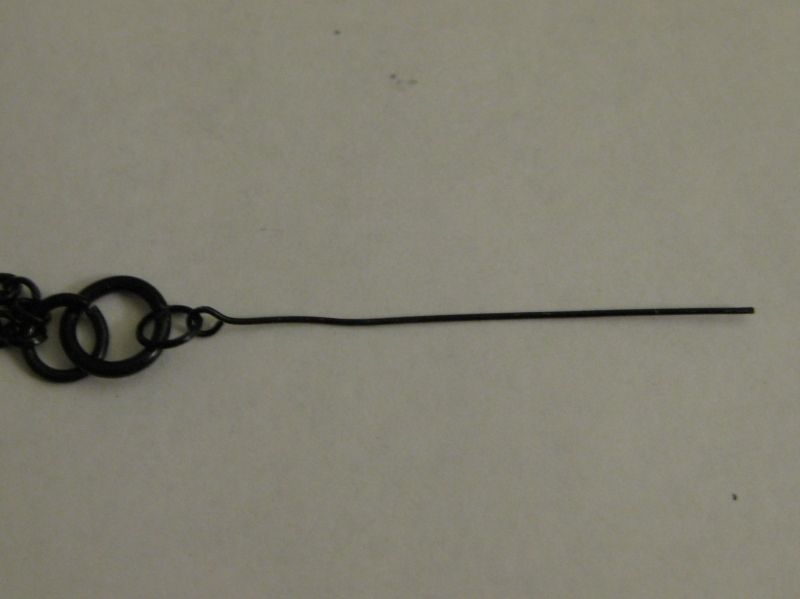
Hmm This one needs straightening. I messed up :(

Done! Wahoo. Yay for straightening pliers

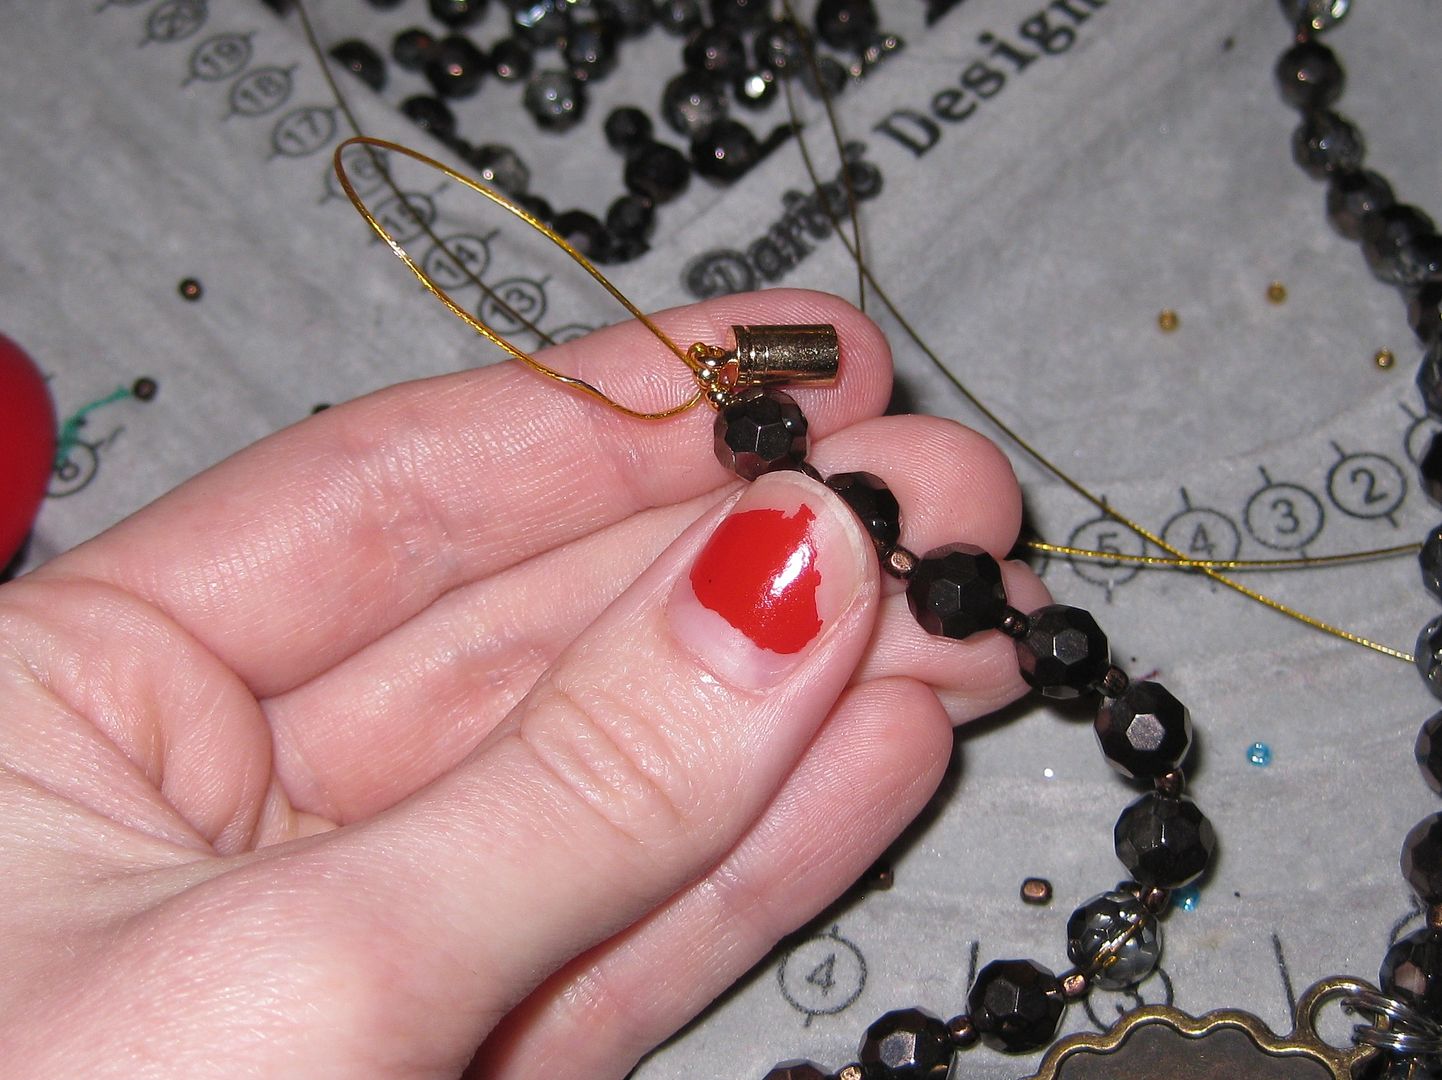
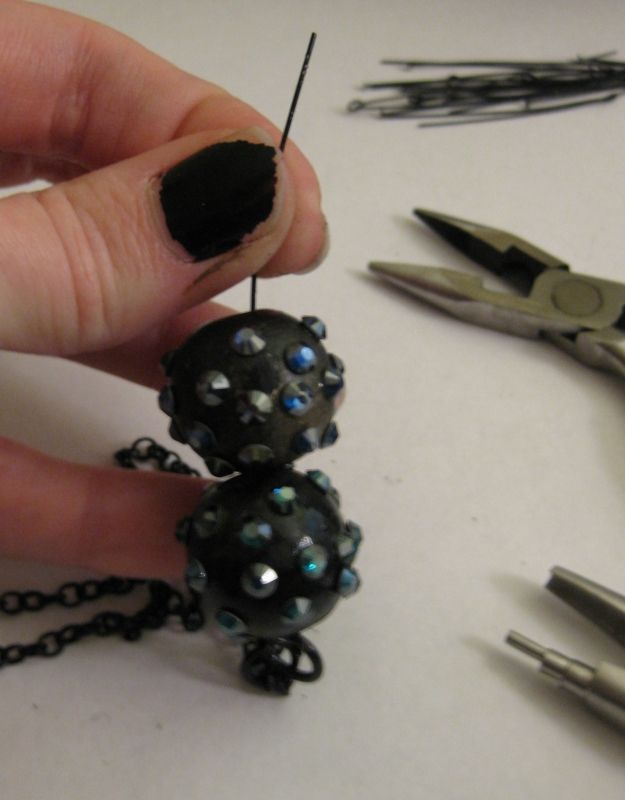
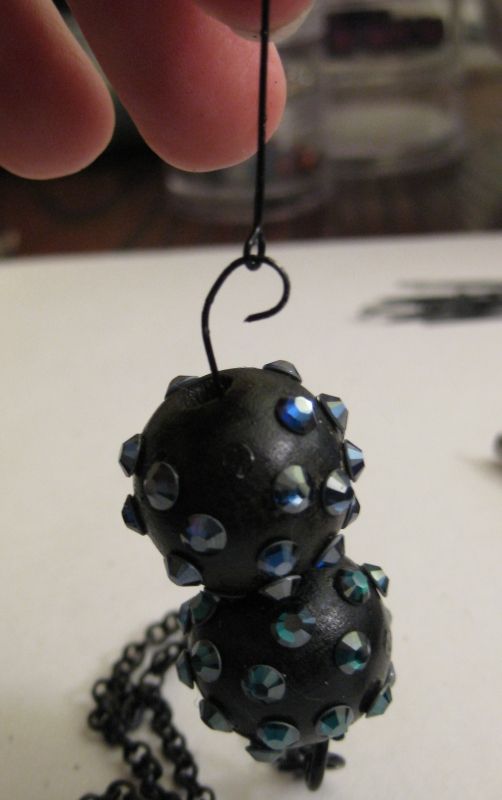
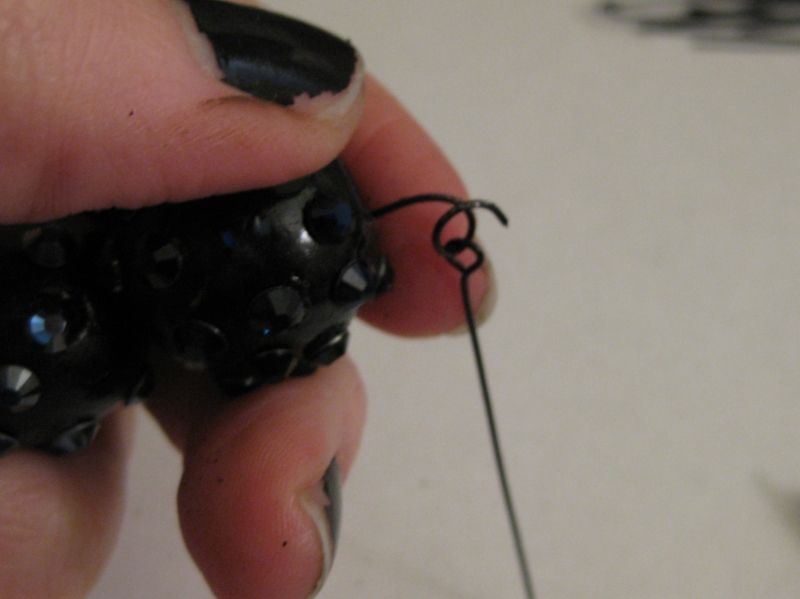
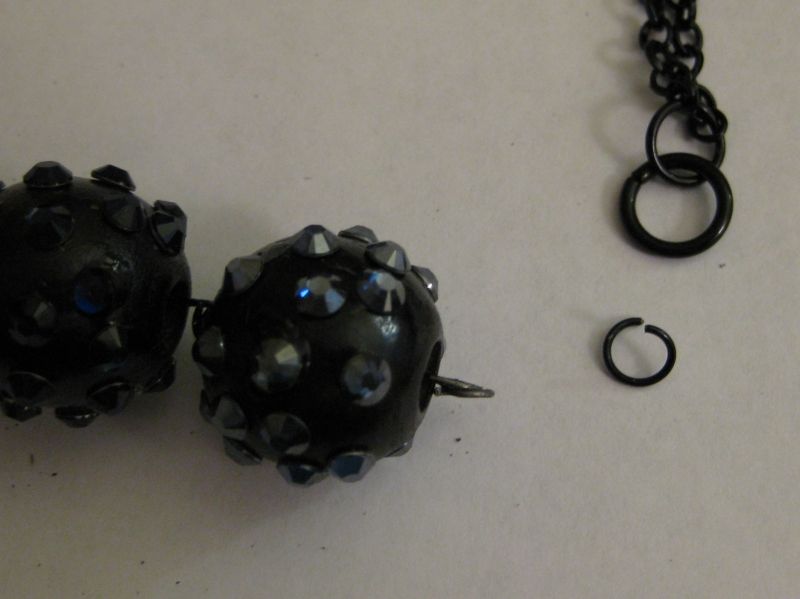
Basically all I am doing is connecting each bead. 


Almost done! Connect via jump ring. 

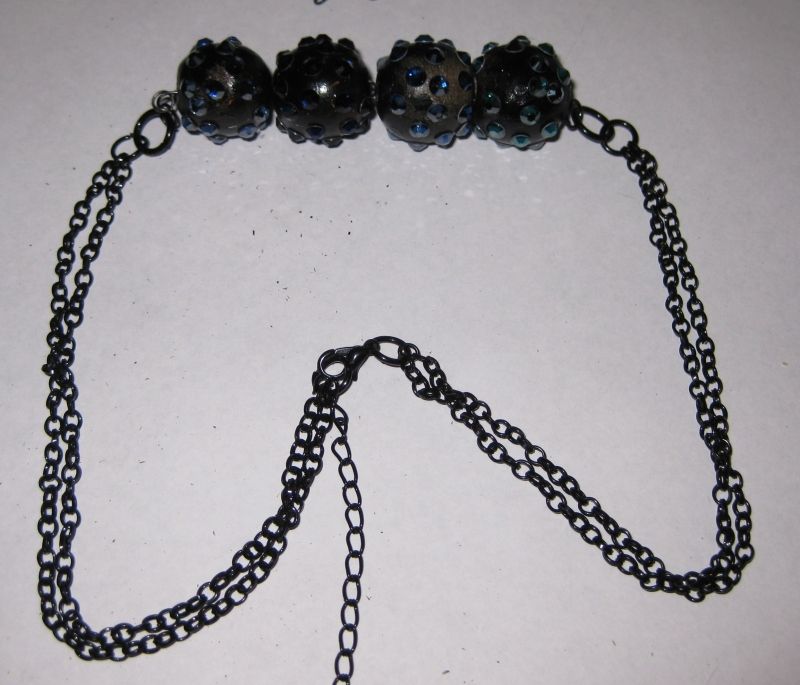
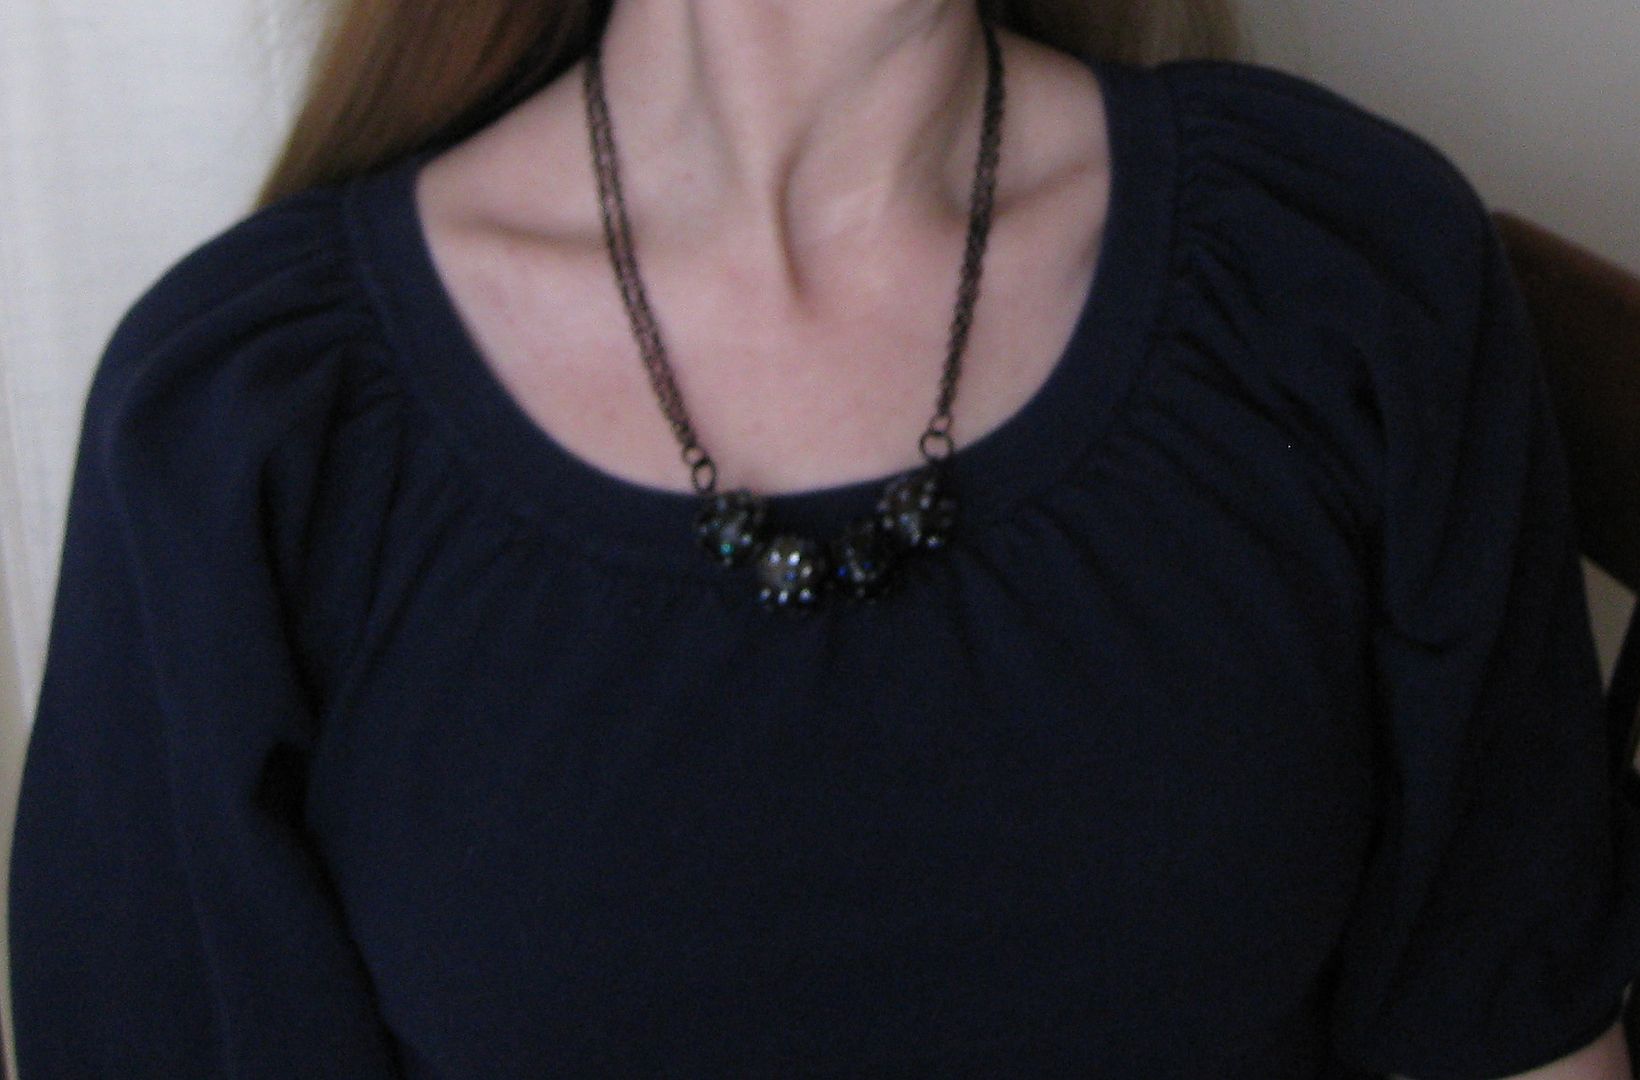
Here is how it is before I put it on.

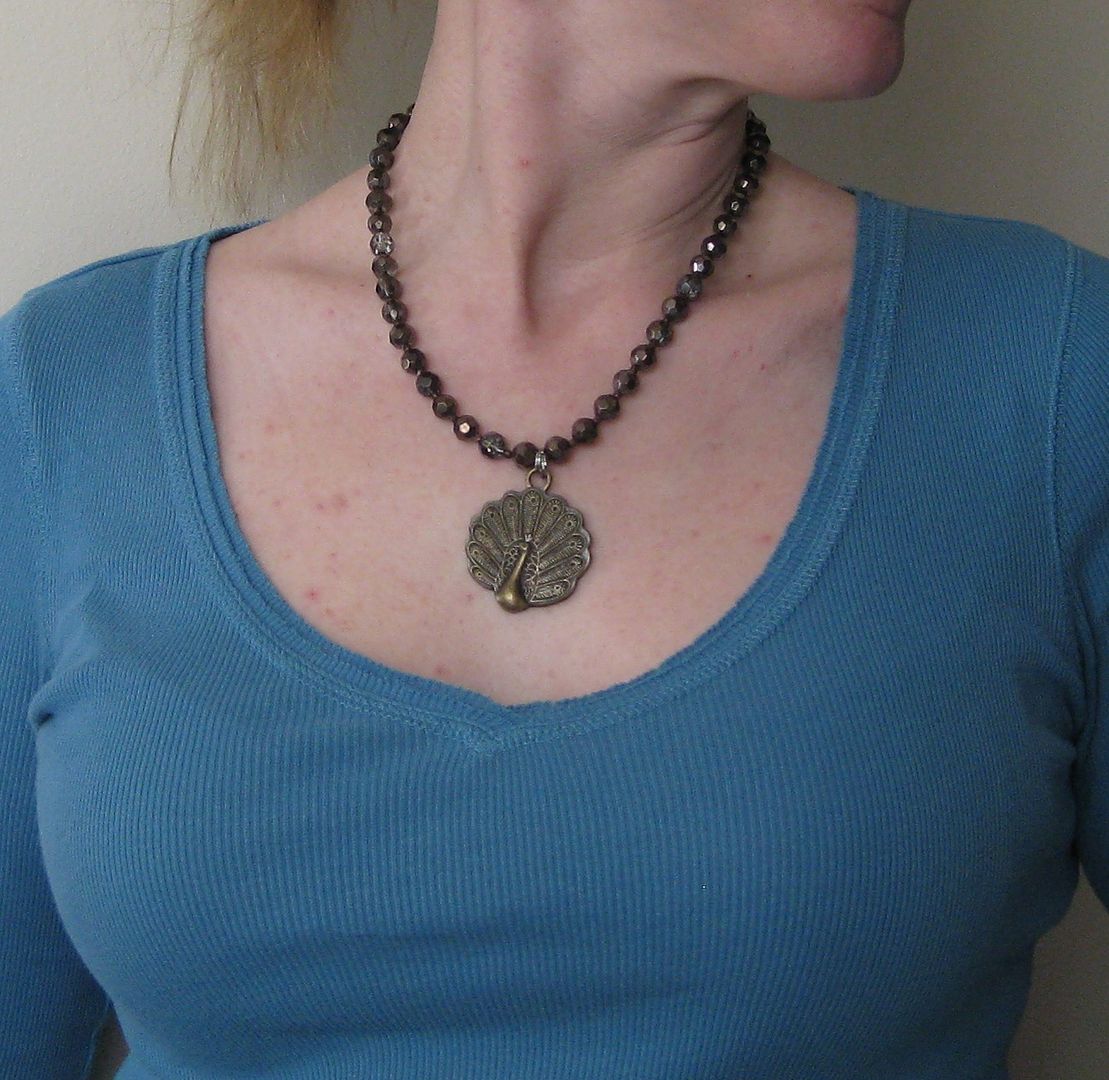
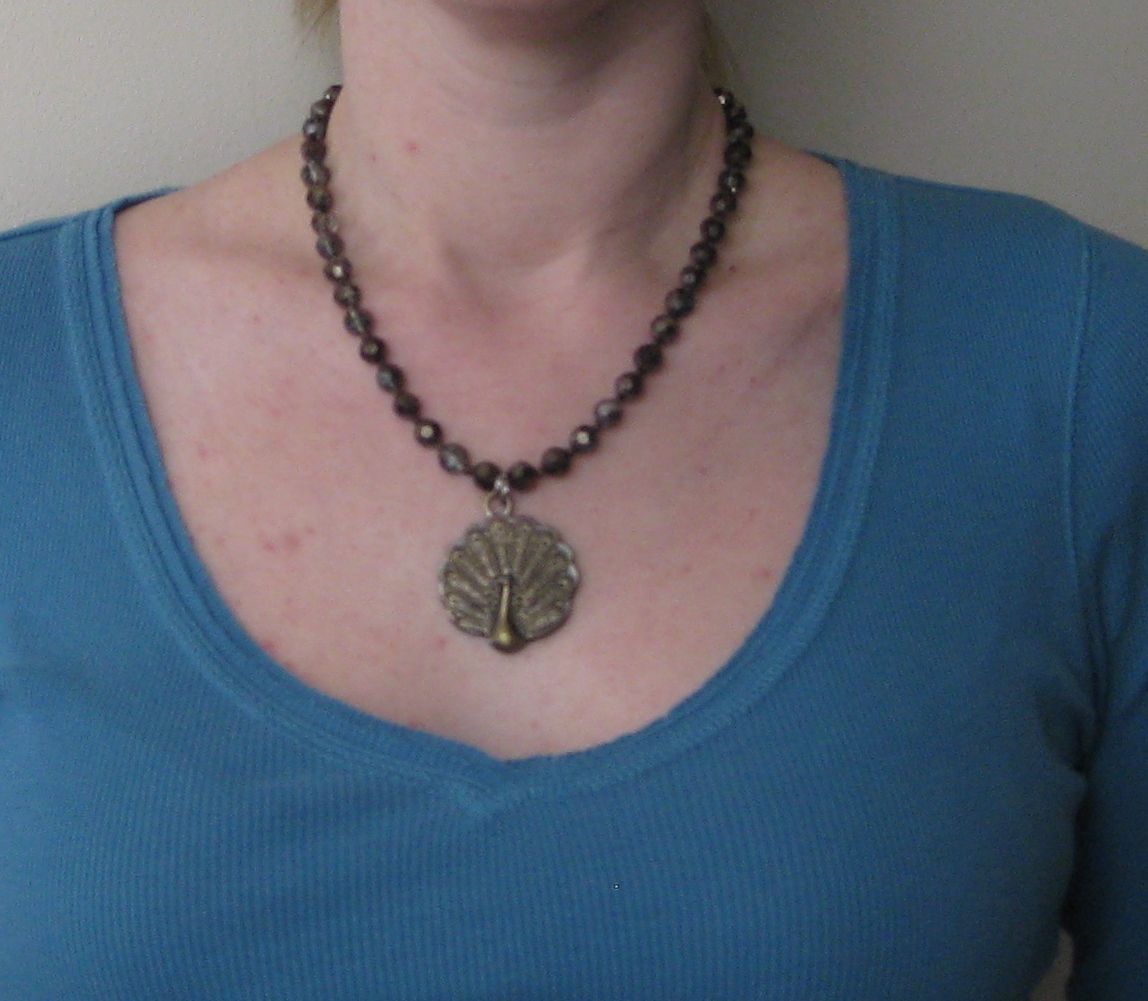
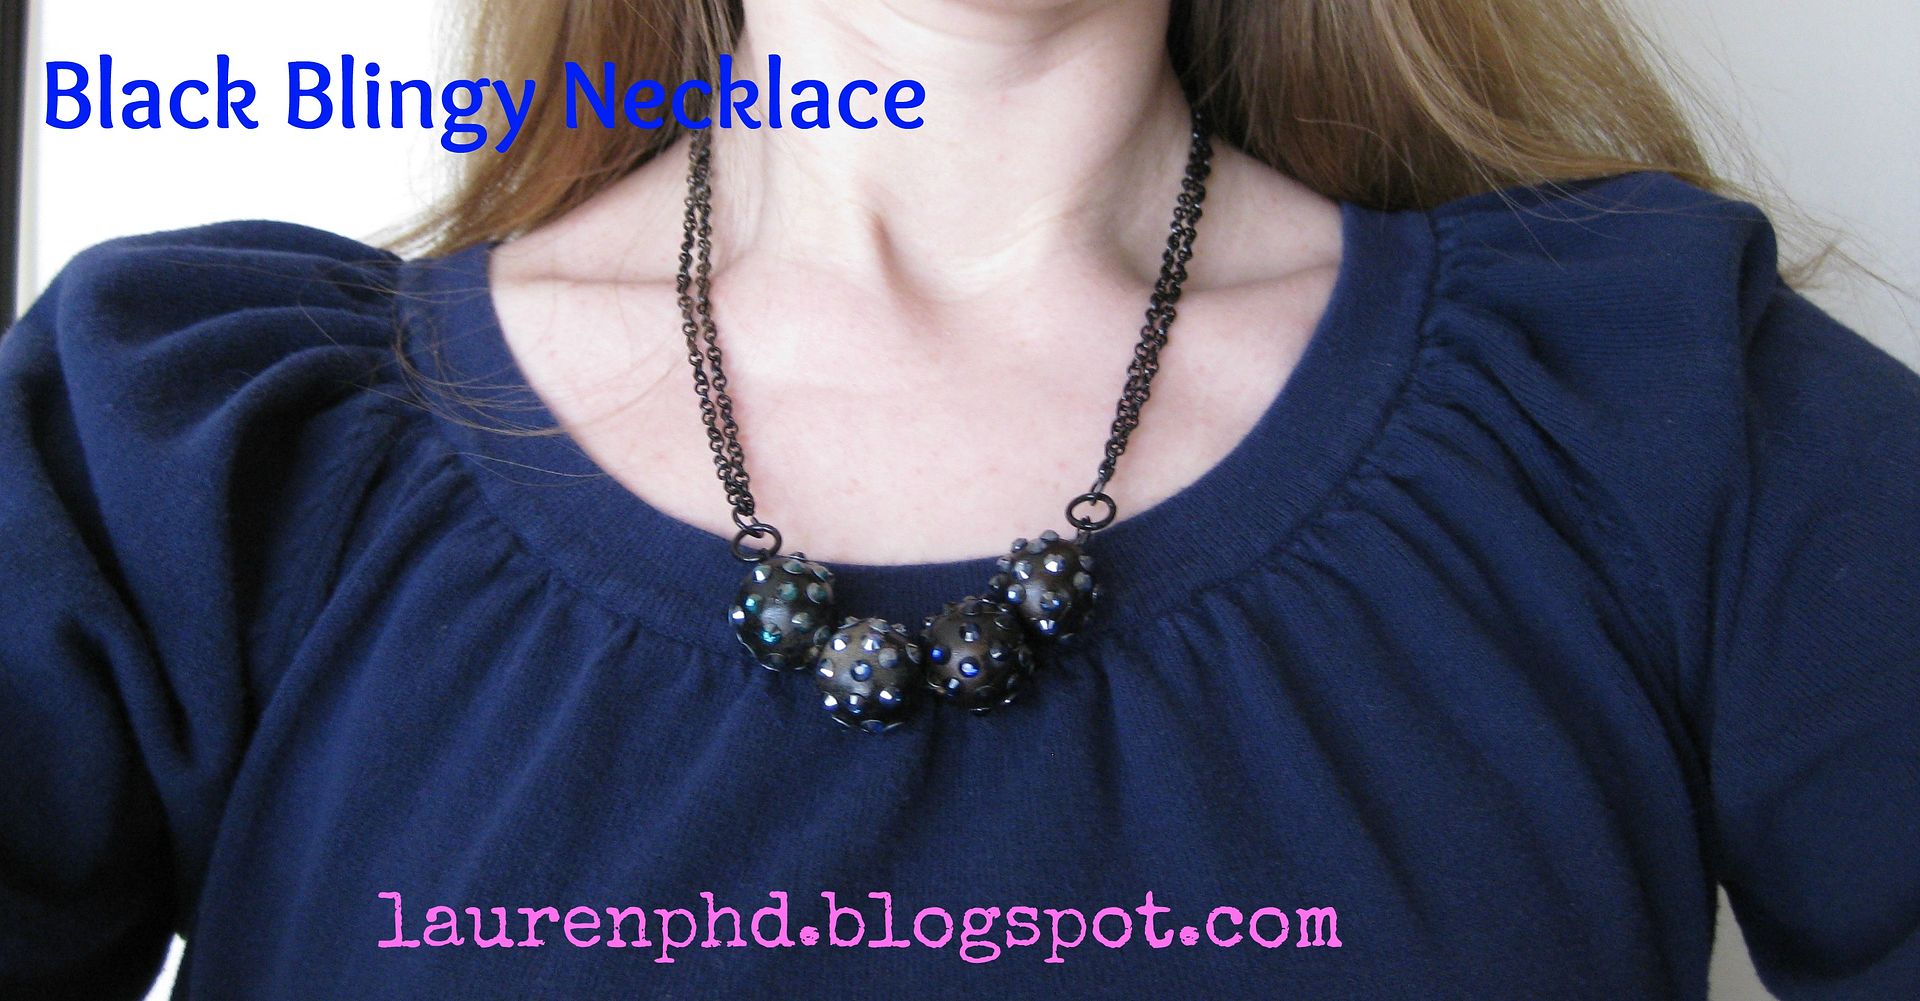
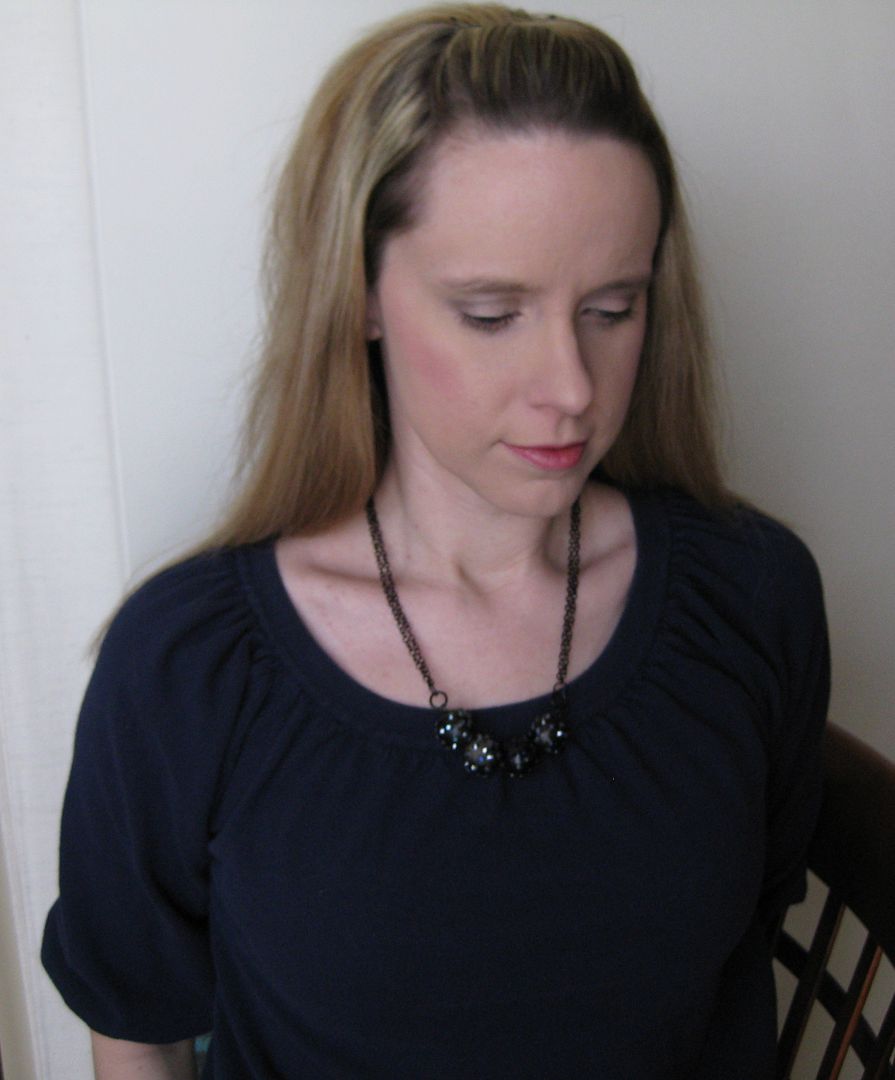
And here is me modeling it. The pictures do NOT do the crystals justice. 


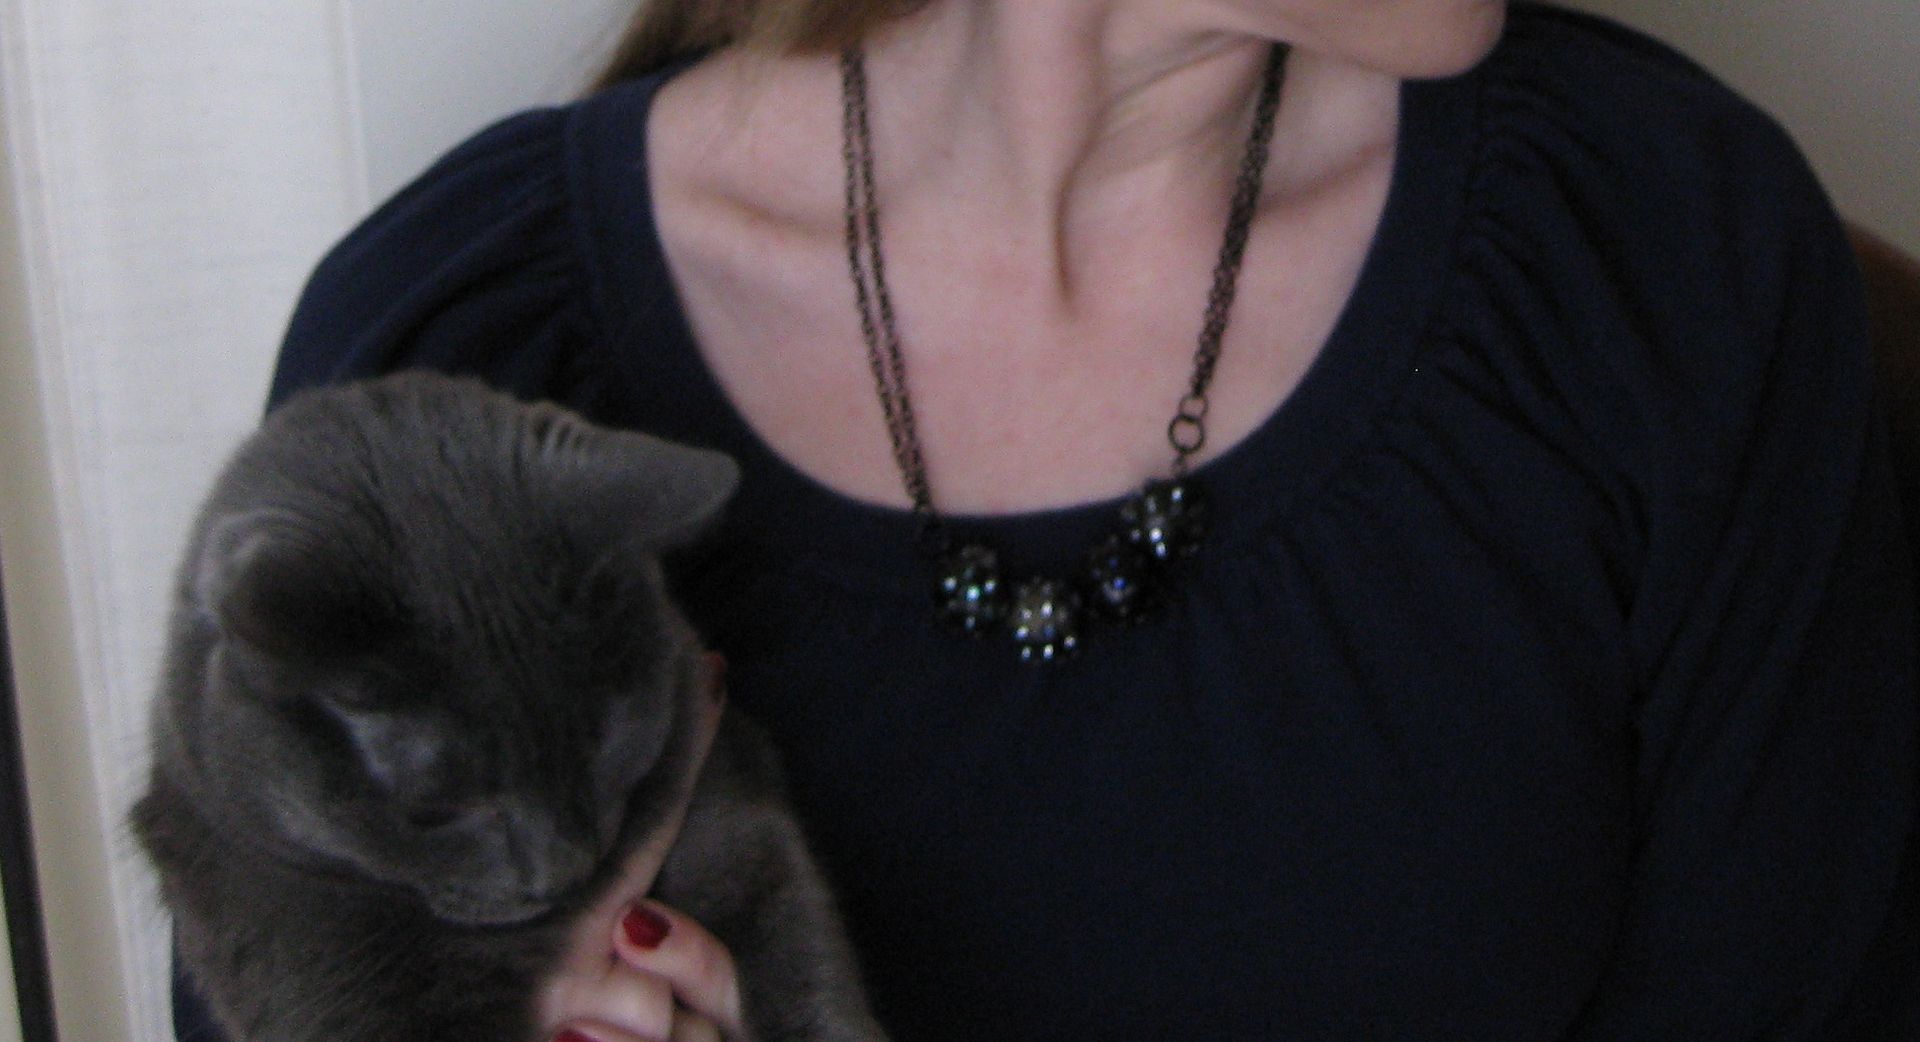
Here's a cameo appearance with my cat Natasha.


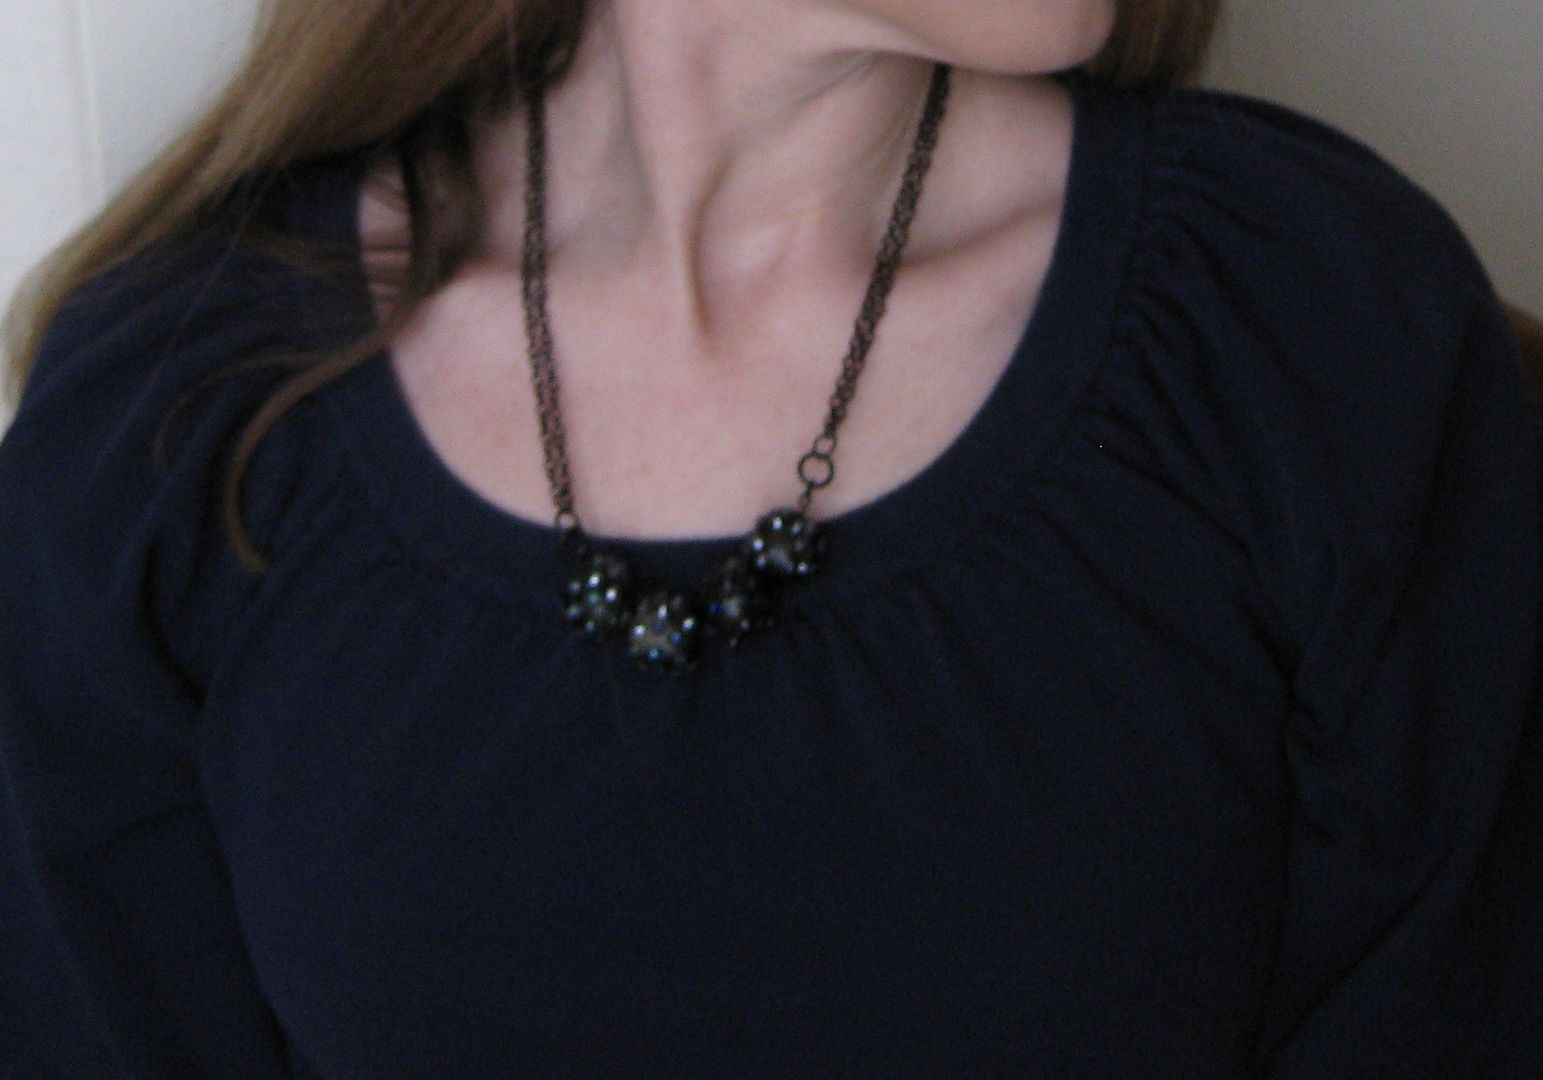
Couldn't help BUT to add this funny picture of myself. 


Yay +1 bling point! Yeah. Moving on up to a smaller closet, one bead at a time!

xoxoxo,
Lauren

Thursday, January 3, 2013

Beaded hair combs

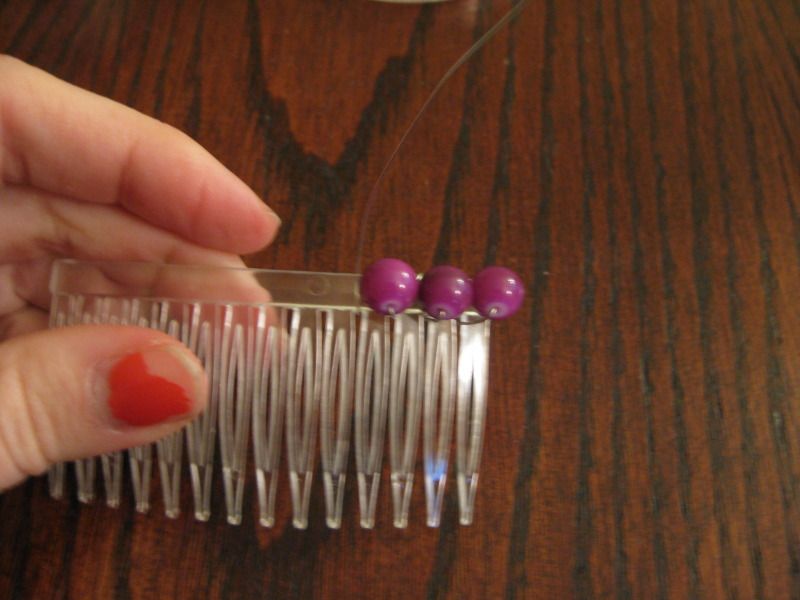
I have always wanted to learn how to wire wrap and I thought I would start with a simple project. It is very simple and rewarding. I started with thin wire that I had from someone. The thinner the wire the easier it is to manipulate. And if you are starting out like me, thin is good. Next you need a comb, I got these at hobby lobby awhile ago and never used them.

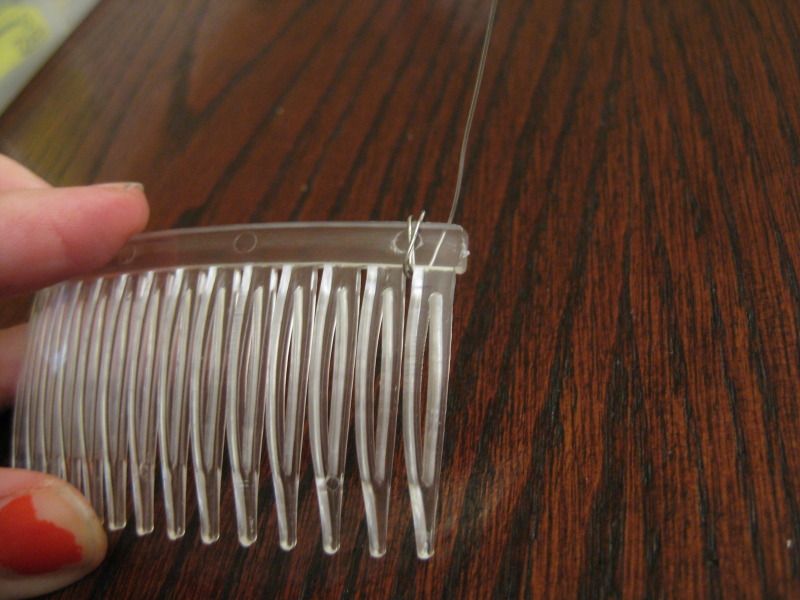
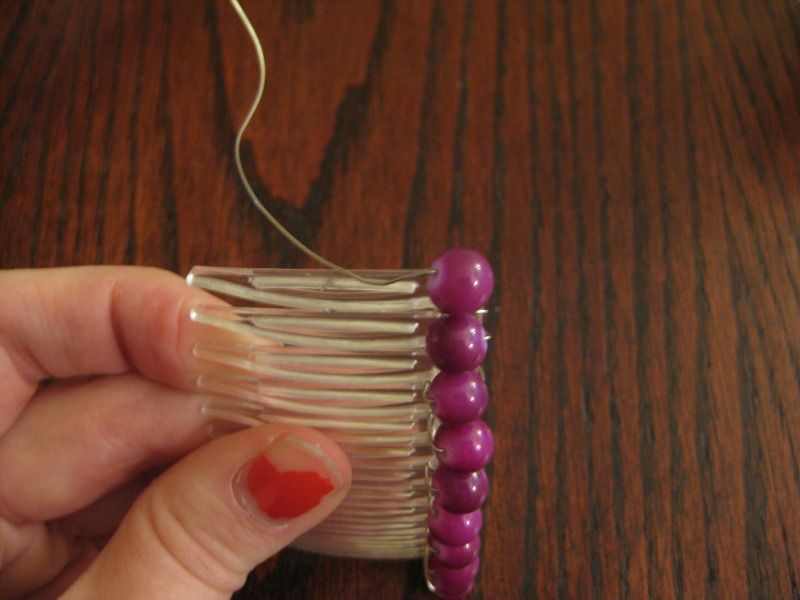
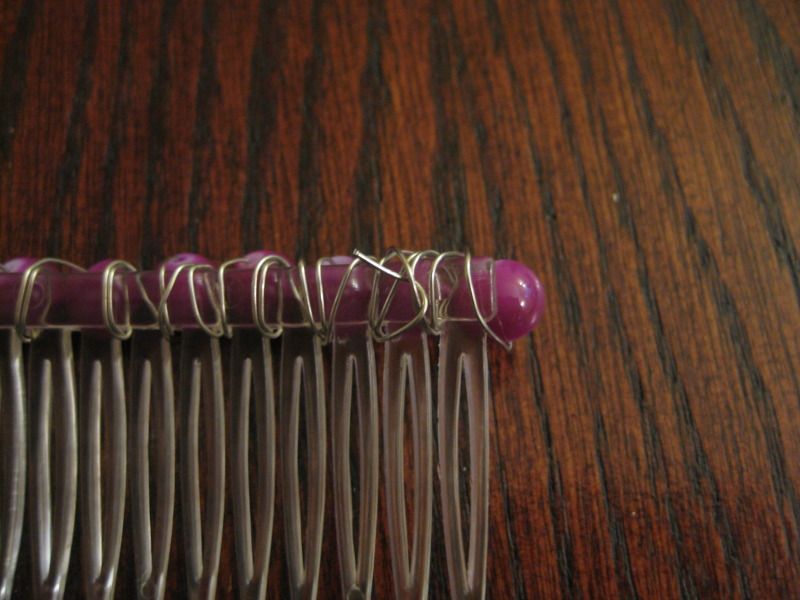
Start with a piece of wire, I don't really measure I just went with my wingspan of my arms. Now I have long arms so I would say its over a yard stick. That is plenty of wire, but I always like to be safe. We want to cover the end wire, so I ran it parallel to the comb, we will do an initial wrap to lock it in place. Then as we go the remainder of the wire will be covered.

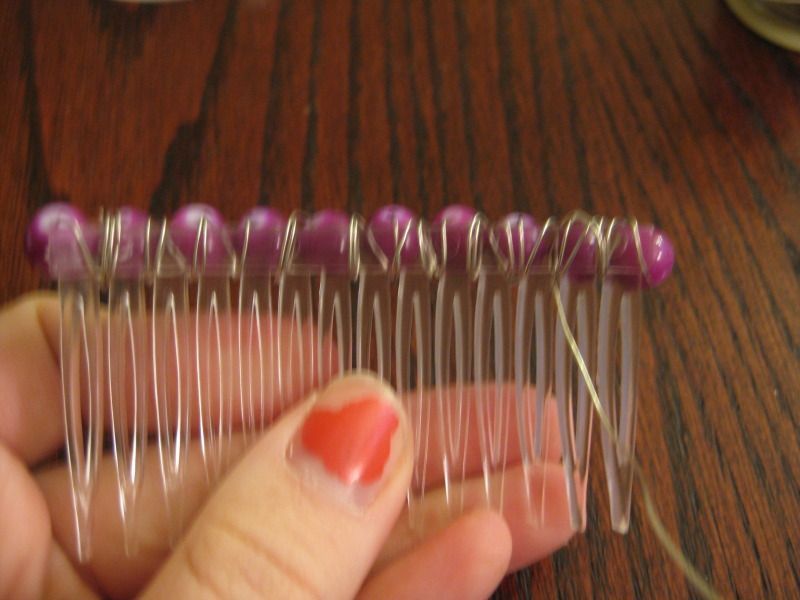
And just add beads. Now I forgot to mention to check that your wire will go through you beads. Again another reason to use a thin wire. I usually add a bead, wrap to lock the bead in the next groove, repeat.


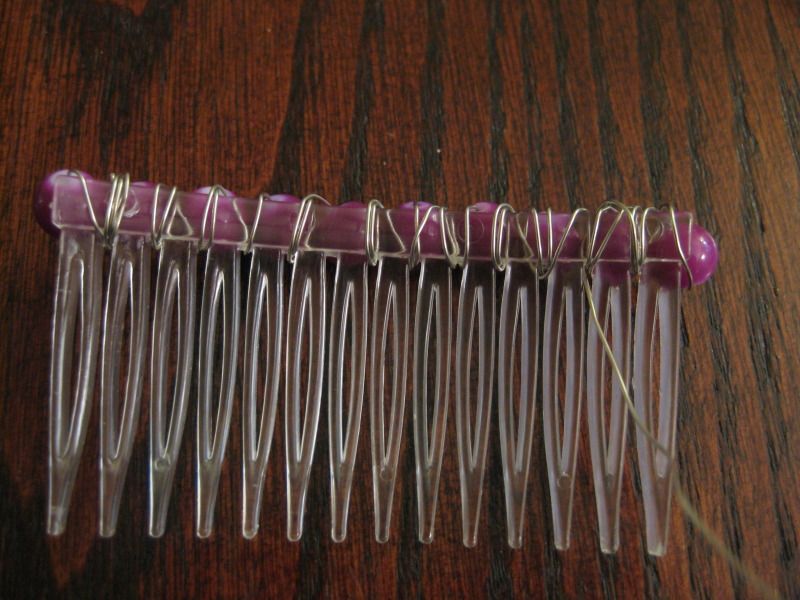
Ok at the end! We need to lock the last bead and hide the wire. I wrapped it a few times. When these pictures were taken I probably wrapped it too many times, on the other ones that followed I didn't wrap as much. Then I hid the wire end underneath the wraps. Done!


And yes I made sure the wire was not sticking out. I began to miss around with other beads. Here are larger crystal beads, which I loved but they wouldn't stay in my thin hair. It was pretty but it was a challenge.

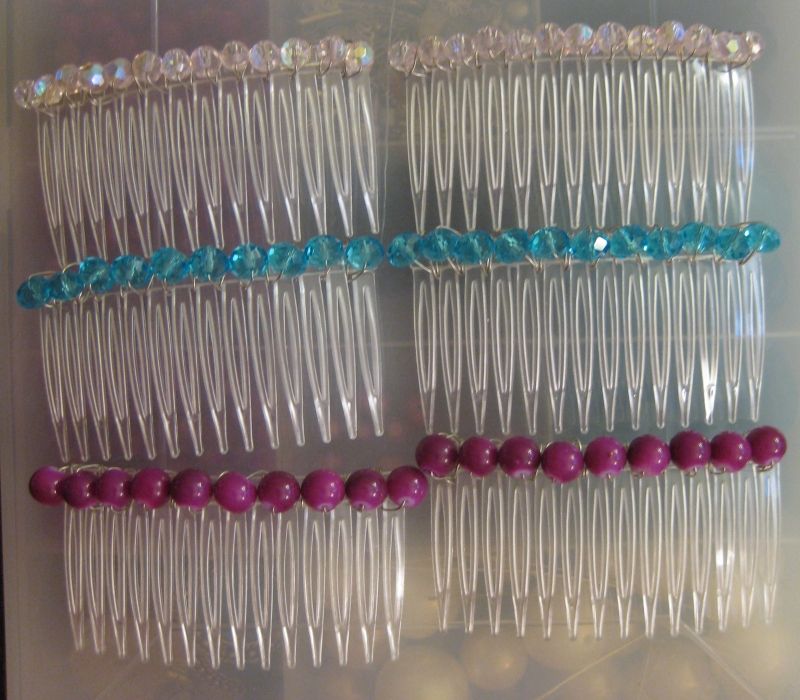
So I stuck with thin, lighter beads. Here are all the combs I made.


This was a fun and easy project. Can't wait to wear them in my hair! :)

xoxoxo,
Lauren

Monday, October 29, 2012

Day 90: Periwinkle Ice Bellydance Costume

So it all started with this big skirt I purchased from goodwill and unpicked to discover it was very very large! So large that not only did we fit 3 people we fit 4 people!


We wound up turning it into this costume for our troupe (5 costumes now).

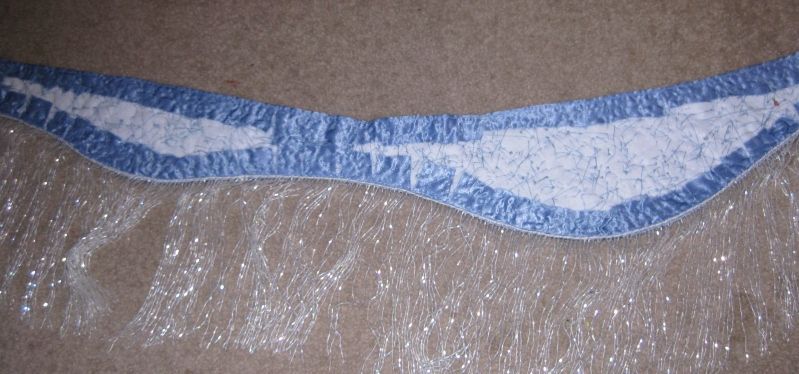
I still had a lot of satin leftover. So I wanted to make another costume with the leftovers. Even though there was some glue marks still. It did not matter b/c the beads were going to cover them up.
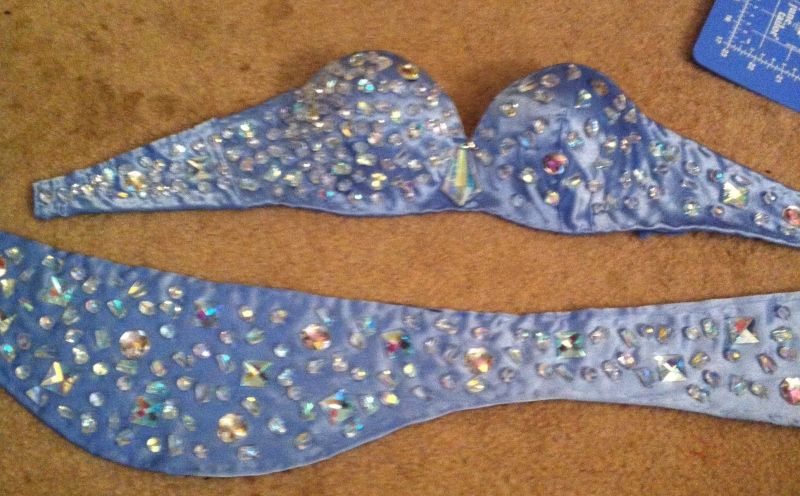
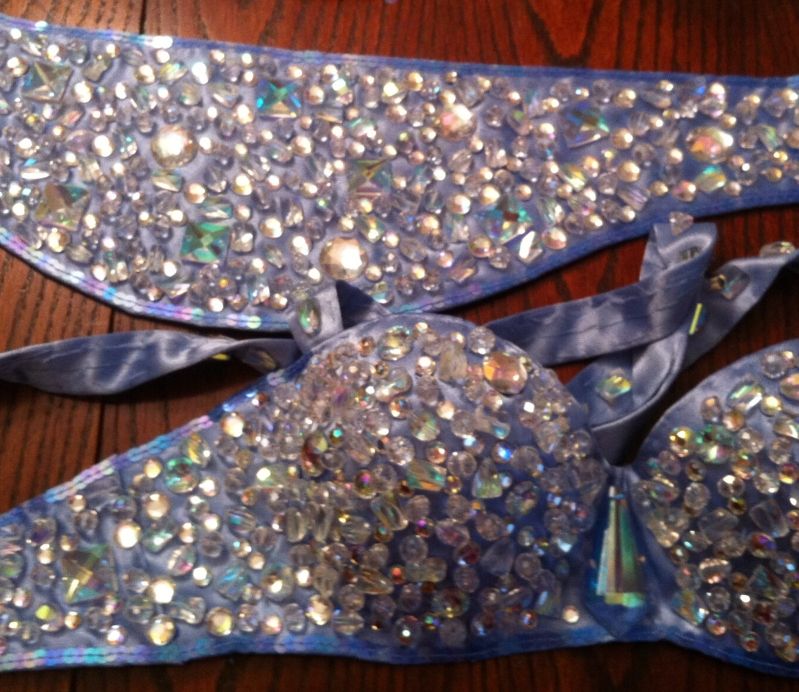
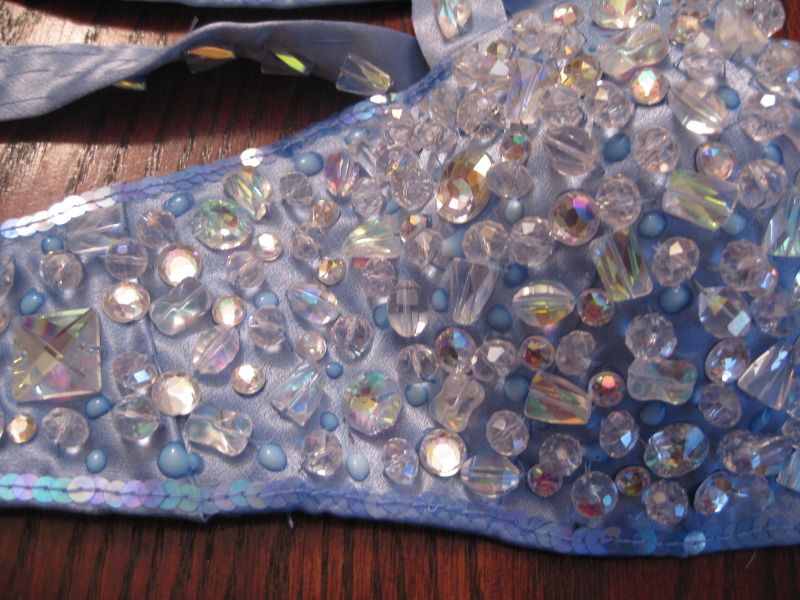
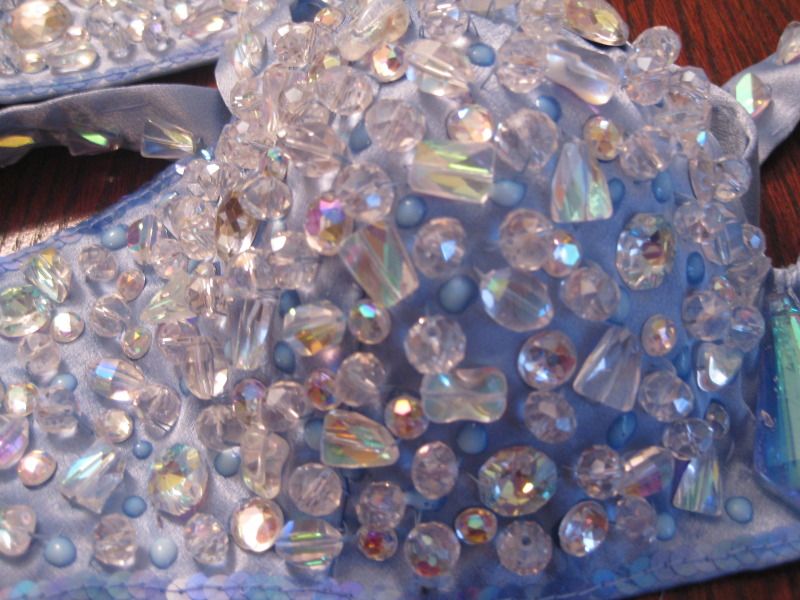
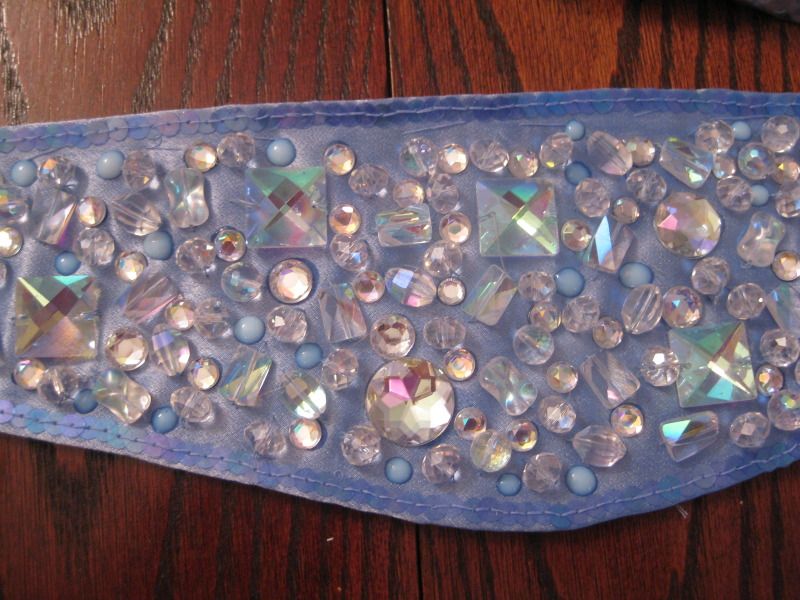
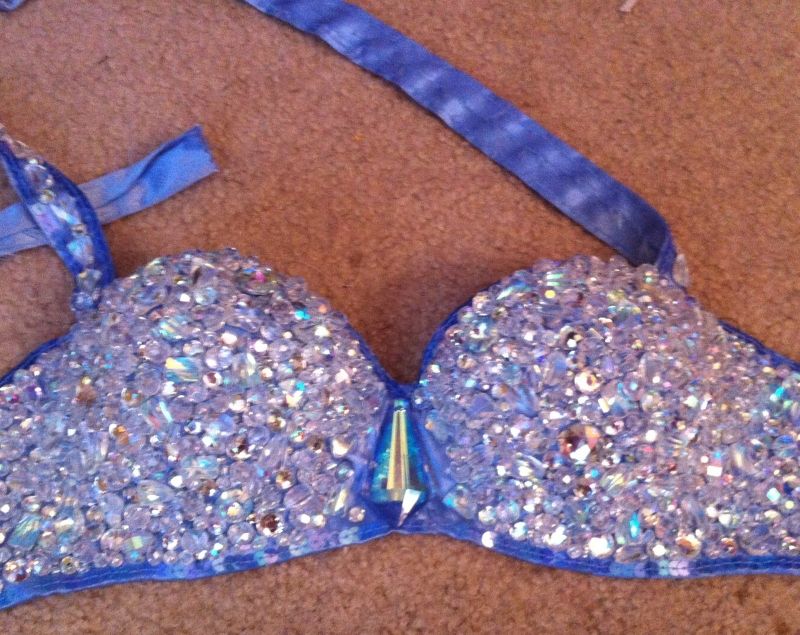
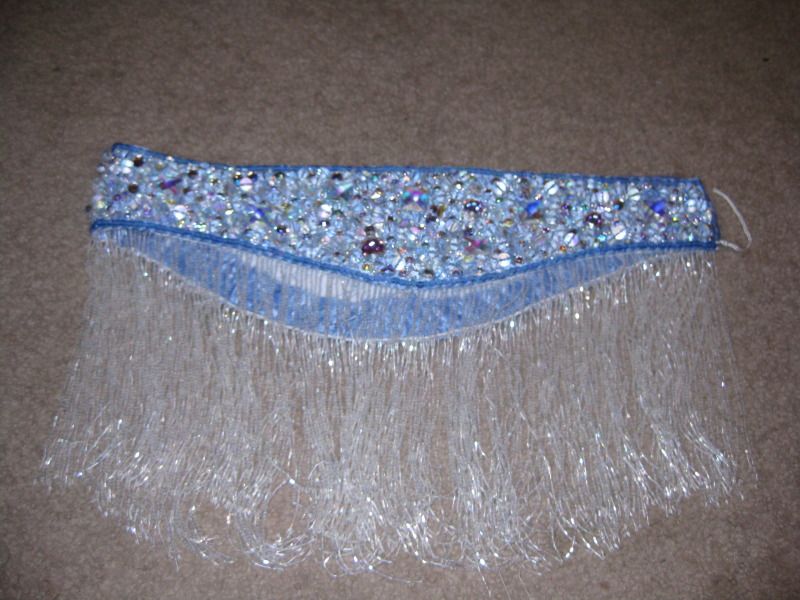
And then finally it comes to this costume. I oringinally purchased clear ab beads over the years and inherited some from other people and I wanted to do an all white costume that was a mix of clear ab beads. One day I was cleaning out my closet and a piece of the periwinkle satin from the tribal fusion costume was near the clear ab beads and I realized no.... I need to make a costume cominging these 2 colors. It would be amazing.

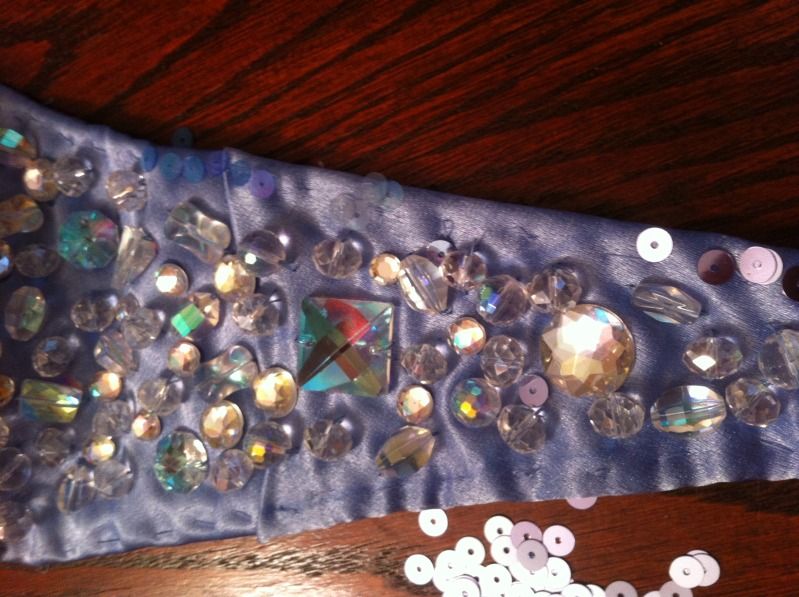
So I started with gluing the big pieces and sewing on the big beads. And I played around with the center piece too. I had something in my stash of course.

Then just sew sew sew. Now before I filled everything completely in, I needed to decide how to edge the costume. I could not find pre-strung sequins that would match. I actually purchased individual sequins in different blues to see what would work the best. Here is me playing around with them.


I chose medium cornflower blue. So I sewed on the sequins on the edges of the costumes. Yes each one indiviually.

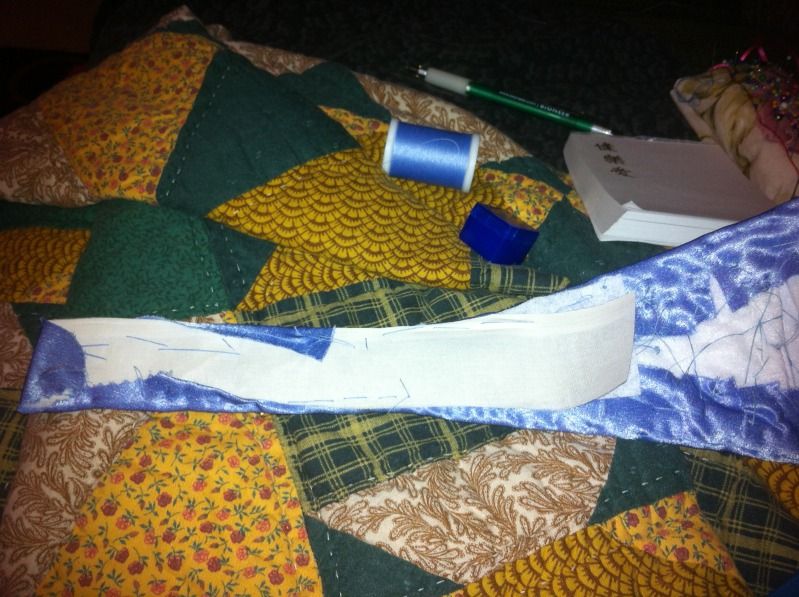
Eek! the strap was too short. I had to extend it further with felt... boo


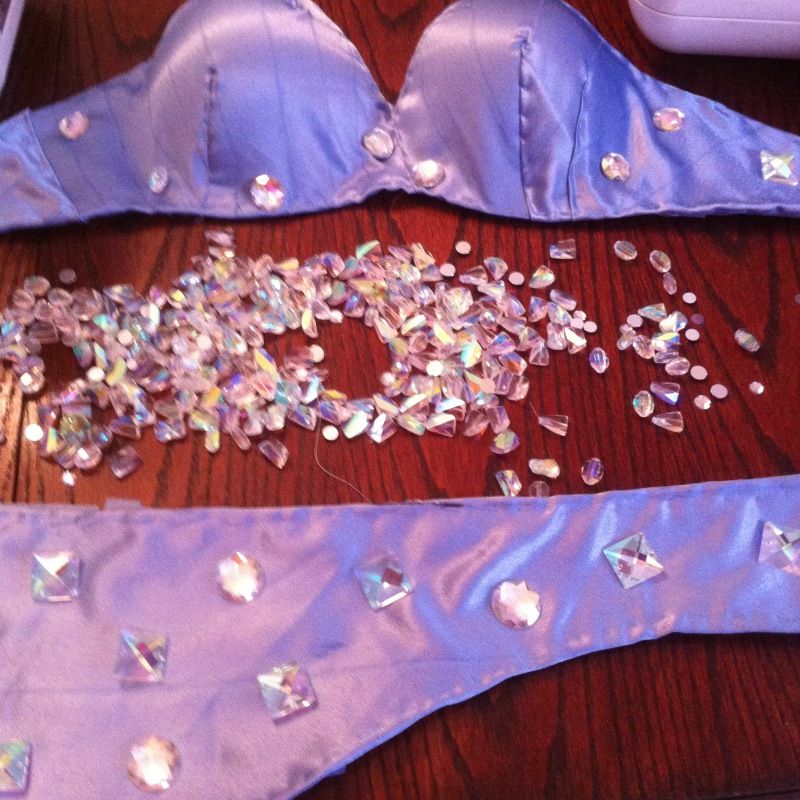
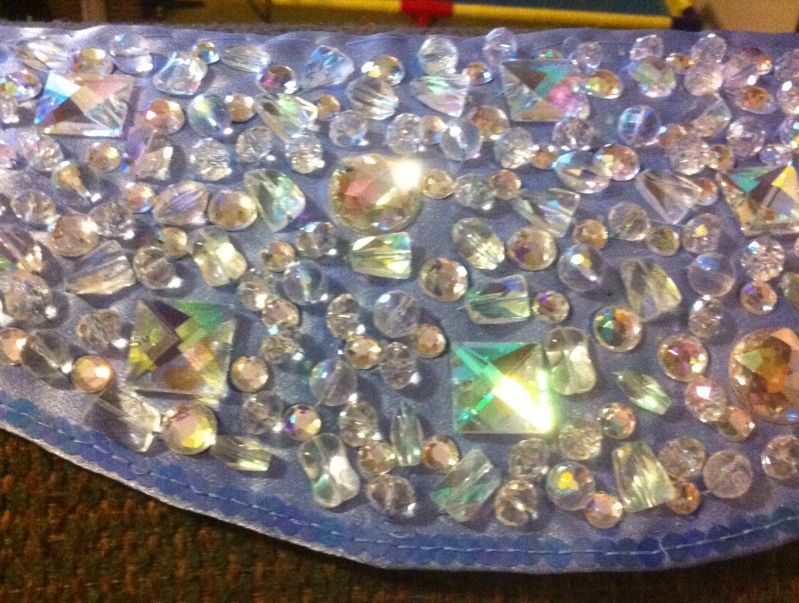
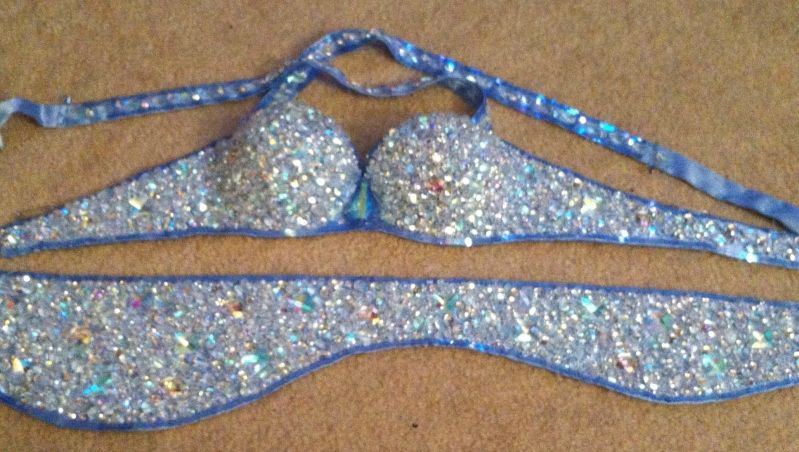
So I finished the top also with sequins. And the straps too.... Now time for easy filling in! I glued the different clear AB finish rhinestones (and they were big too!) to fill in the costume. Less for me to sew. Yeah! FYI it is way easier to add to rhinestones to the glue spots then it is to glue the rhinestone then add. Trust me!!!


Done! Wahoo! Well almost..


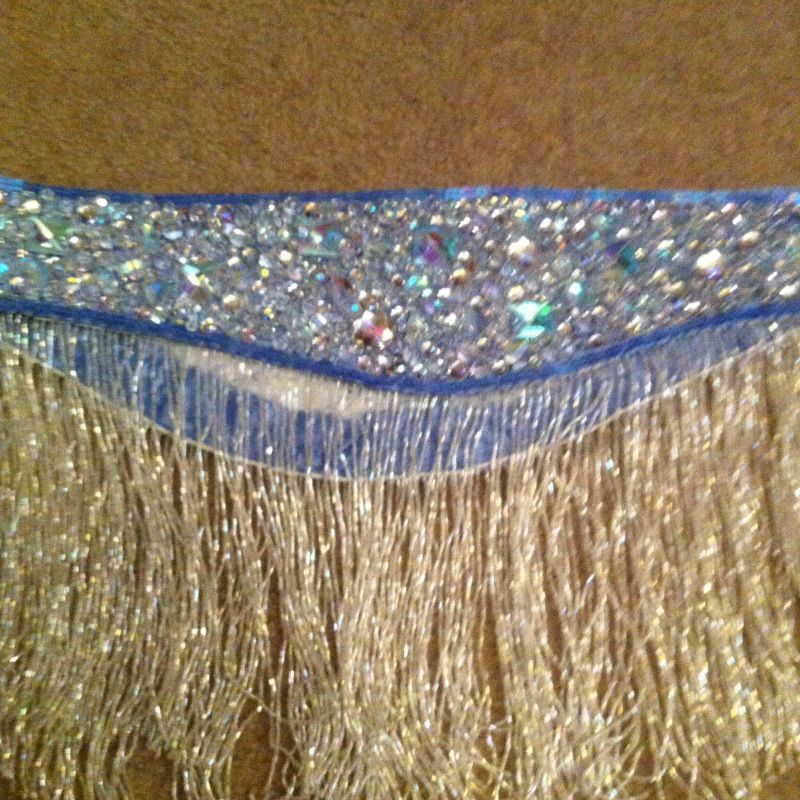
Add the fringe to the bottom of the belt.


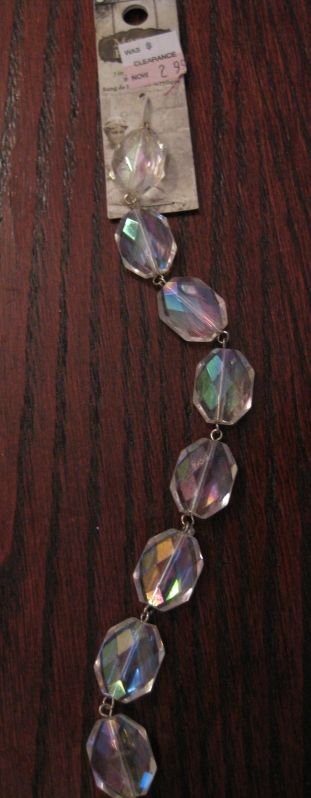
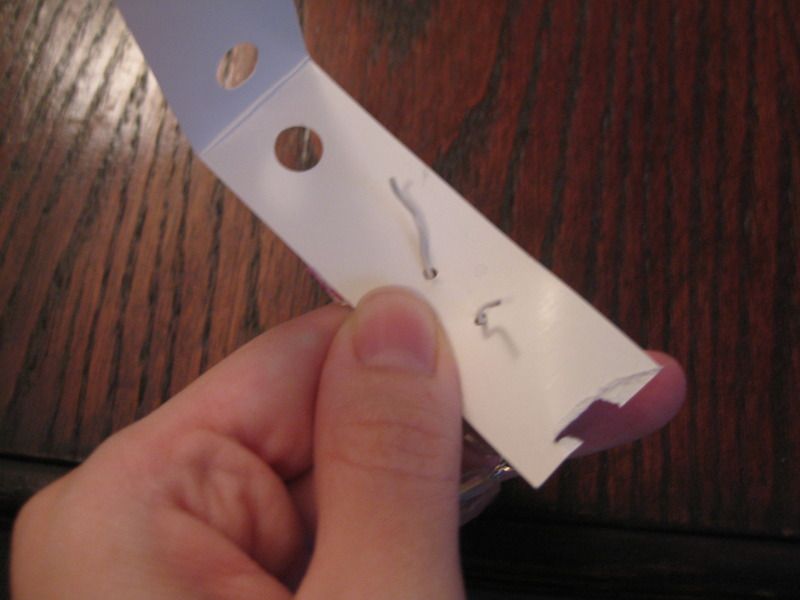
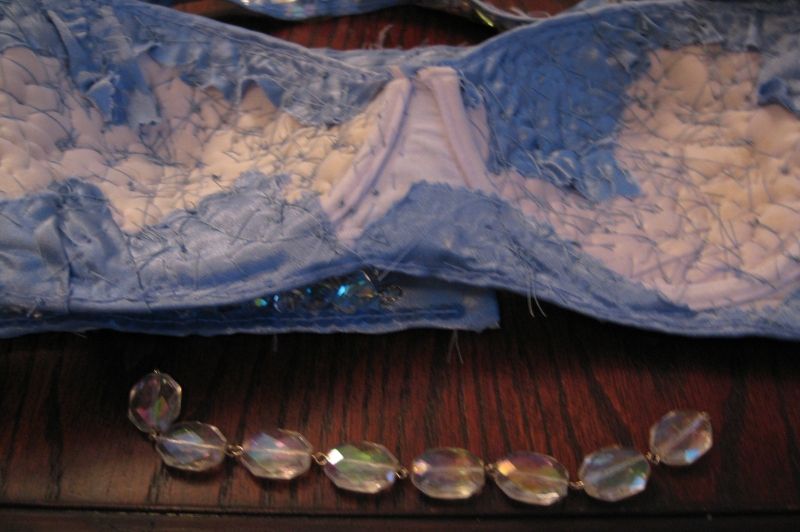
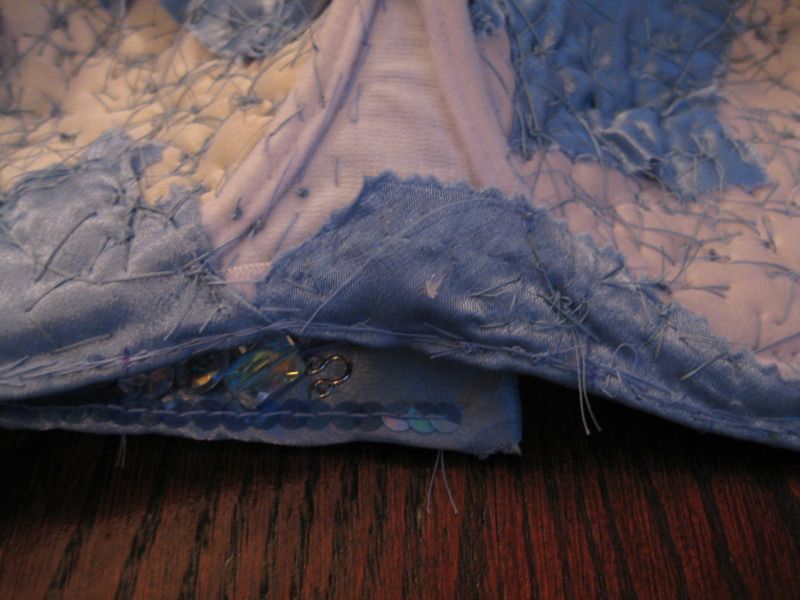
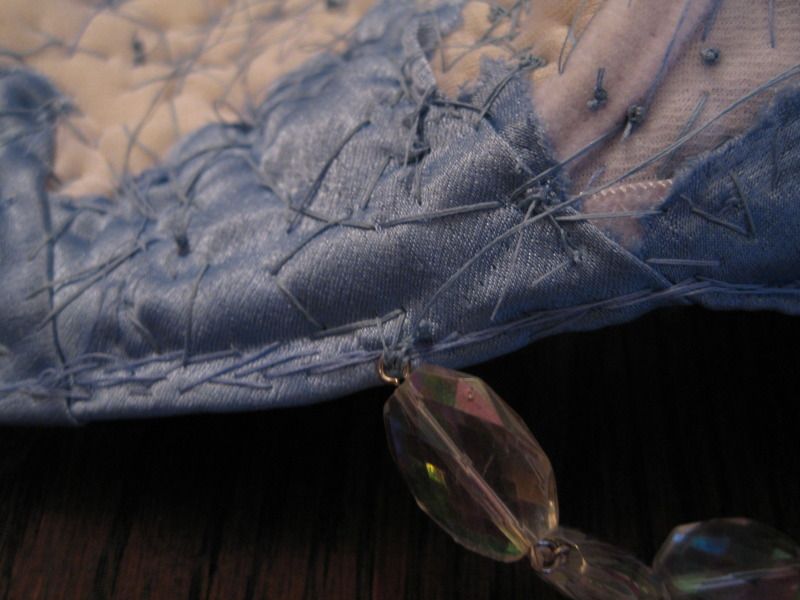
Now I need to add fringe to the bra. I used beads I got at Michael's. I cheated b/c they had jump rings. I decided to sew it on as is...


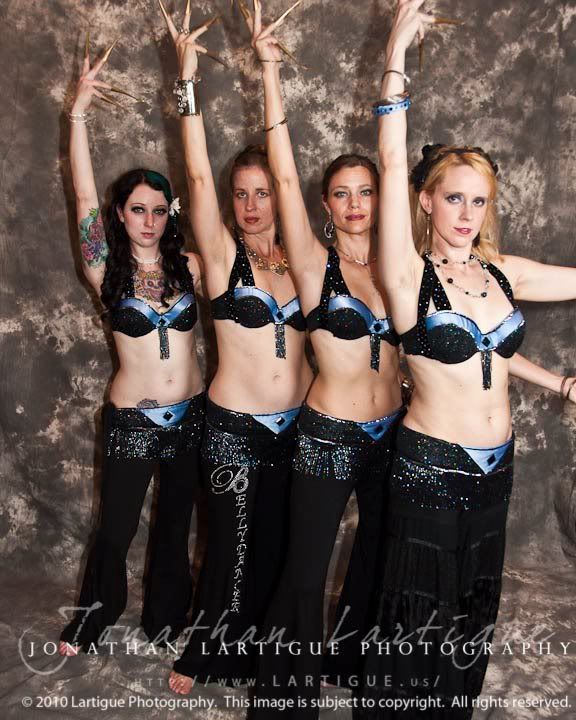
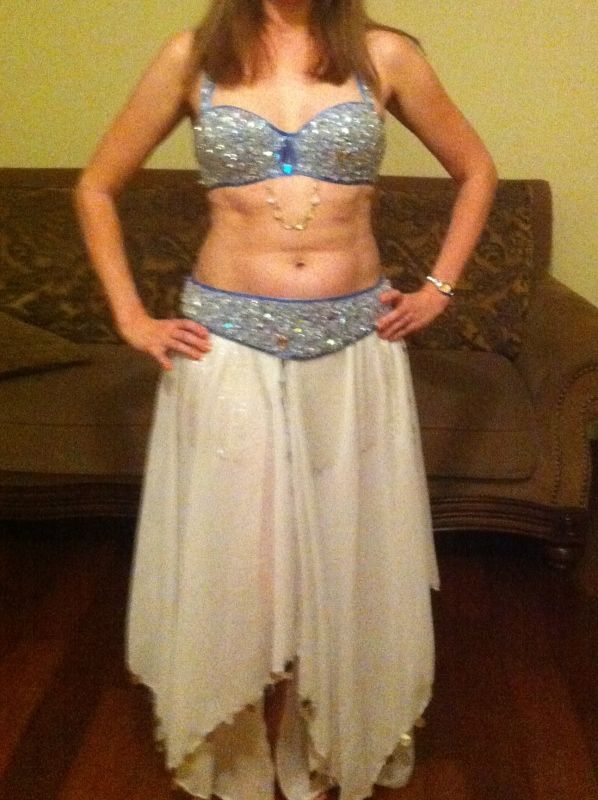
Ahhh! Done!!! I actually didn't have a performance to wear it to b/c I had gotten sick. So I wore it to practice one night. So I am completely not made up. And well the stress is getting to me with the move and I have put on some weight. But here is how I would like to wear the costume.


OMG I can't believe that I made it through 90 days. OMG I can't believe that I am moving. Wow. We leave with the truck on Thursday! For all of the posts click here!

It was a lot of fun. It was really great to finish projects before the move. I can't believe I did 90 posts! Wow! Give me some time to unpack and get internet before more posts will begin to trickle back to the blog. Life is crazy! But life is good!

I hope you have enjoyed my 90 days of blogging. :)

xoxoxo,
Lauren

LinkWithin
Related Posts Plugin for WordPress, Blogger...