Well hi welcome to my little blog. Just my little corner of craftiness, sewing, and refashioning. I am also a newly gluten free eater so you have a little bit of recipes mixed in here.
Showing posts with label Swarovski crystals. Show all posts

Thursday, January 3, 2013

Beaded hair combs

I have always wanted to learn how to wire wrap and I thought I would start with a simple project. It is very simple and rewarding. I started with thin wire that I had from someone. The thinner the wire the easier it is to manipulate. And if you are starting out like me, thin is good. Next you need a comb, I got these at hobby lobby awhile ago and never used them.

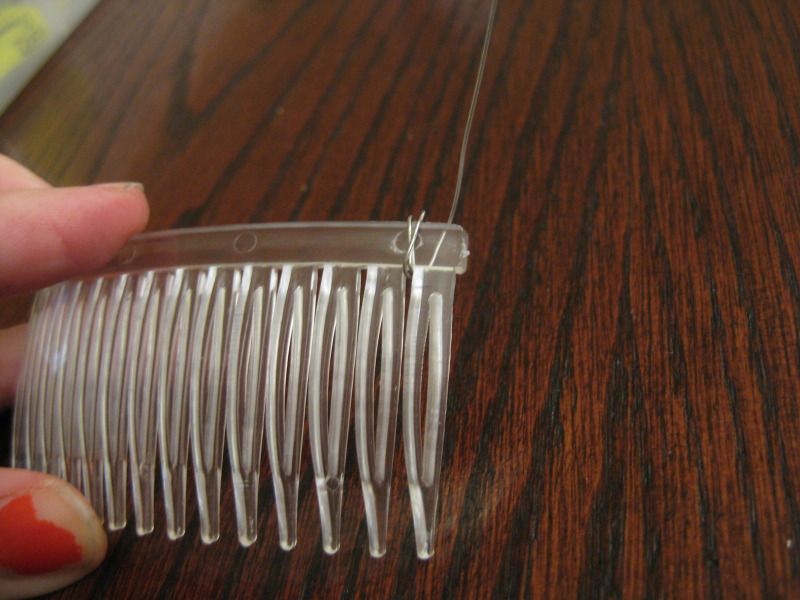
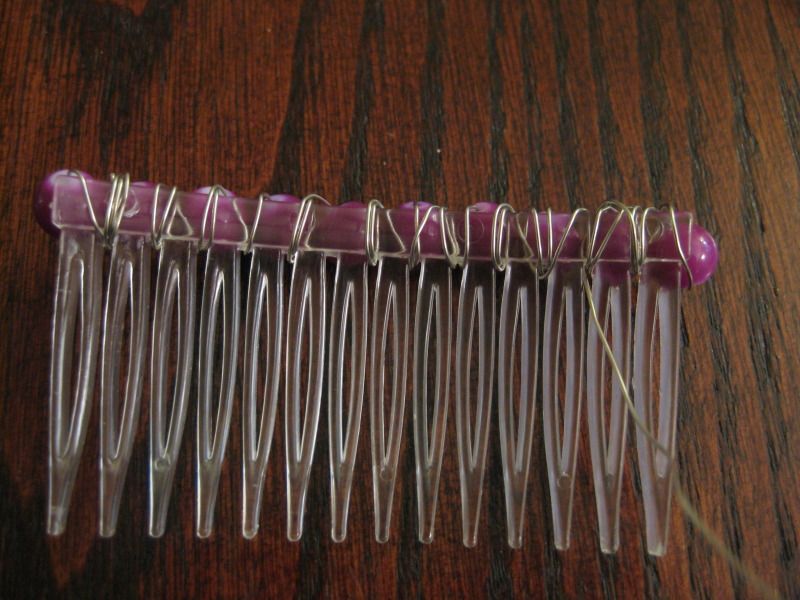
Start with a piece of wire, I don't really measure I just went with my wingspan of my arms. Now I have long arms so I would say its over a yard stick. That is plenty of wire, but I always like to be safe. We want to cover the end wire, so I ran it parallel to the comb, we will do an initial wrap to lock it in place. Then as we go the remainder of the wire will be covered.

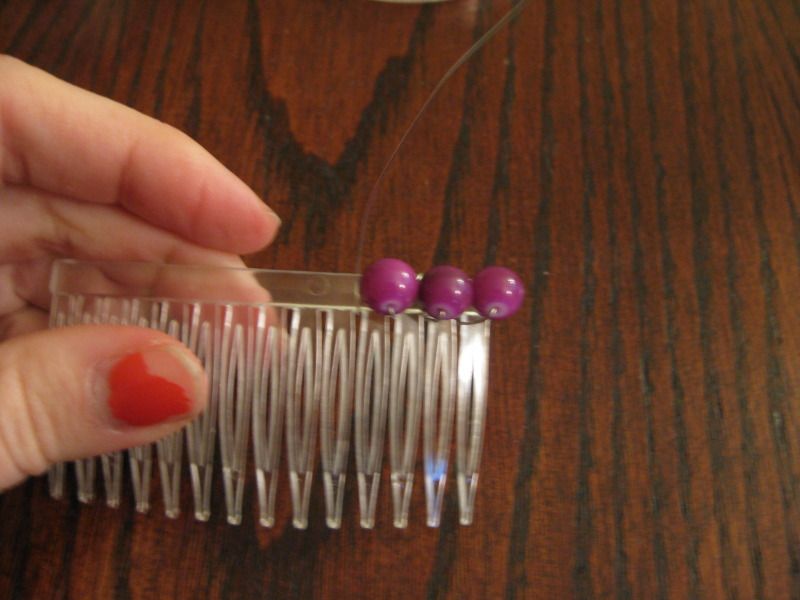
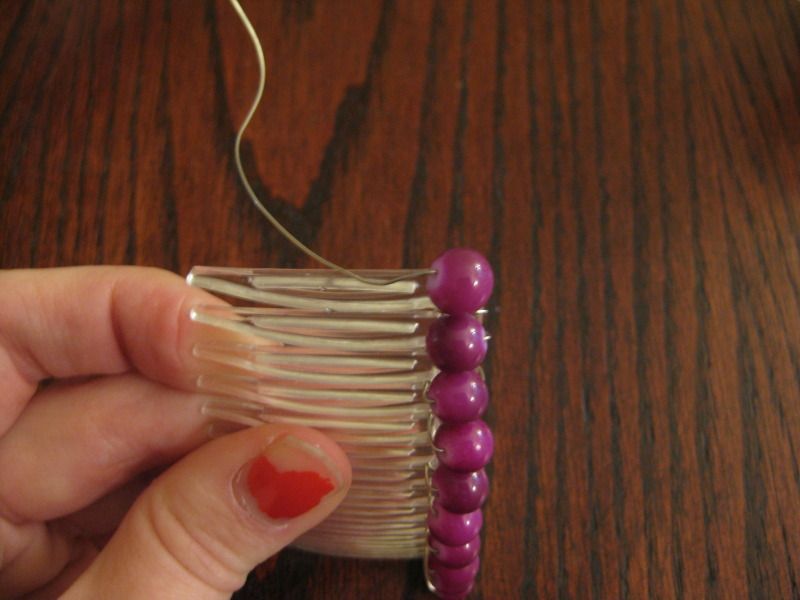
And just add beads. Now I forgot to mention to check that your wire will go through you beads. Again another reason to use a thin wire. I usually add a bead, wrap to lock the bead in the next groove, repeat.


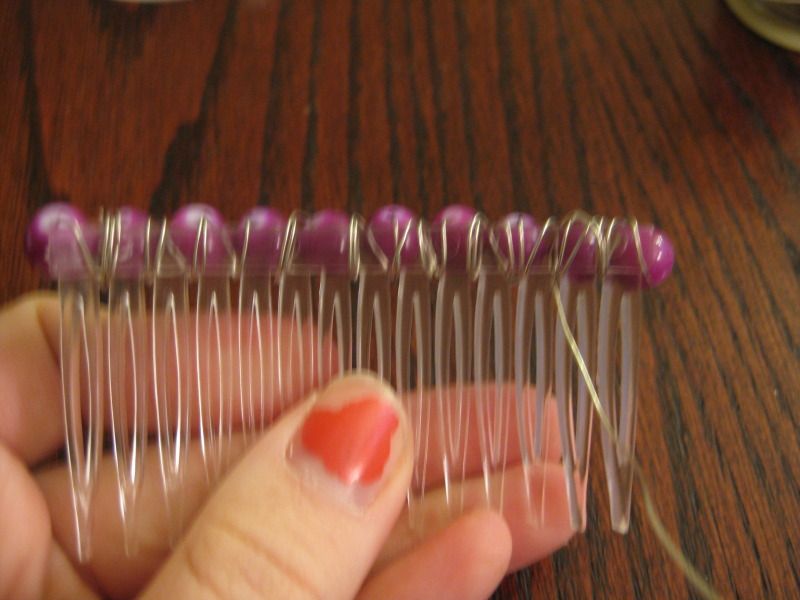
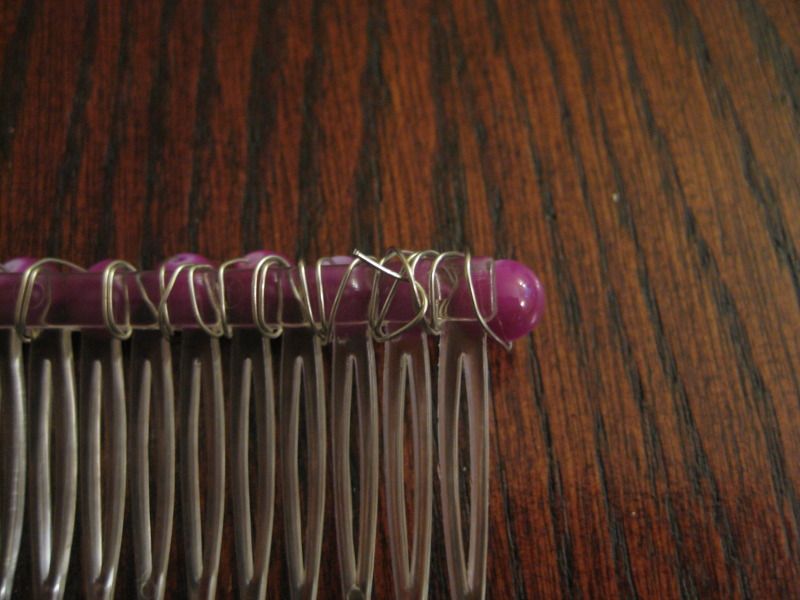
Ok at the end! We need to lock the last bead and hide the wire. I wrapped it a few times. When these pictures were taken I probably wrapped it too many times, on the other ones that followed I didn't wrap as much. Then I hid the wire end underneath the wraps. Done!


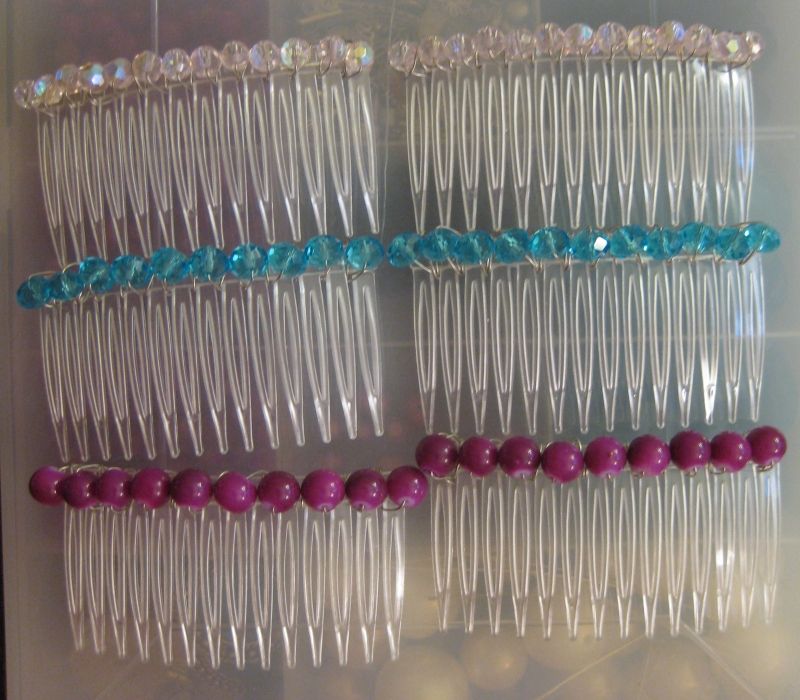
And yes I made sure the wire was not sticking out. I began to miss around with other beads. Here are larger crystal beads, which I loved but they wouldn't stay in my thin hair. It was pretty but it was a challenge.

So I stuck with thin, lighter beads. Here are all the combs I made.


This was a fun and easy project. Can't wait to wear them in my hair! :)

xoxoxo,
Lauren

Tuesday, October 9, 2012

Day 70: Filigree Ring Refashion

Still on my filigree kick.... I had these filigree rings that I had intended on blinging out. But just never got around it to and they seemed to not keep a decent shape. I decided to change it up and turn them into something else!


First I banged them out flat, which wasn't too hard. Luckily they didn't break. For this project I decided to use the silver ones since they had the same tone. Using my stash of Swarovski rhinestones, I chose a turquoise in color and the jonquil and came up with a design.

I simply used my cement and glued them on.

Next they needed hooks to actually go into my ears... details.

I found these simple earring hooks in a stash from my mom (thanks mom!). Simply loop my ring through and I am done!

The turquoise rhinestones photograph odd. Hmm. Who knows. For more of my 90 days to DC posting click here!

xoxoxo,
Lauren

Monday, October 8, 2012

Day 69: Silver filigree earrings

Yup still on my filigree kick. I saw these posts (a gift from my mom-from her stash) and knew I wanted to add some bling to them.

I went to my Swavorski stash and selected the Jonquil, opal, and the light pink.

Again with the GS Hypo cement I added the rhinestones.


Next time to make them earrings. Add a jump ring and an earring hook.


Done!

Pretty Easy. I like easy projects! :) For more of my posts from this 90 days click here!

xoxoxo,
Lauren

Saturday, October 6, 2012

Day 67: Filigree Necklace redo

I found this pendant I think seriously on the ground somewhere. Can't remember where. It was so pretty, I thought I could fix it up.

In comes the black spray paint!

It took 2 coats. Next I just simply wanted to add some of my crystal bling I got on sale at Micheal's when they moved. My biggest question was what color did I want to use? (BTW they were all half off and then another half off!)

I opted for Jonquil.

Here are my supplies. GS Hypo cement (awesome glue). And orange stick and tweezers-both of these will make you life easier when applying the rhinestones, or else you get glue everywhere with your fingers.

I started with the outer bling and then worked my way in.


Enter ugly necklace I brought on clearance. I pulled off the beads and I was only going to use the chain.


Then I opened up the jump rings and attached the necklace to the pendant.
Done!


Cute huh? And of course the pictures don't do it justice b/c I am a bad photographer. Those Swarovski crystals really grab the light! For more of my posts from this 90 day torture adventure click here.

LinkWithin

Related Posts Plugin for WordPress, Blogger...