Well hi welcome to my little blog. Just my little corner of craftiness, sewing, and refashioning. I am also a newly gluten free eater so you have a little bit of recipes mixed in here.
Showing posts with label inspired by pinterest. Show all posts

Wednesday, August 21, 2013

another pinterest necklace DiY

Another necklace on pinterest... I almost again have everything...

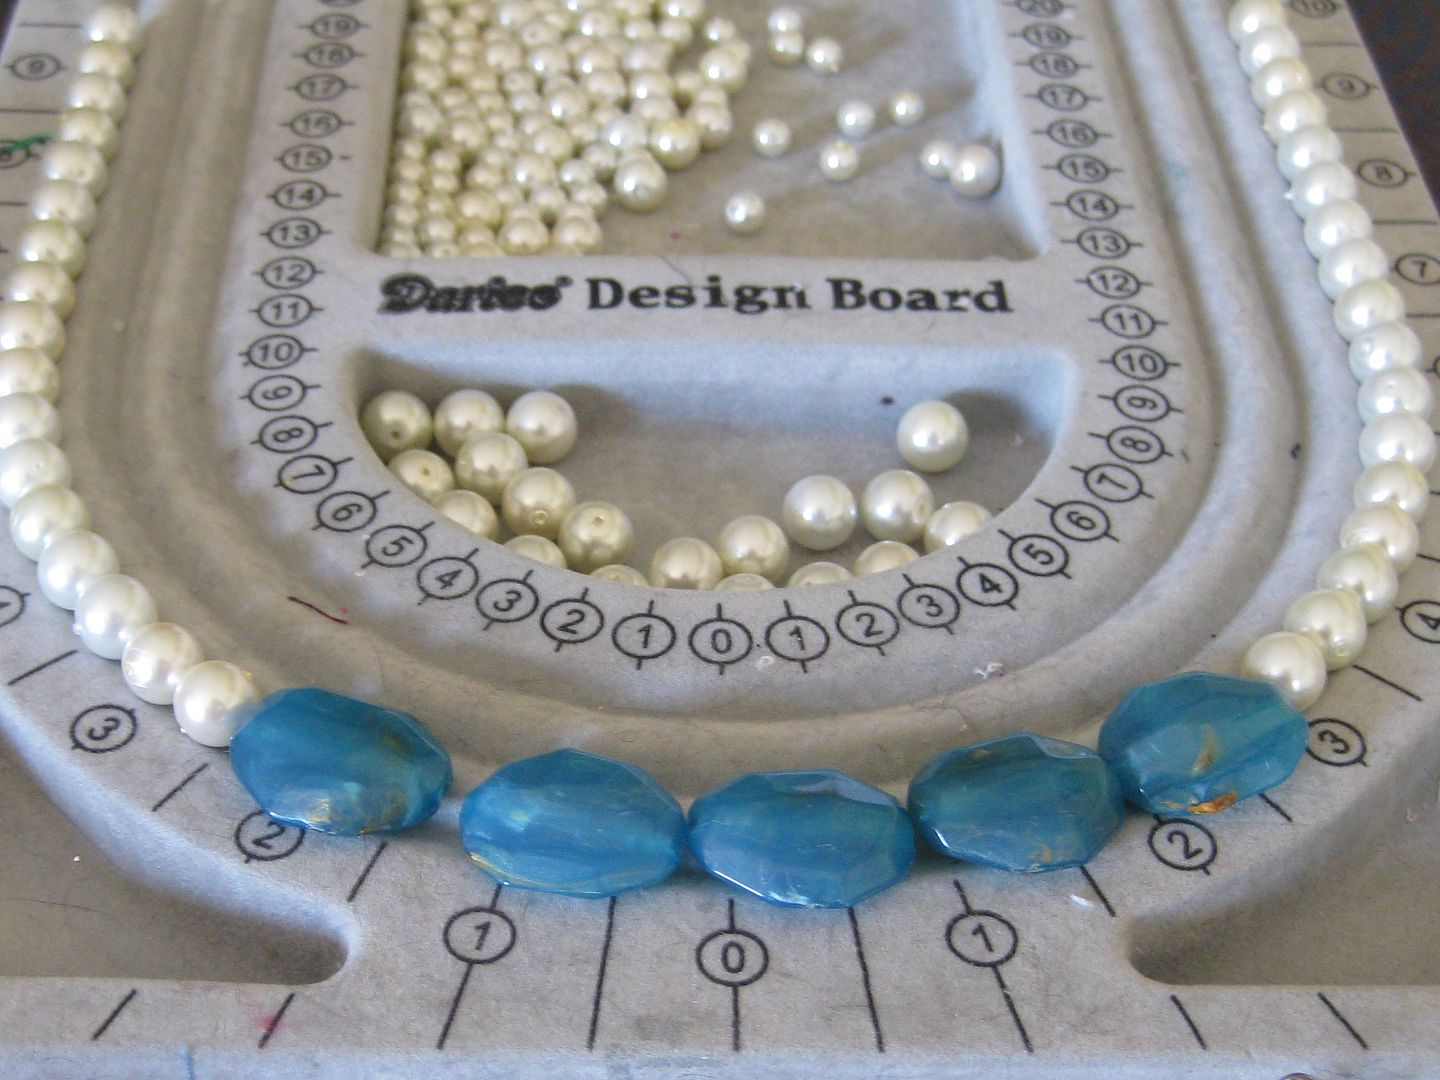
Remember those blue beads? They look very similar to the ones above. I had some pearls that I thought would look great with them. On ward to stringing


I also made myself a bracelet. Yay!

Done!! Yay!!

xoxoxo,
Lauren

Wednesday, August 14, 2013

Paint pen necklace redo: blue and gold

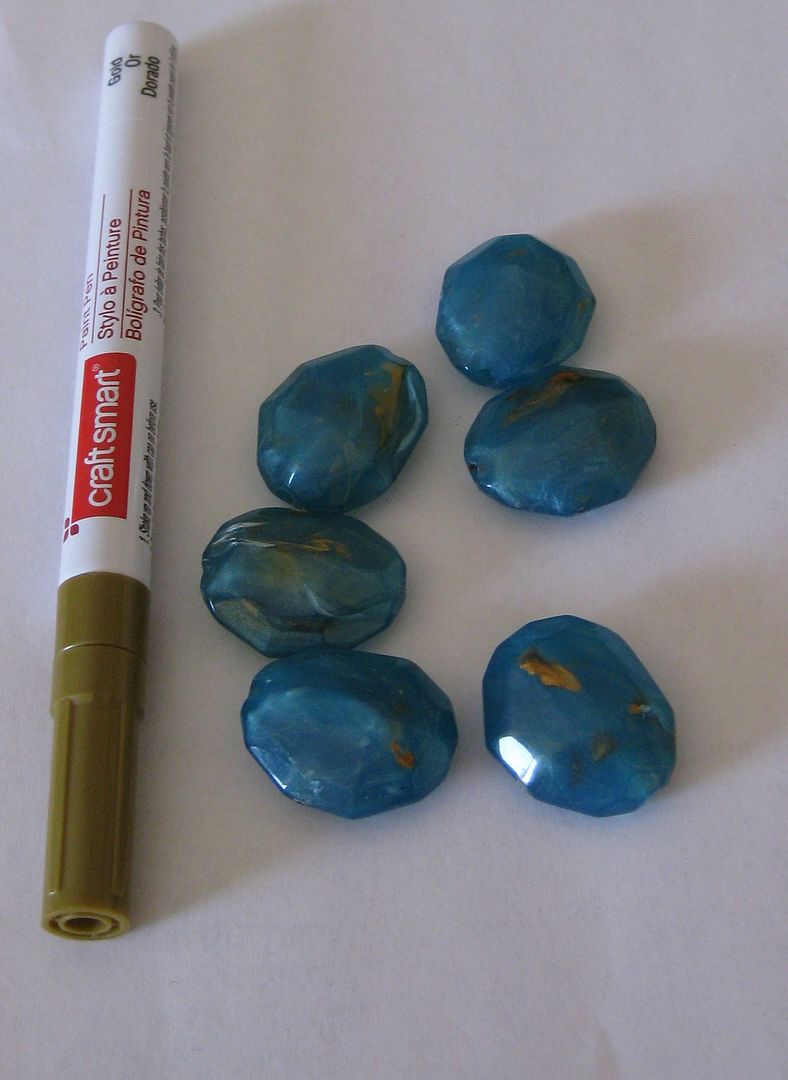
I was inspired by this necklace I saw on Pinterest. I had a bunch of these blue  beads that looked similar to these. And this might be a great way to use my beads.

Problem is I don't have any gold ones. 

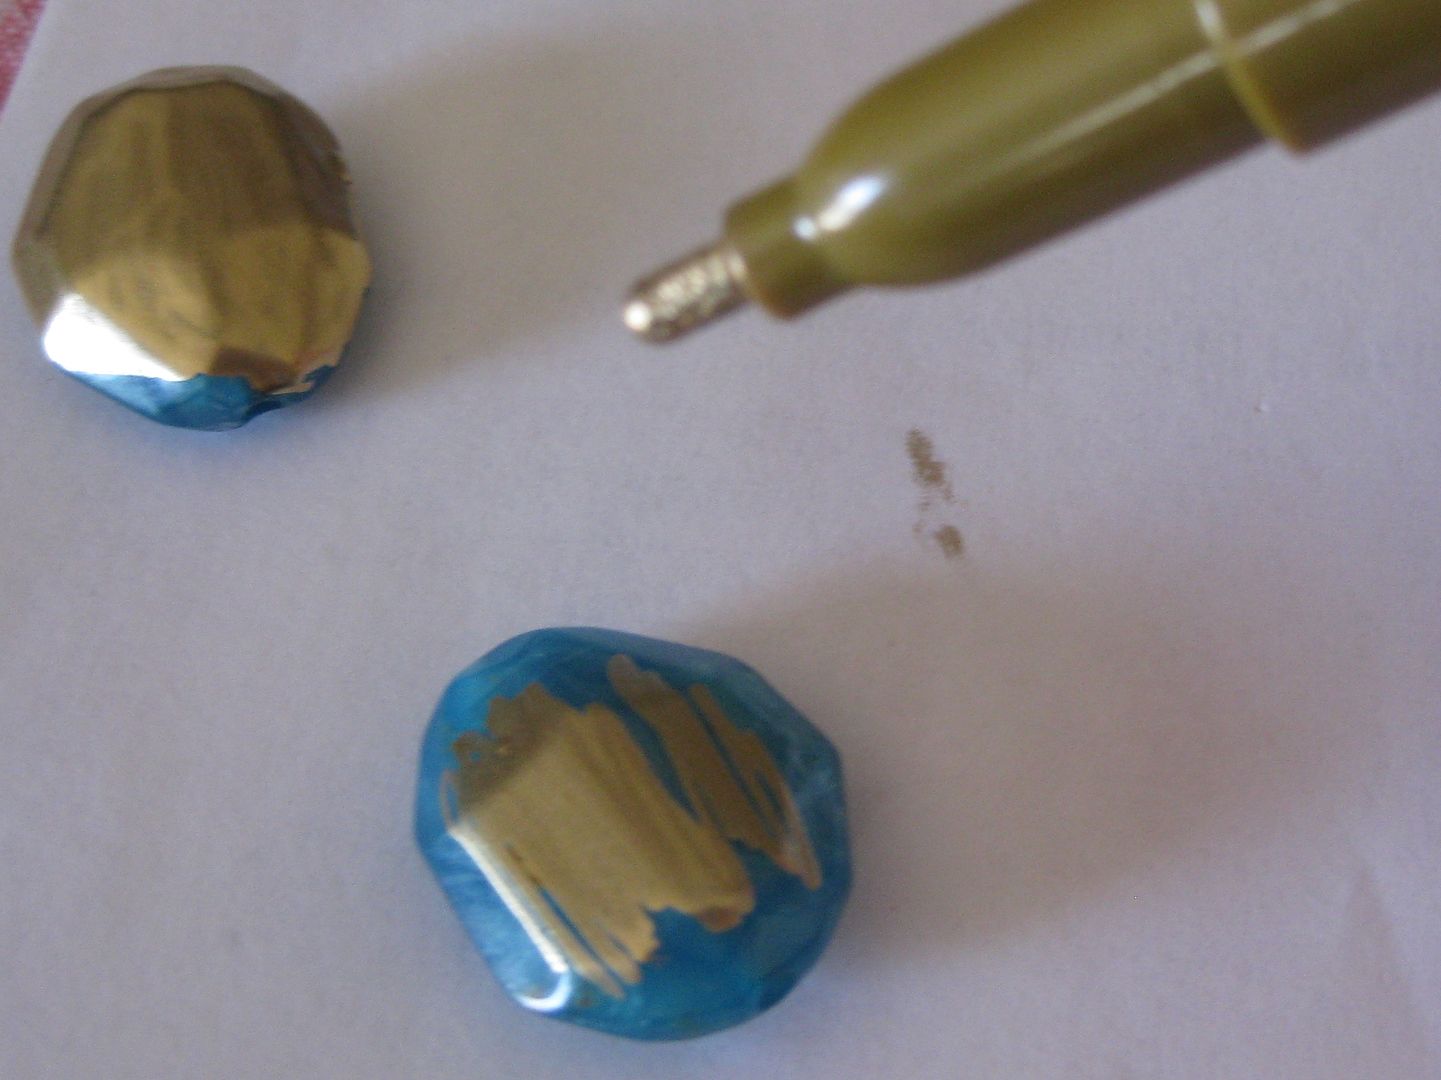
But I had a great idea... I had a gold paint pen!! Oh yeah I am so doing this!


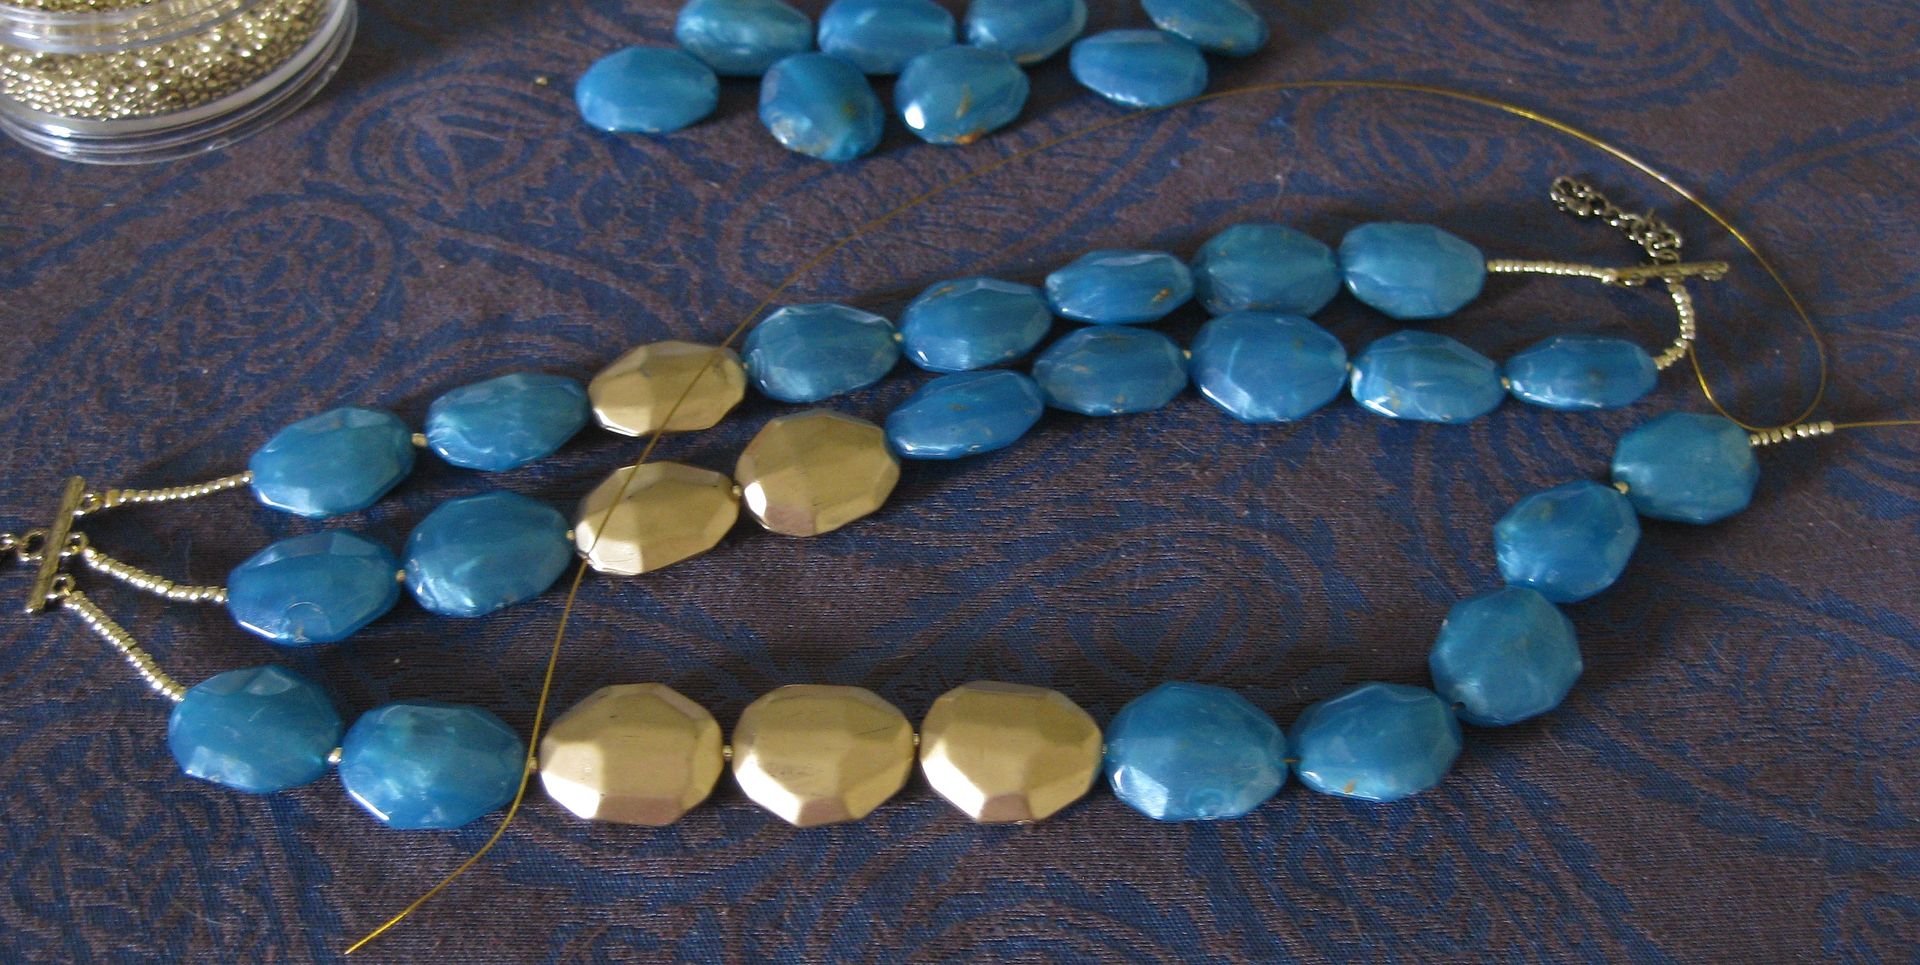
So I colored several beads with my gold paint pen, letting dry between coats. 

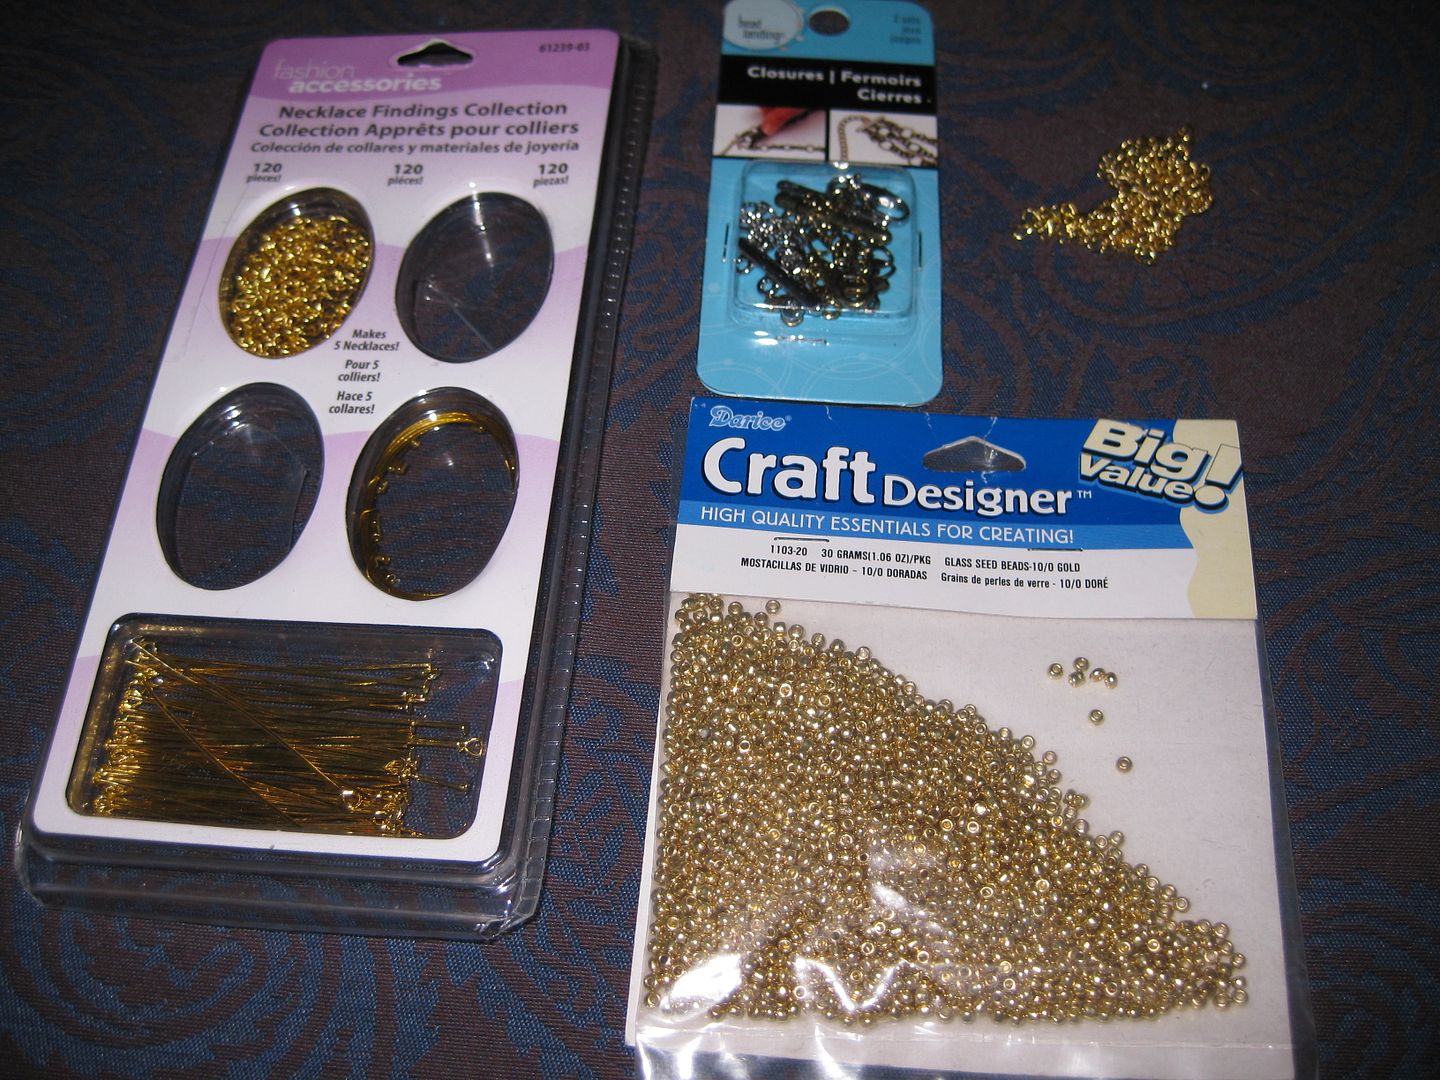
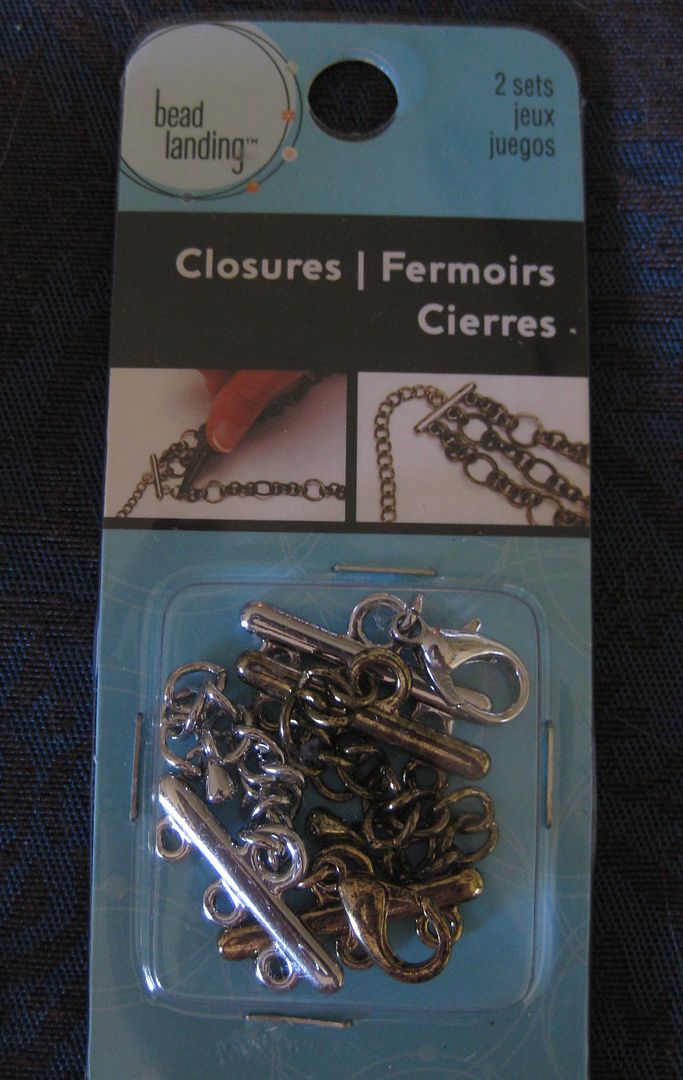
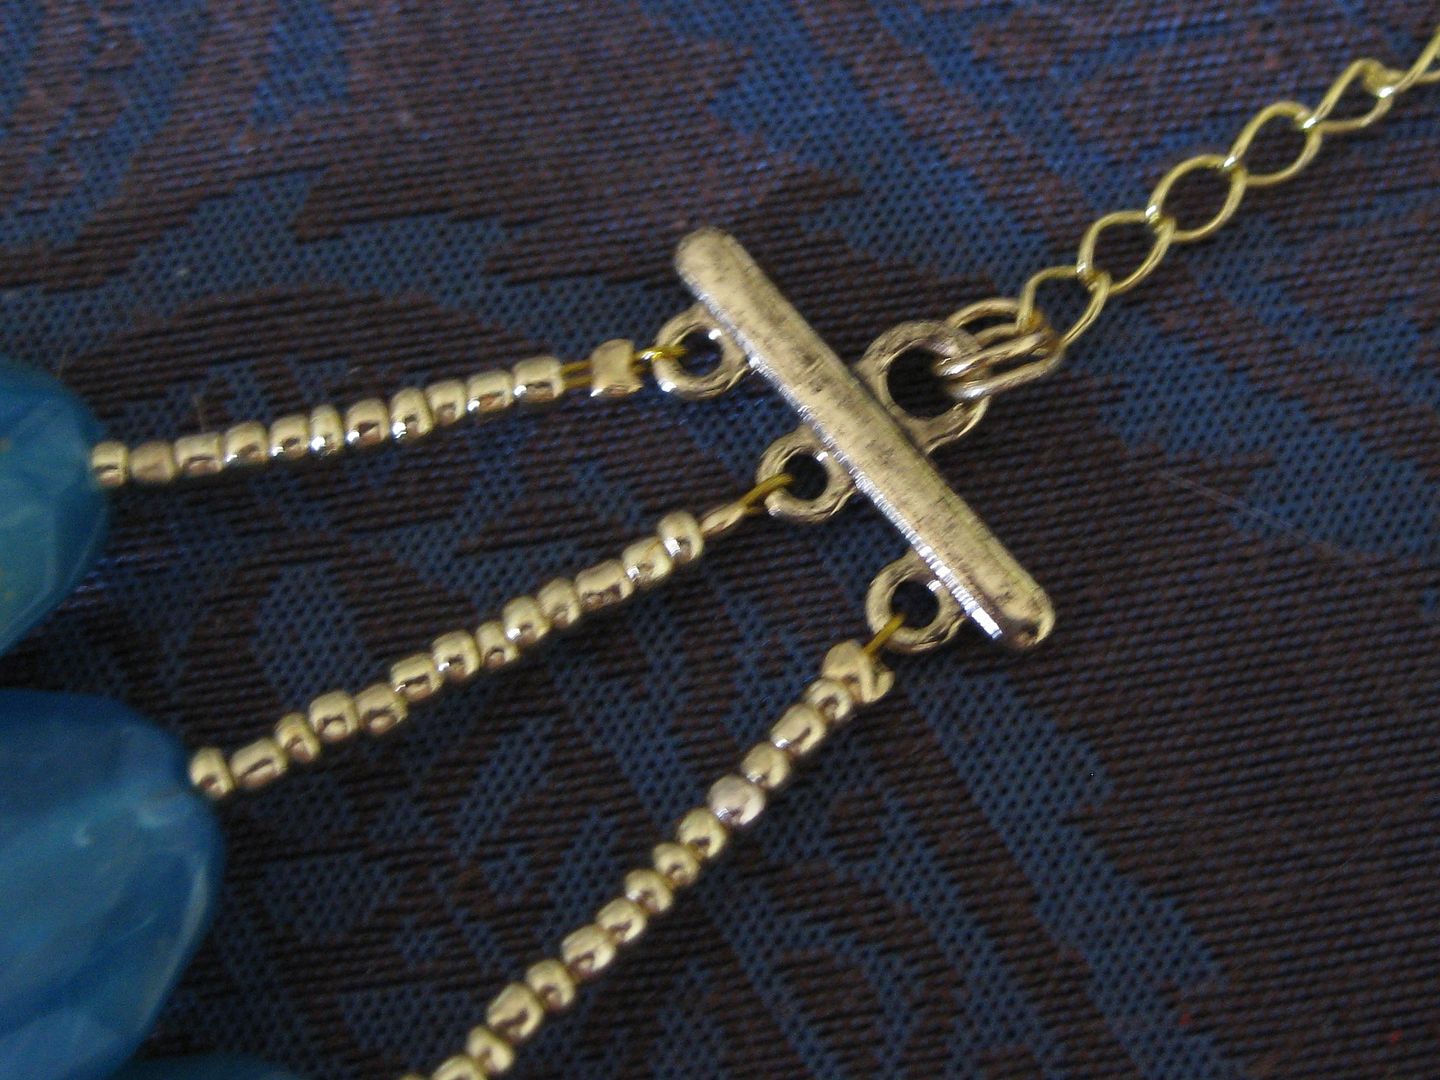
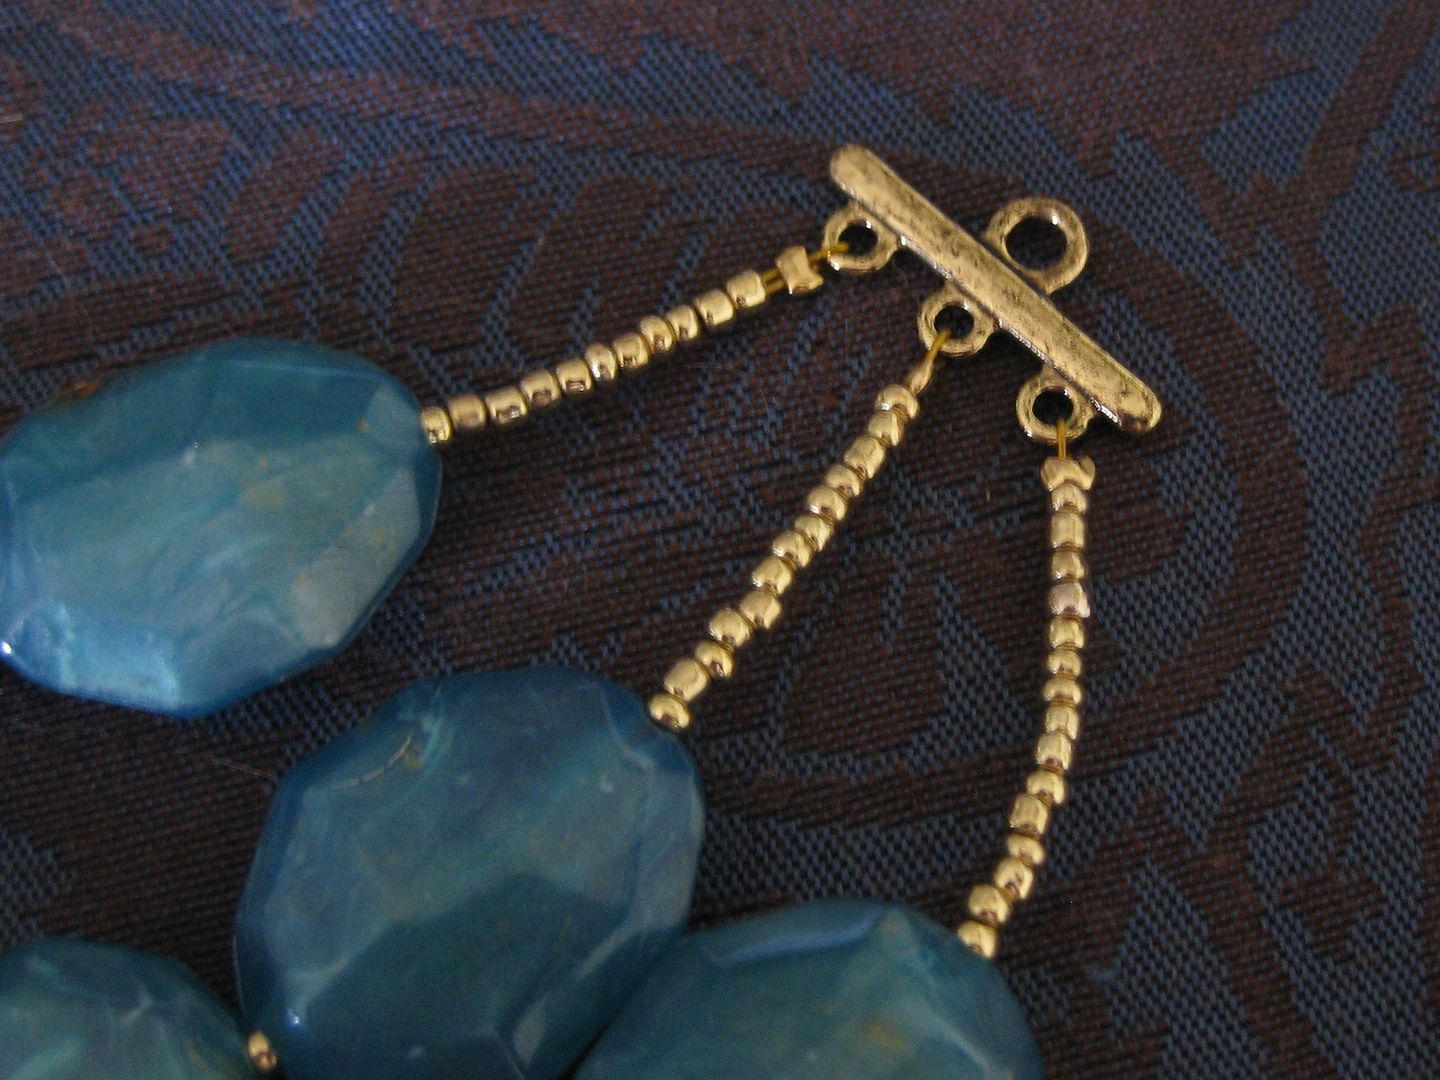
Next time to string my necklace. I needed clasp, crimp beads, wire, 3 hold bars, gold filler beads, and some jump rings to git. 


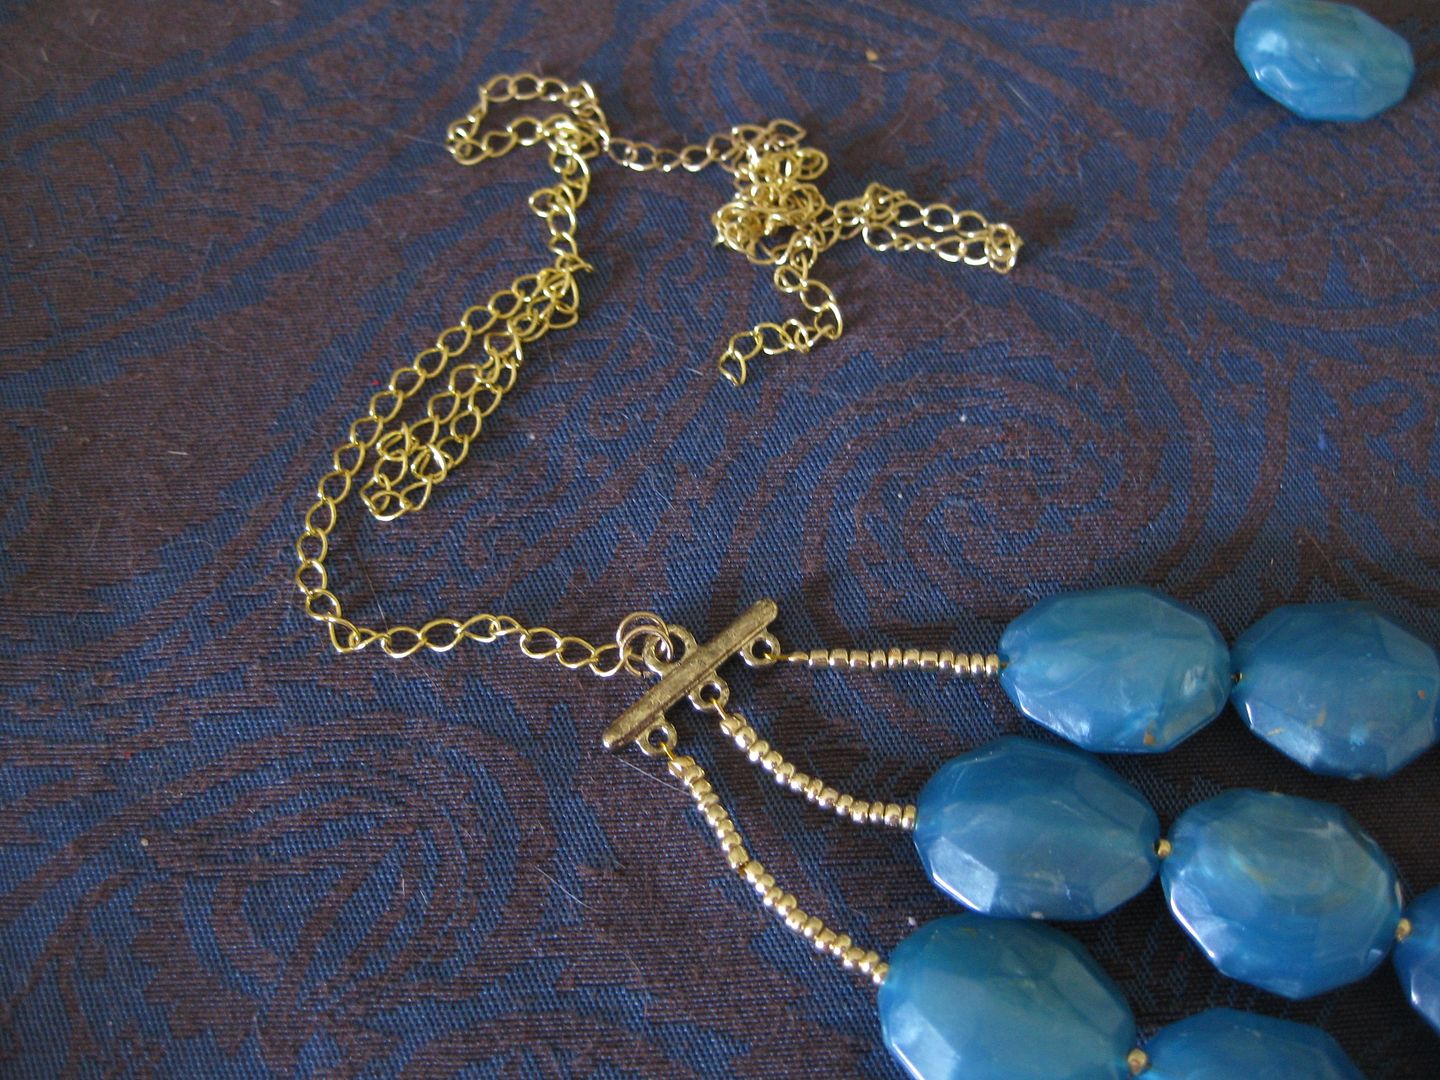
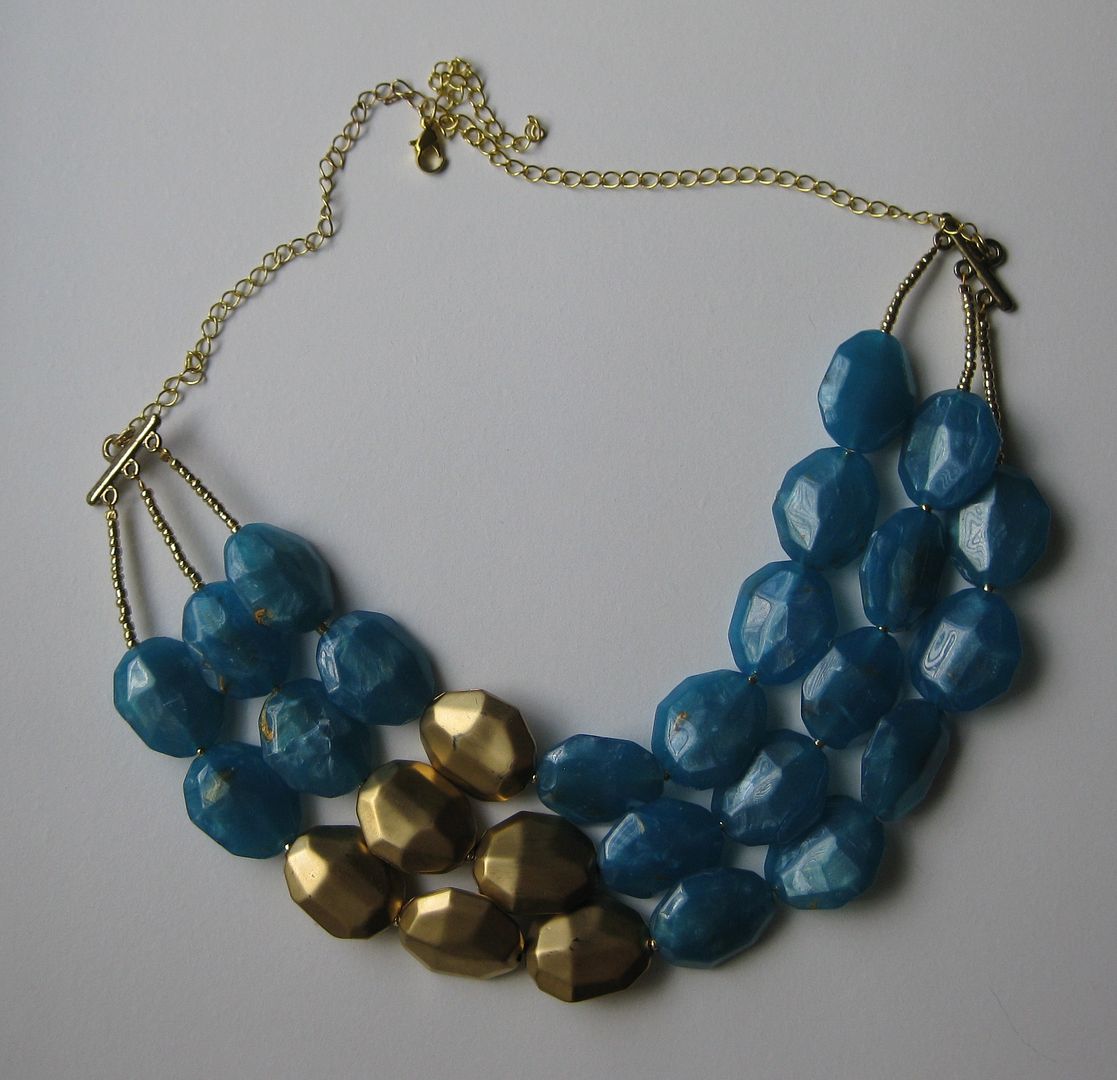
So I just strung the beads starting with 2 blue followed by 1, 2, or 3 gold beads. Then blue to finish. It did take some time to get it to hang right. But I also did this by adjust the small beads on the ends. It did take some fiddling. But simply crimp bead the ends. 


Then I added a lobster clasp and some chain to the ends to adjust how the necklace sits. Always a plus. 


Done! Not bad for a paint pen necklace huh? I had everything on hand. Yay for using what I have!


xoxoxo,
Lauren

Friday, May 3, 2013

Baked hard boil egg try

I know everyone has seen the pins on Pinterest. Bake eggs and make hard boiled eggs. No cracking. And if you have your oven on anyways....

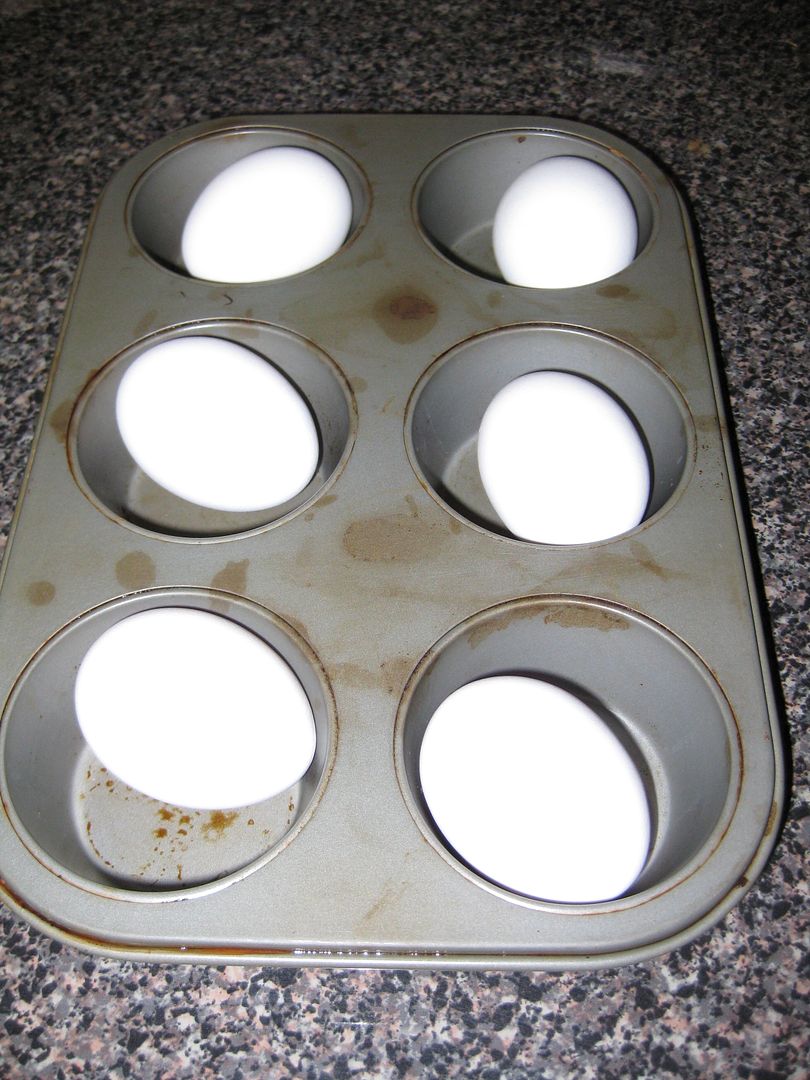
So I thought I would give it a try. My oven was on anyways. So I placed eggs into a muffin pan. I put it at the oven at 325 degrees and baked for 20 minutes.

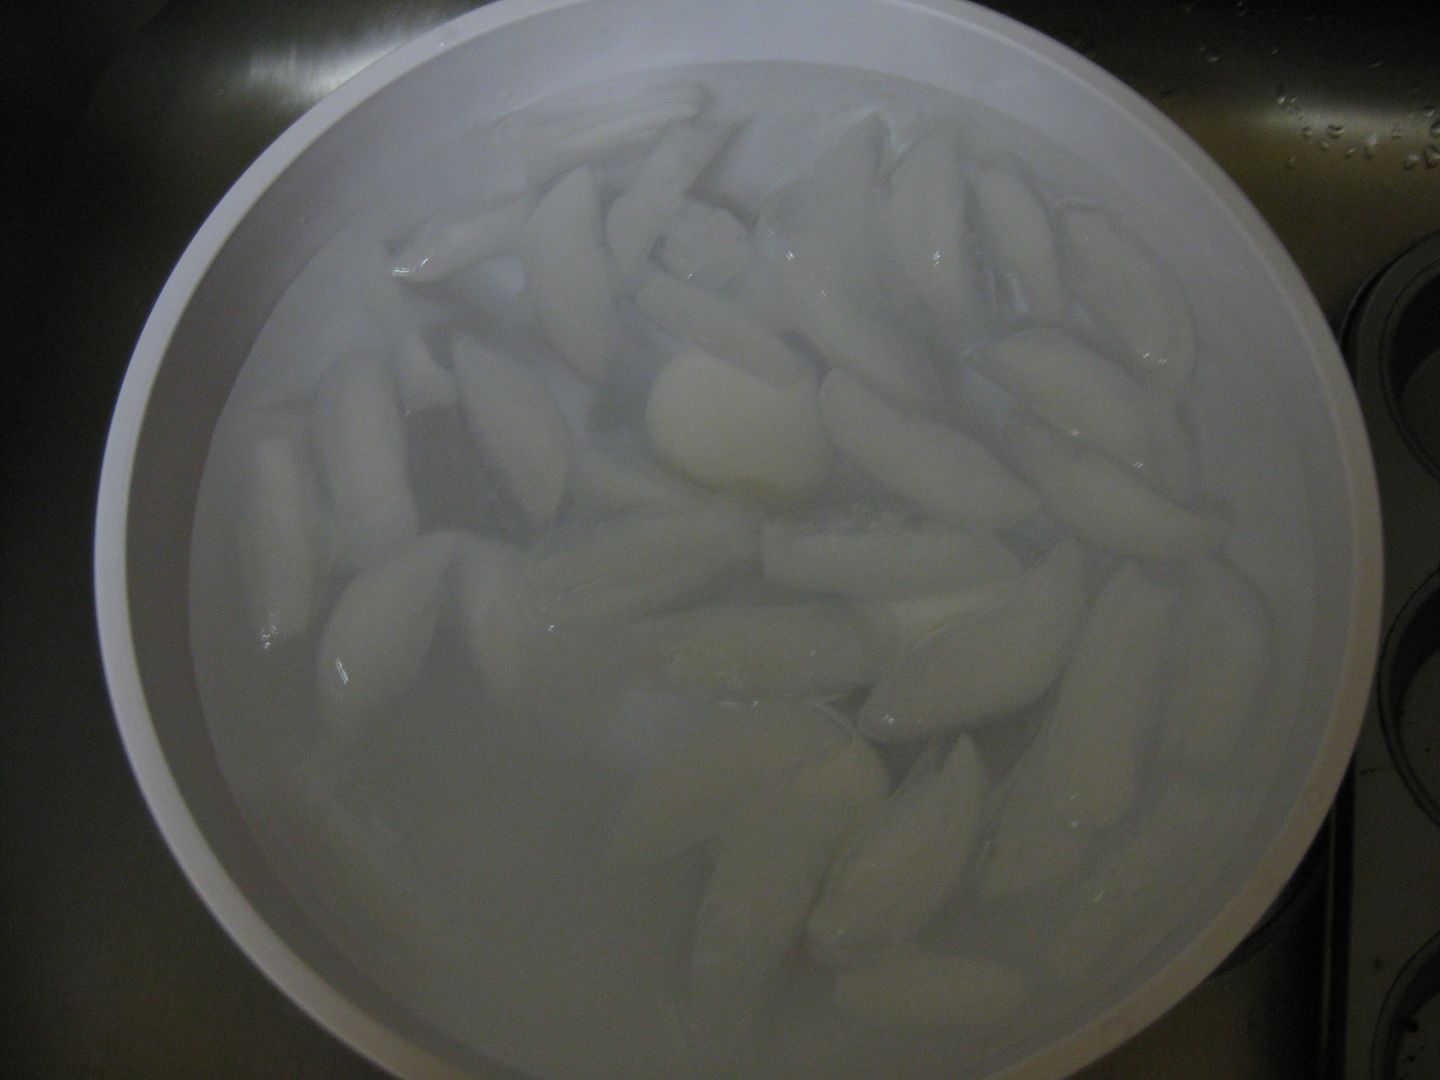
Now I have so many versions of this baking hard boiled eggs so I thought I would do an experiment. I did half the eggs cooling on a rack to room temperature. The other half I ice-snapped them to cool them down.
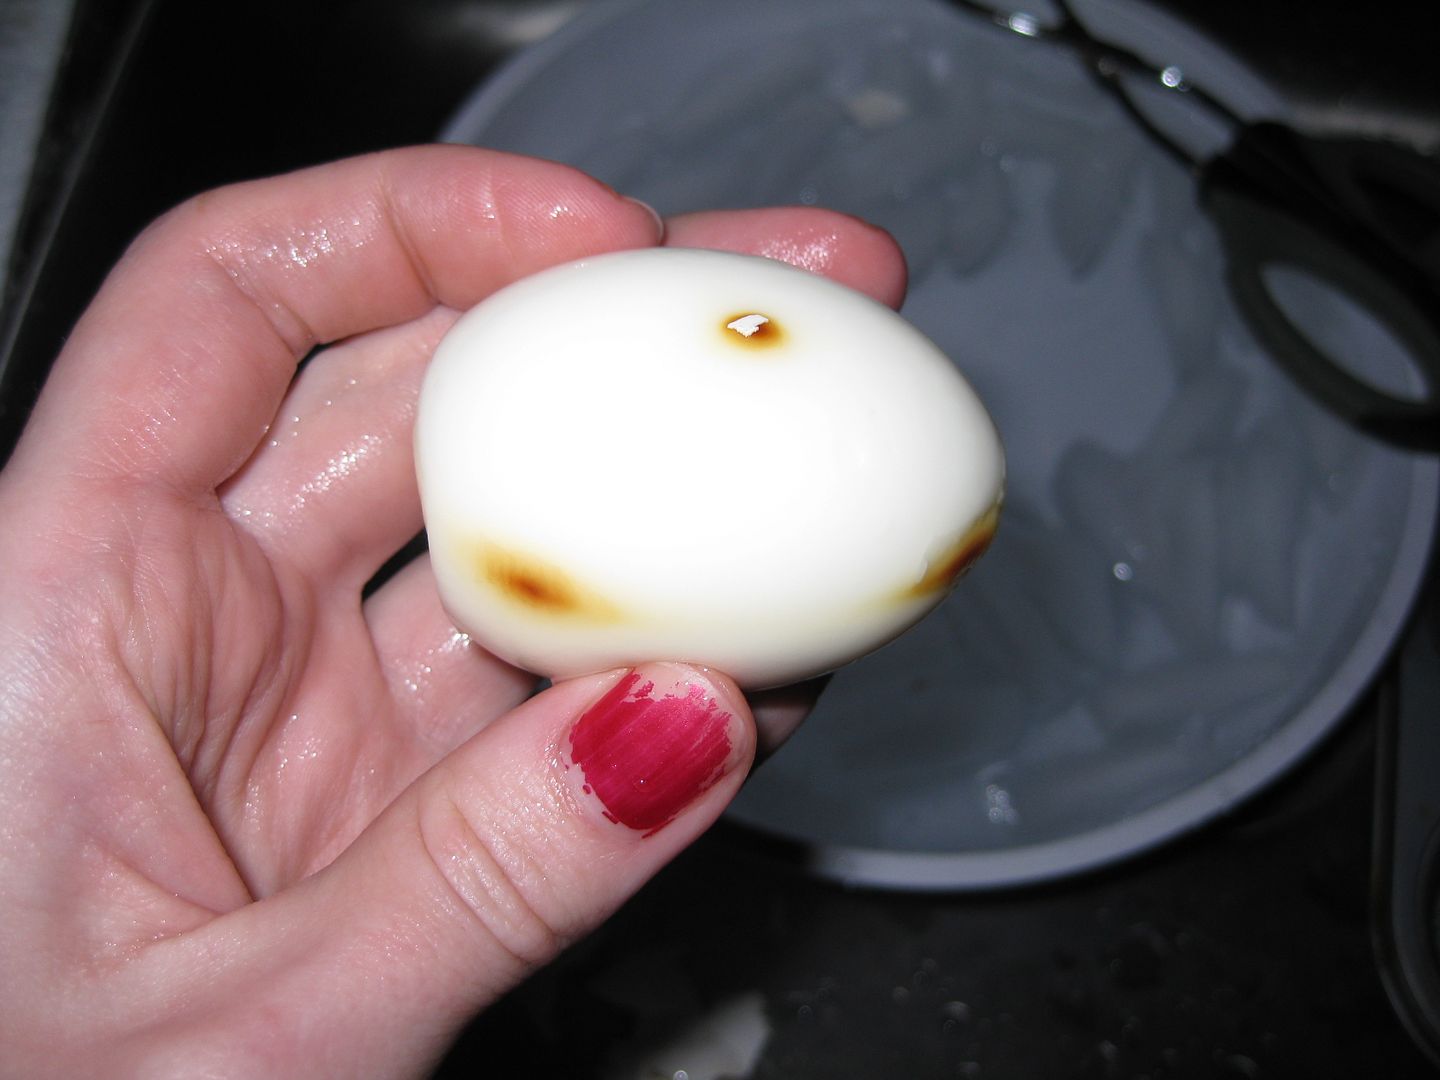
Basically I threw the eggs into the ice bath. Pulled them out. Done. Now time to compare. First off both eggs had burn marks from the muffin tins. Weird

But alas when I looked at the egg- it was really nicely cooked!

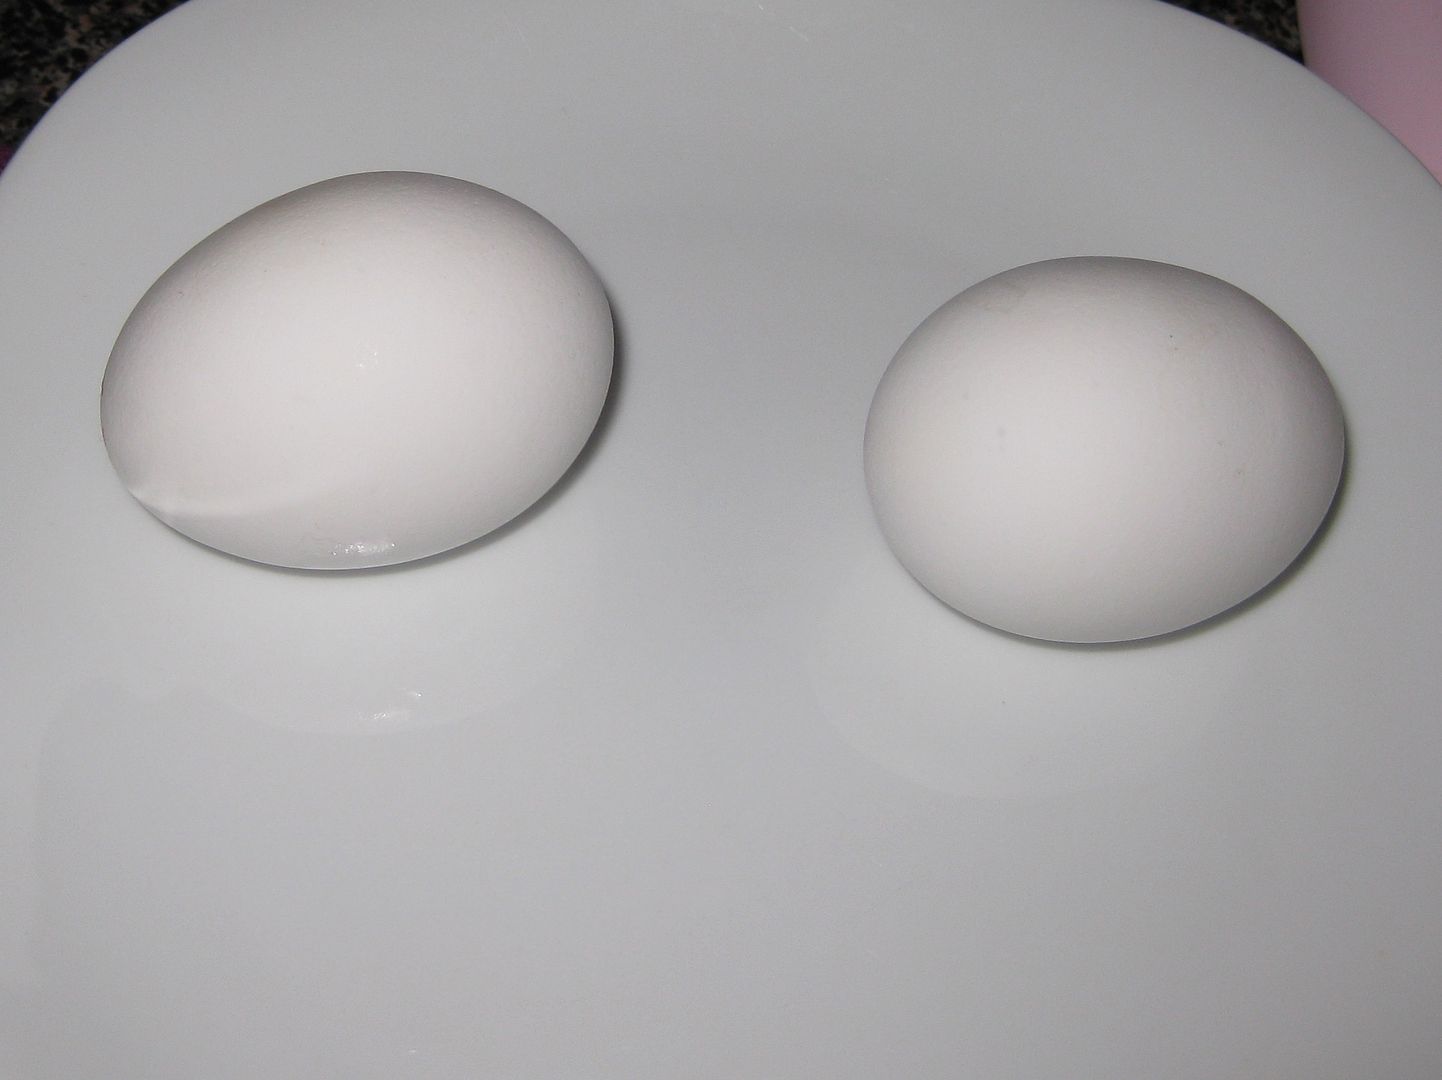
Let's compare

On the left is cooled on the counter. On the right- ice snapped.

Again both had burn marks. Maybe cooked too long and maybe I should turn down the heat-I may have accidentally turned the temp to 350 instead. Ok on to the inside egg.
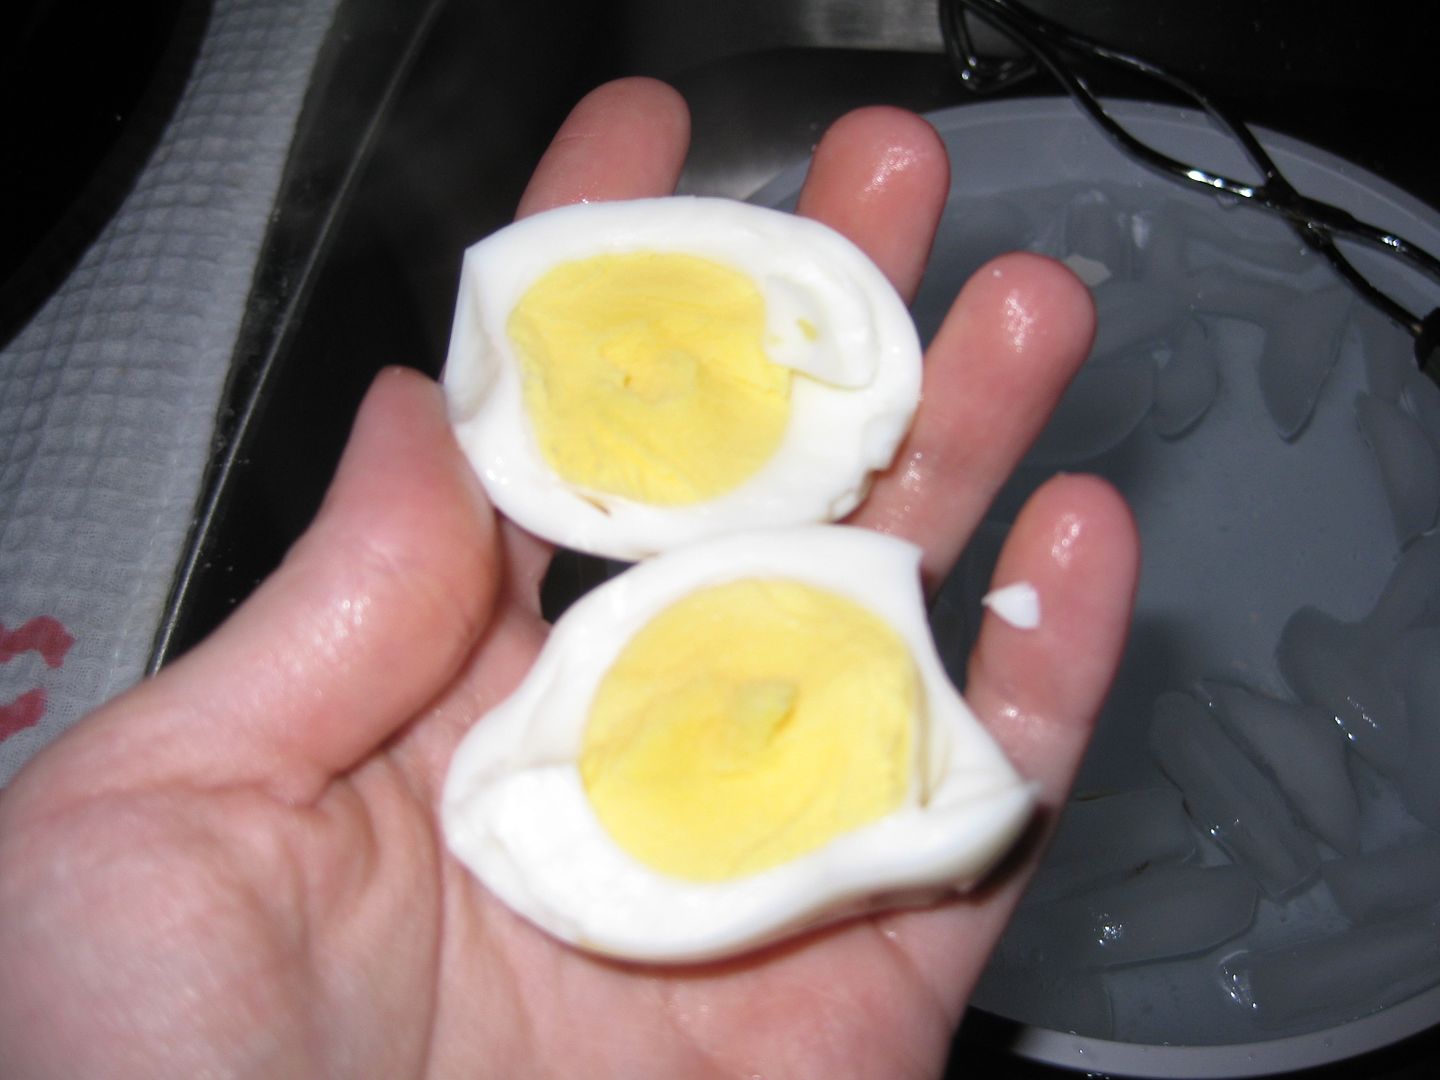
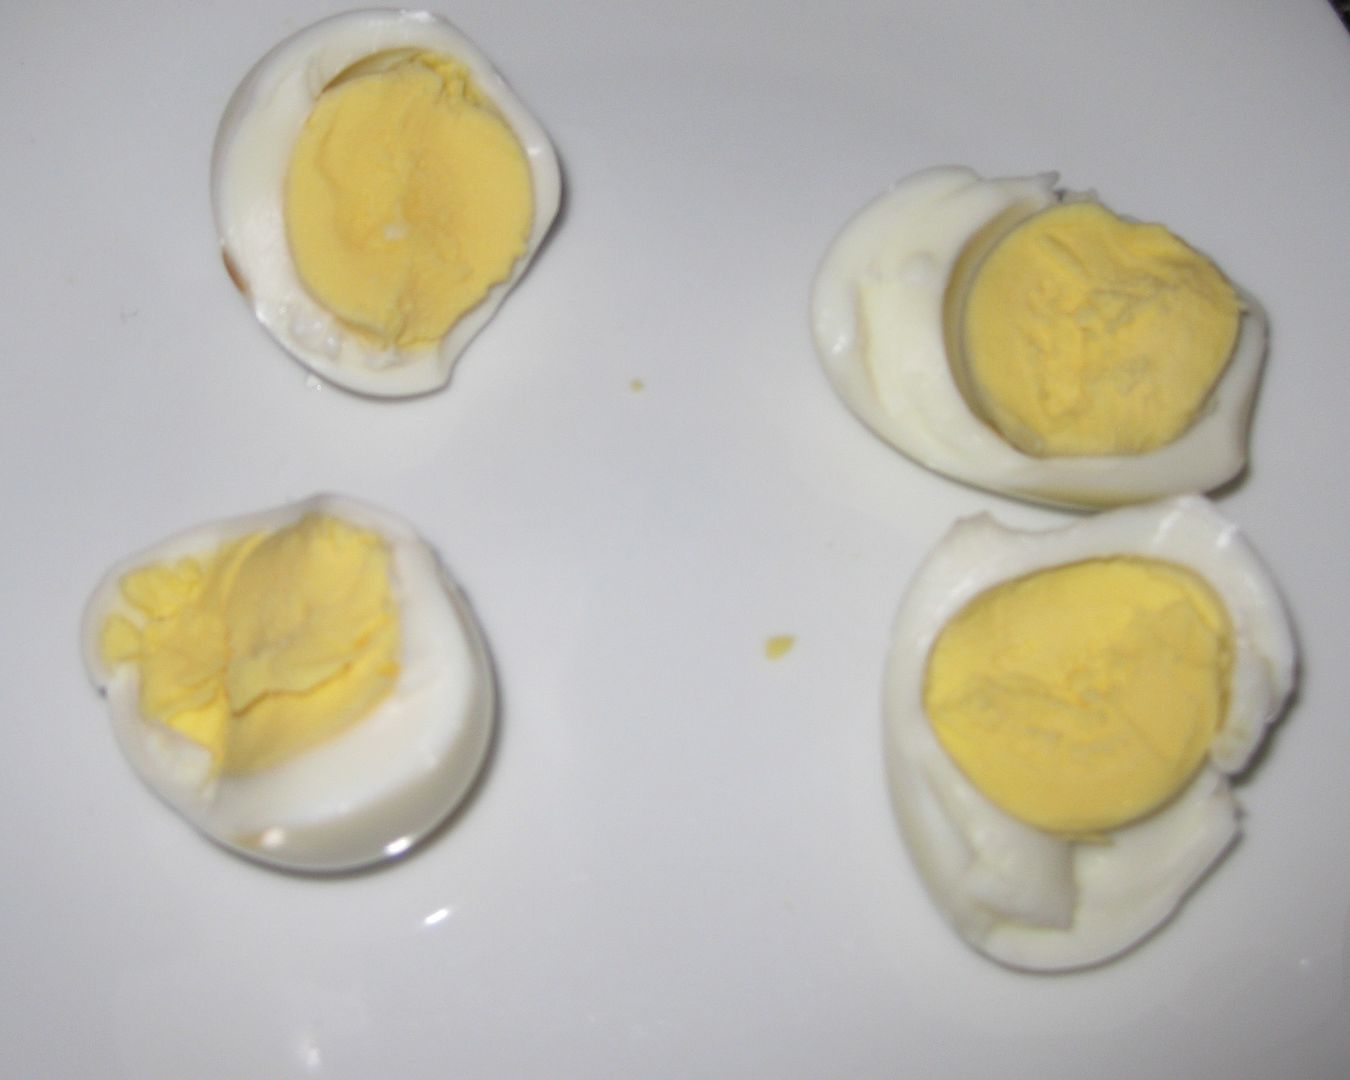
Both were cooked well and tasted fine. The room temp cooled eggs had that grey color around the yolk. The ice snapped eggs did not have the grey color.

And the end of the day I would ice snap them. Because I would rather make them, ice snap, and put them into my fridge and call it a day. Much more convenient for my schedule.

Hope this helps you!!

xoxoxo,
Lauren

Tuesday, October 2, 2012

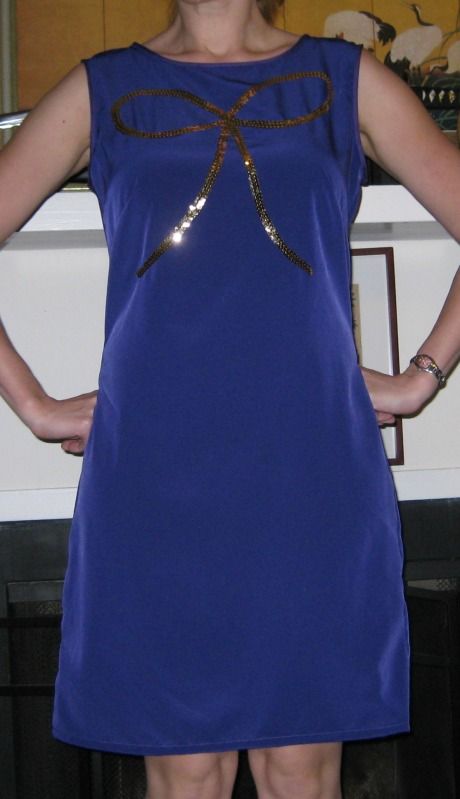
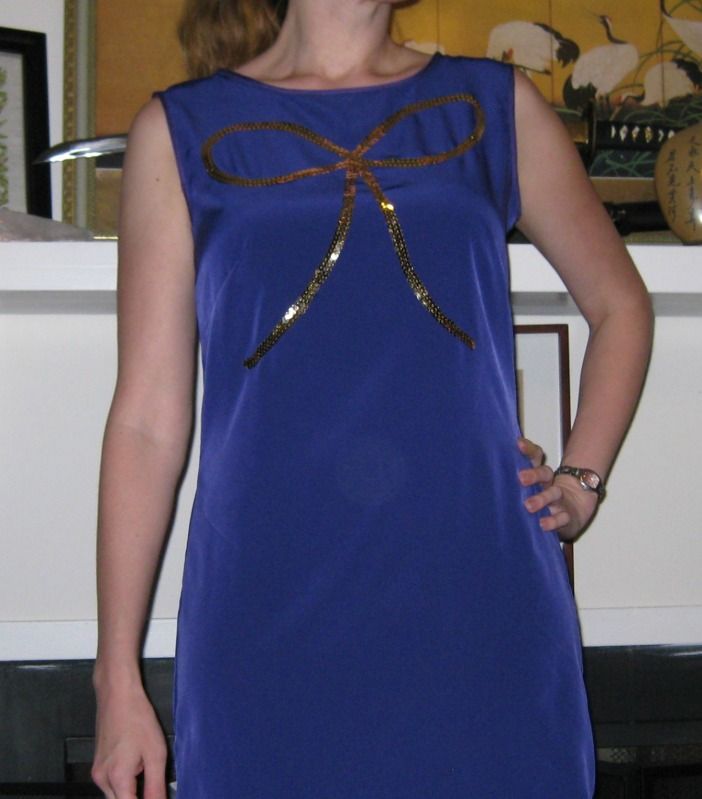
Day 63 : Purple sequin bow dress inspired by pinterest

Today is a good one! OMG I love this dress! I know many people are addicted to Pinterest like me. I love it and I usually pin before I sleep. I found this really cute dress, that I realized I could copy it as any easy refashion. It is from a store called Red Velvet and no longer available.

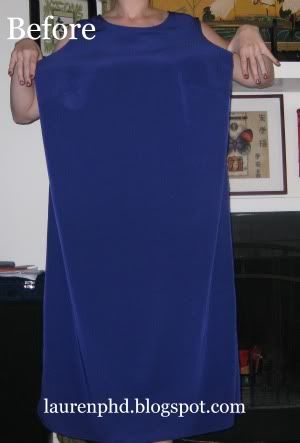
Take this sad mom dress, found for $0.99 at Goodwill.

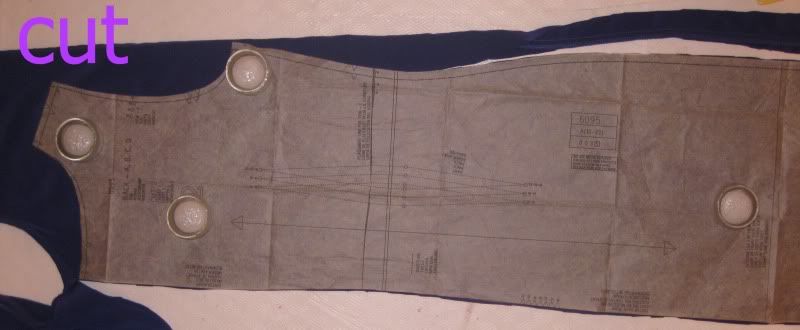
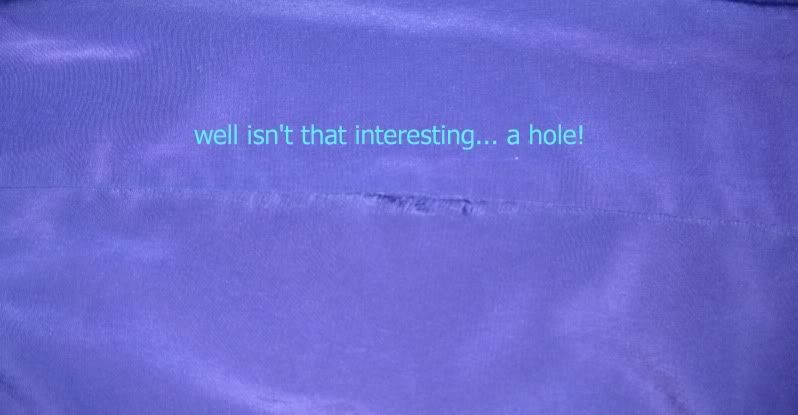
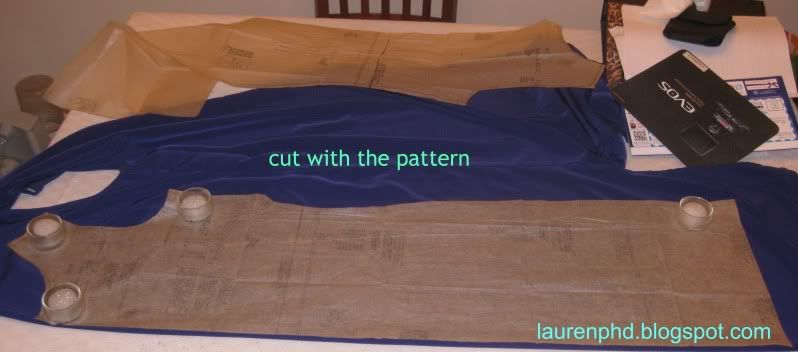
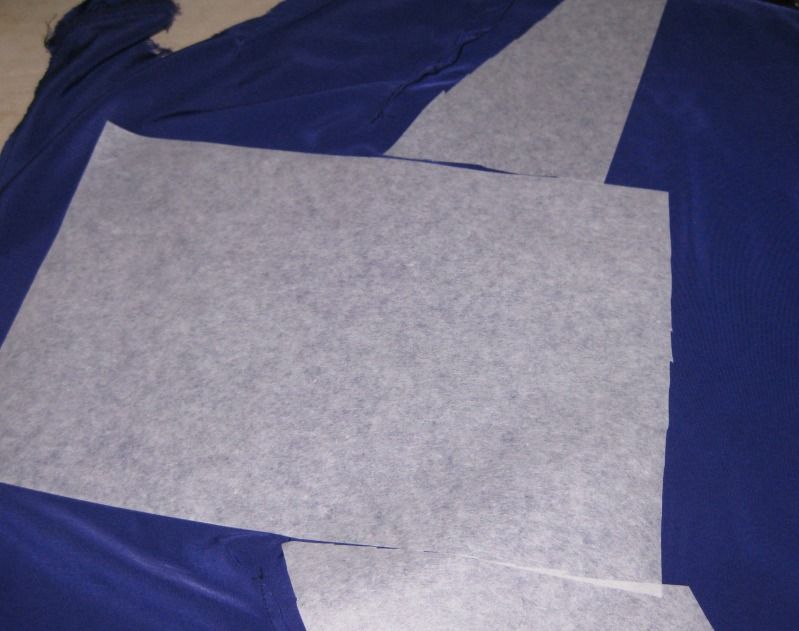
I used the following pattern to make it smaller b/c I knew the this was going to take a lot of work. I had just enough of the fabric to follow the pattern. But without the sleeves


I saved the bias trim on the dress to reuse it again for the dress.

Next I have learned from previous refashions that I need to add some stabilizer interface for this dress or it will sag. I ironed on some.

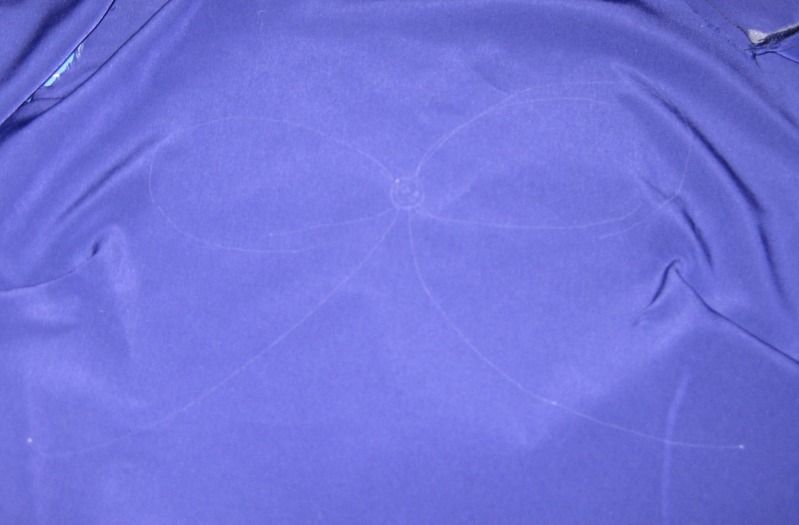
Next I sketched out with a pen how I wanted to make the bow. I used Clover's white gel based pen that simply irons away! I love this pen!

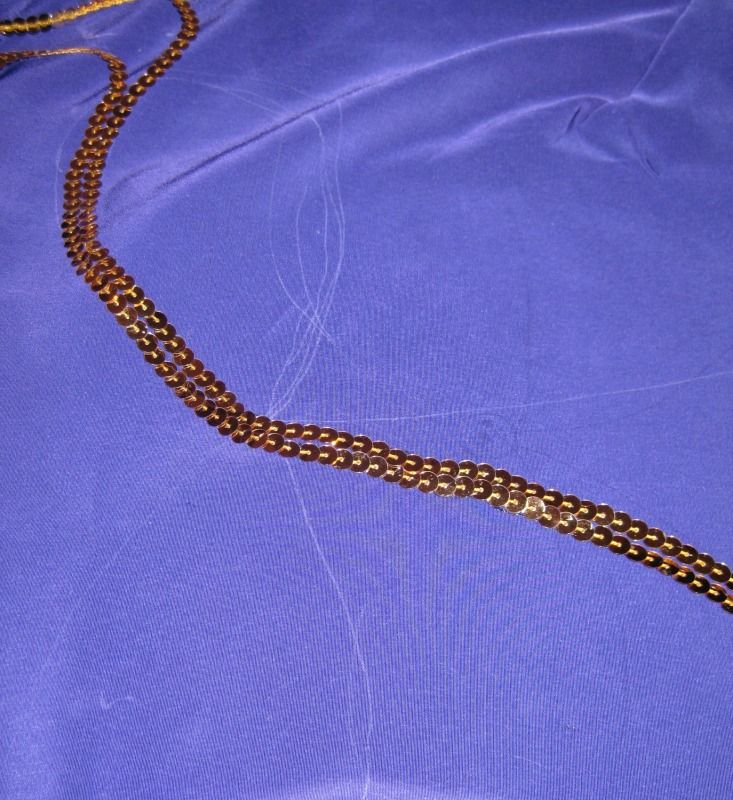
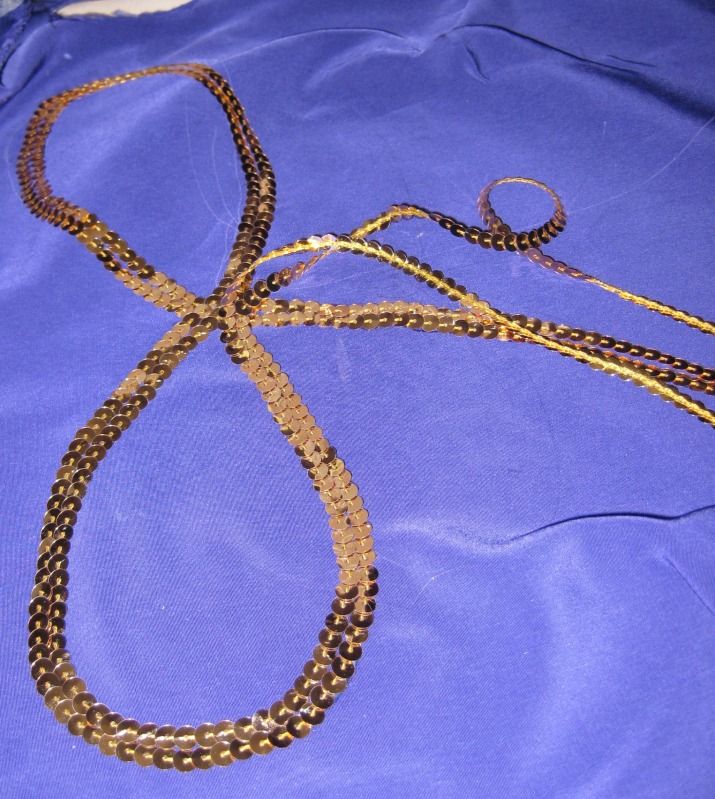
I had some gold sequin on a string in my stash and decided I was going to use 2 rows of it for thickness. So sew, sew, sew!! :) Actually I attempted to sew got angry and then decided to glue the trim on. No need to raise my blood pressure with the stress I am already dealing with.... I glued in small pieces and would let it dry and then go to the next part of the bow. Really, once I had the design it was pretty simple to glue.


After I was done gluing I pulled off the stabilizer. I cut off the last sequins on the ends of the strings and made sure it looked good. Now I need to finish the armholes and neckline. I had originally saved all of the bias trim from the dress but I did not have enough. Surprisingly the neckline was bigger than on the original dress. So I purchased the closest purple I could match to the dress and sewed it on the neckline and armholes. Oh yeah and don't forget to hem! Done!

Here is the end dress! Love it!

Actually this pattern was awesome! I cut a 12 (remember sewing sizes are different than sizes in the stores) and did not need to alter anything. I will plan on using this pattern for other projects b/c it fit well (I see a glitter slinky dress in my future with this pattern!).  Besides the differences in color, I think it was a great copy cat dress! Yay! For more of my 90 days of blogging click here.

xoxoxo,
Lauren

LinkWithin

Related Posts Plugin for WordPress, Blogger...