Well hi welcome to my little blog. Just my little corner of craftiness, sewing, and refashioning. I am also a newly gluten free eater so you have a little bit of recipes mixed in here.

Wednesday, February 12, 2014

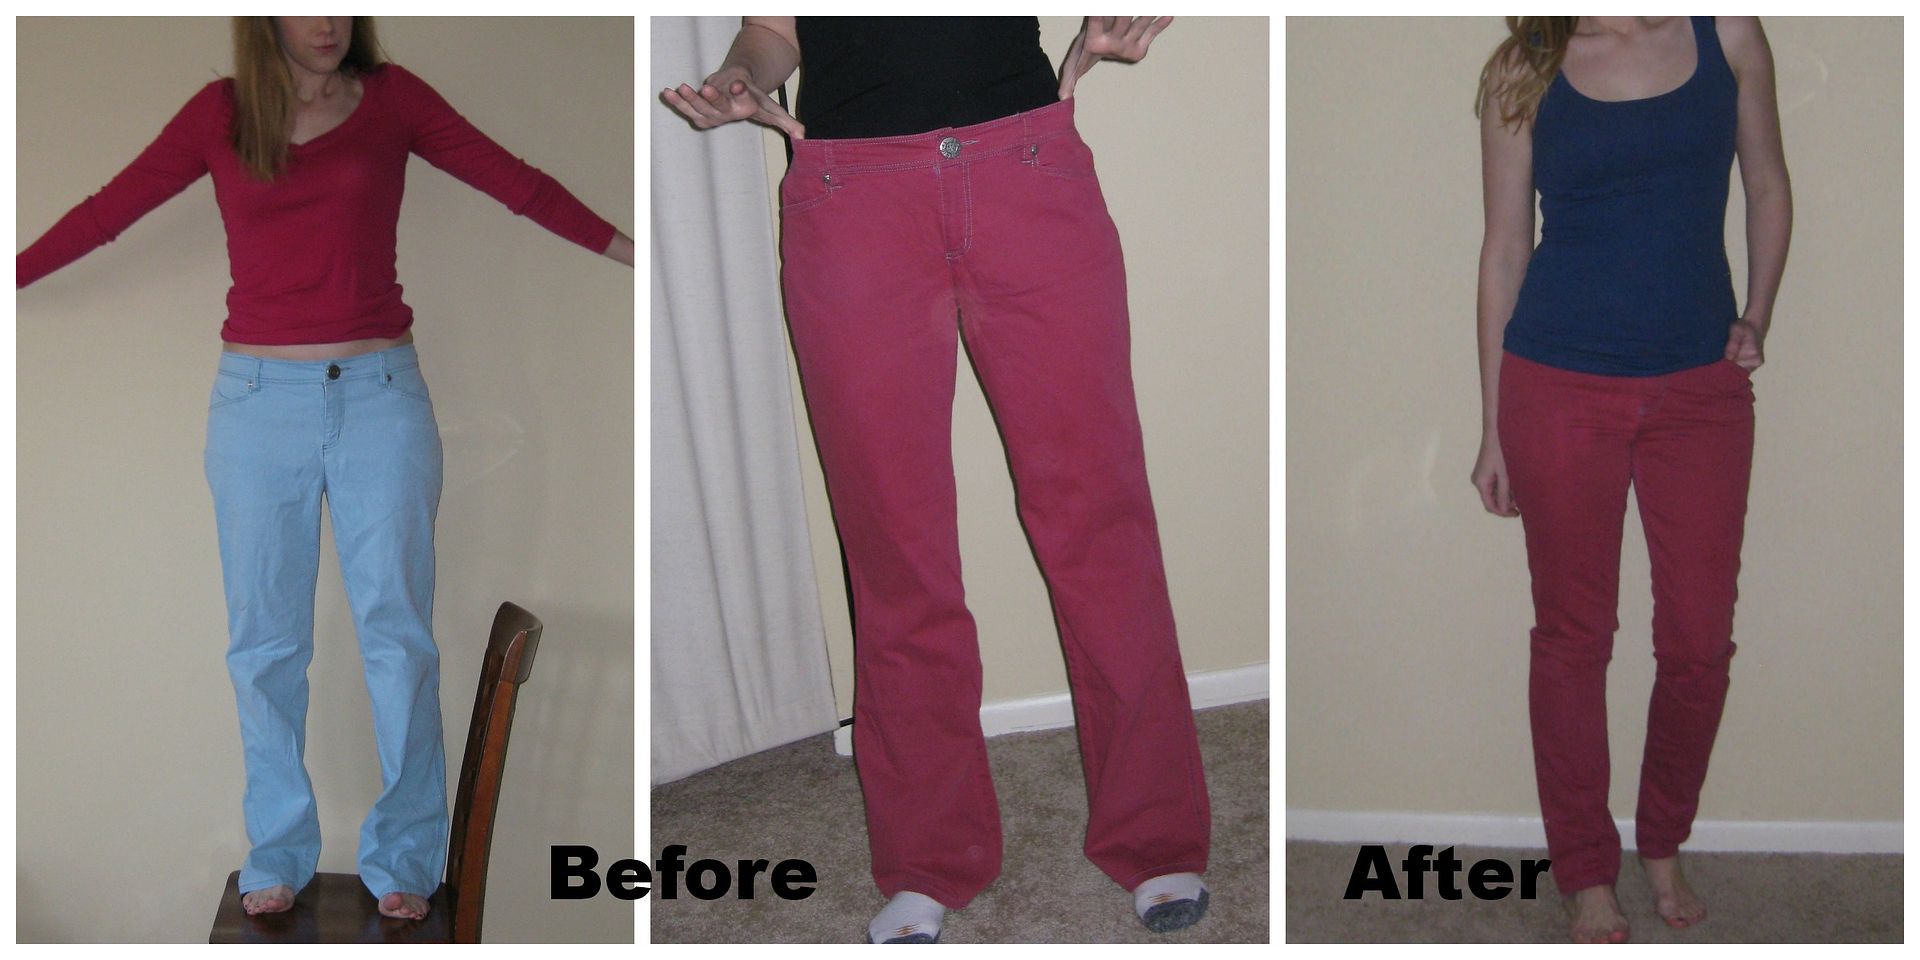
blue jeans no more- a jean refashion

I wanted to play around with dyeing jeans so when I stumbled on these jeans that cost next to nothing. I was happy. I was even happy that they still had the tags on them! Whoot!

As you can see they are big on me...


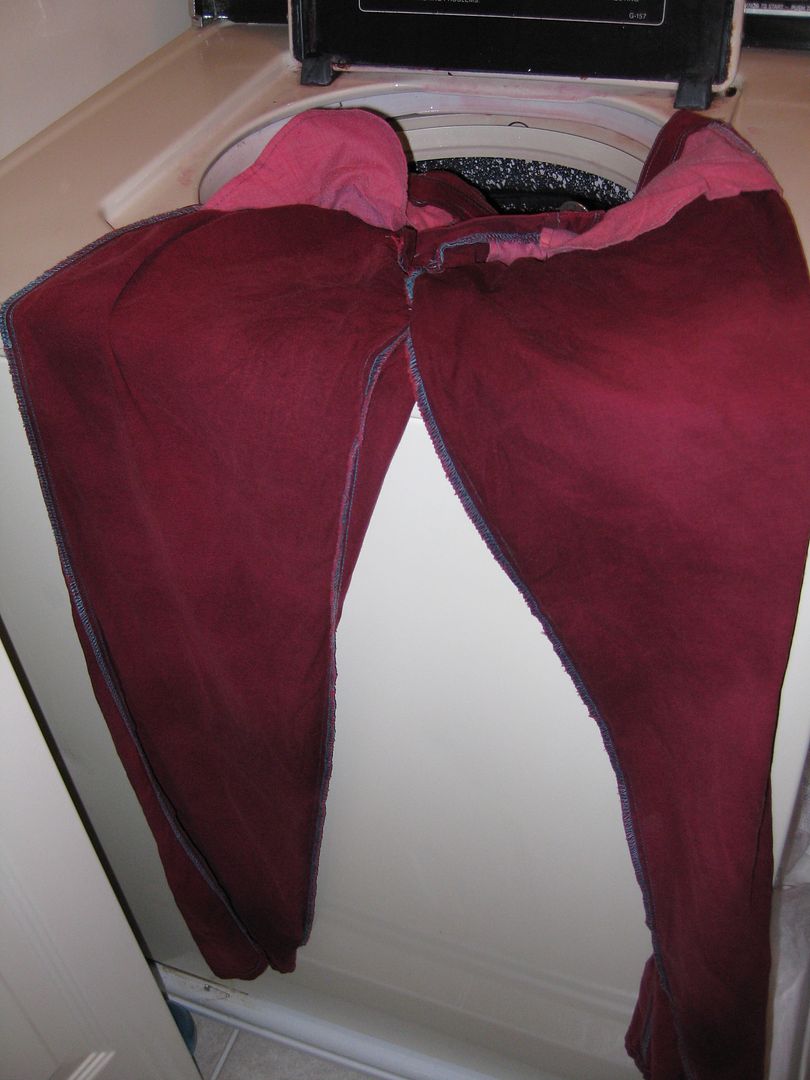
I attempted to bleach them but nothing happened. Didn't get any whiter whatsoever. So I said forget it. And I just threw it in a dye bath to see what was going to happen. If I got purple pants then so be it. I used RIT cherry red.


Holy moly! They came out red! I did not expect that whatsoever. But I seriously LOVE the color. And after several washes in HOT water they did shrink a smidge. I decided after sewing those leather shorts I could sew denim. Not afraid. I am going to take the leap and take them in, these will be a great addition to my cold wardrobe!

I took it in on the inside and outside of the legs. The inseam was a bit of a challenge. Then I took the waistband off from the sides. Cut and sewed back together to fit be right.

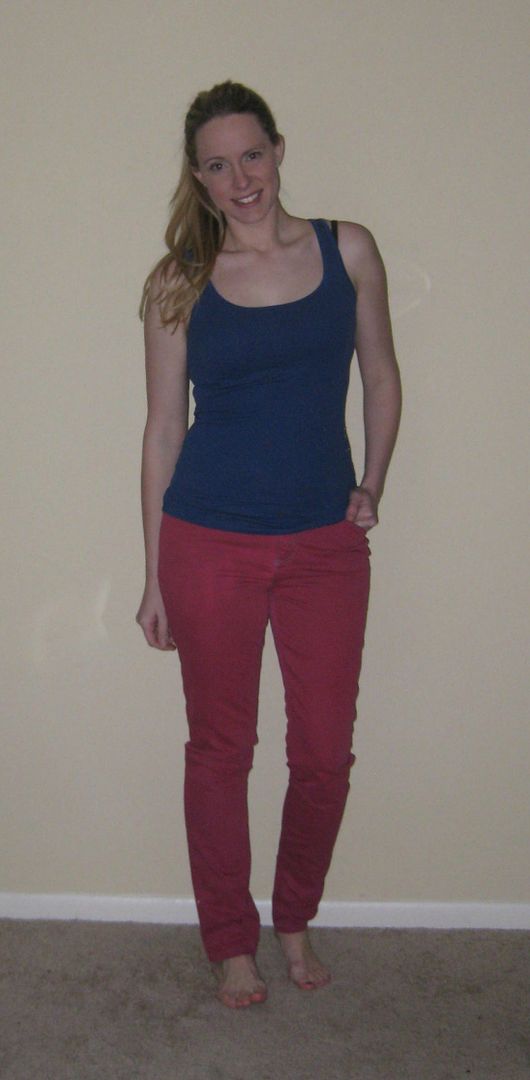
Done! Nice new fit!! I LOVE this color!


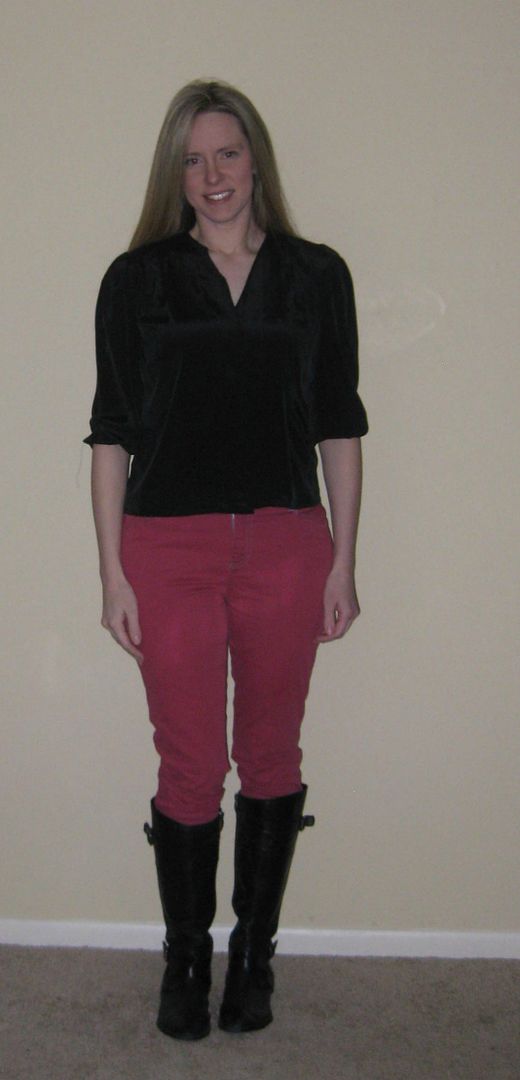
Got to love it with boots!


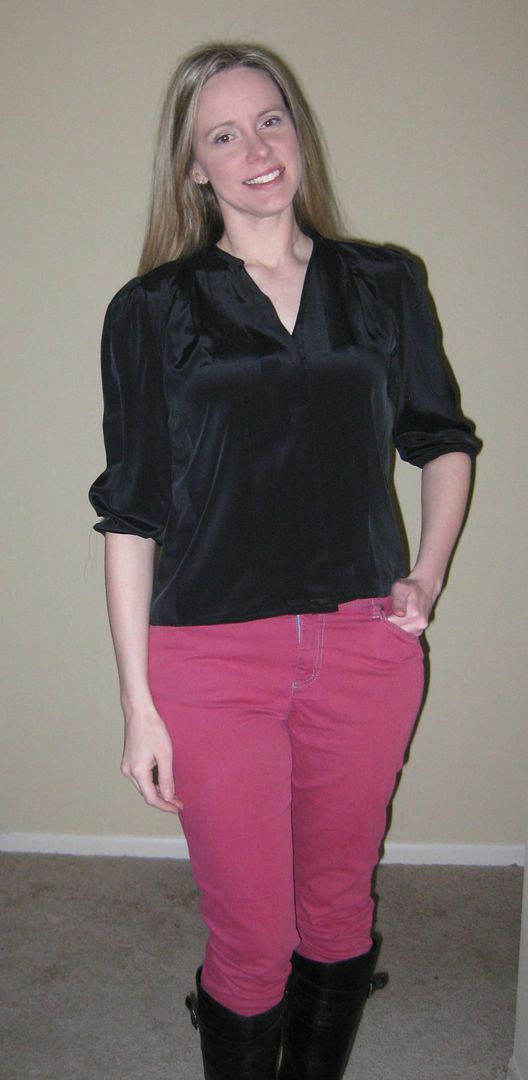
My new nice waistband!


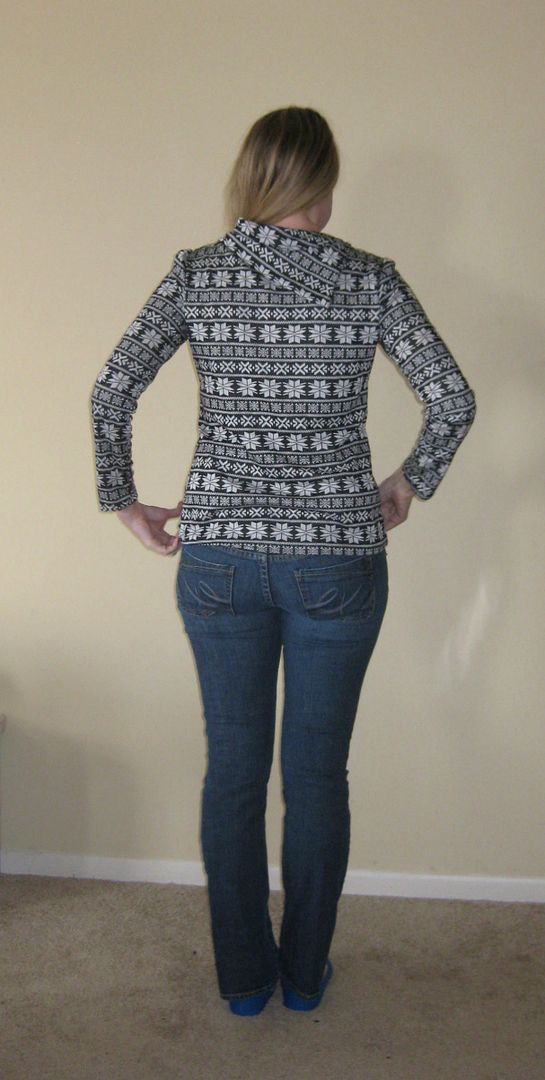
Actually there is a sneak peek to the next refashion! I fixed this black top!

Let's recap... Too big light blue pants, to cherry jeans too big jeans, to just right cherry red jeans.
Yay!!!!

Cheers, 11 down 88 left!!!
Lauren

Monday, February 10, 2014

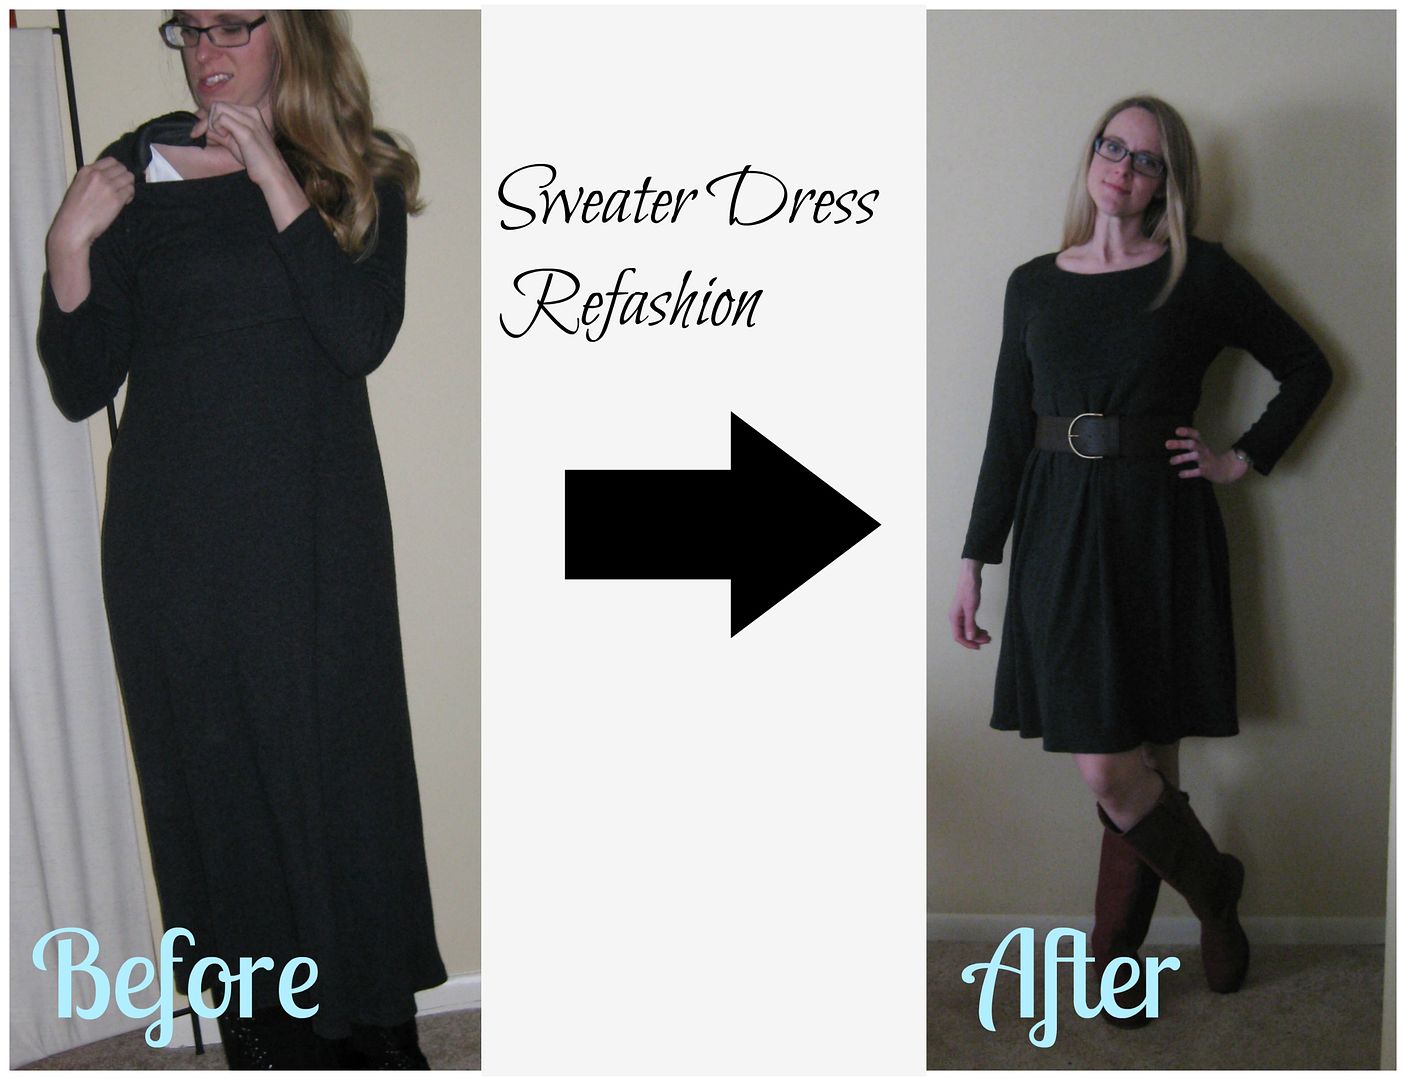
IC Olympics- "skater" style dress refashion

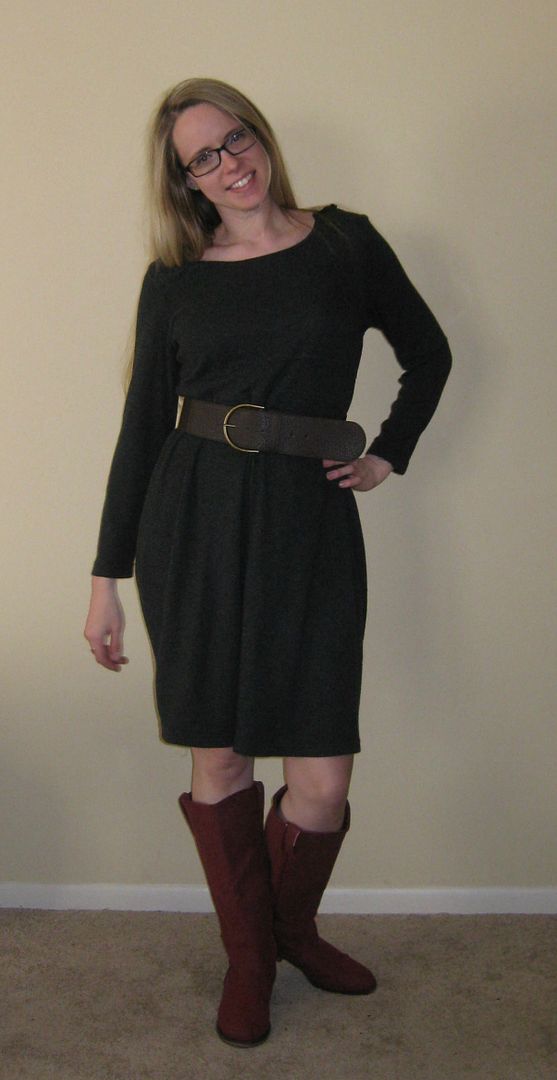
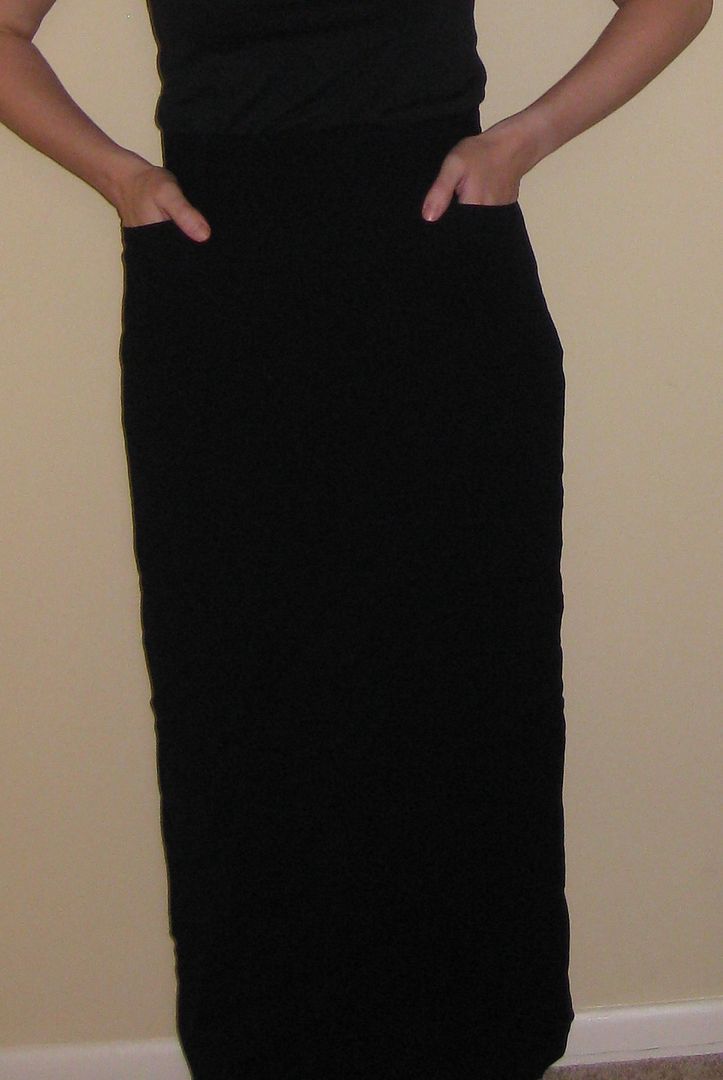
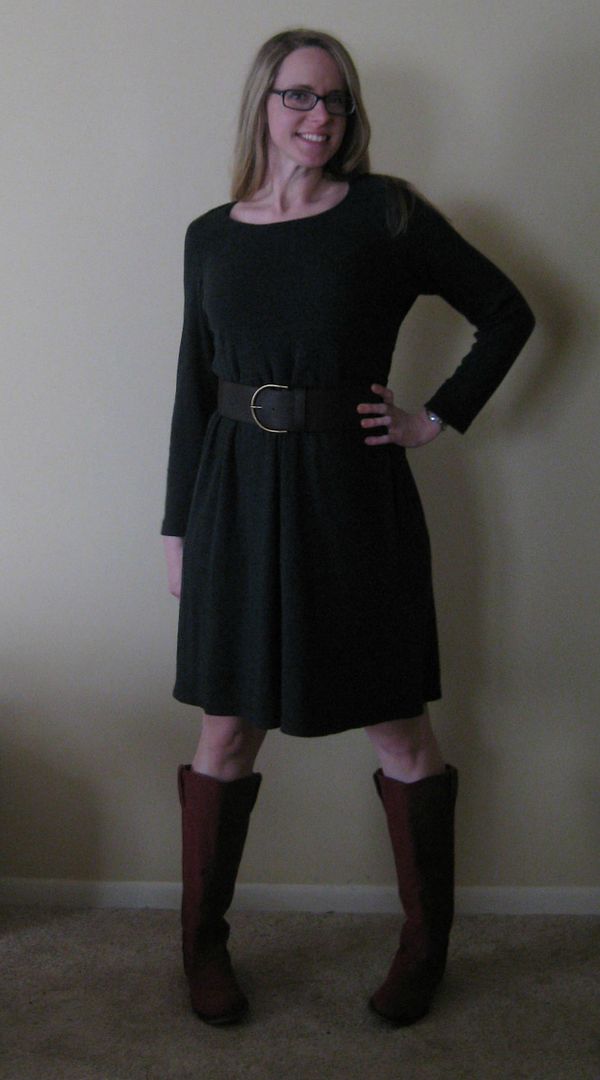
I don't have a lot of time to blog and its too dark to take pictures. My original project fell through and I Just finished this up. I got inspired by the ice skaters costumes, and decided to do a skater dress refashion from a long maxi dress.

Basically what I did for this is cut off the middle. I then reattached the lower portion creating a skater sort of dress that I keep seeing everywhere on Pinterest.

The befores... yes this had shoulder pads!!!!


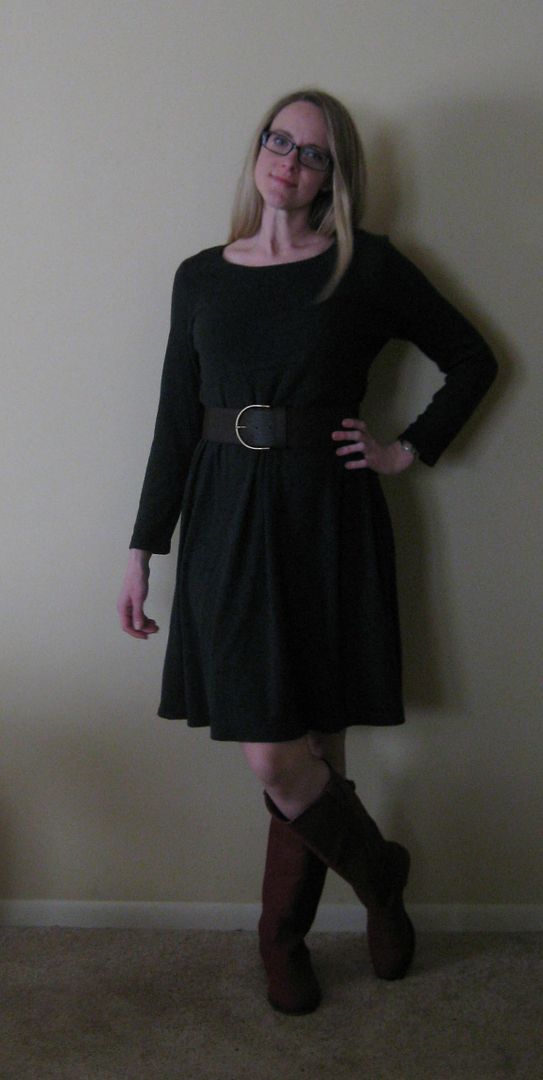
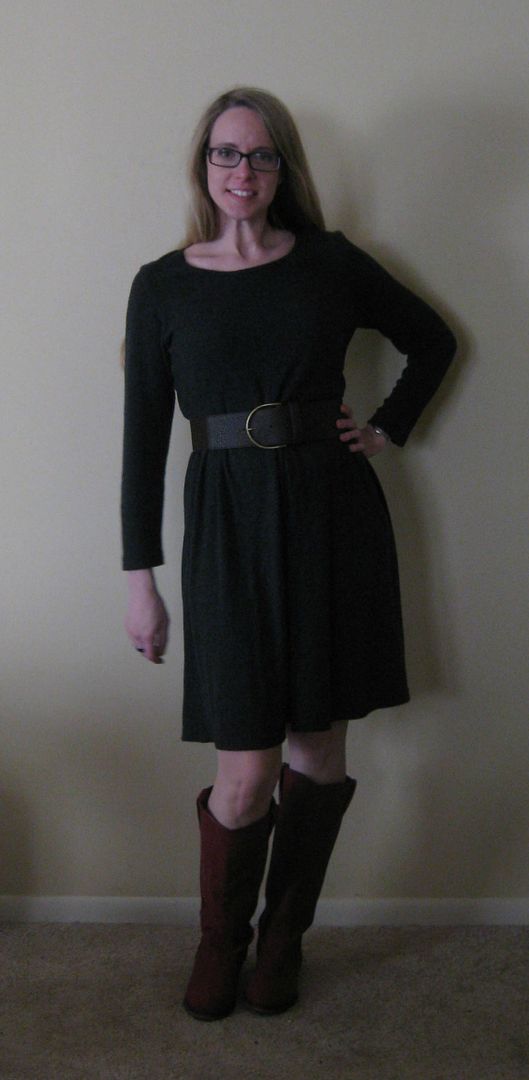
Sorry for the bad after pic. It does look cute on. I am ready for winter to be over!! And have some light!!!!
Will update this later. I have way too much work to do tonight to edit, etc.

Ok so here is the update. I added a belt. But here is the recap photo. More photos to come


Cheers,
Lauren

Saturday, February 8, 2014

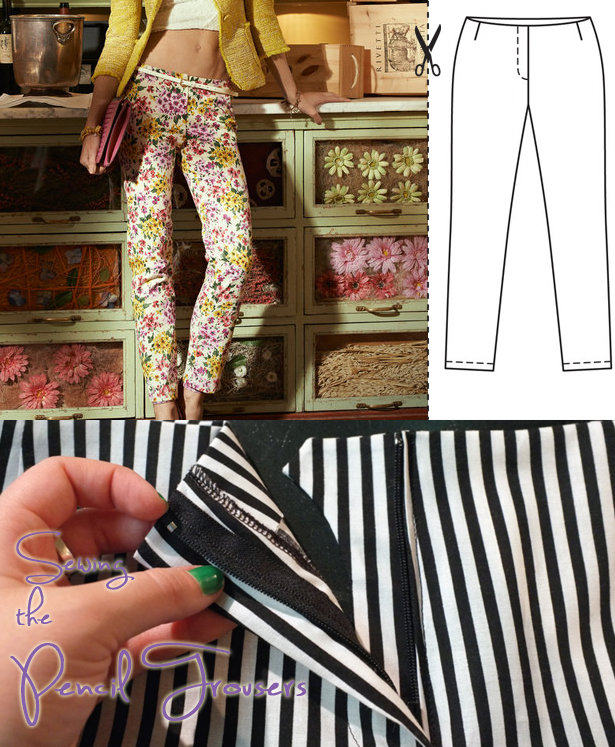
Crazy Flowered pants: burda pencil pant pattern

This is my first attempt at pants! Like REAL pants. Those with zippers and not yoga pants or lounge pants. Zippers are a challenge for me. Unless they are invisible zippers, which I can add in like 30 seconds with my eyes closed. So when Burda offered this pattern kit last October, I splurged since there were videos on how to sew the zipper. Which truly is what I need. I thought these pants had potential. So as a trial I opted for this thin sort of satiny material. I just had enough of it.


This was my first time with a Burda pattern. Many burda patterns are downloadable and you have to print it out on A4 PAPER. Which is really, really important. AND really hard to find. I purchased mine from Amazon. It was something I could not just walk into a store and buy a ream. But I printed my pattern and was good to go! Things matched up. But then I had to add seam allowance (GRRRRR). That took awhile. next time I am just going to rig up a colored pencil/marker deal. This took a long time and it shouldn't After I got that figured out I used their video tutorial and their step by step directions. Which were ok to follow. You need to be well versed in sewing patterns to do Burda patterns.

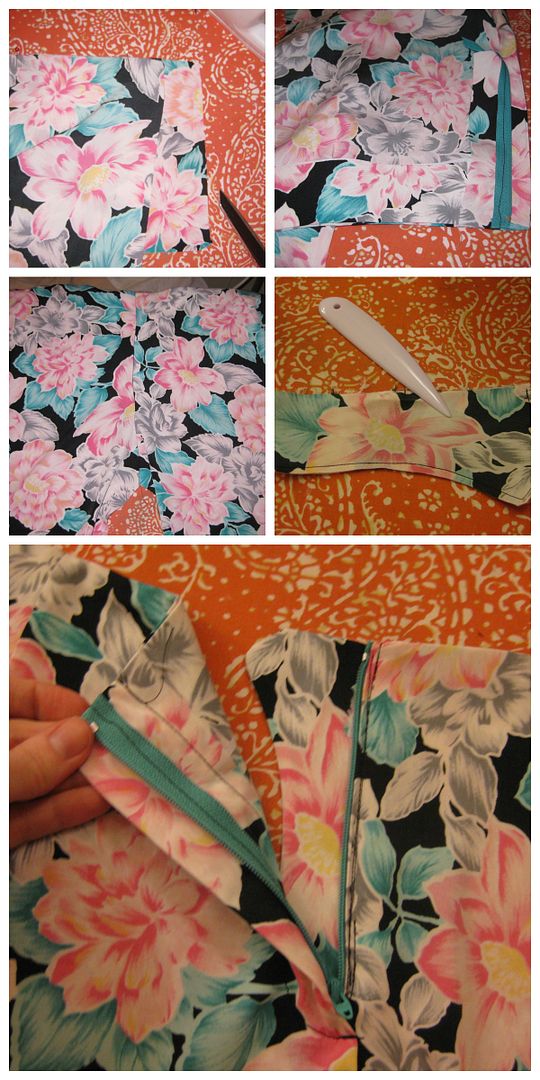
Here are some shots while I was doing the zipper etc.
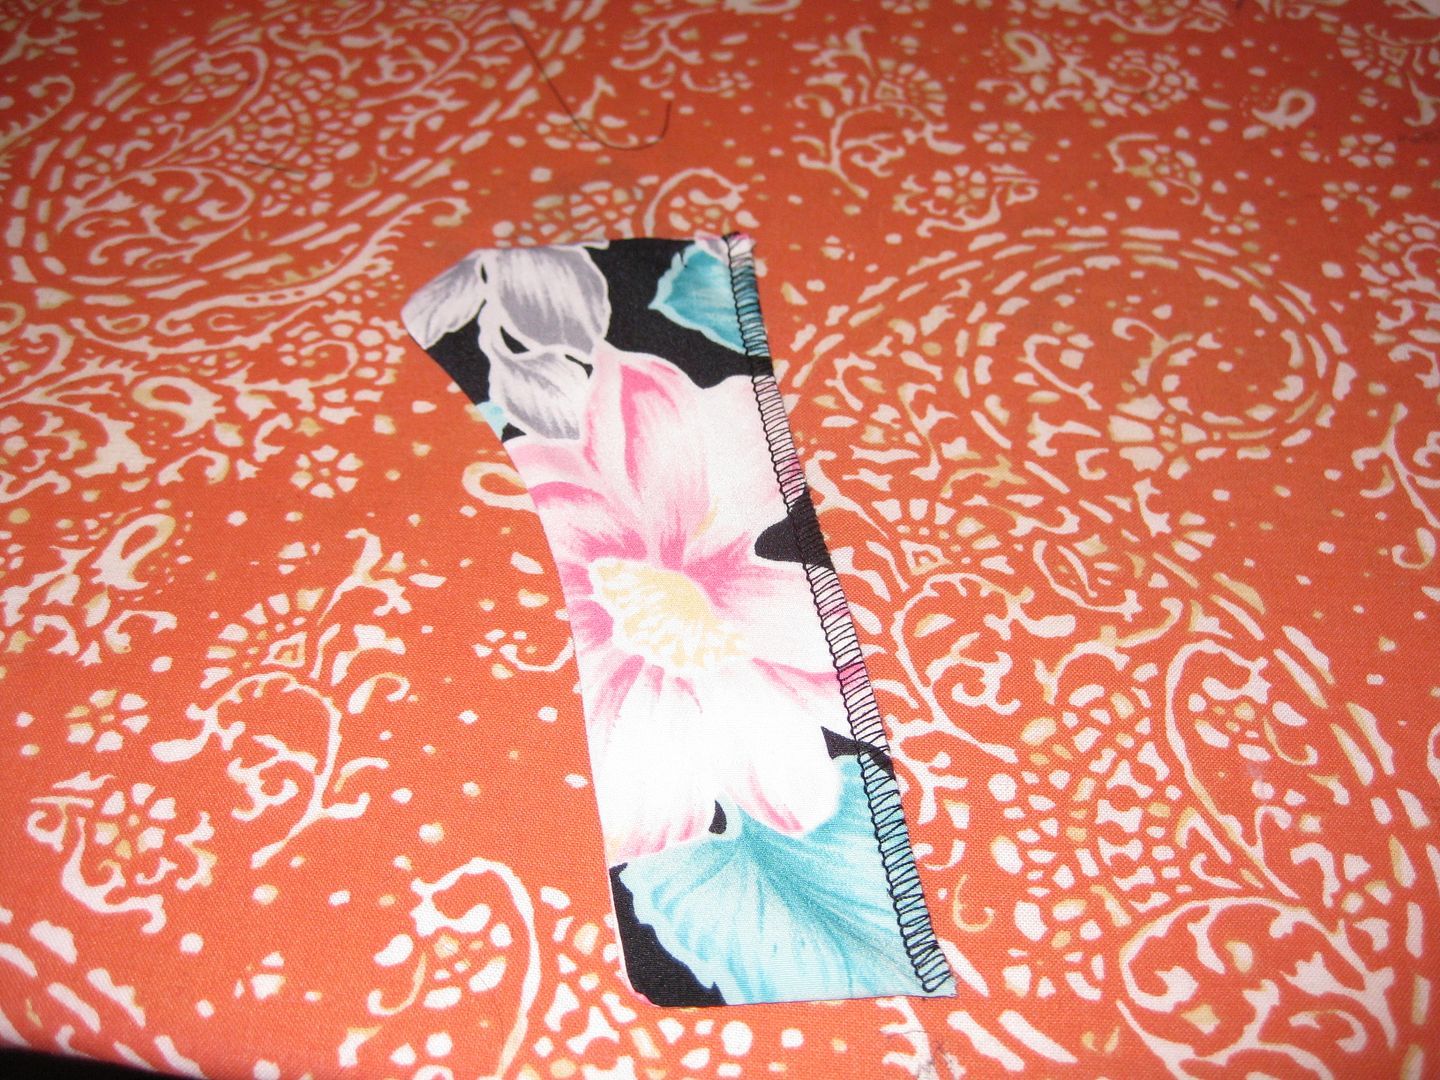
How nice is that zipper!!!!! Ekkk!  There were times like in the inner fly that parts really needed to be serged.

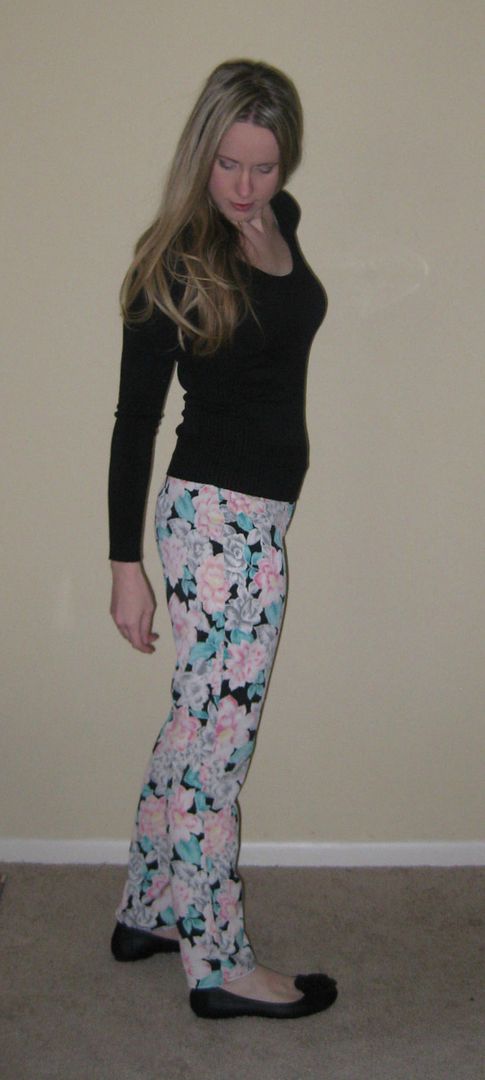
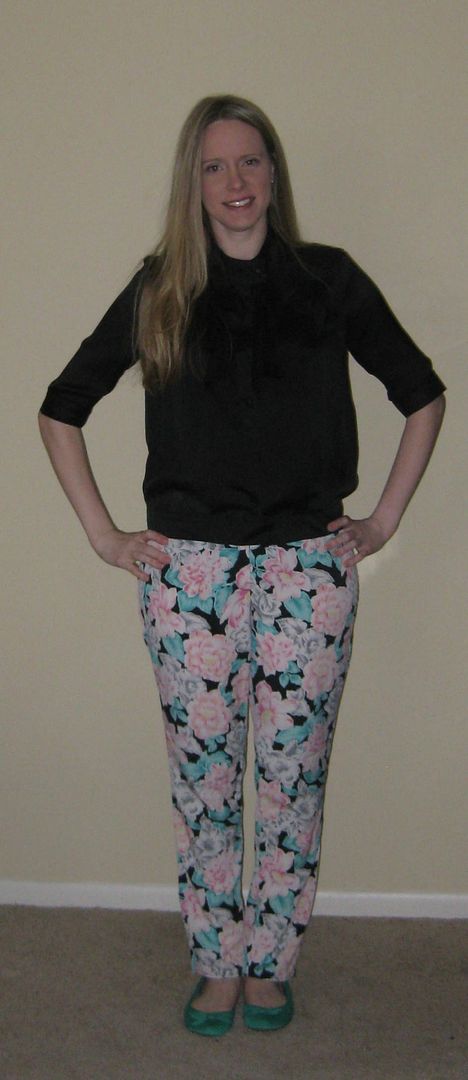
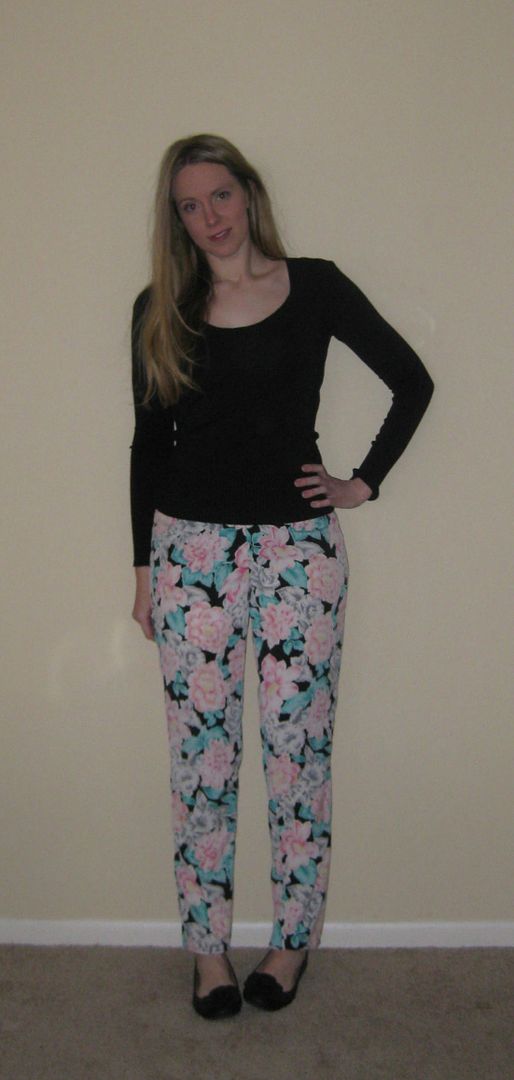
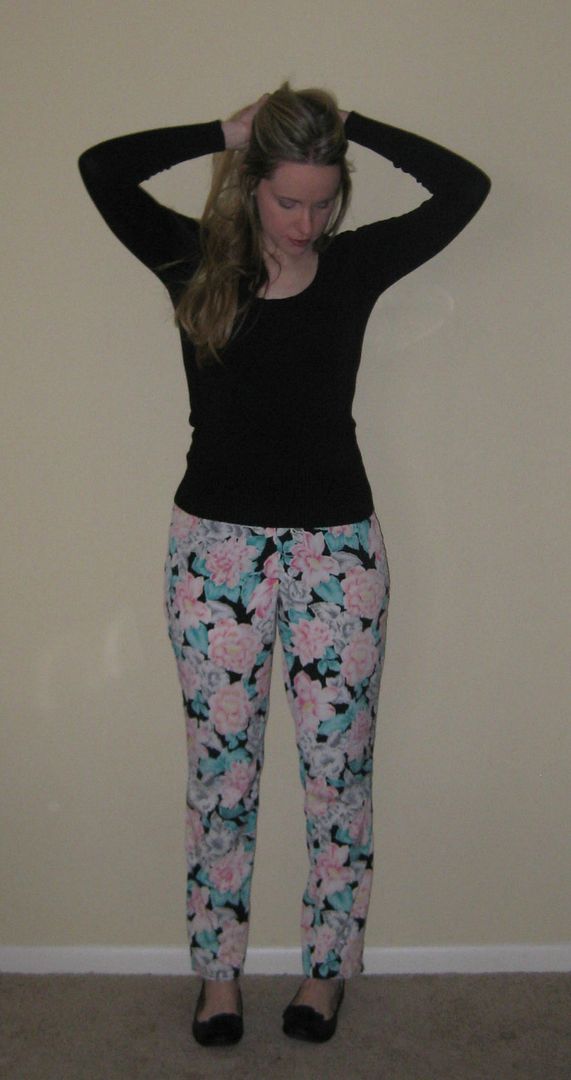
Here are my done pants!! They completely fit in my wonderful hips and butt.


Yeah needs long shirt or else WOW I look really super hippy. 

Kind of crazy fabric I know. But for a first try I really did like this pattern (not fabric pattern). I did take some in on the legs but due to the fabric they might not take to much more taking in- I needed some ease for walking, squatting, etc. I like my funky pants. These will be perfect in the summer time. Can't wait to style it, again I would love another sleeveless drapey long top  just like those tribal pants I made.

So my assessment of the Burda Kit. This was an odd kit as there was also tutorials and the pattern had added a leather knee patch. But there is no picture of the pants look with the knee patch. I mean what they advertise are those cute flowered pants. There is no end picture of the pants that they sew in the videos. In the leather knee tutorial, the person had no idea about sewing leather correctly. Yes having a leather needle helps BUT...... you really should be sewing with a teflon foot or do the masking tape on your sewing foot trick to actually help the sewing. How do the people at Burda NOT know this??? Seriously, this is all they are about- how do you make a tutorial and completely leave out the foot? That was a bit disappointing. Some of the instructions were hard to follow. The styling file I could do without. But the zipper video was priceless. I feel much more comfortable (or I think I do) with sewing pants with zippers. I do like this pattern, I did add 2 inches to the bottom of the legs and did a small hem. I think with some modifications, I can make it even better. Overall pretty happy!!

Cheers,
Lauren

Friday, February 7, 2014

GF cooking: meatloaf cupcake

Another recipe down the hatch. Different gluten book- the Gluten Free Bible.


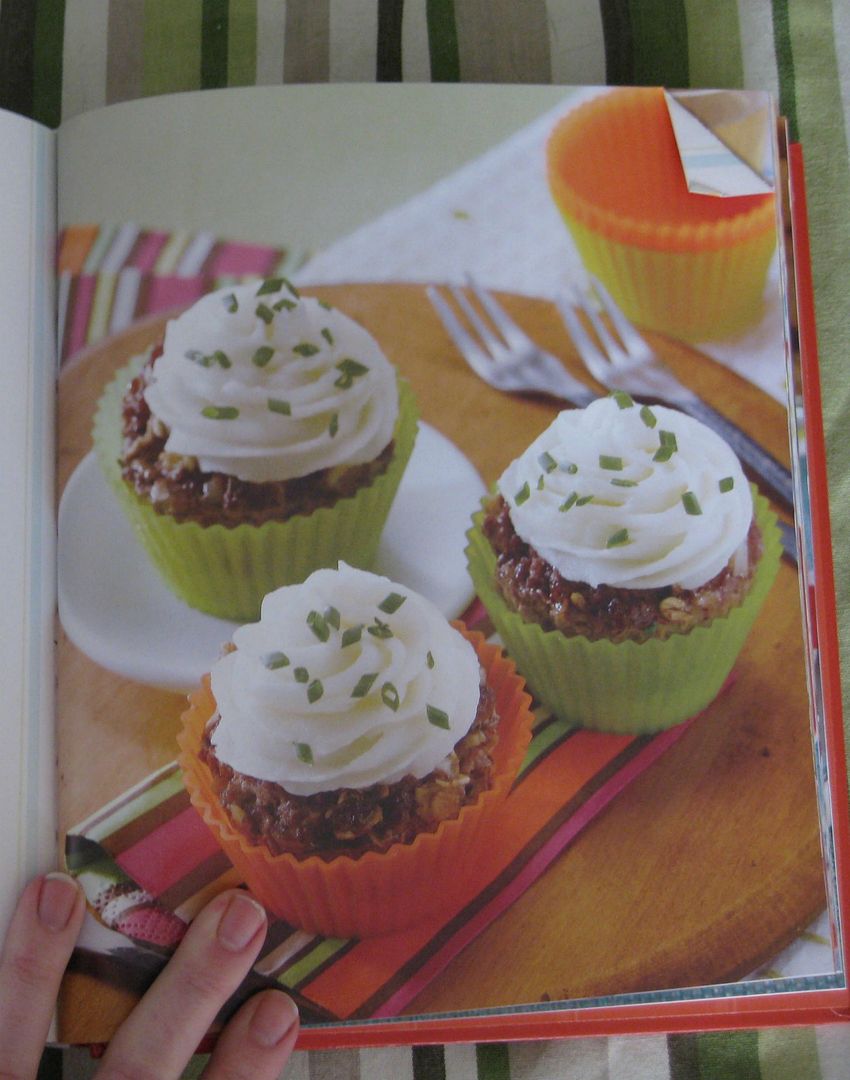
I wanted to try their meatloaf cupcakes. They looked so great! It is a meaty bottom and the icing on the "cupcake" is mashed potatoes. 

Ingredients:
1.5 ground beef 
1/2 cup chopped onion
1/3 rice chex
1 egg
2 tbp rosemary

1. I combined everything in a bowl. 
2. Trasnferred to cupcake holders and bake at 350 degrees for 25 minutes. Ensuring they are properly cooked.
3. Err this is what they looked like super greasy and it disformed the liners. They were soaking wet.
4. OMG just full of fat!!!

This recipe should have called  extra lean beef. I used 80/20 and it was too much fat. I just used instant mashed potatoes to make my icing. I sprinkled it with cheddar cheese. The taste was nice, but a bit bland for me. My boyfriend did like that it was different. I liked the concept. I may do this again but change the seasoning. 


As use less fat!!! But nice for a quick bite to eat. Yup he could pop an entire one in his mouth. Meat and potatoes. Every man's dreams. LOL

Cheers,
Lauren

Wednesday, February 5, 2014

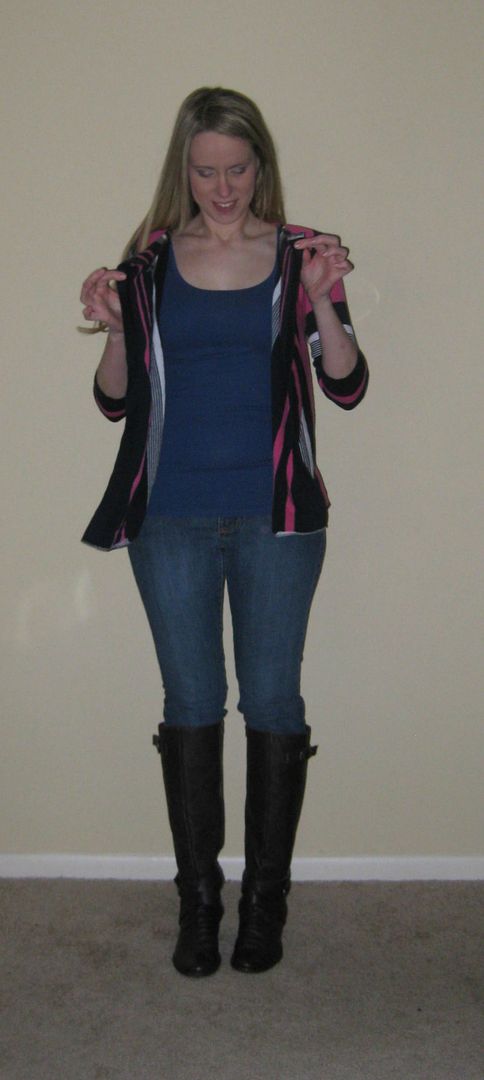
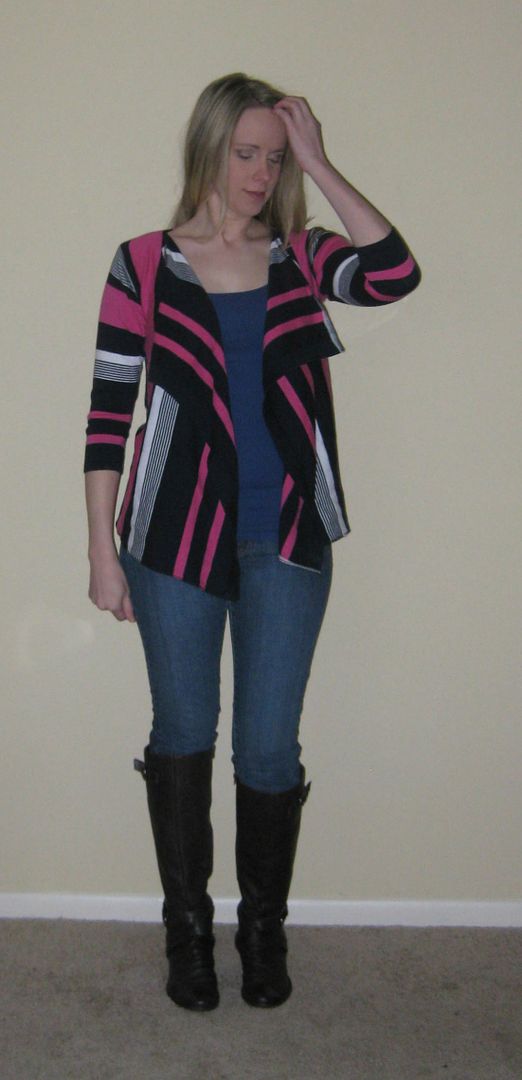
Large Striped Sweater Refashion, Refashion #9

OMG I am so excited about this refashion. I can't take credit for it much but it is such a great idea!!

First started with this large knit sweater. It was large but man just love that pink and navy blue stripes! But what was odd about this shirt was the sleeves were tight starting mid arm. Which if this top was for a larger lady how could they get their arms in this. They just fit MY bony arms.
 After seeing this post from Oh Everything Handmade. She turned a sweater into an open front cardigan. After seeing this tutorial I KNEW I HAD TO DO THIS AND THIS WAS THE PERFECT TOP TO DO THIS!

I basically followed her tutorial. Basically take off the sleeves, sew across the top to create the back, created arm holes. I evened out the new top and bottom of the cardigan.

Now I serged the top and bottom but as you can see, since I have a thinner knit-if I don't have the right setting on my serger I was going to have lettuce ripples. I added some iron on tear-away interfacing to stabilize the fabric while I serged it. As a result, I had a nice even edge. That made me very happy. 

I then sewed the 10 cm on each side to create the shoulder seams but while doing that I also added stabilizer to prevent it from sagging. Again it was a thin knit, it will pull over time with the weight. 
Then I added my sleeves, which I didn't have to alter, I would say if you are working with a thin knit that you should probably do some stay stitches before you add the sleeves. That would have helped me b/c it STRETCHED. But boom! I am done! I know have a fabulous new open front cardigan. Giddy!!!


OMG what an improvement! And thank you to Oh Everything Handmade for such a fabulous tutorial for this refashions! I even tried a belt . 

91 left to go (not that I am counting!)

Cheers,
Lauren

Tuesday, February 4, 2014

February Sewing Plans

This February my sewing plans are the following. I am very excited.

1. Butterick 5599 crossed dress by Suzi Chin. This pattern is crazy as it has a LOT of pattern pieces and that translates to a bunch of fabric pieces. I just cut it the other day. And just WOW!!!

2. Snowflake dress using Vogue 1315.

Using this fabric. 

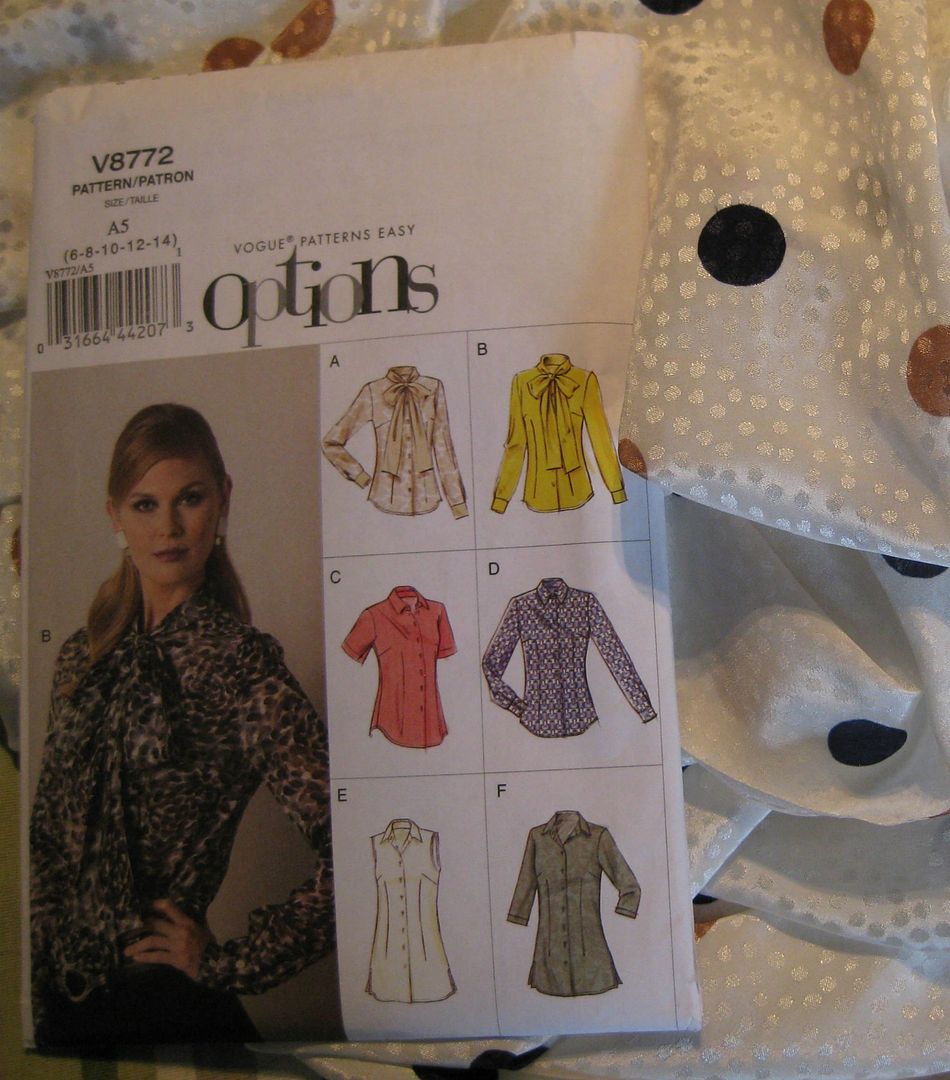
3. Then hopefully tackle a fun drapey top with a bow tie at the neck. This will be perfect for work.

Maybe I'll get another snow day. :)

Cheers,
Lauren
Monday, February 3, 2014

A Ralph Lauren Skirt gets a makeover, refashion #8
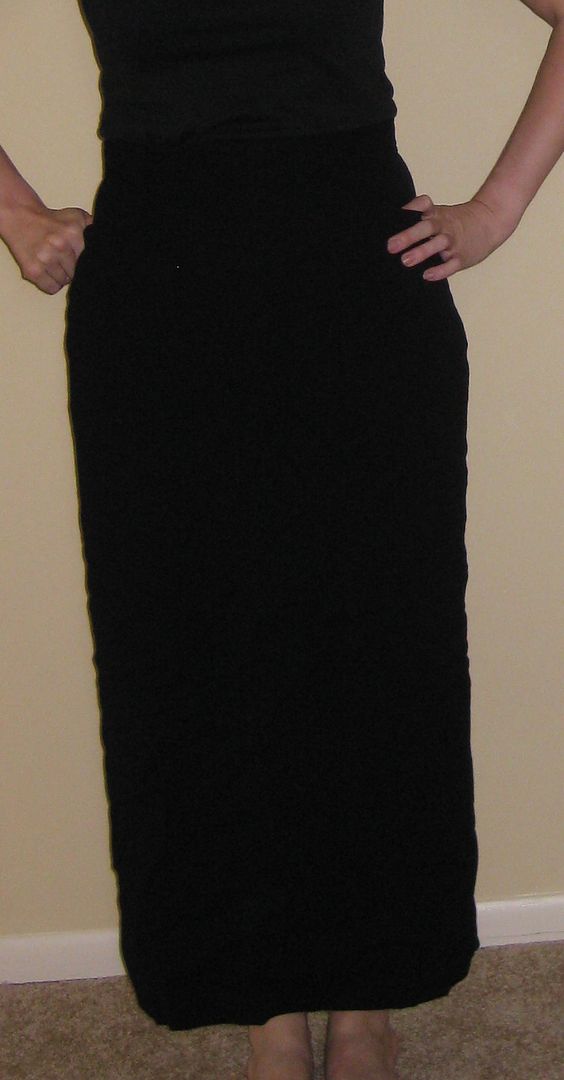
Found this lovely Ralph Lauren skirt (with pockets!). It fit perfectly. But it is just sooo long.
And bland... 

This is an easy fix.
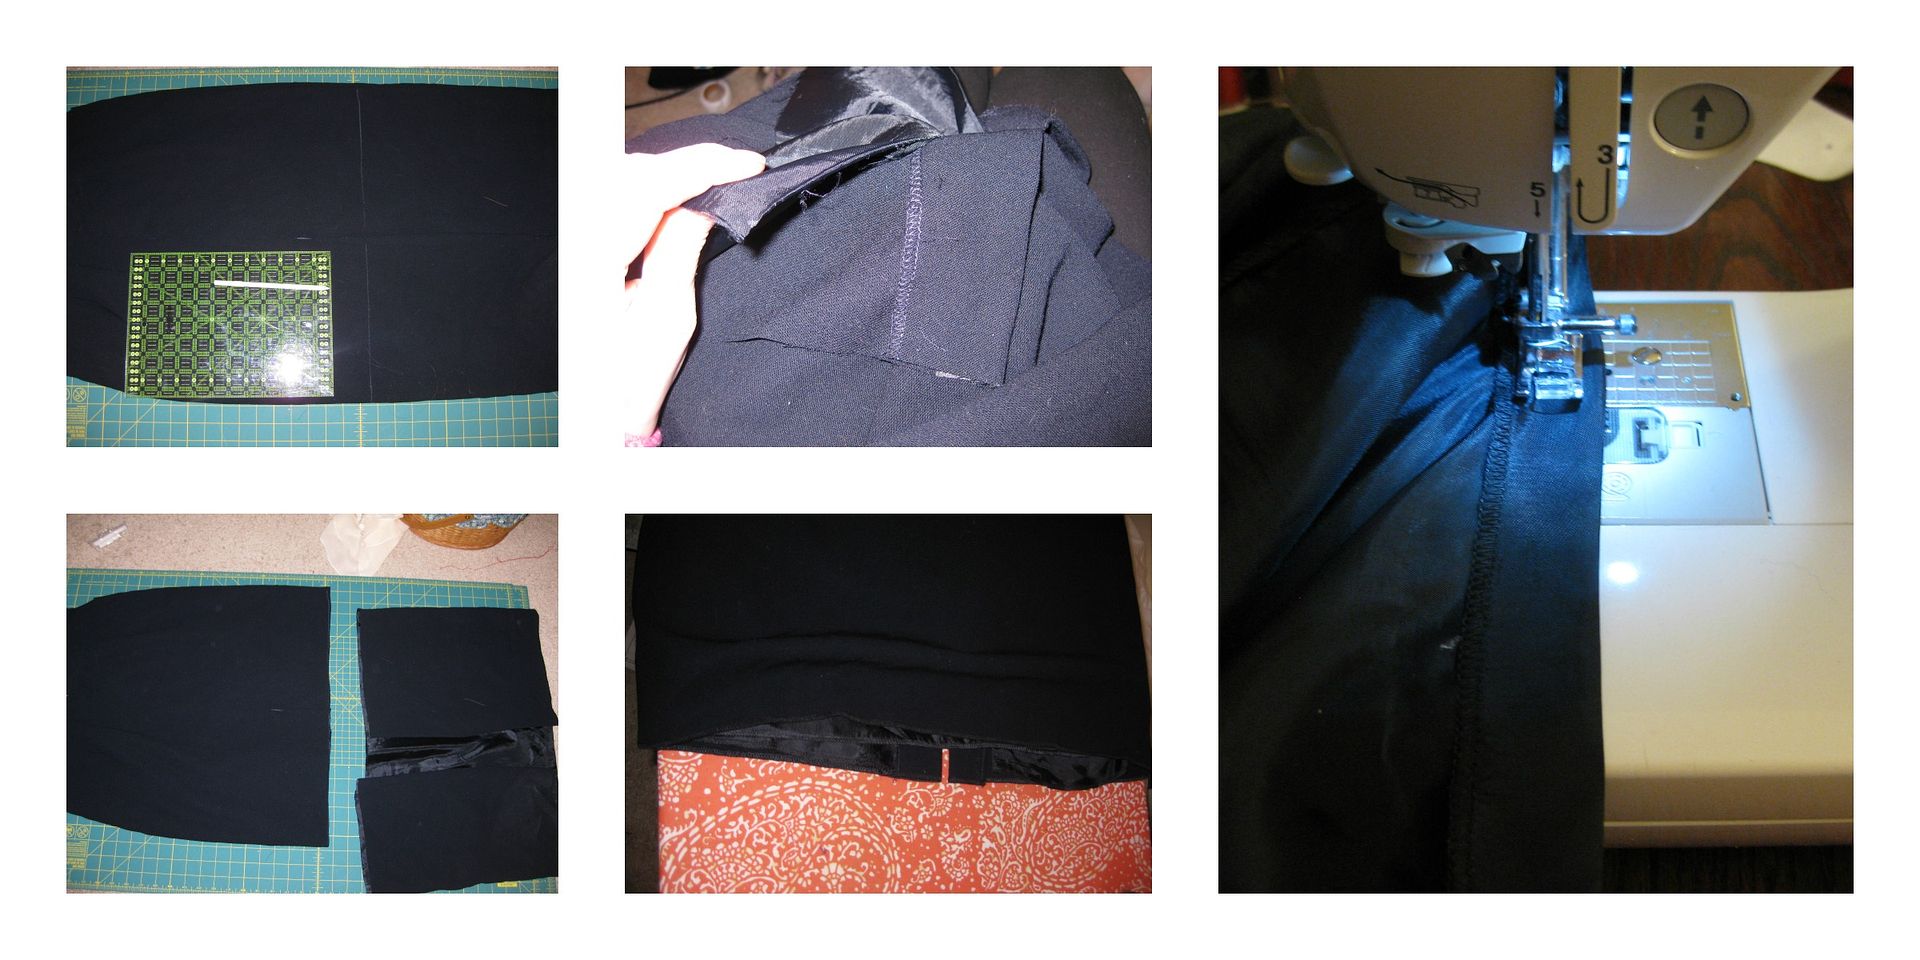
I marked off where I wanted the new skirt to fall. Drew a line with white chalk.
Cut off!
Open up the walking pleat with the lining.
I serged the skirt and the lining so no frays.
Fold up, iron, and sew my new hem. I made sure that the pleat (that is the wrong word!!) fold back over for a nice clean finish!

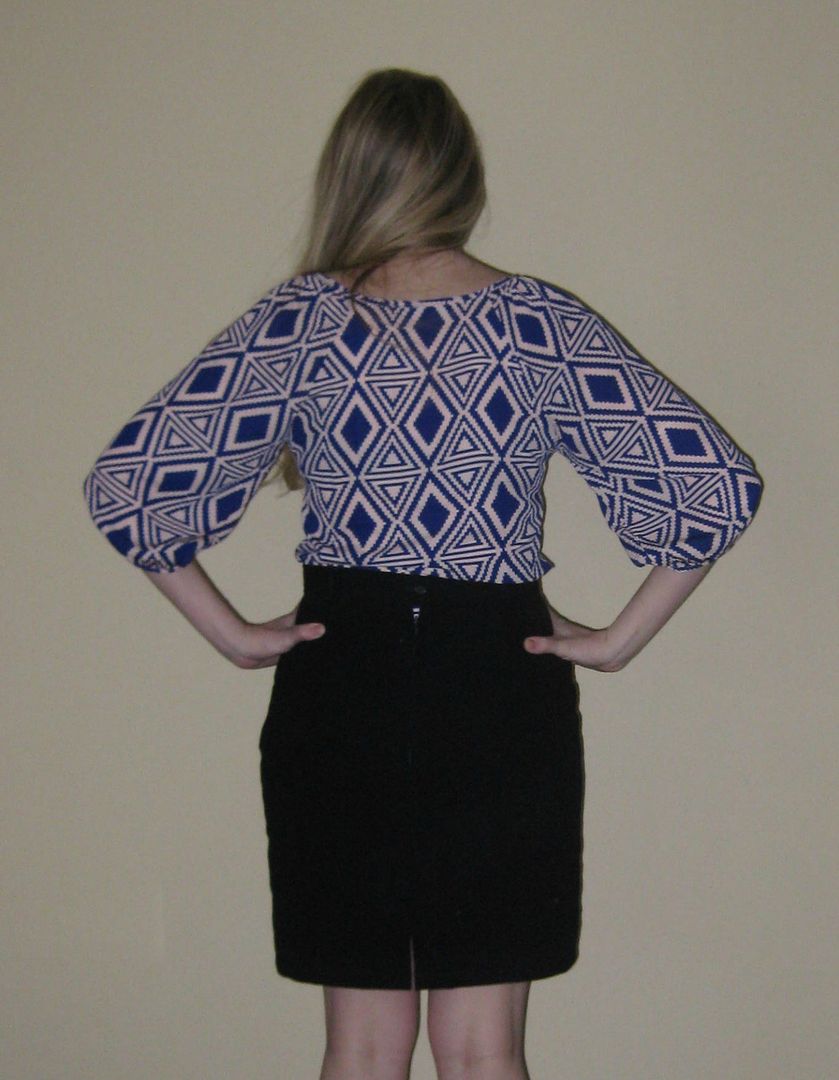
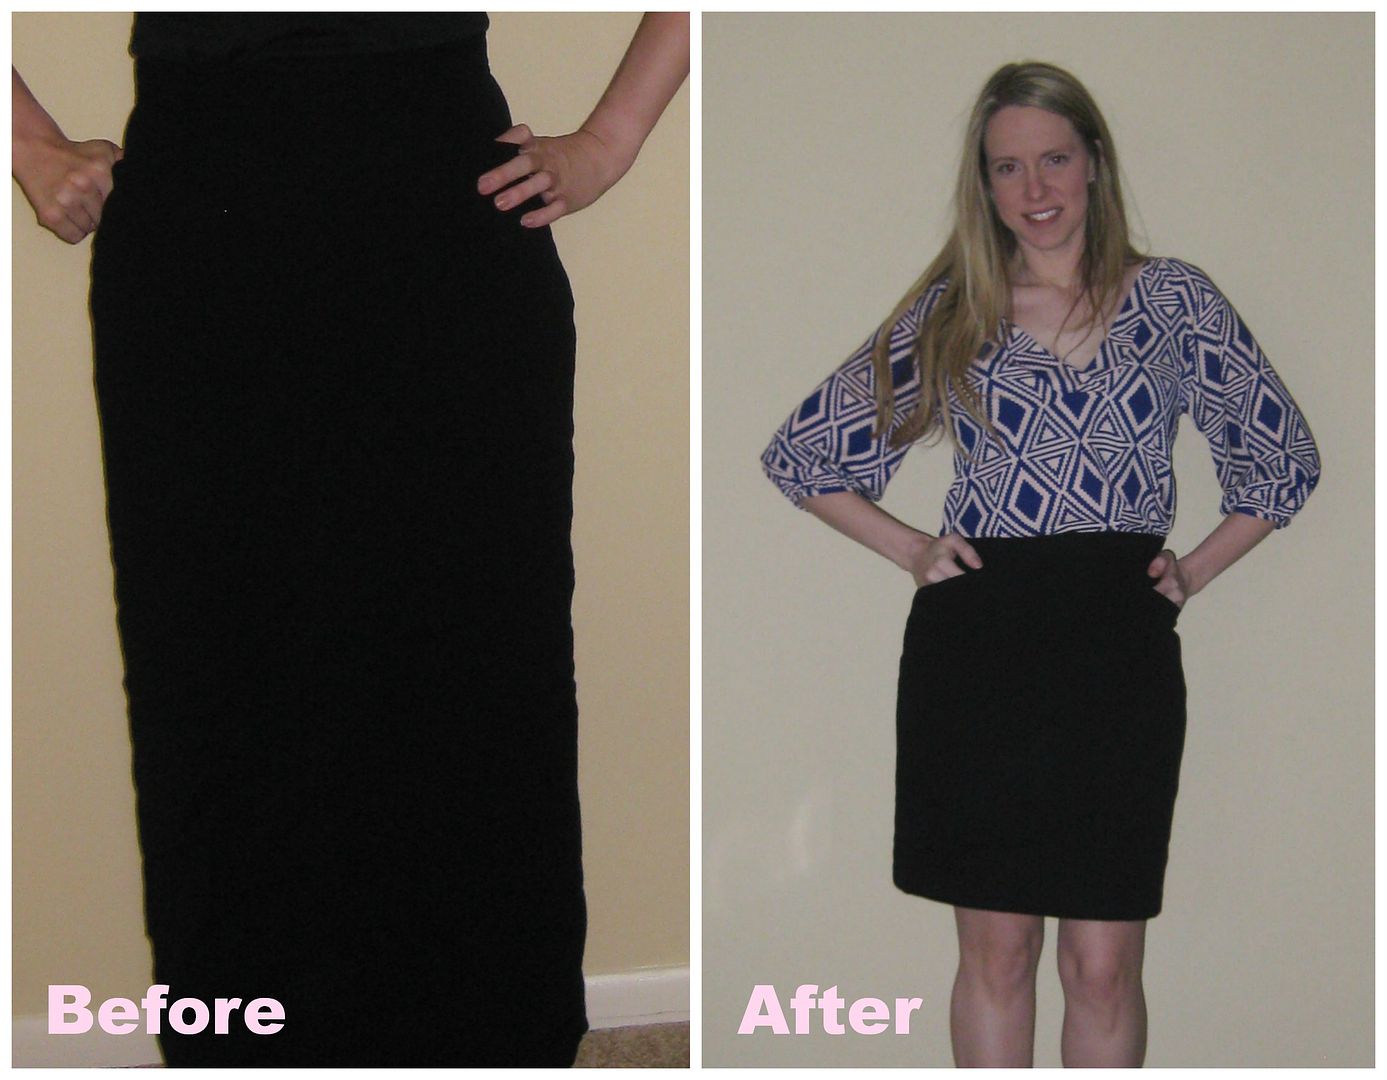
Done!


This skirt has so many possibilities. I am excited with this simple refashion! It really looks great on! And I have  a functional walking pleat!

Cheers, (91 left!)
Lauren

LinkWithin

Related Posts Plugin for WordPress, Blogger...