Well hi welcome to my little blog. Just my little corner of craftiness, sewing, and refashioning. I am also a newly gluten free eater so you have a little bit of recipes mixed in here.
Showing posts with label baby bibs. Show all posts

Wednesday, January 21, 2015

Part 1 of 2015 Charity Goals!

Now I know I have mentioned that I have been in a blogging rut- the cold doesn't inspire me to click away but I will say that I have been sewing some. It has been wonderful. I know that my 2015 goals have been lofty (see here for my resolutions) and I had some time to just clear my head and think over the holidays. Last year I sewed a lot of clothing for myself, between the 99 refashions and sewing in general. It put a strain on my creativity sometimes b/c I was solely focused on numbers. And I didn't work on many other projects, some of which have just been sitting here. I thought, let me change this up. Last year it was all about me and increasing my wardrobe, how about I start this year out by sewing for others and other projects. I hypothesized that this would increase my probably of finishing projects that I need to finish. It would also give me a nudge to make a leap into something I may not be comfortable doing. Also, maybe this would help me move some of my lumps, I mean fabric stash.

Resolution #4 is to sew through some of my scraps and make things for charity. My goal is 300.
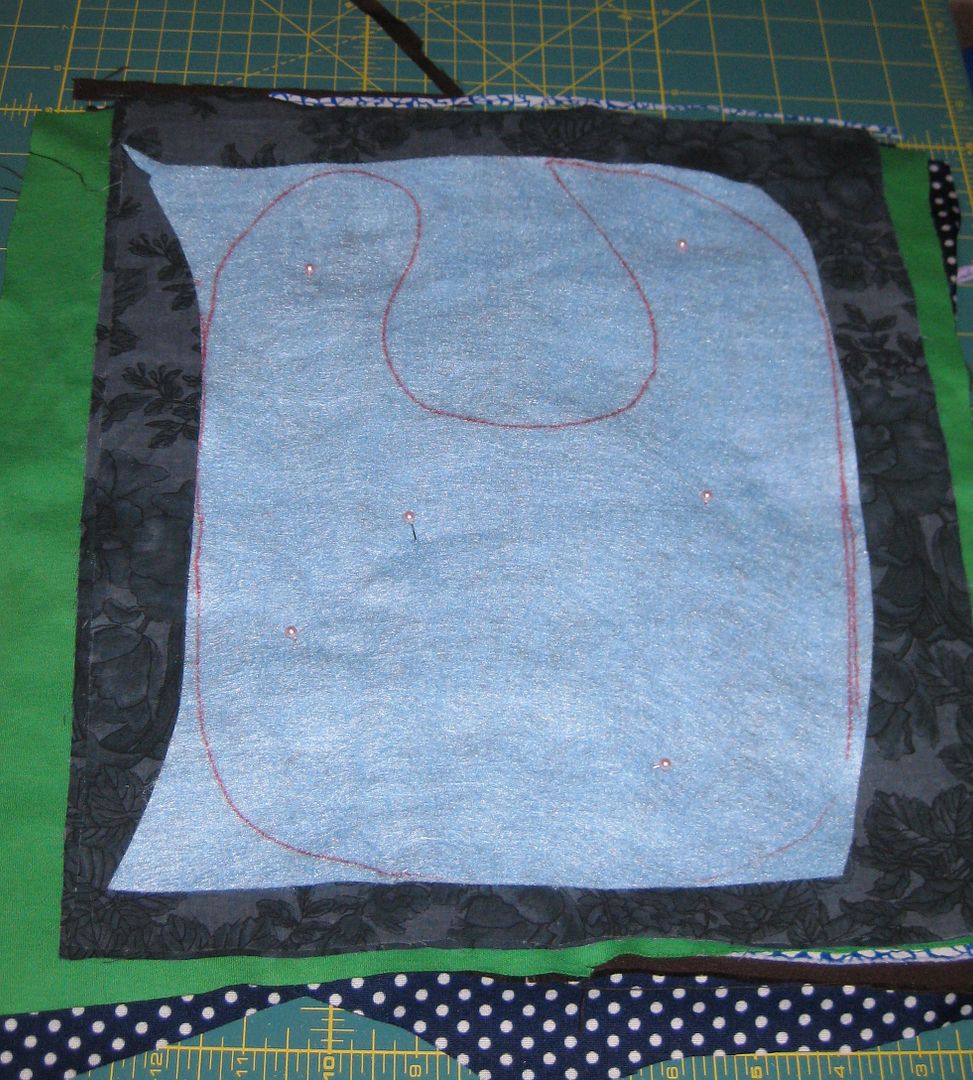
First project was bibs. I love bibs, they are easy to make and I can use a lot of fabric. I had planned (sigh yup last year was too ambitious) to make more for charity, as I have done in the past, and brought an entire bolt of fusible fleece on sale.  So I had everything on hand. I just started grabbing scraps of fabric and sorted to sizes that would work for my bib pattern. I also found pre-cut bibs that I never sewed so I had a good start. I cut and cut and cut and cut. OMG fabric was everywhere. I killed a rotary cutter blade. I usually cut multiple layers of fabric at once to maximize my time.

Then I attached to the fusible fleece. I worked out how I could maximize my usage of fusible fleece, I really didn't waste much! I did it in batches. I cut my heart out. Then fused and fused and fused. My poor iron looked rough afterward. Then I cut out the bib individually. Then I paired front and backs. Sew. Sew. Sew.
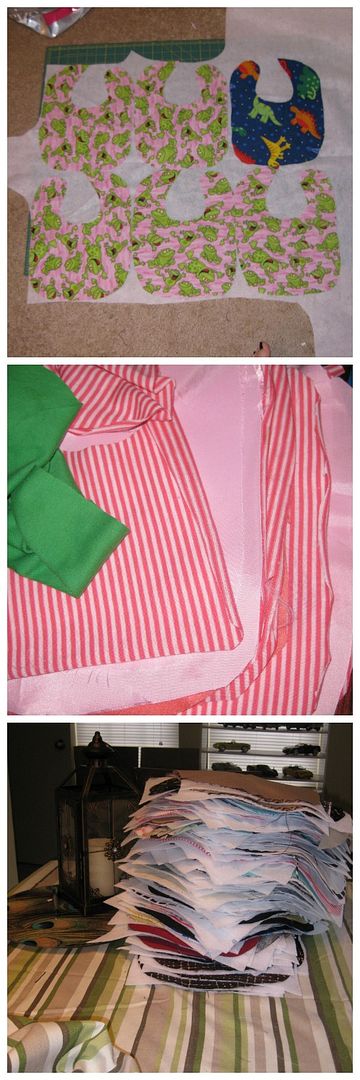
Fact, I timed myself and my average time to sew a bib is 1:30. Yeah I know this pattern so well that I could do it with my eyes closed, I promise you!! Then excess fabric was removed and corners and round seams were clipped. I then turned them all right side out (great and easy to do while watching a movie!). Iron again (after cleaning my iron!!) and seal with a piece of stitch witchery. Add snaps. The snaps my boyfriend and I did on Saturday. We just hammered away and banged on fingers. Our poor thumbs!

So drumroll please..... The final count is 120!!! Yes 120! I am super excited!
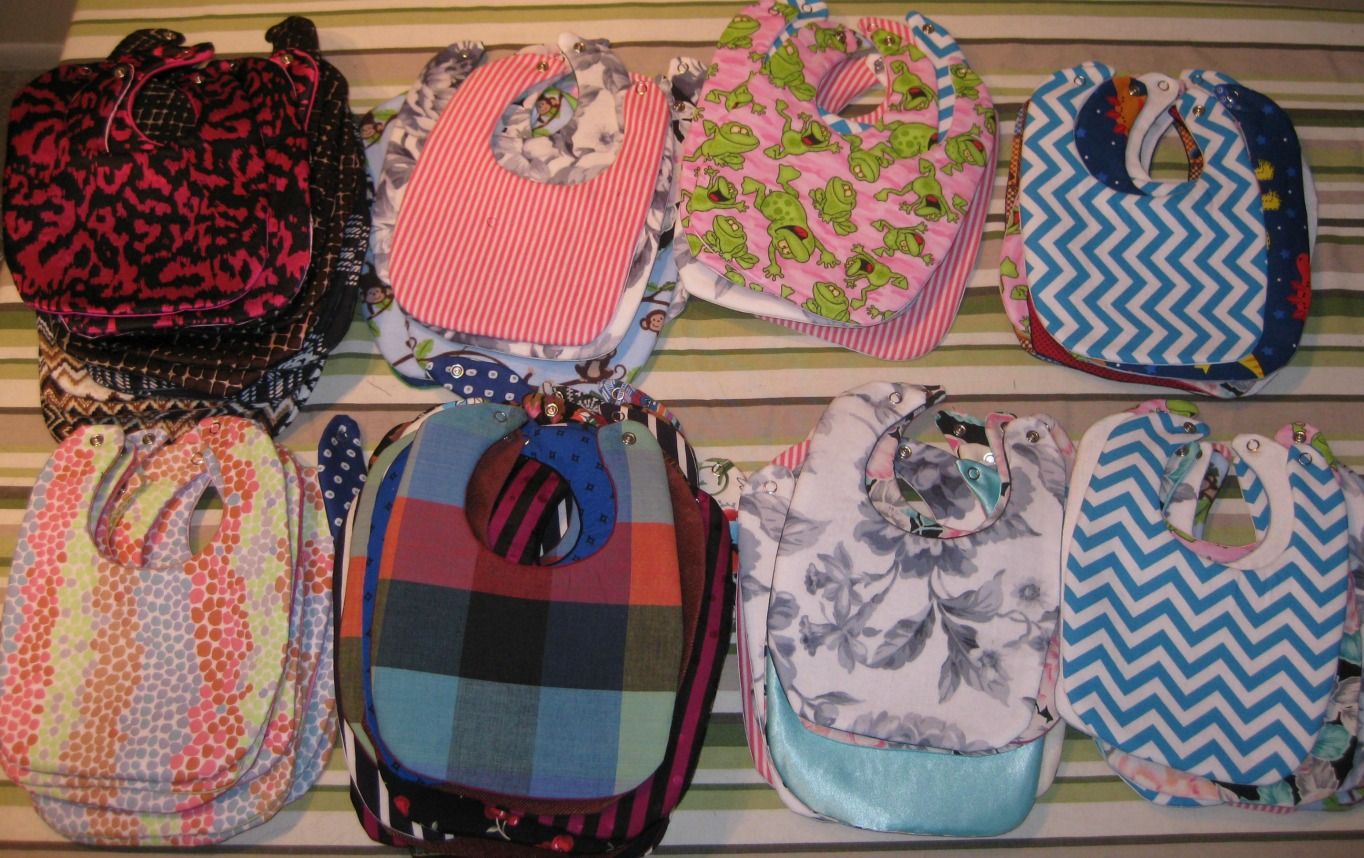
I have quite a variety of fabrics. Some are refashions, that if you follow my blog you may recognize. Same with fabrics-some you will probably recognize.
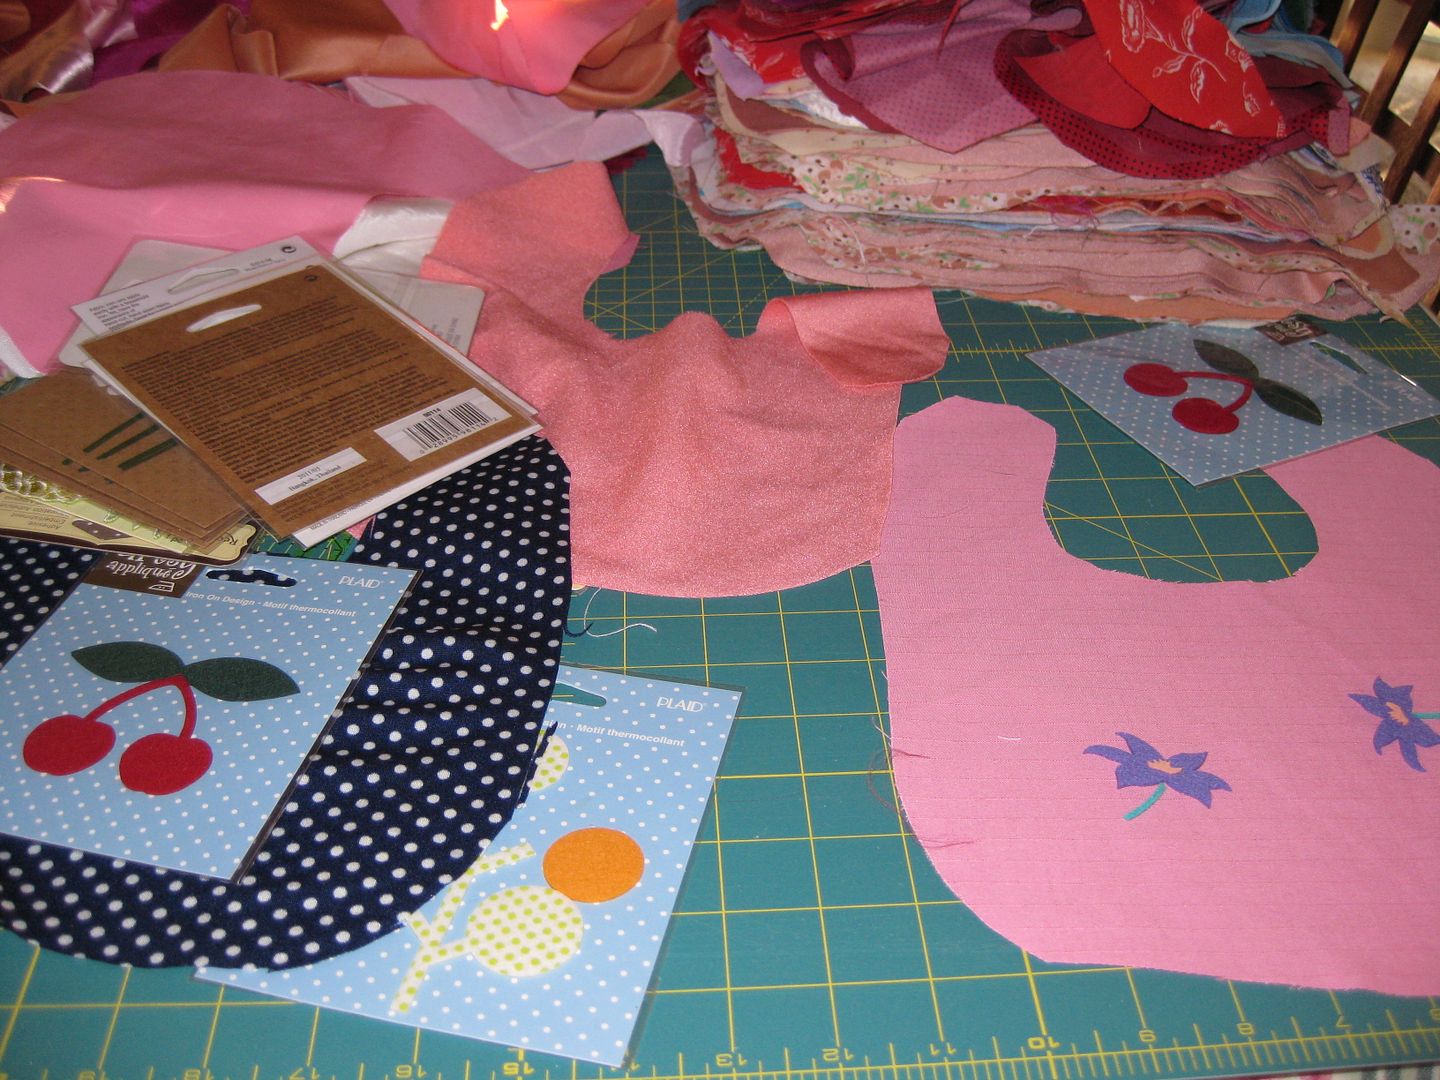
These made me laugh- they were clearance iron-ons. Also the refashions, which were a total of 19.
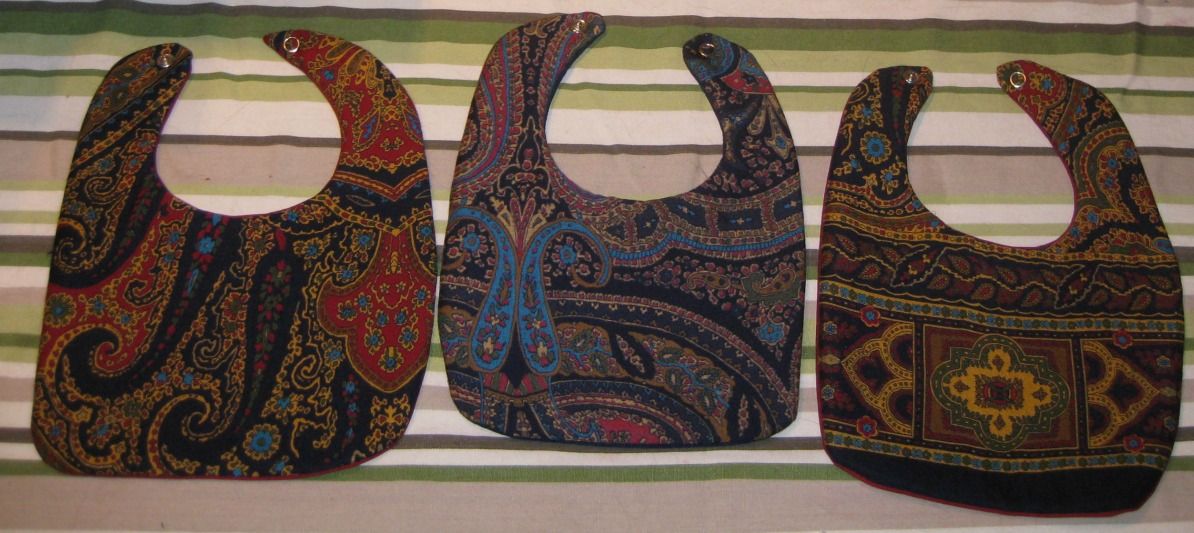
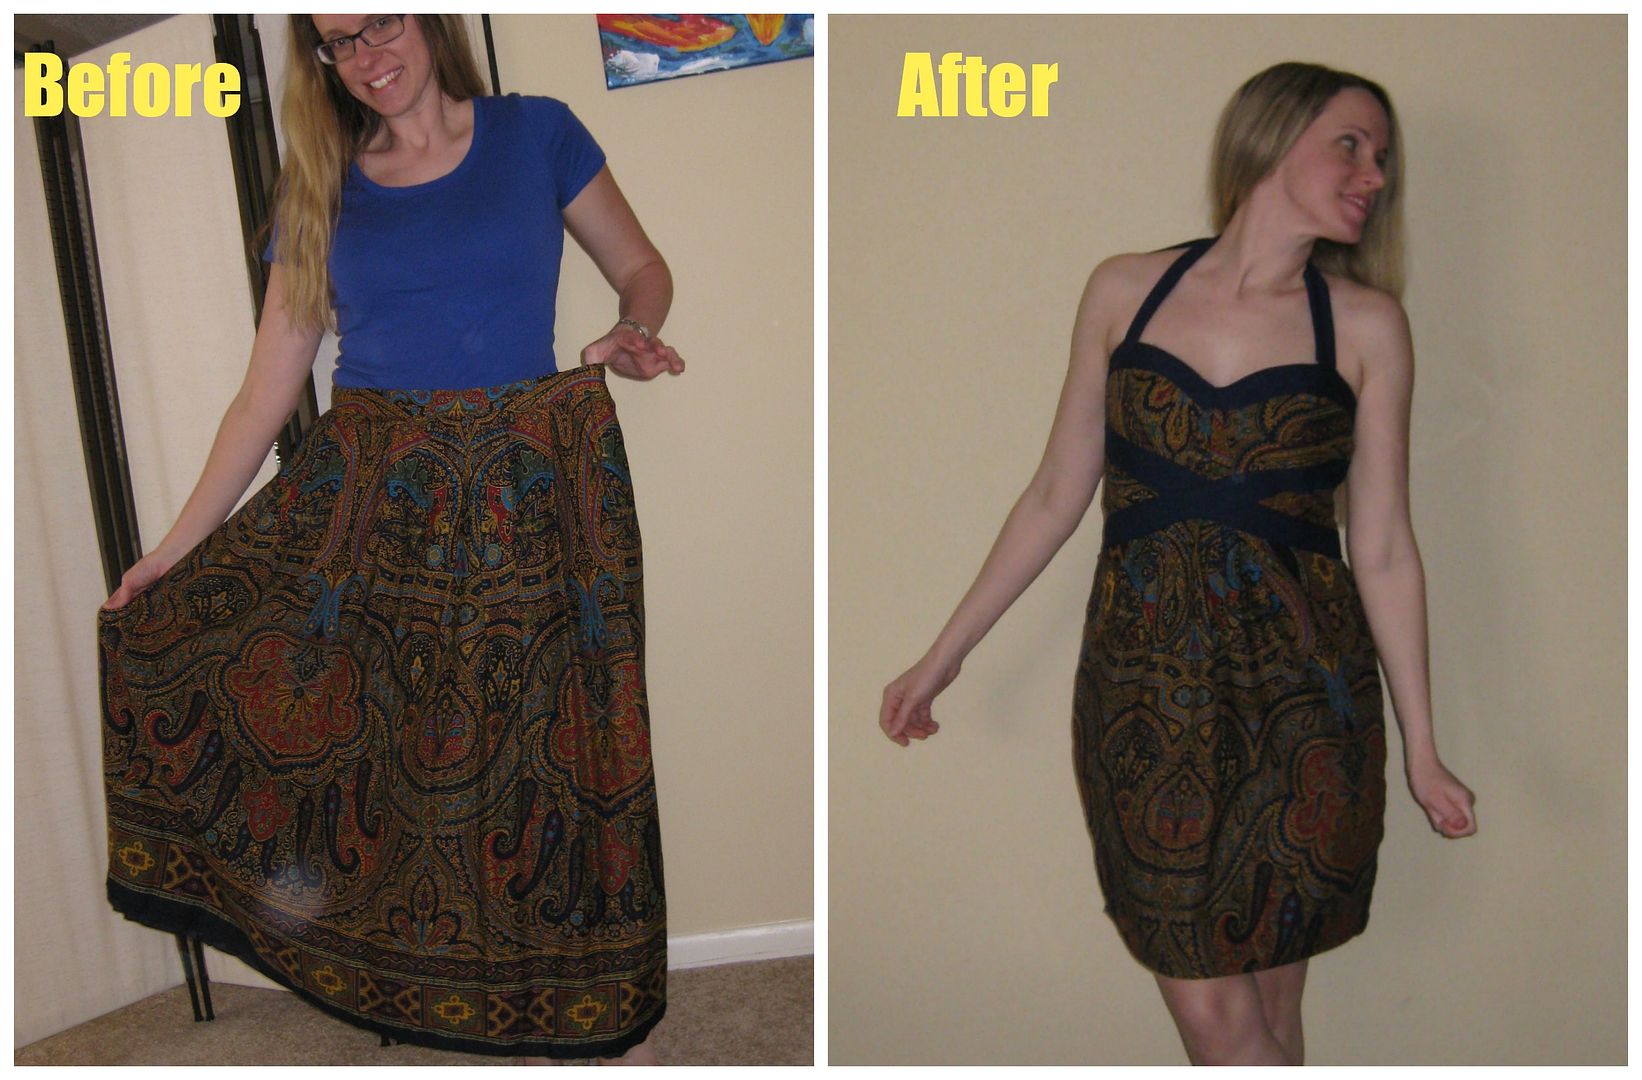
One of my favorite set of bibs were these Indian paisley fabric. You may recognize the fabric from this refashion (and yes I know I ironed on the middle fabric to the fleece on backwards so the colors are dull but the pattern is there).
I loved this skirt to dress refashion, I had leftover fabric and I really like those bibs!!

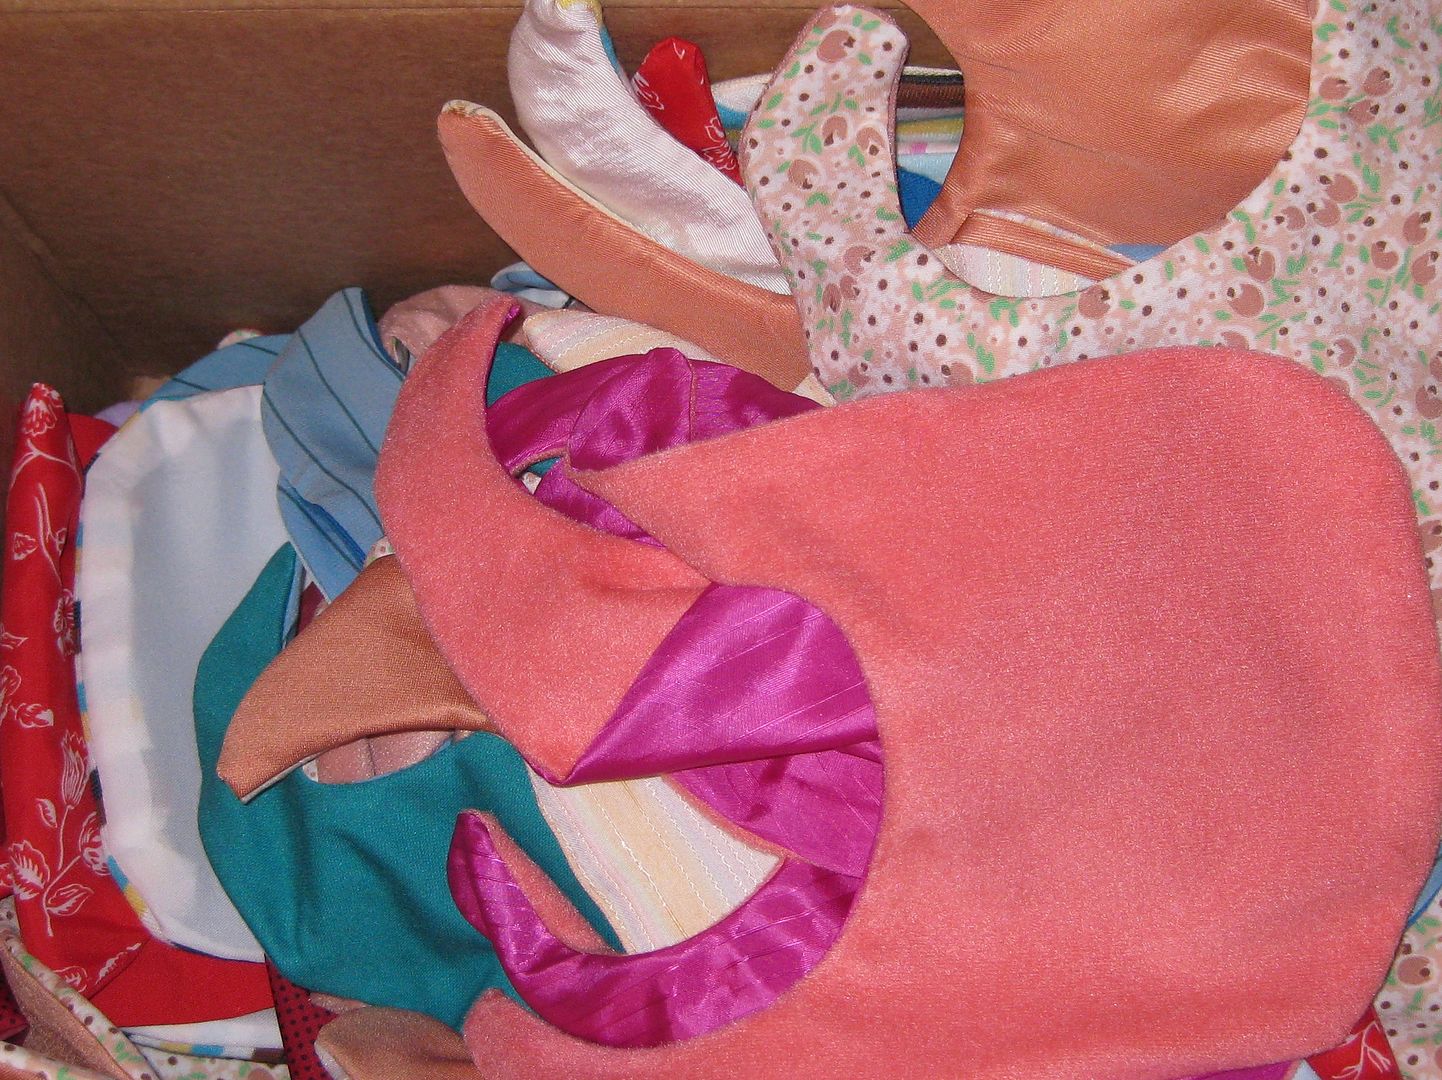
The bibs have a home they are traveling to and are given to a charity. The box I got was the perfect size. I love many of these were upcycled from other projects and the fabric isn't getting tossed into the dumpster. Also, a great way to start the year with my goals! 120 is awesome! I had no idea it was going to be this big! It is not quite half but almost!!!

Now since I knocked out this project relatively "fast", my next question is what next? I have actually sewn something for myself for MGAM and that will post soon (haven't had any darn light for pictures!). My options are my t-shirt quilt that I already started and didn't finish, my latch hook, or another charity sew. Currently I am leaning toward the quilt. Then do the latch hook as I might need a sewing and cutting fabric break. As for my next charity sewing project it won't be bibs again, it will be something else. My ideas are stuffed animals- teddy bears (because I got a free pattern) and maybe smaller animals; then I also realized I have everything for dolls- like rag dolls, this would be a great stash buster as I would use the flesh colored fabric and fabric scraps for dresses, and an added bonus would be the yarn I could use up for hair. My other ideas (the previous ones are a higher priority) based on the fabric I have would be knit hats with some of the knit fabric I have-I just need to use it first- it would work for both babies and adults; fun quilts with other scraps, walker caddies, really the sky is the limit. Let's see. Baby steps.

So expect to see a little less "me" stuff and more posts on things for others. Yes I will continue to MGAM (make a garment a month for myself) and refashion. I just don't want the pressure of hitting numbers. Actually, it is a bit refreshing not having that looming number above my head.

Cheers,
Lauren

Monday, August 5, 2013

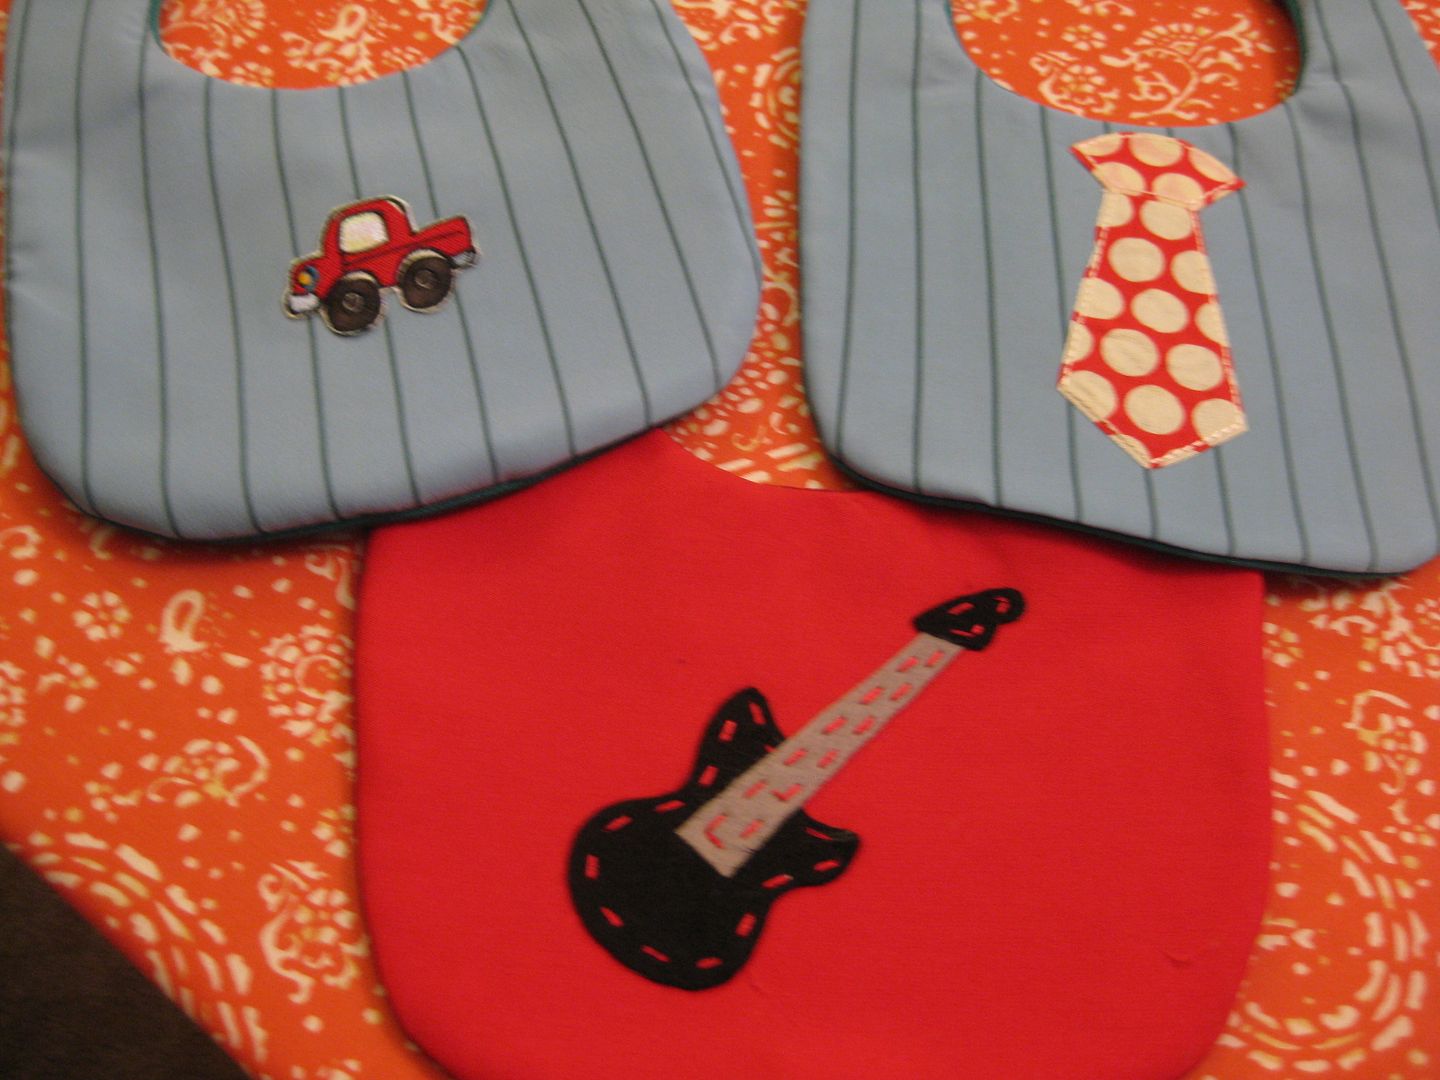
Iron on bib fun

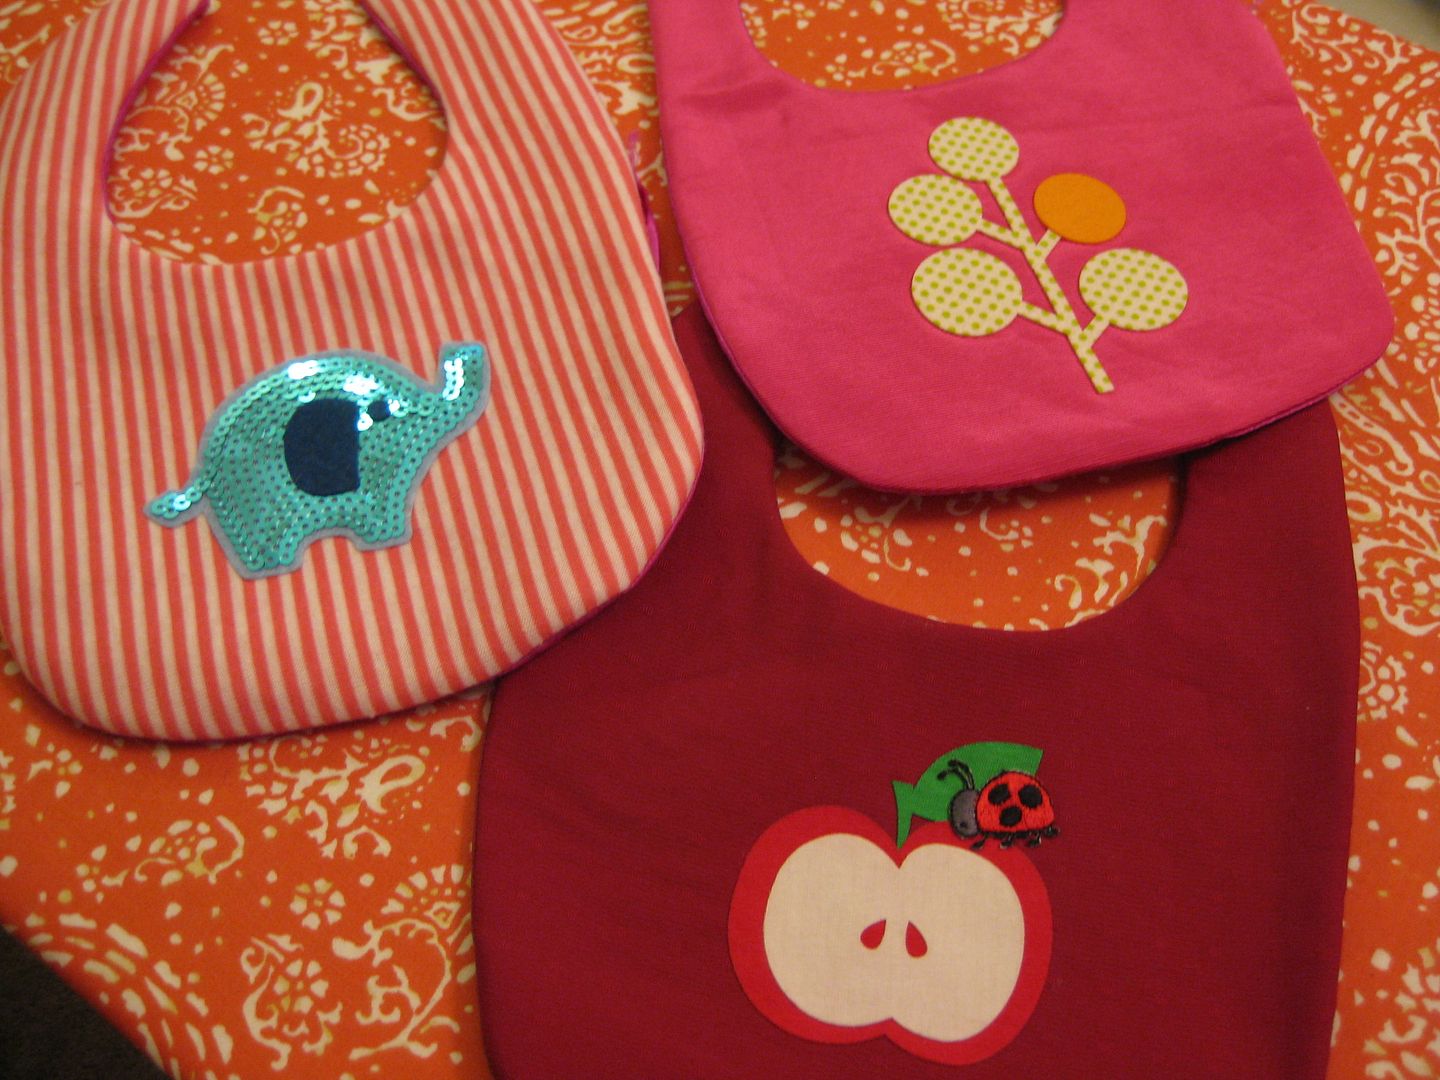
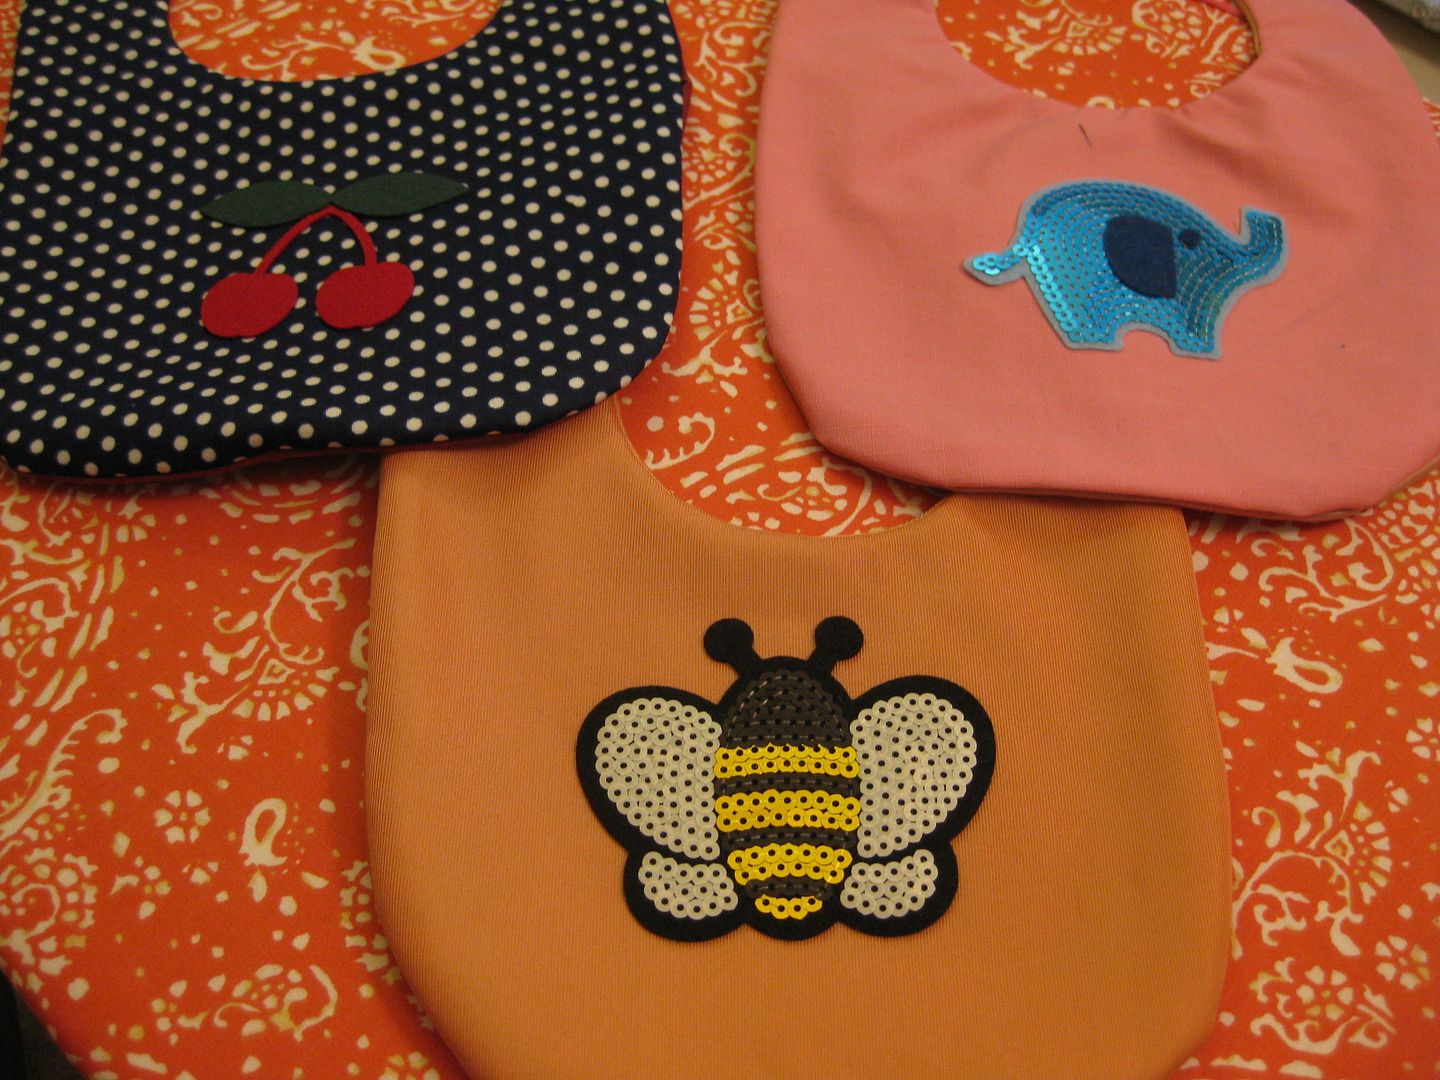
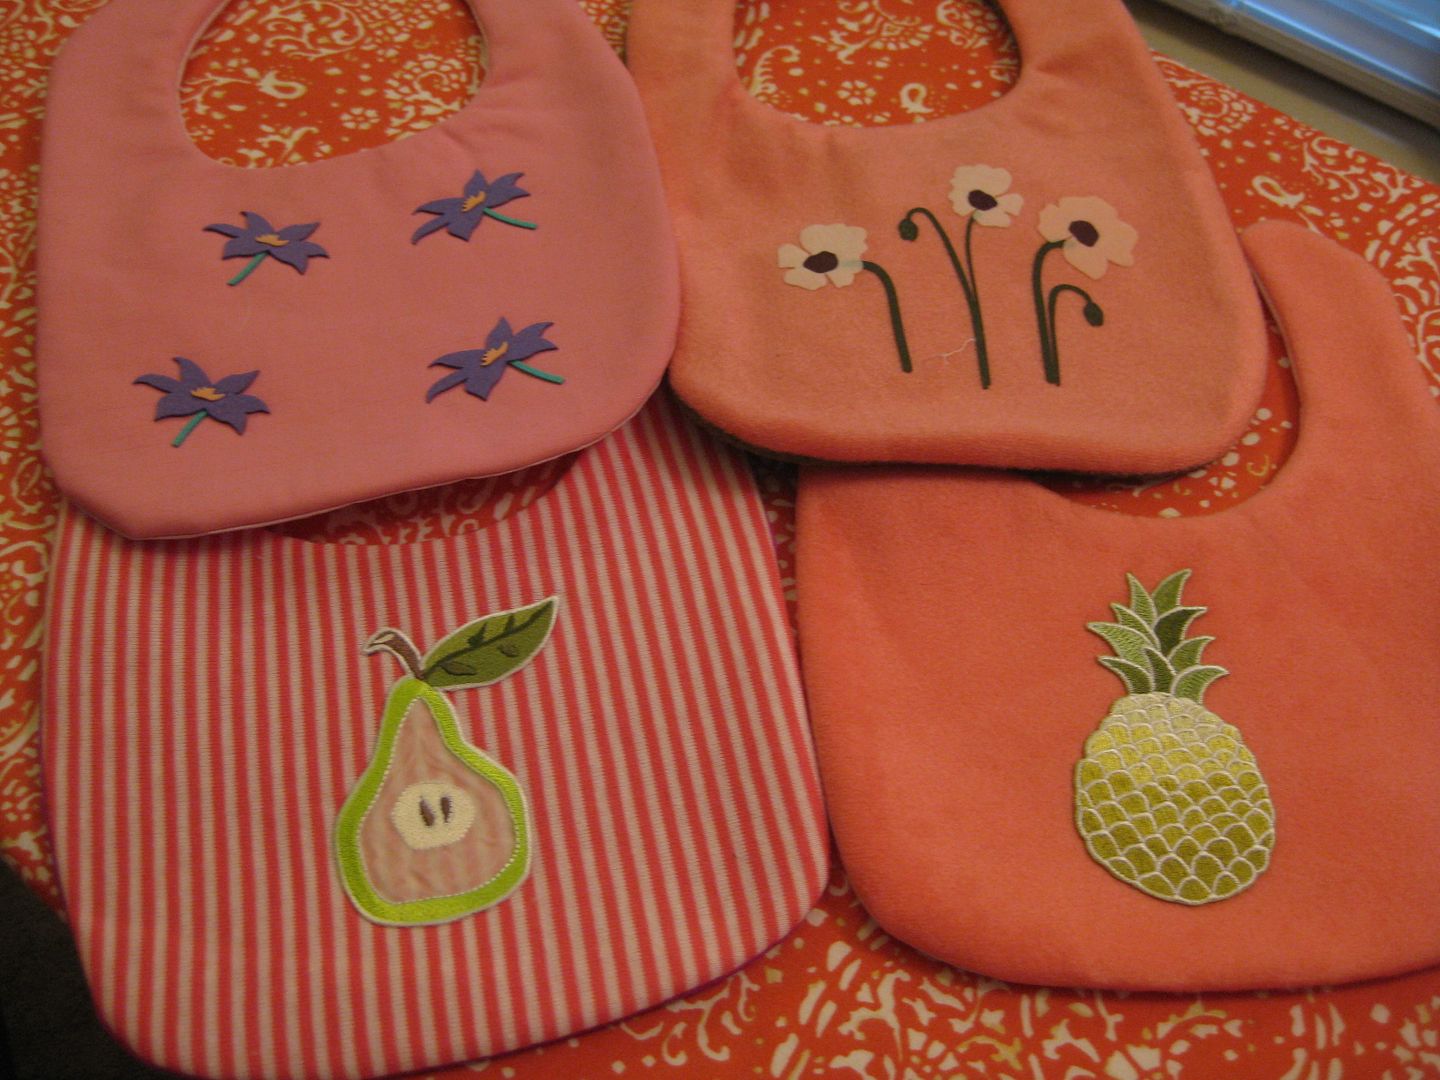
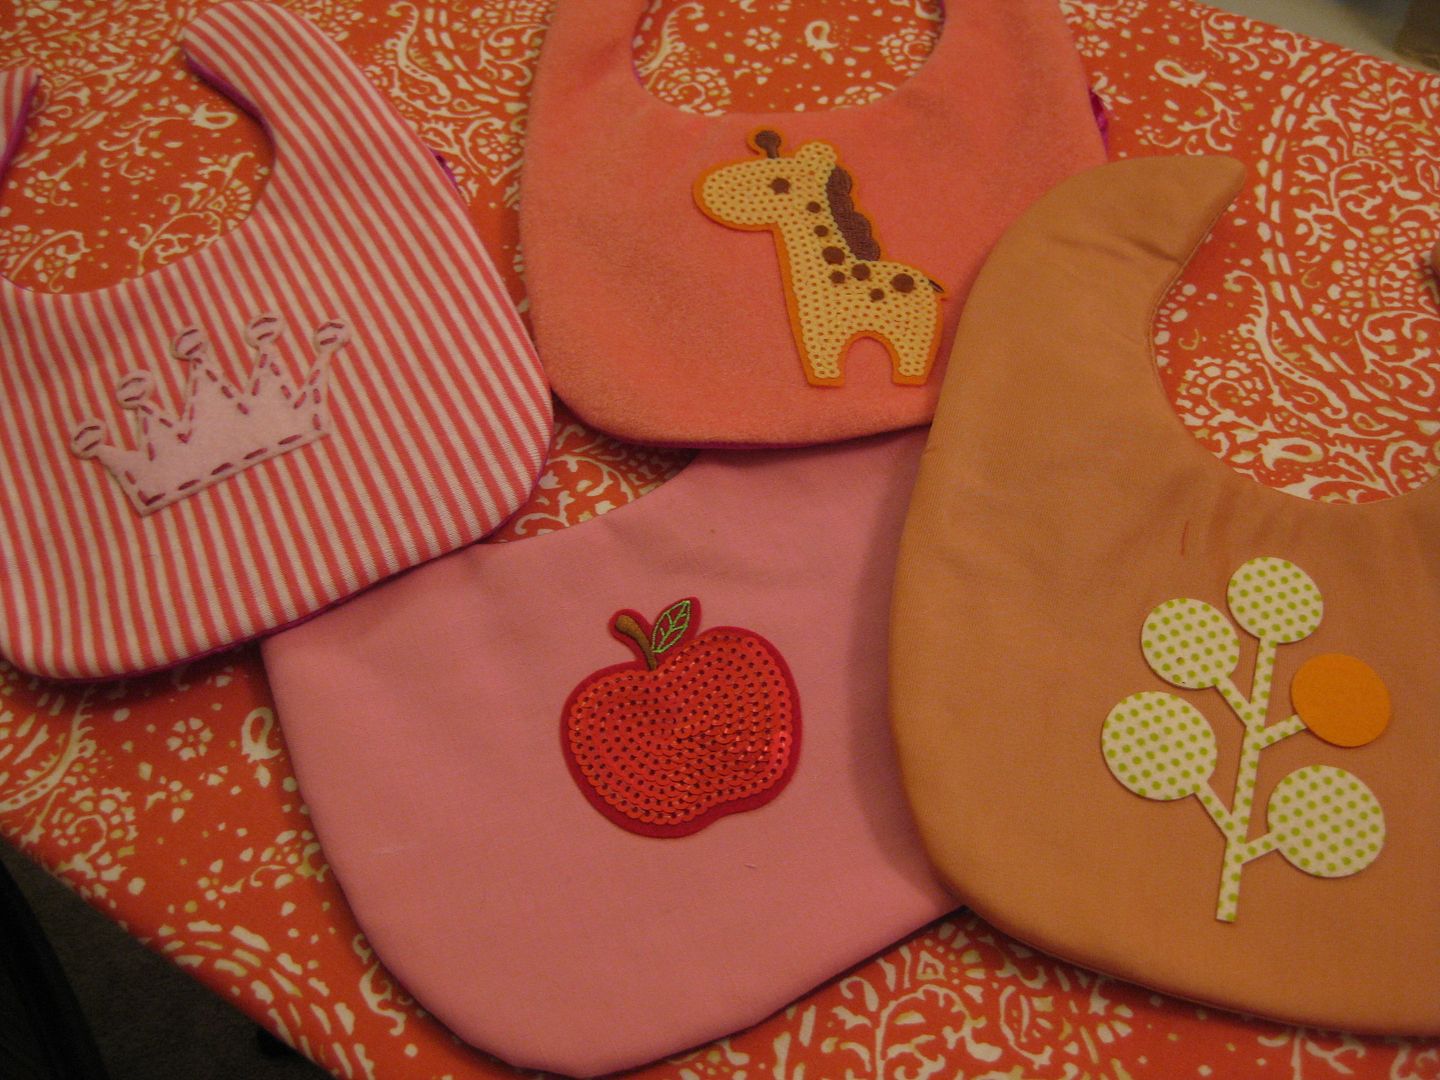
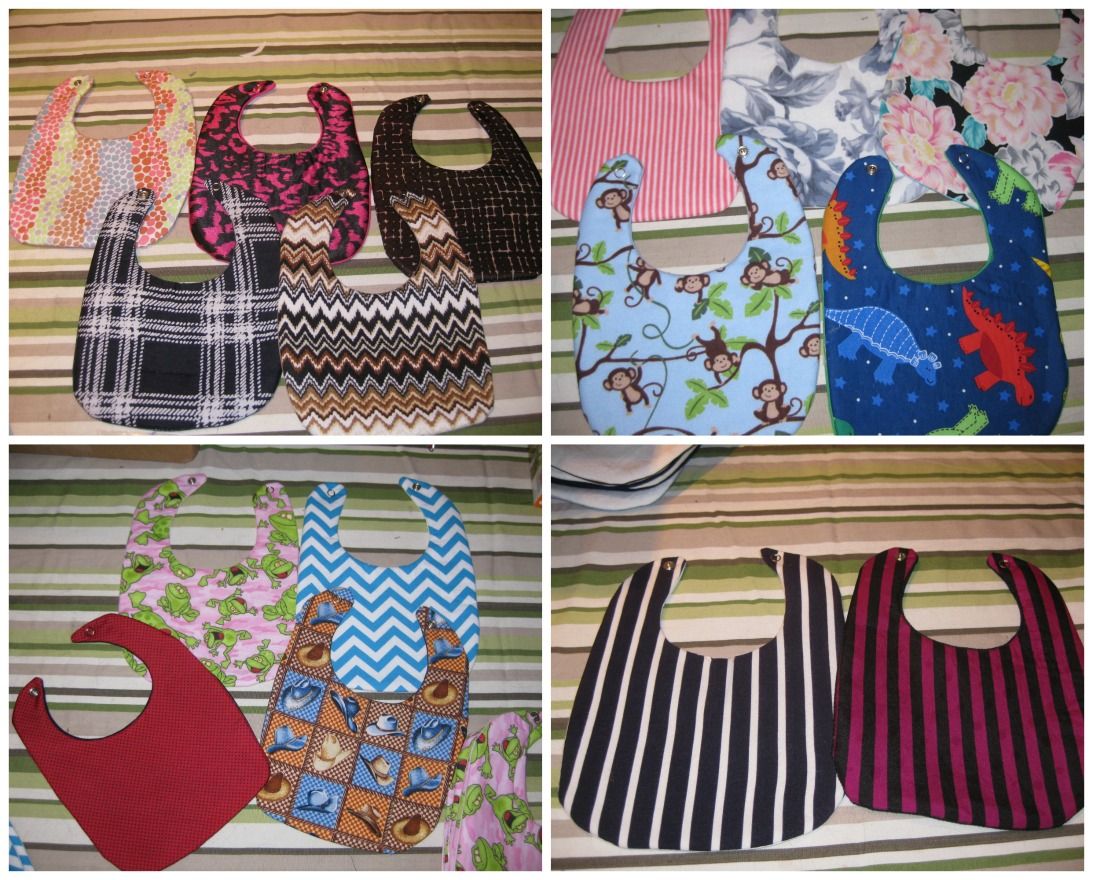
Lol just had some fun with some of the iron-on's I have obtained through out my travels.


Here are the end products. Way too fun!


Yeah seriously.  A lot of fun. :) Most are going to charity!

Cheers,
Lauren
Saturday, June 8, 2013

Charity bib sewing round 2!!!

Here we go again! More bib sewing! Cutting was half the battle! This has taken a lot of my time but I just wanted to focus on one project and reach my New Years Resolution Goal!

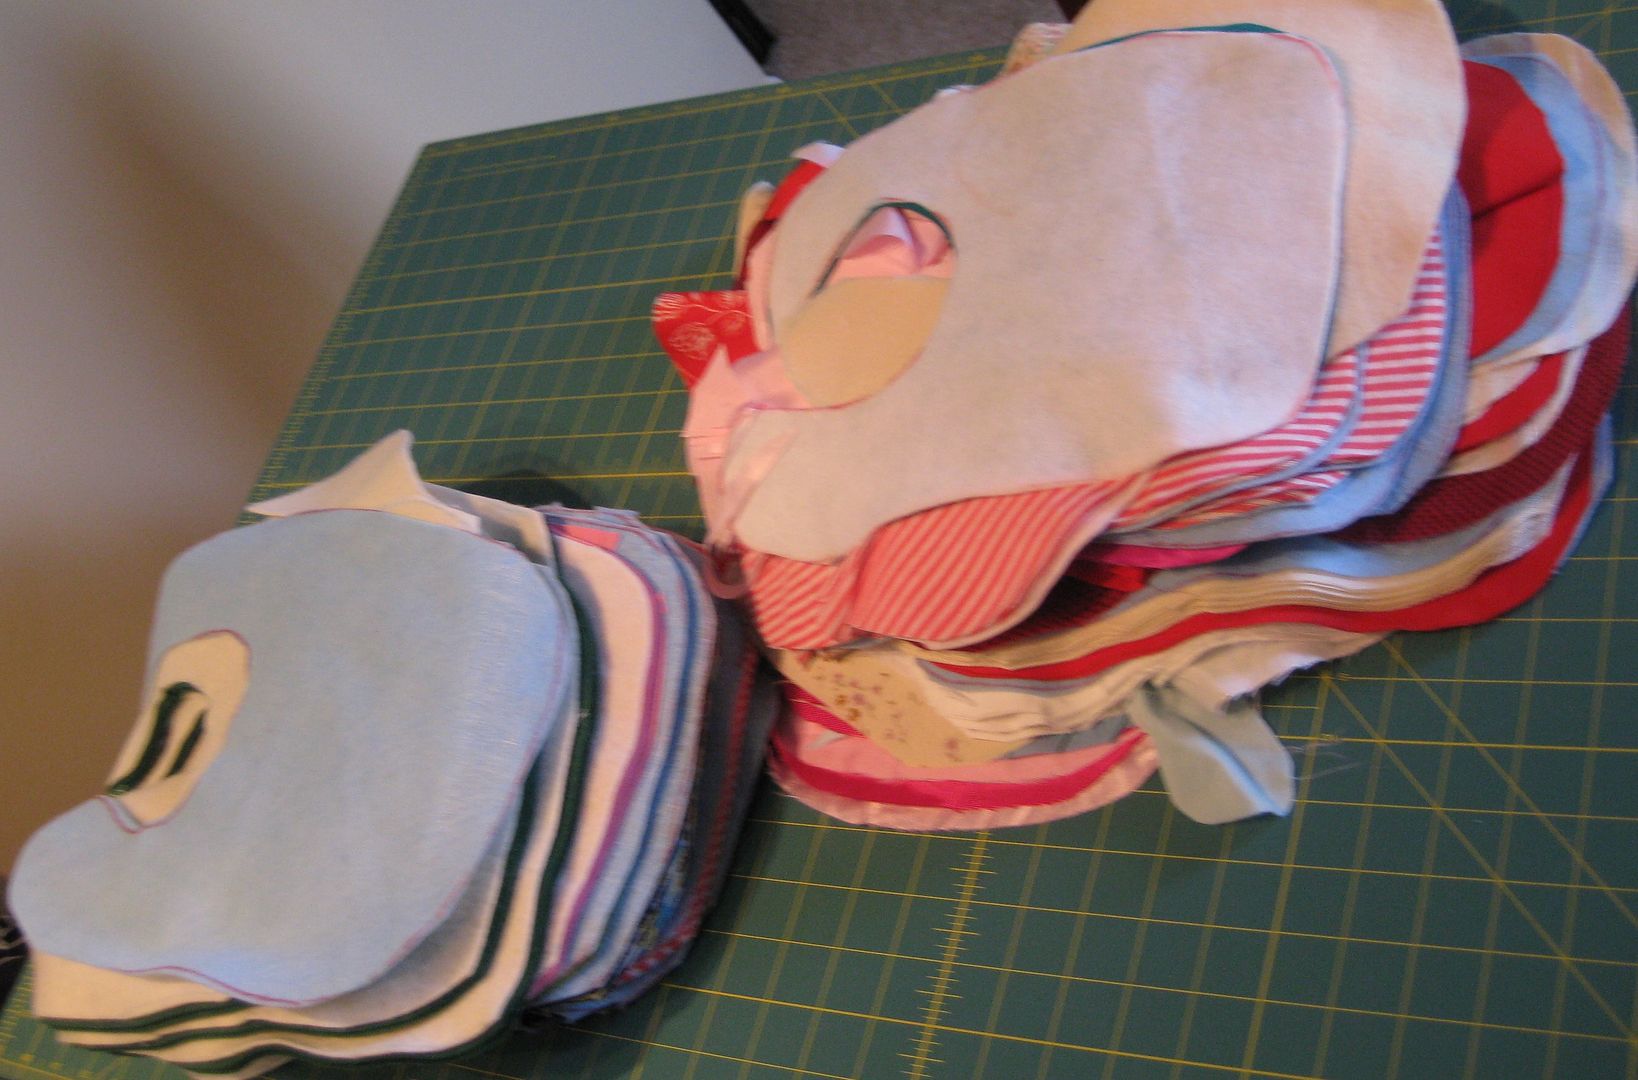
How I reduced my time was cut several bibs at once


Oh Yeah I had over 350 pieces!!! Wow. Just wow. Now to start sewing them!!!!!


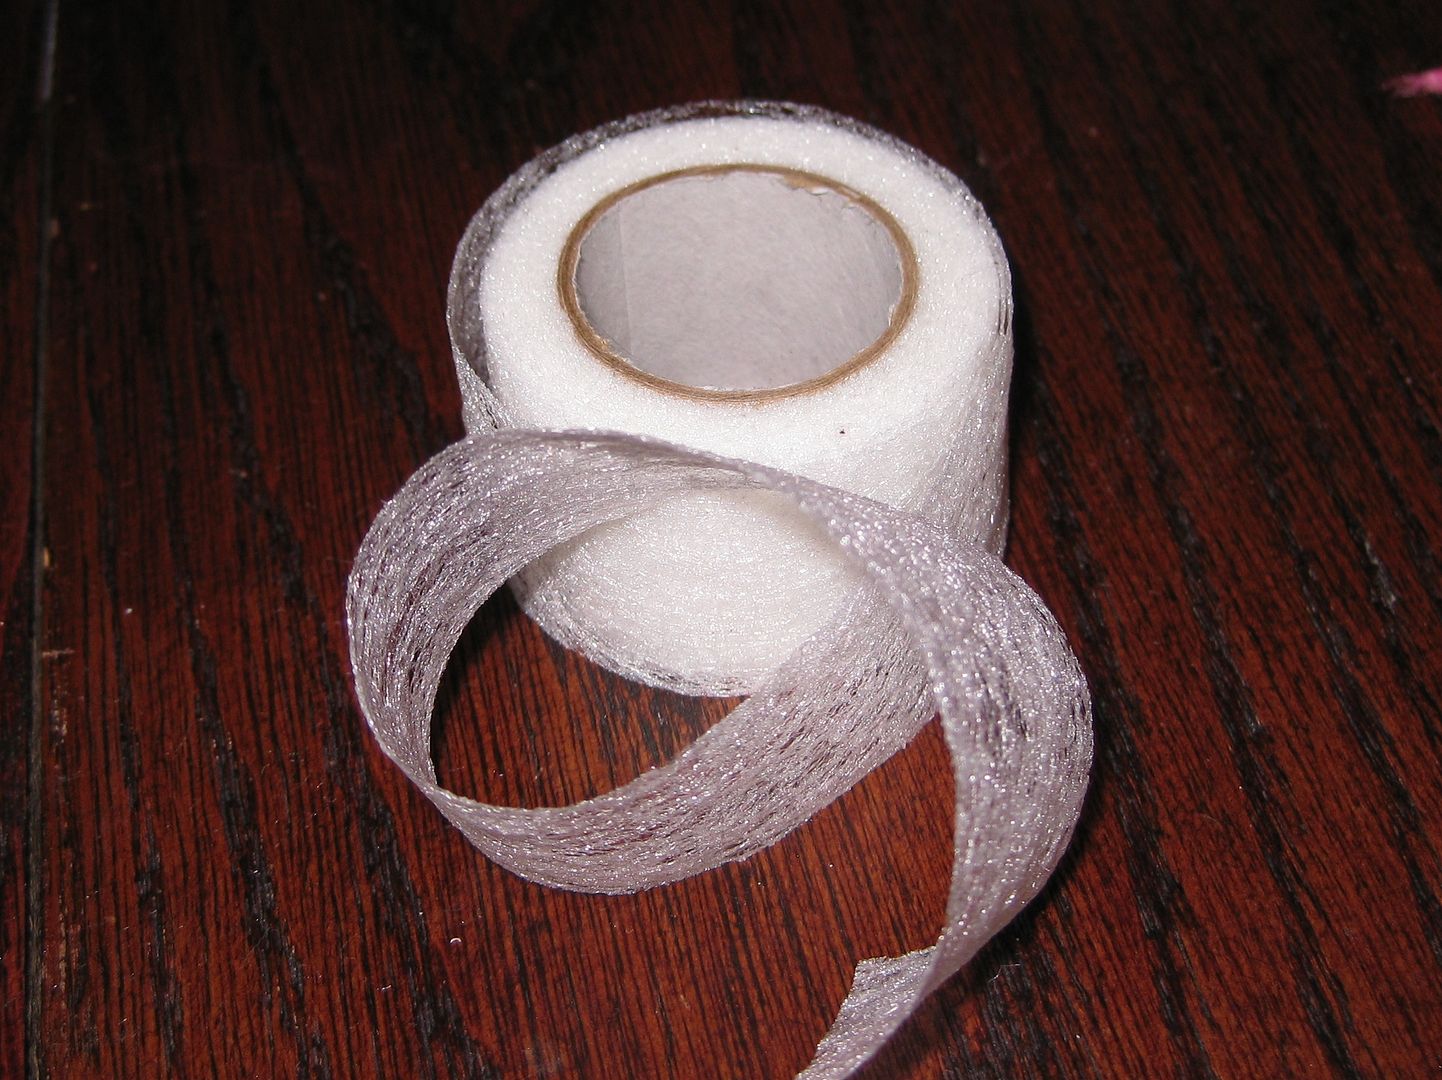
Again I went in batches, I could cut everything I could. Then I sewed everything. Then I sealed them shut.... I used a trick I used fusible seam sealer-the wide kind. Saves a ton of time! No sewing involved!

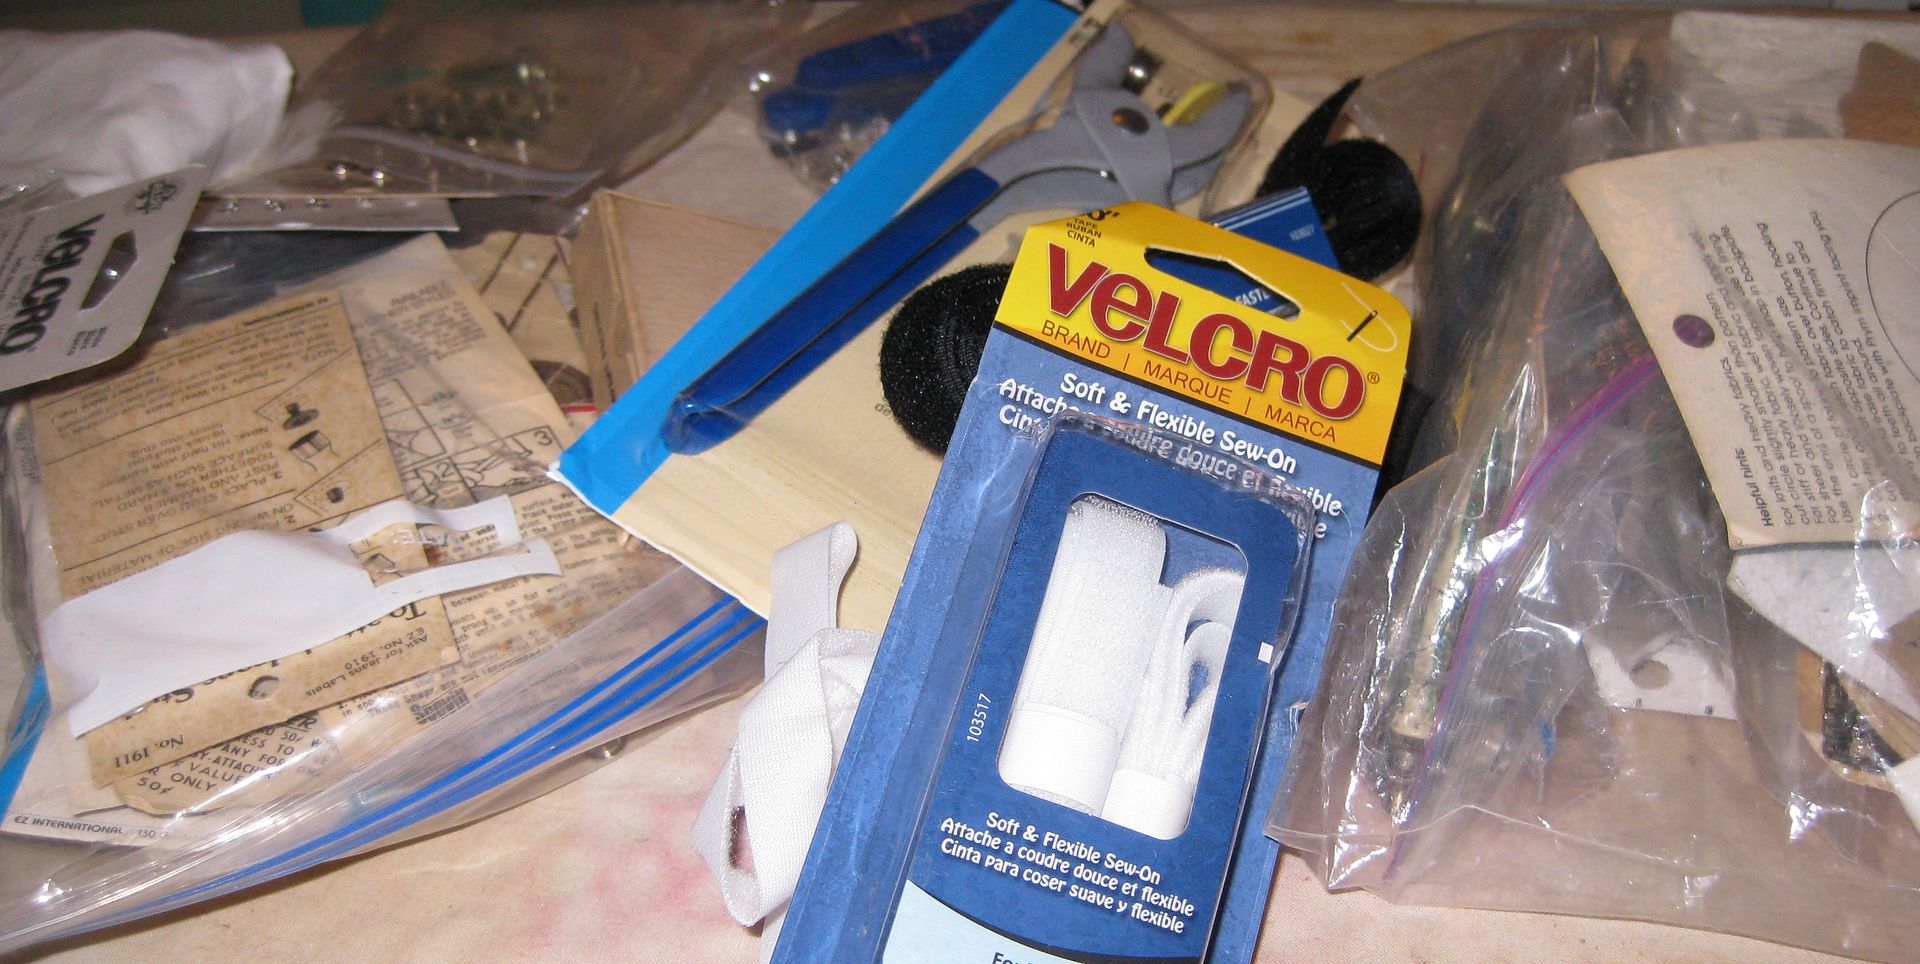
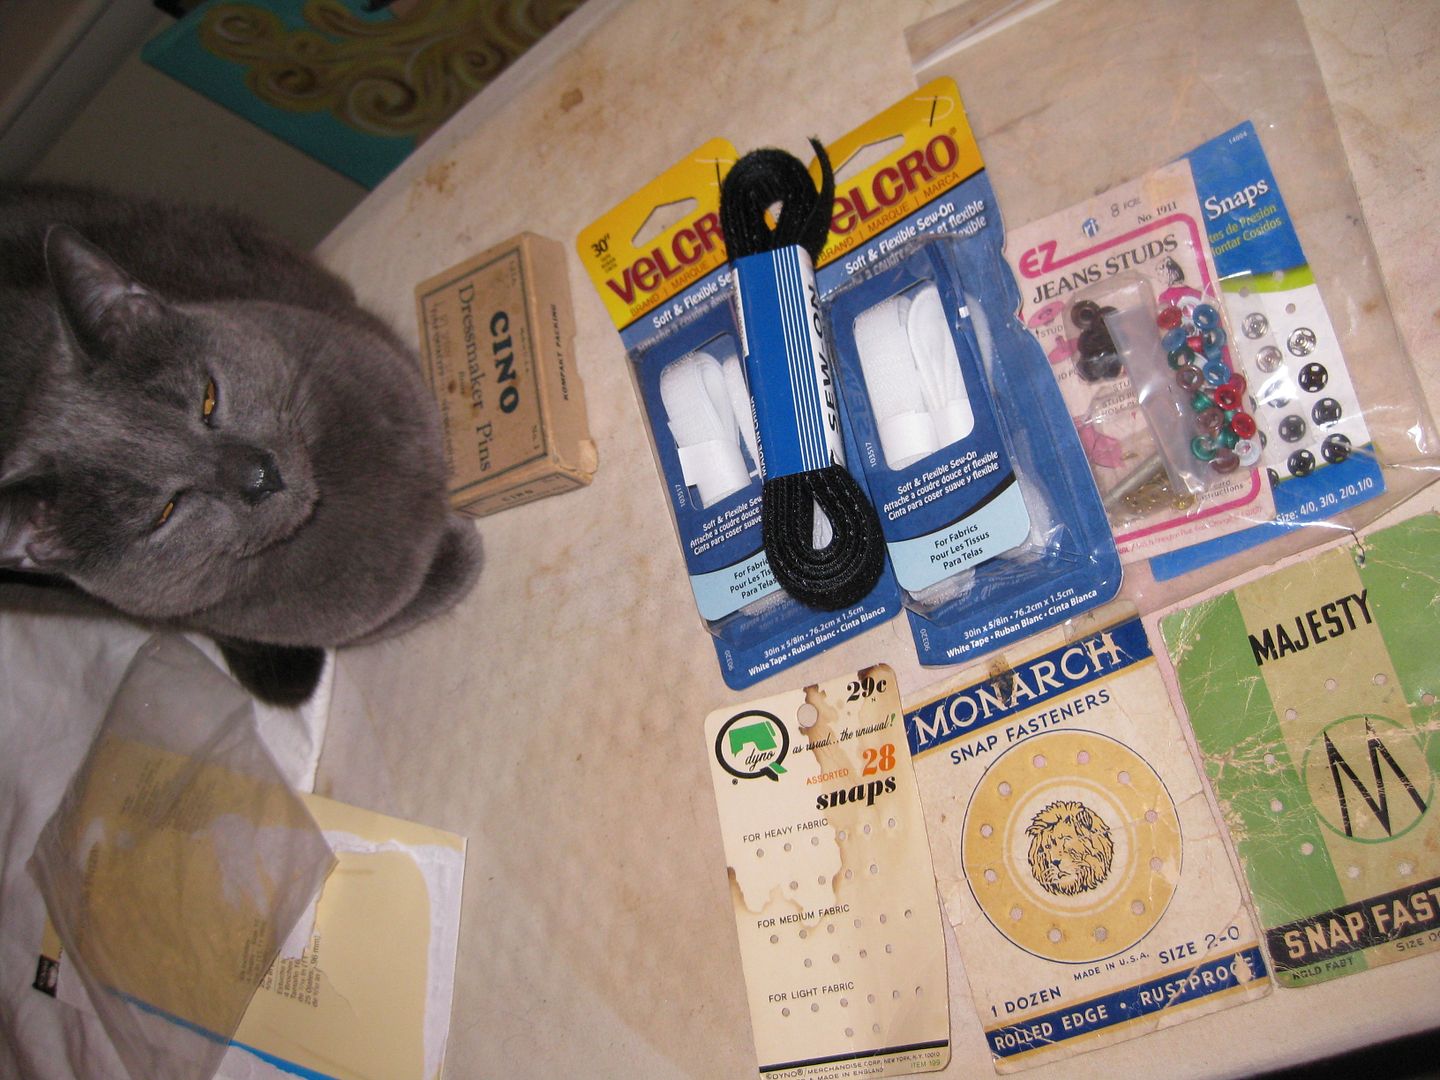
Now time to close the bibs. I grabbed everything I had on hand. Which was a lot considering people have donated their old notions to me in the past. Now time to use them! We have everything from sew on snaps, velcro, and bang in snaps. 

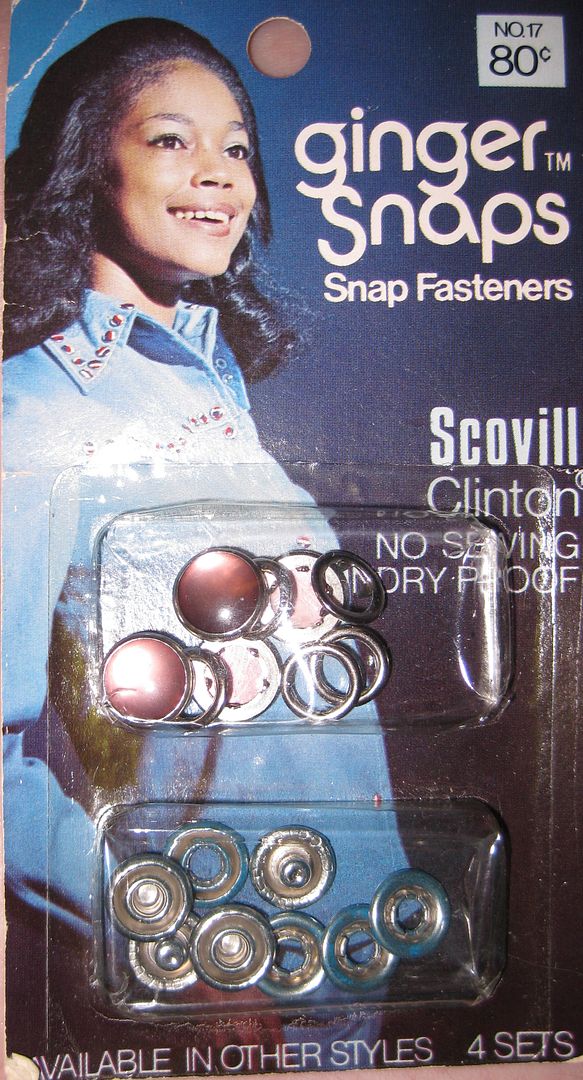
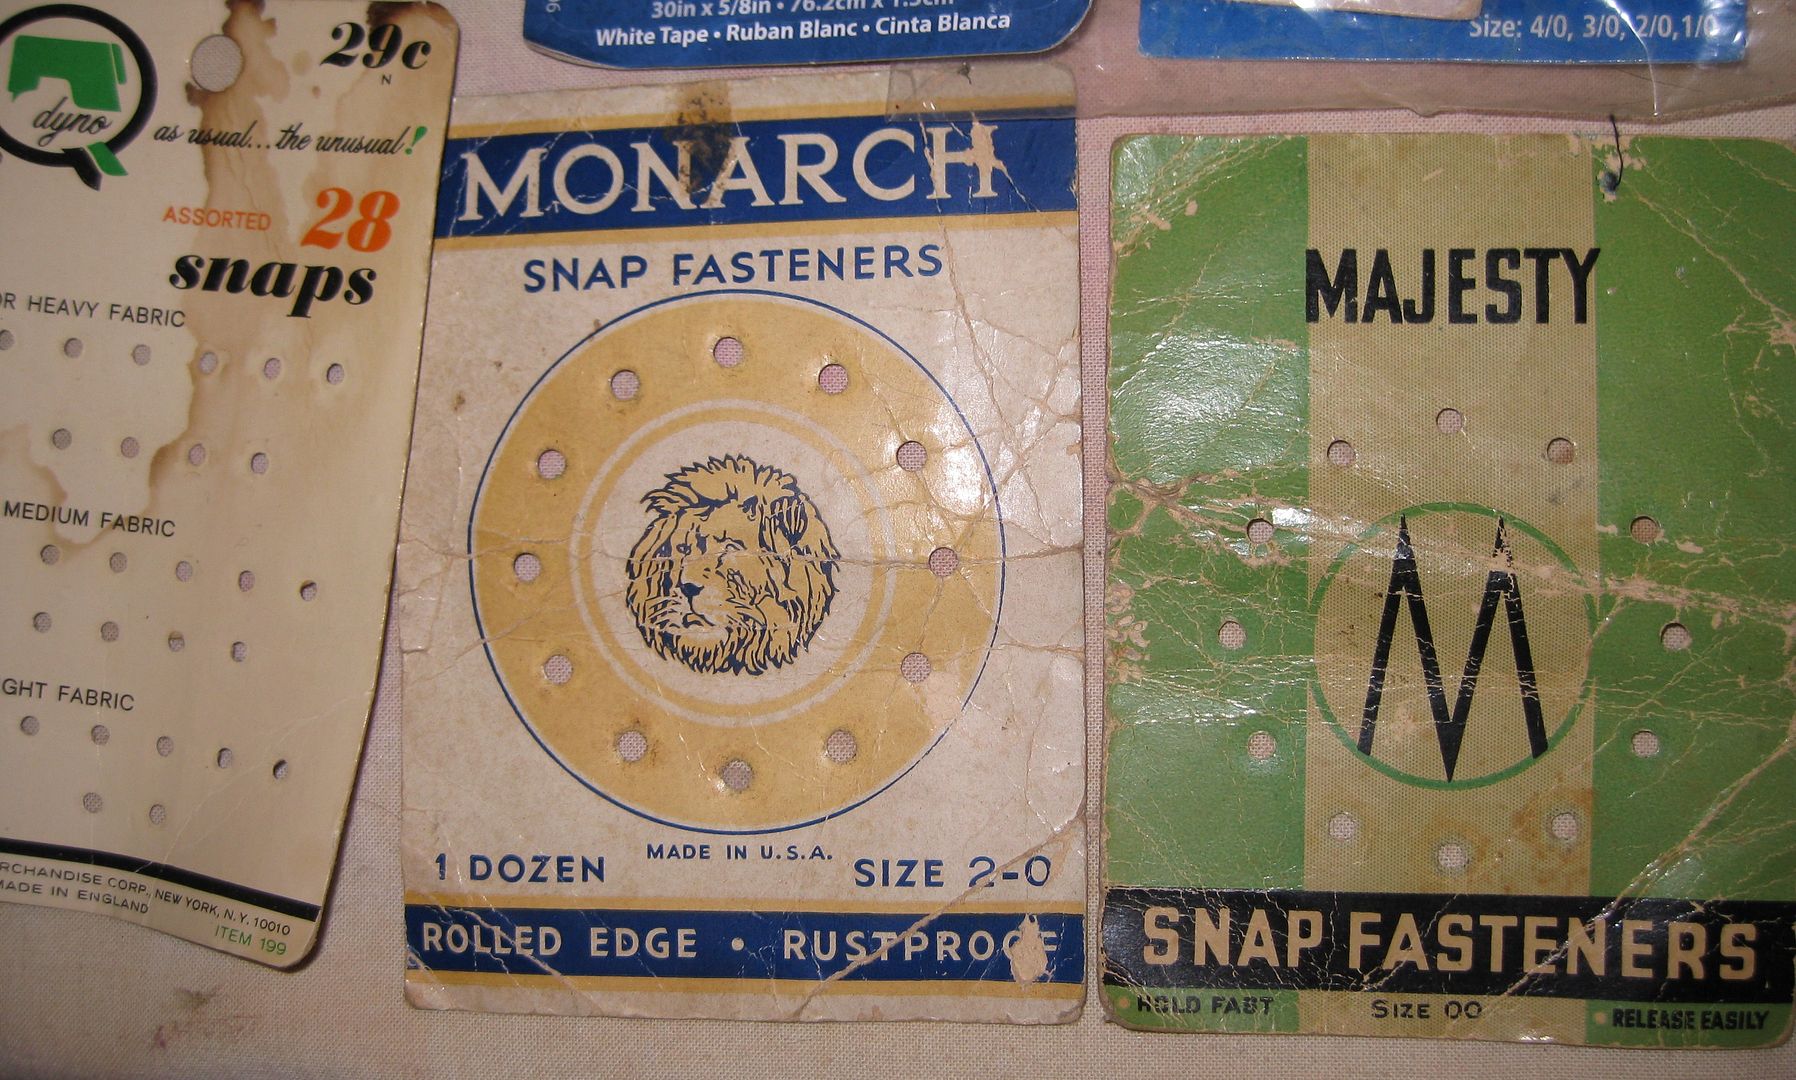
I love this old school box of snaps. 80 cents- wow! These were ones I had to learn how to bang into the fabric. 

Same with these snaps. Total old school right here. 

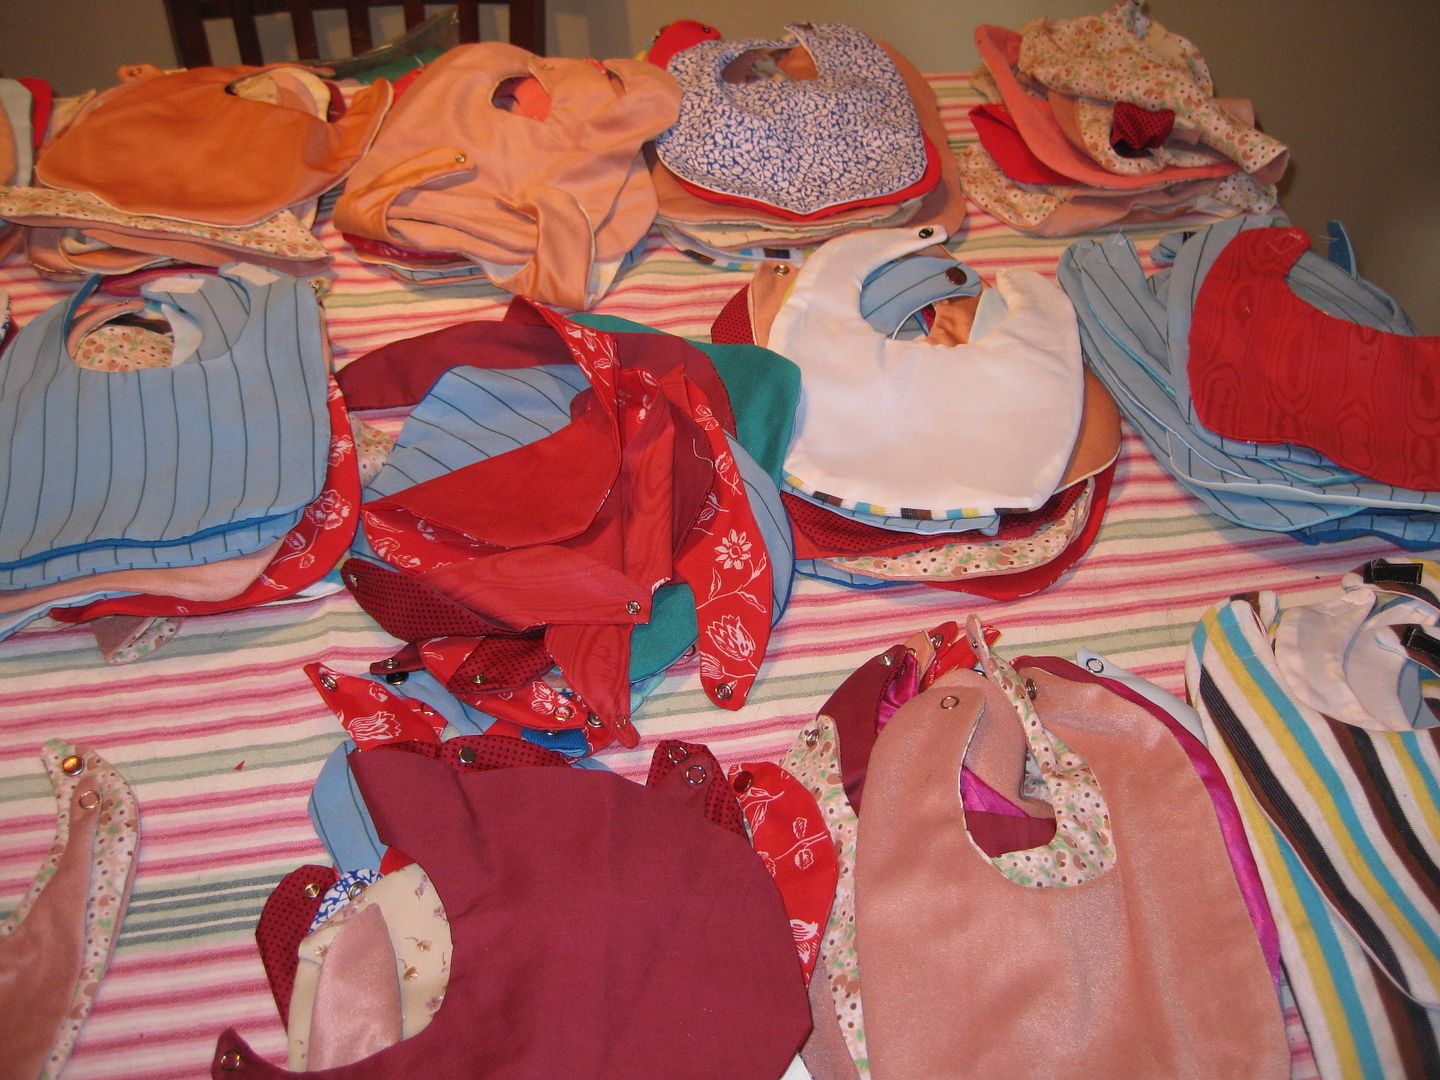
Here are all the ends bibs on my kitchen table. 

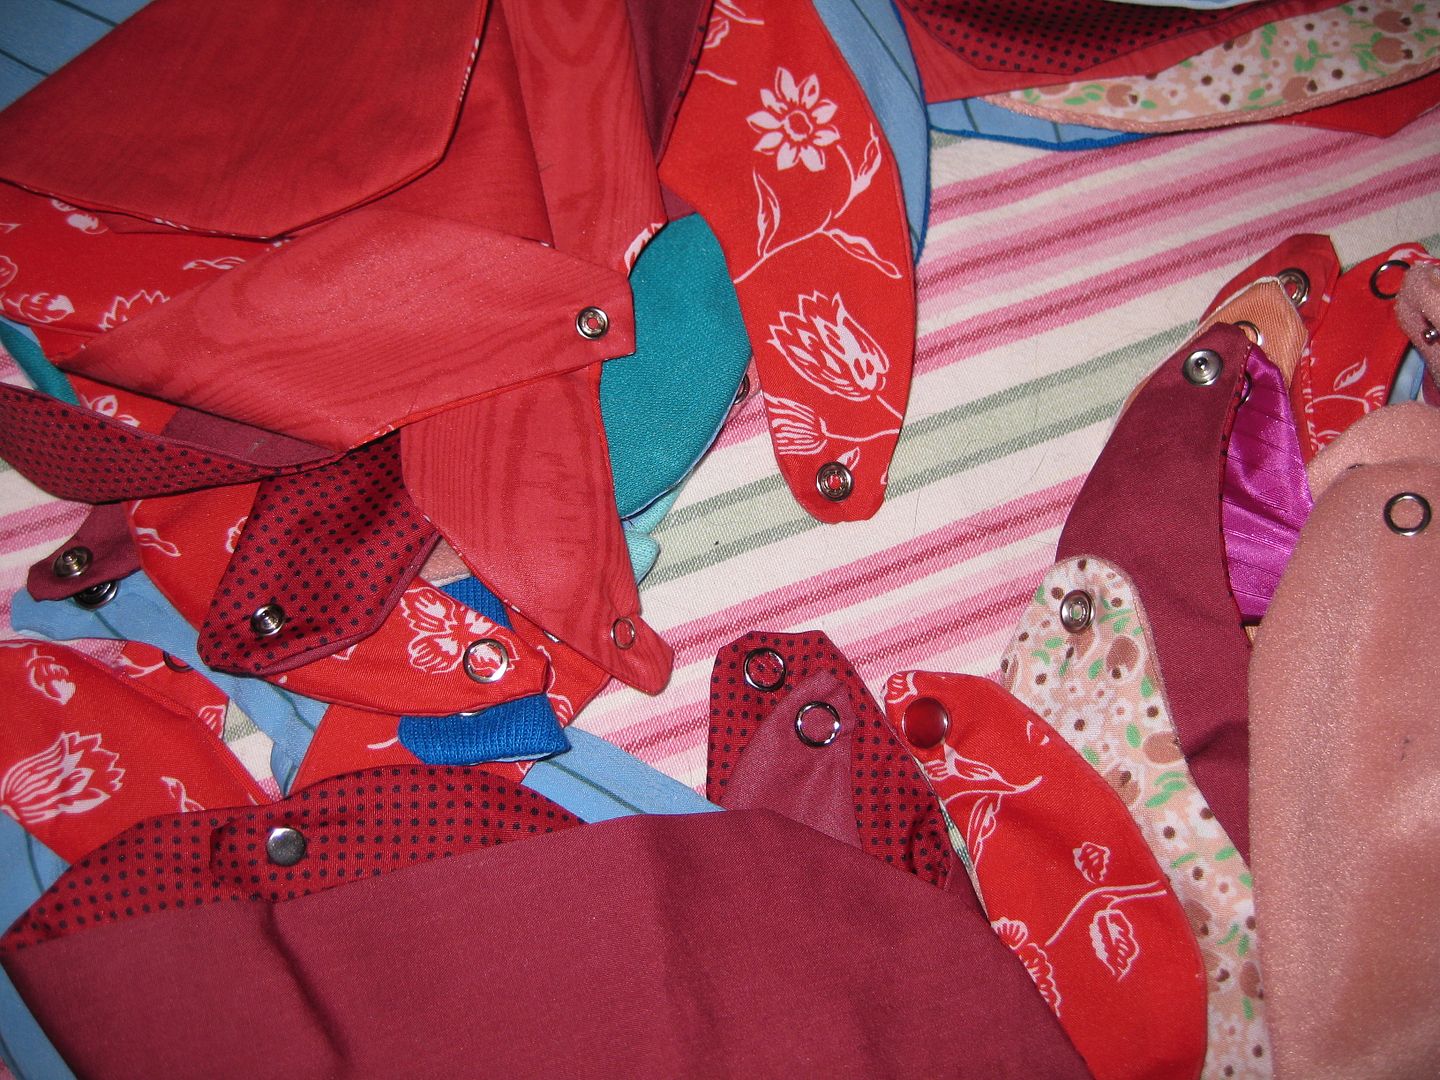
Close up of some of the snaps. 

Velcro too. easy sew. 

Here is my Natasha Bear with the what was leftover from the first picture. I used A LOT! Got to love my cat, she is my sewing buddy. 

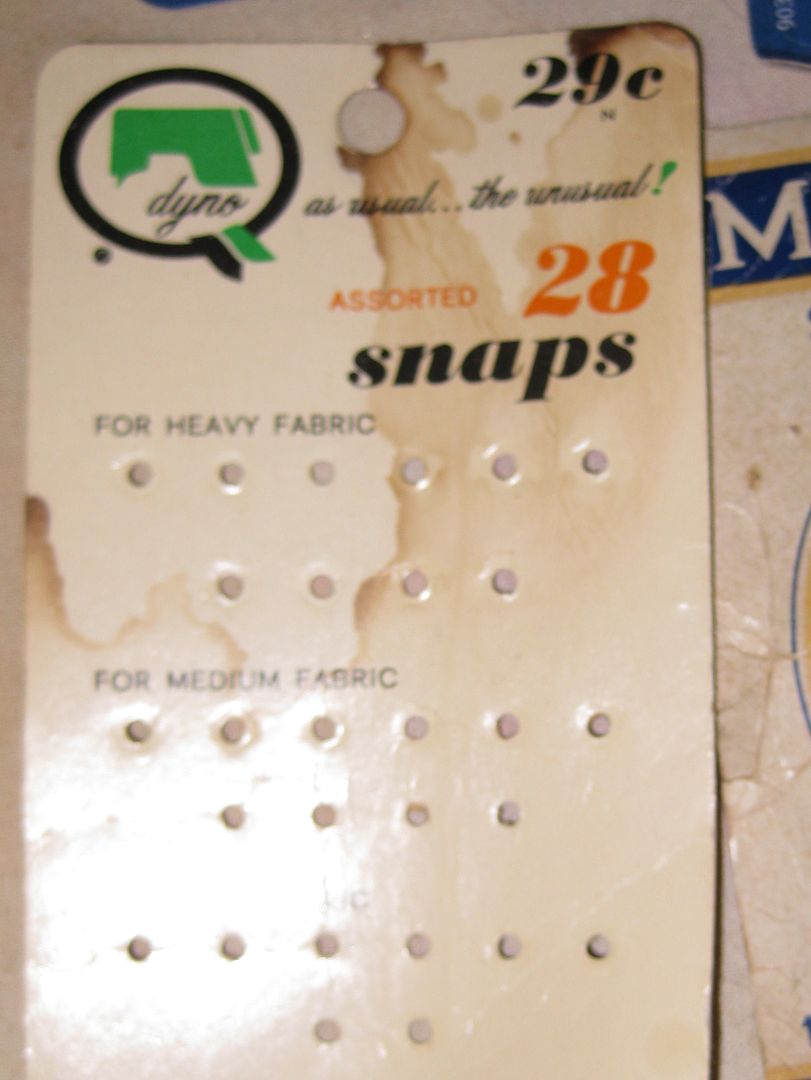
I just had to take a picture of some of these old snap packets. These are old! I just love the old school notions. 

Look this cost only 29 cents! crazy! 

Into the box everything went. 

So what was my totals for Bundles of Love??

132 total bibs for charity
33 wash cloths
1 piece of extra terry cloth that they can use to make more items. After sewing that I couldn't do it. So I just donated! :)

I just shipped the other weekend and I am so grateful that I did! :)

Almost at my 200 goal for the year!

xoxoxo,
Lauren

Saturday, June 1, 2013

Bibs for a contest!

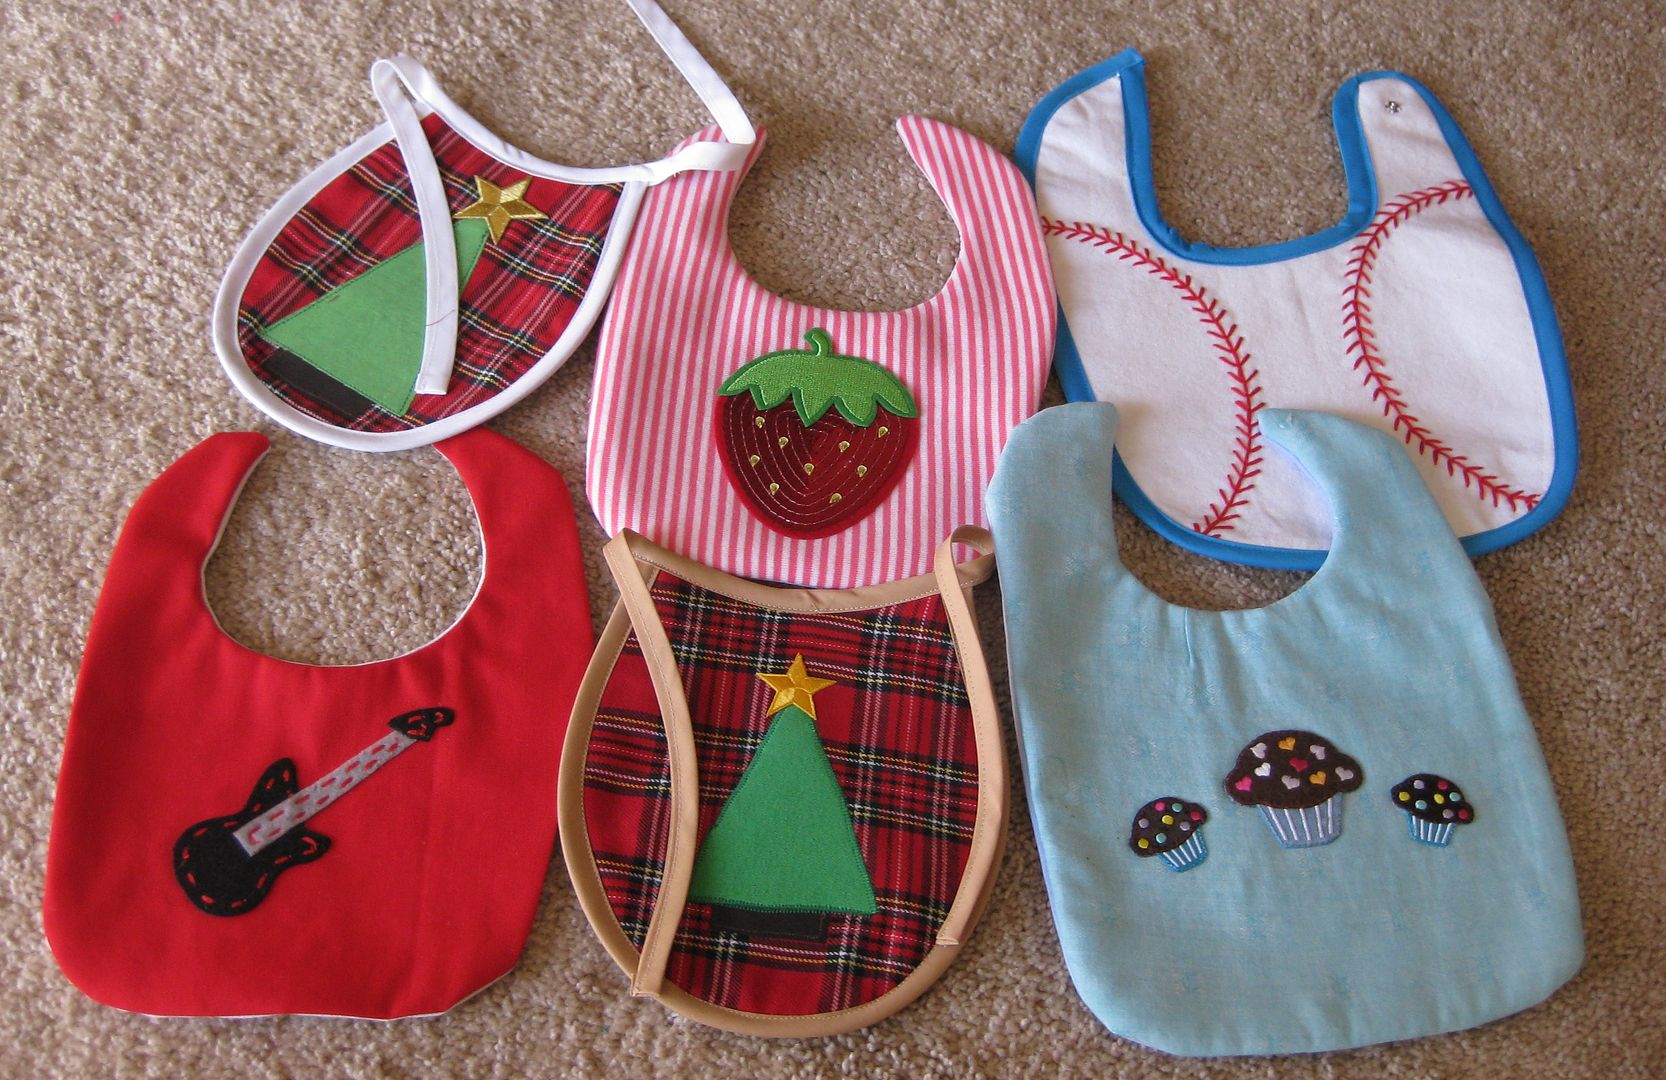
Yay! I always love contributing what I can to online contests. Plus I just have a lot of bibs I have made. So here is my contribution to the One Artsy Mama contest.


There are 6 bibs- 3 for boys and 3 for girls. NOTE: I spilled coffee on the blue cupcake one and attempted to clean it and could not get rid of the stain-it has now been replaced with a pink butterfly bib.

The contest is underway go and check it out! :)

Cheers,
Lauren
Monday, January 7, 2013

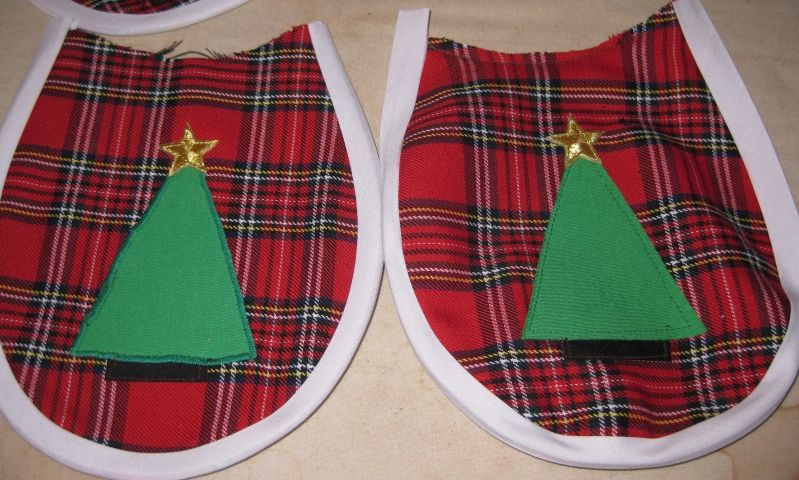
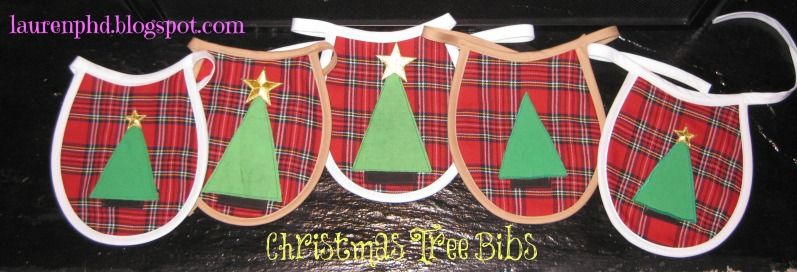
My Next Style Project Day 7: Christmas Tree Bibs

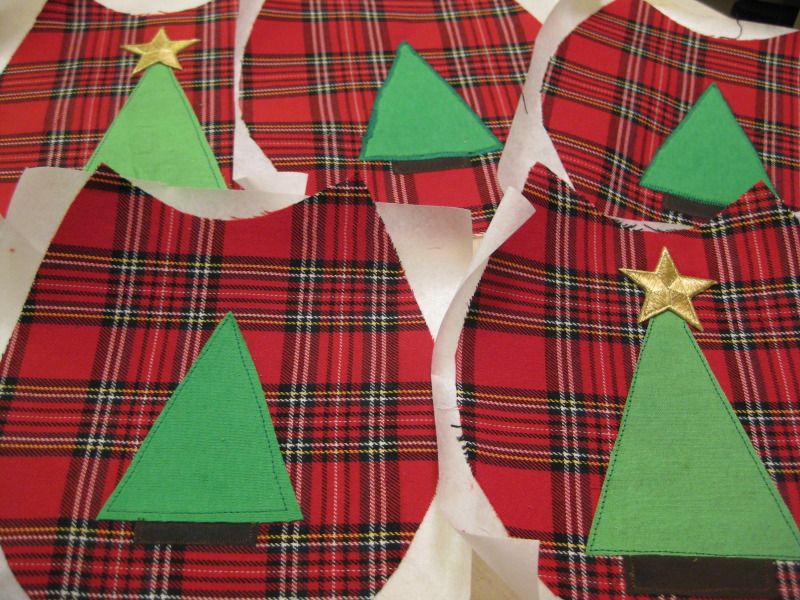
Ok today is the last day of projects! And I am using the rest of my stars from My Next Style. I used all but the gold ones.

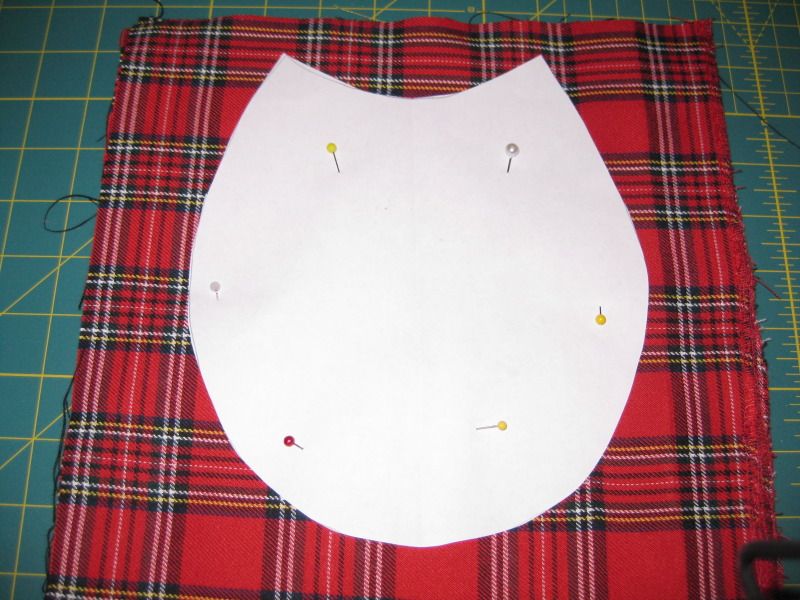
I had leftover over from my Modcloth inspired Peter Pan dress refashion. This was the leftover scrap. I decided to use it to make bibs.

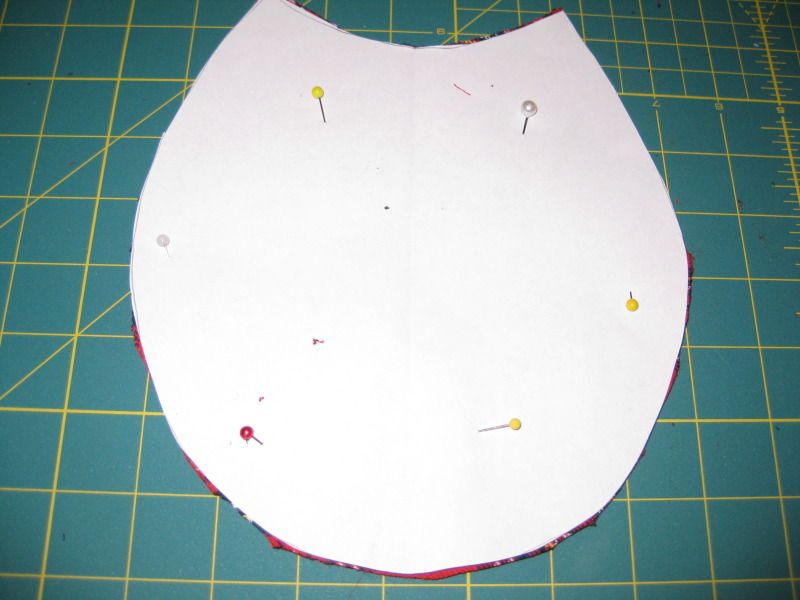
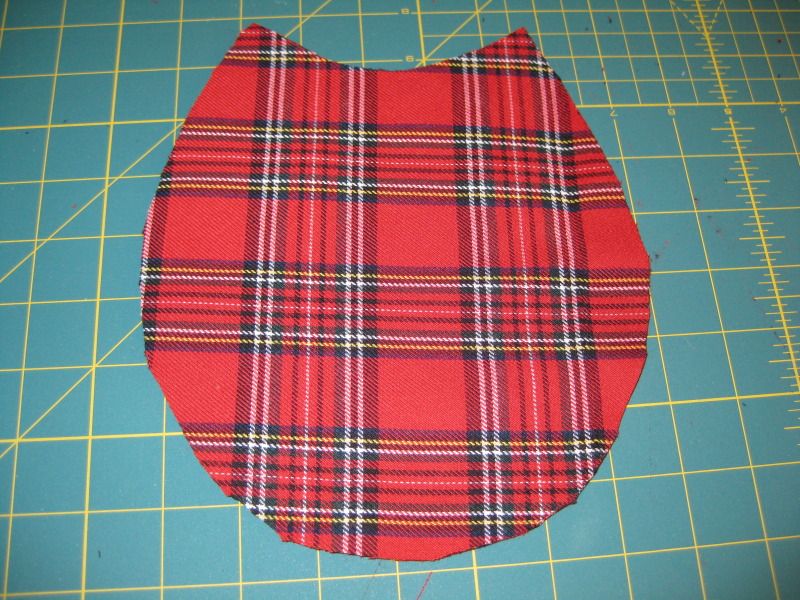
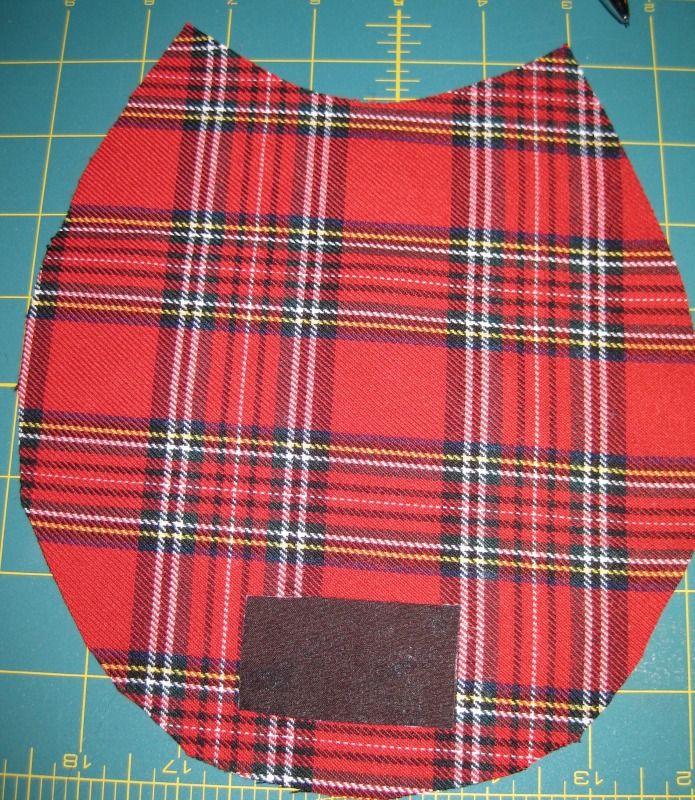
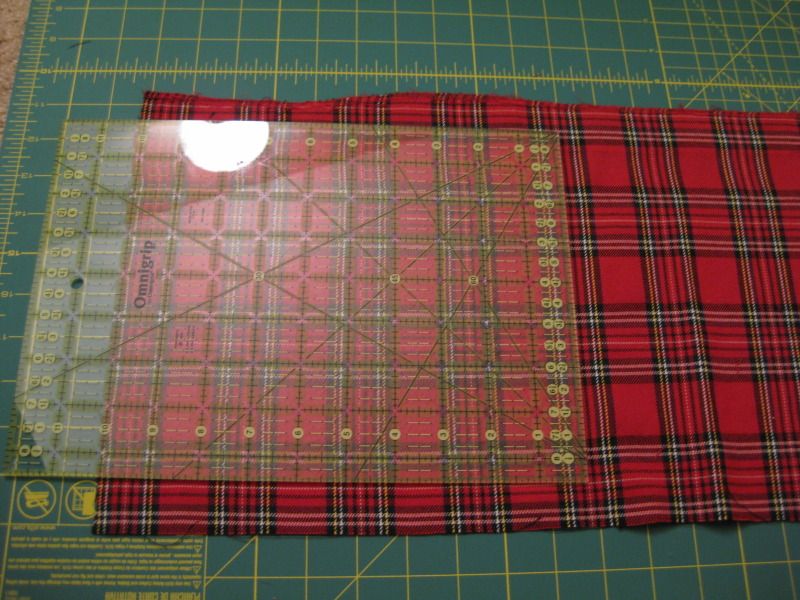
I pinned the bib pattern and cut out the plaid bibs!


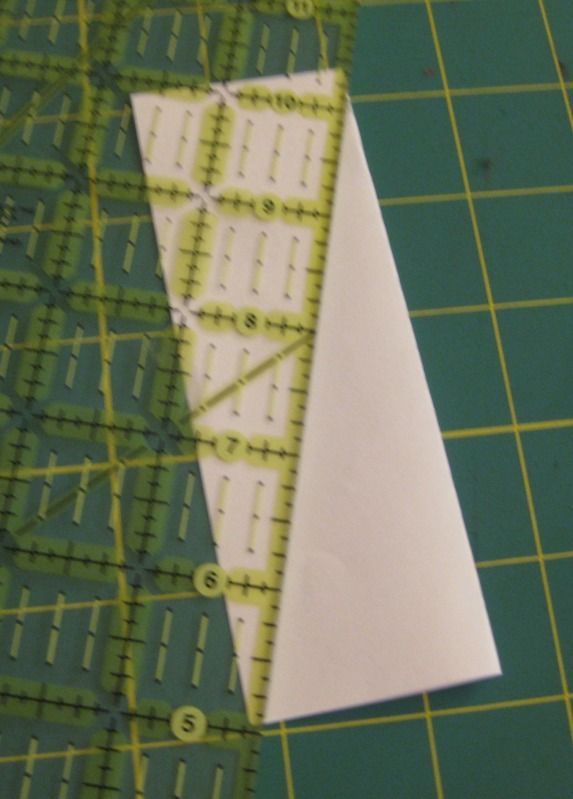
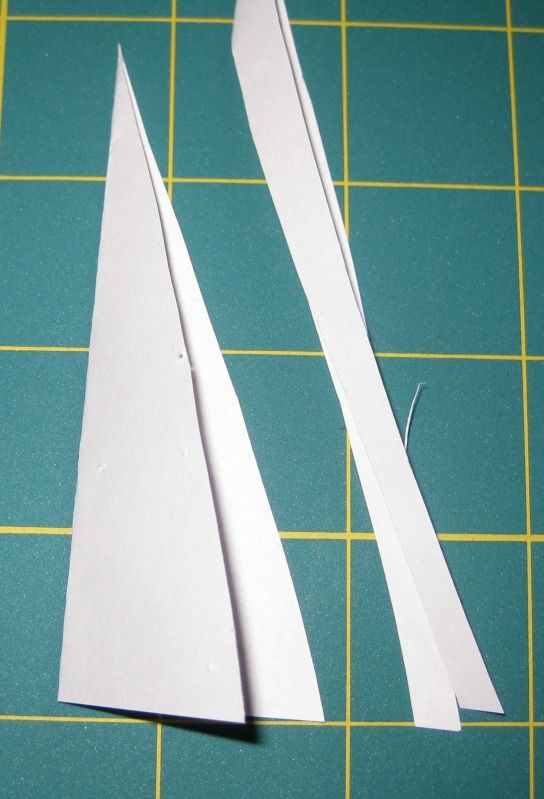
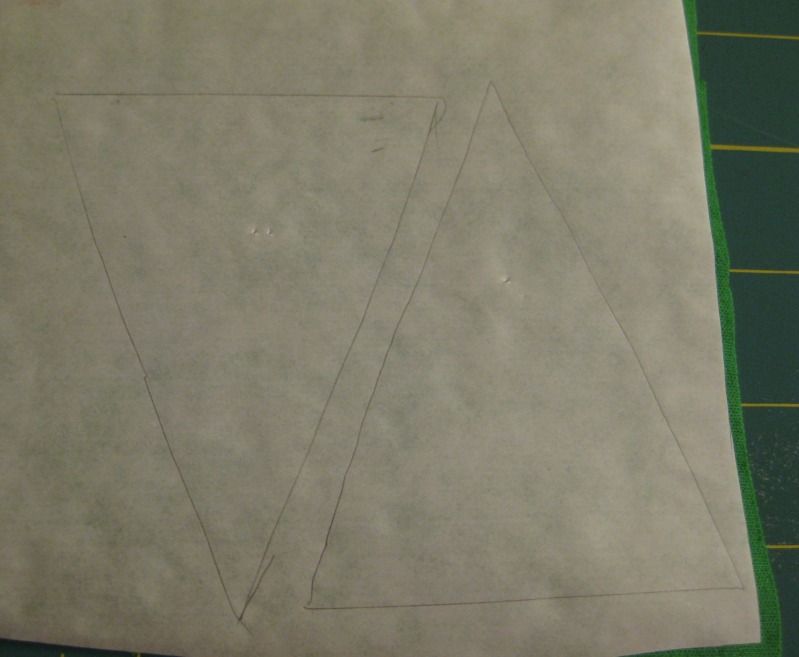
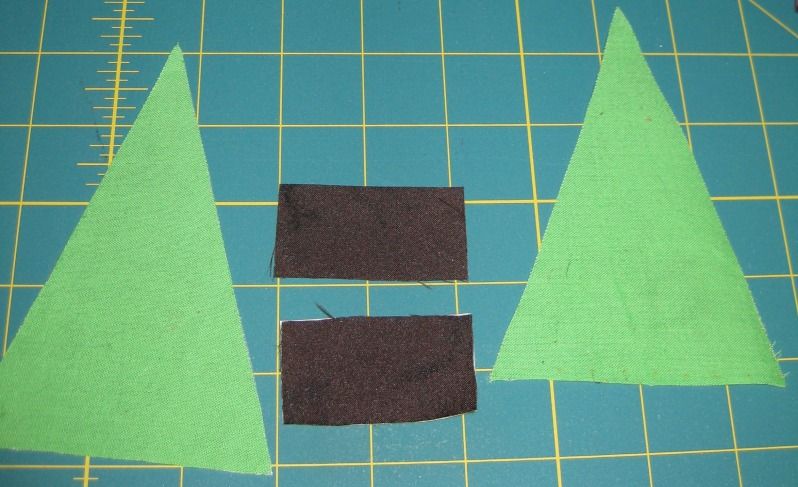
Now to make my tree pattern I just simply cut a triangle on a piece of paper folded in half!

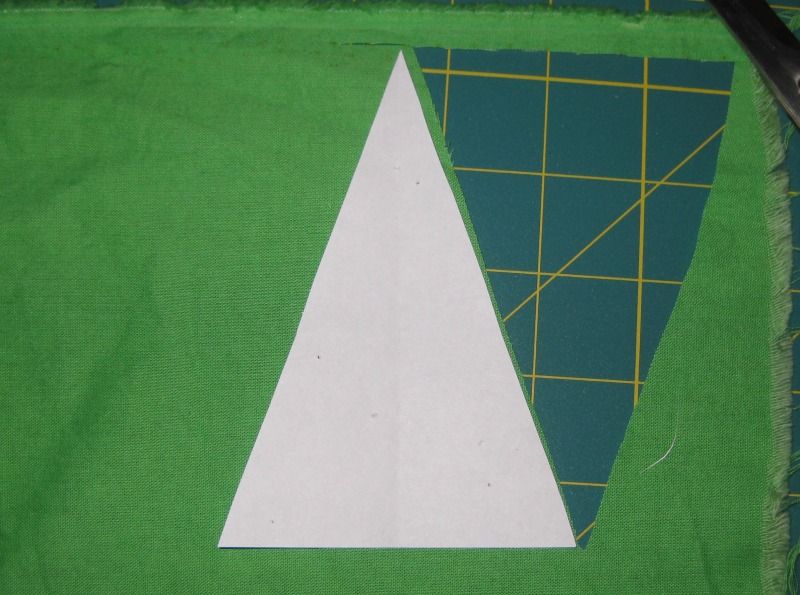
I used the triangle pattern to make trees.

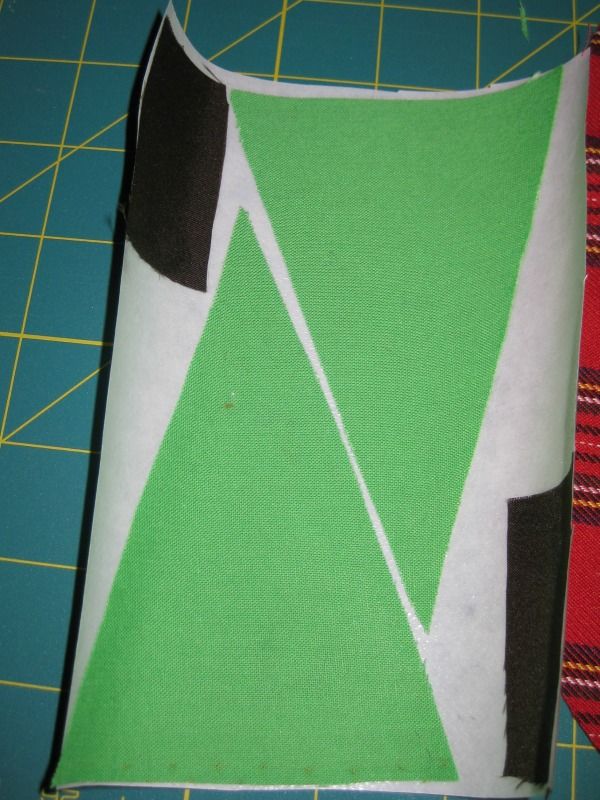
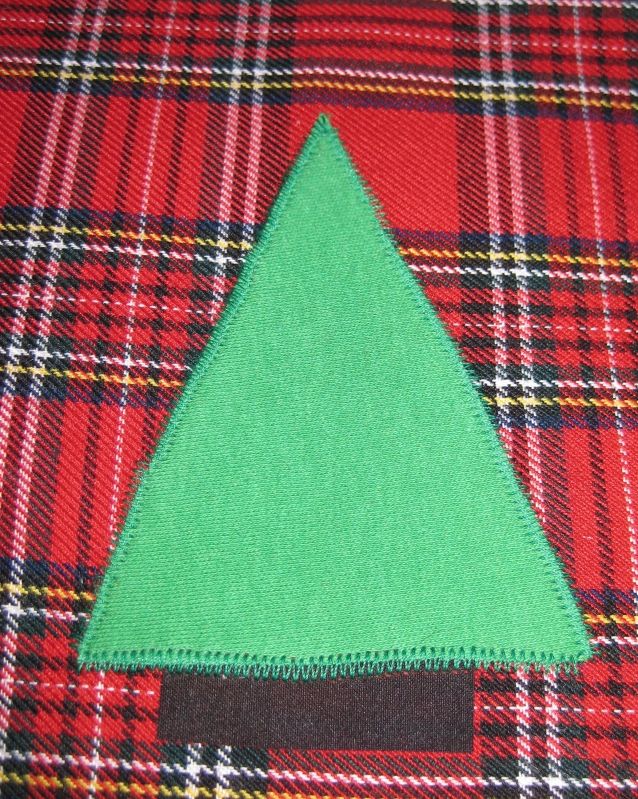
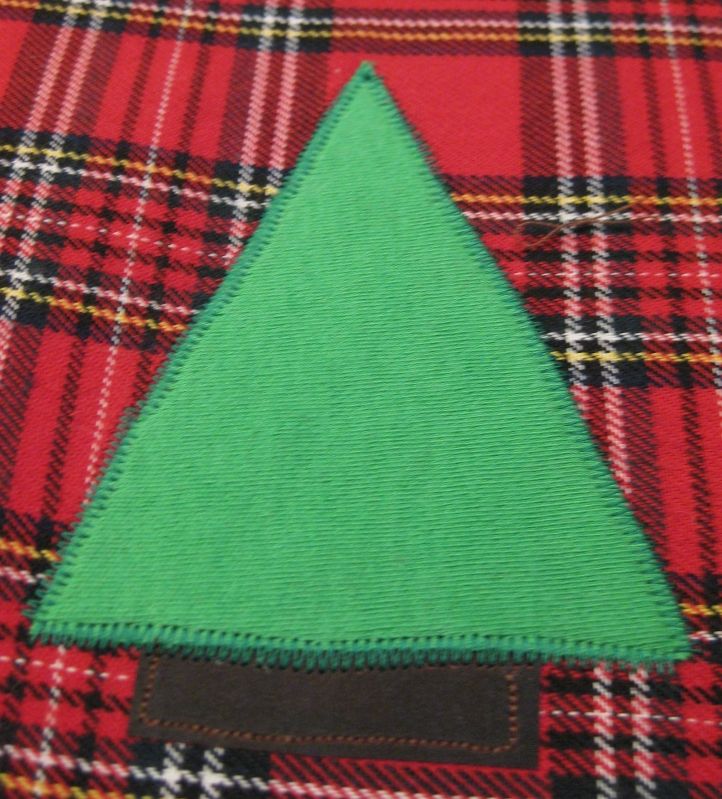
I cut brown rectangles too for the bottom portion of the trees. I added the pieces to the iron-on bond. 

I cut out the trees and stumps and I peeled off the paper backing.

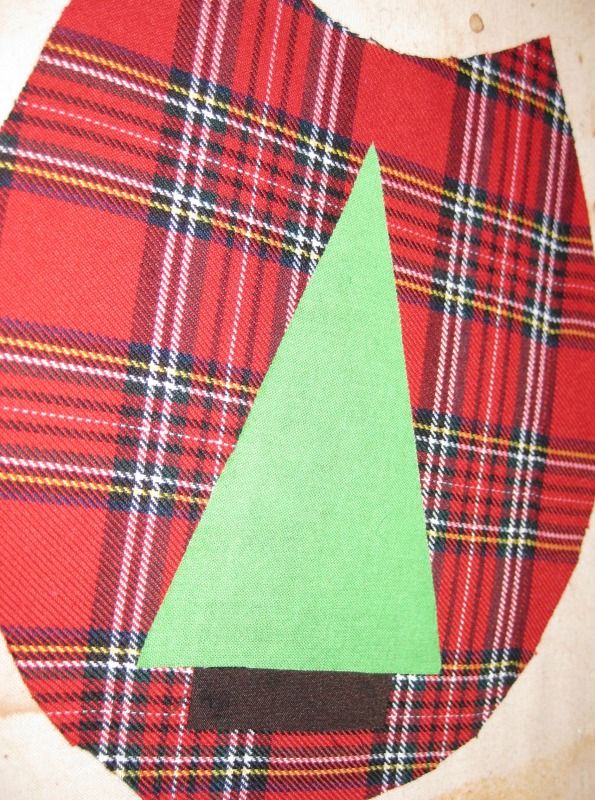
I first added the stumps. 

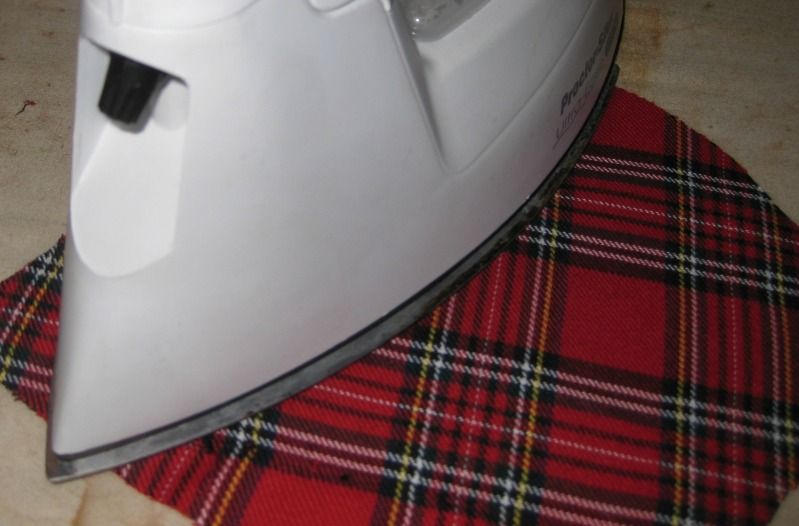
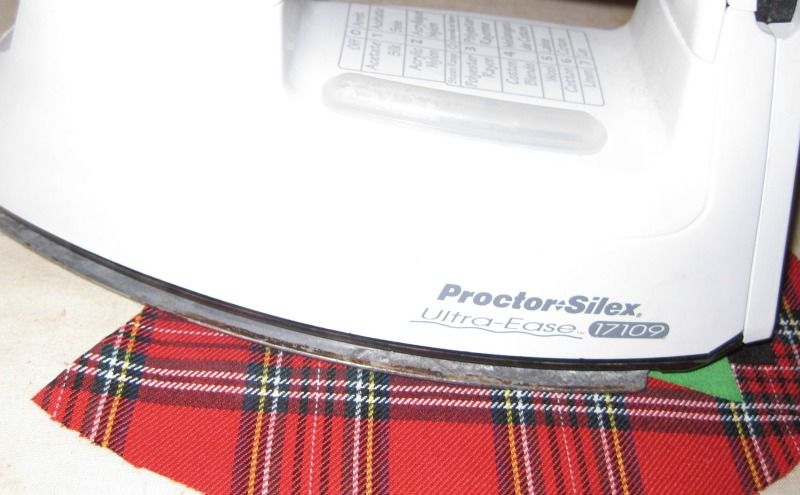
Iron!

Next add the tree!

Iron!

For some of the smaller trees I decided I wanted a smaller tree. So I just took some off the edge. 

Again the craft bond. I did it in reverse this time. Made life easier and my iron thanked me. 

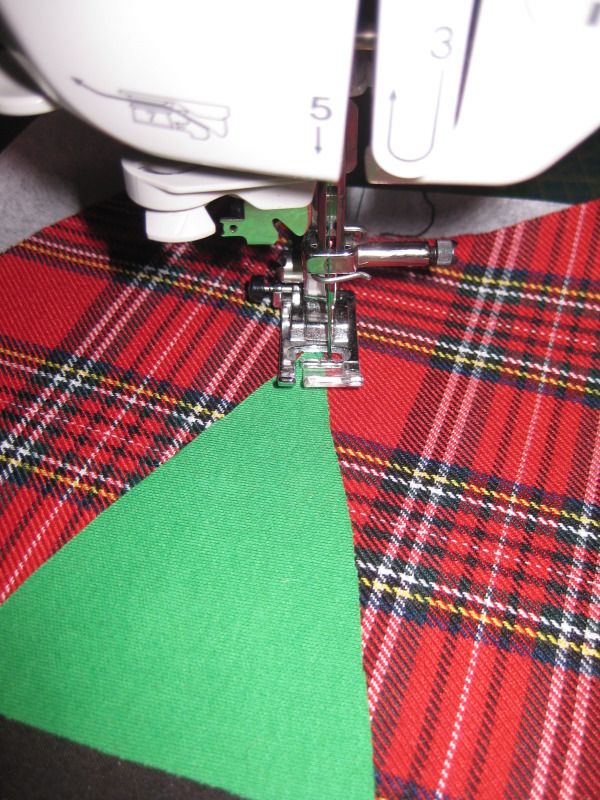
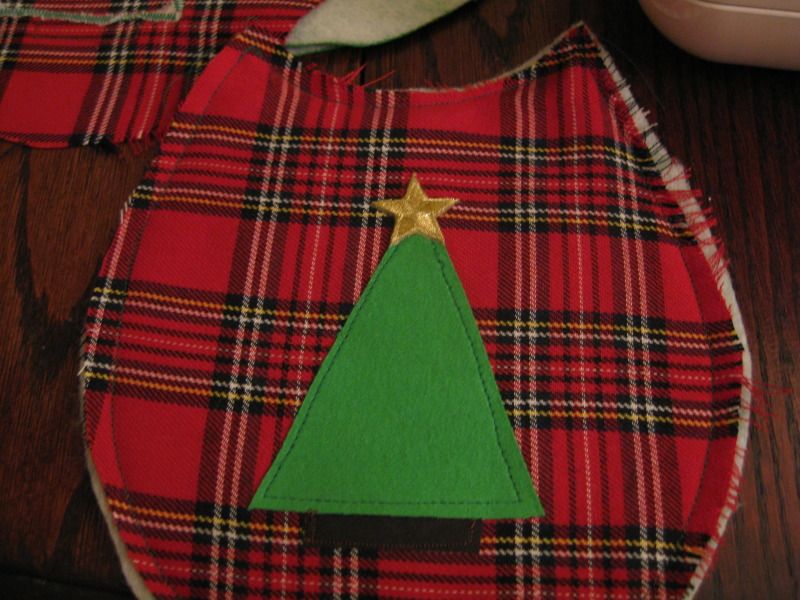
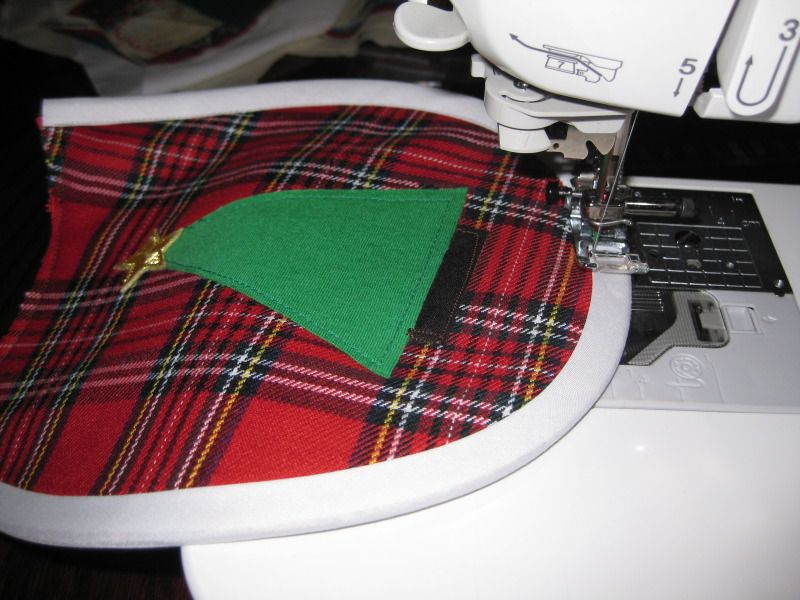
Now I need to applique (which I have never done before) the trees and stumps. Here is me practicing. 

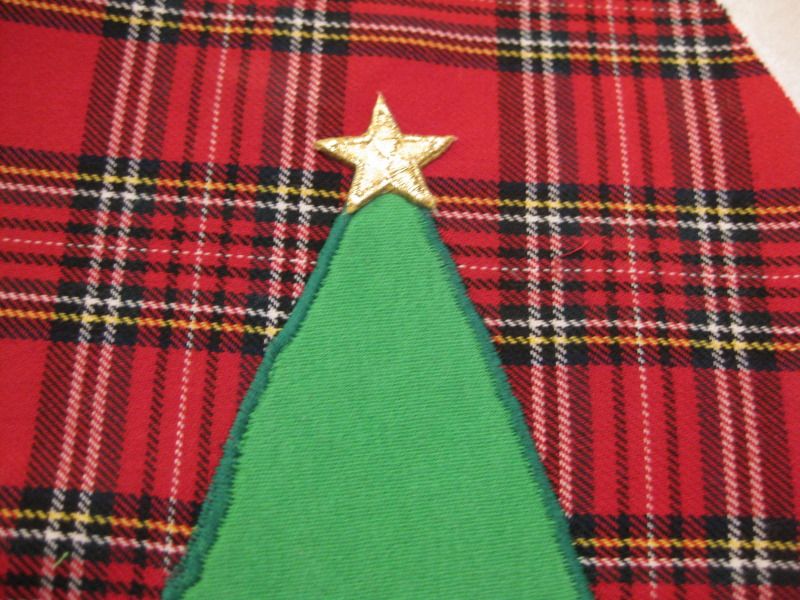
Sew! I did several variations. 


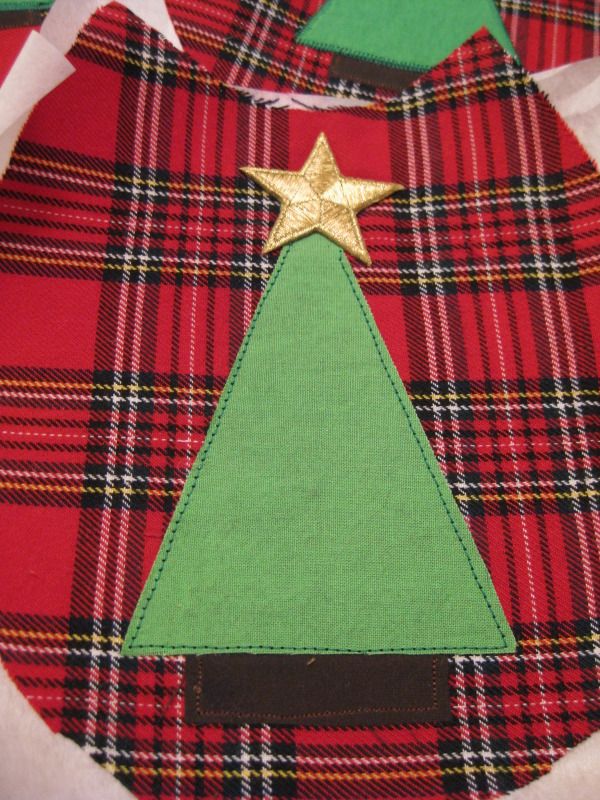
Now time to add stars! Simply add star and iron! 


Here are some in progress...

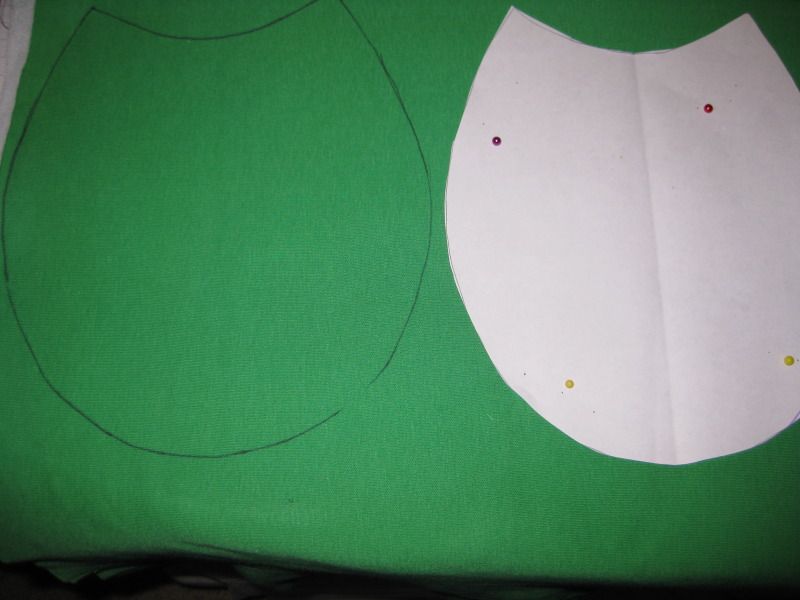
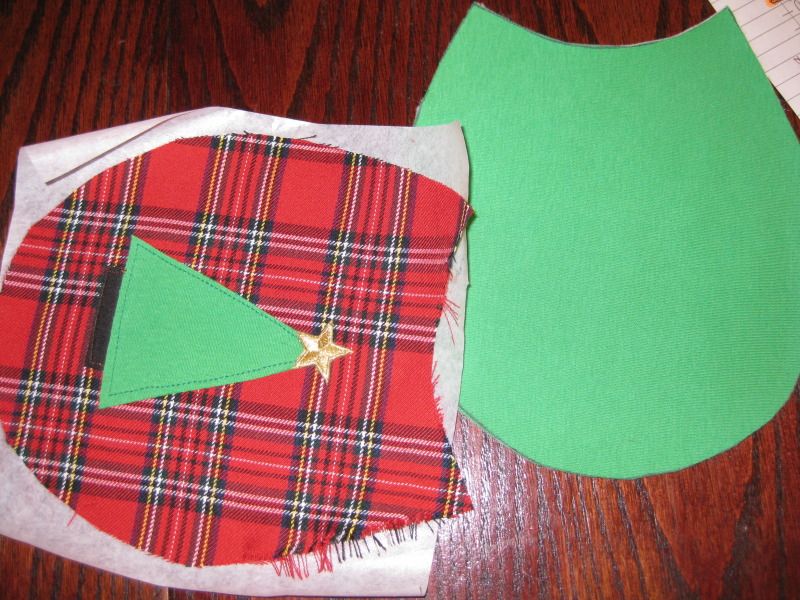
The bibs need backs. I traced the bibs on green fabric I had in my stash, and cut out. 


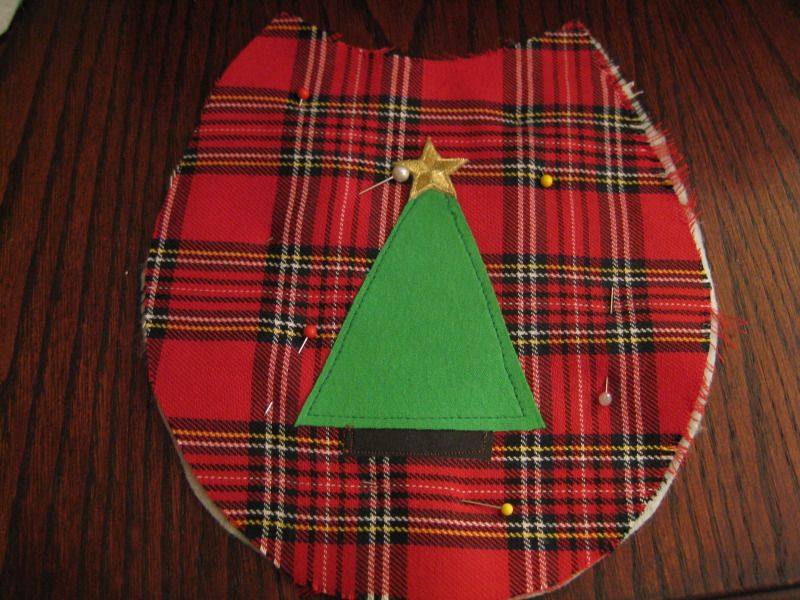
Pin together. 

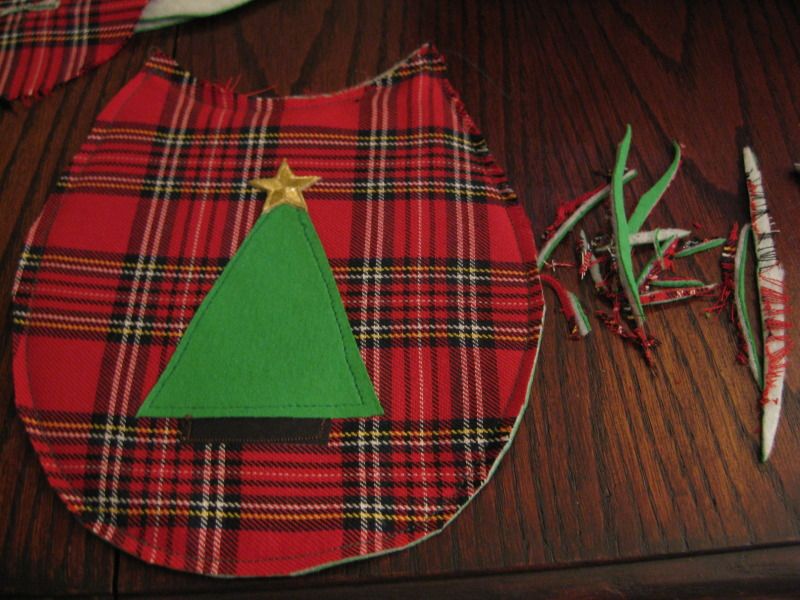
Sew!

Trim excess!

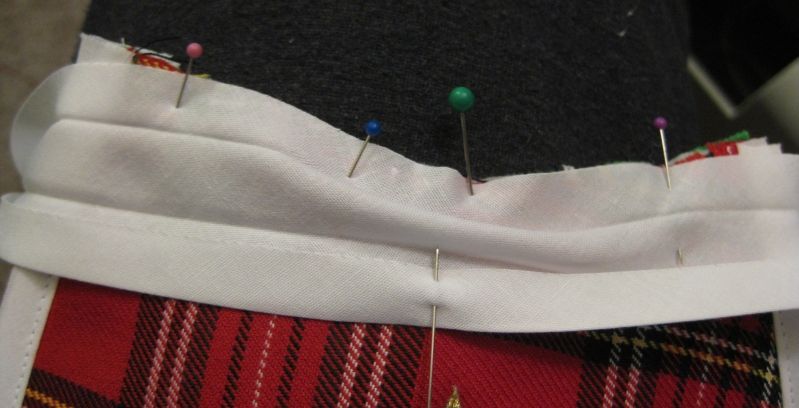
I am ready to add bias tape. I pinned the short side first and sewed down. 


This picture is a perfect example of the difference between iron (left) and not ironed (right) after sewing the curves. Definitely iron!

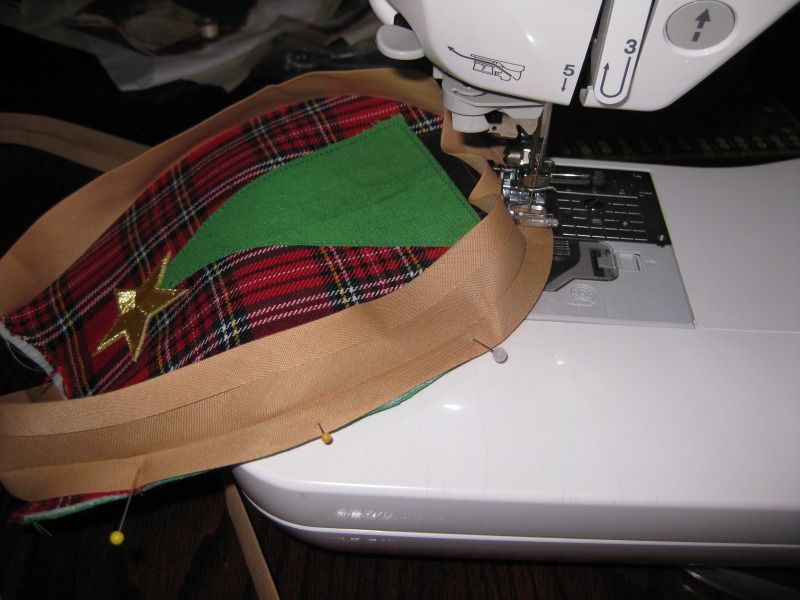
I then sewed the top portion down of the bias tape. Repeat, repeat, repeat! 

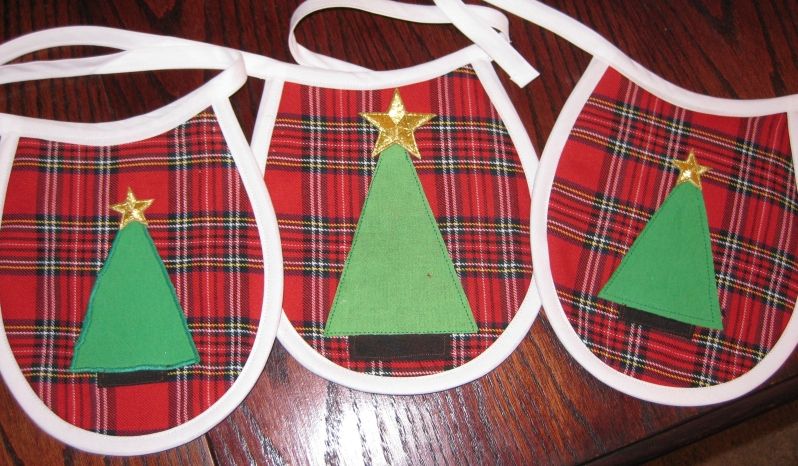
I added about 2 feet of bias tape to the top of each bib to finish it up! Done! 

Here are the end bibs! OMG I love them!


Thanks again to Next Style for the iron on stars. And a big thank you to Next Style for all the craft products they gave me. I had a lot of fun with making these projects! For more inspiration check out their Facebook page and also fashionartprojects.com!

xoxoxo,
Lauren
LinkWithin

Related Posts Plugin for WordPress, Blogger...