Well hi welcome to my little blog. Just my little corner of craftiness, sewing, and refashioning. I am also a newly gluten free eater so you have a little bit of recipes mixed in here.
Showing posts with label DIY bellydance costume. Show all posts

Monday, May 2, 2016

Endless Wave Pants

Now if you are not a bellydancer you probably don't know why in the world I made these pants or what they are. Basically these pants look like a skirt until you start moving. And they show off all of your moves and when you spin they are absolutely gorgeous on stage.


I have seen them made in everything, chiffon, Georgette, silk, satin, everything. Belly Dance Pattern ~ Endless Wave Harem Pants Pattern by Gaylene ...
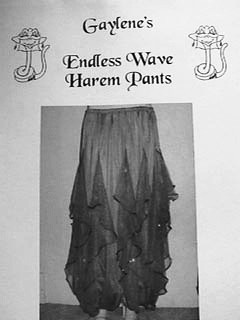
Prior to moving and giving up dance, I had bought the pattern and was going to sew myself a pair. I had this lovely embroidered pink chiffon and thought this was the way to go. Unfortunately I ran out of fabric when I was cutting the sails. This pattern uses a lot of fabric! I had to improvise and use pink georgette that I purchases that matched the colors of the chiffon. I spaced out and mixed between the 2 fabrics so it seemed intentional.

Sewing these guys was pretty fast IF you have a serger! I cut serged away and was done really fast. Add elastic to the waist and the ankles and I was done!

Here's my pants!

Just look at the volume!
Big!!

These only make me want to dance in them. :( Life is too busy for me to really dance anymore. But how lovely is that drape?

And when they spin...

You might ask are they see through? The answer is yes, somewhat. That is just due to my choice of fabric. But I could counter that with wearing pink athletic pants that I have. I also wore my polish scarf on my hips for the inseam area for the photos. I wish I would have made these pants sooner and been able to use them. BTW they are heavy, you need a good elastic in the waist and you need to cut in shorter than you think b/c they will pull themselves down. If you are tall you need to increase the length of the pants, as well as the sail.

Cheers,
Lauren

Wednesday, January 18, 2012

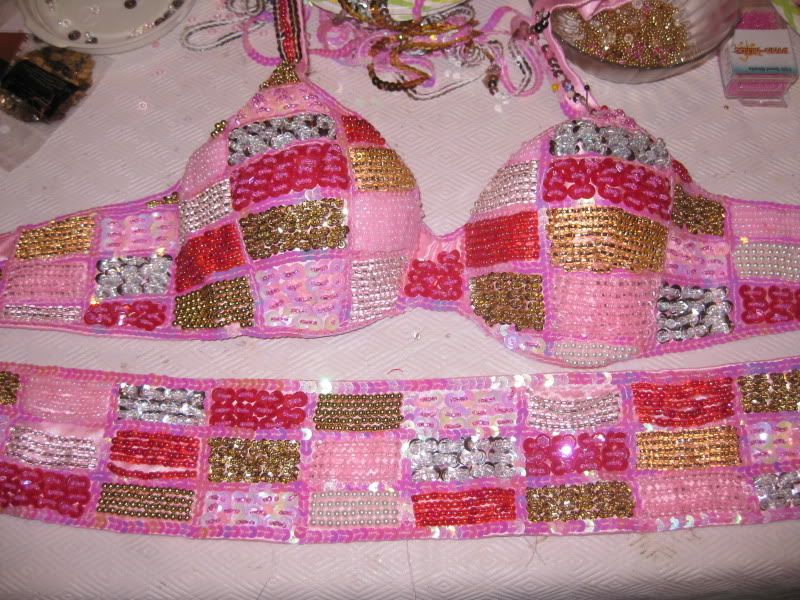
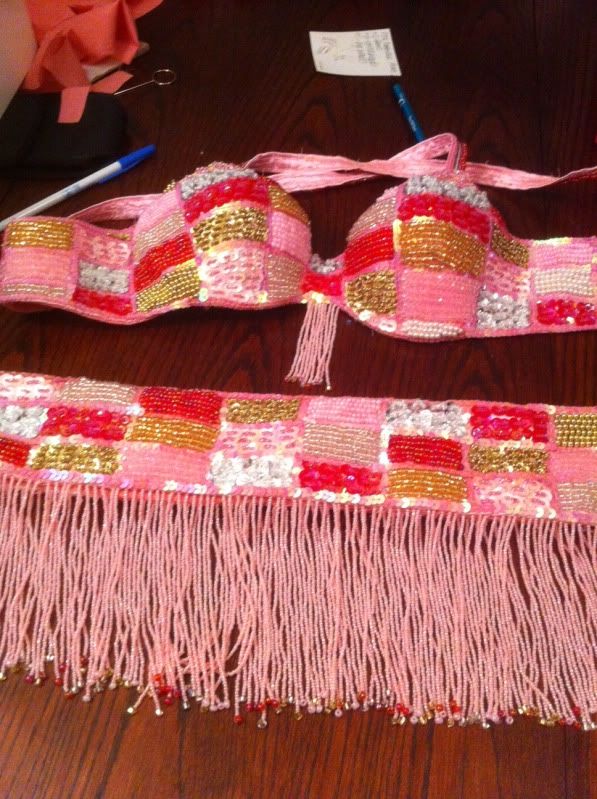
The pink patchwork bellydance costume is finished!

So last night I posted how I made beaded fringe for my pink patchwork costume. Now I can show you the journey that went into making this costume!

Let me back up first, on how it all started. I only started to sew and make my own costumes for less than 2 years. I mean I fixed a fringe, loose sequins, bra straps, etc. But I never really designed a costume from the start. This one was the first one that literally came to mind when I woke up one morning. The night before I was going through and organizing my bead stash (I still do this all the time b/c I have a lot of things). Suddenly I realized what I wanted to do was make a patchwork using sequins an then fill in with beads and sequins. Use what I already have!

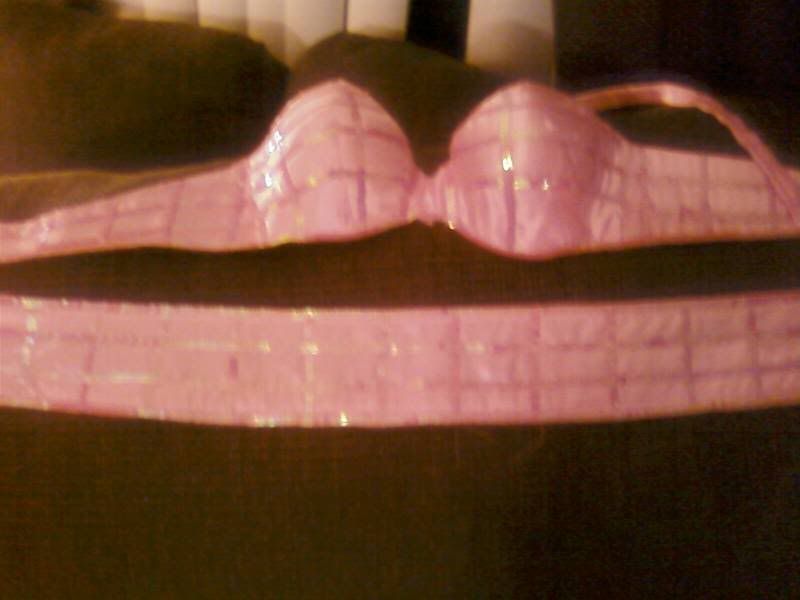
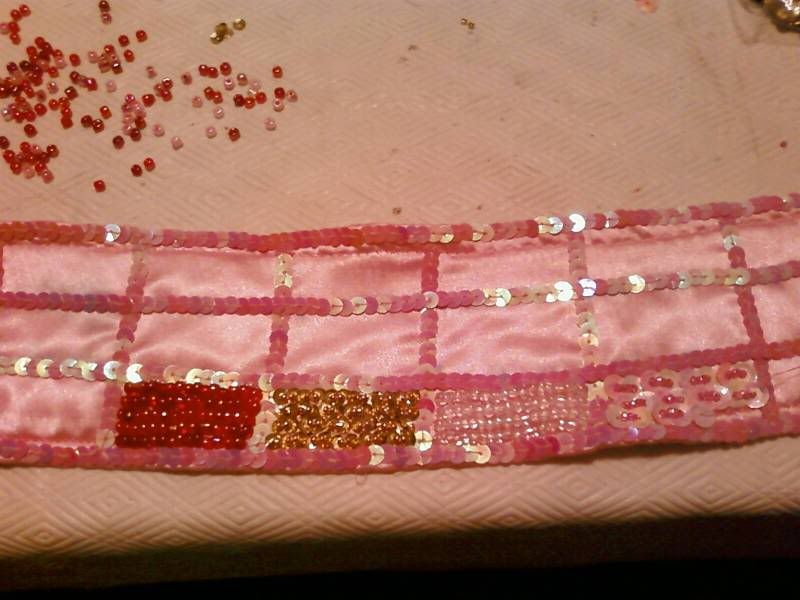
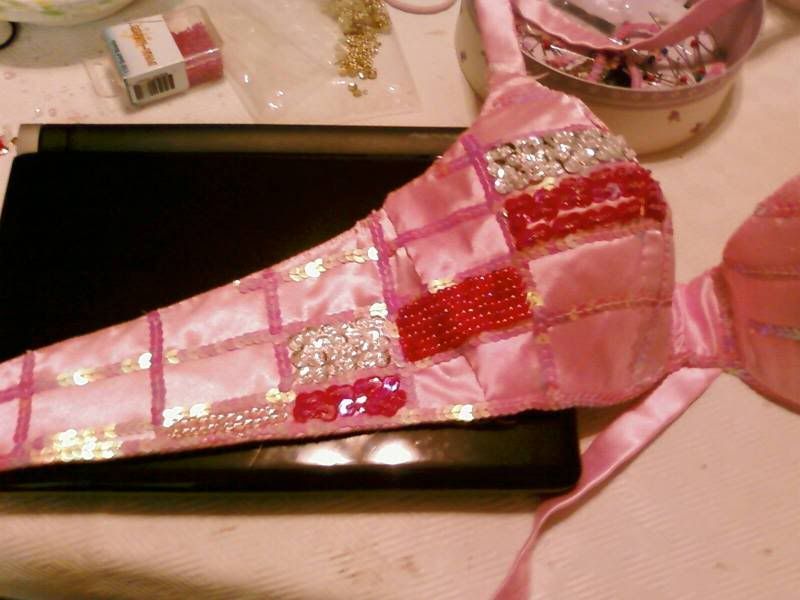
I started off with using a pink sating and covered a bra and belt. Then I laid out the grid work with the pink iridescent sequins I had on a spool.

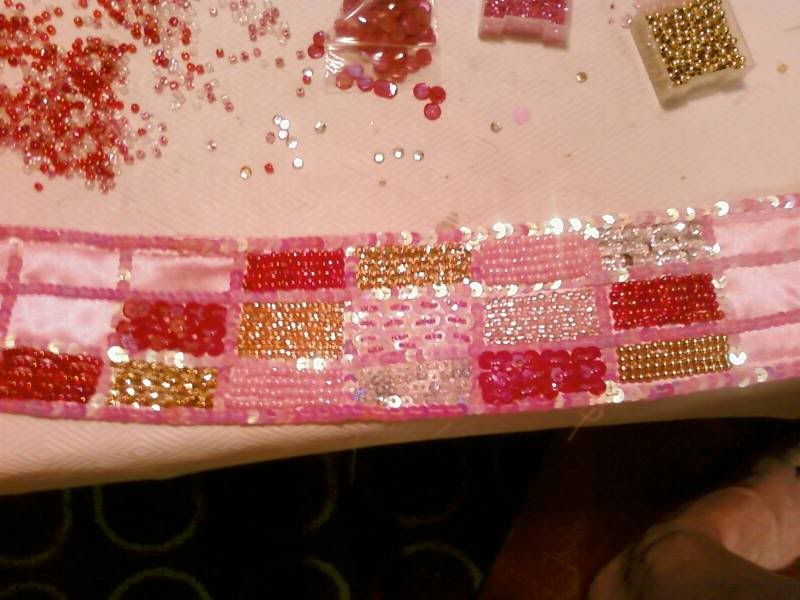
I decided I was going to use the following colors: light pink, dark pink, silver and gold. I was going to interchange between sequins and just beads. I started on the belt first

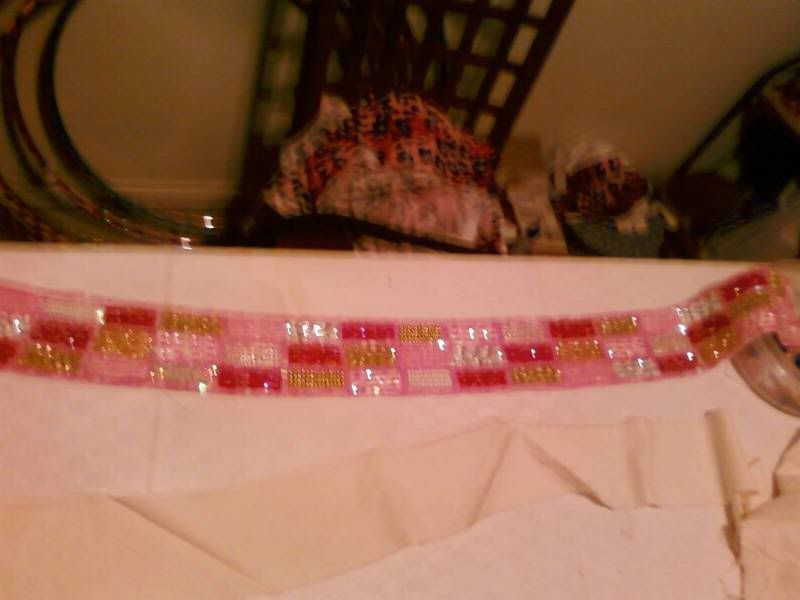
I loved the pattern once I got it.

So I finished the belt

Next to the bra!

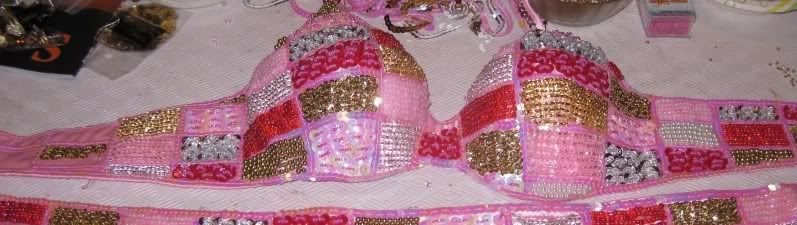
I finished the bra

I finsihed beading actually in one weekend. Yes really. It flew so fast.

So I was left with this gorgeous costume but it needed to be finished. This is where I got stuck. I didn't know how to finish it with fringe, etc. Then we moved into our bigger apartment, I started a new job. I began refashioning and I got the 60 boxes of fabric that is now my fabric stash.

At the beginning of the year I decided I was ready to finish it. And I was ready to bead my own fringe. I won't go into details because that was another post see here

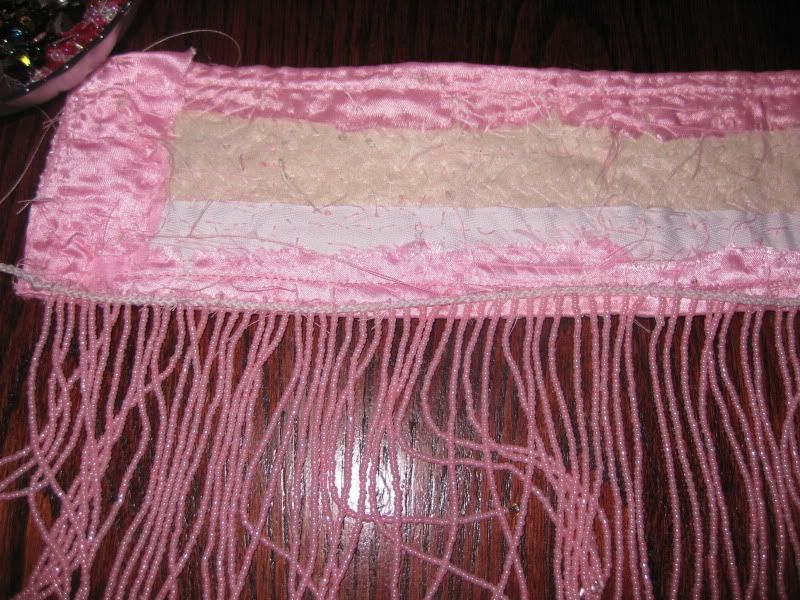
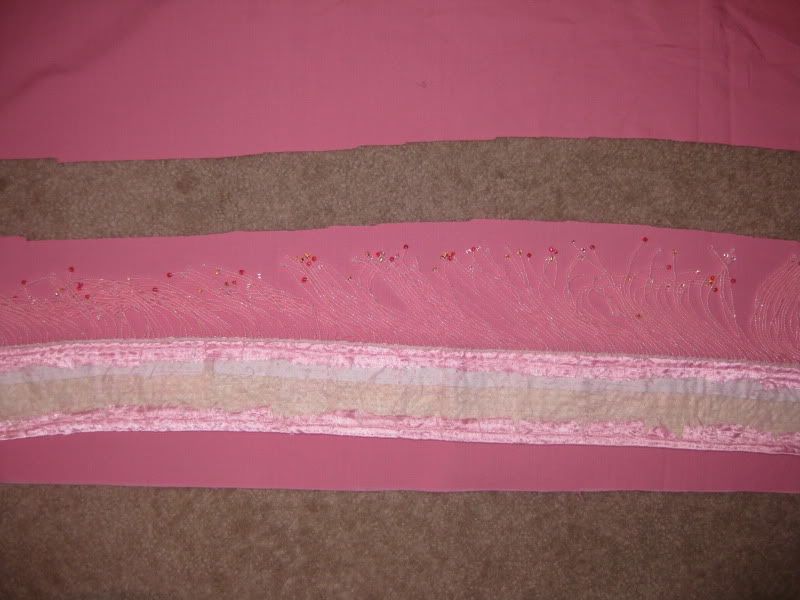
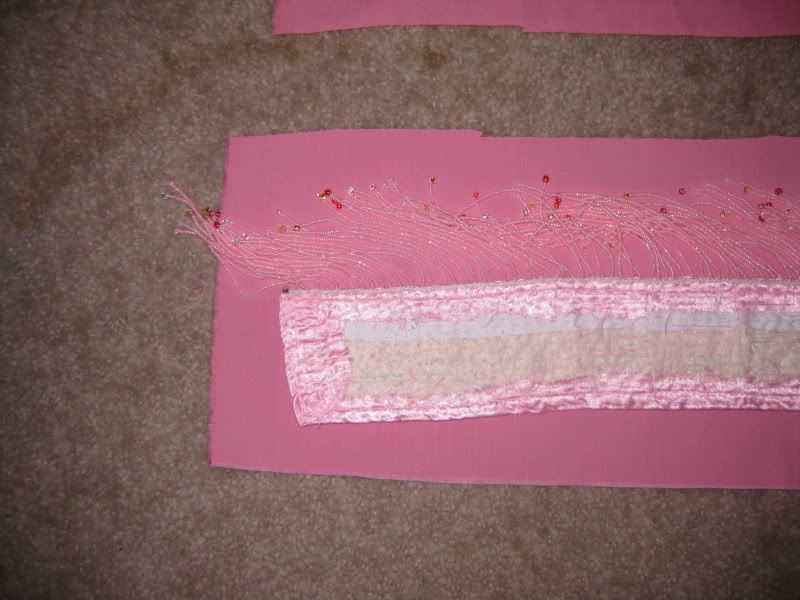
Now here is how I finished it. First I laid the fringe on the bottom of the belt.

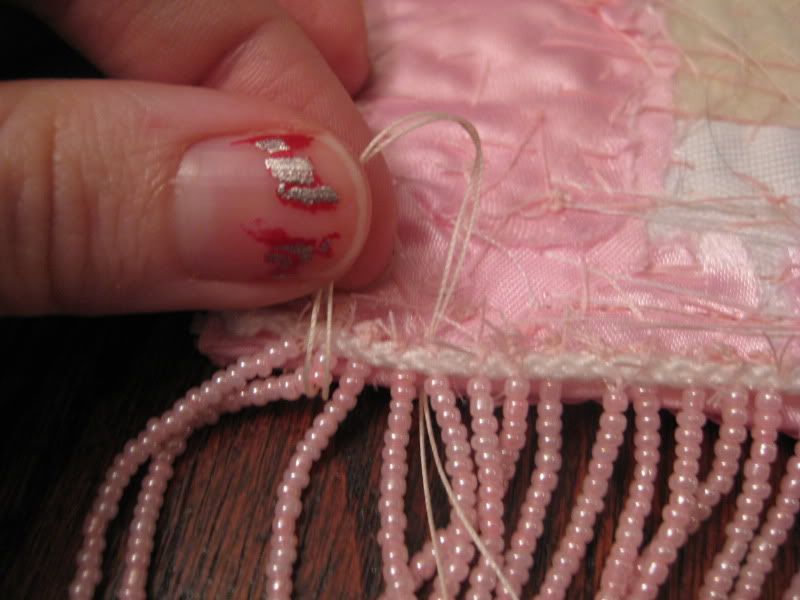
Next time to whip stitch it down to the belt.

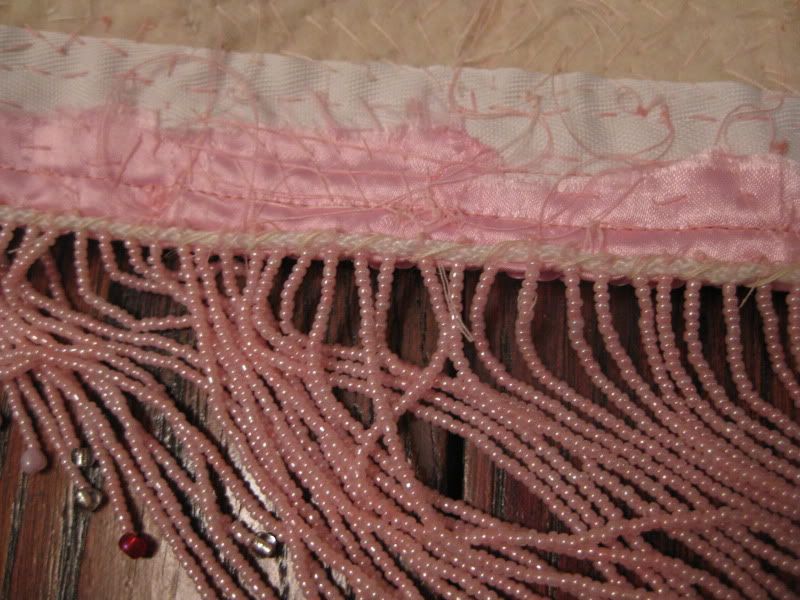
Done!

From the front.

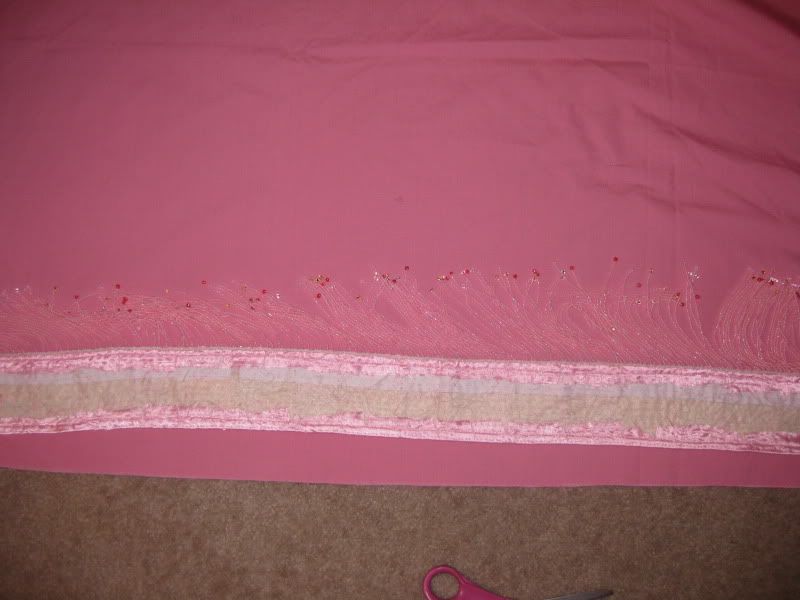
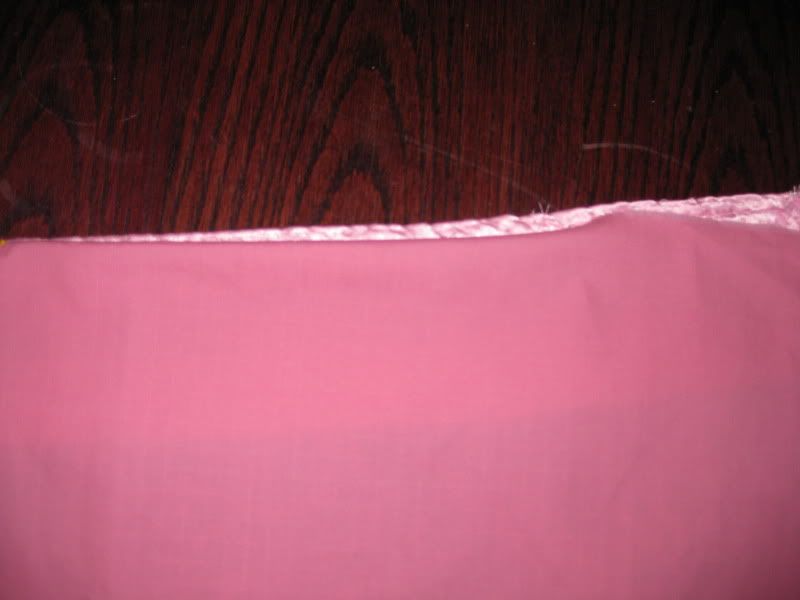
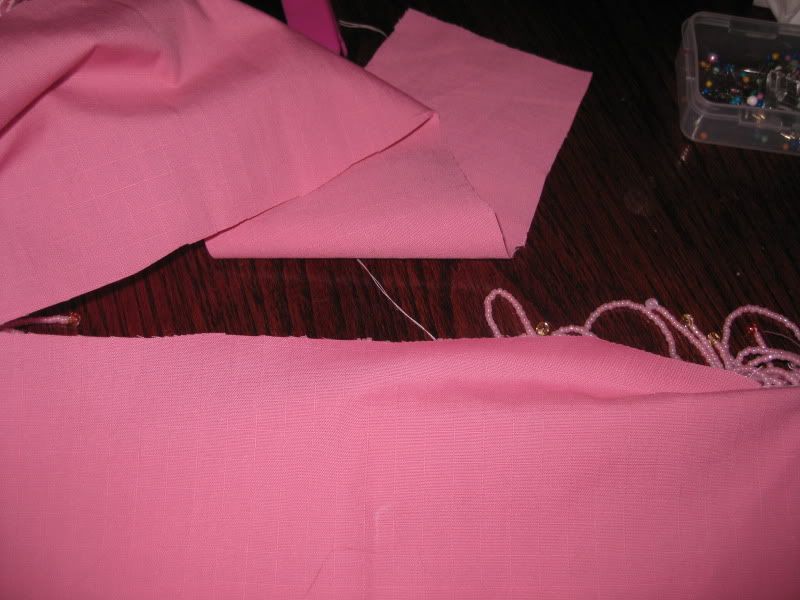
Time to line! I lay mine down and cut away with some scissors.

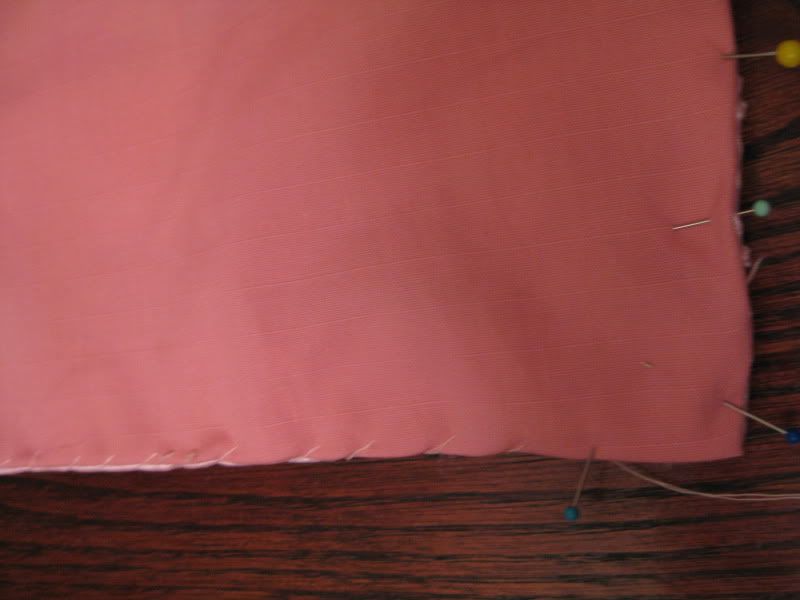
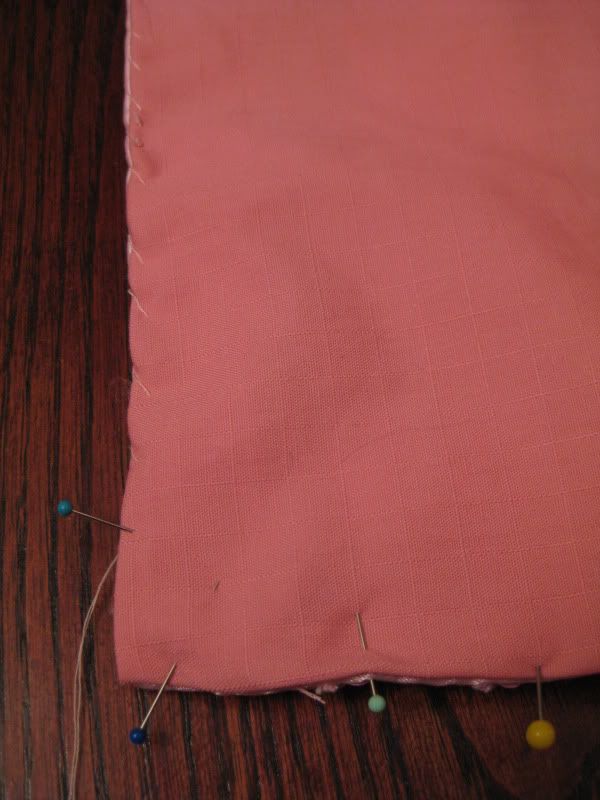
Start at one end, fold under and pin.

Whip stitch down

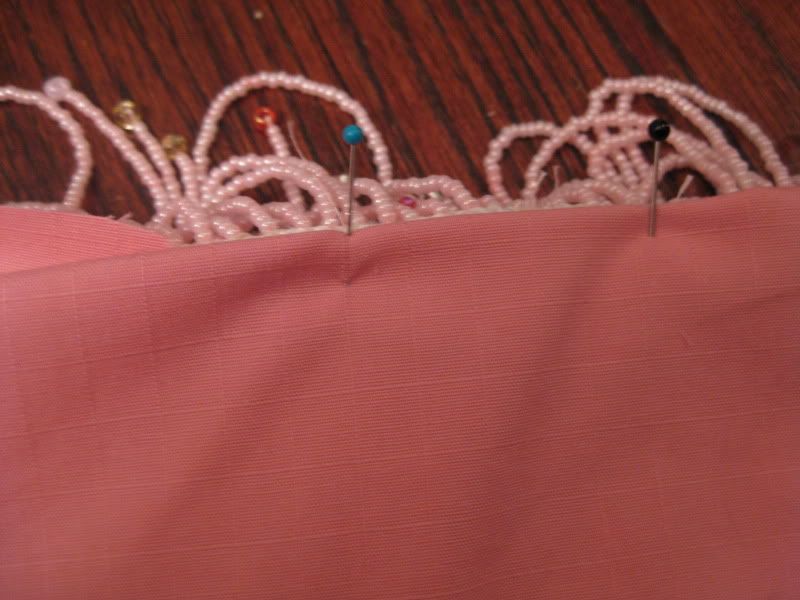
It gets a little tricky around the fringe. I did cut it some to take out the strain of the fabric.

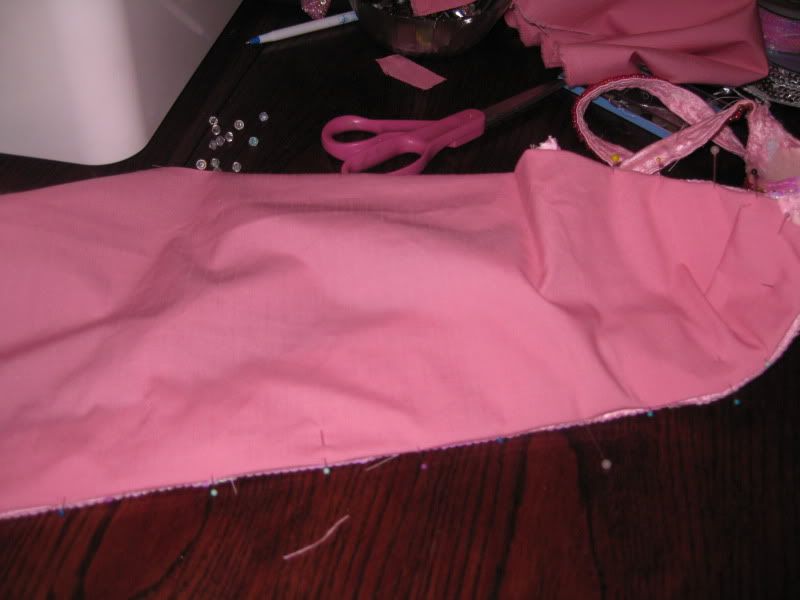
Here is me covering the bra, which i forgot to take pictures of... but I do have one.

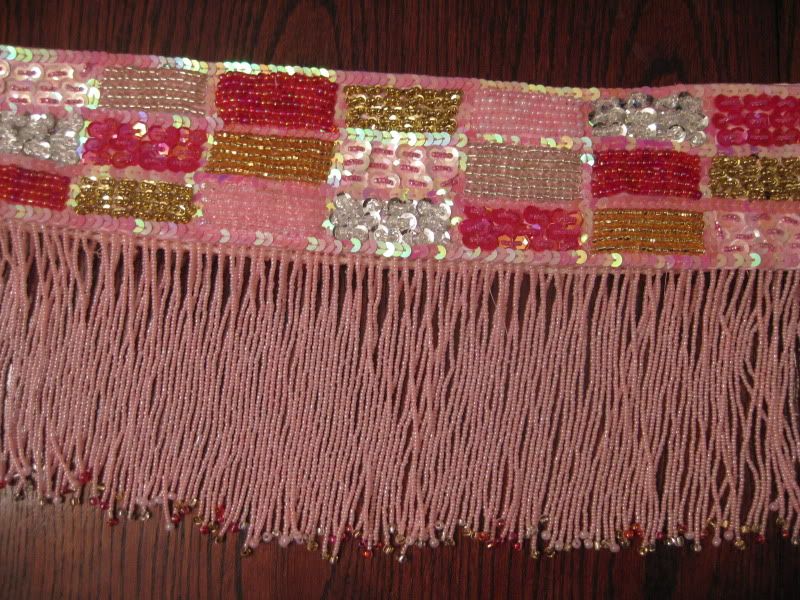
And the finished product... :) All done

Now I can cross off a costume on my list. Now I need a place to wear it! :)

xoxoxo,
Lauren

Tuesday, January 17, 2012

DIY bellydance beaded fringe

I am almost done with my Pink patchwork bellydance costume. The reason it has taken me so long is b/c I did not know how I wanted to fringe it. There was no place online that matched the color in my costume. I wanted light pink.

So my only option??? Make my own! Eek! and hence why this project sat on my shelf in a bag. For a year... until now. I was ready to tackle this project and finish it this year!

First I started off with some simple seed beads. Purchased from Michael's. Then I got some plain rope that someone would use for like a children's craft and that was going to be my base to support my fringe. There was no way I was beading each strand to the bottom of the belt! No way!

So I came up with this crazy getup that I could bead with my hands free and the rope would not twist. I used my fabric covered cardboard block and I pinned the rope to the blocks and began to sew.

After my first string!

So I knotted each string before I went to the next string. Basically, each string was double threaded, I went through the top of the rope, down 5 inches, added a bigger bead that corresponded to the beads already on the costume. Then I rewove the needle up through the seed beads back up to the rope. Knot again.


Then I kept going! Here is during the beading. I moved the rope with the beaded fringe as I went so it wouldn't hang and get too heavy. Then it was easier to keep my length correct. :)

Then I was done. Stay tuned for the next post on finishing the actual costume! :)

XOXOXOXO,
Lauren

LinkWithin

Related Posts Plugin for WordPress, Blogger...