Well hi welcome to my little blog. Just my little corner of craftiness, sewing, and refashioning. I am also a newly gluten free eater so you have a little bit of recipes mixed in here.

Monday, May 5, 2014

Sherbert dreams dress refashion, #34

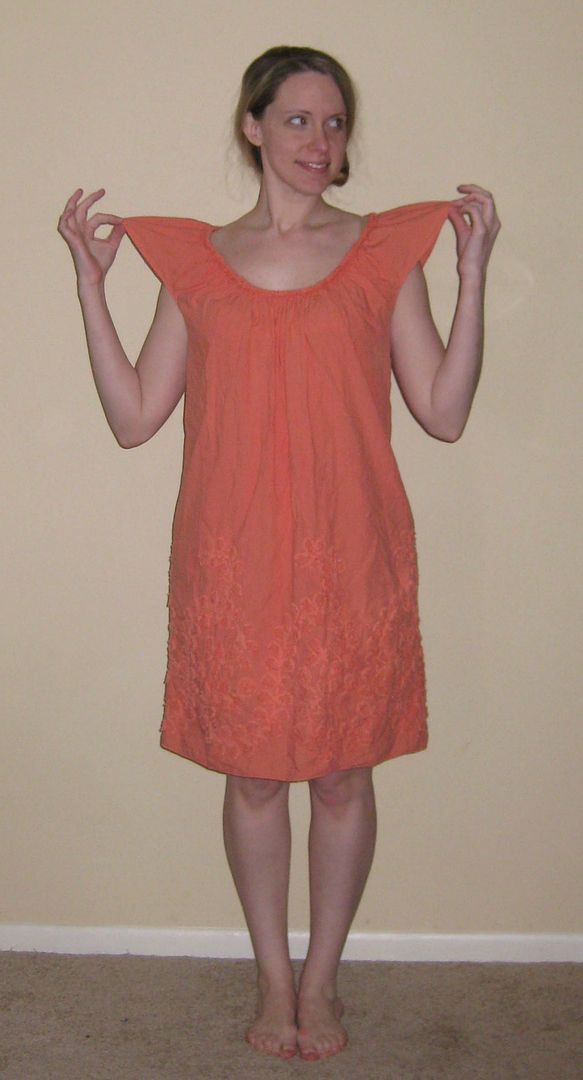
Iron craft challenge! This challenge was about art. To do something inspired by art. Again I am striving to do refashions this year, so I am going to start out with dress my mom gave me. It was the wrong color for my skin tone, not to mention that it was big and the sleeves tended to fly up.

Wahoo big!

I decided on my options and literally went on pinterest and just looked at art. I came across the poppies from Georgia O'Keefe. They have an orange base. I decided I could dye the dress and refashion it.


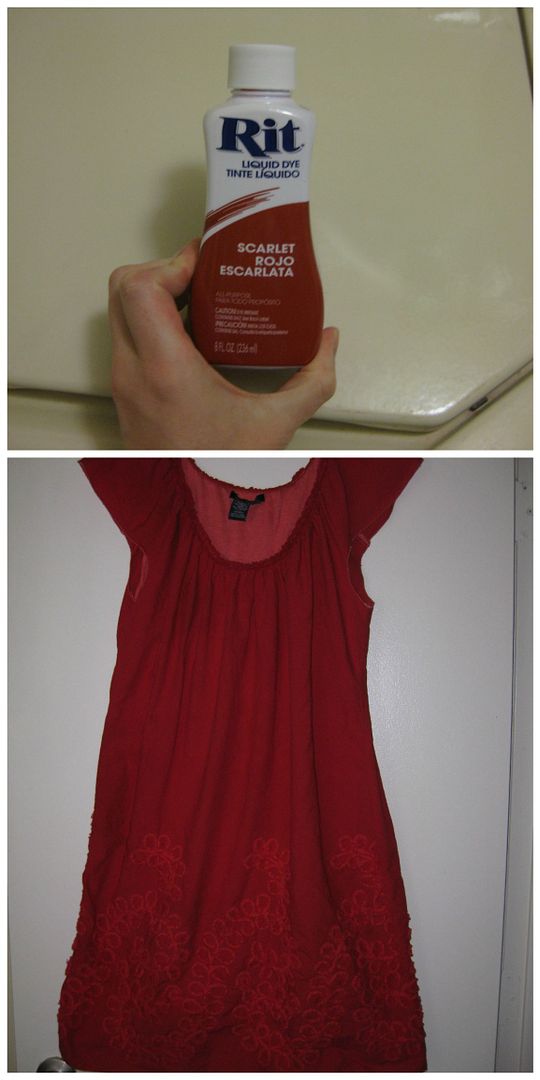
I went for RIT dye scarlet red and dyed the dress. It came out great!
I decided I wanted to take it in using elastic. My aim was to keep the dress, if I failed then I'll turn it into a skirt. 
I drew a line on my dress.
Cut a piece of elastic slightly smaller than my waist. 
Sew it to the dress while stretching i. 
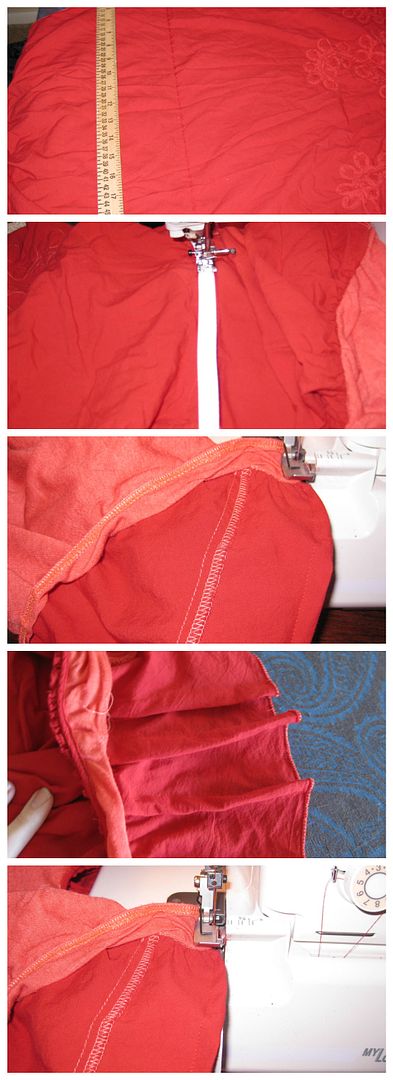
To fix the sleeves, I took it in 3 times-you kind of don't see them b/c of the gathering of the sleeves.
I serged off the excess.
Then did a rolled hem on the bottom portion of the sleeve.
That lead to some stretching on the  bottom portion of the arm hole. 
The fix for that was taking it on the sides by machine. Done! 

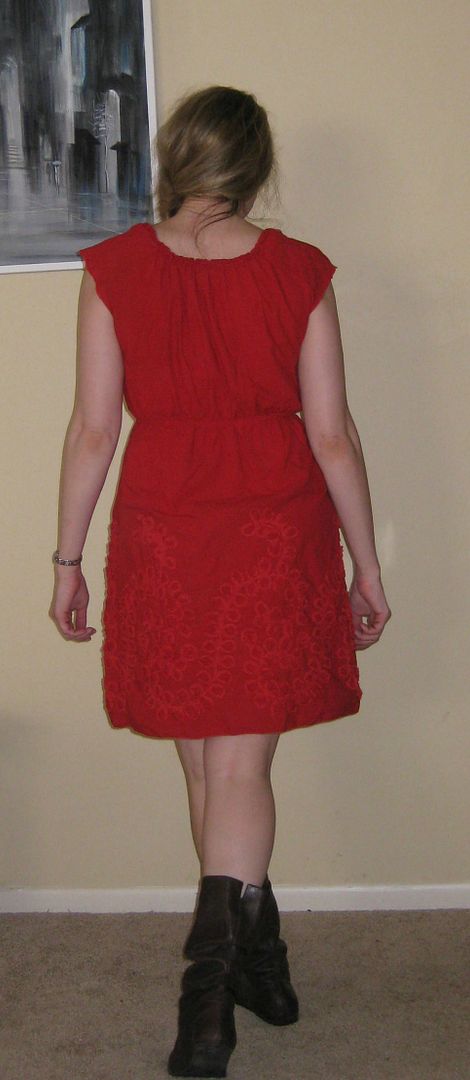
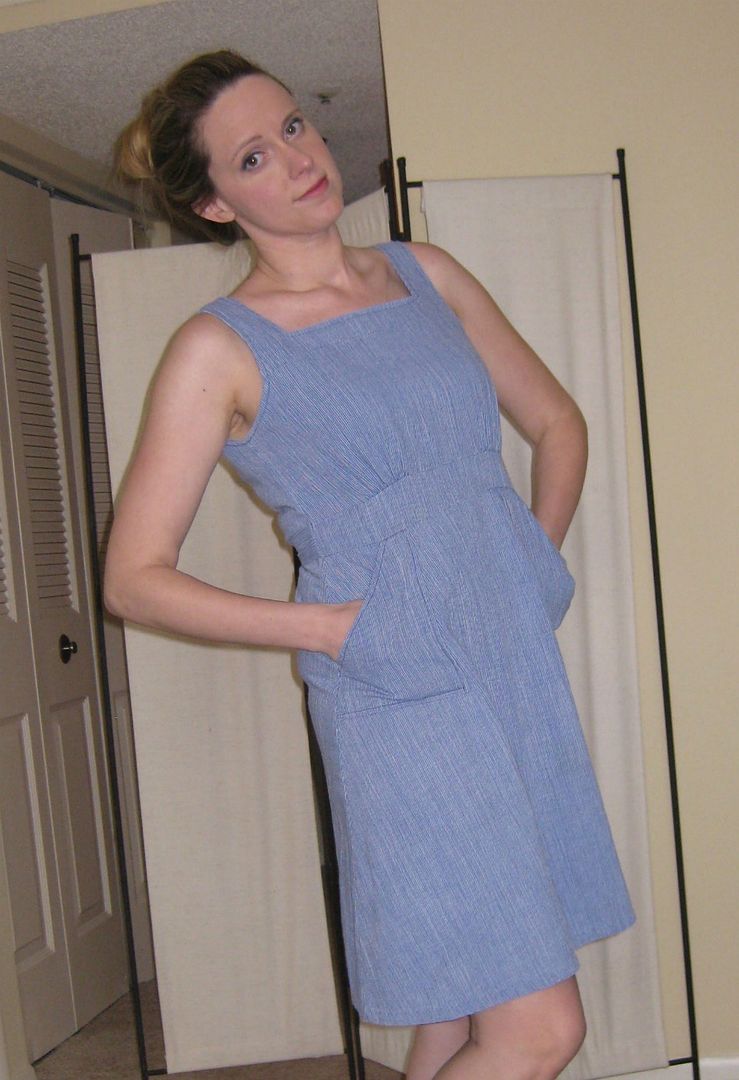
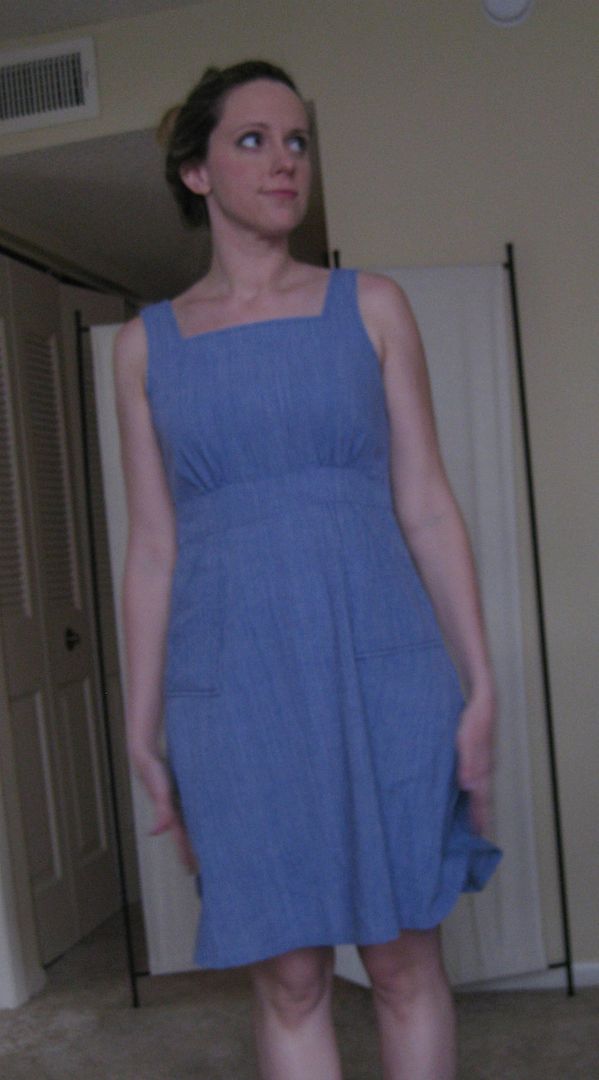
I think i got the poppy red (with orange undertones). Dress is much wearable now 


With a belt. 


Yeah felt a little too much like Miss Claus so this belt is a no. 

Recap. The dress is wearable now! Yay!
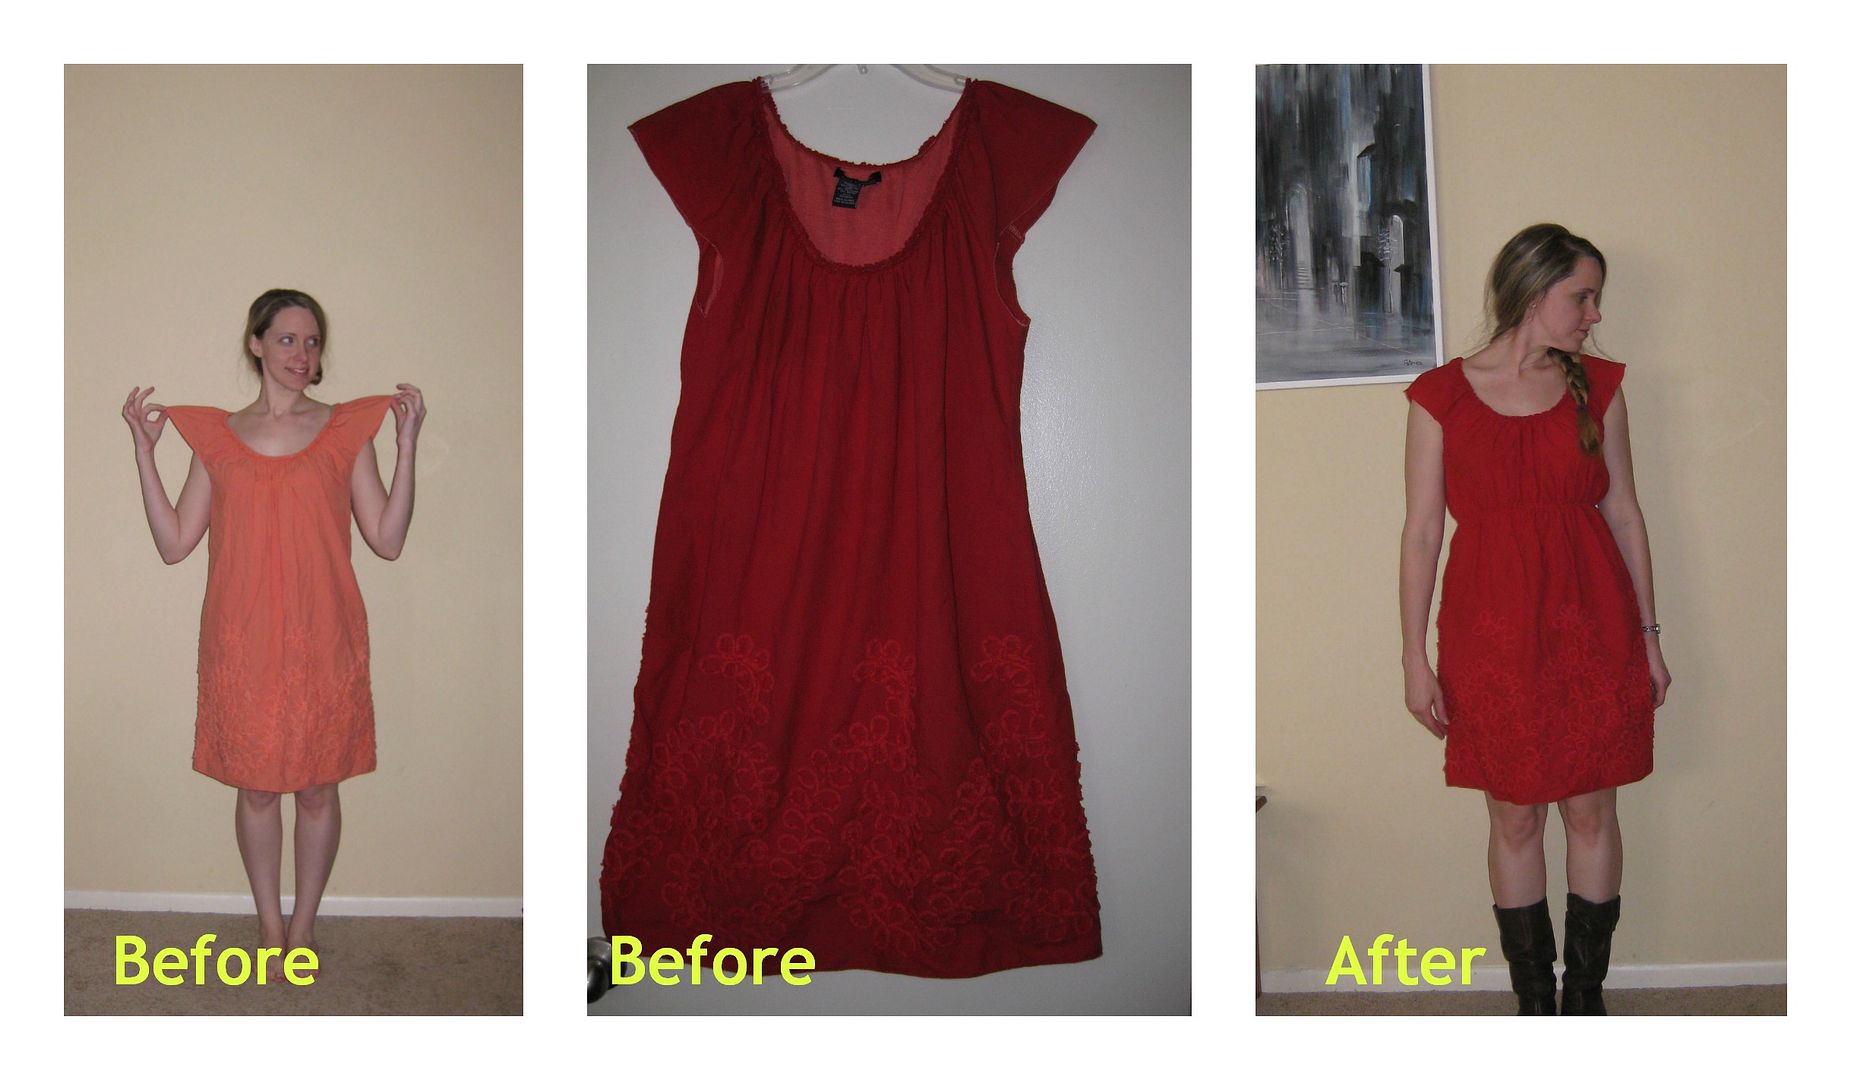
Cheers to another refashion and another iron craft challenge! 
Lauren


Wednesday, April 30, 2014

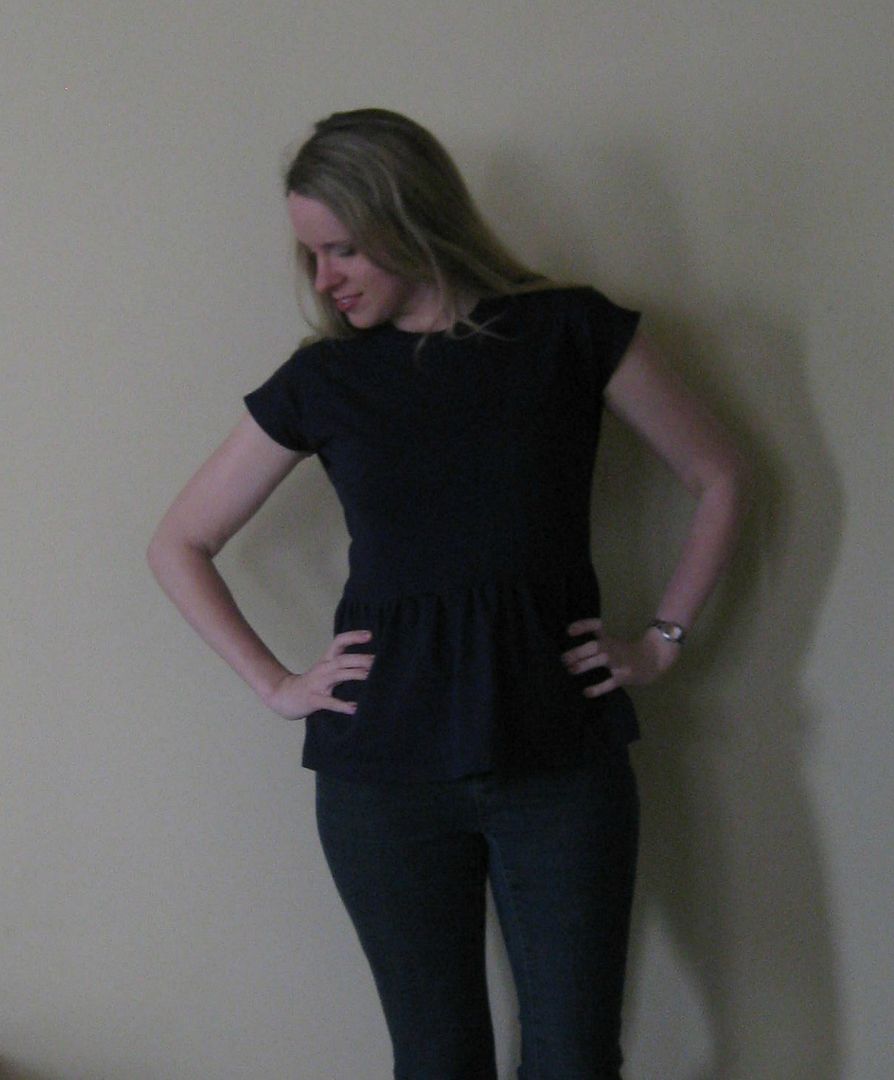
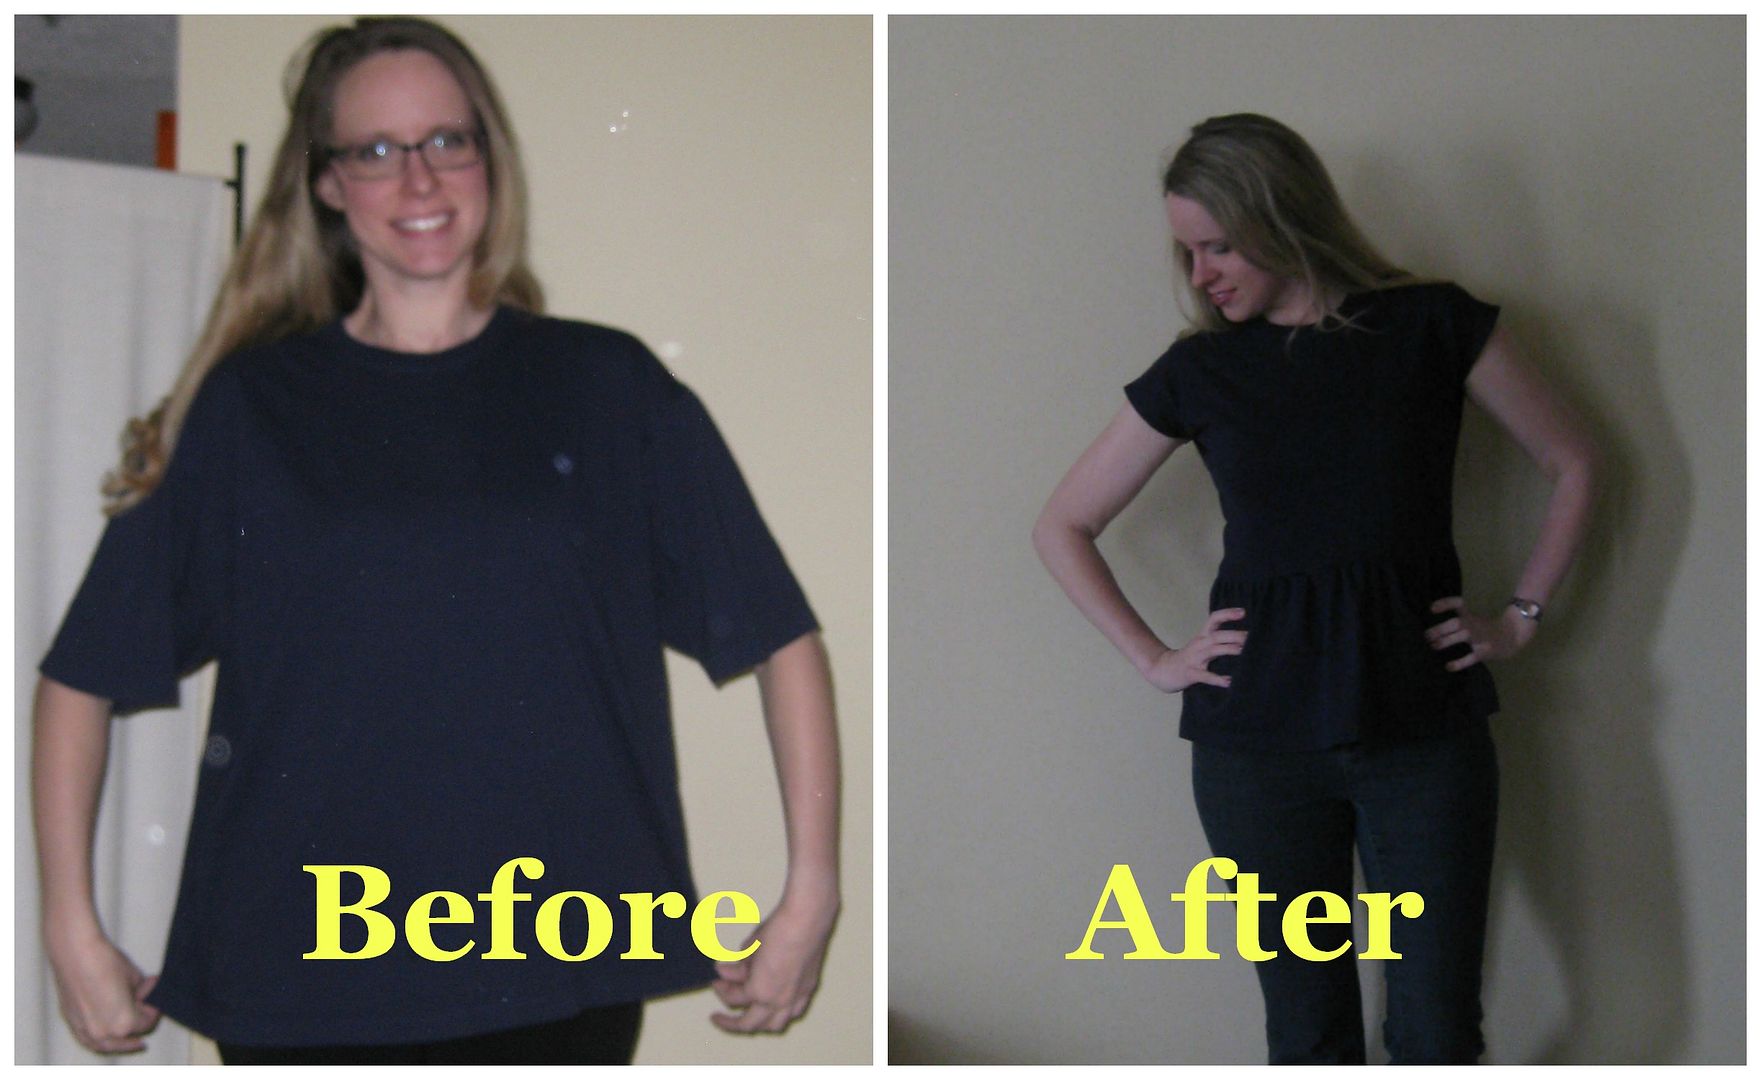
Men's Cotton Shirt to Peplum, refashion #33

Oooooh! #33! Yeah. A men's simple cotton t-shirt. Big.

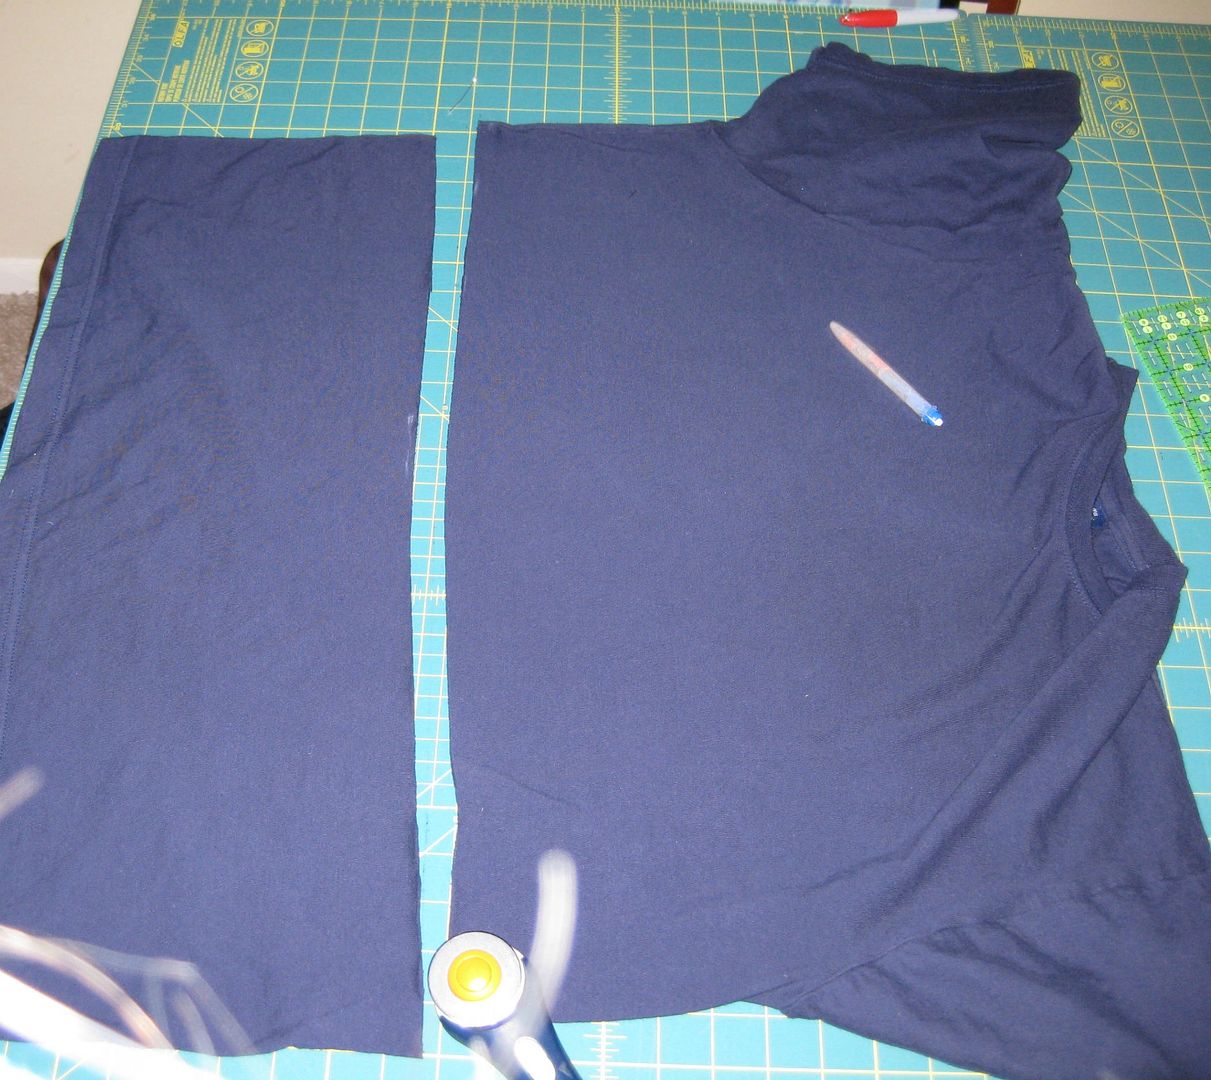
After seeing numerous cute tutorials online, I decided to turn into a peplum top. First I cut the shirt right around where my waist is....

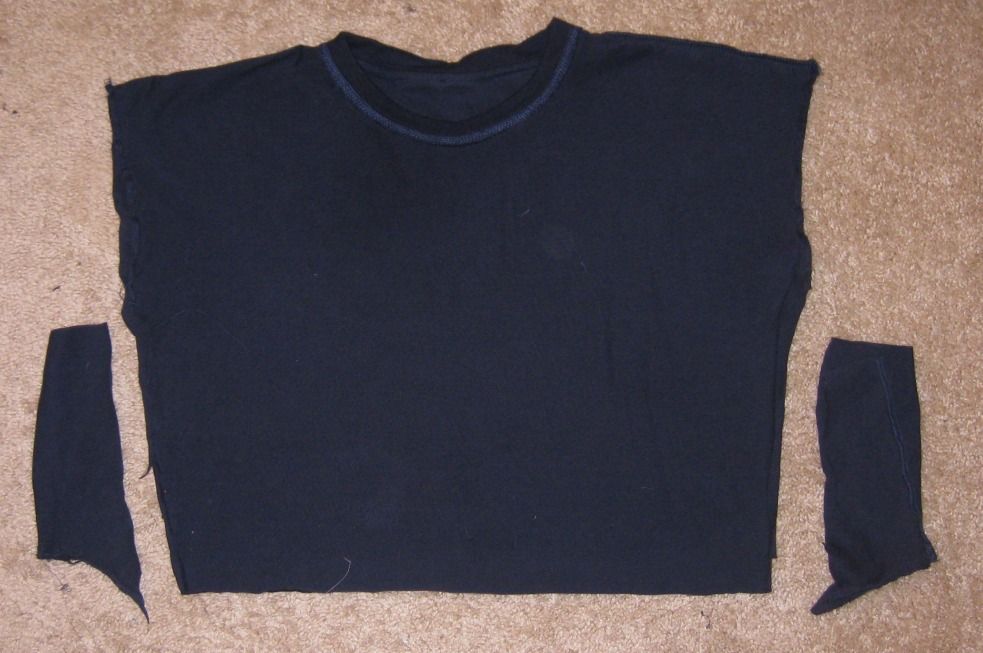
I removed the sleeves and took in the sides. Next I gathered the bottom part of shirt. Attached it to the top part.

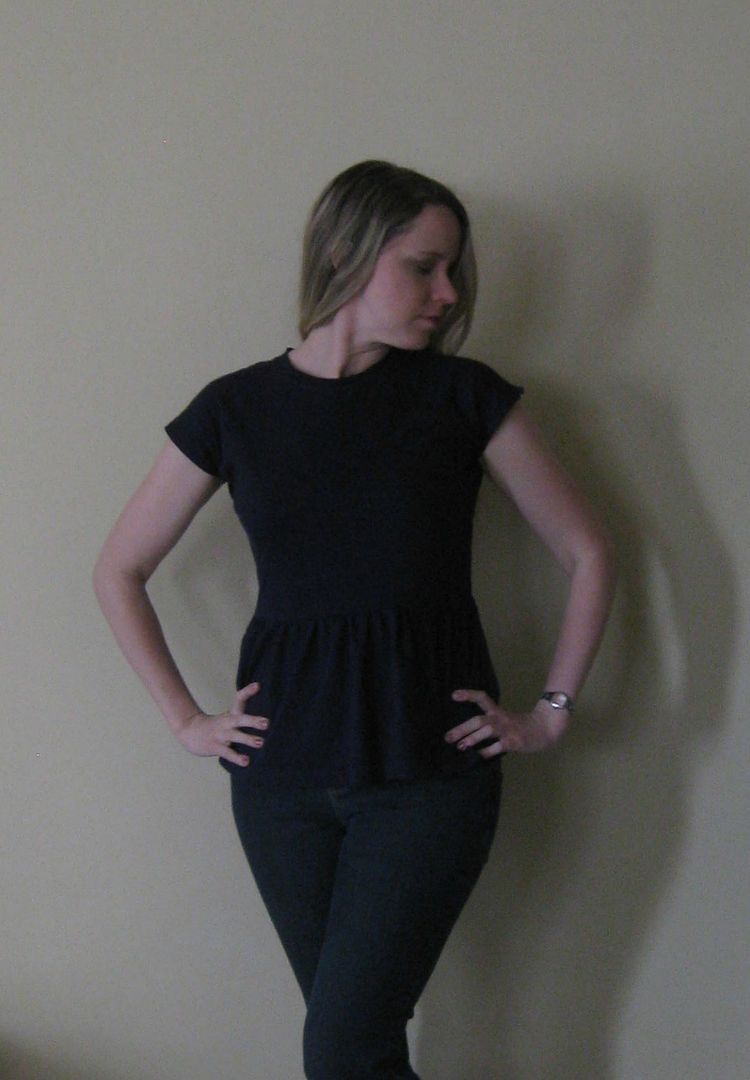
I decided to not add the sleeves back. Because the arm hole was so far-when I took it in, it gave a nice dropped shoulder.I just did a simple hem and I was done. I wound up having to take it in just a smidge in the waist on the final try on. Doesn't matter. I got this new fabulous (and soft) peplum shirt.


Here's the recap! Easy top!

Cheers,
Lauren
And I am a third done now officially. Yay!!

Monday, April 28, 2014

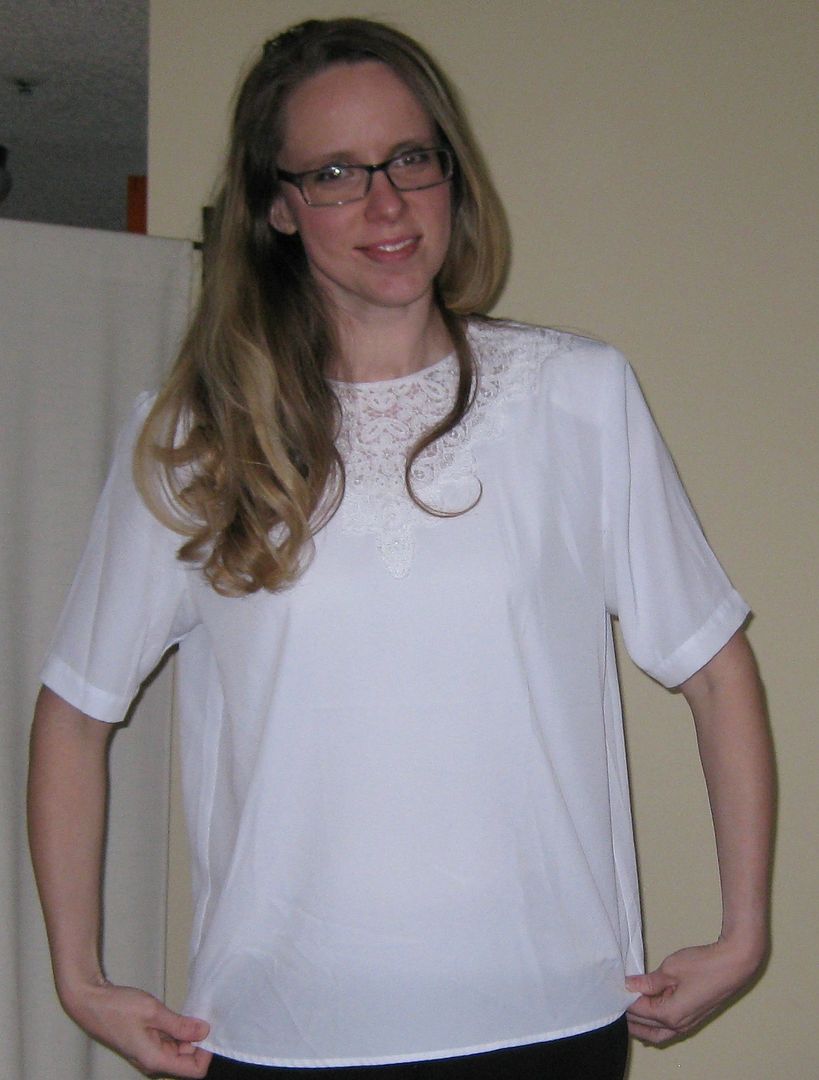
Lace shirt refashion, refashion #32

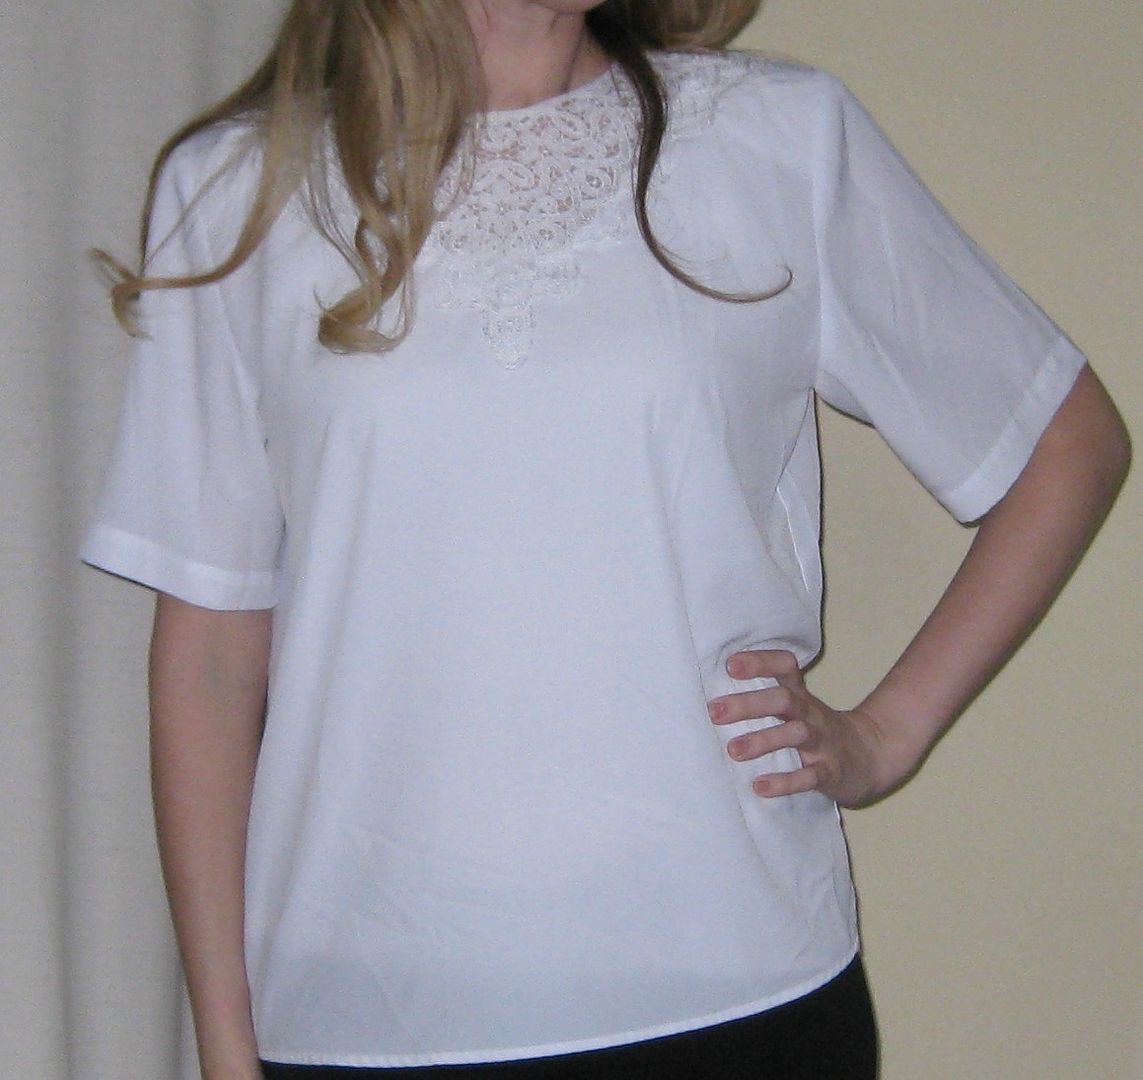
Alright next refashion was this what I called the old lady lace blouse. It just reminds me of something my grandmother might like. But for some reason I was drawn to it. And then I realized it was polyester.


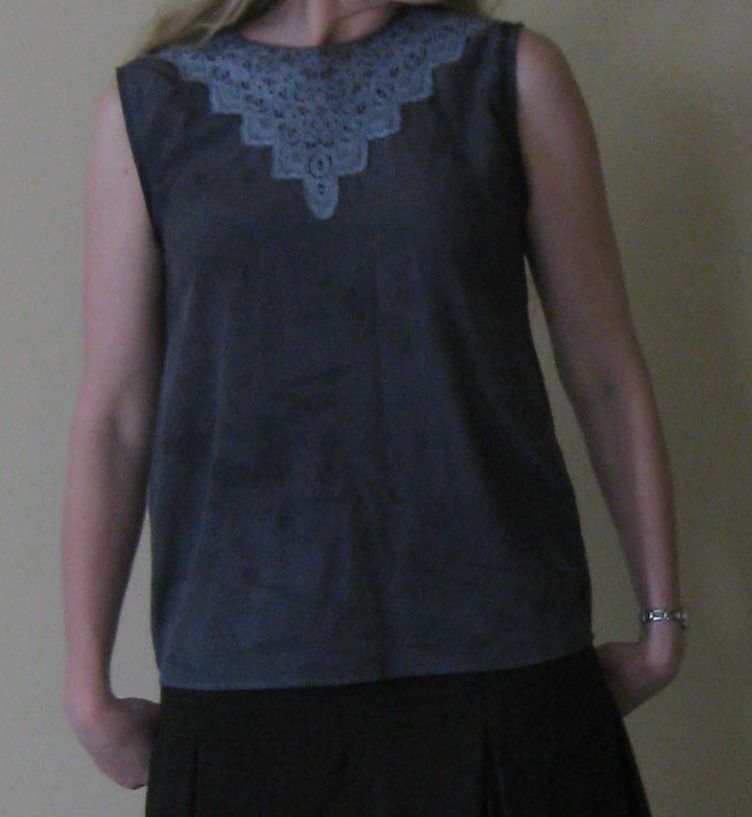
I really like the lace insert though. I pulled out the shoulder pads (really!!) and took off the sleeves.
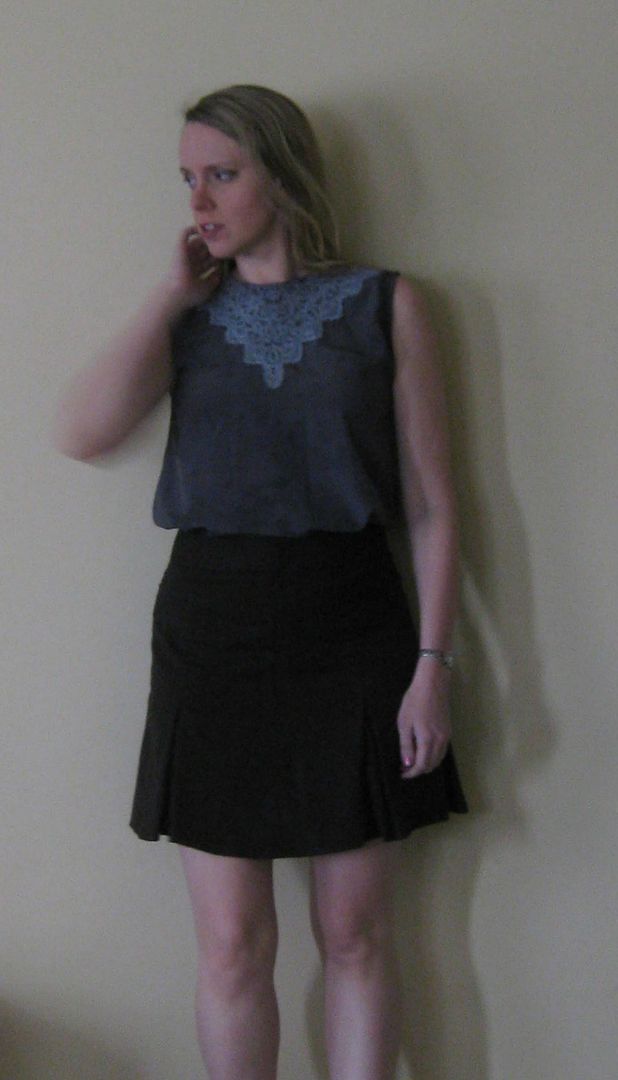
Now what I don't have any pictures of the next part. I dyed it using iDYE- black. It did not come out as I had planned. I haven't been having the best of luck with iDYE like I have in the past. I got a grey with a mixed color background. Which I actually didn't mind. And the lace was lighter than the rest of the blouse so it was a nice contrast. I took it in just a hair near the arm holes and finished with bias tape. New version of the blouse


Just so you can see the entire piece. 

This top will be good for work under a blazer so I am happy for something different. Here's the recap.
Cheers,
Lauren
Saturday, April 26, 2014

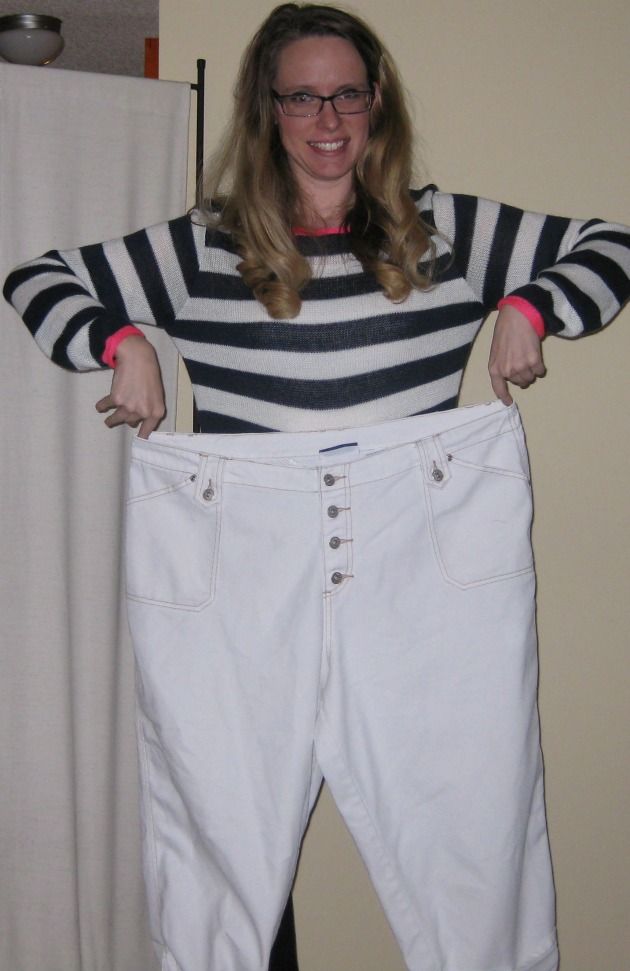
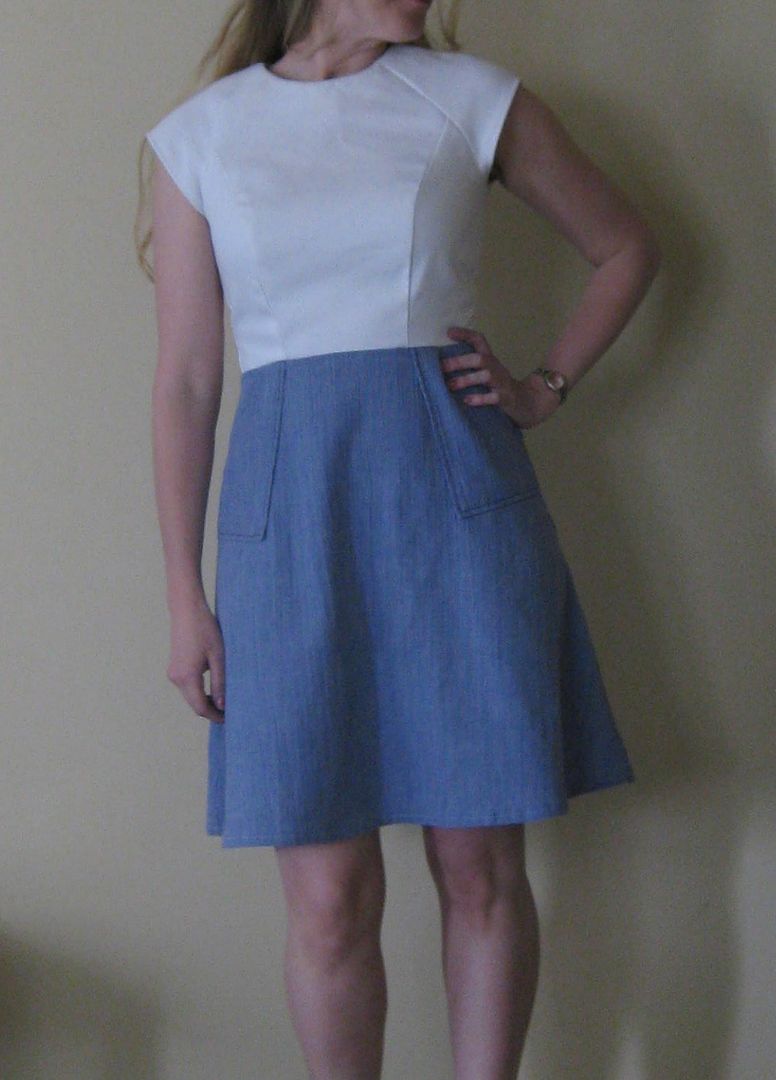
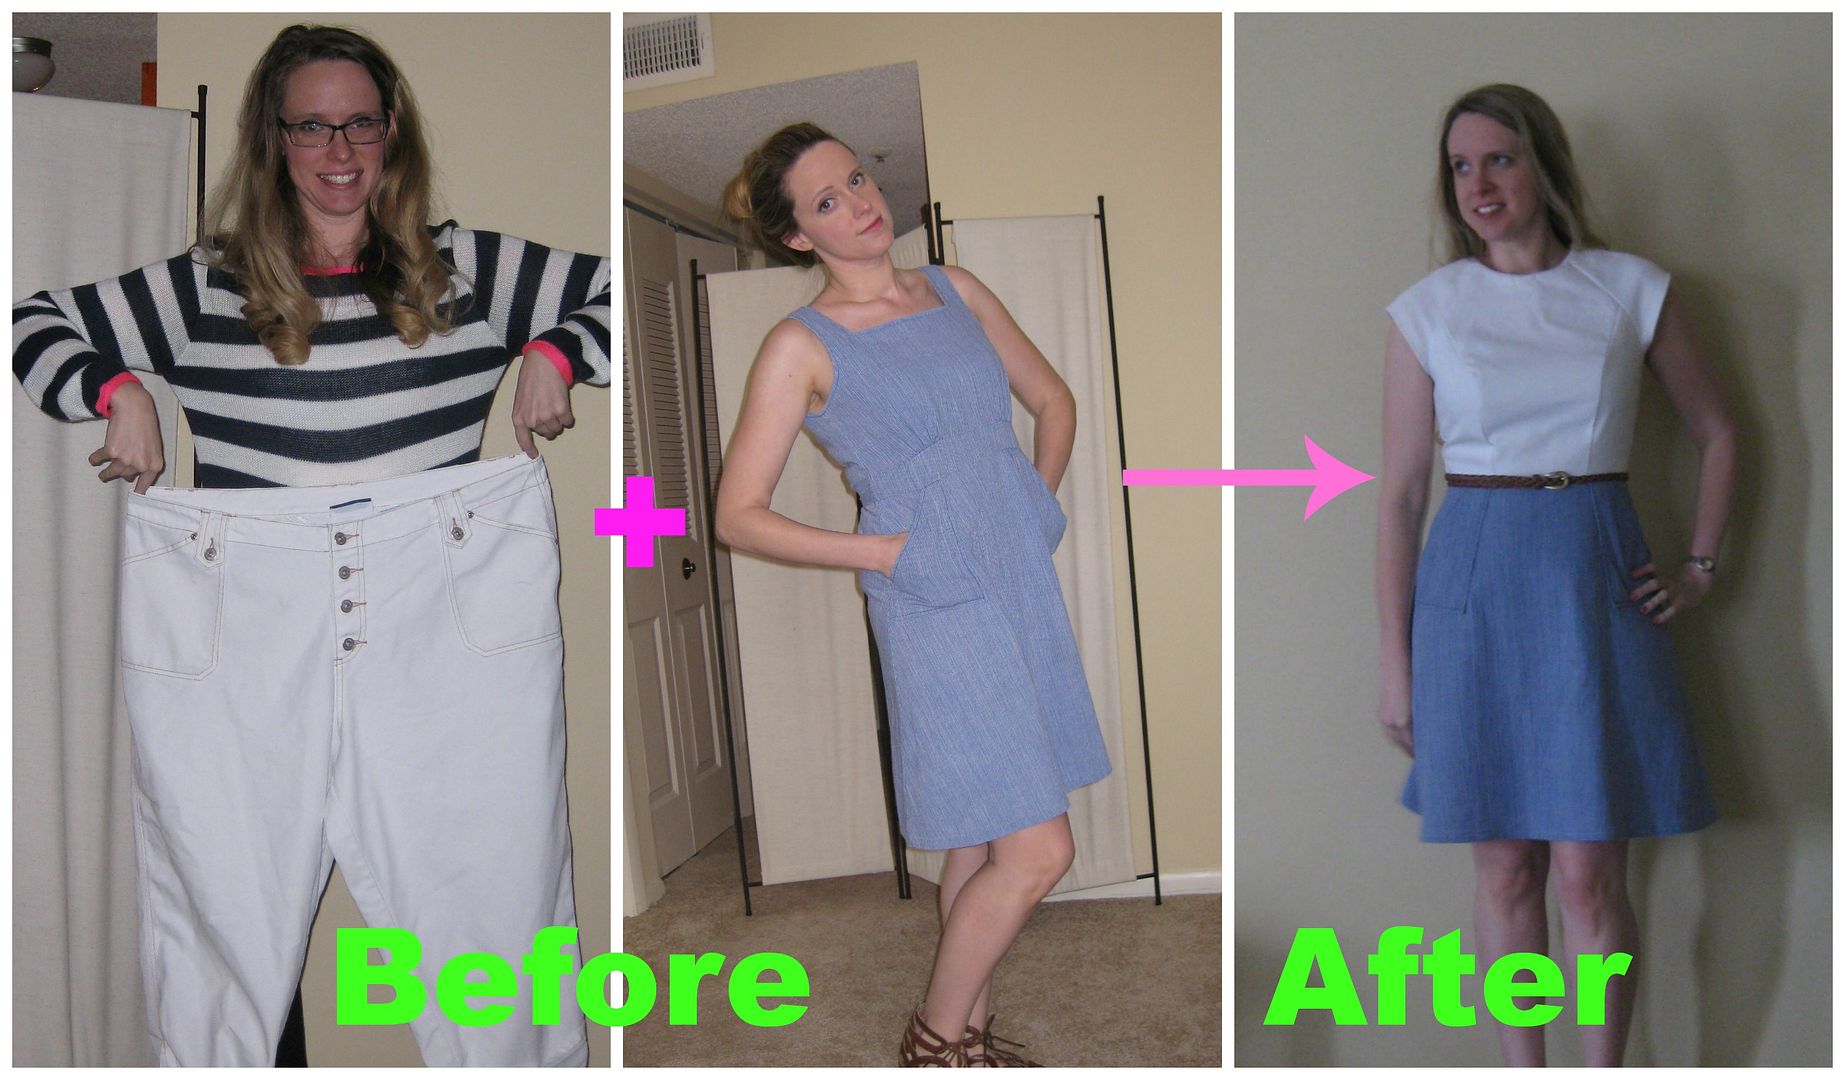
White Jean Sad Sack Dress #2, Refashion 31

So I found another sad sack! Not that I am super proud of that but it is pretty sad...


And the back of buttons was not going to work. I mean how am I going to put this dress on when I am by myself. What if something shows? This was not going to work for anything. Plus the bodice was just MEH..

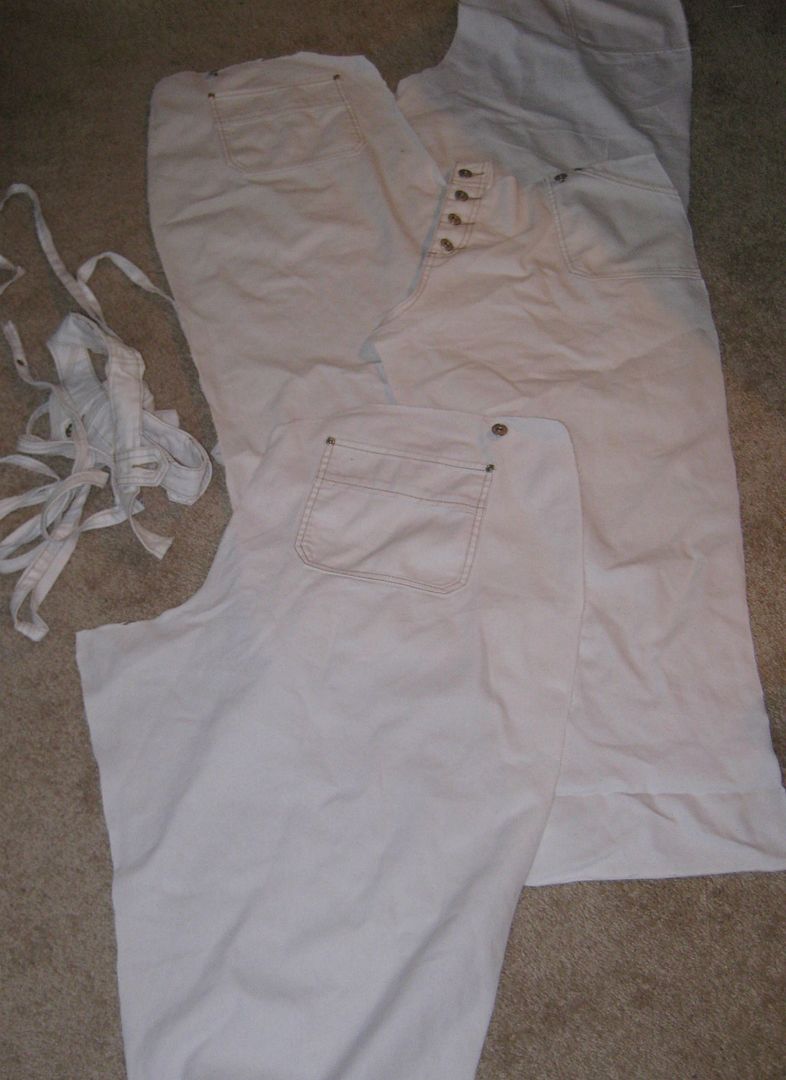
Now big white jeans, I wanted to combine the 2!

Yeah these are huge!

To undo the seams, this was solely a job for scissors. Just cut everything away.

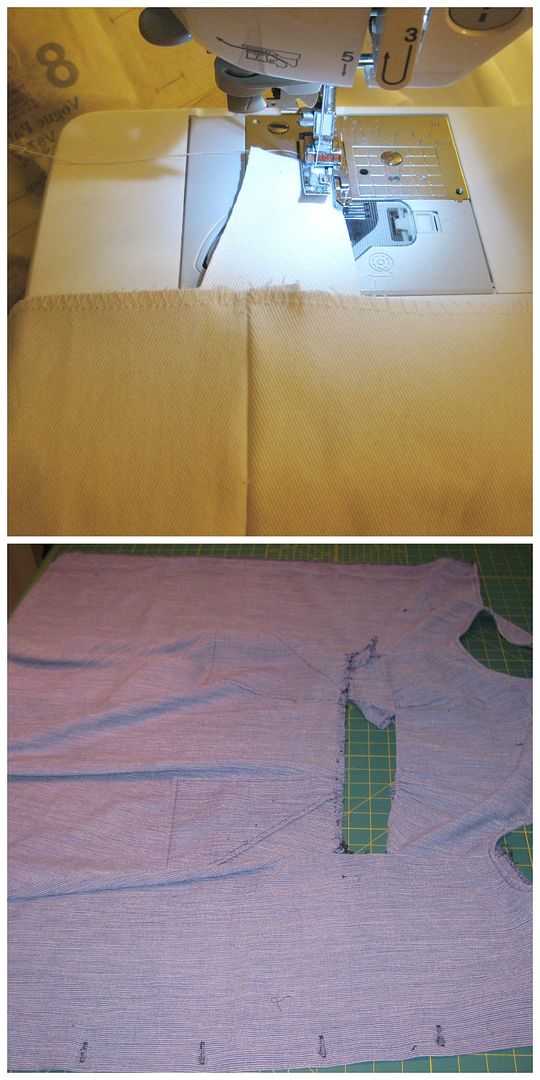
I decided to use this pattern. My initial thought was the peplum top but instead I made my version of the dress. 
 I used the top with no collar with the white denim. Also I had fun with my overcast foot on my sewing machine. I didn't have my serger at the time (long story).
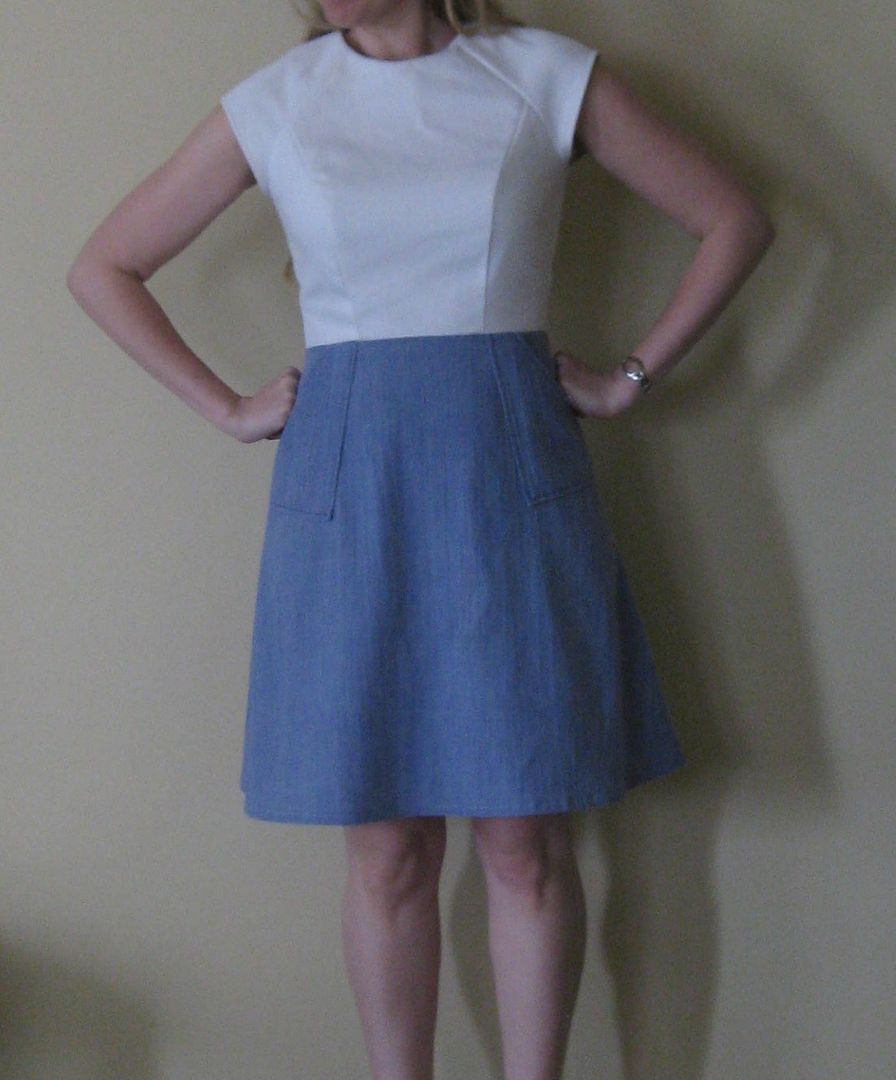
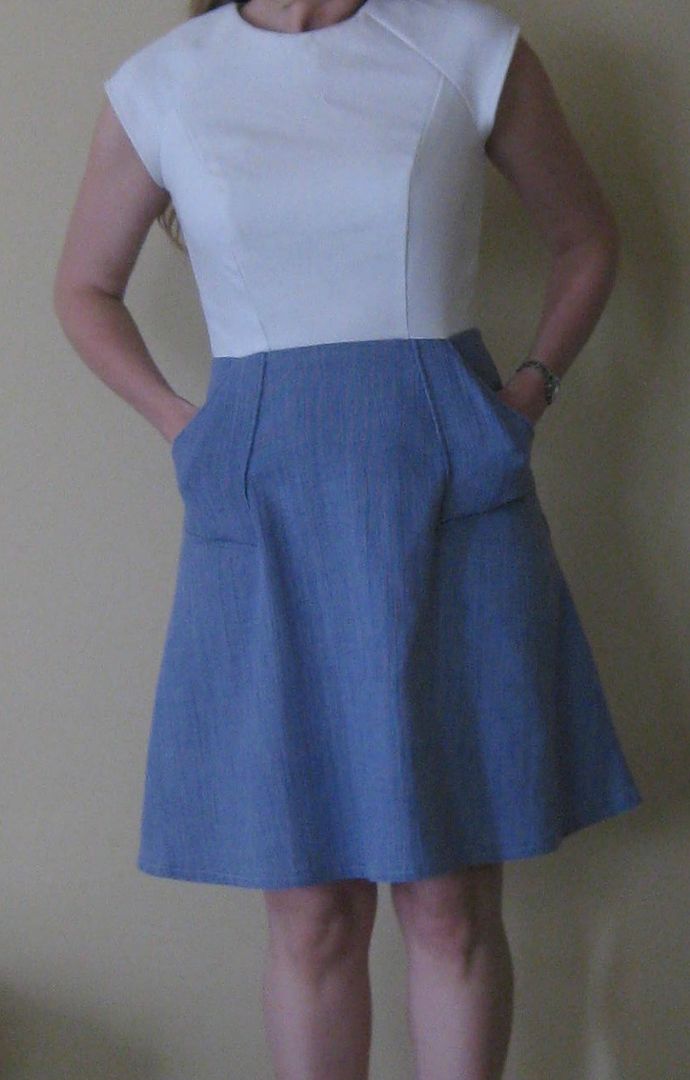
Instead of making the skirt to the pattern. I just cut off the bottom part of the dress. Removed the buttons and holes. and attach. I added an invisible zipper and I am done! I didn't even have to hem! Yeah :)


Best part I got to keep the pockets. Man I love pockets.

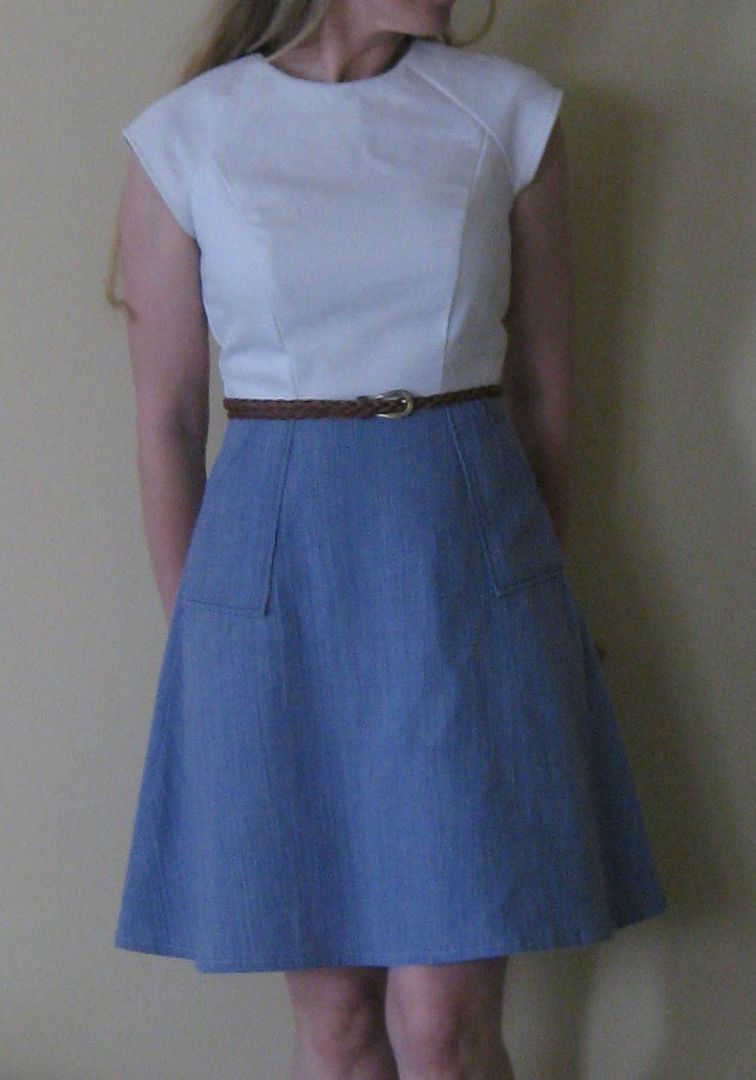
Trying out a belt...

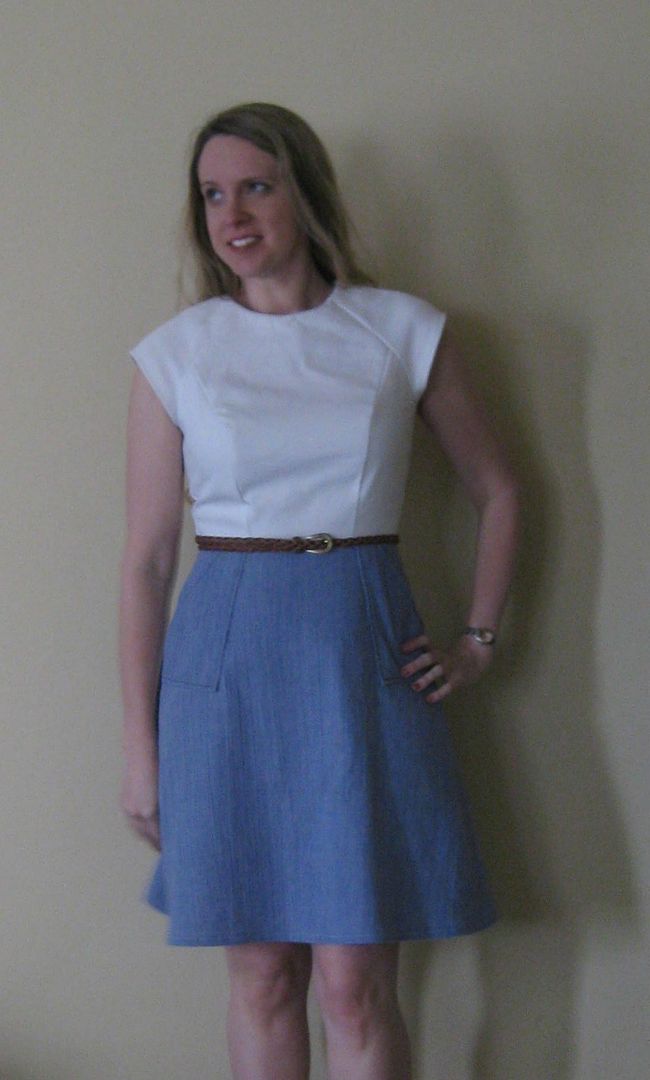
Love my new dress! 

Recap! 

Cheers,
Lauren
Friday, April 25, 2014

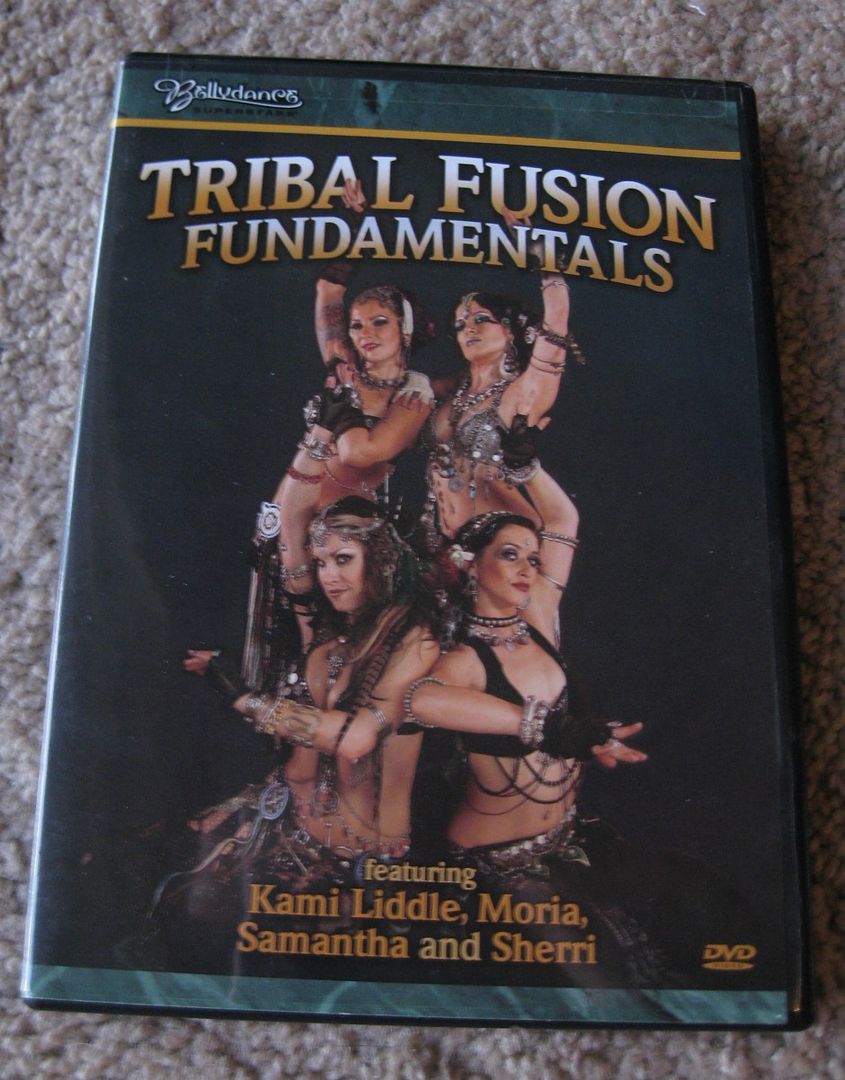
Bellydance DVD review: Tribal Fusion Fundamentals

Wahoo I have another DVD I completed. It is from the Bellydance Superstars, featuring 4 dancers: Kami Liddle, Moria, Samantha, and Sherri. Each dancer has their own section followed by their individual performance. All sections are voice-overed by the dancer, which I am sure all of you know I loathe.


Kami: Locks of all sorts.
The combos can be a bit of a brain tease. My only comment on this (besides I really enjoyed it) was I wish there was a voice over for the combo part b/c I totally forgot the moves, I could drill the combos- meaning she did them more than 1x. I really wish at least we could have gone through it more than once.

Moria: Conditioning/layering
Holy Moly Batman this section is crazy intense. Its almost like cardio yoga. Fast. Not for faint of heart nor beginners. There are no modifications for those who are beginners, so you need to know your stuff and when to hold back. Lots of squats and lunges. I felt my dinner which I ate over an hour before I started. Then the torture wasn't done and we were on the floor in an open leg position, doing hip glute shimmies with stomach and chest layering. Then not done. Repeat standing up, which actually I could get through. She did say this was her routine for a quick way to get strong fast. Man if I did this every day, yeah I'd be solid!

Samantha: Zils. She had a basic intro, different zil combos. And then moves to accent the combos. I actually liked the change in pace b/c I was still hurting from Moria's section. But I did get a little bored. I will say her performance ziling to Beats Antique was impressive, changing rhythms constantly.

Sherri: Floorwork and transition
Ack! More squats! Curse you! LOL. She did get some drills for building up your thighs and then items for your lay backs. There was a small combo but there was no drilling of it, that was weird. Not as intense as I thought it was going to be. I did LOVE her striped pants.

So my favorite was Moria and Sherri. I want to keep the DVD just for those sections b/c if I could master them- I will be really strong fast. I did enjoy the makeup and wardrobe sections which they had as extras. And a bonus if I can get some of Kami's locks.

It is a KEEP verdict. I would recommend for Intermediate or Advance dancers.

Cheers,
Lauren
Wednesday, April 23, 2014

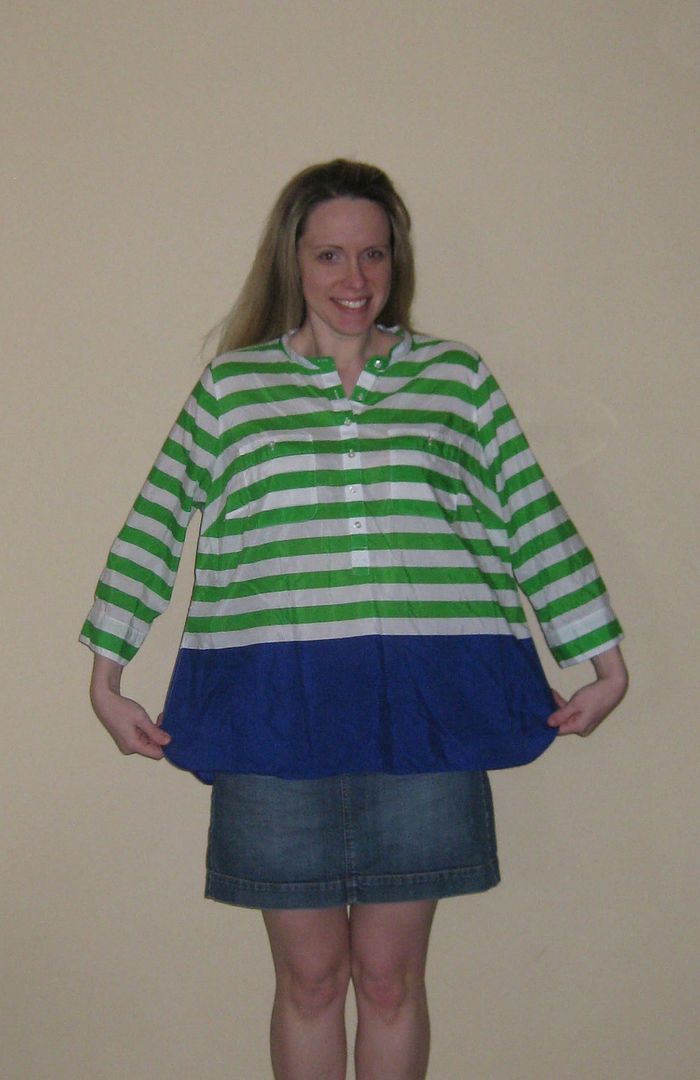
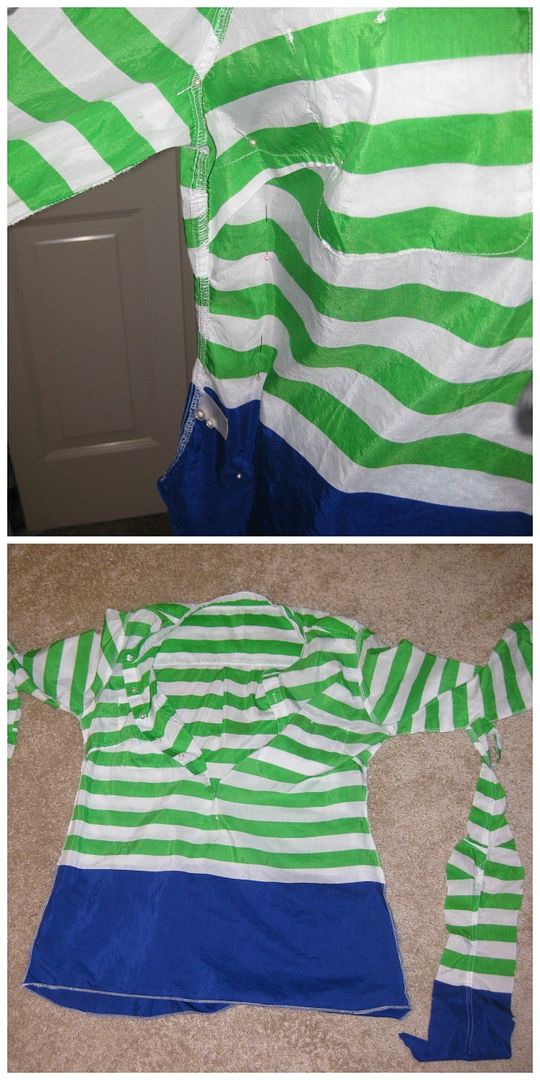
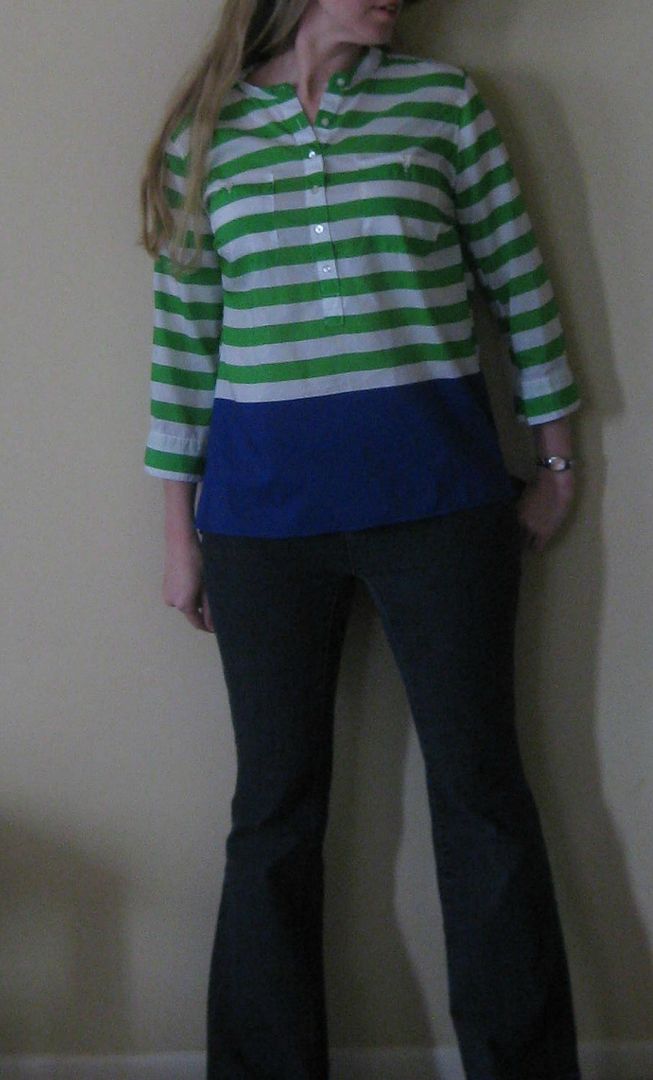
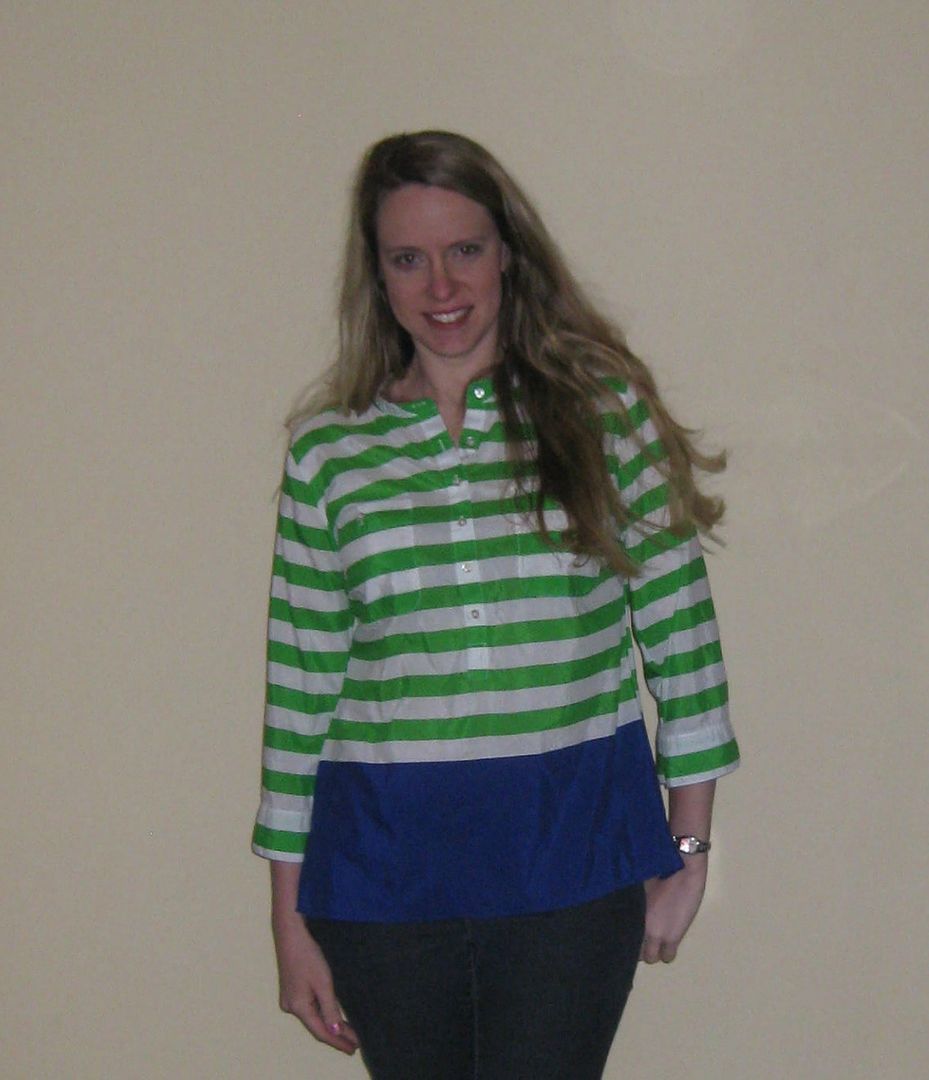
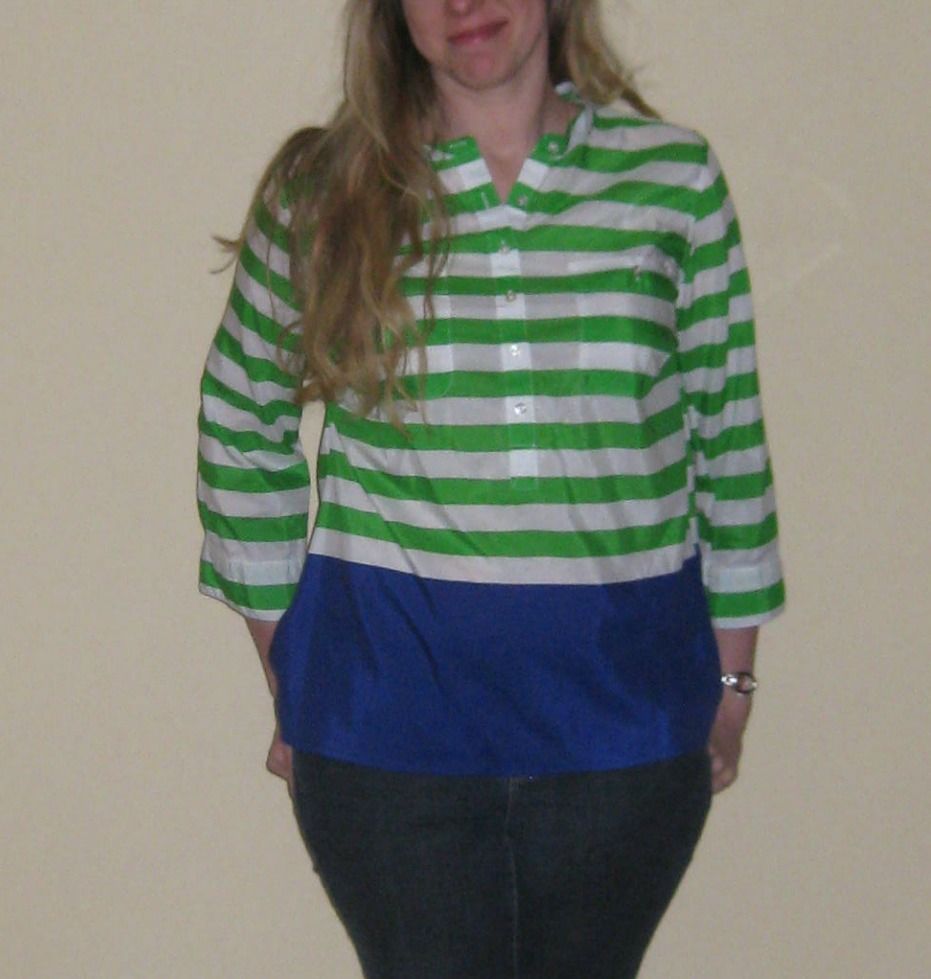
Quick striped shirt refashion, refashion #30

This top was brand new when I thrifted it at the store. But it was a 2X
I thought it was cute and longer shirts are needed for the upcoming startup with lifting and moving things. I really liked the colors.

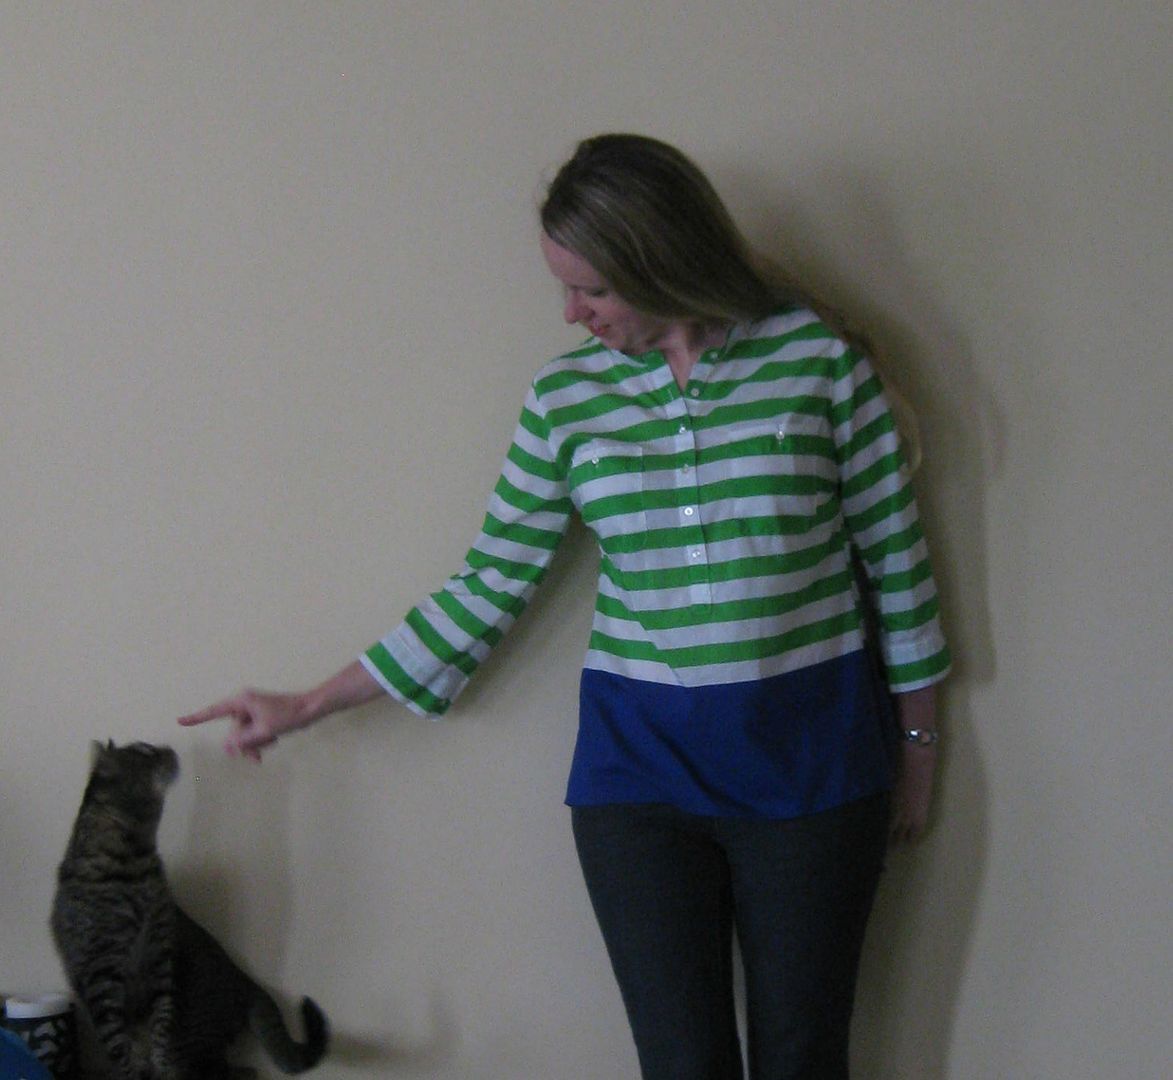
Simply all I did was take it in along the sleeves and down the sides. I finished it with my serger (which I now have- that's another story!). Then I needed to finish the bottom hem. I serged off the old hem and then created a new one. Done!


And because pictures are not complete with out a cat bomb, here you go!

Here is the comparison shot. Pretty fast and easy. :) 30 refashions done! Yeah!! Almost a 1/3!
Cheers,
Lauren

LinkWithin

Related Posts Plugin for WordPress, Blogger...