Well hi welcome to my little blog. Just my little corner of craftiness, sewing, and refashioning. I am also a newly gluten free eater so you have a little bit of recipes mixed in here.
Showing posts with label baby shower gift. Show all posts

Monday, February 24, 2014

Iron craft: baby shoes, refashion #14

So remember that red wool coat I just refashioned? Come on.... I just refashioned it!

So I had leftover wool. I washed it and cleaned it up. It didn't really felt. But all good.

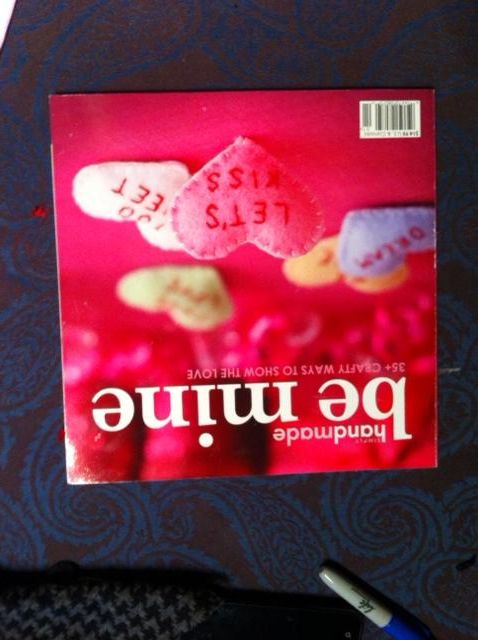
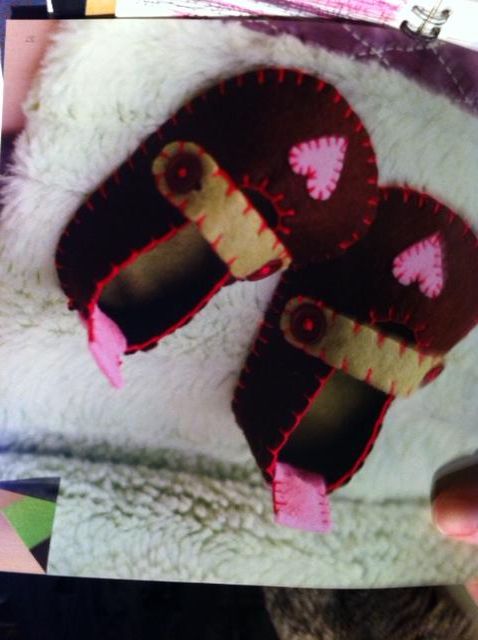
The next Iron Craft challenge was hearts and flowers. We could do something with either of the two. I wanted to do a refashion to keep attacking my 99 refashion challenge. I was looking through this book the other night and then I cam across these baby shoes.


OMG they were just adorable. And I had everything on hand to do these shoes!

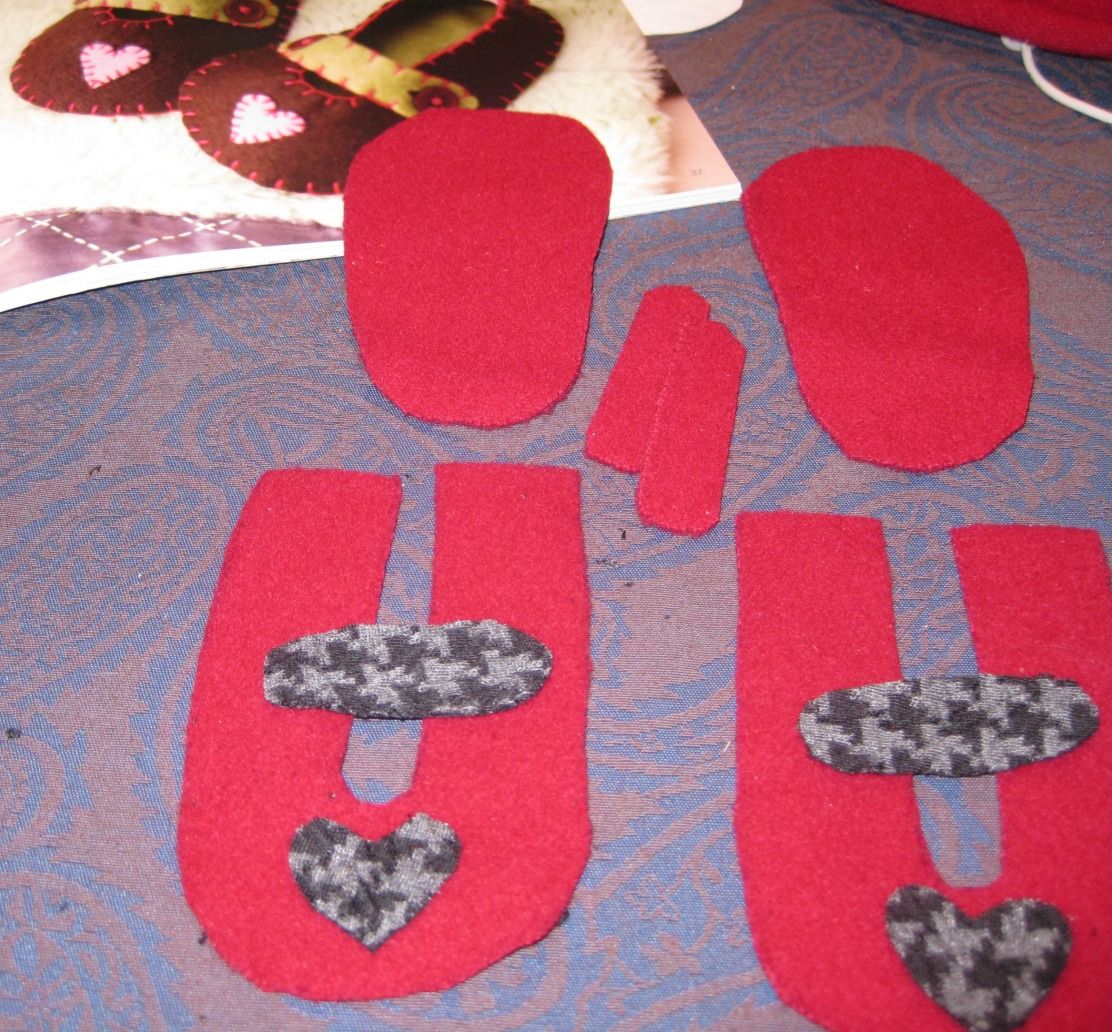
So I cut out my pieces from the pattern they provided.

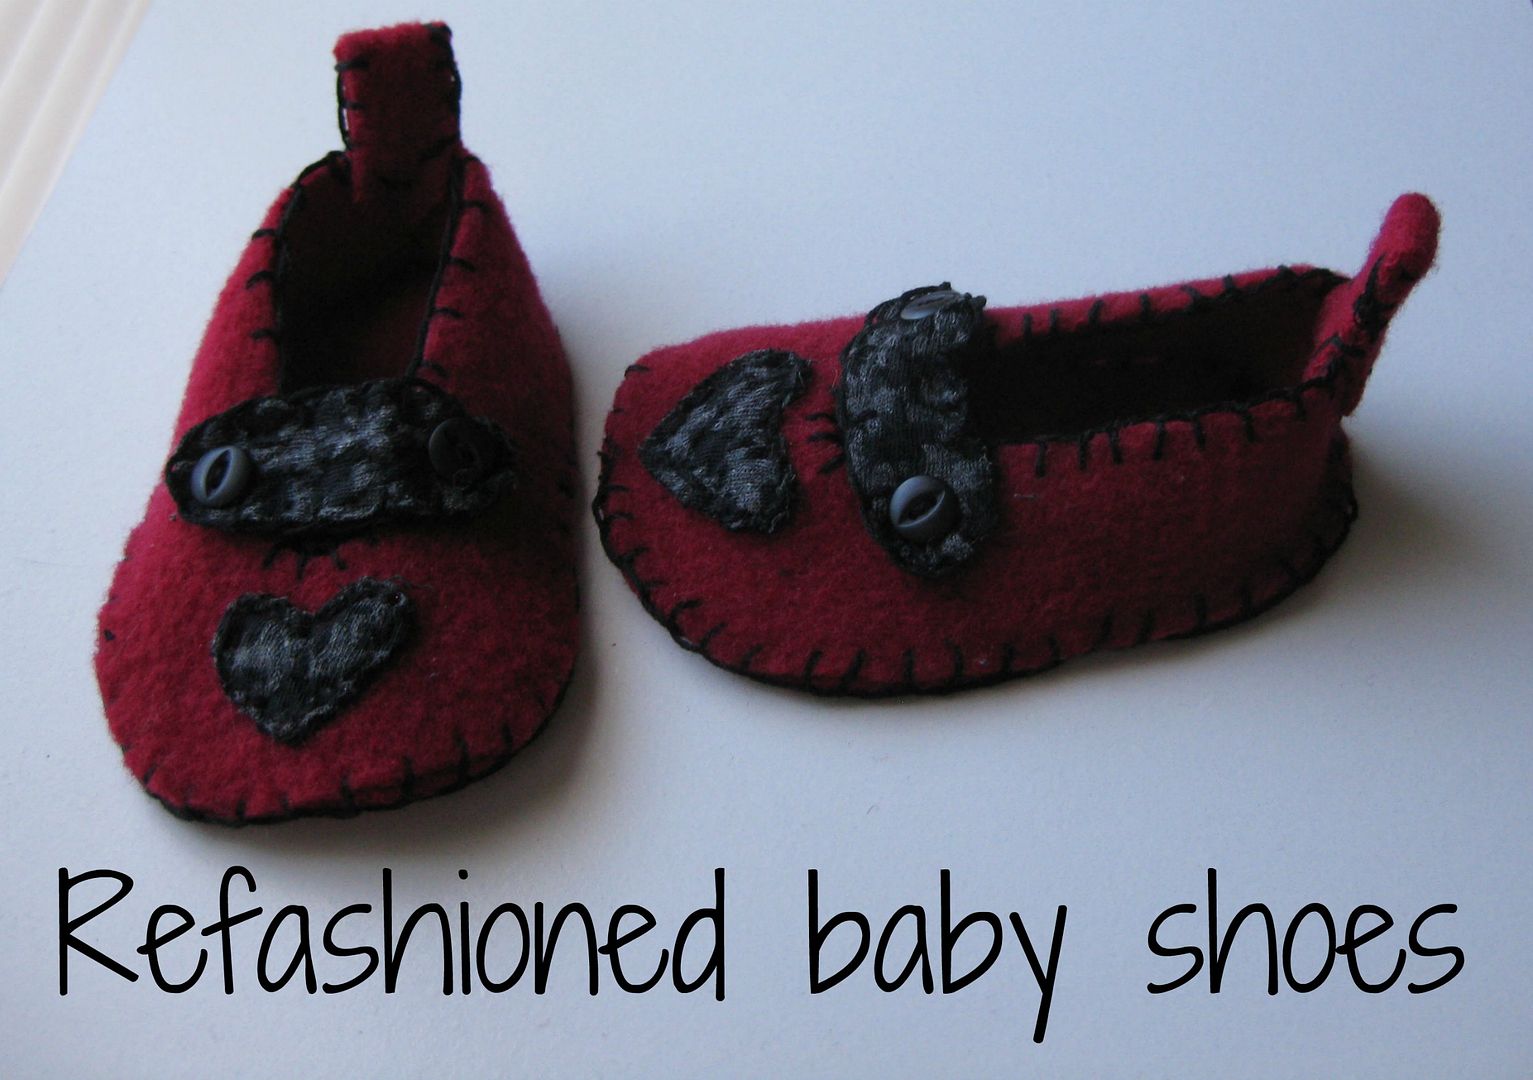
And googled how to blanket stitch, this site here made life really easy and clear. Grabbed some embroidery floss. Changed up the pattern using some scrap of my houndstooth fabric that literally was still on my table. And away I went to stitching.The directions were a bit wordy for me but I understood what I had to do- once I got the hang of it, it went fast! And hey I used up some of my floss! Made it my own. There was no way I wanted to add tiny button holes in wool. The houndstooth is a knit so it does stretch. Yeah! Done!!


OMG these are just too precious. I have more of the red wool leftover that I can probably make more.

Here's to using up things I have in my place! Yay! Hopefully I'll get more done in a few weeks and I'll post more!

Cheers,
Lauren

85 left to go!

Saturday, January 5, 2013

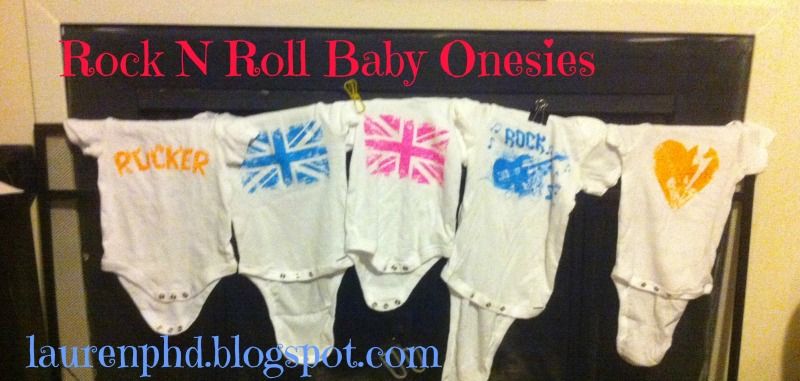
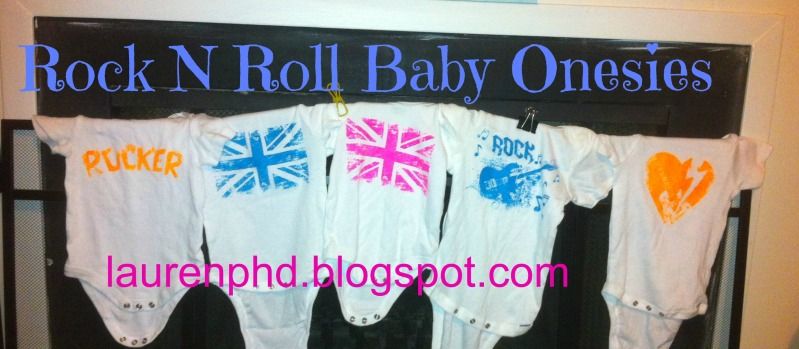
My Next Style Project Day 5: Rock N Roll Baby Onesies

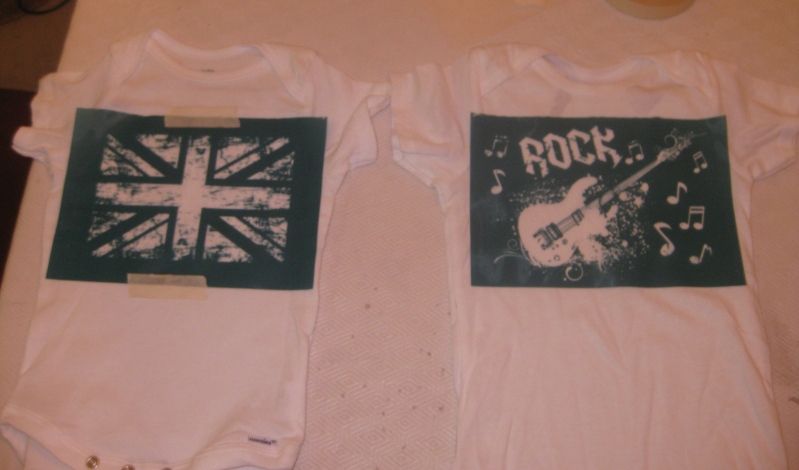
After having so much fun with the Zip Screens from My Next Style, I decided to try them out for babies. I loved some of these medium screens and I realized they would fit perfectly on a baby onesie. I have a lot of friends who were pregnant and I thought these would be great gifts!

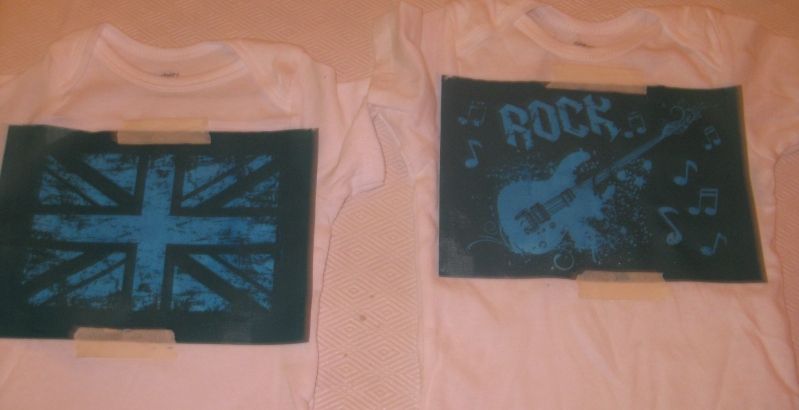
Again inserted a piece of cardboard inside each onesie (in a pinch the thicker paper that screens came in fit perfectly underneath and cover the area you are screening!) and secured the screens with tap. I tried the other colors I had- here is blue

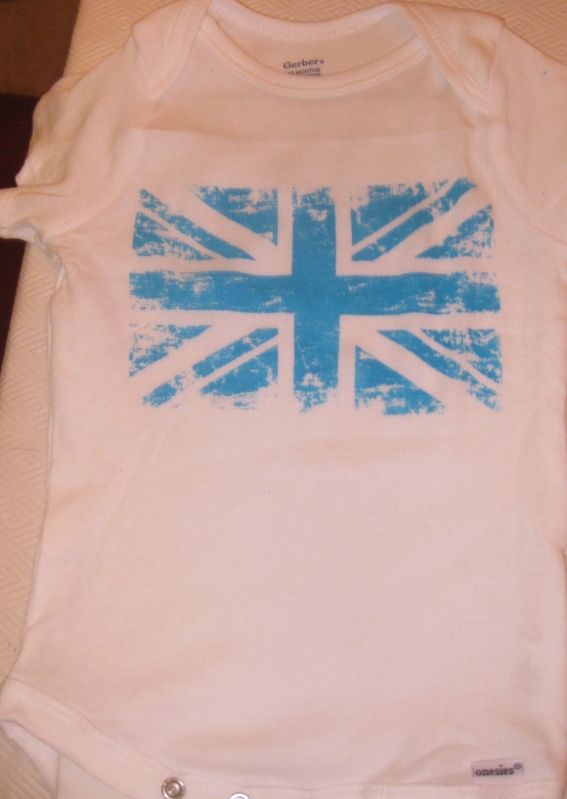
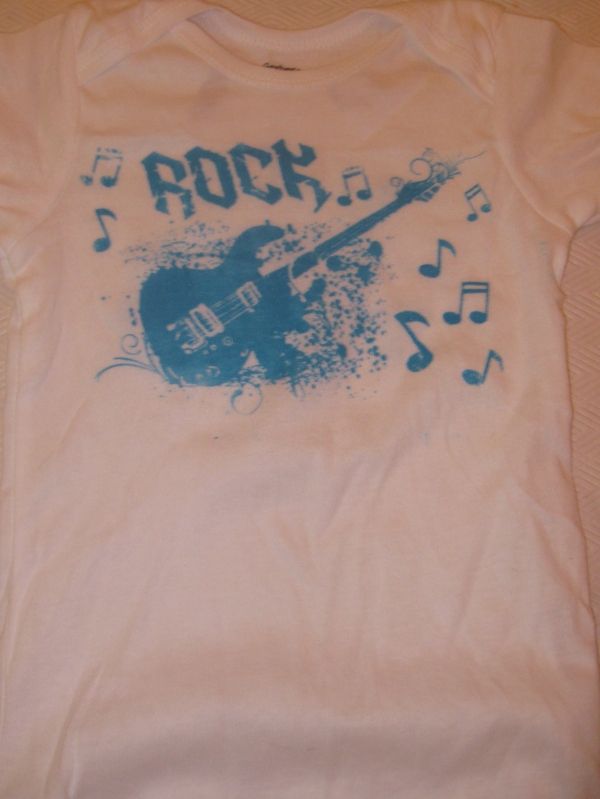
Here's the after pics...


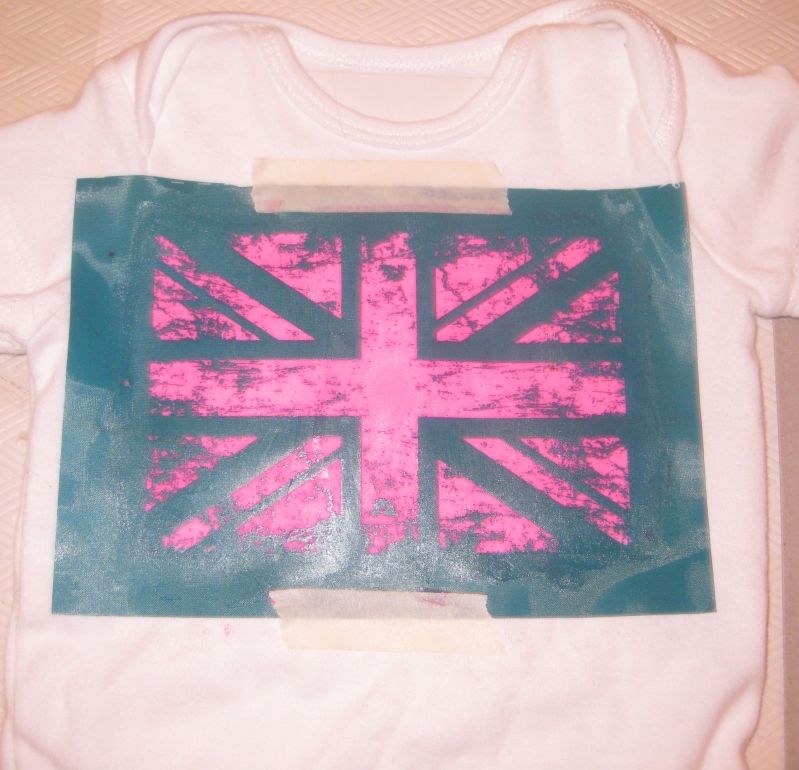
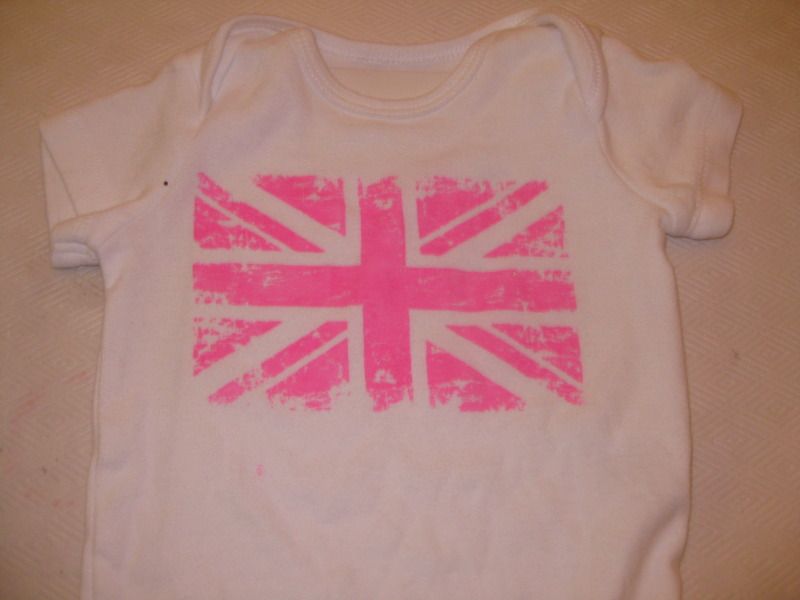
Now I wanted to make a girly Union Jack Onesie so I washed the screen (super easy) and tried it with pink.


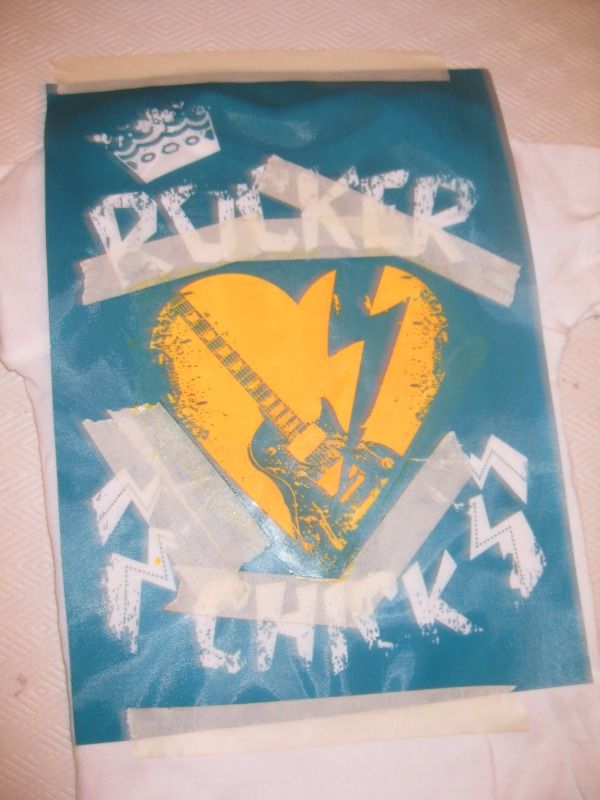
Now you don't have to use all of the screen if you don't want to, here I only did the heart. I blocked it with tape.

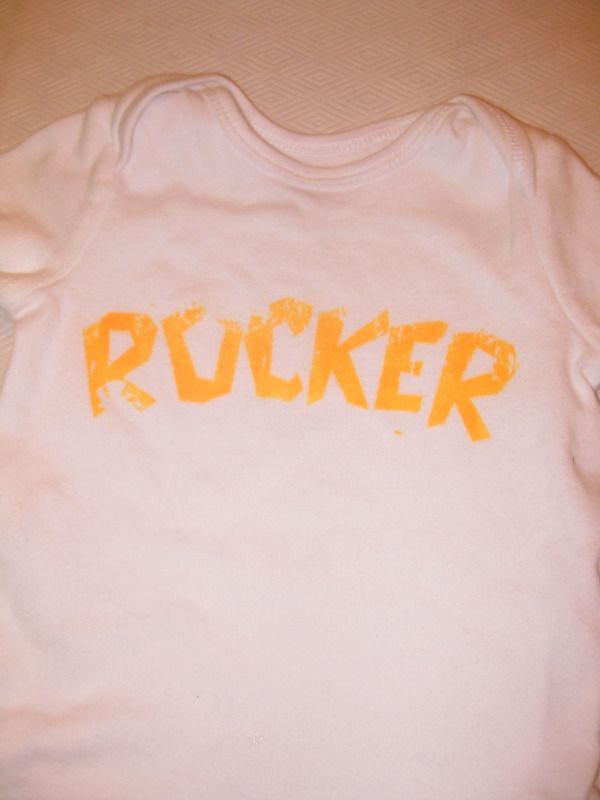
On another one I just did the Rocker portion of the screen

Here are the onesies!!! OMG they are way too cute! Perfect for every Rock N Roll Baby!


These were perfect baby gifts! Thanks again to Next Style for the awesome products, check them out on Facebook and also at fashionartprojects.com there are some other great ideas on their websites!

Tomorrow unfortunately will not be the lavendar tote bag with the bandana yo-yos. The pictures have not yet appeared and it is driving me crazy. I am so sorry but I will have the 4th of July Wreath! Yay!

xoxoxo,
Lauren

Tuesday, January 17, 2012

DIY Painted baby onesie

While I was playing around with iron-on transfers to baby onesies, I came across a iron-on that just needed something.


So I used my tulip fabric paint markers and filled in with colors.


The end product


Something simple and fun! :)

xoxoxo,
Lauren

Tuesday, December 6, 2011

Iron Craft 49- Kids, Another baby wrap

So I am actually early for this Iron Craft! Go me! I loved my baby bath towel/swaddler I made for Alicia and I had enough leftover yellow jersey to make another one. And so I did! I love vintage patterns! :)

This time I have a friend who is having a boy so I decided to make it more boy themed and I used an iron-on patch I found one day at Hobby lobby of a sail boat.


The final product.... The color did not come off evenly on the bottom of the sailboat but it isn't horrific!


Not bad. Here's to another fabric point! :)

XOXOXO,
Lauren

Tuesday, September 20, 2011

The heart bib that left me clueless

I am not a person who normally gets doubtful of what I want to do with a piece of clothing or accessory. I make up my mind pretty quickly and stick to it and usually I have decent judgement and a good eye. This one left me confused.

So I started out with a pale pink bib. Alicia said she loves pink and brown. I wanted to give her something she would really like. I added a brown heart with fusible webbing stuff. But then I got stuck. I mean I got stuck. I thought I would like it more but I found something was missing.

I thought about adding a trim but none of the bias tape I could find matched the brown heart. I thought about adding multiple hearts in various sizes. Again, I did not care for it. I thought about adding words. But nothing worked. I was flat out stuck.

But I had sewn the bib really nicely I could not just throw it away. Again I told myself it is a bib, it doesn't always have to be a work of art- it just needs to prevent food from getting on the baby. But I was still frustrated as can be!

I went to my trim stash and saw what I had. I realized I did not hate adding a brighter pink rick-rack trim to the edge. So I added that. And since I didn't hate the bib I just left it like that. Something simple. But it kind of reminded me of a ginger bread cookie for some reason. I think it was probably becuase of the rick-rack.


Again its not fancy, it is not a work of art, it is just simple. Something to catch baby food/spit. :)

XOXOXO
Lauren

Baby swaddler/bath towel

I made a baby swaddler/bath towel from some oh-so soft yellow jersey knit, again for Alicia and Dave's shower. Because seriously, I will never use yellow jersey material for anything I could ever wear!

I used a vintage Simplicity pattern, I was given by my co-worker Elaine.

Here is the end product. It was completely easy to make, the hardest part being the actual cutting of the material. The bias tape was easy and the duck iron on was from some craft store (I forget b/c I can spend hours in all craft and sewing stores).


I seriously want one for myself. But there is not enough fabric. I think I have just enough to make another one and just save it for a gift. It is just too cute and too soft!!!

XOXOXOXO,
Lauren

Itty Bitty Baby dress

I made this dress for the baby shower again and I have to say I absolutely love it!

I used some pretty flowered knit fabric and trimmed it with a light pink bias tape. I have yet to master piping yet so I ommitted it when I was sewing. :)
I got the pattern from the Made-by-Rae blog found here

Thank you for making this pattern. I want to make like a ton of them b/c I think they are so precious. I have saved this pattern and will make it for when I have a little girl. And it was even easy to sew! Double plus!

XOXOXO,
Lauren

Tuesday, September 6, 2011

Garden Bloom Bib- Iron Craft 36

This week the Iron Craft Challenge was Creative Activities. This was based on every year the State Fair in Minnesota has a Creative Activities Competition. OMG I swear everything is included, the categories will blow you away. Basically sewing, paitning, crochet, seed art, scarecrows, baking, quilting, creative collections, etc, etc, etc. Wow I really had my choice of what I wanted to do. I of course chose a sewing category b/c next weekend is a friend's baby shower and I really needed to work on making some gifts. I spent this wet Tropical Storm Lee weekend sewing for the baby shower (and also for myself! posts will begin to trickle in as the week goes on...).

First of all, let me state I am done early. It is tuesday night and I have everything ready. It is a miracle. But I just finished some other bibs and I am winding down for the night.

I call this my garden bloom bib. First I started out with some green and yellow striped fabric I used to make my bib base. Then I tried out one of my embroidery stitches on my sewing machine. I made 3 varying height "stems" with that fancy stitch. Additionally, I added tear away stabilizer to the back of the bib so the stitches would not look weird. I have learned this!


Next I made 3 fabric yo-yo's using my flower yo-yo maker from Clover. I love these yo-yo makers. No ironing is involved and the holes where I need to sew are marked. It is seriously brainless. Makes me happy after a long day in the lab. I used 3 different colors b/c I couldn't make up my mind. :) I secured them to the bib after I had added the backing and turned it through. I made sure to super anchor it! Here is a close up of one of the flowers. I still need some work to perfecting my technique. I'd say the flowers are the hardest (I've also tried circles and hearts).


The bib as a whole...


I really like the design of this with the yo-yos. I may play around with this theme more. Maybe make more of a bouquet of flowers? Oooooh. HMMM. Now I want more yo-yo makers!!! I just saw they have butterflies (hello cute kid gifts!) and shamrocks (hello cute st patty's day costume!). I am going to make a list for my bday it is at the end of November. Along with my ruffler foot.

Ok I am blabbing. Here is to finishing early! yes!!!

XOXOXO,
Lauren

Monday, July 18, 2011

Girl Baby Bibs

Here is the last of the gifts I made for Liz's baby shower. I was a busy bee. More baby bibs coming right up. I decided to contain myself with being super flashy and blingy. I wanted to go more with a baby girl feel. Here is what I made.

Watermelon bib- made with some watermelon color fabric, added "seeds" using a decorative stitch on my new sewing machine and edge with dark green bias tape.


Purple and yellow vintage flower bibs- I just thought the color combos and style had this retro sort of feel and went with it. Although, I am not a fan of bibs that tie with ribbon, the pattern did not allow for anything else. Unless you wanted a bib for a foot or hand. ;) I swear it is a dark purple and not blue. I could not figure out how to adjust the settings on my camera to get it to work.


And finally flowered bib with a monogram. I used the same fabric from the previous set of outfits I made. I used fabric paint pens but I was not a fan on how they came out. But hey it is about to get baby food on it so it won't last long.


I had another bib but completely messed up Lylah and could not save the bib. :( And I even wrote it out to make sure I did not mispell it but wound up mispelling it anyways! :( FAIL!

So yes, I made Liz a ton of gifts! I had to contain myself b/c I wanted to do more but just couldn't. Not enough time! :)

Can't wait to meet you Lylah when you arrive! :) And that is the end of my baby shower posts for a while! Back to sewing and refashioning for me!

XOXOXO,
Lauren

Saturday, July 16, 2011

Bali Bliss

Another Gift for Liz here we come! I am trying another pattern from Grosgrain Fabulous's free pattern month called Bali Bliss. It comes from Sewing In No Man's Land a wondeful blog on how far and how much could she make with 15 yards of fabric.

First I choose a different cutesy flowered pattern for Lylah and opted to make this pattern. I downloaded the pattern from her website. I will say I was a bit confused at first on how to put the pieces together. Not all matched up properly. I do not know if it was because my printer printed it wrong or conversion problems when they were transferred.

Here is me cutting out some of the pieces.

Here is Natasha watching me cut the fabric. She behaved this time! I can't believe how big she is getting!

Also I also realized that if you are doing a print or any sort of fabric you can not use either side without it showing you HAVE to flip the Front Right Main Panel part of the pattern or else you will not get very far in the beginning. I thought I had a picture of it but I don't. I also realized you may need to change up the bottom b/c they are different lengths.

Ok another problem I stumbled into was the part where you have to gather the top part of the top and connect it to a piece. The piece that was labeled this was too big

I thought mabye the "fold" label was wrong so I tried another side

It definitely helped.

Now I have something to gather! I went through the rest of the pattern flawlessly. But I did have to cut some of the bottom off one of the top sections. I forget which one. And.... DON'T FORGET TO HEM THE TOP UNLESS YOU ADD LACE!

For the pants part I did find it challenging to make my way in attaching the wide middle section since I have never done anything like that before. No pictures here. I did have to alter the pattern too but that was pretty easy. I'm pretty sure the middle part was a bit too short. Sorry I don't know what happened to the rest of these pictures! I also made my own casing for the elastic. I made up a number for a elastic length so I would like to apologize now Lylah when you are able to fit in it-if it doesn't fit. basically just cut everything to match the pictures on the website. :)

But here is the final product. I opted for no lace. I had struggled with this pattern but I was so happy when it was done.

Again my disclaimer to Liz, I hope the elastic fit b/c I am clueless! I don't have kids!

xoxoxo,
Lauren :)

Vintage Baby Outfit

Next, I tried my hand at a vintage McCall's baby pattern that was given to me by my worker. It looked relatively easy.


I will say patterns have come a long way from the '70s-'80s. I had no idea where to put the back part of the top. Everything else was marked except for that item. I just kind of guessed. No idea if it will work or not. LOL! Also what was funny is the pattern came in 1 size- you had to purchase the medium or large versions (but same instructions) which I found interesting.

End product.

Hope Liz likes it! :)

xoxoxo,
Lauren

Monday, March 21, 2011

Covered Diaper Cake

Recently, some good friend's of ours were going to have a baby shower for the upcoming baby Beck. Being the craftster I am I decided I wanted to make something for their wedding shower. I decided to go with a diaper cake. Now I know there are a gizillion diaper cake tutorials out there but I have kind of pulled from a variety of them, AND in my tutorial I actually cover it with tissue paper (you'll see why later!).

Items Needed
1- pack of diapers (I used sized 3 and there were 96 in the package)
2- Rubber bands (both small and gigantic)
3- White tissue paper (or another color if you like!) I used about 8-10 pieces. Can't remember the number exactly. For the larger tier, I had to use about 4 to cover it all the way around.
4- Tray to set it on (I tried the pizza pan trick and it was too small, plus it curved up and I hated that!!)

First roll all your diapers. I started with the top part of the diaper and rolled down towards the bottom. Secure with the rubber band in the middle of the diaper. Do not OPEN THE DIAPER UP! Try to keep them fresh so at least they will be usable.


Roll until your heart is content (and at least the majority of the diapers are rolled!).

Start assembling bottom tier- the biggest tier of them all. I knew with 96 diapers I was only going to get away with 3 tiers. Plus 4 is really high!

I first started with using a baby bottle for my center and put a row of diapers around it. I secured it with a gigantic rubber band.


Top View...


Add another row of diapers. To make it easier on yourself I just used the rubber band and pulled it out and popped a diaper in, then rearrange to fit.


Still needed Another row of diapers but my rubber band was not big enough. I used a piece of ribbon I had laying around and tied around the last layer. Here it is!


The monkey is happy!

On to the 2nd tier!


3rd Tier!


Now I sat there and looked at my color palette. I did not like it at all. It seems like all the diapers out there now-a-days has some sort of color on it, I don't like that! It ruined my vision! So I decided to cover it. I used white, simple tissue paper but doubled up on 2 for thickness. For the largest layer I used 4 sheets, covered half with 2 and the other half with 2. Here's the first look...


I repeated for the 2nd and 3rd tier.

Ta-da! Here's the finished product!


Another view..


Monkey was happy. As you can see I finished it with the bottles I used to first initially to start the tier (I later removed them and replaced them with diapers so the cake would sit right) Also I made washcloth cupcakes and layered them on top! I was pleasantly surprised at how it turned out!

Enjoy!
~Lauren~

LinkWithin

Related Posts Plugin for WordPress, Blogger...