Well hi welcome to my little blog. Just my little corner of craftiness, sewing, and refashioning. I am also a newly gluten free eater so you have a little bit of recipes mixed in here.
Showing posts with label pillowcase dress. Show all posts

Monday, March 10, 2014

A is for Animal print, Iron Craft and refashion #18

This iron craft challenge is to make something with the letter A. So I thought about it... A is for ANIMAL PRINT! Oh yeah! As I am trying to refashion 99 things this year, I again wanted to focus on a refashion. My mom is responsible for this refashion. :) I don't know if this was a PJ or a cover-up or what. No idea but it is animal print and too big for me!!

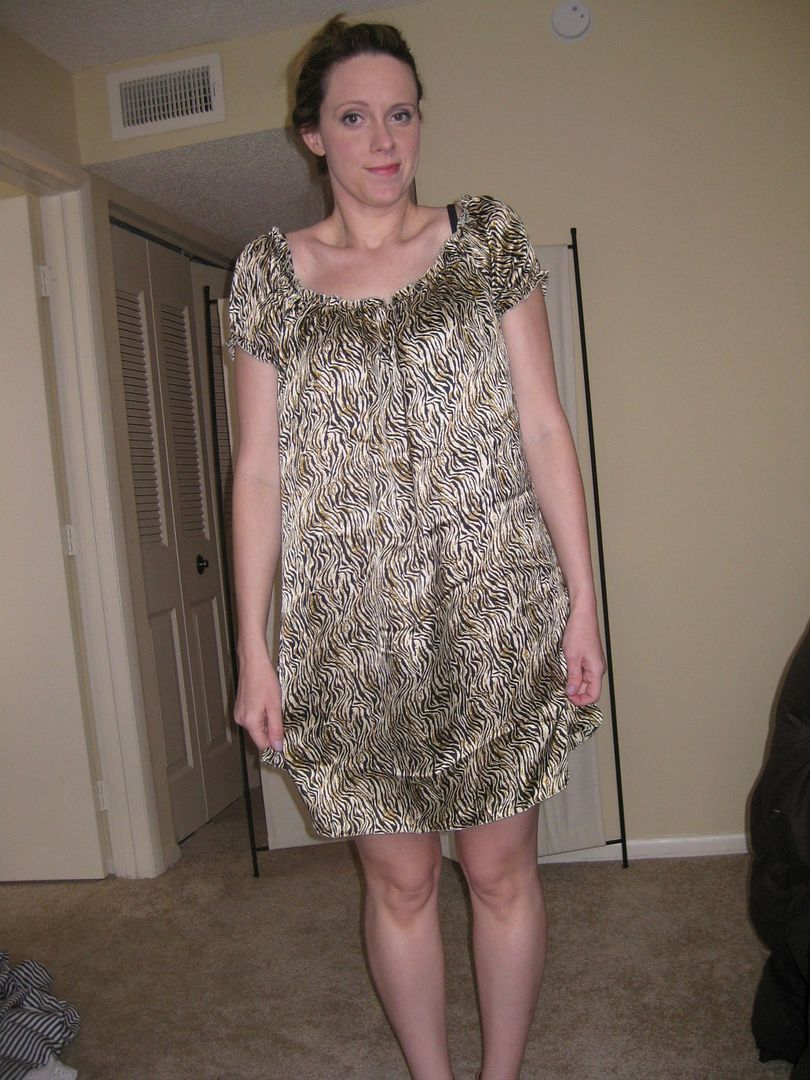
I decided to turn it into a PJ based on the pillowcase dresses I made way back when for charity. And I'd make myself a PJ top for when it gets warmer over here (P.S. Dear spring- I'm waiting.....). The top is pure elastic around the neckline and some small sleeves. But the basic design is quite rectangular.

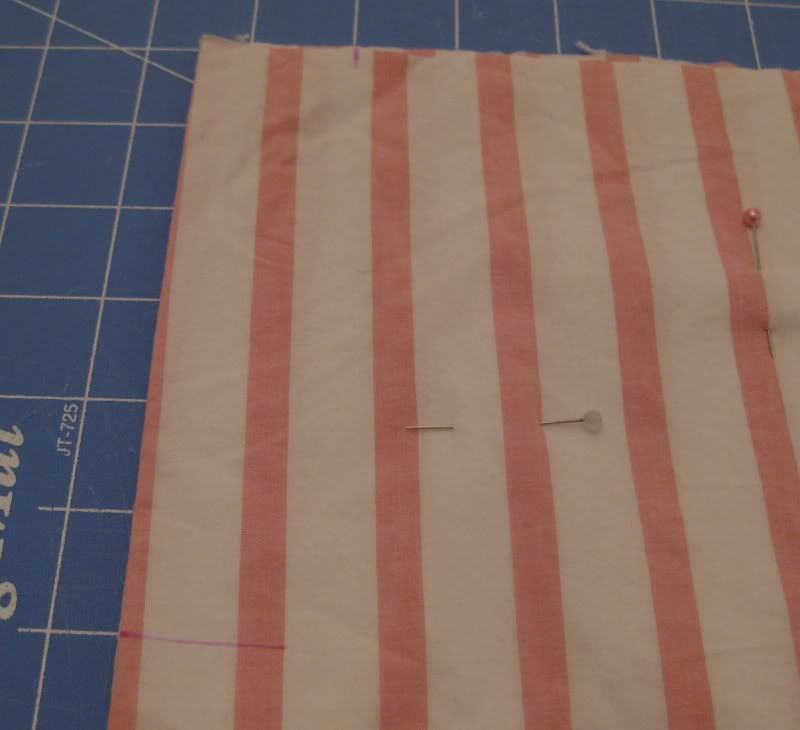
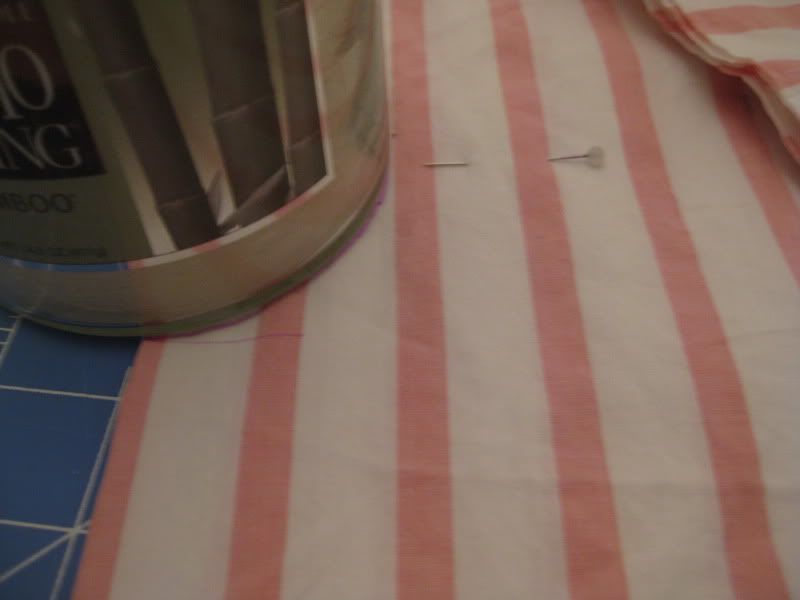
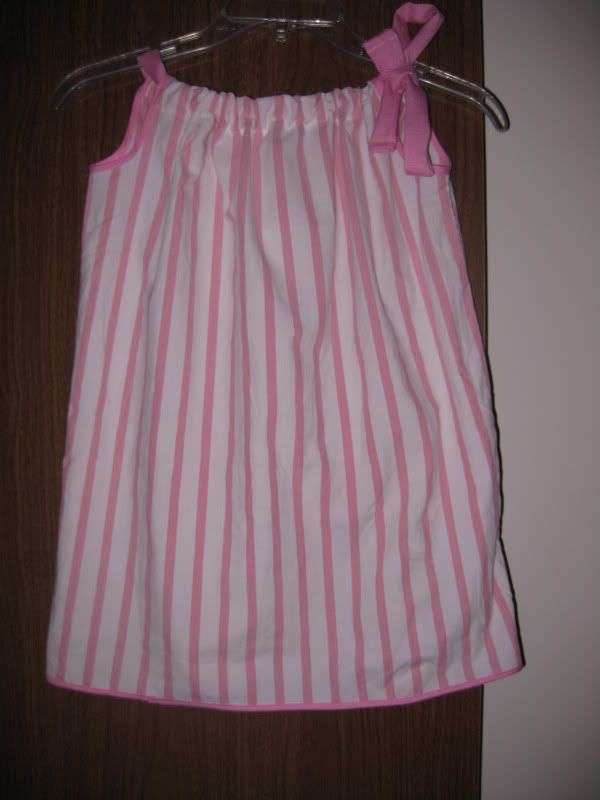
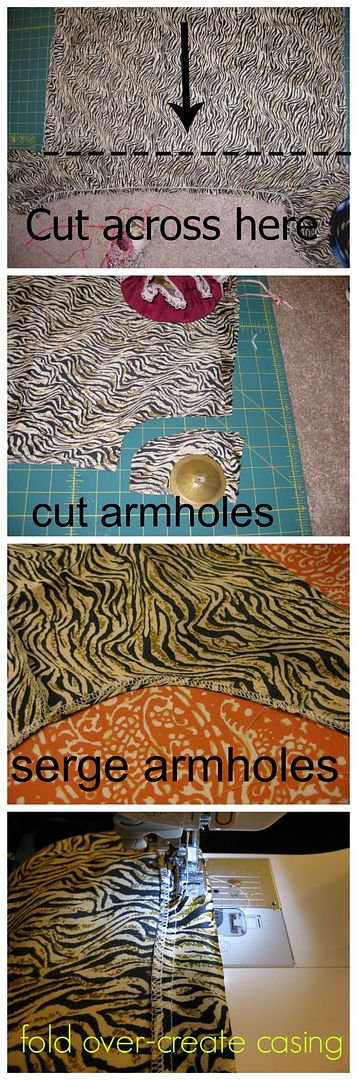
I stretched out the top and cut right below the sleeves. Then I cut out a J shape. It was 3X5 inches. Then I did a quick serge around the new armholes and the top of the freshly cut dress. Then folded over the armhole- sew down. Now it is nicely finished. Then folded down the front and back to make a casing- sew across. Then found some simple black satin ribbon in my stash. Wove it through, connecting the front and back. Tie in a pretty bow. :) 

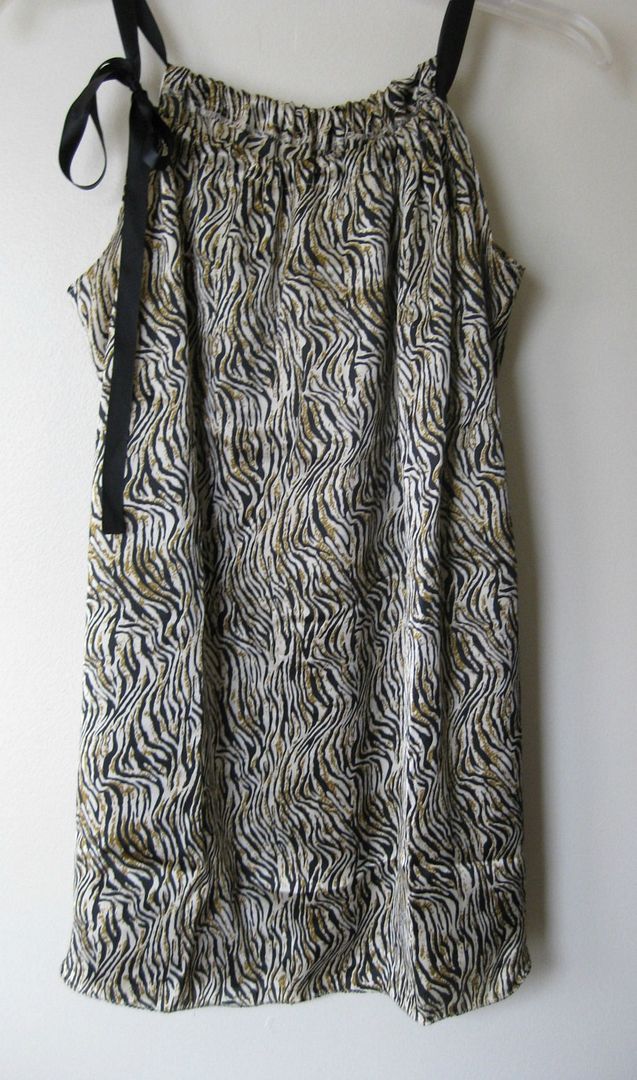
Much cuter! Now I have a PJ for the spring and summer. Yeah not taking a picture with it on!


Let's recap and have some fun with the mustache option of picmonkey. ;)
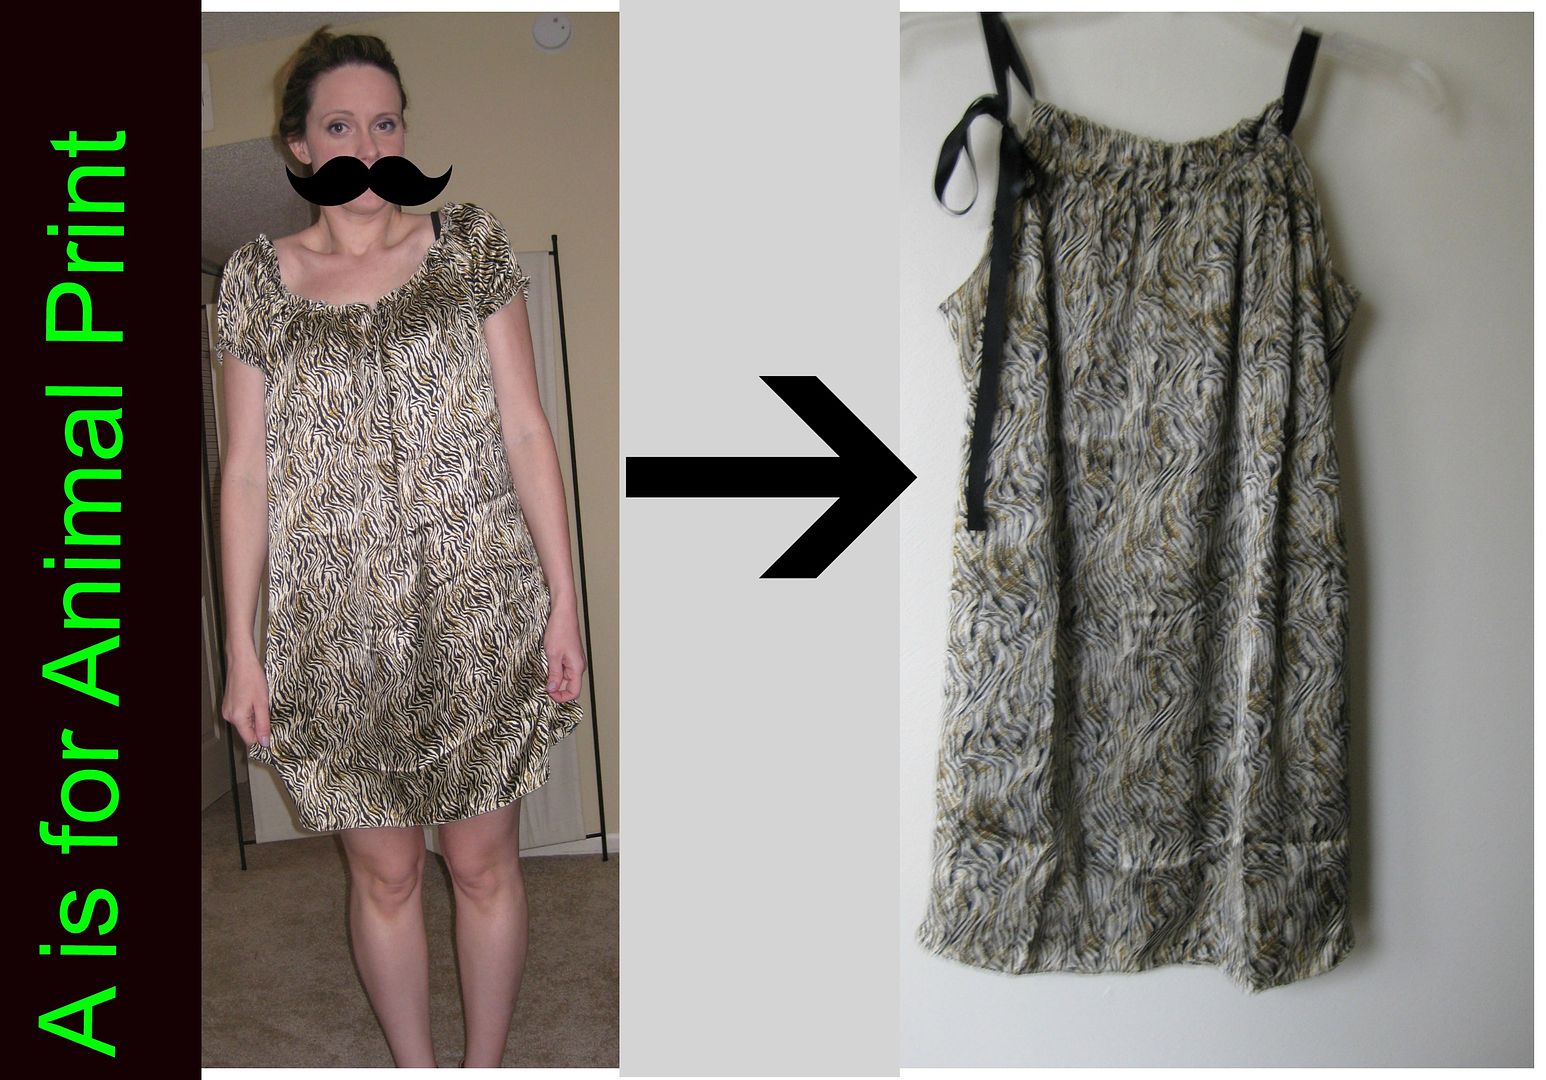
Cheers,
Lauren

Monday, October 10, 2011

Pink and white striped pillowcase dress

This is the truest of all pillowcase dresses b/c in fact it was made from a pillowcase. Lily (Laura's F1 progeny) has a birthday coming up and I wanted to make her something special. I found this pretty pink and white striped pillowcase at the local thrift store.


I just absolutely fell for the colors and thought she would love it. She, like myself, loves pink!

First I cut off the seam to make the top of the dress. I made markings for where the arm holes needed to be. I cut about 6.5 inches down. Lily is a 4T and for some reason I got the number 6 inches. Really I am just winging it here people! And then I went in a few inches. Now I do not remember the number (grrrr....)


I cut out the armhole on a curve (using the help of a cup/jar of some sort) to make that J shape.

Next I added bias tape to the armholes to make it easier to finish. I did not want to attempt to sew it down. Bias tape is way easier!.

For the next parts I do not have pictures, since I lost my camera. (But it is now found). I folded over the top part to make a casing. I eyeballed it. Sew down. Next I used some leftover fabric scraps of mine to make a tie, the good-old-fashioned way. I pulled it through the casing. And we shall tie it at the shoulder.


I wound up hemming the bottom of the dress and added the pink bias trim again. It would have just been a smidge too long for her. I kept it simple. I just fell for this dress! It is just too cute! :)

Happy birthday Lily!

xoxoxo,
Lauren

LinkWithin

Related Posts Plugin for WordPress, Blogger...