Well hi welcome to my little blog. Just my little corner of craftiness, sewing, and refashioning. I am also a newly gluten free eater so you have a little bit of recipes mixed in here.

Monday, November 7, 2011

Thanksgiving yarn wreath

So I am actually done with an iron craft on time! Actually I am early! oh yeah! This week in Iron craft the theme was Fall Contest. So make something related to fall. I decided this would be the perfect opportunity to finish making my fall thanksgiving wreath. And another yarn wreath! Yay!

First I started off with a circle wreath and some brown yarn.

I wanted to use these 2 sort of small dolls that my mom had given me as a fall decoration. They were just kind of there and were kind of hard to decorate with. I thought these would make a great addition to a wreath.

I wrapped my wreath with yarn.

To set the dolls on the wreath, I did not want to hot glue them on then the answer was right in front of me! Stray pins! So I put the dolls in with 2 pins each. It held really, really well!

I had gone to Michael's after work and found a simple "giving thanks" sign and I put it on the top of my wreath.

Eventually I think I would like to add to the wreath but right now I like just the simplicity of everything. :)

WAhoo! Project done early! Makes up for the missed other projects in iron craft right??

XOXOXOXO,
Lauren

Bubble Necklaces

So hopefully Sonja won't read this until after she gets her birthday gifts. I have this bubble necklace that I absoultey love and randomly one day I found the same beads at Burke's Outlet and I decided to make Sonja a similar one since she oogles mine at performances.

So I started with all the beads I had obtained and were taken apart. I had them semi-sorted. I also grabbed my necklace bead holder, hardware, and pliers.

I have a ton of those non clasps holders where you pull some sort of pin through a circular item. And it holds. So I opted for a few of the necklaces/bracelets for some of these.

Then I just went to town! Coming up with a few different ideas... 3 neckalces and 2 bracelets.

These beads are mysterious to me b/c they look pretty bland and dull but once you add a flash and take a picture. Bam, you almost get blinded by the glare. I could not take any decent pictures to show this in my room. It all just flared and looked weird. However, this is great jewelry for a bellydancer! :)

Let's see what she picks!

XOXOXO,
Lauren

Sailor Halloween Costume

Now time for me to blog about my Halloween Costume! We did not plan for this nautical sort of theme but it just sort of happened. I saw this pattern on simplicity and said that is what I am going to be! Just in case if you want to see Calvin's Old Spice Sea Captain fight an octopus fish costume click here.


I chose the sailor option, I have never been a sailor before and I had the fabric all at home! Thank you stash!

So here is the bodice and the midriff part.

Making the bubble skirt. That was not pleasant I will admit that!

Natasha, or my grey ninja, with the netting. This was challenging with her!!! And challenging to sew! My foot was getting caught in the netting. Sigh!

When I was adding the white bias trim I cheated and used my ruler to mark where they needed to go.

I also cheated on adding the trim to the back collar. I was too tired to figure out how to mitre the corner or make it curve. I sewed and glued the overlap!

The jacket finished! :) I was very happy with the outcome! And yes that is Natasha on my ironing board. She is my little sewing shadow!

I fitted the dress to me. Which took some effort. The bodice was very big. Everything else was pretty good. :) Now I needed adornments.

Found a Sailor Hat on amazon again for pretty cheap.

Hat while glueing! I used some red sequin trim to give it some flair! :)


So here is my Halloween Costume. This picture was taken on my iPhone by Calvin who doesn't have a steady hand. I am working on a better picture b/c I would like to submit it to the Simplicity contest!


Overall, I love it. The bubble skirt was painful though. I would probably make this pattern again should I need to make it for another costume. I wish the jacket was longer, it is a tad too short and if I lift my arms up you see the striped bodice underneath. The directions call for bias trim but none really matched my fabric color. The skirt is short! I was almost borderline uncomfortable. I was saved b/c it was a bubble skirt but I did not bend over! I cut a 14 rather than a 12, and I did find there was one mis-print on one of the pattern pieces..


It says 12 but really it is meant for a 14. This pattern had many pieces, all for almost the different sizes. :)

I totally want to make another costume! Maybe I'll make one for the christmas party!

XOXOXOXO,
Lauren

Teal lace Rose Cardigan refashion

Finally I finished this cardgian! I have just been waiting on buttons to finally finish this!!! I think I started to work on it in August! Seriously.

So my inspiration was this cardigan I found online. I forget where it is from

I started out with a plain teal cardigan.

I laid the lace on top of it and began to pin at edges, etc. And then I sewed it down.

Ok so I don't have a lot of pictures since this project elapsed over several months. I got stuck. The arm seam just sort of threw me off. I had no idea where to go with it. I found this premade chiffon ruffle I decided to add to the neckline to sort of finish it. I used the leftover of the chiffon ruffle to make like a rosette sort of shape on the one side- I tacked that down by hand. Finally, add the buttons back. The buttons that came on the sweater were like a brown/cream color and needed to be changed. I got some simple black buttons and added them where the old ones were. :)


The final product... well it is something I am not sure I would wear all the time. But I just finished it, that is what counts! :)

I may give it away. I will say it is well made with the edges being even. I am very proud of that. I just wish I realized the arm seams were on a diagonal then I would have opted for another cardigan. So I call it my avant-garde cardigan. lol. Don't know if I will wear it yet!

Until next post!
Lauren

McCalls 6083- my sack romper

So I was super excited to make this pattern back this summer. I had some leftover houndstooth fabric from my stash and thought I would make a romper!

I used a McCalls pattern #6083

Me cutting it out. I had just enough fabric!

Sewn together.

Initially my plan was to use the leftover flounce from the shirt I dyed back and turned into a dress see here.

But the flounce was not long enough (missed it by like 6 inches!) and I thought the proportions were off.

So I ripped it off and I did nothing with this romper since June. Yes June.

Here is the end product. I like the bias tape trim on it, it gives it a finished look. I added some straps

The problem I have with this pattern is the bodice needs to be longer, I don't have a super long torso but I was uncomfortable with where it hit top wise. If I pulled it to where I was comfortable, then it um,... went in the wrong place and looked horrible! It needed some sort of strap. And it seriously needs a belt!

I look like I'm in a sack getting ready to clean my house. Completely opposite of what I wanted with something to go out. This is more of I'm hanging out at the house sort of clothing.

Would I make this pattern again? Maybe, now I know to increase the length of the bodice. I have also read from some other reviewers that the V-neck shirt option is impossible to get in and needs to be done in a knit. good to know! But it is winter time so I won't be pulling this pattern out anytime soon. Maybe next spring!

XOXOXOXO,
Lauren

Black ab bellydance costume Part 1- starting the bra

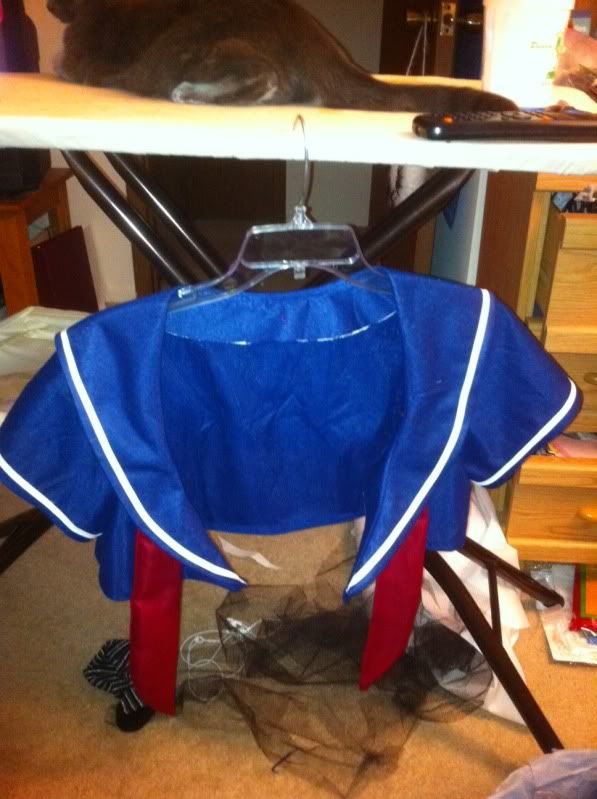
Greetings! We are working on another costume for our troupe. Well actually let me rephrase that.... I have the prototype and my fellow troupe members loved my costume so much that they are making the matching costumes. I did not document my journey so much while I was making but I did find some pictures from my old camera phone, randomly while cleaning up my laptop. Additionally, I have started to prep the costumes and I am taking pictures while we go so you will beging to see how a bellydance costume is made!

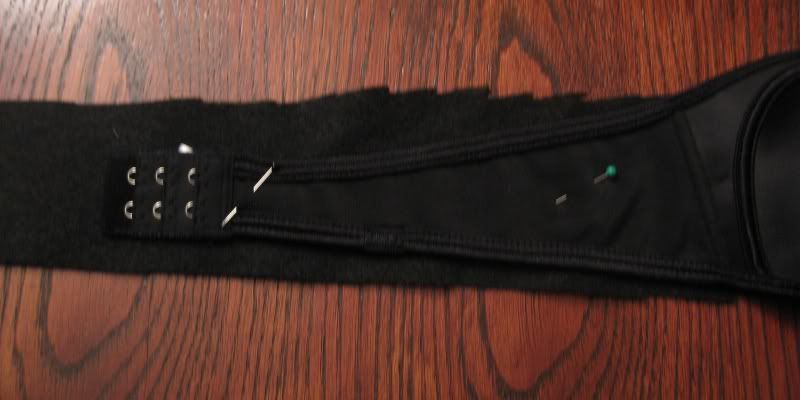
First I like to keep the straps on my costume. There is a bra that I can actually wear without the need for having the bands stretch. It is wonderful! So we start out with a basic strapless bra. Why strapless? b/c the cups are usually fuller, and have better coverage, thus making it a good base. I always like to add felt to the backside of my straps too, so I begin by pinning the felt to the strap. I always cut larger than the actual strap.


Then simply baste the felt to the strap. Since we are heavily beading this costume those stitches will anchor the felt even more while you sew!

Next, cut away the felt with a pair of scissors.

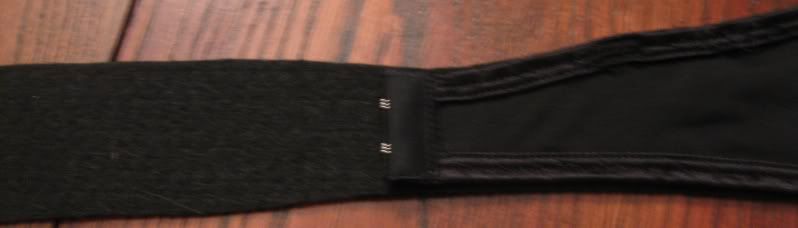
Leave a part for an extension if needed. It is always easier to cut away rather than add to costume!!

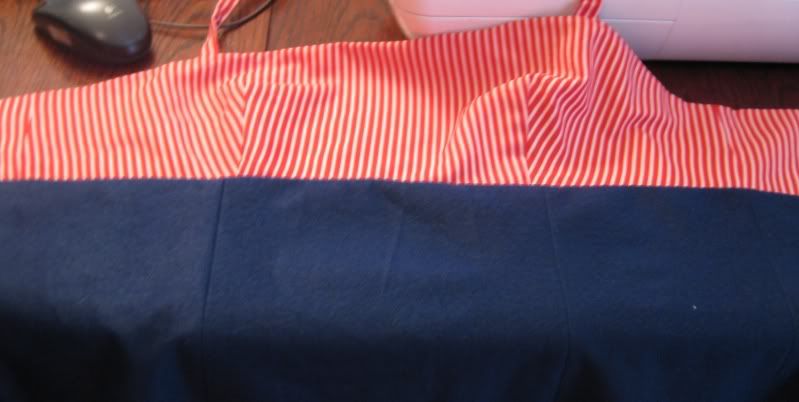
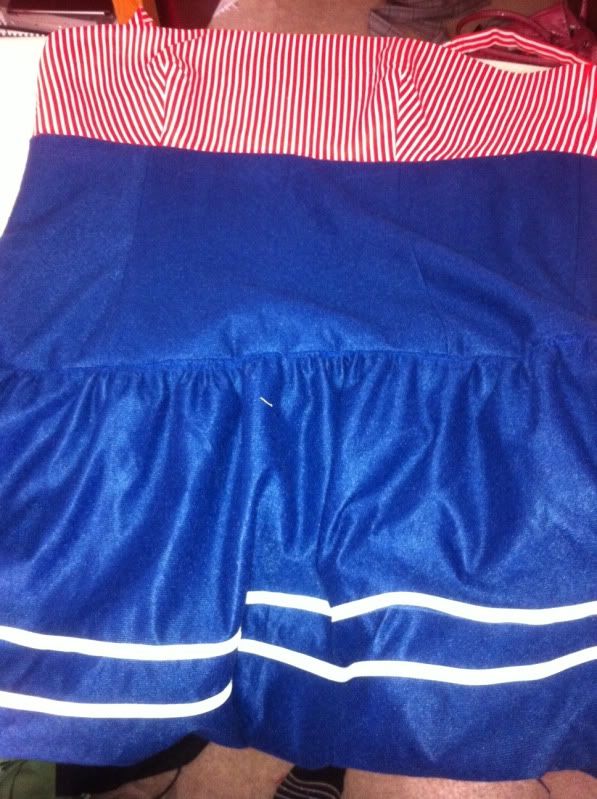
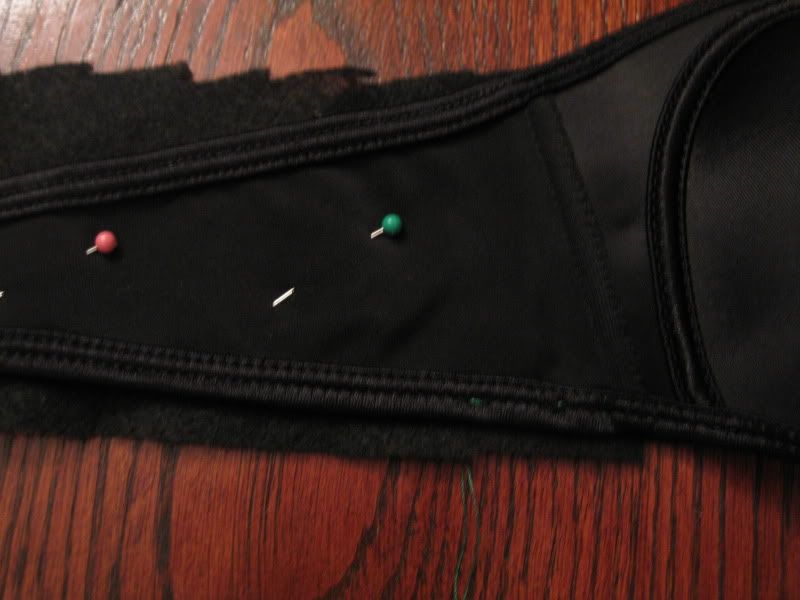
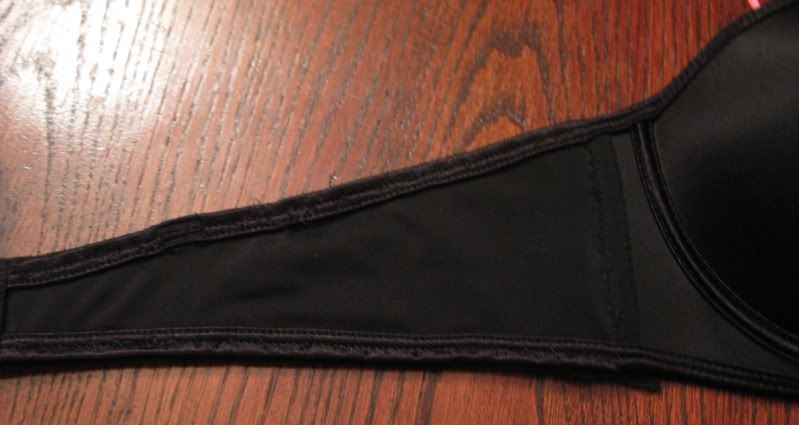
Now I am going to hand the costume to Sonja who is going to cover the side straps with black cotton to cover the extensions. Then we will start blinging! yeah!

Here are some pictures from my journey, while making this costume. :) Remember they are from my old phone so they are not the best but better than nothing! :)

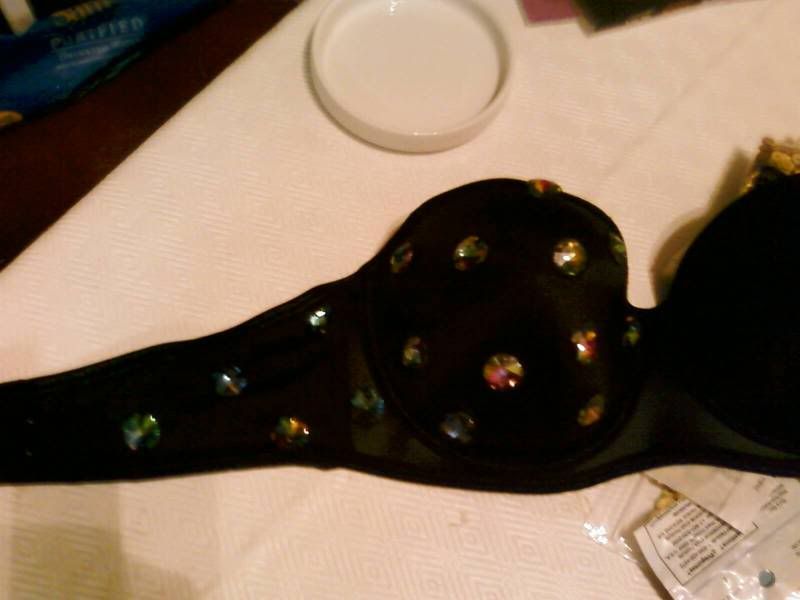
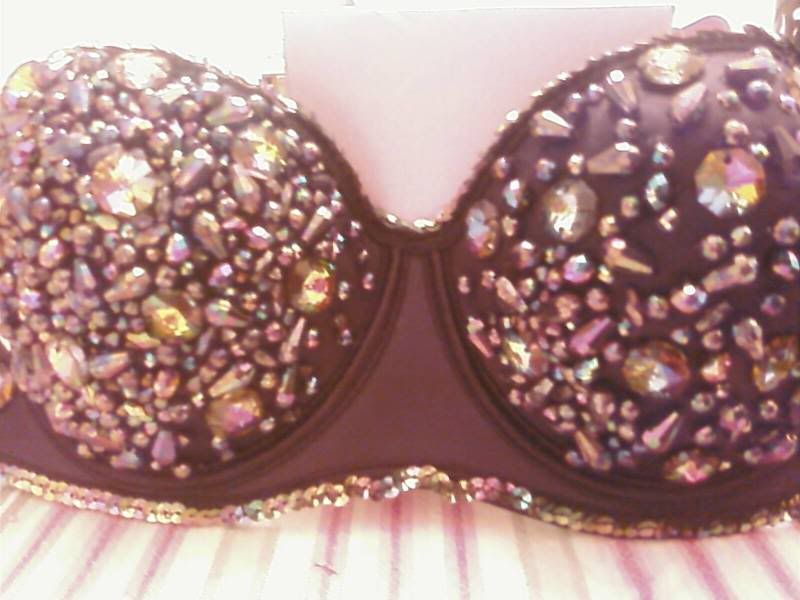
First I blinged the bra with vitrail medium 2-hole octagon beads.

I began to start filling in with some of the smaller beads I had. These were the rainbow crystal beads I got off ebay. I scattered them.
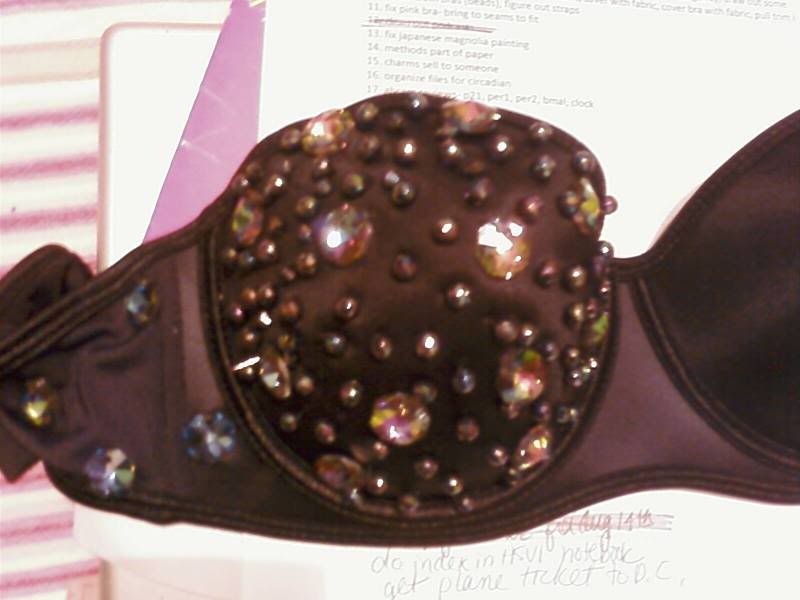
Fill, fill, fill!

LOL this picture is just funny but I wanted a perspective of how it would look.

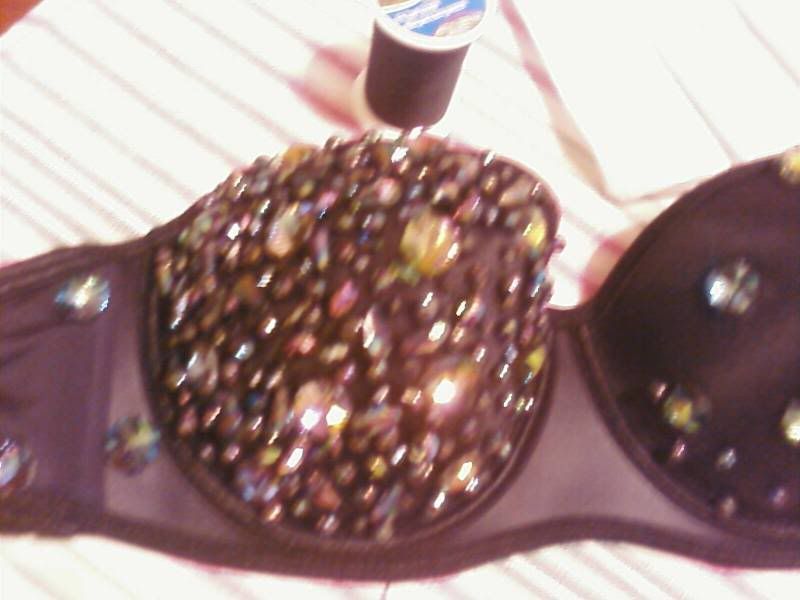
I continued to fill in with beads but before finishing the final part, I edged it with this pre-strung sequins that had the vitrail medium rainbow sort of look.

Here is with the other cup being filled with beads.

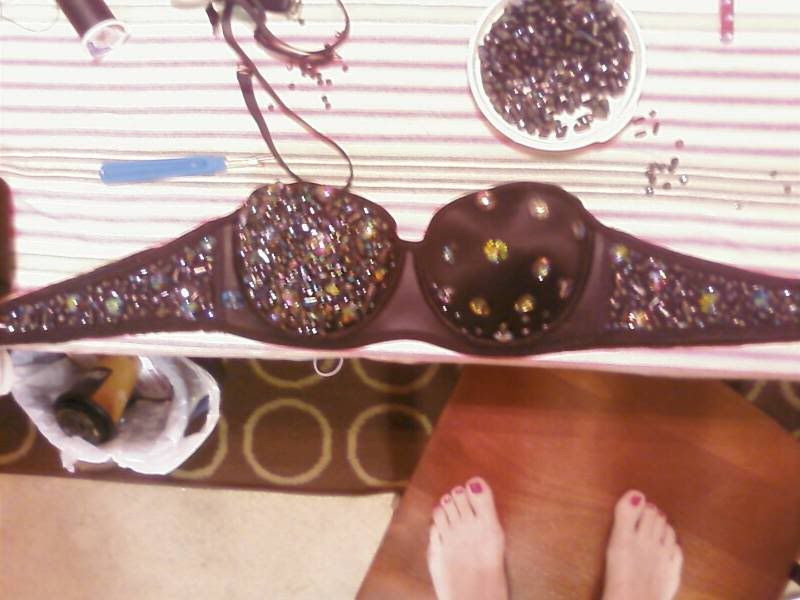
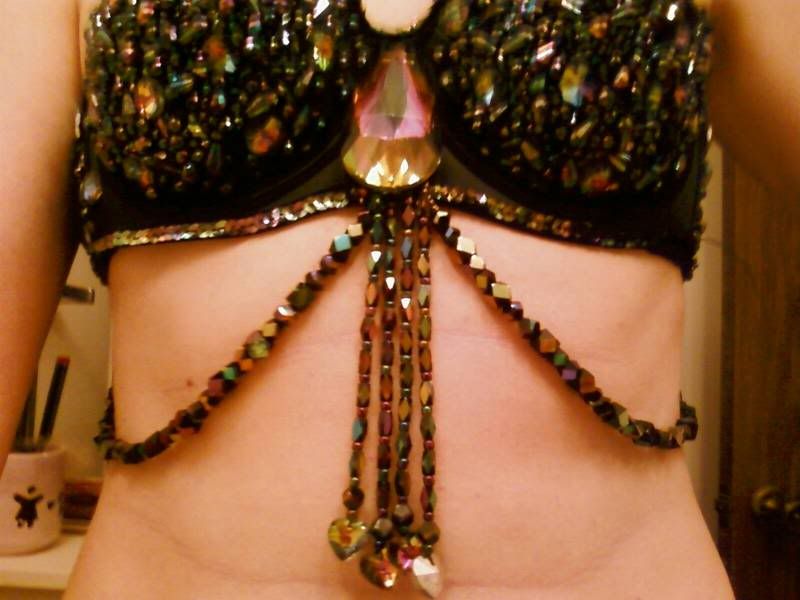
I added the drapes and the main gem
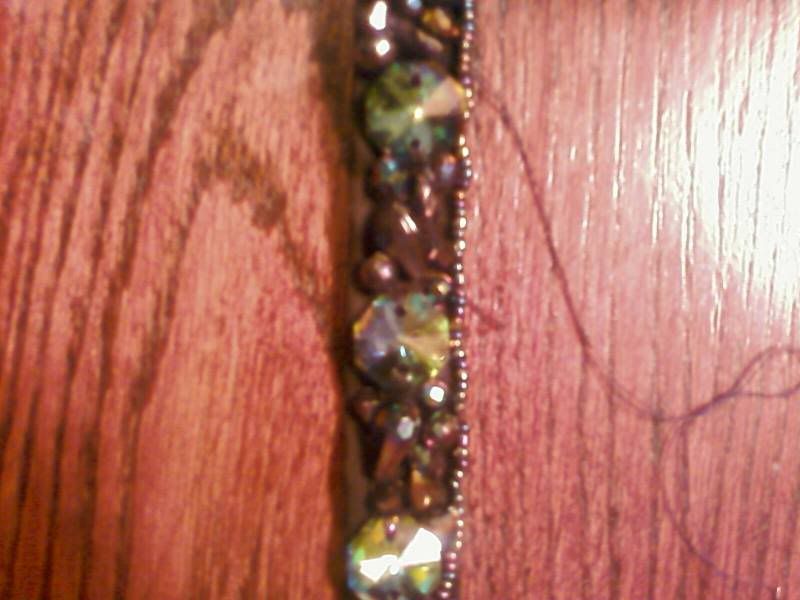
Straps

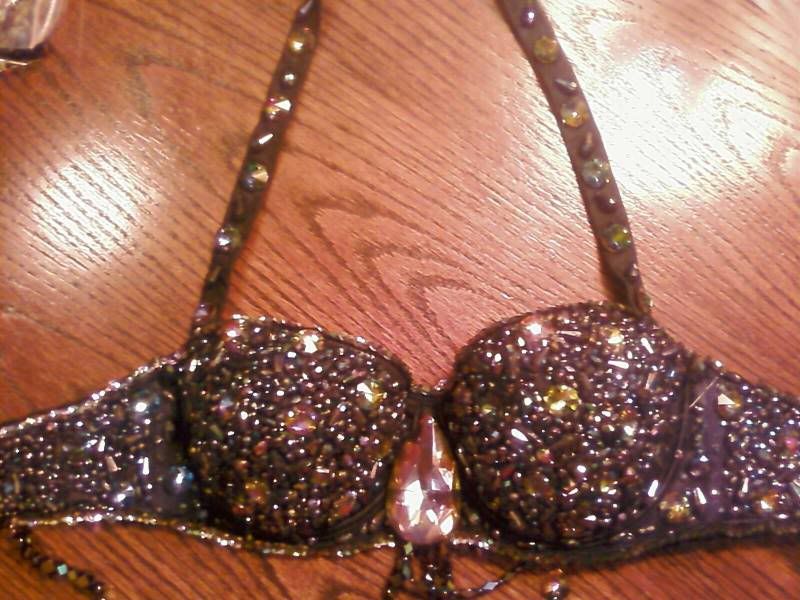
End product (not on)

Here is the belt when it was done. No during pictures.

Keep in mind while we go through this process again for the other costumes we will have more pictures! :)

Lauren

LinkWithin

Related Posts Plugin for WordPress, Blogger...