Well hi welcome to my little blog. Just my little corner of craftiness, sewing, and refashioning. I am also a newly gluten free eater so you have a little bit of recipes mixed in here.

Tuesday, December 31, 2013

white tank dye try- RIT sunshine orange

Ok quick post to end the year. This really isn't a refashion per se but a test run of some RIT dye in the color. I am curious to see what I get.

First just a simple sort of white cotton tank top that is what I wear for sleeping. Easy soft.


Here afterwards with sunshine orange. It is bright. Wow, I could not wear this separately too bright for my skin tone. But great for PJs.
 Cheers,
Lauren

Wahoo last day of the year and I have been busy prepping for sewing and refashioing. OMG I have a lot to do in 2014!! Eek!

2013 Resolutions in Review

Every year as a tradition, I set resolutions or goals for myself. I usually blog about them and doing so some how compels me to complete them. This year is no different!

So here is a recap of 2013's resolutions. My responses are in RED that are a success!.

1. Do a 5k. 
Yup I signed up for one and then it got shut down for the big closing (you know what I am talking about). So I tried. But was unsuccessful.

2. Get rid of fabric- 1 suitcase.  
Now it was to 1 suitcase but that was impossible. So early on in the year I changed it to 1 suitcase. +1 point! I counted up my fabric points and got 285!!! Yeah!!

3. Sew 200 items for charity. 
Yes! +1. I actually I exceeded 200! 
22 capes, 167 bibs, 33 wash cloths, and 1 large terry cloth fabric donation for a grand total of 223!!!!

4. Get rid of 1 box of beads. 
Yup actually got rid of 1 big box and then also another tray of beads. +1 points: 80!

5. Do all of my instructional bellydance DVDs. 
I got halfway. so +0.5. still better than nothing!

6. Reduce craft kits to 3. There are 10 right now, so that means finish 7 of them. Here they are:
I got rid of 3, but didn't reduce. I decided to focus more on sewing and crafts as they take up a lot of space in my closet. These don't. So I sort of abandoned ship.

7. Get out of credit card debt. 
Nope but I am close!

8. Do 20 more refashions. 
Yup my goal was 20 and I actually did --- so +1! The grand total was 28! Tho next year we are going bigger!

9. Complete 24 sewing patterns.
Yup! I got it! I did --  patterns! so +1!  I completed 32!!!!! Holy Moly!

10. Restore my grandmother's linens. 
Yes finally I restored all of them. If you are interested in reading about this check out here, here, and here. so +1

11. Finish my t-shirt quilt from college. Really I have started the project, I need to sew it!!! 
Yeah, no that didn't happen. :( sigh! Why am I so intimidated??!!!!!! 

12. Draft 2 patterns from scratch. Yeah again this goal transferred over to this year. 
Yes I did 2! so +1

13. Finish the Bellydance costumes I started:
This did not happen. But I am also not dancing so there is no incentive. Actually I am trying to sell some of my costumes.

14. knit something. 
Well I got a scarf done! so +1! I wish I could have done something else but I am slow and still learning. 

So out of 14 possible points I have 8.5 points!! OMG yay!!! But really that is a 61% so slightly more than half. Which as always I will take. I think my biggest accomplishments was getting this fabric reduced and also giving to charity. I am so happy with that. Honestly everything else is just small details. I am truly happy my sewing skills have improved and that I got many things sewn and we are reducing what we have in the apartment. 

Happy 2013! May 2014 bring you even greater success! I know I am hoping on that! 

Cheers,
Lauren 

Monday, December 30, 2013

Last Iron Craft- Time crunch (infinity Scarf!)

This is the last iron craft challenge of 2013, I have signed up to continue for 2014. The theme is time crunch. You are supposed to make something for yourself in 1 hour's worth of time. I knew exactly what I wanted to do with this- an infinity scarf with leftover fabric I had.

Remember this lovely brown chevron fabric?
I made an awesome maxi skirt with it? Which you can read about it here.

I get so many compliments on this skirt. I have worn it in the summer and in the fall with a long sleeved sweater. Everyone loves it and are shocked I made it. Well not shocked, but love the fact I did. I had scraps of these left over that I really can't do anything with on a large scale but perfect for something smaller like a scarf!!

It was pretty easy to do.... I made a big rectangle. It would up being 74 inches long. I think it was 20 inches wide, I can't remember now! Fold in half with right sides together. Turn right side out.


Wow if I had tried, this would NOT have matched up so well. Moving on! I connected it together. And poof I had a scarf all done. Which is surprisingly warm compared to my other ones. I think it was a combo of a thicker knit and double thickness. It has now became my new favorite scarf!

Here I am by my tree,

Now I grabbed my cat to take a pic with me and Sebastian was not having it....

I got a little of a hand gnaw... mixed with my other cat on the ground with her laser eyes. Yeah that was the end of the pictures.

So here it is, just plain and simple.

Here's to another successful year with Iron Craft and I am ready for next year!

Cheers,
Lauren

Friday, December 27, 2013

GF Pizza Dough Review-Domata

Yay gluten free friday review! New pizza crust trial from domata. So the hardest thing with gluten free pizza crust is things don't rise. They are pretty flat. Pretty plain.

So I made my dough. It was super sticky but nice. I used gluten free flour mix to dust my rolling pin and surface. If I did not. There was not enough to make 2 pizza crusts and dust everything enough. Which was sort of a shame, there should be enough to handle the dusting. Realistically. 

Rolled out to a circle. Brush with oil. 

Add toppings (and make a mess everywhere)

Cook!

Note to self:.... should have sprayed the cookie sheet with oil. We got really stuck.

The taste was good. It did rise some. Would I do it again? Probably, this is just hard to find. But it was like a "normal" pizza. I would love to play around with seasoning the crust.

Cheers,
Lauren

Thursday, December 26, 2013

Announcing the 99 Challenge

Merry Christmas everyone! I know it is not the beginning of the year yet but I wanted to announce my 2014 Refashioning challenge. The 99 Refashion challenge!! Yes really!


(without the letters, it is just too funny!)
So I sat down one day and was cleaning out my closet and going through everything. I wrote everything down and went wow, I have that many things to fix?? Always looking for a challenge for each year, I said let's go for 99!

Singing the Jay-Z song 99 problems   or
the 99 Bottles on the wall...

Let's adapt them to refashioning
- I got 99 refashions but the ___ ain't one (still trying to fit a word in there-I'm clueless)
- 99 refashions in my closet. 99 refashions to fix. Take one down, sew it around.. 98 refashions in my closet.

So I better get to sewing. All of my refashions will be found on this page via a linky tool. Come back and view! :)

Cheers,
Lauren

Wednesday, December 25, 2013

Beaded Ornaments- great bead destash!

Well Merry Christmas everyone! Here is one of my big de-stashing of my beads project that I made for my Christmas tree. It was super easy and I used a TON of beads! That made both me and my boyfriend happy. LOL. Really this project is simply clear glass ornaments in 2 sizes, a hot glue gun, and beads, beads, beads!!

here are my pearls and silver variations

The blue ones are gorgeous!

These were a bit hit and miss. The pink/purple with the sisha mirrors reminds me of a microbe, but that is the scientist  in me. The all pink came out nice. The gold got messed up so it's a bit "ombre".
Can't win them all! But I now have some lovely new gems for my tree. they look wonderful!!

From our blog to yours! Merry Christmas!

Cheers,
Lauren

Monday, December 23, 2013

How to add a snap to anything!

I love snaps. They really make life easy with sewing. I add them to a lot of things. Especially bibs. Even dresses, etc. Here is a tutorial of what I do. Fast and easy. And fun too!

First here is one component of a snap. There are 2 sides to this. One portion of the snap is raised. It can make a difference on which part you use. You always want the raised middle part to be on the outside. More to come with that.

Here are the other pieces. You have the pronged portions and knob parts too. I will call the open circles "receptacles" and the knob parts the "plugs". You will use 1 pronged piece with each of the other pieces.

So here is my bib. I grabbed my hammer and also my metal tapper. In preparation for hammering you want to cushion your surface with something. I used a magazine. Or else you will leave marks in your countertop etc.

Insert the prong on the backside of the bib.

Get all pointy objects through the fabric.

Add your receptacle piece with raised middle towards you

Make sure it is evenly spaced on the prongs.


Add your awl (?). Prep for hammering. Make sure it is evenly over all the prongs. This is really important or else it won't be properly affixed. And the pieces will detach and the prong piece is no longer good... as me how I know!

Give it a good whack. 

Done here is the view from the back side. Everything went nicely through the front.

From the front. 

Now to complete the other side. Pay attention with this b/c you want the snaps to overlap.

Now add the prong to the Right side of the fabric. Pull the prongs to the WRONG side of the fabric. Make sure again all of them are through the fabric.

Center your plug to the WRONG SIDE OF THE FABRIC.

Add awl to prep for hammering, again evenly over the prongs. Whack with hammer.

Done! 

From the other side.

Now the bib will close and overlap correctly. 

You can see you will leave marks!!! 

Insert into donation box for charity! :)

So let's recap:
Receptacle- RIGHT SIDE Prong- WRONG SIDE
Plug- WRONG SIDE Prong- RIGHT SIDE

That is the key to success. Happy snap adding! BTW I have used the snap pliers. I do not reccomend. I tend to get more unevenly added snaps with them. With the awl, I get better centering with a variety of the sizes of snaps. I loose less snaps too from less errors. Plus it is fun to hammer. :)

Cheers,
Lauren

Saturday, December 21, 2013

Bellydance Review: Jillina Entrance Choreography DVD

Happy Shimmy Saturday! Today's review is Jillina's next set of DVDs, first one of the 3 pack is the entrance choreography. Which I promise you I have seen before with the Superstars. I think this is a modified version of their choreography. I am just saying...

The DVD menu is much more expanded than her previous DVDs. And each section you can drill much longer. A definite a step up from the previous DVDs.

There is an intro, a warmup (which is longer than the other DVDs), technique, combos and then choreography.

She is in a different studio, that almost tricks you to think she is outside but she isn't. But it is a big full length mirror, which she honestly doesn't have enough room to dance in front of and stay within the limits of the mirror. Most of the DVD is her talking and explaining things.

Now she does explain well, as always, the moves and drills them. Each is its own chapter and you pick which one you want to drill. And you can redo just the drill part until you feel comfortable. Then it is the combo part which again you can practice for a long time. But again we got some weird camera shots. Is this necessary? It does not help my learning curve.

Next we put the combos together for a choreography. It is Entrance to the Stars song and a cropped version. In my first run of the DVD, the sound is not in sync with the moves. Overall pretty easy to learn. As with many of her choreography, there are lots of turns and undulations. LOL. I would call this a solid intermediate/intermediate advance choreo. A lot of it has to do with the quickness of the turns as the choreo is fast. Otherwise the moves are not super advanced. After the entire DVD, as always I feel like I have a good grasp of the choreography.

In the end, she performs it live and actually starts off with isis wings on and then takes them off. It is nice to see it live.

This is a keeper. Cute dance.

Cheers,
Lauren

Friday, December 20, 2013

Spicy Chicken Quinoa recipe

Here is my easy spicy chicken quinoa recipe. This is my "I got home late, we have no leftovers, I am exhausted, and want something decent and healthy" sort of dinner. We have tweaked this recipe and it has a nice, mature heat.

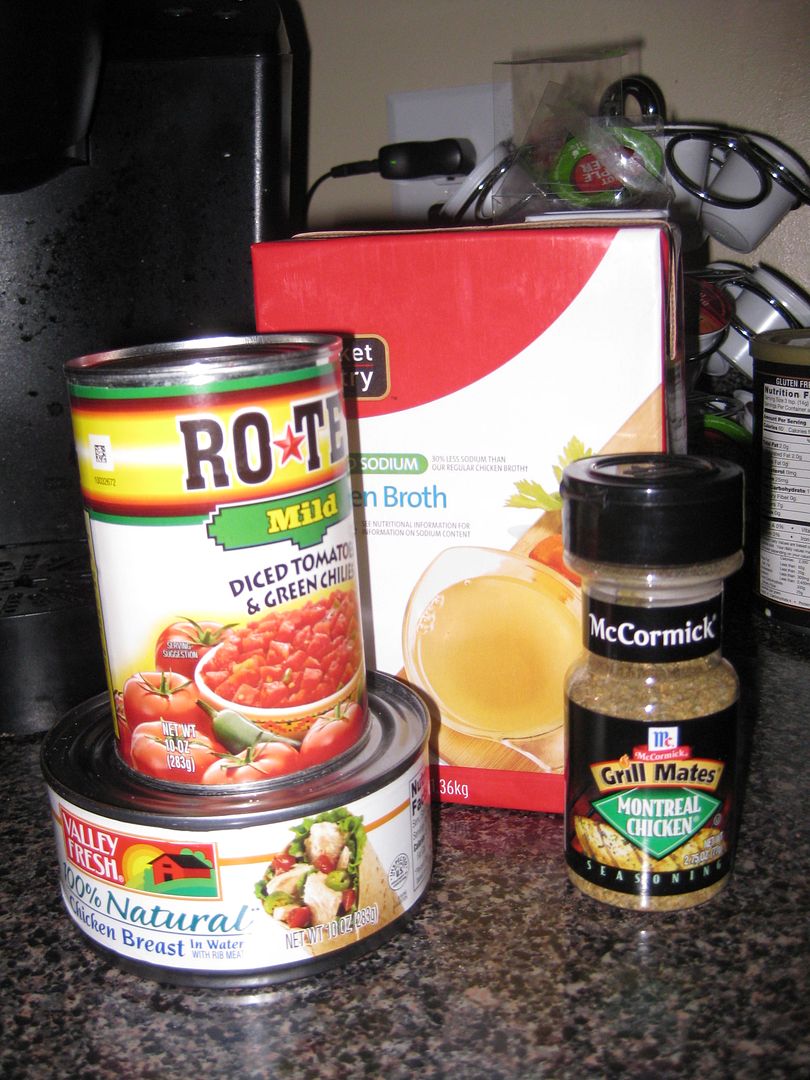
Ingredients: Yes we are going to use canned food. Don't hold it against me, from start to finish is less than 20 minutes for this meal!
- Can of rotel tomatoes- we are using mild
- quinoa, pre-washed- I do mine in big batches and store in an air tight sealed container
- chicken broth, I prefer reduced sodium
- can of chicken, I am using reduced sodium and organic chicken
- McCormick season in Monterrey Chicken
- salt and pepper

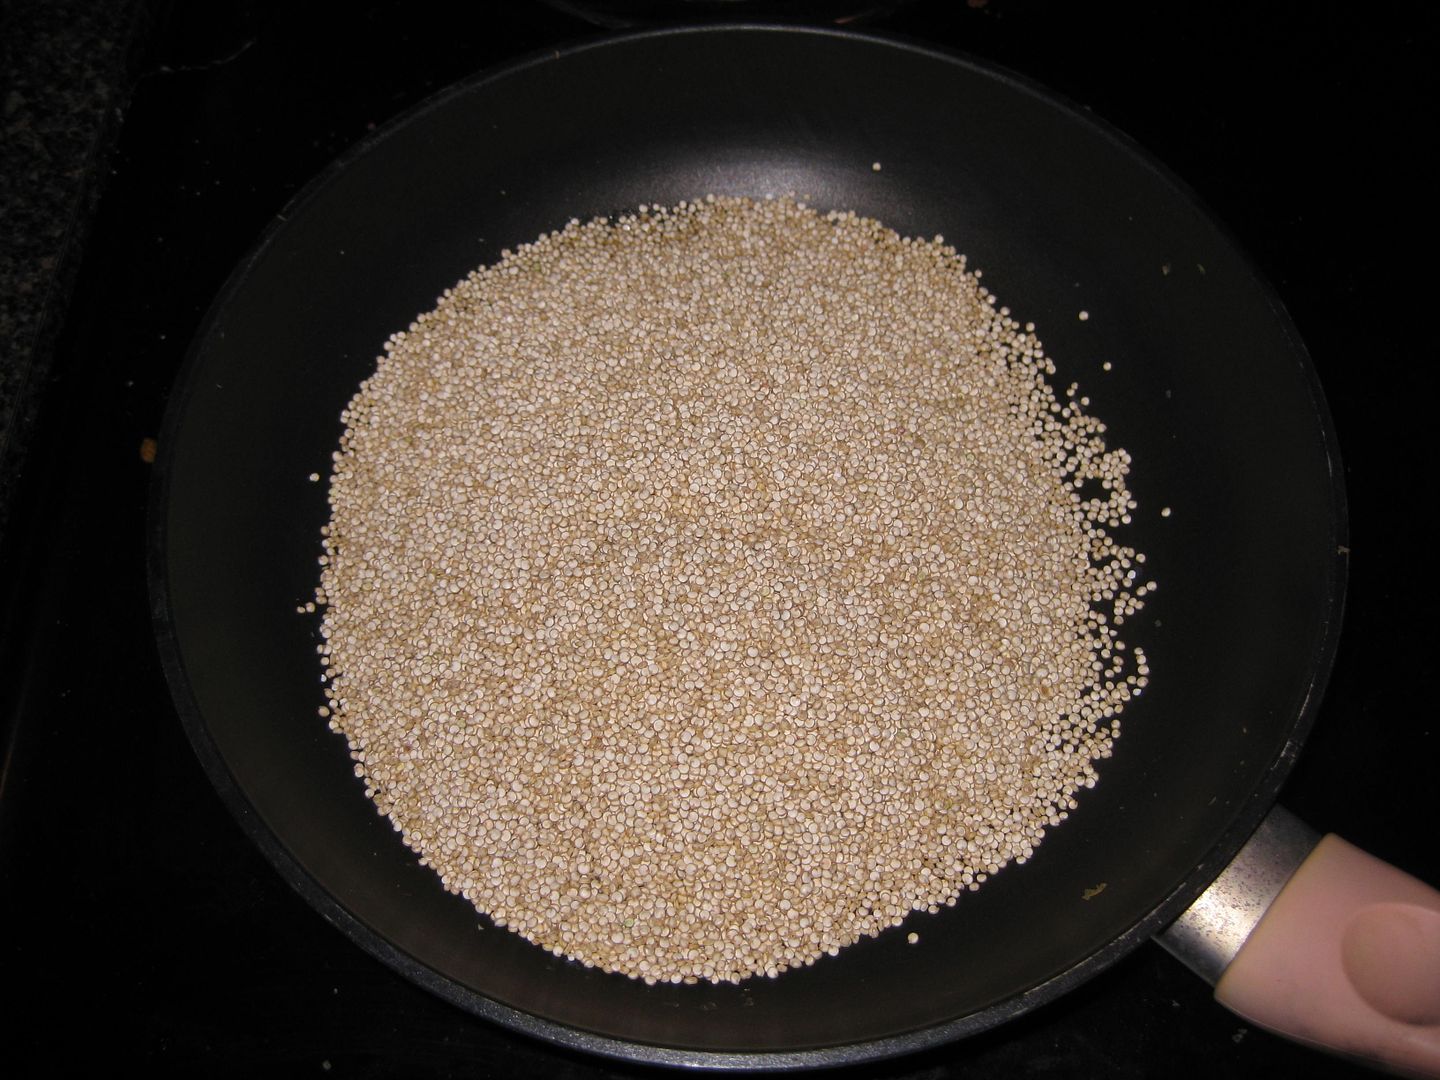
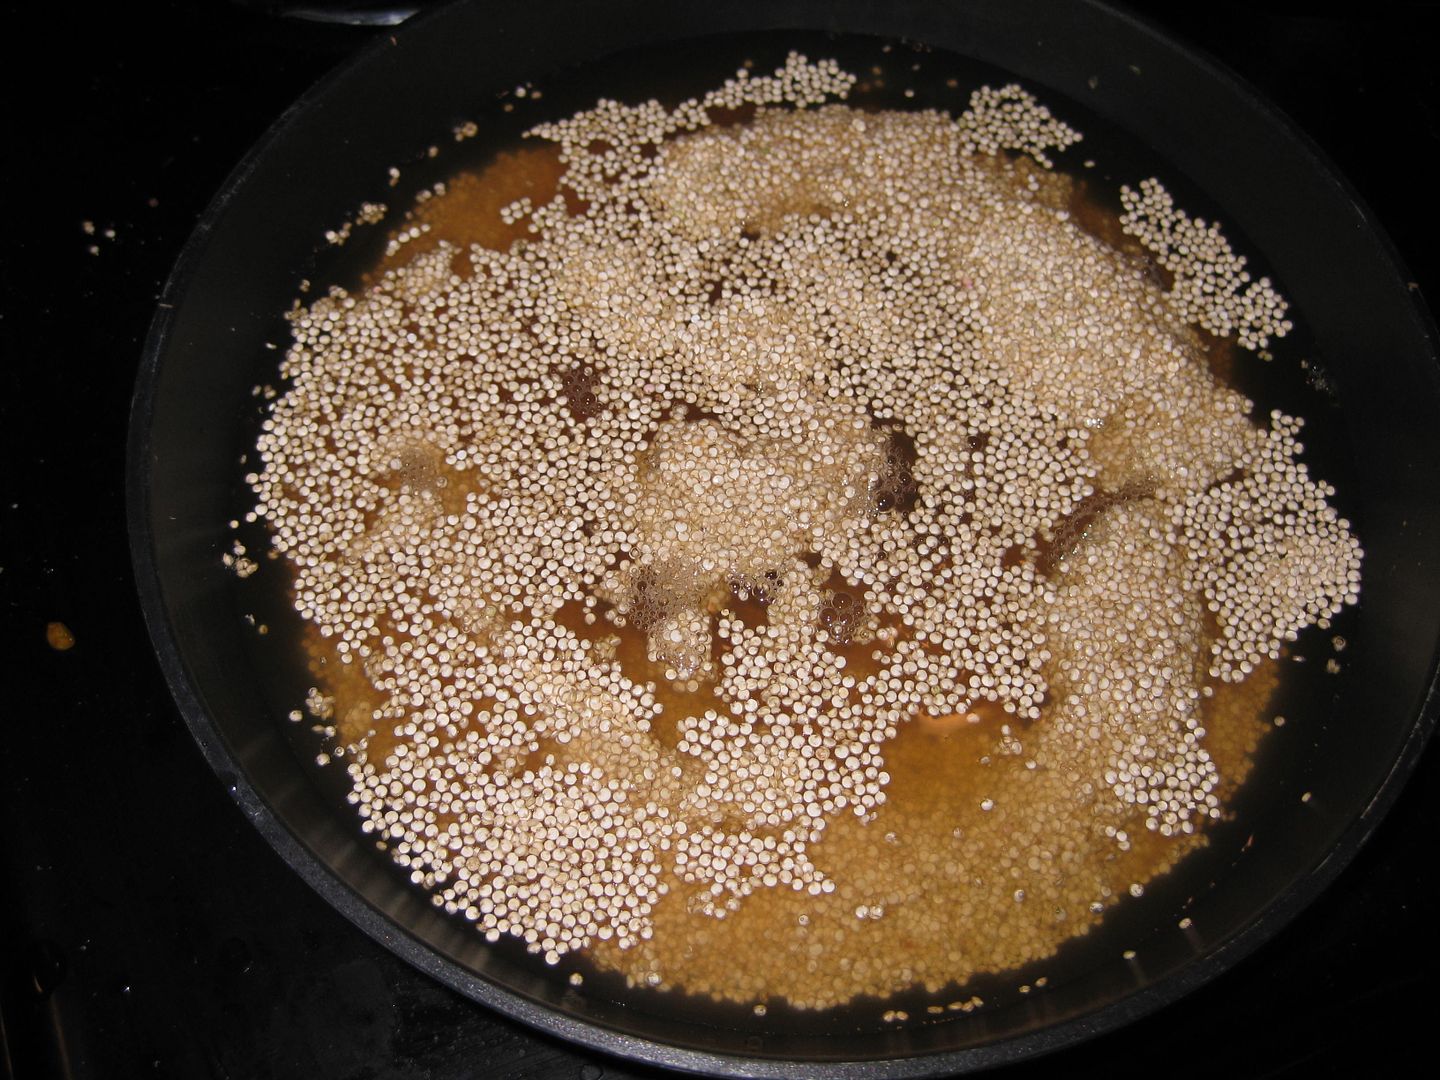
First grab 1 cup of quinoa, add a dash of oil. I just used olive oil. Place in saucepan

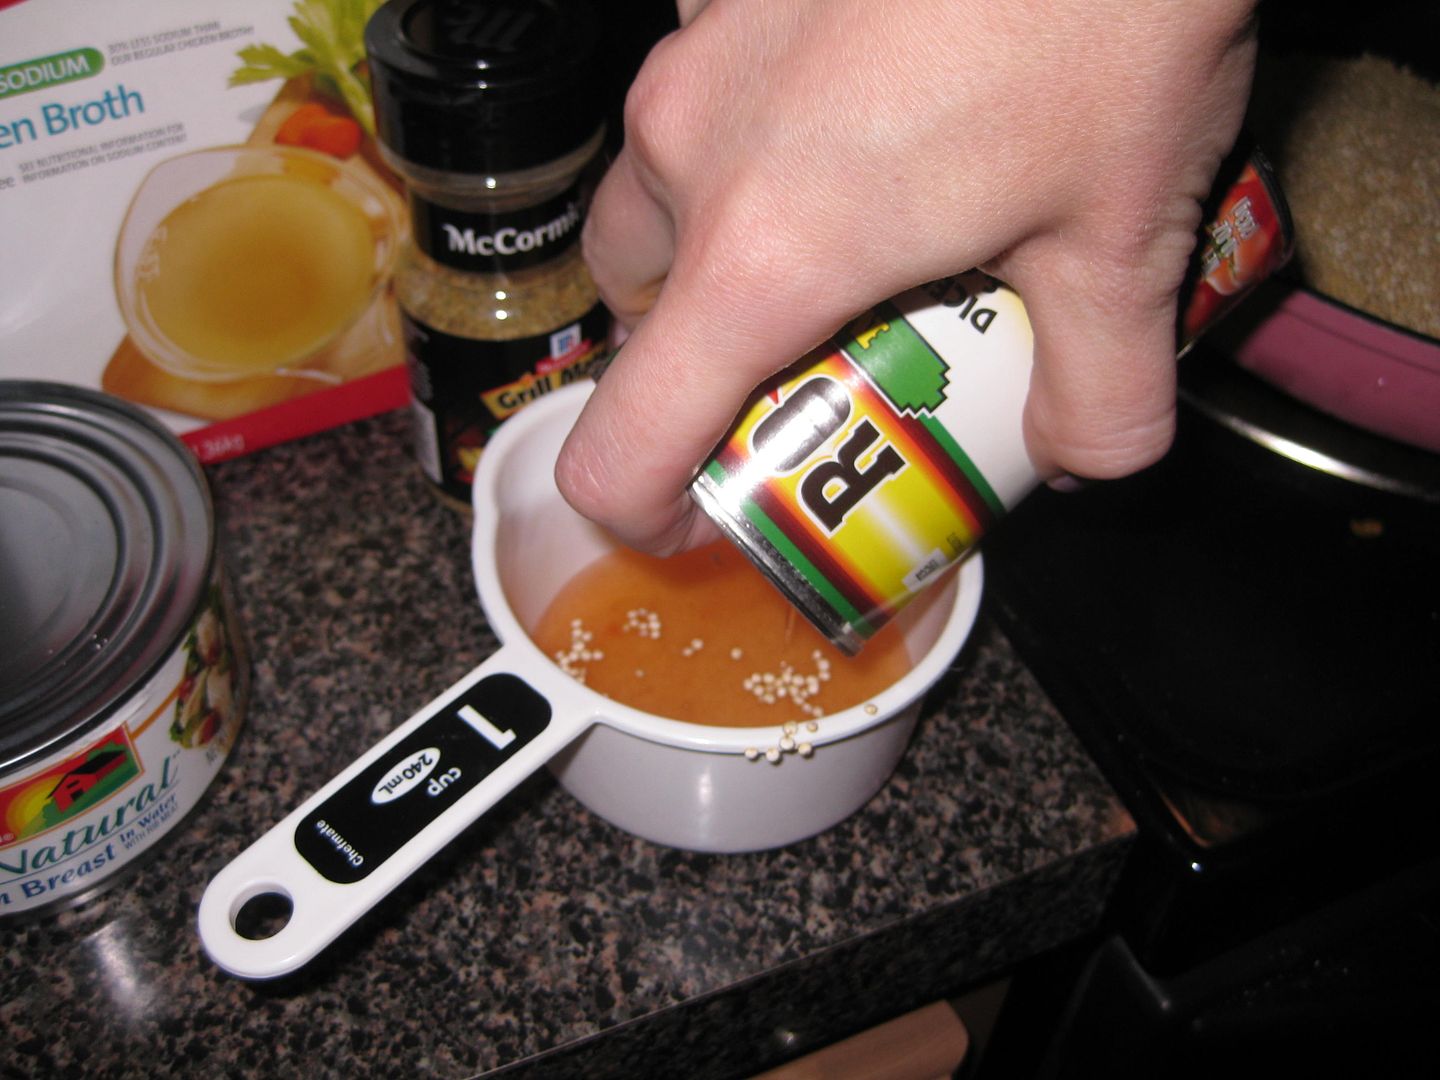
Now we need 2 cups of liquid to cook the quinoa properly. Adding water makes quinoa just bland. I decided the best way to give the flavor is to use the liquid from the rotel can. I can get about 1/2 to 2/3 cup from the can. Fill the remaining 2 cups with chicken broth.

Add to quinoa in pan.

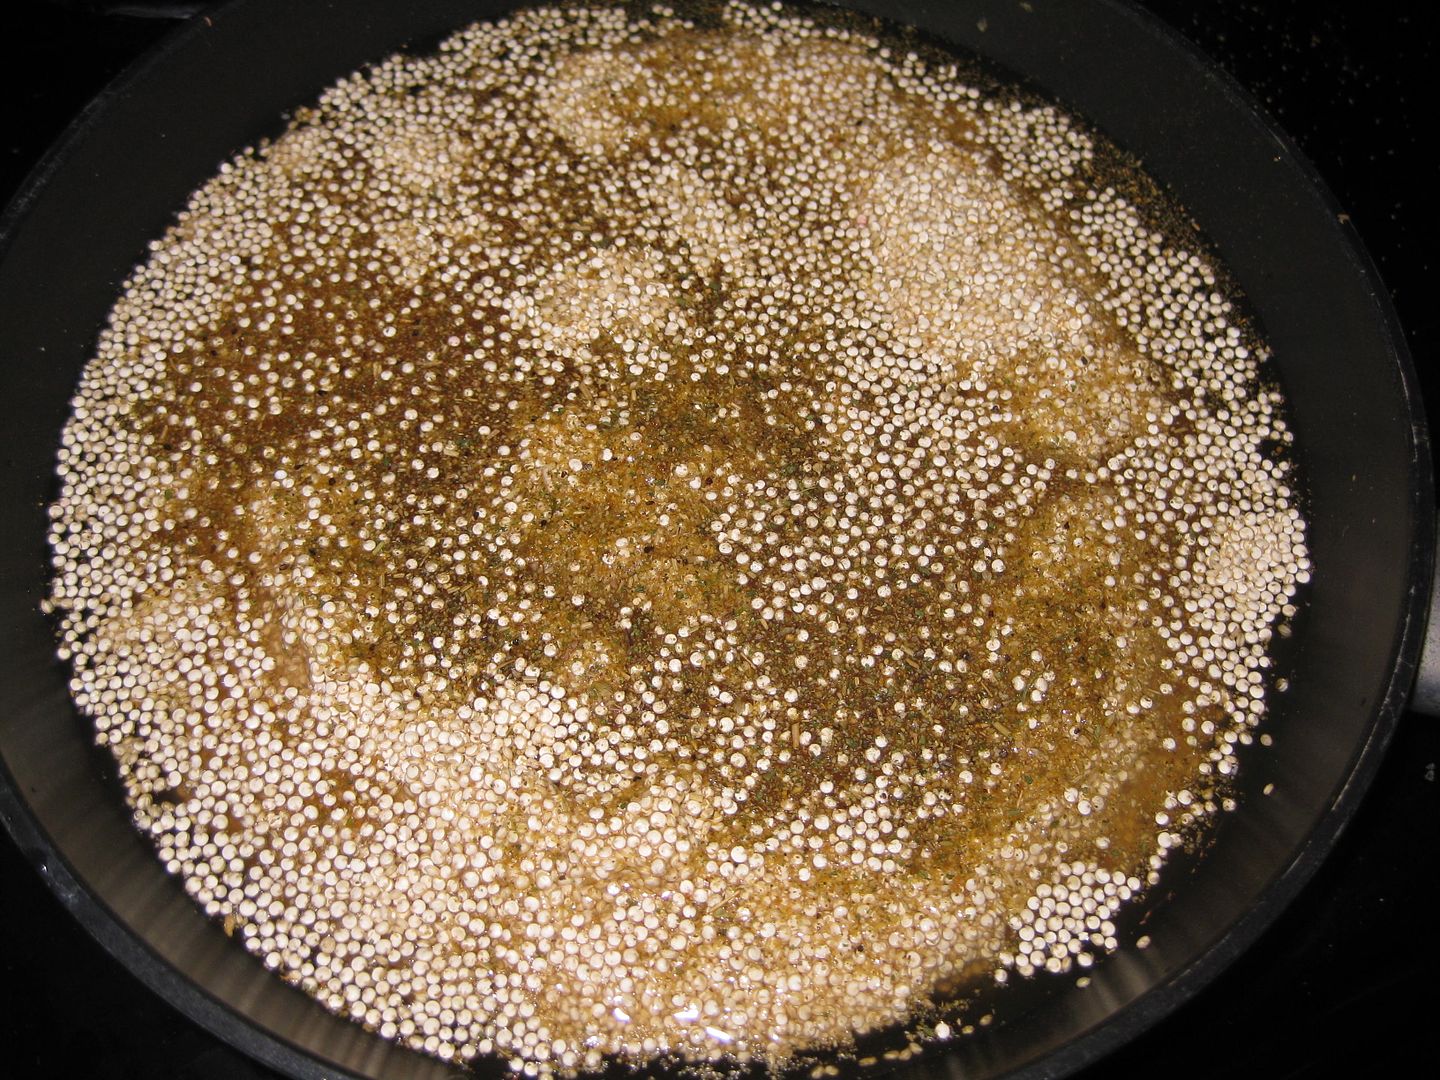
give it a nice stir. Now add some pepper and cover with the Monterray Chicken seasoning. I rarely add salt b/c I just don't feel it needs it. I don't measure the seasoning I just sort of sprinkle to give a decent cover but not too much. Probably about 1 to 1.5 tsp. Depends really. You may want to adjust this yourself

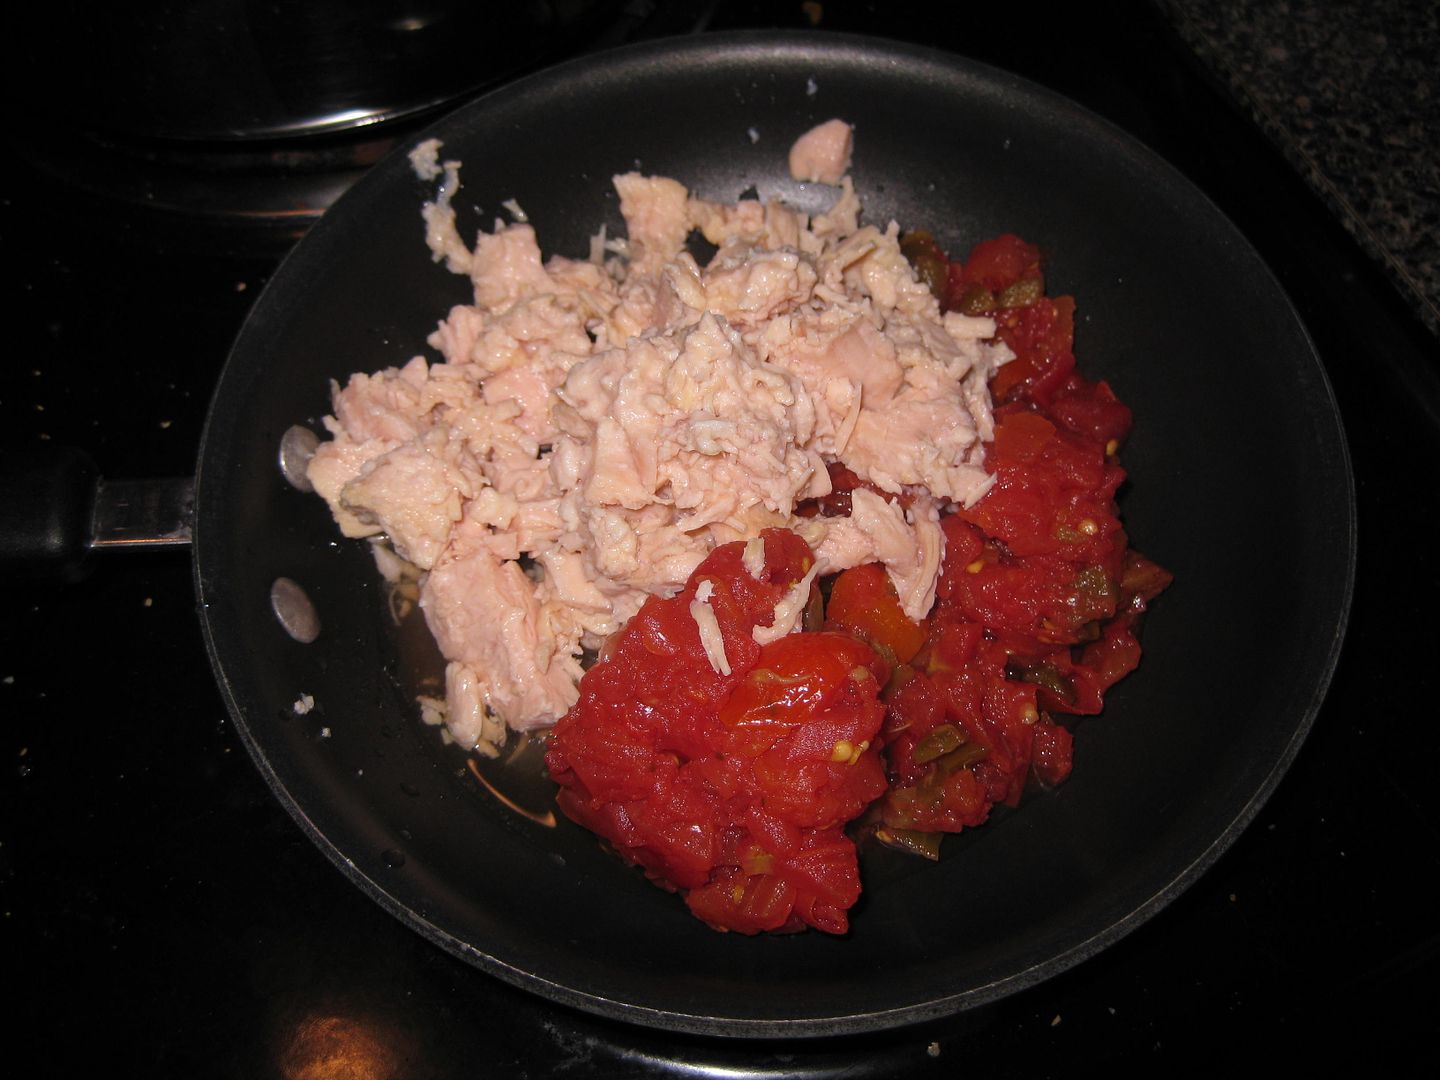
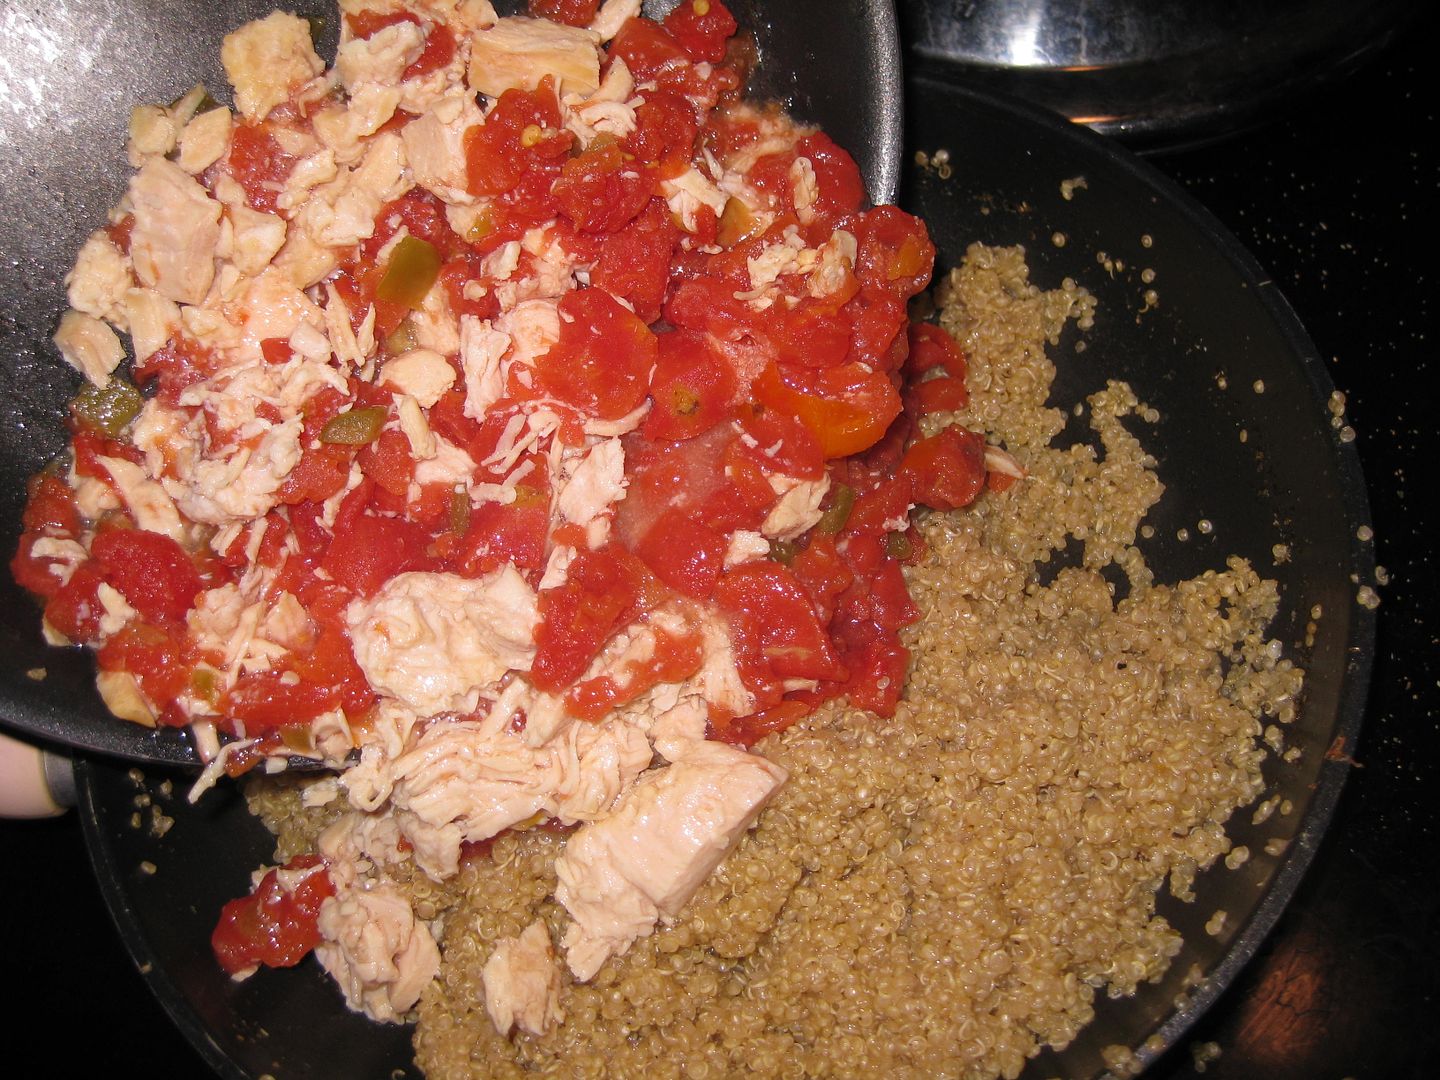
Pour the chicken (rinsed to remove the excess salt and can water) and the rotel into a separate pan with a dash of oil. Turn on and cook. I usually cook on low medium so it is ready when my quinoa is ready.

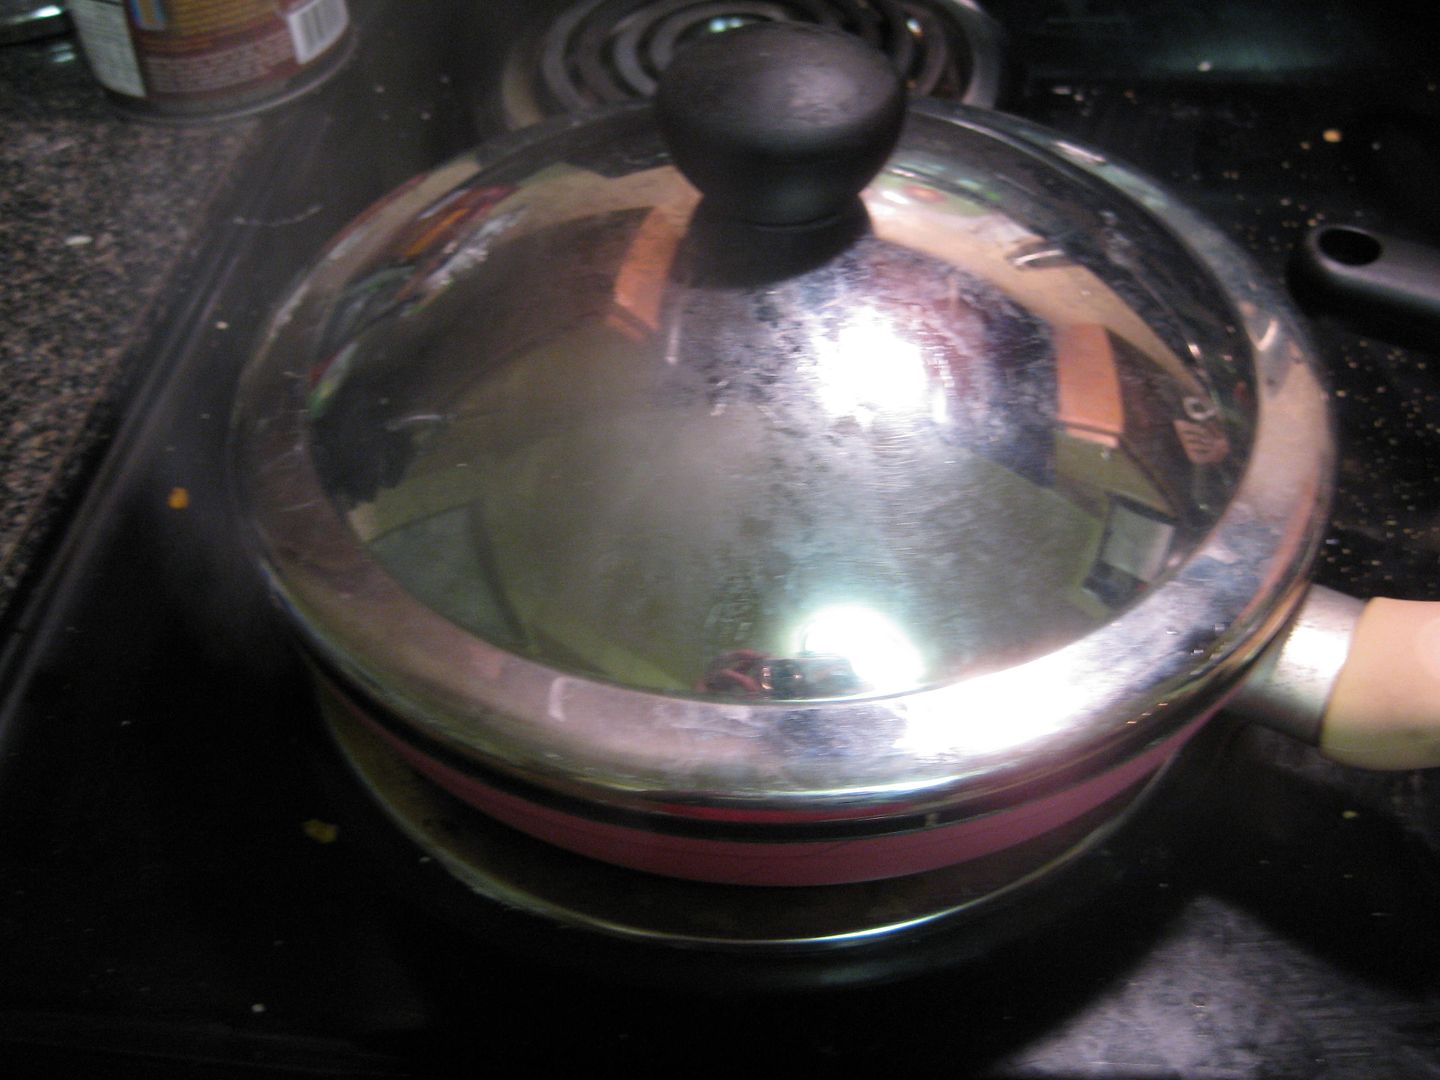
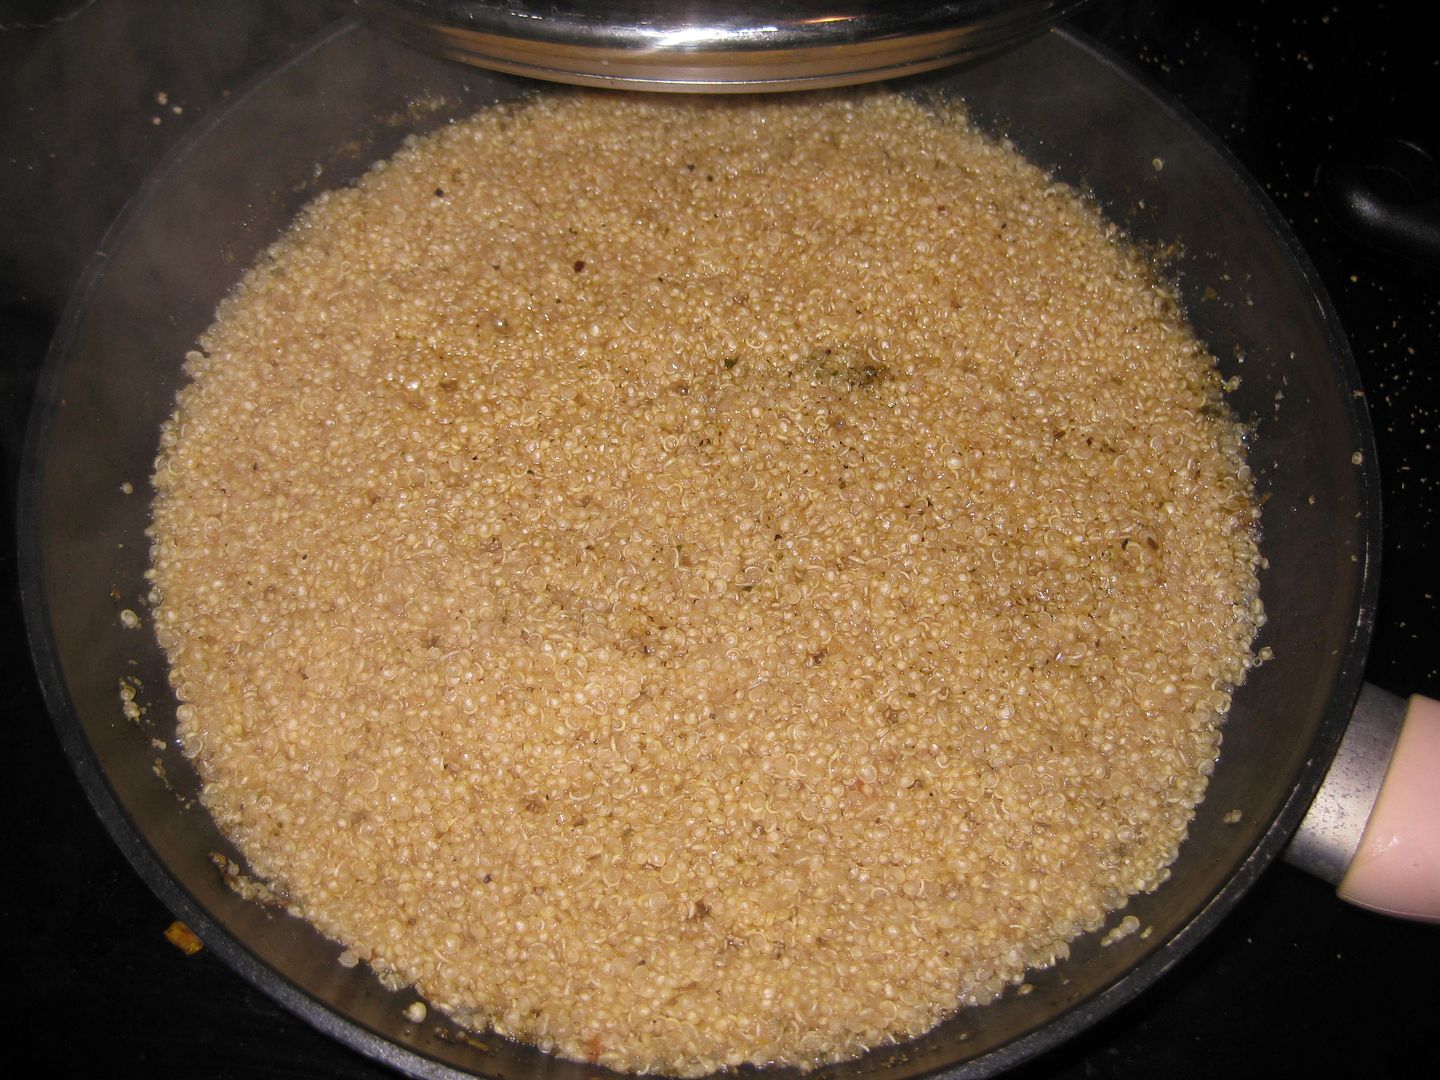
Turn on high until it begins to boil, then turn the heat down to let it simmer. Cover and cook for 15 minutes.


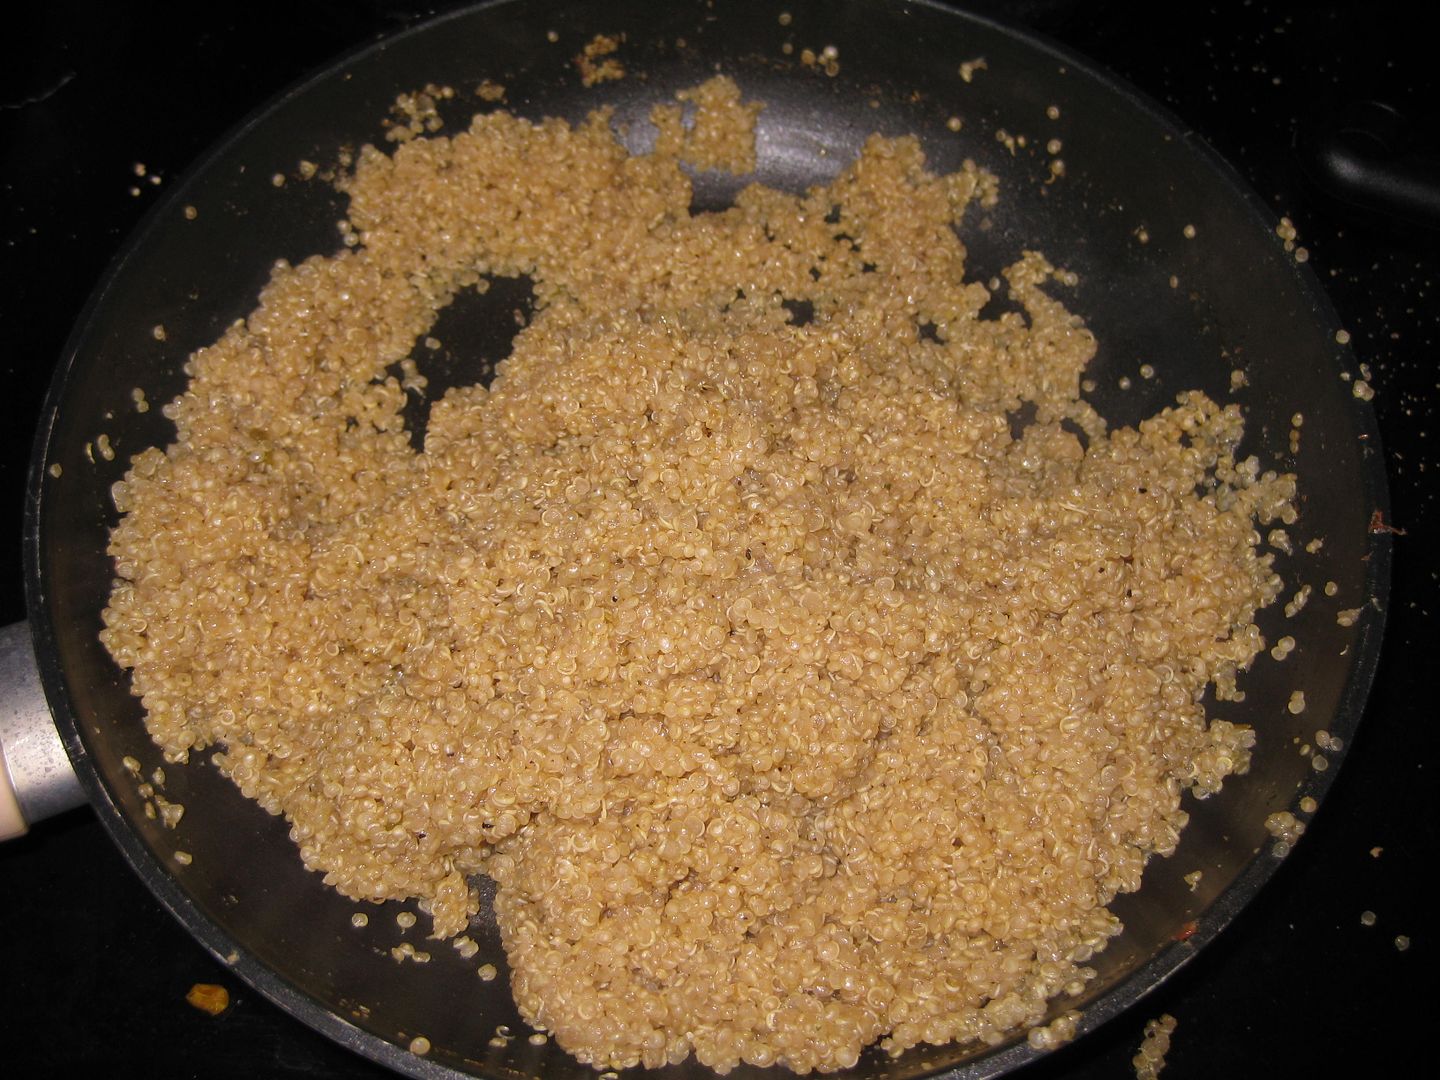
you will begin to see the quinoa to absorb the water, you will also see quinoa sort of pop open.

There is still some liquid remaining, make sure towards the end you give it a good stir to prevent burning and sticking to the pan.

Also it helps to "fluff" the quinoa.

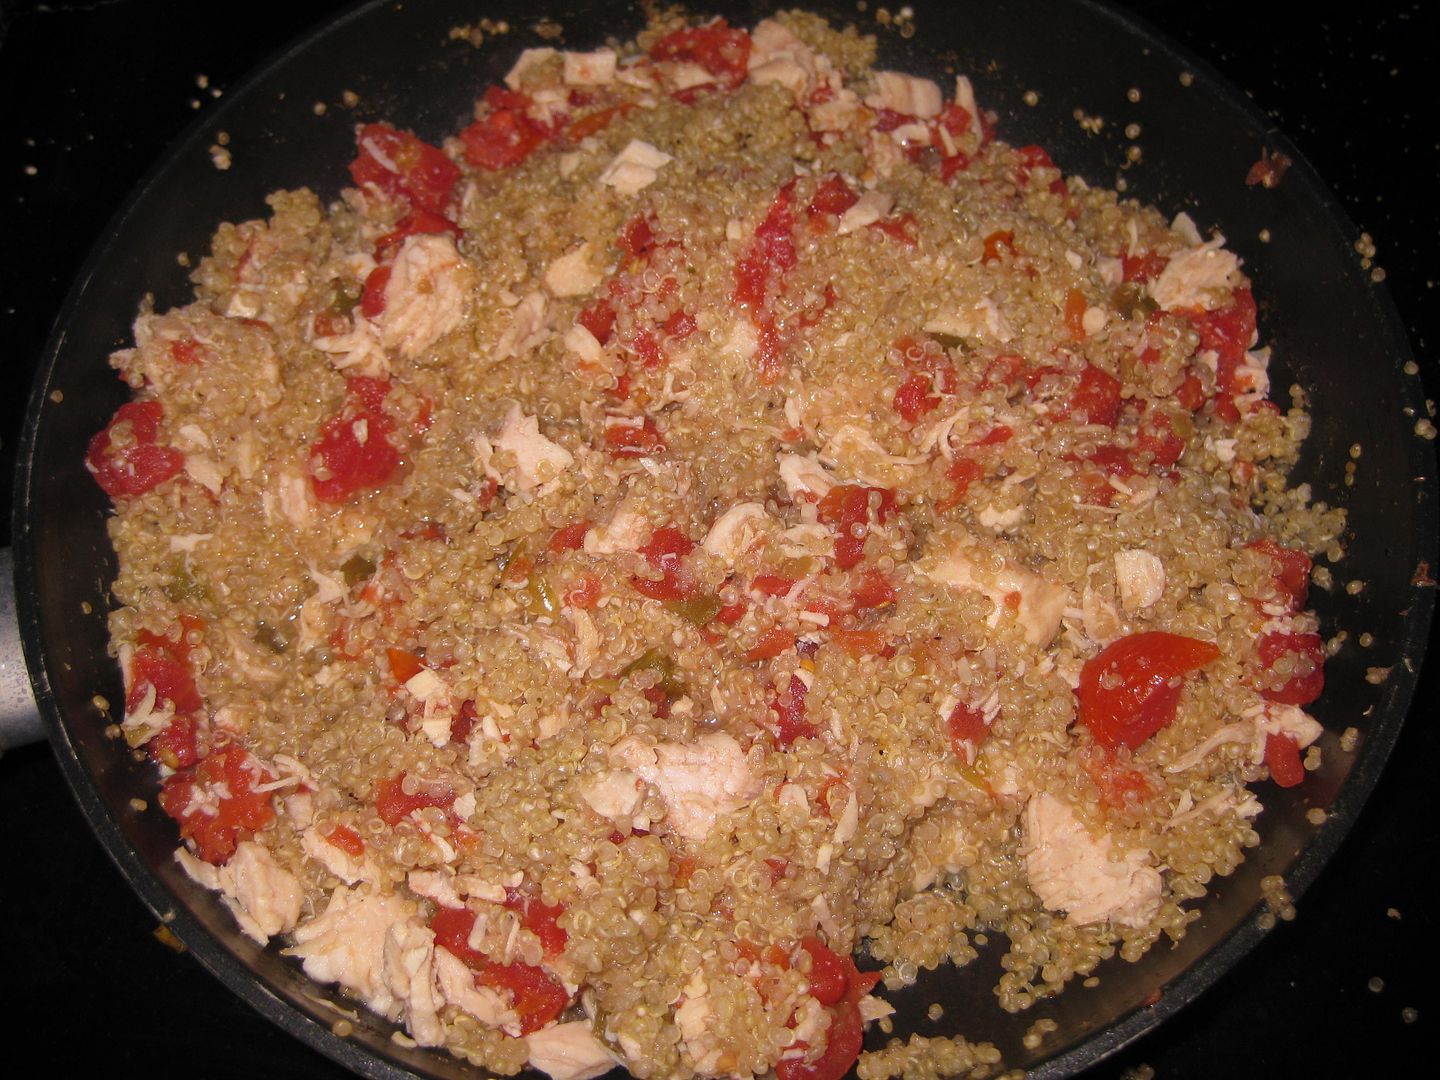
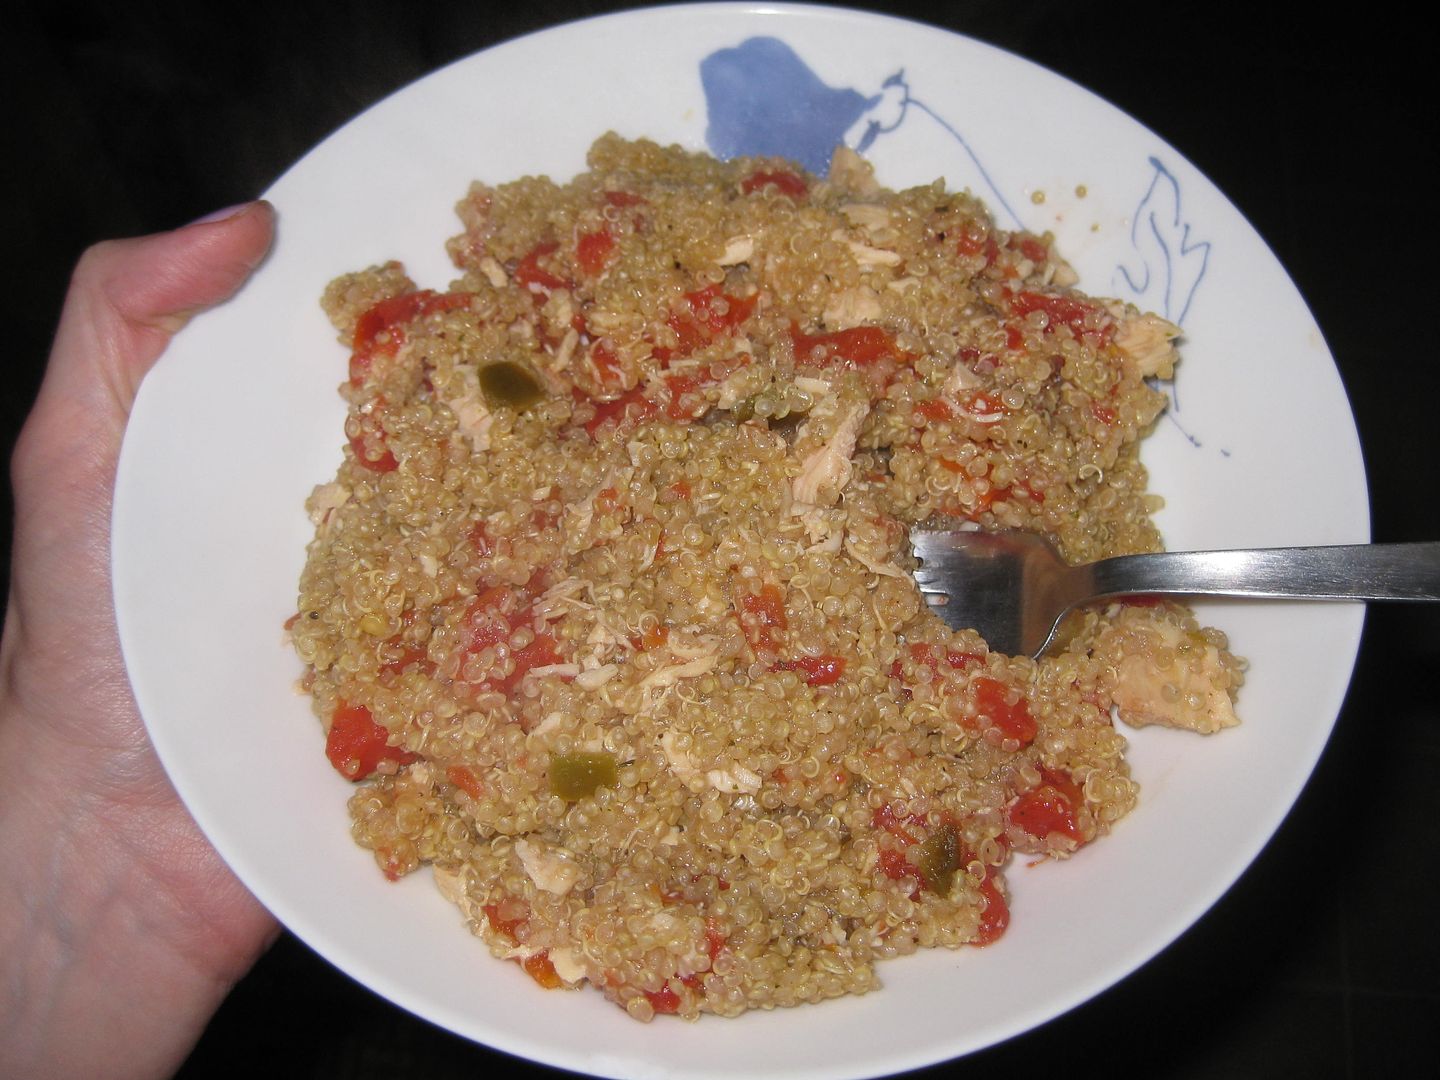
Add your tomatoes and chicken to the finished quinoa. Mix up well!


Done! This is a great dish that is high in protein and perfect for the cold days. Mature heat

Now you have my secret recipe. Everyone who has tried it loves it. They have no idea it comes from cans and is done in less than 20 minutes! I guess that is for the win! :)

Cheers,
Lauren

LinkWithin

Related Posts Plugin for WordPress, Blogger...