Well hi welcome to my little blog. Just my little corner of craftiness, sewing, and refashioning. I am also a newly gluten free eater so you have a little bit of recipes mixed in here.

Sunday, March 31, 2013

Pintastic! New sewing room toy!

I am trying to pimp my sewing room. I find that now that my time is much less at home I like the sewing gadgets that make my life easier. :) I found this at Joann Fabrics on clearance! It was $20 from $65

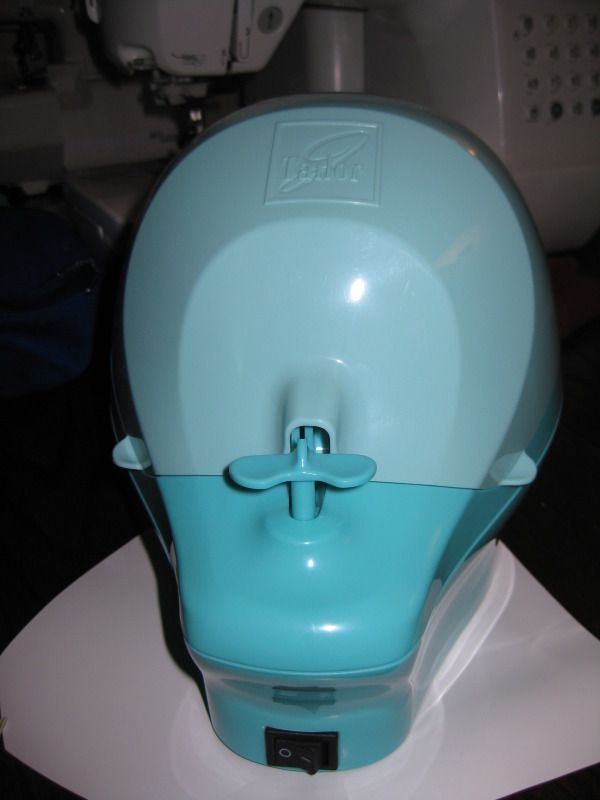
Yeah sometimes its a pain to grab pins and I thought this might be nice for them to just pop right out at me.  Here is what it looked like out of the box. Pretty basic. 

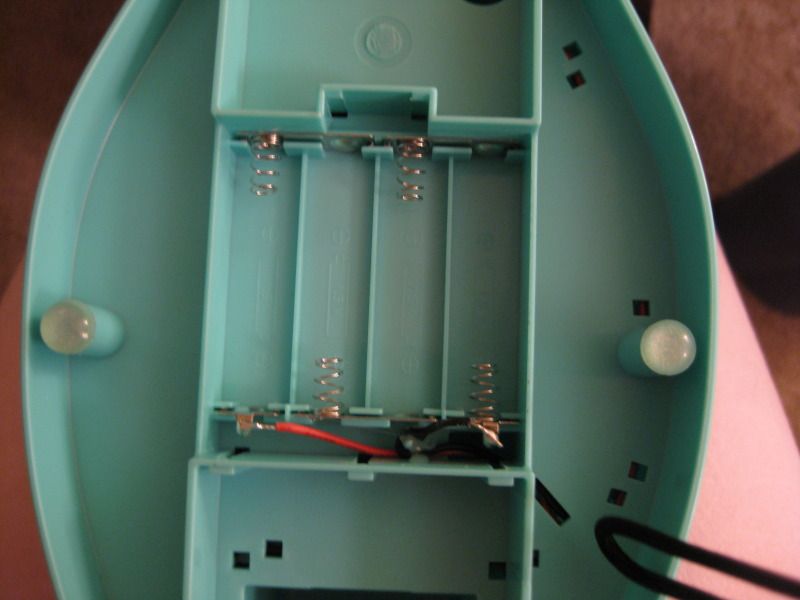
Uses 4 AA  batteries. Which I thought was a lot. It has just a small motor.

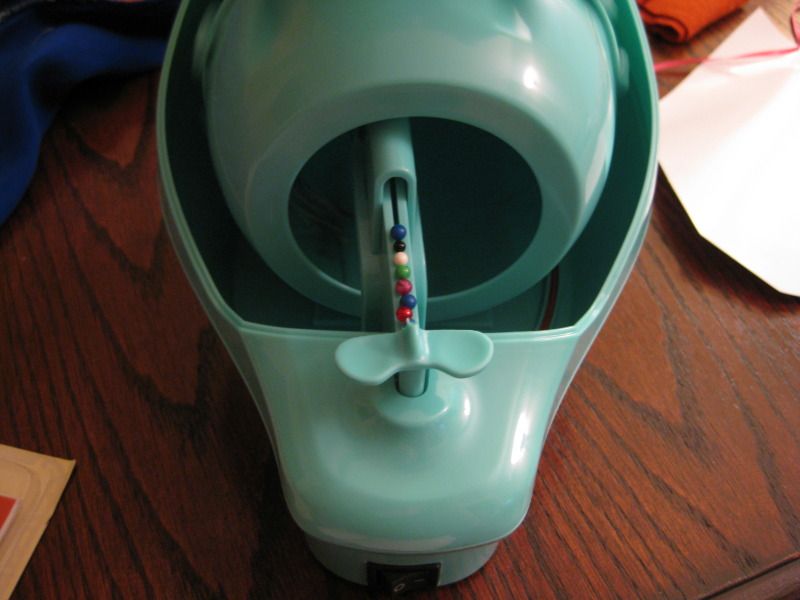
Basically the machine works as follows... you place your pins in the rotating bin and it turn and the pin heads will drop into the slot and line up. 
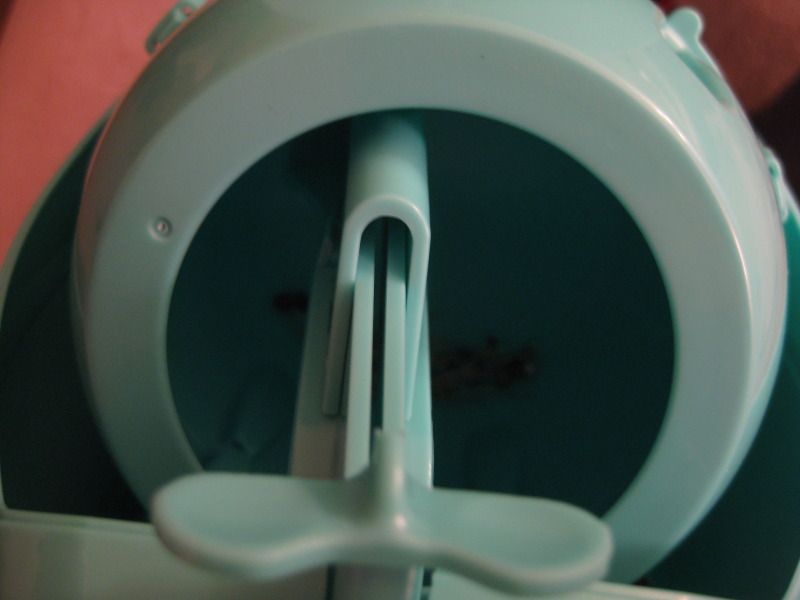
Seen here. 


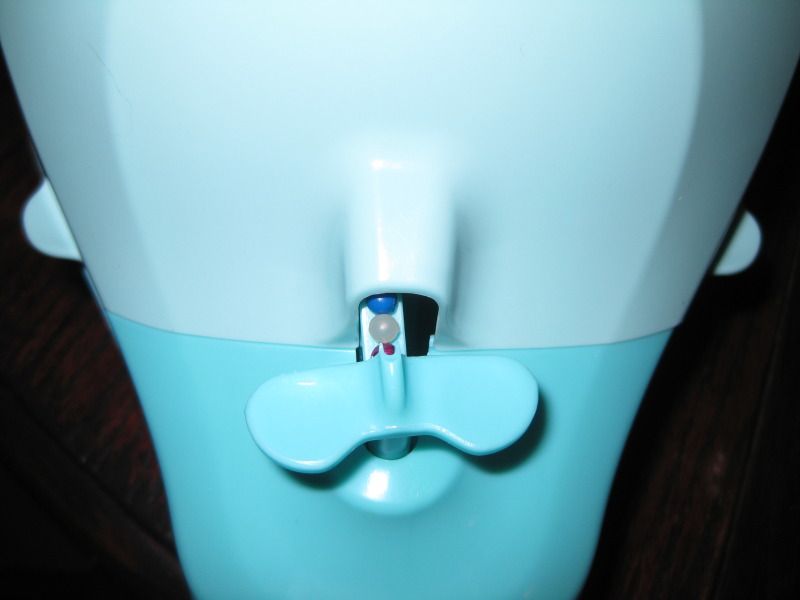
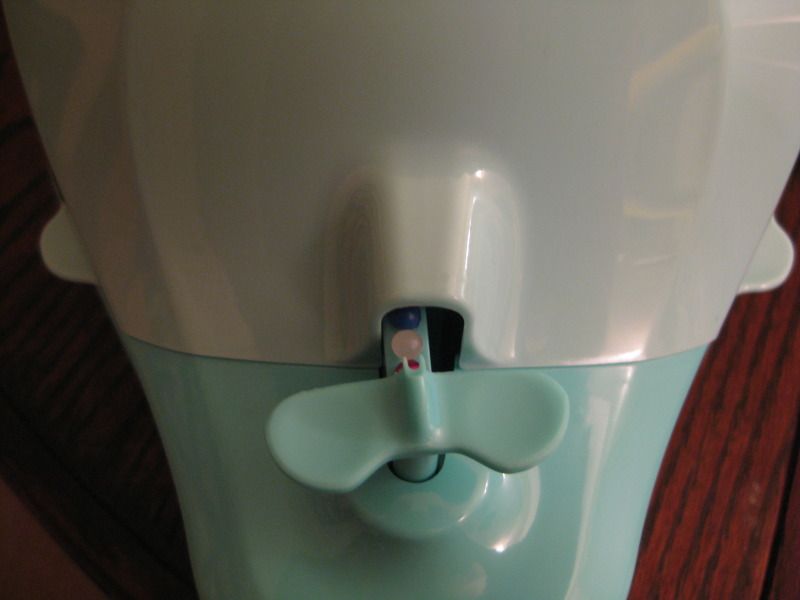
Push the thing at the bottom and you have your pin ready. 

From my experience with this little gadget here are some of the cons:
- it does better with pins that are bigger and have a bigger head
- there is a threshold you have to reach for the pins to fall into the groove
- adding the pins to the tumbler portion can be annoying
- once the row fills up it is best to turn it off and use your pins. Sometimes they begin to pile up-especially with the smaller ones. 

I actually purchased bigger pins, since my pins are old and some are dullying, I treated myself when things were 50% off. Changing pins helped a lot!

Would I have purchased this item at full retail. heck no! Would I recommend it to others? That is a good question, b/c I don't think this truly helps me out. It is kind of a gimmick to me, which is why it was on clearance. It is kind of fun but sometimes I find it quicker to just put it into my pin cushion. I move way faster.

xoxoxo,
Lauren

Saturday, March 30, 2013

Pink Pearl and Ribbon Necklace

I started this project one day after seeing some pins on pinterest. It looked easy enough! So I grabbed pink ribbon that I have excess of with pink pearls, thread and of course thread heaven. I love that stuff!


Basically I knotted the ribbon and thread (not together). I inserted the needle through the knot to hide the knot of the thread. Add a bead. Then I went through the ribbon. Add a bead. Then I wrapped and went through the ribbon going the opposite direction. Repeat Repeat Repeat. I made 3 ribbons of beads at 3 different lengths. I had just enough.

Now to combine them... I used these rings from a necklace I never wore and I think was part of the beader's stash I purchased. I cut between the big circles. I will save the oval ones for later.


I started with the short string and tied a knot on the ring. Repeat other side. Then add the rest of the bead strings.


I burned the ribbon to prevent it from fraying


But then added glue too. Too afraid. yes I made another version... stay tuned!

Then I grabbed some jump rings and chain.


I wanted the necklace to sit sort of low, so I used long chain. 2 jump rings per chain on each side with a lobster claw. Yay.

Done!


I love the pink! Yay.

xoxoxo,
Lauren

Friday, March 29, 2013

DIY dish detergent try

Alright well many of you know I make my own laundry detergent. I made it back in December 2011/January 2012 and I have not turned back. I have made 2 batches now and still have not ran out. Now it was time to try my hand at dish detergent. Because I would rather put dishes in the dishwasher than wash by hand. I don't like extra work.

I got my recipe from lady with the red rocker which you can find here.

Pretty easy

2 cups borax, 2 cups washing soda, 1 cup salt, and 1 cup lemishine. Mix together. 

Yes it is that easy. Let's try it out on some dishes. 

Really all I had to do was cross my fingers and see what happens. Let's seee......
First of all, wow my dishes came out clean! Would you believe I had dried up cheese dip on this bowl?


There was no residue on the glass either. I am impressed and for seriously easy prep process and hey it is cheaper!!

Totally win for me! I would definitely say try it out!! :)

xoxoxo,
Lauren

Wednesday, March 27, 2013

Foldover Yoga pants- Meow!

Oh yeah I decided to take my hand at sewing a pair of foldover yoga pants!!!

I found one day a pattern from Seamingly Smitten and decided to try their pattern.

I bought it and printed it out. Based on my measurements I am a size small. (wahoo!)

There were a few random errors in the printed pattern like the red dotted line ended. Also one side didnt match up right. But I figured it out. 


Cutting took the longest! I sewed the pants together in a jiffy!

Poof done! Really they took no time! But wow these pants are bright!!


So I don't feel comfortable wearing so many spots so I added a half skirt (from New York City Ballet, I love this dance skirt). It tones done the leopard. 


I cut 36 inches and it is long. For my body (I am semi-short wasted) I would actually take 1-2 inches off the top of the pants. This would then fit just right. The foldover band is also big but you can do a lot with it. I would definitely make this pattern again. For this type of material, I would almost cut a medium instead. It is hard to say.  But wow I feel a little wild and semi-jersey shore.

xoxoxo,
Lauren

Tuesday, March 26, 2013

IC 13-6 Peeps

This is usually my favorite Iron Craft Challenge- when Iron Craft first started I made this Bellydance Diorama for the challenge.

This was a big ordeal to make but I loved it. It was awesome. Last year I was not part of Iron Craft to put a dent in sewing. So First I thought I would make a candle decor.


yeah no. tried flowers that did not work. 

So I slapped them into a vase. They were kind of cute. LOL

So not my best iron craft. I did not want to go and buy more peeps b/c I would then eat them... I have a wedding to be in-got to keep my girly figure. ;)

Ok so here's to next iron craft and coming out with a bang! LOL

xoxoxo,
Lauren

Saturday, March 23, 2013

Dirty Iron

Wow after all that chiffon sewing and starching and ironing, my iron looked rough....

I mean rough. And I have also had some interfacing issues..... LOL I mean my ironing cover looks rough. I had some iron-off iron cleaner I thought I would give it a try. 

I followed the instructions and added a strip of the items to a washcloth. I then applied the iron and moved the iron in a circular motion.

Um it began to clean it up but I had to repeat, repeat, repeat! and BTW YOU NEED TO BE IN A SPACE WITH A GOOD VENTILATION. I went into my bathroom (as you can see in the background) and turned on the fan vent. And wow smoke was everywhere!

Kept going and used some q-tips to clean out the vent holes. 

Done Wow and clean!

Don't wait like I did to clean your iron like I did. Good ventilated area and some old wash cloths (I have so many of them). Let's see how long that lasts!!!

xoxoxo,
Lauren

LinkWithin

Related Posts Plugin for WordPress, Blogger...