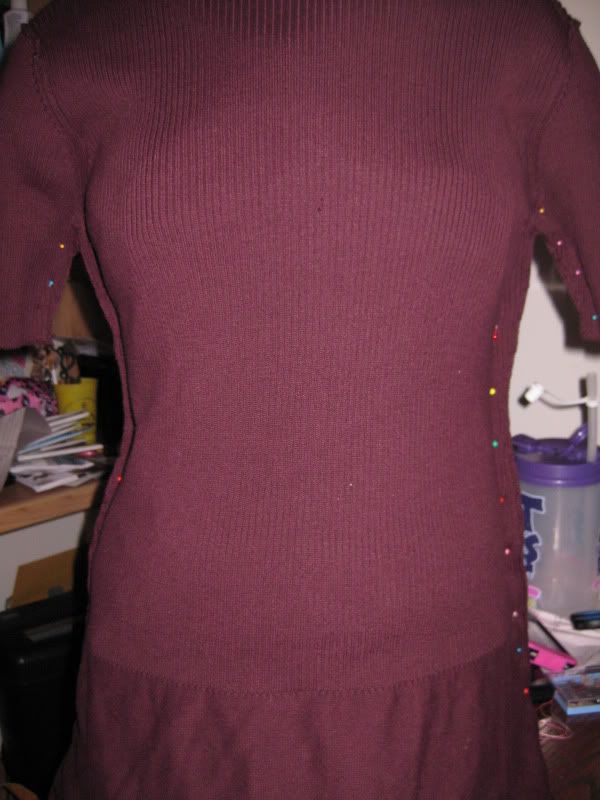
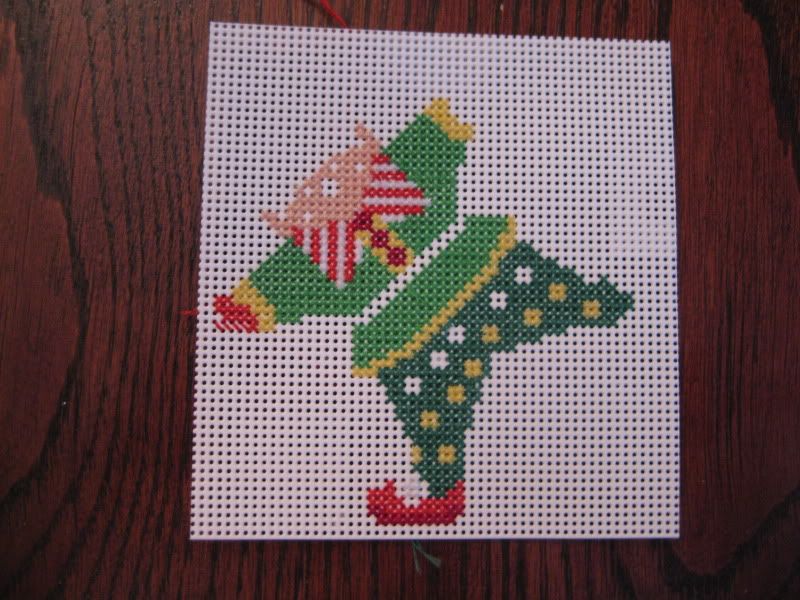
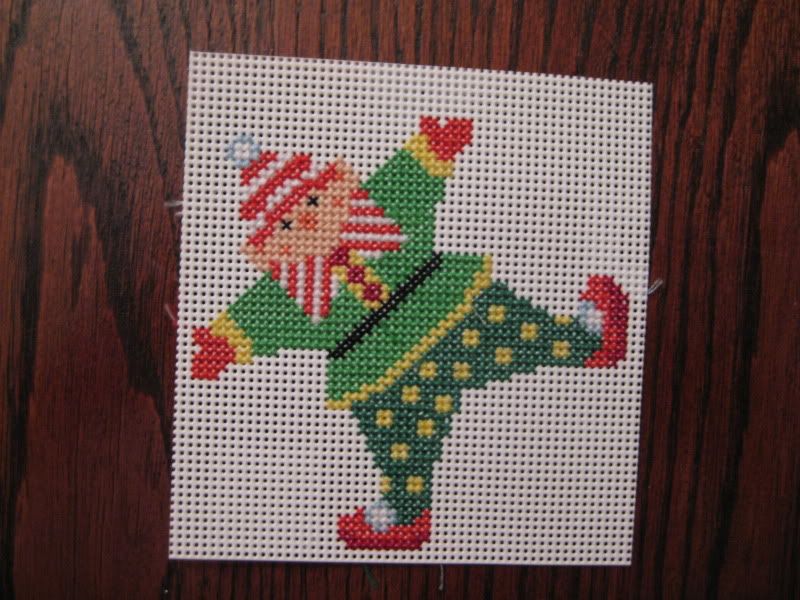
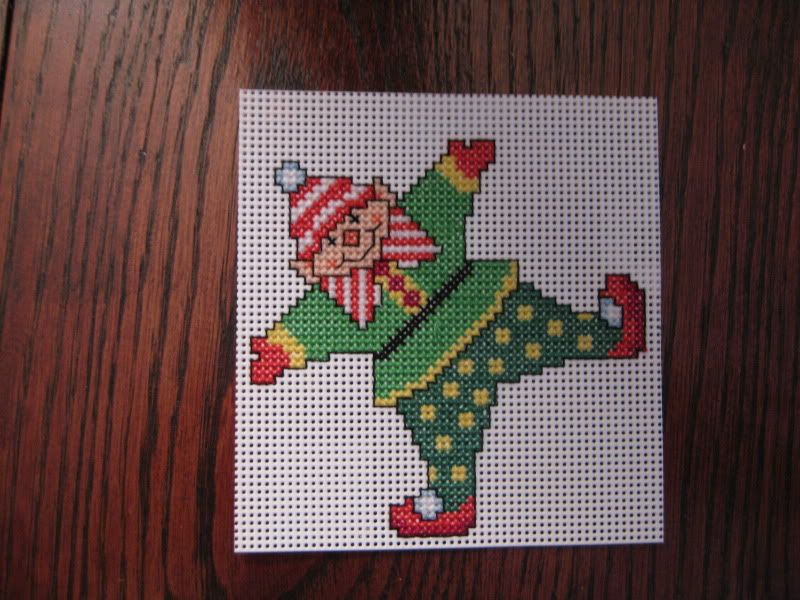
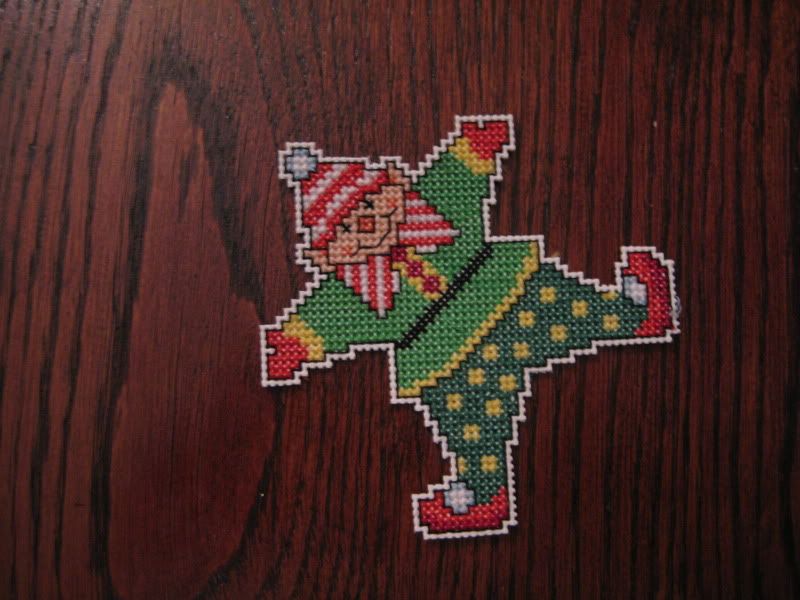
So when 2011 started and I gave up buying clothes for an entire year to either sew from my stash or refashion. I thought I would set the sewing number to 100 things. Regardless of the size if I used a piece of fabric, I got a fabric point. And so started my journey.
My biggest goal was to be able to get all of my fabric stowed away somewhere. Under the bed, in the closet, etc. Currently, yes I do have fabric stored under my bed, in my closet in a series of suitcases, but I still have a lump of fabric outside of the areas in my 2nd room. The lump has decreased in size but it is still there.
However, I did make 100!!!!! Thank you baby showers for allowing me to use my fabric to make gifts! I also gave some away (which amounts to 1 fabric point a piece).
Here is the run down... I started at 76 points... Not all have been posted on my blog but they are slowly making their way...
+ 6 to Sonja for giving all the "red" fabric I had, whether it was with a pattern or what.... It was used to make pillow for a school teacher in her classroom. What can I say you know I am generous ;)
+6 to my mom!! Yes my mother raided my fabric stash when she and my father came to visit in August. We went through to find all the off white and cream fabric so she could make curtains and pillows for the newly redone house :)
+1
Pink ruffled tank. I used some of my ribbed pink knit I had in my stash
+1
Maxi dress. The easiest maxi dress ever! Super comfy too!
+2
Peach lace top+1 leopard bellydance skirt. This one is currently in the making but one night I got gutsy put in an invisible zipper on this skirt I had been waiting forever to do b/c I was a chicken. Now it needs some bling!
+1 the matching covered bra
+1
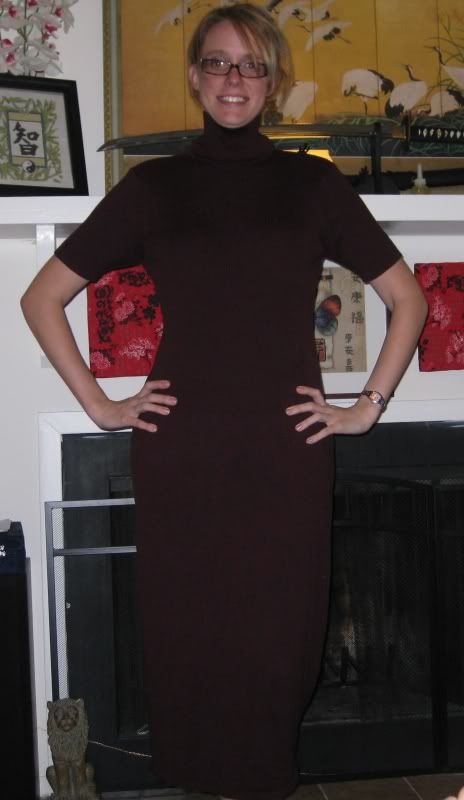
rose dress and easy dress to make!
+1
the peter pan collar on my blue polo refashion+1
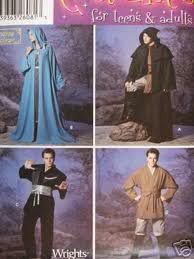
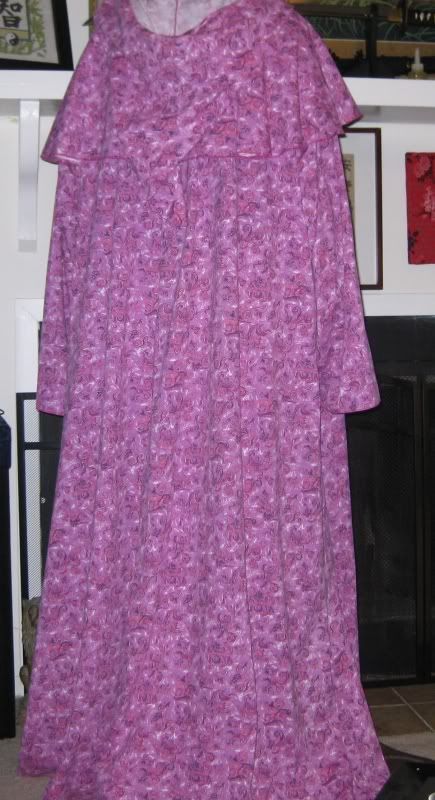
my renn faire robe/dance coverup! I almost want to give myself more points for this since IT IS HUGE!!!!
+1
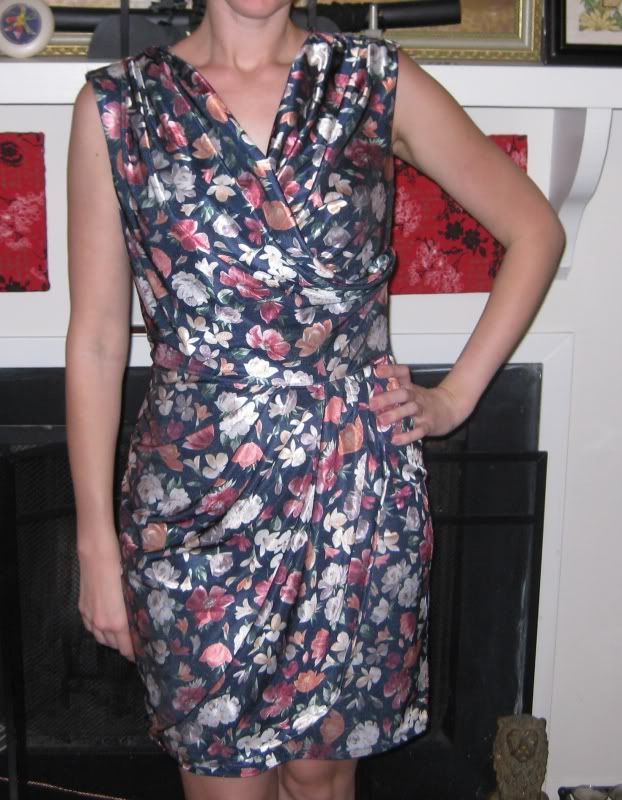
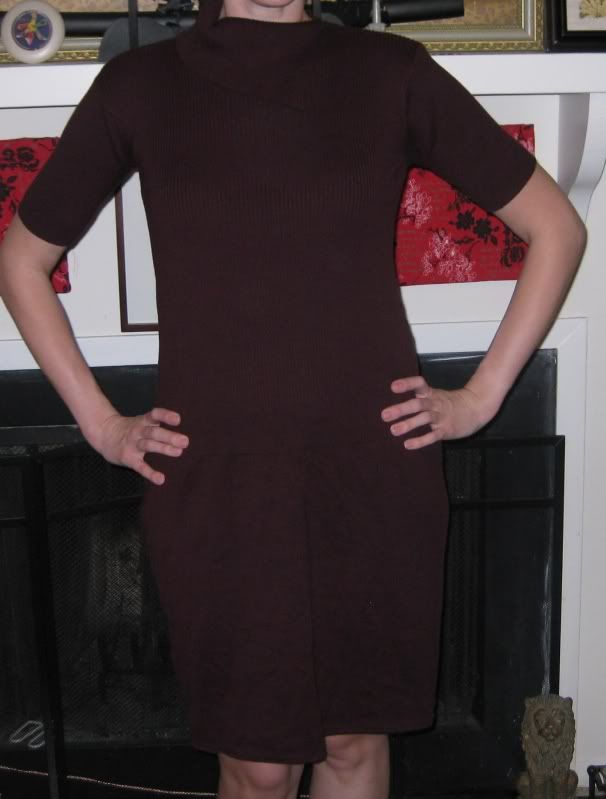
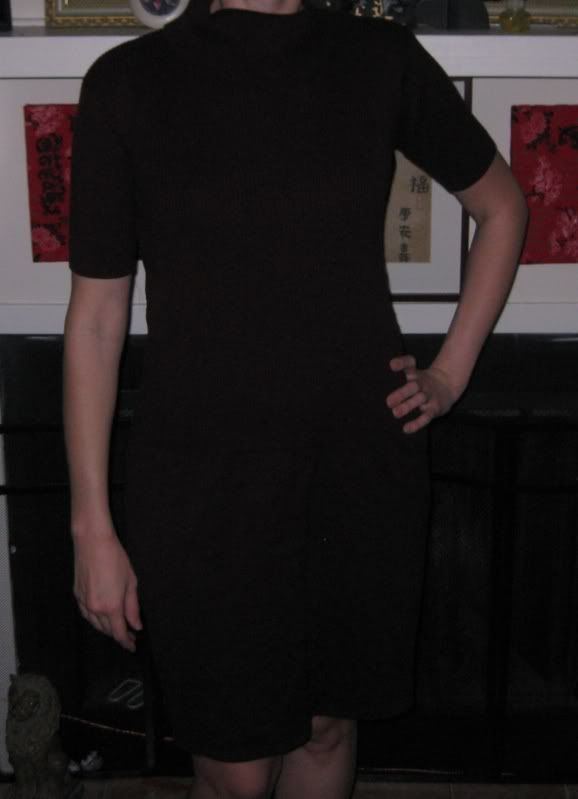
the navy blue swag dress! the butterick pattern I will probably not sew any time soon!
+1
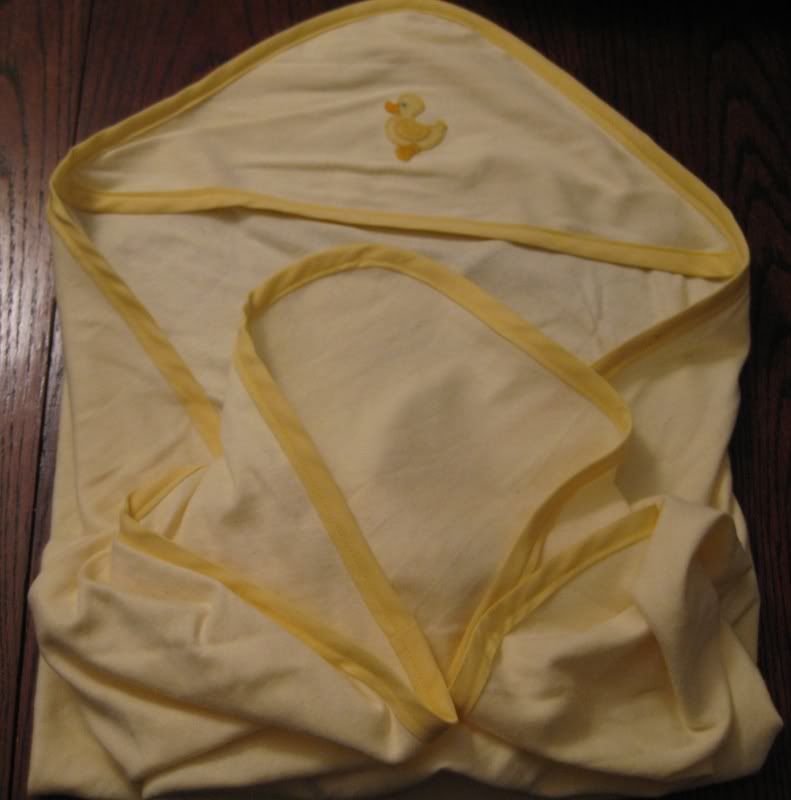
baby duck bath towel i so want to make one for myself
+1
itty bitty dress- I want to make like 30 of these just because they are so cute! I will keep this pattern b/c I will use leftover fabric to make some more later! :)
+1
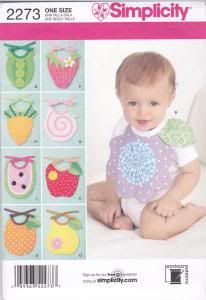
garden bloom bib another design I will keep playing around with.
+1
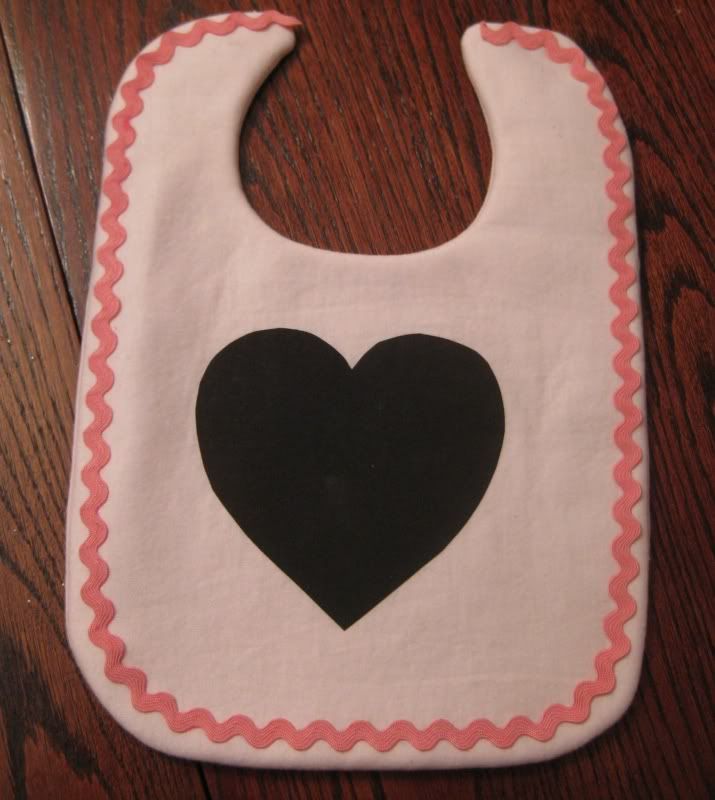
Pink gingerbread bib+1
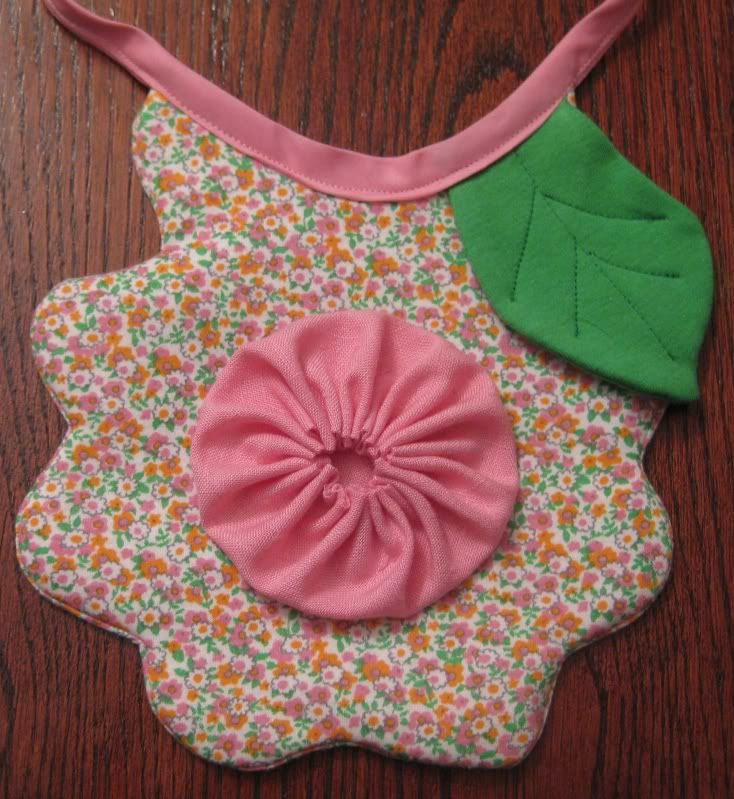
Flower yo-yo bib>/a>
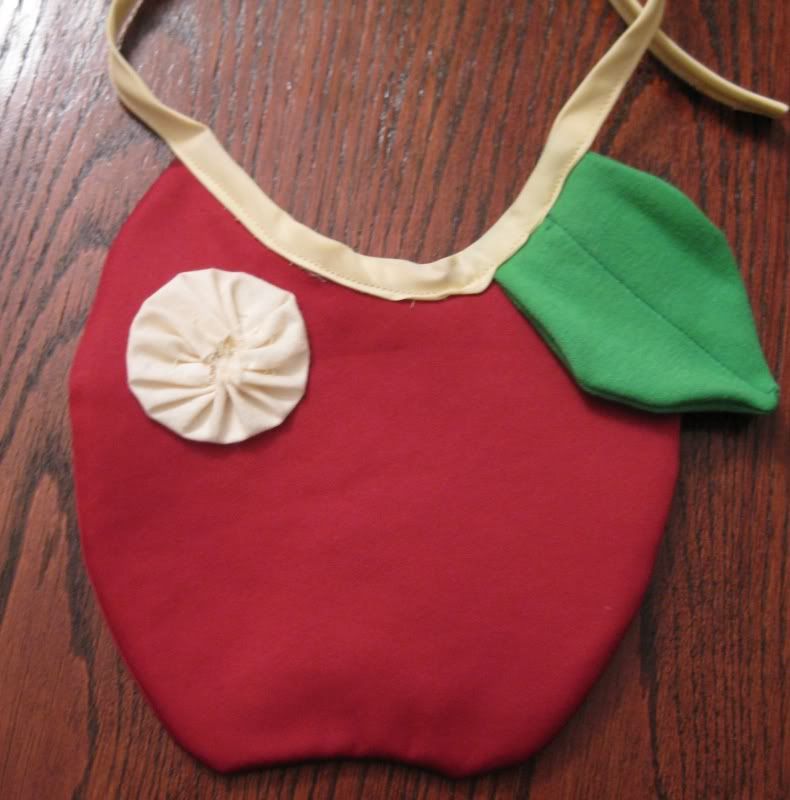
+1 Apple bib+1
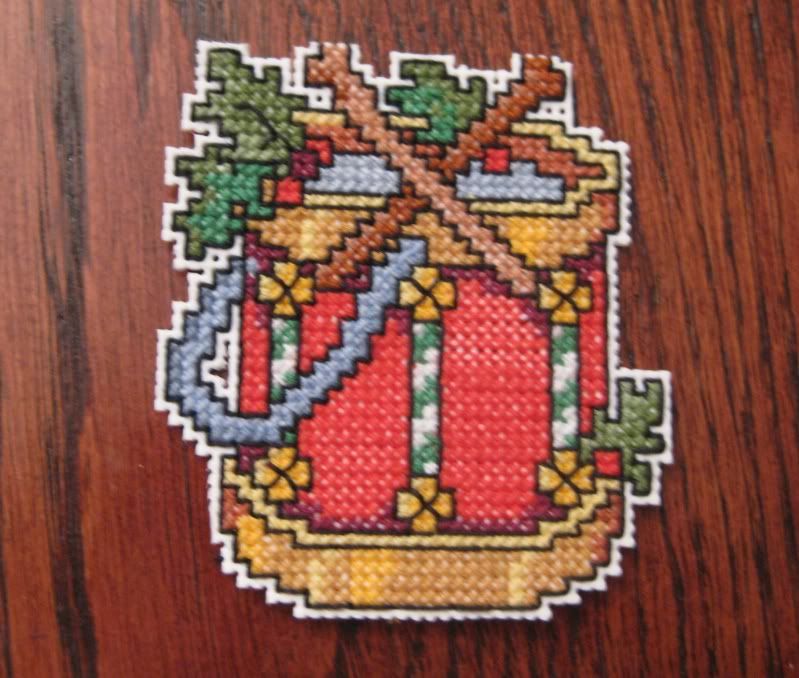
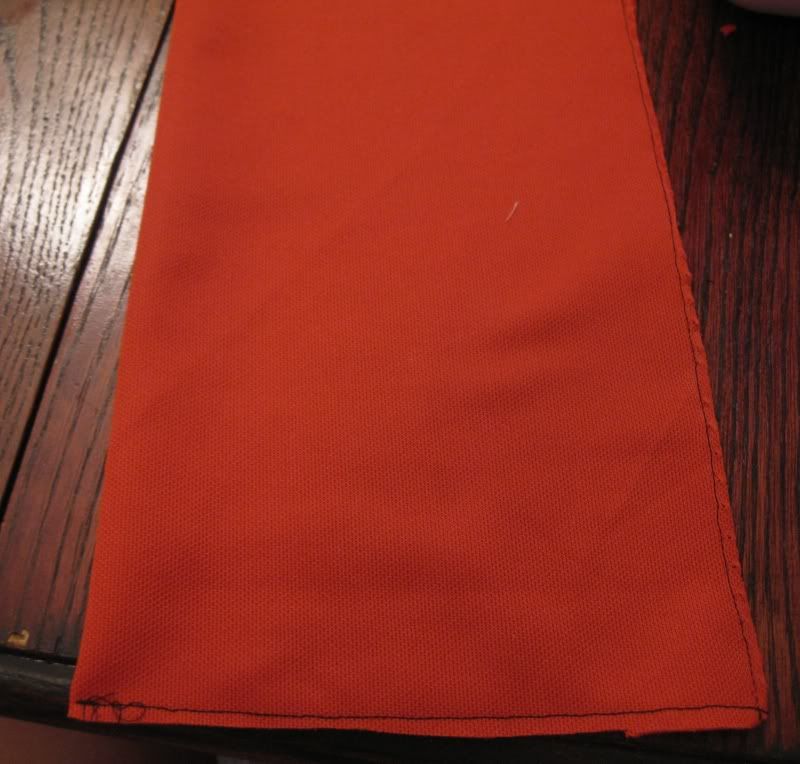
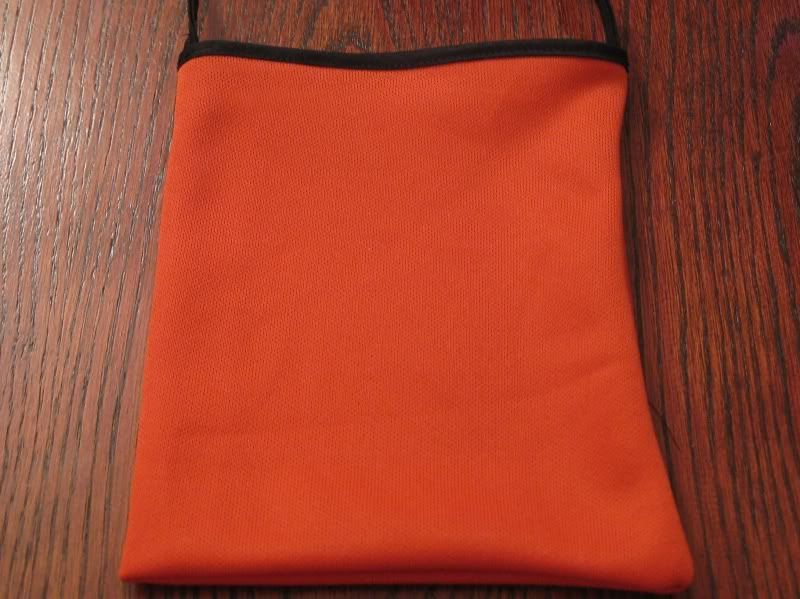
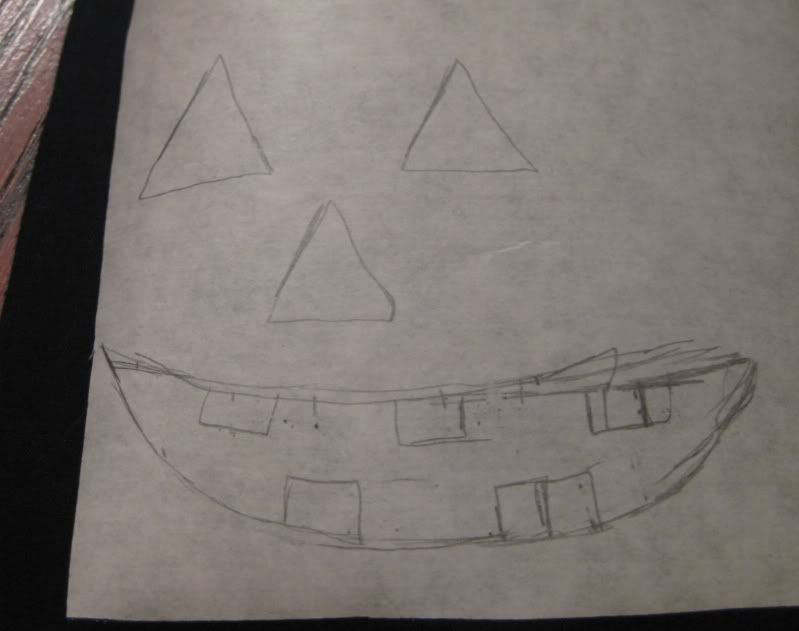
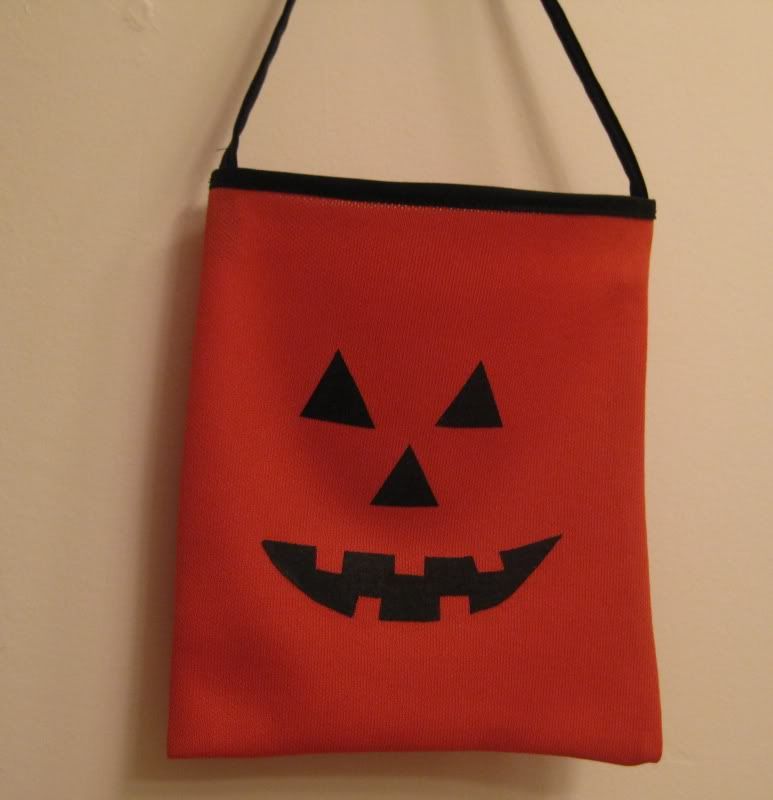
Pumpkin bag+1 Lily's pillowcase dress
Grand total.... 106!!!! So I passed my 100 points mark! How great is this!! Celebrate!!! Happy dance!!! Jazz hands!!! Wahoo!!!
I am so surprised and proud of myself. There are 3 months left in this year (3 months!!!!) and I think it is completely attainable to hit 150....
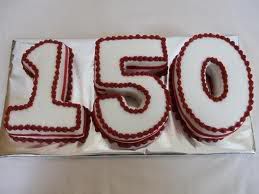
So here's to attaining my goals and here is to hitting 150!
I hope everyone else can reach their goals by the end of 2011!!
XOXOXOXO,
Lauren