Well hi welcome to my little blog. Just my little corner of craftiness, sewing, and refashioning. I am also a newly gluten free eater so you have a little bit of recipes mixed in here.

Thursday, July 28, 2011

Handmade Jewelry Thursday 7.28.11

Welcome to my 2nd installment of Handmade Jewelry Thursday. Pretty much an amusing attempt to make jewelry.


I had purchased this chain maille necklace kit a long time again. Its the helms pattern. I thought it would be cool to work with jump rings to make this cool necklace. Wow was I in for a surpise.

First of all when you get the hang of the pattern its not so bad. The directions are easy to follow, just towards the end it does get a little heavy and a little harder to work with!! Its 2 big rings, 2 small rings and then a floater ring. Repeat. That floater ring in my opinion, a 2 year old throwing a temper tantrum in the grocery store, its hard to deal with!

After this project was complete (at least it did not take me as long to make since it has been in my craft box for years!) I swore off jump rings. I do not have the panache with metal. Maybe I have not worked with metal enough to get a feel for it. But I would rather sew small seed beads onto fabric! Seriously.

Conclusion: I am a guru with a needle, not with pliers.

Once this project was done I wanted to add something else to it, just didn't want a chain maille necklace. In my bead stash I had these beautiful clear ab octagon beads that had jump rings on them!! Yeah!

I found the center of the necklace with a ruler and began attaching my gems.


Tada, easy necklace. More bling. :) Me likey!!


Note to self, give up the chain maille. Let the professionals do it!


XOXOXO,
Lauren

Wednesday, July 27, 2011

Pink ruffled tank top

For the iron craft #30 challenge heat, I expanded on the topic. So I made something to beat the heat- adorning a tank top. Going through my clothing/fabric stash I came across 2 matching pink tops. One is a tank op and the other is a short-sleeved shirt. The exact same color. The tank is boring and I have plenty of other tanks and the short-sleeved is just big and boxy looking. No shape.


So I decided to make a ruffle tank top using the shirt as the ruffles onto the tank.
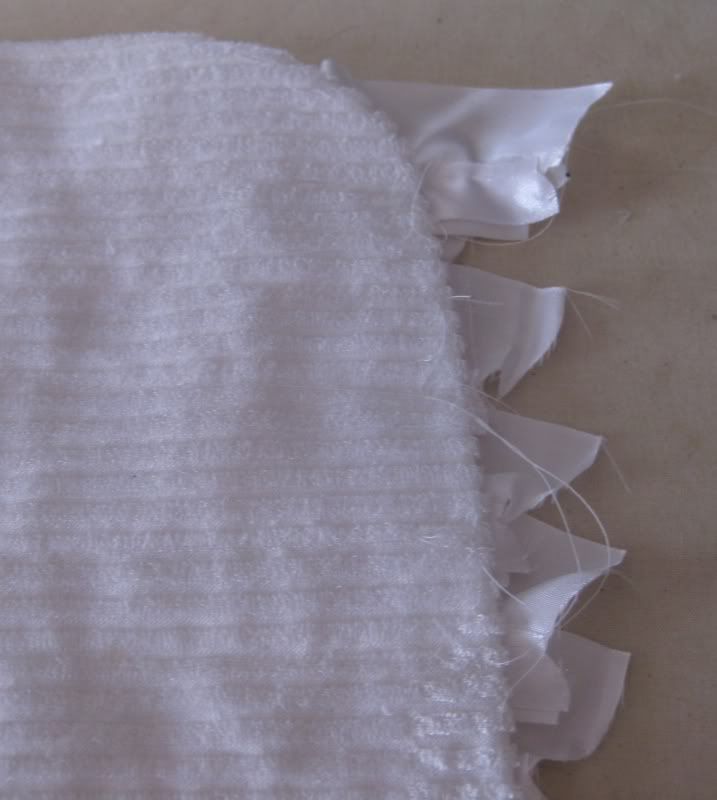
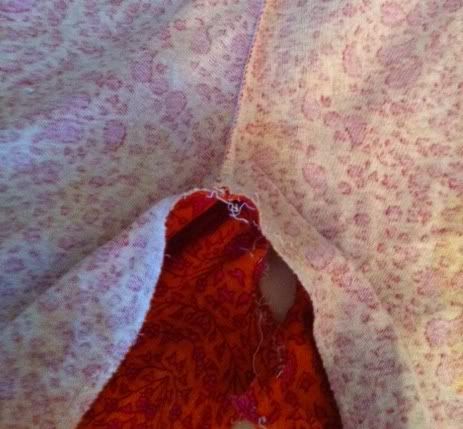
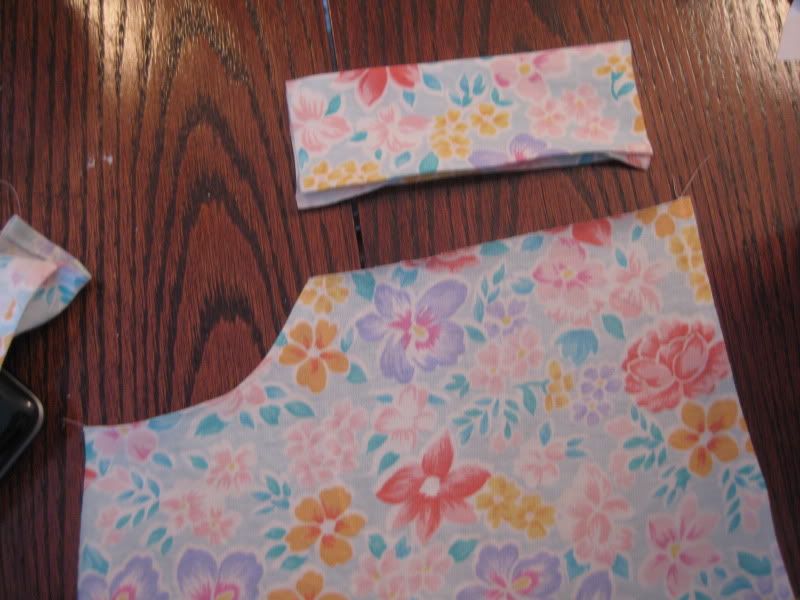
First, I cut off the bottom hem of the shirt.Next, using my rotary cutter still I cut 2.5 inch strips across the top. Also cut off the side seam. I figured out which way the knit folded b/c i wanted it to roll down towards the shirt. Additionally I attached 2 strips together in order to complete 1 ruffle across.


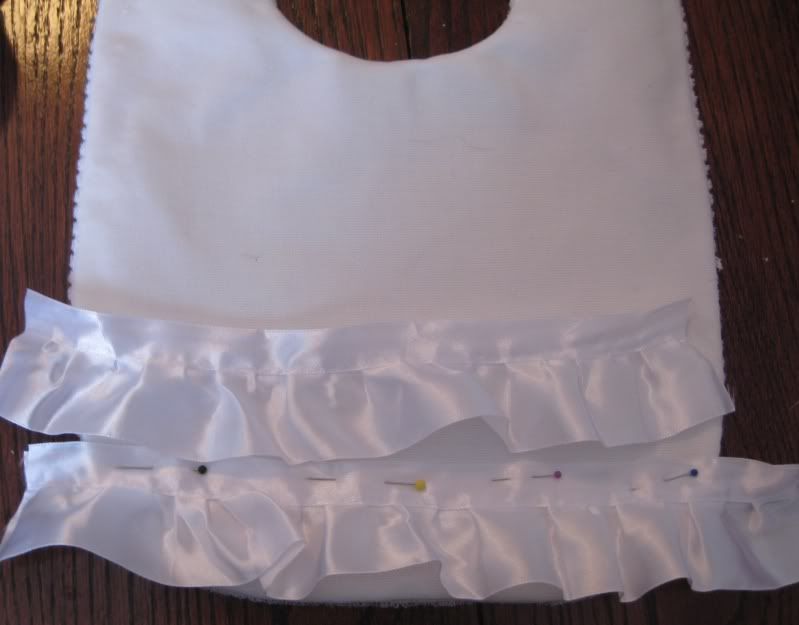
Next, I was ready to start ruffling. I attempted to use my gathering foot but it doesn't like the tshirt material. I just went the old fashioned way- long stitch with a 1 on my tension. Pull, pull, pull. Poof ruffles!

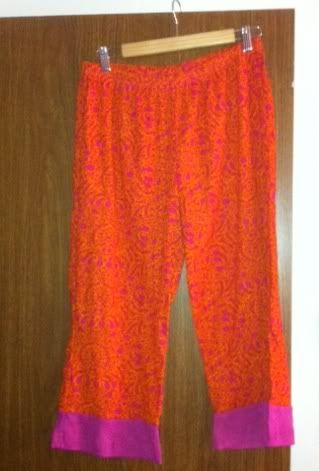
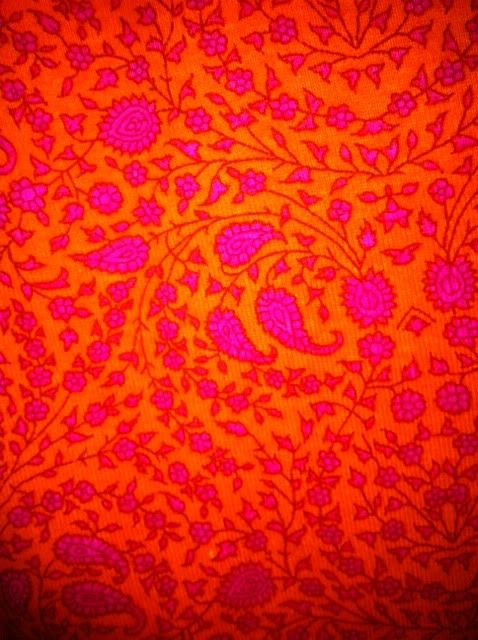
Next, add to the tank. But...... was I was not going to have enough fabric to cover the tank top. FAIL!!! So I went to my stash of fabric (to the stash!). I found this pink ribbed knit fabric that would work with this project. And so I cut more strips, ruffled, etc. Now I would have enough fabric to cover!

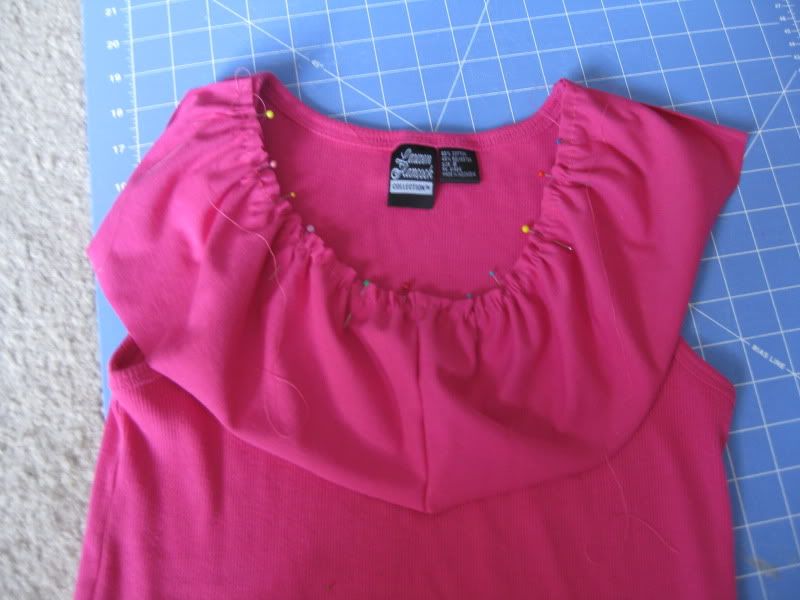
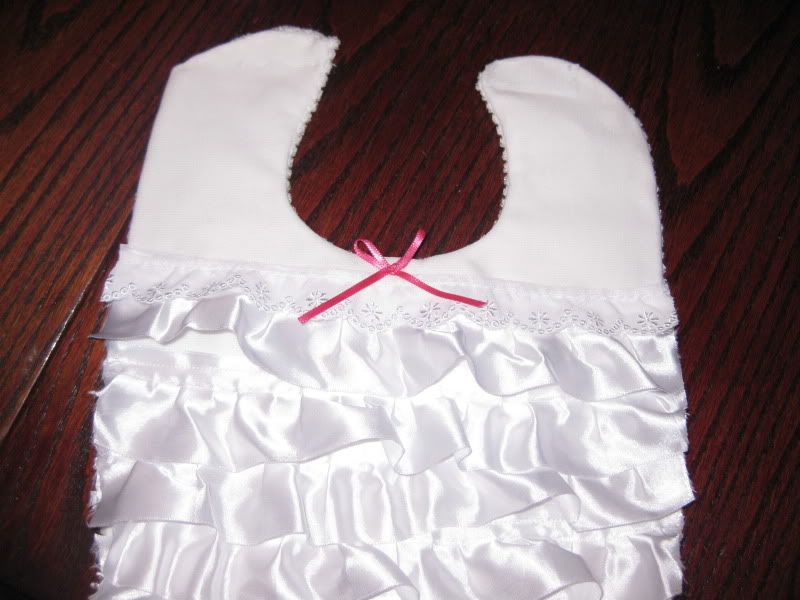
The top of the tank top I wanted to use needed something on the neckline so I used the last part of the shirt to make a large ruffle. I think it may have been around 5 inches. I was not a fan but I wanted the shirt to take shape first and then I could figure out what I need to do.


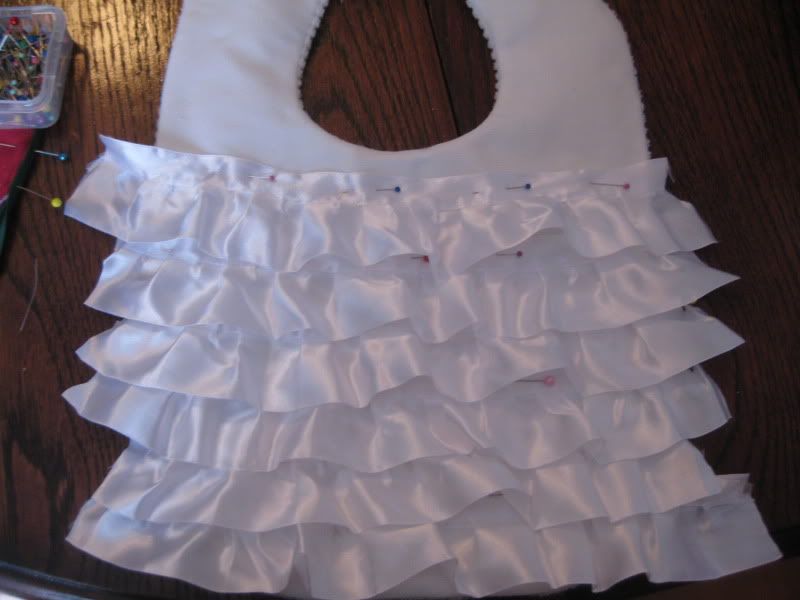
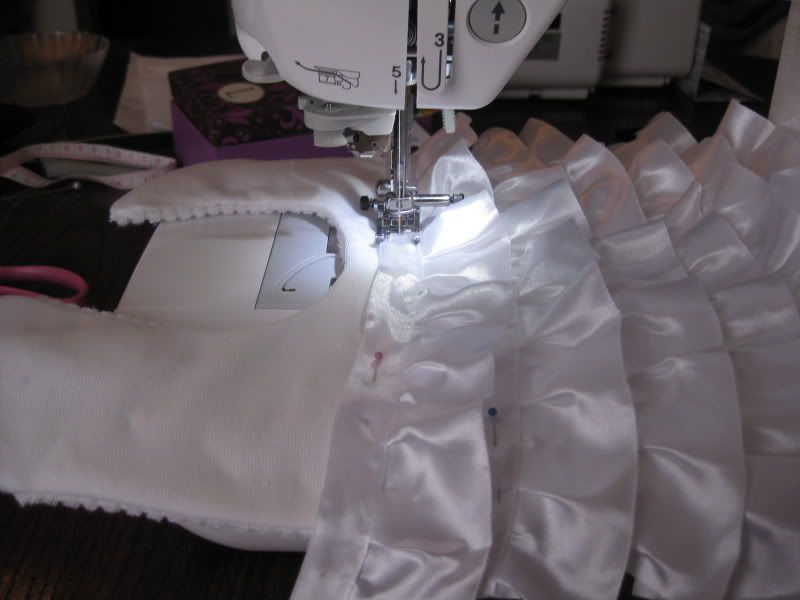
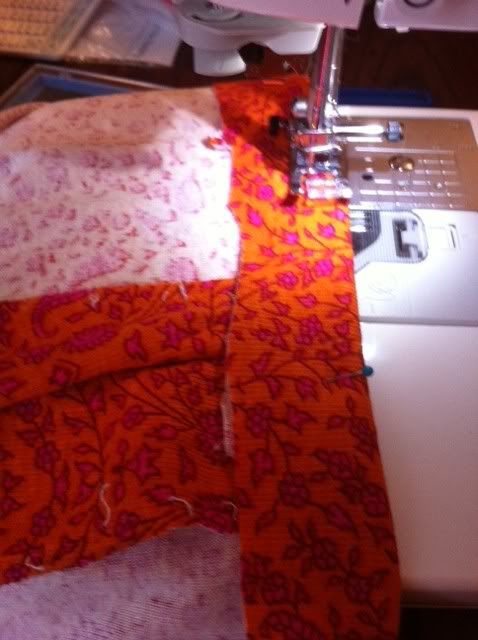
I started at the top of the shirt which may not have the best way to start sewing but I wanted to make sure I was going to have enough. I did not want to run out when i got to the top of the shirt. Sew, sew, sew. Since the fabric was a thick knit and ruffled, to save my machine I went with a heavy duty needle and a long straight stitch (on normal tension). I will say it sewed through the ruffles like butter!


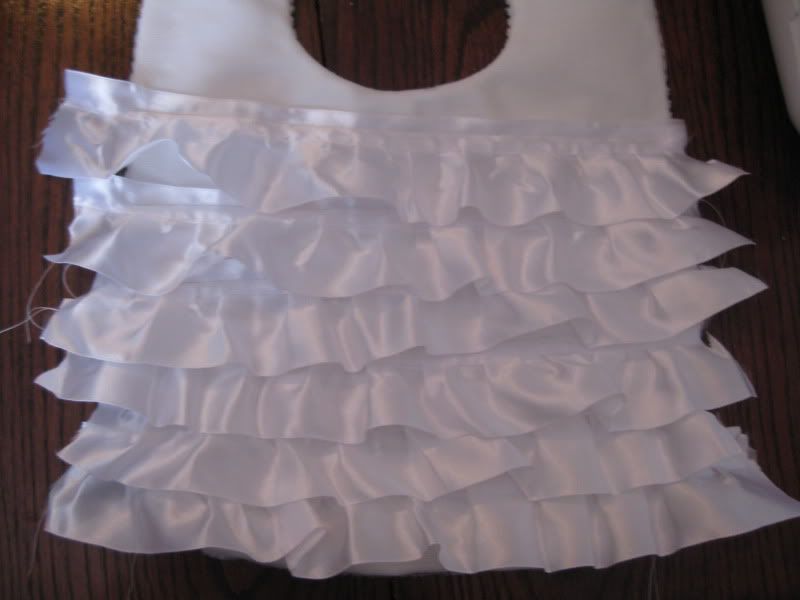
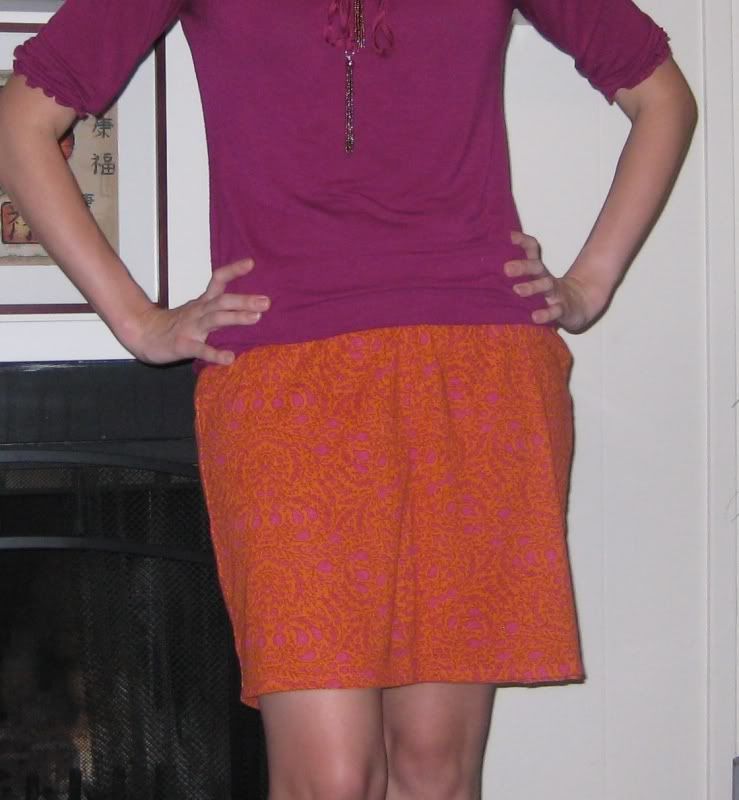
I alternated between colors so I had a 2 tone pink top. The weight of the ruffles also pulled the tank top down, but I liked that b/c it was no longer so tight. And the shirt was starting to take shape. LOVE IT!

Now the top part was not looking so hot, I felt it looked off. I had 1 more shirt ruffle and 1 more knit ruffle left so I sewed underneath the top ruffle. I addtionally cut off probably 2 or so inches since it was so big. Finally, it was starting to come together!

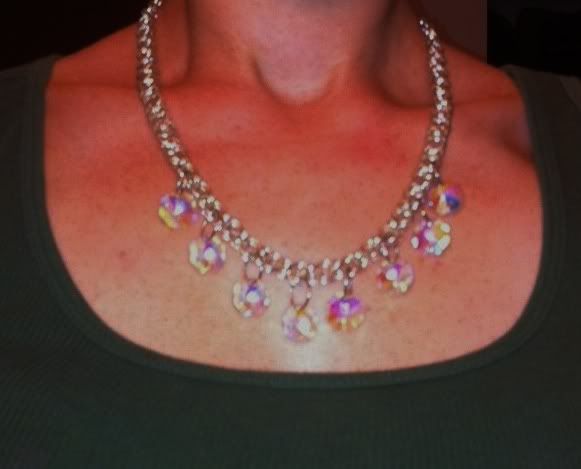
Finally, I did not want my stitches to be seen on the top of the tank top. I had some beads in my stash and I sewed them to the top of the tank top, covering up my stitches. Done!


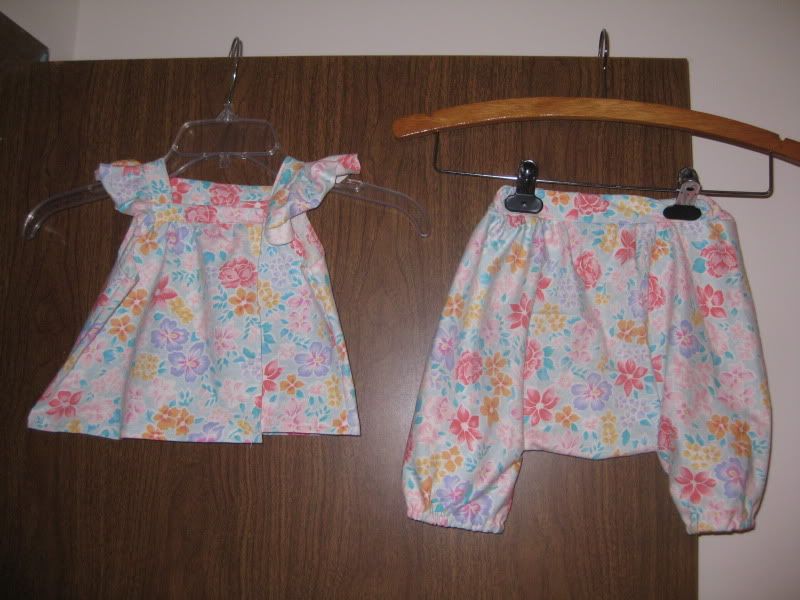
We are ready to sport some ruffles. :) yay!


xoxox,
Lauren

Thursday, July 21, 2011

Handmade Jewelry Thursday 7.21.11

So every Thursday I have to decided to showcase my current attempt at making jewelry. Once a week, you with either be neutral, in awe, or laughing going "yeah that did not work out so well". But in addition to my fabric horde, I have an amassive amount of things to make my own jewelry too! Got to destash that too!

Here is a refashion I did of some old bracelets I do not really wear so much. I wanted something to match some costumes. I covered with the cranberry satin I had leftover and bling with rhinestones and pearls to match my costume.


And the periwinkle was leftovers from the costume we just made.

xoxoxo,
Here's to using up some of my fabric and bling!
Lauren

Wednesday, July 20, 2011

Iron Craft #29- Buttons

This week's Iron Craft Challenge is buttons. Make something with buttons. Actually it was perfect b/c I had just purchased this blue skirt from goodwill for $1 and I wanted to make it more nautical by adding some buttons. Poof, someone must have heard my plans/thoughts b/c then this challenge appeared. Now where is my million dollars????.....


Again found this skirt at goodwill for $1. And I wanted to make it nautical by adding some buttons down the front.

I picked up 2 packs of white buttons (I liked no other buttons, no light brown or gold appealed to me at the store).


Simply I laid them out and figured out what I wanted to do with it. They were impossible to pin down to I added 1 at a time.... on side at a time.

The final product..


Here it is on.


Pretty simple to do. Sorry I was going to take a cuter picture but was running out of time and I wasn't feeling like getting all dolled up. But I can't wait to wear it out!

XOXOXO,
Lauren

Monday, July 18, 2011

Girl Baby Bibs

Here is the last of the gifts I made for Liz's baby shower. I was a busy bee. More baby bibs coming right up. I decided to contain myself with being super flashy and blingy. I wanted to go more with a baby girl feel. Here is what I made.

Watermelon bib- made with some watermelon color fabric, added "seeds" using a decorative stitch on my new sewing machine and edge with dark green bias tape.


Purple and yellow vintage flower bibs- I just thought the color combos and style had this retro sort of feel and went with it. Although, I am not a fan of bibs that tie with ribbon, the pattern did not allow for anything else. Unless you wanted a bib for a foot or hand. ;) I swear it is a dark purple and not blue. I could not figure out how to adjust the settings on my camera to get it to work.


And finally flowered bib with a monogram. I used the same fabric from the previous set of outfits I made. I used fabric paint pens but I was not a fan on how they came out. But hey it is about to get baby food on it so it won't last long.


I had another bib but completely messed up Lylah and could not save the bib. :( And I even wrote it out to make sure I did not mispell it but wound up mispelling it anyways! :( FAIL!

So yes, I made Liz a ton of gifts! I had to contain myself b/c I wanted to do more but just couldn't. Not enough time! :)

Can't wait to meet you Lylah when you arrive! :) And that is the end of my baby shower posts for a while! Back to sewing and refashioning for me!

XOXOXO,
Lauren

Ruffle Baby Bib

Alright more gifts for Liz's baby shower. I am so happy it is over so I can post what I did! I did not want her to find out. I wanted to let my girly side out and make a bib with ruffles. I was also getting lazy b/c I was making so many gifts, I did not want to make my own ruffles. Here's to already made ruffles!

I started with a plain white bib I made and began to just start adding the ruffles. I let it go over the actual bib and would trim it down later. Just in case I make a mistake.


I added row by row and pinned it down then went straight to the sewing machine and poof done.

Now I wanted to add something else to it b/c it looked unfinished. I had some eyelet and added that to the top.


I still needed to finish the sides. I just simply cut it off. :)


Still, after being done I thought something was missing. A little pink bow to break up the white. Ahh Finally, I felt it was completed. :)


I have 1 more post of what I made for Liz. Then, that is it!!!

XOXOXOXO,
LaLaLauren

Pants to skirt Challenge!

This piece of clothing was givenn to me by Sonja. She was out shopping one day at goodwill and found this orange and pink paisley capris and instantly thought of me. My challenge was to turn it into something cute and wearable. HMMM....


I decided to turn it into a skirt. it was a size XL but it was also stretchy. Don't think it was actually true to size. I never actually tried it on b/c it was a bit ugly.

First thing to come off was that tshirt material edge. It just didn't work and I did not like it. It was also old looking.

Next, I continued with my seam ripper and began to undo the middle leg seam on both sides. I went up past the inseam area so the skirt would work without any funky things going on.


Next we need to join the 2 legs together. I began at the top and worked my way to the bottom. I pinned it in place and now you can see this J- shape in the inseam. I knew about this b/c I have sewn several pairs of harem pants. We want to remove this J and make it flso the skirt will sit straight.

While I was pinning I pinned to wear the J would be gone (so straight down) this was where I was going to sew.

Simply just sew. I tried it on and the length was not working. You can tell the pants began to taper b/c of the shape the skirt took on. Off came many inches.

Then I just created a hem, folding up 1 inch. Pin and iron to make your sewing life easier. Then sew.


End product.. not too bad. No zippers (yay!) the elastic barely stretches on my hips but it is comfy. I am trying to figure out what is the perfect top to pair it with yet. But it would also be perfect for beach day/coverup b/c its so nice and light. :)


It is not a fancy skirt, just something simple.

Challenge taken, success! Thank you Sonja for my new skirt!

XOXOXO,
Lauren

Black sparkly and bubbly part 2

Well I had a ton of fabric leftover from my Black sparkly and bubbly dress I refashioned and wanted to do something with it, but nothing came to mind. Then one saturday after working early in the lab for a time point, I treated myself to a trip to Jo-Ann Fabrics to see what was on sale. I found this yo-yo maker 50% off and thought I would try it out.


I am not a yo-yo fan but recently I began to be converted b/c I have been seeing clothes with yo-yo's on them and thought they were cute. So maybe if I do it right, it could work. So I tried it out!

OMG first of all this thing was amazing! I could make yo-yo's so quickly and mindless, I loved it!!! I suggest if you want to make yo-yo's break down and buy this thing, it is so worth no frustration. I used all of fabric I had, cut out some circles (with my circular rotary cutter-love it too!!). And made yo-yo after yo-yo.

Next I added them to a black tank top I had that I got on clearance one day at Hancock fabrics. I layed them out to see what I wanted to do. I opted for the collar adornment. It just seemed to work. I also played around with some dark pearls I had but would wait to add them later...


I liked the way this looked so I began to sew. To sew them on to the top, I pinned them down and just added a few tacks of thread for each yo-yo and tacked between them too. I did one row at a time to reduce the amount of time I got stabbed with stray pins.

Next I added the dark pearls. I stuck to black ones in the middle of each yo-yo and scattered the gray ones among them all. Done!

Here is the product. :) I have a garment with yo-yo's on it that doesn't look childish or cheesy. I dig the collar. And I used up the rest of the fabric I had from that refashion.


Not bad for yo-yos! And here is to using up some of my leftover fabric. I'll give myself a +1 point for this project. :)

XOXOXO,
Lauren

Fabric Points Tally July!

Wow where has the time gone? It is the middle of July. I have realized that I have not kept up with my fabric points as I should have. Now not all of the projects have been posted yet on my blog but they have been completed, I just need like 1 picture to finish and I can't always keep up. :)

+1 denim in patriotic refashion
+1 raspberry in my black ruffle top to dress refashion
+1 for romper (not posted yet)
+2 vintage baby outift
+2 bali bliss
+4 2 purple/yellow baby bibs
+4 cupcake bibs
+2 white ruffle bib
+2 pink flowers bib
+1 baby hat
+1 watermelon bib
+1 yo yo tank (black bubbly and sparkly)
= + 22 points! yeah!

My last count was 54 so add 22 to that and we have 76!


Wow I am getting closer to 100! I will totally meet my goal I believe by the end of the year!

Sunday, July 17, 2011

Men's polo shirt Refashion #1

Calvin gave me 2 of his too small (and as he put it well no its not, it is really too thick. sure honey tell yourself that) to go and refashion. I did not have many ideas yet with what I could do so I browsed the internet and I stumbled upon this lovely website!

OMG I love what she did with the men's shirt so I set off to copy it. My shirt was smaller than hers (I only have a large), so I thought it may be easier (wrong!). LOL


First I cut off that collar. No one wants it. Instantly the shirt began to look more feminine. I also knew I wanted to make this like a v-neck, folded the inside parts out and pinned in place.

Then I cut 8 inches from the bottom. --- this was my fail step. I should have cut less b/c it is slightly too short. Oh well!

I made a tube for the neckline to create the bow. I cut 3.5 inches of the fabric that I cut off from the bottom and cut away. I had just enough or else I would have had to seam rip the shirt bottom. I wanted to avoid doing that.

After sewing up my tube (just like I have been in the previous posts!), I found the center of the tube and the center neckline back. I sewed it down with my sewing machine. While on my body I actually pinned the tube to the top of the shirt. Since I did not want the stitches to show, I whip stitched the inner portion of the tube to the inside of the shirt. Now my tie won't move and look weird!


Then I also took in the shirt and the sleeves. I left both the bottom and the sleeves raw. I may change my mind on the sleeves but the bottom, since it is short, I will only be wearing tucked in with high-waisted bottoms. No use cleaning up that no one will see. :)

The end (yes I wore it to work!!)... with a high waisted black pencil skirt. Doesn't even look like a men's polo right??? :) Yay!


XOXOXO,
LaLaLauren

Saturday, July 16, 2011

Baby Hat

Making more baby shower gifts for liz (and attacking my fabric stash as I go!) and I decided to make a hat using one of free patterns that were featured on Grosgrain Fabulous. This was from Day 12 of Grosgrain Fabulous from Prudent Baby. I decided to give it a whirl.

Wow first all I am so not used to sewing small pieces for babies! I opted for this pretty pink, orange, and green flower fabric that was just too cute for a baby girl! I also made a baby outift with this fabric so I thought I would make a hat to match! I made it through this pattern very easily. Things were well written and easy to understand. I used this pink linen material for the hat brim lining since it is stiffer that the knit and would support the brim.

Here is my finished product. I put it on my teddy bear to model it since I don't have any kids and I was not going to put it on my cats. I made a vintage baby pattern with this fabric which will be up soon!


the instructions are very easy to follow and it was very quick to make this hat! Like! I will save this pattern for future use ;)

xoxoxo,
Lauren

Bali Bliss

Another Gift for Liz here we come! I am trying another pattern from Grosgrain Fabulous's free pattern month called Bali Bliss. It comes from Sewing In No Man's Land a wondeful blog on how far and how much could she make with 15 yards of fabric.

First I choose a different cutesy flowered pattern for Lylah and opted to make this pattern. I downloaded the pattern from her website. I will say I was a bit confused at first on how to put the pieces together. Not all matched up properly. I do not know if it was because my printer printed it wrong or conversion problems when they were transferred.

Here is me cutting out some of the pieces.

Here is Natasha watching me cut the fabric. She behaved this time! I can't believe how big she is getting!

Also I also realized that if you are doing a print or any sort of fabric you can not use either side without it showing you HAVE to flip the Front Right Main Panel part of the pattern or else you will not get very far in the beginning. I thought I had a picture of it but I don't. I also realized you may need to change up the bottom b/c they are different lengths.

Ok another problem I stumbled into was the part where you have to gather the top part of the top and connect it to a piece. The piece that was labeled this was too big

I thought mabye the "fold" label was wrong so I tried another side

It definitely helped.

Now I have something to gather! I went through the rest of the pattern flawlessly. But I did have to cut some of the bottom off one of the top sections. I forget which one. And.... DON'T FORGET TO HEM THE TOP UNLESS YOU ADD LACE!

For the pants part I did find it challenging to make my way in attaching the wide middle section since I have never done anything like that before. No pictures here. I did have to alter the pattern too but that was pretty easy. I'm pretty sure the middle part was a bit too short. Sorry I don't know what happened to the rest of these pictures! I also made my own casing for the elastic. I made up a number for a elastic length so I would like to apologize now Lylah when you are able to fit in it-if it doesn't fit. basically just cut everything to match the pictures on the website. :)

But here is the final product. I opted for no lace. I had struggled with this pattern but I was so happy when it was done.

Again my disclaimer to Liz, I hope the elastic fit b/c I am clueless! I don't have kids!

xoxoxo,
Lauren :)

LinkWithin

Related Posts Plugin for WordPress, Blogger...