Well hi welcome to my little blog. Just my little corner of craftiness, sewing, and refashioning. I am also a newly gluten free eater so you have a little bit of recipes mixed in here.

Saturday, December 31, 2011

Review of 2011 New Years Goals

I always like to review my New Years now, b/c if I have to review them it may make me stick to them more. ;)

So I am going back to my original post and the ideas I had! If it is bolded, I completed this resolution!

General 2011: Use up what I have!!! And I did!


1. Decrease fabric stockpile by ~50% (so there is no more out of the closet).
----- eh well I have a small pile out in the closet. I am sooo close. I give myself 0.5

2. Decrease my debt 50%. +1
Yup I did! I am so proud of myself. I have enjoyed being frugal. It sucks at times but then when I open up a bill, I get giddy with excitement when I see the low balance.


3. Reduce my craft projects. This includes the following... +1
- stuff turkeys and pumpkin for mom
- snowmen cross stitch stockings (2 of them)
- lion latch hook
- light up santa cars
- penquin snow sign
-bless this house needlepoint
- advent calendar
- ADPi tshirt quilt (started and never finished)
- iris latch hook
- budha cross stitch
- cuba cross stitch (there are 3 i would love to have 1 done!)
- christmas stockings with lions (there are 2)
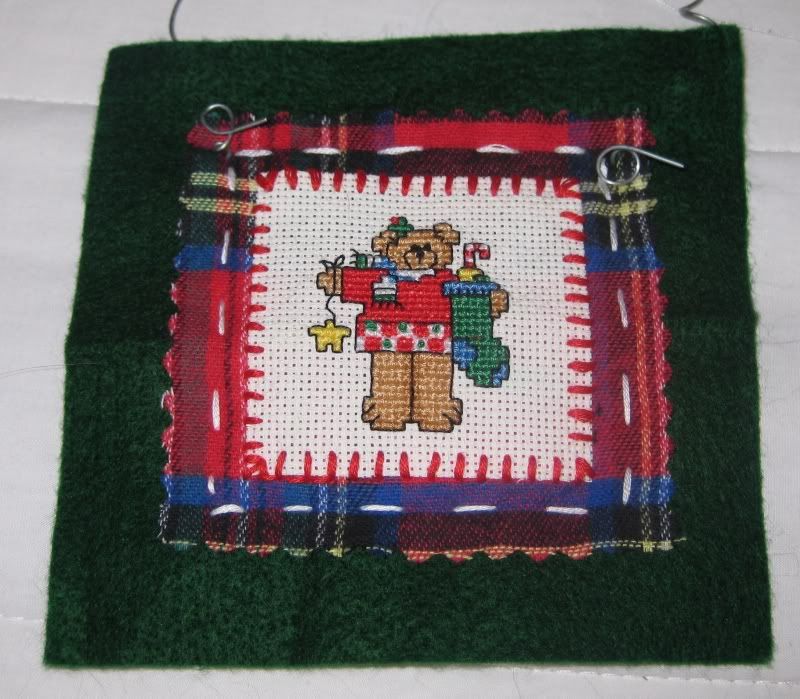
- felt christmas card holder
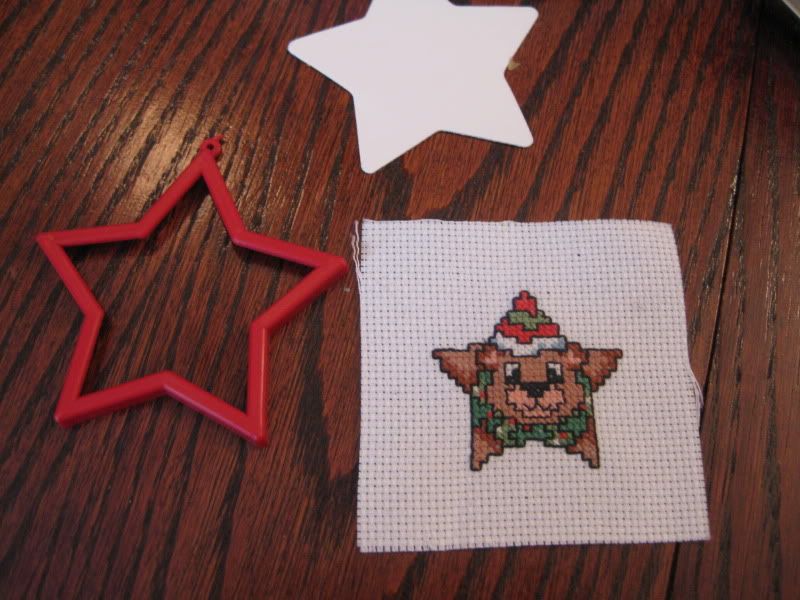
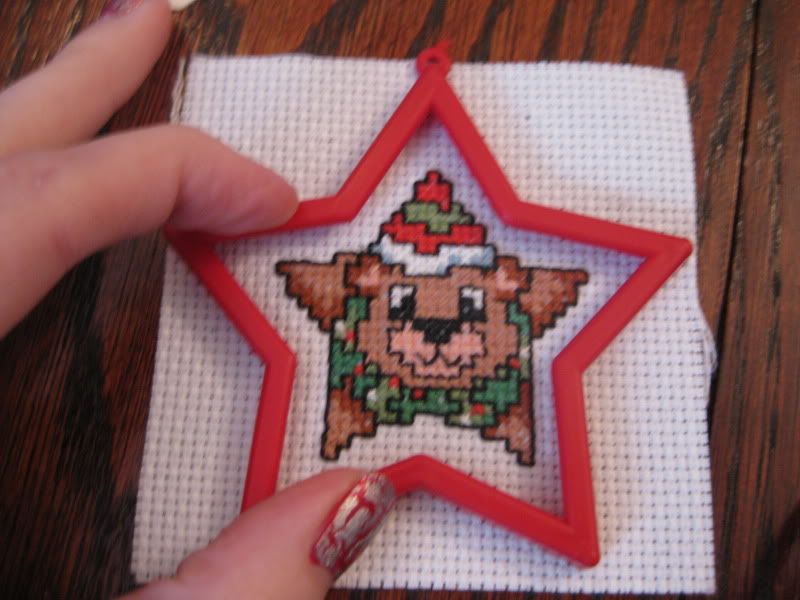
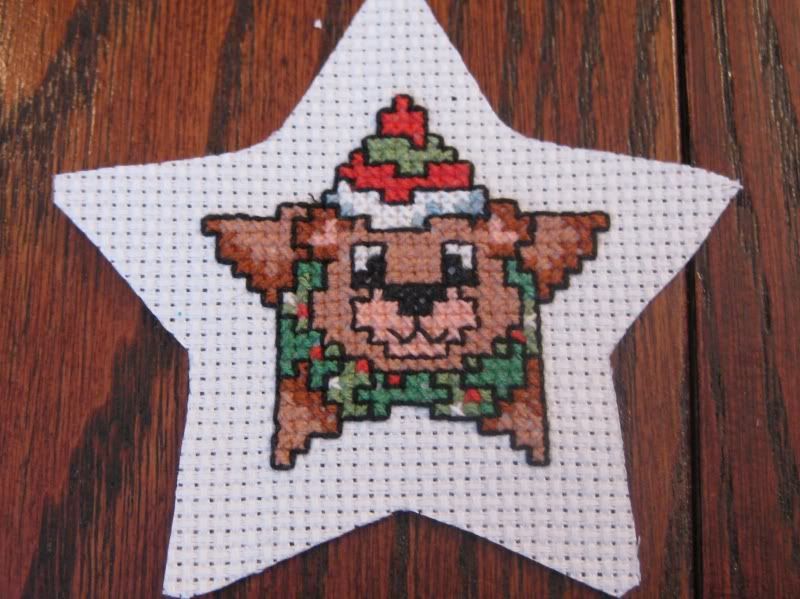
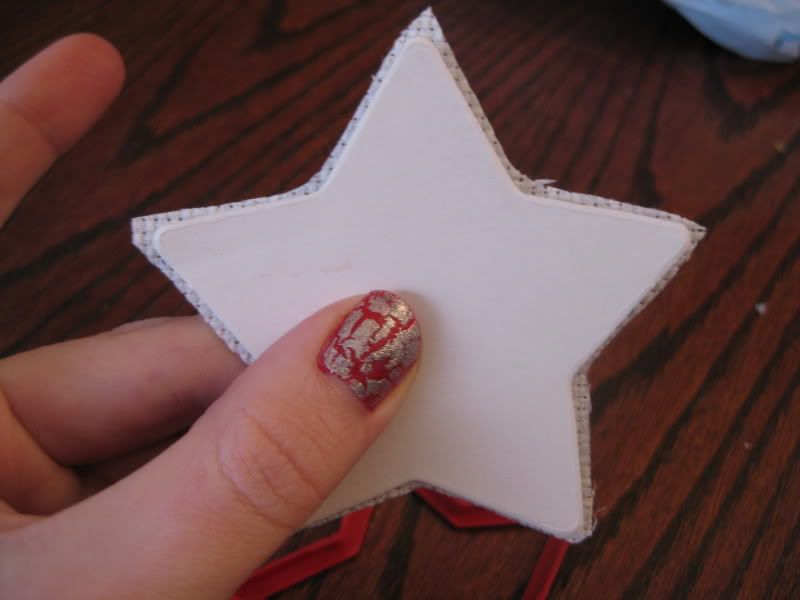
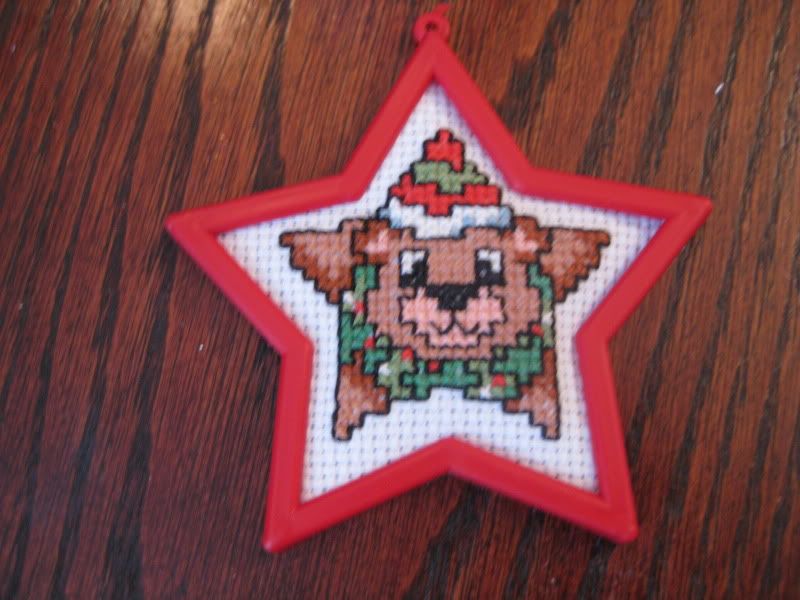
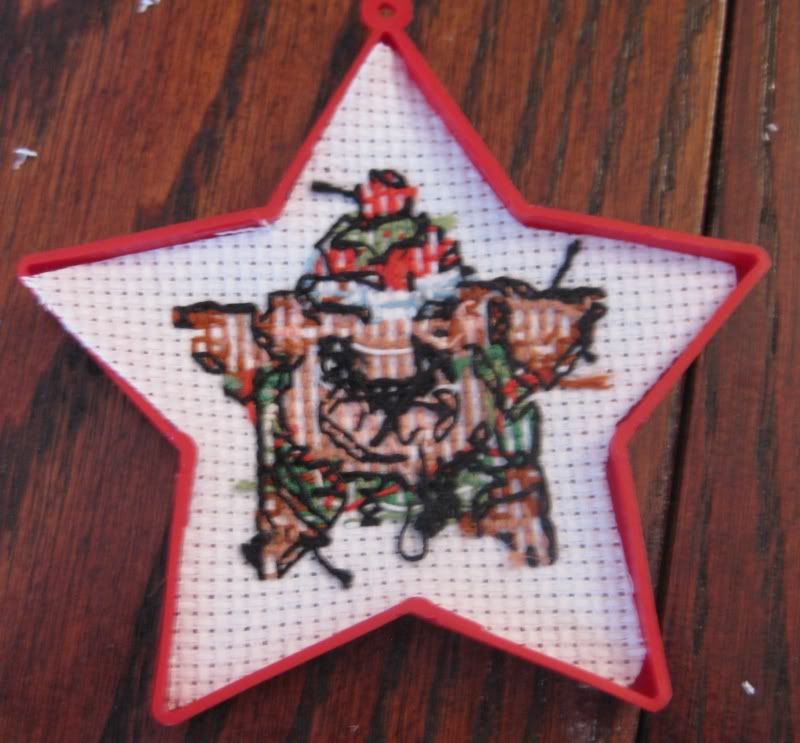
- cross stitch ornaments
ok i'm going to stop now there are so many crafts I have purchased over the years (and hence why I have so much stuff!)
I said I would be happy with 1/3 reduction out of my craft kit thing I have 16 out of 32 done! So 50% done! Half! Yay! Go me!

4. Don't buy any more new manufactured clothes for a minimum of 6 months if not a year. +1
I did break 1X and that was to purchase a pair of khaki pants (on sale tho) this was only after much shopping that I found zero that fit me or were long enough. I had a giftcard tho so I really didn't spend any money.


5. Belly Dance Goals: learn 5 more dances by myself. Should I teach them to Baklava then so be it. If not then I know something that I can use when I have to perform by myself. I have many choreo DVDS so 5 is very reasonable. :) Again its this whole stuff issue.... ah!
- and get a kick ass floor layback. my standing laybacks are getting better but floor ones I am not strong enough yet to do. :( this will be the year!
- choreo sabri aleel
-choreo fan veil dance
-finish veil poi dance that I started over 2 years ago
- finish my glass dance
unfortunately this did not happen. after breaking my back and tearing my knee. I was unable to dance for nearly 5 months this year. Then I had muscle atrophy and had to learn how to do things all over. sadly this wasn't possible. but there is always next year!

6. Career Goals +1
- get renewed- yup!
- publish 2 papers- yup 2 actually!
- get my own grant/funding!- not yet but working on it!

7. Bellydance Costume goals +1
-finish harem pants- yup
- finish black ab bra/belt set- I did and now baklava is working on some
- finish pink patchwork set- almost done!
- corset tops- we scractched these idea
- fix red costume- yes!
- make my indian sherbert costume (pink and peach fun!)- opted to make the periwinkle instead!
- pink leopard set- almost done
- sequin dot costume- sounds bad but i guarantee you its going to look awesome!- waiting
- fix black costume from ebay. working on it!
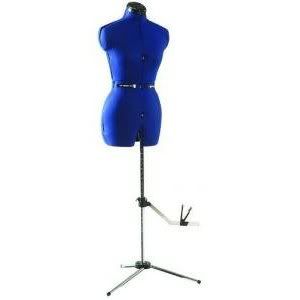
- make a sewing form for myself- i did but it busted. I asked Santa for a dress form this Christmas and I got it!
Not bad huh! I am very proud of myself here!

8. Use up all my perfumes, lotions, candles, shampoos/conditioners, etc that I have. I actually have only 2 perfume bottles left! On last body wash bottle. 2 lotions left and no s/c hanging out in storage! I am out of candles. Actually things are pretty bare! +1!!!

9. Random goals
- run a 5K- couldn't do b/c of injuries
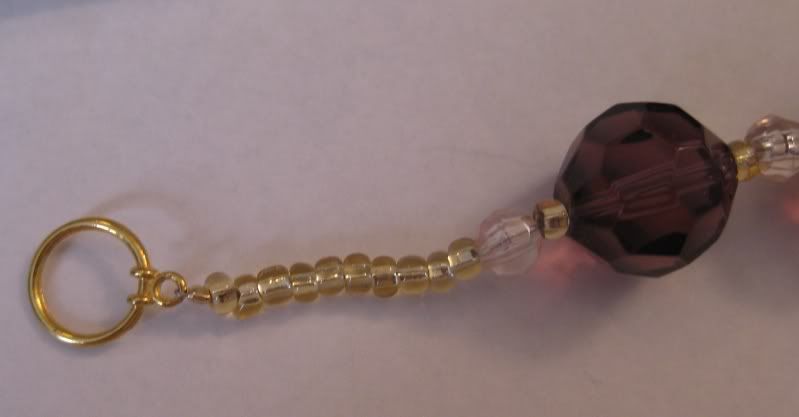
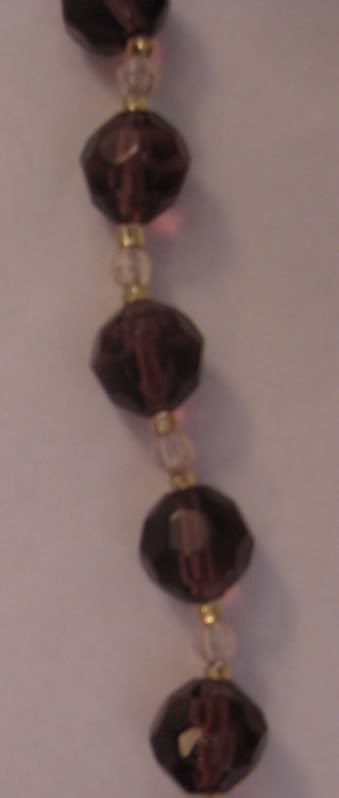
- use up some of my beads and make 2 necklaces (minimally)- yes!
- organize my recipes- sort of
- don't buy anymore fabric- eek um bought 3 different things
- sell some of my stuff- gave it to goodwill instead or to friends :)
- send out a picture instead of a christmas card- no got to use paper!
- get that thing that i really want :) I am not elaborating more. Guess! nope but out of my control ;)
This goal was not fullfilled. but its ok!

Actually there were 9 Goals Listed... I did 6.5!!! That is 72%. This year was probably the best year when it came to sticking to my resolutions, I would have to say. Wow, I am really proud of myself.

Cheers to 2011 with less stuff! B/c it truly happened. Now to make my 2012 New Years Resolutions!

Friday, December 30, 2011

How I fixed the hole in my boyfriend's shorts!

Calvin works in the painting industry (but that is about to change). He is really rough on his clothing, they get a lot of wear and tear not to mention lots of chemicals and paint splashed on them. He had these pair of green shorts that he loved but somehow blew out the pocket. How? I have no idea and neither does he!


Not only did he pull the pocket off, he pulled out a section of material. It was almost a perfect square. I pulled the material off the pocket top with my seam ripper. Here is the hole!

I put the little guy back in his place and pondered how I was going to fix it up. I opted for fusible interfacing, I had tons of scraps from other project. I did the inside first cut and iron.

Then added interface to the front side- ironed it down.

I pinned the pocket back on the shorts and top stitched down. Now we were good as new! And I have a happy boyfriend!


xoxoxo,
Lauren

A tale of 2 different colors but 1 dye

I had this silver lace that I got on mega clearance from Hobby Lobby. It was pretty but I never got inspired by it for any project. The color tone was off and I couldn't make it work! I dyed to dye it, I did not know what the composition was of the fabric so I thought I would take a stab at using good ol' RIT Dye in black.

I tried the first round and prepped my dye like I normally do on the stovetop. Initially I got a gold in the mix with the lace. When I washed it, the lace was like a brown army green with gold tones. Pretty awesome. I was just happy it was not silver and grey.


I then redid the rest of the lace with the black dye from RIT Dye again. I prepped my dye black and lace like I normally do. I did notice when I added the dye it had different sort of speckles of color. What I wound up with this round was completely different. It got this gorgeous bronze brown.


Here is the 2 of them together.


I expected maybe 2 different tones of the green but I did not image that I would get 2 different colors all together. I think they may have been 2 different lots. I love both and I plan on using both but wow! What a surprise!!! At least it is no longer silver grey!

xoxoxo,
Lauren

St. Patty's day bracelet

Onward to clearing out my beads!


So I made a bracelet for St Patty's Day to go with my necklaces!


Wahoo for another bead and a jewelry point!

Fabric Points Tally 2011!

So the goal of 2011 was to use up my fabric, make my own clothing and not buy anything new. I set the goal at 100 points for fabric use! I didn't know if I could make it or not but I thought it would try. Succesfully with all the babies being born and giving some away, I met my 100 point goal. :)

I continued to go and here is my final count....

so I was at 106

+1 for straps on the jumper (my sack jumper)
+1 lace for teal cardigan
+1 pink strip on my yellow dress refashion
+1 fabric donation
+5 for my sailor costume
+1 for my gold sash for Calvin's Costume
+1 for the octopus for Calvin's Costume
+2 Advent Calendar
+1 yellow bath baby towel #2
+ 10 panel skirts for baklava!
+4 for the christmas snowmen fabric panels
+4 for the pumpkins and turkeys I gave to my mom
+1 for the skeleton apron

However I lost 4 points b/c some of the red fabric I gave Sonja came back to me....

So the grand total is 135
So exciting!

Next I am aiming higher! will probably do 200!! :) Here's to reaching my goals!

xoxoxo,
Lauren

Lion Latch Hook

Yup I am trying to squeeze finishing some projects before the new year. Plus I was in a car for 10 hours driving home, and then I was at home (my parents house) so I had some extra time! I finished my lion latch hook!


Here is how my mom finished it in the back. She basically folded it over and did a blind hem stitch to anchor it down.

Here it is in my closet I spent my vacation cleaning up and discarding old things!

Goodbye old barbie rug!

Yup another project off the list!

xoxoxo,
Lauren

Finishing a cross stitch

I am working on clearing out some of my craft projects. I finished another small cross stitch and I needed to finish it. Here is a little tutorial on how to finish a cross stitch ornament.


First here is the finished piece..

But it totally needs to fit it in the star ornament shape.

I used the frame to guide and center the teddy bear.

Trace with a pencil. Then cut out.

We are still a tiny too big so I used the backing to nip some of the star.

Pop in....

From the back.

I glue the edges to seal it, just with some hot glue.

Done!

Here's another one I finally finsihed!

Wahoo here's to knocking more off my craft list! :) yes.....

xoxoxo,
Lauren

Grapes and champagne Necklace- Last Iron Craft Challenge!

I missed the last 2 iron craft challenges with the holidays and trying to close up the lab. I tried but they didn't happen, wrap it up and mulligan. The final challenge of the year was bling. Of course I had to do it! I used some amethyst color glass beads I got on clearance at Michael's. I mixed it up with some champagne and gold colored beads.


It was a bit too short while I was finishing it, I added a few gold beads at the ends. Then it was the perfect length. :)

Here are just other pictures.
These beads remind me of grapes.

No flash.

Here's to finishing a year of the Iron Craft! Whew! It really helped me finish up some lingering projects and explore my creative side. But man it times it was really hard to keep up with! I plan on continuing the Iron Craft in 2012, since now it is bi-weekly challenges (so 1 challenge=2 weeks instead of 1).

Happy New Years! :)

XOXOXO,
Lauren

Monday, December 26, 2011

Merry Christmas!

So I am home for the holidays! It has been so much fun visiting my family in Florida. But I am ready to come back home. I miss my cats, my bed, my keurig coffee machine... LOL. It has been so hot down here, the air is on and we were hot on Christmas day. So we are actually looking forward to going back to cooler weather! We start the drive tomorrow morning for a 10 hour tour! Wahoo.

I hope everyone had a great holidays. I actually thrifted 3 new refashions in the making. And I hope to have an Oscar de la Renta suit (yes I found it in the store!! my mom is going to get it tuesday for me since they were closed and we were pressed for time). Fingers crossed it hasn't been bought but I doubt it! So excited!

Also I was a good girl and for christmas I got a dress form! :)


I have been pouting that I can not take it out of the box and start fitting clothing. I am chomping at the bit! I will be able to sew much faster now and I can adjust it to my height and its got a hem guide. Sweetness!!!

I actually have off until January 3rd. I am so excited. So I plan on doing several projects here and catch up. I just finished a latch hook while I was home. I have some sewing ideas. So big plans!!! So that means more posts. :)

Hopefully I would like to plan on doing a series of posts weekly with different things and be a more consistent blogger. I will also be working with Fashionartprojects.com using their craft line. Very excited. Things are going well!

Well I am off to catch dinner with my cousin. Happy Holidays everyone!

xoxoxo,
Lauren

Tuesday, December 20, 2011

DIY body scrub/polish

I have seen many posts about various people's DIY spa projects and I thought I would take a stab at it!

With the cold season, the air is dry and so is my skin. I need a frequent scrubbing to keep it looking fresh. But I don't want to spend a lot of money!

I had this bottle of body dew, which is a mix of essential oil and perfume. It smells wonderful! I thought I would give this a try to use as my base.


Next I pulled out my sugar, using both brown and white and I thought I would compare both. Next, I had to determine my ration of oil to sugar. First, I tried 1:1, so for non-scientists.... 1/3 cup oil to 1/3 cup sugar. Here is the first picture... too much oil not enough sugar.


I definitely needed more sugar. I added another 1/3 cup of brown sugar (so 2/3 cup sugar to 1/3 cup oil, or 2:1 ratio) and then mixed it up (I used old chopsticks that I don't eat with, they make great stirrers for craft projects and clean up well!).


Success!!! Just the right consistency and perfect for a body scrub! I also tried it out with white sugar too!


Now I tried it in the shower the other night. I did have a lot of oil on me and it did make my bathtub slippery. I also had to wash my body again with some body wash but... OMG my skin was sooo soft and smooth, and no longer dry! Actually my skin has not been dry for days. It was great for my hands which stay constantly dry with all the hand washing I do daily.

I tried the white sugar on my body. I got a good scrub. I have only used the brown sugar on my hands, again equally as good but since it is fluffier the ratio was a bit different. Maybe I will combine both next time.

Either way, I do love what I made but I think I am still going mess with the formula a bit. It is worth trying. I love my new and soft skin!!! :)

XOXOXOXO,
Lauren

Christmas Fabric Panels

I love these easy fabric panels. They make such wonderful wall decorations for the holidays. Here is the one I made for this christmas. I opted to not add the extra pieces for the presents and the birds b/c it was too hard to cut out and I thought simpler was better. I have saved the presents for a future project. :)


So I have not ever done a tutorial on how to add fabric hooks to hang the panels up. The directions on one of these said to hot glue a wire hanger. yeah that was ugly so I came up with this technique.

First I used the leftover fabric and I cut it about 6.5 inches across. I don't know the exact length. BTW this fabric was a curtain.. wth???? I kept the bottom seam.


Fold in half and iron.


Sew the long side and also the top side.


Trim edges. Turn inside out (so now you see the right side)and iron. Fold over and sew across to make the pocket. Add glue.


I usually glue it below the top of the panel. So you can't see it when it hangs.


Add one to each side and then the middle.


Again my finished product... hanging up on a dowel.


I love these but I told myself next year no more. They are starting to build up in my closet where I store them! LOL!

Advent Calendar

I purchased another one of those pre-made fabric pieces, a year or so ago, this one was different- it was an advent calendar. I thought it was different (and was 75% off!). This year I fnally decided to make it and not sit longer in my fabric stash.

It was pretty easy to follow, cut out the panel and then cut out each of the boxes/string of boxes to put the goodies. I did have to learn how to box pleat the string of boxes that was fun....


Then attach! I first started with the single boxes to get a feel for sewing them on the main panel.


Not too bad..


Continued with the larger ones. Which was a bit more challenging.

Next, I backed with a piece of batting and a piece of red material. Cut all the loose strings (there were many!). And we have an Advent Calendar, all ready for goodies.


I love it, with that retro funky flair!

xoxoxo,
Lauren

LinkWithin

Related Posts Plugin for WordPress, Blogger...