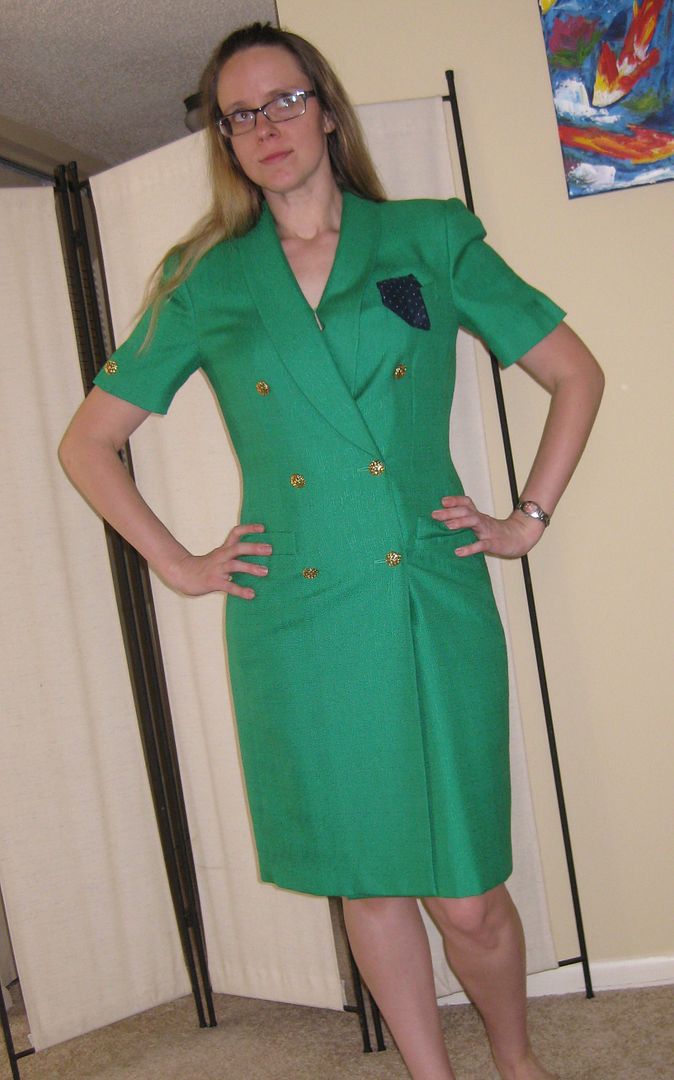
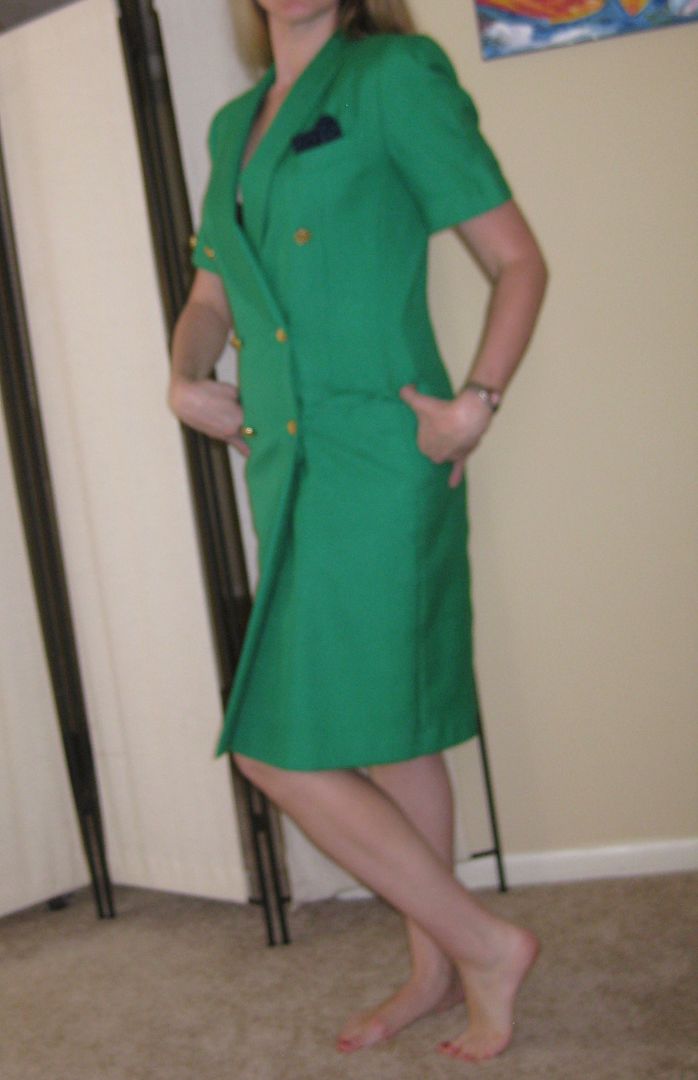
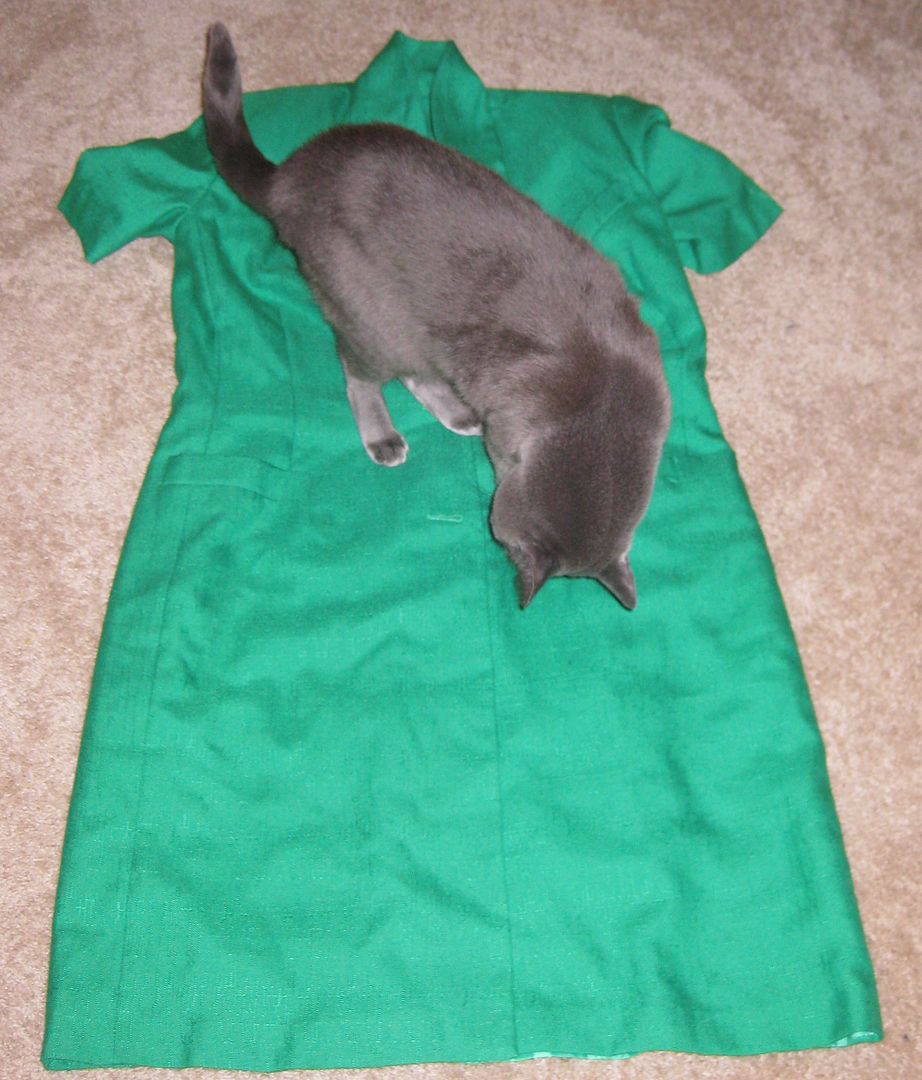
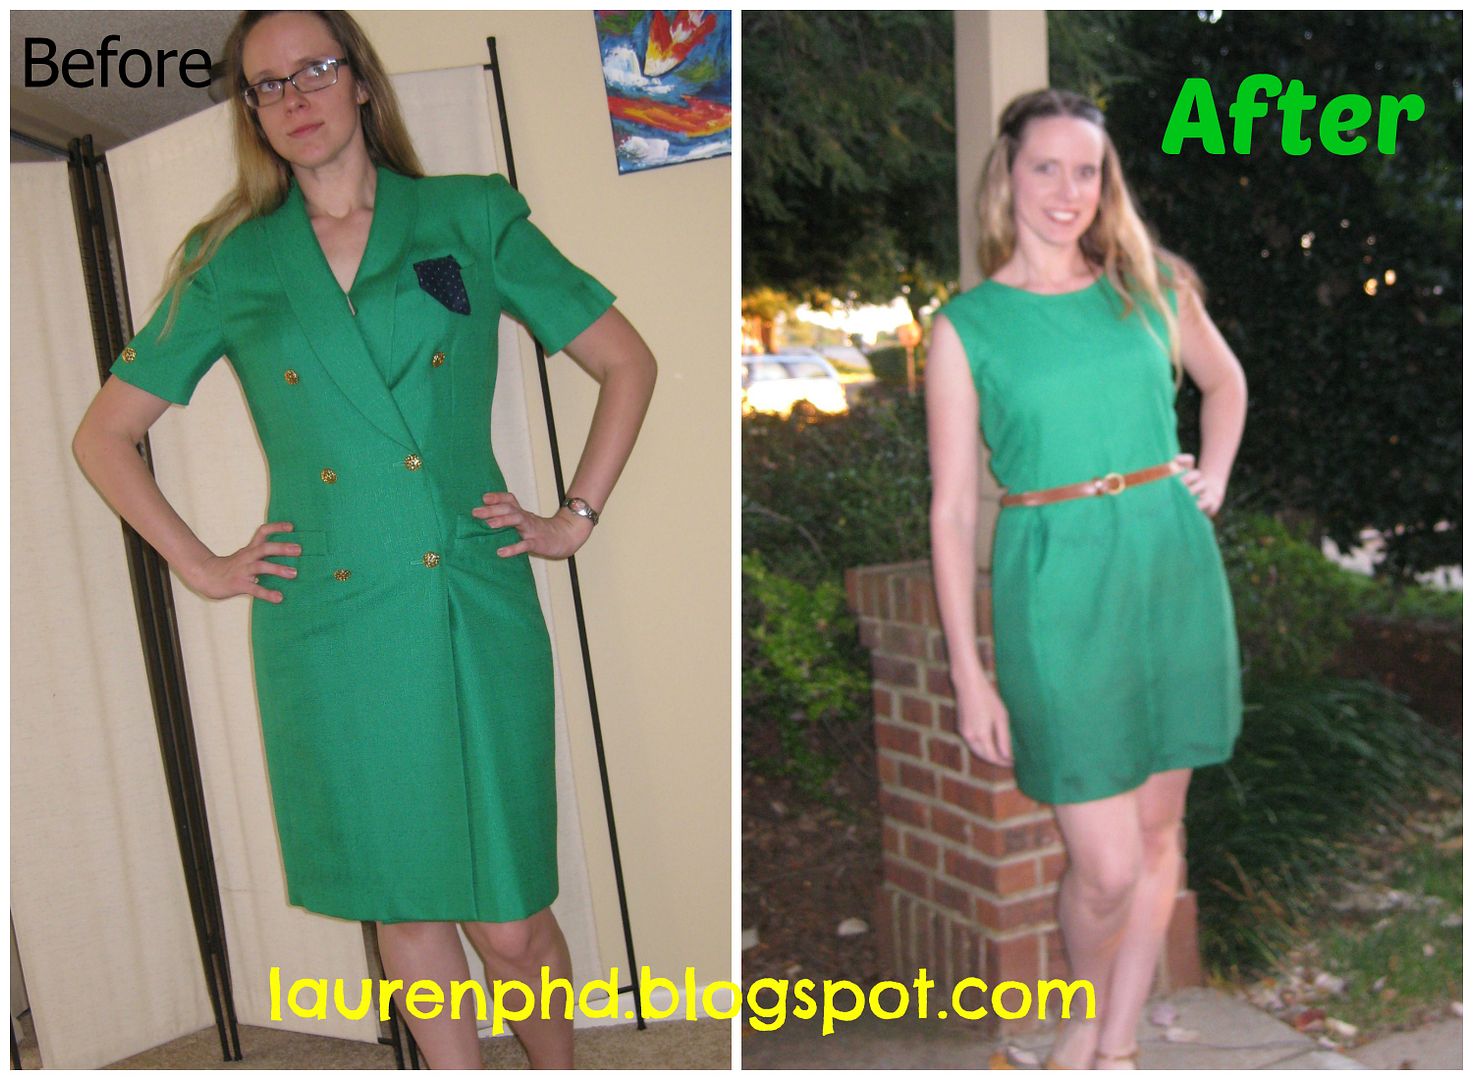
This week's challenge is Emerald Green, which is one of the 2013 Pantone colors. Now what I have learned from this challenge is people have very different ideas of what the color emerald is- really funny. Wow the challenge was finding something green. It was almost impossible. I had a hay day with this. I would up finding this dress that was straight off the show Designing Women, just call me Suzanne Sugarbaker!
Turns out these were real pockets but the holding seams still remained
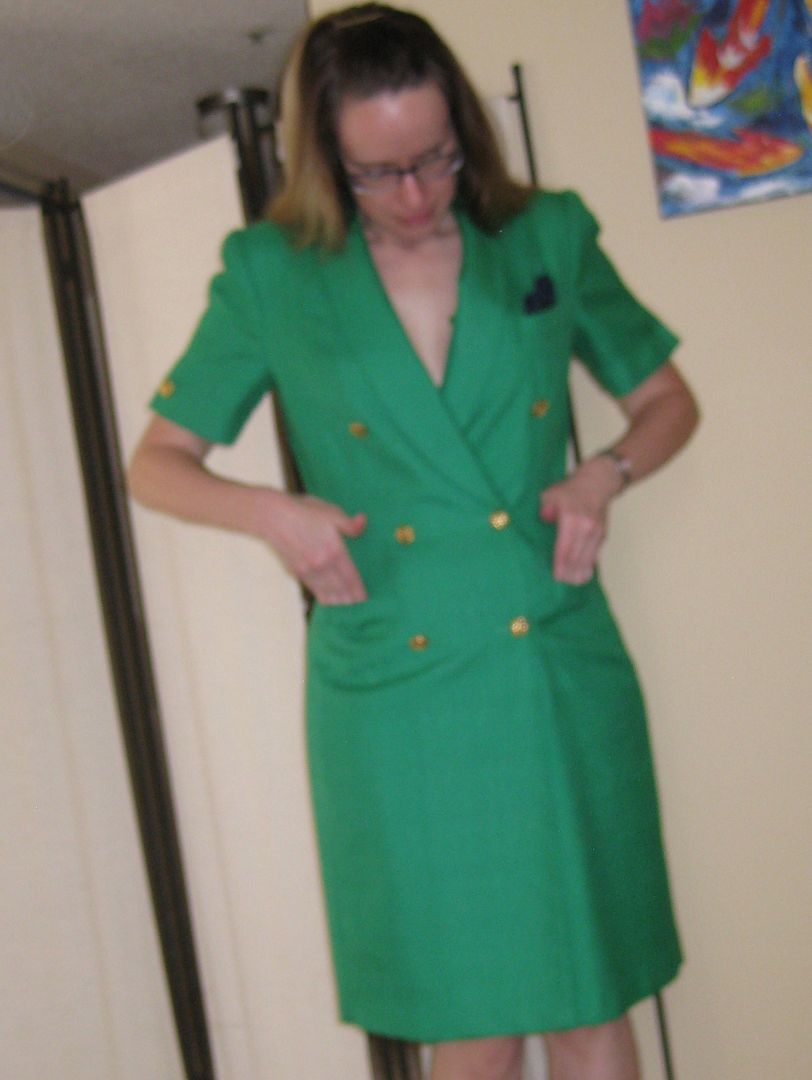
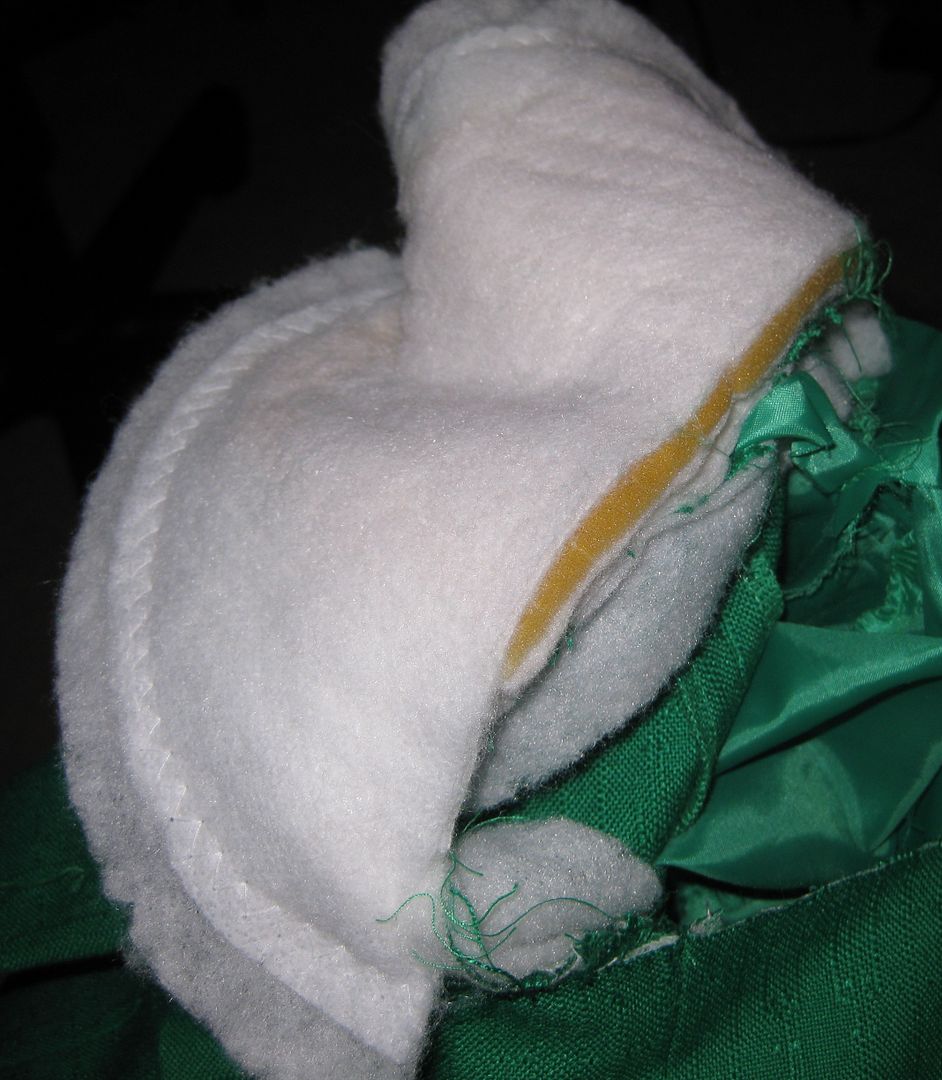
Oh! Look at that the hanky came out.
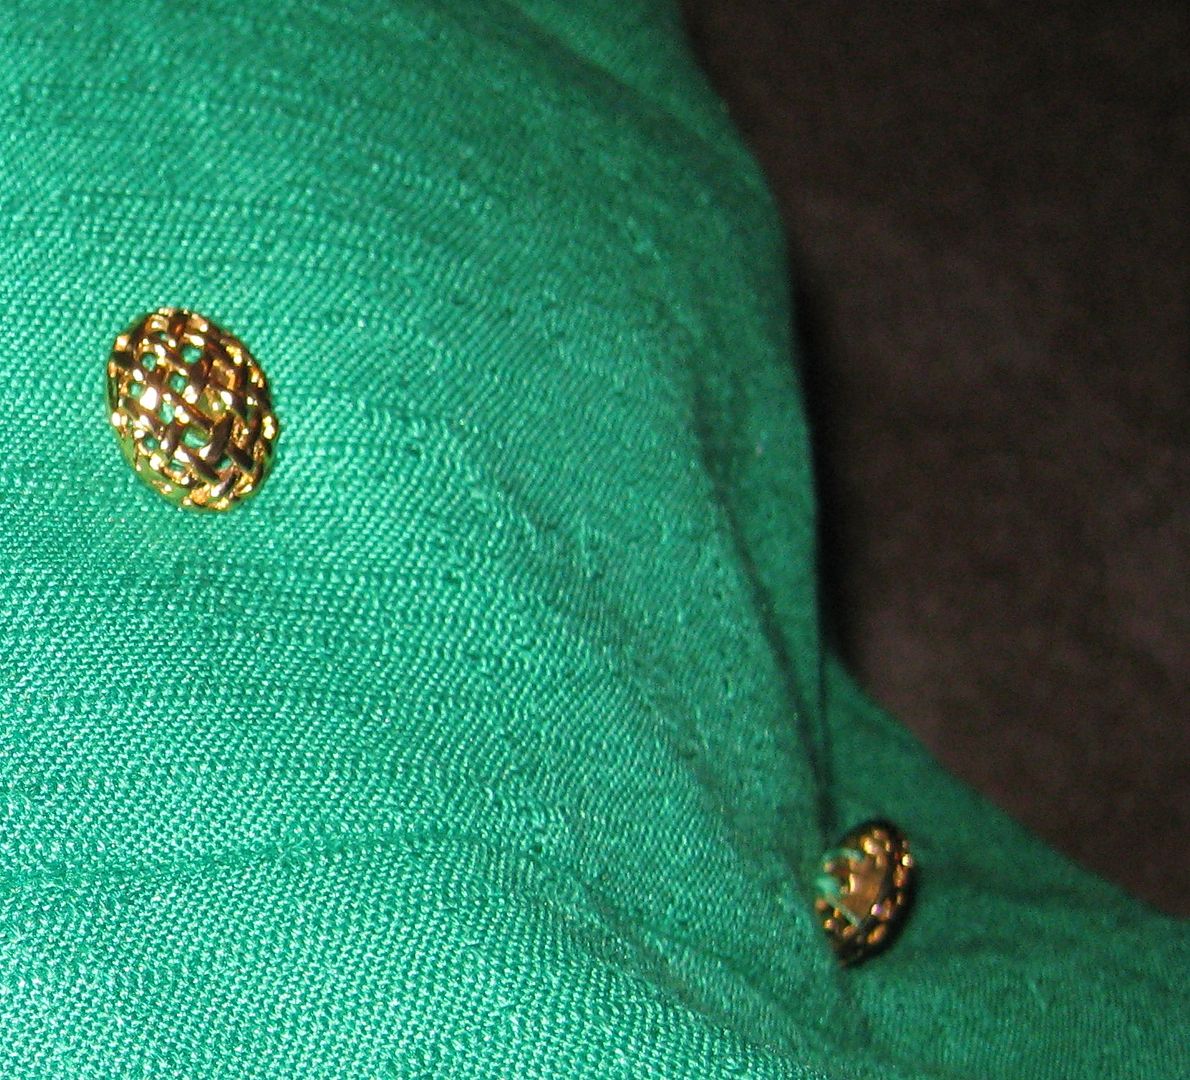
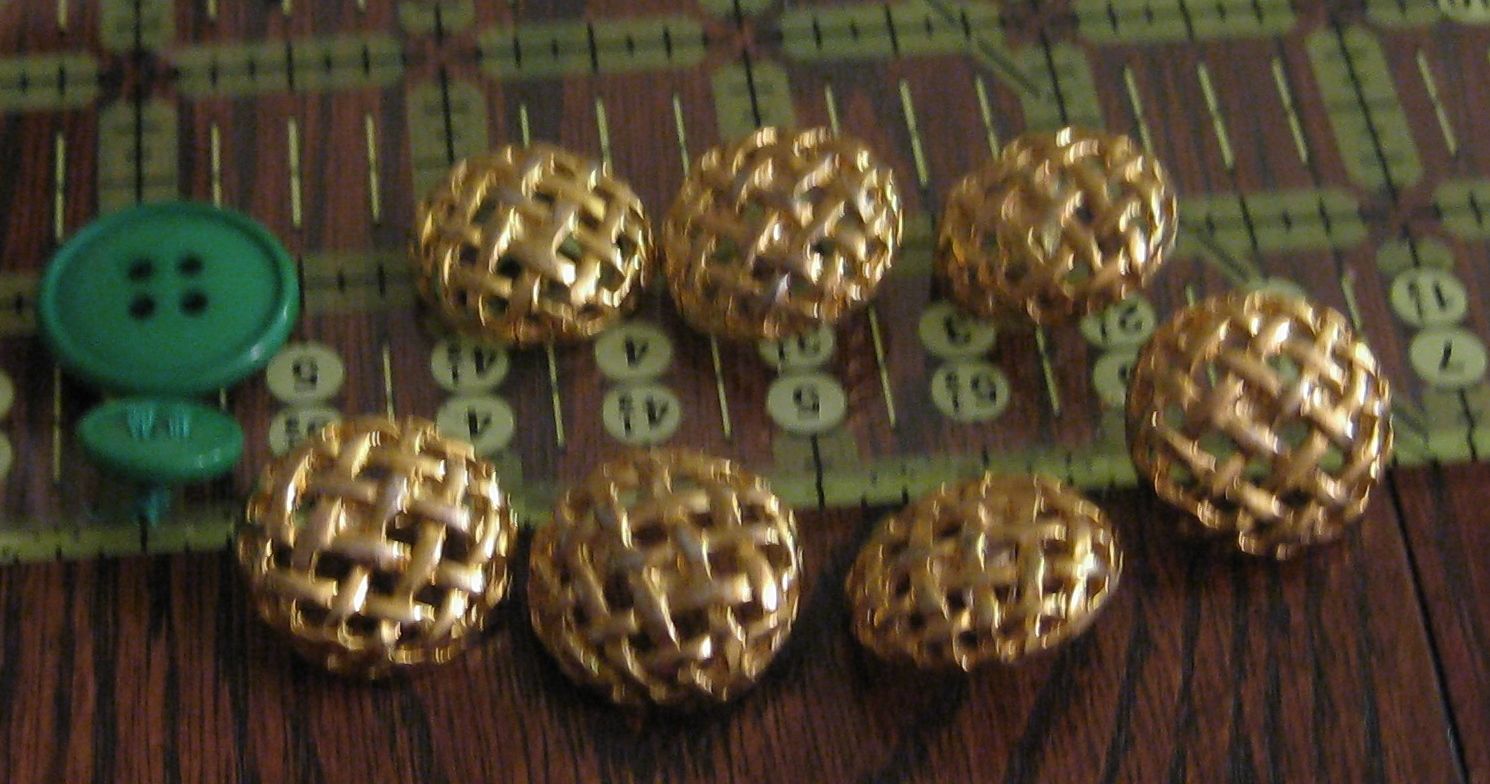
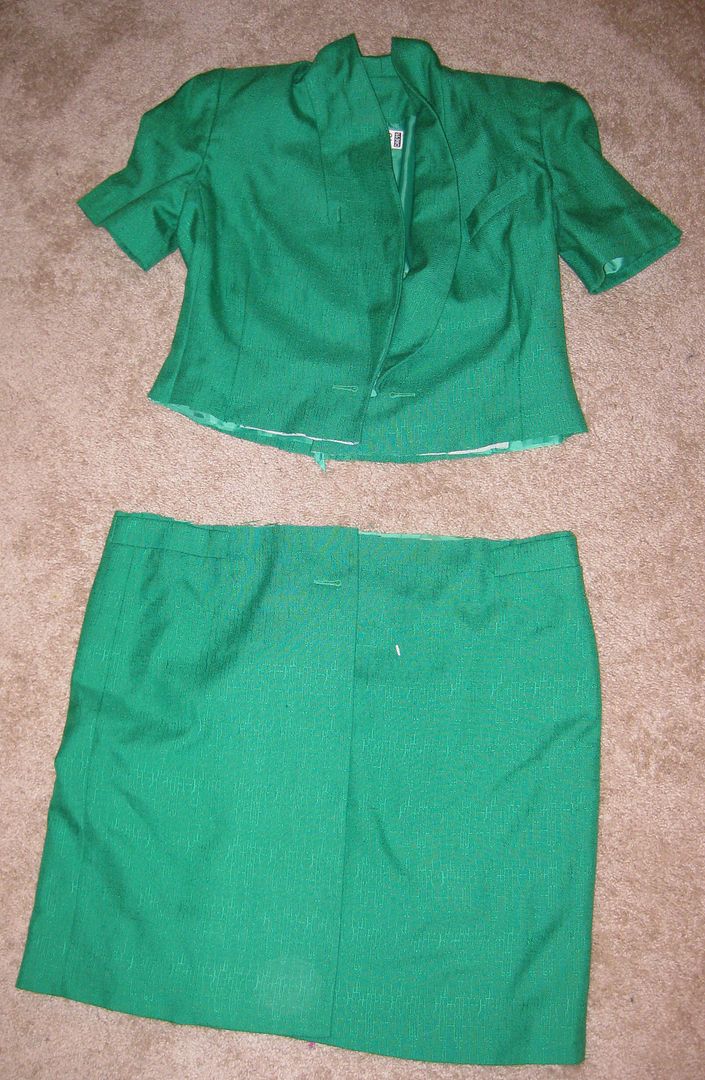
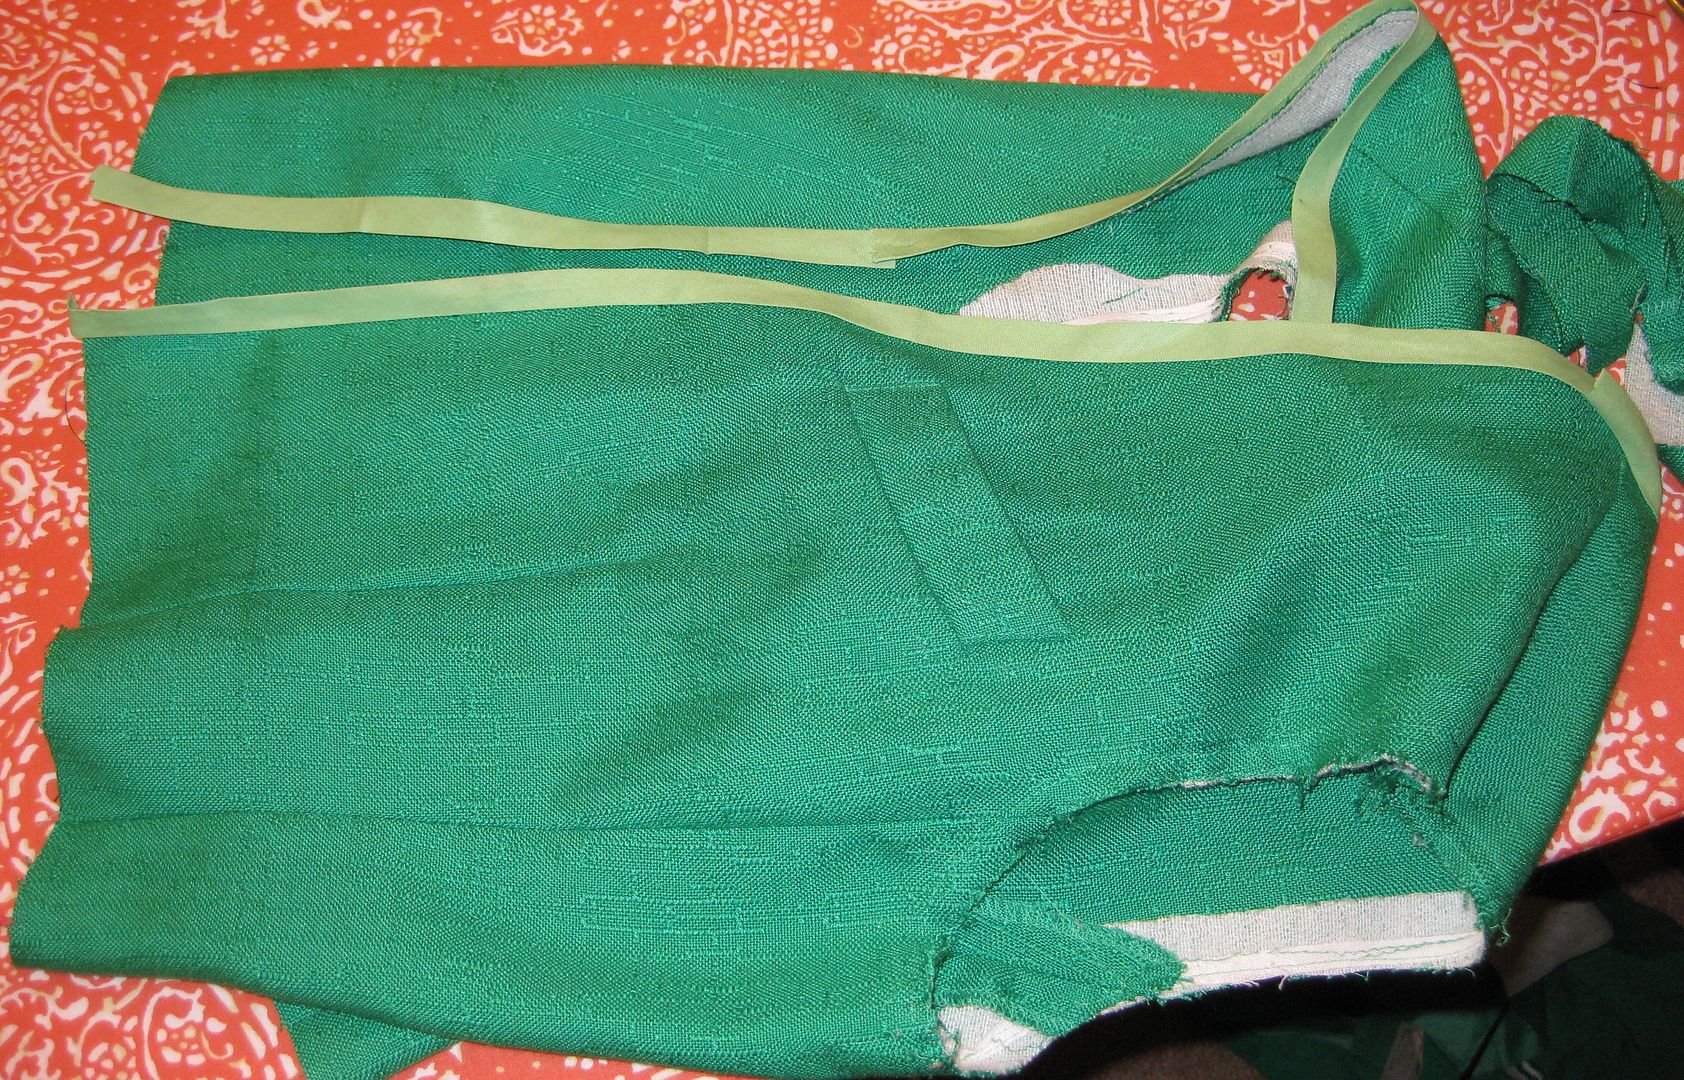
There was only a few things holding this wrap dress together like buttons. No buttons, no ties. The gold buttons were horrible. The shoulder pads.... Wow this needed a lot of work. And plus it is not really emerald.
First! Off come the buttons and then lay on the floor b/c I am getting ready to cut it in half.
Natasha Bear!!! Bad cat! But man she is just too cute.
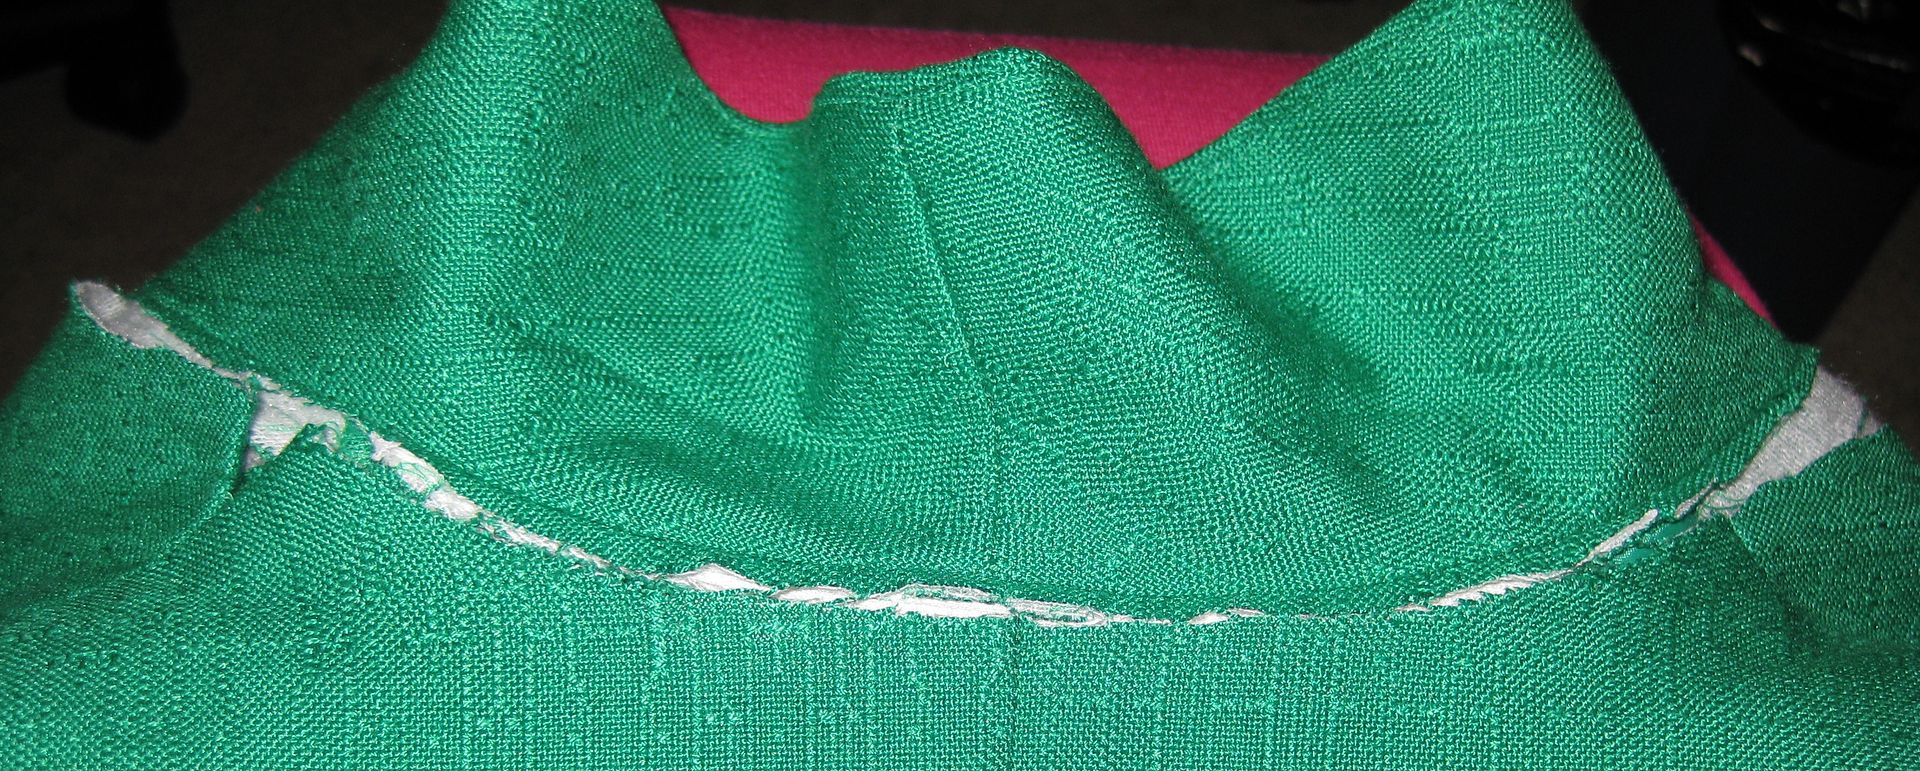
So I removed first the blazer part of dress. All away around the dress. Including the collar.
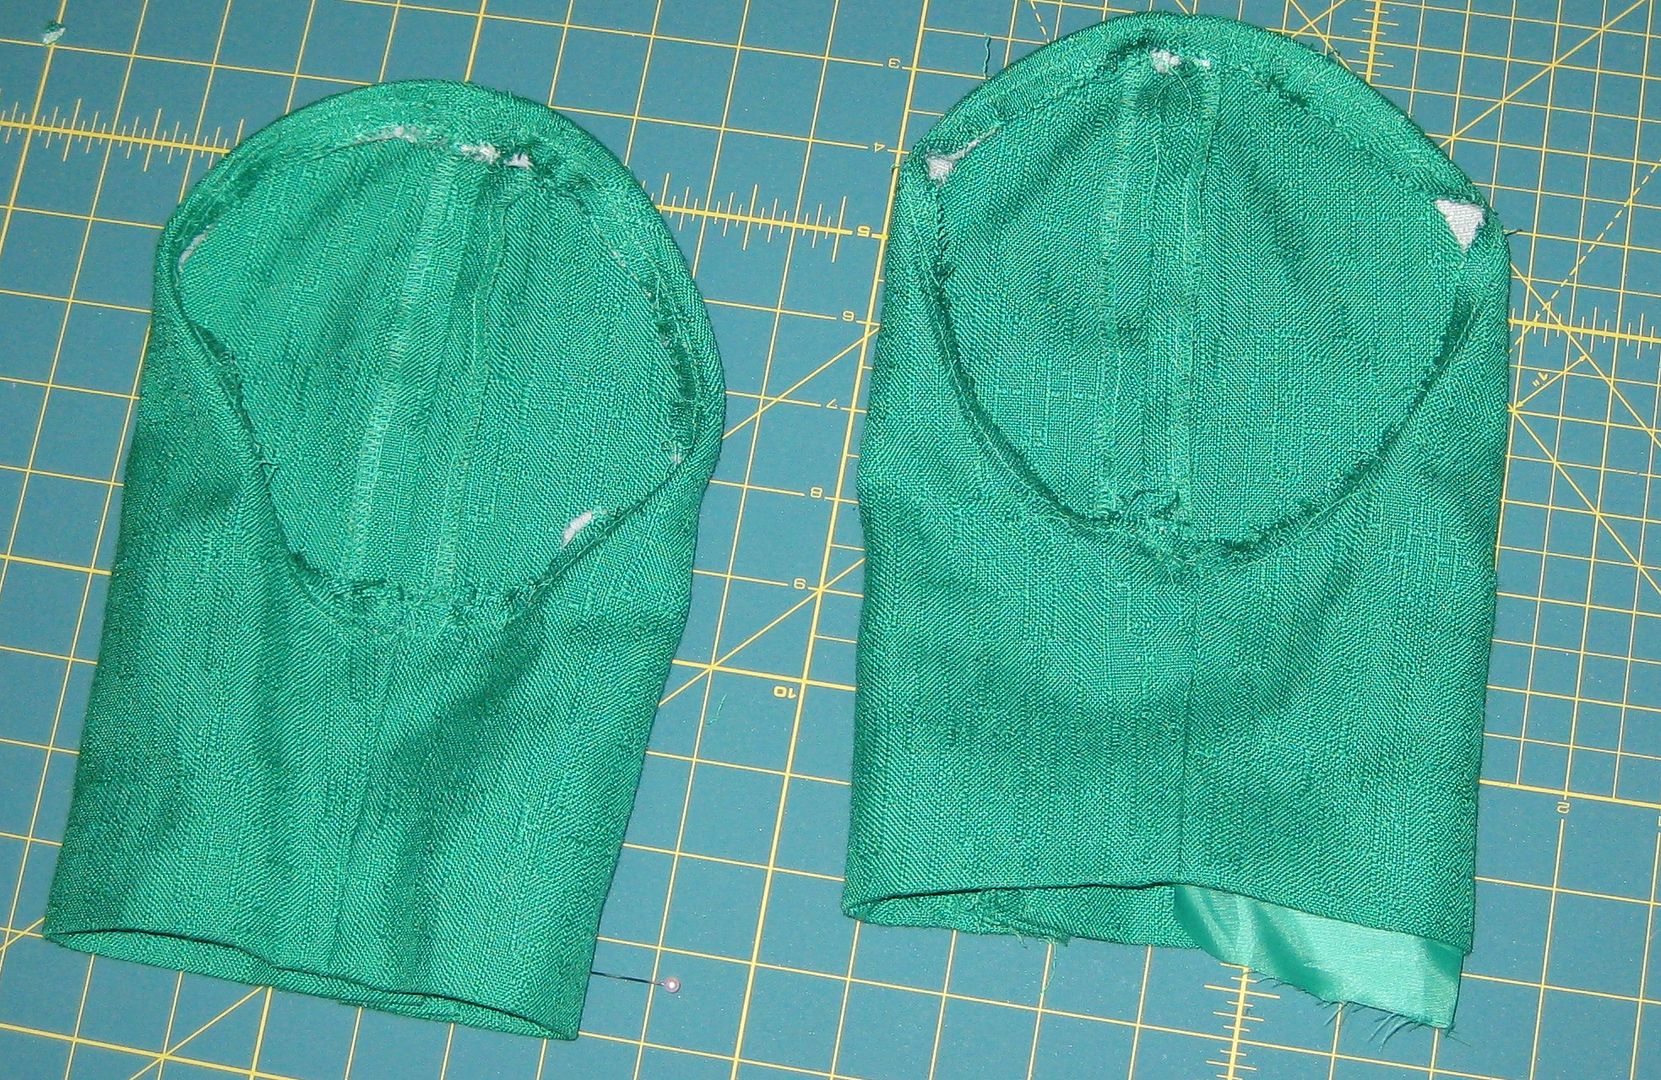
I also removed the sleeves, they were tight fitting. Add an odd fit and also it was hard to raise my arms.
Bye sleeves, you might get used later.
Hey look at those shoulder pads omg yellow foam!
I decided to turn the top backwards. But to do so, I needed to recreate the new neckline. I folded the top in half to create a new neckline. The old one was not going to cut it- it was literally choking me! I drew it with a fading marker first to get an idea. It took me 2 cuts to get the neckline I liked. Not bad!
I made sure that the back was even too.
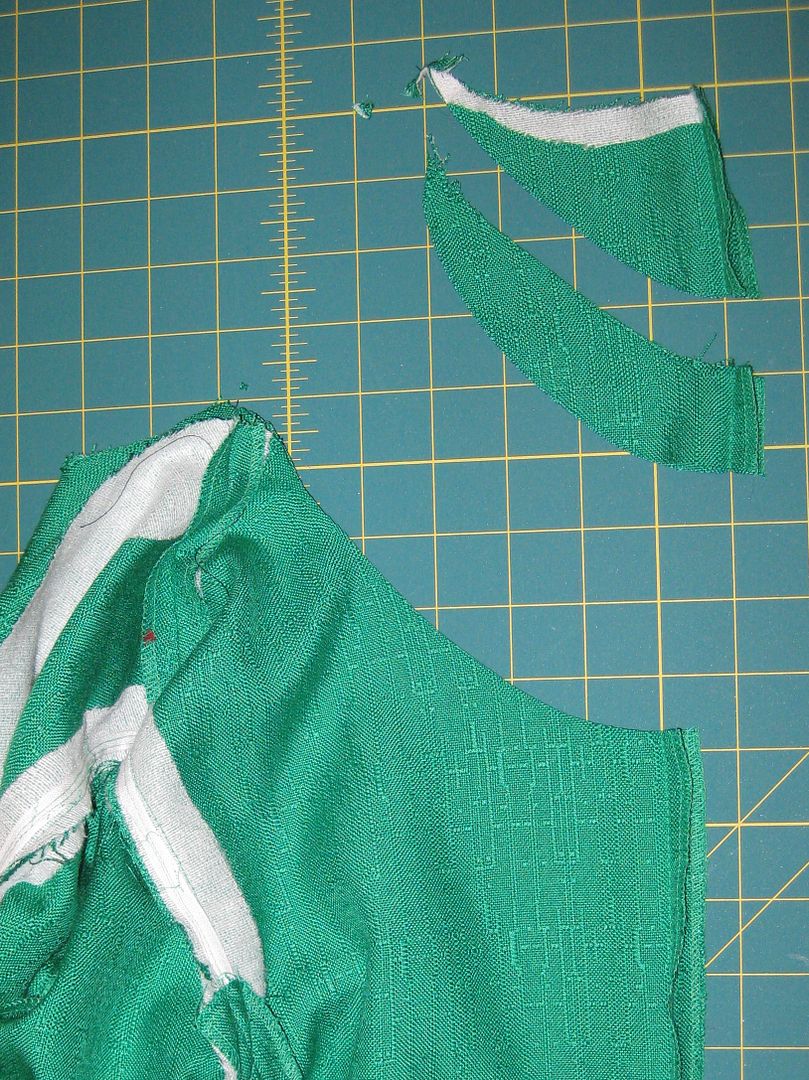
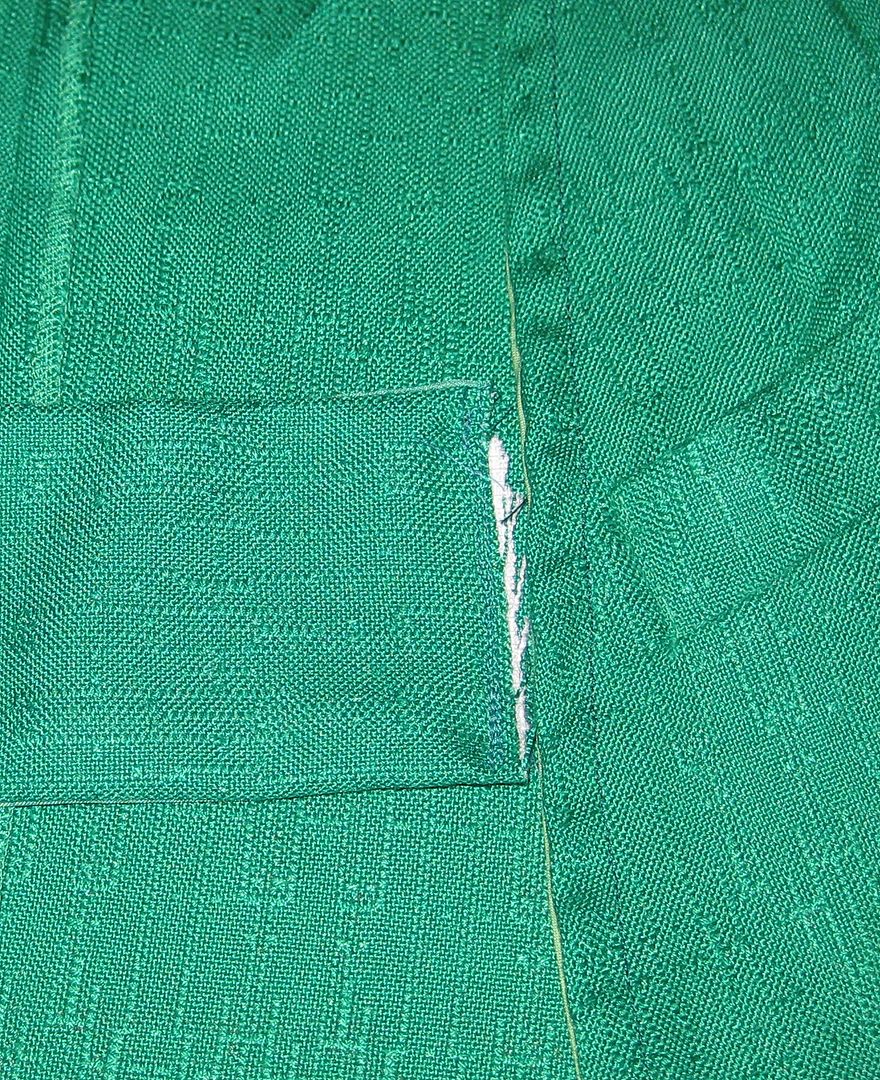
Now to tackle the skirt. I actually had to cut out the real pockets that I thought were fake. They are gone and then I realize the skirt is uneven. I need to make it even to I could put a back zipper for the skirt. And there was a button hole I had to get rid of. I basically lined it up and cut. Before I cut I undid the blind hem so later on I could fold up and have an even hemline.
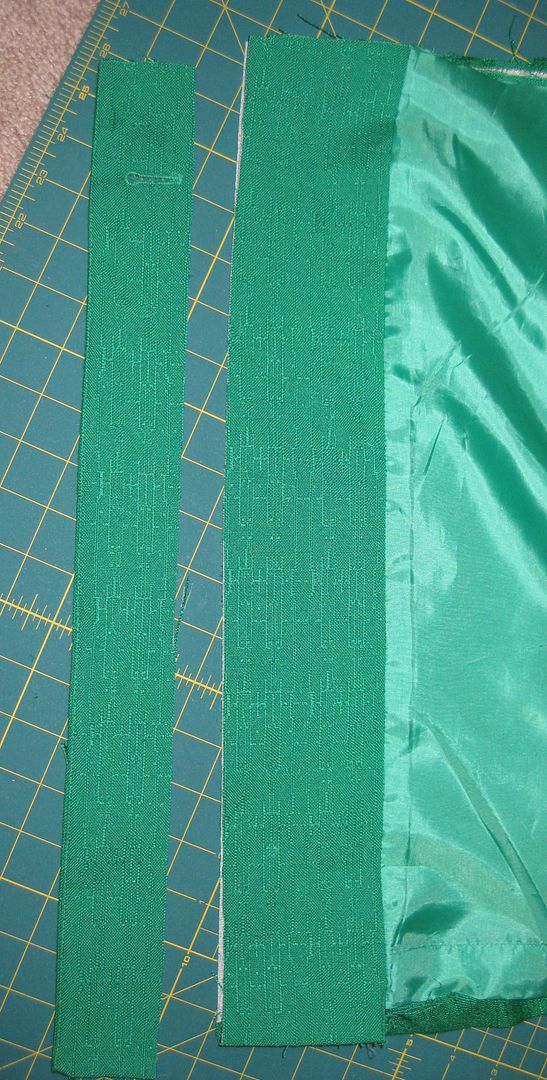
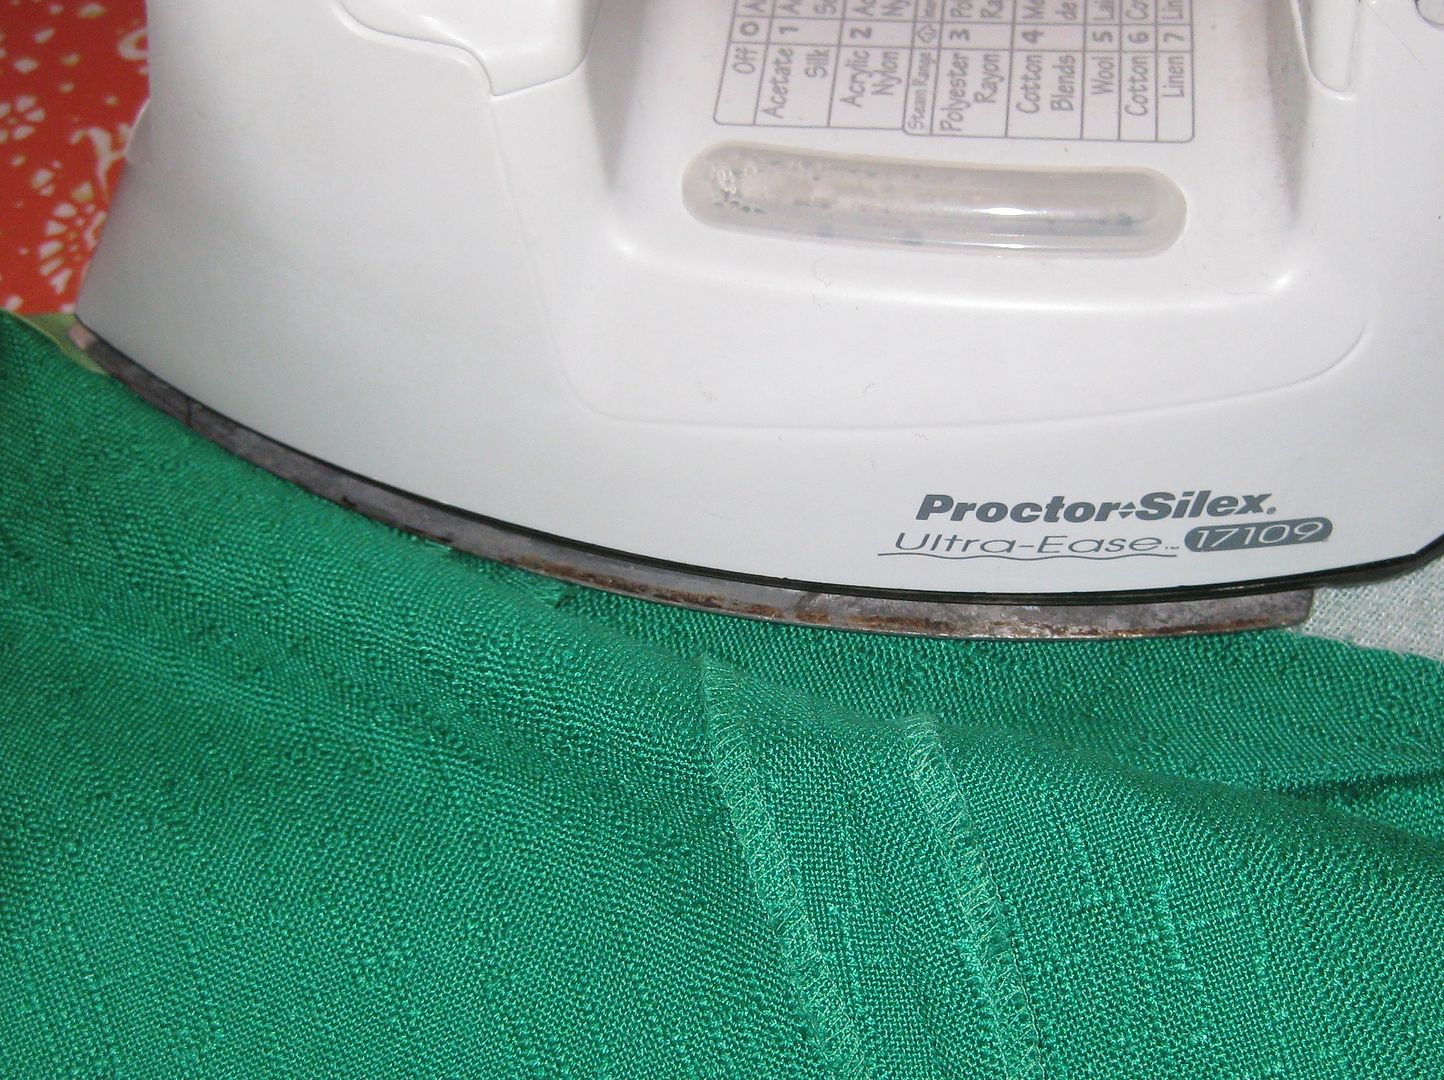
Here is the leftover panel. I still the need the ease to walk so I need to split this in half
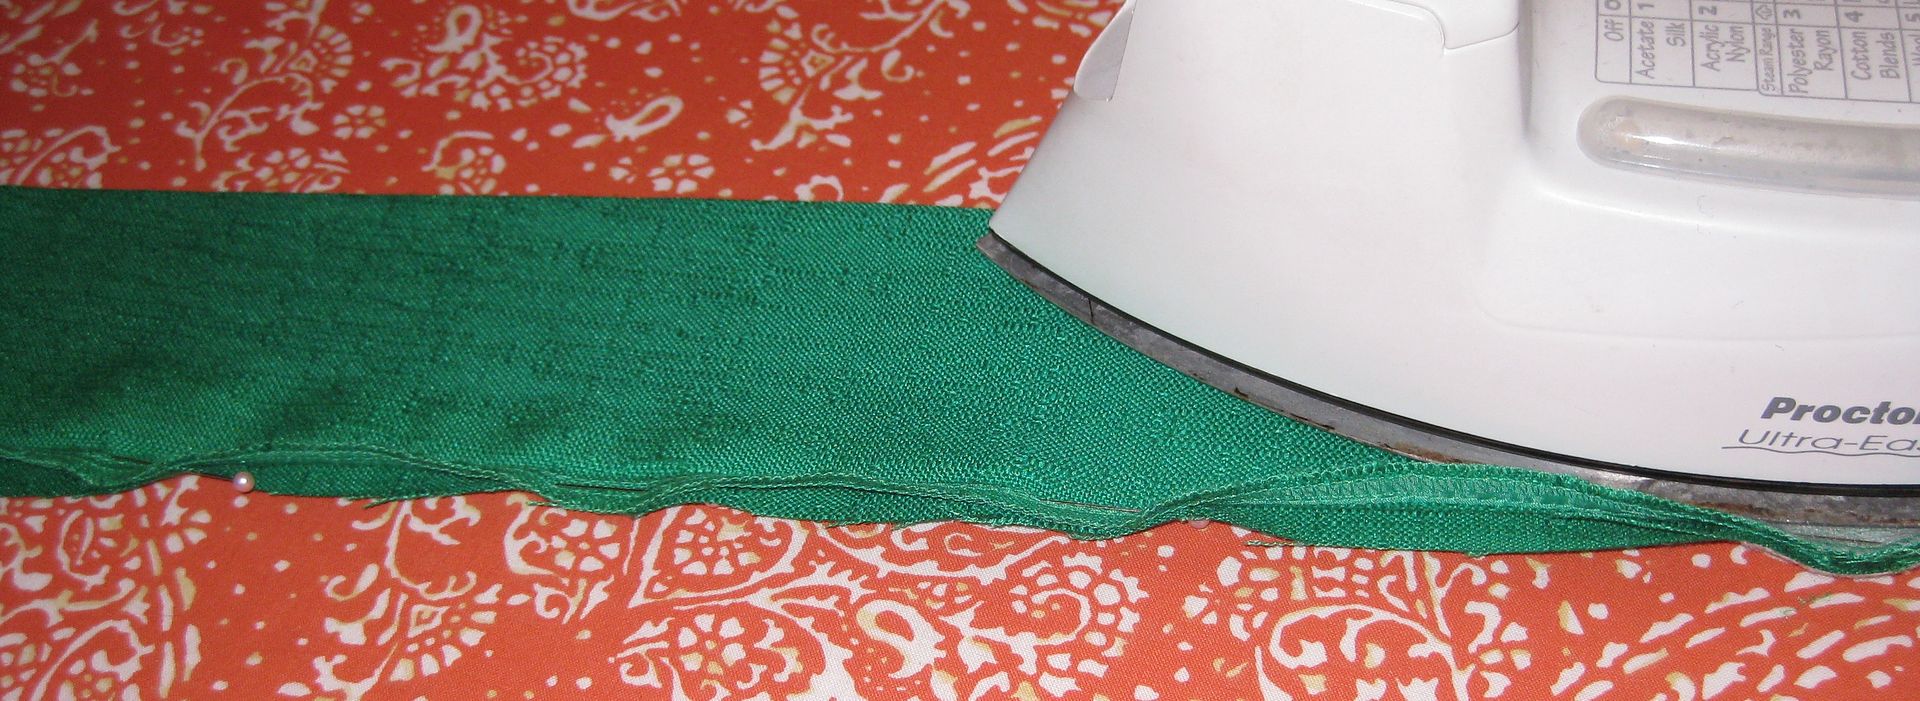
fold in half and iron. cut along the ironing line
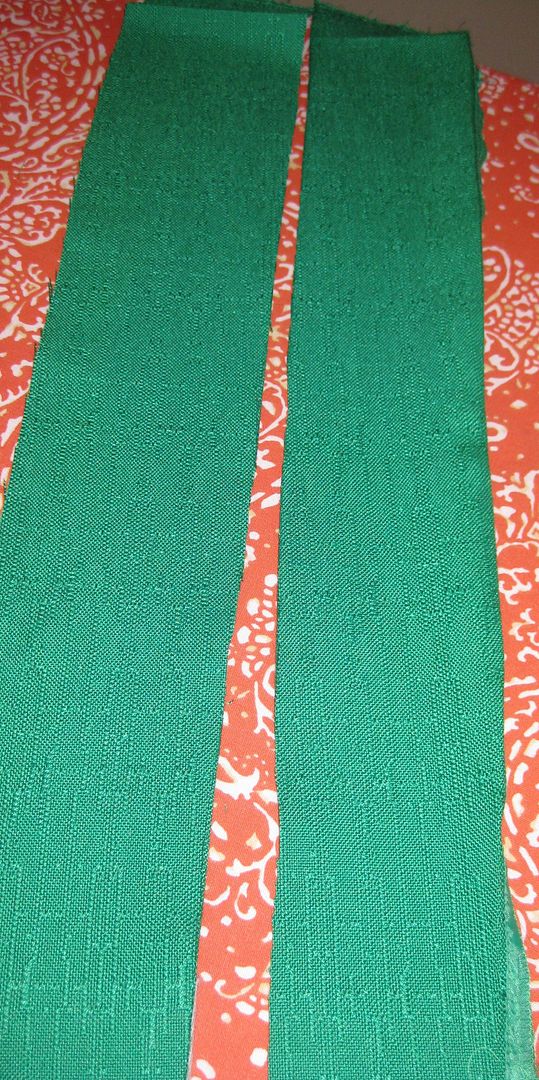
attach to each side. pin. sew!
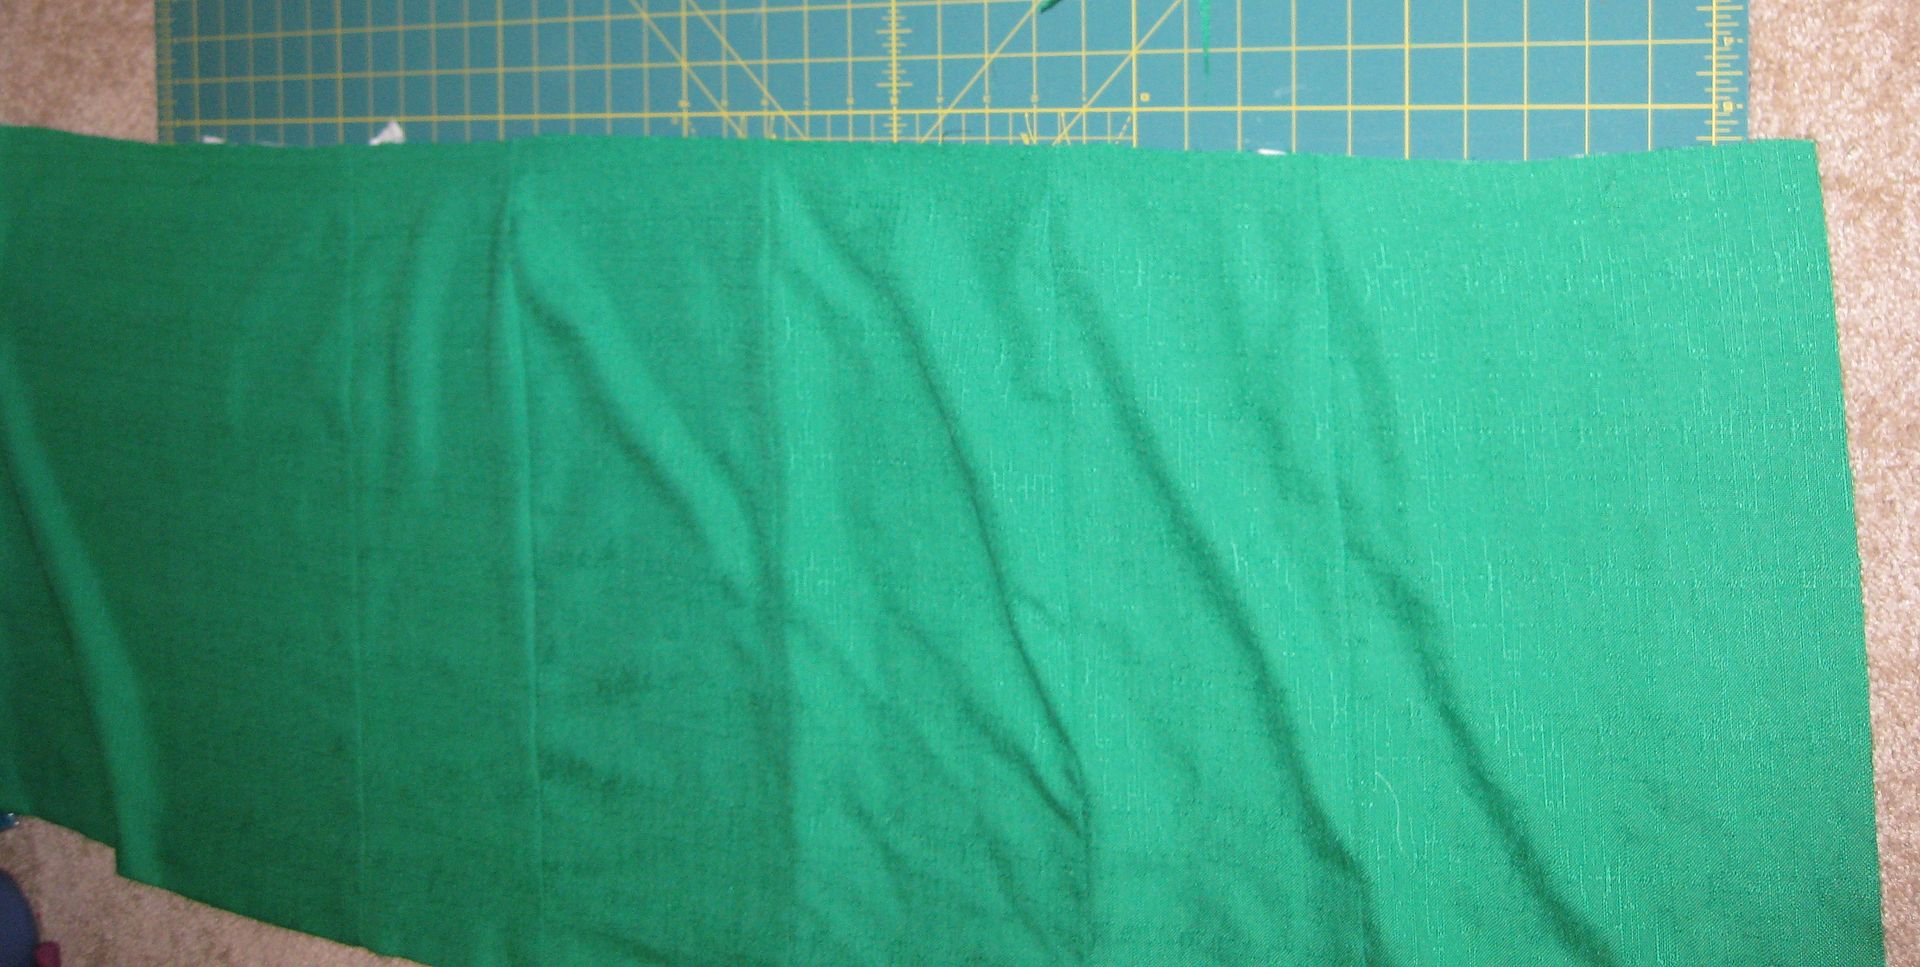
new skirt
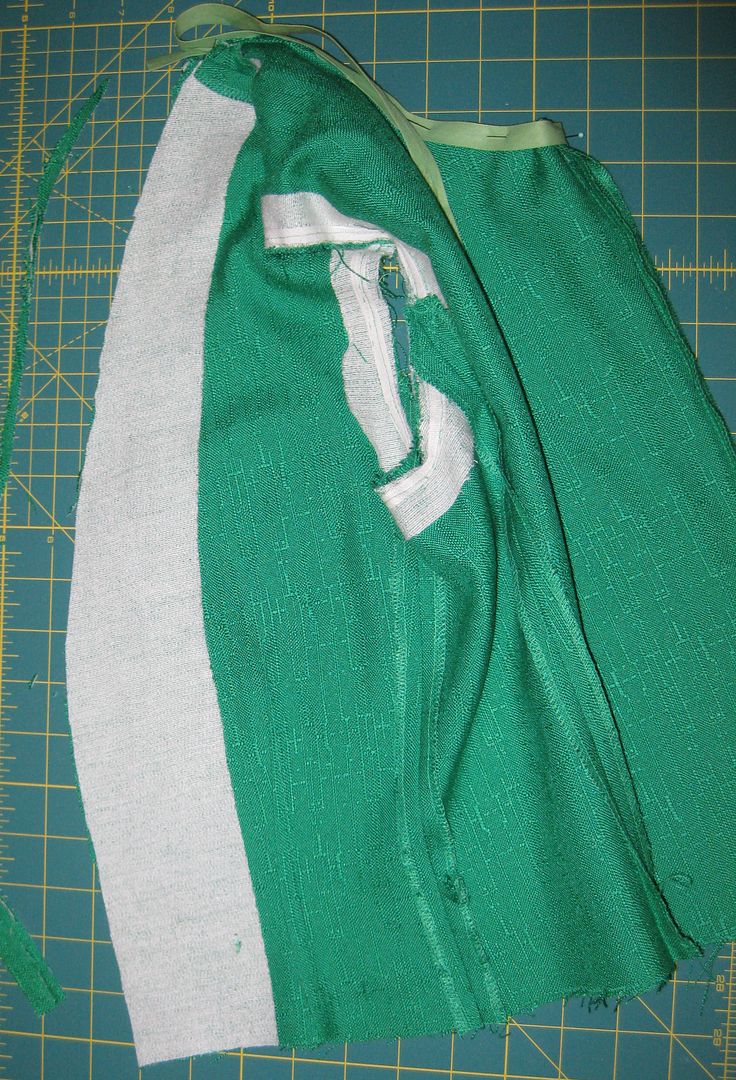
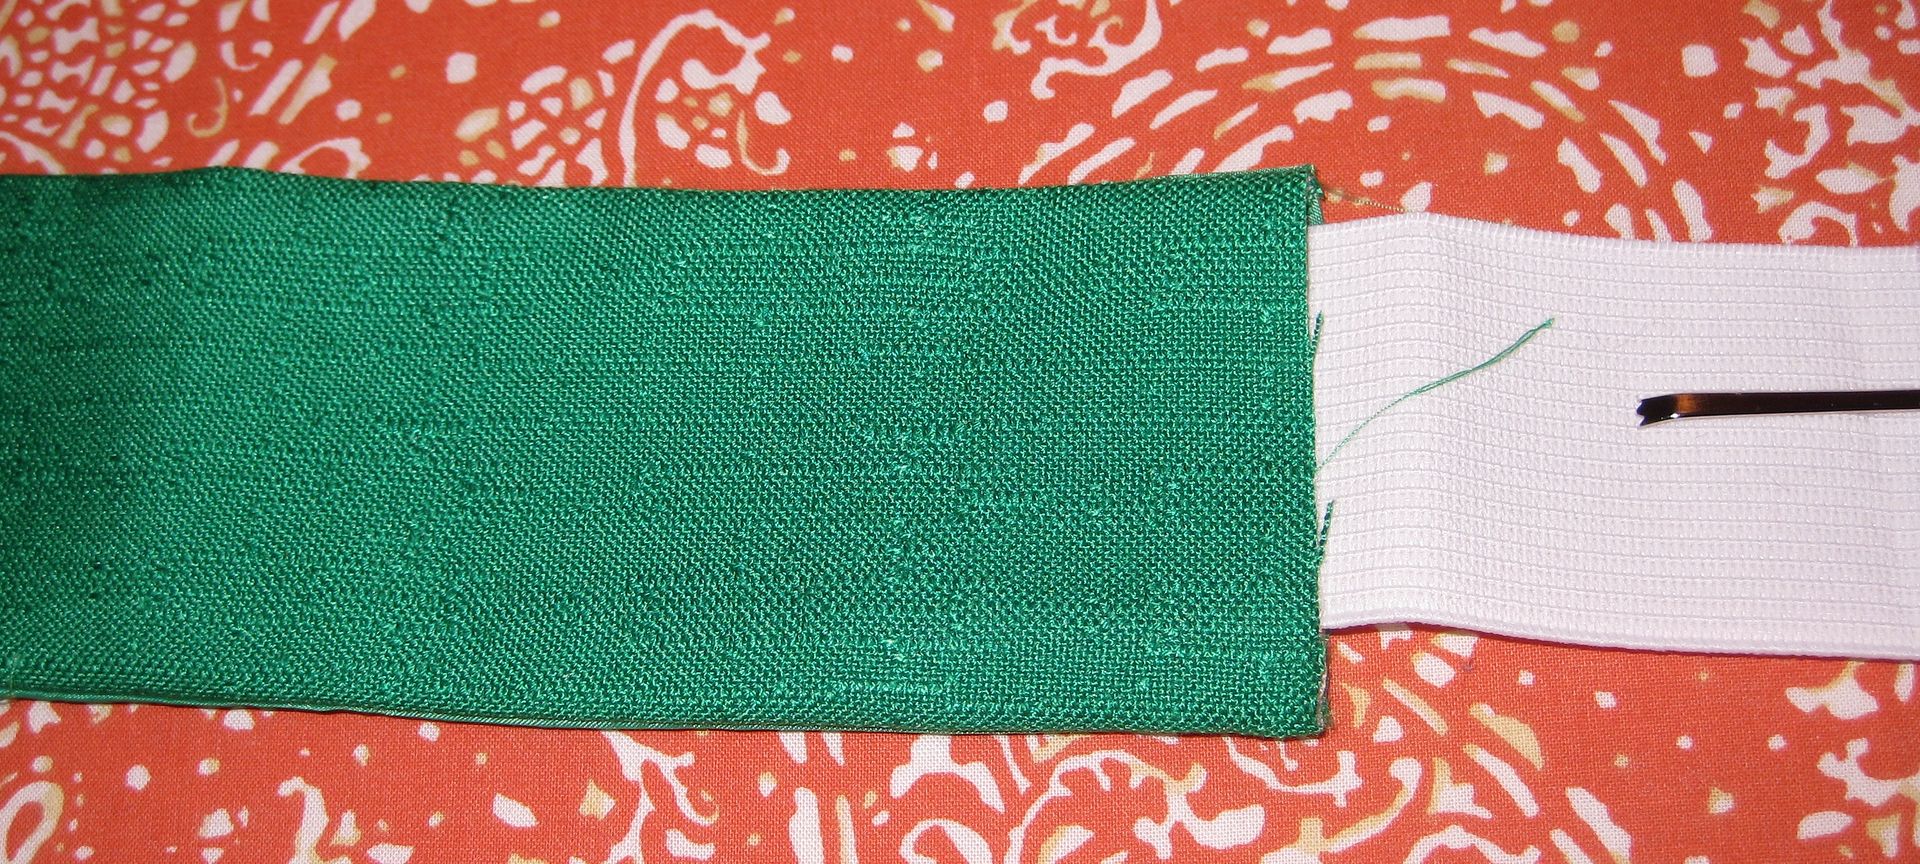
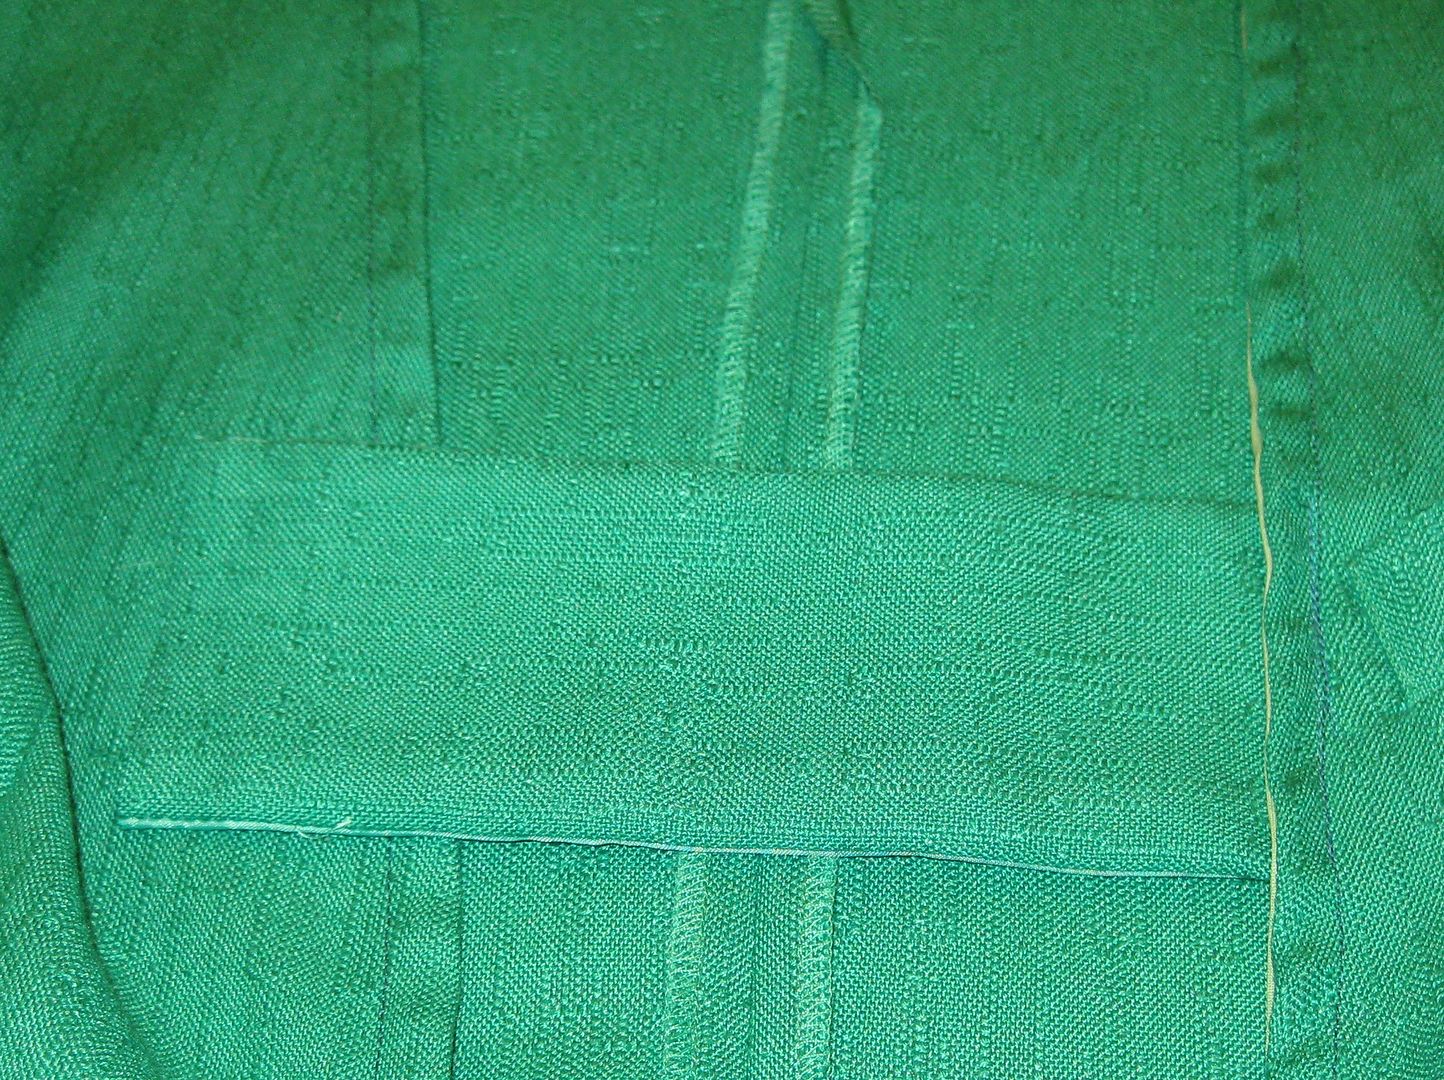
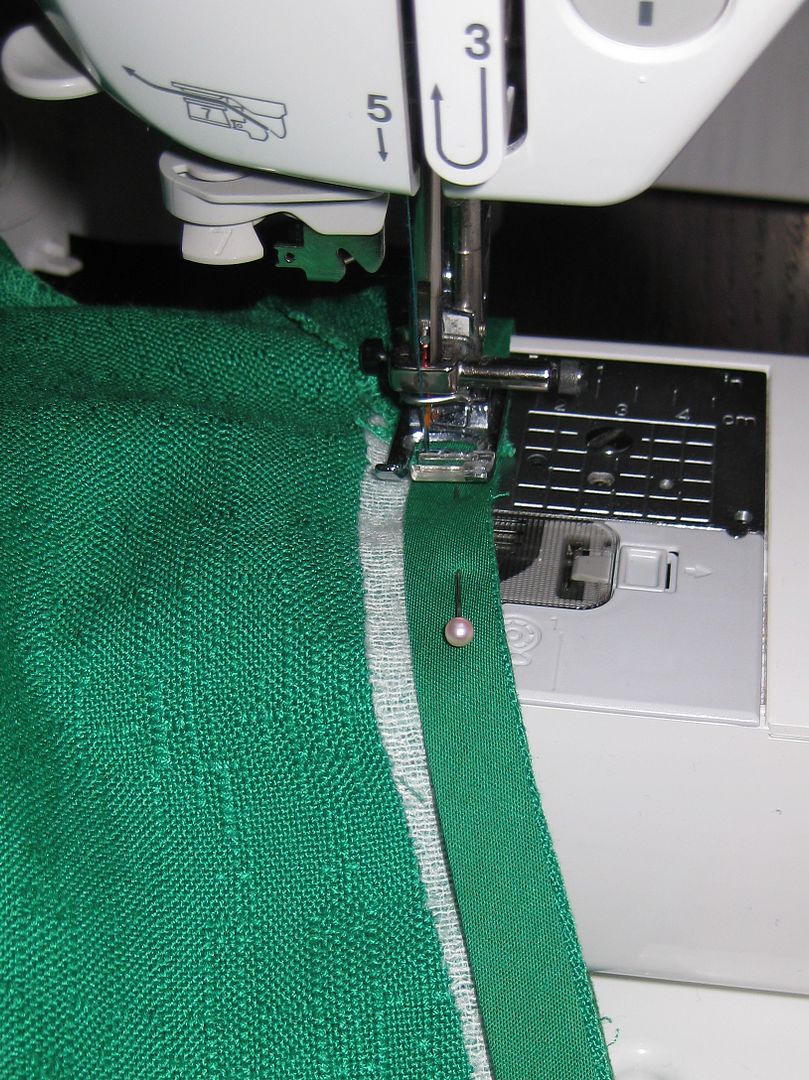
Now I need to get the bodice and the skirt to attach. First I need to finish the edges of the top. I don't have a lot of fabric to work with, I decided to use some scrap bias tape. Basically on the right side of the fabric, I sewed the one part of the bias tape down.
Fold that over, iron, you won't see the bias tape anymore, it is now underneath.
Sew down. In hindsight I am really glad I did this b/c this was going to help later on and reinforce it with some strength.
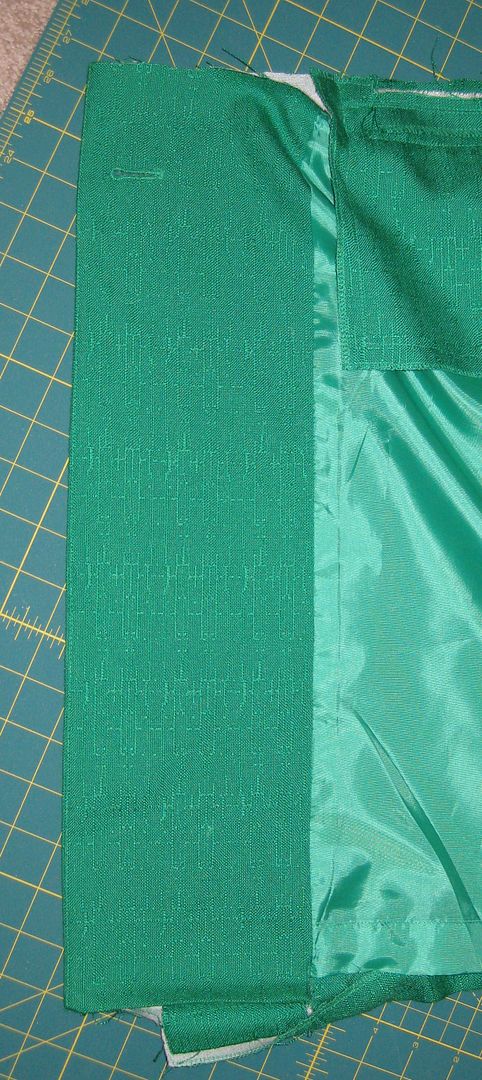
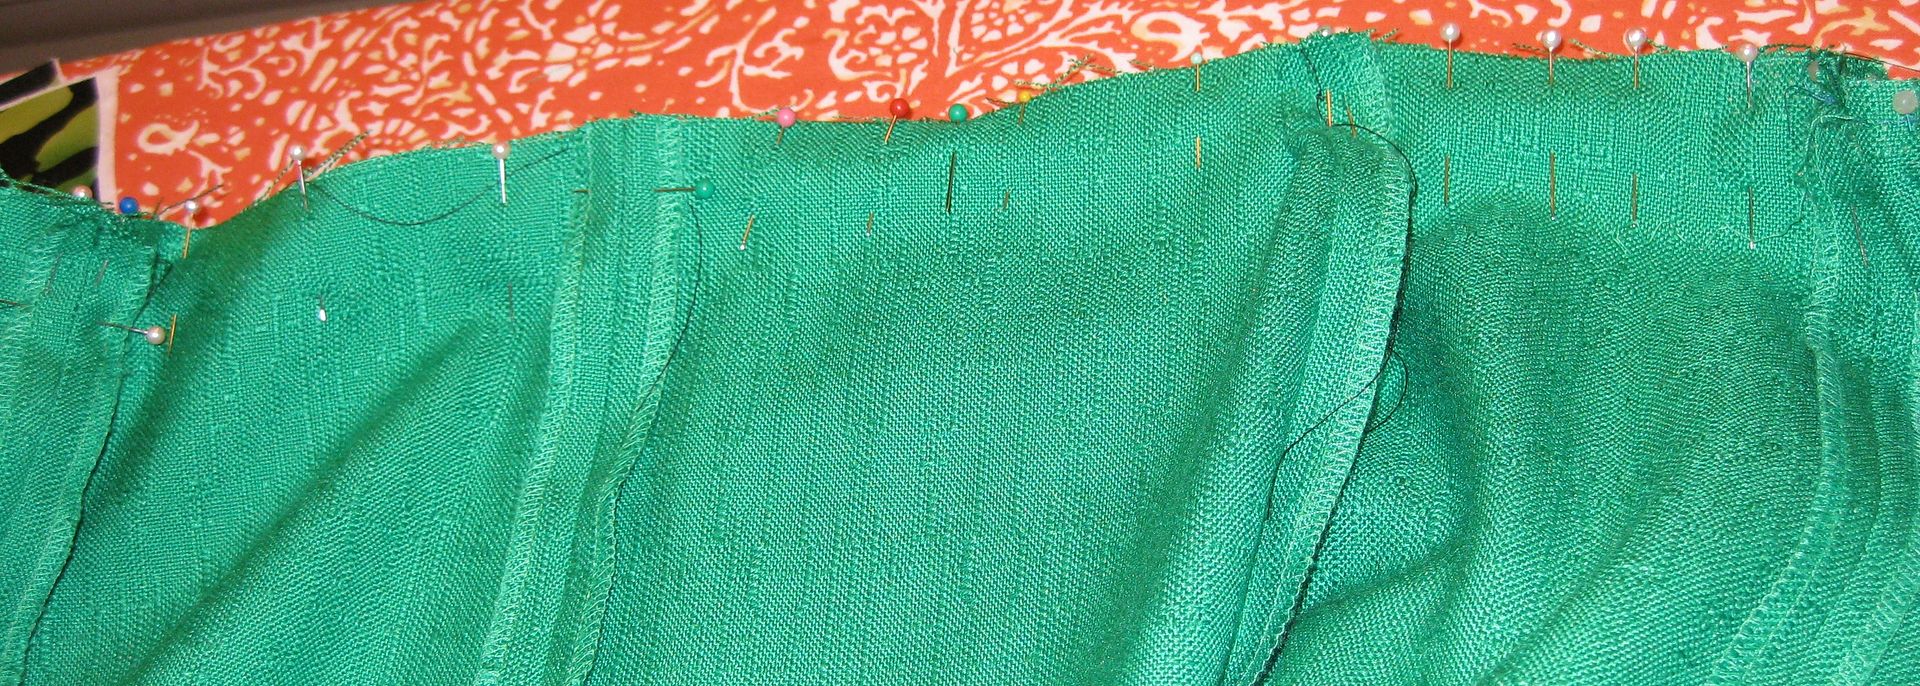
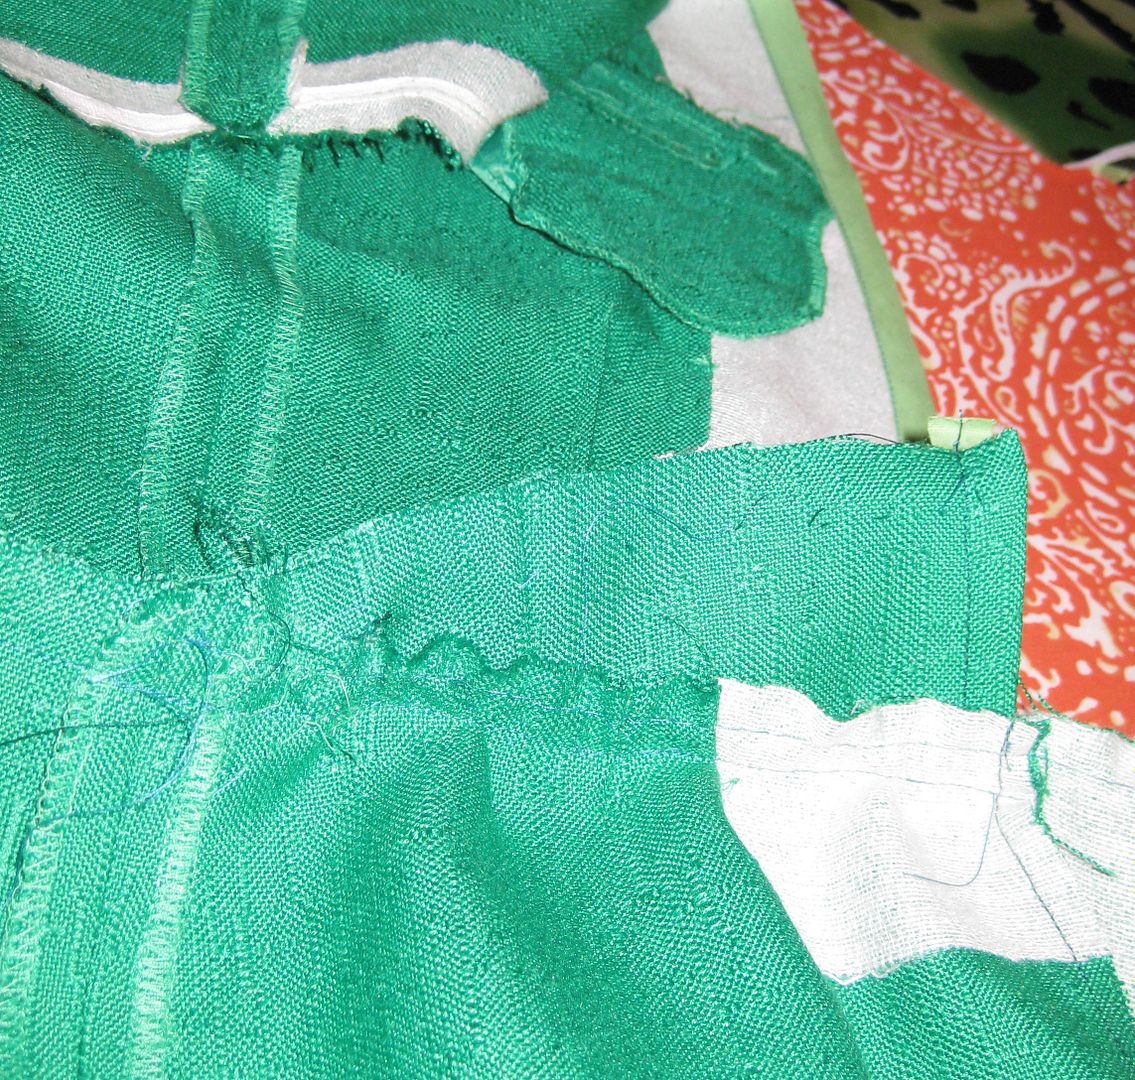
Err the top and bottom of the dress don't line up. It is understandable as the middle part of the dress where the pockets were are now gone. And most clothing is not in straight lines.
So we need to make it line up. Or else this dress will be a hot mess. I did a small pleat bringing each side of the skirt so now I would have a visual line right at the bodice. I did this on both sides and everything matched up.
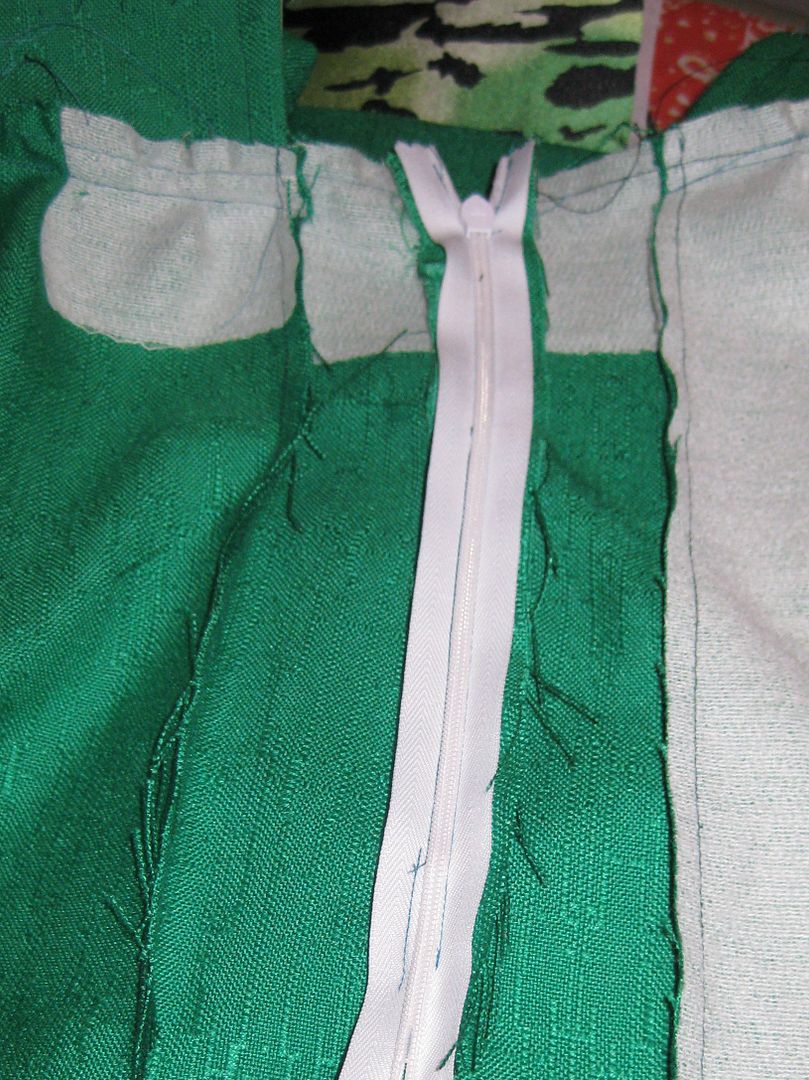
pin the bodice and skirt together and sew. I sewed everything except that middle part of the skirt.
to which I added a zipper. this was going to be an open back dress!
Folded up the hem and redid the blind hem.
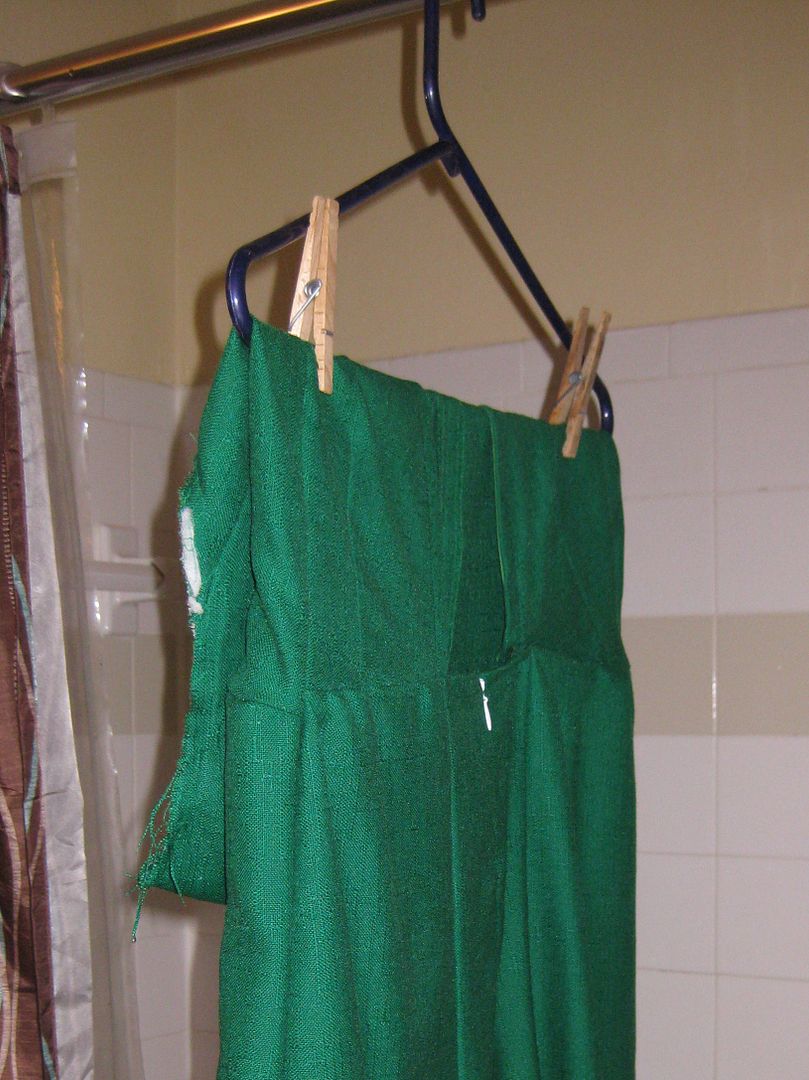
Now that I had my dress together I had to fit it. This took AWHILE. I had to take in the sides. And the back gaped when I moved, I did not want that. Now one of the issues with this dress is it is a loose woven fabric. And I mean LOOSE. After 2 seam rips the fabric began to disintegrate. So I had to move fast and figure out how to fix the back gape issues. I fixed this by angling the back part of the dress seen here on how I attached the back to the skirt. I also gathered the back part of the skirt just a tad also to fit some.
This helped a lot but I still needed something else. I grabbed the piece of skirt that I pulled off that had the button hole. It was still attached to the lining. Ding! So I simply sewed the other side.
turned it right side out!
Add a piece of elastic...
Attach to the back of the dress. This is where the bias tape finished edge came in handy b/c it reinforced the edge so I could attach this strip. I also wanted to wear a bra with it and I positioned it just right that one would not see it. Plus the elastic band would pull the dress against my back, expand to allow for movement, and also let me put the dress on without being a contortionist.
I had to tweek the size with several fittings but it got it. Basically what you need to do is have the fabric strip be a little longer than the size you wanted. Then cut the elastic a little shorter than the size you want. So then the elastic will pull it shut and yet you have a little bit of breathing room to put the dress on and bend. I hope that makes sense.
Now the arm holes...... I tried to manipulate the sleeves to work. Even pull out a seam to make it bigger but it just didn't work. My gut said leave it as a sleeveless. I tried but decided to go with my gut. I used bias tape again to finish the arm holes just like I did earlier. It was hidden so I had a clean finish to the arm holes.
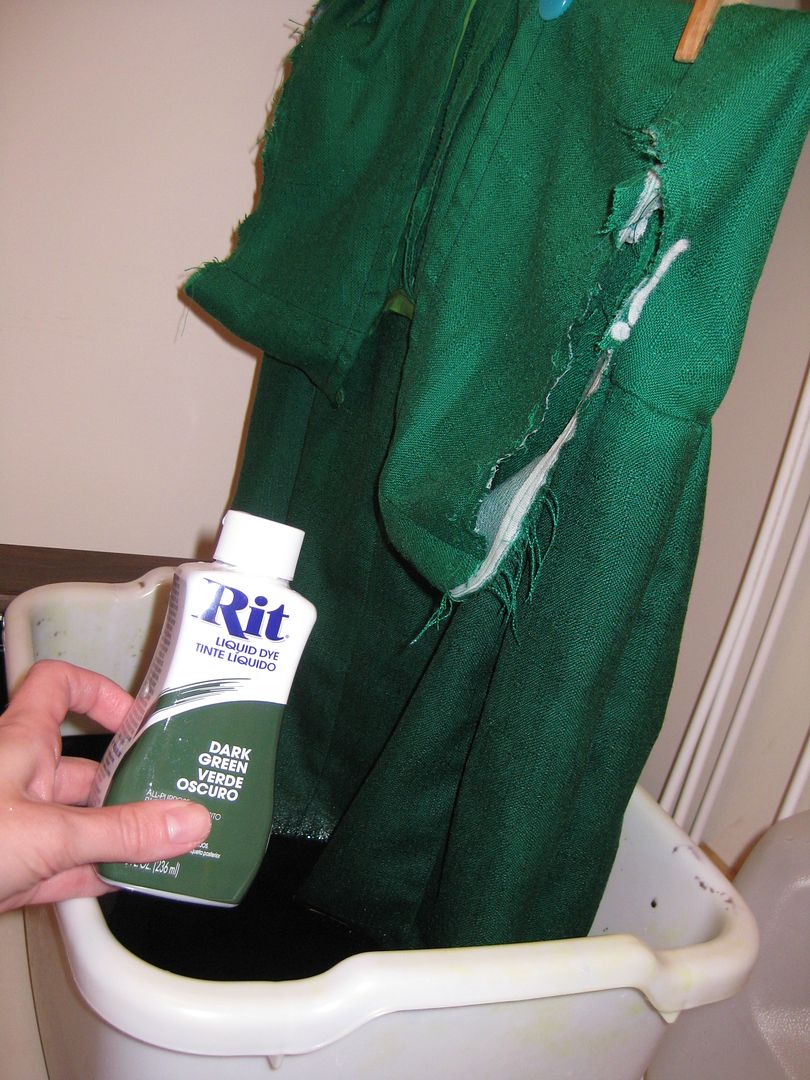
Now wait! we are not done yet! I wanted to make it more emerald green so we needed to go a little bit richer in green color. I thought I would try my hand at ombre dyeing. And just the skirt part. Now one of the issues is the fabric is part polyester and part rayon so I know that the color will not take very well.
I went with RIT dark green, this should give me what I want. Wet the dress. Dip the entire skirt it and remove it as the time went on. I then let the bottom of the dress hand out in the dye bath for the rest of the night to give the bottom edge a nice dark green.
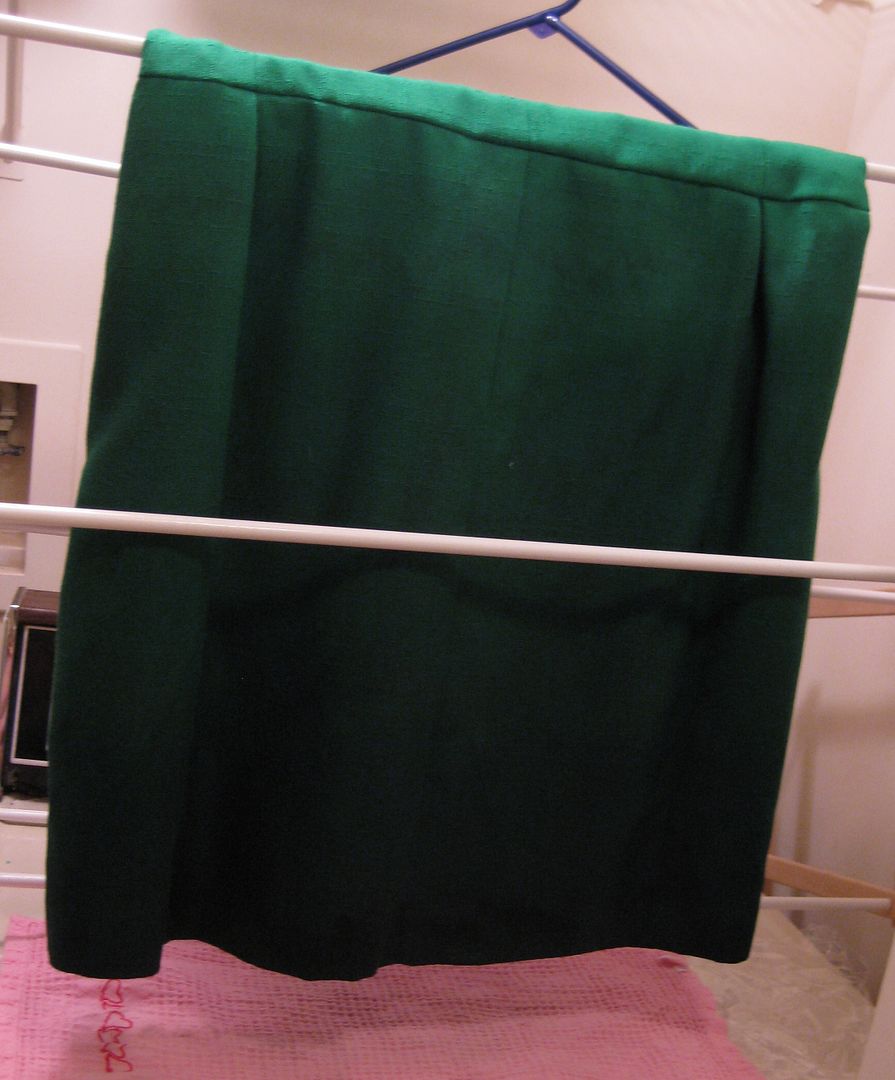
Next morning I had this... I drooled! But I knew that it would dry lighter. Rinse out and let it dry while I was at work.
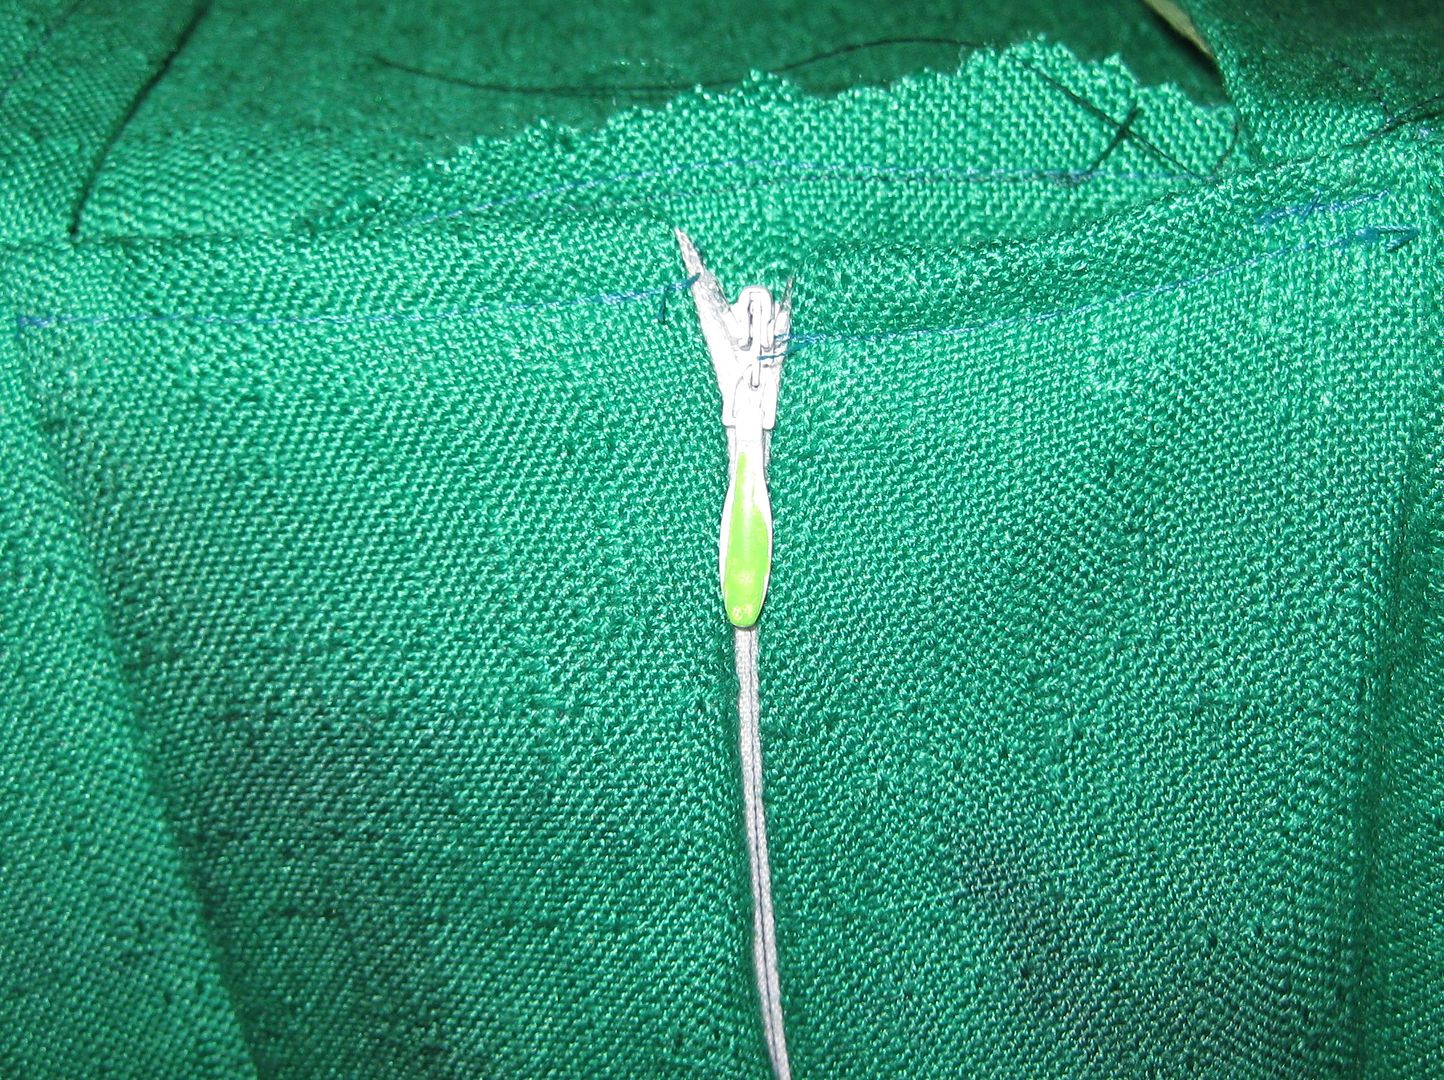
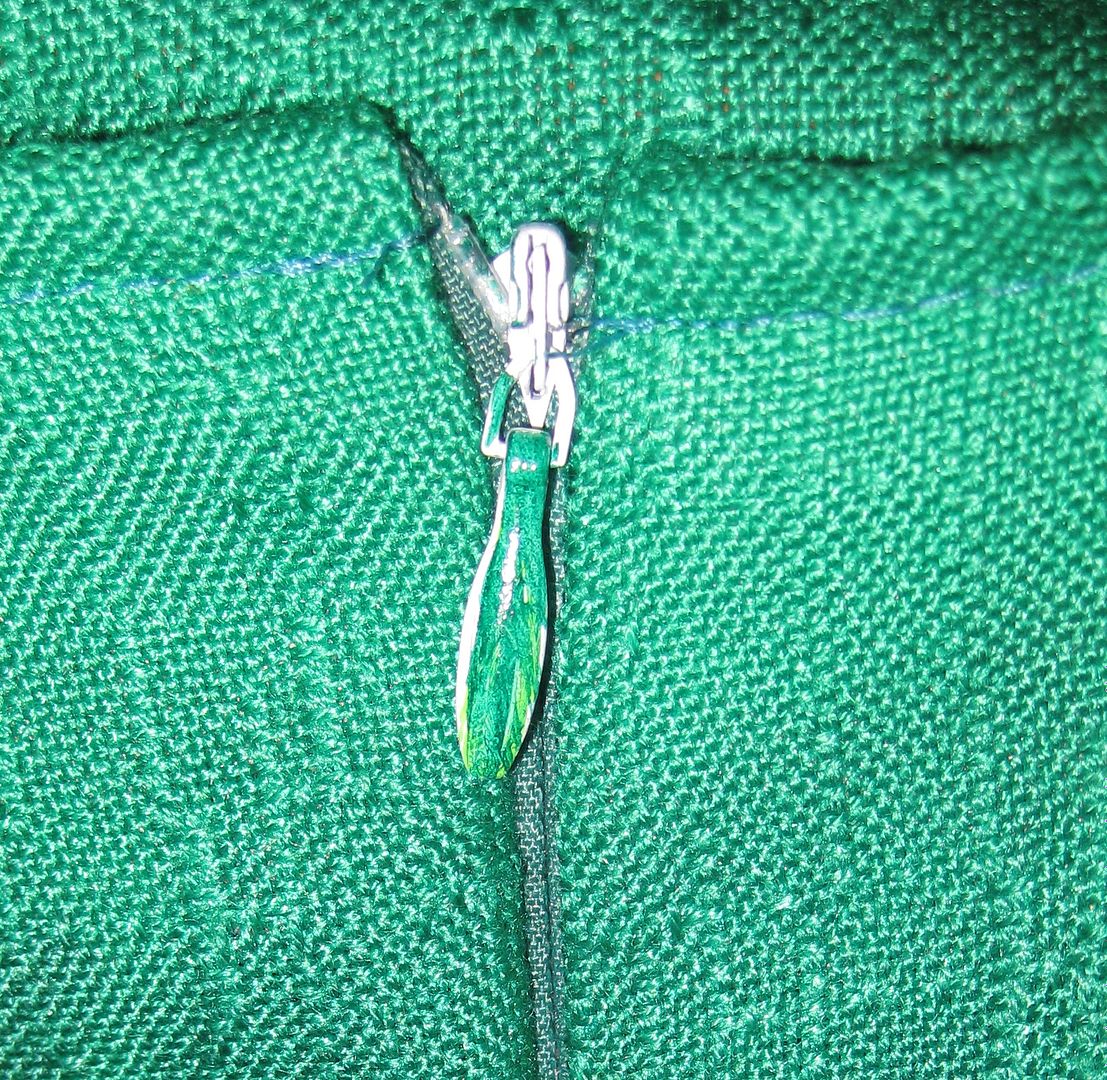
Now there was one last thing... that white invisible zipper now really stands out. I busted out my green sharpie and began to color it in. And the zipper tape too.
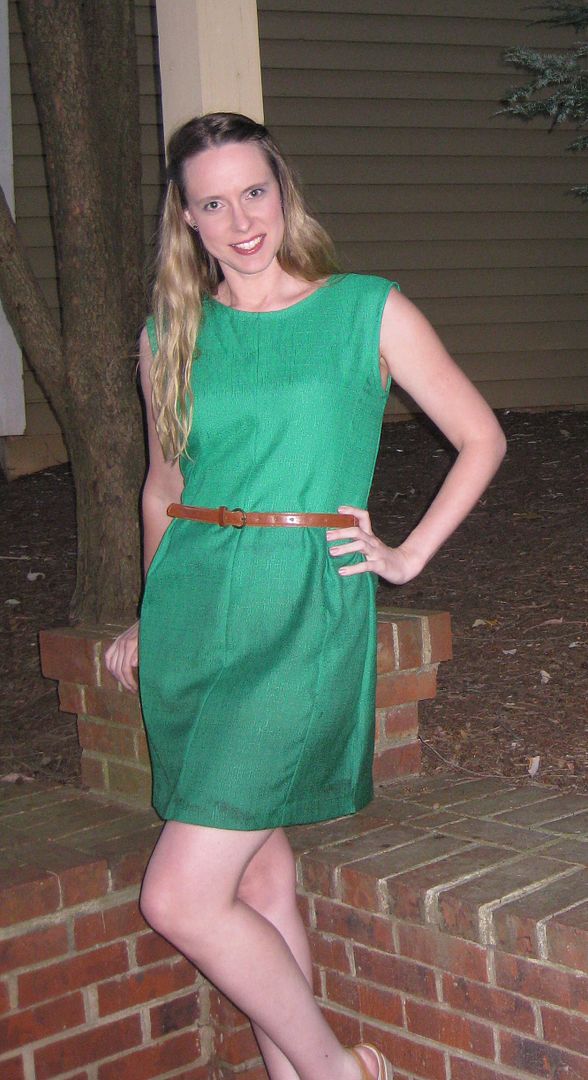
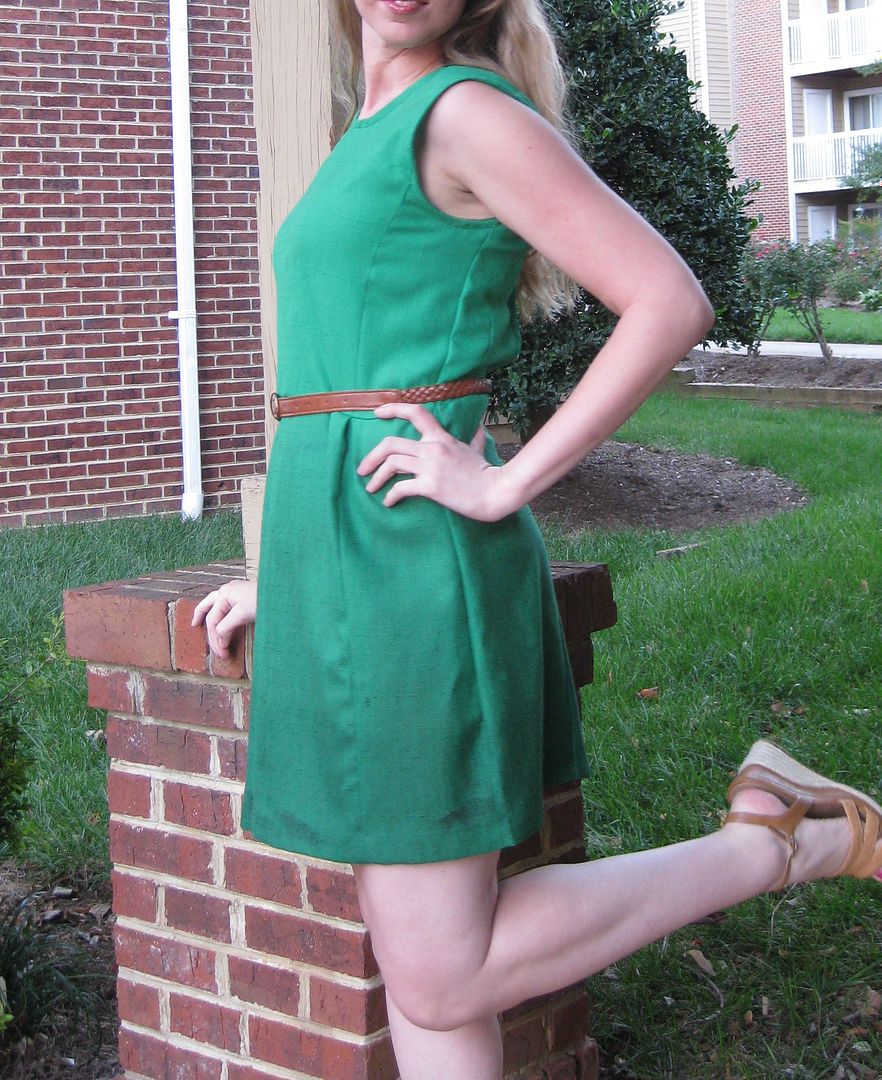
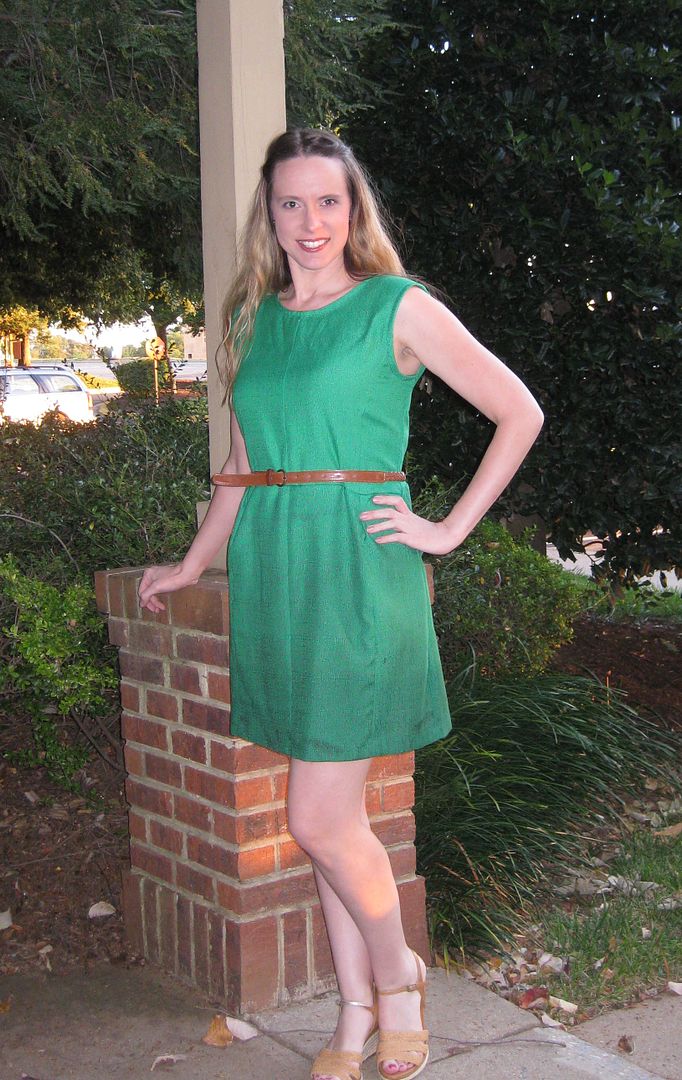
Done! Now this Designing Women dress is now a simple sleek ombre dress much more modernized! Paired with a jacket I could totally wear this to work. :)
see the lines line up!
Check out those arm holes... fabulous!
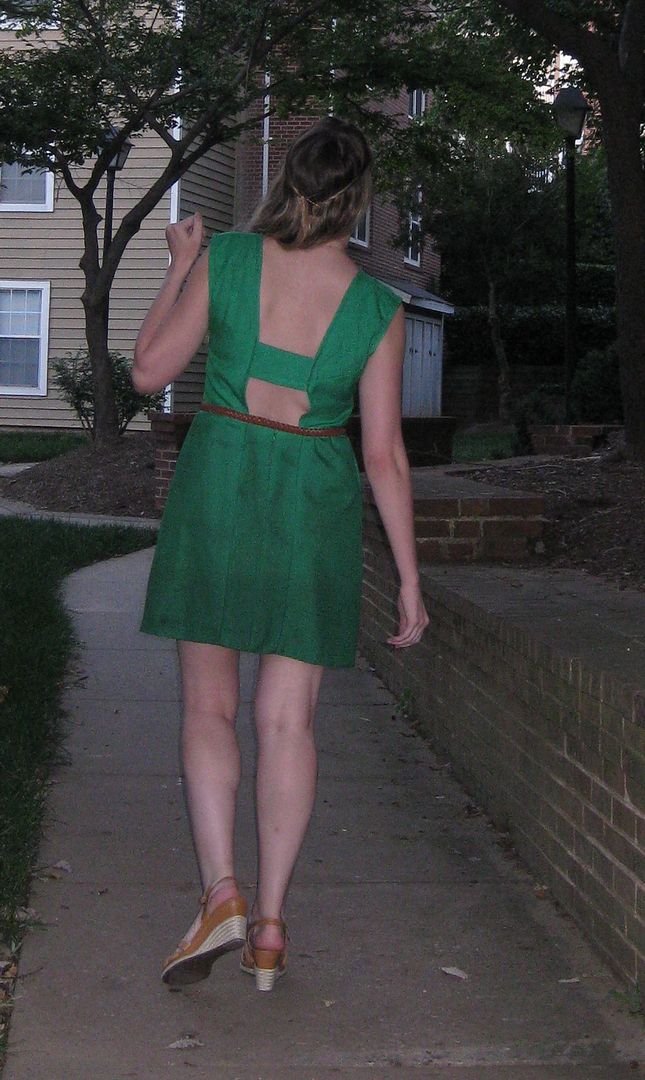
The back which now hugs my back and can you tell there is a white zipper on the skirt?
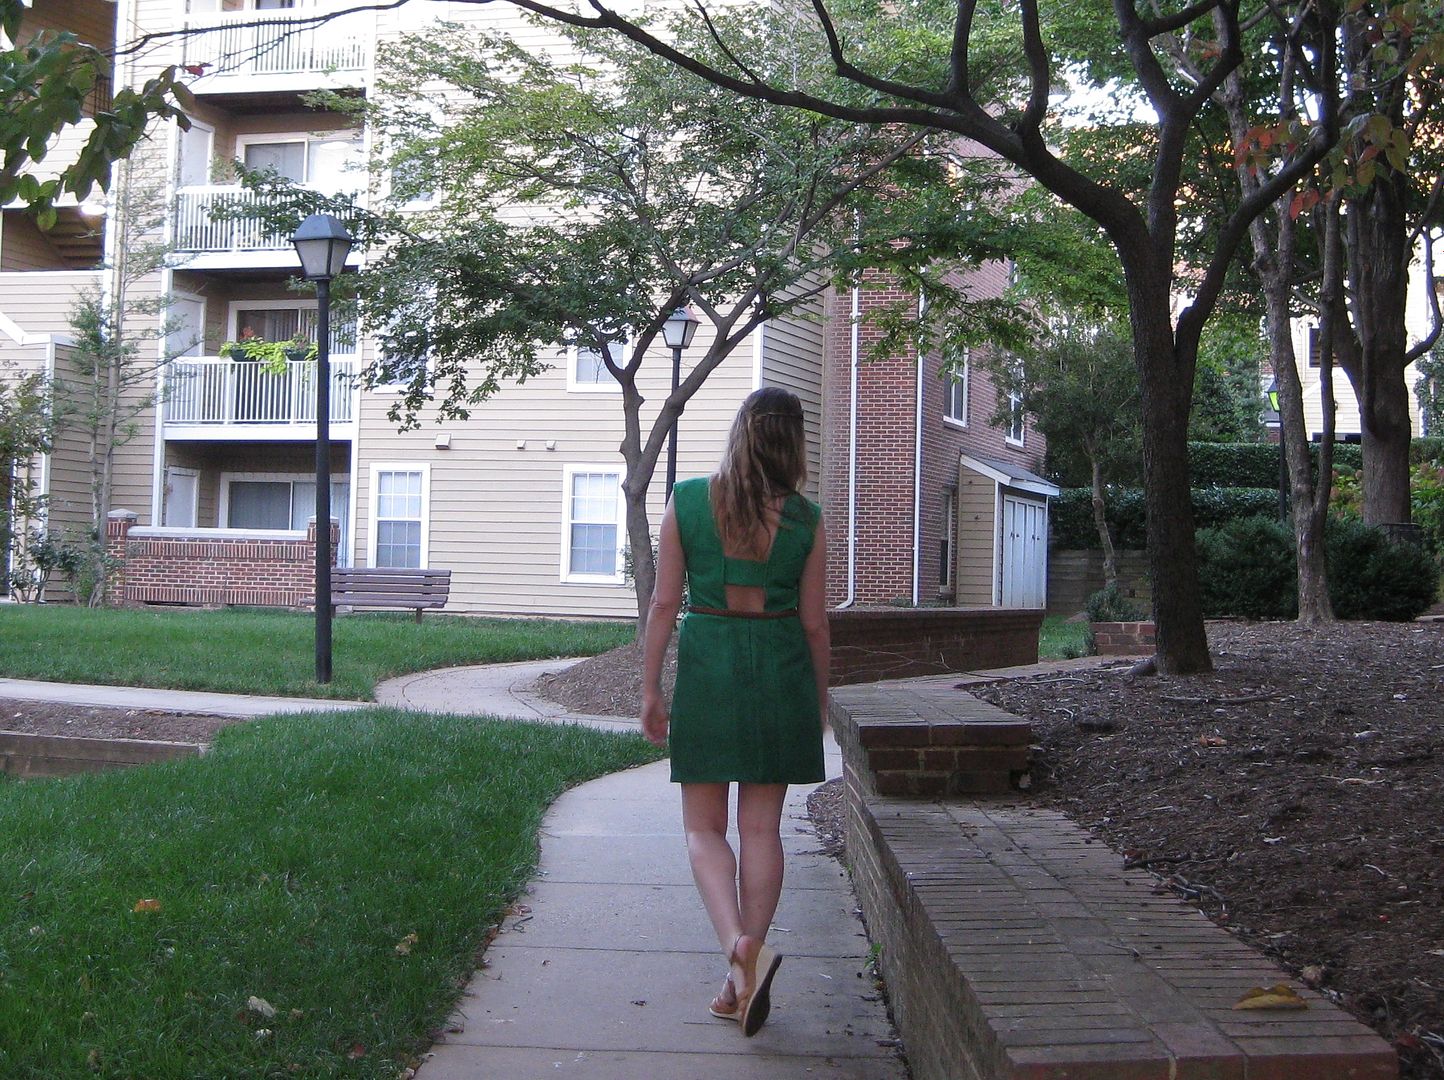
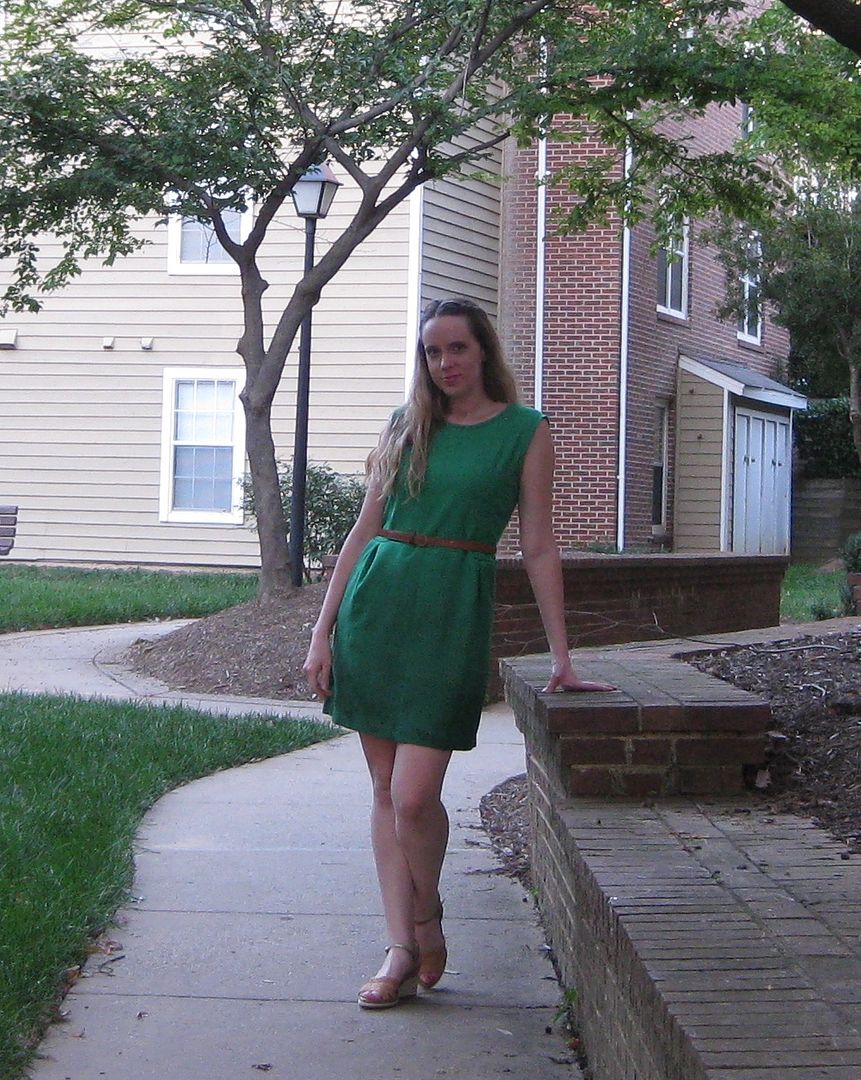
Giving it a whirl...
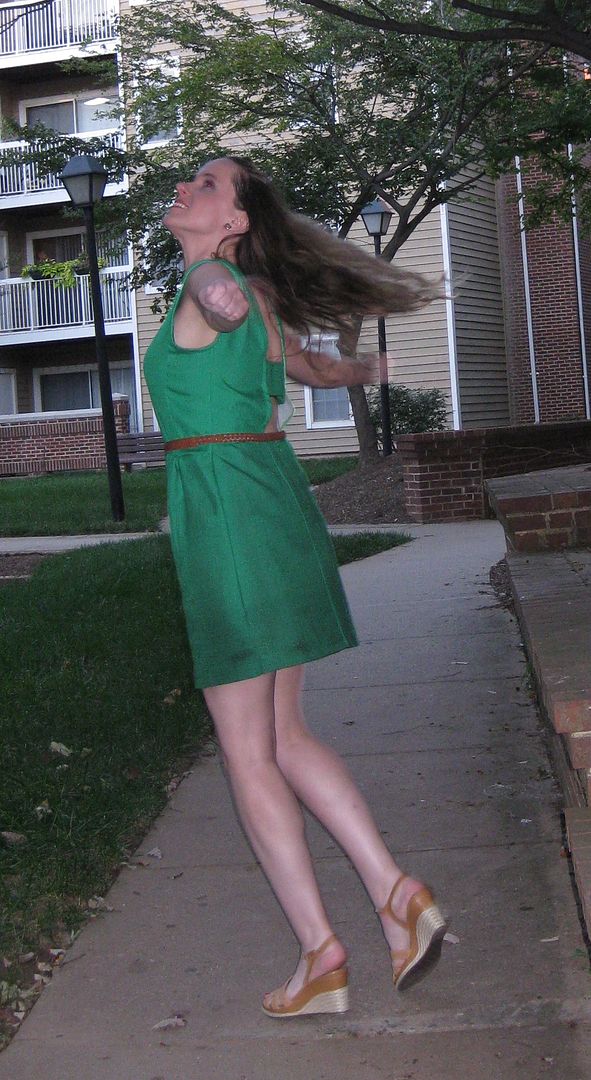
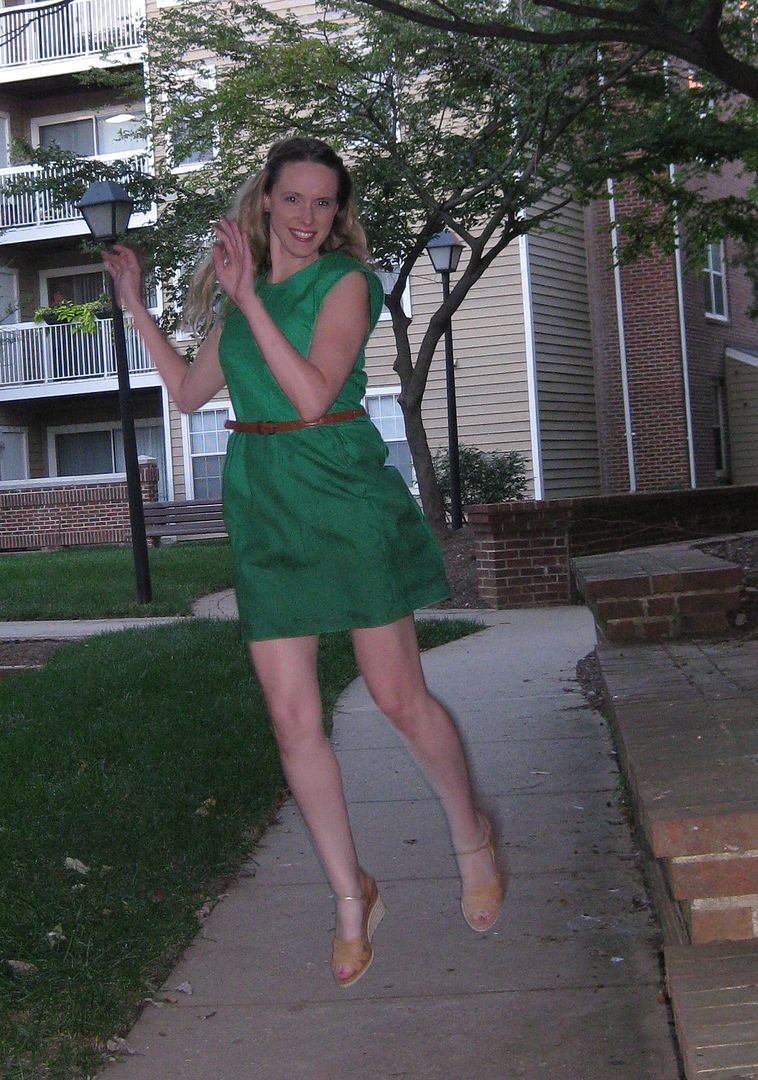
I tried jumping. This picture was just too funny to not included
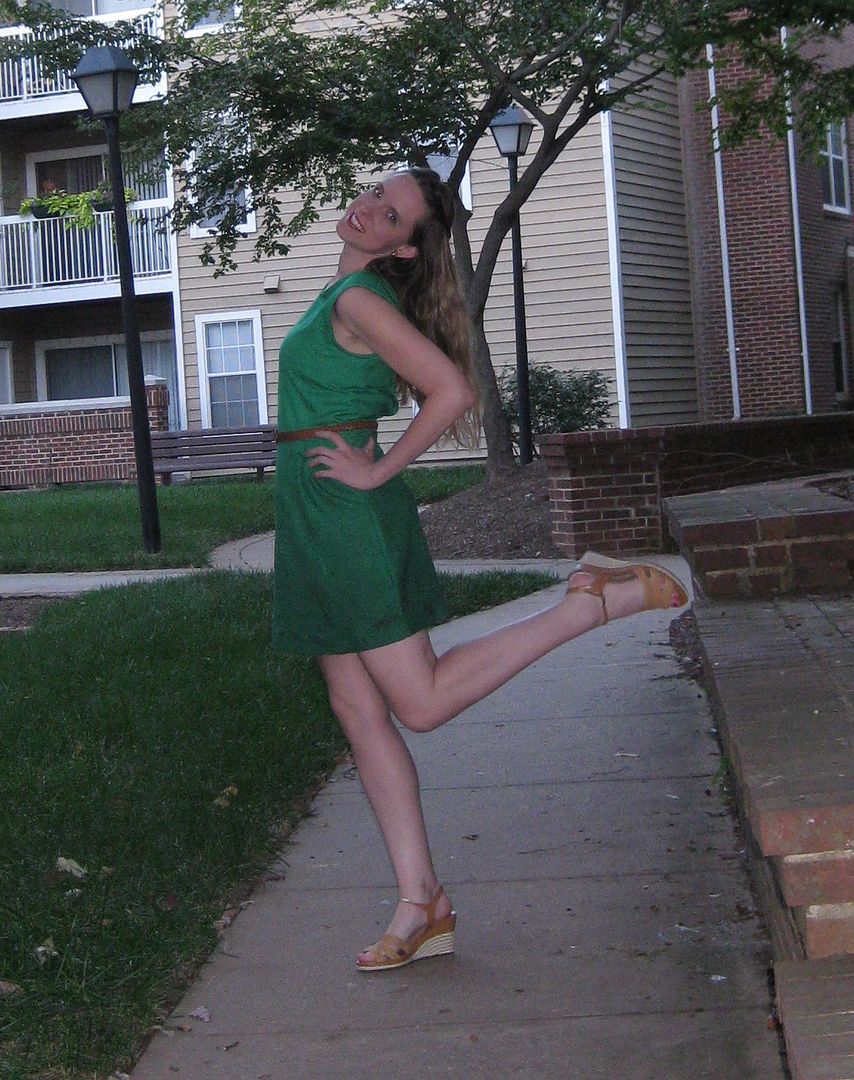
The "sorority" pose
Really happy with this dress and Now I can say that I feel like I turned part of it emerald green. Yay! Whew! Now go onto The
Renegade Seamstress to see more of the second challenge. And vote for my dress refashion!! :)
Next challenge is peplum. OMG do I have an EPIC, and I mean EPIC! refashion to do! Now to get started.
Cheers,
Lauren