Well hi welcome to my little blog. Just my little corner of craftiness, sewing, and refashioning. I am also a newly gluten free eater so you have a little bit of recipes mixed in here.
Showing posts with label tutorial. Show all posts

Friday, July 12, 2013

How to embroider the baseball bib

Previously I posted my baseball bib I embroidered myself

I thought I would do another post here that would break down the sewing and a little tutorial. :)

So I started with one end, knot the string at the end, start just away from the edge. You do not want to start right AT the edge-you run the risk of the stitch is coming out.
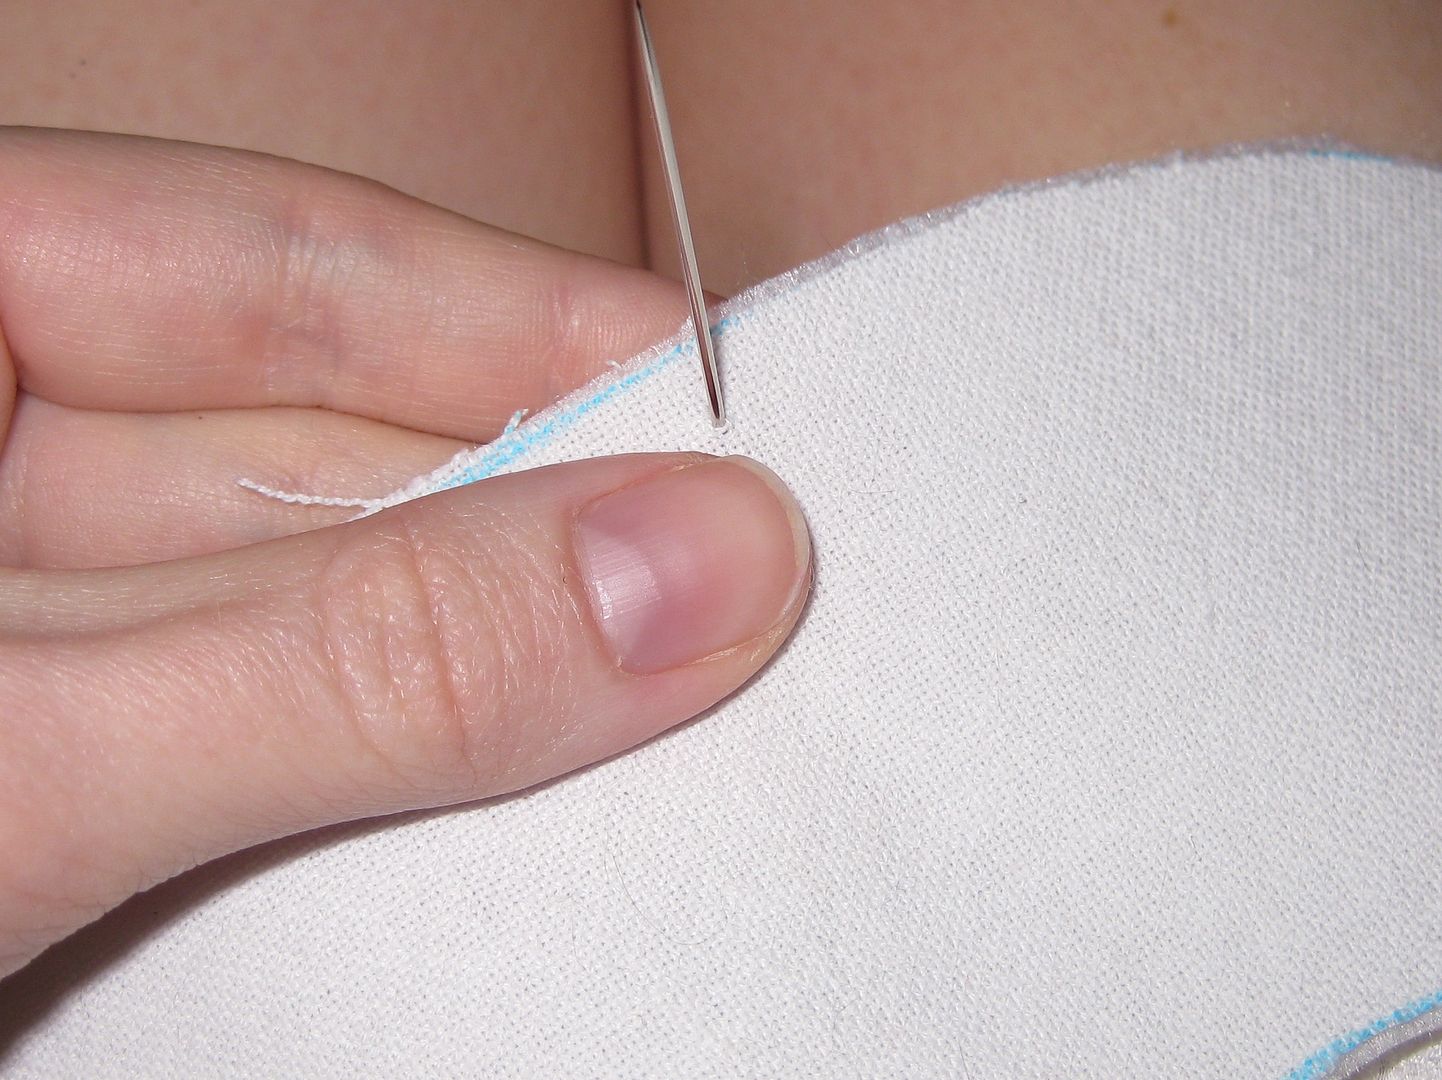
Then bring the needle down at the edge
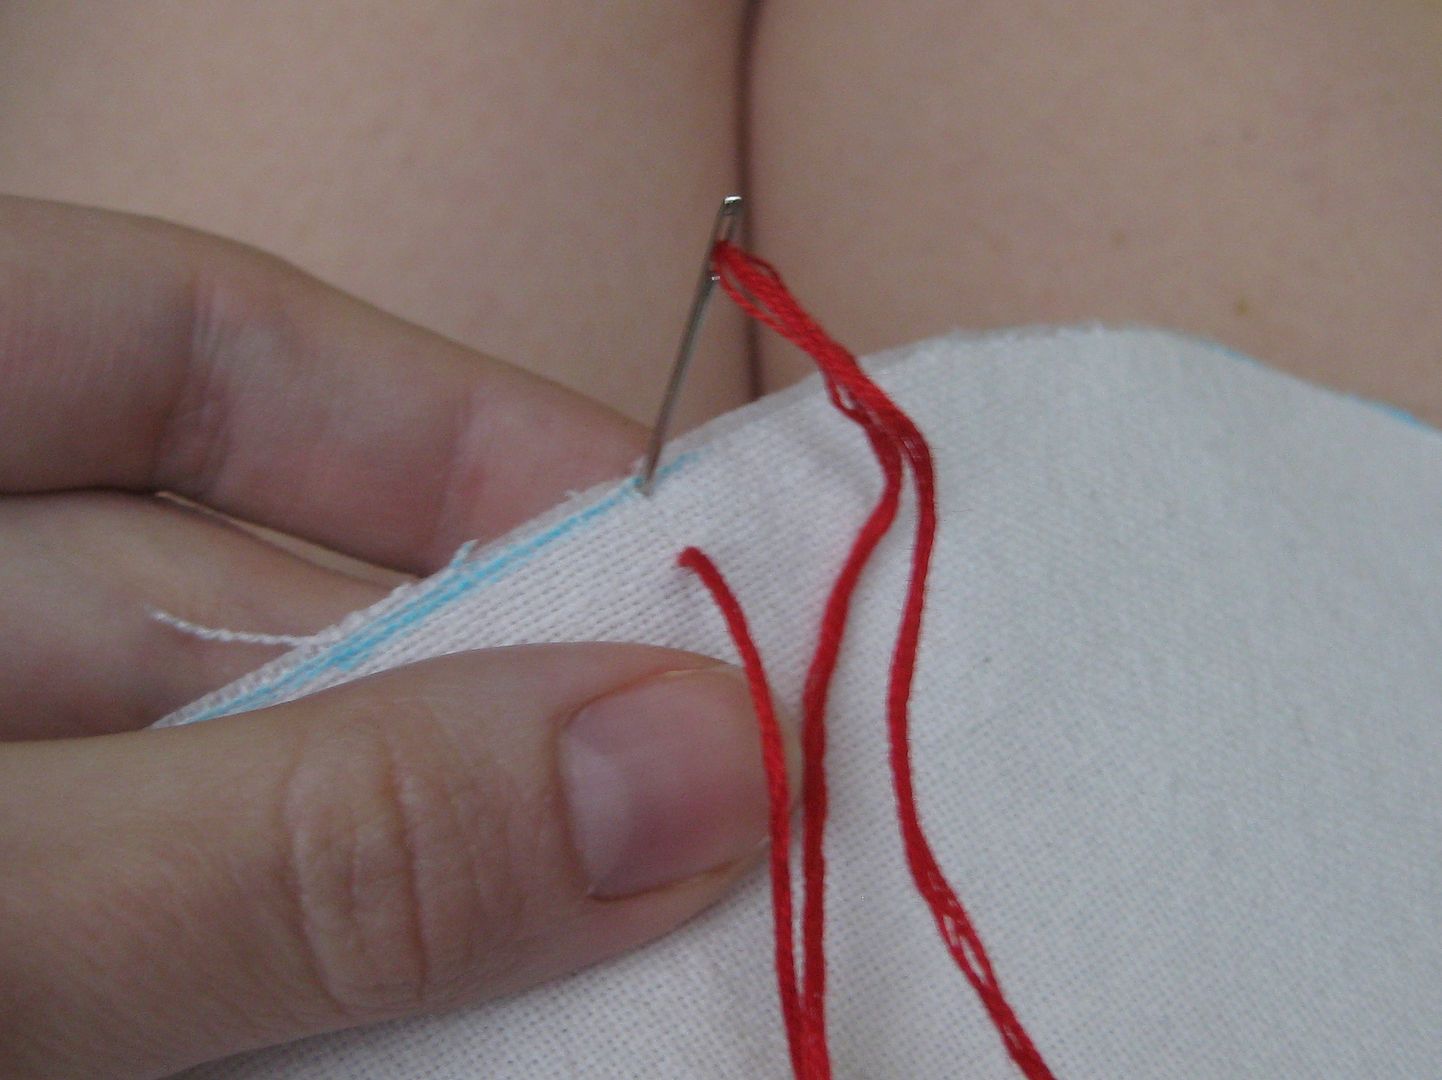

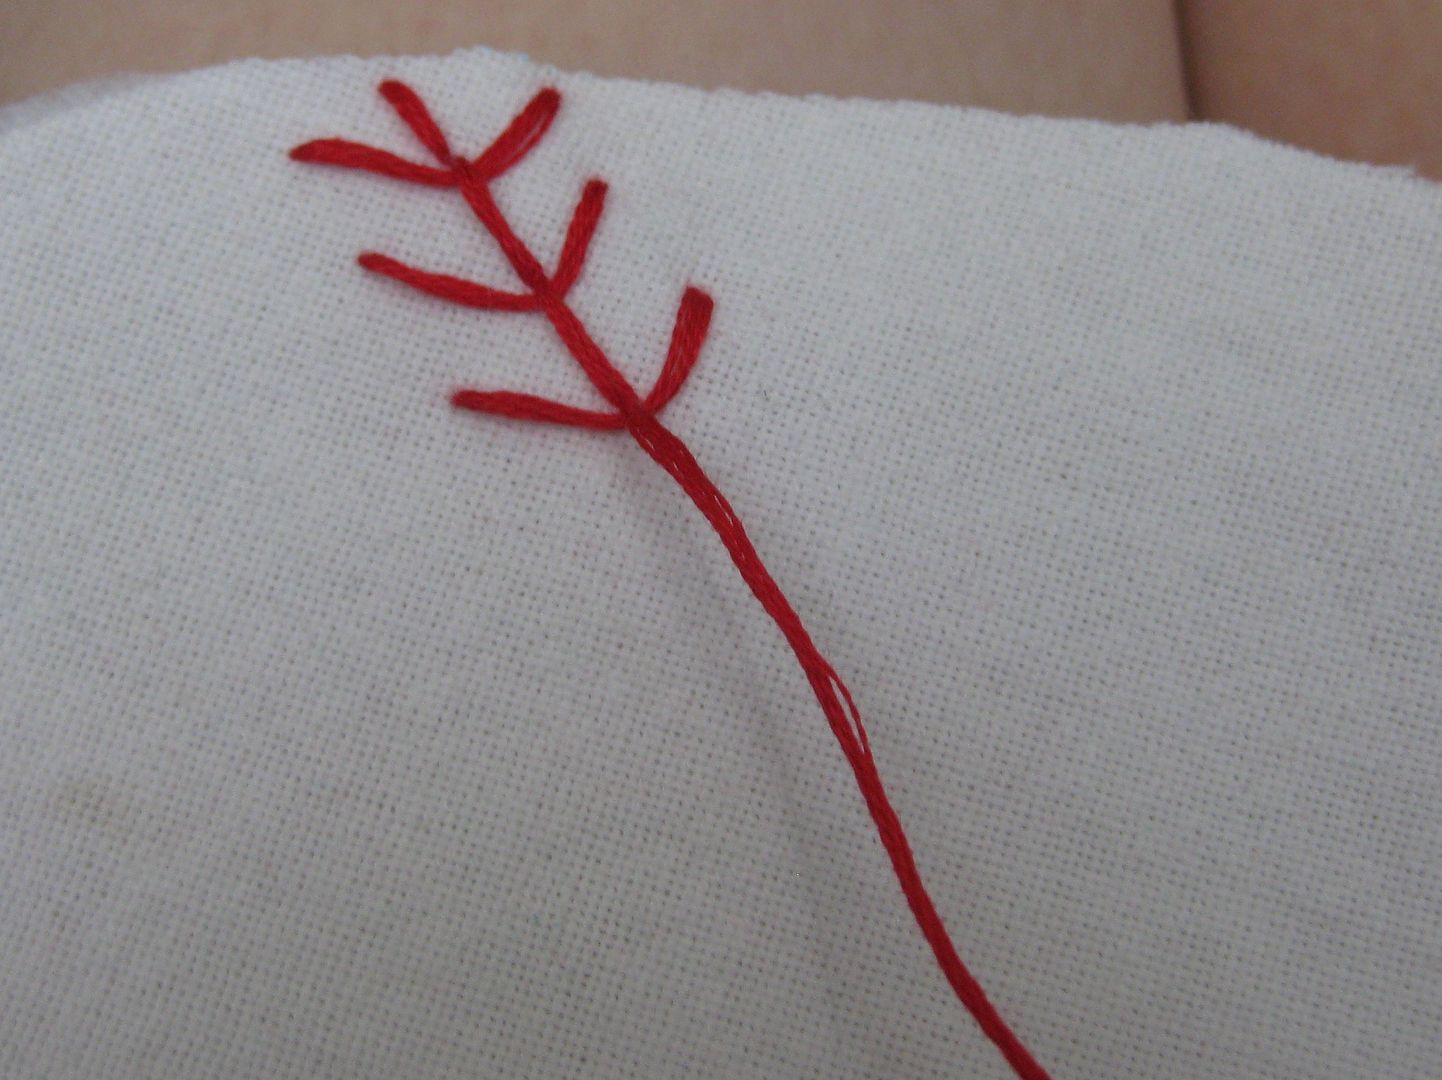
Now to start the "baseball stitch" I am going to show you 2 versions. They all start the same...
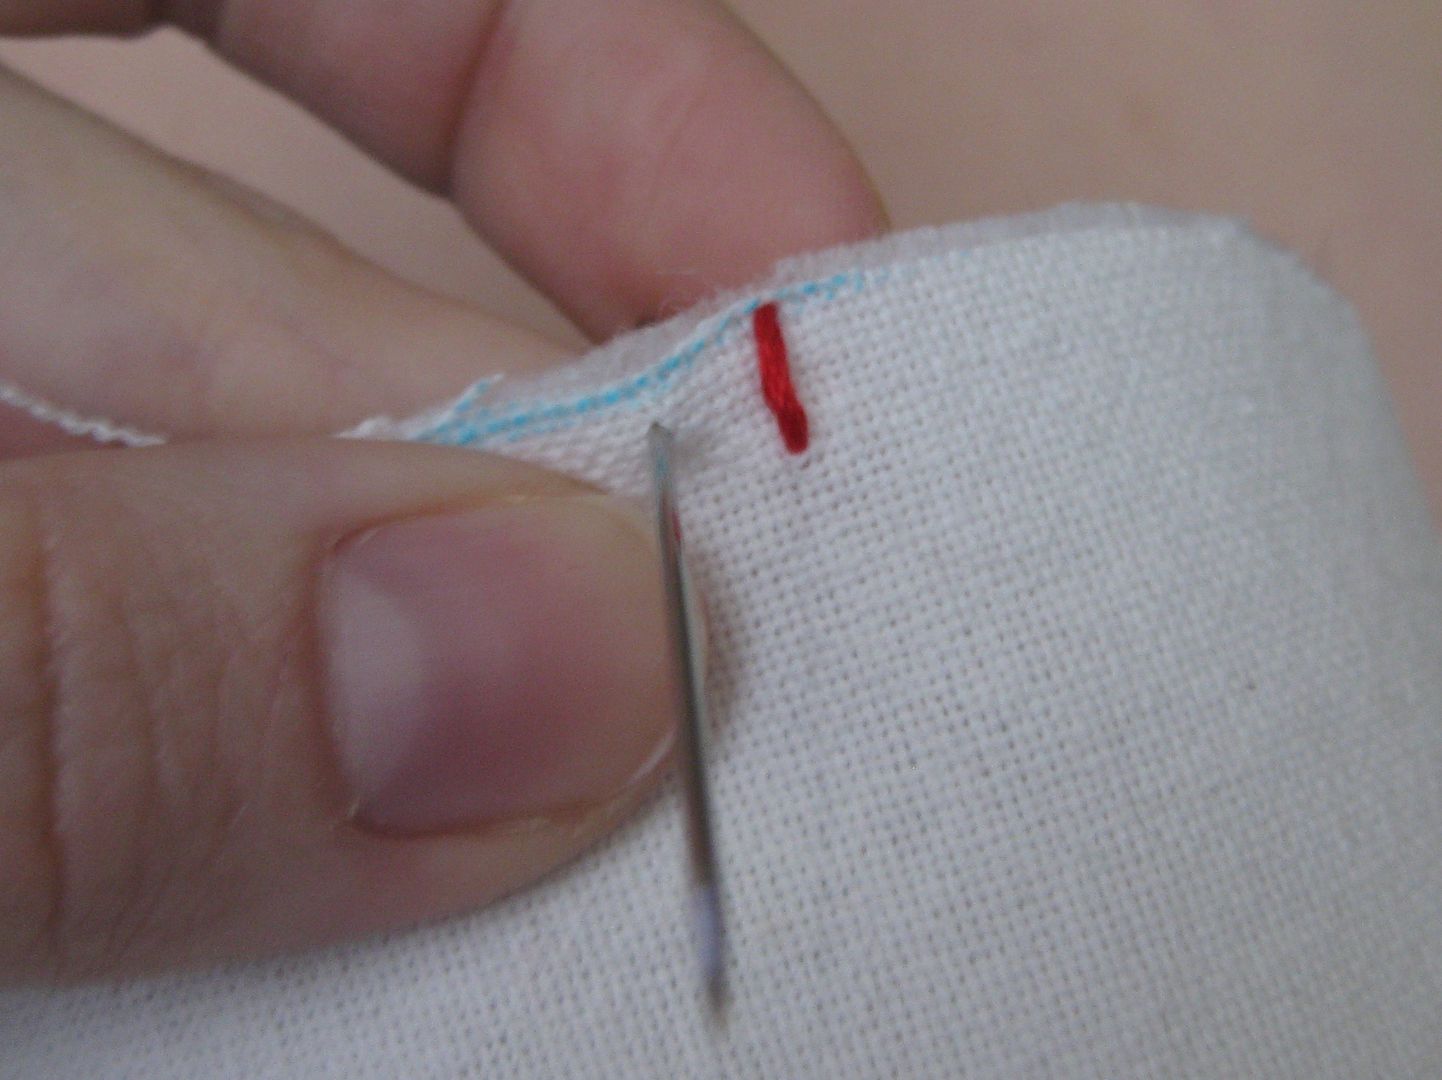
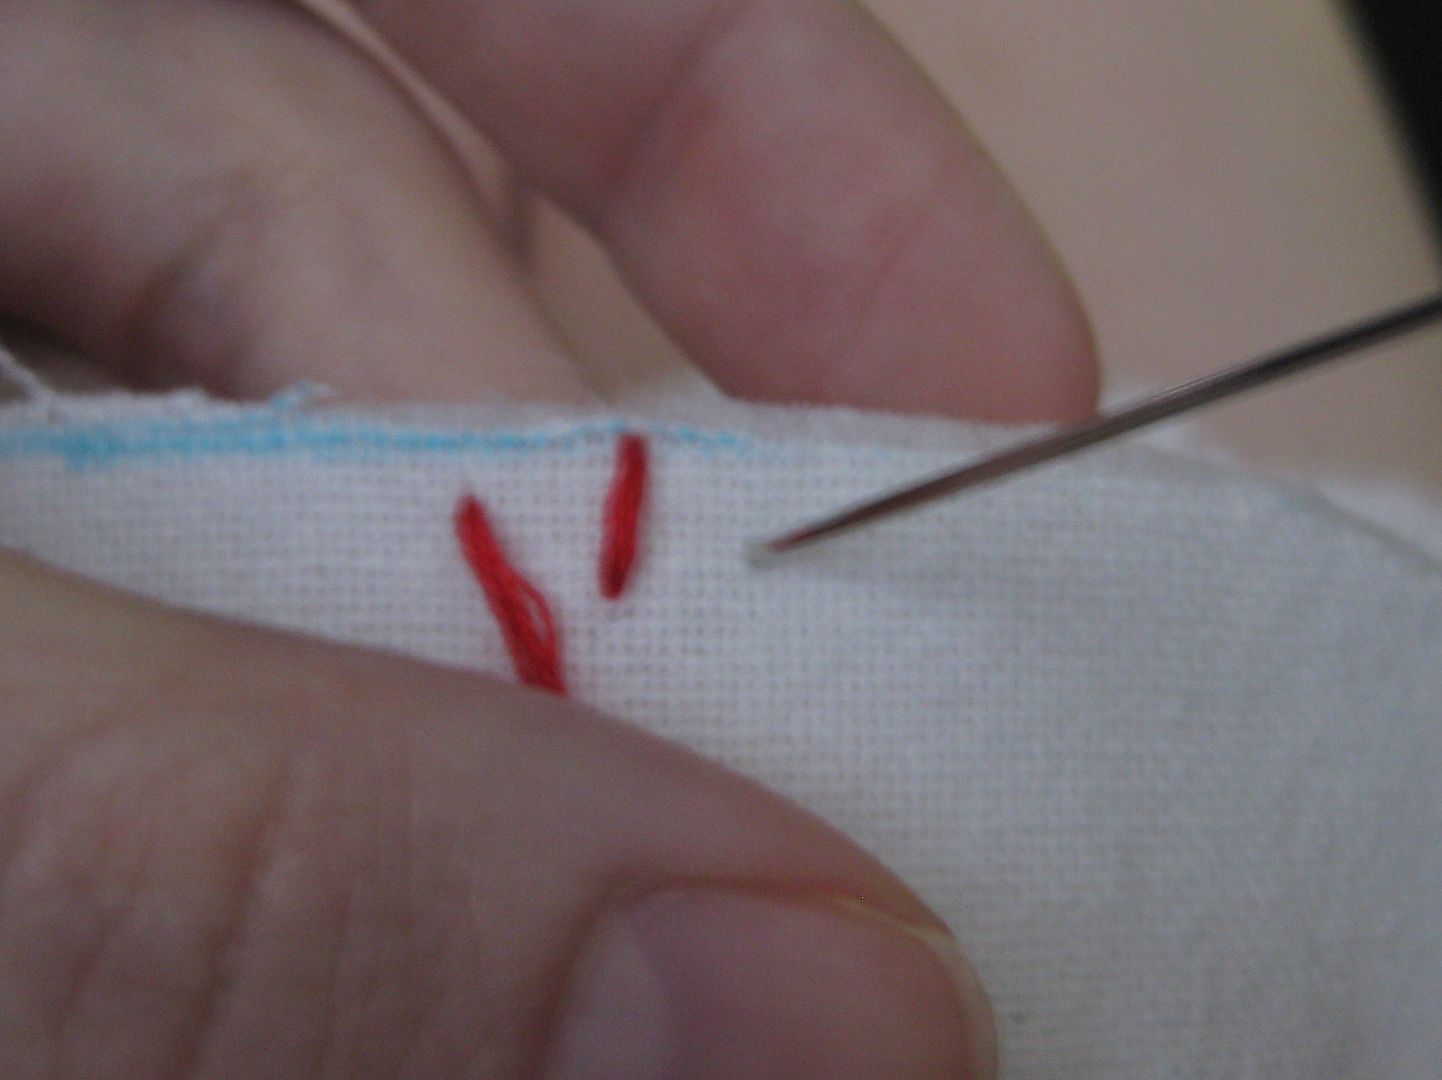
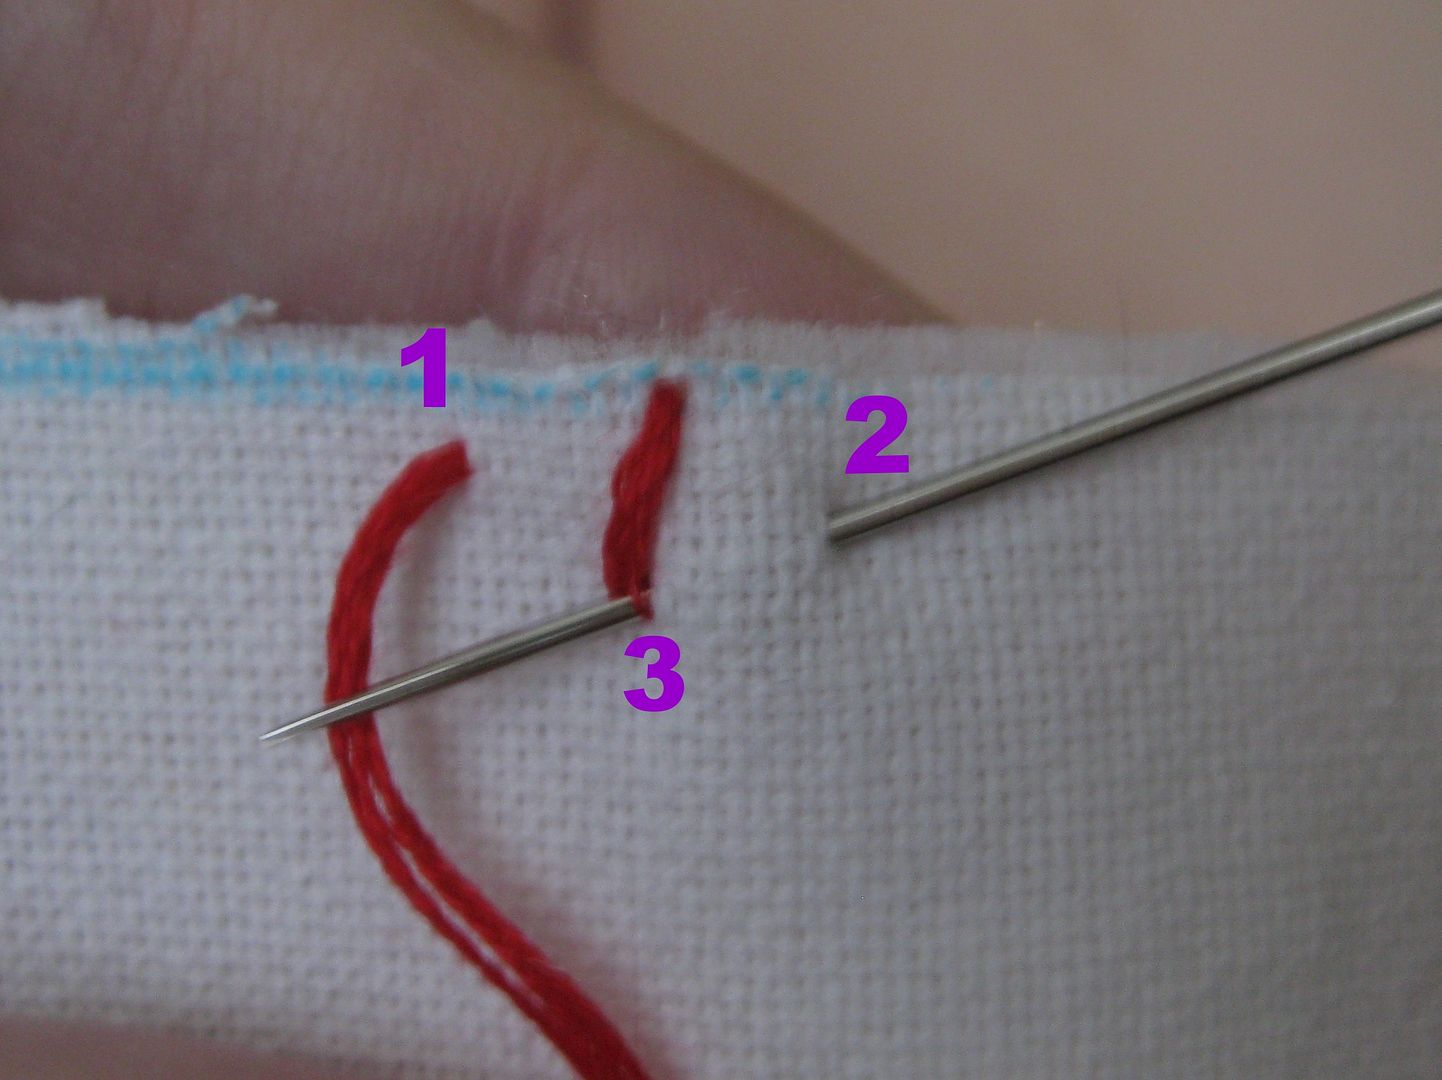
Anchor with the needle coming down right at the Y
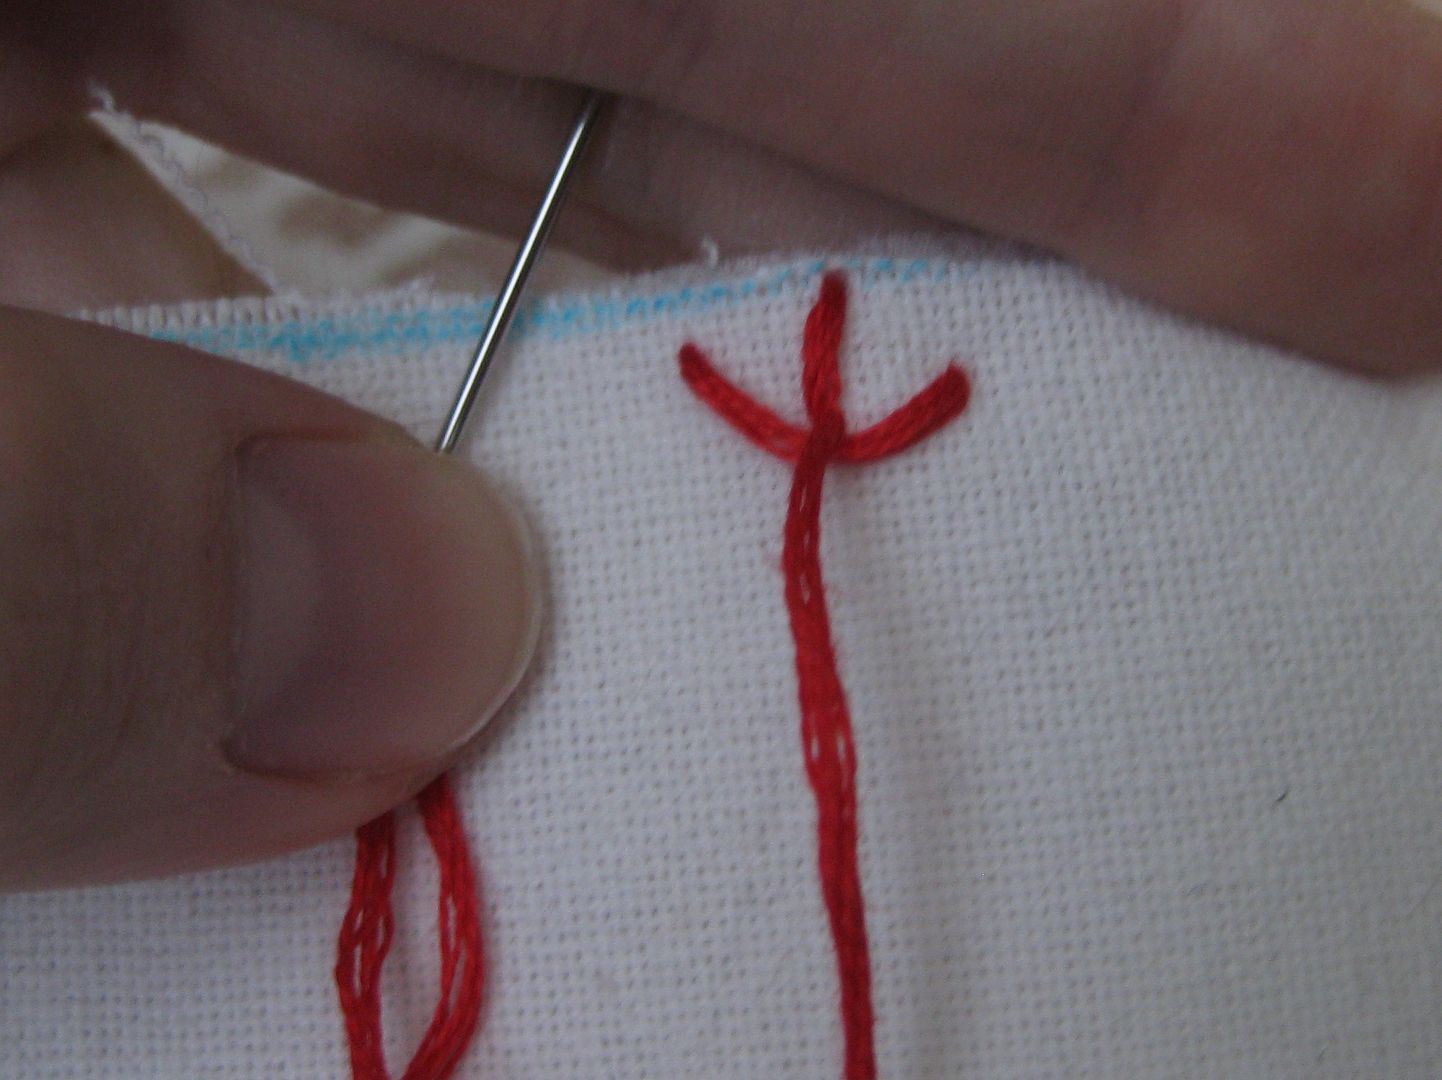
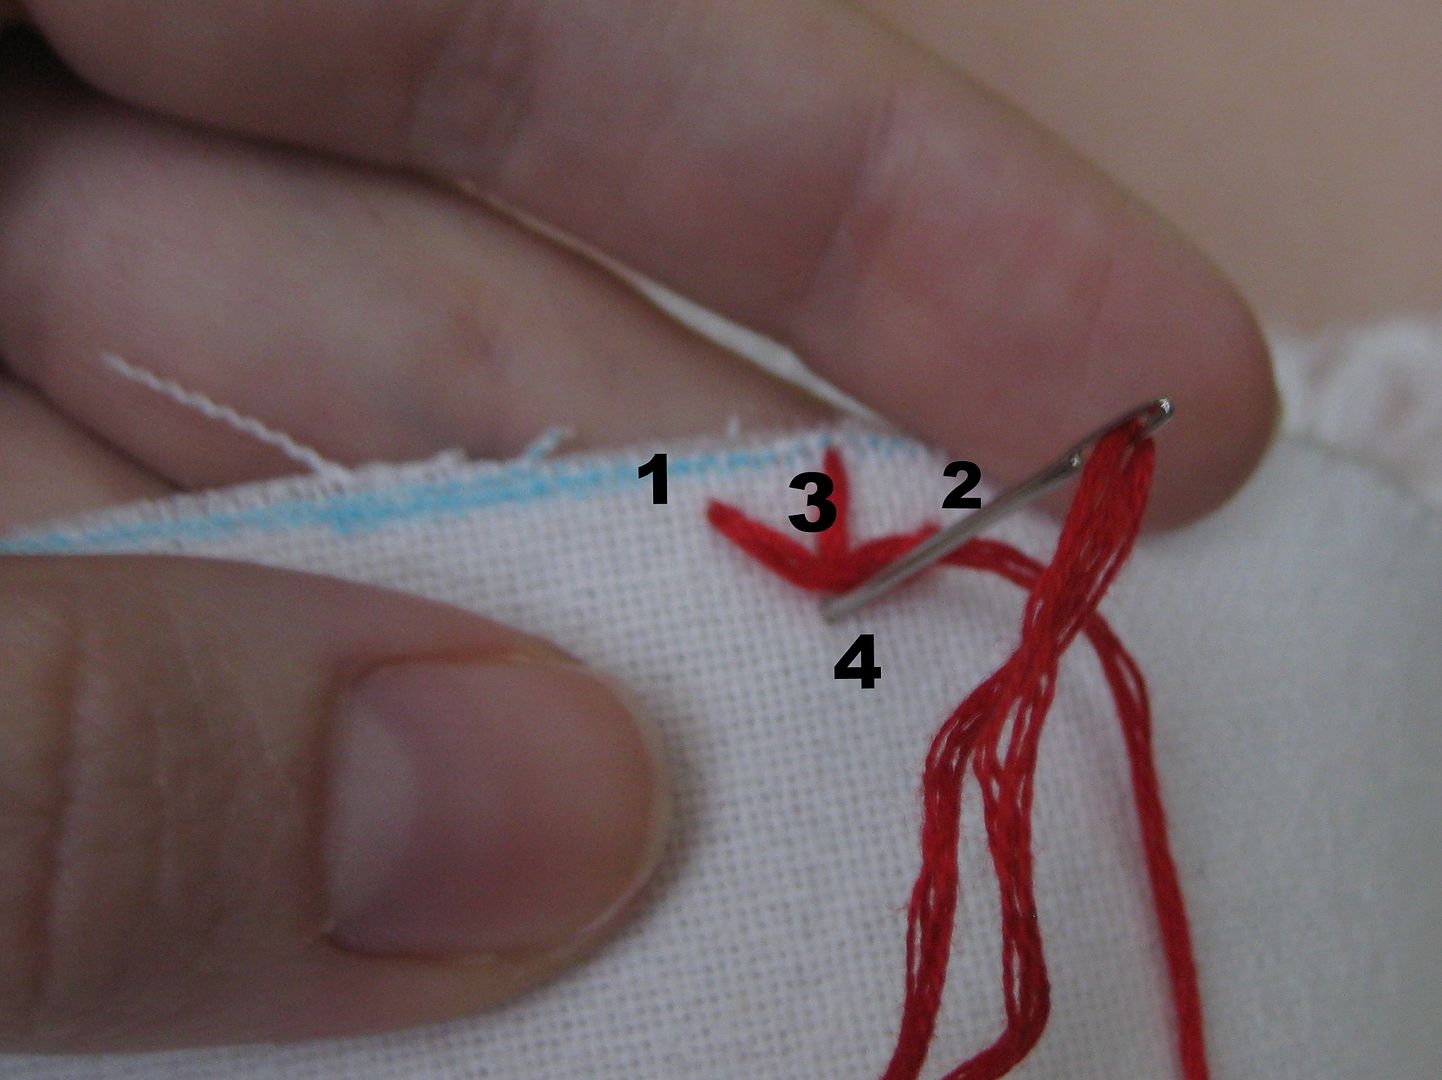
Done with our first baseball stitch!
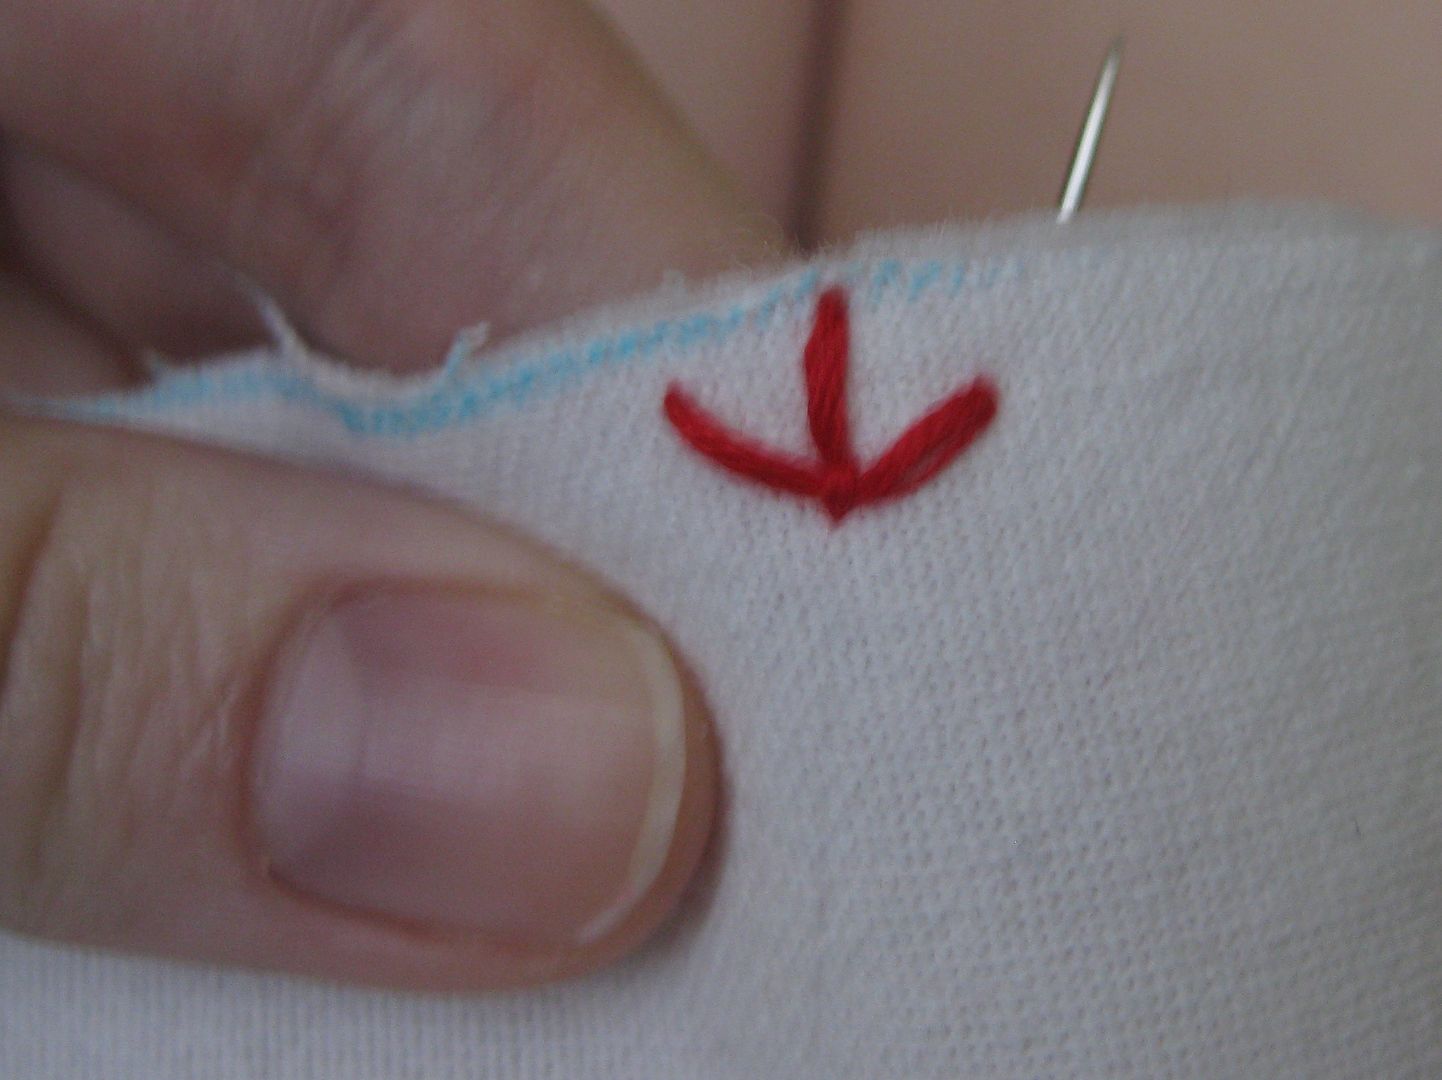
Ok on to the next stitch. Try to make the straight stitch-about the same length of the previous one. Start away from the group and go to your previous stitches
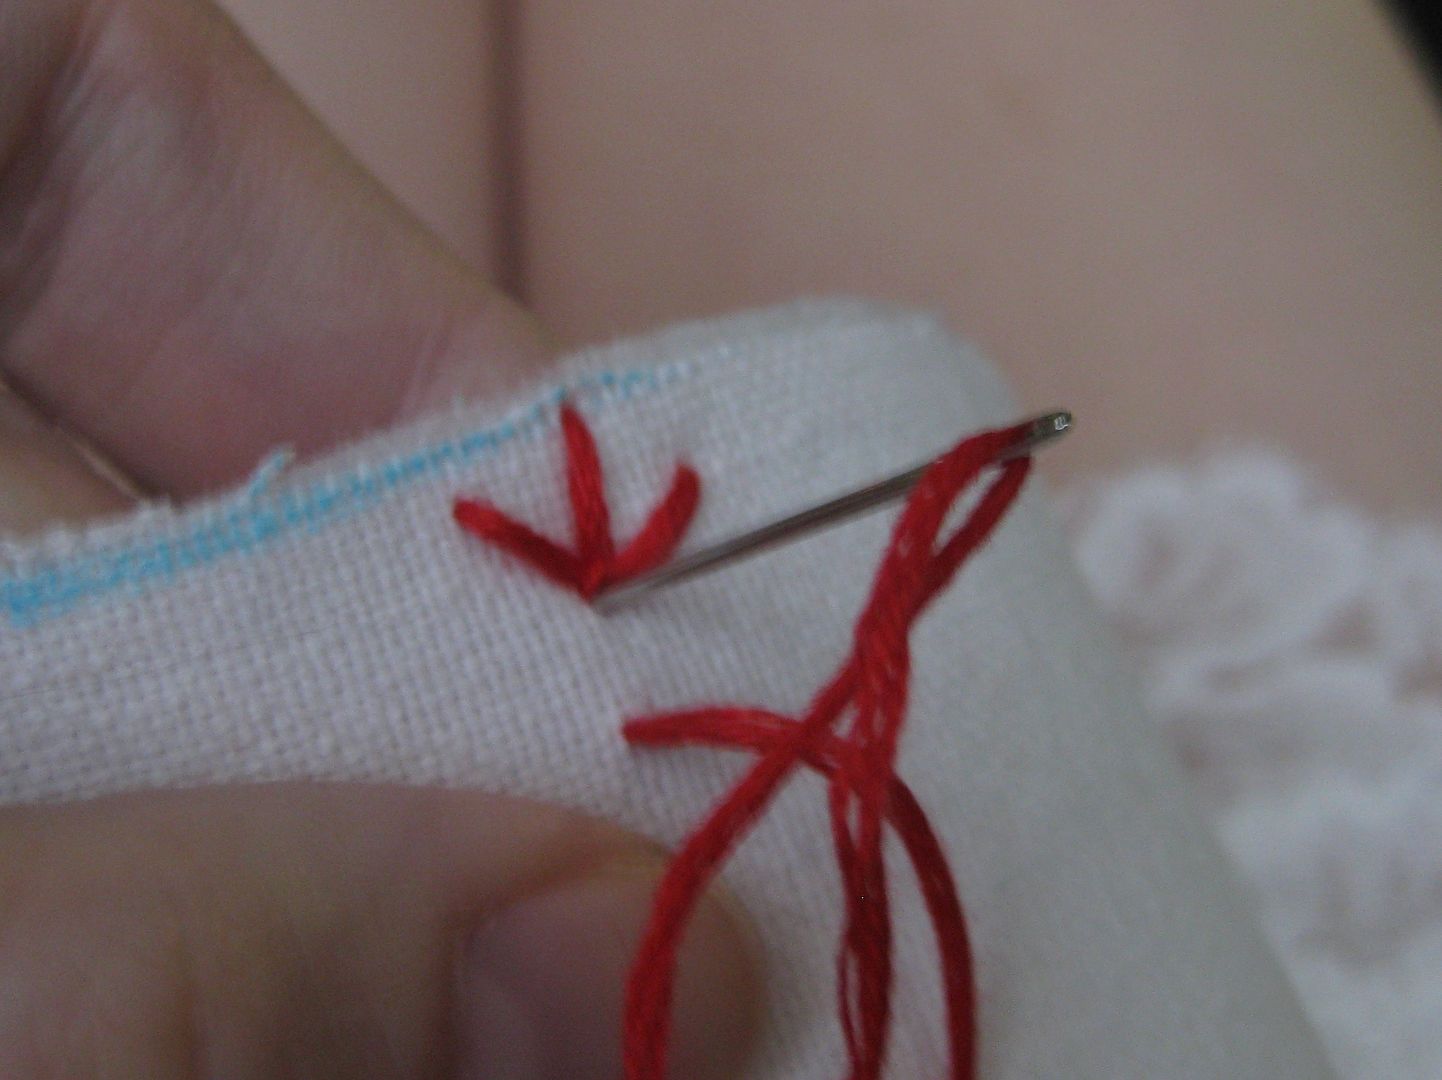
Repeat the 1-2-3
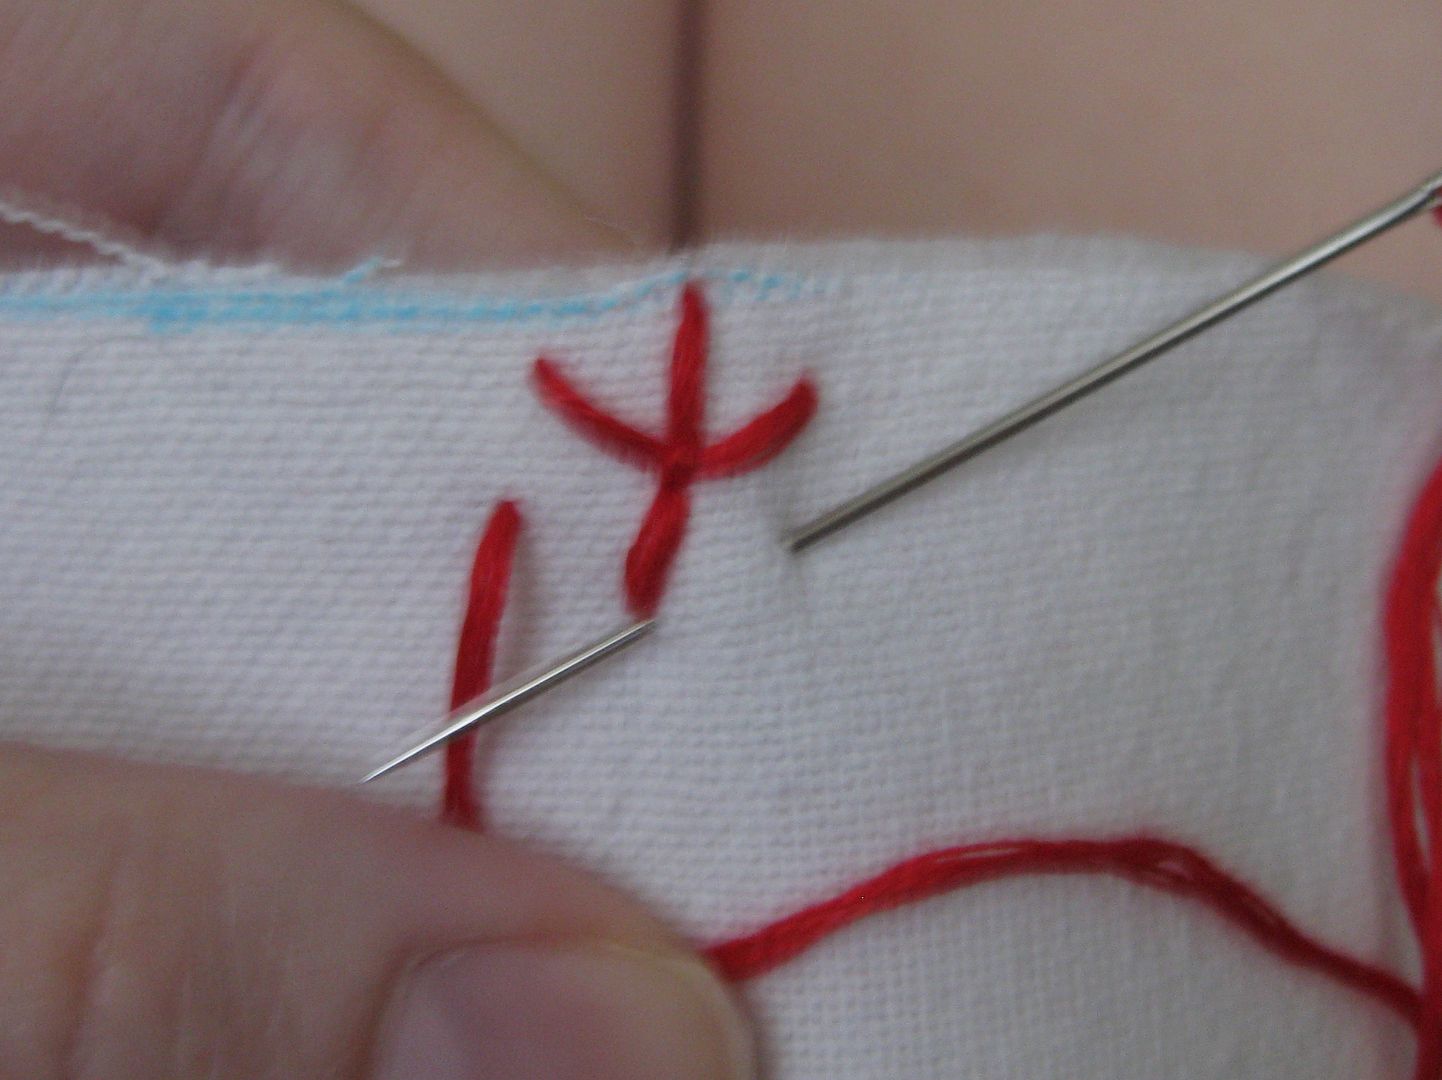
Anchor
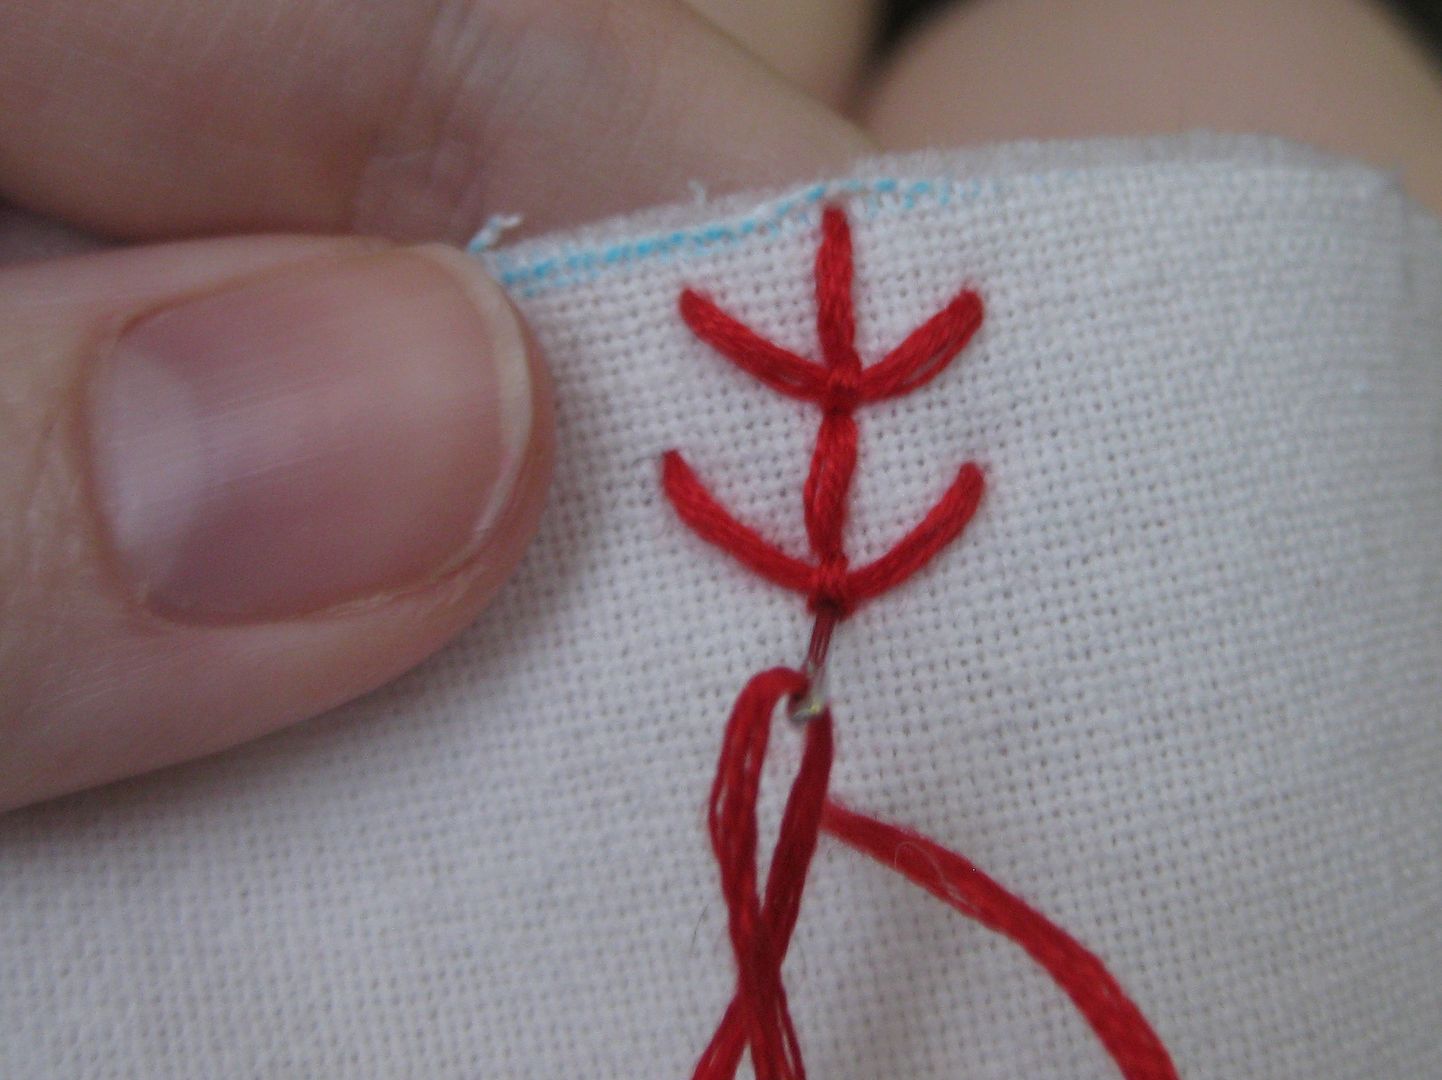
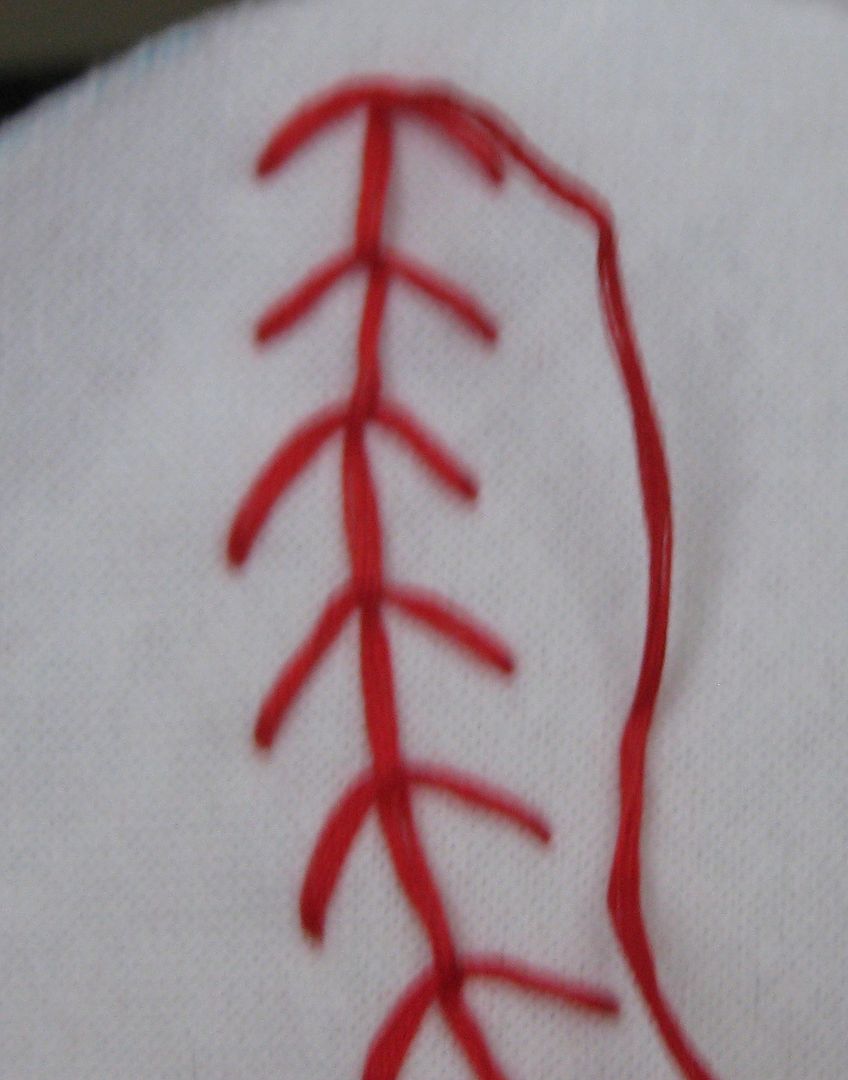
Keep going. Now to keep them even. I try to keep the inner stitch the same length. For the outer stitches, you want to keep a V sort of appearance. You want to keep the curve going too. You want to try and keep the distance similar.
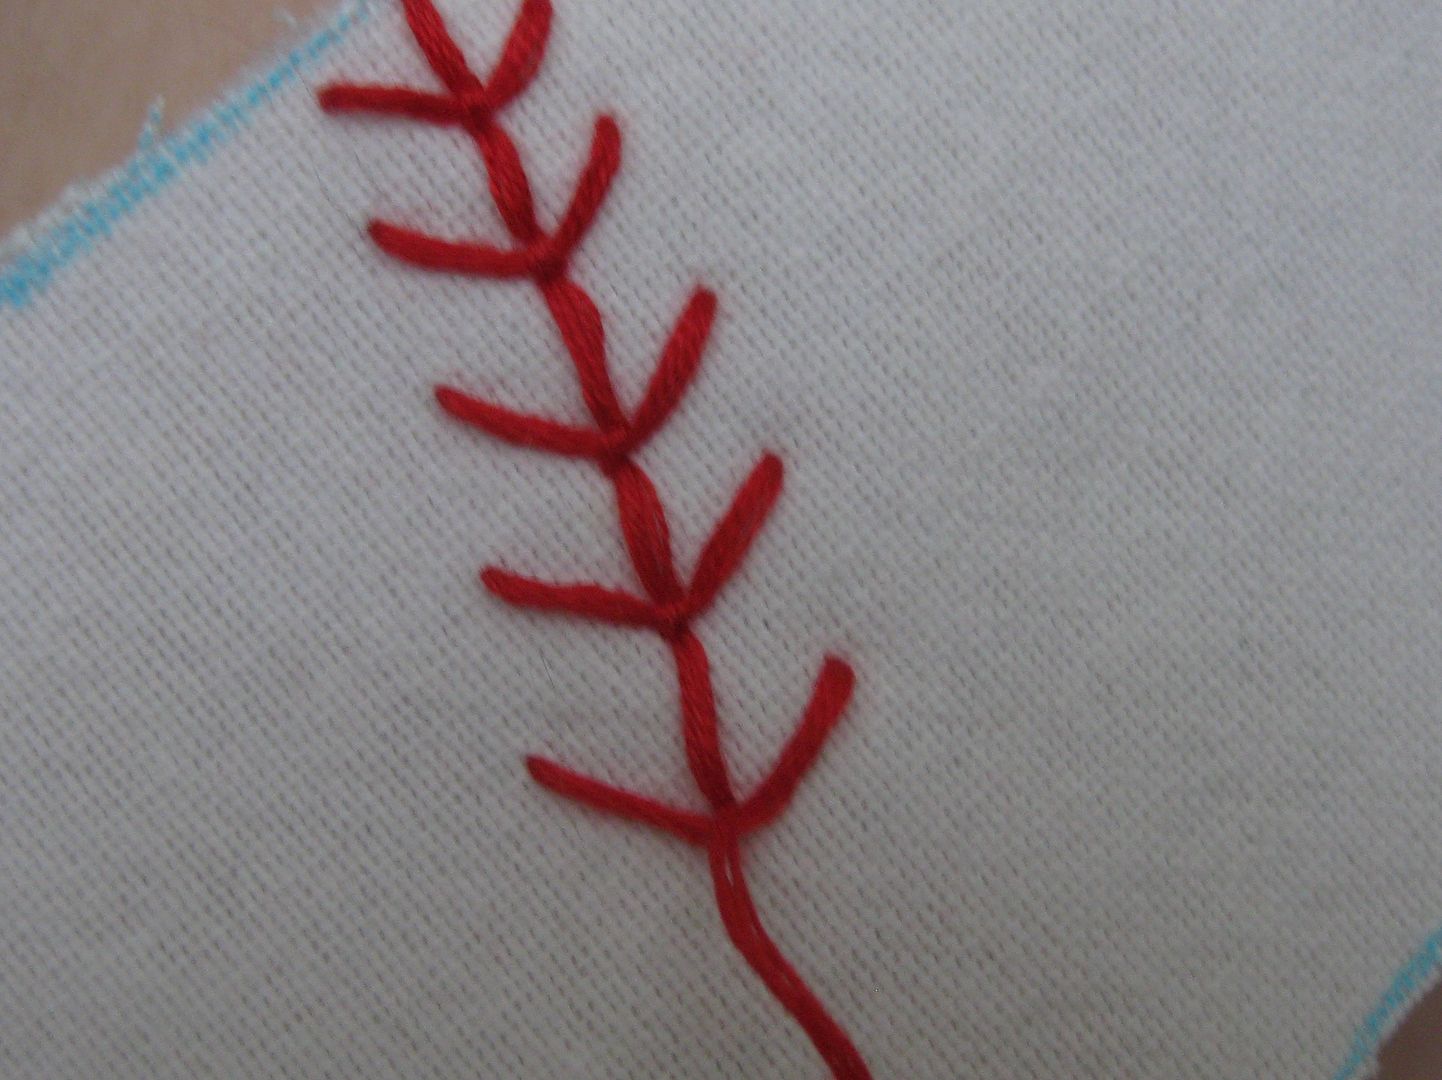
Now all what I have done so far has a bit of a flower stem appearance. Which is fine but there is a way to alter this to get rid of the "stem" appearance. 
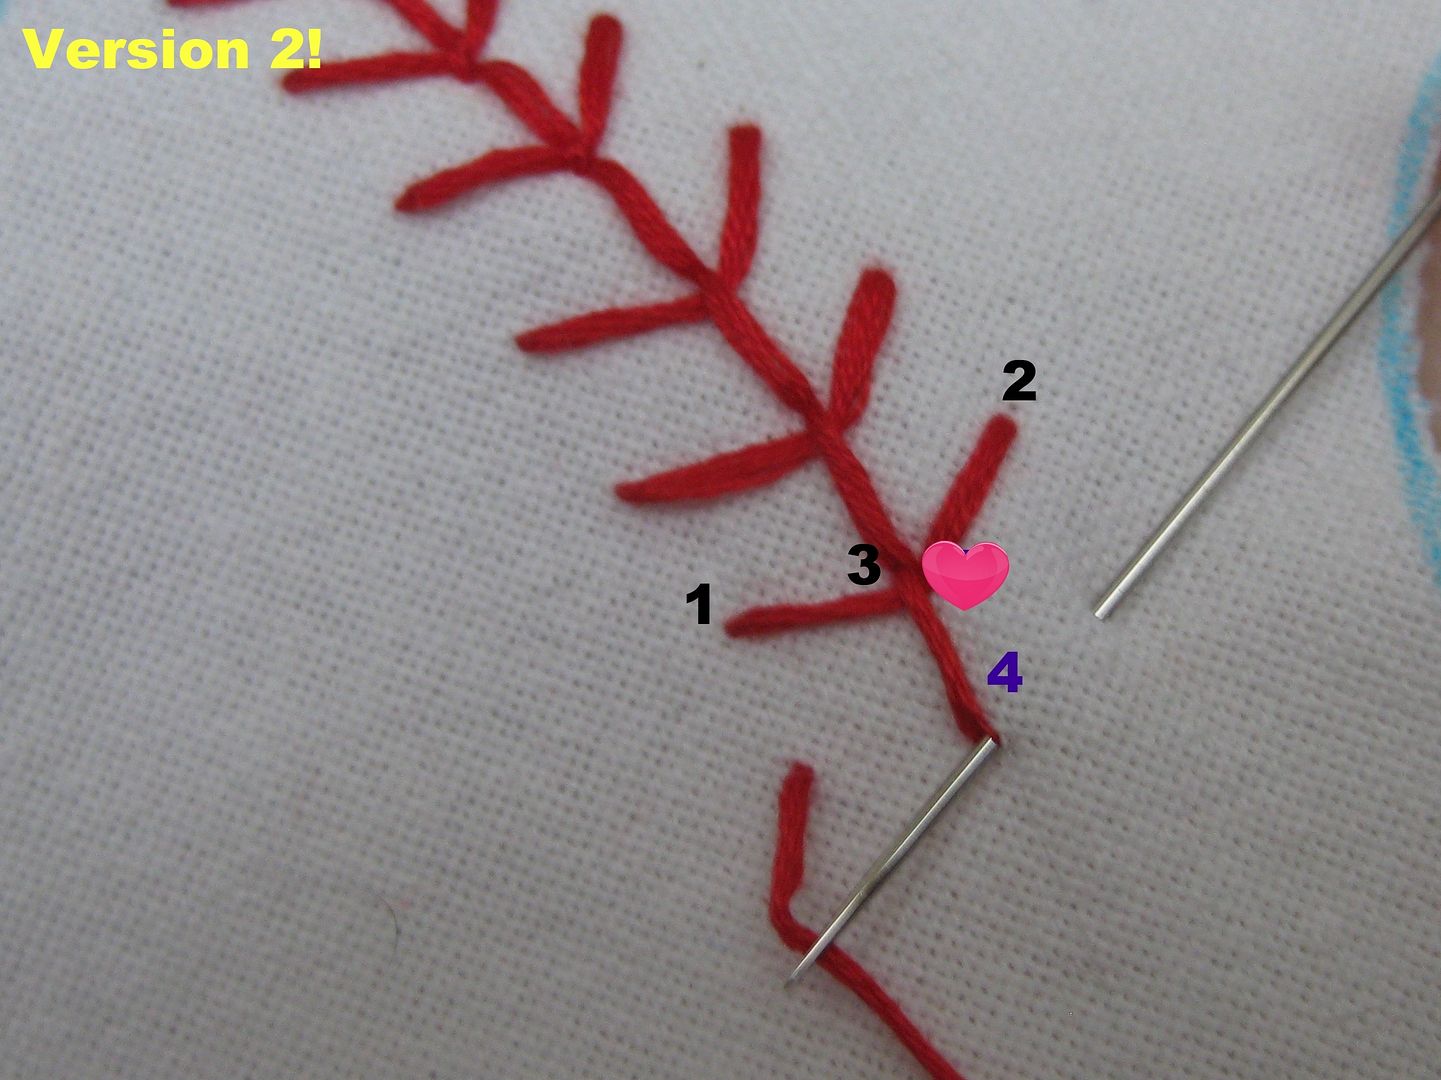
Here is the next version you can sort of see the difference.
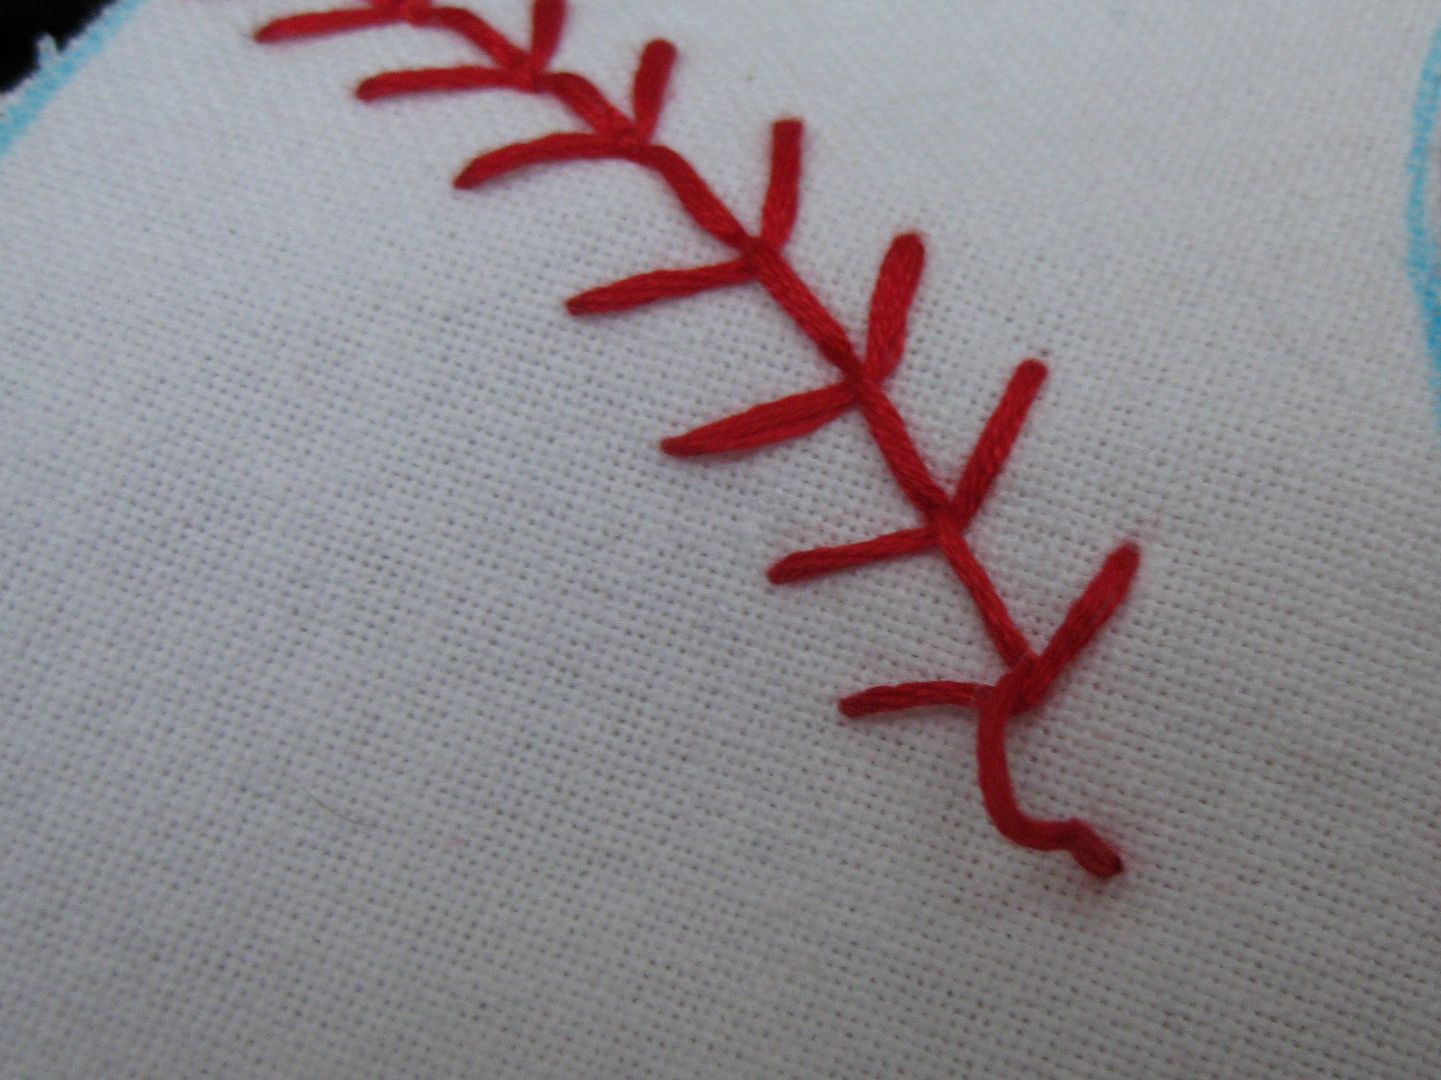

So it has a different appearance. Just a bit less stitches. 
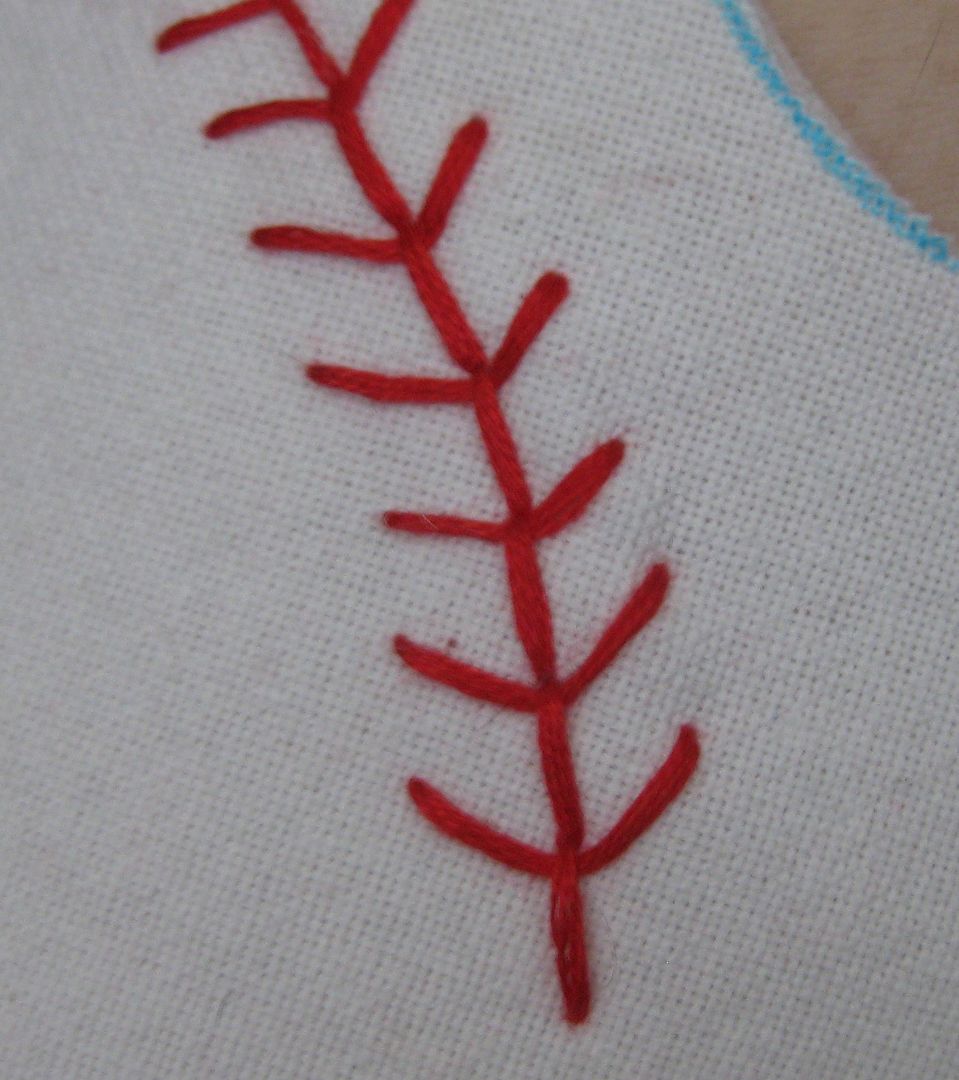

Here is what the back on my bib looks like. 
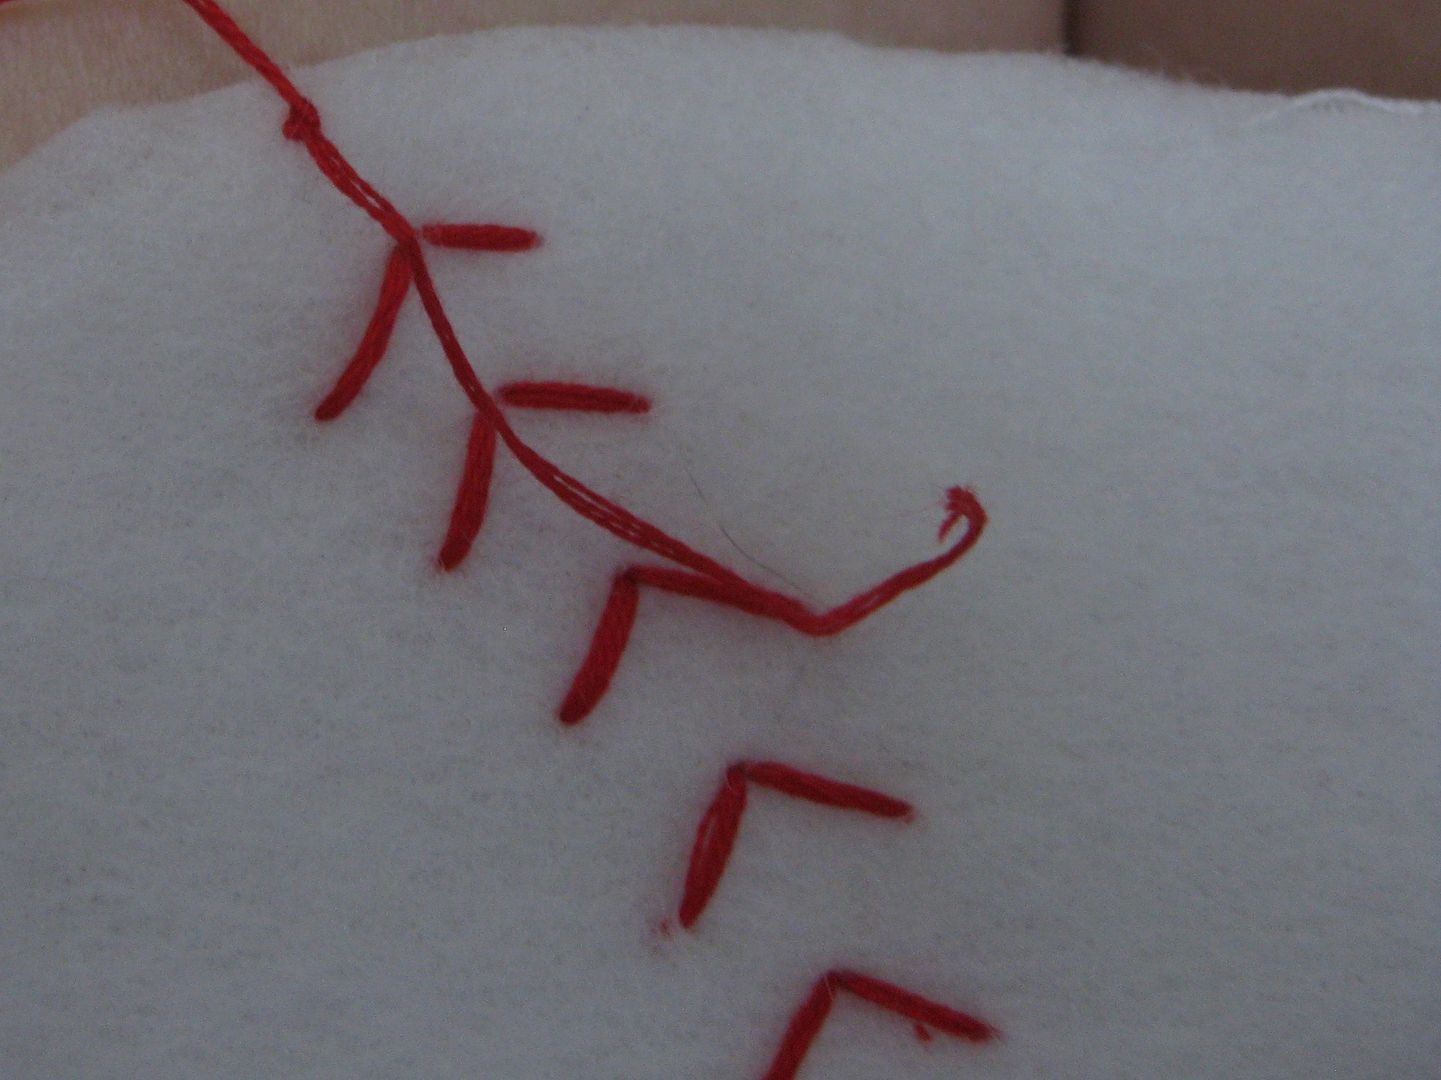
Keep going to the end! Knot and secure the thread.

Time for other side. I started at the opposite end so the stitches will go the opposite way. Which will help you with not having to match the stitches. Which would drive you (me) nuts. Repeat just like you did on the other end. 


It is not hard. The first stitches are hard but once you get your flow it will fly by! :)

Of course here is the finished product

Hope you enjoyed the tutorial! :)

Cheers,
Lauren

Wednesday, March 23, 2011

Baby Bibs and Burp Cloths

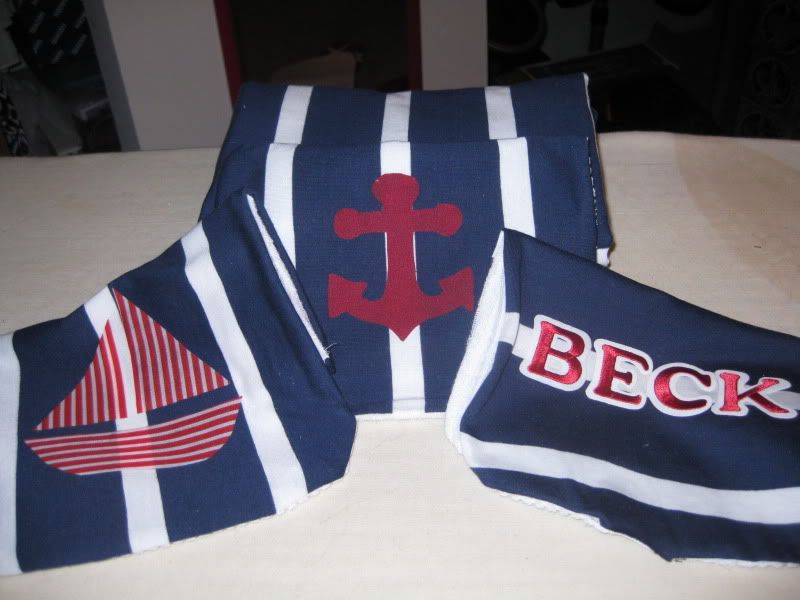
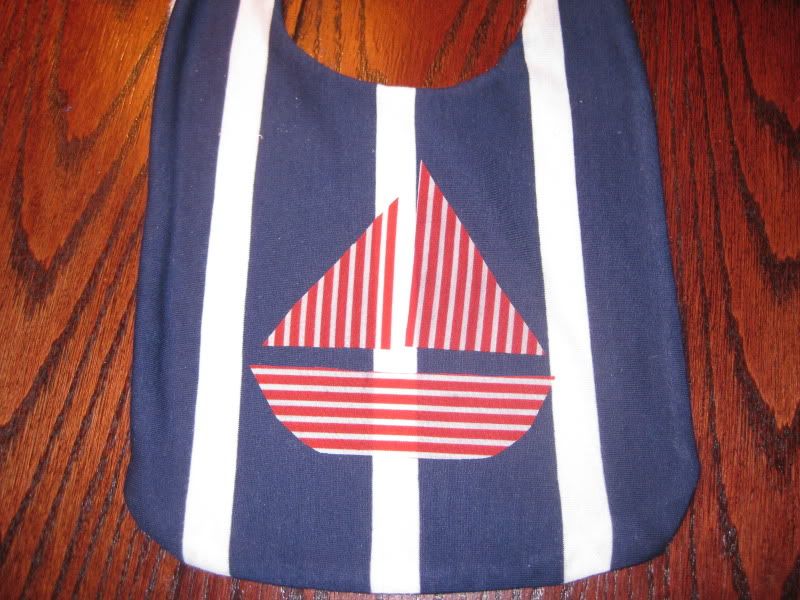
In addition to the Covered Diaper Cake I made for Randy and Lori's Baby Shower (which I missed b/c of scheduling conflicts) I also made my own baby bibs with matching burp cloths! Here is the end product, I made several themes of bibs with 3 different fabrics (all of which I had!). Nautical theme... Randy and Lori are big boat people so I started off with making some nautical bibs

how cute are these? I was so happy with the outcome. I also made another sort of nautical theme bib too (but hated working with this fabric!)

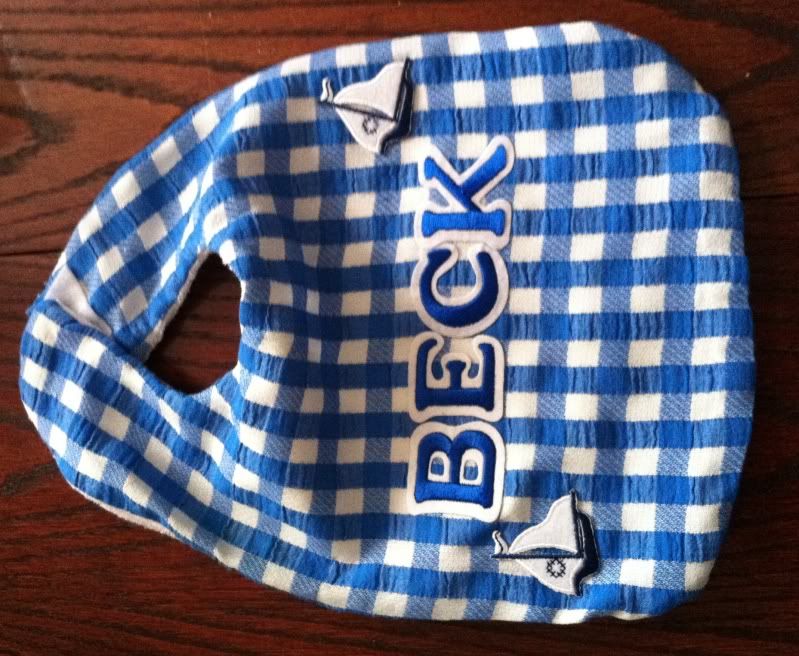
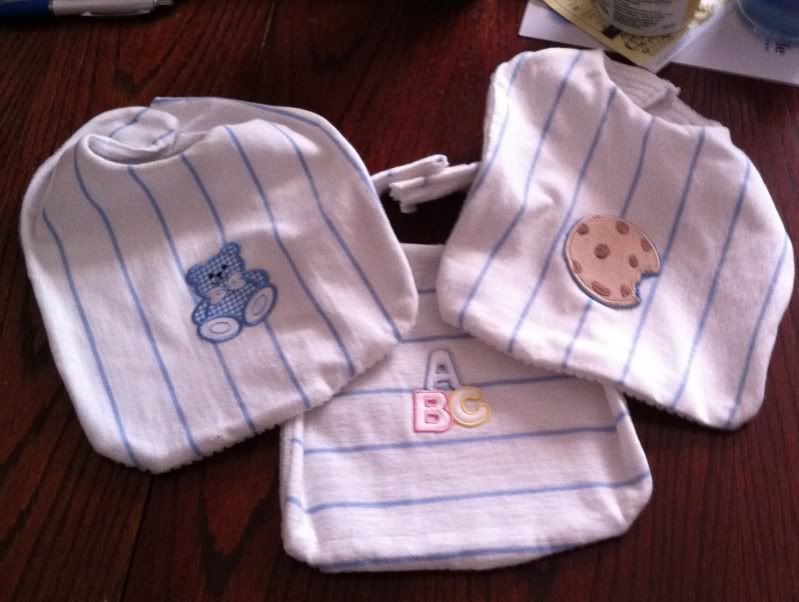
In addition I made what I called my baby boy line. So a little more cutesy and baby blue.

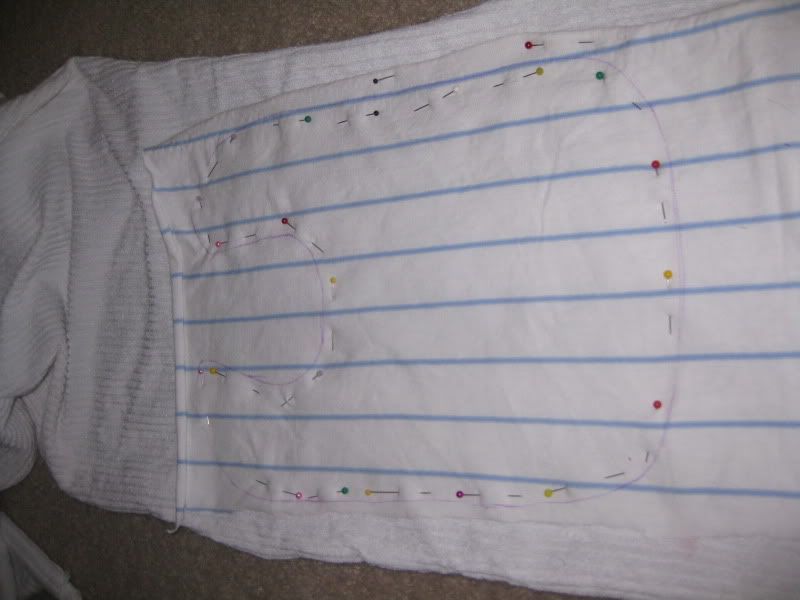
Now here is how I made the baby bibs (it is SOOO SIMPLE!) I got the pattern for the bibs here I printed the pattern out and I was ready to roll! First put the fabric wrong sides together, for backing I used terry cloth for good absorption. So put then wrong sides together and pin them together and cut out the bib.

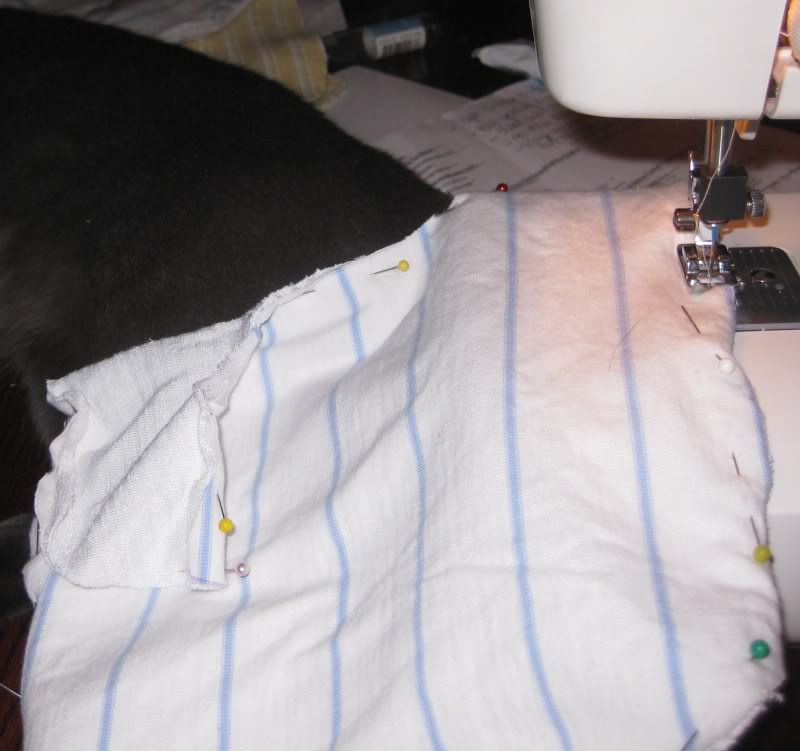
Then sew it up!

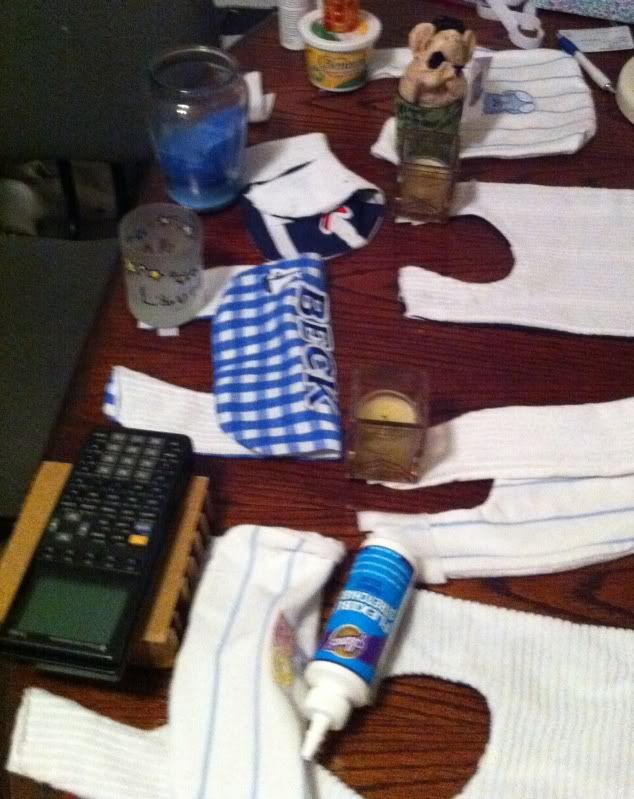
I left the top part open to turn it right side out. To finish the bibs. I didn't know how to do this velcro or snaps? I talked to a few people and they said velcro was easier to get the bib on a moving child. So I went with velcro. Here is the way i got the velcro on... (its so scientific)

Bam! Done! I had so much fun with it. For the decor I used iron ons from the craft store or I made my own iron on using the fusible web (whatever that is called!) I got the anchor (and my favorite!) from a clip art and traced it. For the boat, I just free handed it!

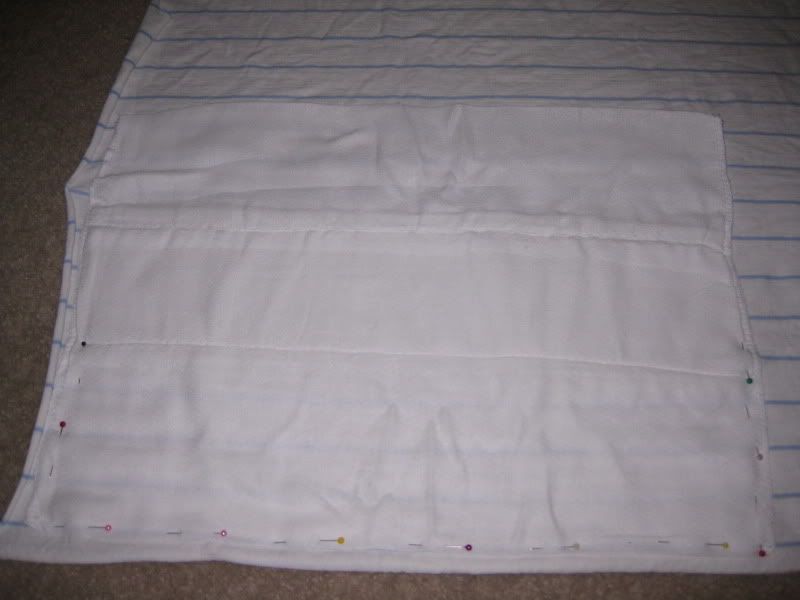
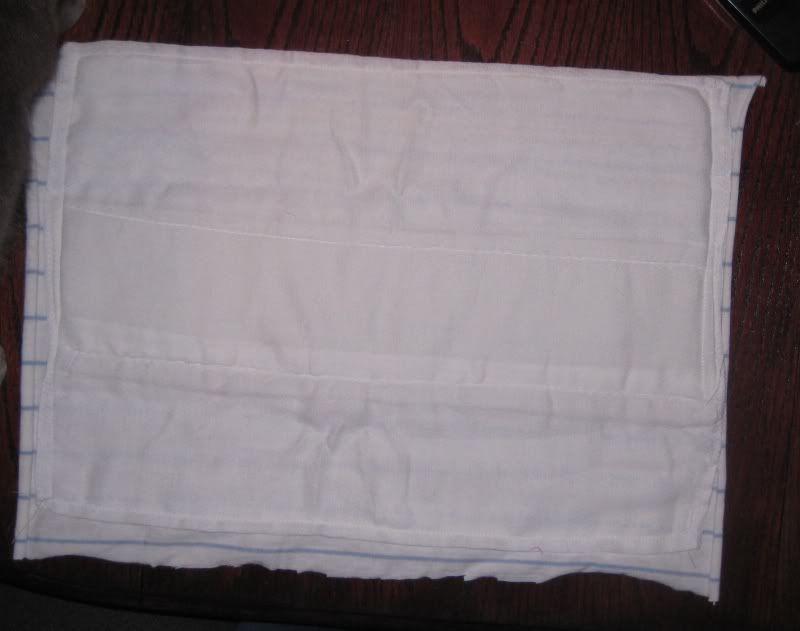
Now I made the matching burp cloths using cloth diapers and the same material used for the bibs. This was easy too! First lay out the cloth diaper on the fabric (wrong sides together again). Pin them together.

Then cut around the fabric and we are ready to sew! Leave a spot to turn it right side out.

Done just close the edge and you are done! I was so suprised how much fun I had designing baby bibs and burp cloths. I have so many more ideas. Would love to do girl ones! :) Hope you enjoyed this! :) ~Lauren~

LinkWithin

Related Posts Plugin for WordPress, Blogger...